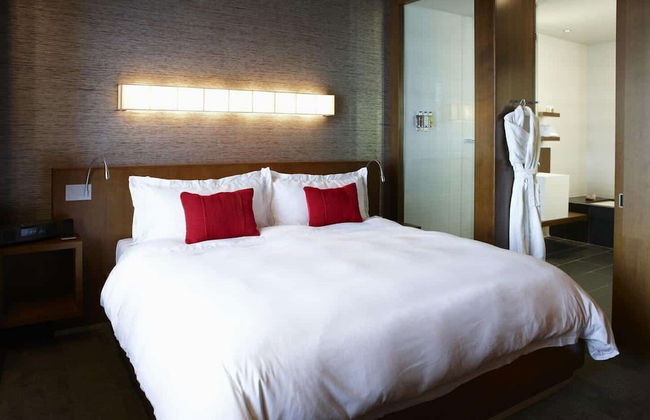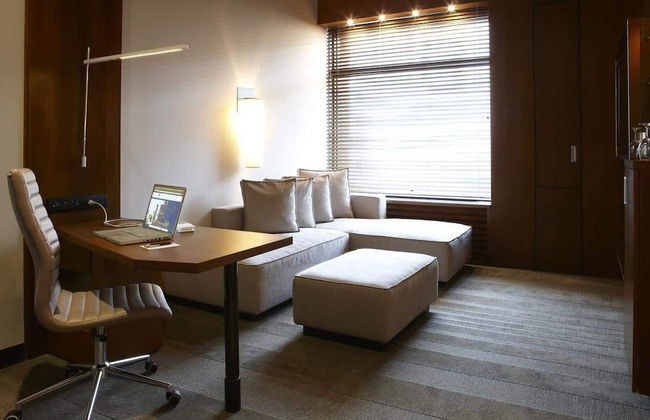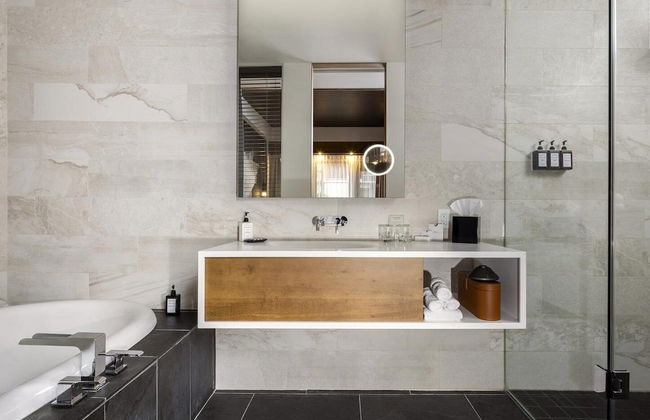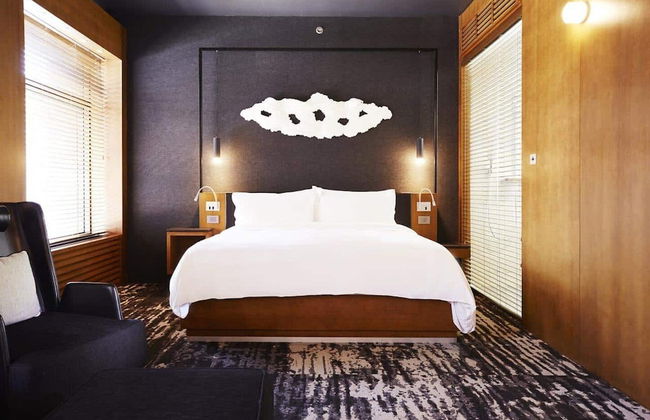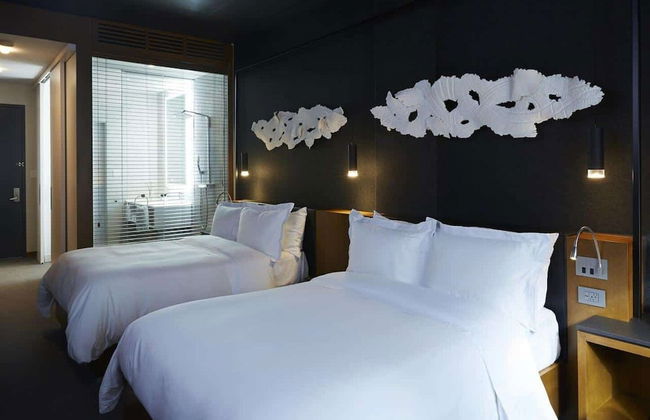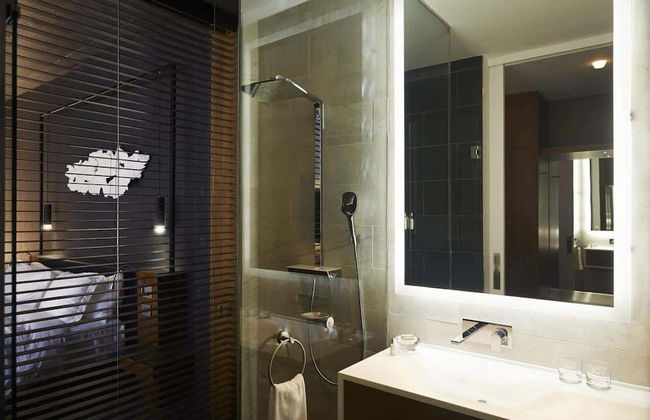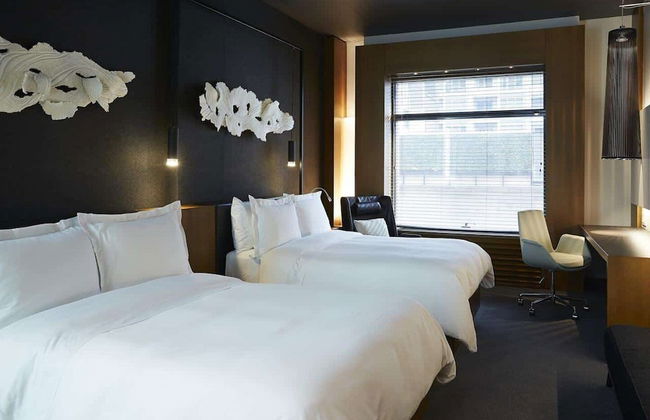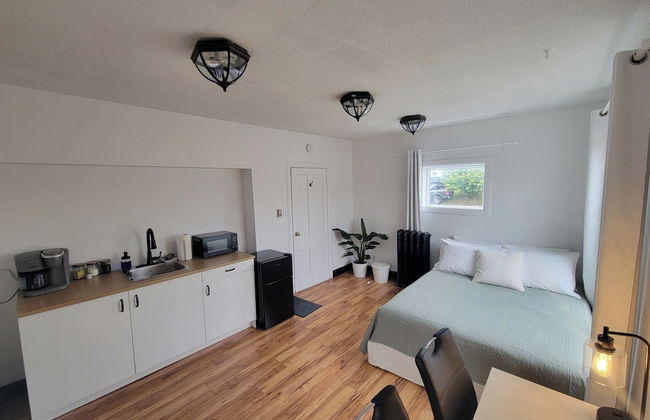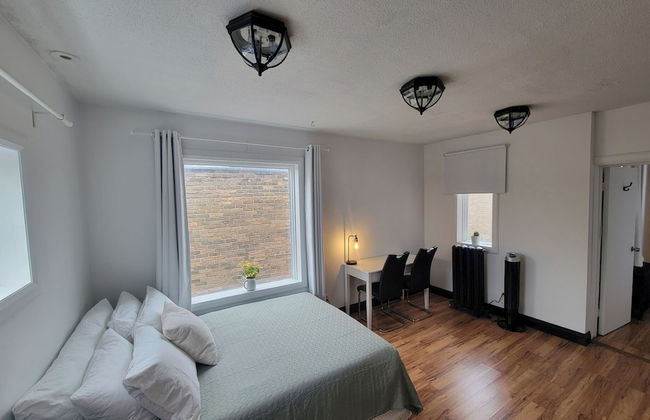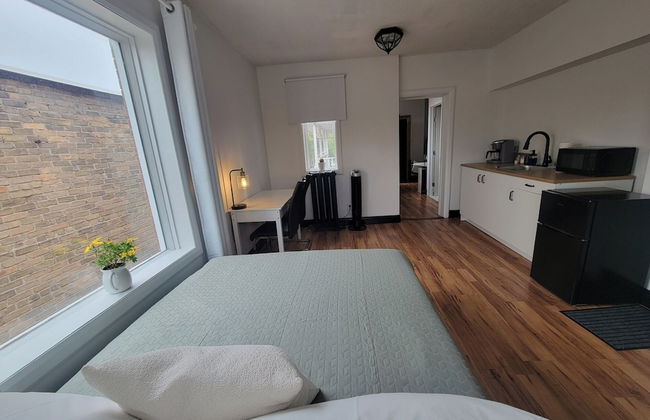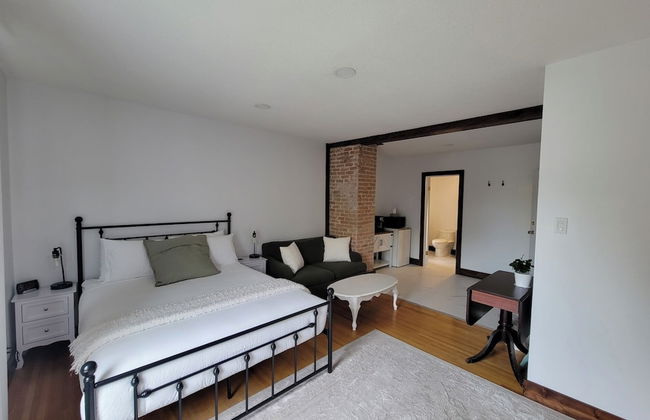
621 Appartements à Ontario
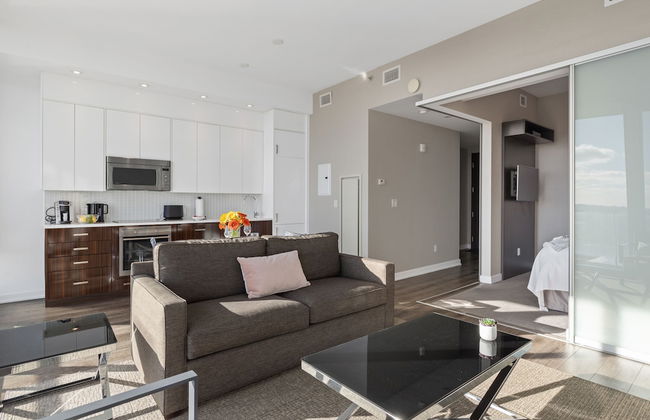
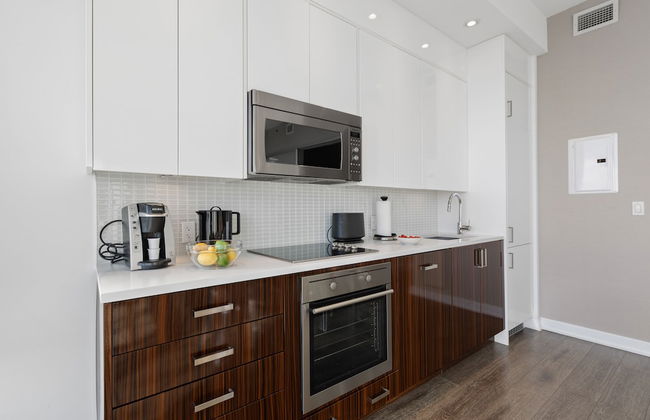
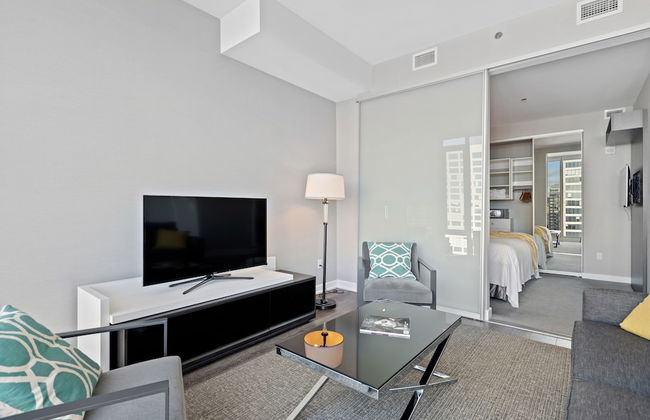
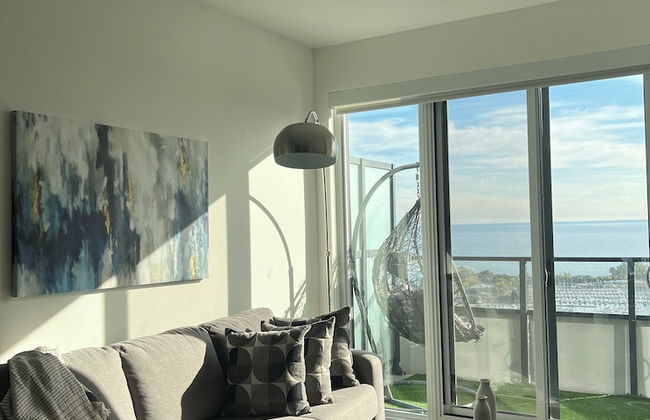
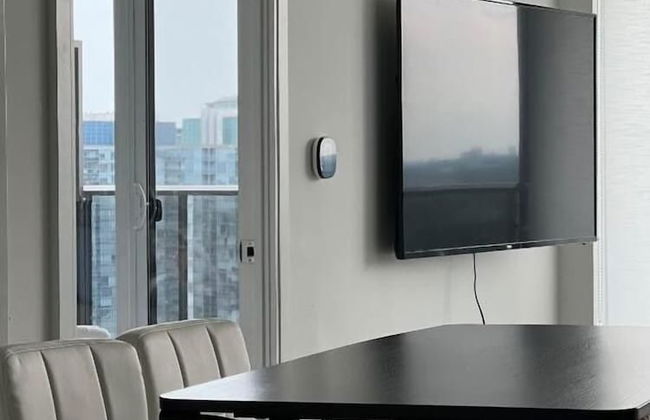
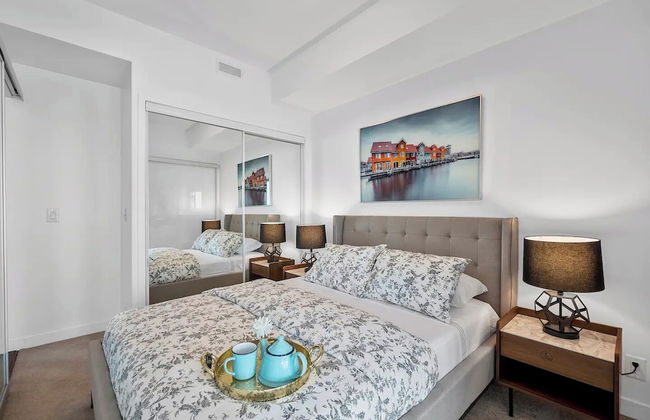
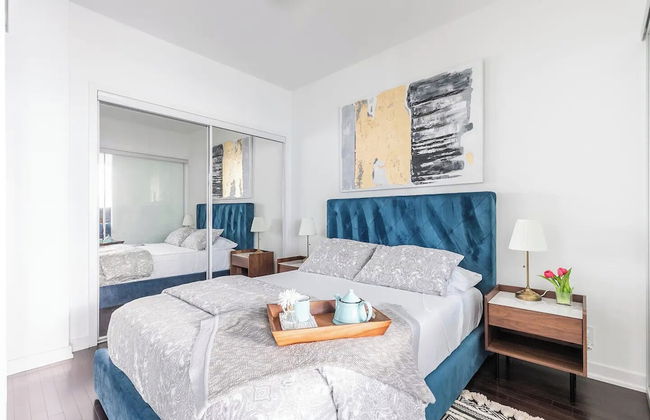
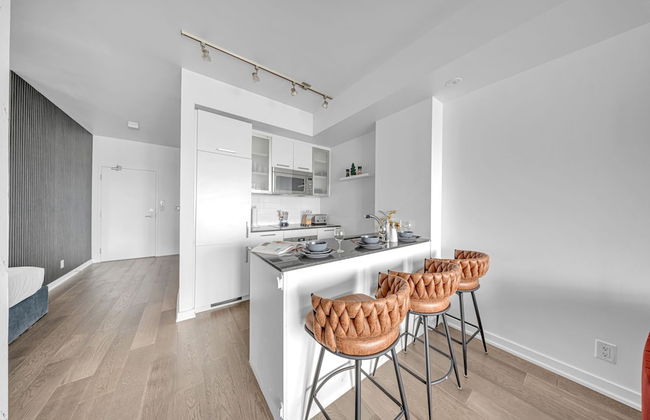
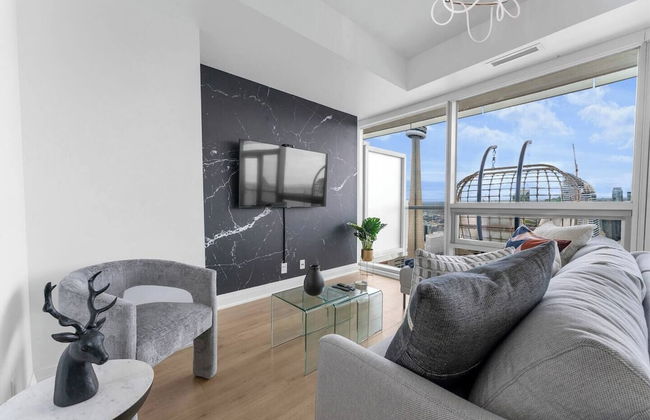
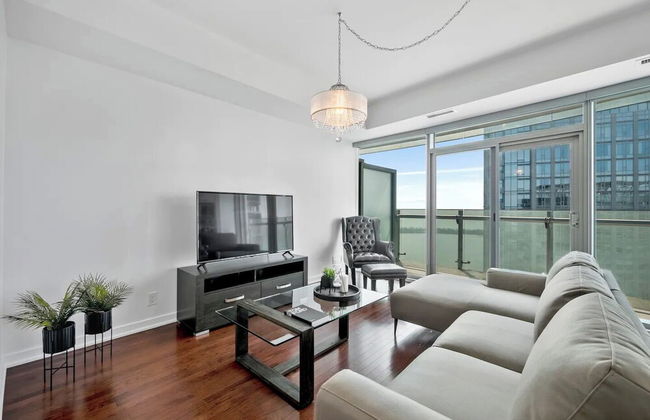
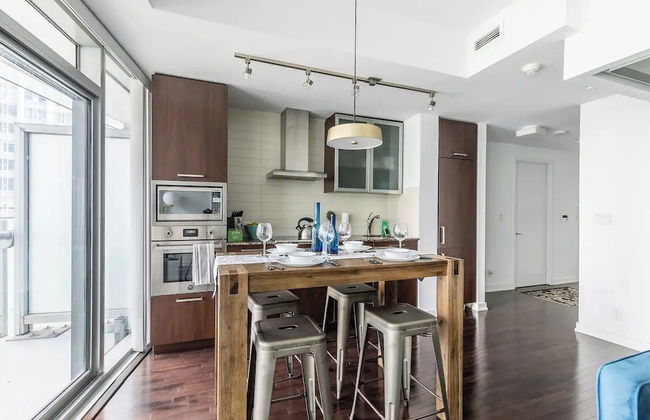
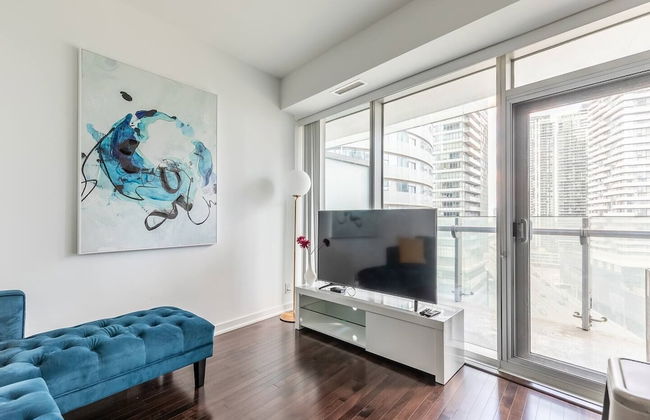
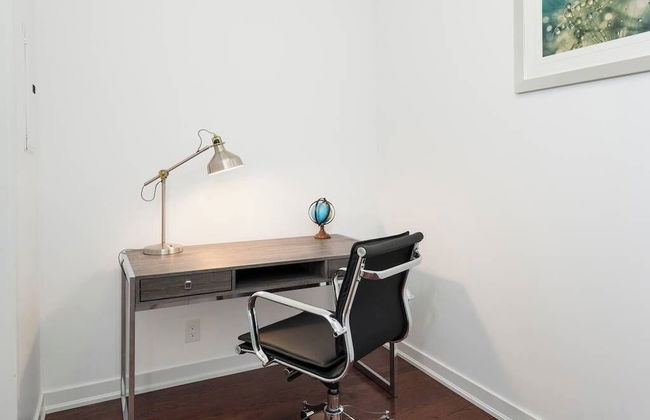
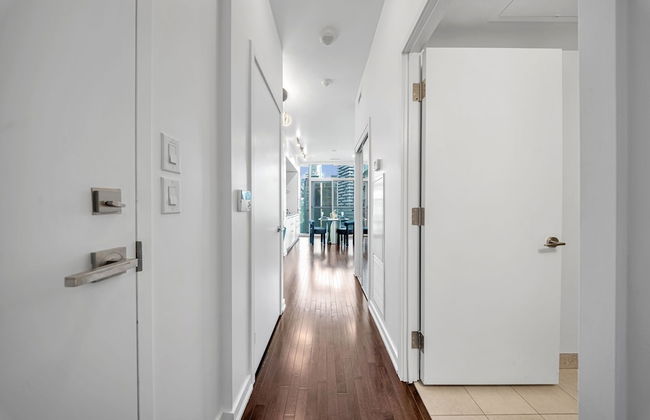
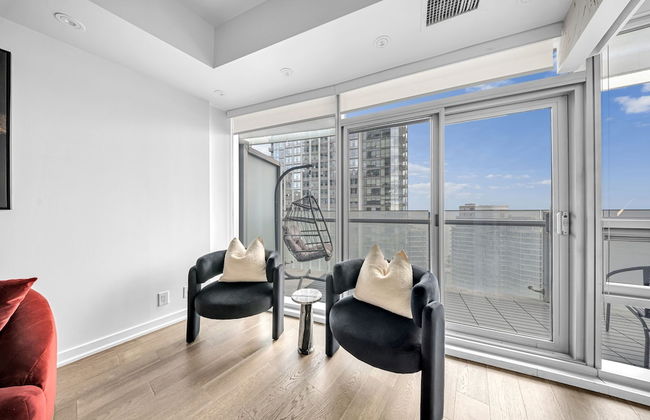
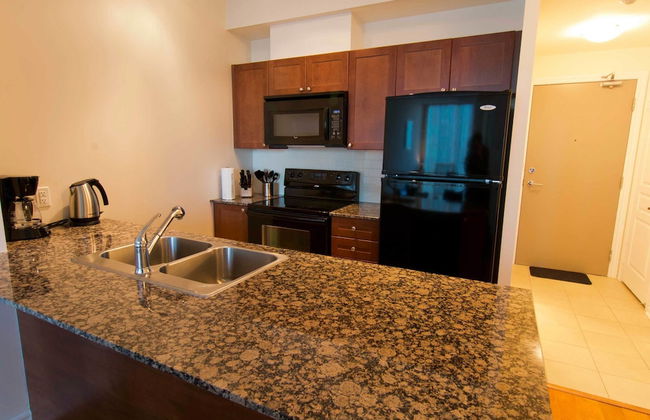
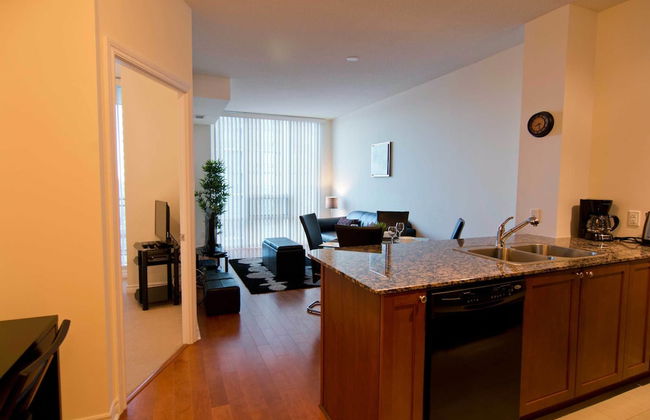
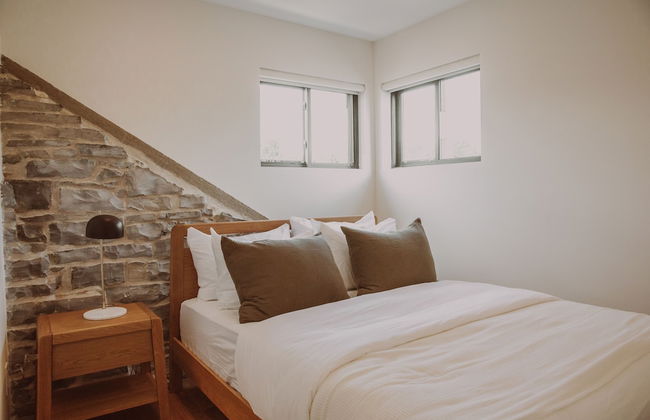
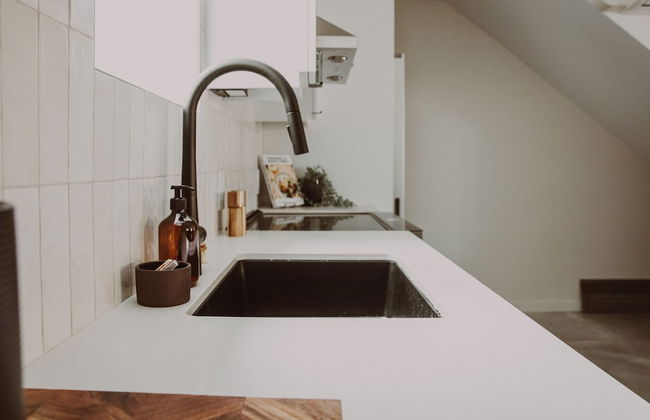
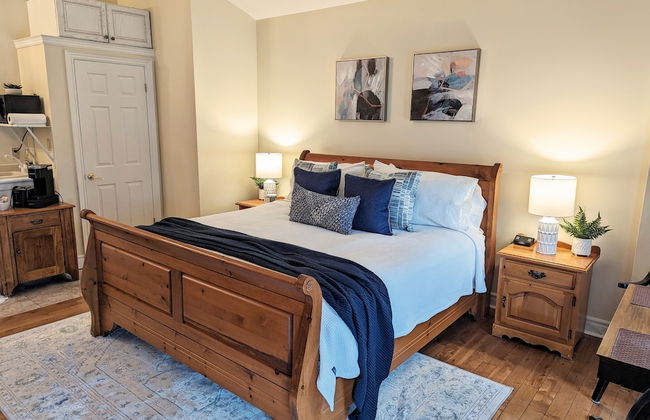
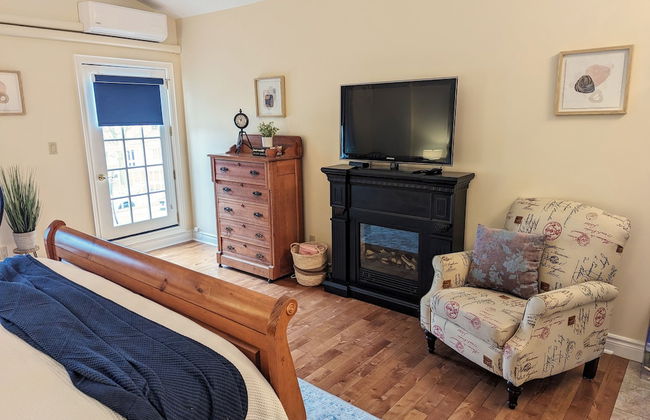
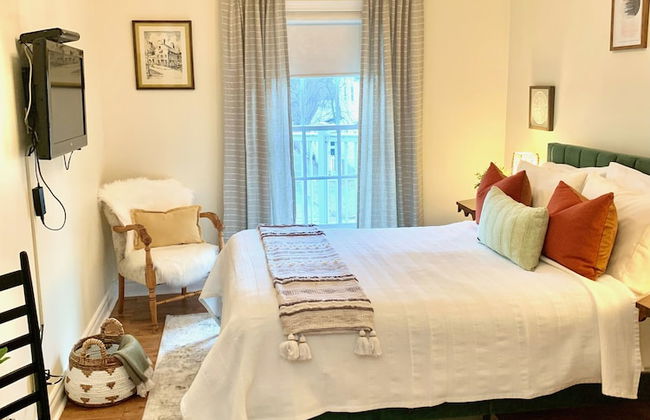
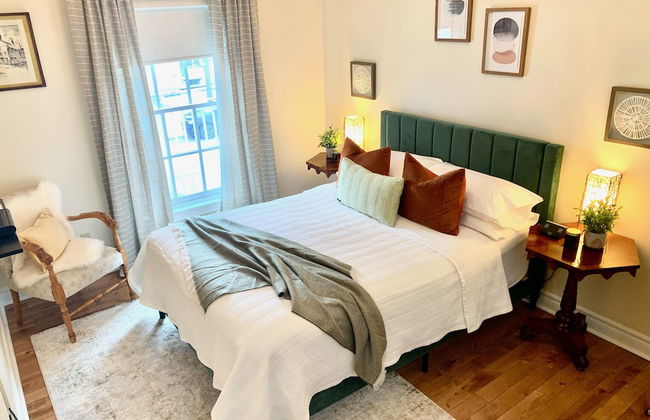
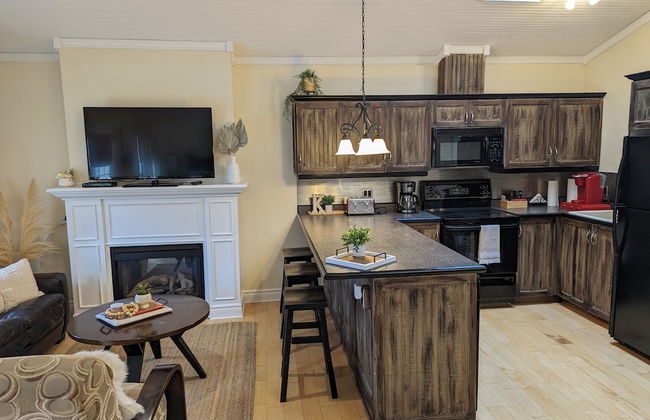
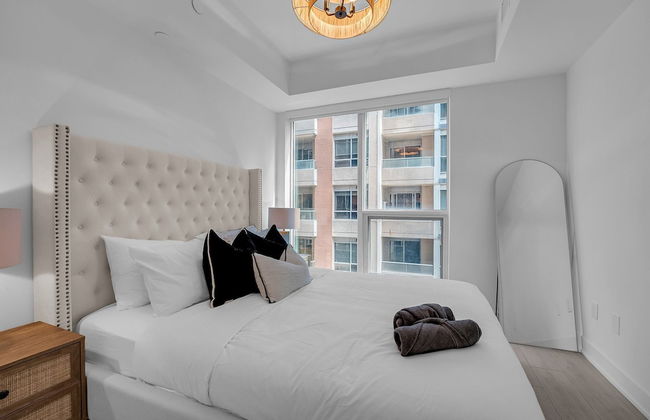
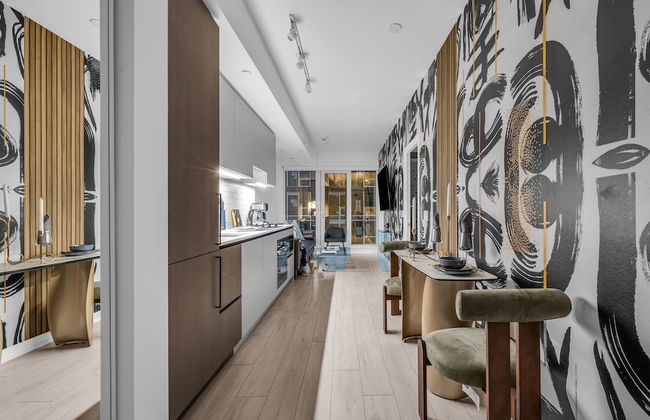
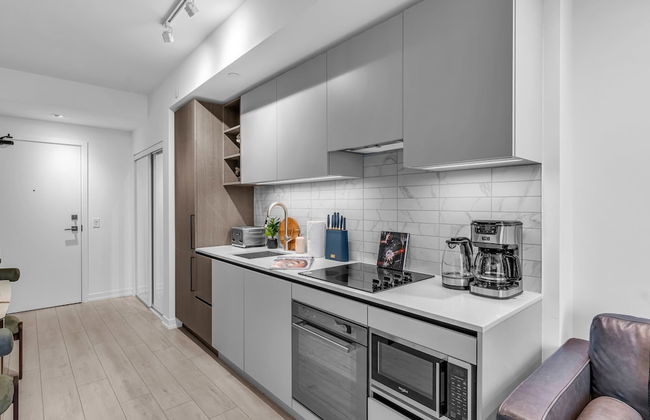
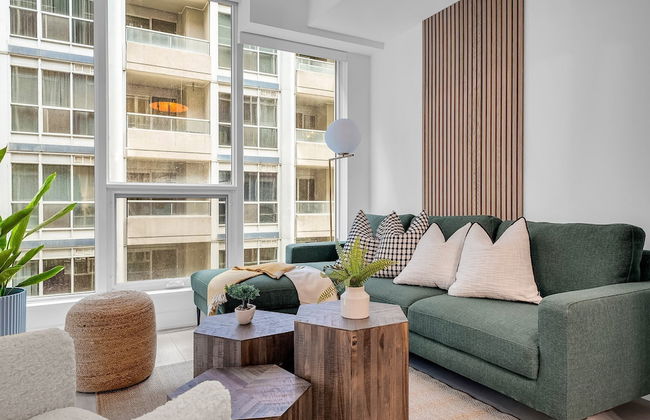
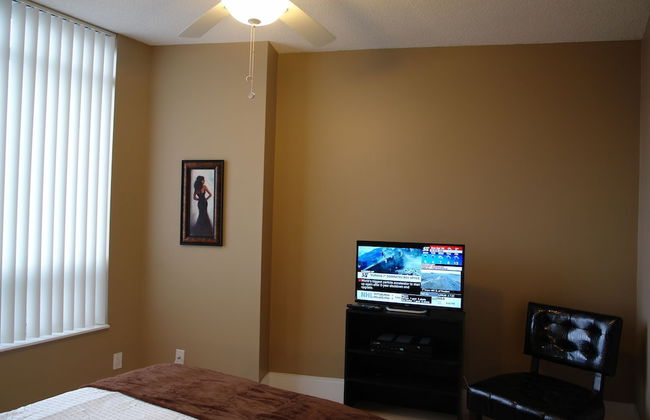
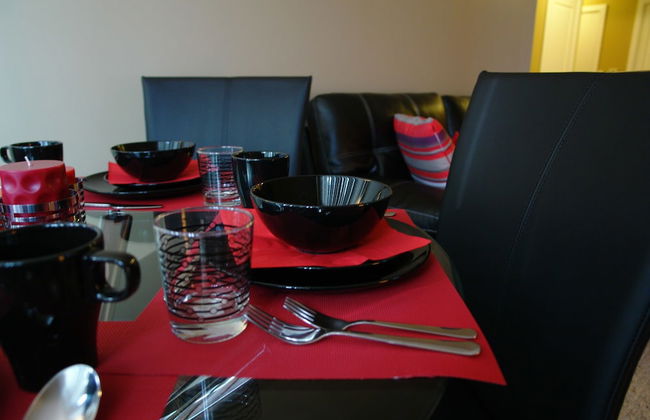
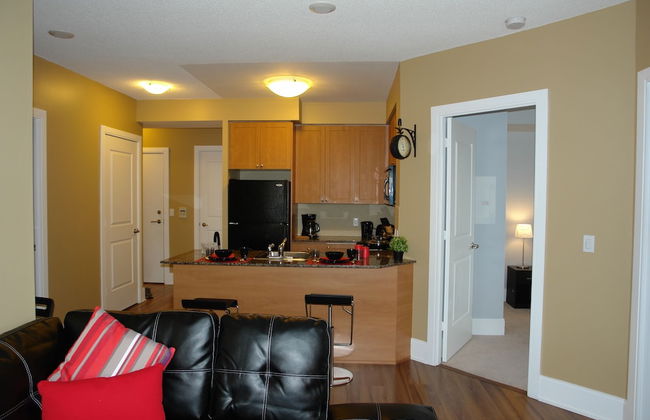
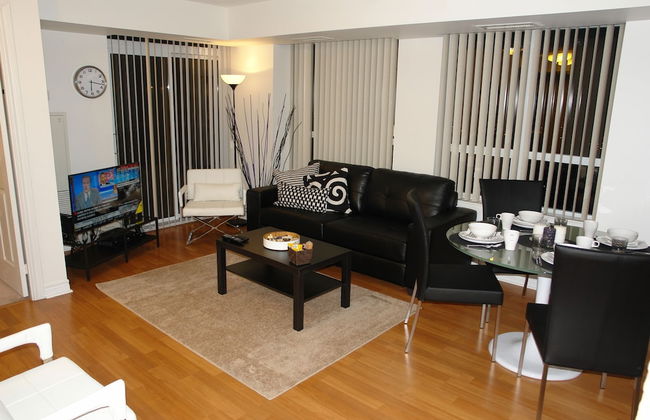
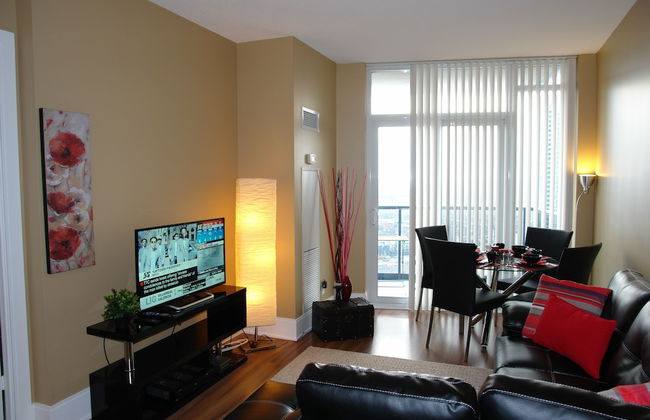
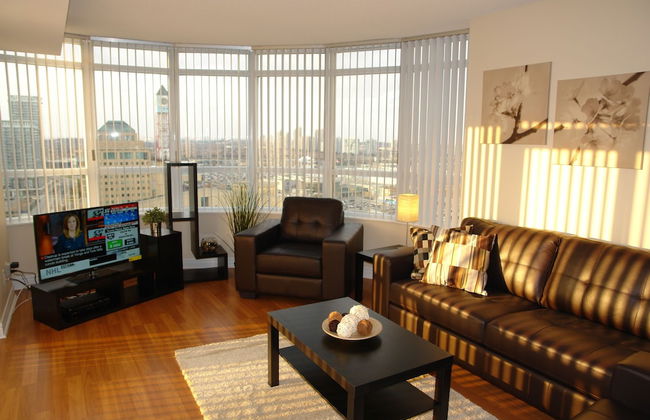
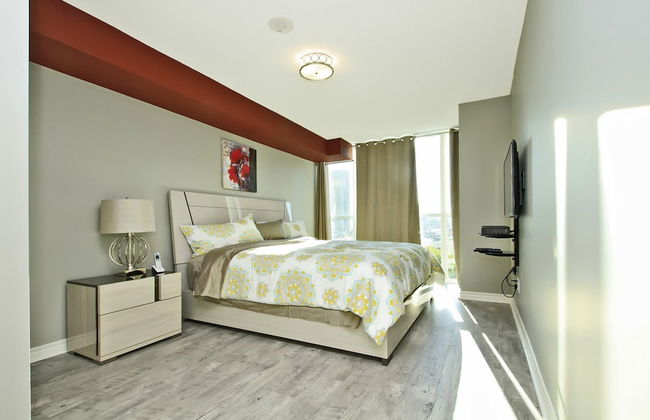
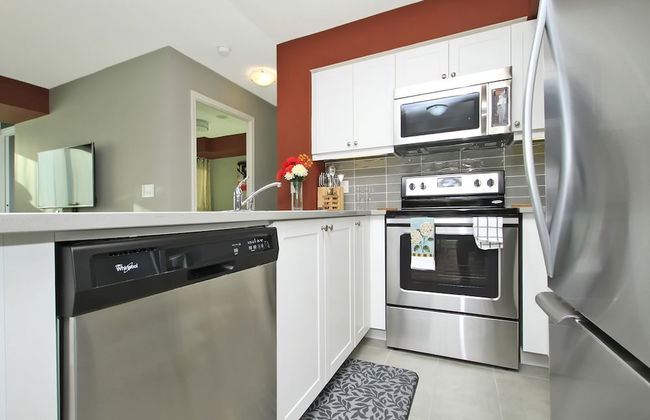
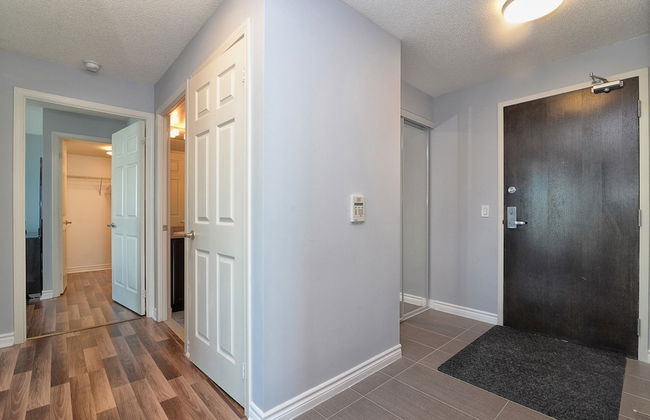
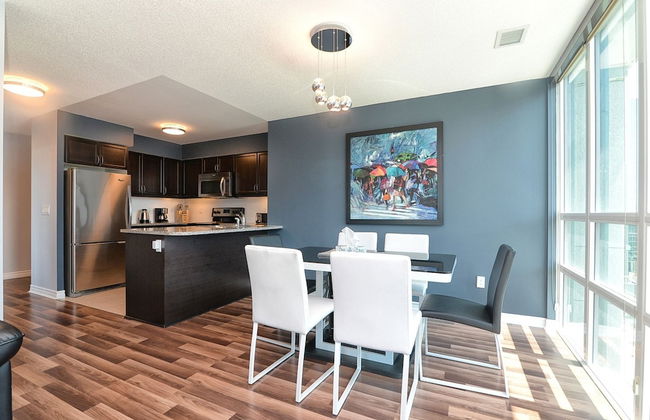
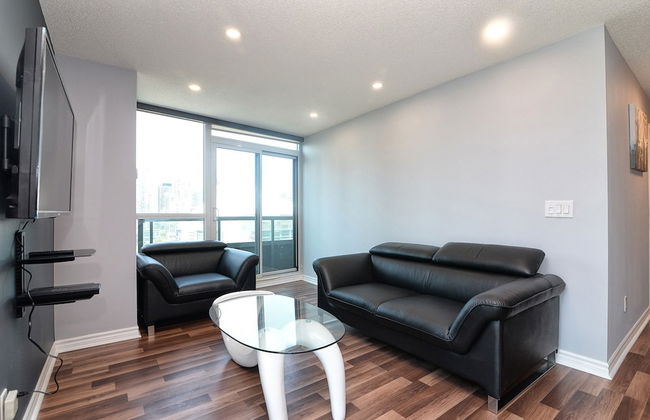
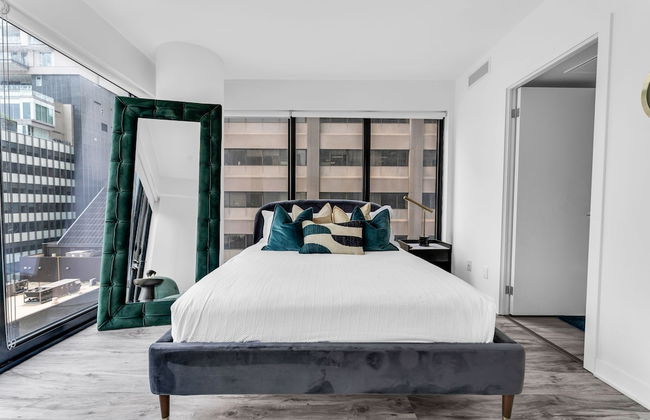
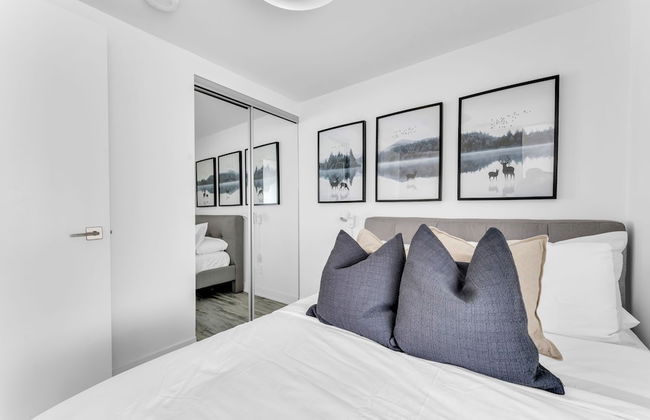
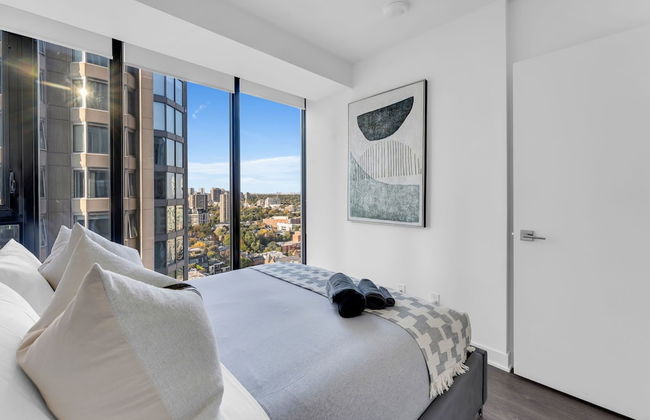
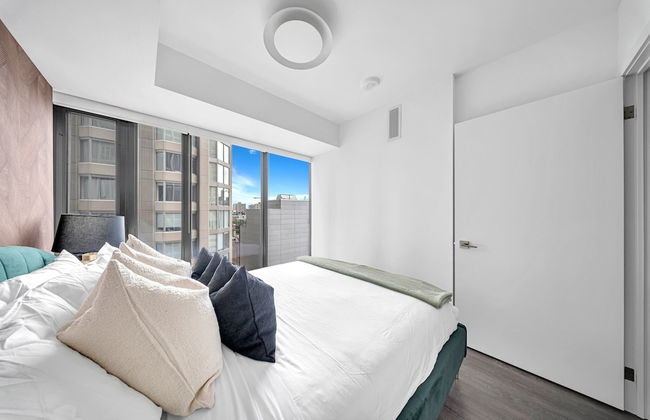
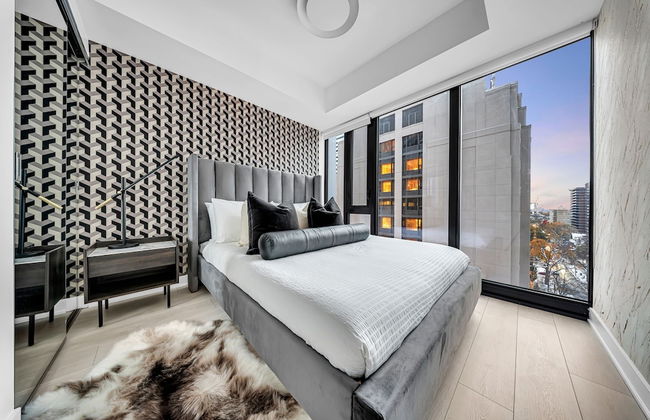
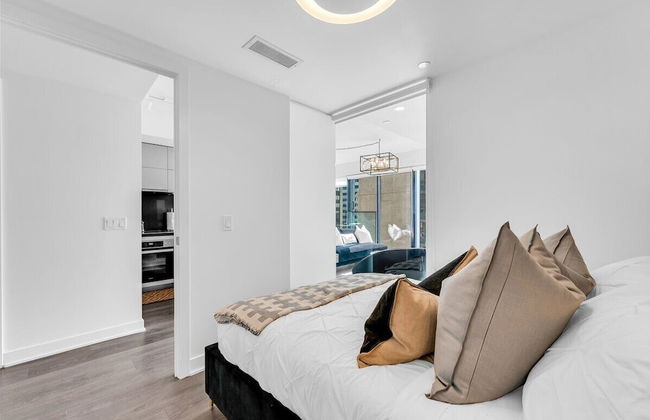
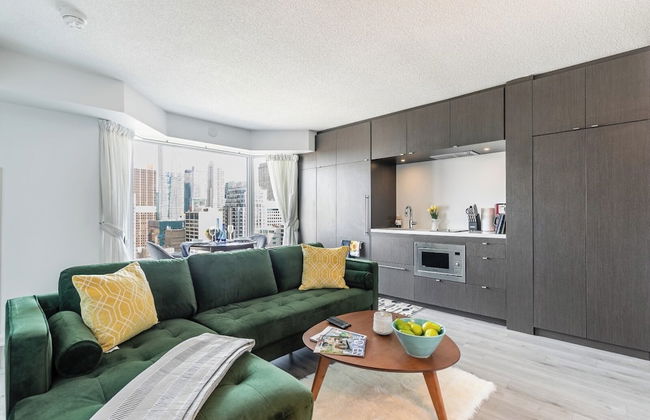
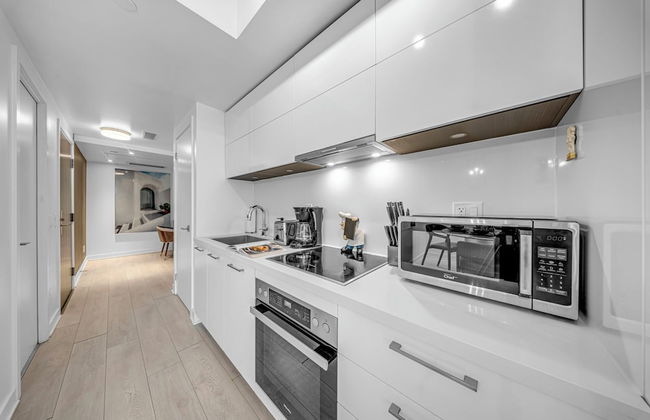
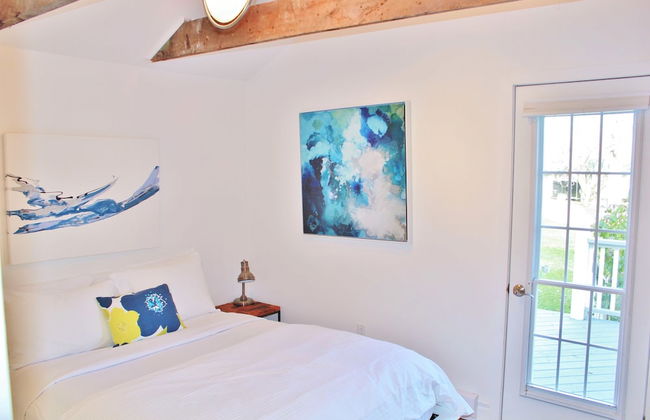
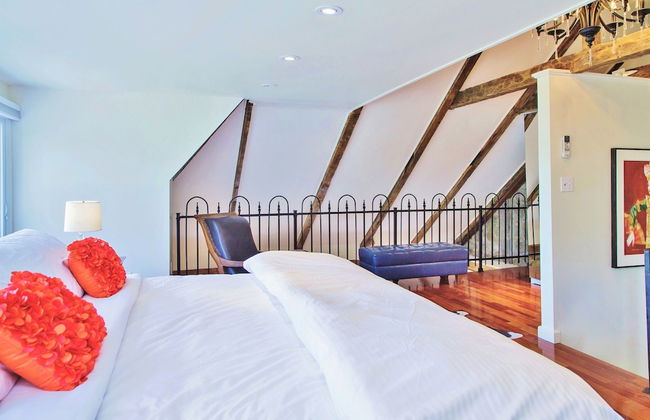
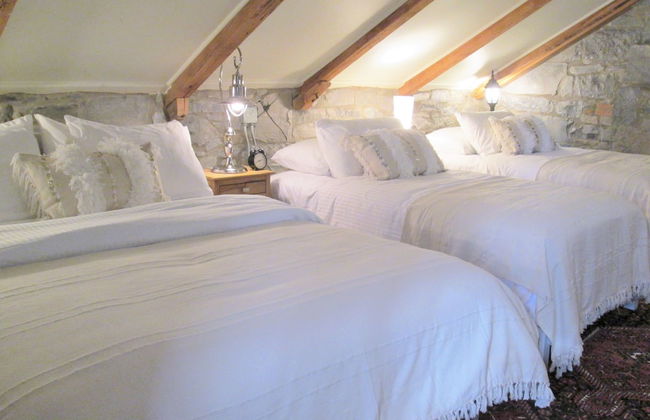
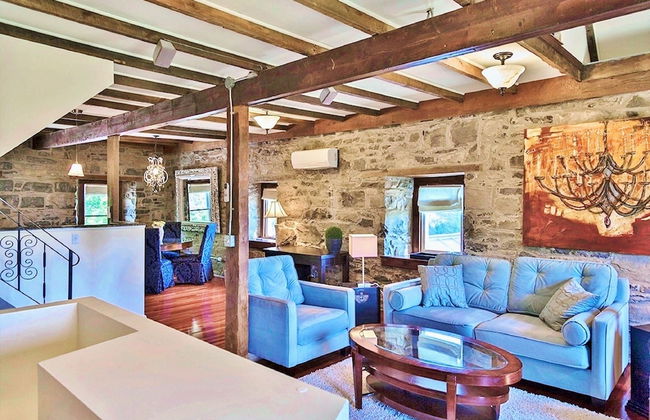
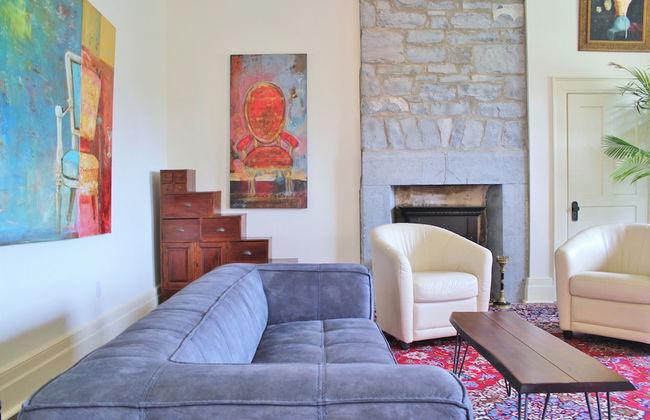
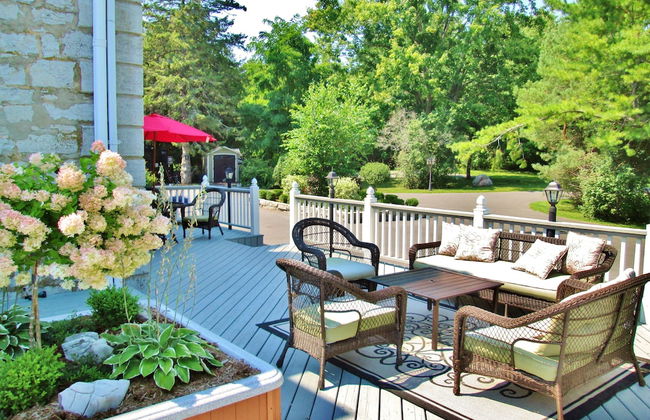
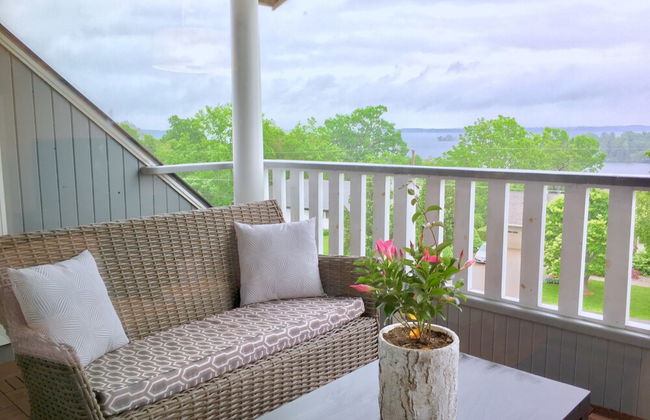
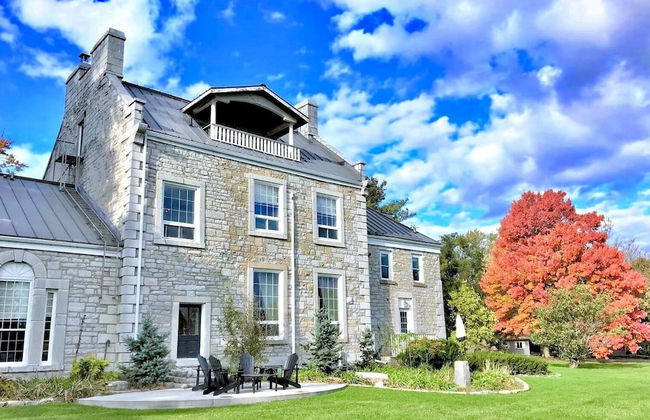
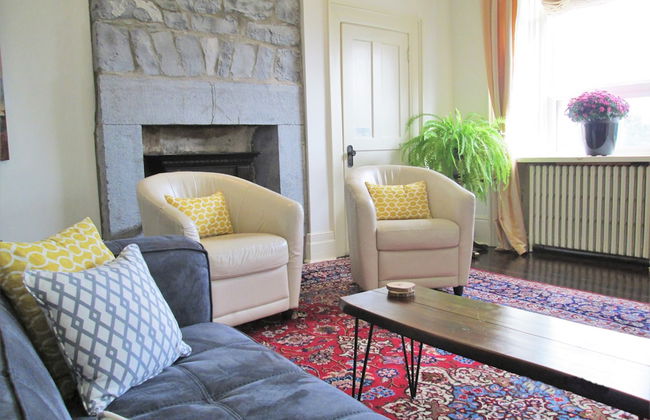
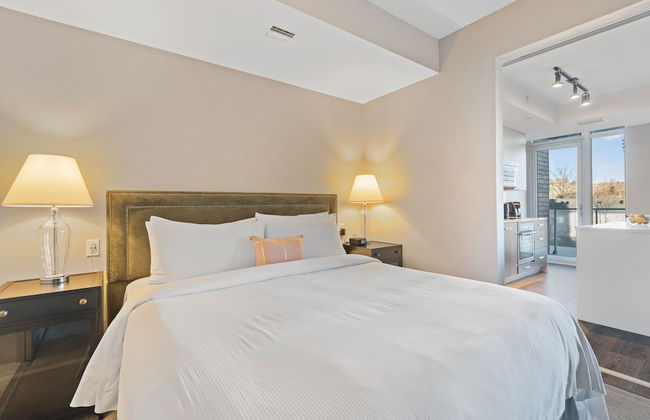
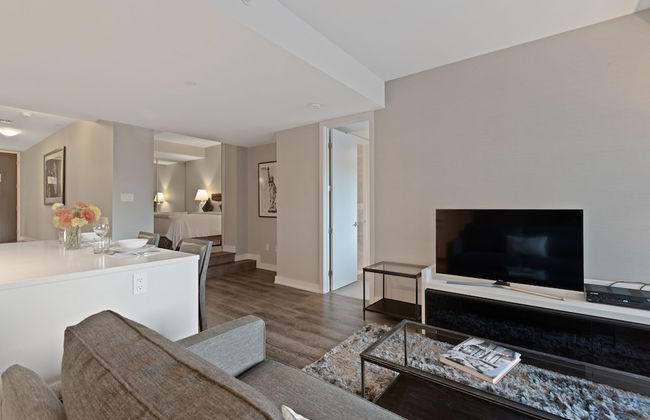
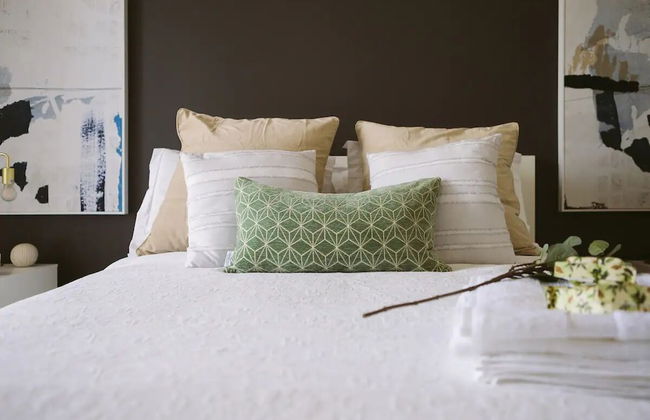
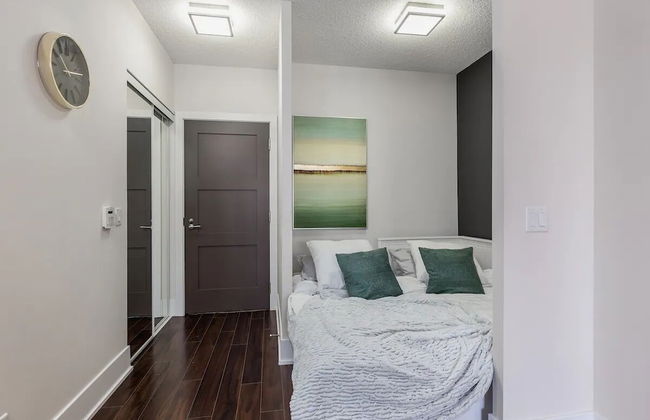
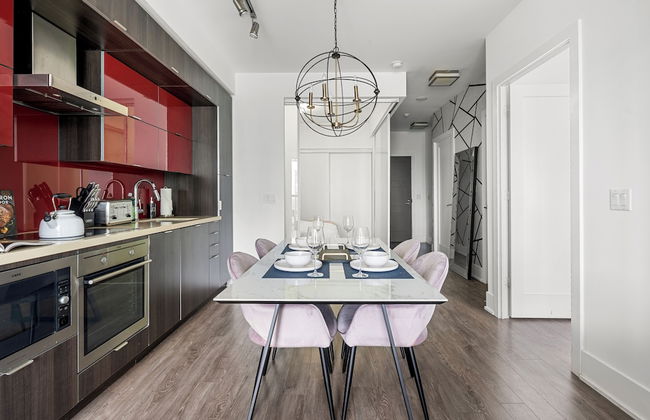
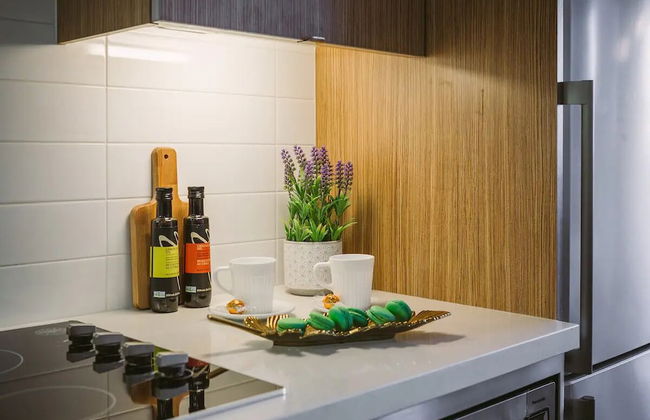
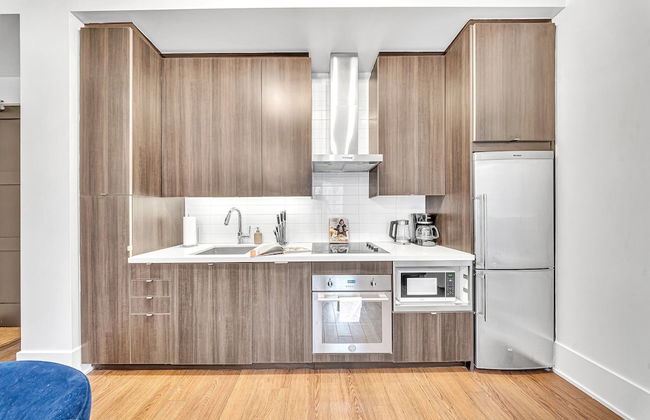
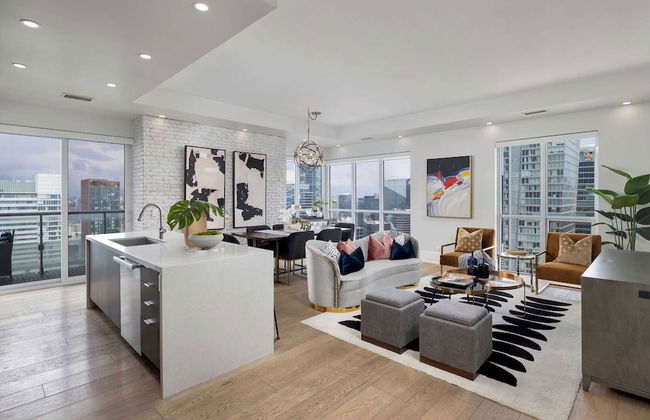
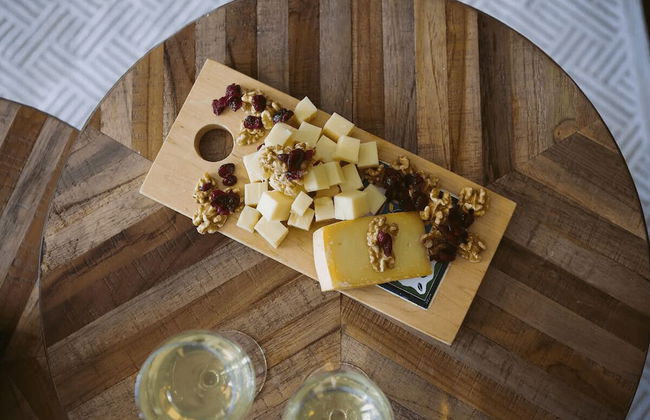
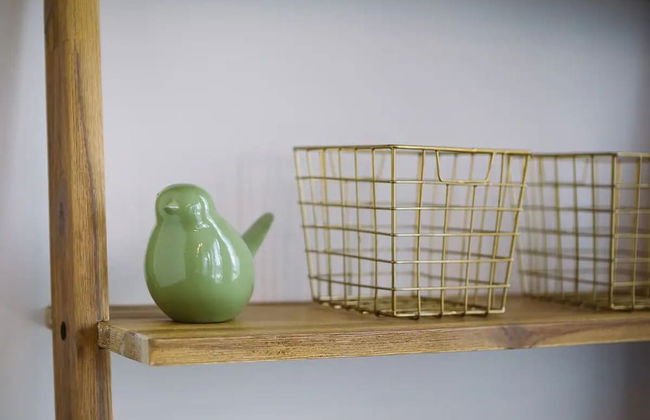
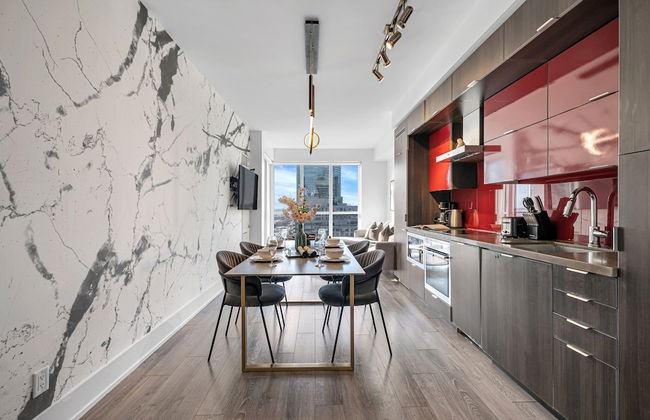
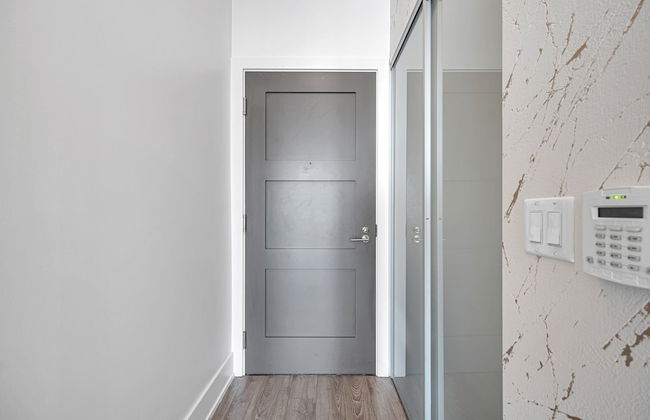
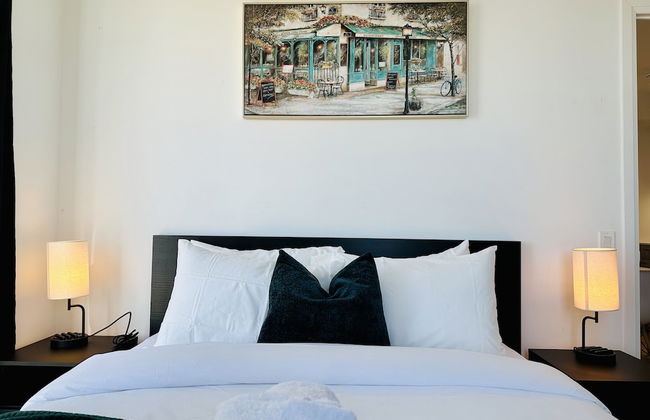
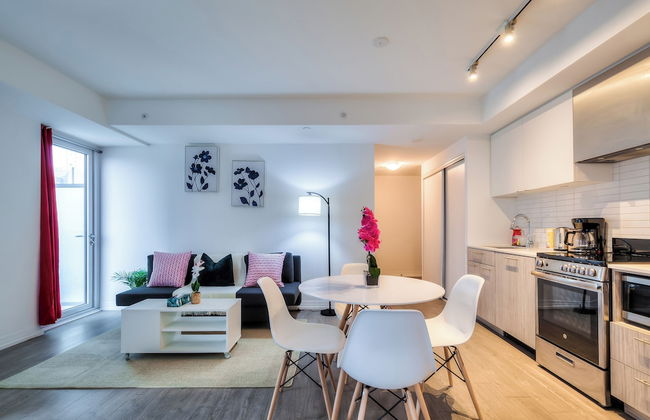
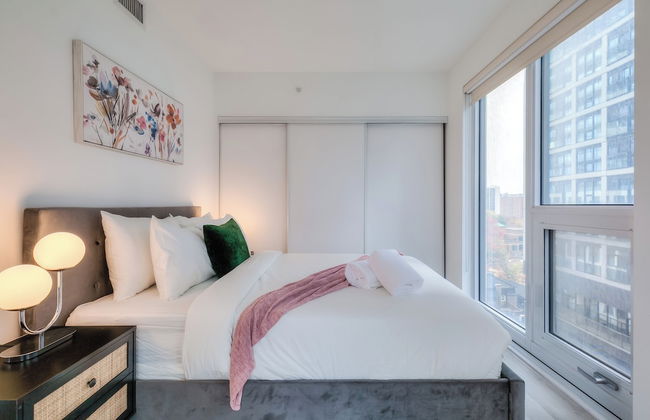
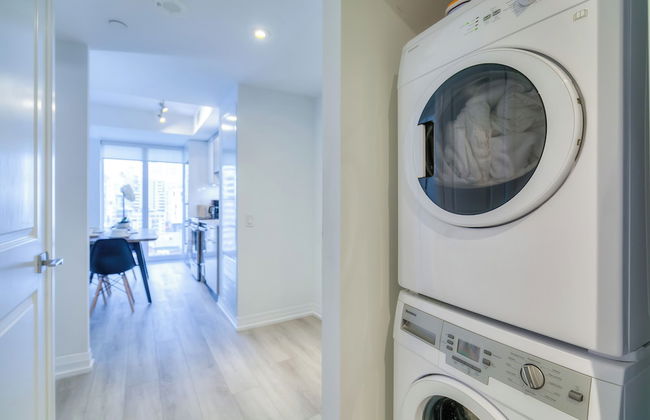
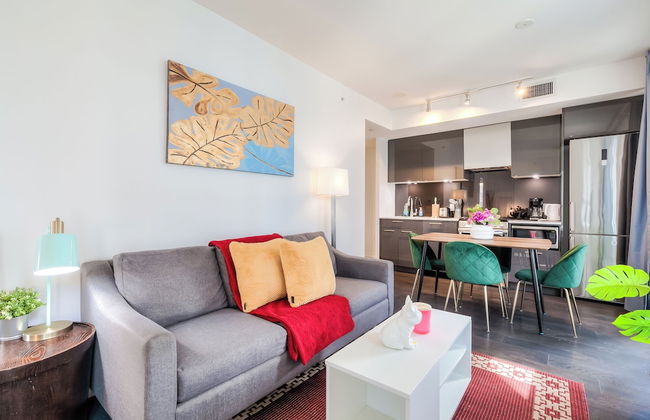
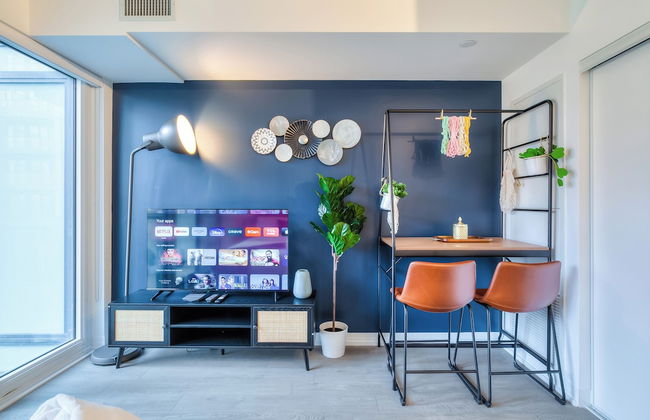
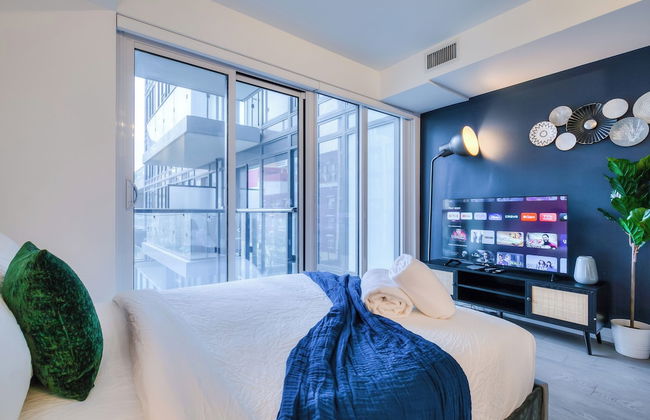
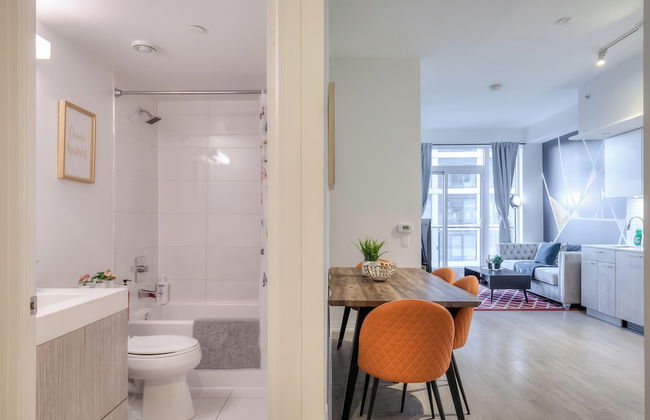
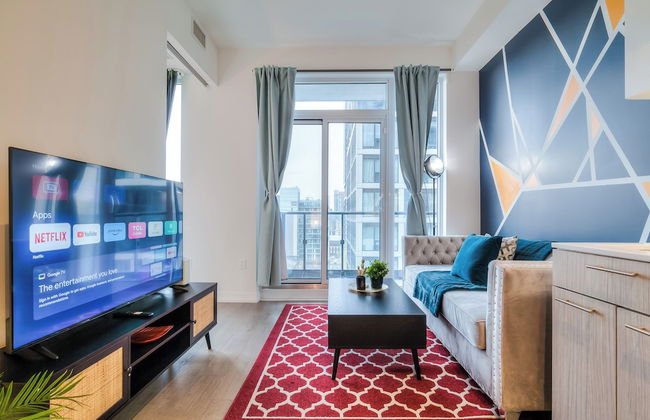
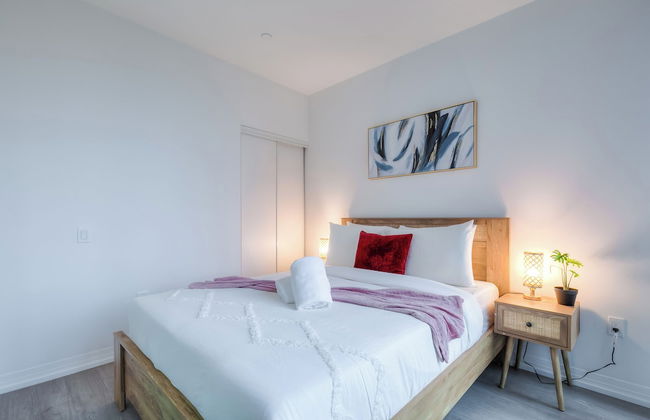
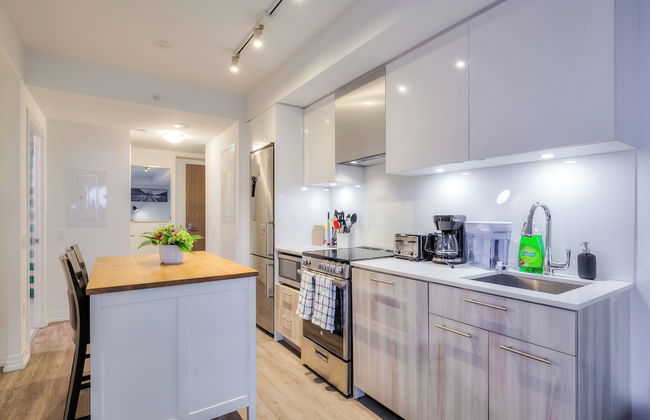
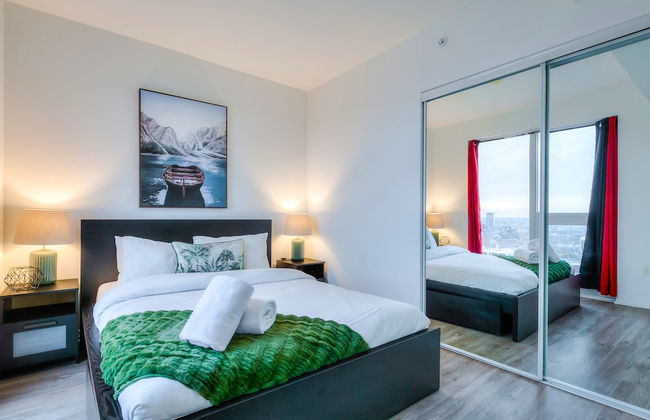
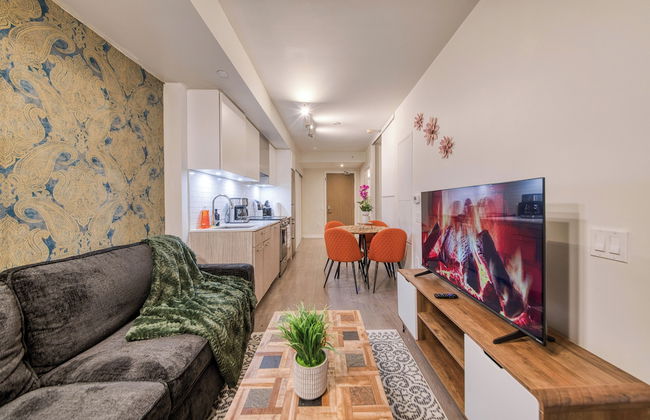
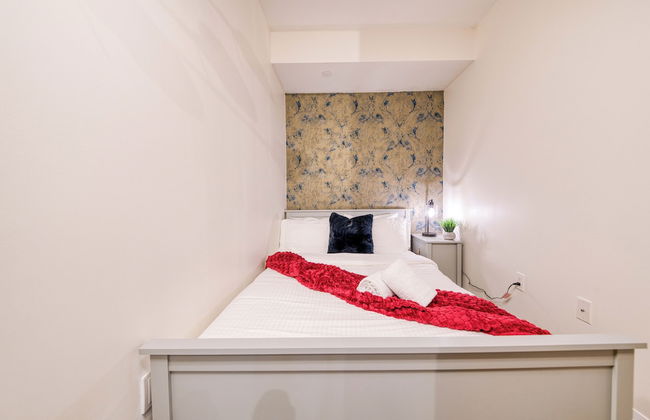
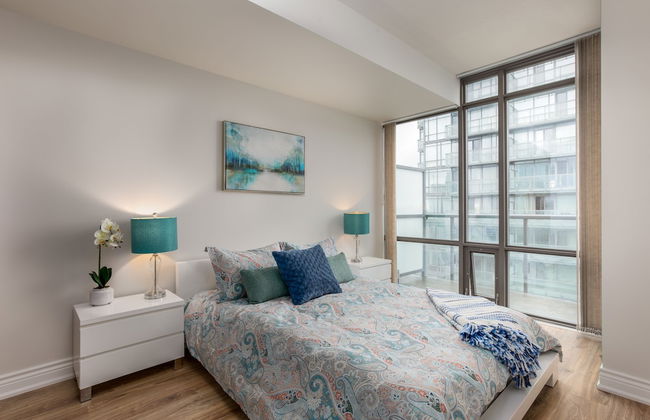
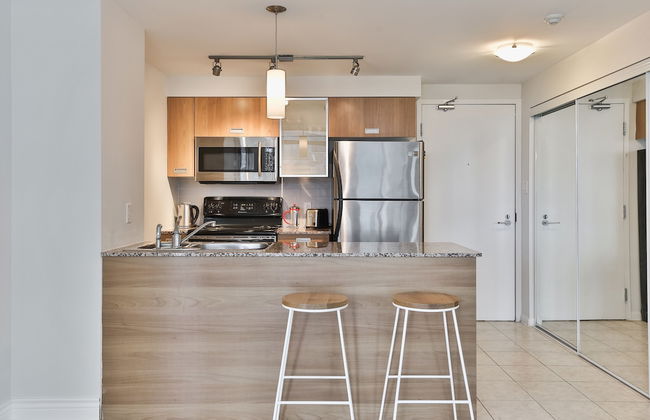
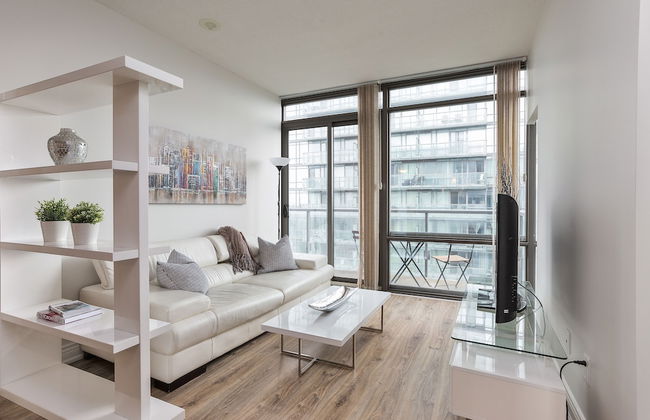
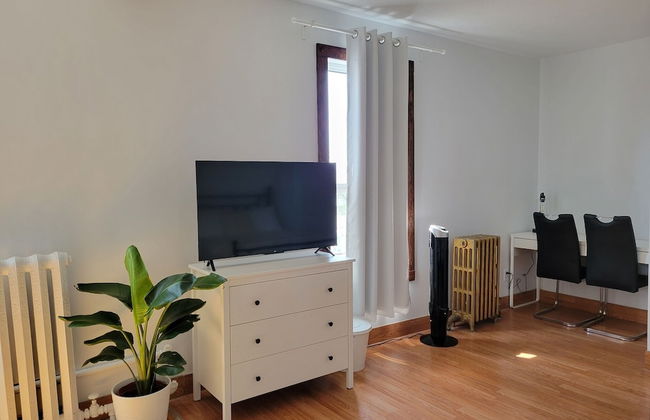
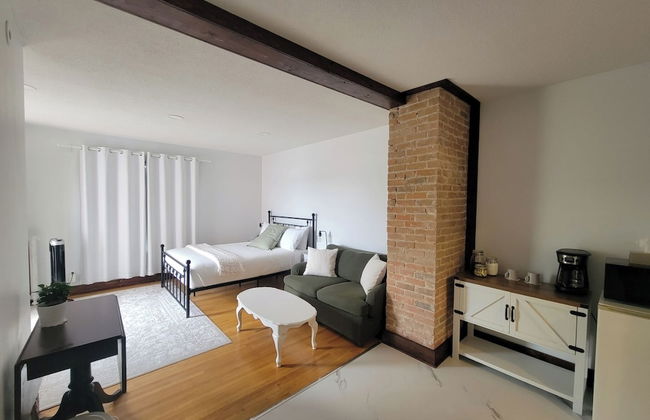
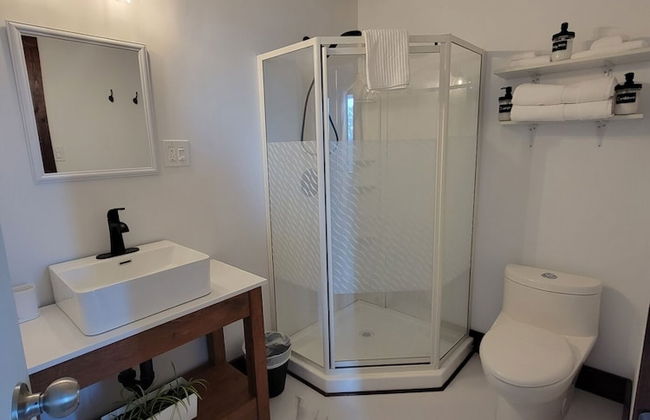
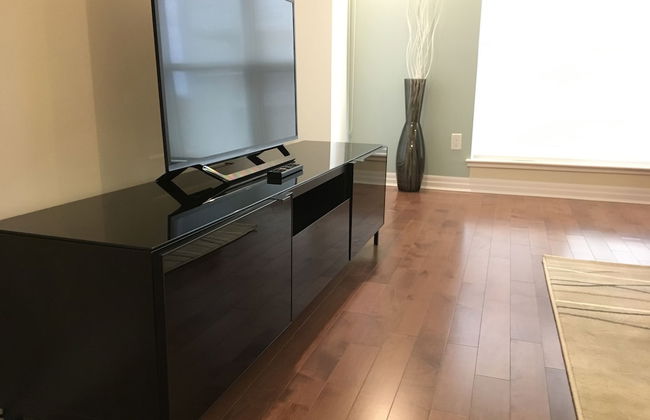
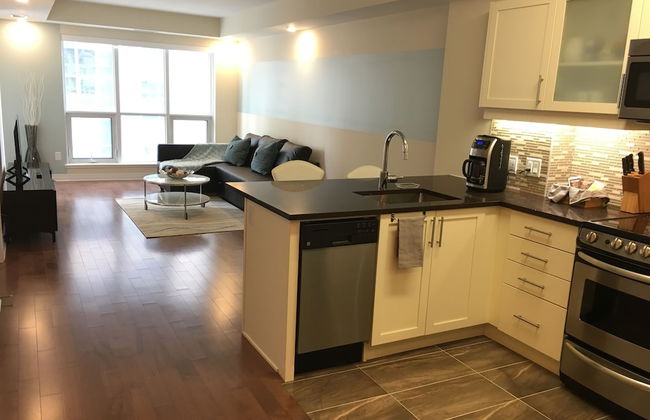
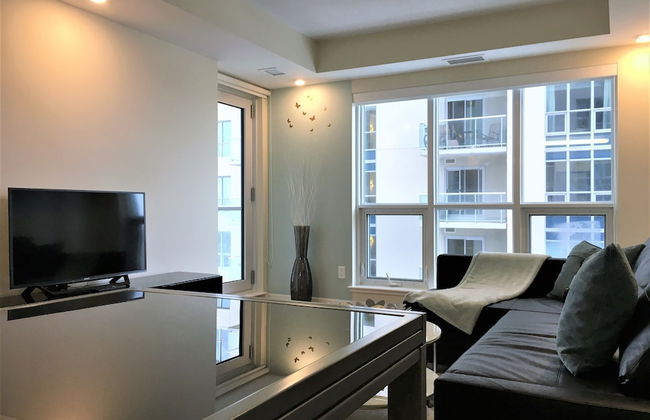
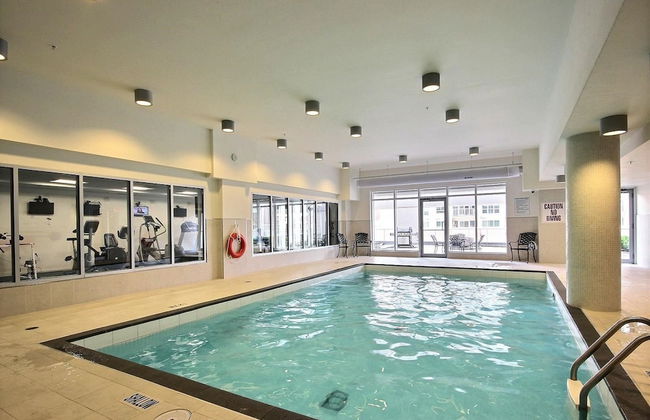
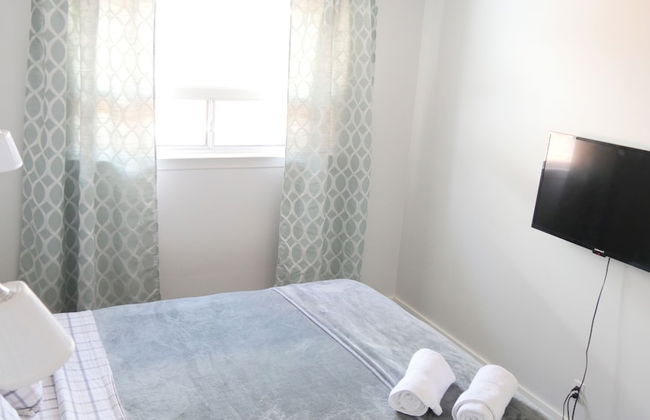
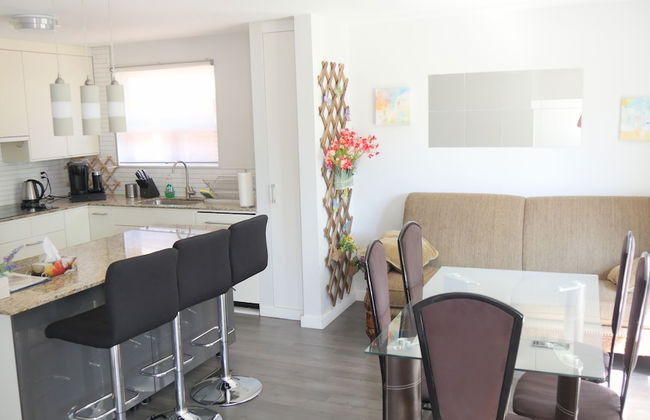
Margarita Vacation Getaway - Photo 1
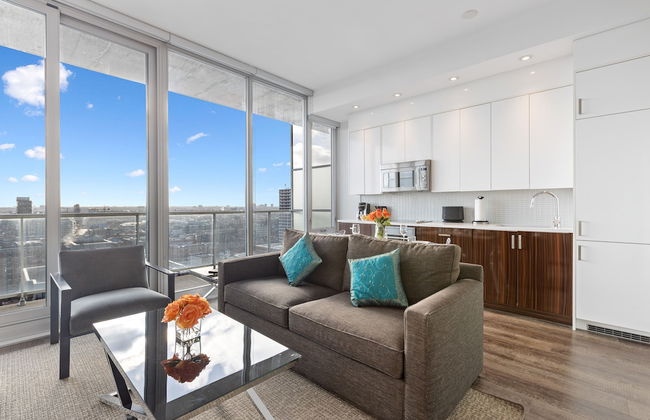
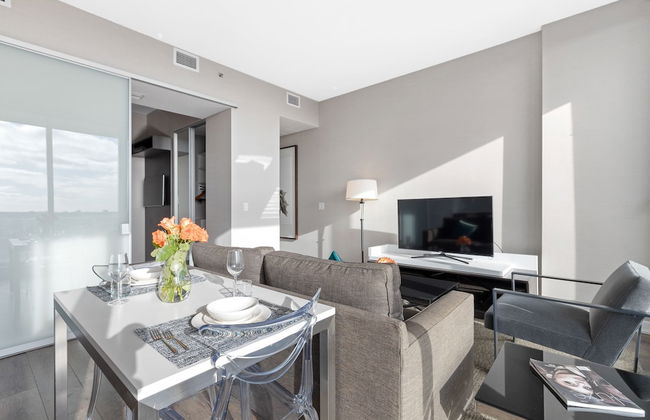
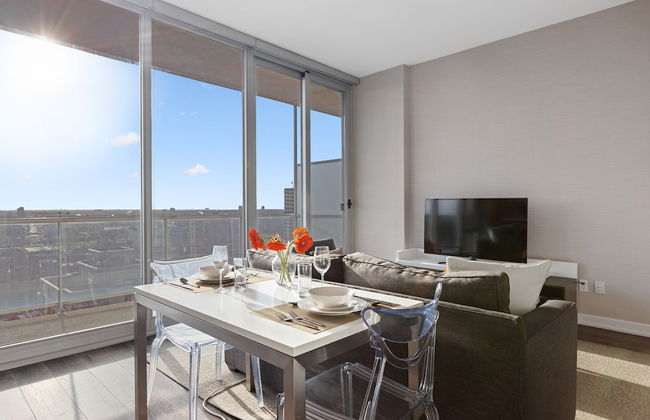
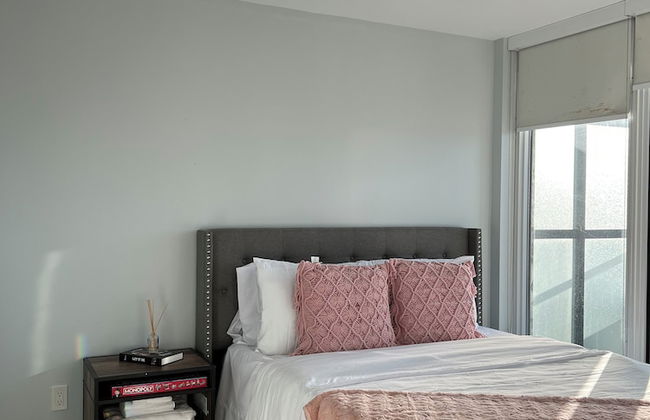
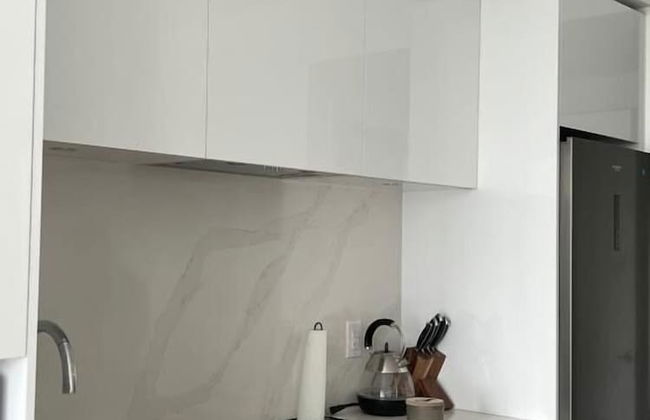
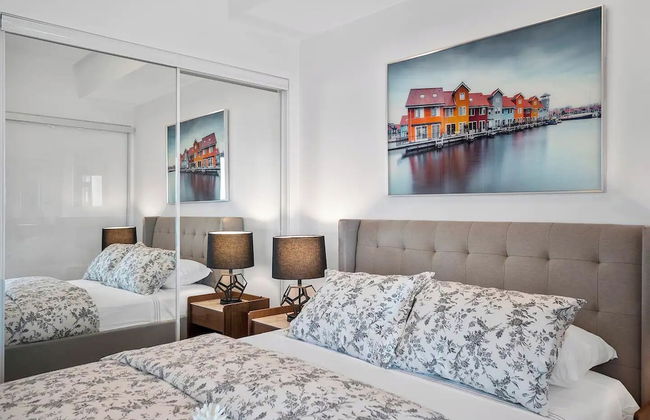
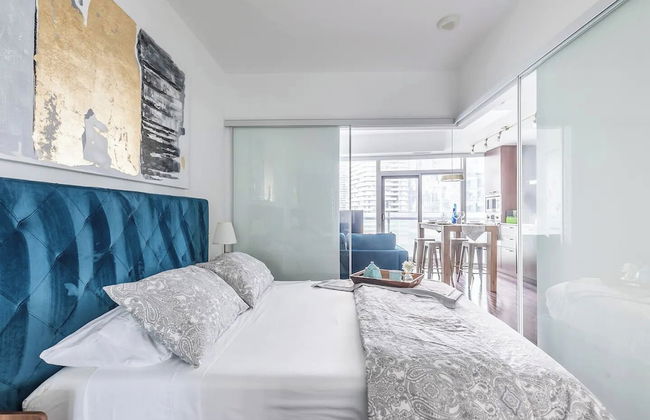
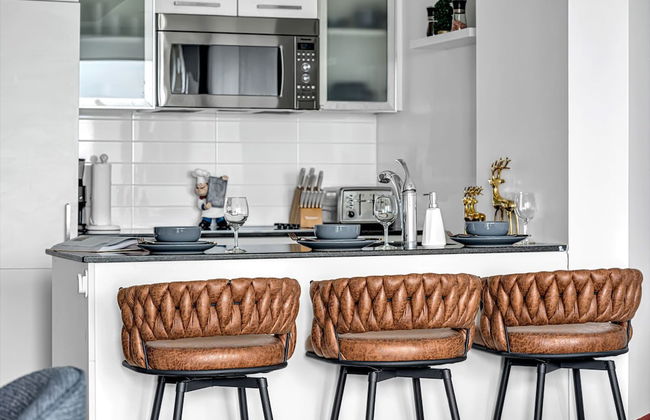
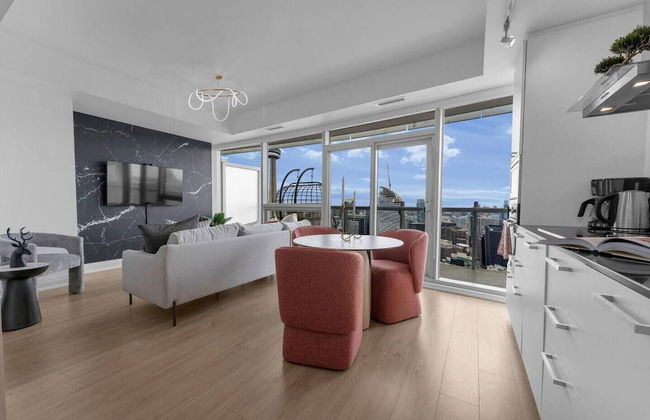
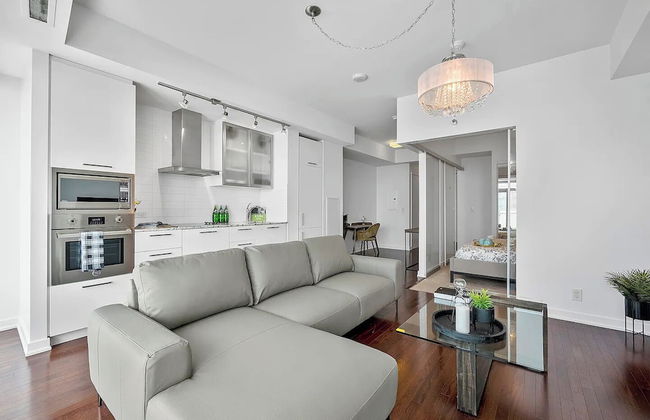
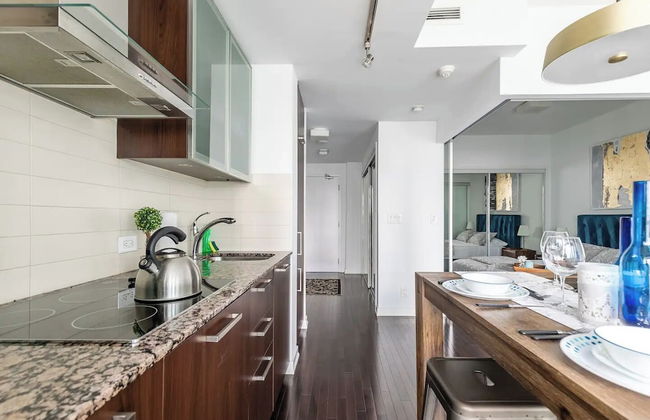
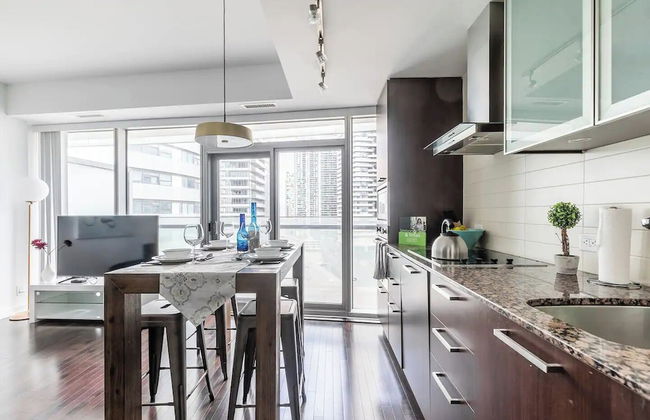
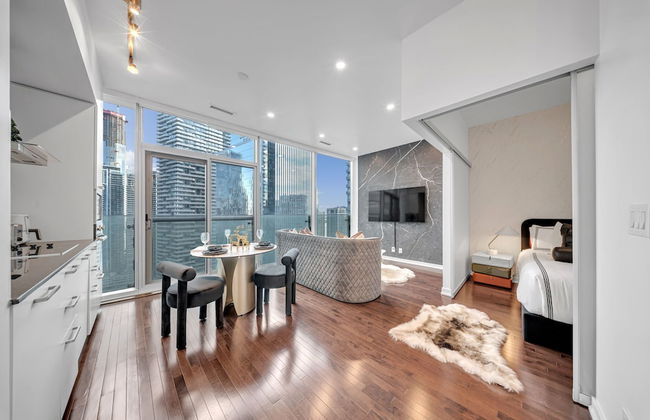
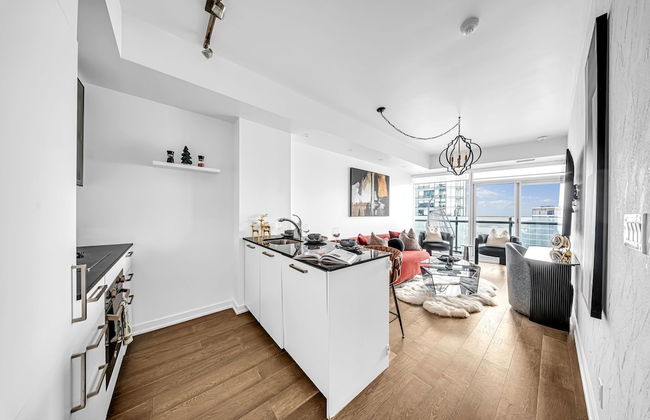
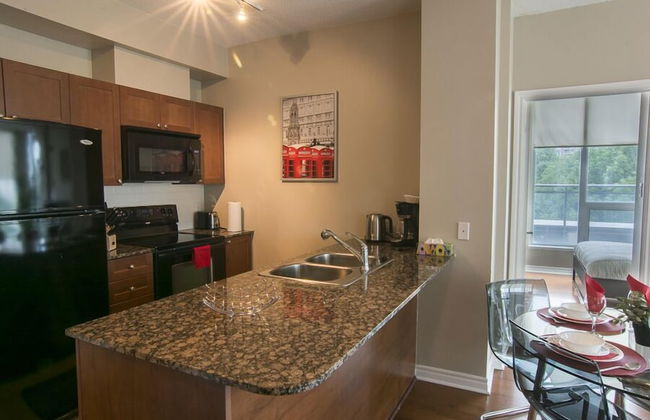
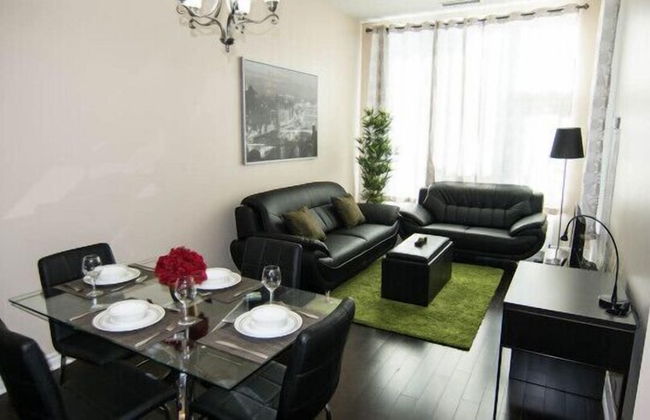
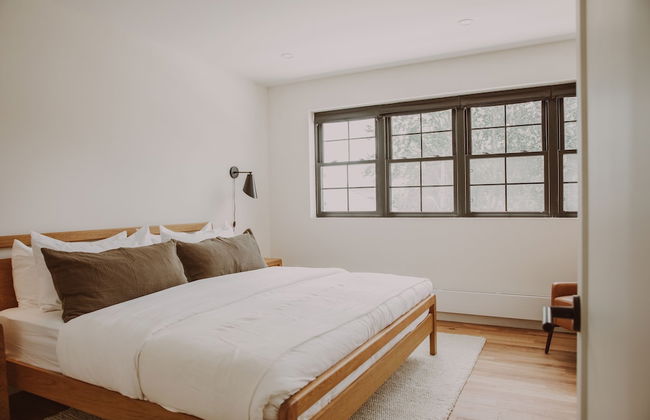
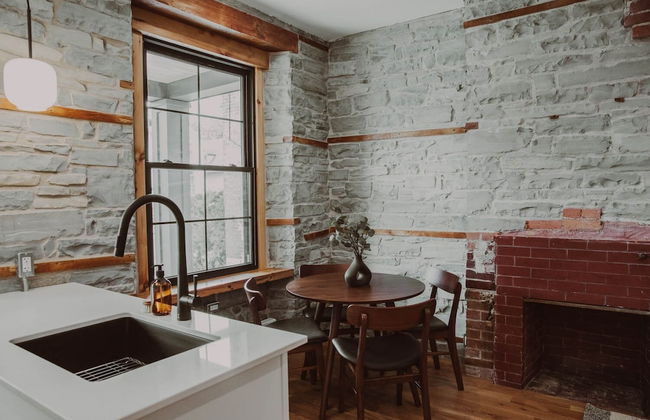
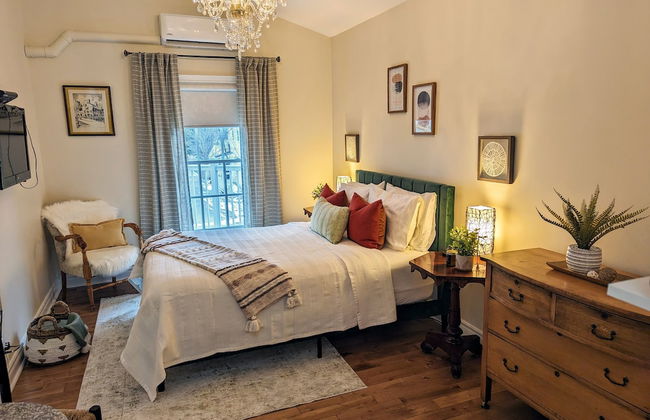
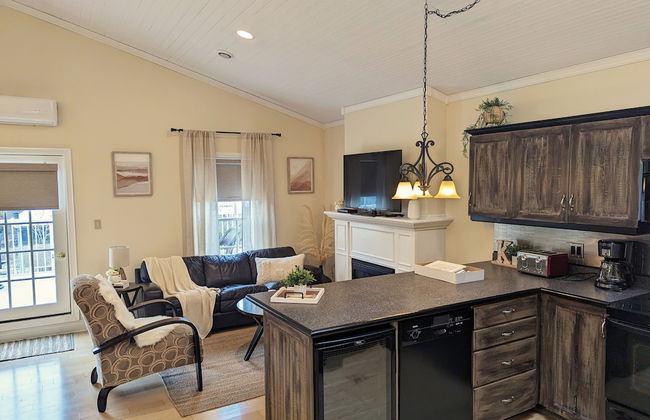
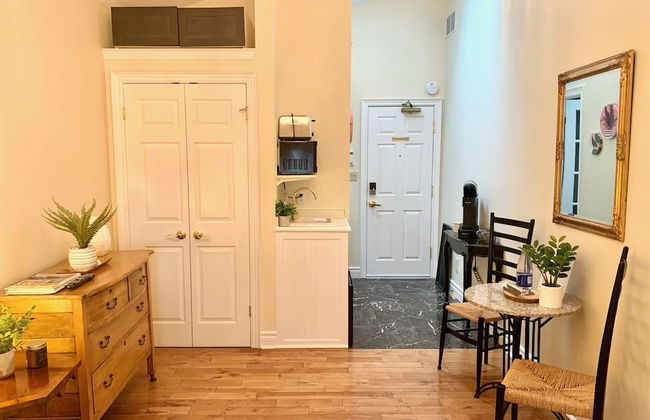
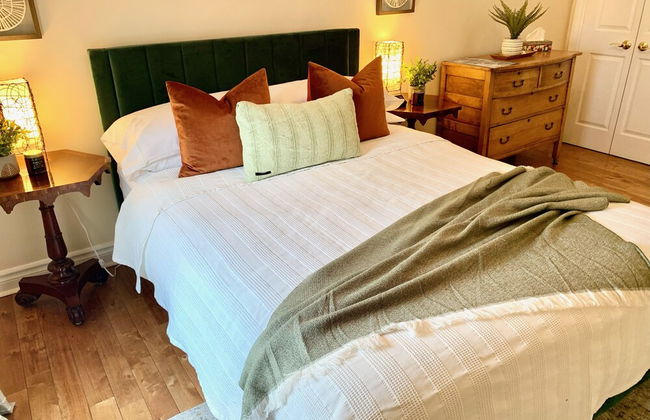
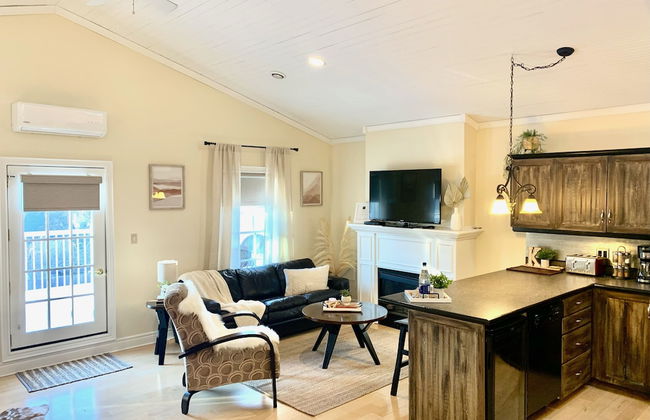
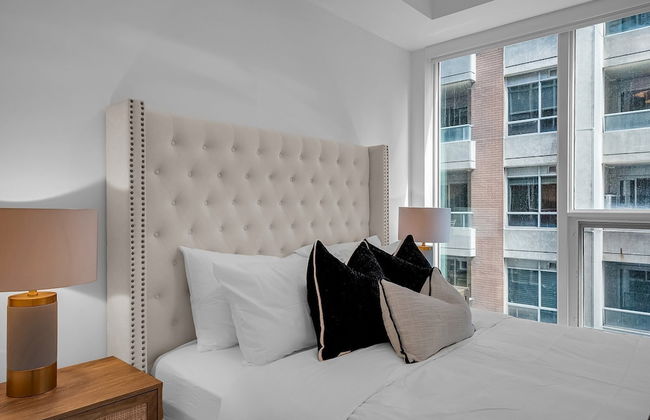
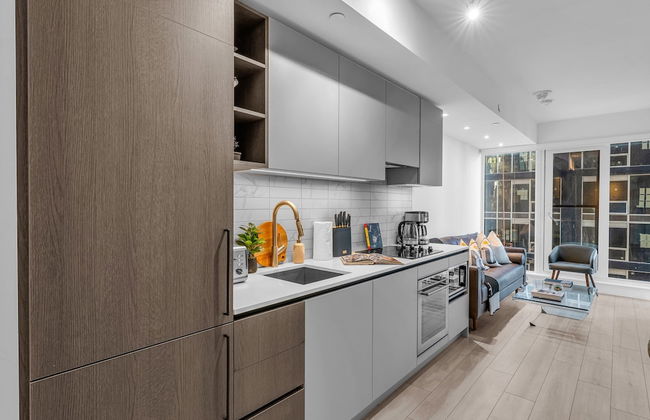
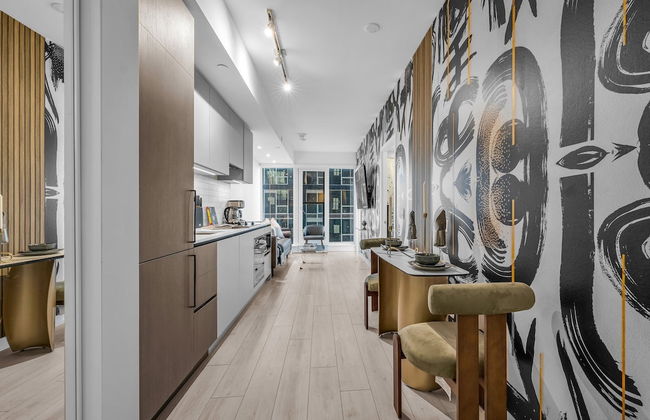
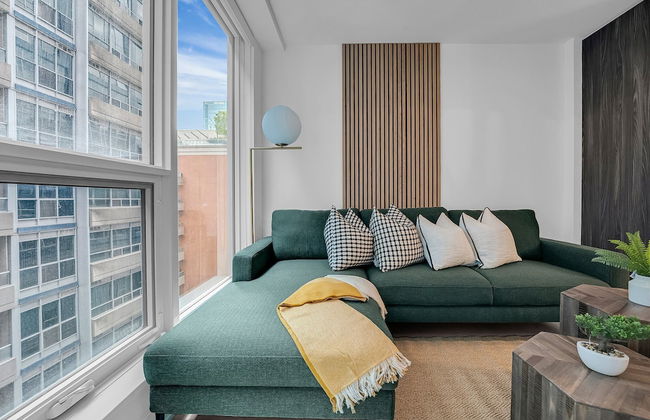
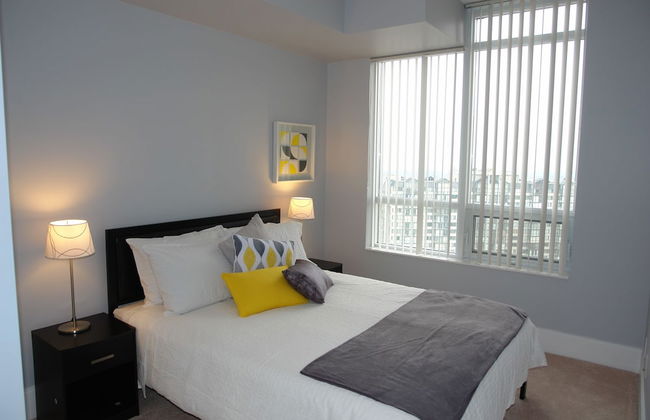
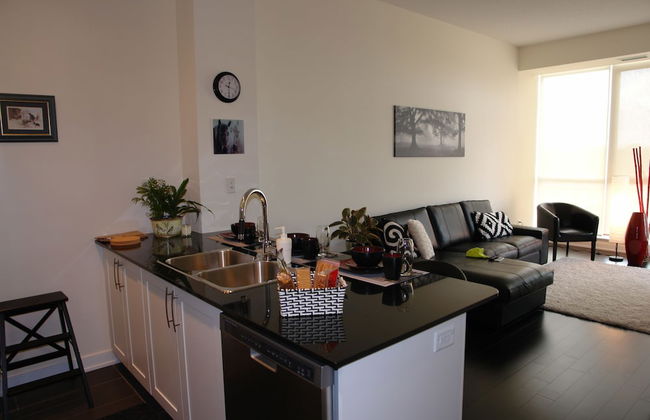
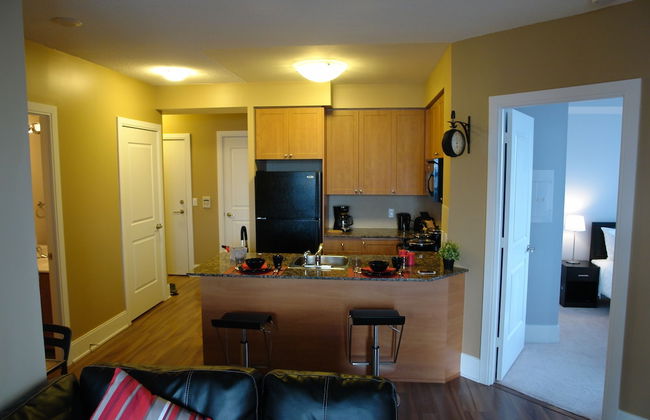
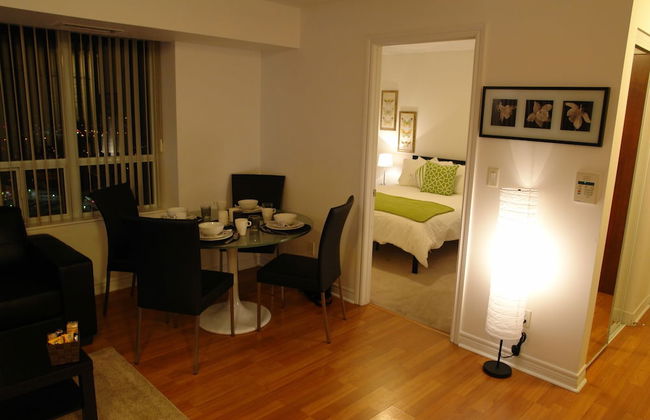
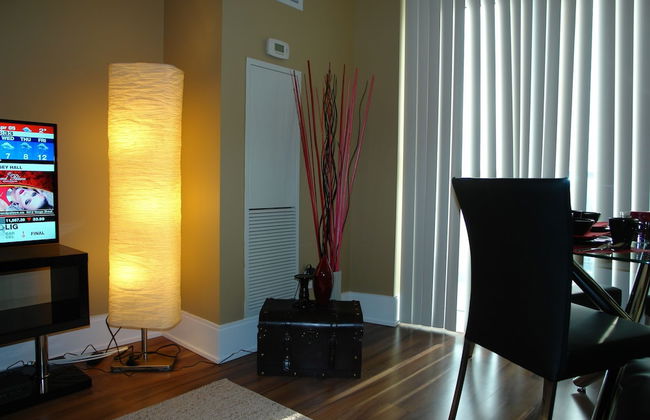
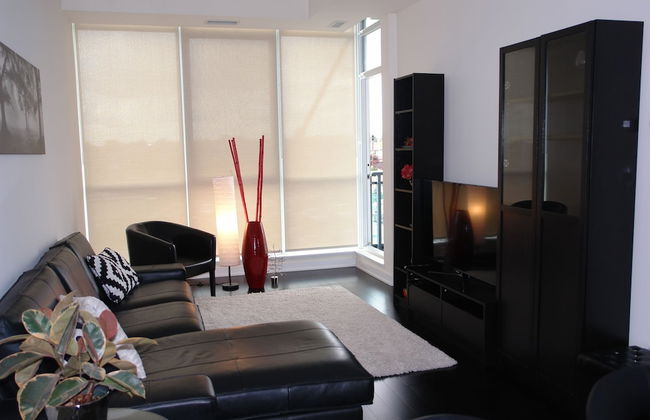
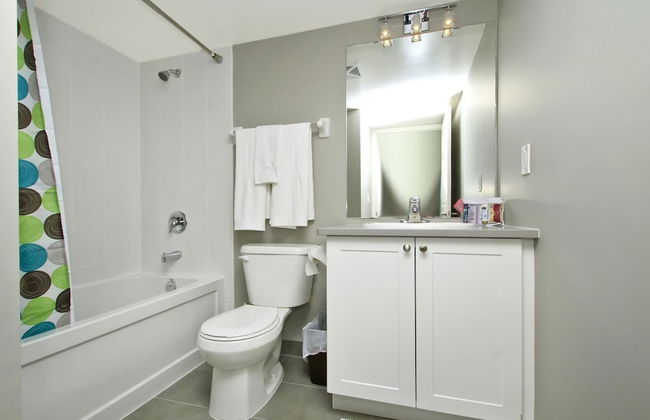
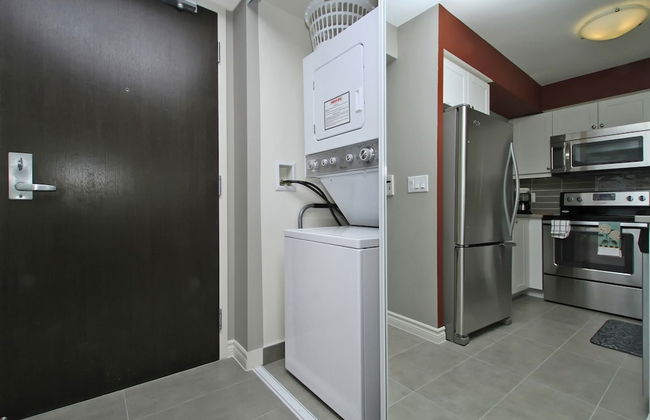
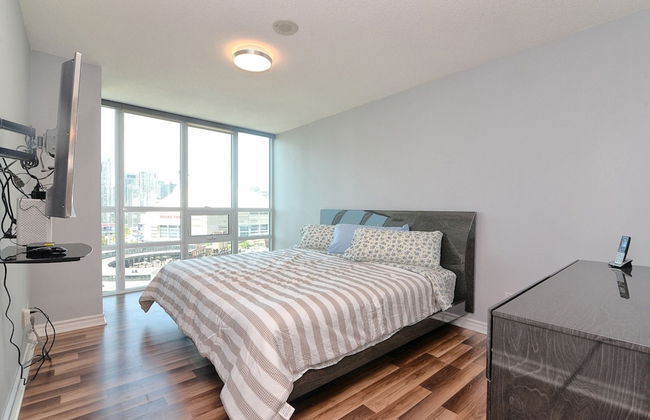
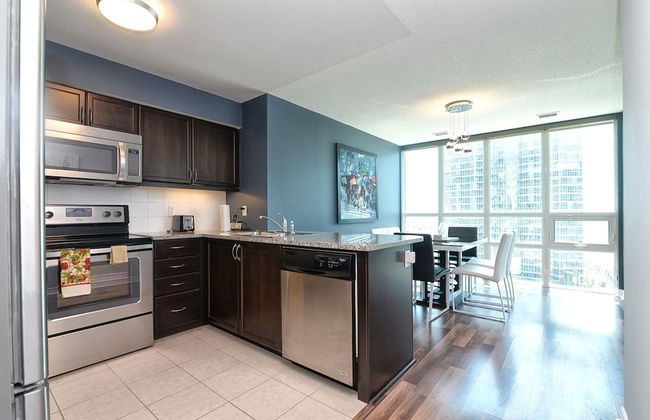
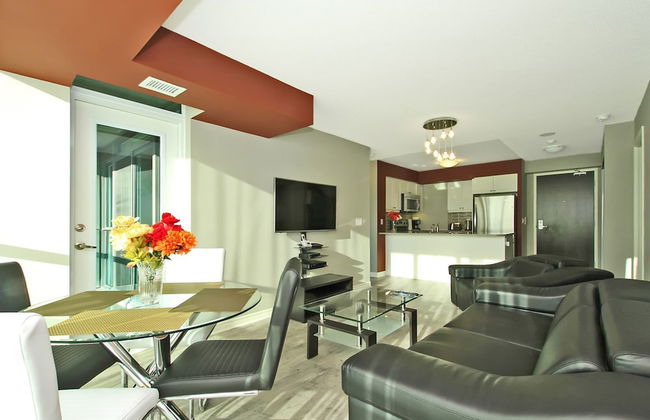
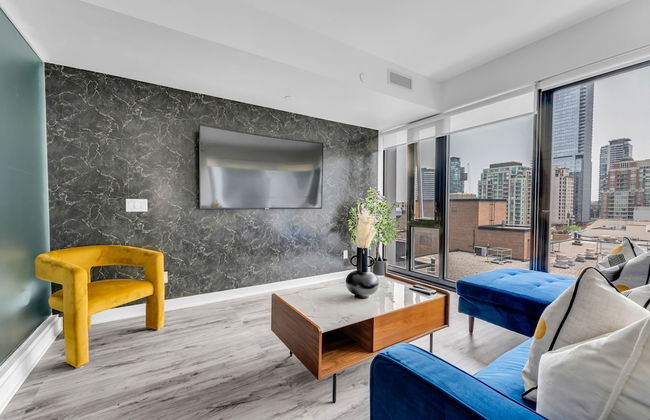
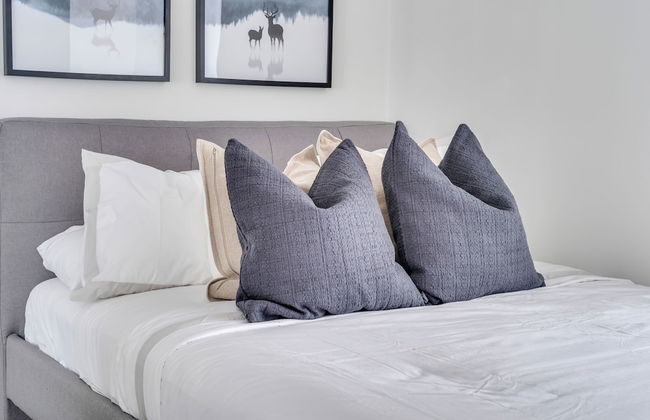
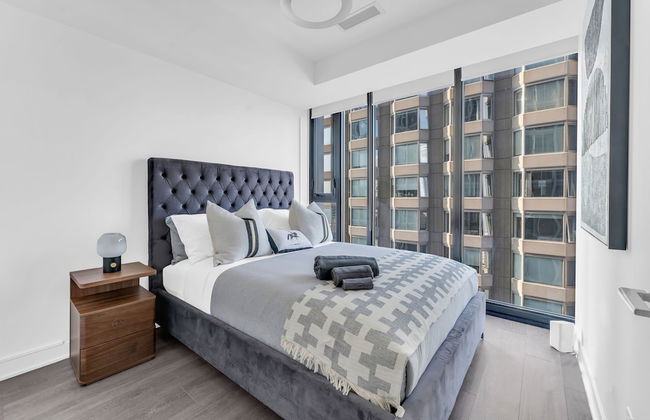
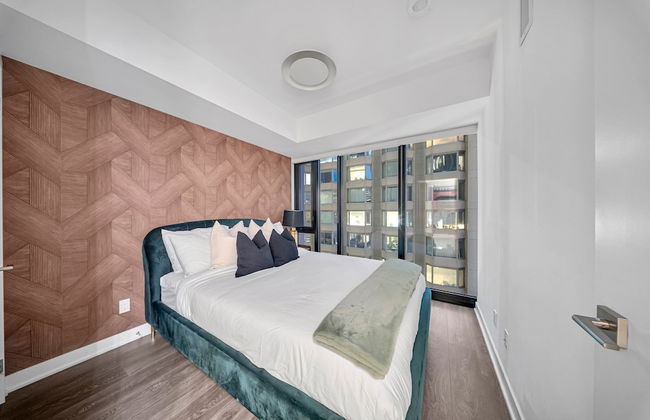
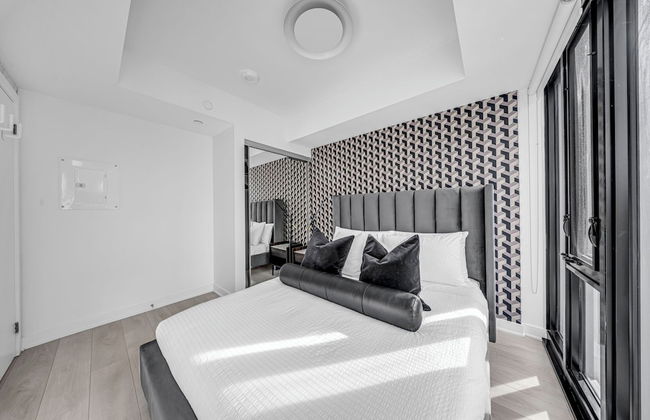
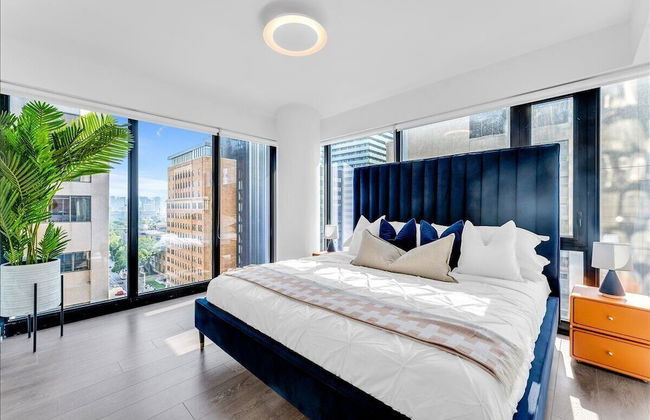
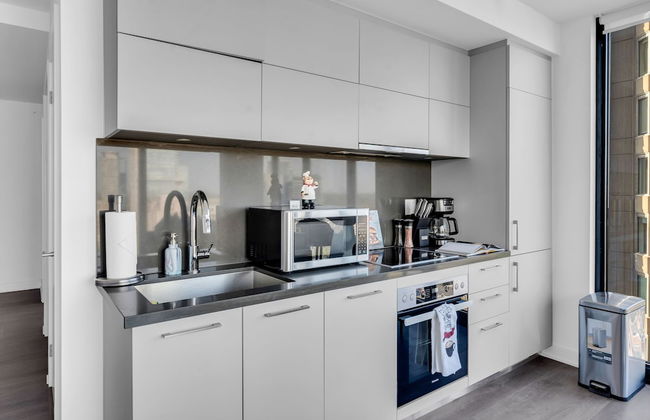
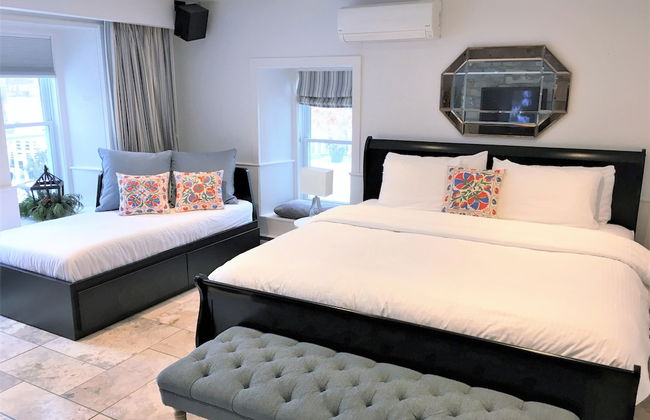
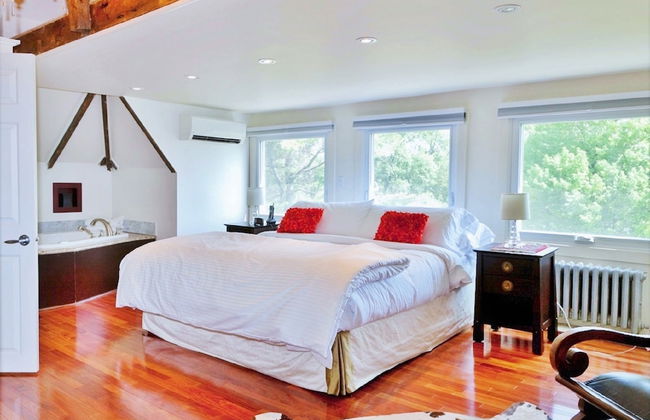
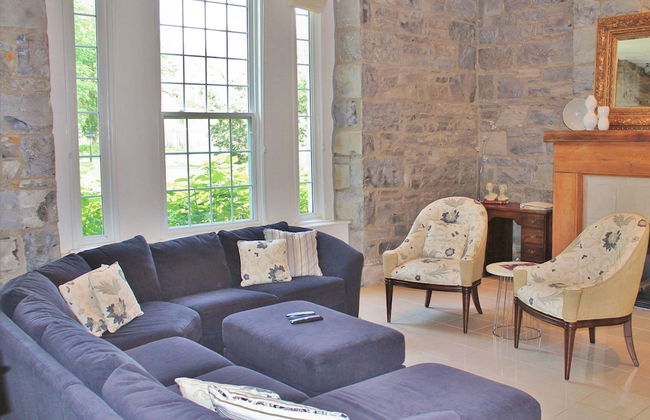
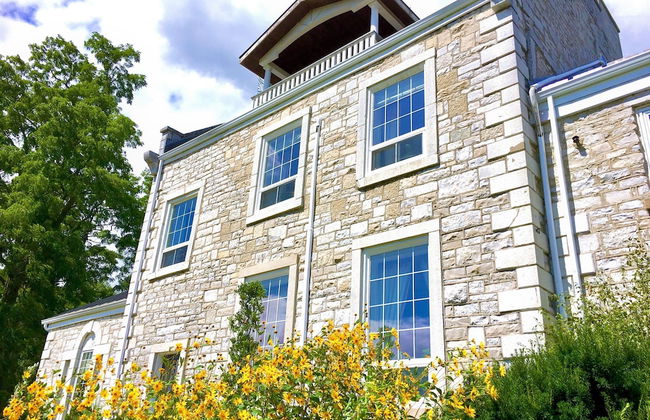
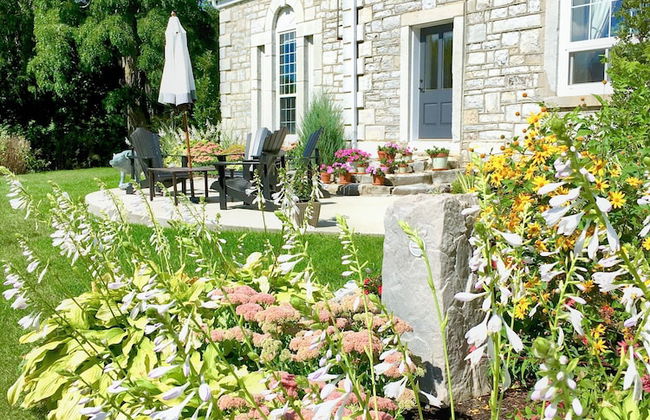
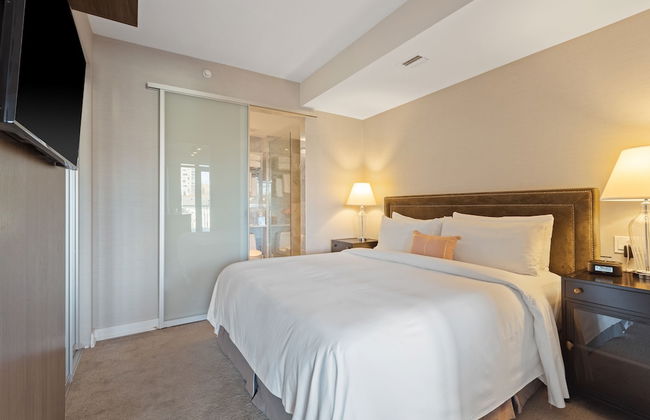
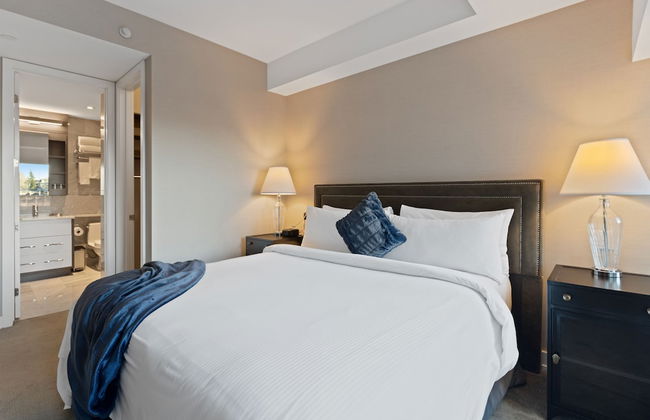
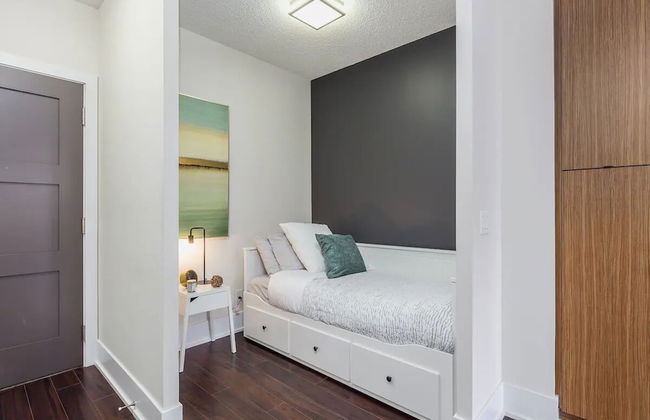
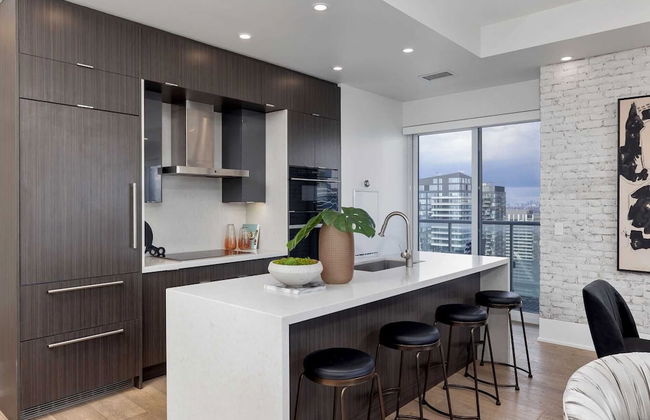
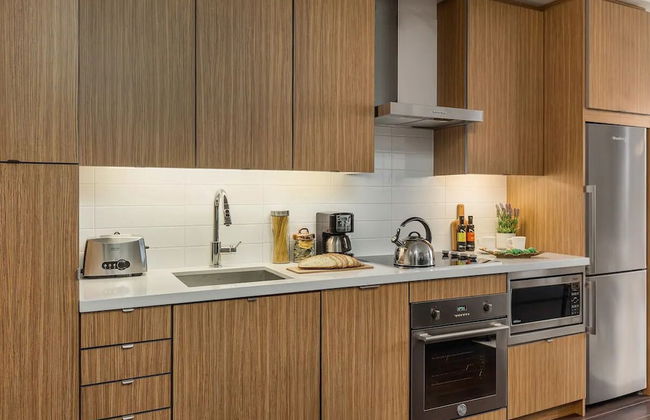
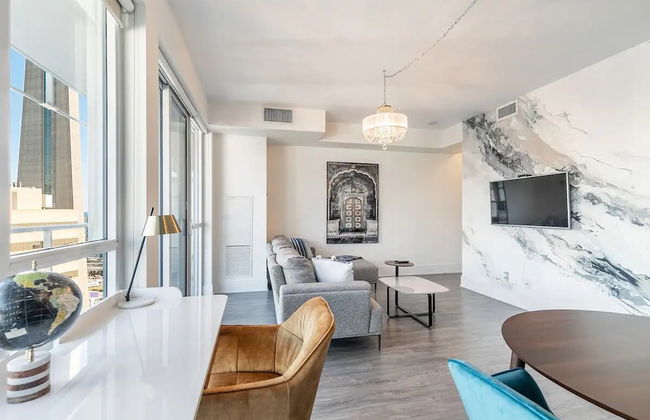
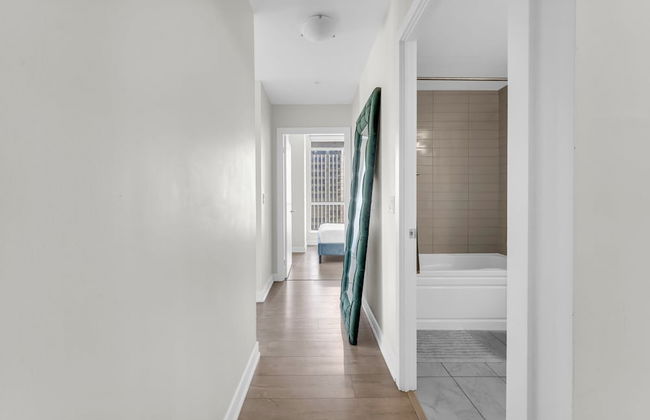
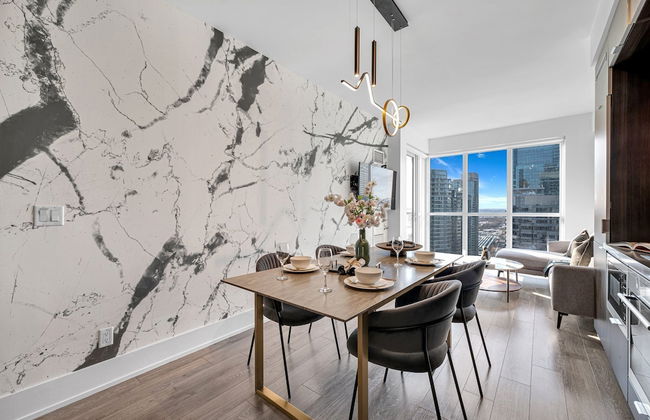
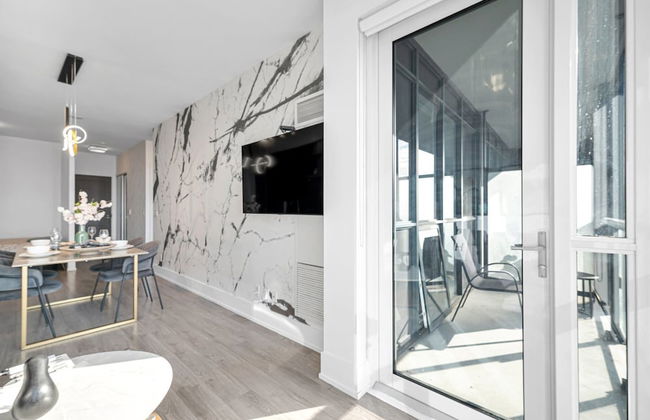
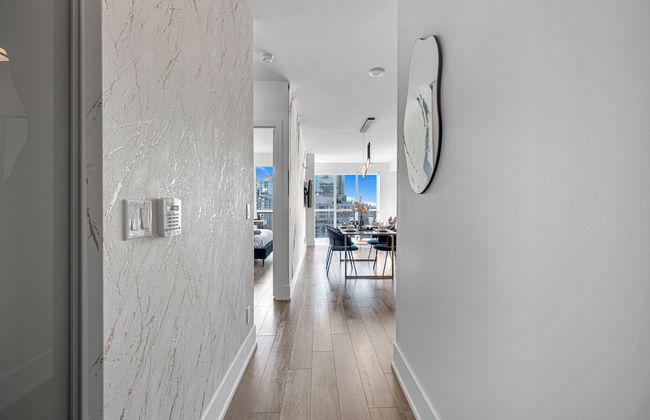
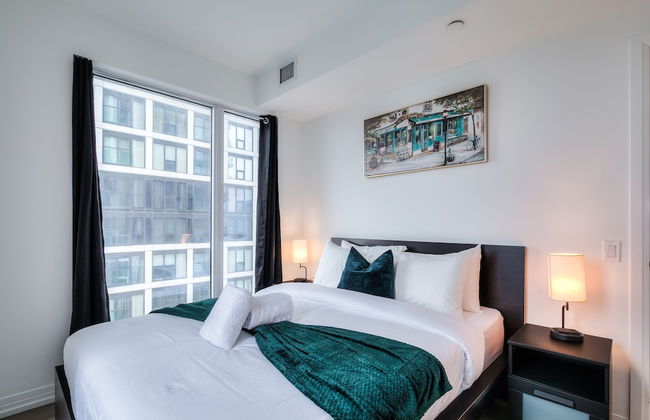
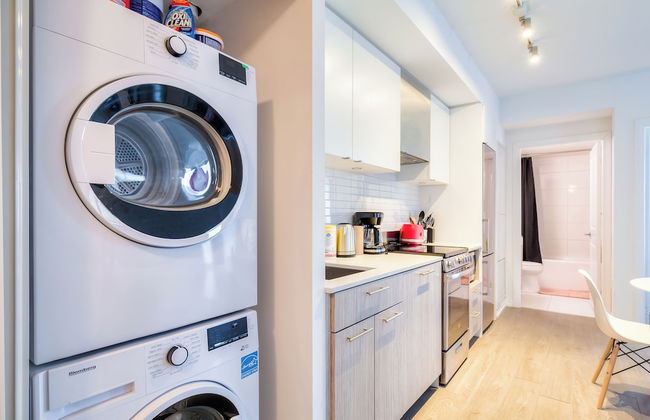
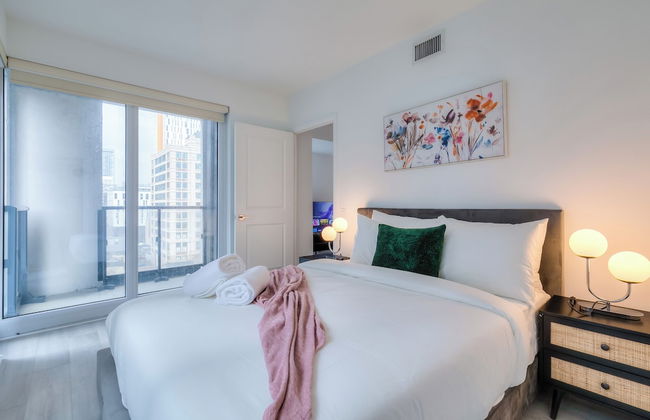
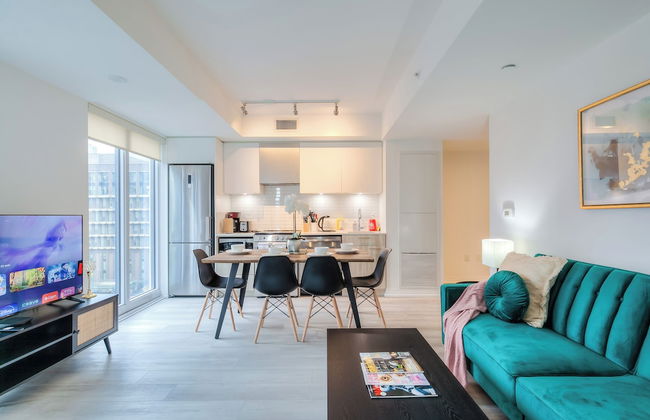
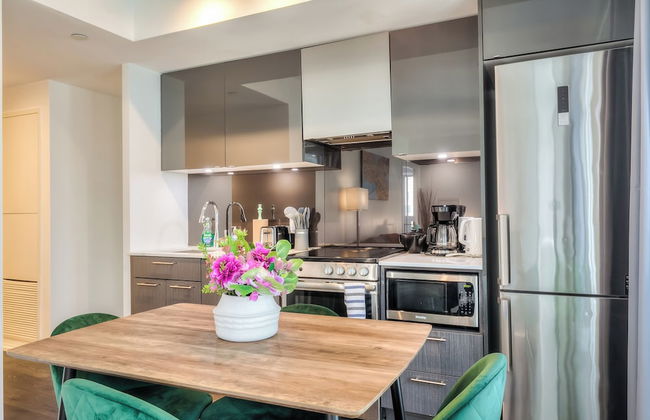
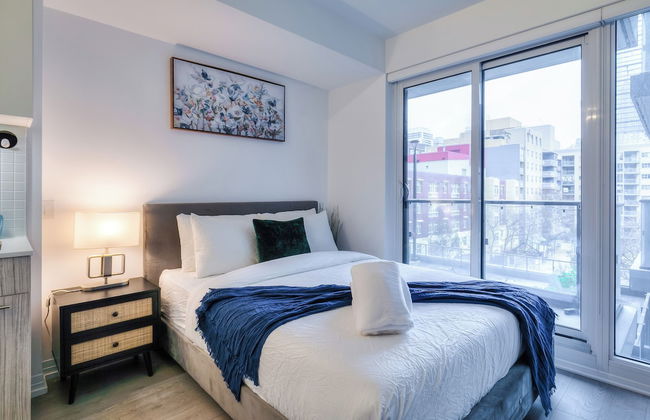
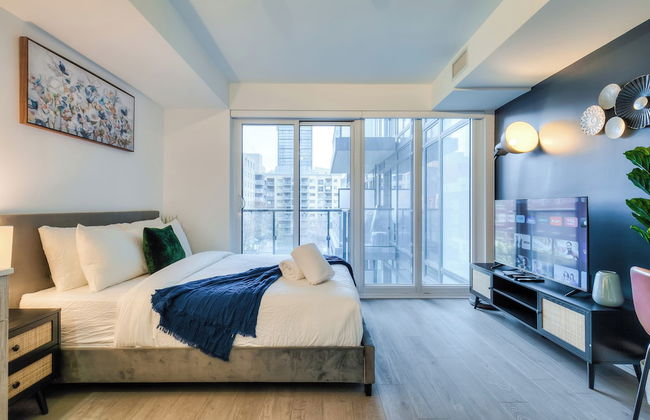
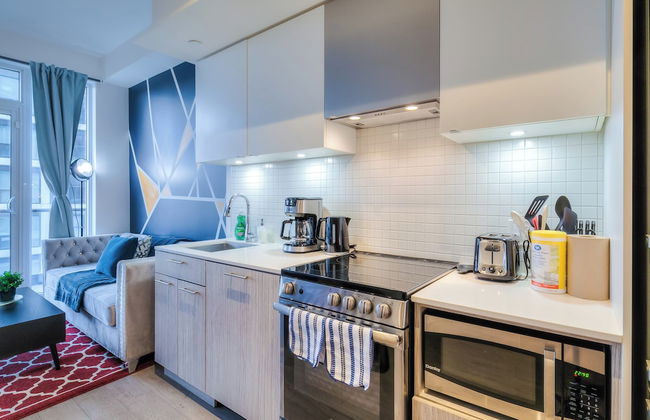
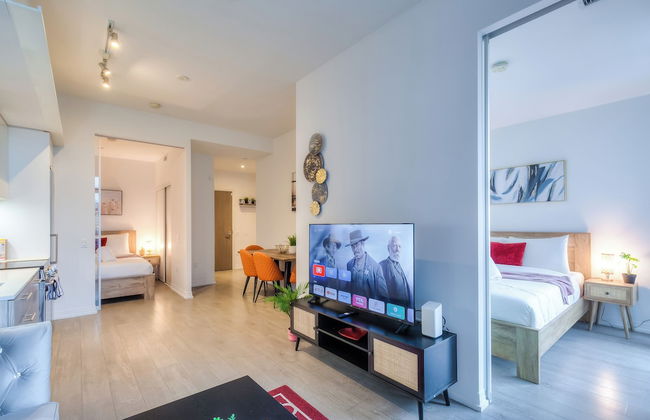
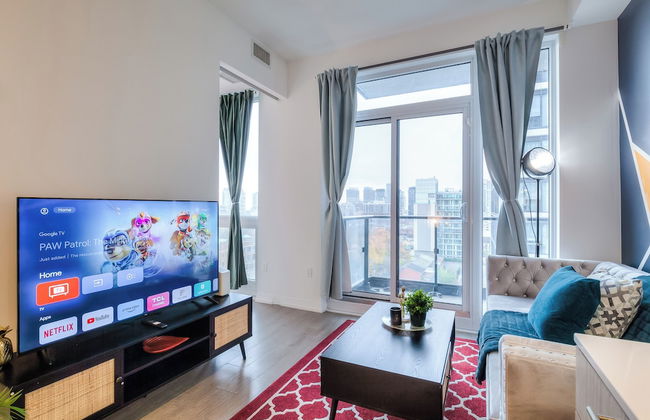
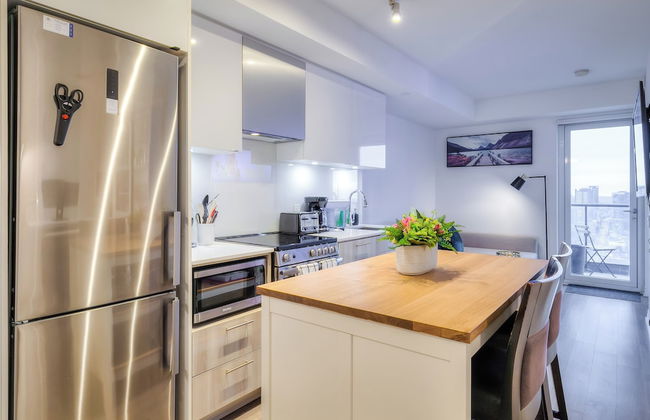
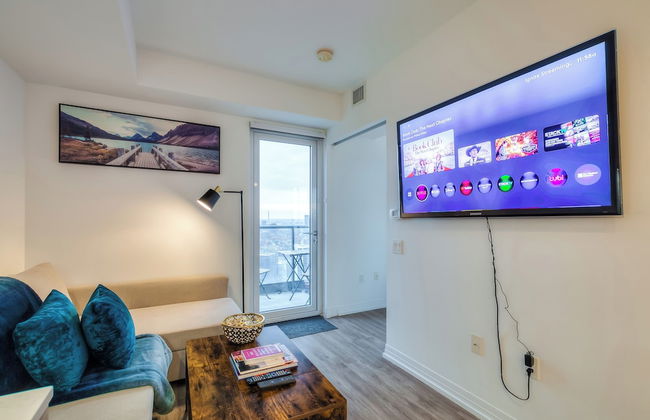
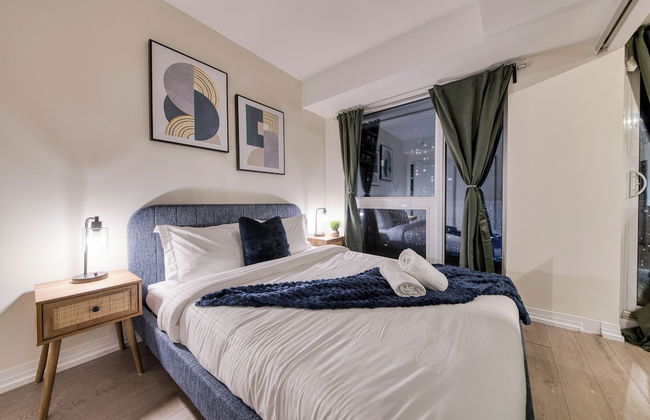
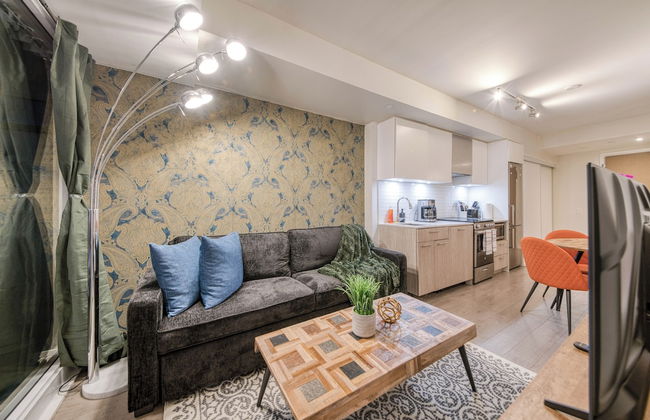
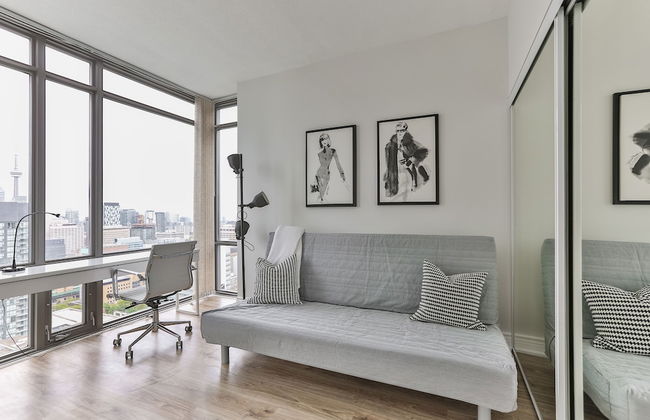
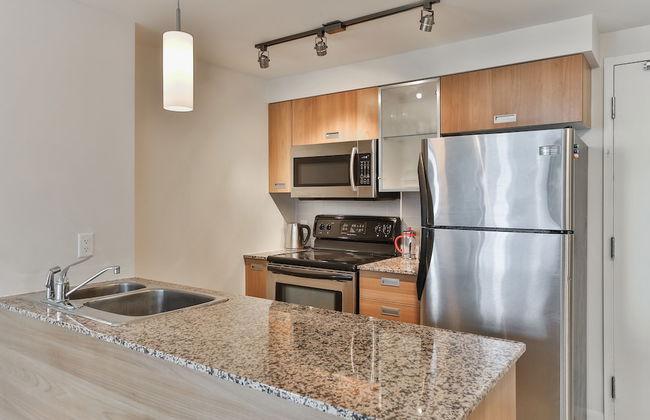
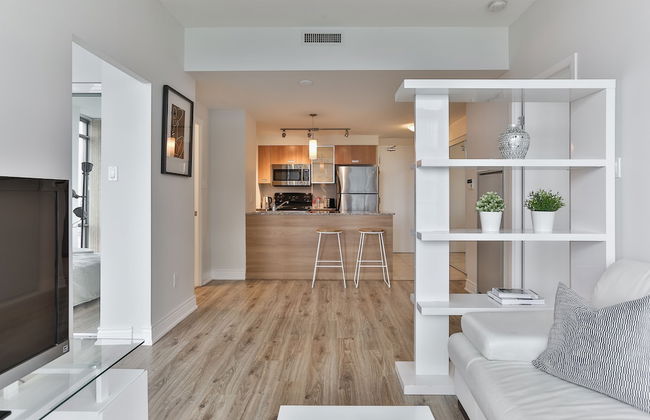
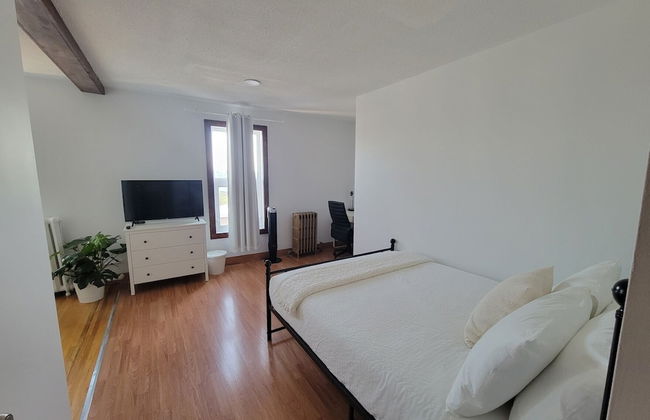
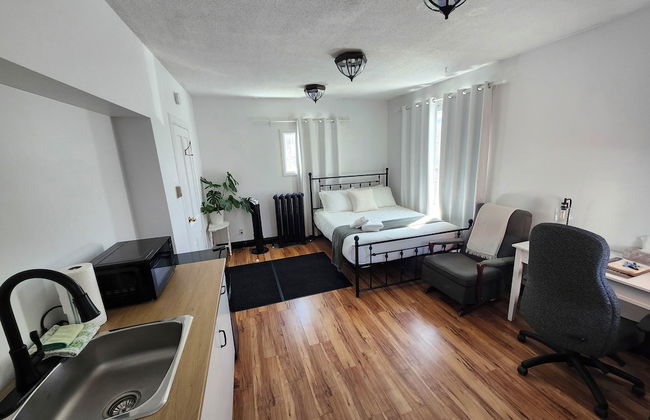
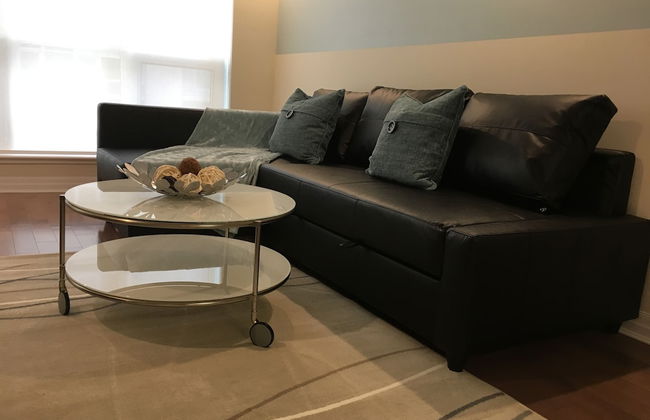
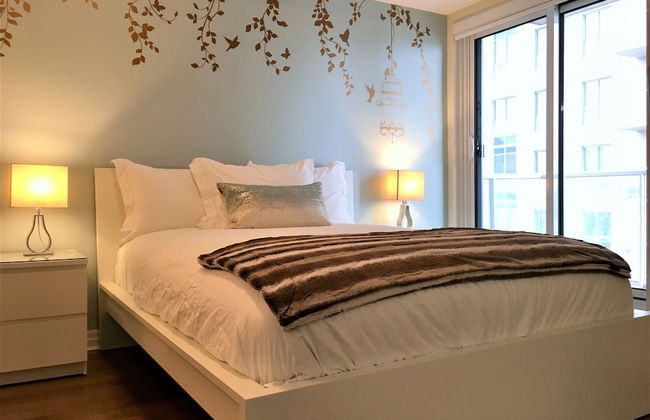
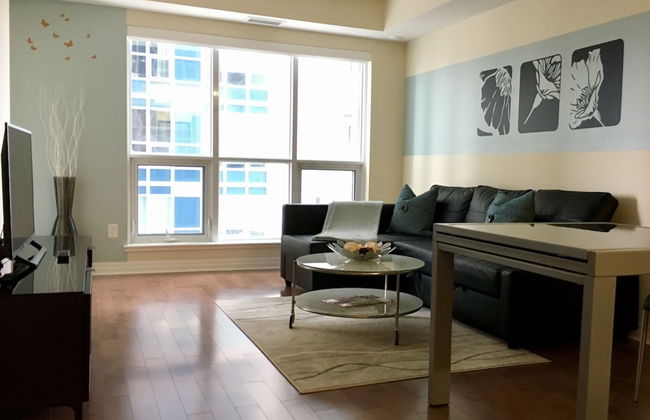
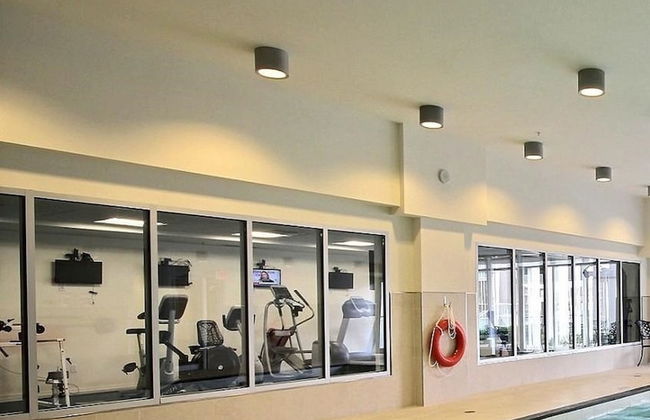
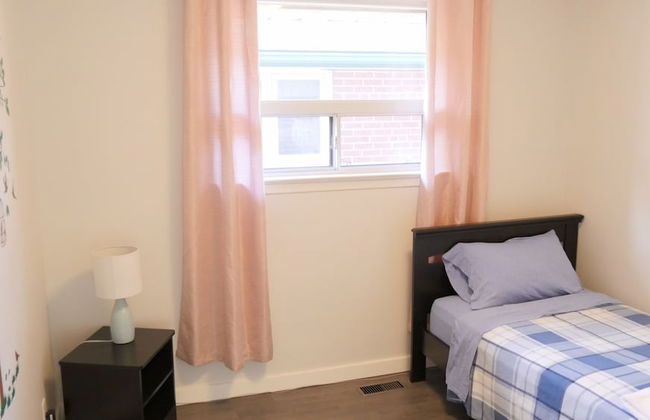
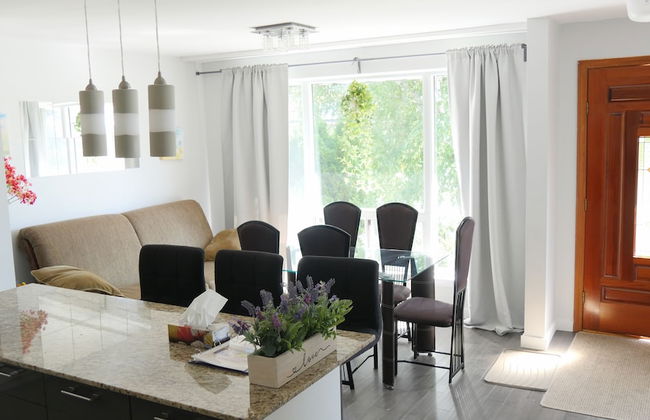
Margarita Vacation Getaway - Photo 2
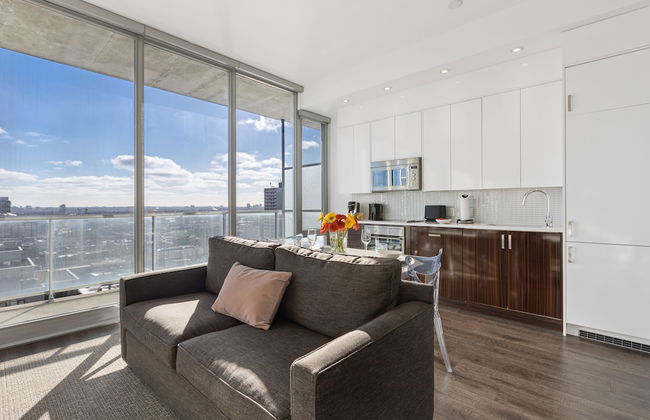
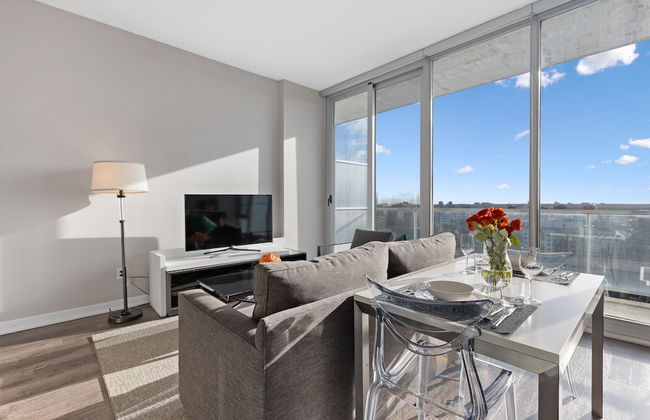
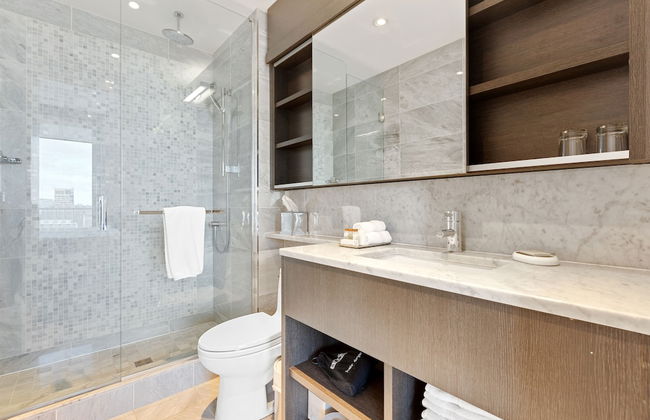
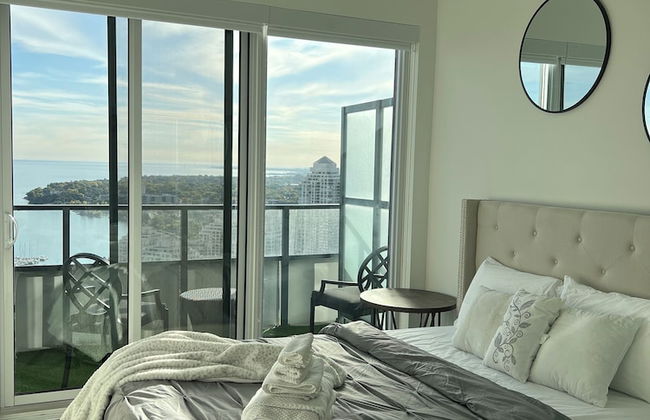
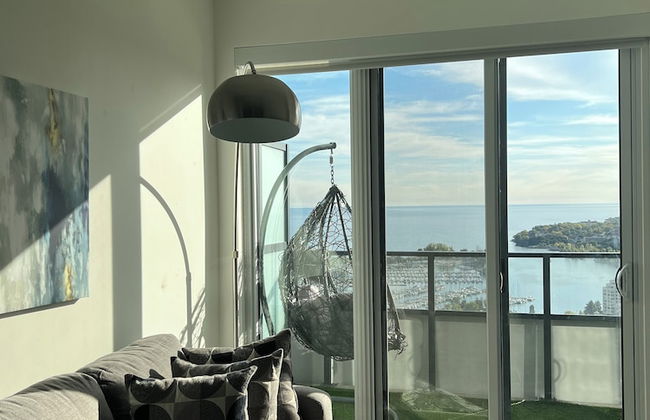
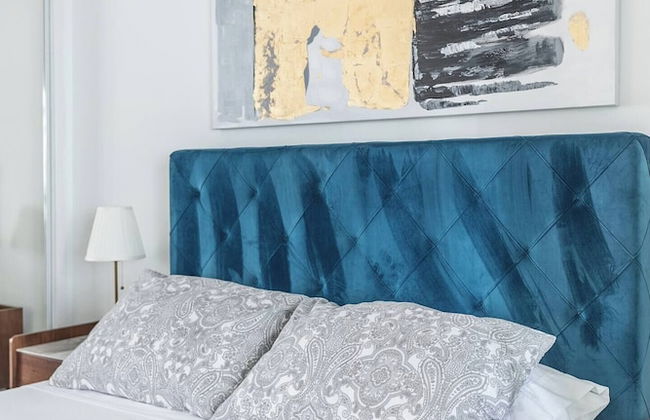
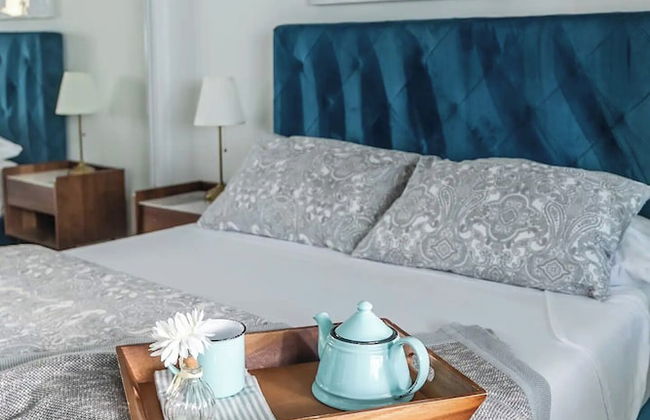
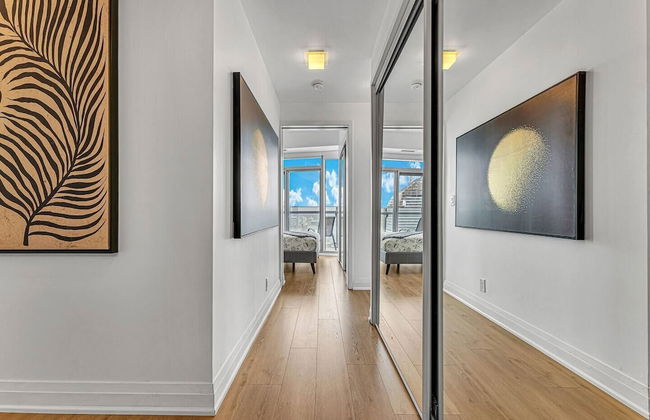
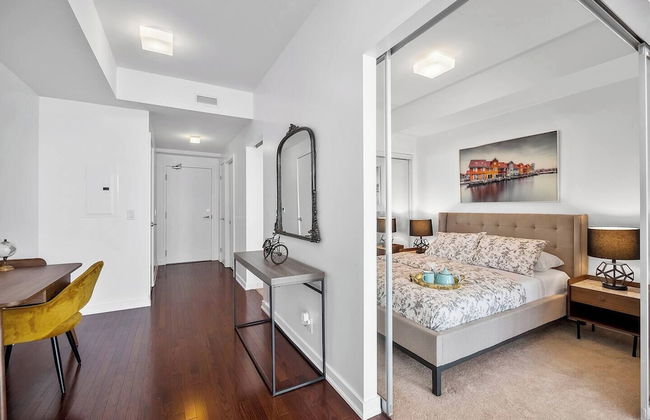
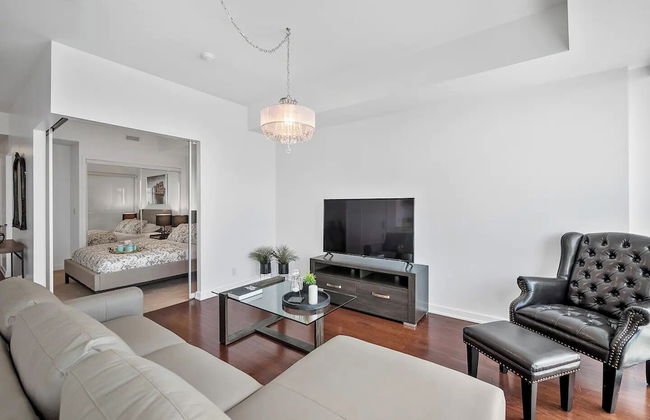
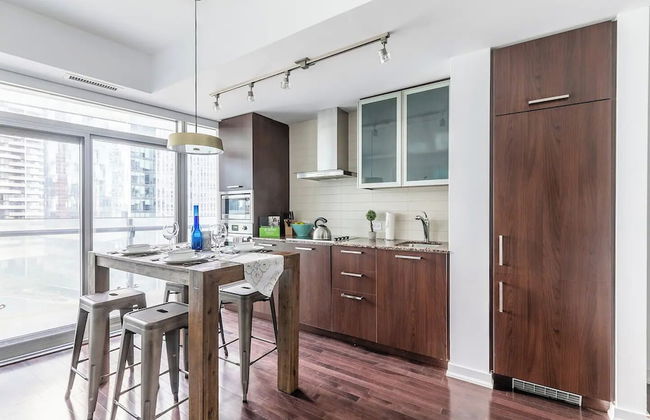
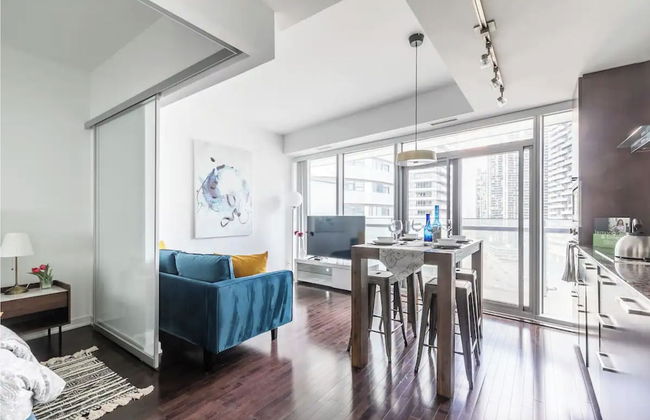
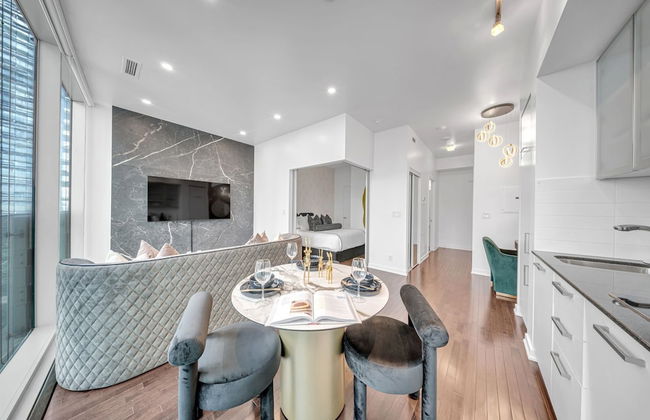
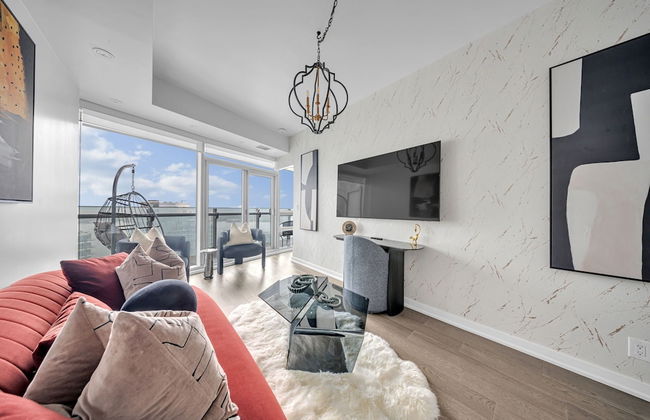
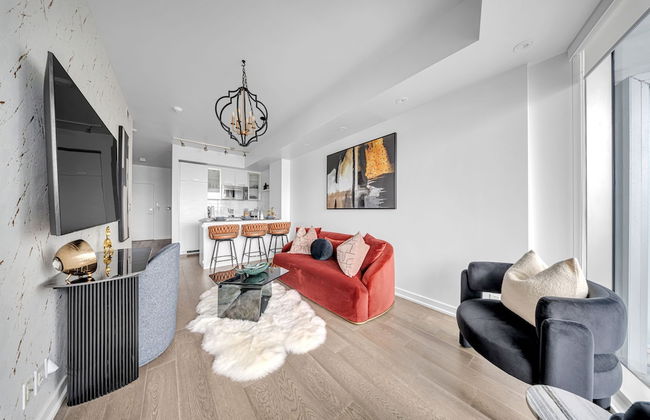
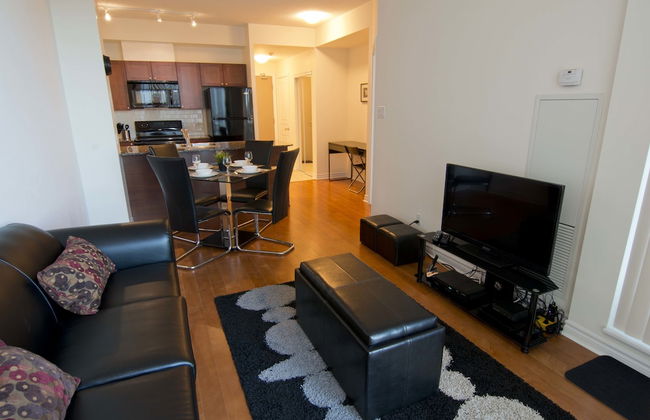
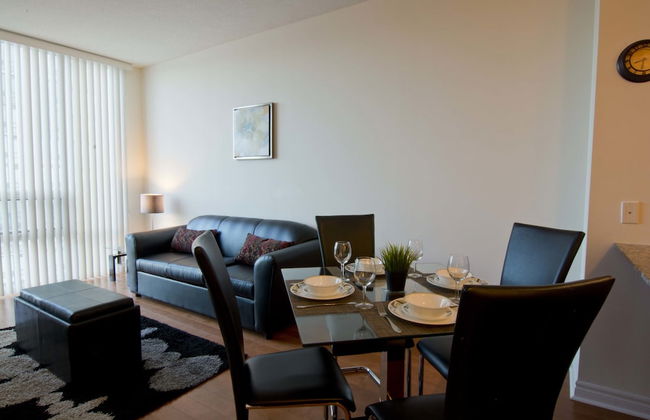
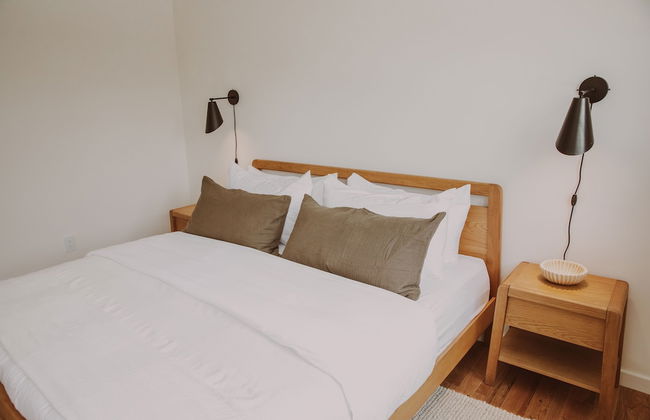
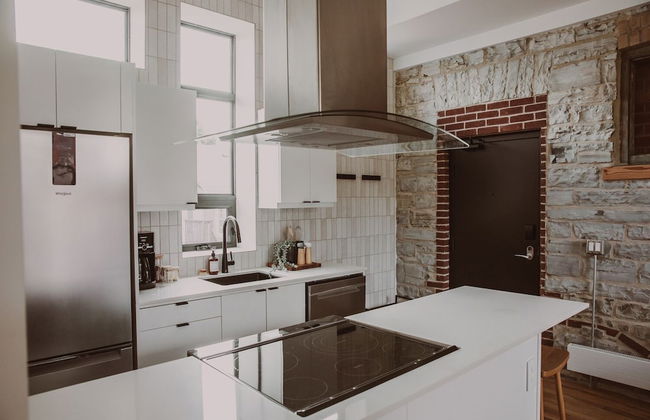
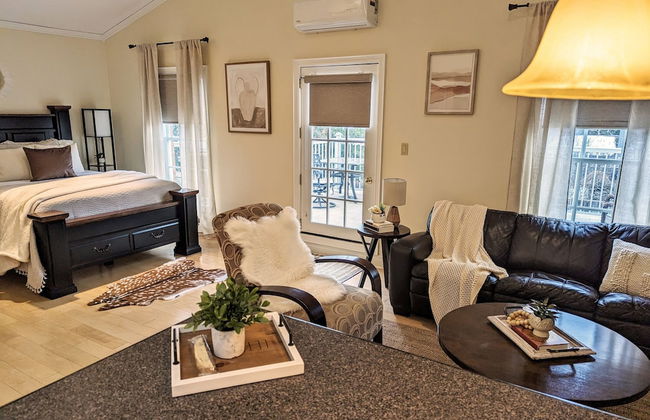
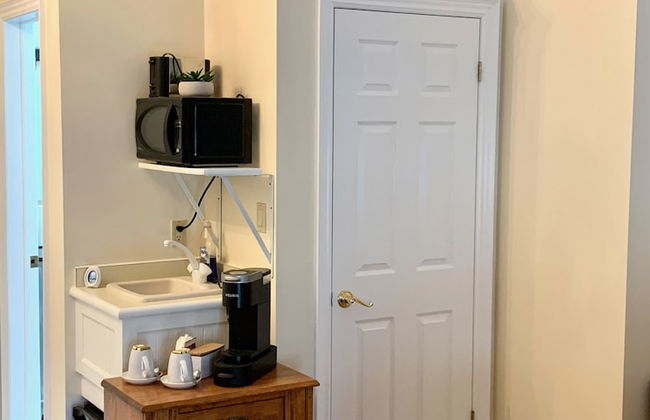
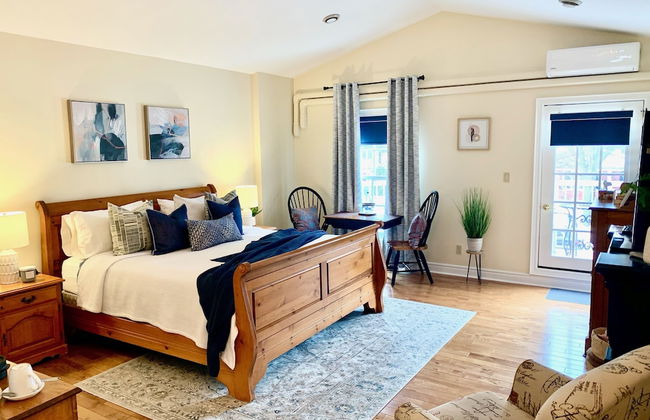
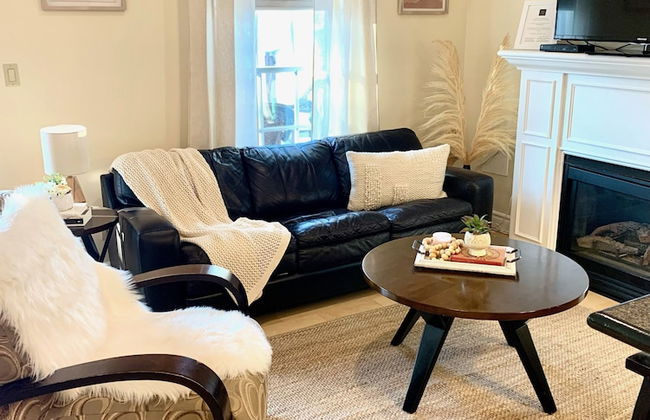
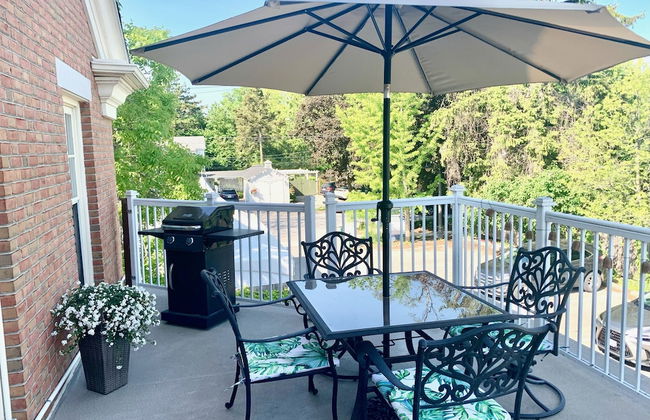
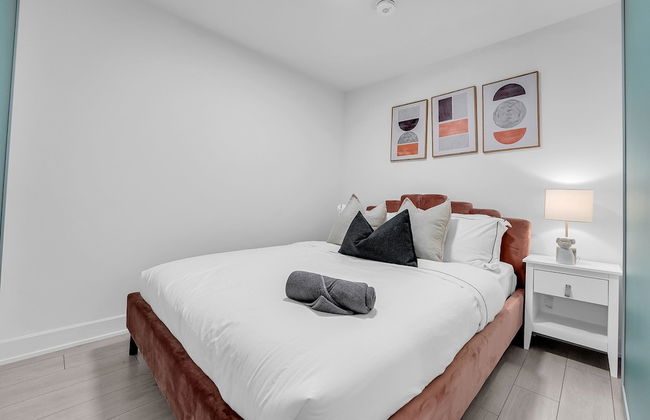
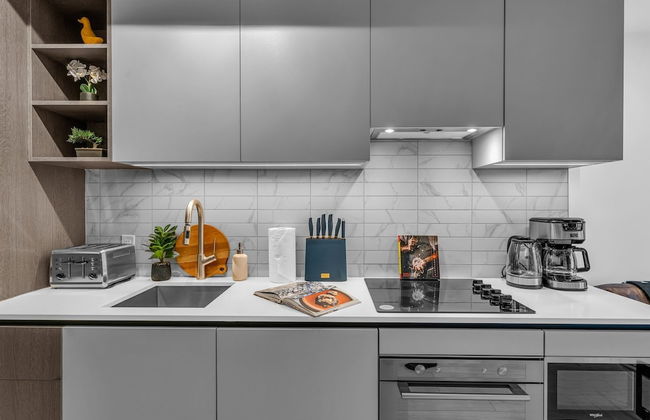
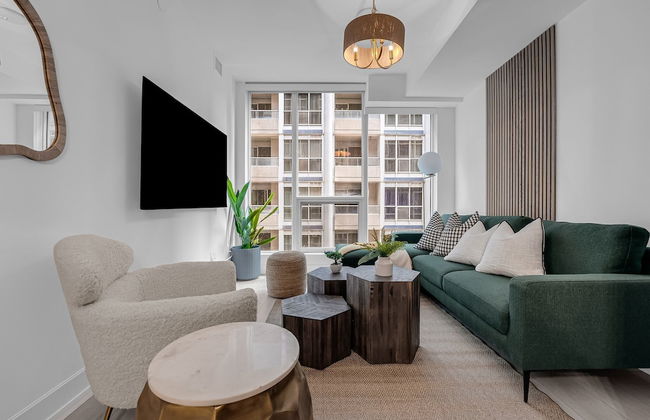
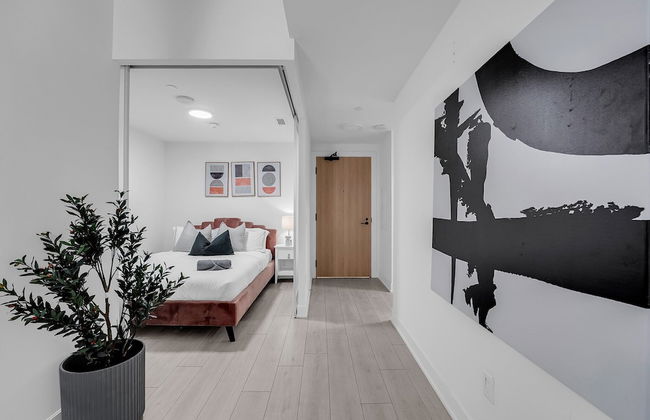
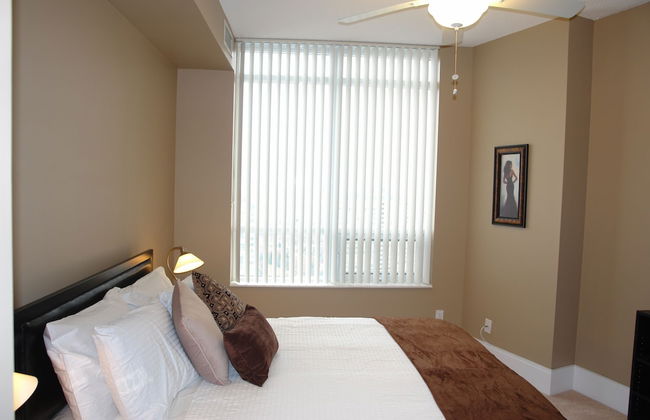
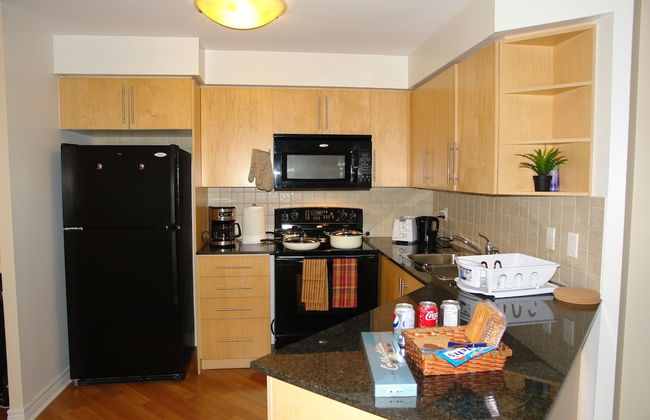
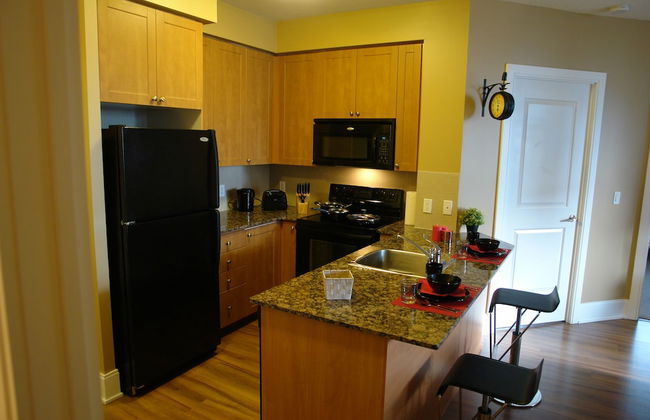
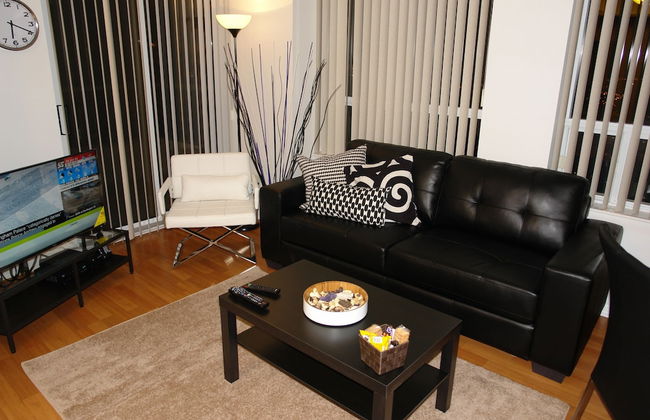
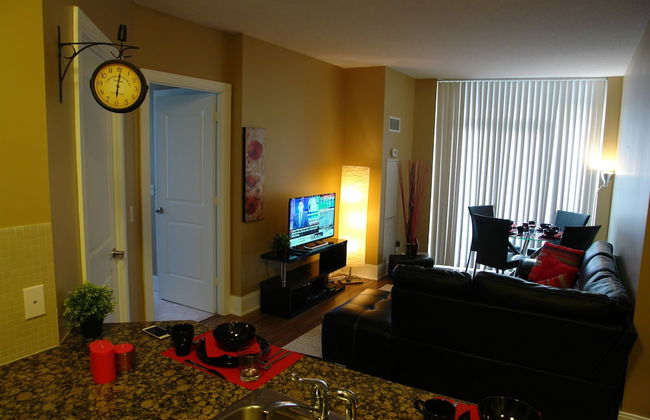
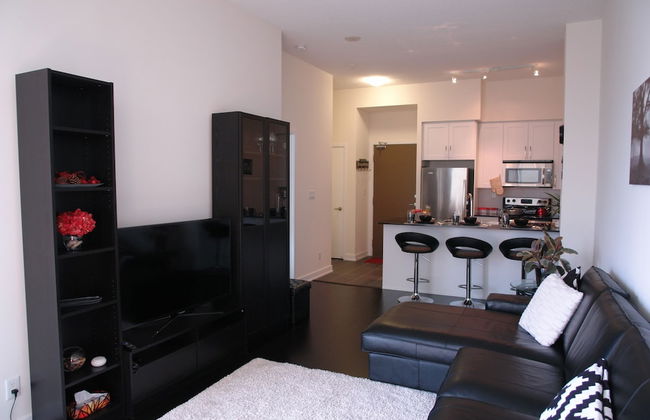
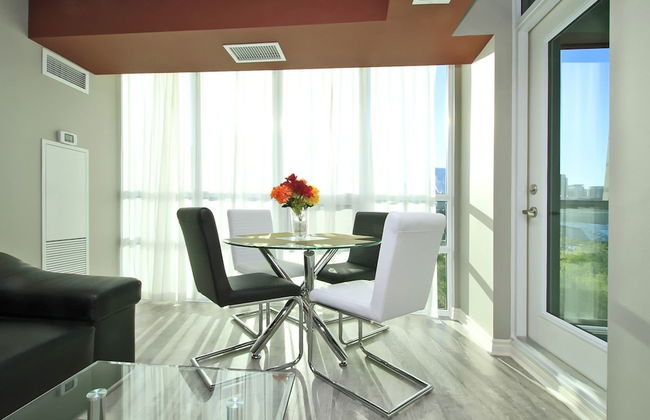
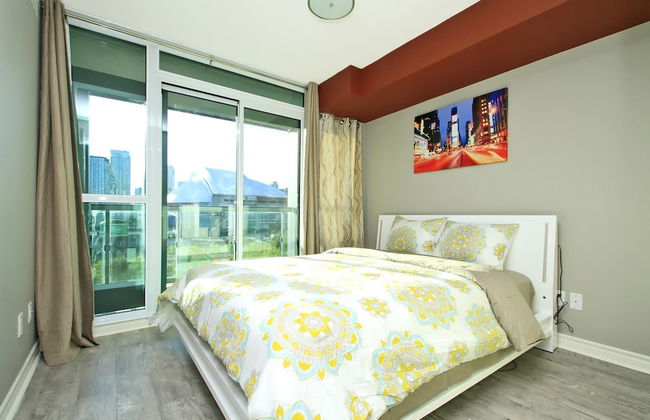
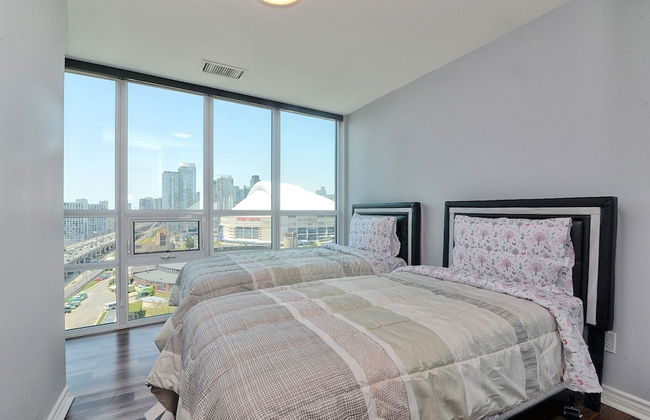
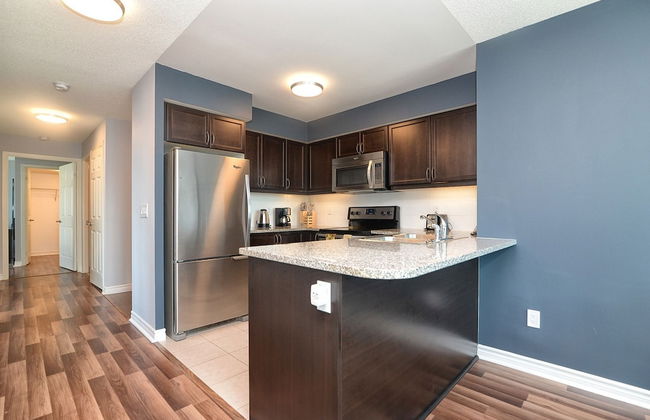
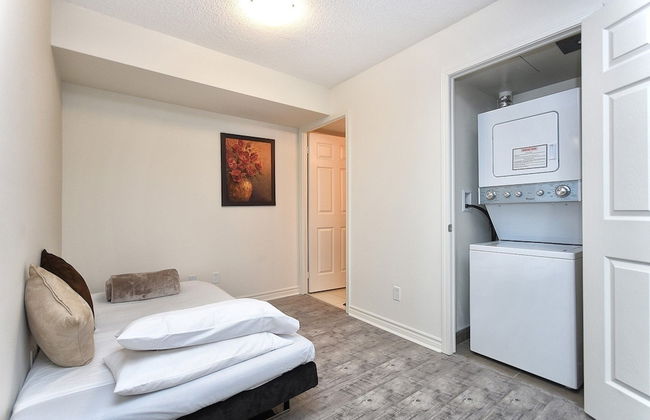
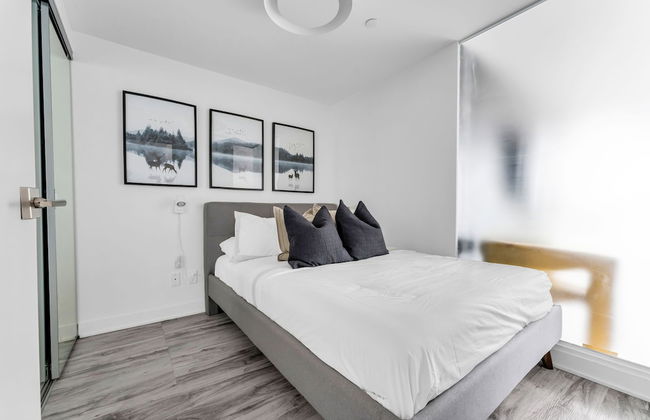
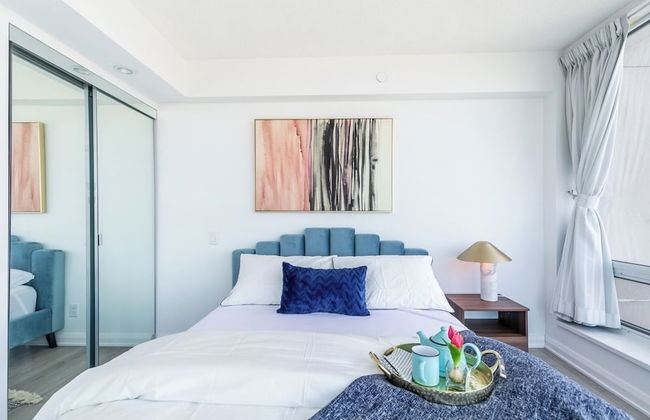
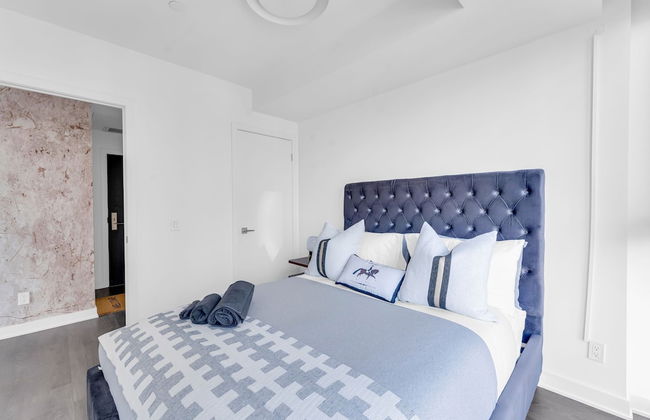
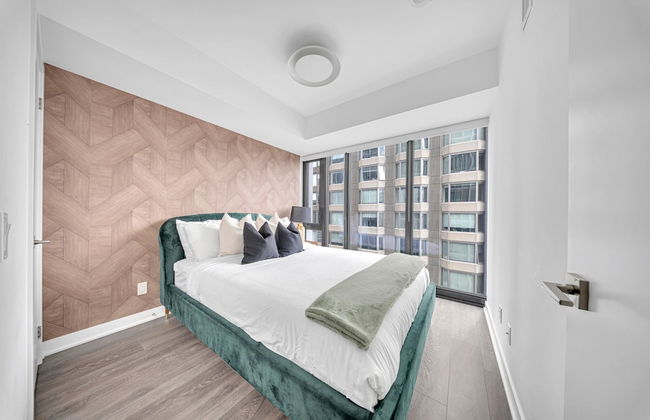
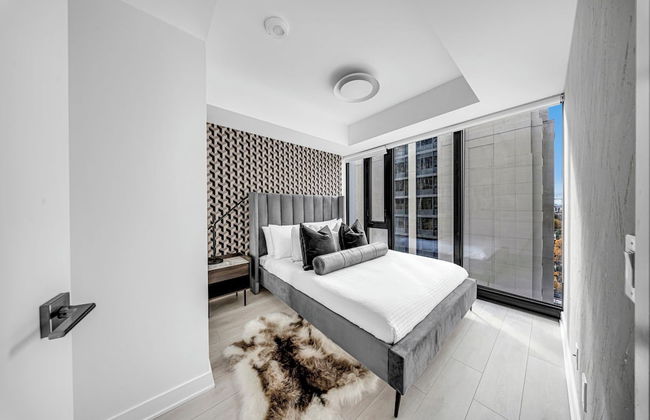
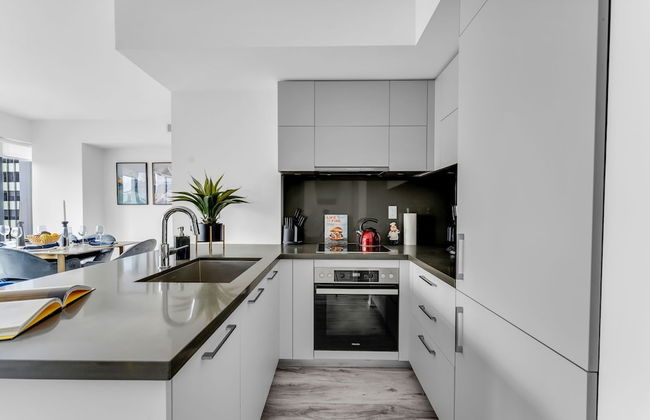
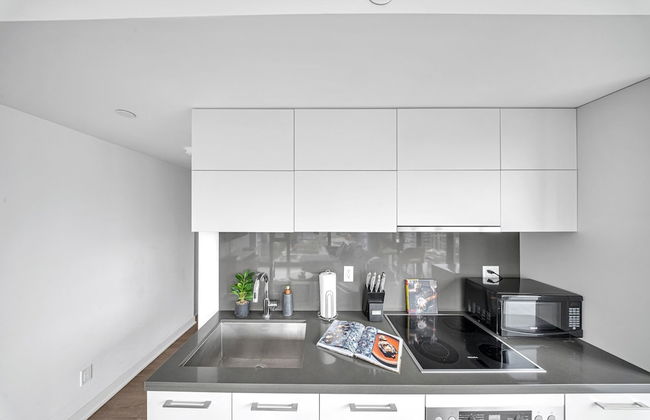
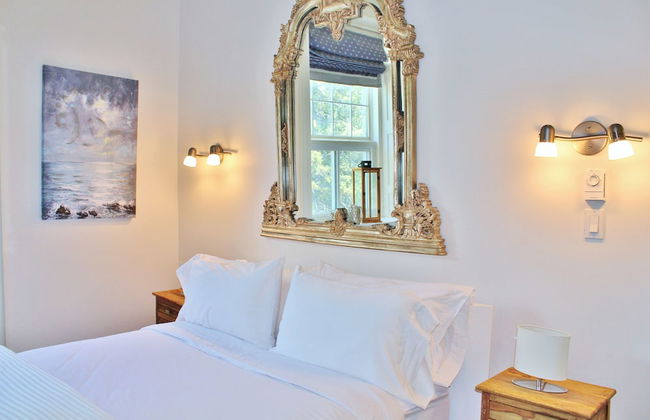
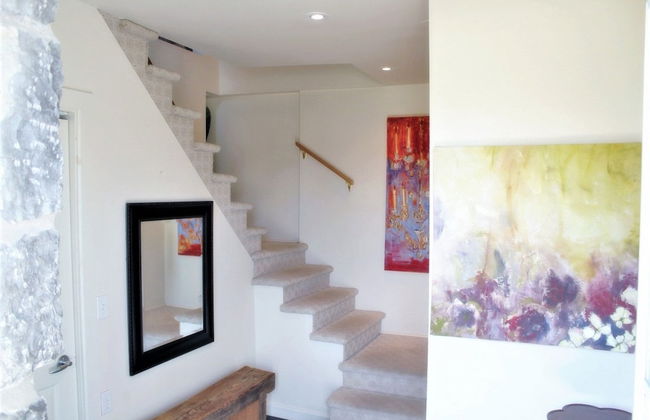
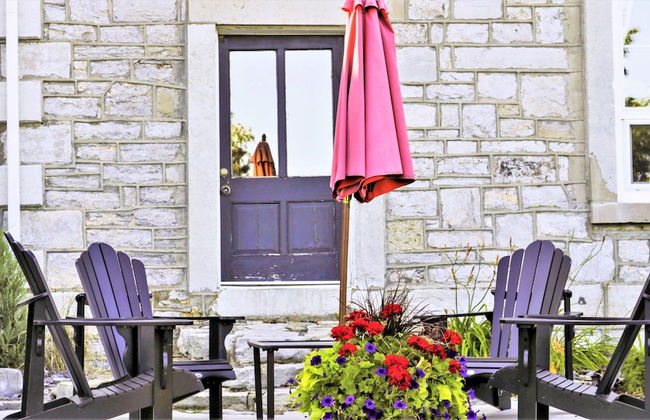
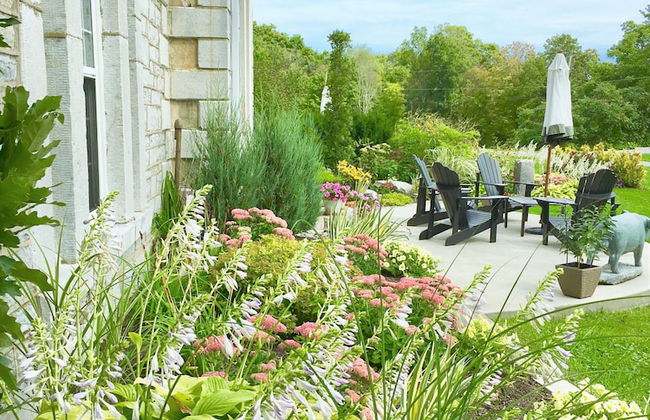
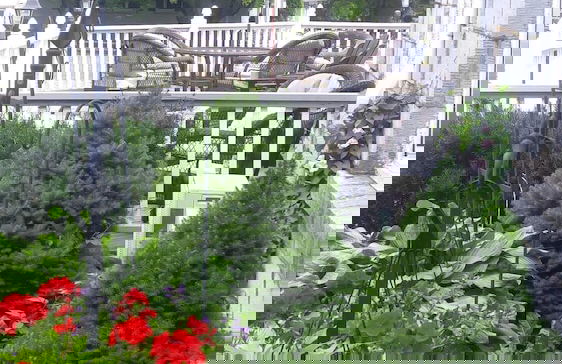
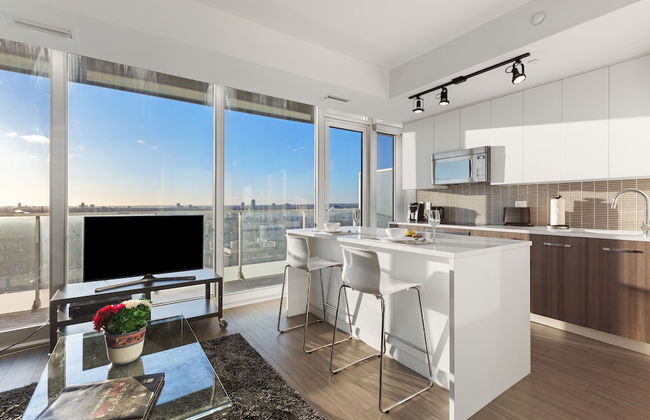
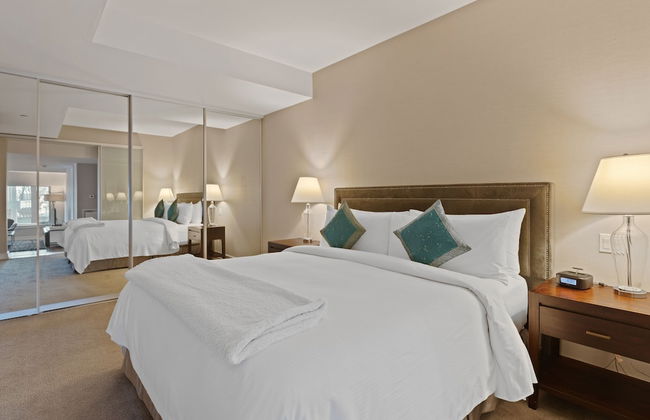
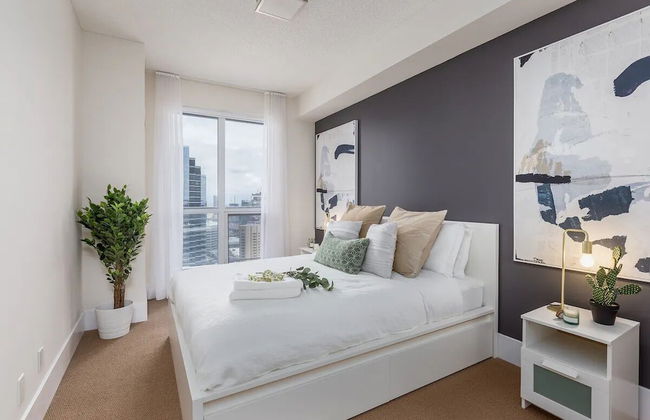
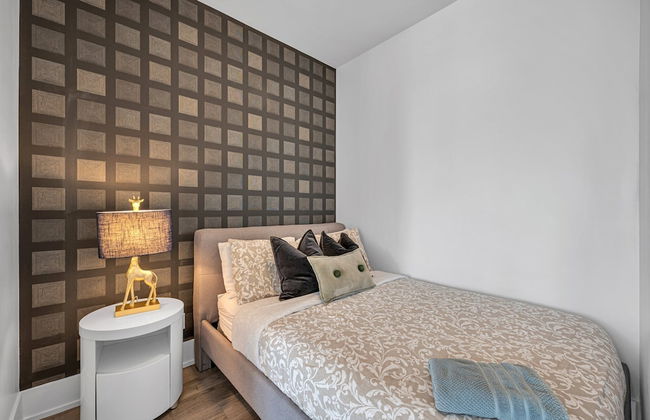
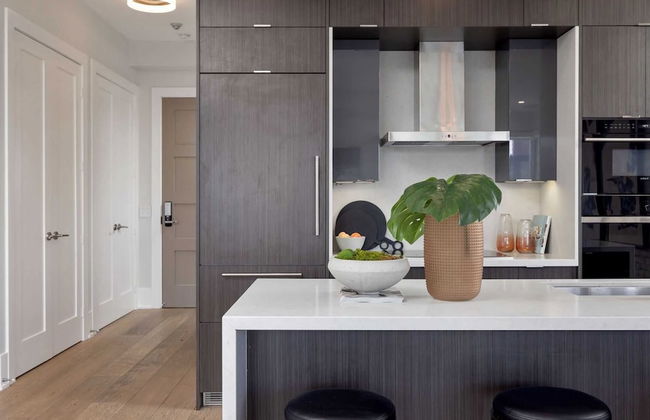
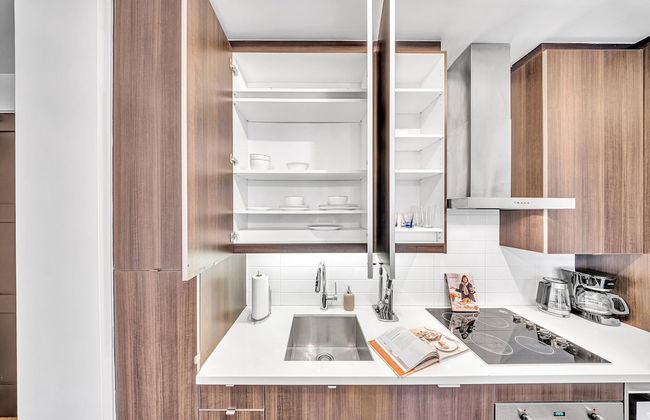
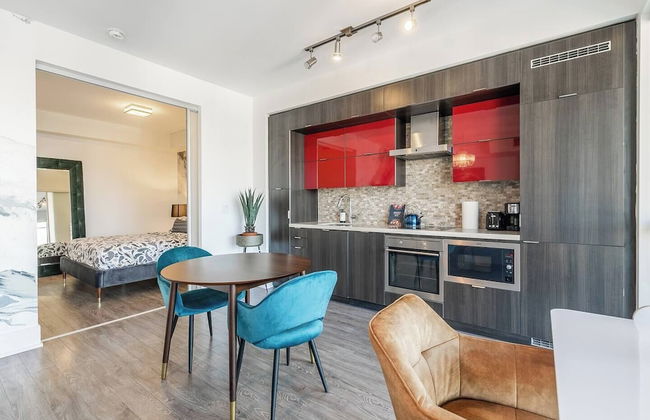
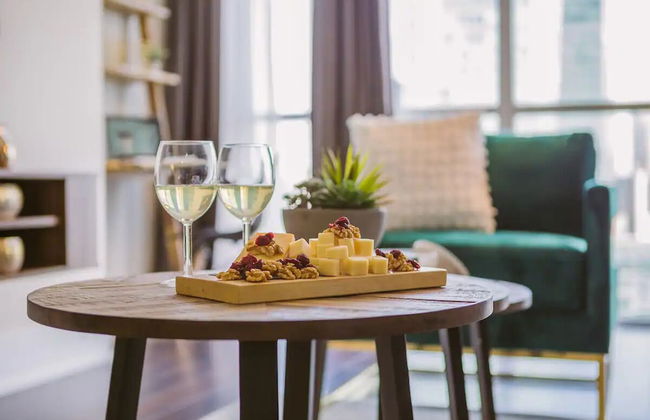
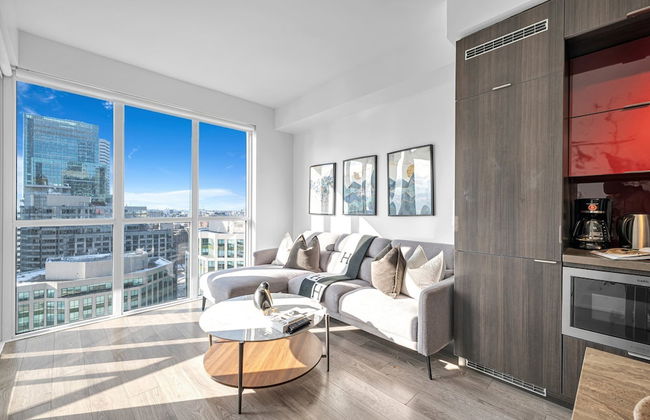
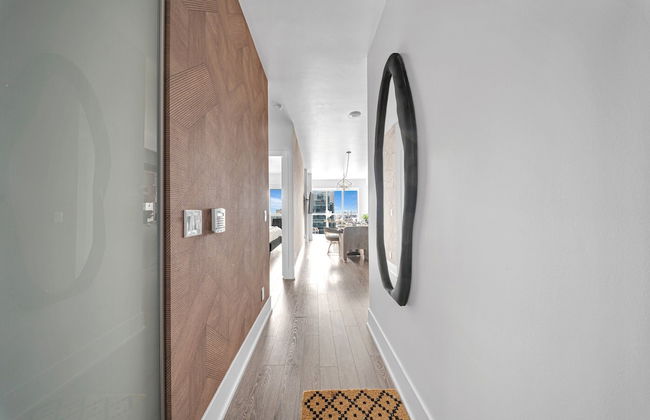
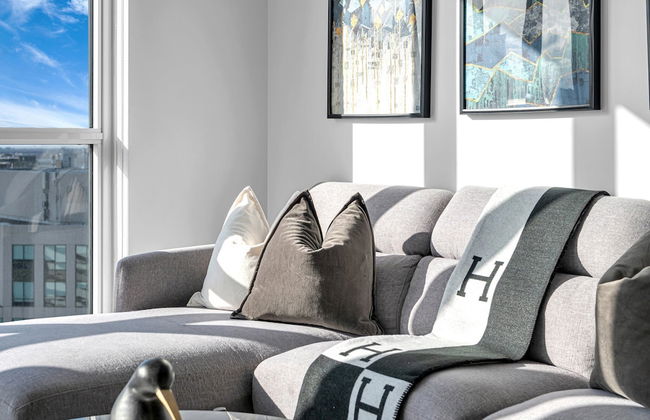
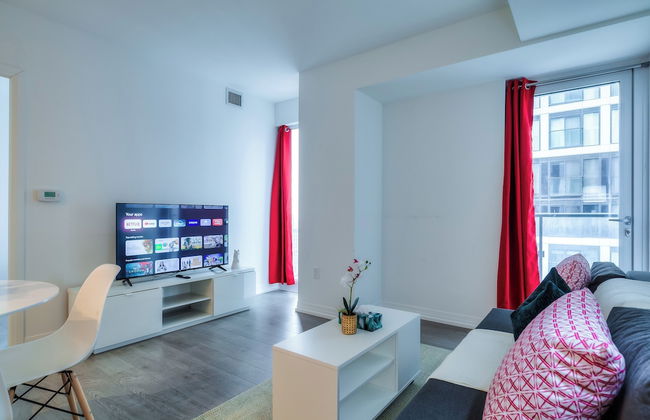
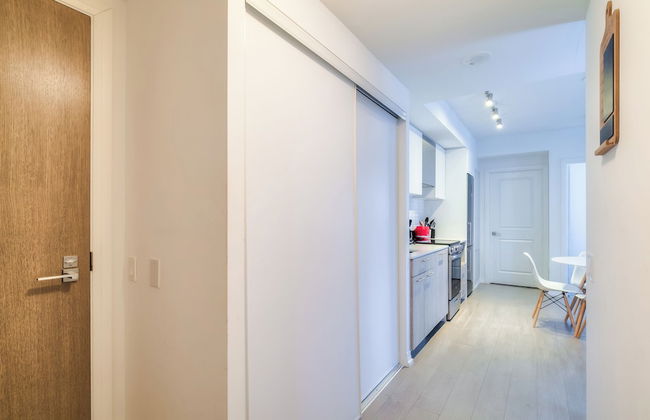
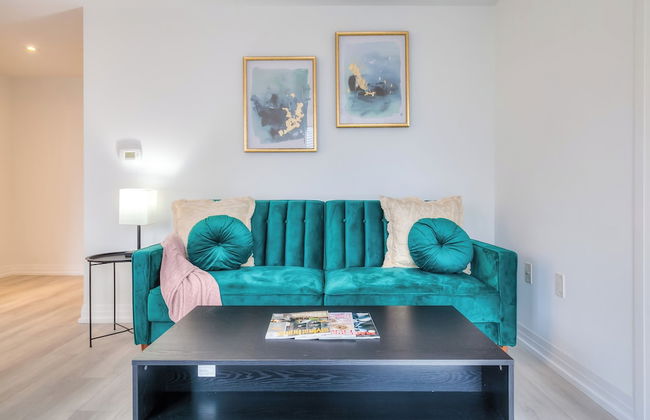
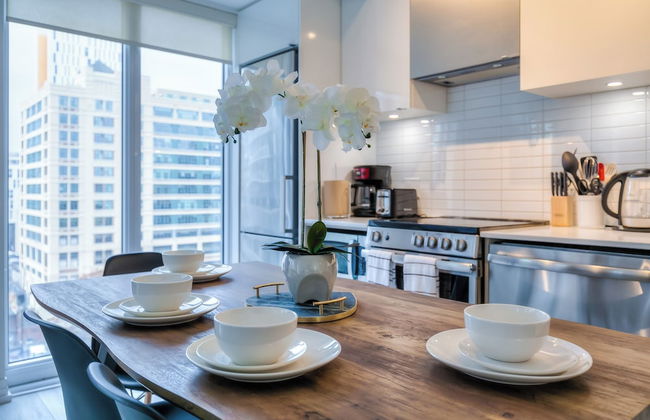
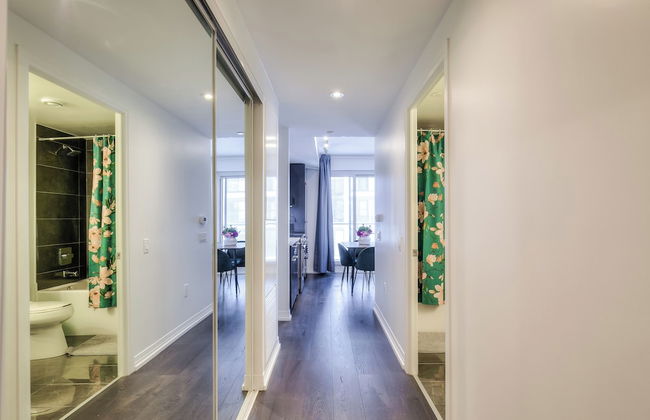
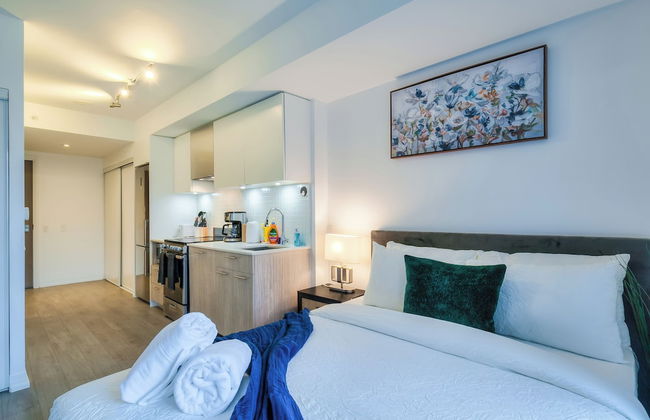
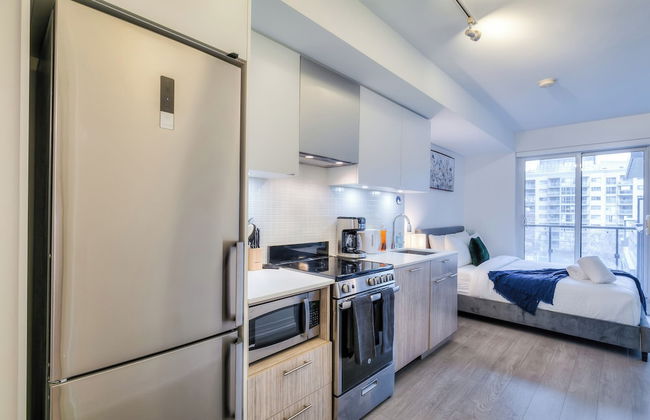
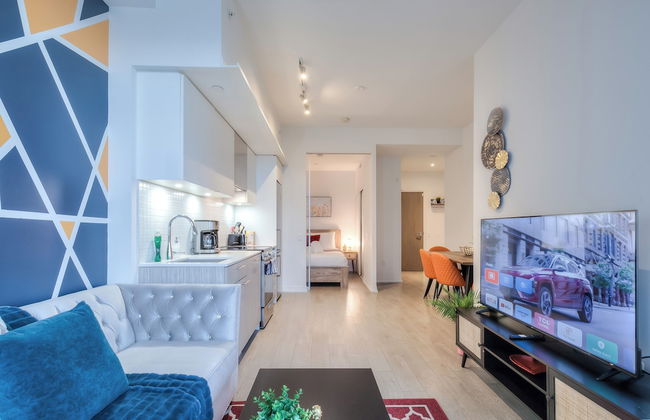
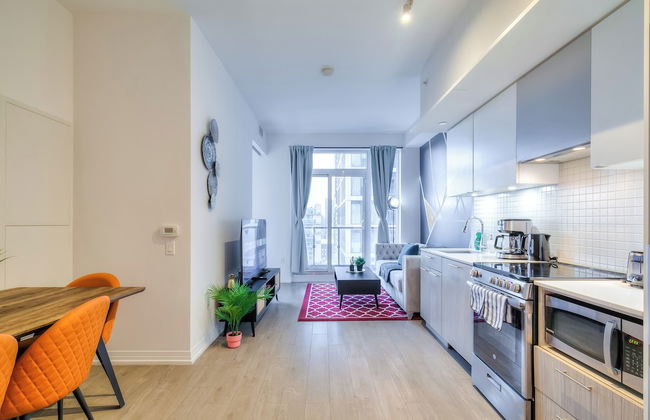
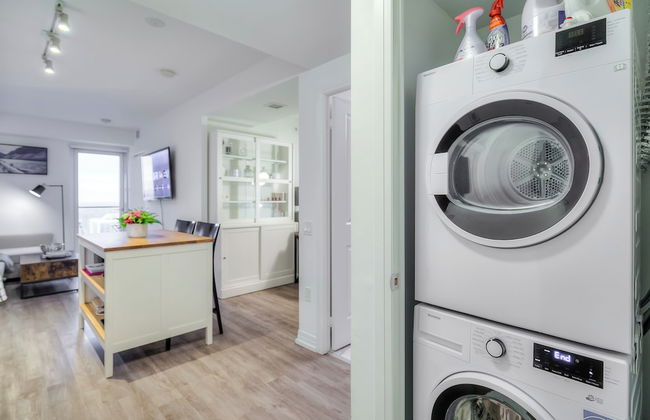
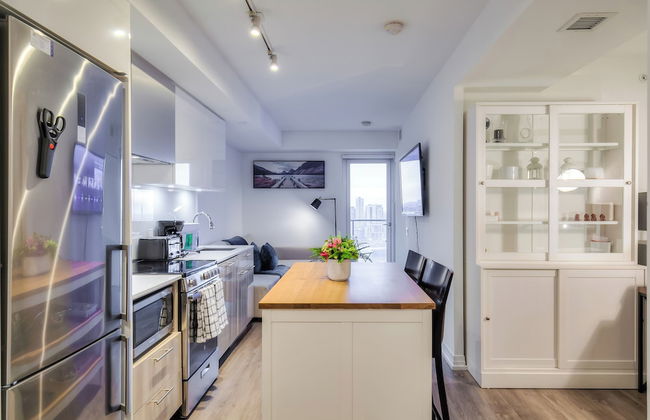
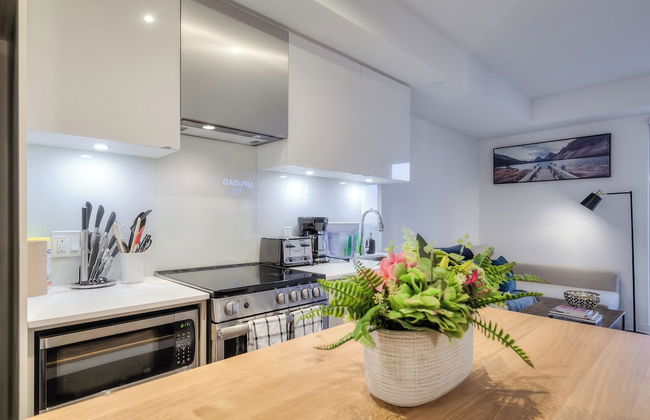
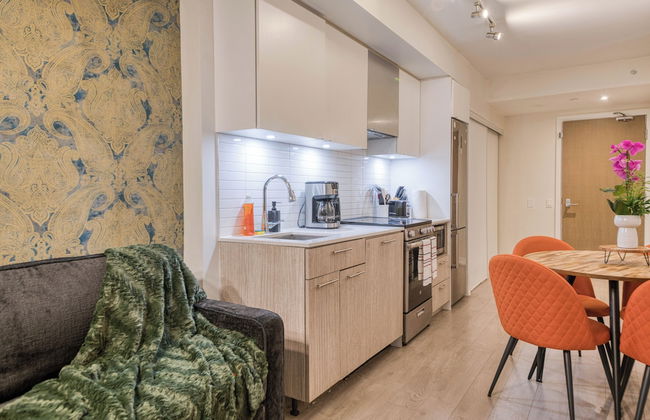
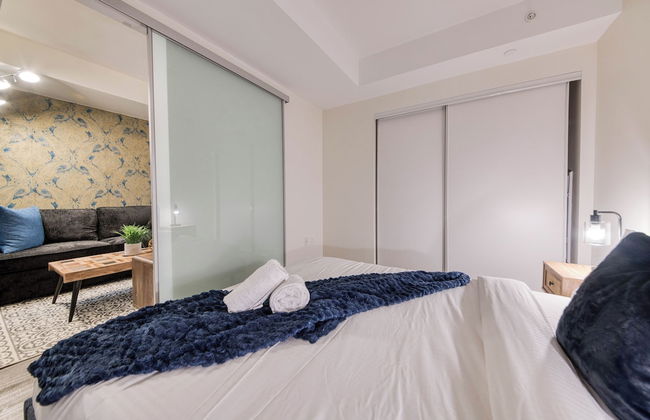
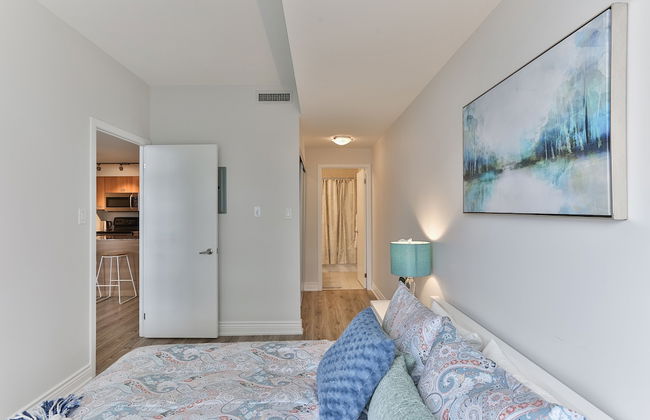
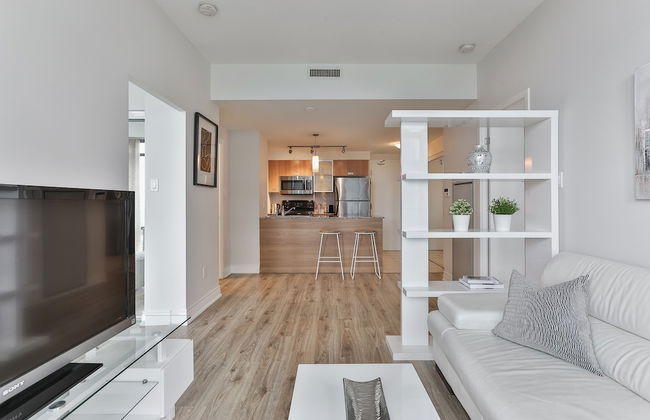
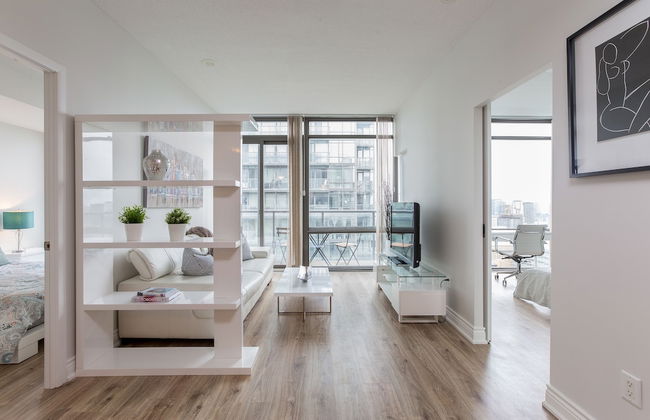
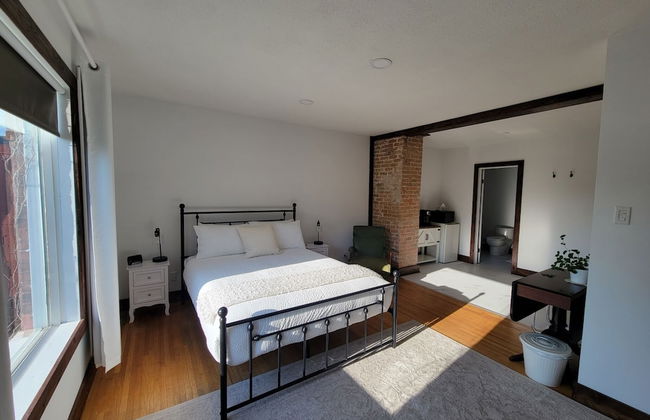
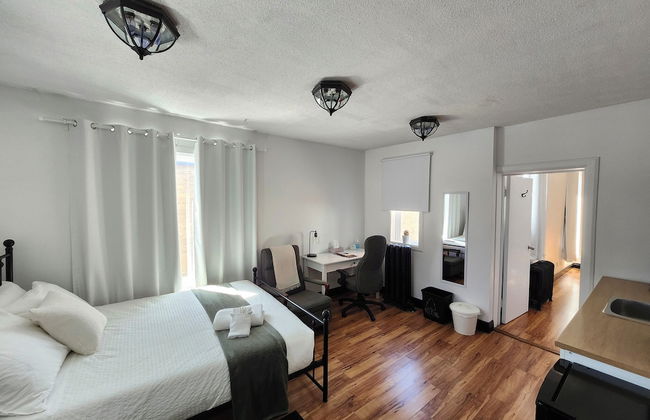
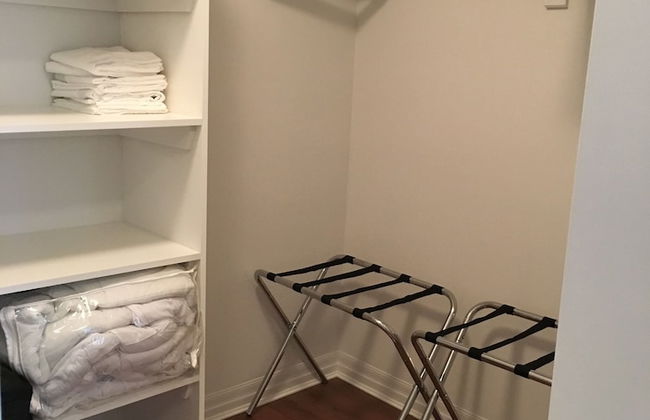
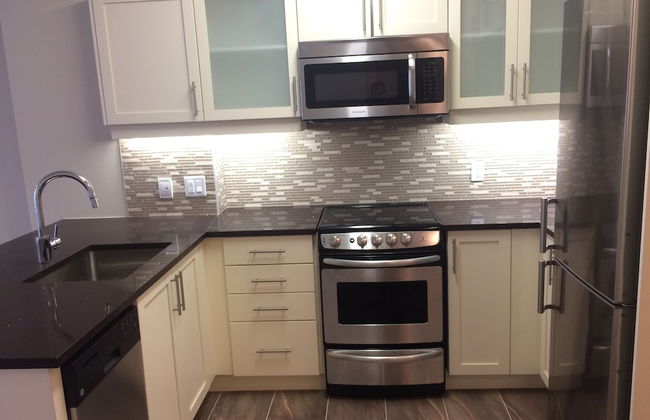
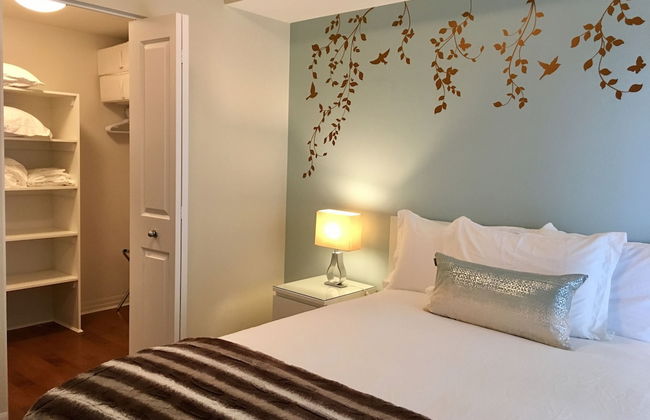
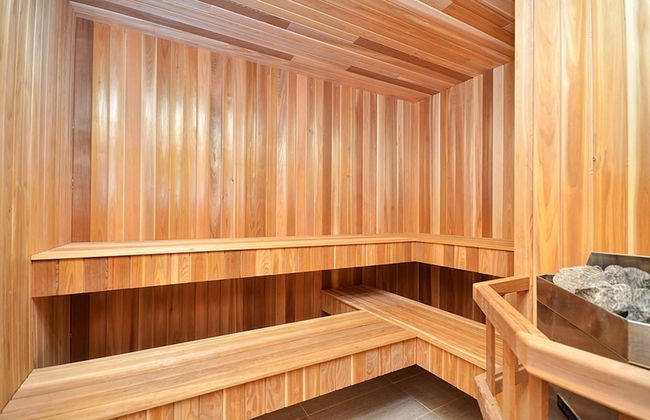
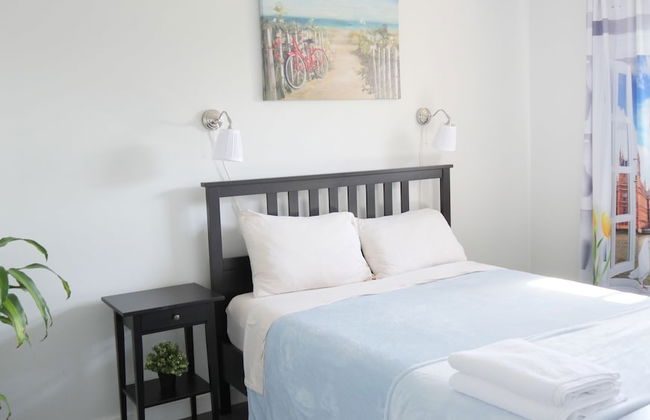
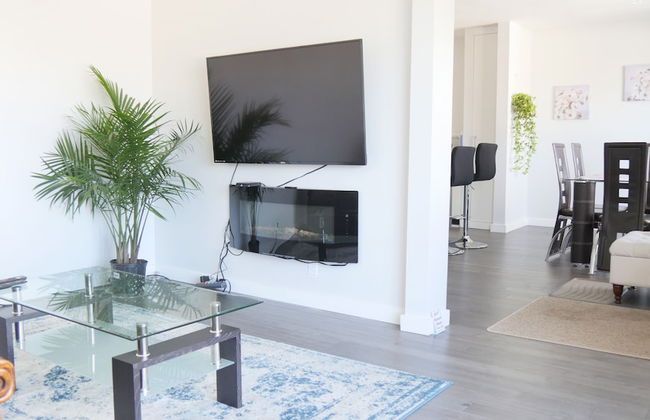
Margarita Vacation Getaway - Photo 3
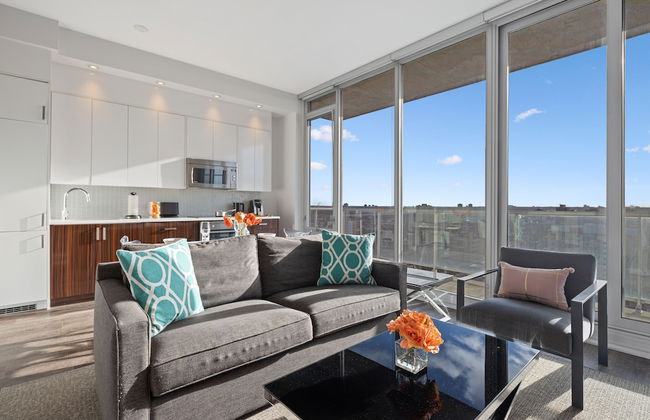
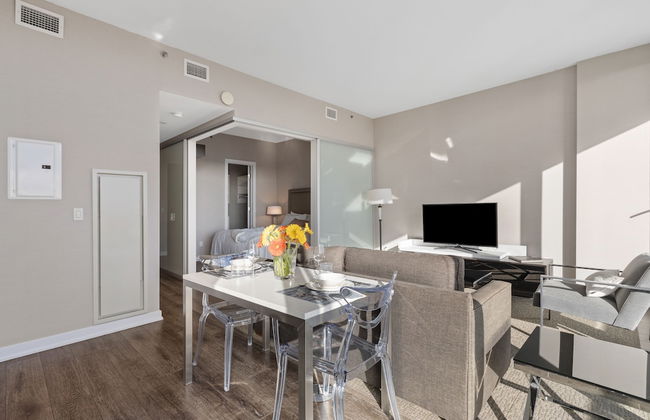
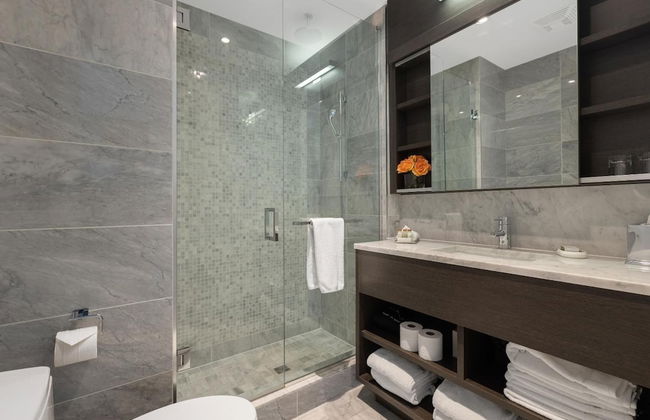
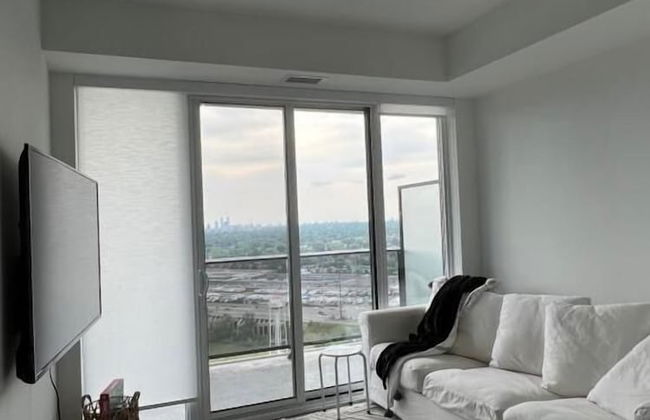
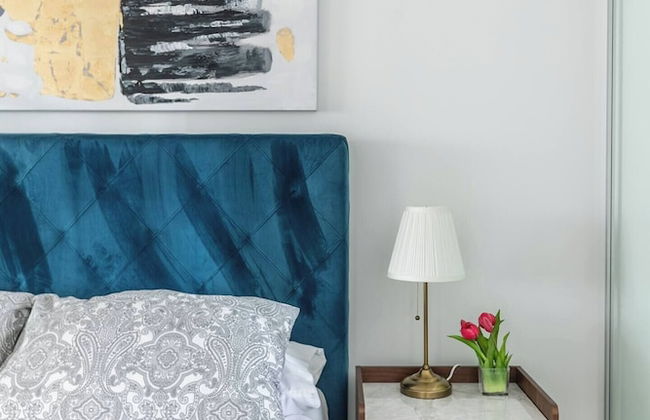
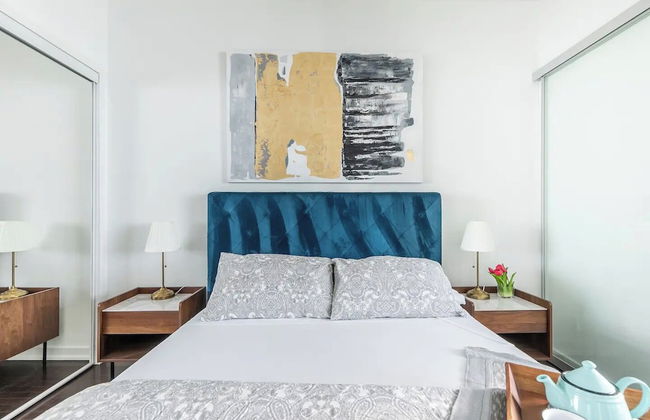
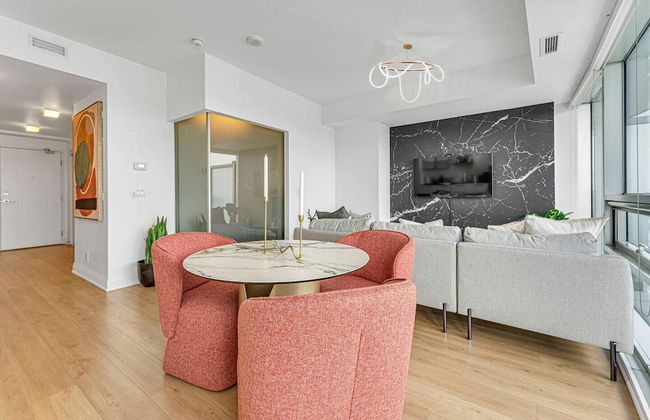
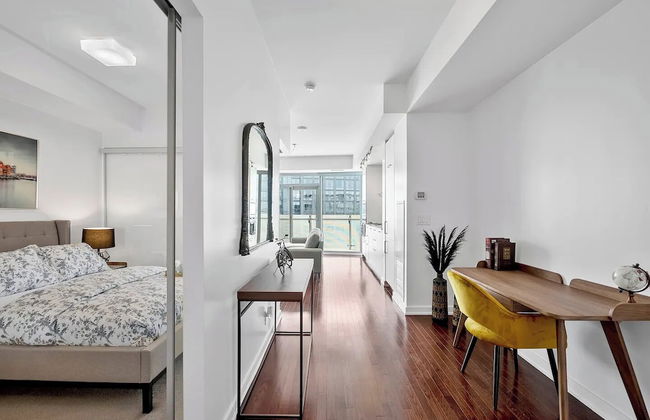
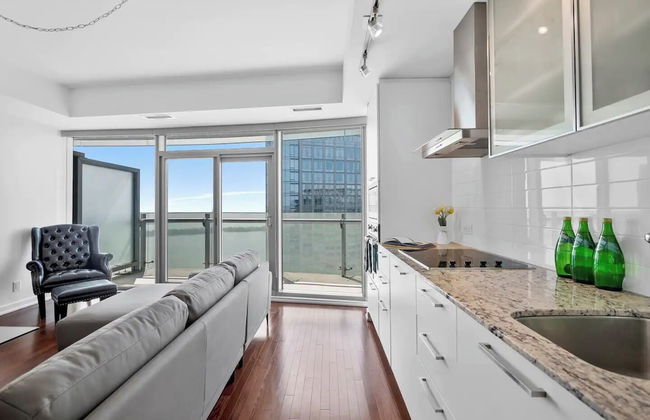
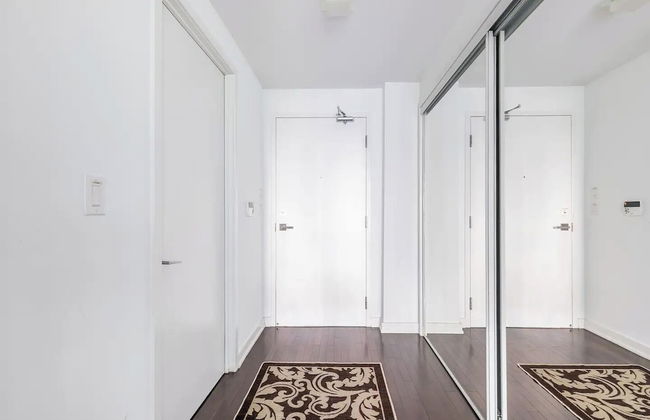
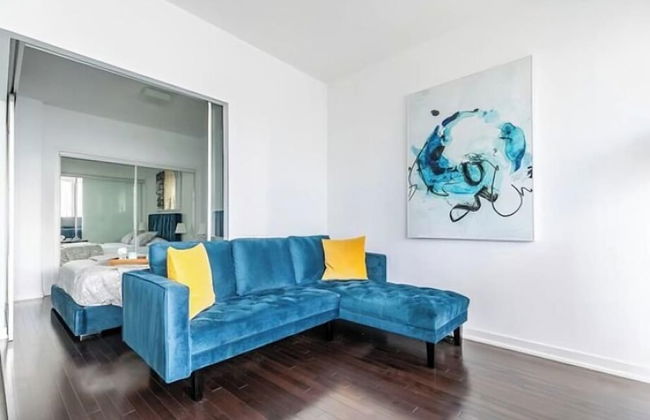
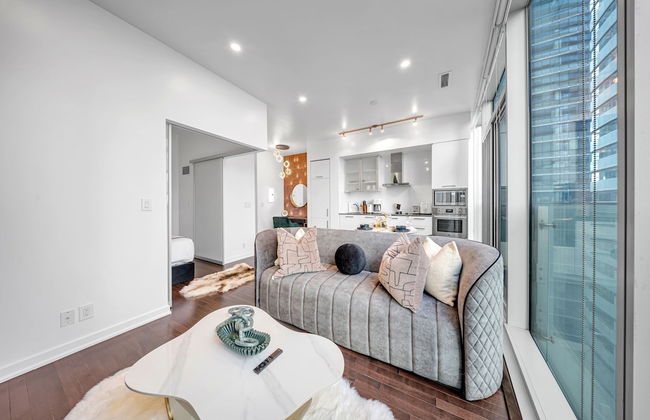
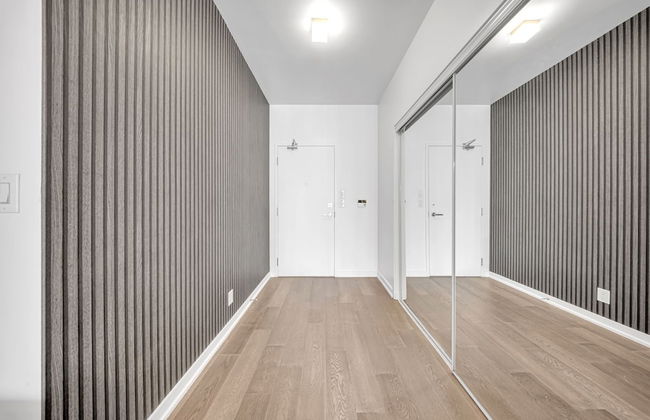
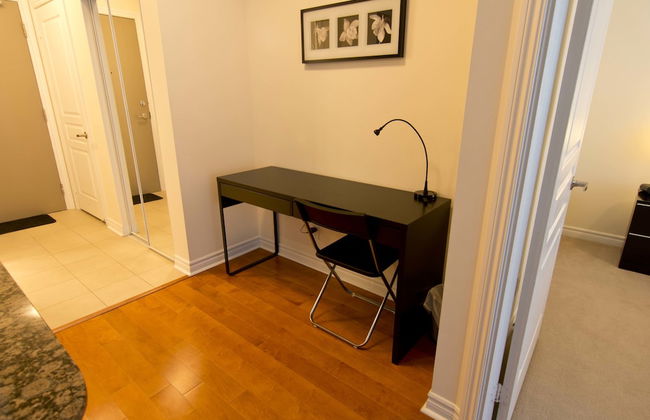
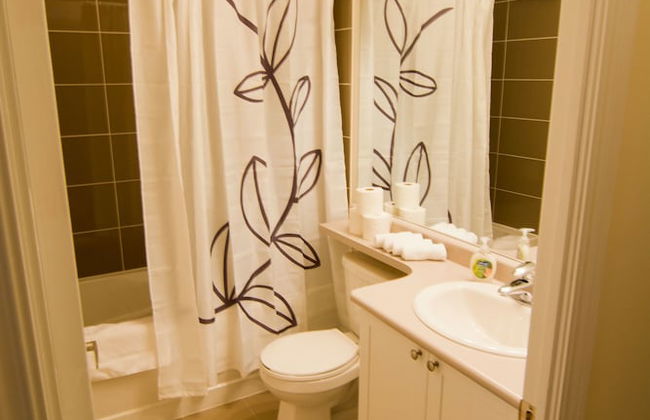
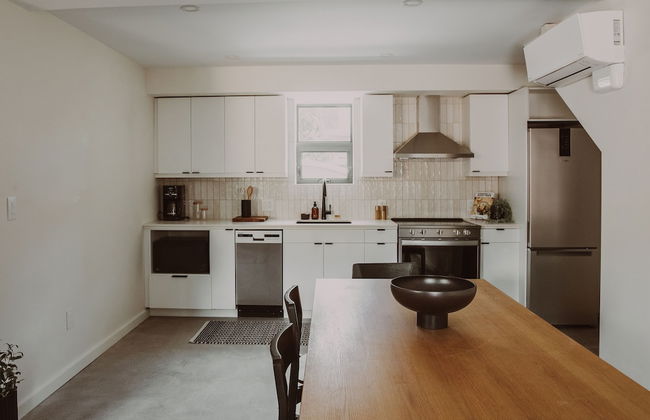
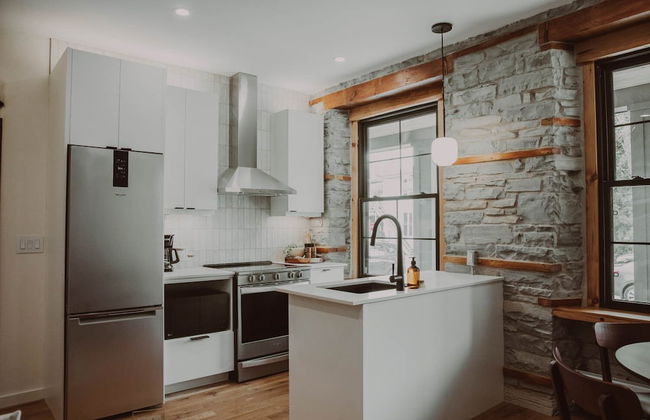
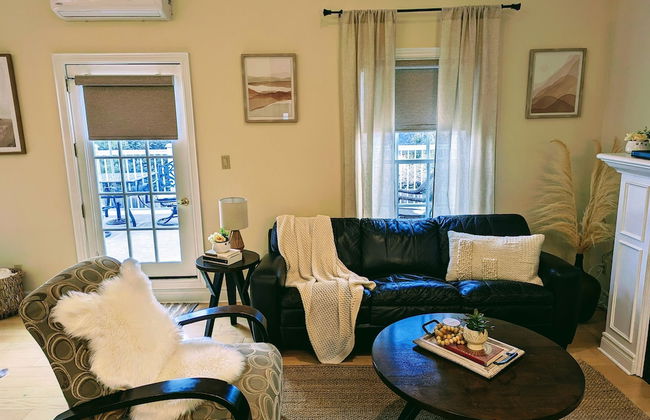
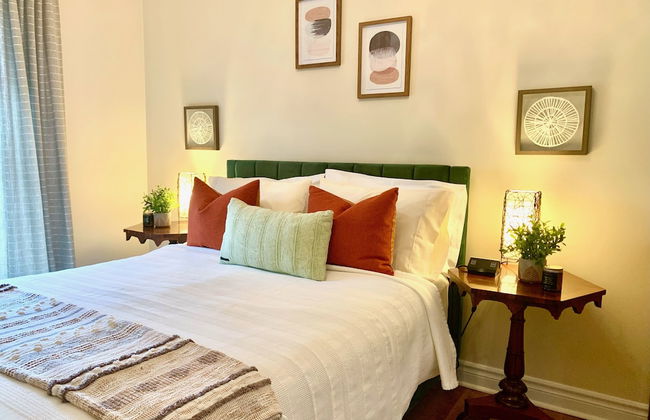
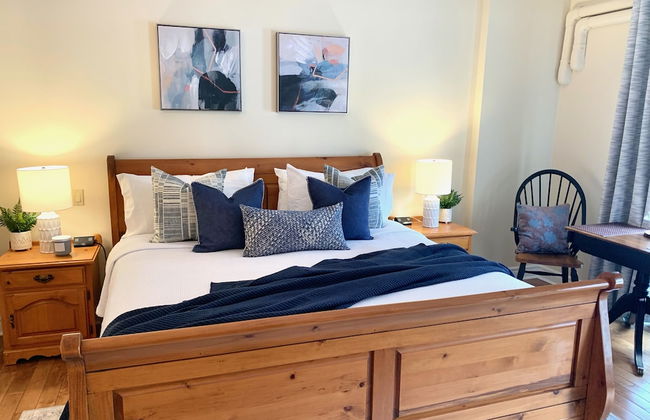
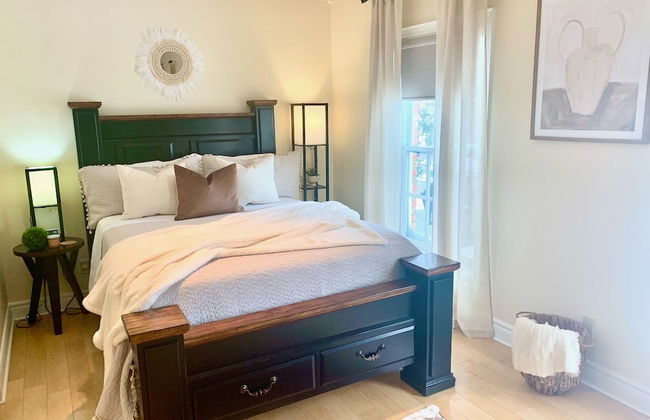
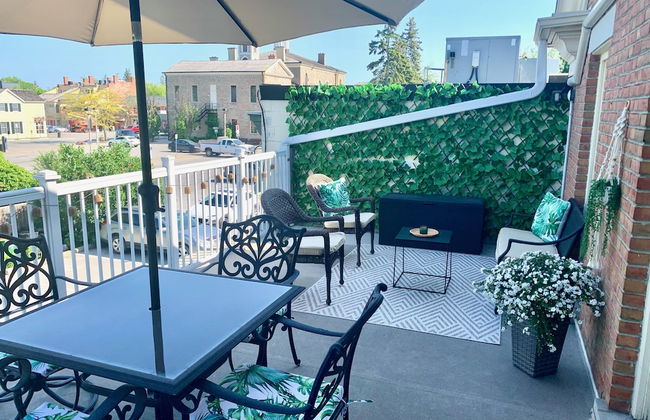
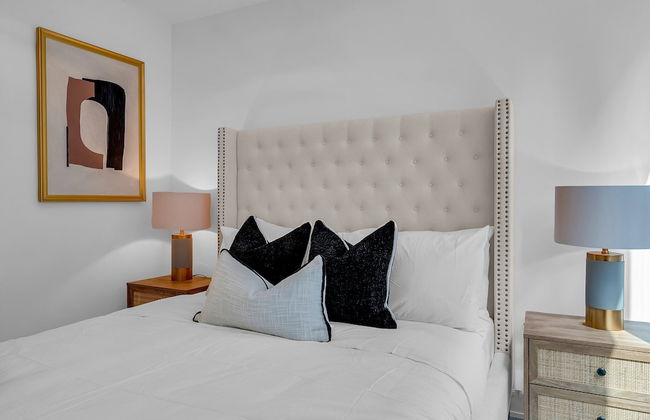
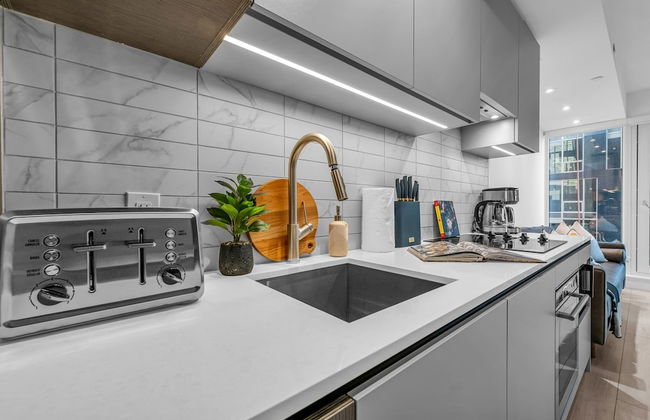
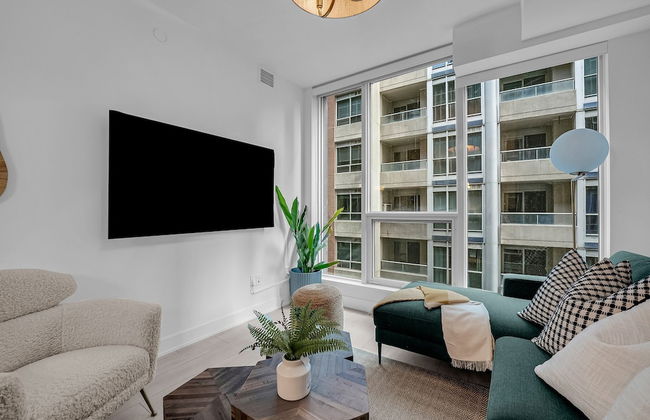
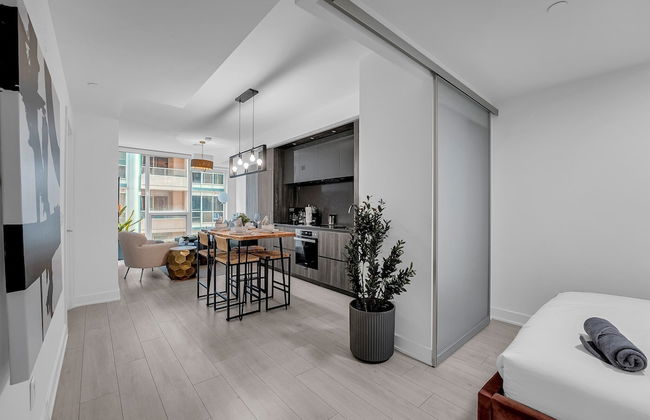
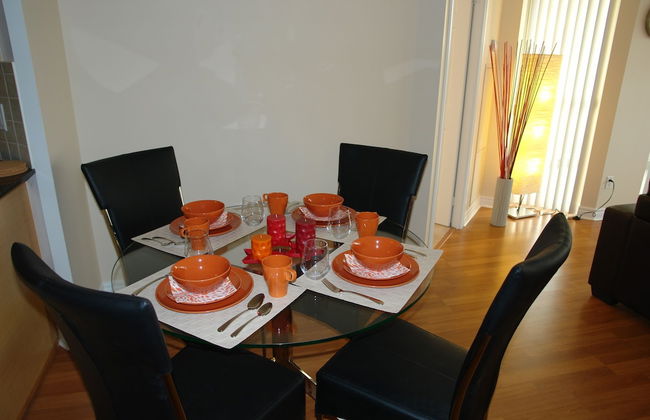
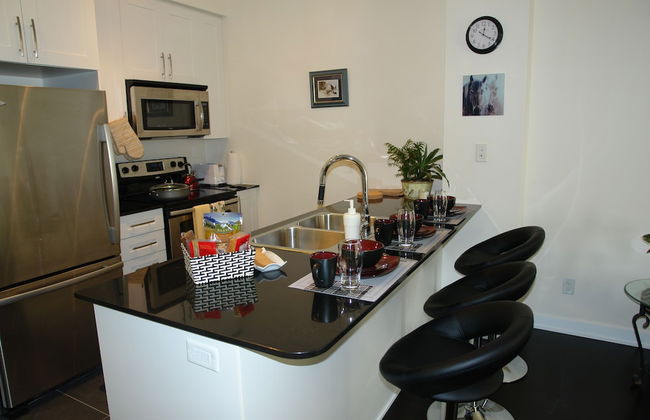
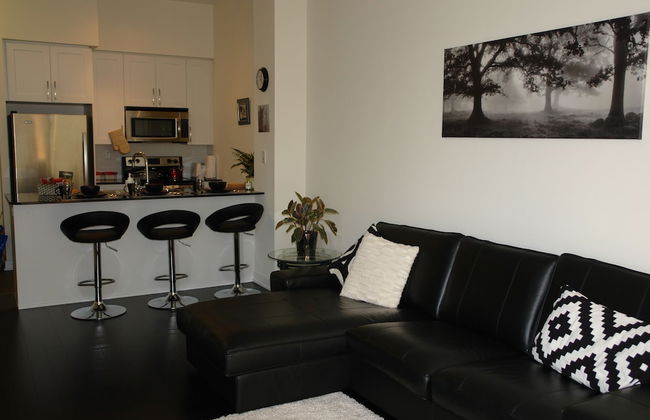
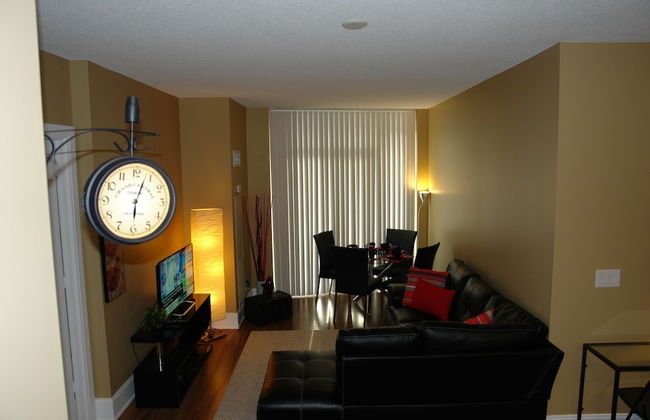
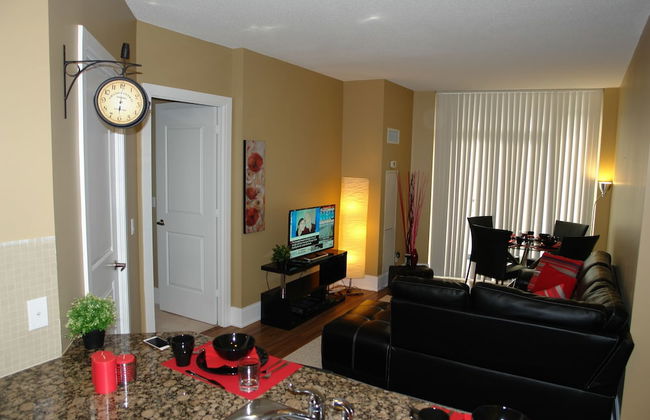
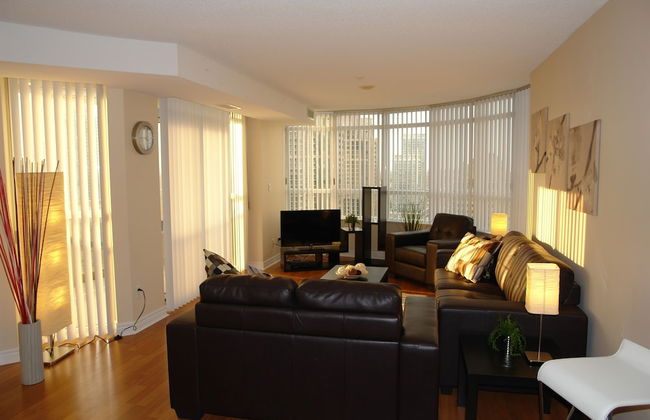
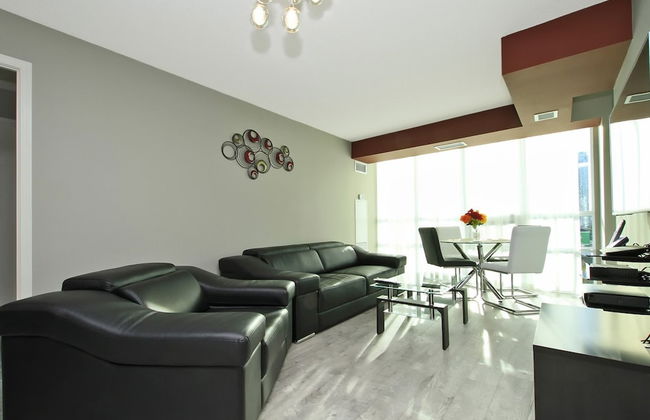
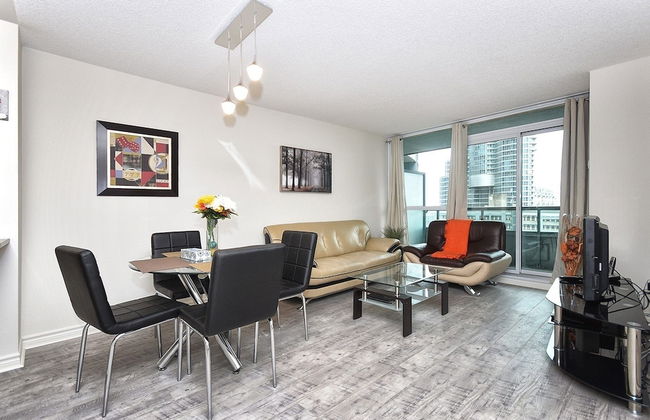
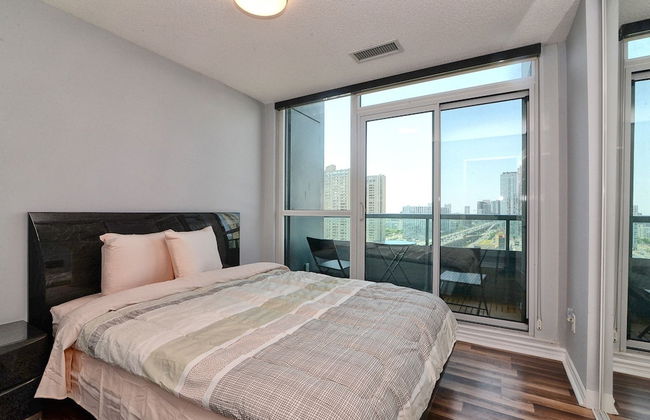
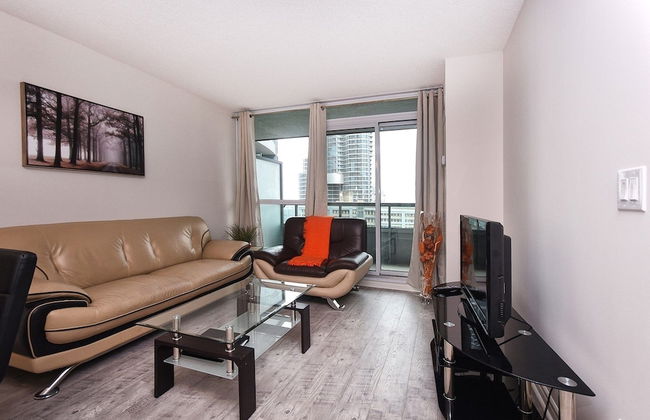
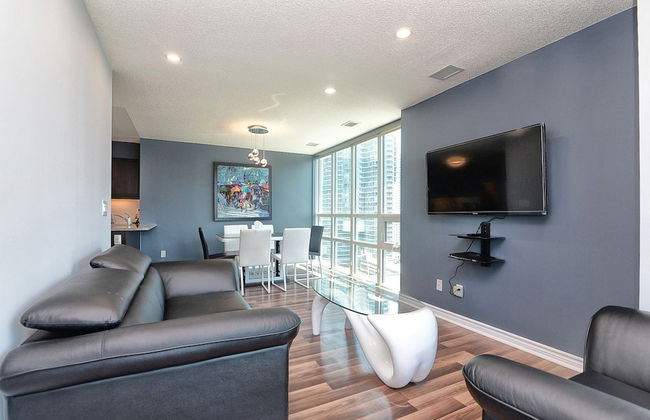
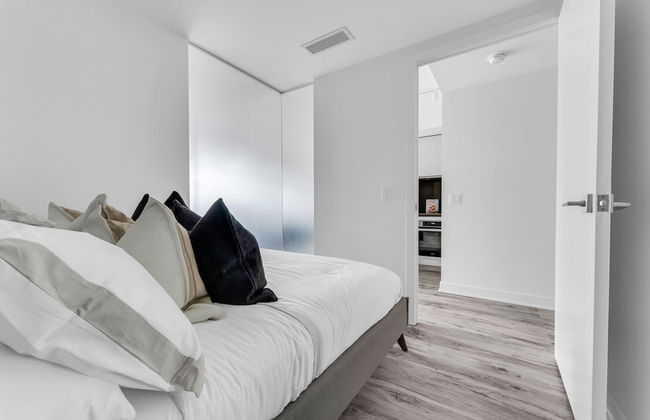
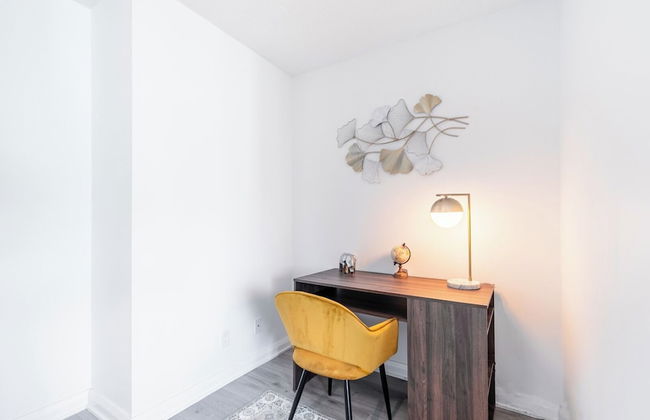
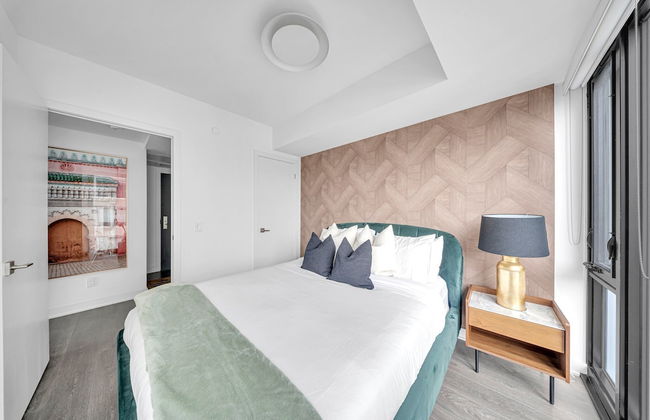
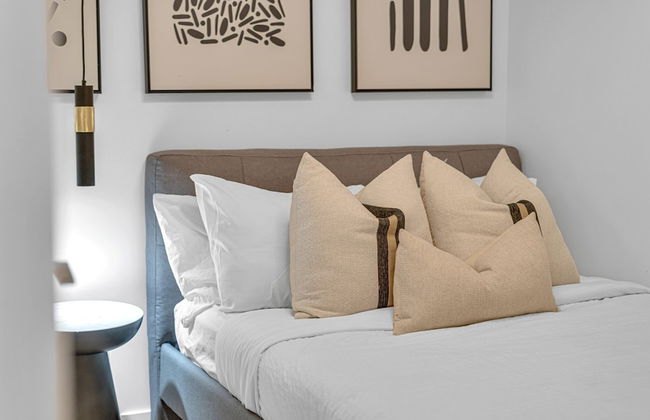
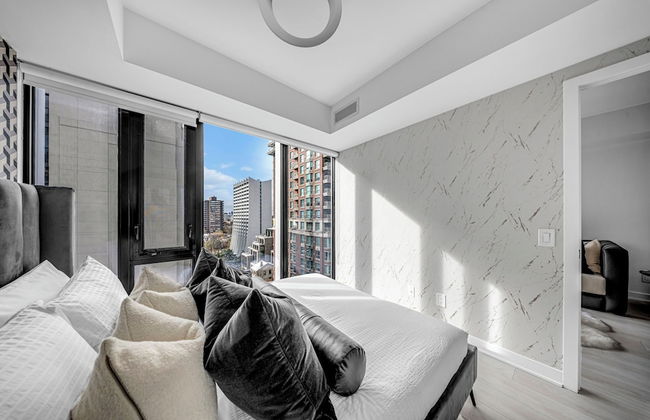
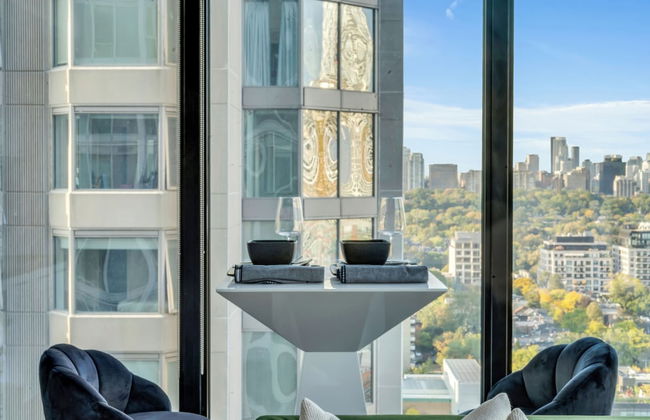
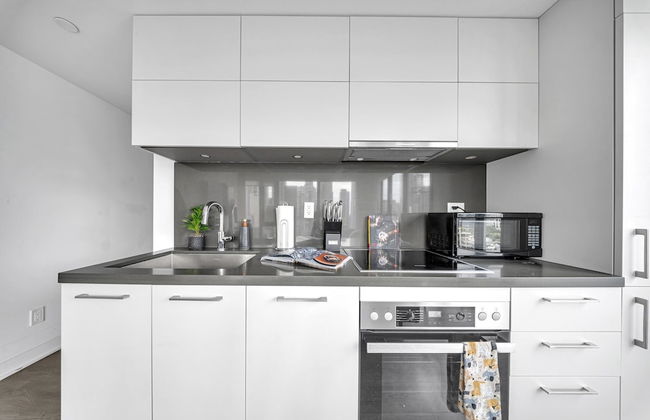
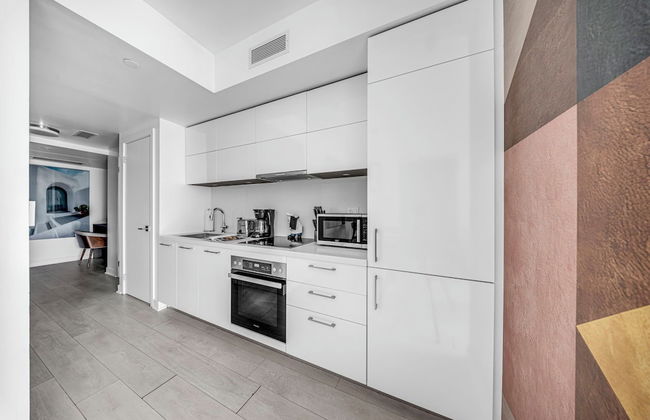
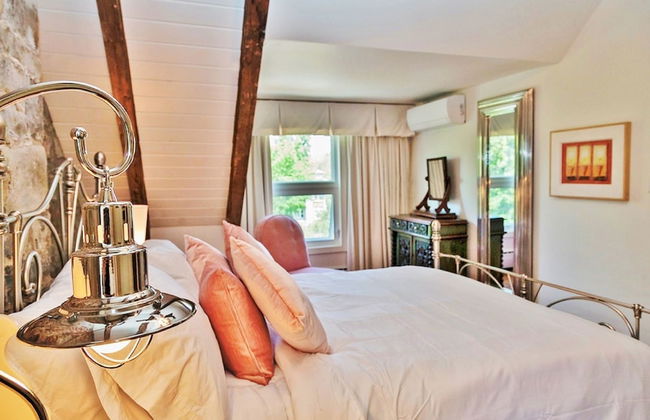
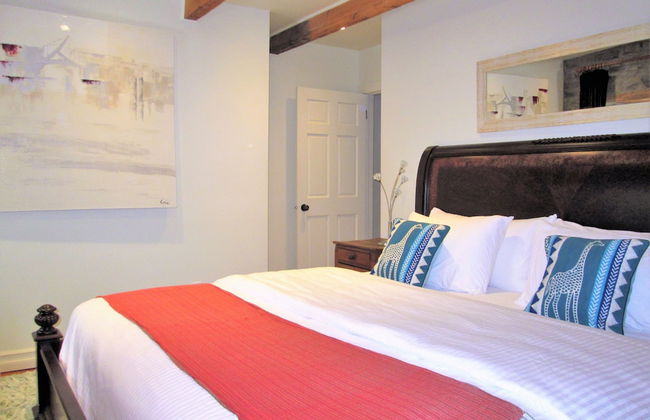
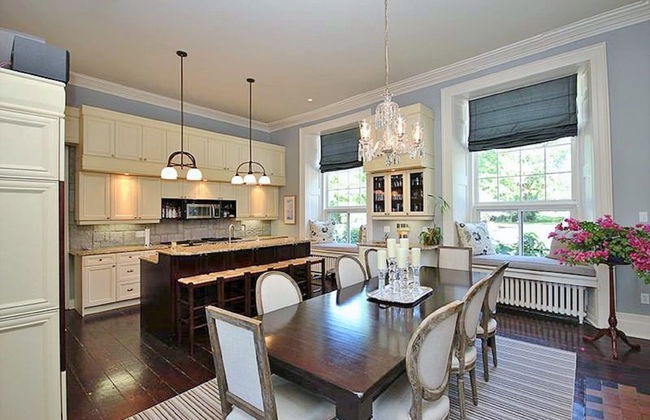
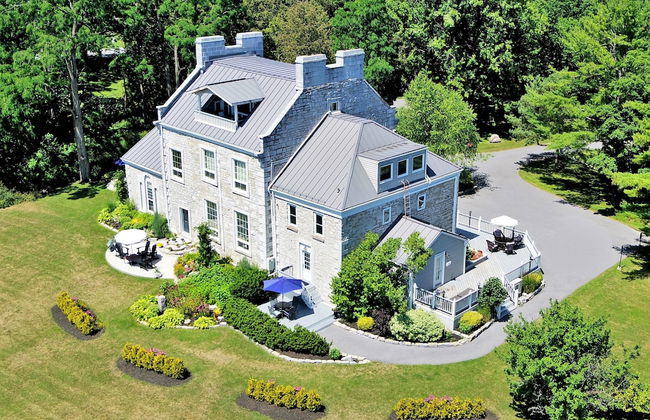
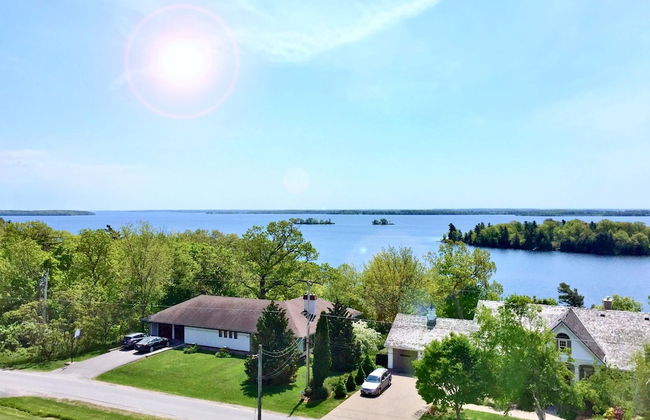
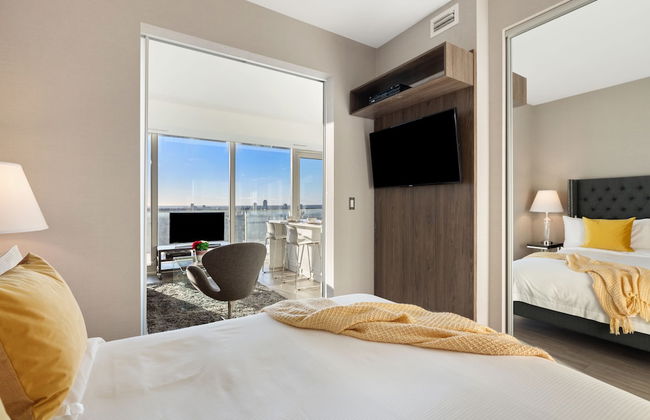
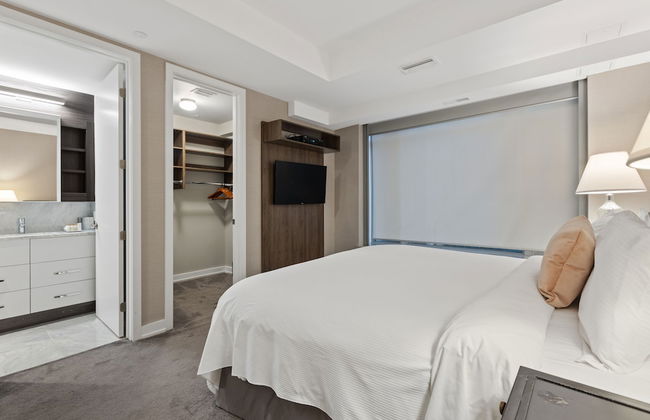
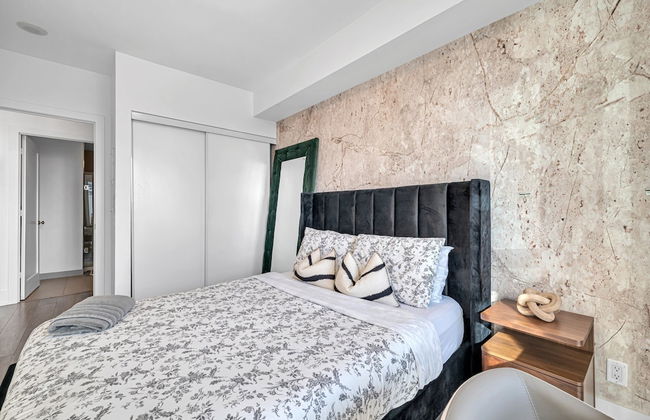
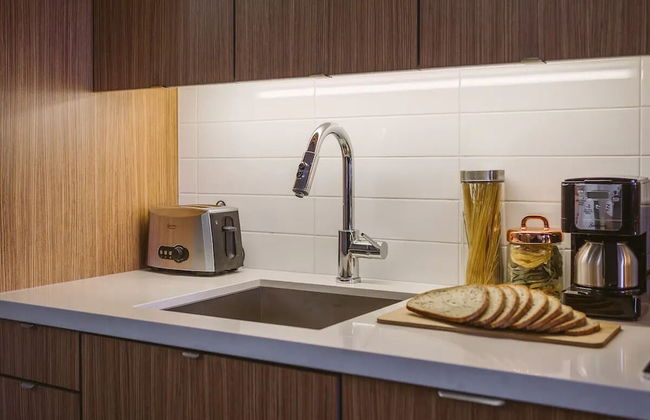
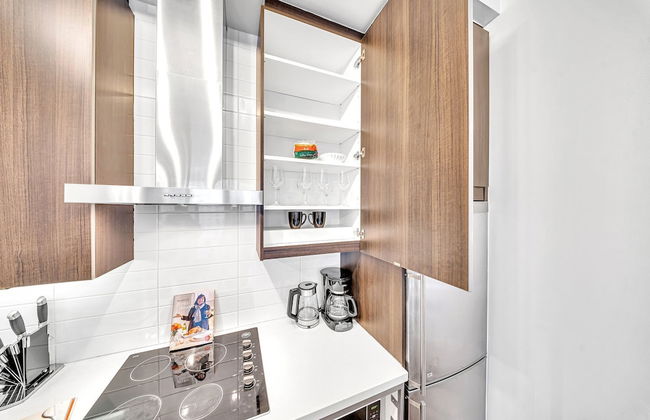
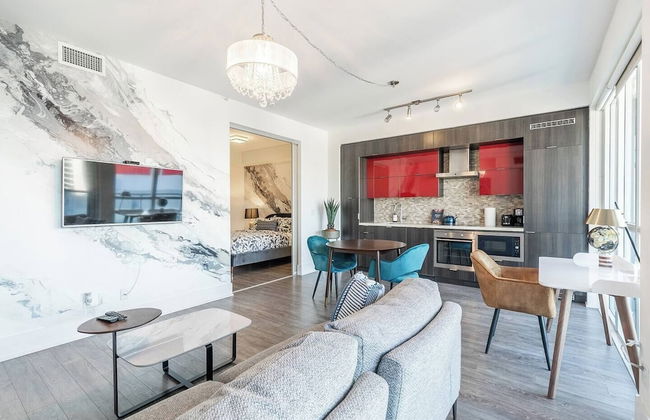
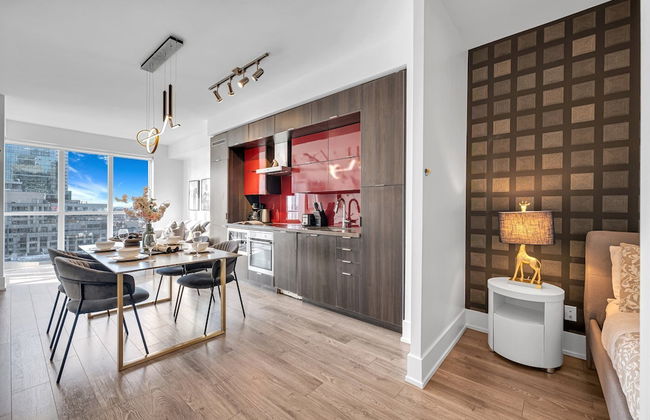
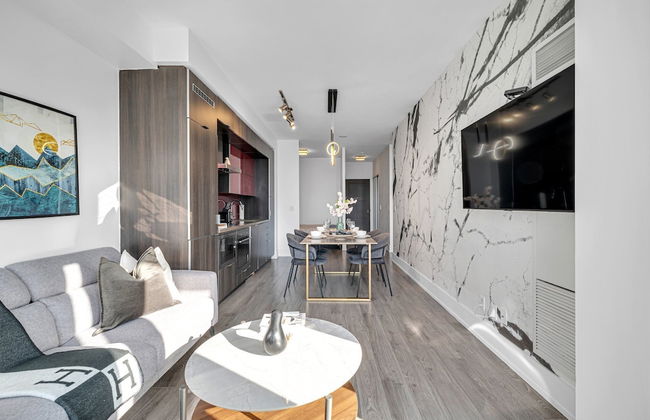
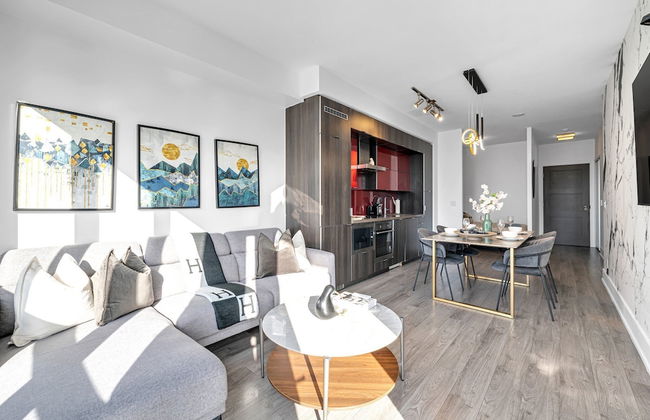
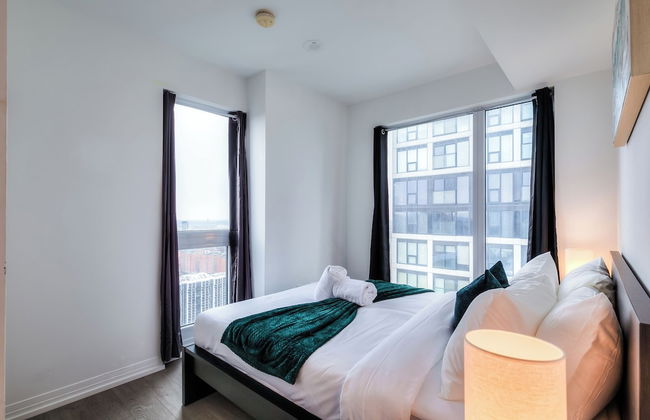
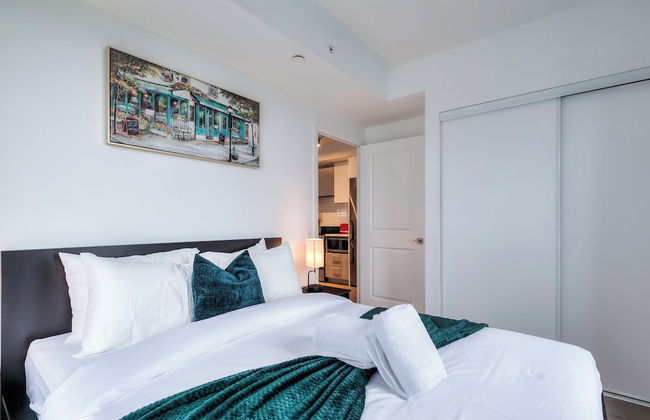
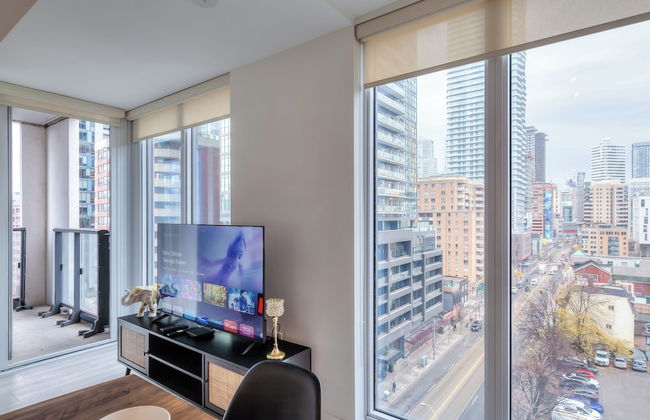
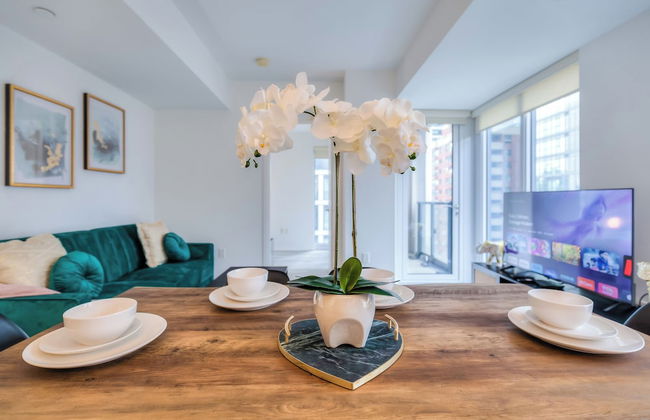
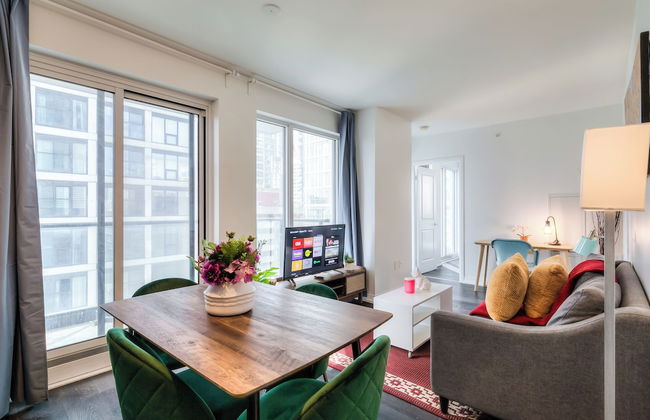
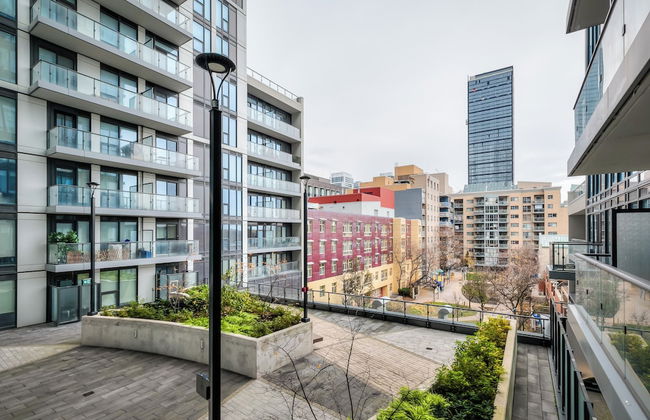
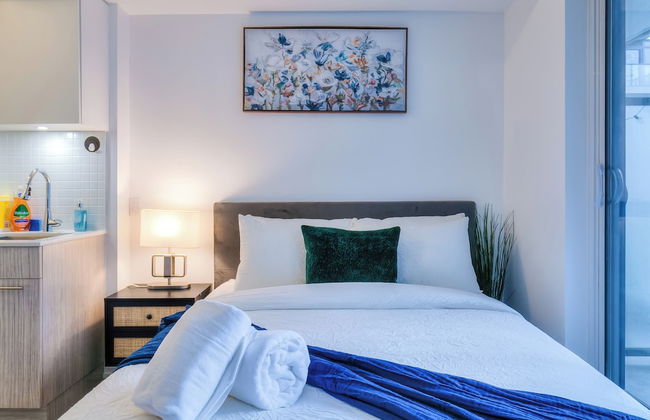
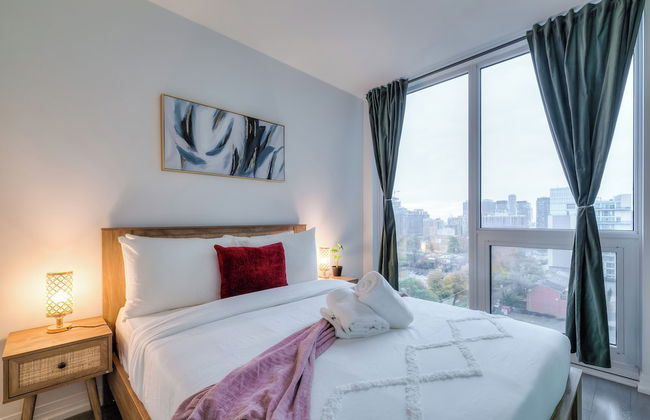
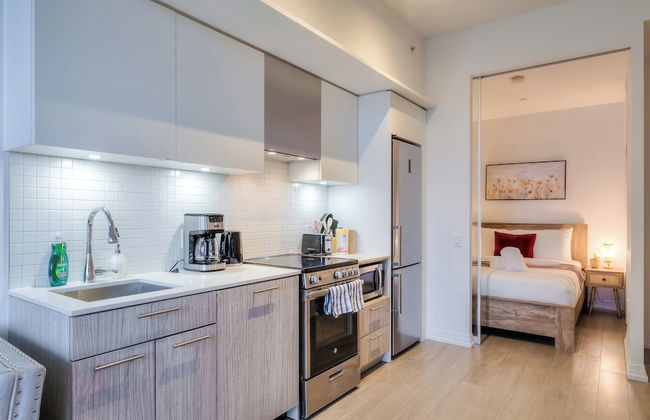
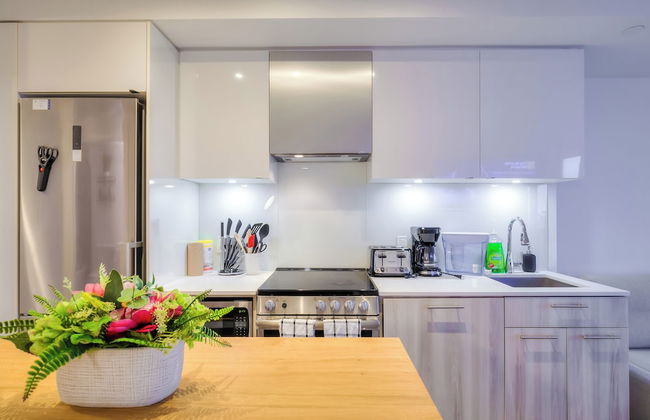
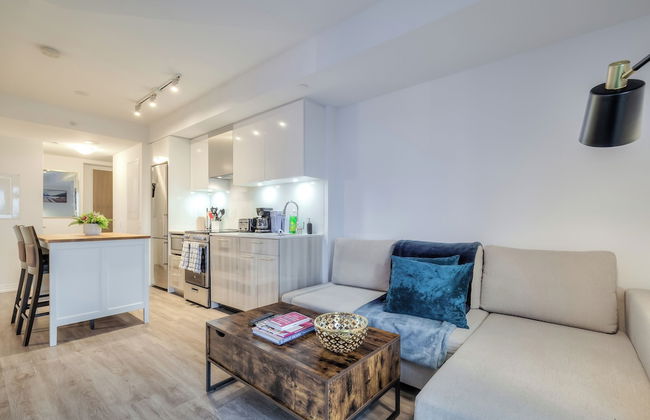
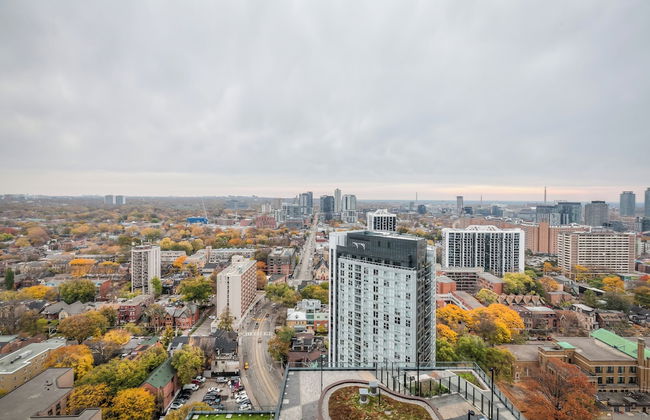
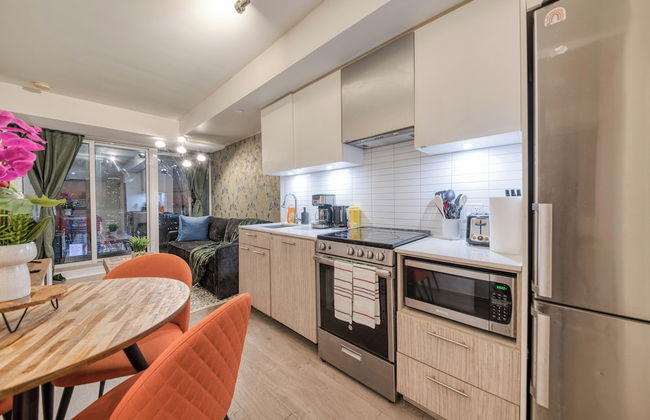
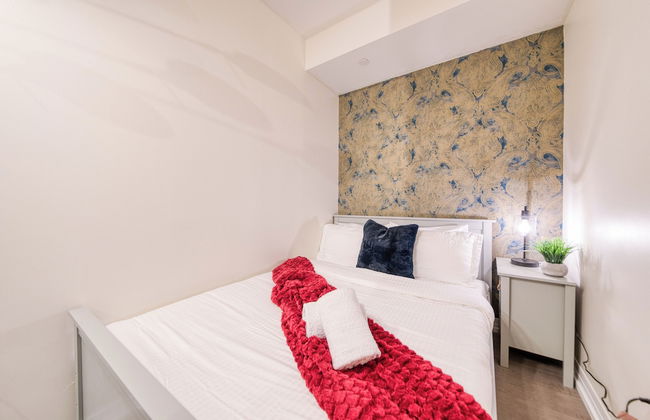
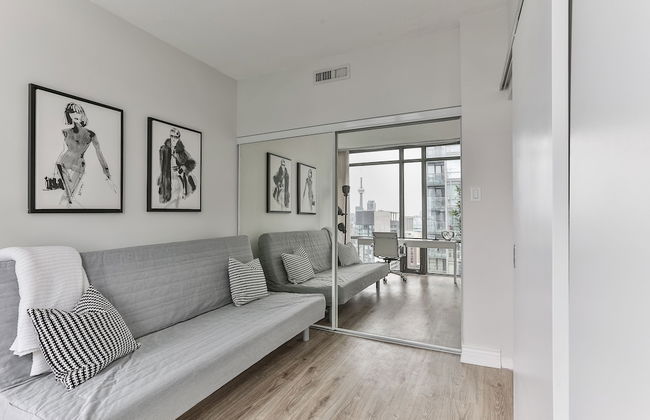
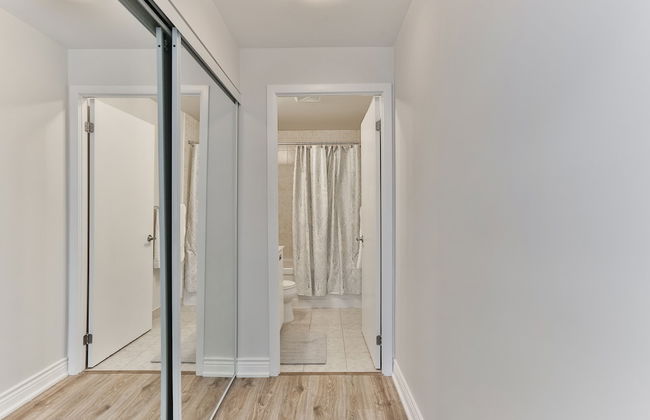
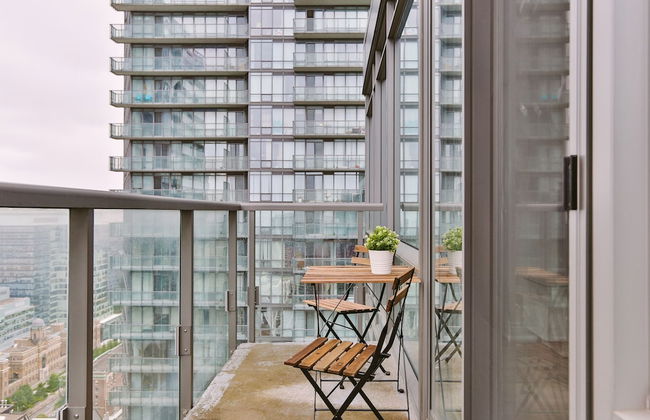
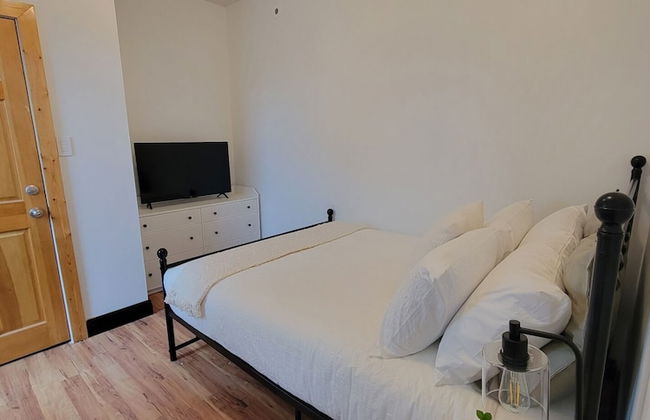
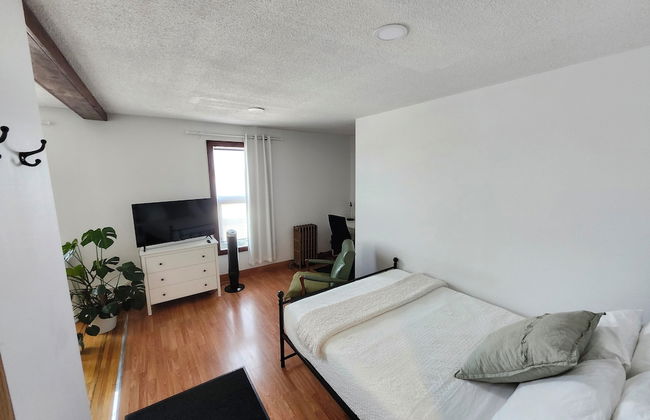
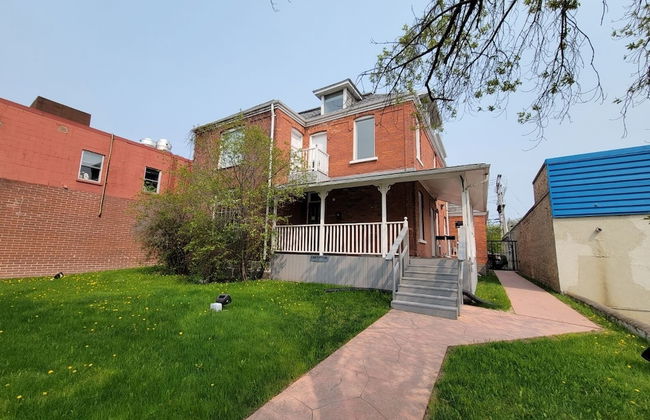
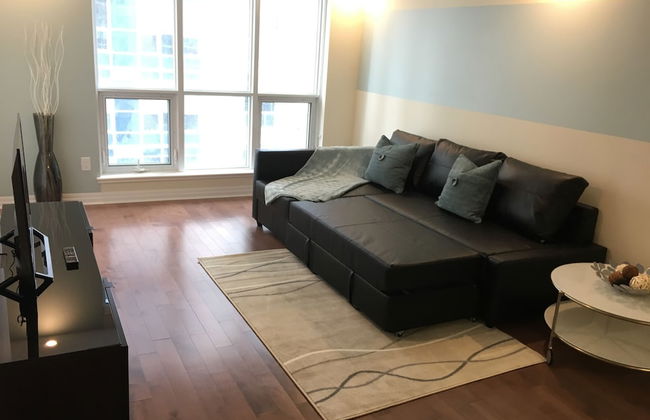
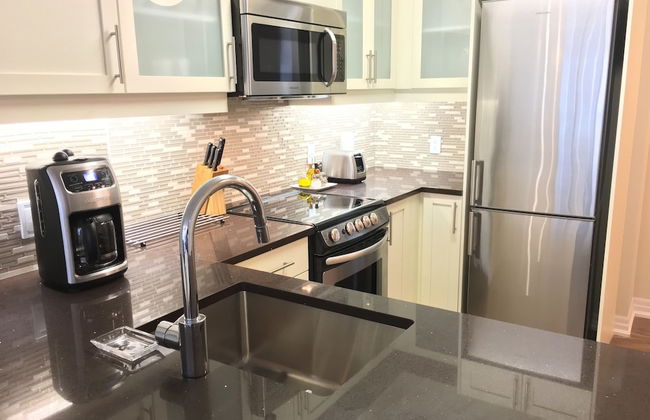
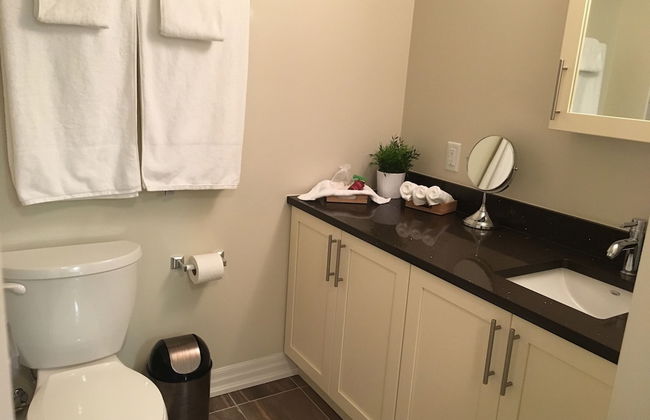
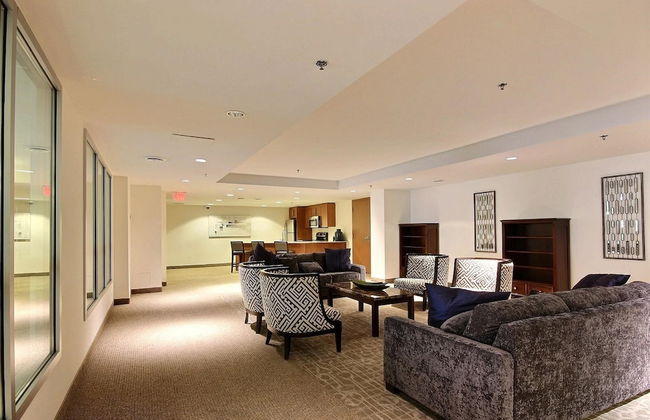
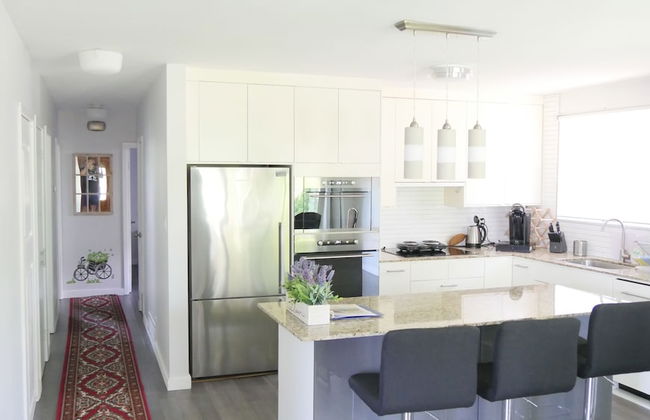
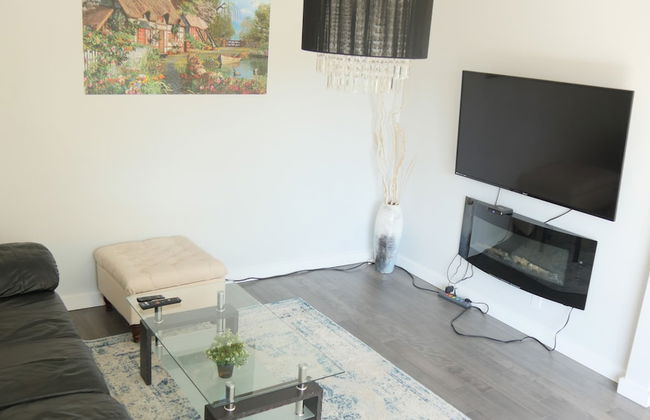
Margarita Vacation Getaway - Photo 4
Margarita Vacation Getaway - Photo 5
Margarita Vacation Getaway - Photo 6
Margarita Vacation Getaway - Photo 7
Margarita Vacation Getaway - Photo 8
Margarita Vacation Getaway - Photo 9
Margarita Vacation Getaway - Photo 10
Margarita Vacation Getaway - Photo 11
Margarita Vacation Getaway - Photo 12
Margarita Vacation Getaway - Photo 13
Margarita Vacation Getaway - Photo 14
Margarita Vacation Getaway - Photo 15
Margarita Vacation Getaway - Photo 16
Margarita Vacation Getaway - Photo 17
Margarita Vacation Getaway - Photo 18
Margarita Vacation Getaway - Photo 19
Margarita Vacation Getaway - Photo 20
Margarita Vacation Getaway - Photo 21
Margarita Vacation Getaway - Photo 22
Margarita Vacation Getaway - Photo 23
Margarita Vacation Getaway - Photo 24
Margarita Vacation Getaway - Photo 25
Margarita Vacation Getaway - Photo 26
Margarita Vacation Getaway - Photo 27
Margarita Vacation Getaway - Photo 28
Margarita Vacation Getaway - Photo 29
Margarita Vacation Getaway - Photo 30
Margarita Vacation Getaway - Photo 31
Margarita Vacation Getaway - Photo 32
Margarita Vacation Getaway - Photo 33
Margarita Vacation Getaway - Photo 34
Margarita Vacation Getaway - Photo 35
Margarita Vacation Getaway - Photo 36
Margarita Vacation Getaway - Photo 37
Margarita Vacation Getaway - Photo 38
Margarita Vacation Getaway - Photo 39
Margarita Vacation Getaway - Photo 40
Margarita Vacation Getaway - Photo 41
Margarita Vacation Getaway - Photo 42
Margarita Vacation Getaway - Photo 43
Margarita Vacation Getaway - Photo 44
Margarita Vacation Getaway - Photo 45
Margarita Vacation Getaway - Photo 46
Margarita Vacation Getaway - Photo 47
Margarita Vacation Getaway - Photo 48
Margarita Vacation Getaway - Photo 49
Margarita Vacation Getaway - Photo 50
Margarita Vacation Getaway - Photo 51
Margarita Vacation Getaway - Photo 52
Margarita Vacation Getaway - Photo 53
Margarita Vacation Getaway - Photo 54
Margarita Vacation Getaway - Photo 55
Margarita Vacation Getaway - Photo 56
Margarita Vacation Getaway - Photo 57
Margarita Vacation Getaway - Photo 58
Margarita Vacation Getaway - Photo 59
Margarita Vacation Getaway - Photo 60
Margarita Vacation Getaway - Photo 61
Margarita Vacation Getaway - Photo 62
Margarita Vacation Getaway - Photo 63
Margarita Vacation Getaway - Photo 64
Margarita Vacation Getaway - Photo 65
Margarita Vacation Getaway - Photo 66
Margarita Vacation Getaway - Photo 67
Margarita Vacation Getaway - Photo 68
Margarita Vacation Getaway - Photo 69
Margarita Vacation Getaway - Photo 70
Margarita Vacation Getaway - Photo 71
Margarita Vacation Getaway - Photo 72
Margarita Vacation Getaway - Photo 73
Margarita Vacation Getaway - Photo 74
Margarita Vacation Getaway - Photo 75
Margarita Vacation Getaway - Photo 76
Margarita Vacation Getaway - Photo 77
Margarita Vacation Getaway - Photo 78
Margarita Vacation Getaway - Photo 79
Margarita Vacation Getaway - Photo 80

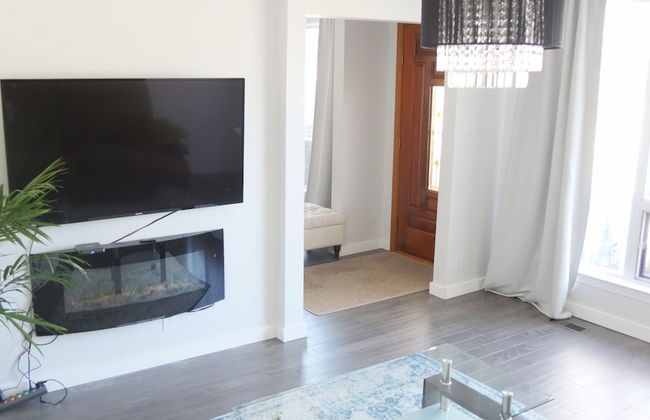
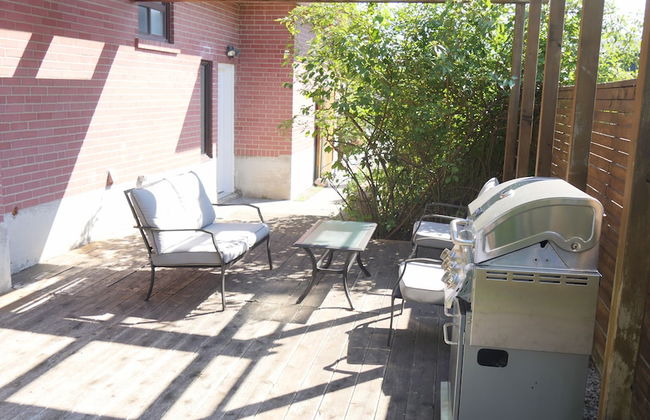
Margarita Vacation Getaway

Oro-Medonte - À 13.1 km du centre

  • 51 M2
  • 4 personnes
  • Cuisinette
  • Air conditionné
  • Le chauffage
  • Terrasse
  • Piscine
  • Parking
  • Balcon
  • Tv
  • Cheminée
  • Barbecue
  • Serviettes
  • Feuilles
10Magnifique | 21 avis
Richview Gardens Suite - Photo 1
Richview Gardens Suite - Photo 2
Richview Gardens Suite - Photo 3
Richview Gardens Suite - Photo 4
Richview Gardens Suite - Photo 5
Richview Gardens Suite - Photo 6
Richview Gardens Suite - Photo 7
Richview Gardens Suite - Photo 8
Richview Gardens Suite - Photo 9
Richview Gardens Suite - Photo 10
Richview Gardens Suite - Photo 11
Richview Gardens Suite - Photo 12
Richview Gardens Suite - Photo 13
Richview Gardens Suite - Photo 14
Richview Gardens Suite - Photo 15
Richview Gardens Suite - Photo 16
Richview Gardens Suite - Photo 17

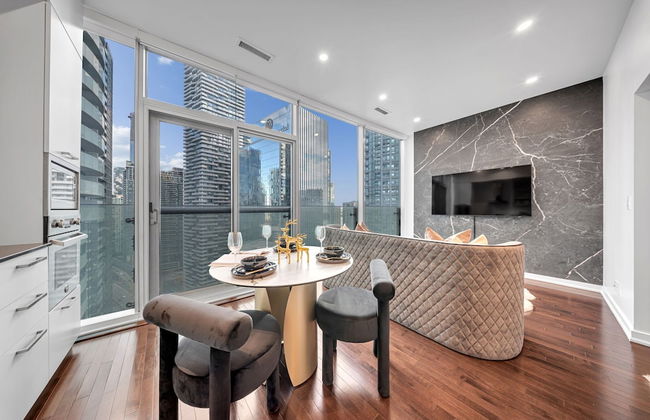
Richview Gardens Suite

Toronto - The Westway - À 13.7 km du centre

  • 101 M2
  • 6 personnes
  • Air conditionné
  • Le chauffage
  • Terrasse
  • Parking
  • Ascenseur
  • Jardin
  • Tv
  • Barbecue
  • Serviettes
  • Feuilles
10Magnifique | 14 avis
Horseshoe Valley Suites - The Azure - Photo 1
Horseshoe Valley Suites - The Azure - Photo 2
Horseshoe Valley Suites - The Azure - Photo 3
Horseshoe Valley Suites - The Azure - Photo 4
Horseshoe Valley Suites - The Azure - Photo 5
Horseshoe Valley Suites - The Azure - Photo 6
Horseshoe Valley Suites - The Azure - Photo 7
Horseshoe Valley Suites - The Azure - Photo 8
Horseshoe Valley Suites - The Azure - Photo 9
Horseshoe Valley Suites - The Azure - Photo 10
Horseshoe Valley Suites - The Azure - Photo 11
Horseshoe Valley Suites - The Azure - Photo 12
Horseshoe Valley Suites - The Azure - Photo 13
Horseshoe Valley Suites - The Azure - Photo 14
Horseshoe Valley Suites - The Azure - Photo 15
Horseshoe Valley Suites - The Azure - Photo 16
Horseshoe Valley Suites - The Azure - Photo 17
Horseshoe Valley Suites - The Azure - Photo 18
Horseshoe Valley Suites - The Azure - Photo 19
Horseshoe Valley Suites - The Azure - Photo 20
Horseshoe Valley Suites - The Azure - Photo 21
Horseshoe Valley Suites - The Azure - Photo 22
Horseshoe Valley Suites - The Azure - Photo 23
Horseshoe Valley Suites - The Azure - Photo 24
Horseshoe Valley Suites - The Azure - Photo 25
Horseshoe Valley Suites - The Azure - Photo 26
Horseshoe Valley Suites - The Azure - Photo 27
Horseshoe Valley Suites - The Azure - Photo 28
Horseshoe Valley Suites - The Azure - Photo 29
Horseshoe Valley Suites - The Azure - Photo 30
Horseshoe Valley Suites - The Azure - Photo 31
Horseshoe Valley Suites - The Azure - Photo 32
Horseshoe Valley Suites - The Azure - Photo 33
Horseshoe Valley Suites - The Azure - Photo 34
Horseshoe Valley Suites - The Azure - Photo 35
Horseshoe Valley Suites - The Azure - Photo 36
Horseshoe Valley Suites - The Azure - Photo 37
Horseshoe Valley Suites - The Azure - Photo 38
Horseshoe Valley Suites - The Azure - Photo 39
Horseshoe Valley Suites - The Azure - Photo 40
Horseshoe Valley Suites - The Azure - Photo 41
Horseshoe Valley Suites - The Azure - Photo 42
Horseshoe Valley Suites - The Azure - Photo 43
Horseshoe Valley Suites - The Azure - Photo 44

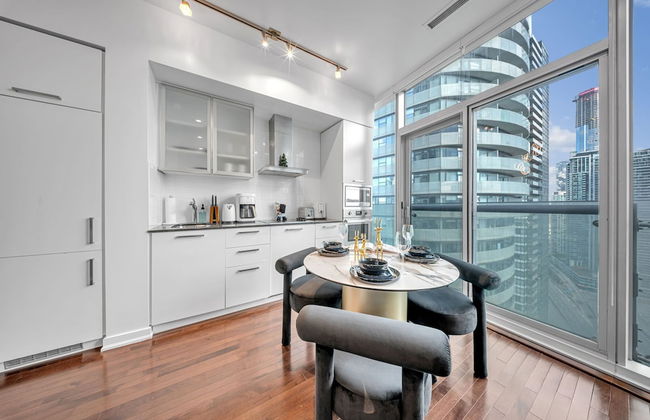
Horseshoe Valley Suites - The Azure

Oro-Medonte - À 13.1 km du centre

  • 8 personnes
  • Air conditionné
  • Le chauffage
  • Terrasse
  • Piscine
  • Parking
  • Jardin
  • Tv
  • Machine à laver
  • Cheminée
  • Serviettes
  • Feuilles
9.8Exceptionnel | 15 avis
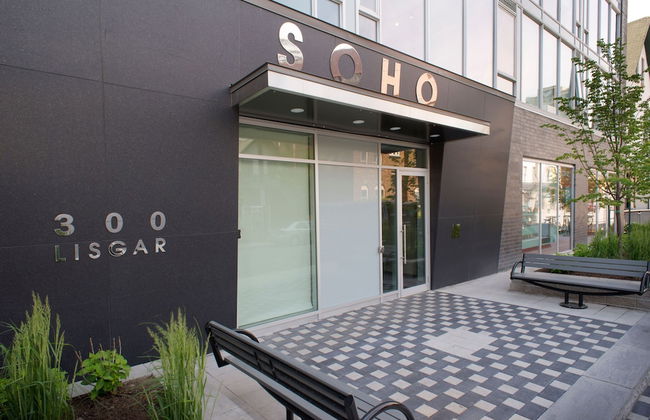
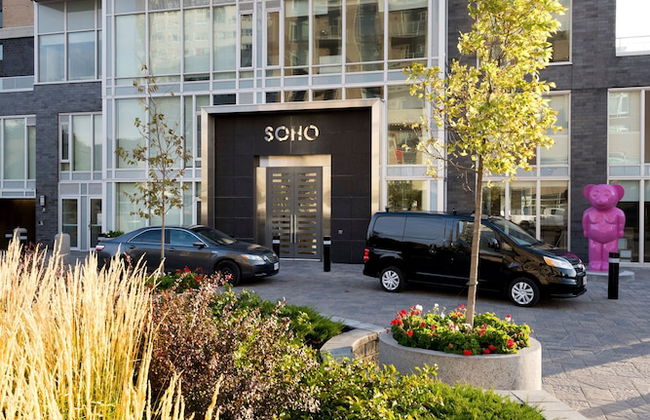
SOHO Residences Lisgar - Photo 1
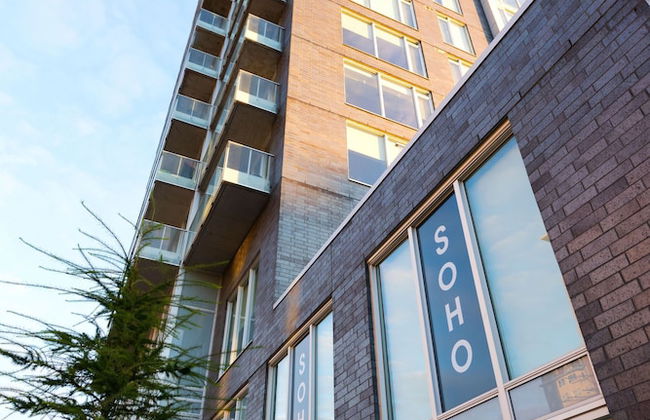
SOHO Residences Lisgar - Photo 2
SOHO Residences Lisgar - Photo 3
SOHO Residences Lisgar - Photo 4
SOHO Residences Lisgar - Photo 5
SOHO Residences Lisgar - Photo 6
SOHO Residences Lisgar - Photo 7
SOHO Residences Lisgar - Photo 8
SOHO Residences Lisgar - Photo 9
SOHO Residences Lisgar - Photo 10
SOHO Residences Lisgar - Photo 11
SOHO Residences Lisgar - Photo 12
SOHO Residences Lisgar - Photo 13
SOHO Residences Lisgar - Photo 14
SOHO Residences Lisgar - Photo 15
SOHO Residences Lisgar - Photo 16
SOHO Residences Lisgar - Photo 17
SOHO Residences Lisgar - Photo 18
SOHO Residences Lisgar - Photo 19
SOHO Residences Lisgar - Photo 20
SOHO Residences Lisgar - Photo 21
SOHO Residences Lisgar - Photo 22
SOHO Residences Lisgar - Photo 23
SOHO Residences Lisgar - Photo 24
SOHO Residences Lisgar - Photo 25
SOHO Residences Lisgar - Photo 26
SOHO Residences Lisgar - Photo 27
SOHO Residences Lisgar - Photo 28

SOHO Residences Lisgar

Ottawa - Centretown-Downtown - Dans le centre

  • 81 M2
  • 4 personnes
  • Air conditionné
  • Le chauffage
  • Terrasse
  • Piscine
  • Parking
  • Ascenseur
  • Jardin
  • Tv
  • Machine à laver
  • Barbecue
  • Serviettes
  • Feuilles
9.4Exceptionnel | 509 avis
Suites On King - Photo 1
Suites On King - Photo 2
Suites On King - Photo 3
Suites On King - Photo 4
Suites On King - Photo 5
Suites On King - Photo 6
Suites On King - Photo 7
Suites On King - Photo 8
Suites On King - Photo 9
Suites On King - Photo 10
Suites On King - Photo 11
Suites On King - Photo 12
Suites On King - Photo 13
Suites On King - Photo 14
Suites On King - Photo 15
Suites On King - Photo 16
Suites On King - Photo 17
Suites On King - Photo 18
Suites On King - Photo 19
Suites On King - Photo 20
Suites On King - Photo 21
Suites On King - Photo 22
Suites On King - Photo 23
Suites On King - Photo 24
Suites On King - Photo 25
Suites On King - Photo 26
Suites On King - Photo 27
Suites On King - Photo 28
Suites On King - Photo 29
Suites On King - Photo 30

Suites On King

Niagara-on-the-Lake - Dans le centre

  • 74 M2
  • 4 personnes
  • Cuisinette
  • Air conditionné
  • Le chauffage
  • Terrasse
  • Parking
  • Balcon
  • Tv
  • Machine à laver
  • Cheminée
  • Serviettes
  • Feuilles
10Magnifique | 245 avis
The Harbour Toronto - Photo 1
The Harbour Toronto - Photo 2
The Harbour Toronto - Photo 3
The Harbour Toronto - Photo 4
The Harbour Toronto - Photo 5
The Harbour Toronto - Photo 6
The Harbour Toronto - Photo 7
The Harbour Toronto - Photo 8
The Harbour Toronto - Photo 9
The Harbour Toronto - Photo 10
The Harbour Toronto - Photo 11
The Harbour Toronto - Photo 12
The Harbour Toronto - Photo 13
The Harbour Toronto - Photo 14
The Harbour Toronto - Photo 15
The Harbour Toronto - Photo 16
The Harbour Toronto - Photo 17
The Harbour Toronto - Photo 18
The Harbour Toronto - Photo 19
The Harbour Toronto - Photo 20
The Harbour Toronto - Photo 21
The Harbour Toronto - Photo 22
The Harbour Toronto - Photo 23
The Harbour Toronto - Photo 24
The Harbour Toronto - Photo 25
The Harbour Toronto - Photo 26
The Harbour Toronto - Photo 27
The Harbour Toronto - Photo 28
The Harbour Toronto - Photo 29
The Harbour Toronto - Photo 30
The Harbour Toronto - Photo 31
The Harbour Toronto - Photo 32
The Harbour Toronto - Photo 33
The Harbour Toronto - Photo 34
The Harbour Toronto - Photo 35
The Harbour Toronto - Photo 36
The Harbour Toronto - Photo 37
The Harbour Toronto - Photo 38
The Harbour Toronto - Photo 39
The Harbour Toronto - Photo 40
The Harbour Toronto - Photo 41
The Harbour Toronto - Photo 42
The Harbour Toronto - Photo 43
The Harbour Toronto - Photo 44
The Harbour Toronto - Photo 45
The Harbour Toronto - Photo 46
The Harbour Toronto - Photo 47
The Harbour Toronto - Photo 48
The Harbour Toronto - Photo 49
The Harbour Toronto - Photo 50
The Harbour Toronto - Photo 51
The Harbour Toronto - Photo 52
The Harbour Toronto - Photo 53
The Harbour Toronto - Photo 54
The Harbour Toronto - Photo 55
The Harbour Toronto - Photo 56
The Harbour Toronto - Photo 57
The Harbour Toronto - Photo 58
The Harbour Toronto - Photo 59
The Harbour Toronto - Photo 60
The Harbour Toronto - Photo 61
The Harbour Toronto - Photo 62
The Harbour Toronto - Photo 63
The Harbour Toronto - Photo 64
The Harbour Toronto - Photo 65
The Harbour Toronto - Photo 66
The Harbour Toronto - Photo 67
The Harbour Toronto - Photo 68
The Harbour Toronto - Photo 69
The Harbour Toronto - Photo 70
The Harbour Toronto - Photo 71
The Harbour Toronto - Photo 72
The Harbour Toronto - Photo 73
The Harbour Toronto - Photo 74
The Harbour Toronto - Photo 75
The Harbour Toronto - Photo 76
The Harbour Toronto - Photo 77
The Harbour Toronto - Photo 78
The Harbour Toronto - Photo 79
The Harbour Toronto - Photo 80

The Harbour Toronto

Toronto - Waterfront Communities-the Island - À 310 m du centre

  • 111 M2
  • 7 personnes
  • Cuisinette
  • Air conditionné
  • Le chauffage
  • Piscine
  • Parking
  • Ascenseur
  • Balcon
  • Tv
  • Machine à laver
  • Serviettes
  • Feuilles
9.6Exceptionnel | 38 avis
The Yorkville Suites - Photo 1
The Yorkville Suites - Photo 2
The Yorkville Suites - Photo 3
The Yorkville Suites - Photo 4
The Yorkville Suites - Photo 5
The Yorkville Suites - Photo 6
The Yorkville Suites - Photo 7
The Yorkville Suites - Photo 8
The Yorkville Suites - Photo 9
The Yorkville Suites - Photo 10
The Yorkville Suites - Photo 11
The Yorkville Suites - Photo 12
The Yorkville Suites - Photo 13
The Yorkville Suites - Photo 14
The Yorkville Suites - Photo 15
The Yorkville Suites - Photo 16
The Yorkville Suites - Photo 17
The Yorkville Suites - Photo 18
The Yorkville Suites - Photo 19
The Yorkville Suites - Photo 20
The Yorkville Suites - Photo 21
The Yorkville Suites - Photo 22
The Yorkville Suites - Photo 23
The Yorkville Suites - Photo 24
The Yorkville Suites - Photo 25
The Yorkville Suites - Photo 26
The Yorkville Suites - Photo 27
The Yorkville Suites - Photo 28
The Yorkville Suites - Photo 29
The Yorkville Suites - Photo 30
The Yorkville Suites - Photo 31
The Yorkville Suites - Photo 32
The Yorkville Suites - Photo 33
The Yorkville Suites - Photo 34
The Yorkville Suites - Photo 35
The Yorkville Suites - Photo 36
The Yorkville Suites - Photo 37
The Yorkville Suites - Photo 38
The Yorkville Suites - Photo 39
The Yorkville Suites - Photo 40
The Yorkville Suites - Photo 41
The Yorkville Suites - Photo 42
The Yorkville Suites - Photo 43
The Yorkville Suites - Photo 44
The Yorkville Suites - Photo 45
The Yorkville Suites - Photo 46
The Yorkville Suites - Photo 47
The Yorkville Suites - Photo 48
The Yorkville Suites - Photo 49
The Yorkville Suites - Photo 50
The Yorkville Suites - Photo 51
The Yorkville Suites - Photo 52
The Yorkville Suites - Photo 53
The Yorkville Suites - Photo 54
The Yorkville Suites - Photo 55
The Yorkville Suites - Photo 56
The Yorkville Suites - Photo 57
The Yorkville Suites - Photo 58
The Yorkville Suites - Photo 59
The Yorkville Suites - Photo 60
The Yorkville Suites - Photo 61
The Yorkville Suites - Photo 62
The Yorkville Suites - Photo 63
The Yorkville Suites - Photo 64
The Yorkville Suites - Photo 65
The Yorkville Suites - Photo 66
The Yorkville Suites - Photo 67
The Yorkville Suites - Photo 68
The Yorkville Suites - Photo 69
The Yorkville Suites - Photo 70
The Yorkville Suites - Photo 71
The Yorkville Suites - Photo 72
The Yorkville Suites - Photo 73
The Yorkville Suites - Photo 74
The Yorkville Suites - Photo 75
The Yorkville Suites - Photo 76
The Yorkville Suites - Photo 77
The Yorkville Suites - Photo 78
The Yorkville Suites - Photo 79
The Yorkville Suites - Photo 80

The Yorkville Suites

Toronto - Annex - À 1.9 km du centre

  • 121 M2
  • 6 personnes
  • Air conditionné
  • Le chauffage
  • Piscine
  • Parking
  • Ascenseur
  • Tv
  • Machine à laver
  • Serviettes
  • Feuilles
9.6Exceptionnel | 127 avis
Bellair Yorkville - Photo 1
Bellair Yorkville - Photo 2
Bellair Yorkville - Photo 3
Bellair Yorkville - Photo 4
Bellair Yorkville - Photo 5
Bellair Yorkville - Photo 6
Bellair Yorkville - Photo 7
Bellair Yorkville - Photo 8
Bellair Yorkville - Photo 9
Bellair Yorkville - Photo 10
Bellair Yorkville - Photo 11
Bellair Yorkville - Photo 12
Bellair Yorkville - Photo 13
Bellair Yorkville - Photo 14
Bellair Yorkville - Photo 15
Bellair Yorkville - Photo 16
Bellair Yorkville - Photo 17
Bellair Yorkville - Photo 18
Bellair Yorkville - Photo 19
Bellair Yorkville - Photo 20
Bellair Yorkville - Photo 21
Bellair Yorkville - Photo 22
Bellair Yorkville - Photo 23
Bellair Yorkville - Photo 24
Bellair Yorkville - Photo 25
Bellair Yorkville - Photo 26
Bellair Yorkville - Photo 27
Bellair Yorkville - Photo 28
Bellair Yorkville - Photo 29
Bellair Yorkville - Photo 30
Bellair Yorkville - Photo 31
Bellair Yorkville - Photo 32
Bellair Yorkville - Photo 33
Bellair Yorkville - Photo 34
Bellair Yorkville - Photo 35
Bellair Yorkville - Photo 36
Bellair Yorkville - Photo 37
Bellair Yorkville - Photo 38
Bellair Yorkville - Photo 39
Bellair Yorkville - Photo 40
Bellair Yorkville - Photo 41
Bellair Yorkville - Photo 42
Bellair Yorkville - Photo 43
Bellair Yorkville - Photo 44
Bellair Yorkville - Photo 45
Bellair Yorkville - Photo 46
Bellair Yorkville - Photo 47
Bellair Yorkville - Photo 48
Bellair Yorkville - Photo 49
Bellair Yorkville - Photo 50
Bellair Yorkville - Photo 51
Bellair Yorkville - Photo 52
Bellair Yorkville - Photo 53
Bellair Yorkville - Photo 54
Bellair Yorkville - Photo 55
Bellair Yorkville - Photo 56
Bellair Yorkville - Photo 57
Bellair Yorkville - Photo 58
Bellair Yorkville - Photo 59
Bellair Yorkville - Photo 60
Bellair Yorkville - Photo 61
Bellair Yorkville - Photo 62
Bellair Yorkville - Photo 63
Bellair Yorkville - Photo 64
Bellair Yorkville - Photo 65
Bellair Yorkville - Photo 66
Bellair Yorkville - Photo 67
Bellair Yorkville - Photo 68
Bellair Yorkville - Photo 69
Bellair Yorkville - Photo 70
Bellair Yorkville - Photo 71
Bellair Yorkville - Photo 72
Bellair Yorkville - Photo 73
Bellair Yorkville - Photo 74
Bellair Yorkville - Photo 75
Bellair Yorkville - Photo 76
Bellair Yorkville - Photo 77
Bellair Yorkville - Photo 78
Bellair Yorkville - Photo 79
Bellair Yorkville - Photo 80

Bellair Yorkville

Toronto - Annex - À 2 km du centre

  • 93 M2
  • 5 personnes
  • Air conditionné
  • Le chauffage
  • Piscine
  • Parking
  • Ascenseur
  • Tv
  • Machine à laver
  • Serviettes
  • Feuilles
9.6Exceptionnel | 105 avis
NAPA Furnished Suites & Apartments - Photo 1
NAPA Furnished Suites & Apartments - Photo 2
NAPA Furnished Suites & Apartments - Photo 3
NAPA Furnished Suites & Apartments - Photo 4
NAPA Furnished Suites & Apartments - Photo 5
NAPA Furnished Suites & Apartments - Photo 6
NAPA Furnished Suites & Apartments - Photo 7
NAPA Furnished Suites & Apartments - Photo 8
NAPA Furnished Suites & Apartments - Photo 9
NAPA Furnished Suites & Apartments - Photo 10
NAPA Furnished Suites & Apartments - Photo 11
NAPA Furnished Suites & Apartments - Photo 12
NAPA Furnished Suites & Apartments - Photo 13
NAPA Furnished Suites & Apartments - Photo 14
NAPA Furnished Suites & Apartments - Photo 15
NAPA Furnished Suites & Apartments - Photo 16
NAPA Furnished Suites & Apartments - Photo 17
NAPA Furnished Suites & Apartments - Photo 18
NAPA Furnished Suites & Apartments - Photo 19
NAPA Furnished Suites & Apartments - Photo 20
NAPA Furnished Suites & Apartments - Photo 21
NAPA Furnished Suites & Apartments - Photo 22
NAPA Furnished Suites & Apartments - Photo 23
NAPA Furnished Suites & Apartments - Photo 24
NAPA Furnished Suites & Apartments - Photo 25
NAPA Furnished Suites & Apartments - Photo 26
NAPA Furnished Suites & Apartments - Photo 27
NAPA Furnished Suites & Apartments - Photo 28
NAPA Furnished Suites & Apartments - Photo 29
NAPA Furnished Suites & Apartments - Photo 30
NAPA Furnished Suites & Apartments - Photo 31
NAPA Furnished Suites & Apartments - Photo 32
NAPA Furnished Suites & Apartments - Photo 33
NAPA Furnished Suites & Apartments - Photo 34
NAPA Furnished Suites & Apartments - Photo 35
NAPA Furnished Suites & Apartments - Photo 36
NAPA Furnished Suites & Apartments - Photo 37
NAPA Furnished Suites & Apartments - Photo 38
NAPA Furnished Suites & Apartments - Photo 39
NAPA Furnished Suites & Apartments - Photo 40
NAPA Furnished Suites & Apartments - Photo 41
NAPA Furnished Suites & Apartments - Photo 42
NAPA Furnished Suites & Apartments - Photo 43
NAPA Furnished Suites & Apartments - Photo 44
NAPA Furnished Suites & Apartments - Photo 45
NAPA Furnished Suites & Apartments - Photo 46
NAPA Furnished Suites & Apartments - Photo 47
NAPA Furnished Suites & Apartments - Photo 48
NAPA Furnished Suites & Apartments - Photo 49
NAPA Furnished Suites & Apartments - Photo 50
NAPA Furnished Suites & Apartments - Photo 51
NAPA Furnished Suites & Apartments - Photo 52
NAPA Furnished Suites & Apartments - Photo 53
NAPA Furnished Suites & Apartments - Photo 54
NAPA Furnished Suites & Apartments - Photo 55

NAPA Furnished Suites & Apartments

Toronto - Waterfront Communities-the Island - À 350 m du centre

  • 102 M2
  • 6 personnes
  • Air conditionné
  • Terrasse
  • Piscine
  • Parking
  • Ascenseur
  • Balcon
  • Jardin
  • Tv
  • Machine à laver
  • Serviettes
9.4Exceptionnel | 21 avis
Maplewood Furnished Suites - Photo 1
Maplewood Furnished Suites - Photo 2
Maplewood Furnished Suites - Photo 3
Maplewood Furnished Suites - Photo 4
Maplewood Furnished Suites - Photo 5
Maplewood Furnished Suites - Photo 6
Maplewood Furnished Suites - Photo 7
Maplewood Furnished Suites - Photo 8
Maplewood Furnished Suites - Photo 9
Maplewood Furnished Suites - Photo 10
Maplewood Furnished Suites - Photo 11
Maplewood Furnished Suites - Photo 12
Maplewood Furnished Suites - Photo 13
Maplewood Furnished Suites - Photo 14
Maplewood Furnished Suites - Photo 15
Maplewood Furnished Suites - Photo 16
Maplewood Furnished Suites - Photo 17
Maplewood Furnished Suites - Photo 18
Maplewood Furnished Suites - Photo 19
Maplewood Furnished Suites - Photo 20
Maplewood Furnished Suites - Photo 21

Maplewood Furnished Suites

Mississauga - Cooksville - À 570 m du centre

  • 70 M2
  • 4 personnes
  • Air conditionné
  • Le chauffage
  • Terrasse
  • Piscine
  • Parking
  • Ascenseur
  • Balcon
  • Jardin
  • Tv
  • Machine à laver
  • Barbecue
  • Serviettes
9.2Exceptionnel | 14 avis
Condo in the sky with a breathtaking view - Photo 1
Condo in the sky with a breathtaking view - Photo 2
Condo in the sky with a breathtaking view - Photo 3
Condo in the sky with a breathtaking view - Photo 4
Condo in the sky with a breathtaking view - Photo 5
Condo in the sky with a breathtaking view - Photo 6
Condo in the sky with a breathtaking view - Photo 7
Condo in the sky with a breathtaking view - Photo 8
Condo in the sky with a breathtaking view - Photo 9
Condo in the sky with a breathtaking view - Photo 10
Condo in the sky with a breathtaking view - Photo 11
Condo in the sky with a breathtaking view - Photo 12
Condo in the sky with a breathtaking view - Photo 13
Condo in the sky with a breathtaking view - Photo 14
Condo in the sky with a breathtaking view - Photo 15
Condo in the sky with a breathtaking view - Photo 16
Condo in the sky with a breathtaking view - Photo 17
Condo in the sky with a breathtaking view - Photo 18
Condo in the sky with a breathtaking view - Photo 19
Condo in the sky with a breathtaking view - Photo 20
Condo in the sky with a breathtaking view - Photo 21
Condo in the sky with a breathtaking view - Photo 22
Condo in the sky with a breathtaking view - Photo 23
Condo in the sky with a breathtaking view - Photo 24
Condo in the sky with a breathtaking view - Photo 25
Condo in the sky with a breathtaking view - Photo 26
Condo in the sky with a breathtaking view - Photo 27
Condo in the sky with a breathtaking view - Photo 28
Condo in the sky with a breathtaking view - Photo 29
Condo in the sky with a breathtaking view - Photo 30
Condo in the sky with a breathtaking view - Photo 31
Condo in the sky with a breathtaking view - Photo 32
Condo in the sky with a breathtaking view - Photo 33
Condo in the sky with a breathtaking view - Photo 34
Condo in the sky with a breathtaking view - Photo 35
Condo in the sky with a breathtaking view - Photo 36
Condo in the sky with a breathtaking view - Photo 37
Condo in the sky with a breathtaking view - Photo 38
Condo in the sky with a breathtaking view - Photo 39
Condo in the sky with a breathtaking view - Photo 40
Condo in the sky with a breathtaking view - Photo 41
Condo in the sky with a breathtaking view - Photo 42
Condo in the sky with a breathtaking view - Photo 43
Condo in the sky with a breathtaking view - Photo 44
Condo in the sky with a breathtaking view - Photo 45
Condo in the sky with a breathtaking view - Photo 46

Condo in the sky with a breathtaking view

Toronto - Waterfront Communities-the Island - À 360 m du centre

  • 557 M2
  • 4 personnes
  • Air conditionné
  • Le chauffage
  • Ascenseur
  • Tv
  • Machine à laver
9.8Exceptionnel | 33 avis
The Aurelien Luxe Collection - Photo 1
The Aurelien Luxe Collection - Photo 2
The Aurelien Luxe Collection - Photo 3
The Aurelien Luxe Collection - Photo 4
The Aurelien Luxe Collection - Photo 5
The Aurelien Luxe Collection - Photo 6
The Aurelien Luxe Collection - Photo 7
The Aurelien Luxe Collection - Photo 8
The Aurelien Luxe Collection - Photo 9
The Aurelien Luxe Collection - Photo 10
The Aurelien Luxe Collection - Photo 11
The Aurelien Luxe Collection - Photo 12
The Aurelien Luxe Collection - Photo 13
The Aurelien Luxe Collection - Photo 14
The Aurelien Luxe Collection - Photo 15
The Aurelien Luxe Collection - Photo 16
The Aurelien Luxe Collection - Photo 17
The Aurelien Luxe Collection - Photo 18
The Aurelien Luxe Collection - Photo 19
The Aurelien Luxe Collection - Photo 20
The Aurelien Luxe Collection - Photo 21
The Aurelien Luxe Collection - Photo 22
The Aurelien Luxe Collection - Photo 23
The Aurelien Luxe Collection - Photo 24
The Aurelien Luxe Collection - Photo 25
The Aurelien Luxe Collection - Photo 26
The Aurelien Luxe Collection - Photo 27
The Aurelien Luxe Collection - Photo 28
The Aurelien Luxe Collection - Photo 29
The Aurelien Luxe Collection - Photo 30
The Aurelien Luxe Collection - Photo 31
The Aurelien Luxe Collection - Photo 32
The Aurelien Luxe Collection - Photo 33
The Aurelien Luxe Collection - Photo 34
The Aurelien Luxe Collection - Photo 35
The Aurelien Luxe Collection - Photo 36
The Aurelien Luxe Collection - Photo 37
The Aurelien Luxe Collection - Photo 38
The Aurelien Luxe Collection - Photo 39
The Aurelien Luxe Collection - Photo 40
The Aurelien Luxe Collection - Photo 41
The Aurelien Luxe Collection - Photo 42
The Aurelien Luxe Collection - Photo 43
The Aurelien Luxe Collection - Photo 44
The Aurelien Luxe Collection - Photo 45
The Aurelien Luxe Collection - Photo 46
The Aurelien Luxe Collection - Photo 47
The Aurelien Luxe Collection - Photo 48
The Aurelien Luxe Collection - Photo 49
The Aurelien Luxe Collection - Photo 50
The Aurelien Luxe Collection - Photo 51
The Aurelien Luxe Collection - Photo 52
The Aurelien Luxe Collection - Photo 53
The Aurelien Luxe Collection - Photo 54
The Aurelien Luxe Collection - Photo 55
The Aurelien Luxe Collection - Photo 56
The Aurelien Luxe Collection - Photo 57
The Aurelien Luxe Collection - Photo 58
The Aurelien Luxe Collection - Photo 59
The Aurelien Luxe Collection - Photo 60
The Aurelien Luxe Collection - Photo 61
The Aurelien Luxe Collection - Photo 62
The Aurelien Luxe Collection - Photo 63
The Aurelien Luxe Collection - Photo 64
The Aurelien Luxe Collection - Photo 65
The Aurelien Luxe Collection - Photo 66
The Aurelien Luxe Collection - Photo 67
The Aurelien Luxe Collection - Photo 68
The Aurelien Luxe Collection - Photo 69
The Aurelien Luxe Collection - Photo 70
The Aurelien Luxe Collection - Photo 71
The Aurelien Luxe Collection - Photo 72
The Aurelien Luxe Collection - Photo 73
The Aurelien Luxe Collection - Photo 74
The Aurelien Luxe Collection - Photo 75
The Aurelien Luxe Collection - Photo 76
The Aurelien Luxe Collection - Photo 77
The Aurelien Luxe Collection - Photo 78
The Aurelien Luxe Collection - Photo 79
The Aurelien Luxe Collection - Photo 80

The Aurelien Luxe Collection

Toronto - Waterfront Communities-the Island - Dans le centre

  • 74 M2
  • 4 personnes
  • Cuisinette
  • Air conditionné
  • Le chauffage
  • Ascenseur
  • Tv
  • Serviettes
9.8Exceptionnel | 48 avis
Goodwood Suites - Photo 1
Goodwood Suites - Photo 2
Goodwood Suites - Photo 3
Goodwood Suites - Photo 4
Goodwood Suites - Photo 5
Goodwood Suites - Photo 6
Goodwood Suites - Photo 7
Goodwood Suites - Photo 8
Goodwood Suites - Photo 9
Goodwood Suites - Photo 10
Goodwood Suites - Photo 11
Goodwood Suites - Photo 12
Goodwood Suites - Photo 13
Goodwood Suites - Photo 14
Goodwood Suites - Photo 15
Goodwood Suites - Photo 16
Goodwood Suites - Photo 17
Goodwood Suites - Photo 18
Goodwood Suites - Photo 19
Goodwood Suites - Photo 20
Goodwood Suites - Photo 21
Goodwood Suites - Photo 22
Goodwood Suites - Photo 23
Goodwood Suites - Photo 24
Goodwood Suites - Photo 25
Goodwood Suites - Photo 26
Goodwood Suites - Photo 27
Goodwood Suites - Photo 28
Goodwood Suites - Photo 29
Goodwood Suites - Photo 30
Goodwood Suites - Photo 31
Goodwood Suites - Photo 32
Goodwood Suites - Photo 33
Goodwood Suites - Photo 34
Goodwood Suites - Photo 35
Goodwood Suites - Photo 36
Goodwood Suites - Photo 37
Goodwood Suites - Photo 38
Goodwood Suites - Photo 39
Goodwood Suites - Photo 40
Goodwood Suites - Photo 41
Goodwood Suites - Photo 42

Goodwood Suites

Mississauga - Ovation at City Centre - Dans le centre

  • 102 M2
  • 4 personnes
  • Cuisinette
  • Air conditionné
  • Terrasse
  • Piscine
  • Parking
  • Ascenseur
  • Balcon
  • Jardin
  • Tv
  • Machine à laver
  • Cheminée
  • Barbecue
  • Serviettes
9.2Exceptionnel | 52 avis
Boho Beaver - Photo 1
Boho Beaver - Photo 2
Boho Beaver - Photo 3
Boho Beaver - Photo 4
Boho Beaver - Photo 5
Boho Beaver - Photo 6
Boho Beaver - Photo 7
Boho Beaver - Photo 8
Boho Beaver - Photo 9
Boho Beaver - Photo 10
Boho Beaver - Photo 11
Boho Beaver - Photo 12
Boho Beaver - Photo 13
Boho Beaver - Photo 14
Boho Beaver - Photo 15
Boho Beaver - Photo 16
Boho Beaver - Photo 17
Boho Beaver - Photo 18
Boho Beaver - Photo 19
Boho Beaver - Photo 20
Boho Beaver - Photo 21
Boho Beaver - Photo 22
Boho Beaver - Photo 23
Boho Beaver - Photo 24
Boho Beaver - Photo 25
Boho Beaver - Photo 26
Boho Beaver - Photo 27
Boho Beaver - Photo 28
Boho Beaver - Photo 29
Boho Beaver - Photo 30
Boho Beaver - Photo 31
Boho Beaver - Photo 32
Boho Beaver - Photo 33
Boho Beaver - Photo 34
Boho Beaver - Photo 35
Boho Beaver - Photo 36

Boho Beaver

Grey Highlands - À 19.6 km du centre

  • 2 personnes
  • Cuisinette
  • Air conditionné
  • Le chauffage
  • Parking
  • Tv
  • Cheminée
  • Serviettes
  • Feuilles
10Magnifique | 12 avis
Parkside Flat #5 - Seacliff Beach Suites - Photo 1
Parkside Flat #5 - Seacliff Beach Suites - Photo 2
Parkside Flat #5 - Seacliff Beach Suites - Photo 3
Parkside Flat #5 - Seacliff Beach Suites - Photo 4
Parkside Flat #5 - Seacliff Beach Suites - Photo 5
Parkside Flat #5 - Seacliff Beach Suites - Photo 6
Parkside Flat #5 - Seacliff Beach Suites - Photo 7
Parkside Flat #5 - Seacliff Beach Suites - Photo 8
Parkside Flat #5 - Seacliff Beach Suites - Photo 9
Parkside Flat #5 - Seacliff Beach Suites - Photo 10
Parkside Flat #5 - Seacliff Beach Suites - Photo 11
Parkside Flat #5 - Seacliff Beach Suites - Photo 12
Parkside Flat #5 - Seacliff Beach Suites - Photo 13
Parkside Flat #5 - Seacliff Beach Suites - Photo 14
Parkside Flat #5 - Seacliff Beach Suites - Photo 15
Parkside Flat #5 - Seacliff Beach Suites - Photo 16
Parkside Flat #5 - Seacliff Beach Suites - Photo 17
Parkside Flat #5 - Seacliff Beach Suites - Photo 18
Parkside Flat #5 - Seacliff Beach Suites - Photo 19
Parkside Flat #5 - Seacliff Beach Suites - Photo 20
Parkside Flat #5 - Seacliff Beach Suites - Photo 21
Parkside Flat #5 - Seacliff Beach Suites - Photo 22
Parkside Flat #5 - Seacliff Beach Suites - Photo 23
Parkside Flat #5 - Seacliff Beach Suites - Photo 24
Parkside Flat #5 - Seacliff Beach Suites - Photo 25
Parkside Flat #5 - Seacliff Beach Suites - Photo 26
Parkside Flat #5 - Seacliff Beach Suites - Photo 27
Parkside Flat #5 - Seacliff Beach Suites - Photo 28
Parkside Flat #5 - Seacliff Beach Suites - Photo 29
Parkside Flat #5 - Seacliff Beach Suites - Photo 30
Parkside Flat #5 - Seacliff Beach Suites - Photo 31
Parkside Flat #5 - Seacliff Beach Suites - Photo 32
Parkside Flat #5 - Seacliff Beach Suites - Photo 33
Parkside Flat #5 - Seacliff Beach Suites - Photo 34

Parkside Flat #5 - Seacliff Beach Suites

Leamington - À 1.7 km du centre

  • 84 M2
  • 6 personnes
  • Air conditionné
  • Le chauffage
  • Parking
  • Tv
  • Cheminée
  • Barbecue
  • Serviettes
  • Feuilles
10Magnifique | 12 avis
Horseshoe Valley Suites - The Evergreen - Photo 1
Horseshoe Valley Suites - The Evergreen - Photo 2
Horseshoe Valley Suites - The Evergreen - Photo 3
Horseshoe Valley Suites - The Evergreen - Photo 4
Horseshoe Valley Suites - The Evergreen - Photo 5
Horseshoe Valley Suites - The Evergreen - Photo 6
Horseshoe Valley Suites - The Evergreen - Photo 7
Horseshoe Valley Suites - The Evergreen - Photo 8
Horseshoe Valley Suites - The Evergreen - Photo 9
Horseshoe Valley Suites - The Evergreen - Photo 10
Horseshoe Valley Suites - The Evergreen - Photo 11
Horseshoe Valley Suites - The Evergreen - Photo 12
Horseshoe Valley Suites - The Evergreen - Photo 13
Horseshoe Valley Suites - The Evergreen - Photo 14
Horseshoe Valley Suites - The Evergreen - Photo 15
Horseshoe Valley Suites - The Evergreen - Photo 16
Horseshoe Valley Suites - The Evergreen - Photo 17
Horseshoe Valley Suites - The Evergreen - Photo 18
Horseshoe Valley Suites - The Evergreen - Photo 19
Horseshoe Valley Suites - The Evergreen - Photo 20
Horseshoe Valley Suites - The Evergreen - Photo 21
Horseshoe Valley Suites - The Evergreen - Photo 22
Horseshoe Valley Suites - The Evergreen - Photo 23
Horseshoe Valley Suites - The Evergreen - Photo 24
Horseshoe Valley Suites - The Evergreen - Photo 25
Horseshoe Valley Suites - The Evergreen - Photo 26
Horseshoe Valley Suites - The Evergreen - Photo 27
Horseshoe Valley Suites - The Evergreen - Photo 28

Horseshoe Valley Suites - The Evergreen

Oro-Medonte - À 13.1 km du centre

  • 4 personnes
  • Air conditionné
  • Le chauffage
  • Piscine
  • Parking
  • Tv
  • Machine à laver
  • Cheminée
  • Serviettes
  • Feuilles
9.6Exceptionnel | 10 avis
Cannery Lofts Niagara - Photo 1
Cannery Lofts Niagara - Photo 2
Cannery Lofts Niagara - Photo 3
Cannery Lofts Niagara - Photo 4
Cannery Lofts Niagara - Photo 5
Cannery Lofts Niagara - Photo 6
Cannery Lofts Niagara - Photo 7
Cannery Lofts Niagara - Photo 8
Cannery Lofts Niagara - Photo 9
Cannery Lofts Niagara - Photo 10
Cannery Lofts Niagara - Photo 11
Cannery Lofts Niagara - Photo 12
Cannery Lofts Niagara - Photo 13
Cannery Lofts Niagara - Photo 14
Cannery Lofts Niagara - Photo 15
Cannery Lofts Niagara - Photo 16
Cannery Lofts Niagara - Photo 17
Cannery Lofts Niagara - Photo 18
Cannery Lofts Niagara - Photo 19
Cannery Lofts Niagara - Photo 20
Cannery Lofts Niagara - Photo 21
Cannery Lofts Niagara - Photo 22
Cannery Lofts Niagara - Photo 23
Cannery Lofts Niagara - Photo 24
Cannery Lofts Niagara - Photo 25
Cannery Lofts Niagara - Photo 26
Cannery Lofts Niagara - Photo 27
Cannery Lofts Niagara - Photo 28
Cannery Lofts Niagara - Photo 29
Cannery Lofts Niagara - Photo 30
Cannery Lofts Niagara - Photo 31
Cannery Lofts Niagara - Photo 32
Cannery Lofts Niagara - Photo 33
Cannery Lofts Niagara - Photo 34
Cannery Lofts Niagara - Photo 35
Cannery Lofts Niagara - Photo 36
Cannery Lofts Niagara - Photo 37
Cannery Lofts Niagara - Photo 38
Cannery Lofts Niagara - Photo 39
Cannery Lofts Niagara - Photo 40
Cannery Lofts Niagara - Photo 41
Cannery Lofts Niagara - Photo 42
Cannery Lofts Niagara - Photo 43
Cannery Lofts Niagara - Photo 44
Cannery Lofts Niagara - Photo 45
Cannery Lofts Niagara - Photo 46
Cannery Lofts Niagara - Photo 47
Cannery Lofts Niagara - Photo 48
Cannery Lofts Niagara - Photo 49
Cannery Lofts Niagara - Photo 50
Cannery Lofts Niagara - Photo 51
Cannery Lofts Niagara - Photo 52
Cannery Lofts Niagara - Photo 53
Cannery Lofts Niagara - Photo 54
Cannery Lofts Niagara - Photo 55
Cannery Lofts Niagara - Photo 56
Cannery Lofts Niagara - Photo 57
Cannery Lofts Niagara - Photo 58
Cannery Lofts Niagara - Photo 59
Cannery Lofts Niagara - Photo 60
Cannery Lofts Niagara - Photo 61
Cannery Lofts Niagara - Photo 62
Cannery Lofts Niagara - Photo 63
Cannery Lofts Niagara - Photo 64
Cannery Lofts Niagara - Photo 65
Cannery Lofts Niagara - Photo 66
Cannery Lofts Niagara - Photo 67
Cannery Lofts Niagara - Photo 68
Cannery Lofts Niagara - Photo 69
Cannery Lofts Niagara - Photo 70
Cannery Lofts Niagara - Photo 71
Cannery Lofts Niagara - Photo 72
Cannery Lofts Niagara - Photo 73
Cannery Lofts Niagara - Photo 74
Cannery Lofts Niagara - Photo 75
Cannery Lofts Niagara - Photo 76
Cannery Lofts Niagara - Photo 77
Cannery Lofts Niagara - Photo 78
Cannery Lofts Niagara - Photo 79
Cannery Lofts Niagara - Photo 80

Cannery Lofts Niagara

Niagara - À 1.5 km du centre

  • 12 personnes
  • Cuisinette
  • Air conditionné
  • Le chauffage
  • Parking
  • Ascenseur
  • Tv
  • Serviettes
  • Feuilles
9.6Exceptionnel | 1158 avis
Dwell Aparthotels - Photo 1
Dwell Aparthotels - Photo 2
Dwell Aparthotels - Photo 3
Dwell Aparthotels - Photo 4
Dwell Aparthotels - Photo 5
Dwell Aparthotels - Photo 6
Dwell Aparthotels - Photo 7
Dwell Aparthotels - Photo 8
Dwell Aparthotels - Photo 9
Dwell Aparthotels - Photo 10
Dwell Aparthotels - Photo 11
Dwell Aparthotels - Photo 12
Dwell Aparthotels - Photo 13
Dwell Aparthotels - Photo 14
Dwell Aparthotels - Photo 15
Dwell Aparthotels - Photo 16
Dwell Aparthotels - Photo 17
Dwell Aparthotels - Photo 18
Dwell Aparthotels - Photo 19
Dwell Aparthotels - Photo 20
Dwell Aparthotels - Photo 21
Dwell Aparthotels - Photo 22
Dwell Aparthotels - Photo 23
Dwell Aparthotels - Photo 24
Dwell Aparthotels - Photo 25
Dwell Aparthotels - Photo 26
Dwell Aparthotels - Photo 27
Dwell Aparthotels - Photo 28
Dwell Aparthotels - Photo 29
Dwell Aparthotels - Photo 30
Dwell Aparthotels - Photo 31
Dwell Aparthotels - Photo 32
Dwell Aparthotels - Photo 33
Dwell Aparthotels - Photo 34

Dwell Aparthotels

Kingston - Inner Harbour - Dans le centre

  • 7 personnes
  • Air conditionné
  • Le chauffage
  • Terrasse
  • Parking
  • Tv
  • Machine à laver
  • Cheminée
  • Barbecue
  • Serviettes
  • Feuilles
9.6Exceptionnel | 53 avis
SOHO Residences Champagne - Photo 1
SOHO Residences Champagne - Photo 2
SOHO Residences Champagne - Photo 3
SOHO Residences Champagne - Photo 4
SOHO Residences Champagne - Photo 5
SOHO Residences Champagne - Photo 6
SOHO Residences Champagne - Photo 7
SOHO Residences Champagne - Photo 8
SOHO Residences Champagne - Photo 9
SOHO Residences Champagne - Photo 10
SOHO Residences Champagne - Photo 11
SOHO Residences Champagne - Photo 12
SOHO Residences Champagne - Photo 13
SOHO Residences Champagne - Photo 14
SOHO Residences Champagne - Photo 15
SOHO Residences Champagne - Photo 16
SOHO Residences Champagne - Photo 17
SOHO Residences Champagne - Photo 18
SOHO Residences Champagne - Photo 19
SOHO Residences Champagne - Photo 20
SOHO Residences Champagne - Photo 21
SOHO Residences Champagne - Photo 22
SOHO Residences Champagne - Photo 23
SOHO Residences Champagne - Photo 24
SOHO Residences Champagne - Photo 25
SOHO Residences Champagne - Photo 26
SOHO Residences Champagne - Photo 27
SOHO Residences Champagne - Photo 28
SOHO Residences Champagne - Photo 29
SOHO Residences Champagne - Photo 30
SOHO Residences Champagne - Photo 31

SOHO Residences Champagne

Ottawa - West Centre Town-Little Italy-Civic - À 2.5 km du centre

  • 4 personnes
  • Air conditionné
  • Le chauffage
  • Terrasse
  • Parking
  • Ascenseur
  • Tv
  • Machine à laver
  • Barbecue
  • Serviettes
  • Feuilles
9.2Exceptionnel | 467 avis
Panorama Suites - Photo 1
Panorama Suites - Photo 2
Panorama Suites - Photo 3
Panorama Suites - Photo 4
Panorama Suites - Photo 5
Panorama Suites - Photo 6
Panorama Suites - Photo 7
Panorama Suites - Photo 8
Panorama Suites - Photo 9
Panorama Suites - Photo 10
Panorama Suites - Photo 11
Panorama Suites - Photo 12
Panorama Suites - Photo 13
Panorama Suites - Photo 14
Panorama Suites - Photo 15
Panorama Suites - Photo 16
Panorama Suites - Photo 17
Panorama Suites - Photo 18
Panorama Suites - Photo 19
Panorama Suites - Photo 20
Panorama Suites - Photo 21
Panorama Suites - Photo 22
Panorama Suites - Photo 23
Panorama Suites - Photo 24
Panorama Suites - Photo 25
Panorama Suites - Photo 26
Panorama Suites - Photo 27
Panorama Suites - Photo 28
Panorama Suites - Photo 29
Panorama Suites - Photo 30
Panorama Suites - Photo 31
Panorama Suites - Photo 32
Panorama Suites - Photo 33
Panorama Suites - Photo 34
Panorama Suites - Photo 35
Panorama Suites - Photo 36
Panorama Suites - Photo 37
Panorama Suites - Photo 38
Panorama Suites - Photo 39
Panorama Suites - Photo 40
Panorama Suites - Photo 41
Panorama Suites - Photo 42
Panorama Suites - Photo 43
Panorama Suites - Photo 44
Panorama Suites - Photo 45
Panorama Suites - Photo 46
Panorama Suites - Photo 47
Panorama Suites - Photo 48
Panorama Suites - Photo 49
Panorama Suites - Photo 50
Panorama Suites - Photo 51
Panorama Suites - Photo 52
Panorama Suites - Photo 53
Panorama Suites - Photo 54
Panorama Suites - Photo 55
Panorama Suites - Photo 56
Panorama Suites - Photo 57
Panorama Suites - Photo 58
Panorama Suites - Photo 59
Panorama Suites - Photo 60
Panorama Suites - Photo 61
Panorama Suites - Photo 62
Panorama Suites - Photo 63
Panorama Suites - Photo 64
Panorama Suites - Photo 65
Panorama Suites - Photo 66
Panorama Suites - Photo 67
Panorama Suites - Photo 68
Panorama Suites - Photo 69
Panorama Suites - Photo 70
Panorama Suites - Photo 71
Panorama Suites - Photo 72
Panorama Suites - Photo 73
Panorama Suites - Photo 74
Panorama Suites - Photo 75
Panorama Suites - Photo 76
Panorama Suites - Photo 77
Panorama Suites - Photo 78
Panorama Suites - Photo 79
Panorama Suites - Photo 80

Panorama Suites

Toronto - Moss Park - À 840 m du centre

  • 8 personnes
  • Air conditionné
  • Le chauffage
  • Terrasse
  • Parking
  • Ascenseur
  • Balcon
  • Jardin
  • Tv
  • Machine à laver
  • Serviettes
  • Feuilles
9.2Exceptionnel | 869 avis
Destinations associées