
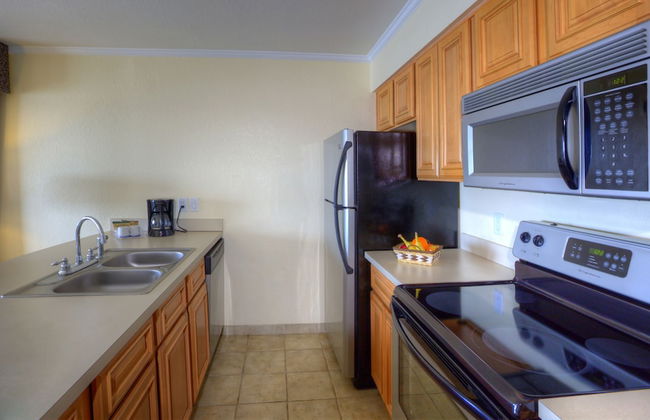
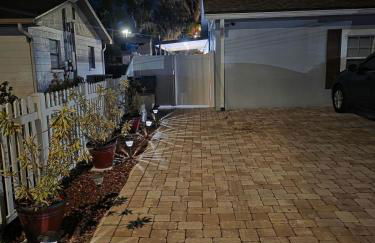
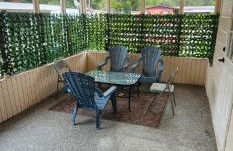
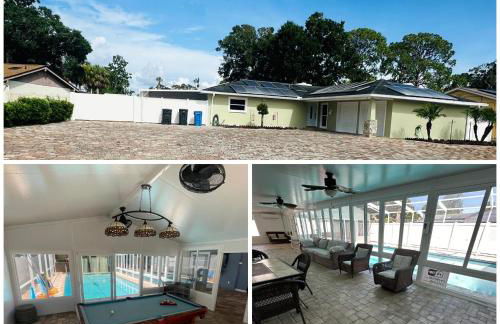
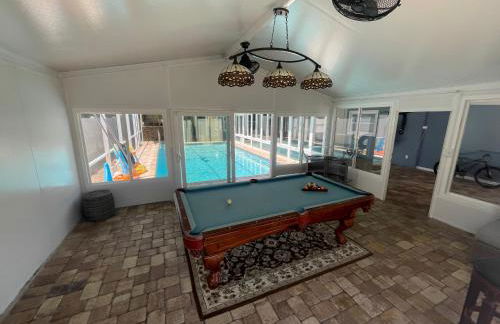
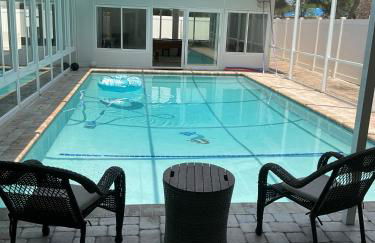
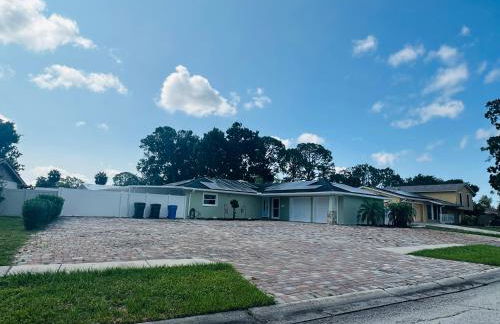
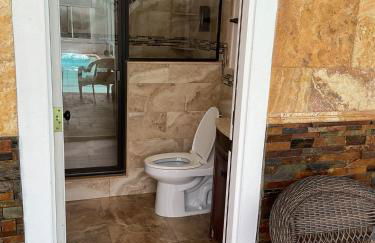
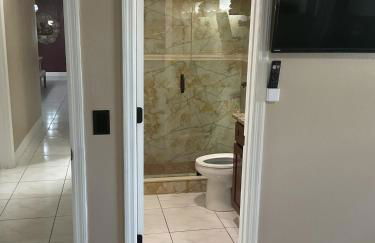
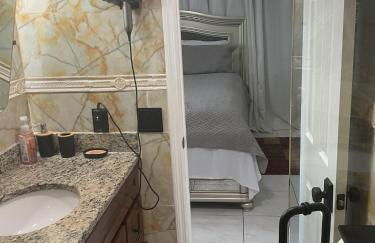
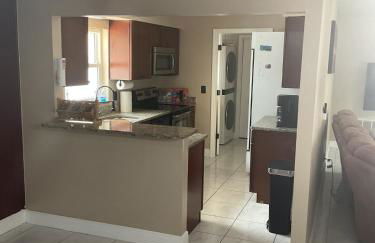
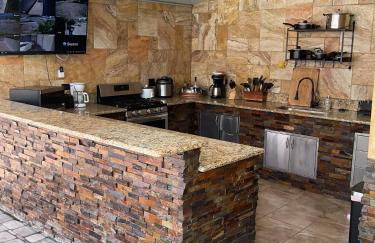
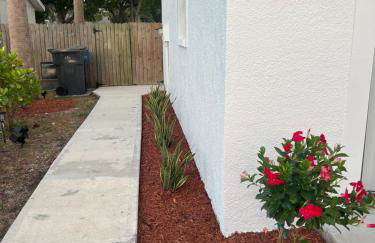
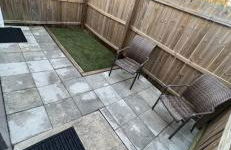
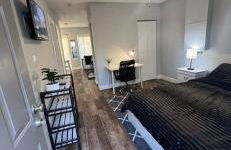
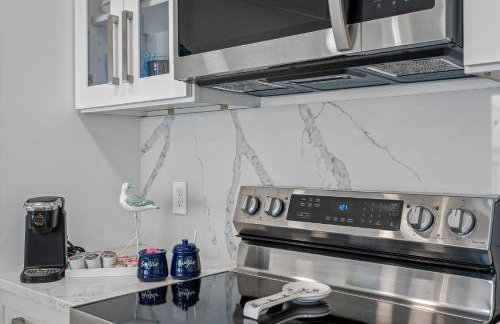
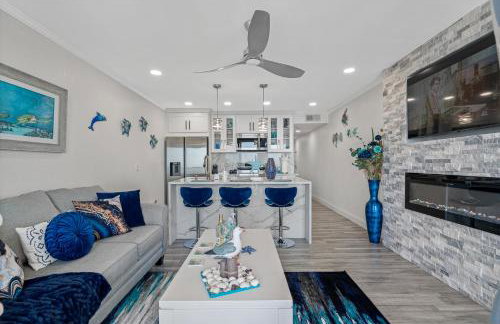
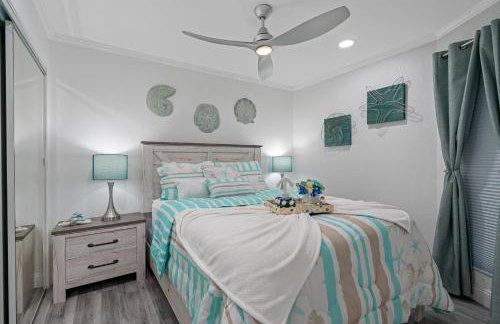
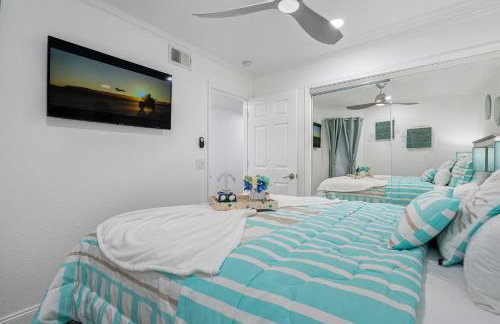
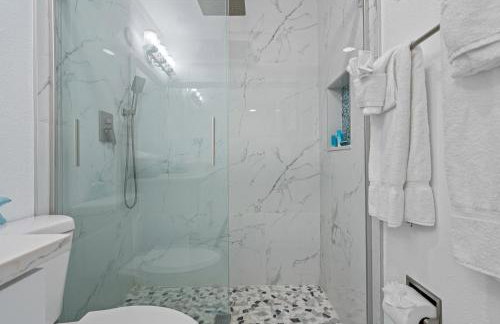
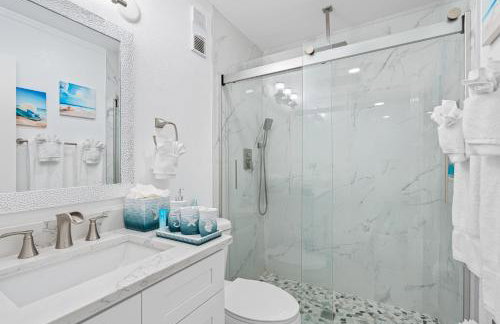
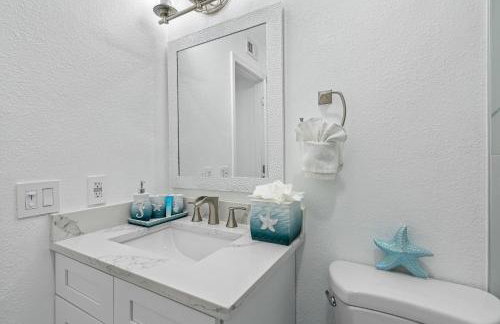
853 Appartements à Tampa


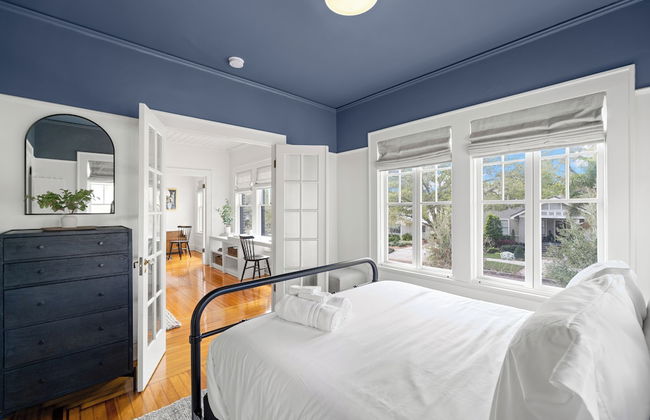


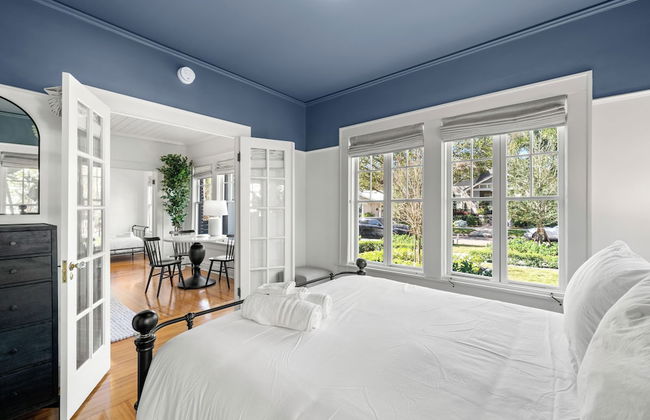


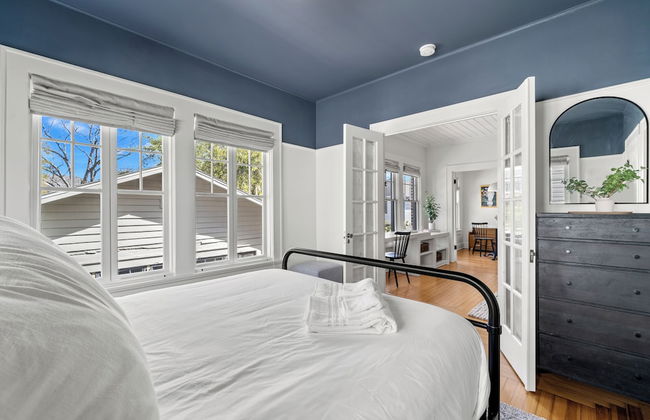

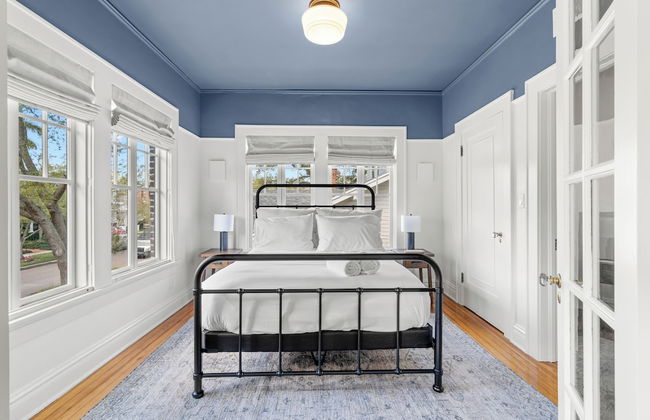


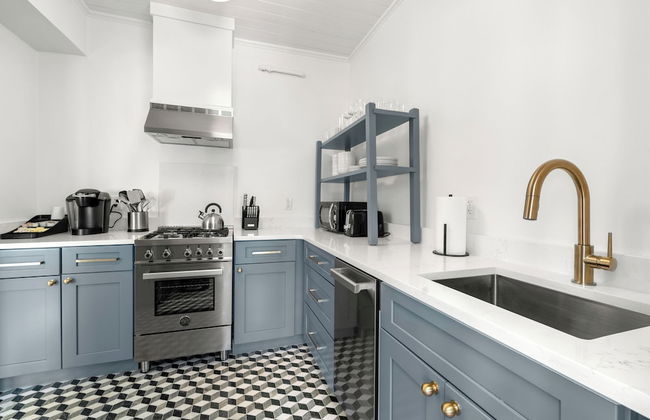

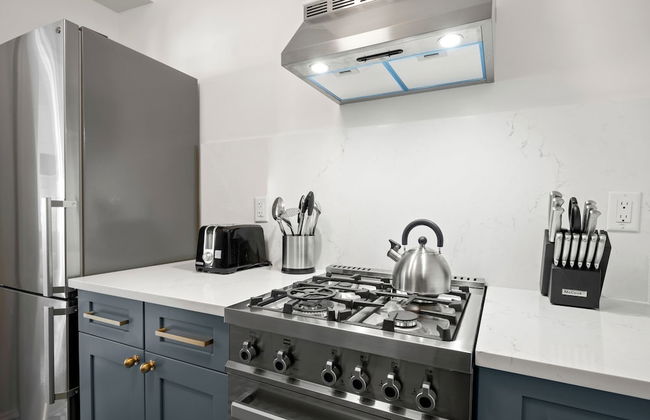

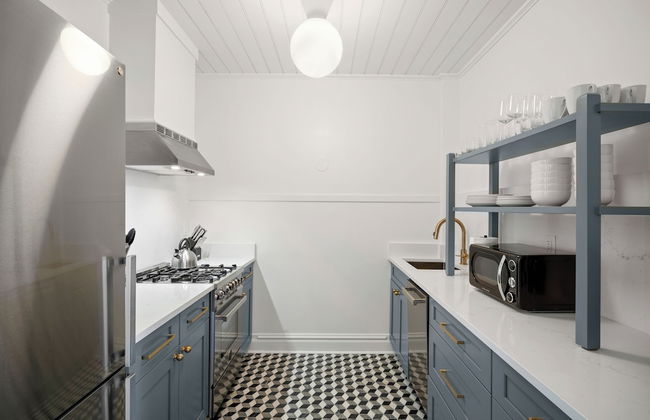

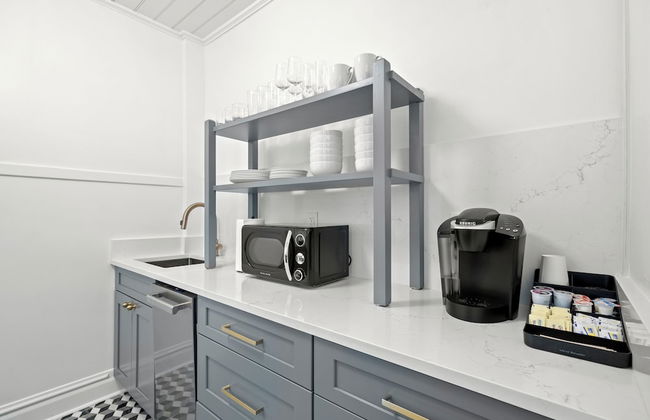


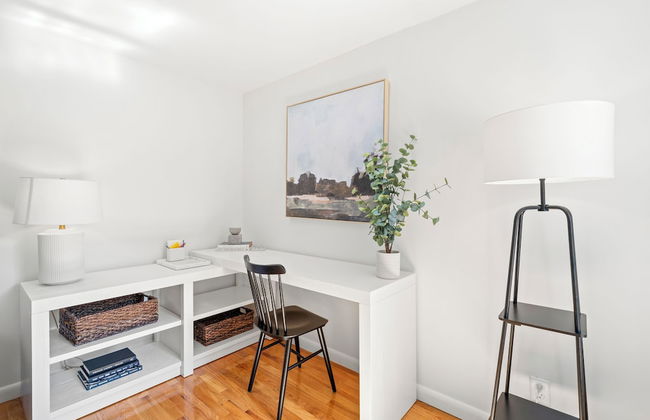


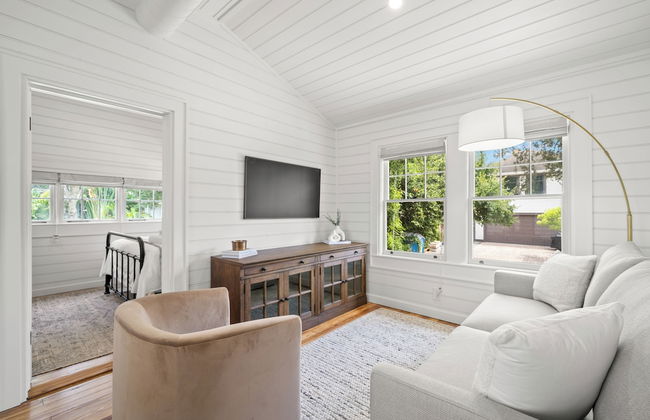


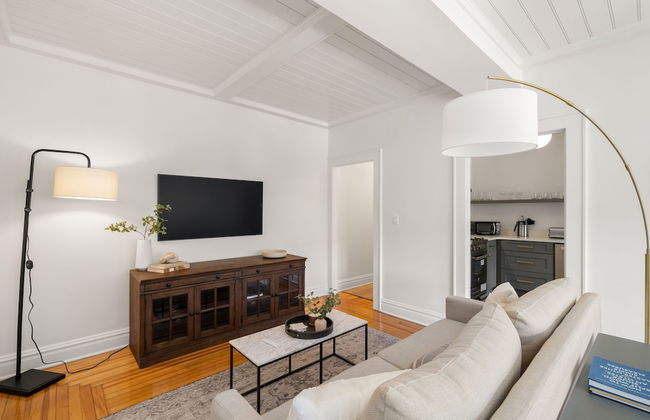


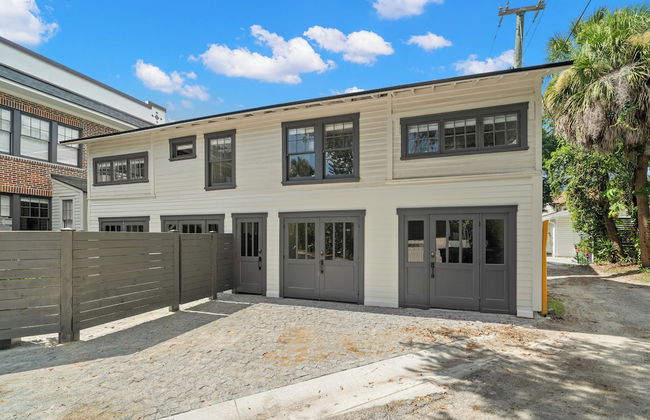

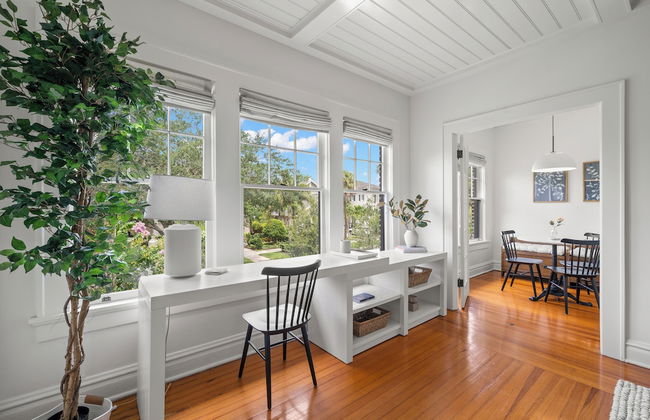

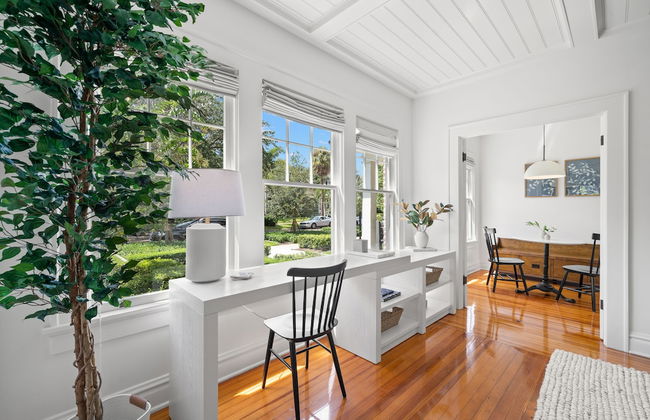

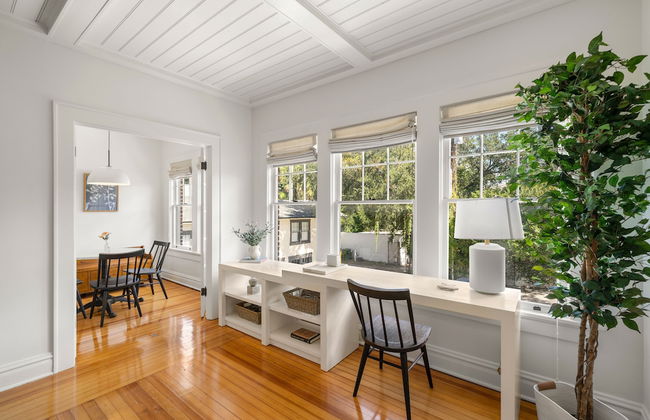


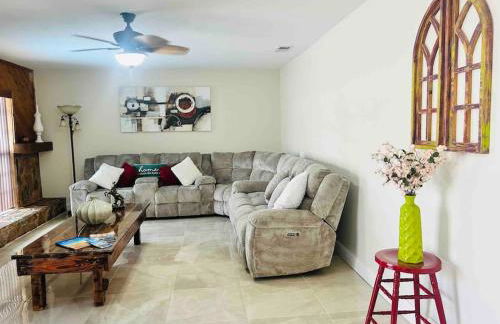
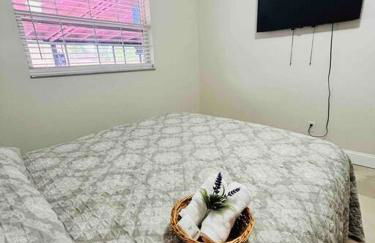
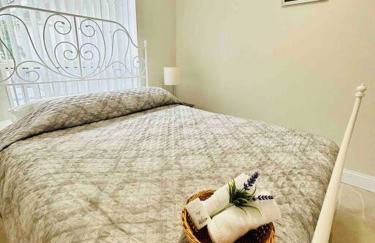
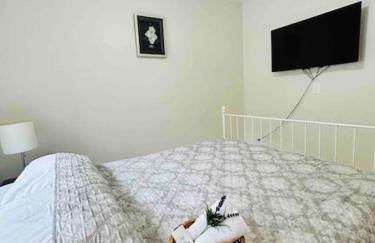
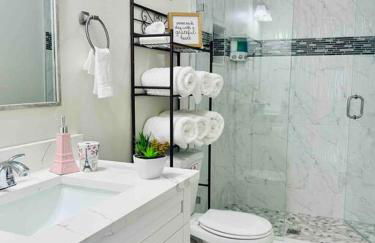
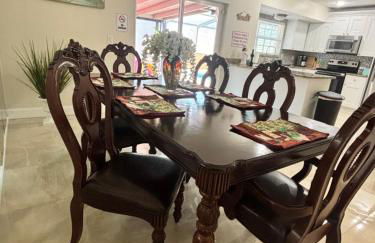
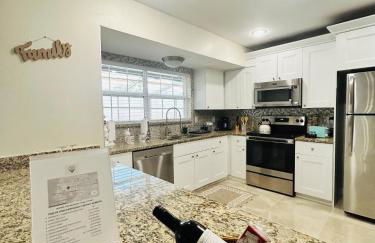
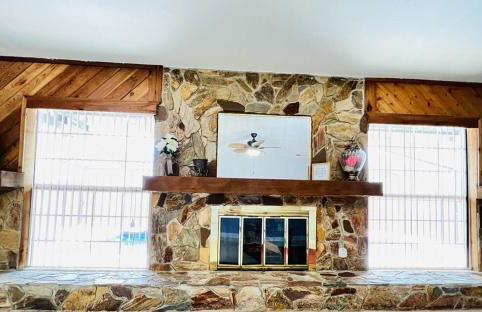
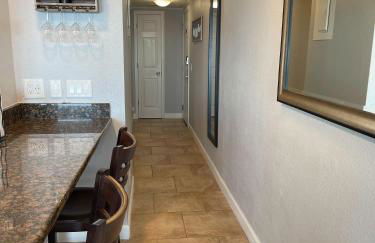
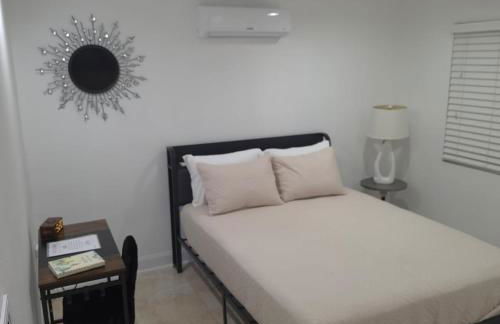
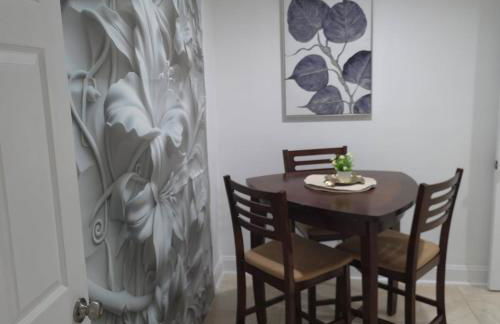
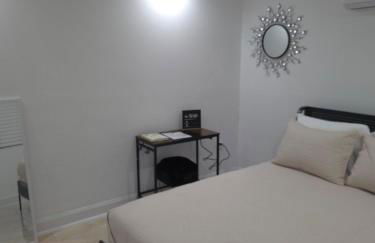
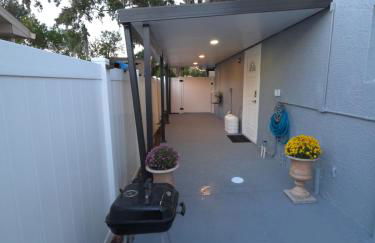
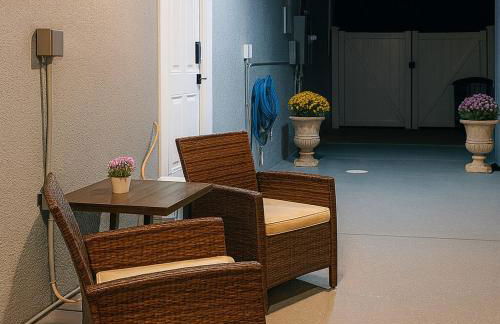
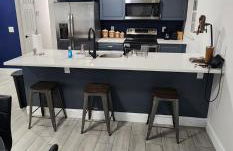
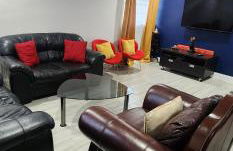
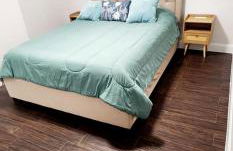
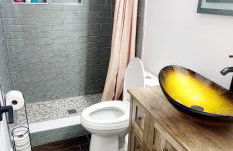
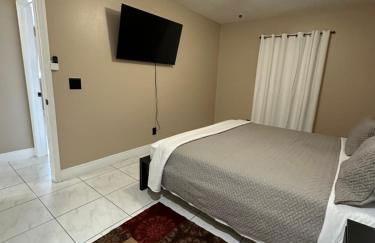
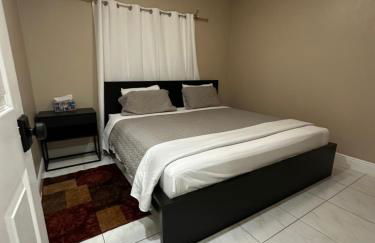
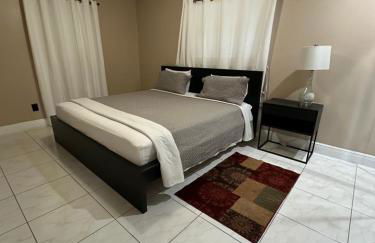
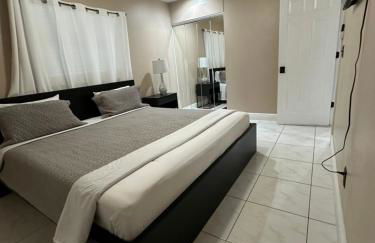
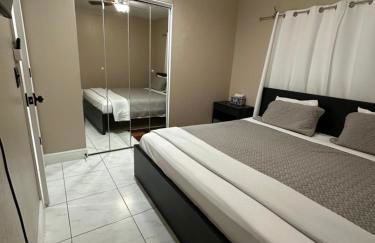
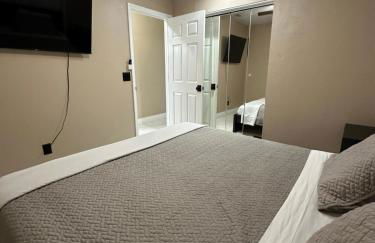
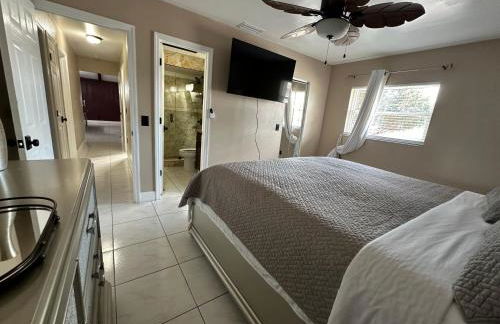
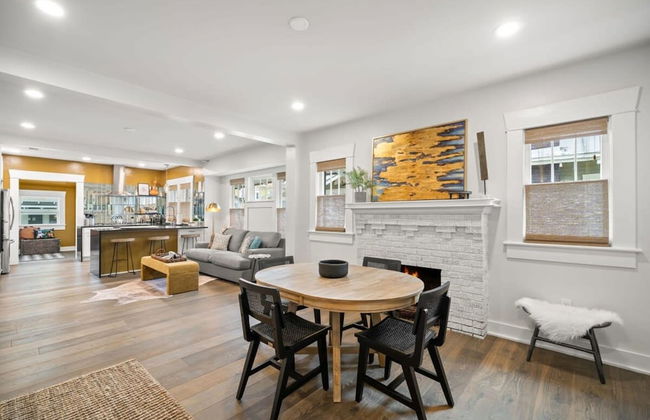
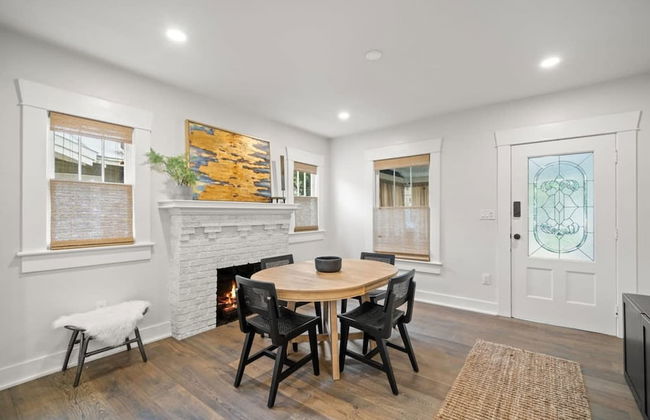
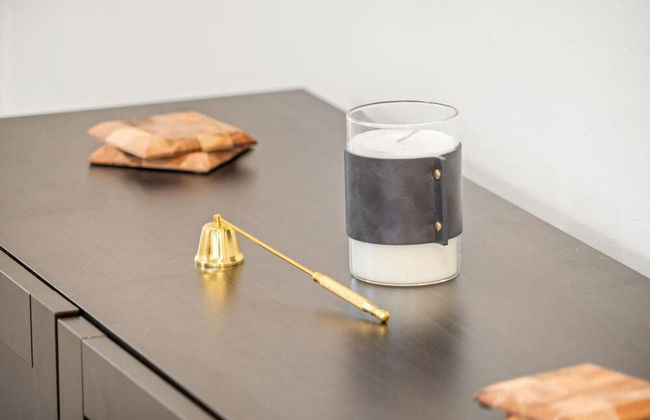
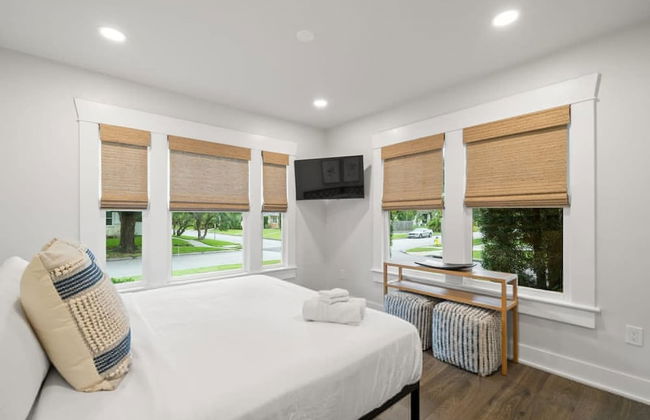
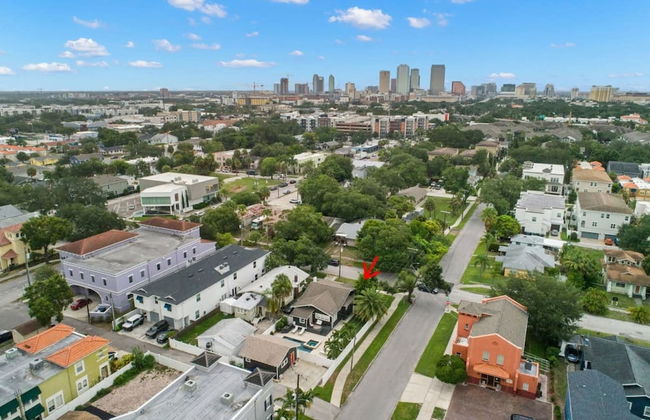
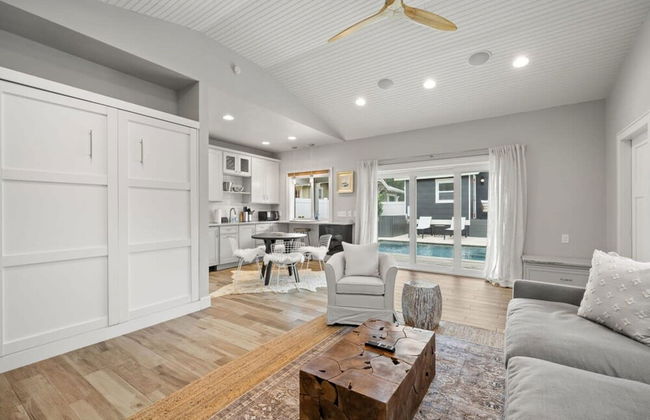
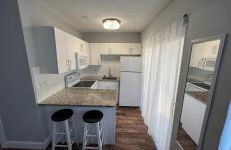
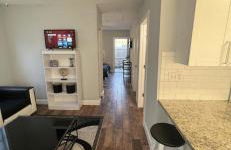
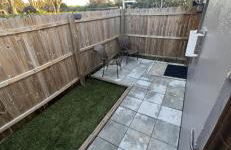
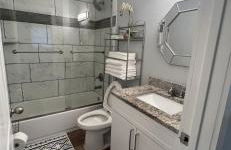
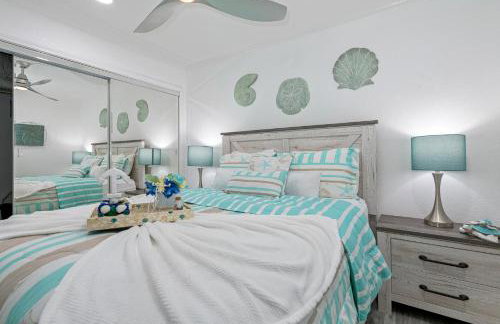
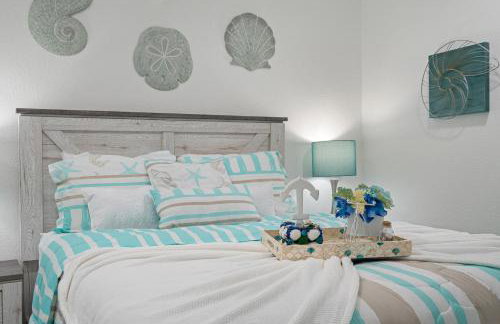
The Adaline - Entire Complex In Hyde Park
Tampa - Hyde - À 1.9 km du centre
- 84 M2
- 12 chambres
- 6 personnes
- Air conditionné
- Le chauffage
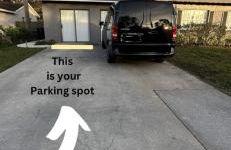
- Parking
- Jardin
- Tv
- Machine à laver
- Barbecue
- Serviettes
- Feuilles
43 avis
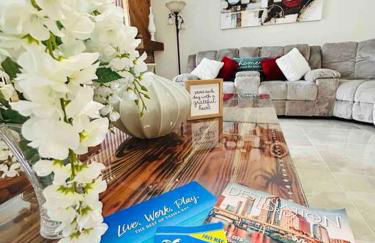
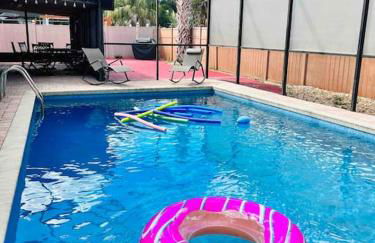
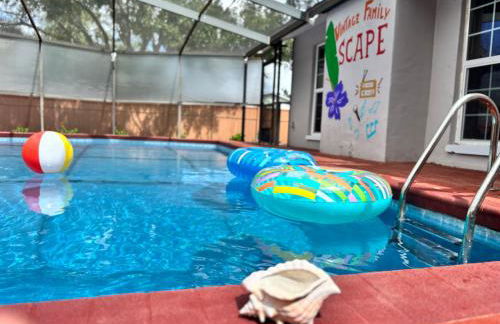
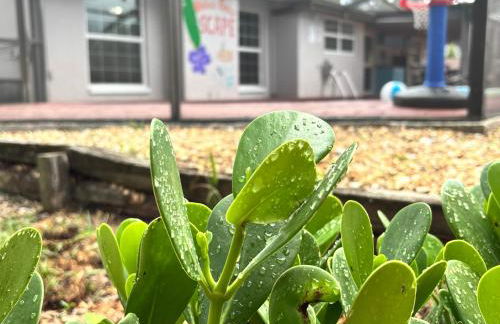

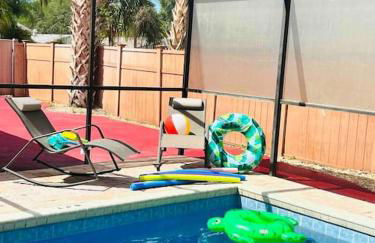
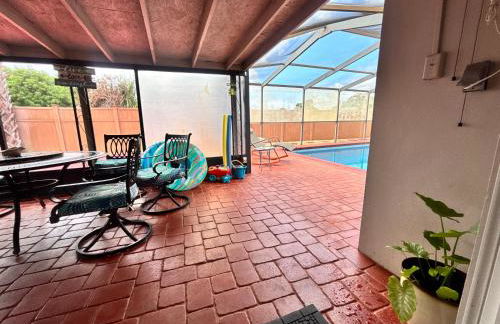
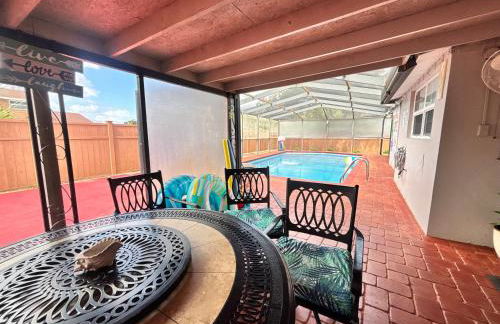
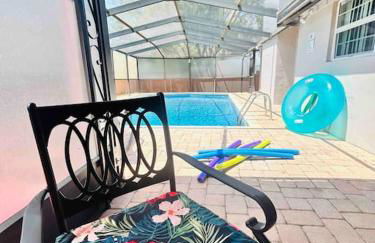


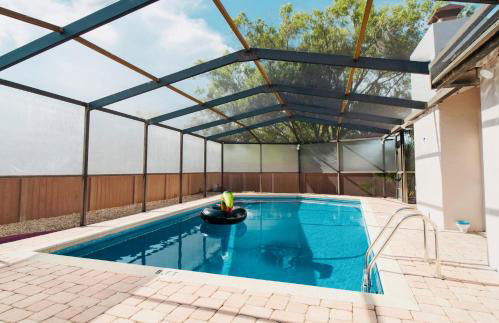

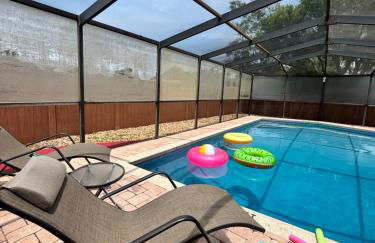
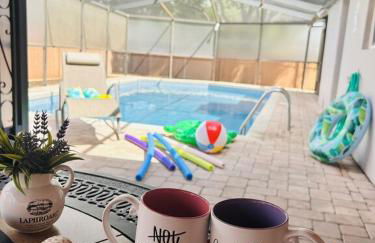
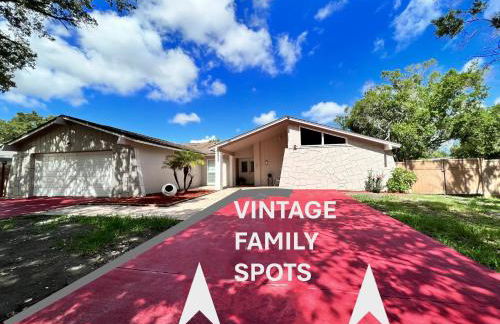

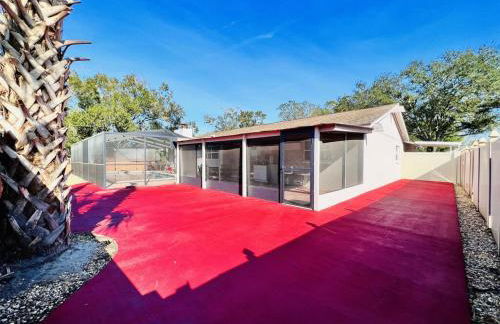
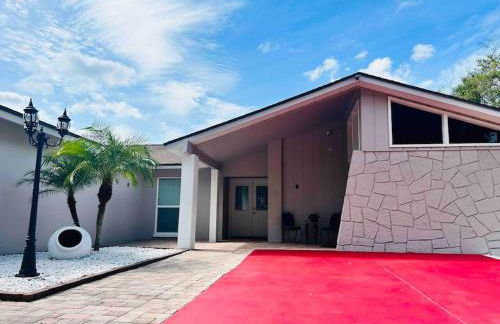


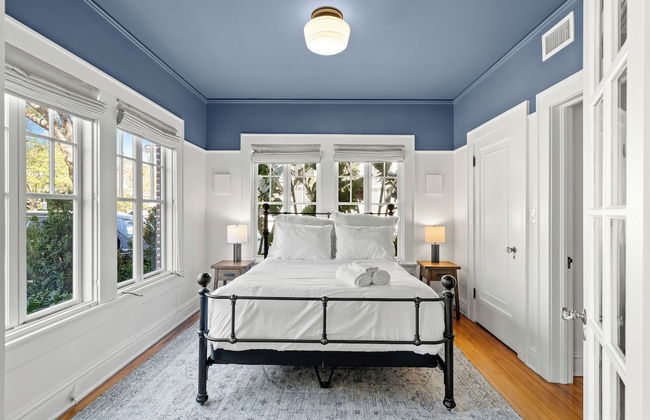
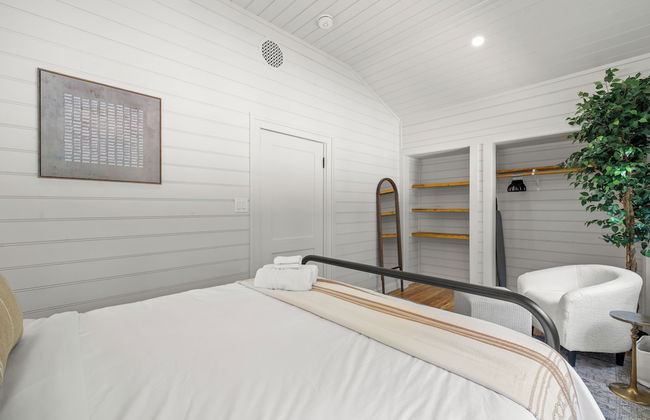
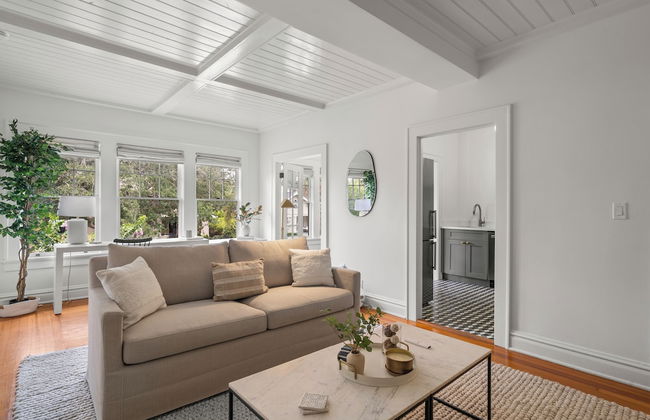
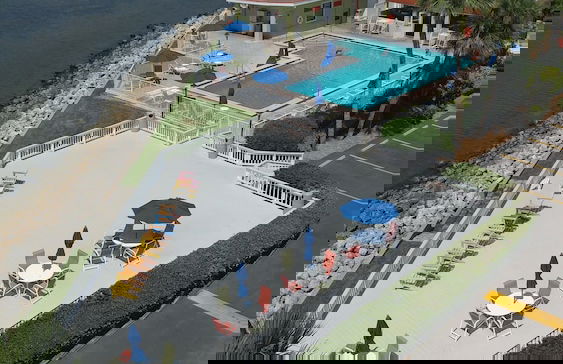
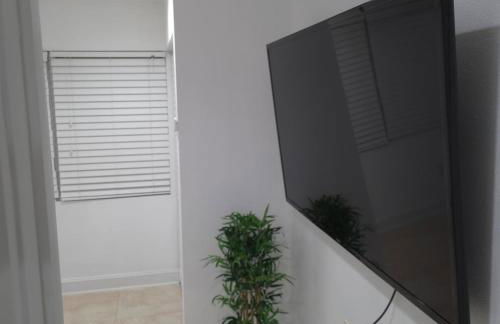
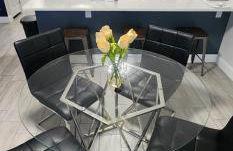
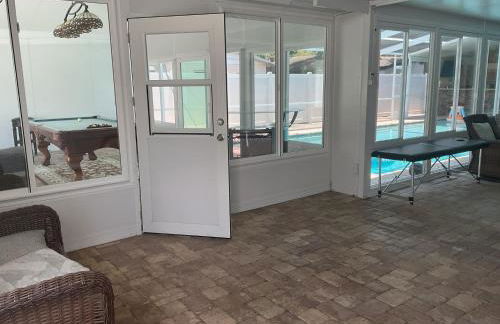
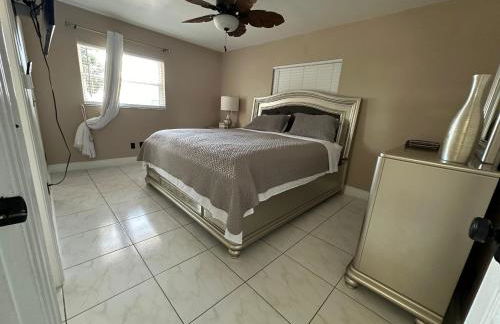
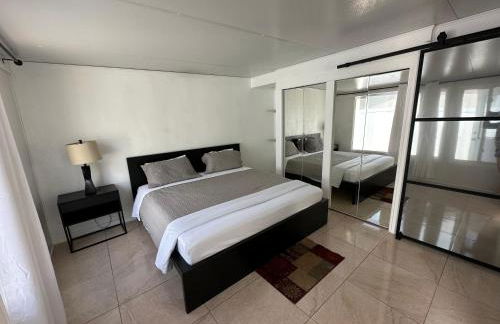
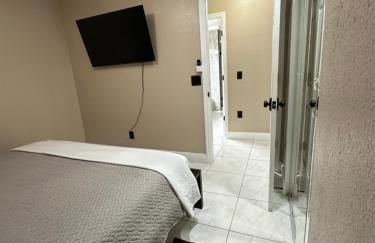
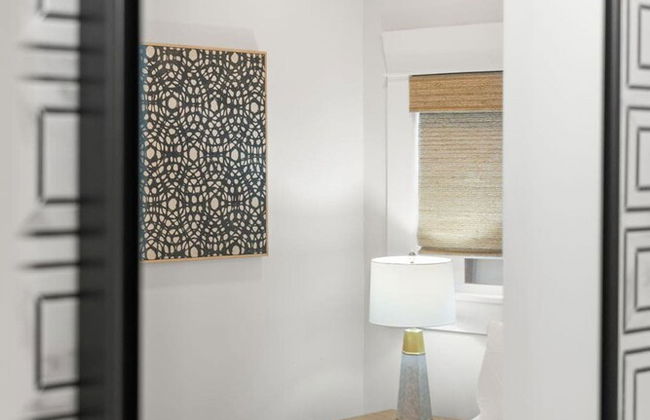
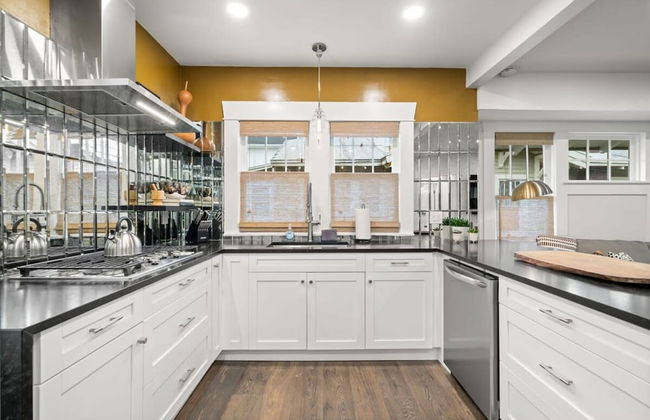
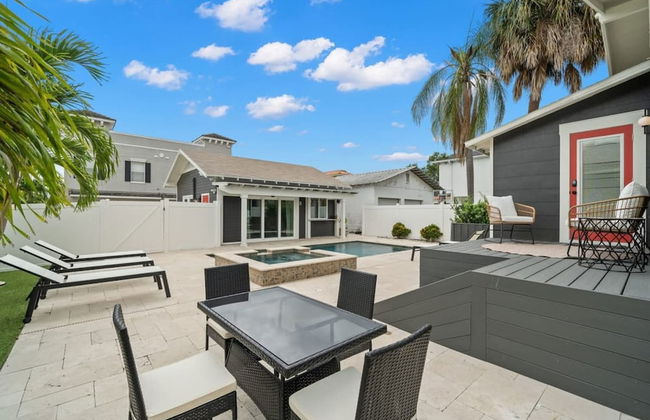
Vintage Family Scape + heated pool&discount
Tampa - À 11.8 km du centre
- 130 M2
- 3 chambres
- 8 personnes
- Air conditionné
- Terrasse
- Piscine
- Parking
- Jardin
- Barbecue
38 avis

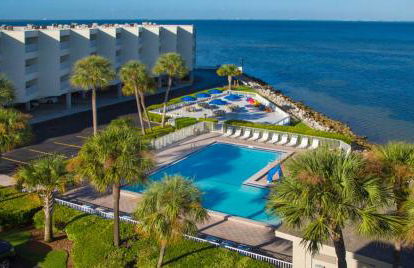


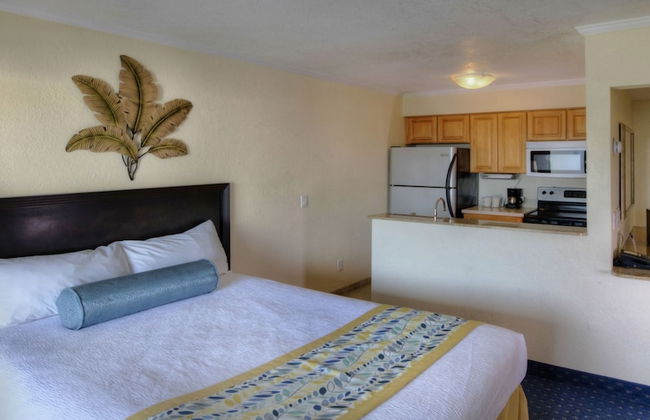
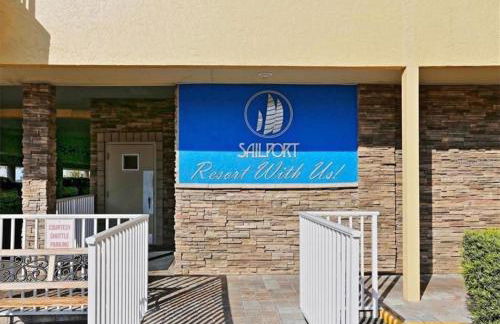

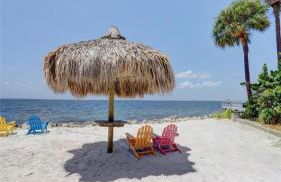
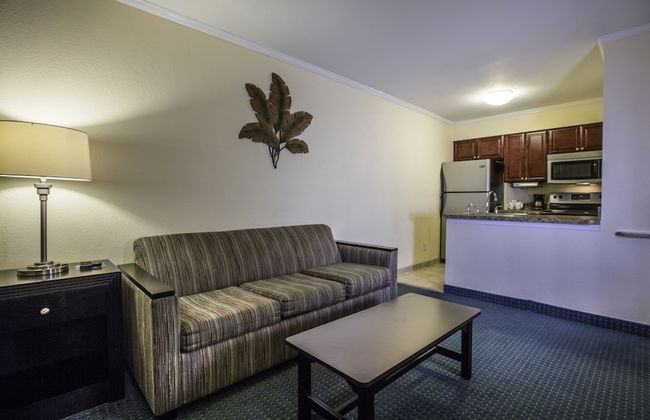


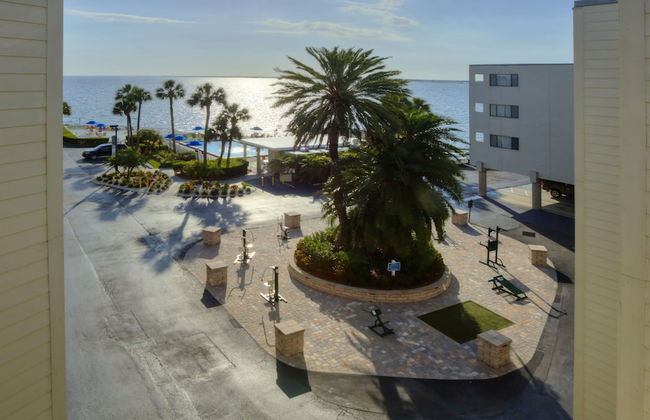
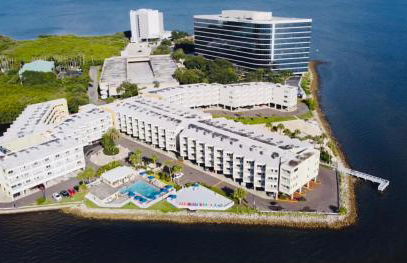
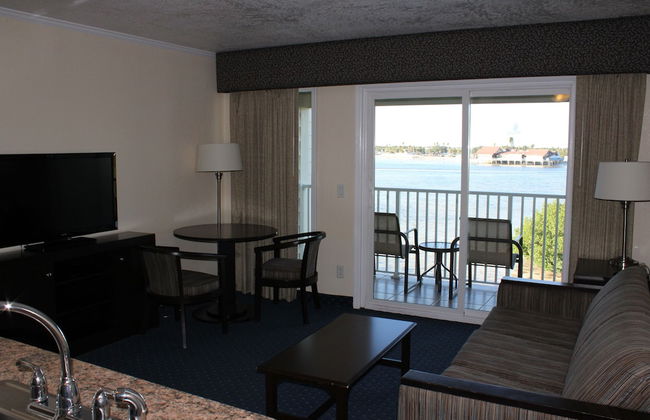
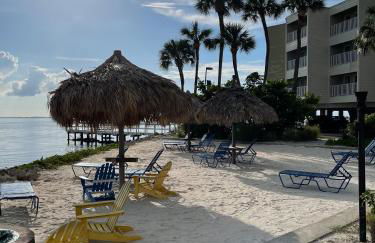
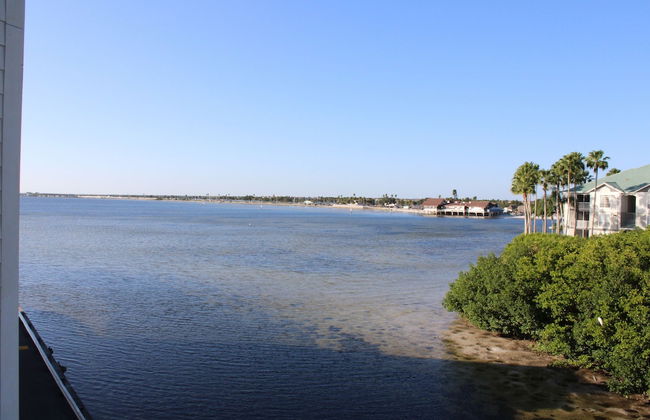


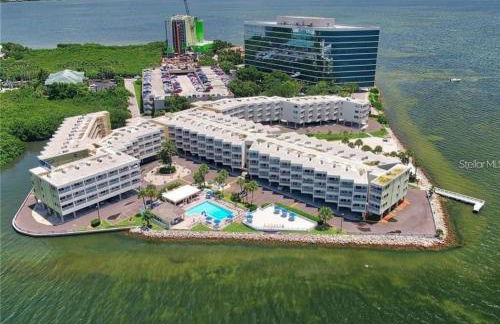
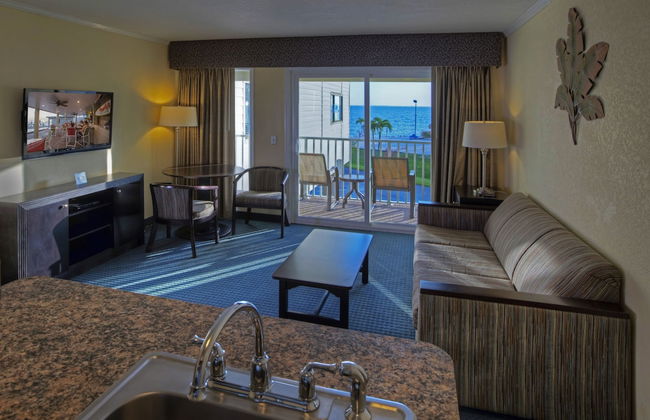
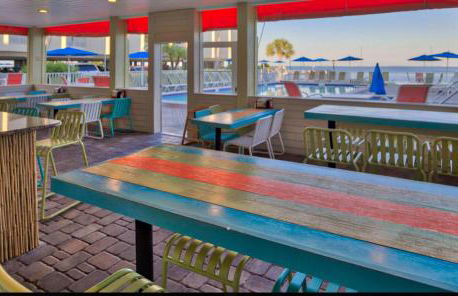

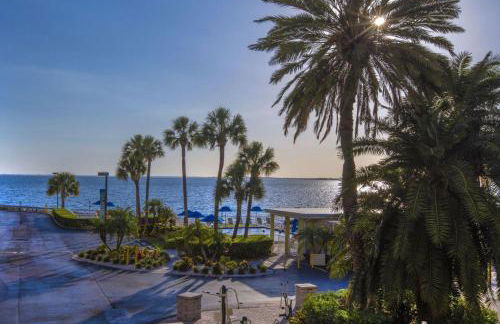
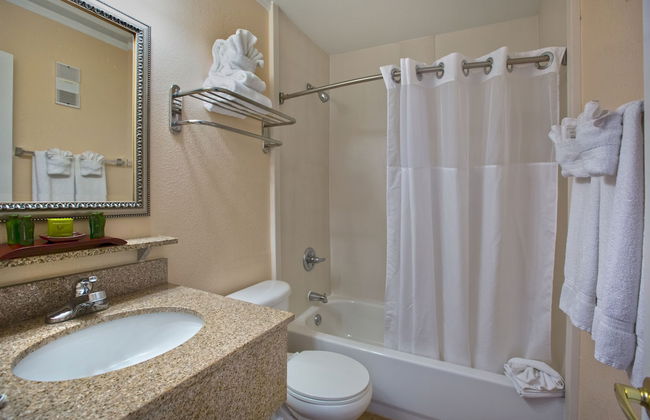
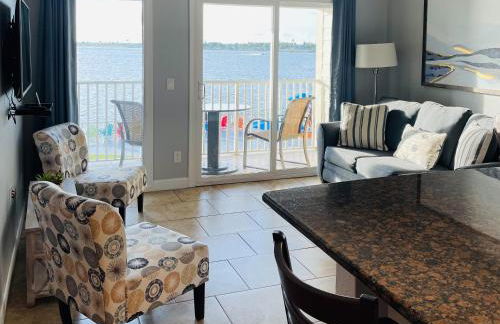
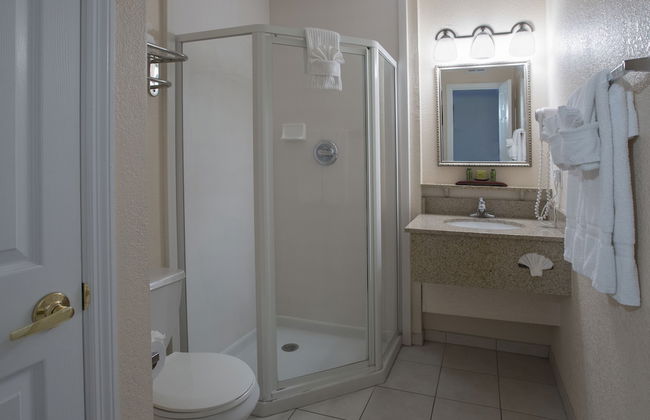
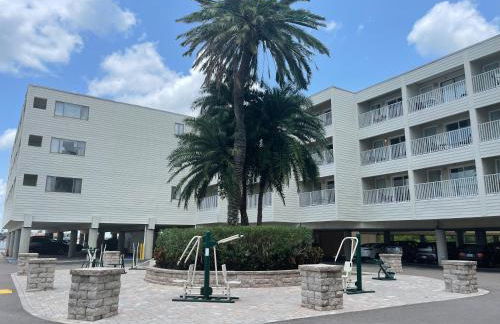

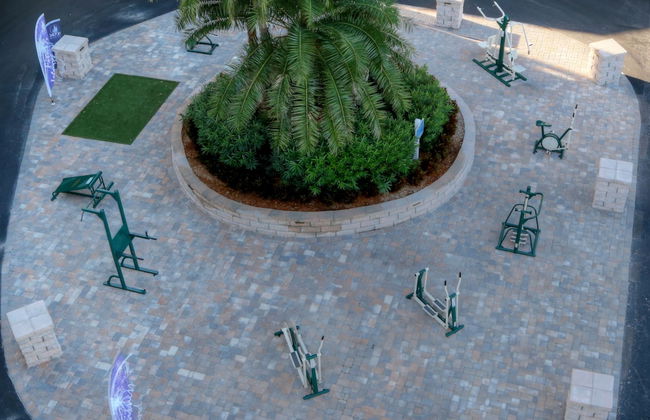
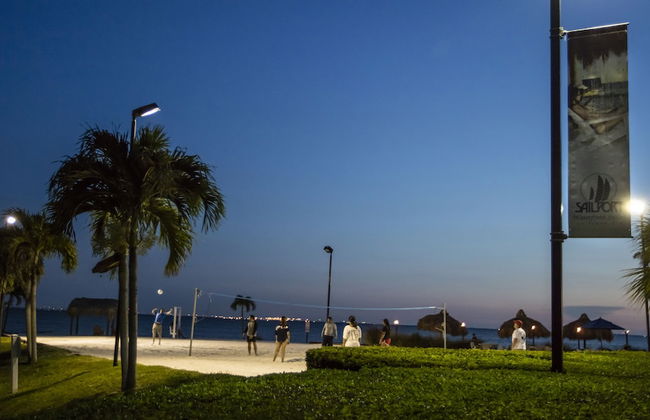
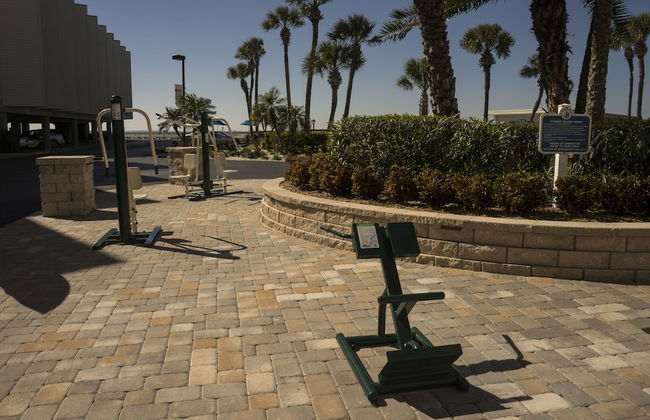


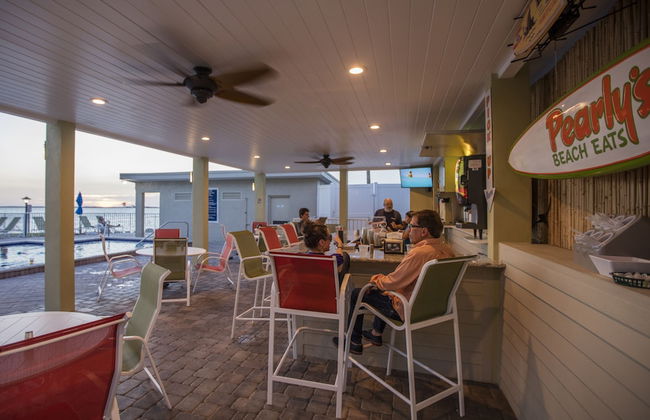


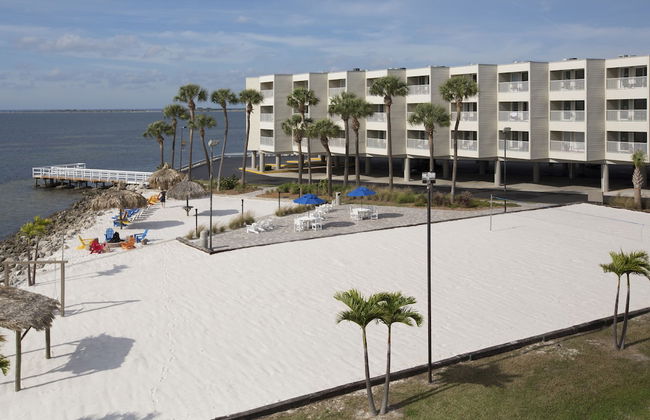


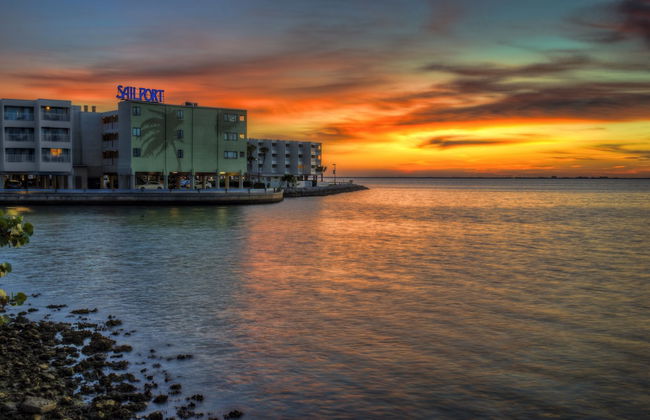
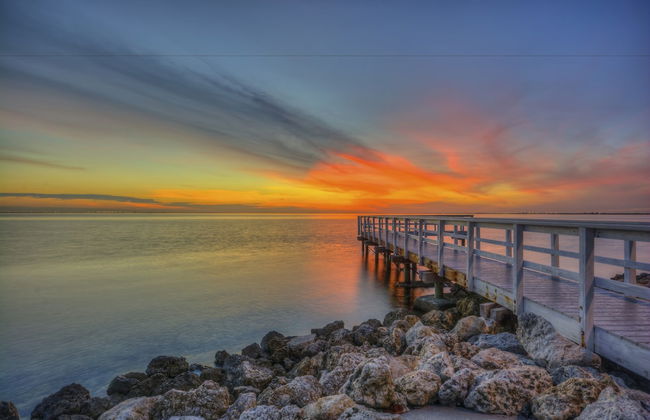


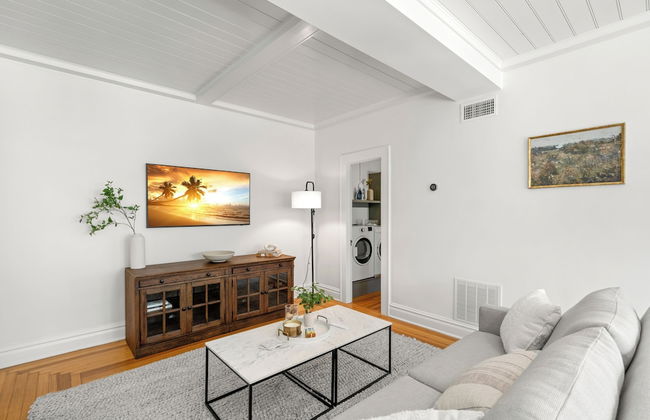
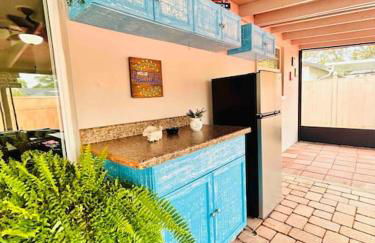
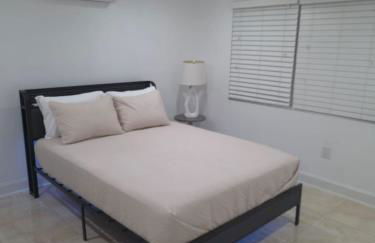
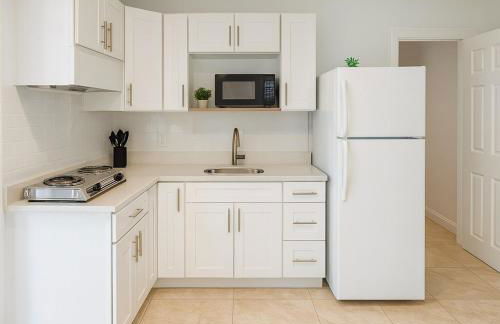
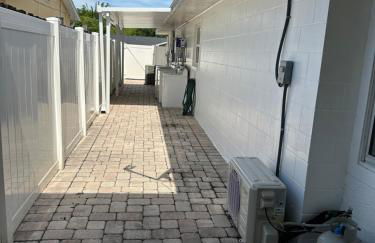
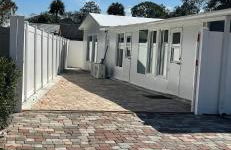
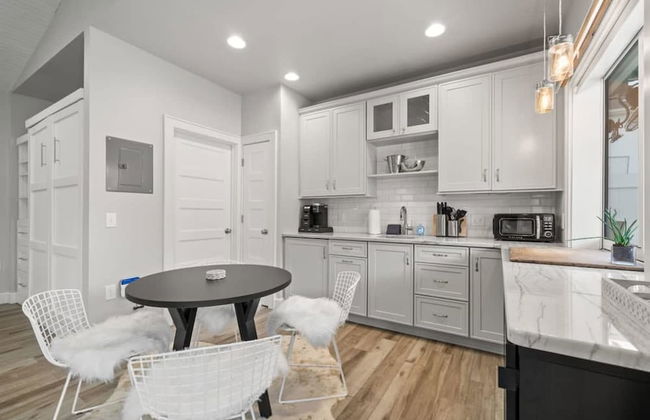
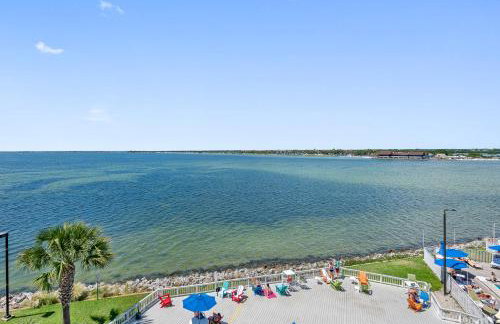
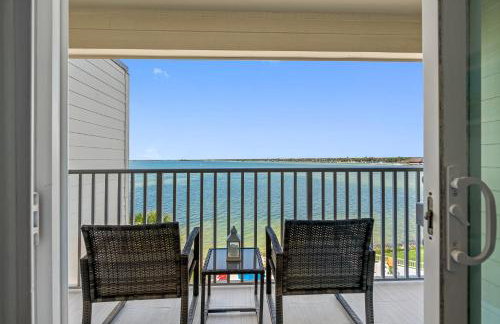
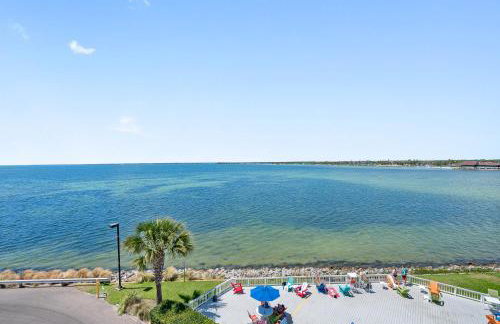
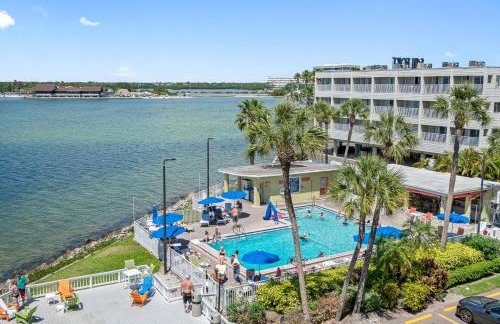
Sailport Waterfront Suites
Tampa - À 10.8 km du centre
- 79 M2
- 2 chambres
- 6 personnes
- Air conditionné
- Le chauffage
- Terrasse
- Piscine
- Parking
- Ascenseur
- Balcon
- Tv
- Machine à laver
- Cheminée
- Barbecue
- Serviettes
- Feuilles
4496 avis


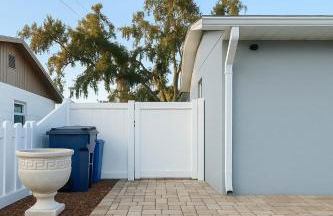
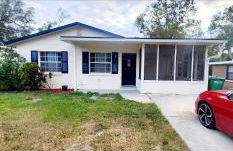
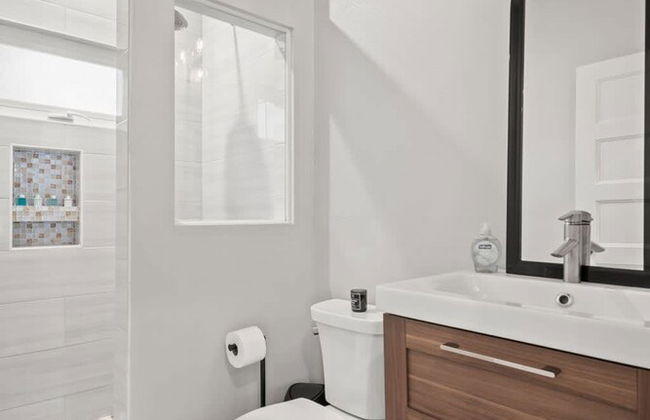
Hostal La Fuente
Tampa - À 15.2 km du centre
- 88 M2
- 2 personnes
- Air conditionné
- Terrasse
- Parking
- Jardin
- Barbecue
10 avis


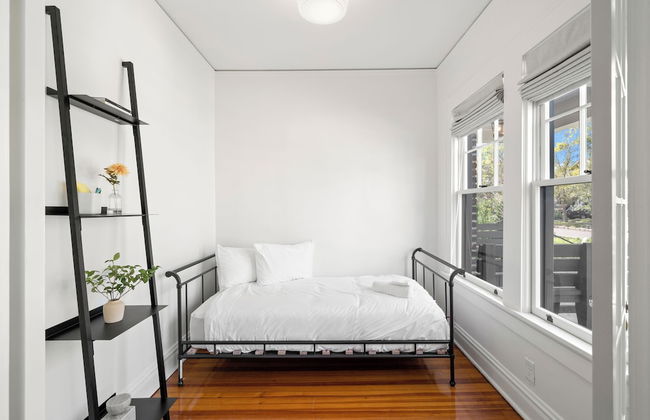
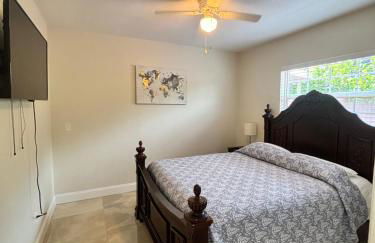
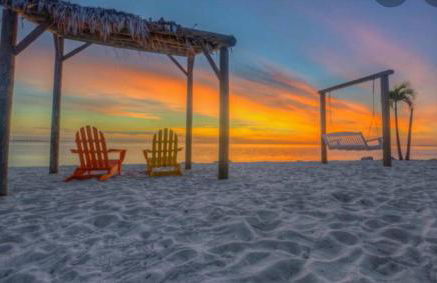
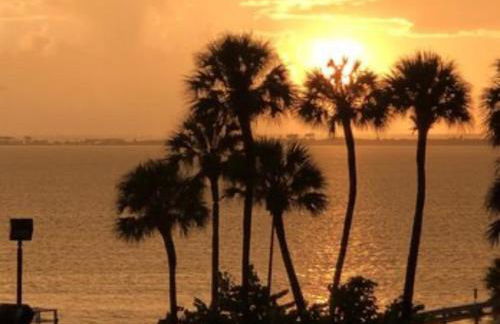
Amazing Waterfront Views Resort, Enjoy Heated Pool & Sunset!
Tampa - À 10.6 km du centre
- 84 M2
- 2 chambres
- 6 personnes
- Air conditionné
- Le chauffage
- Terrasse
- Piscine
- Parking
- Ascenseur
- Jardin
- Barbecue
13 avis
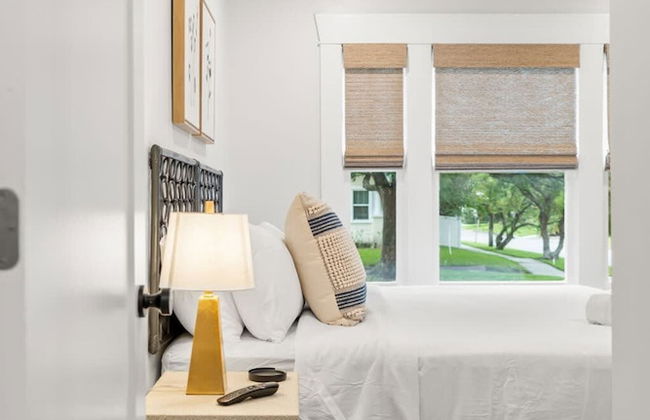
Heart of Tampa
Tampa - Carver City/Lincoln Gardens - À 5.2 km du centre
- 3 chambres
- 7 personnes
- Air conditionné
- Terrasse
- Parking
28 avis


Hosting 1
Tampa - À 12.2 km du centre
- 149 M2
- 4 chambres
- 10 personnes
- Air conditionné
- Le chauffage
- Terrasse
- Piscine
- Parking
- Jardin
- Barbecue
13 avis


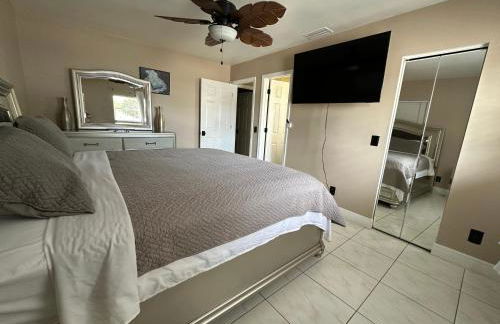

Welcome to Villa Marcelo
Tampa - Town 'N Country Park - À 13.2 km du centre
- 279 M2
- 6 chambres
- 12 personnes
- Air conditionné
- Le chauffage
- Terrasse
- Piscine
- Parking
- Jardin
8 avis


Villa White Rock in Tampa
Tampa - Terrace Park - À 10.7 km du centre
- 159 M2
- 4 chambres
- 10 personnes
- Air conditionné
- Terrasse
- Parking
- Jardin
10 avis


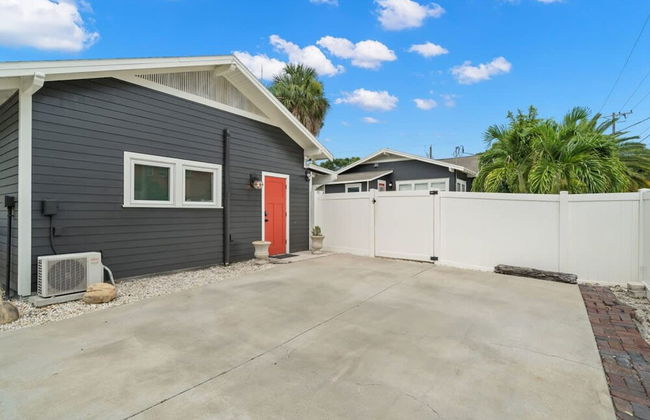


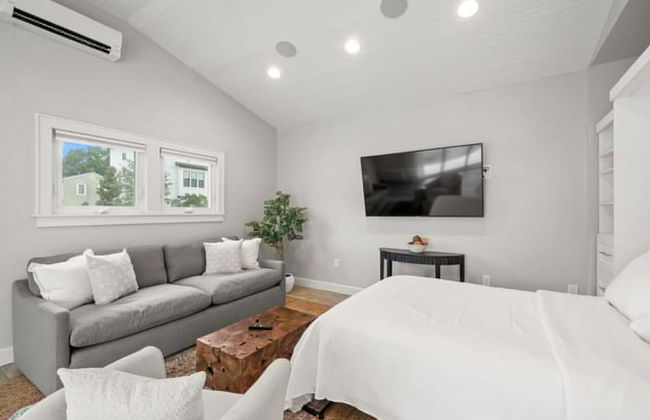

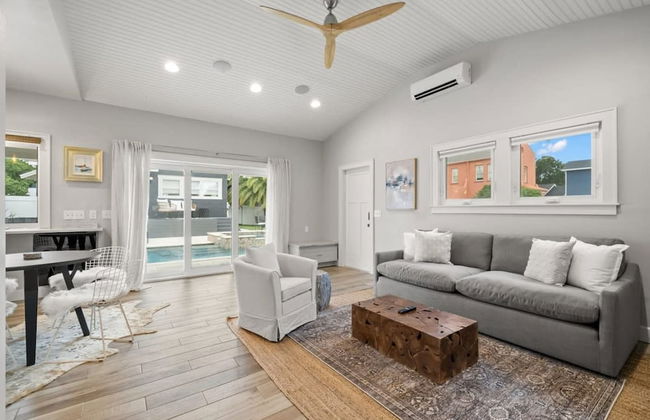


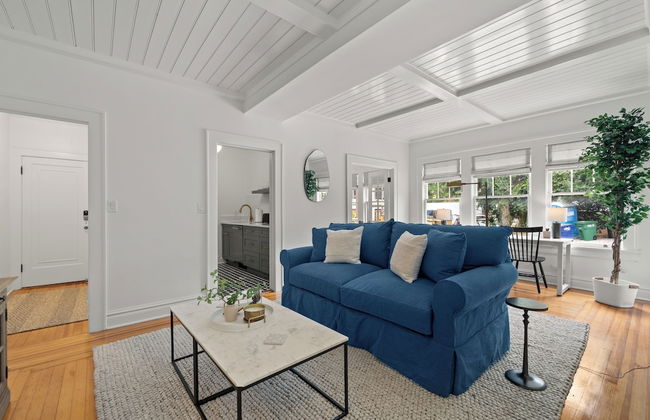
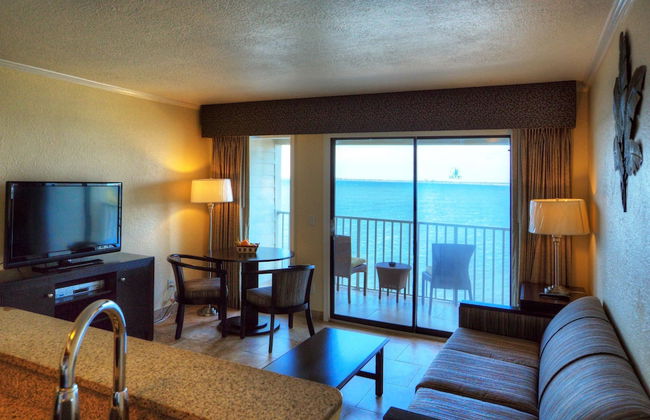
SoHo Serenity - Amazing Home with Private Pool & Hot Tub, SoHo District
Tampa - Courier City/Oscawana - À 1.7 km du centre
- 156 M2
- 3 chambres
- 6 personnes
- Air conditionné
- Le chauffage
- Piscine
- Parking
- Balcon
- Jardin
- Tv
- Machine à laver
- Cheminée
- Barbecue
- Serviettes
- Feuilles
2 avis


Pyramid Studio + free parking&wifi/ 5%off
Tampa - À 11.8 km du centre
- 42 M2
- 2 personnes
- Air conditionné
- Parking
- Jardin
33 avis


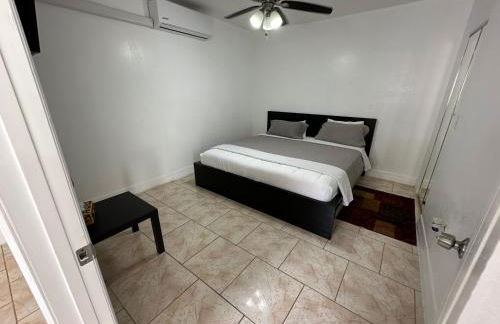
Beautiful and comfortable rom apt # 2
Tampa - À 7.9 km du centre
- 1 chambre
- 4 personnes
- Air conditionné
- Le chauffage
- Terrasse
- Parking
21 avis


2 Bedrooms Vacation Home
Tampa - À 16.8 km du centre
- 74 M2
- 2 chambres
- 4 personnes
- Air conditionné
- Terrasse
- Parking
- Jardin
31 avis


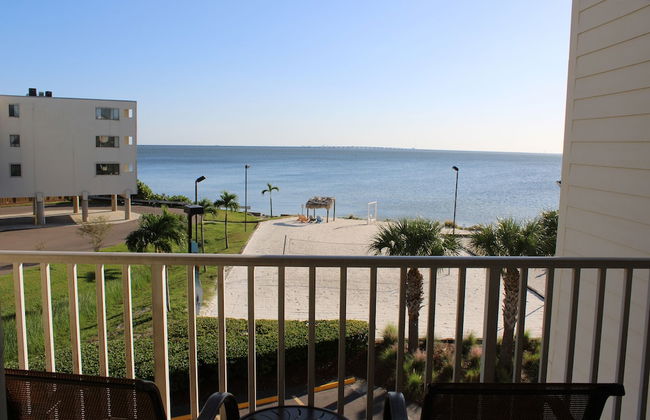
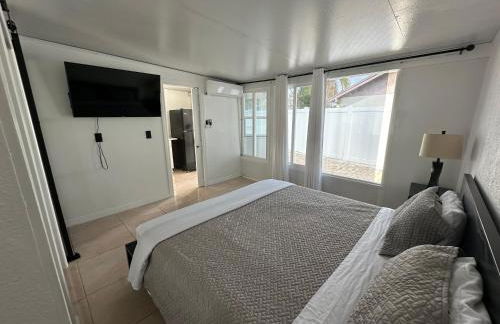
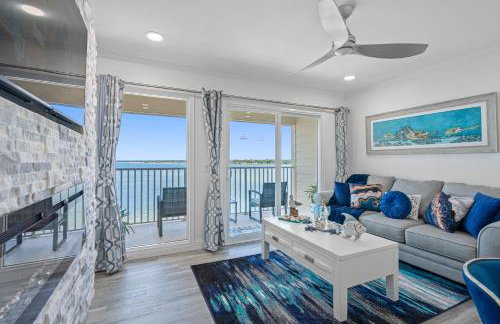
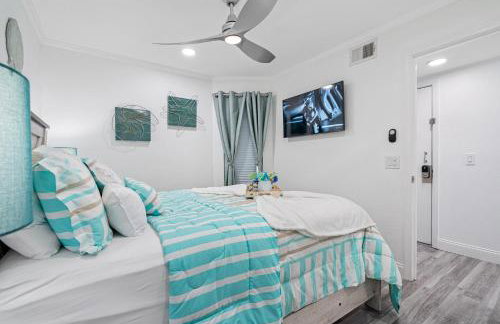
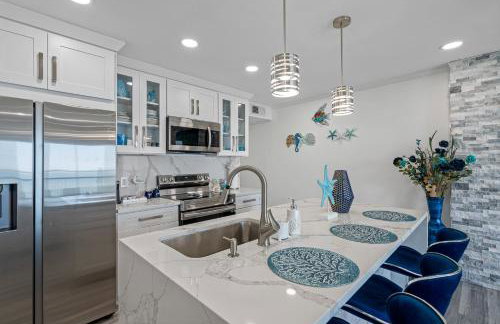
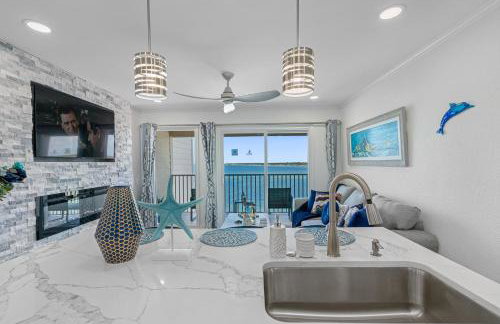
227-WIFI, New Paint, AMAZING Views, Close to BUCS stadium
Tampa - À 10.8 km du centre
- 70 M2
- 1 chambre
- 4 personnes
- Air conditionné
- Le chauffage
- Terrasse
- Piscine
- Parking
- Ascenseur
- Jardin
- Barbecue
29 avis


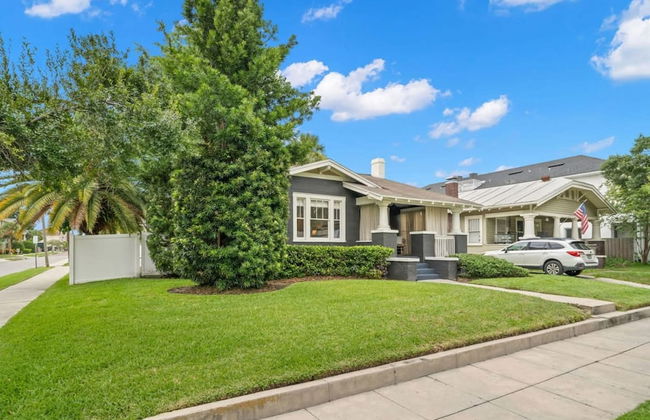
No Ho yellow door bungalow
Tampa - Old West Tampa - À 2.3 km du centre
- 111 M2
- 3 chambres
- 6 personnes
- Air conditionné
- Le chauffage
- Parking
- Jardin
- Barbecue
12 avis


Stylish 2BR Corporate Stay Pool Balcony #2
Tampa - À 10 km du centre
- 126 M2
- 2 chambres
- 7 personnes
- Air conditionné
- Le chauffage
- Terrasse
- Piscine
- Parking
- Ascenseur
- Jardin
- Barbecue
10 avis


Sunset Paradise - Find yourself in Tampa
Tampa - À 10.8 km du centre
- 48 M2
- 1 chambre
- 4 personnes
- Air conditionné
- Le chauffage
- Terrasse
- Piscine
- Parking
- Ascenseur
- Jardin
26 avis