25 Appartements à St. Armands


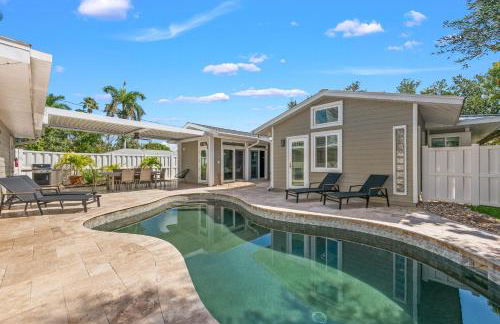
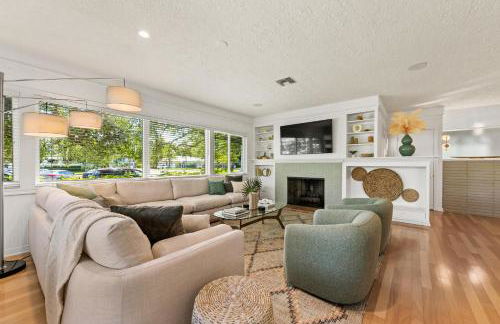
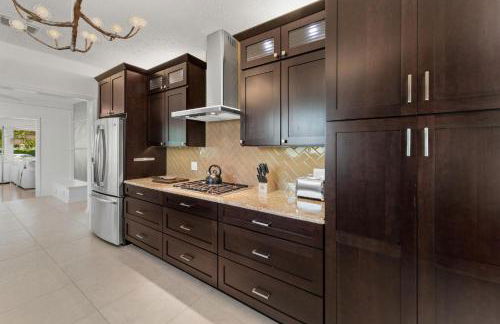
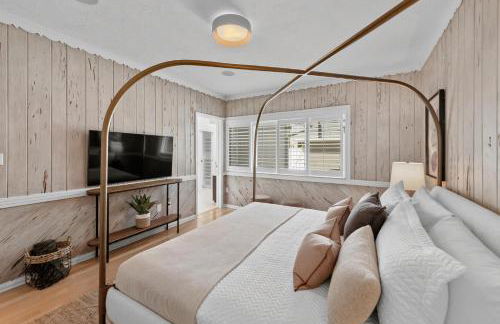
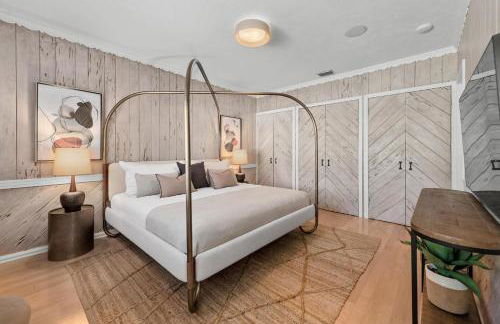
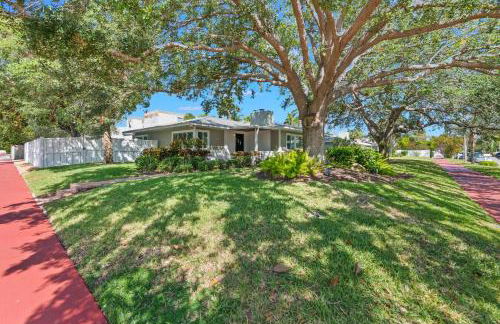
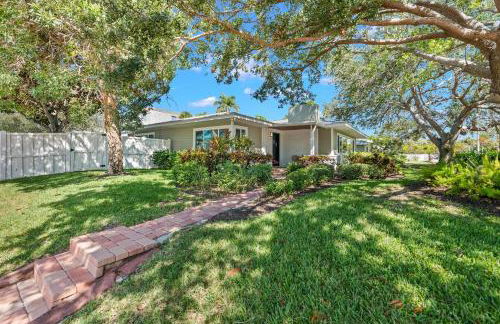
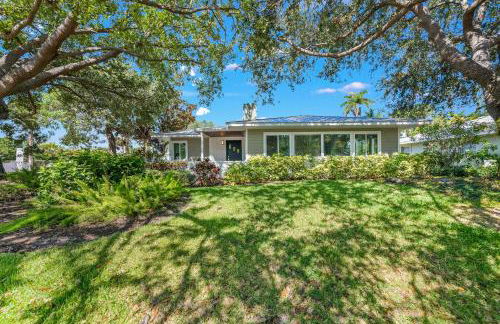
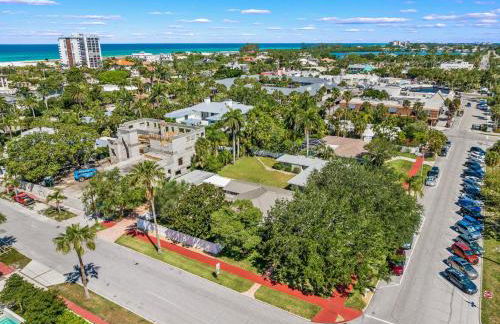
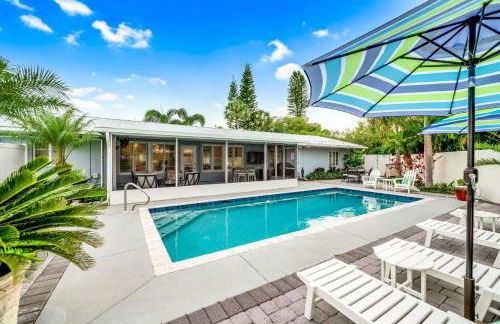
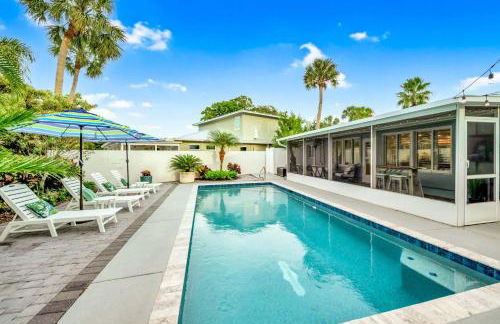
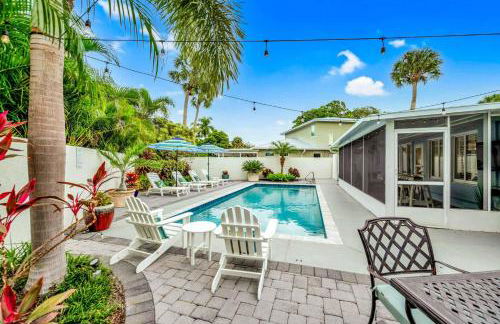
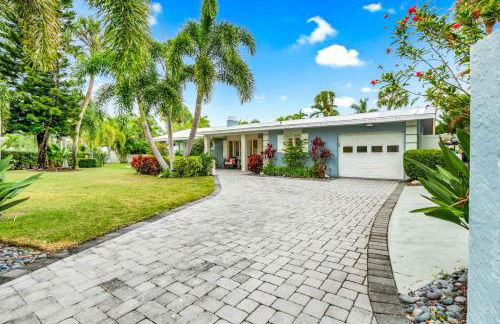
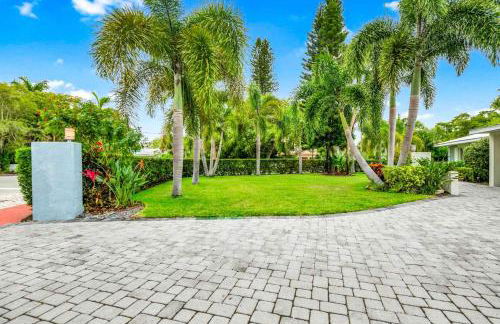
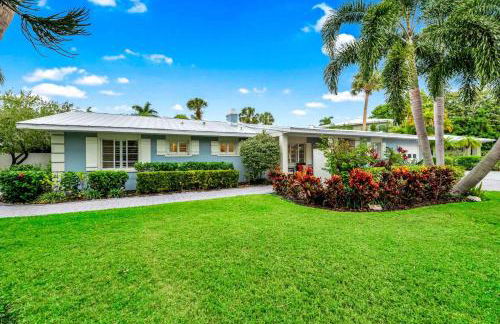
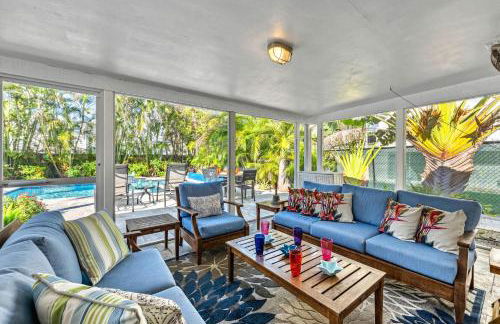
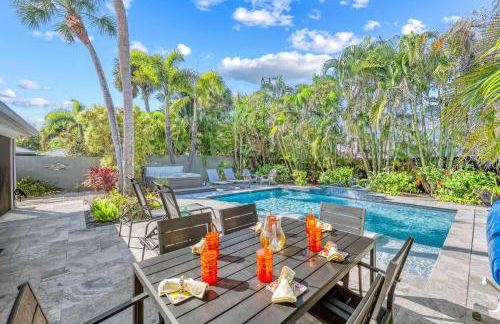
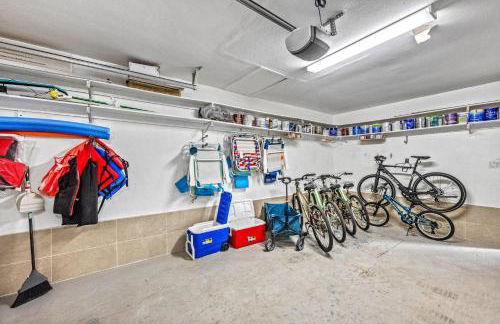
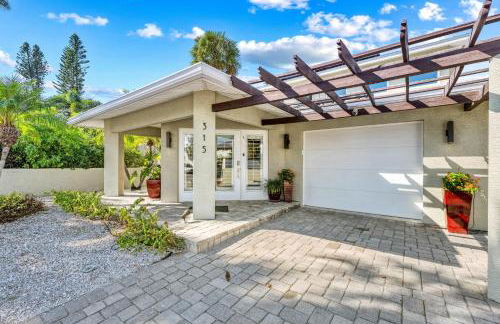
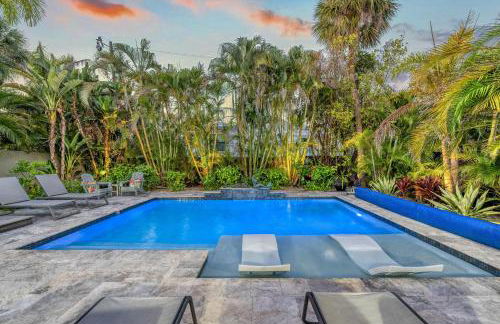
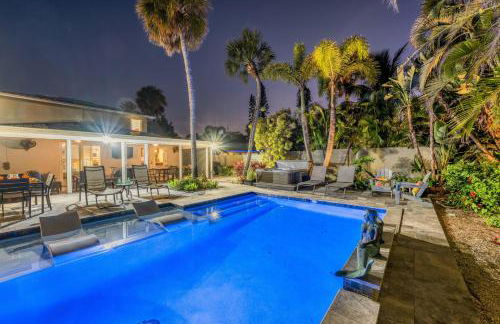
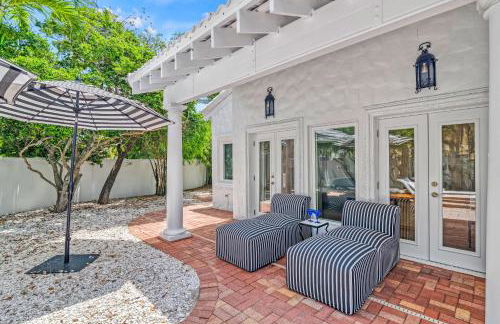
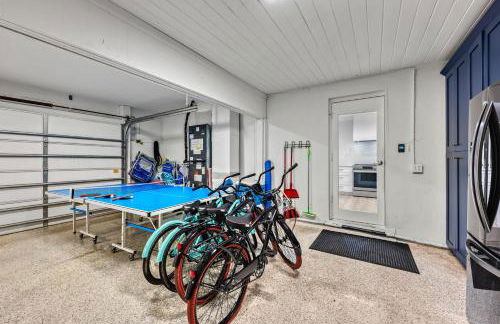
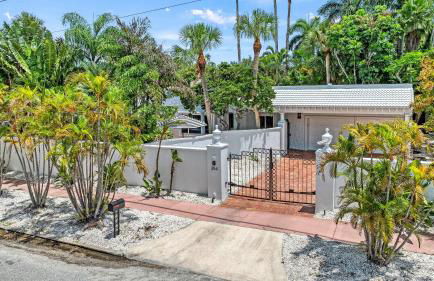
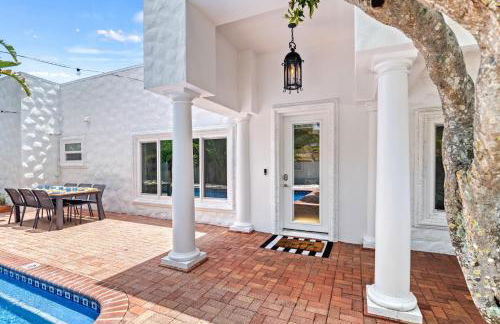
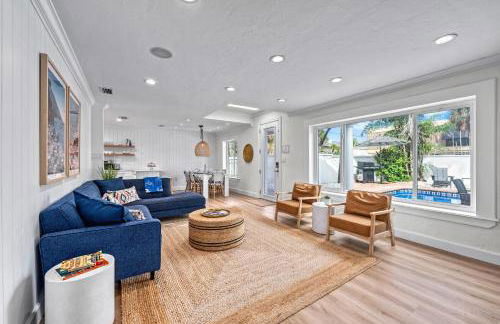
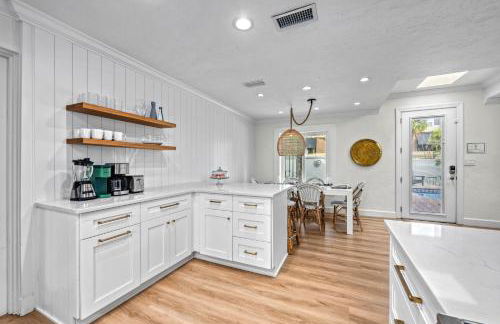
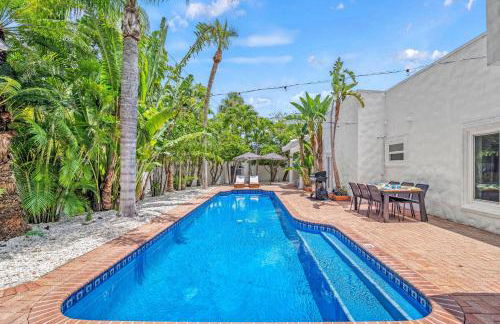
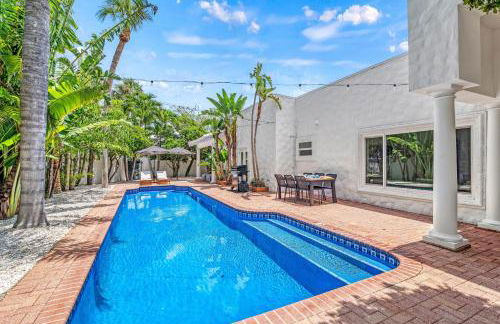
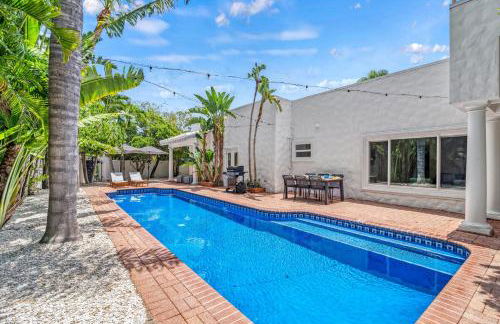
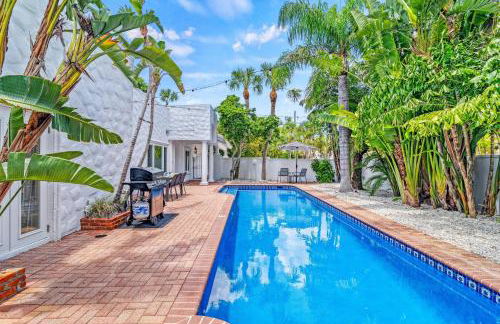
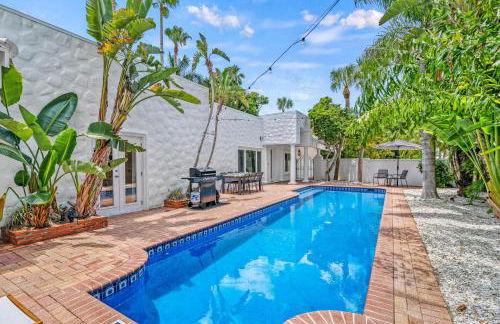
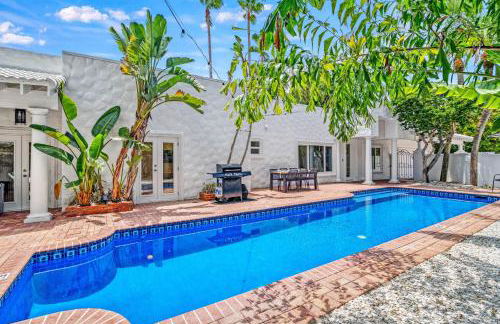
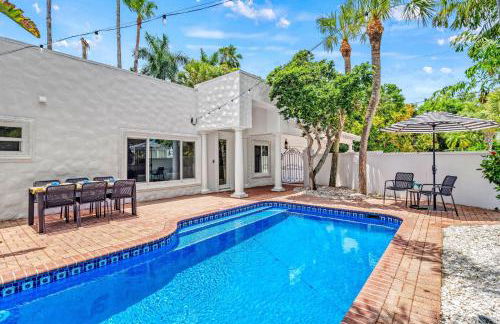
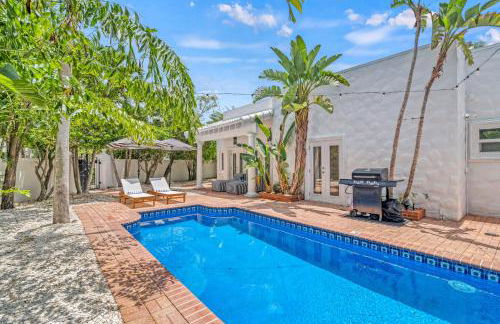
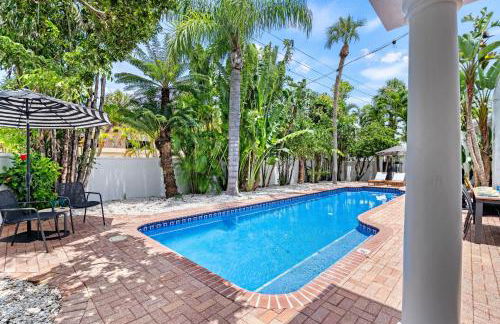
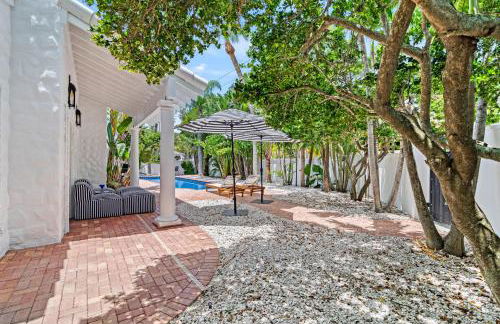
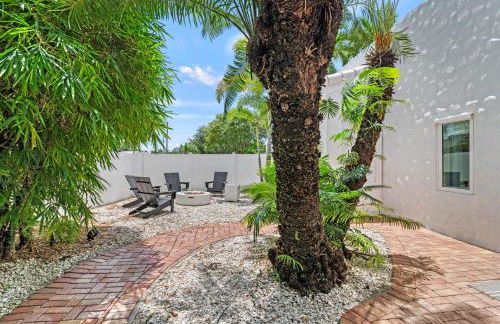
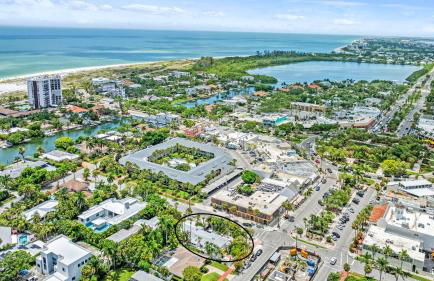
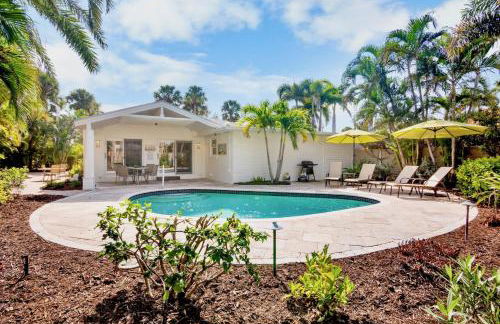
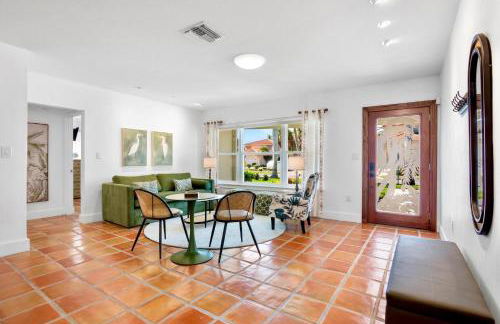
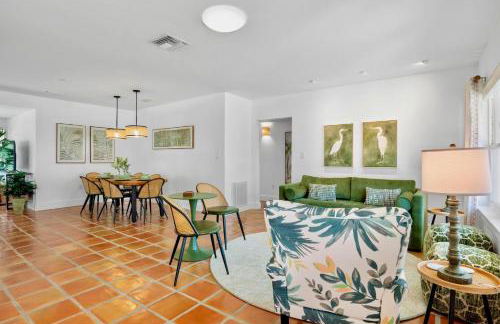
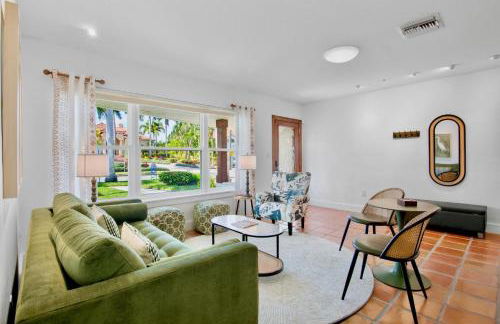
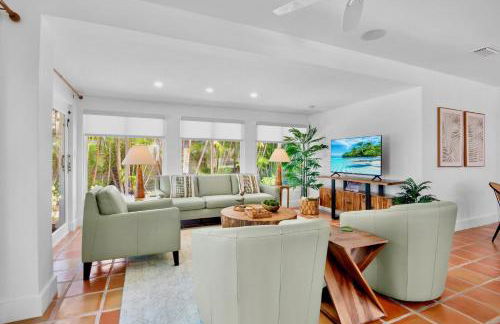
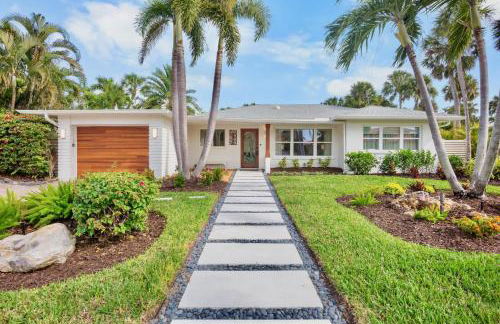
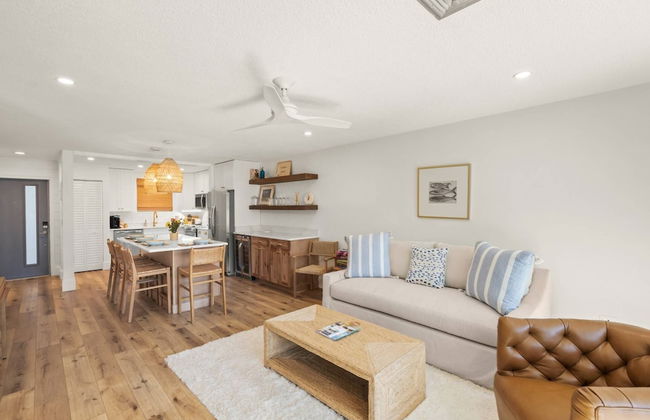
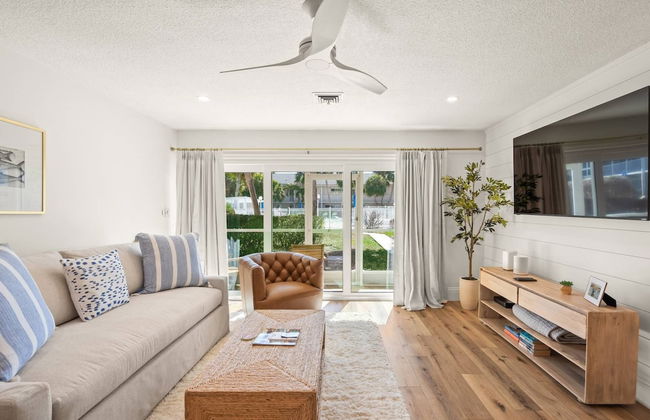
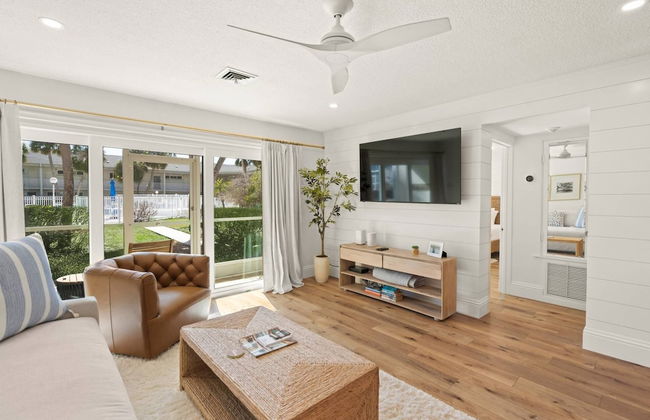
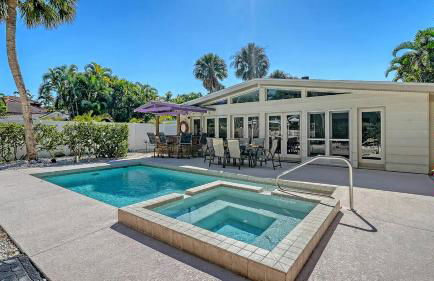
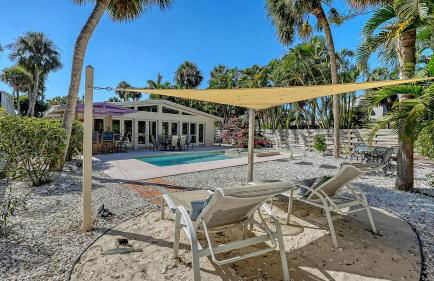
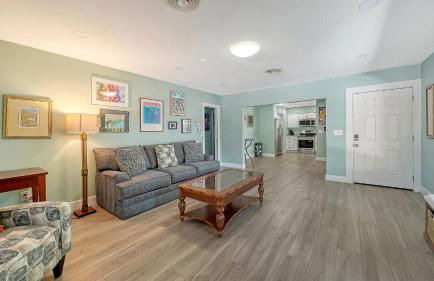
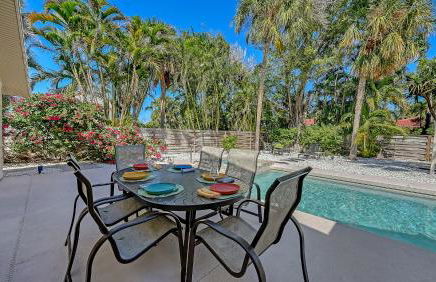
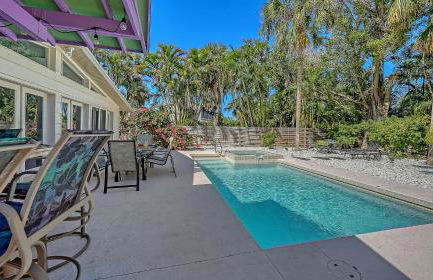
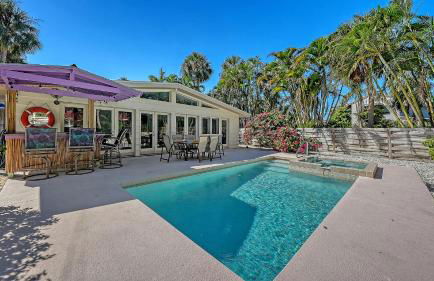
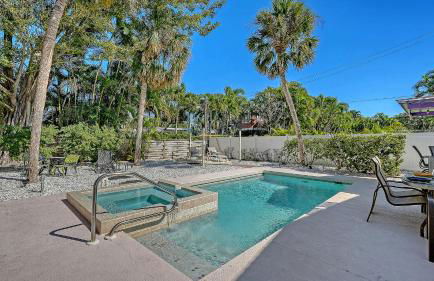
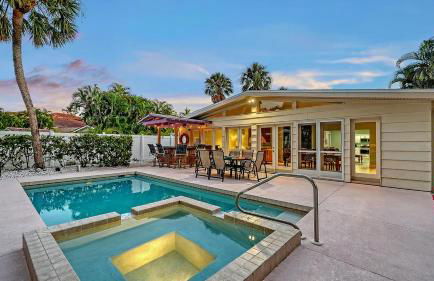
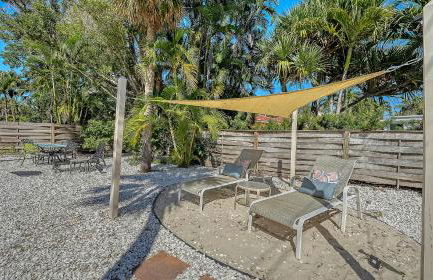
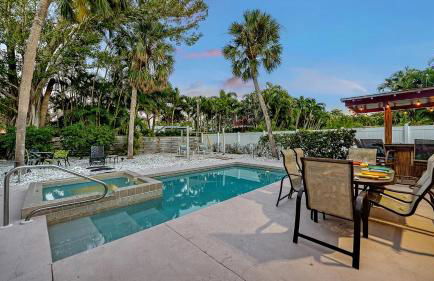
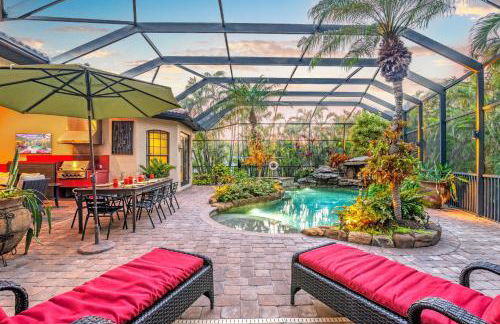
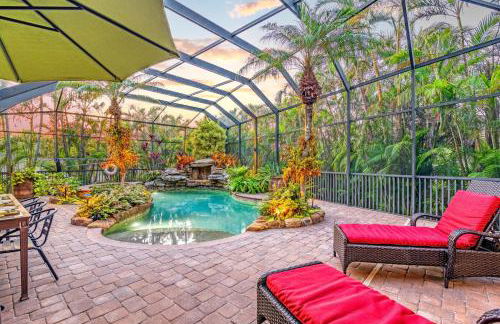
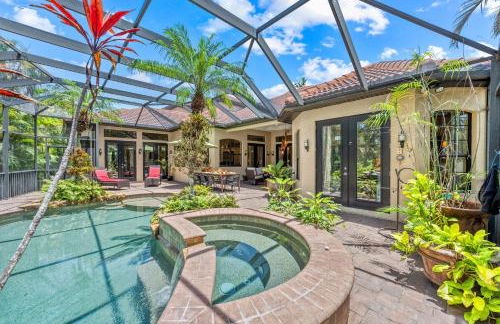
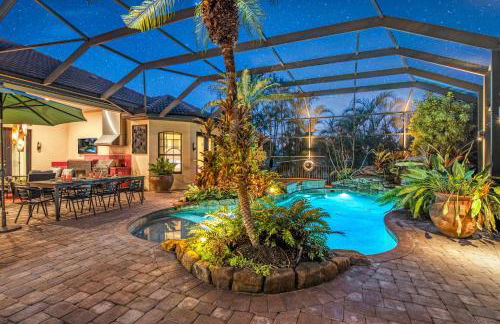
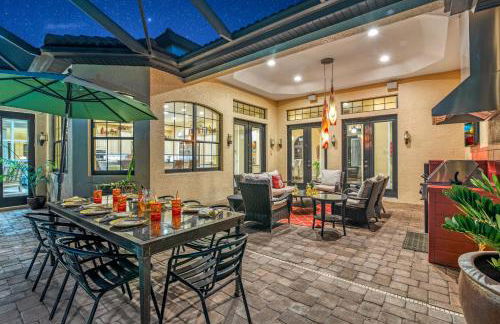
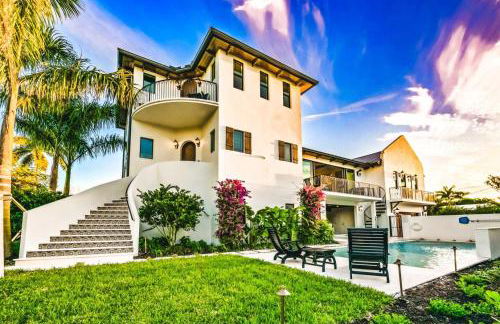
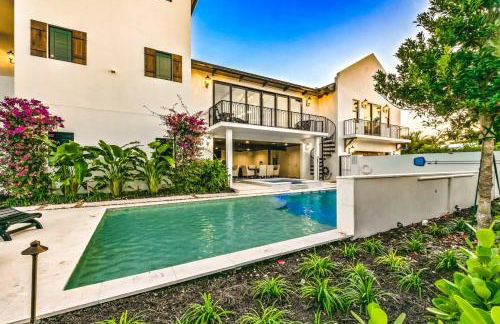
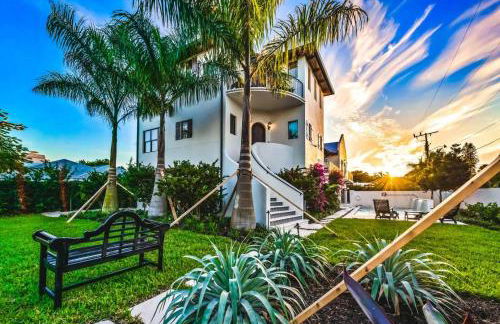
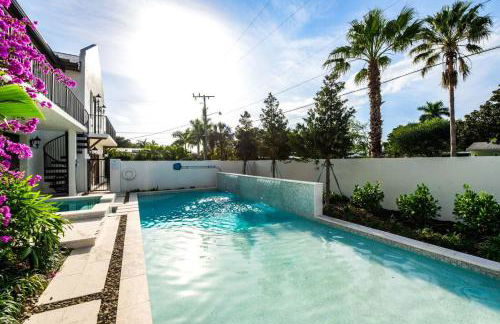
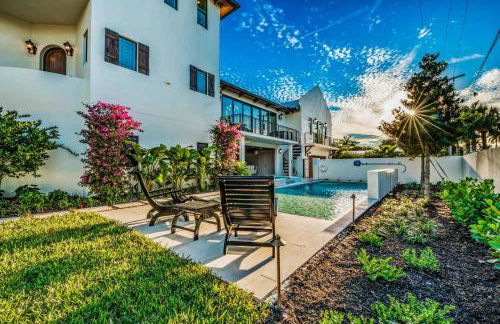
Anything Is Possible
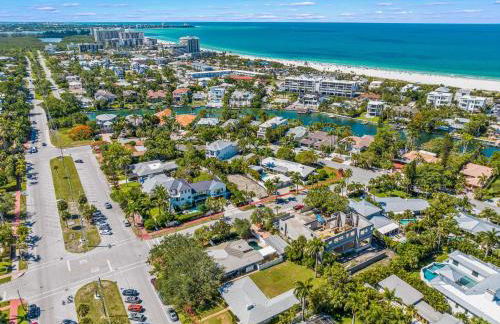
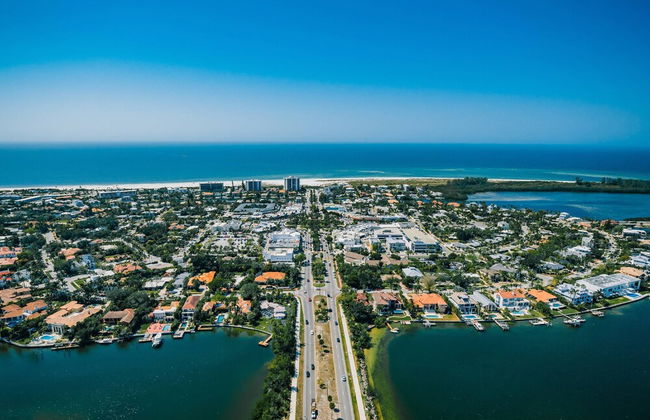
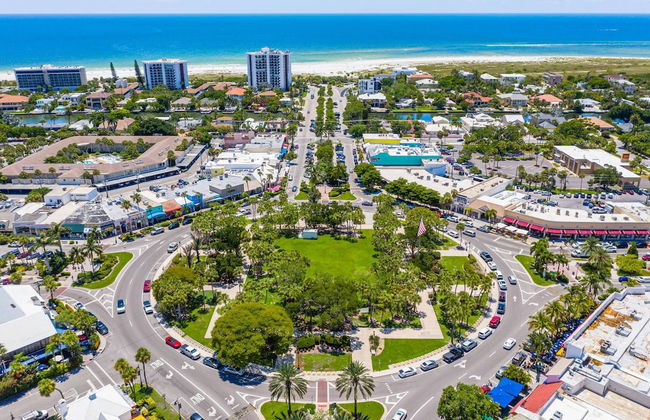
Sarasota - St. Armands - À 3.9 km du centre
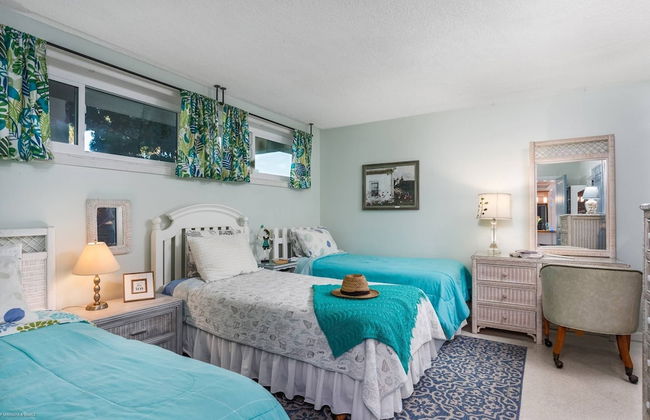
- 3 chambres
- 8 personnes
- Air conditionné
- Le chauffage
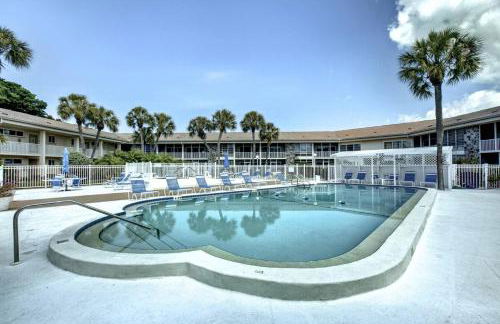
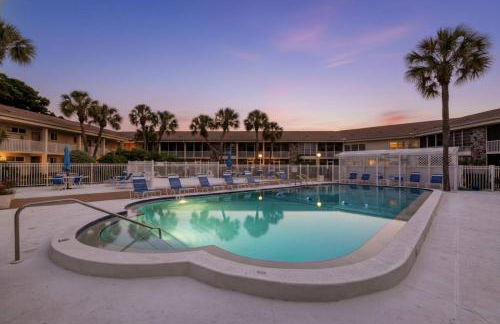
- Piscine
- Barbecue
2 avis


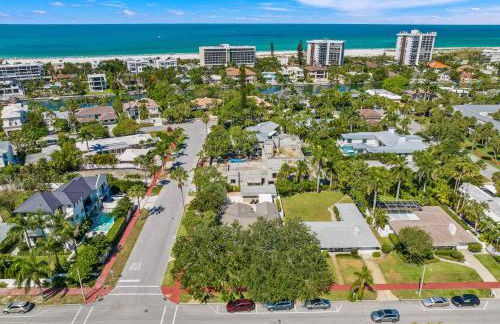
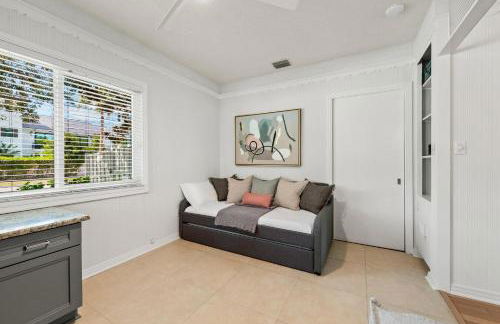
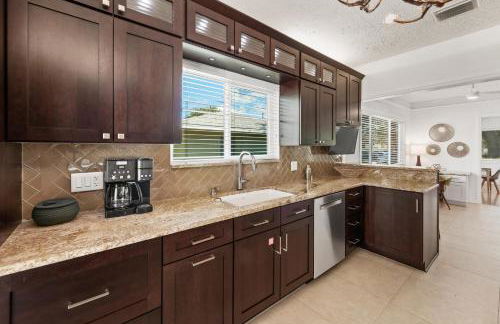
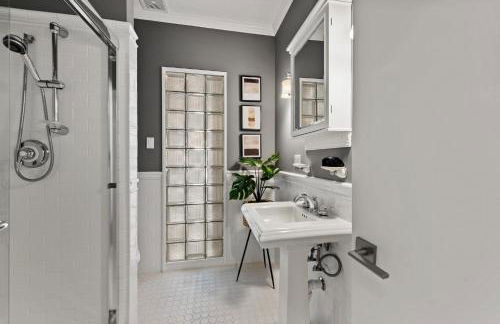
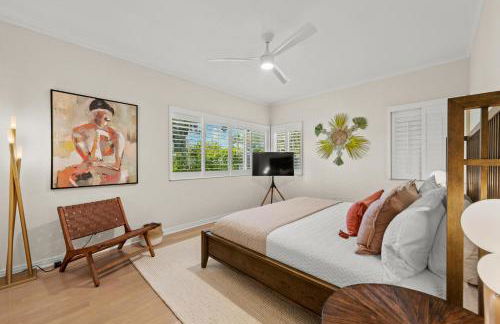
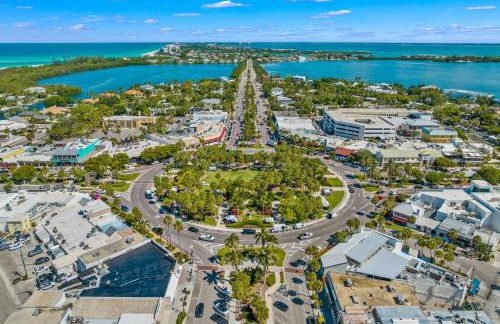
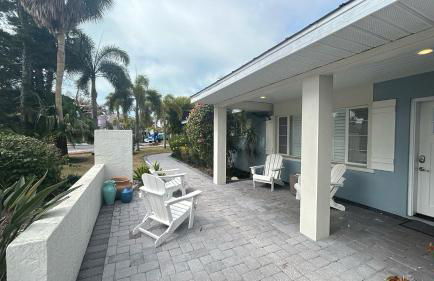
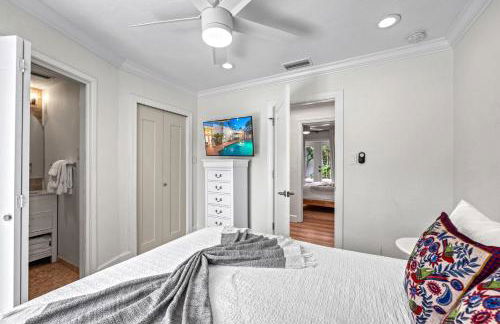
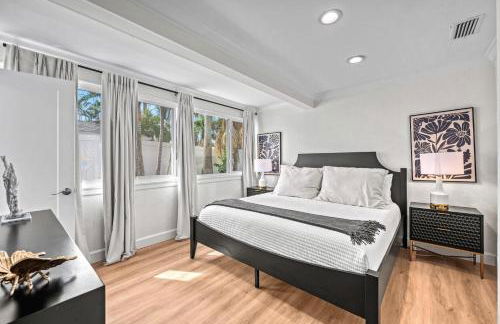
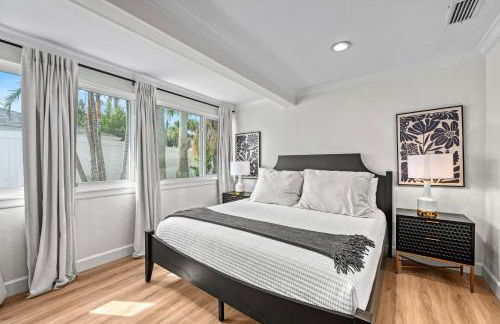
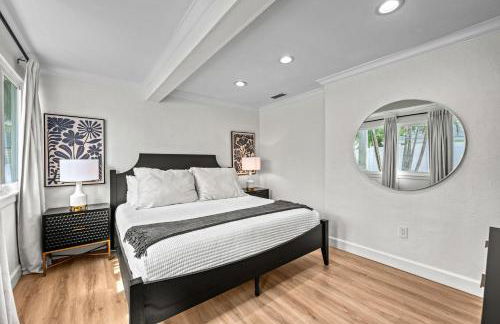
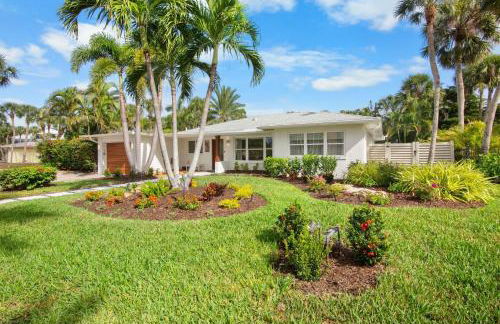
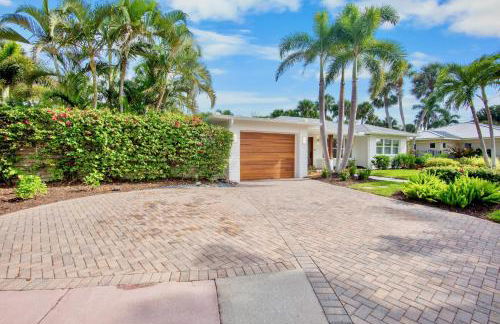
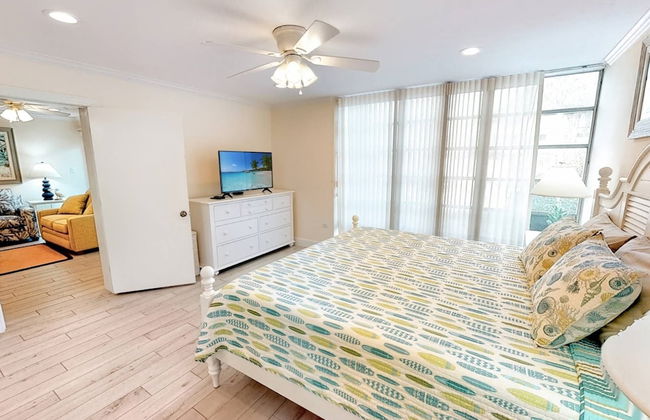
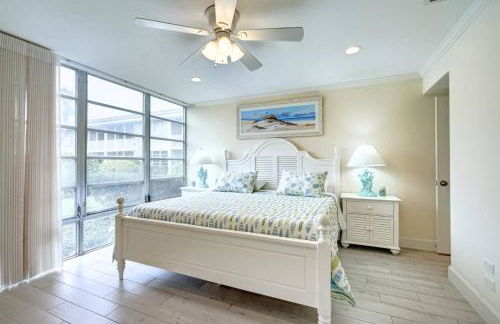
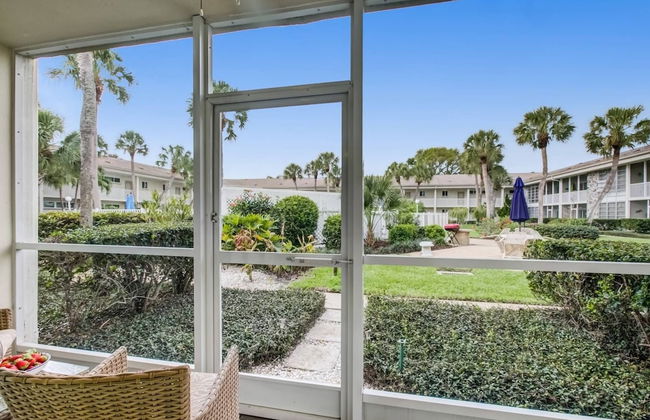
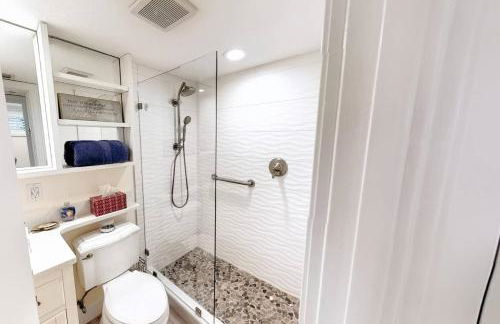
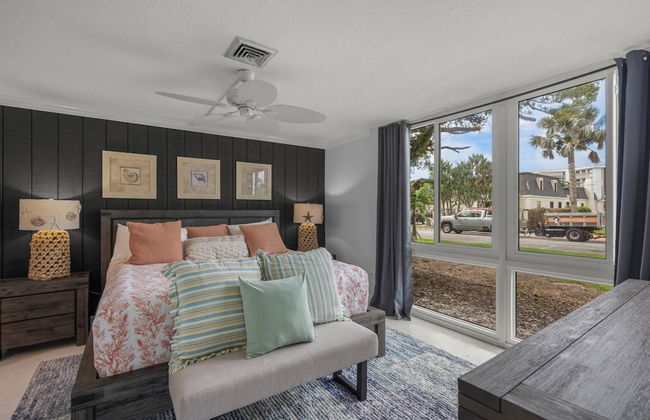
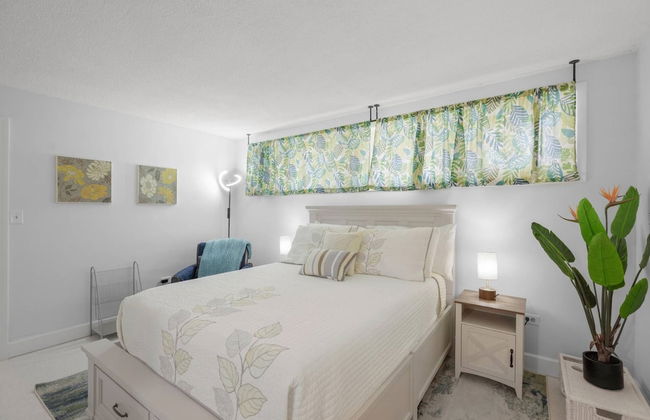
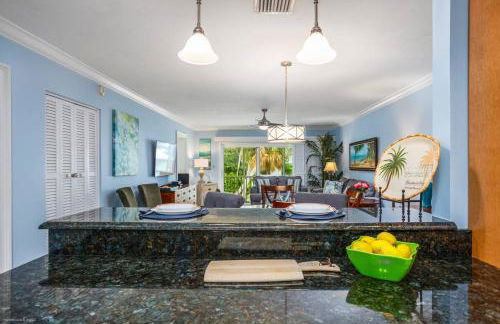
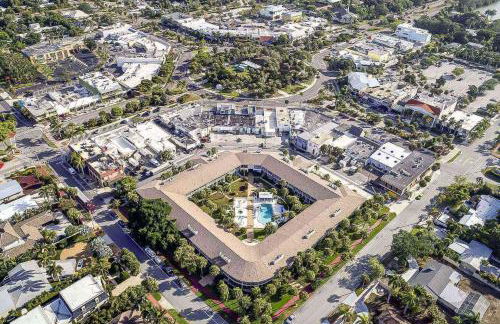
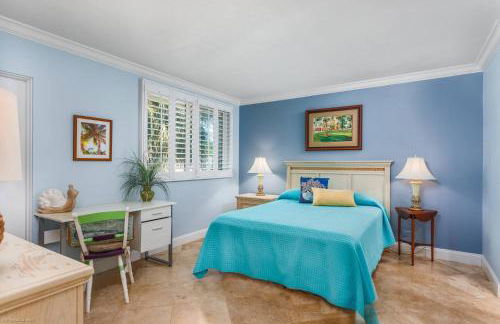
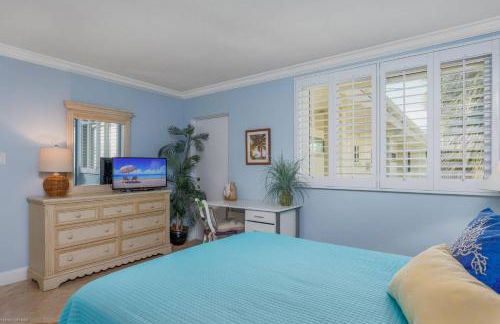
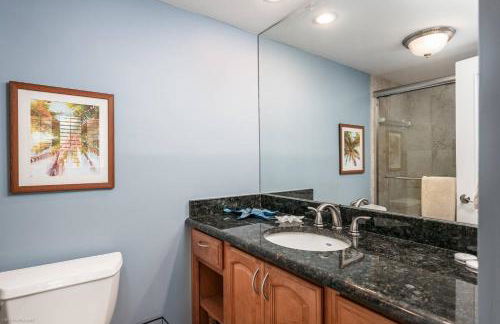
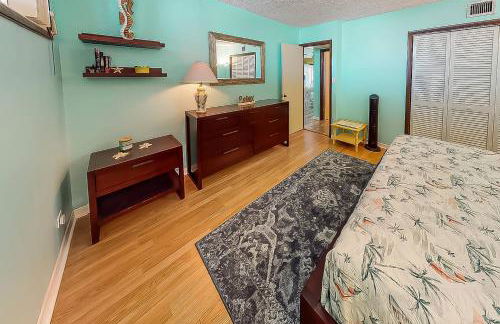
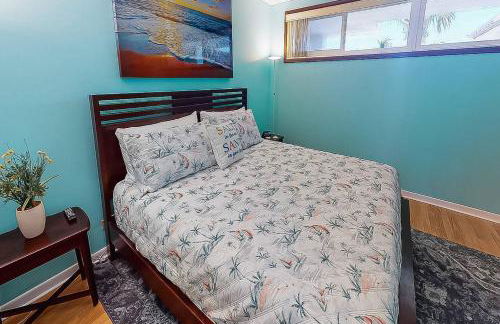
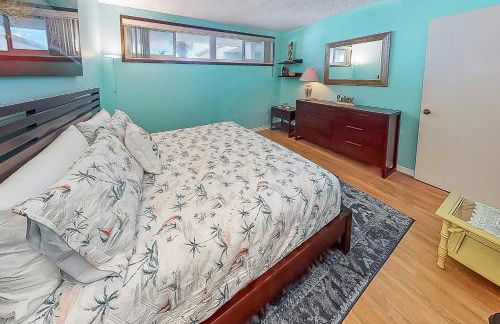
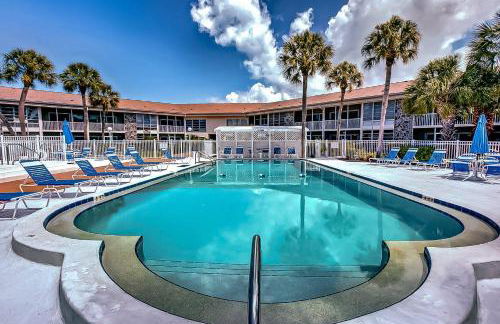
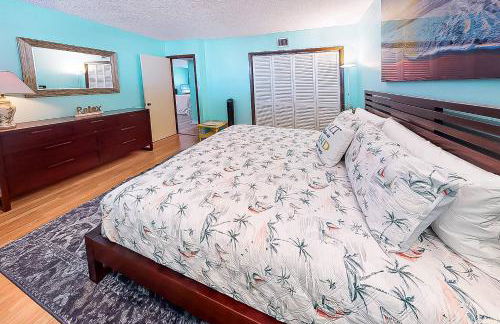
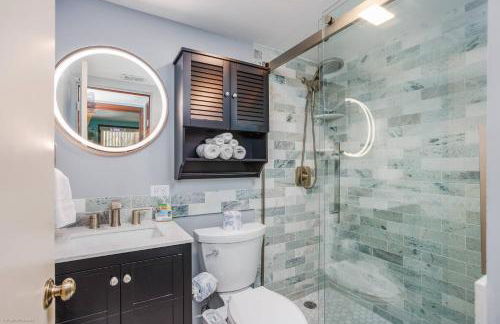
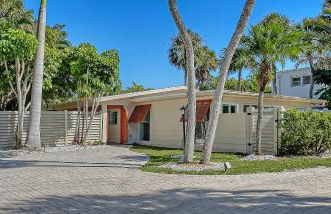
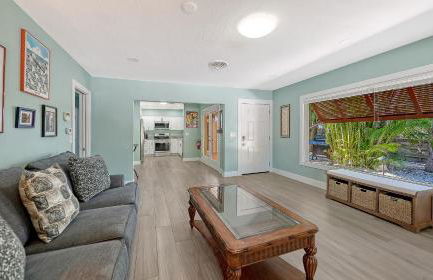
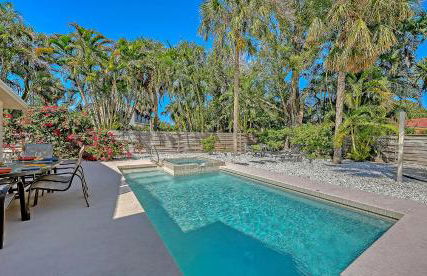
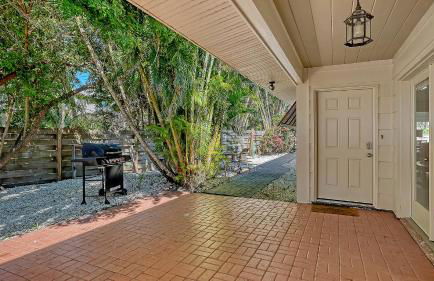
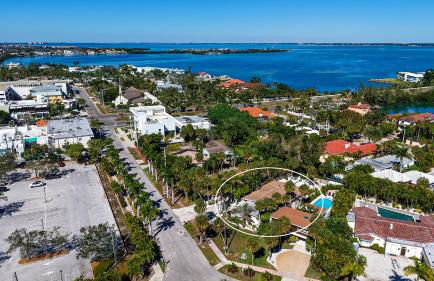
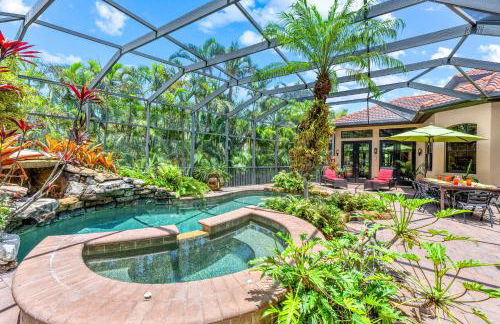
King Bed - Walk to St. Armand's Circle and Lido Beach in Minutes!
Sarasota - St. Armands - À 4 km du centre
- 72 M2
- 1 chambre
- 4 personnes
- Air conditionné
- Le chauffage
- Piscine
- Parking
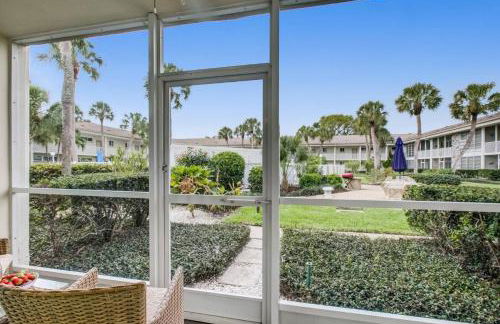
- Jardin
14 avis
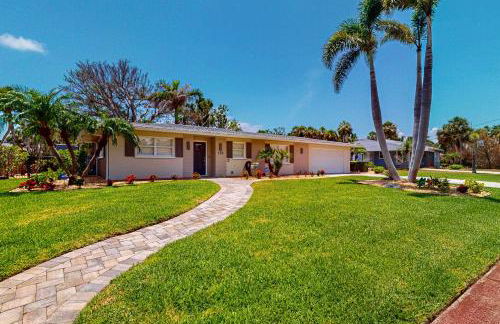
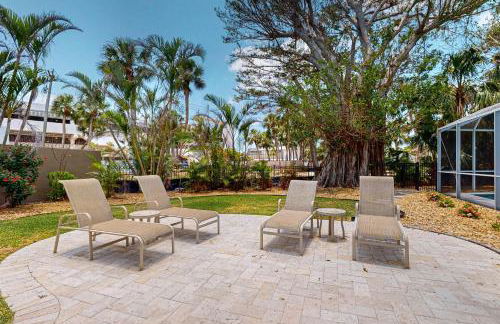
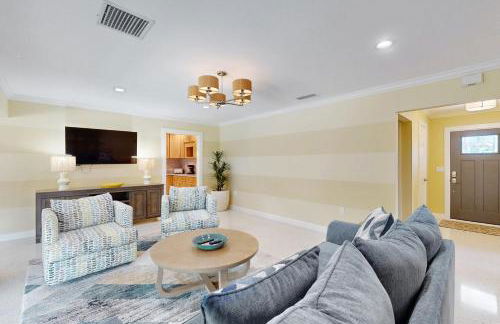
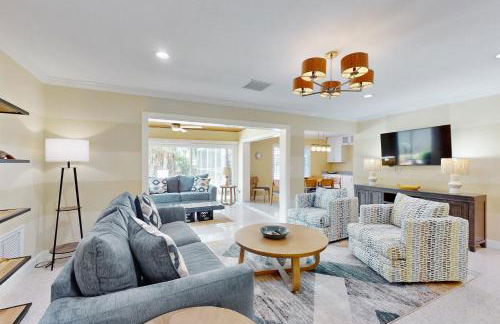

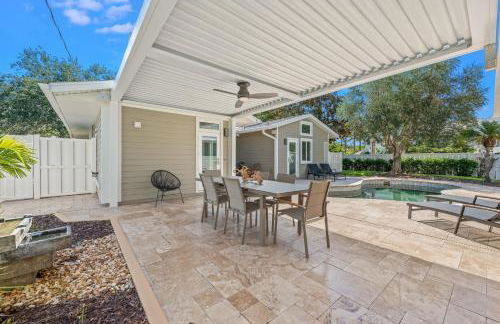
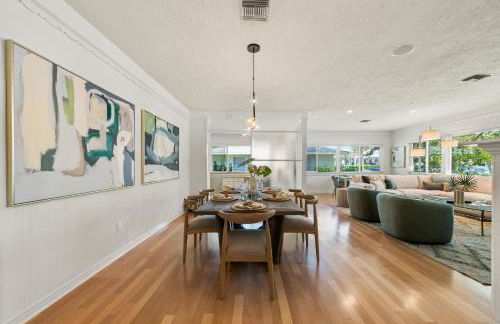
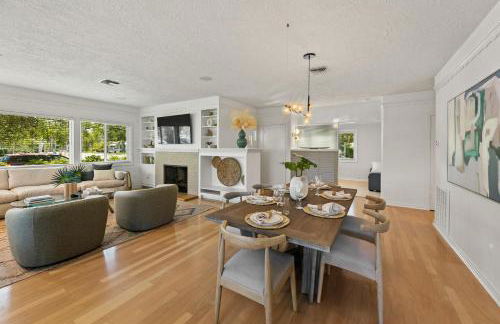
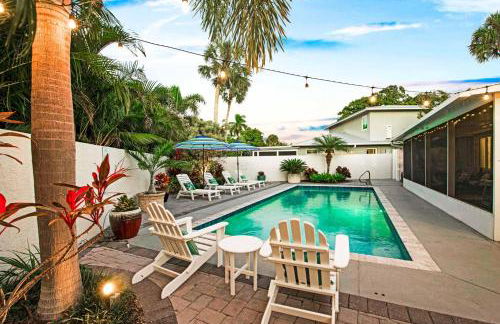
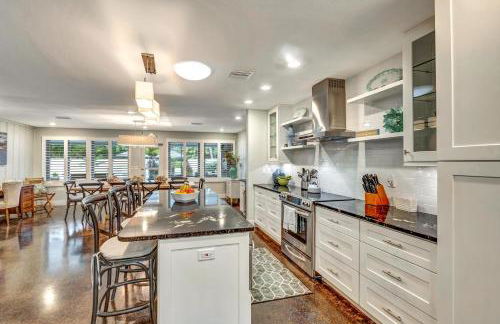
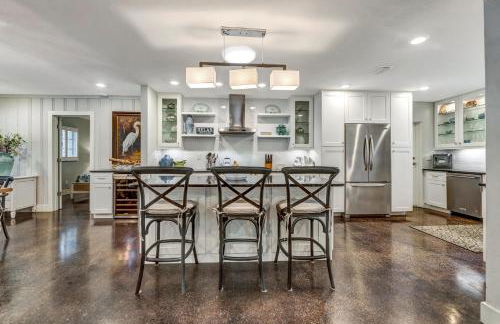
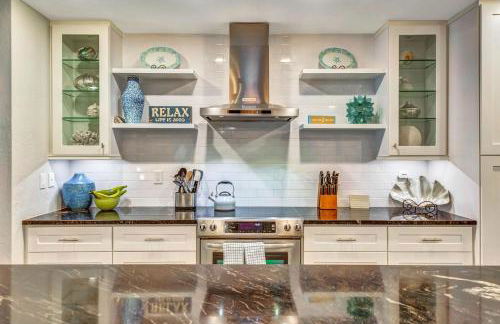
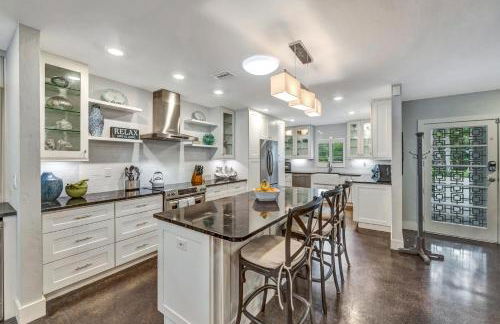
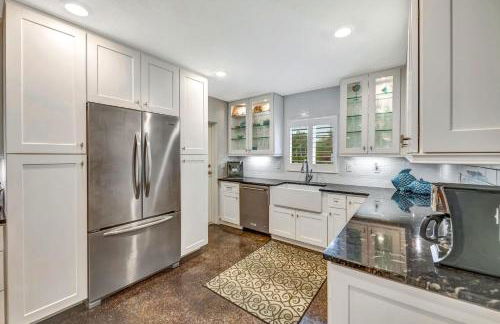
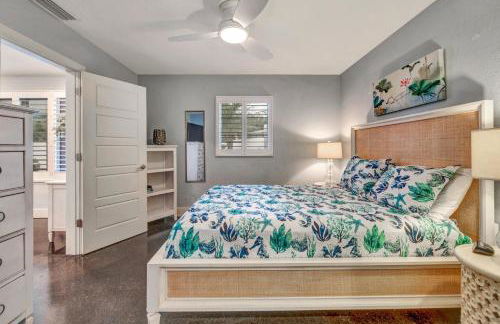
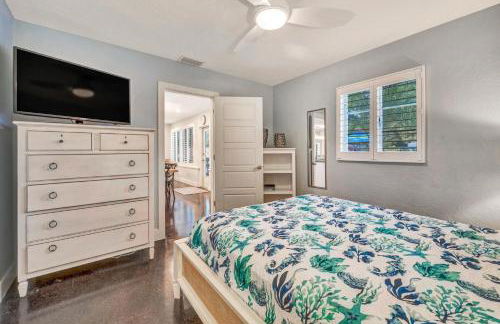
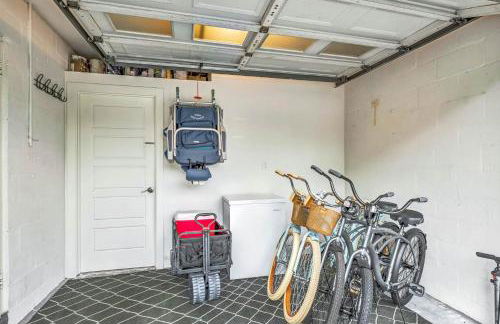
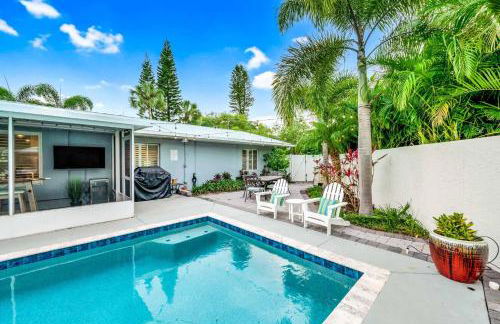
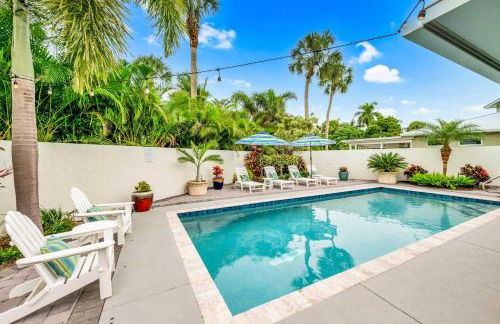
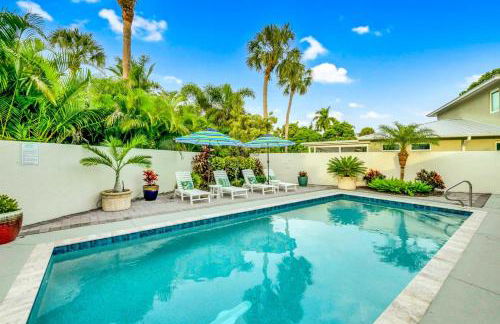
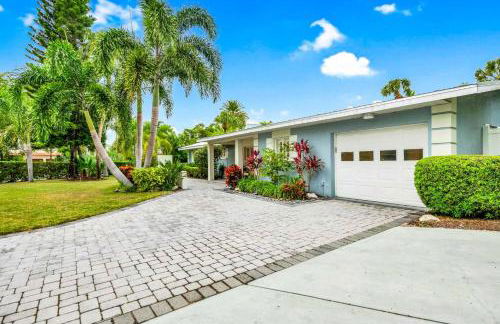
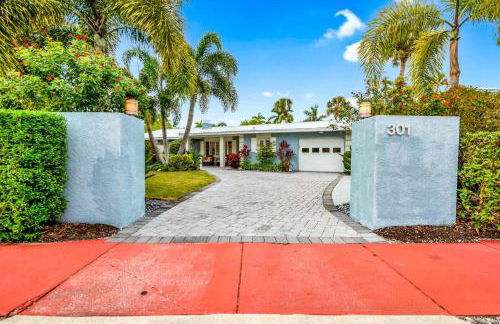
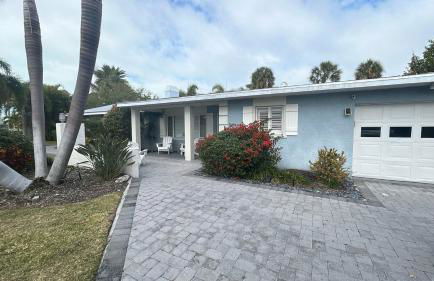
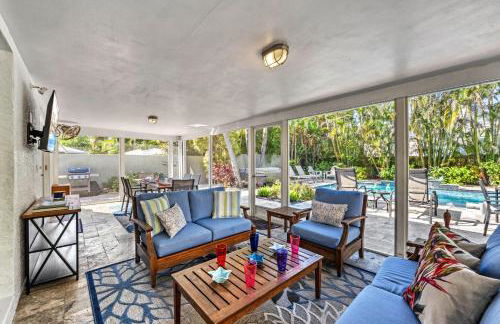
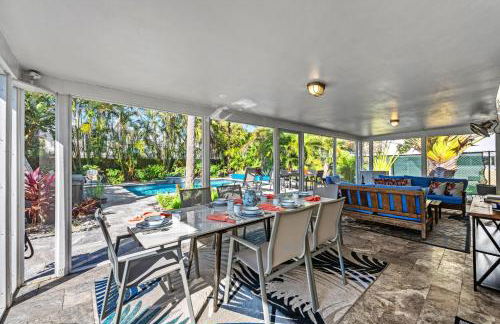
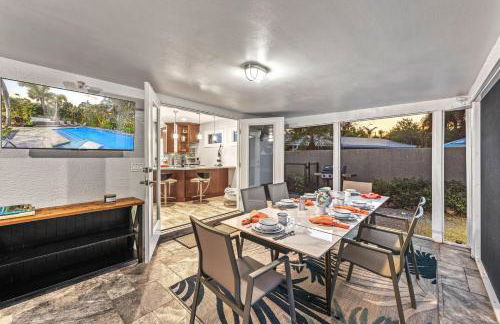
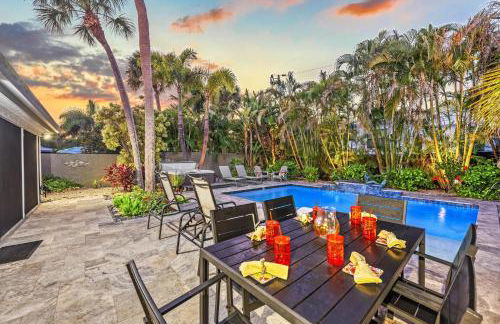
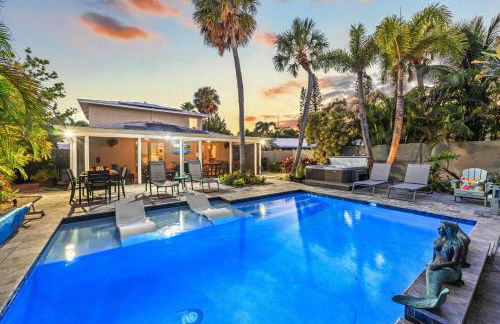
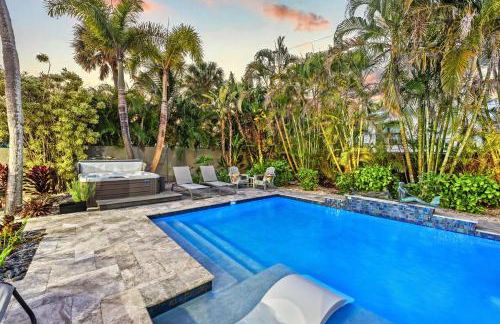
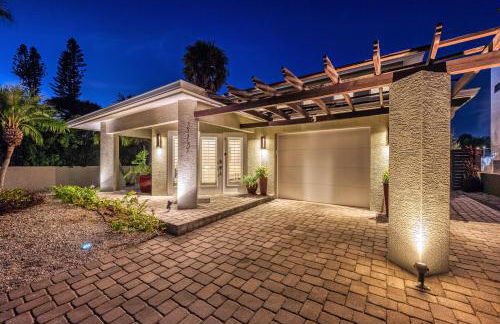
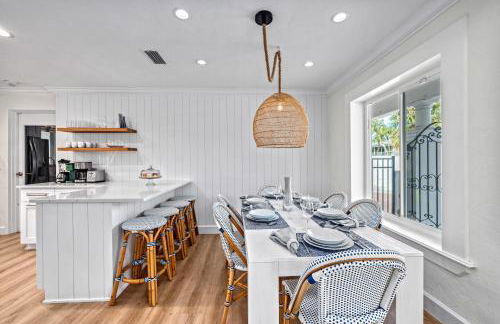
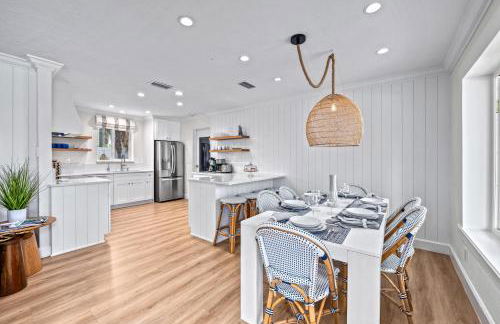
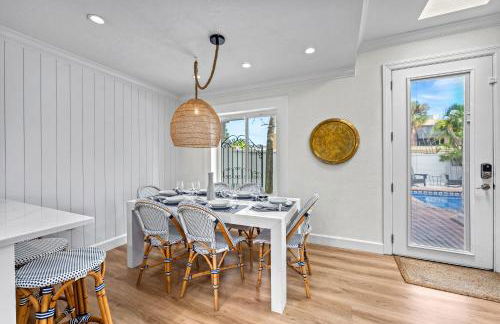
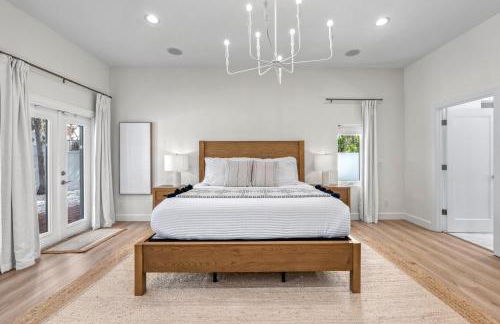
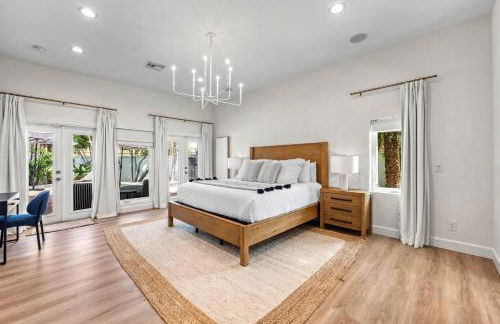
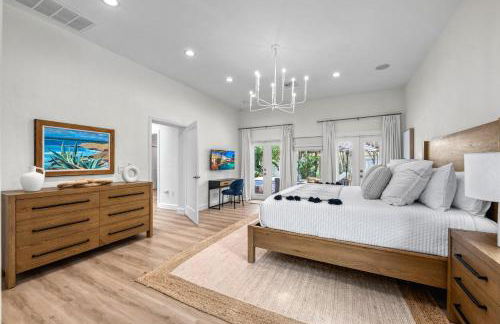
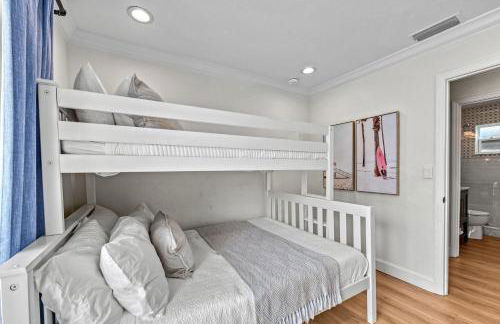
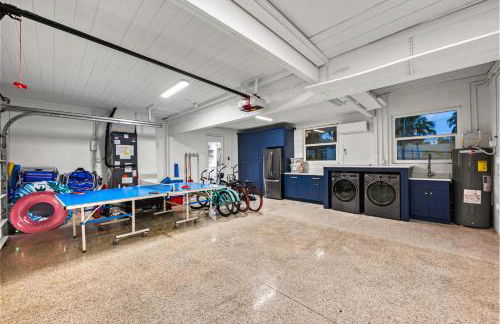
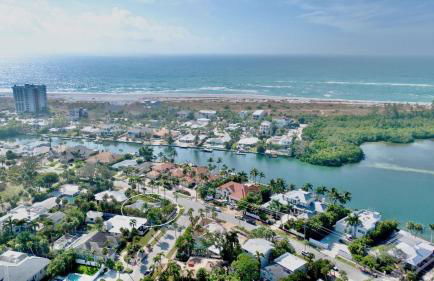
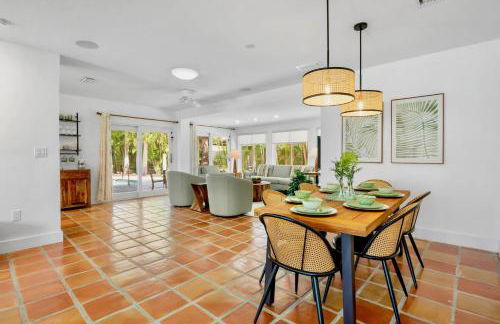
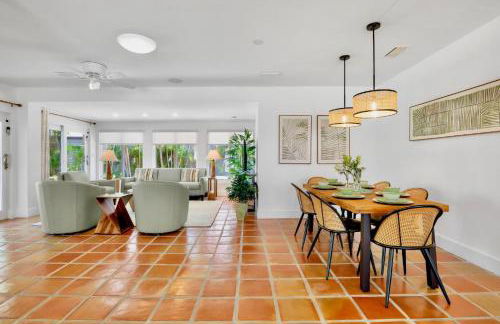
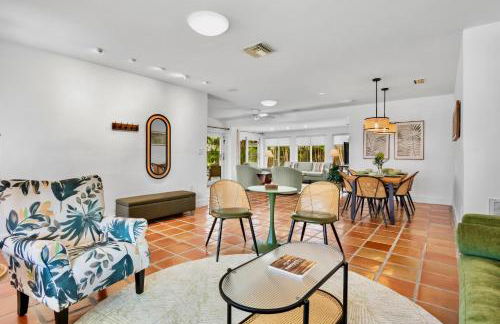
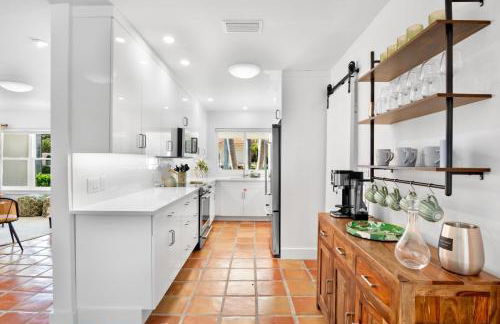
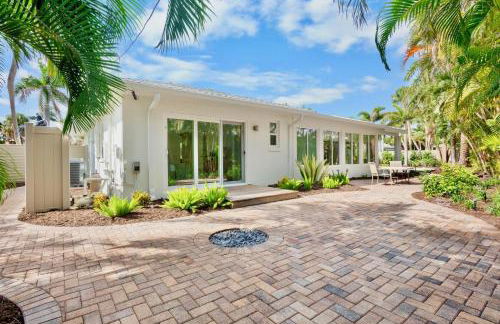
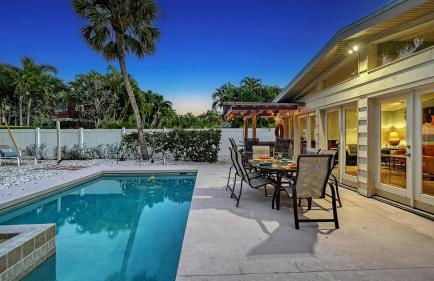
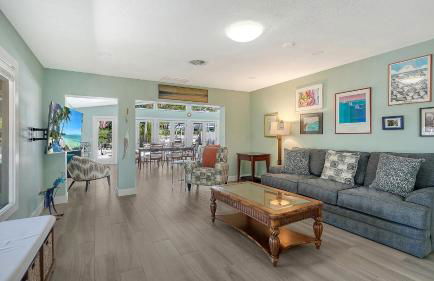
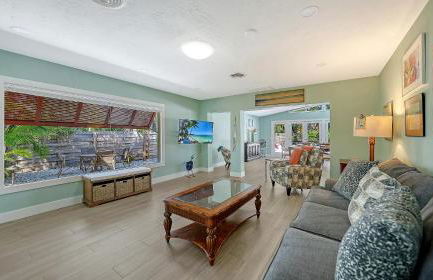
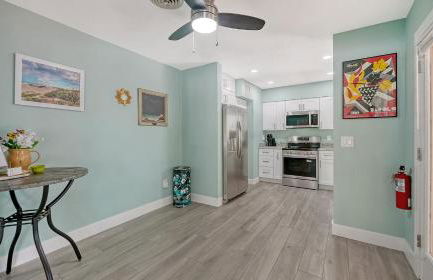
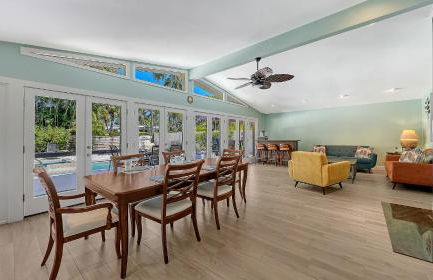
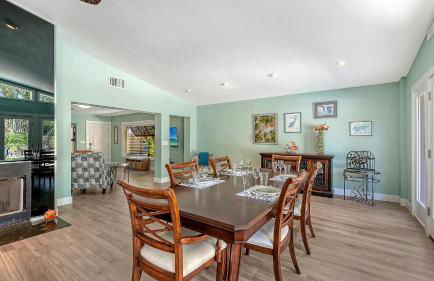
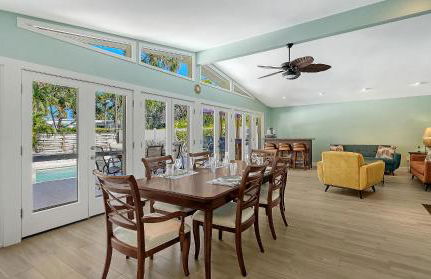
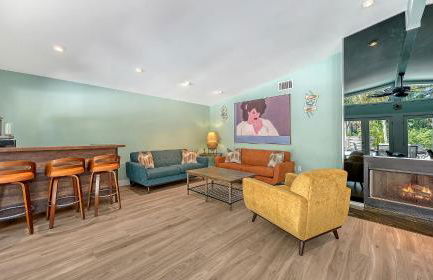
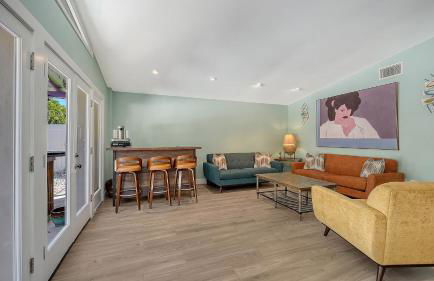
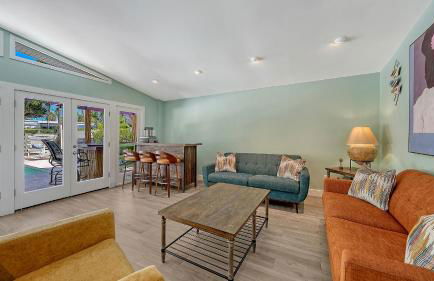
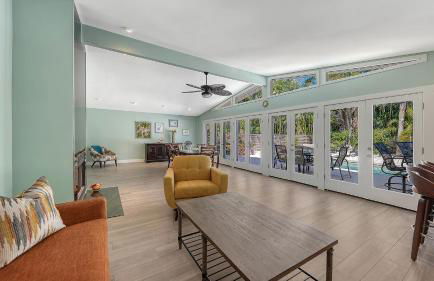
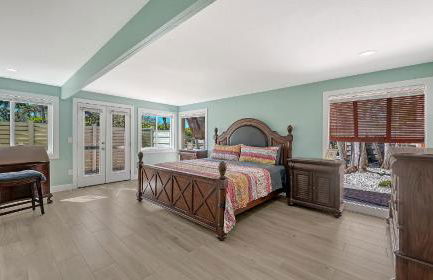
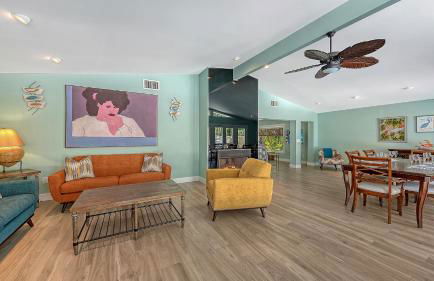
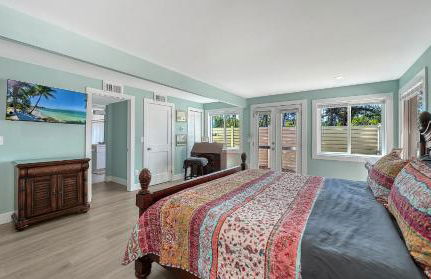
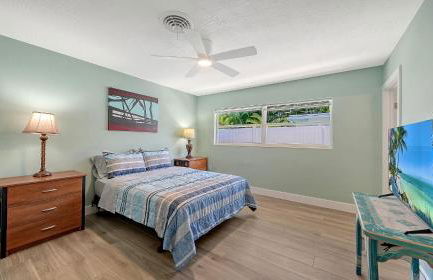
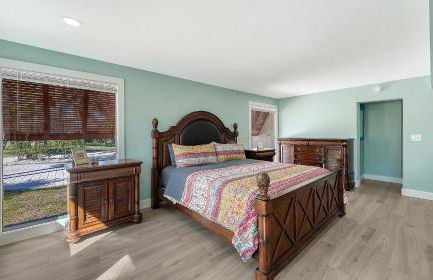
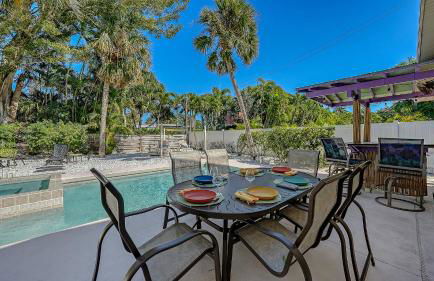
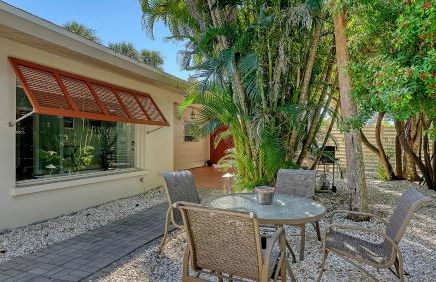
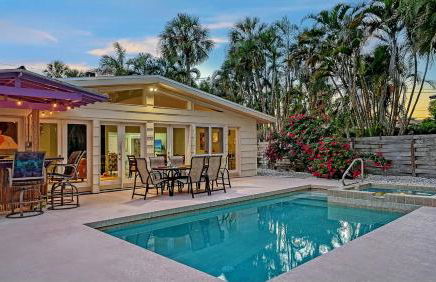
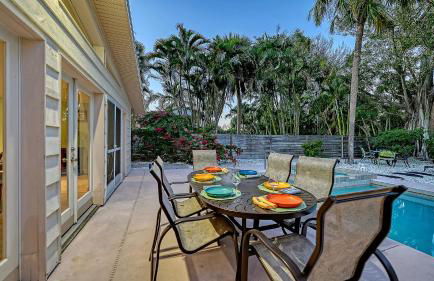
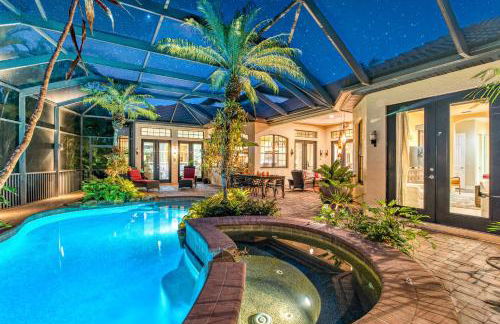
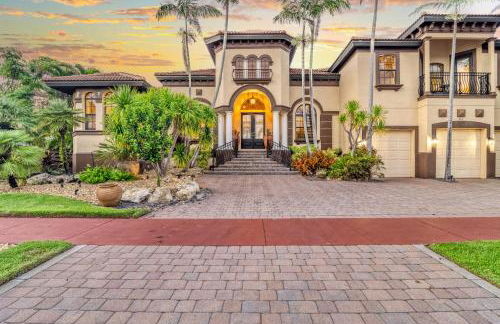
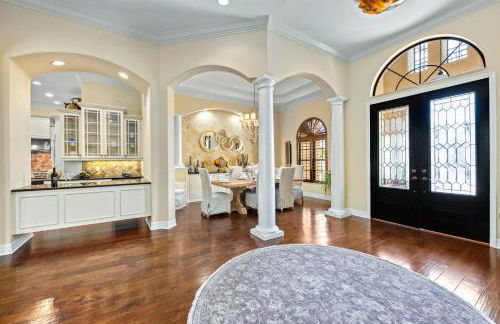
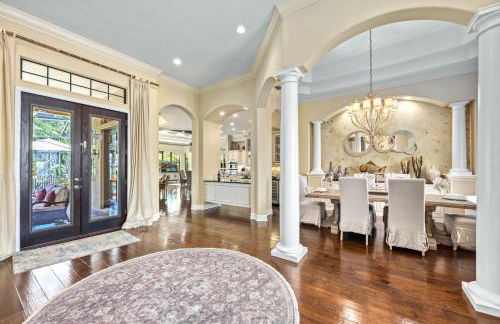
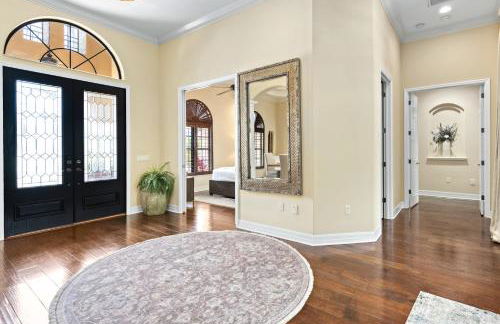
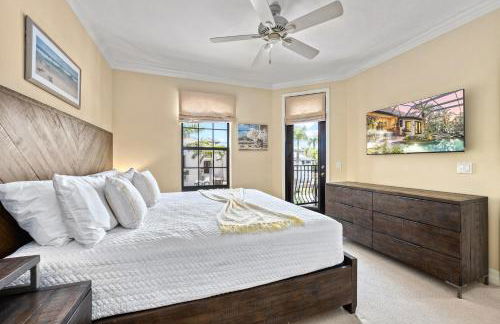
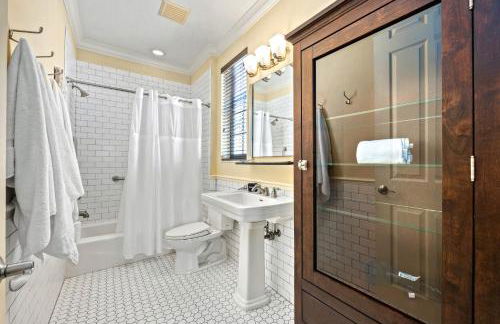
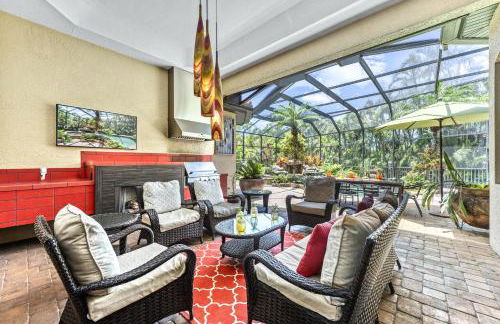
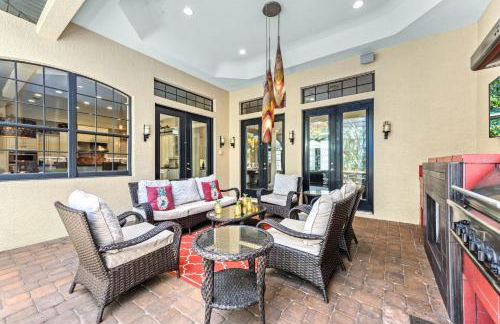
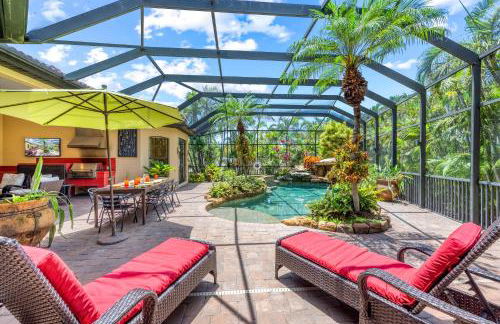
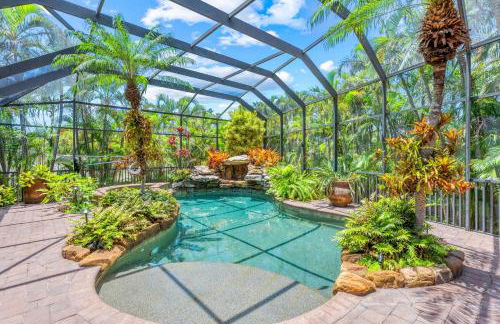
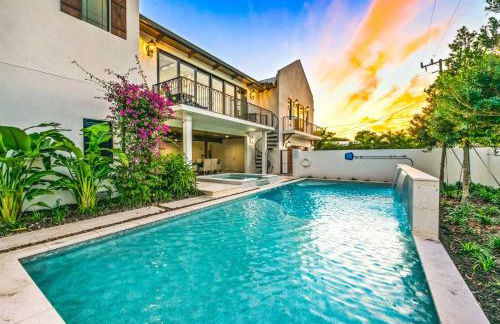
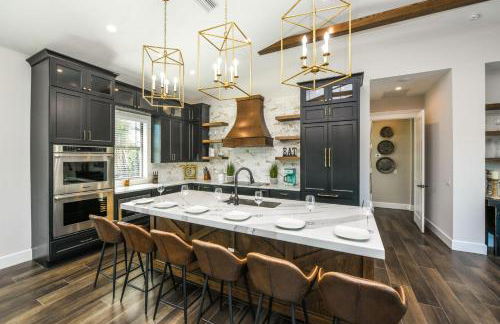
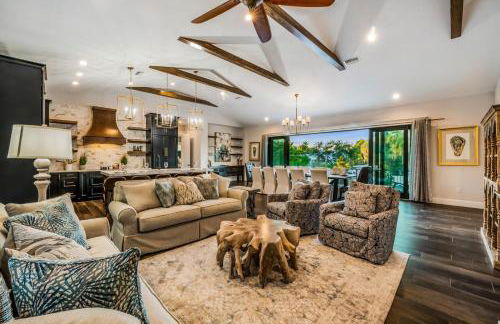
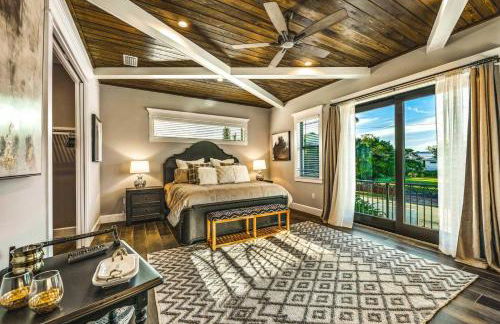
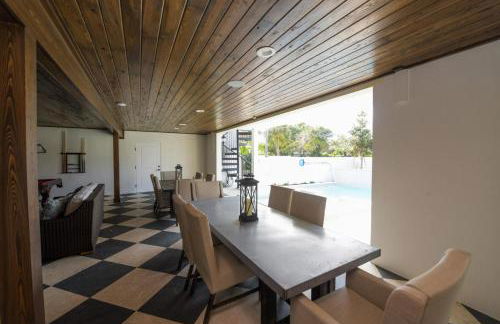
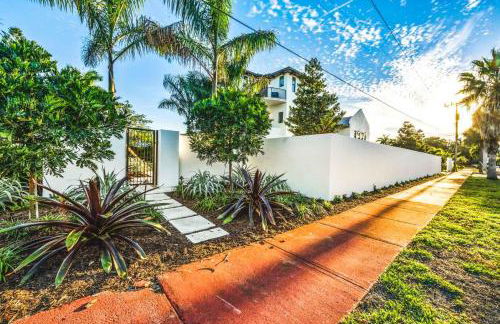
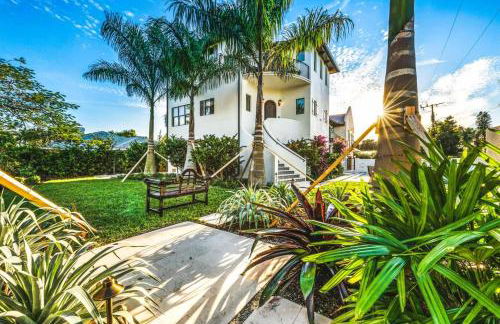
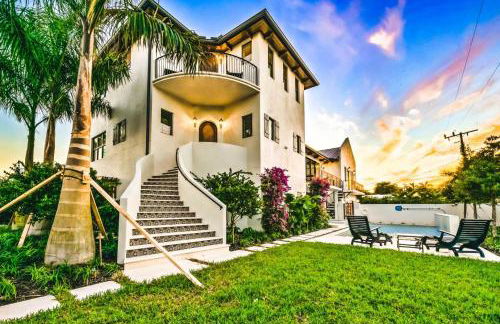
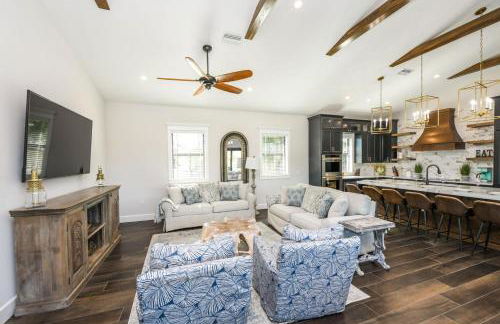
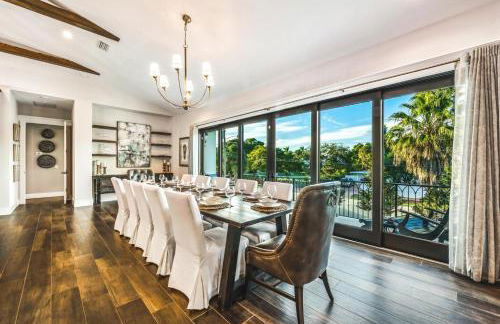
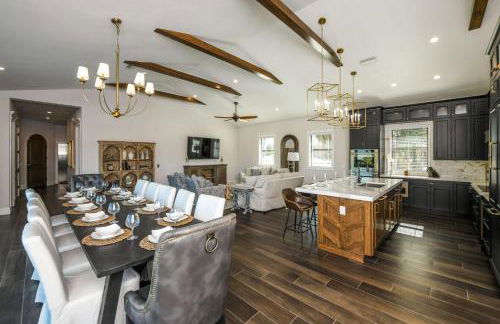
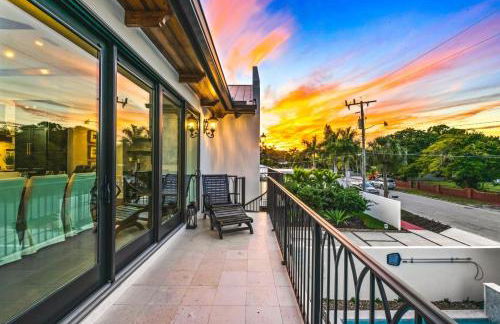
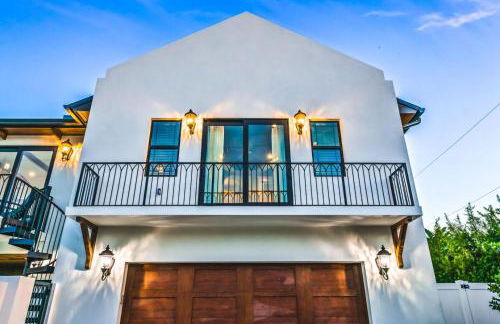
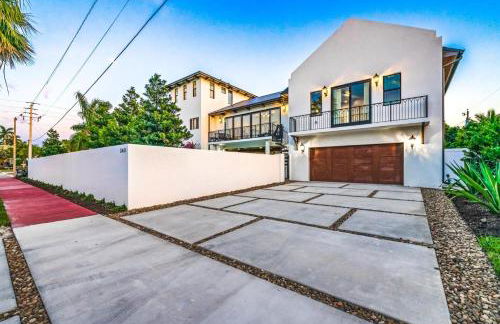
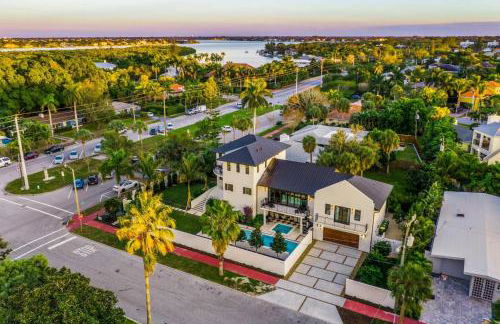
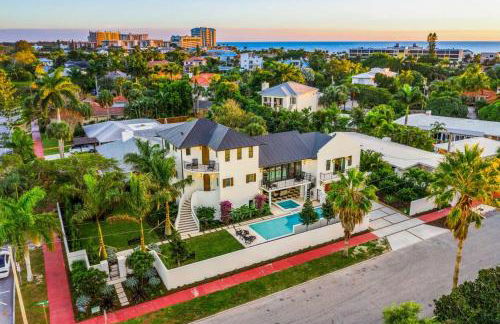
You Only Live Once
Sarasota - St. Armands - À 3.8 km du centre
- 307 M2
- 4 chambres
- 8 personnes
- Air conditionné
- Le chauffage
- Piscine
1 avis


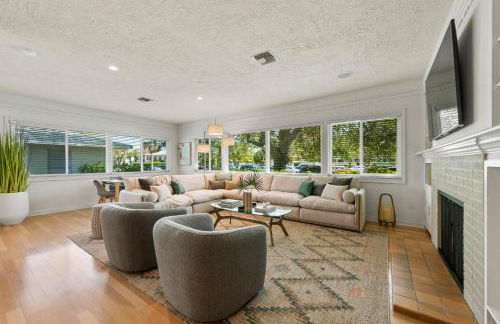
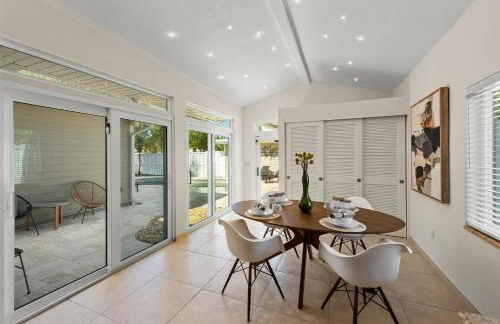
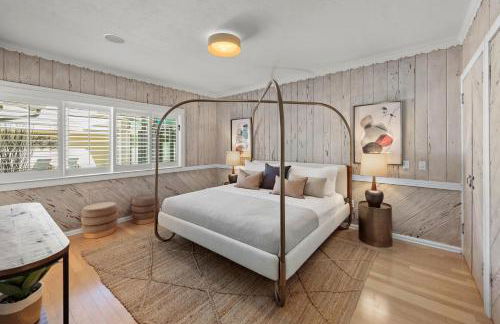
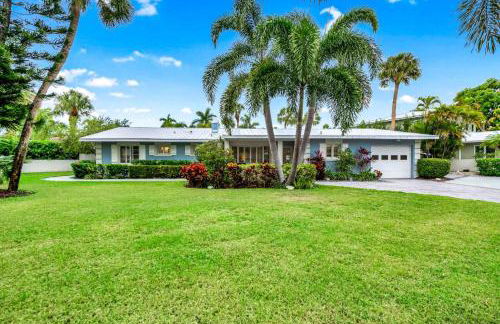
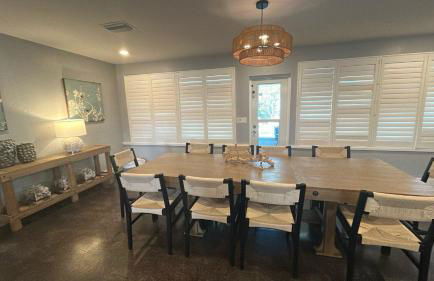
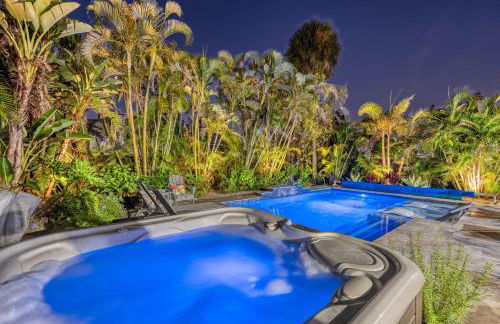
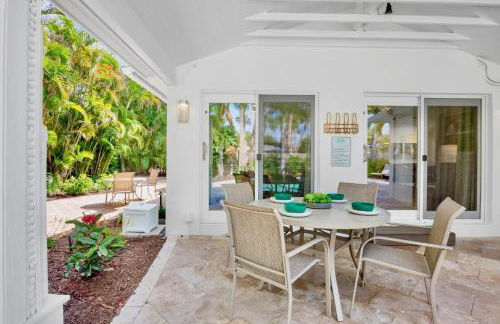
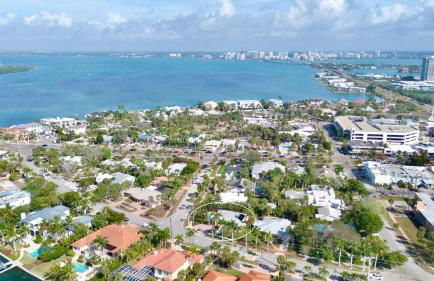
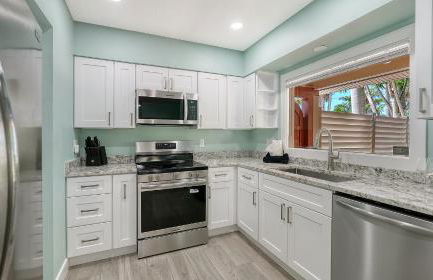
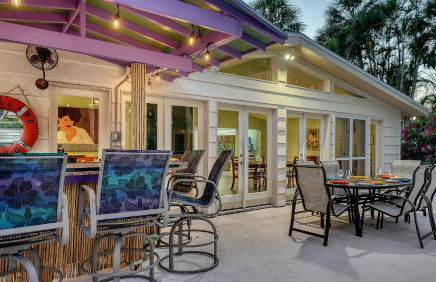
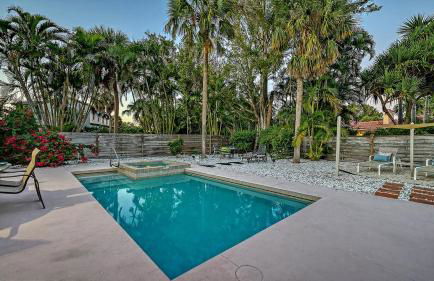
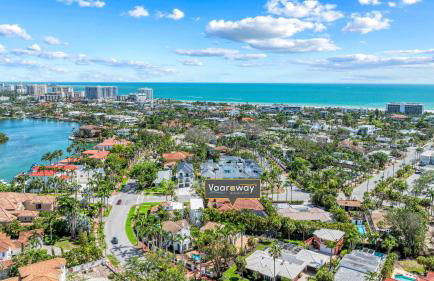
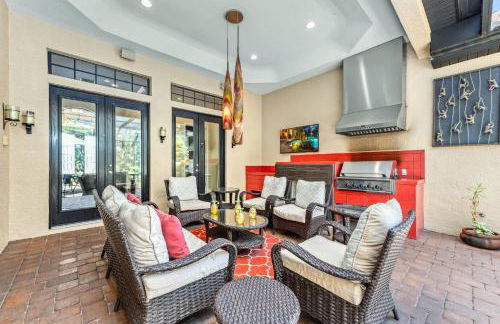
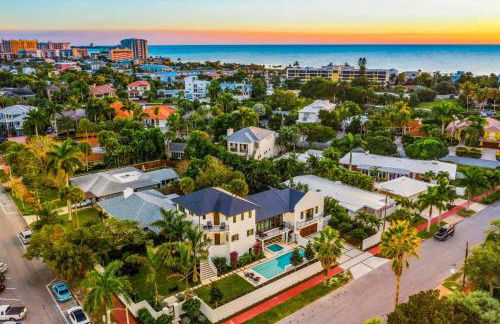
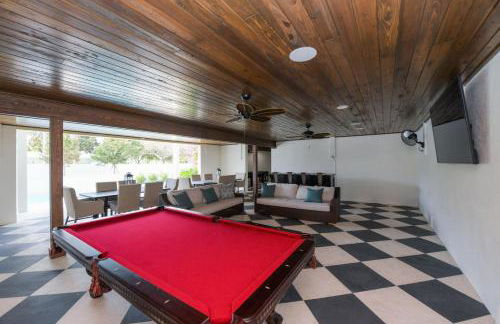
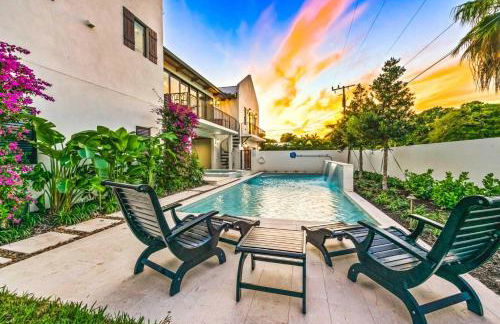
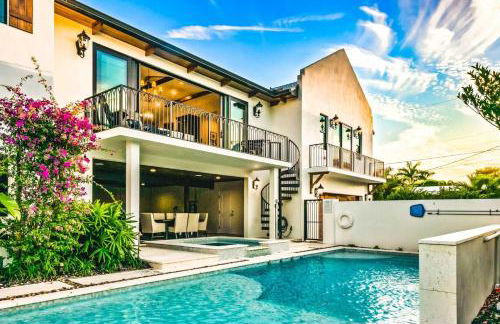
The Shore House
Sarasota - St. Armands - À 4 km du centre
- 429 M2
- 7 chambres
- 19 personnes
- Le chauffage
- Parking
1 avis


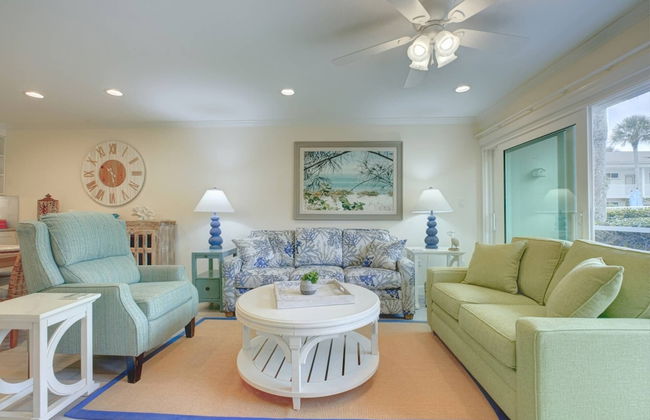
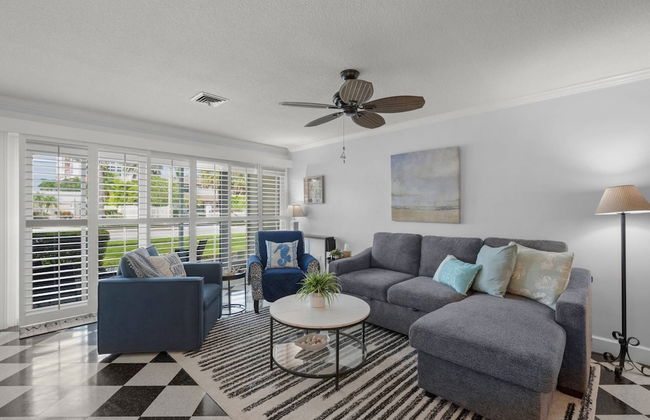
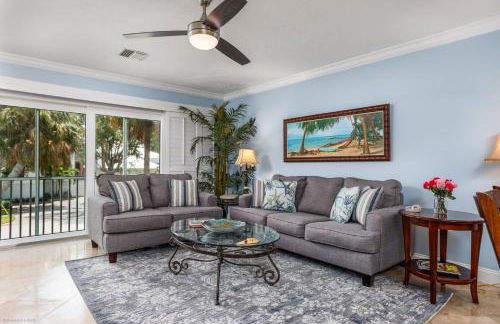
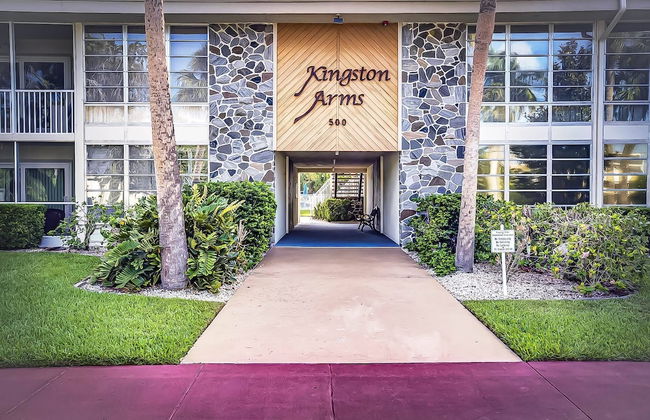
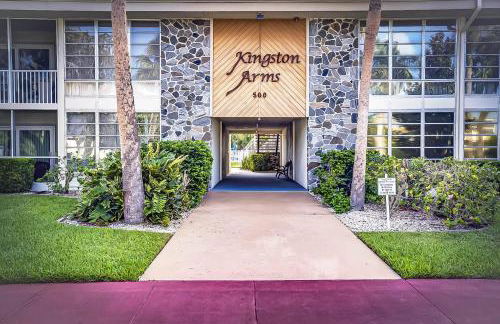
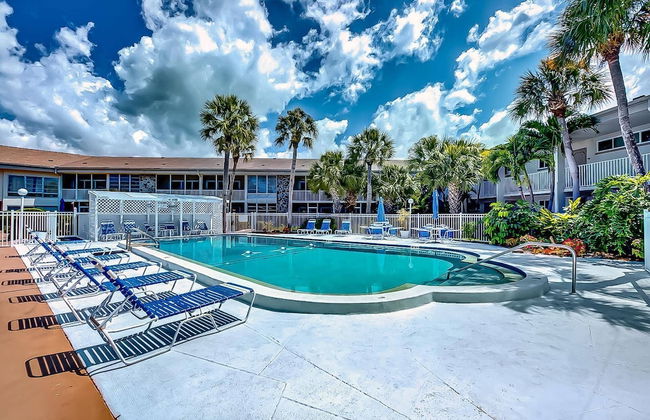
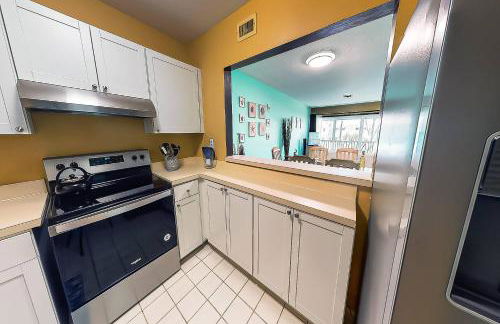
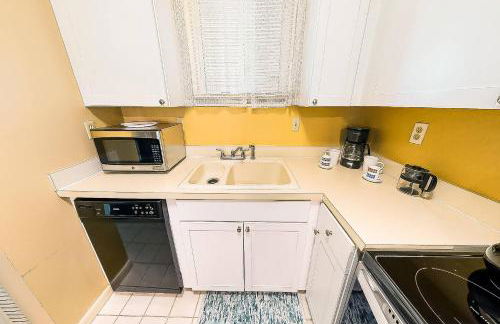
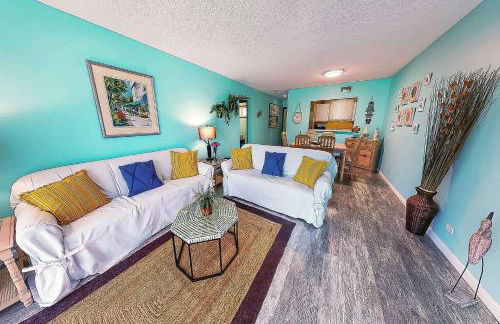
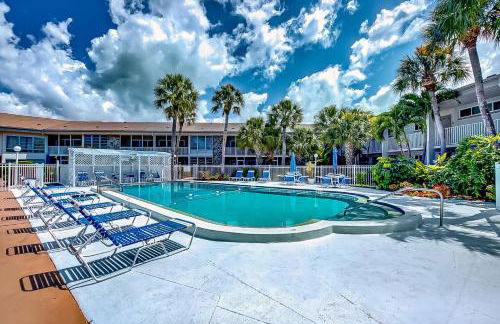
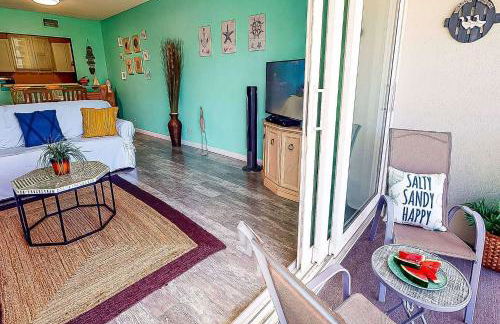
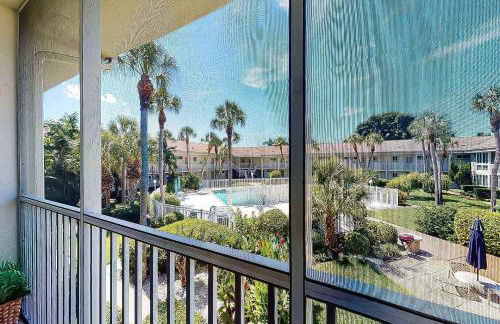
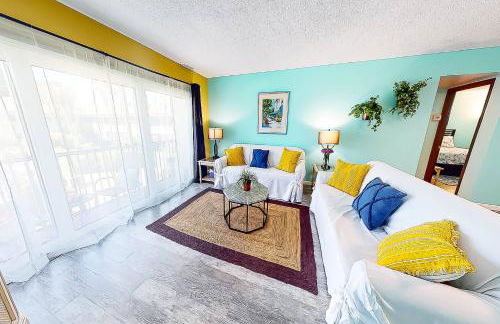
Kingston Arms Modern 1BR On Lido Key
Sarasota - St. Armands - À 4 km du centre
- 4 personnes
- Air conditionné
- Le chauffage
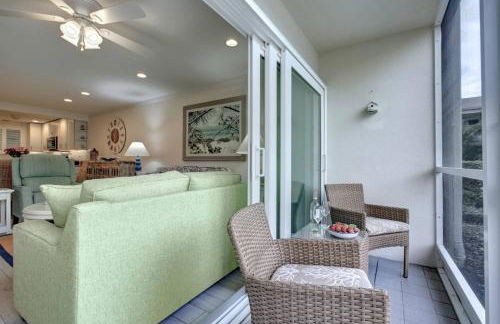
- Terrasse
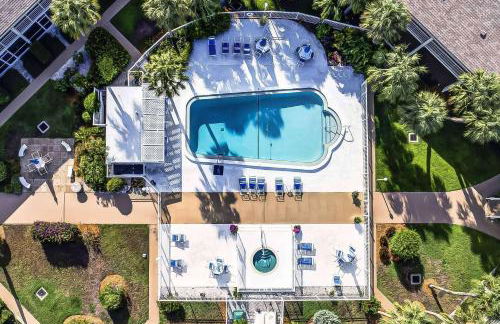
- Piscine
- Parking
- Ascenseur
- Tv
- Serviettes
- Feuilles


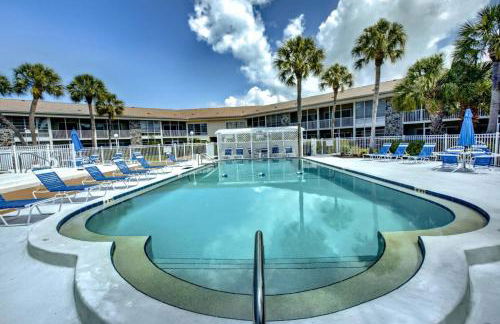


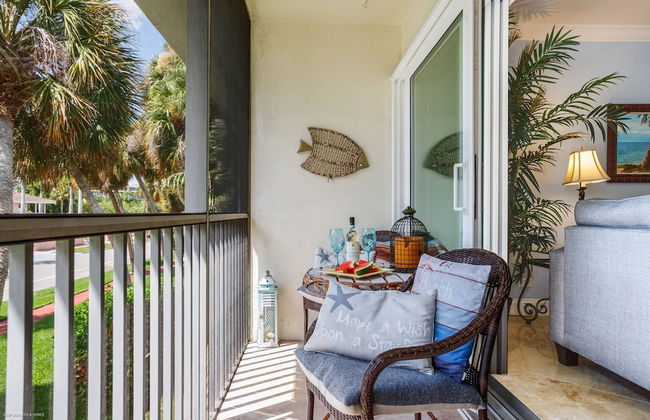
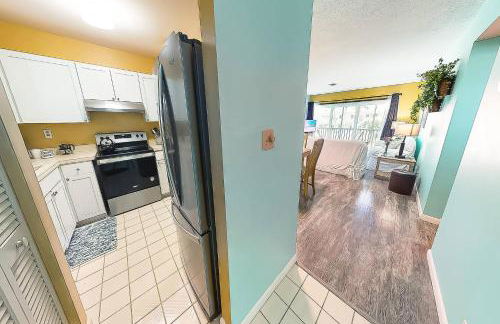
Kingston Arms 1st Floor Right
Sarasota - St. Armands - À 4 km du centre
- 5 personnes
- Air conditionné
- Le chauffage
- Terrasse
- Piscine
- Parking
- Ascenseur
- Tv
- Serviettes
- Feuilles


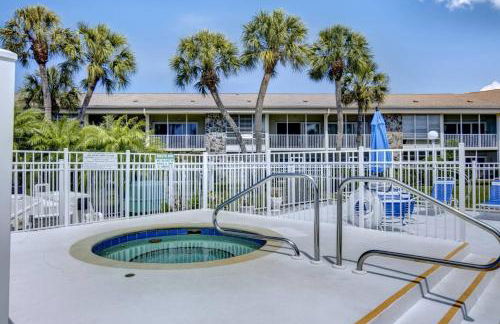
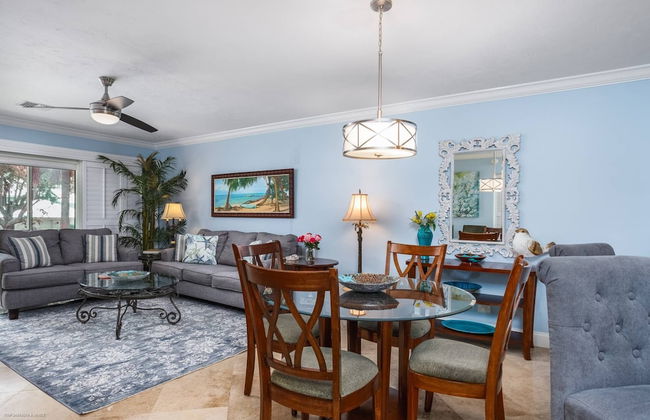
Kingston Arms 1st Fl Cottage
Sarasota - St. Armands - À 4 km du centre
- 4 personnes
- Air conditionné
- Le chauffage
- Terrasse
- Piscine
- Parking
- Ascenseur
- Tv
- Serviettes
- Feuilles


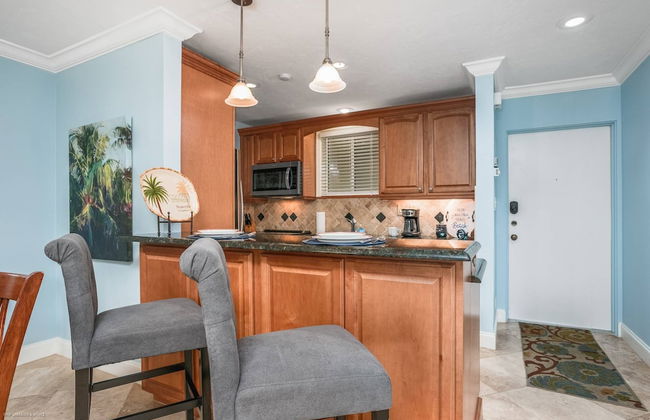


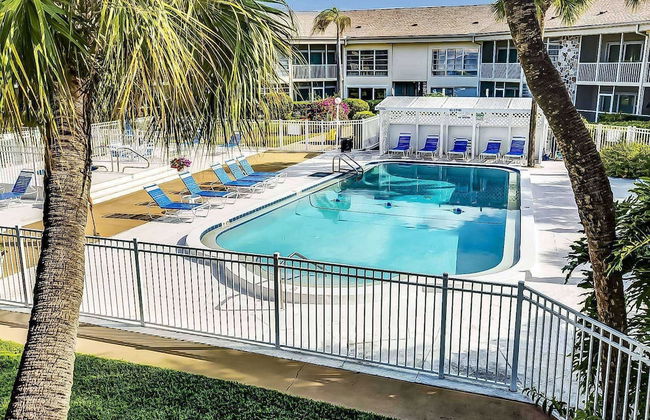
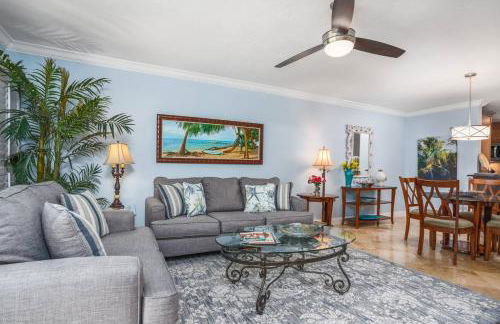

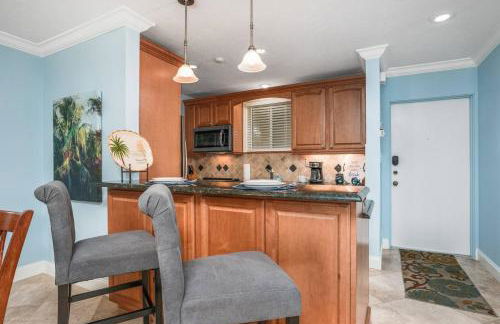
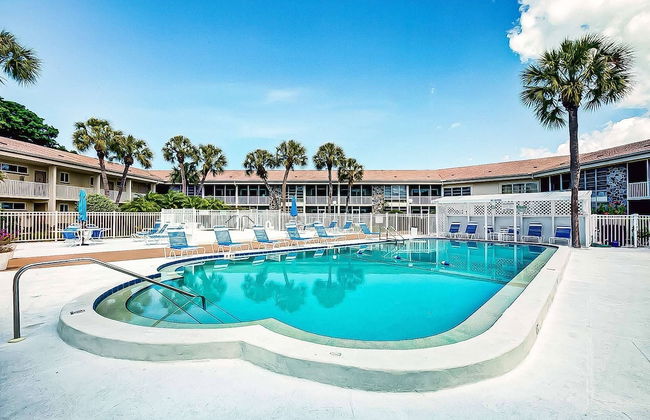

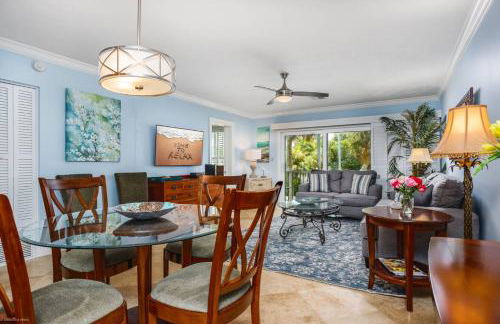


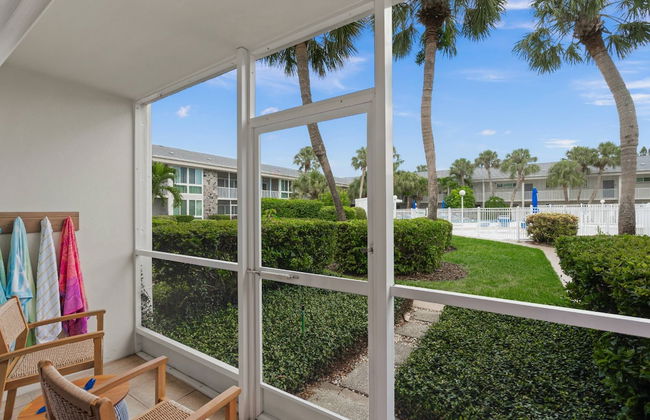
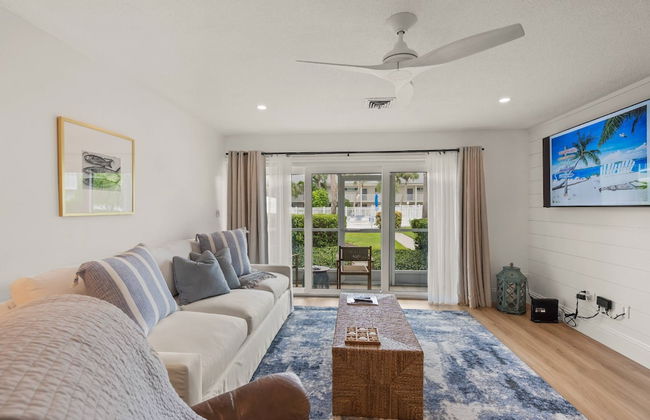
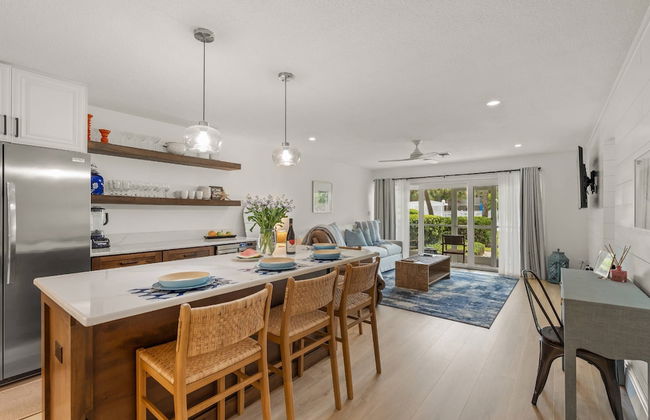
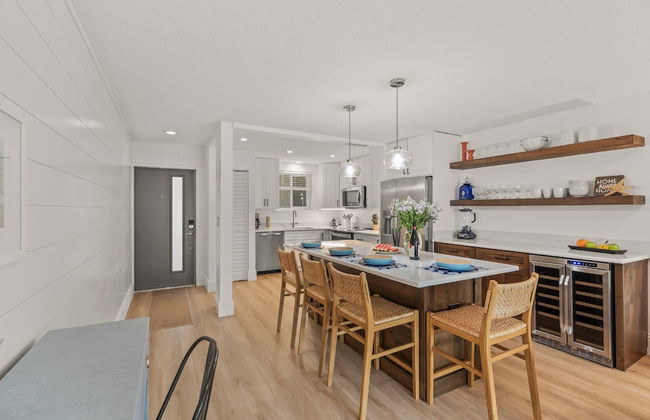
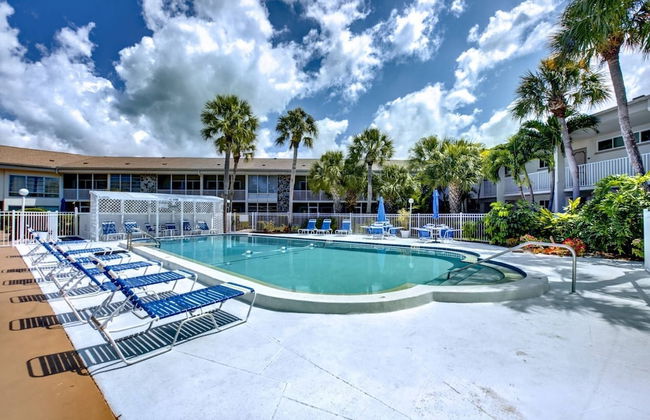
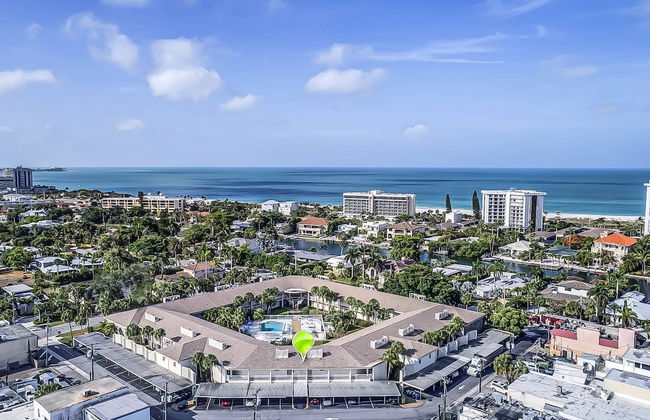
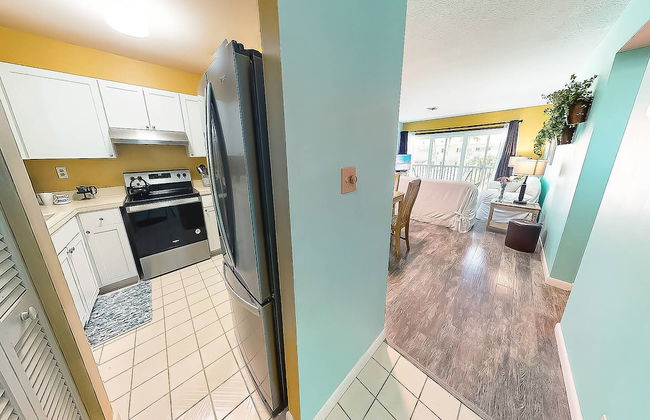
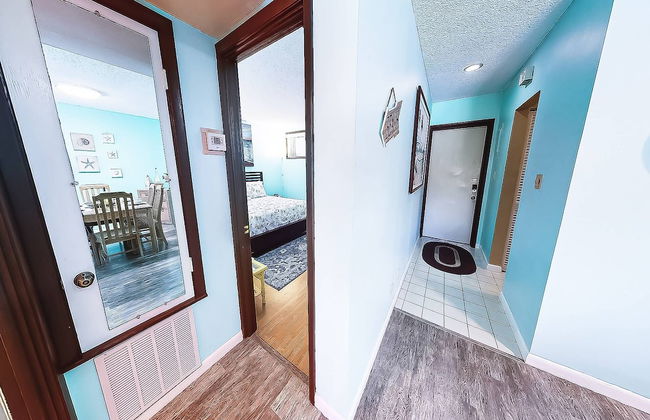
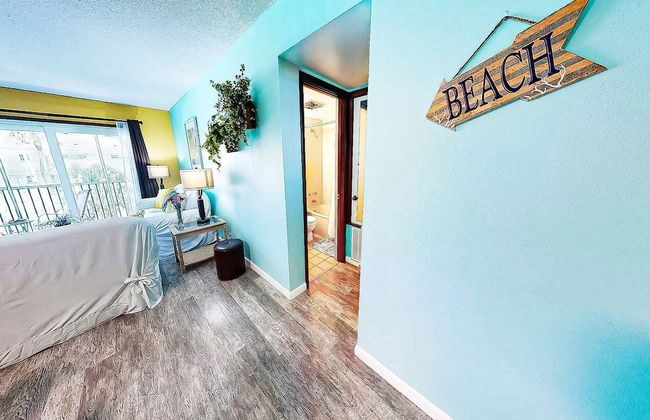
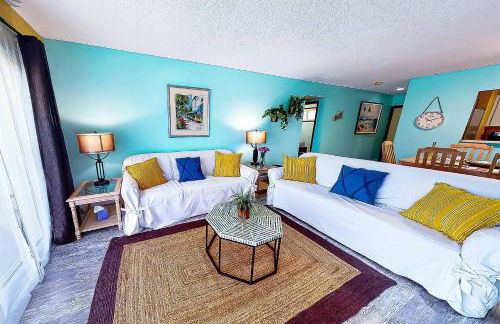
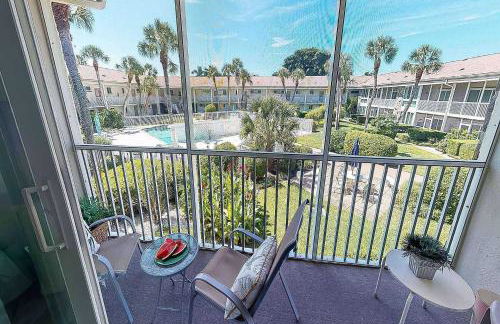
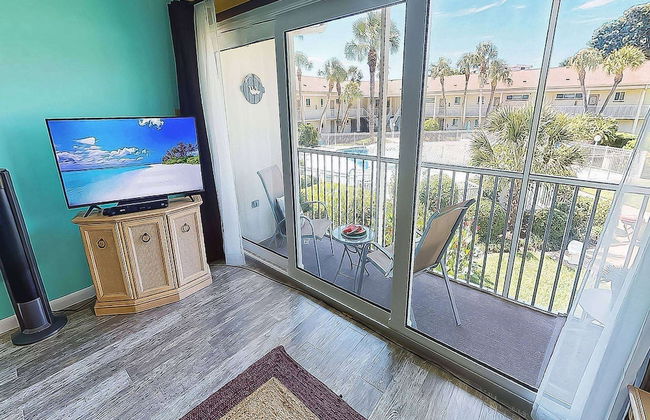
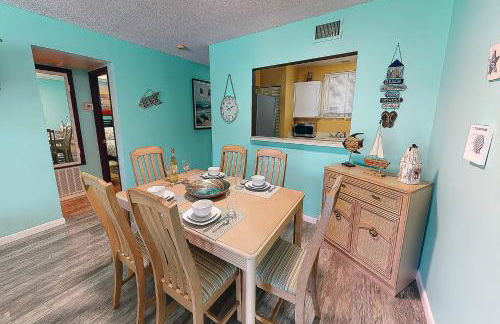
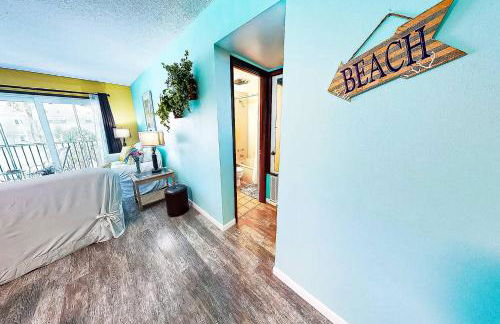
Kingston Arms 2nd Fl Walk to Beach & St. Armands Circle
Sarasota - St. Armands - À 4 km du centre
- 96 M2
- 5 personnes
- Air conditionné
- Le chauffage
- Piscine
- Parking
- Ascenseur
- Balcon
- Tv
- Serviettes
- Feuilles


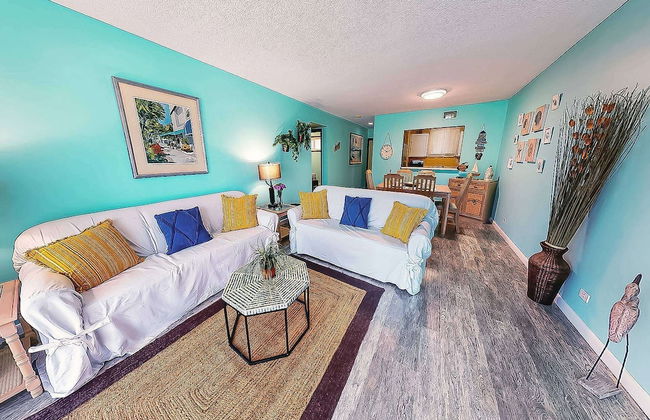


Kingston Arms On Lido Key, 1BR
Sarasota - St. Armands - À 4 km du centre
- 2 personnes
- Air conditionné
- Le chauffage
- Piscine
- Parking
- Ascenseur
- Balcon
- Tv
- Serviettes
- Feuilles


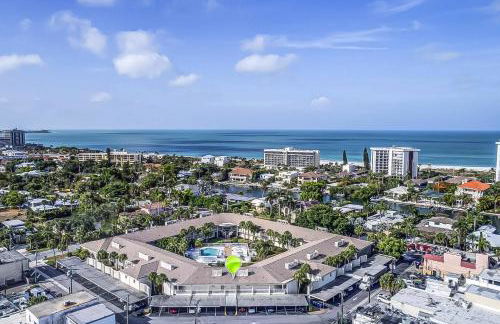
Walkable to Beach, Restaurants, Entertainment!
Sarasota - St. Armands - À 4 km du centre
- 96 M2
- 2 chambres
- 6 personnes
- Air conditionné
- Piscine
- Parking
- Ascenseur


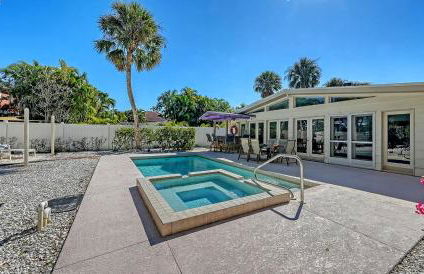

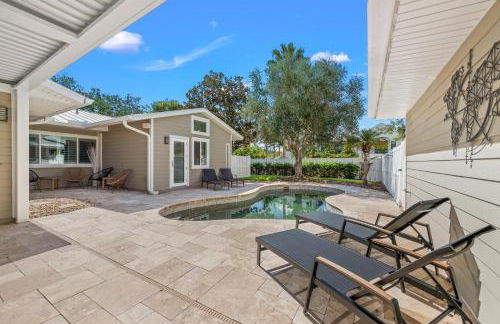
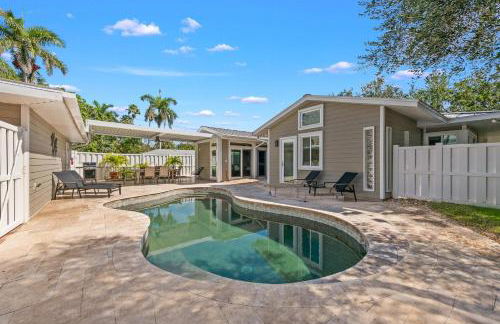
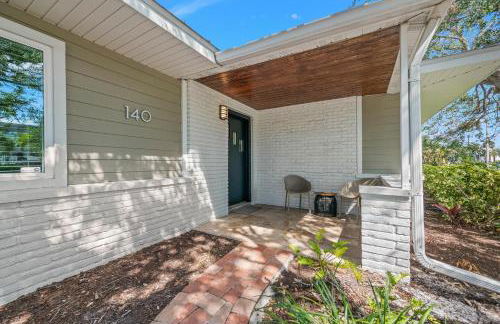
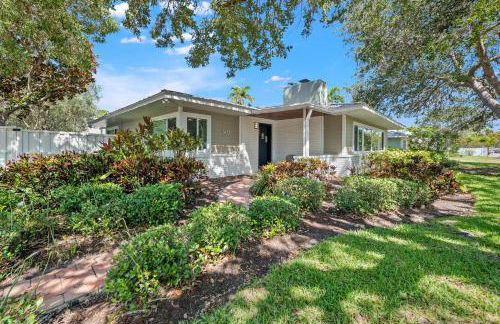
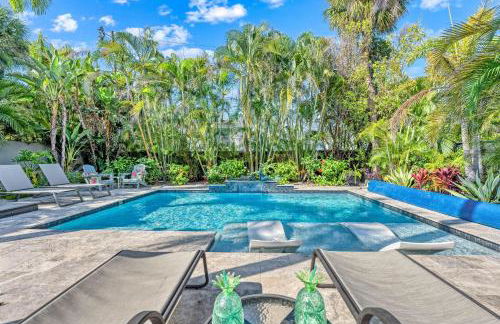
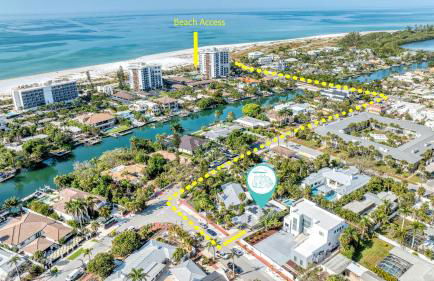
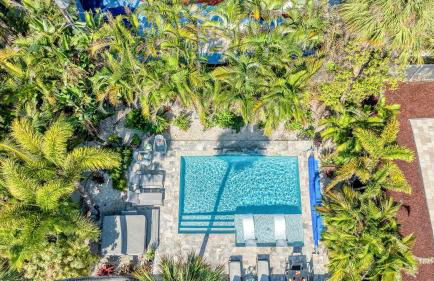
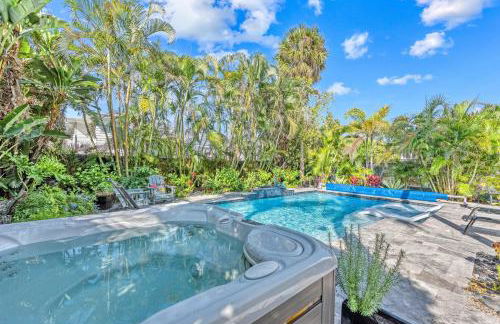
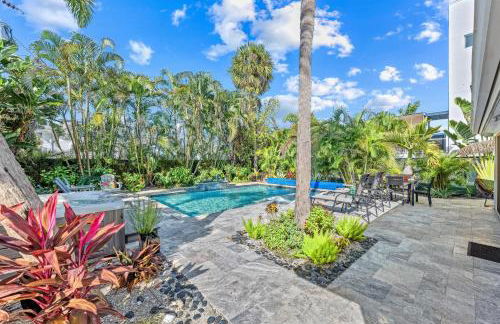
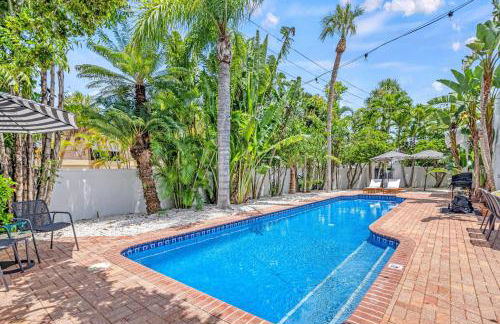
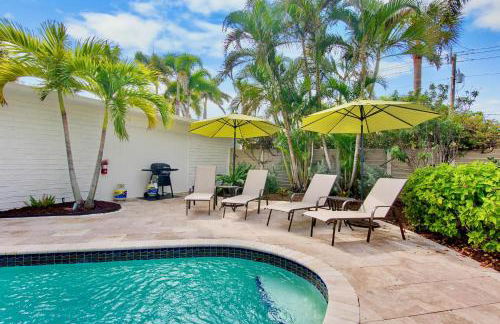
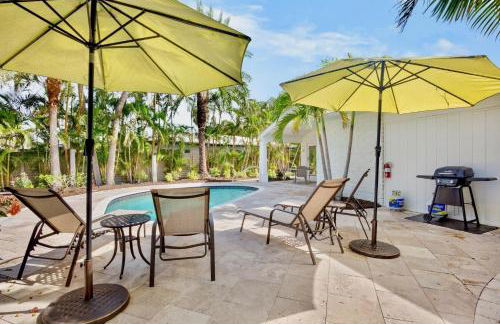
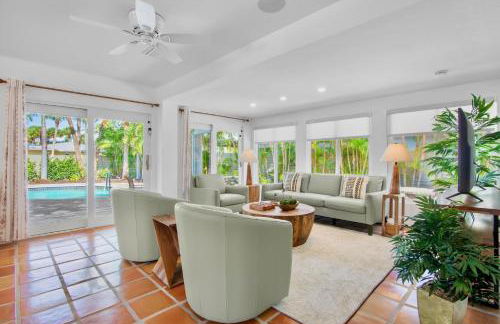
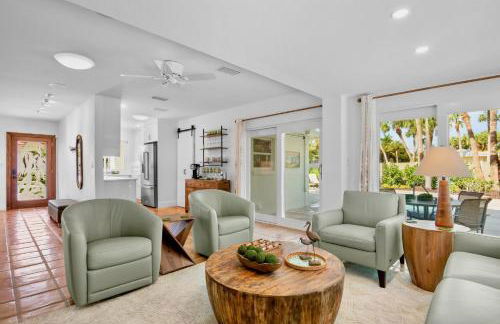
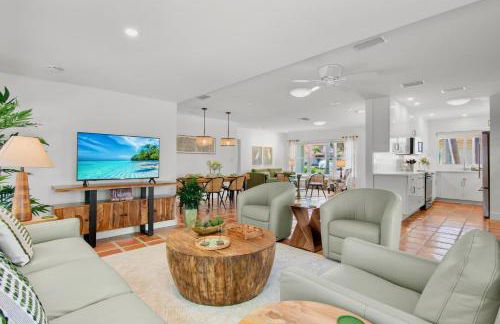
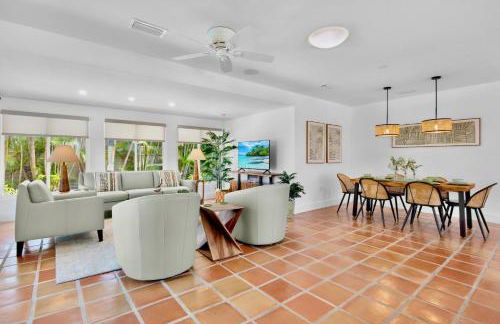
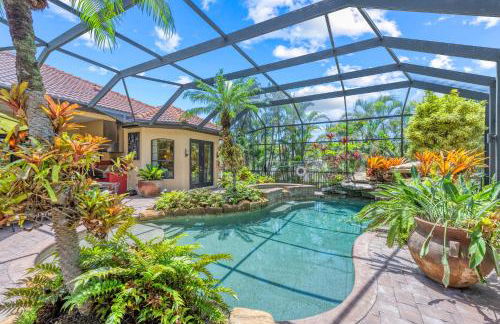
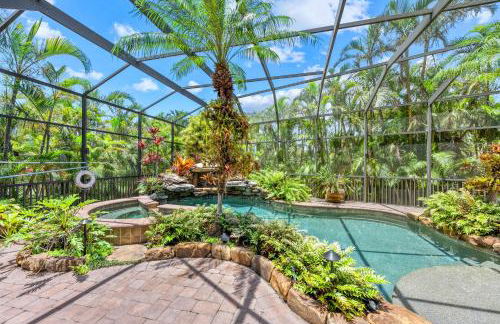
Relax & Recharge - Private Pool Oasis Near Beach & St. Armands Circle
Sarasota - St. Armands - À 3.7 km du centre
- 225 M2
- 3 chambres
- 6 personnes
- Air conditionné
- Le chauffage
- Piscine
- Parking


Kingston Arms 11-B
Sarasota - St. Armands - À 4 km du centre
- 2 chambres
- 4 personnes
- Air conditionné
- Le chauffage
- Piscine
- Parking
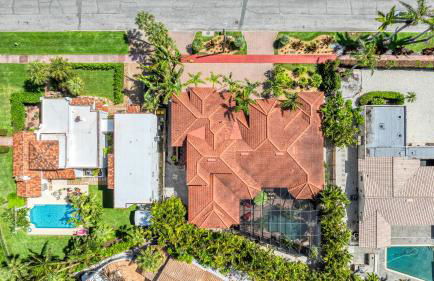


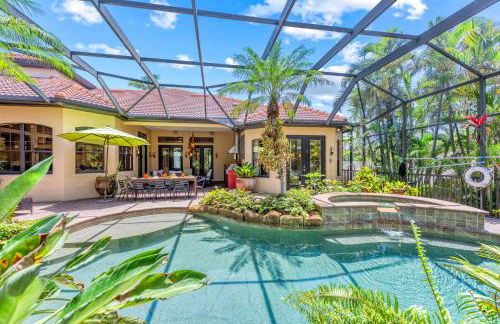
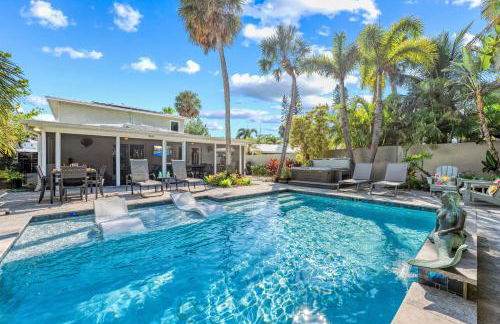
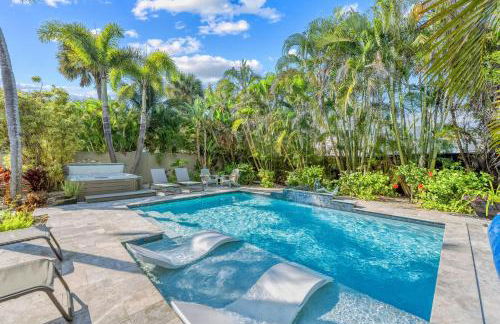
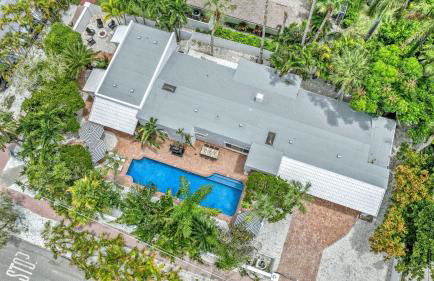
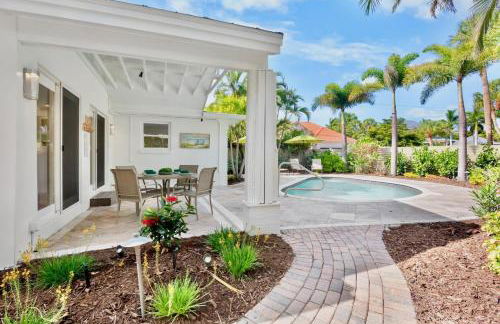
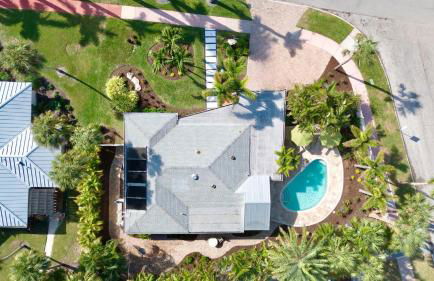
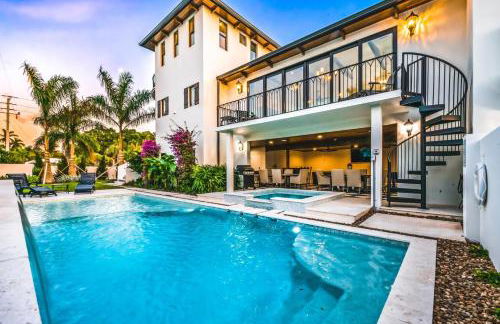
Tranquility - 4000 Sq ft of Luxury - Private Pool/Spa, Walk Everywhere, Pet Friendly
Sarasota - St. Armands - À 3.7 km du centre
- 372 M2
- 4 chambres
- 12 personnes
- Air conditionné
- Le chauffage
- Piscine
- Parking
- Jardin


The Big Top
Sarasota - St. Armands - À 4 km du centre
- 324 M2
- 6 chambres
- 10 personnes
- Le chauffage
- Parking
- Ascenseur