


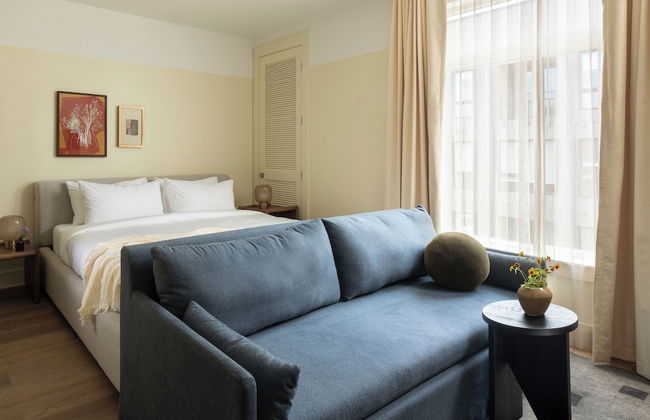
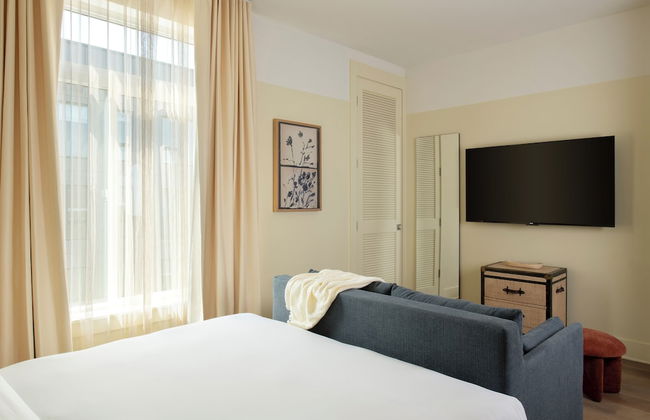
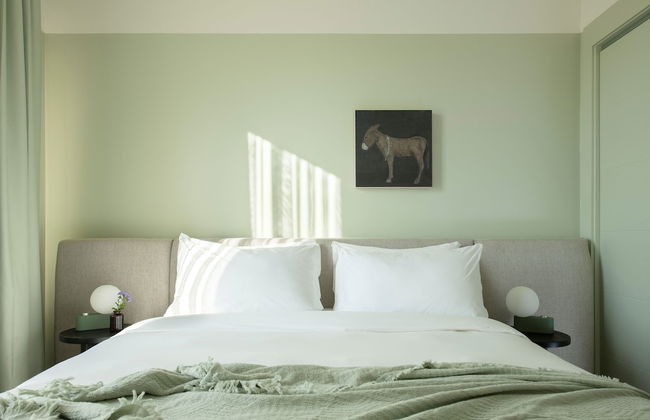
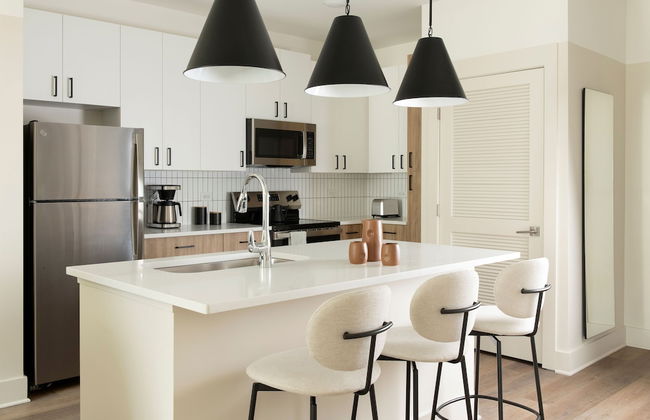
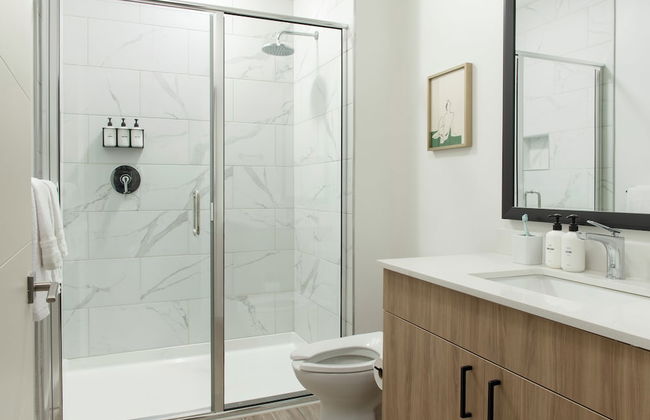
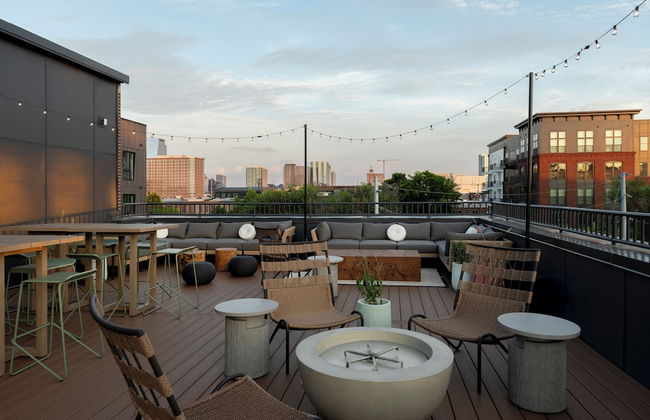
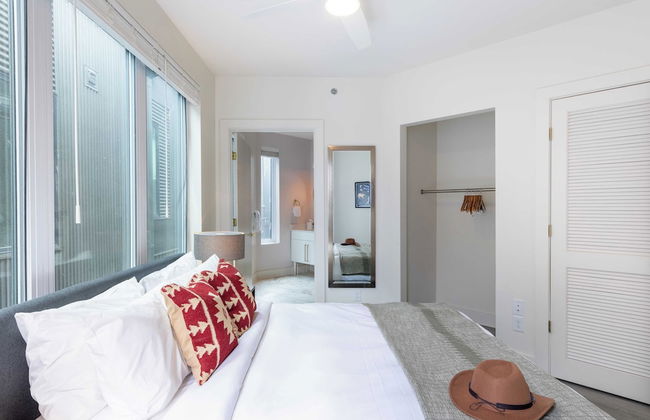
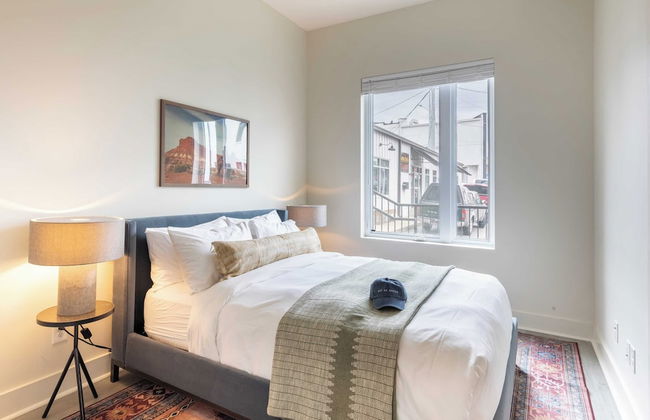
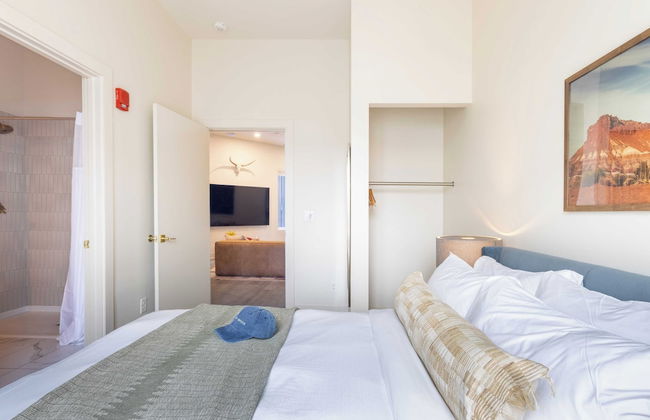
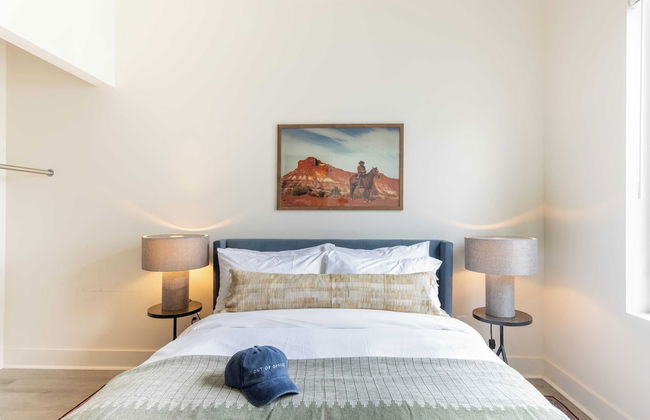
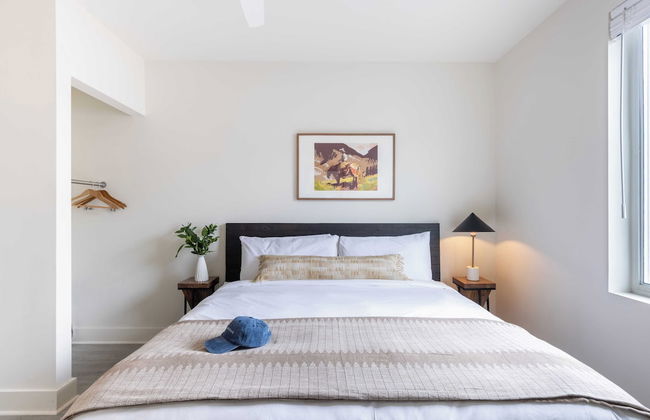
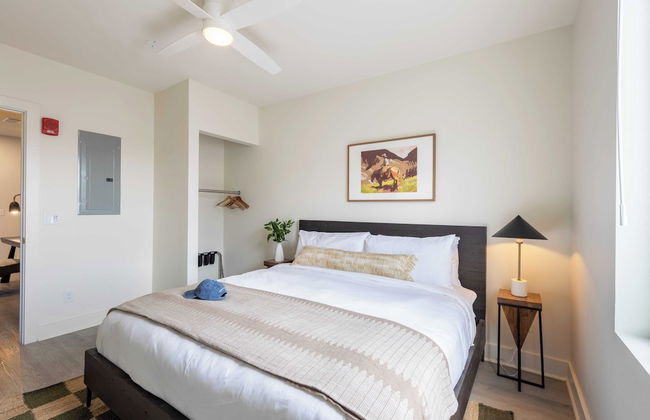
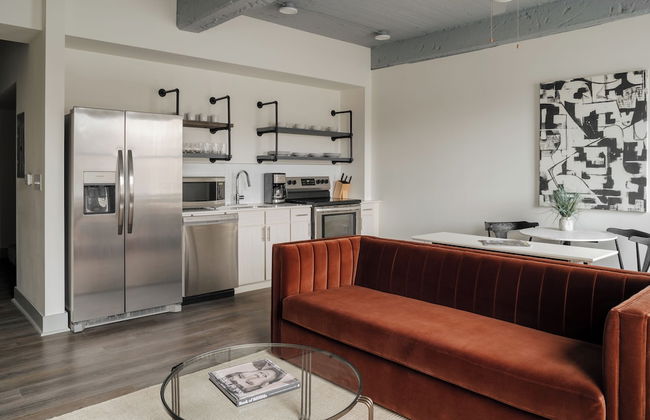
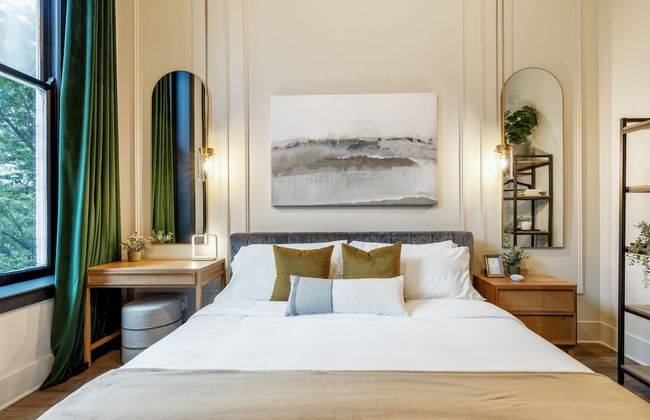
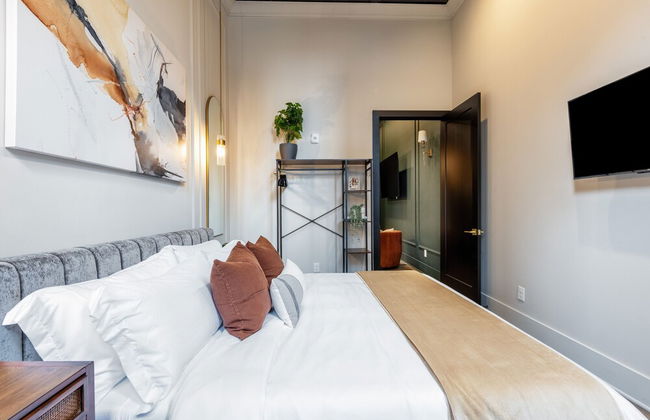
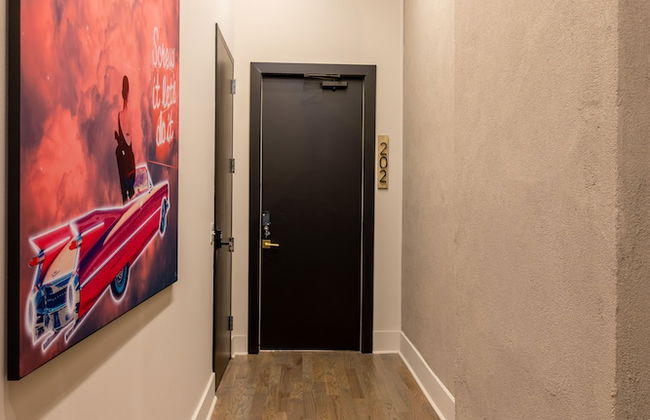
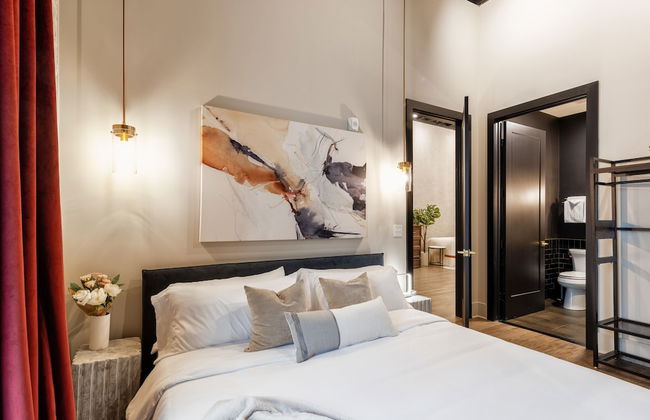
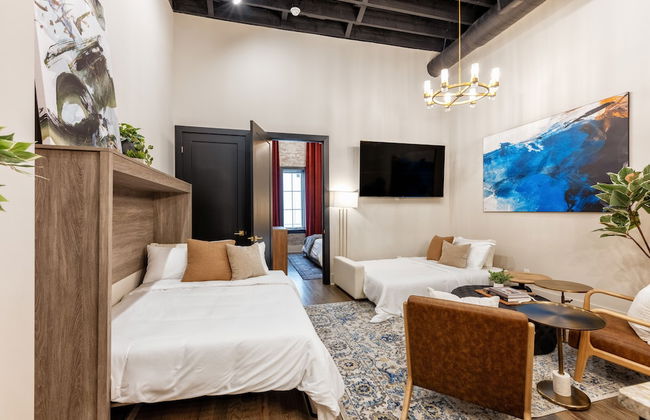
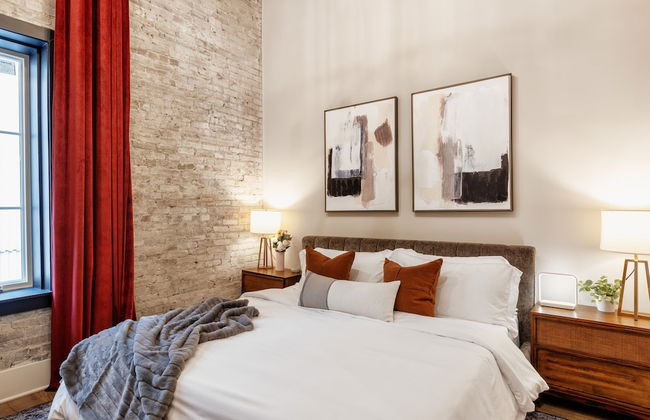
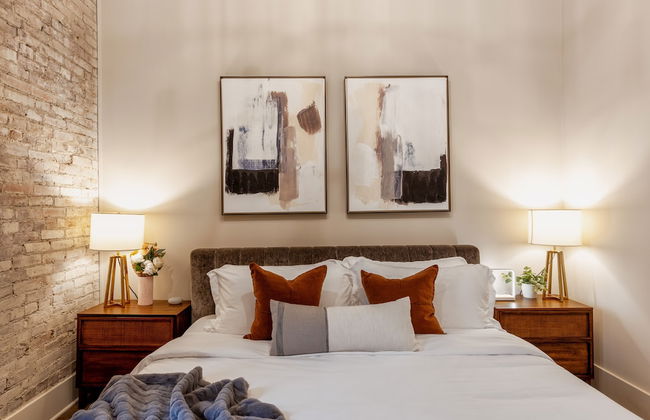
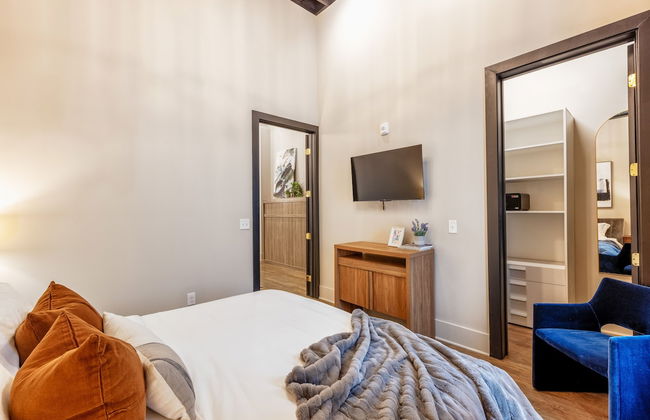
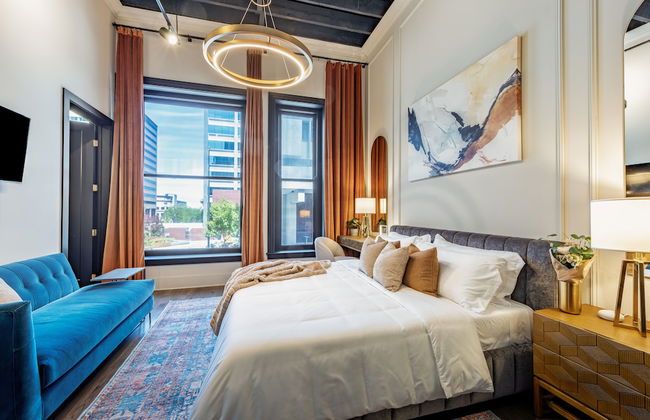
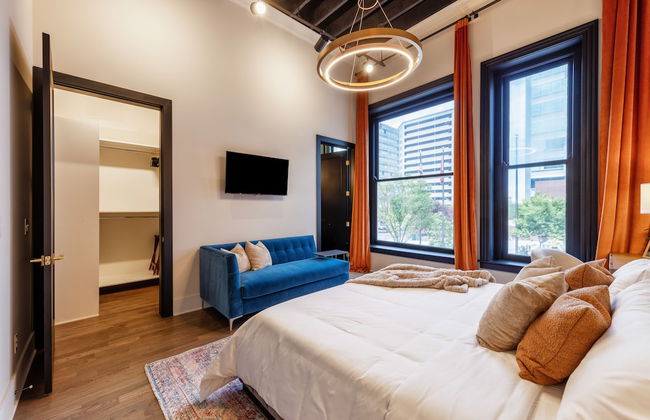
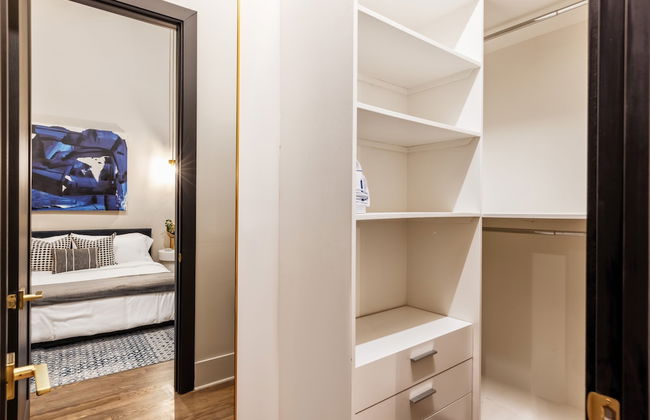
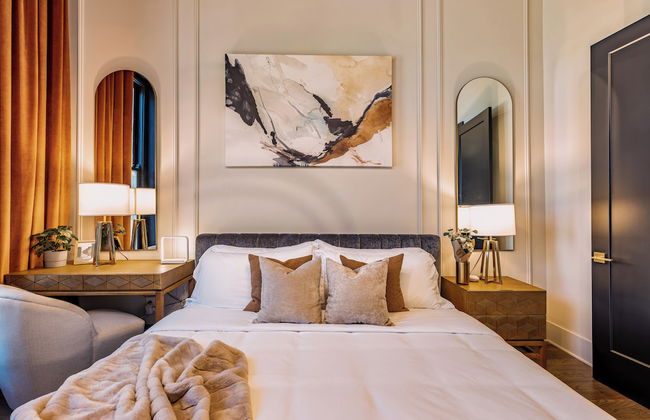
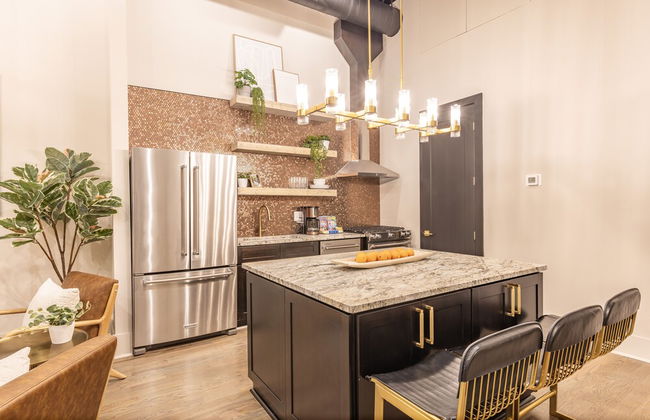
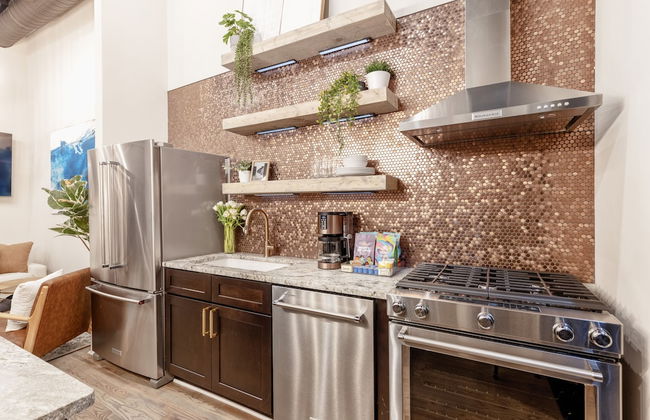
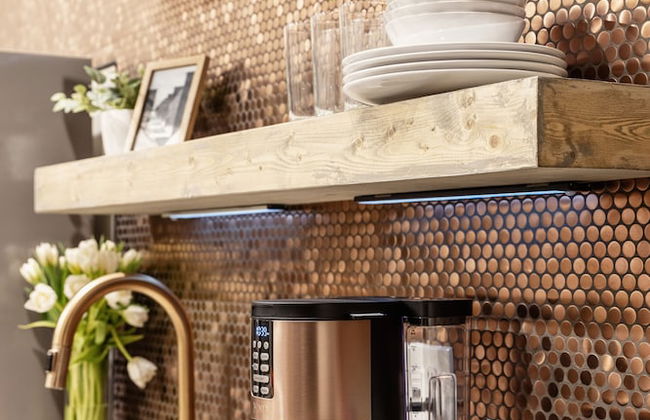
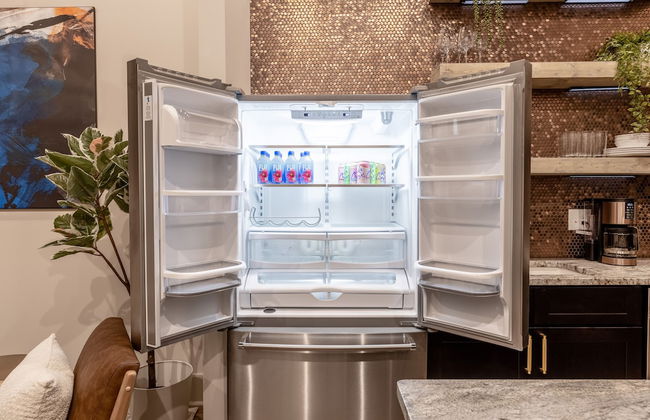
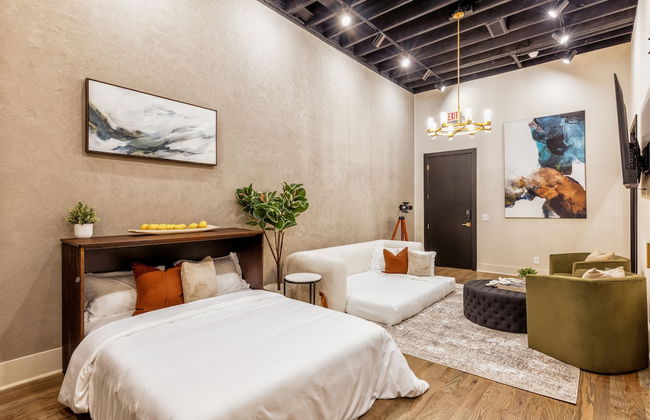
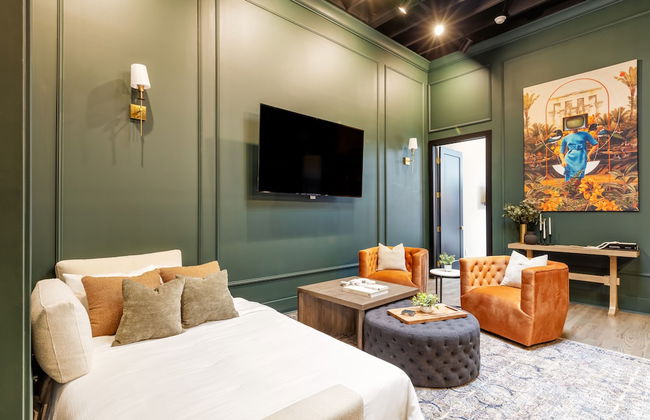
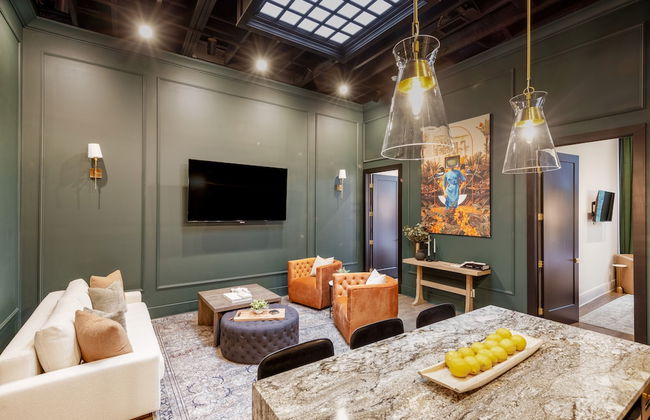
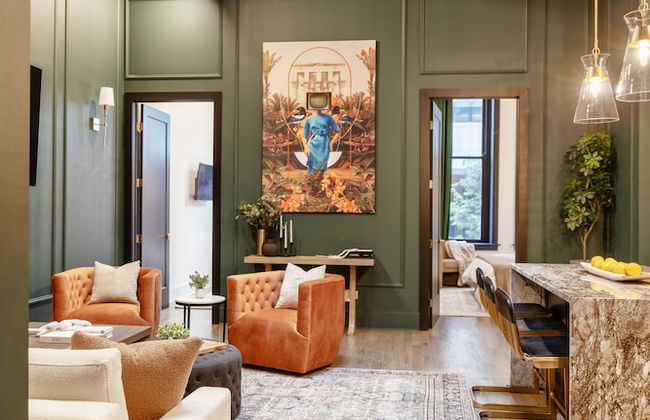
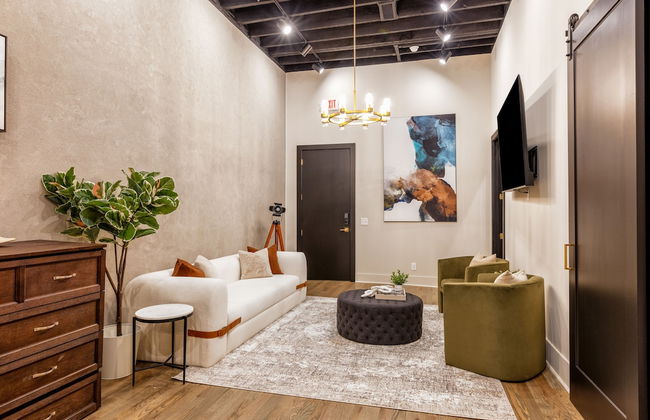
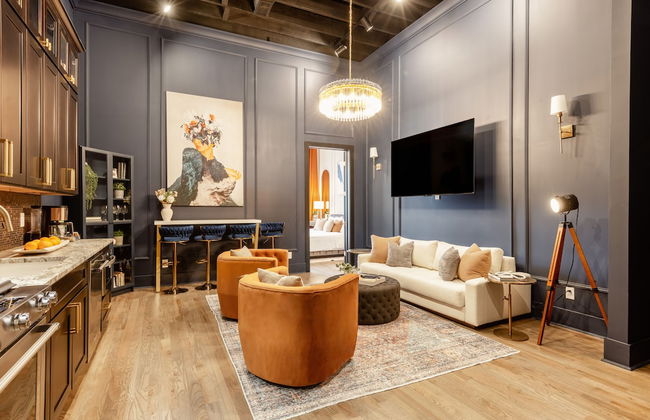
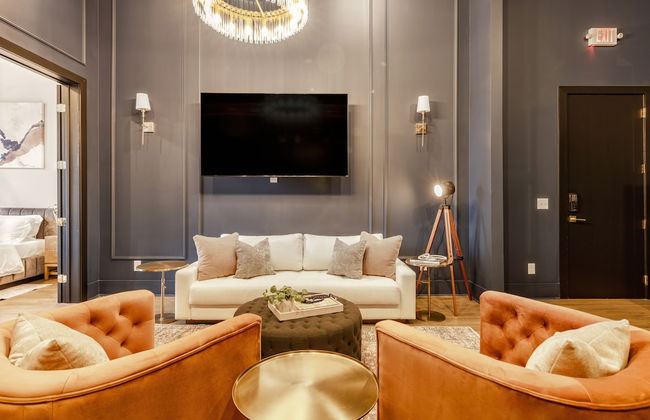
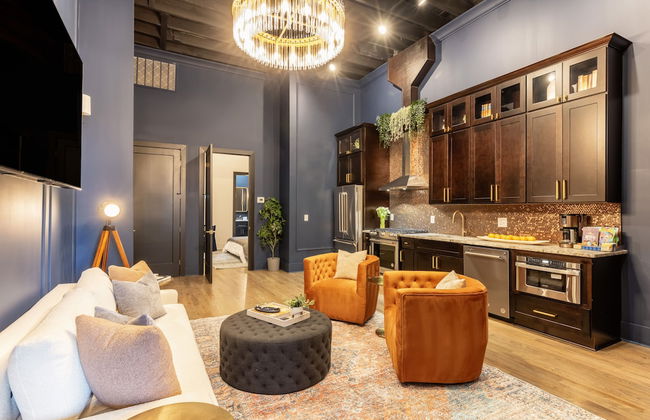
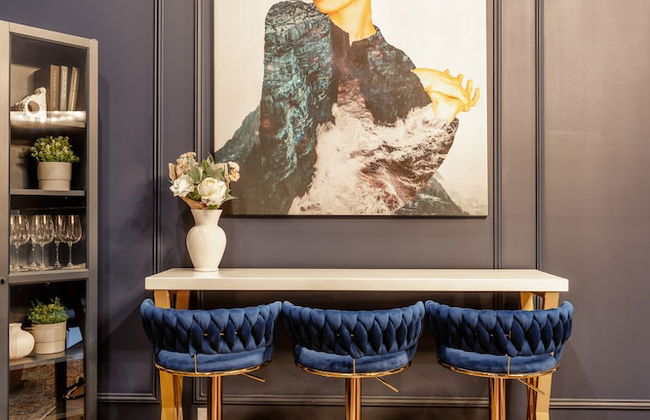
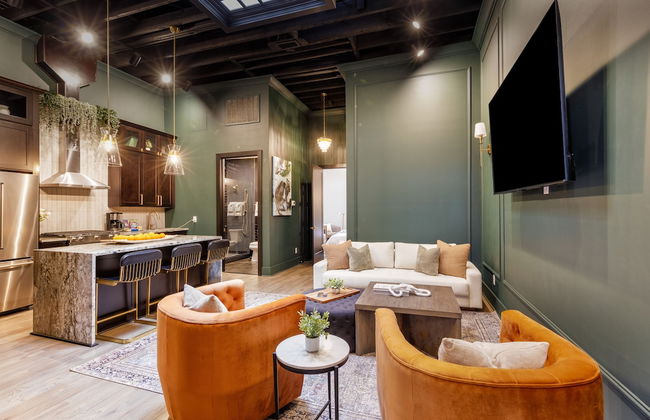
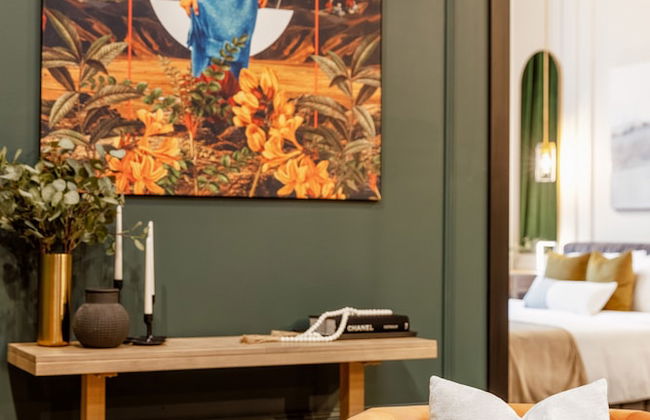
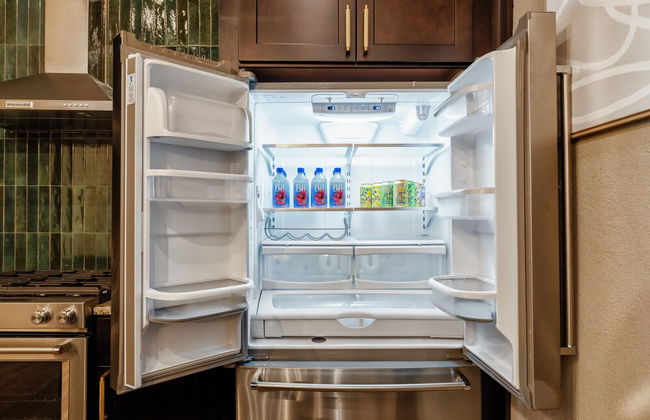
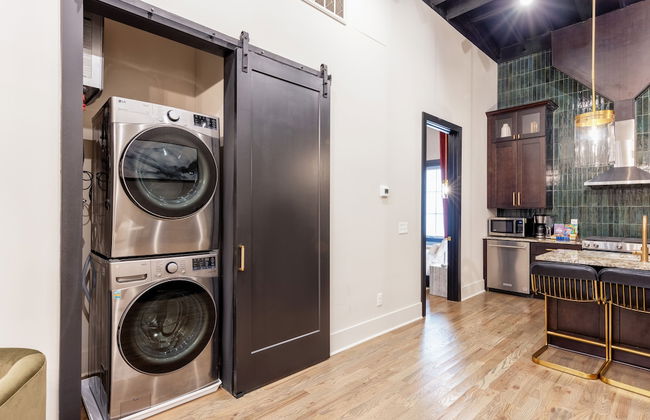
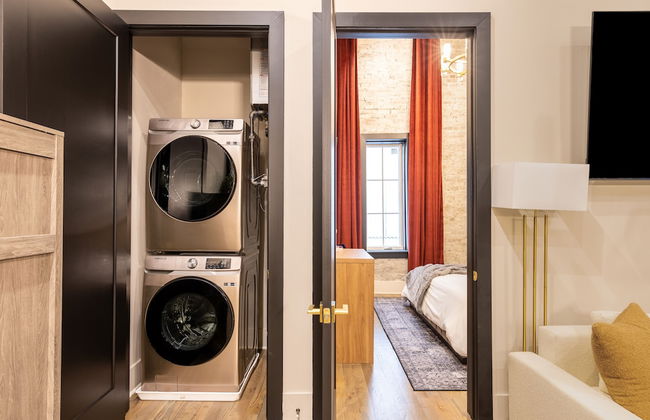
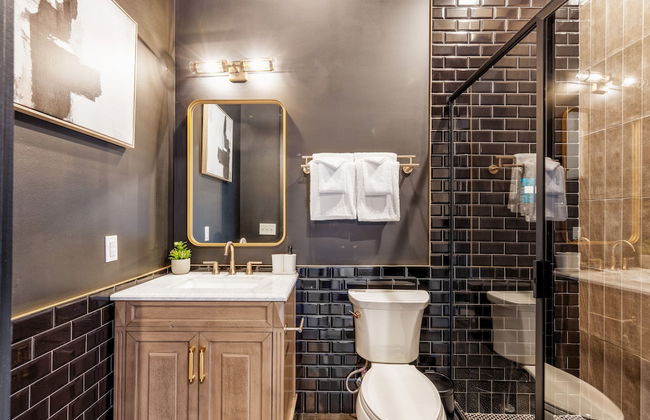
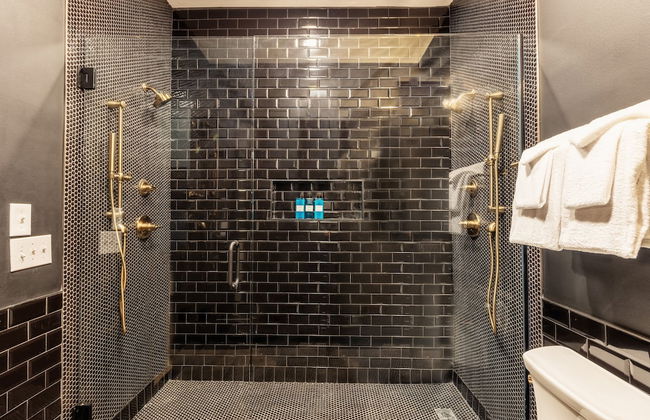
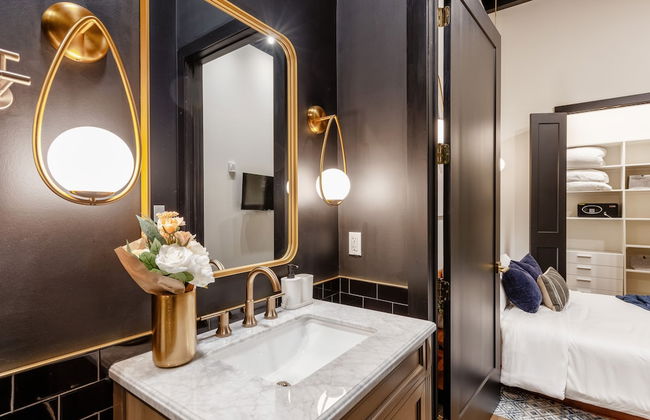
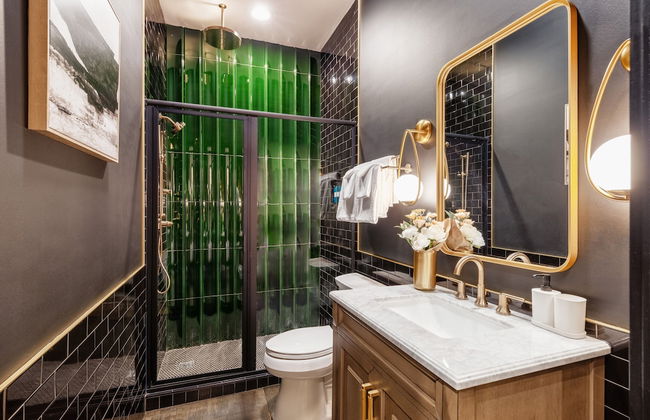
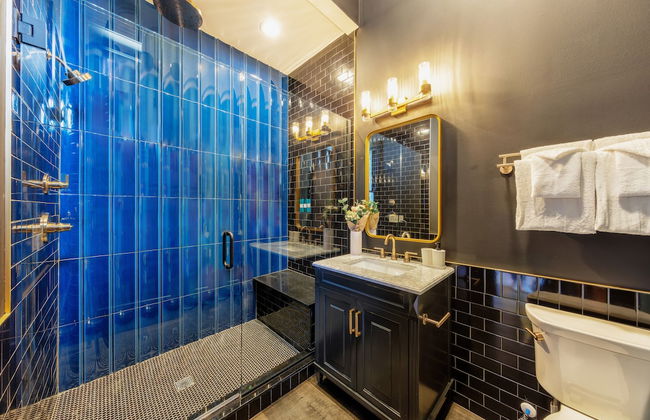
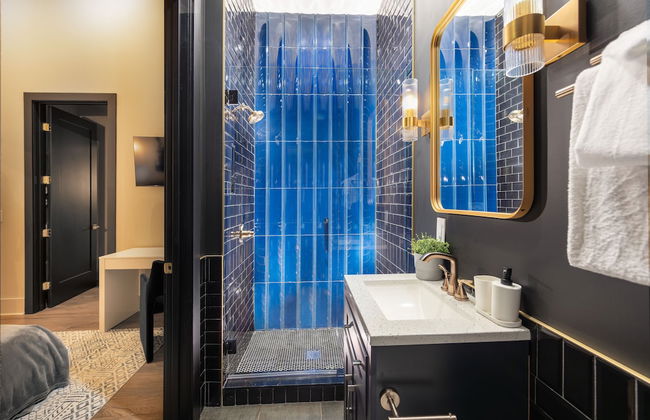
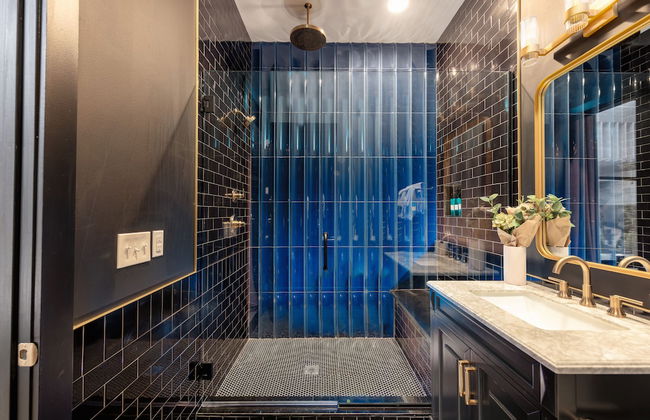
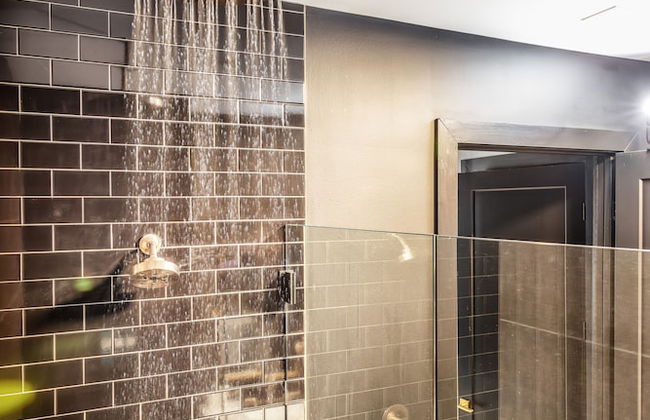
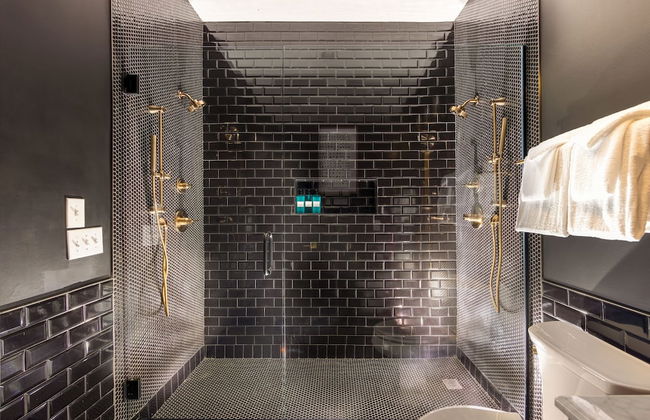
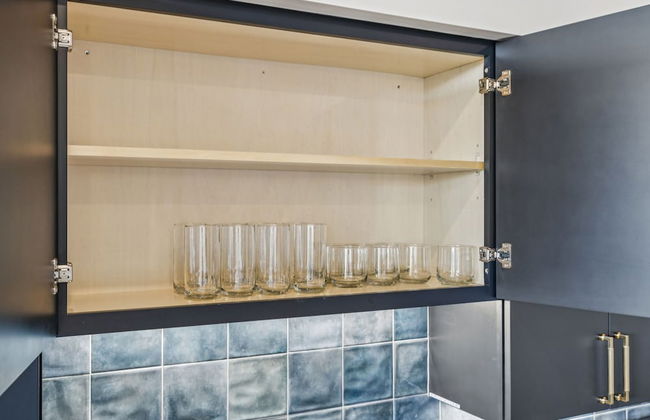
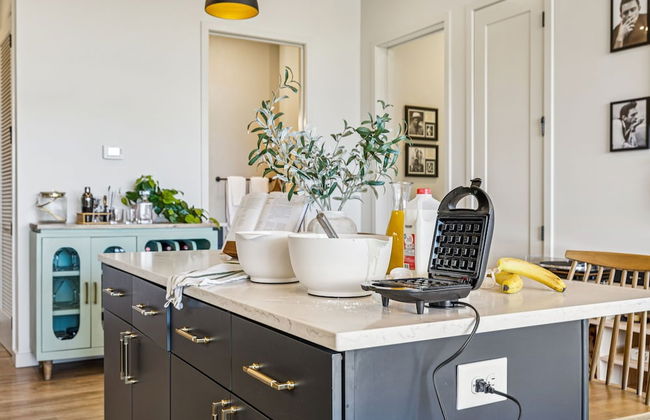
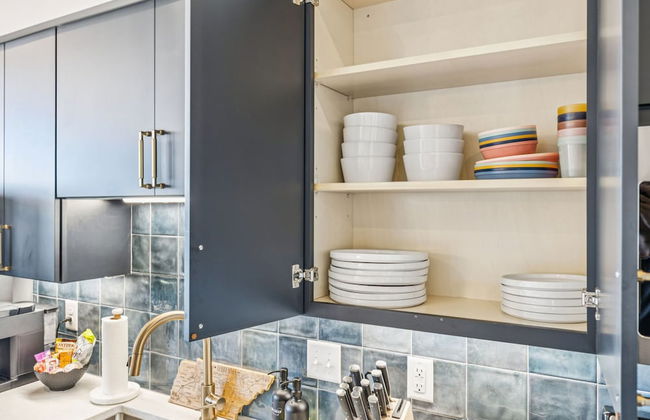
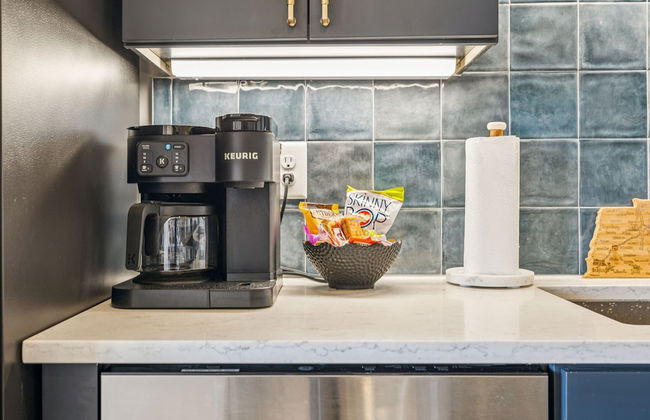
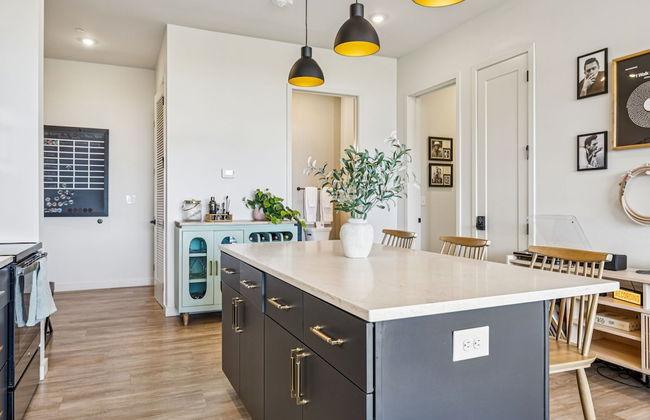
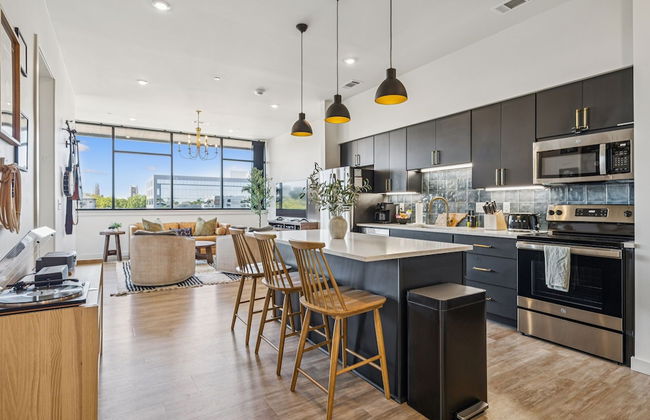
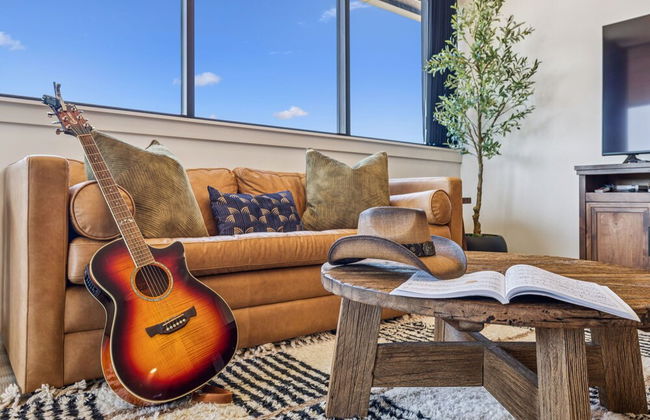
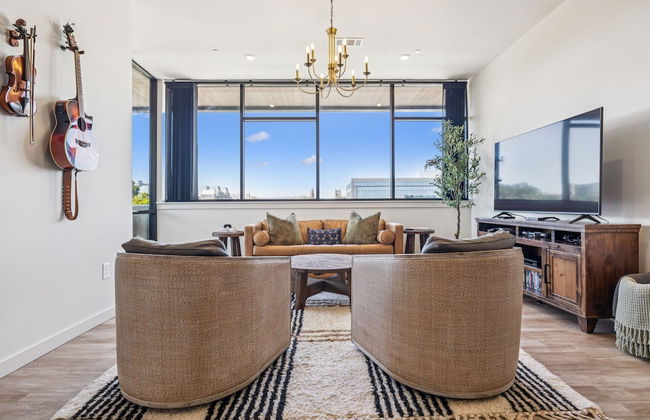
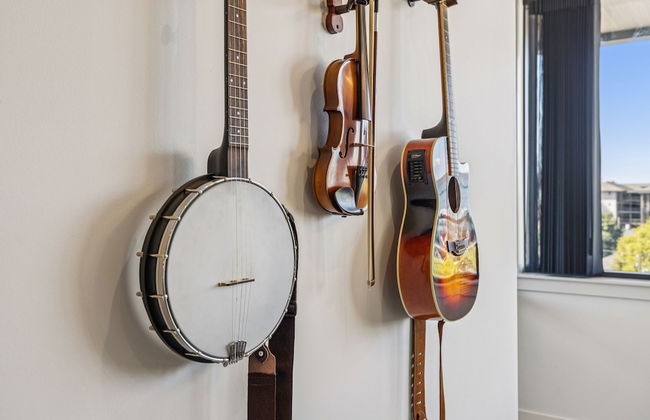
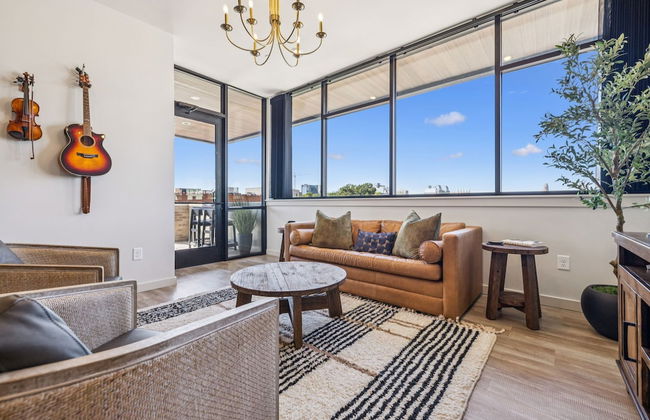
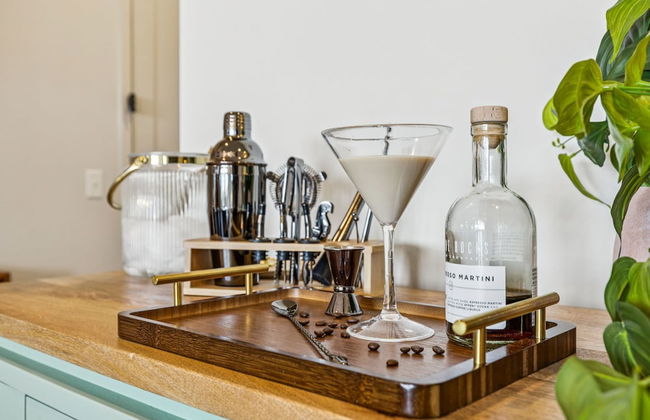
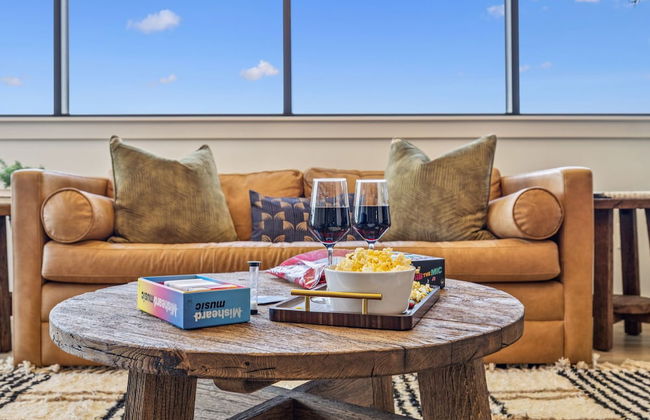
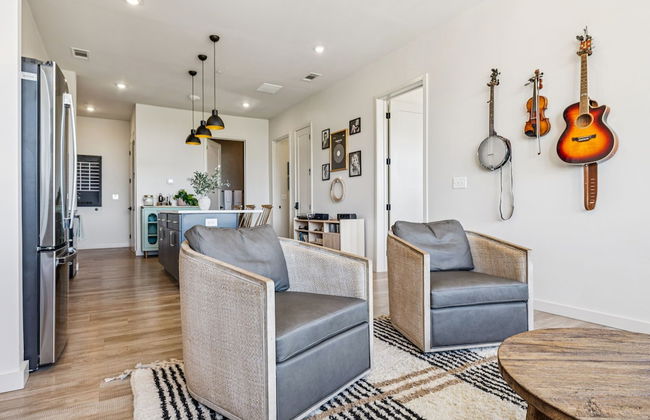
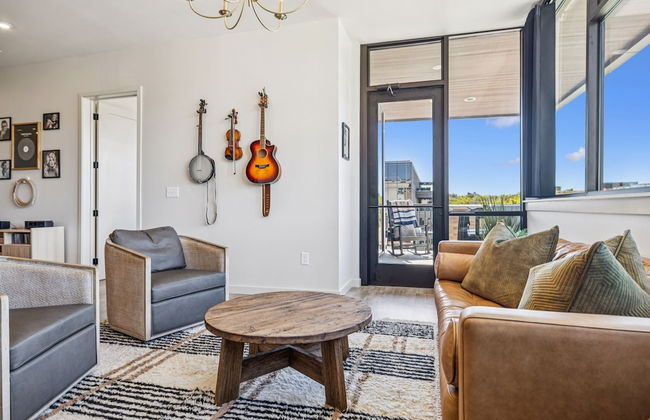
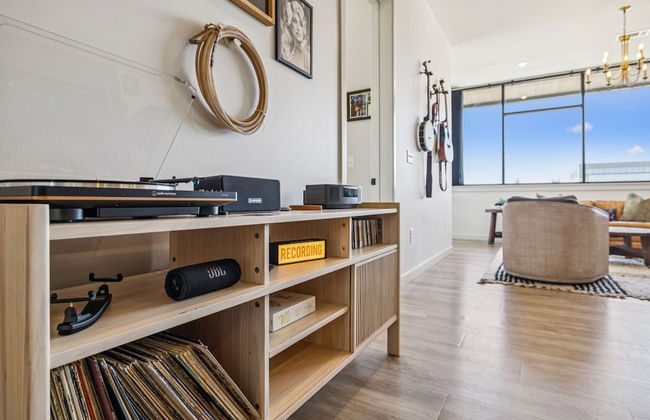
Midnight Manor Penthouse Suite The Gulch
Nashville - Sobro - À 1.6 km du centre
- 104 M2
- 2 chambres
- 7 personnes
- Air conditionné
- Le chauffage
- Terrasse
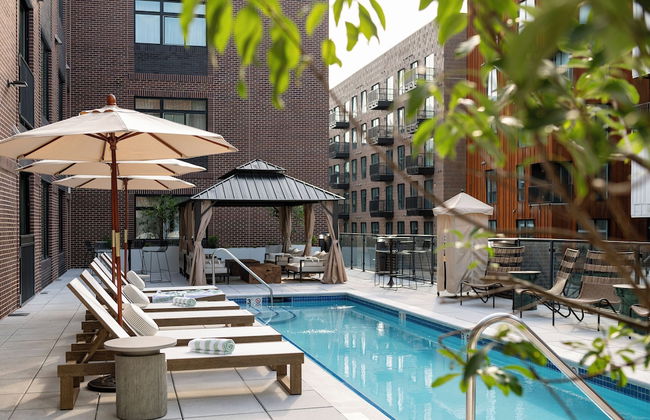
- Piscine
- Parking
- Ascenseur
- Jardin
- Tv
- Machine à laver
- Cheminée
- Barbecue
- Serviettes


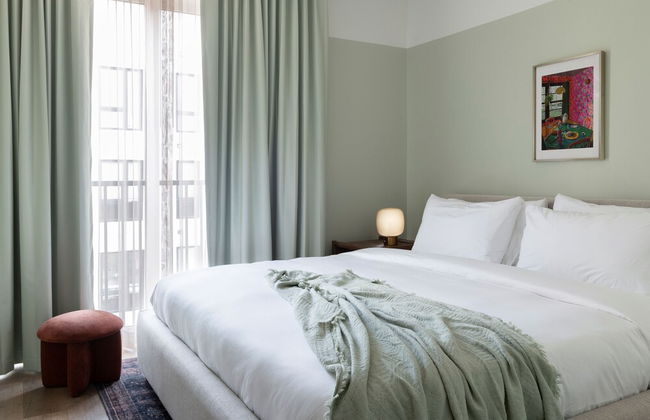
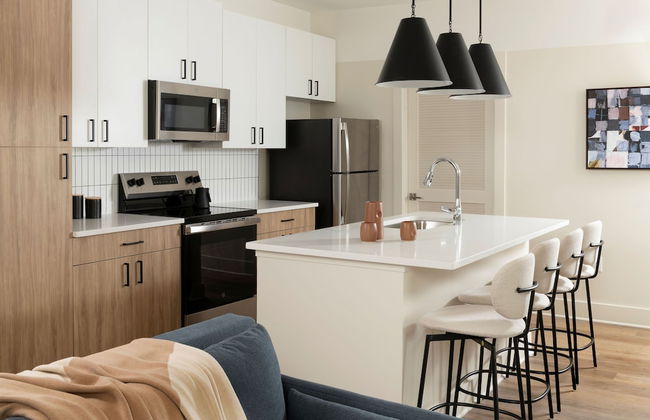
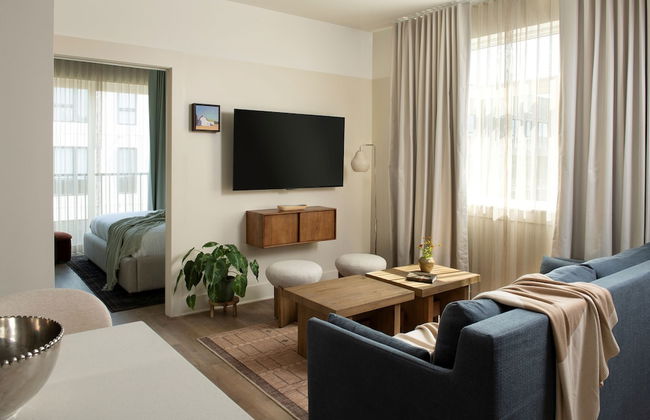
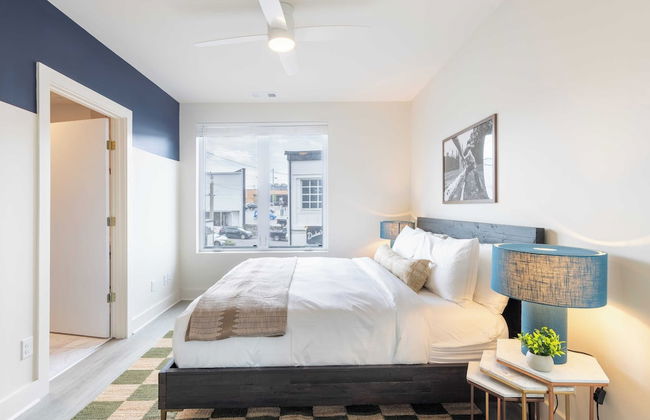
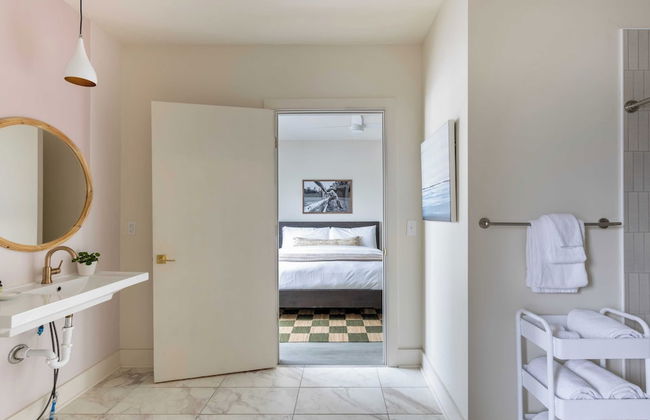
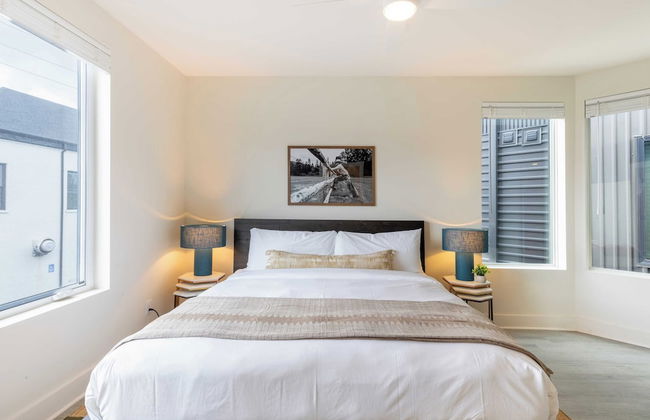
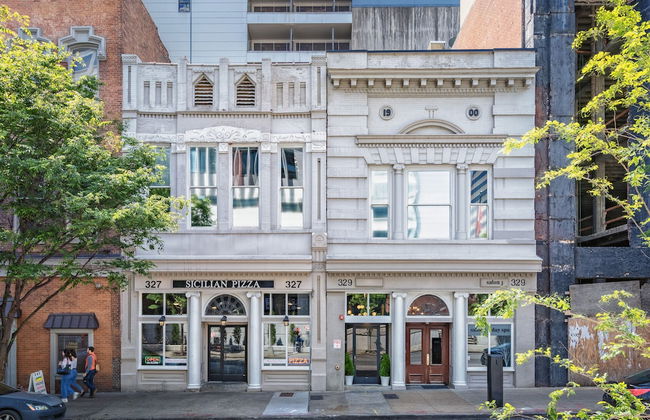
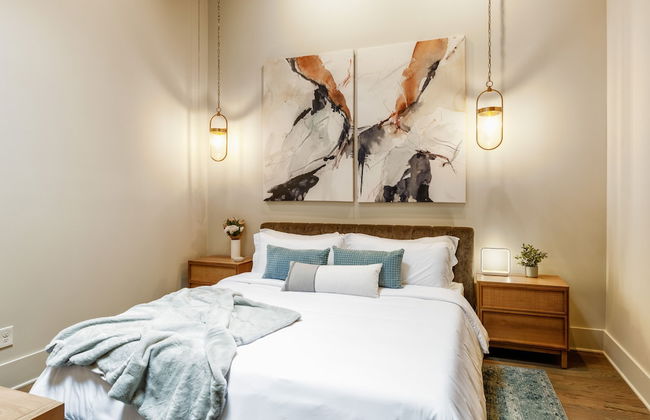
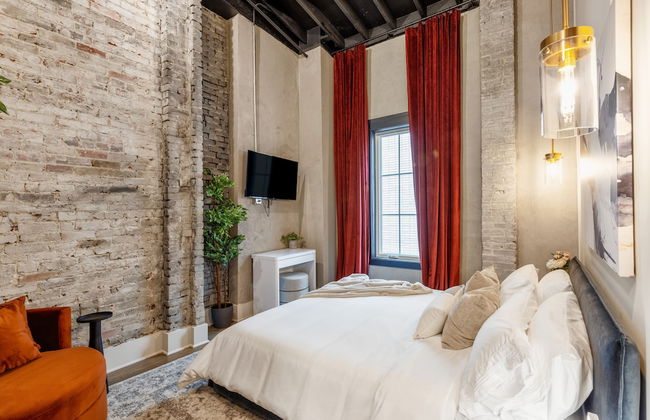
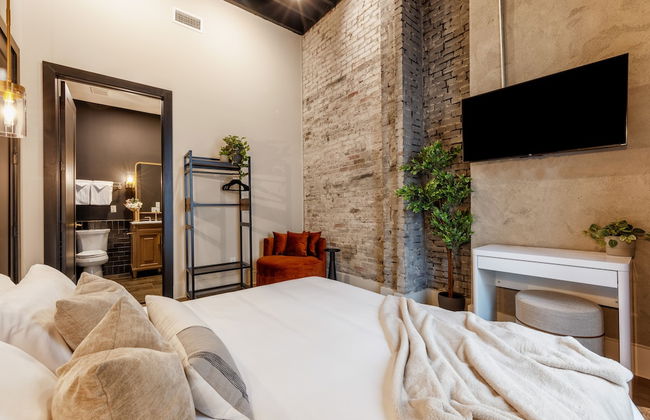
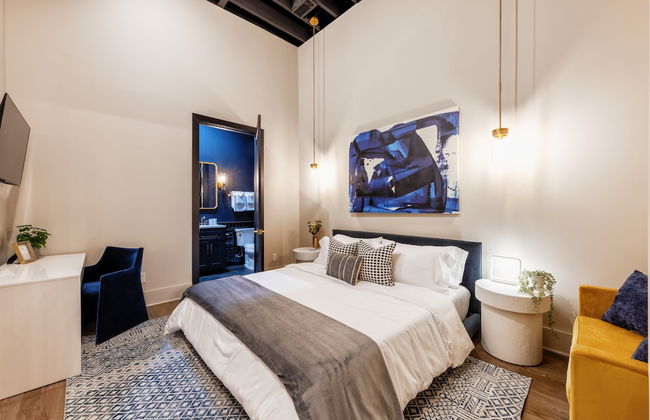
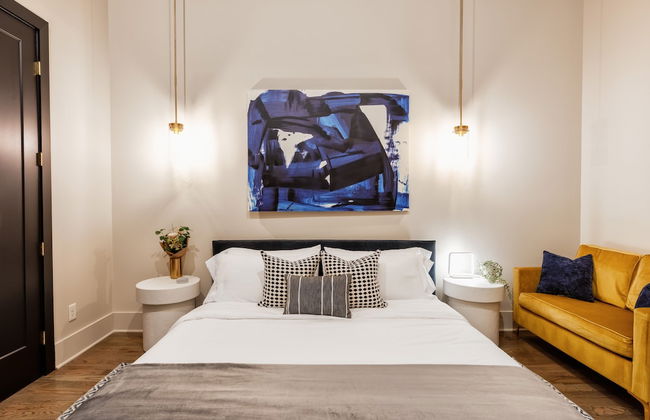
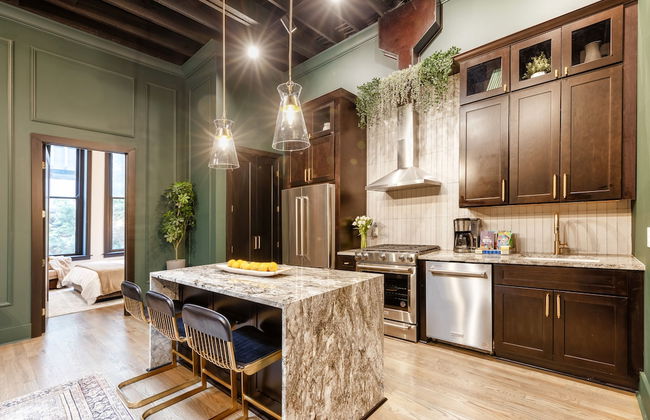
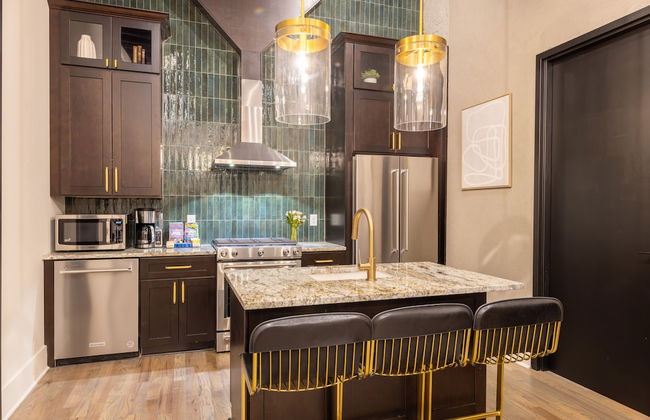
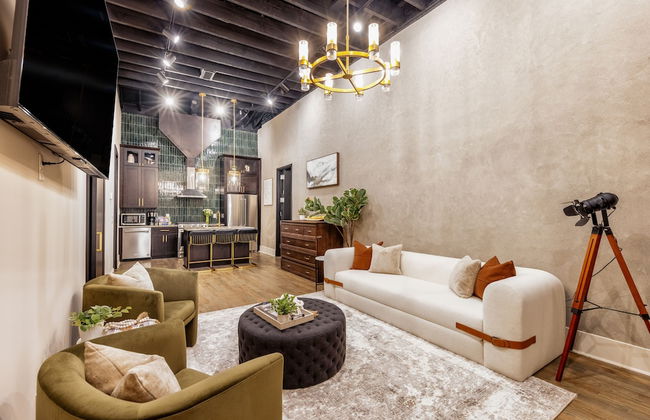
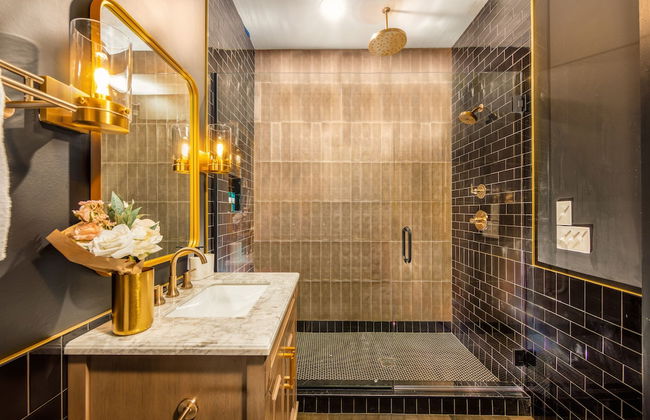
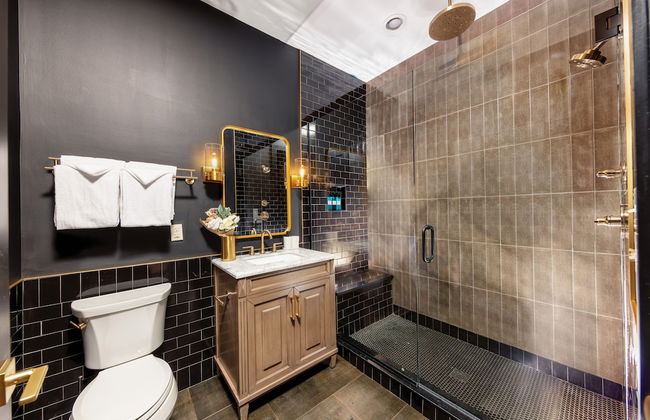
Placemakr Premier SoBro
Nashville - Sobro - À 500 m du centre
- 166 M2
- 6 personnes
- Air conditionné
- Le chauffage
- Terrasse
- Piscine
- Parking
- Ascenseur
- Balcon
- Tv
- Machine à laver
- Cheminée
- Barbecue
- Serviettes
- Feuilles


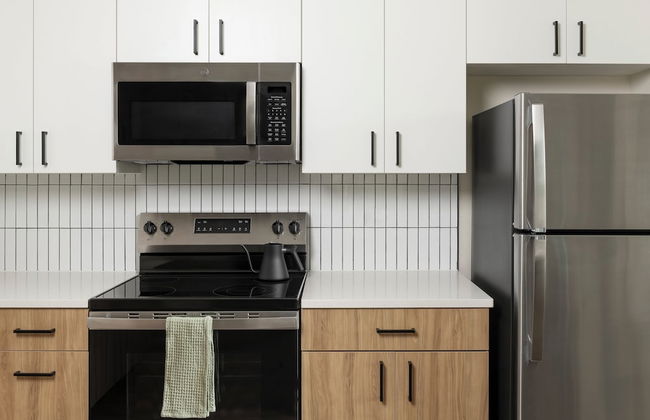
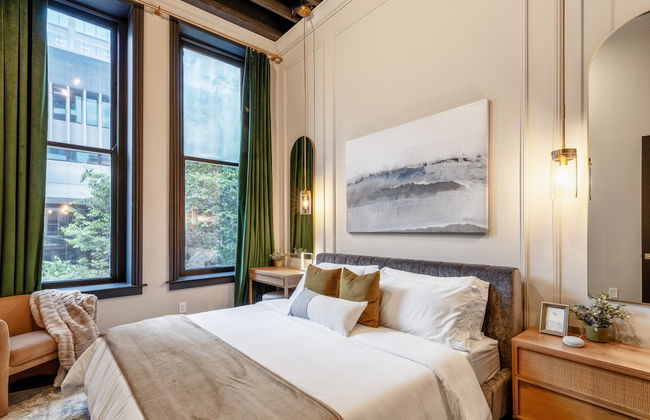
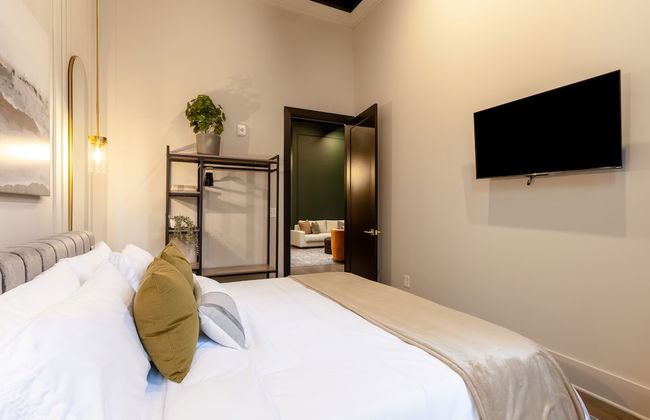
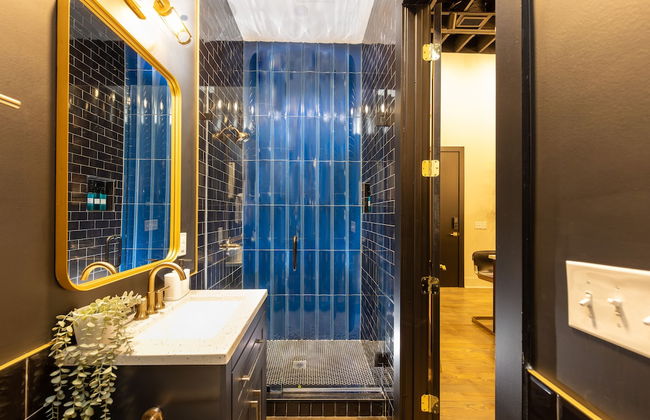
Memoir Wedgewood Houston
Nashville - South Nashville - À 2.2 km du centre
- 46 M2
- 2 personnes
- Air conditionné
- Le chauffage
- Piscine
- Parking
- Ascenseur
- Tv
- Machine à laver
- Cheminée
- Barbecue
- Serviettes
- Feuilles


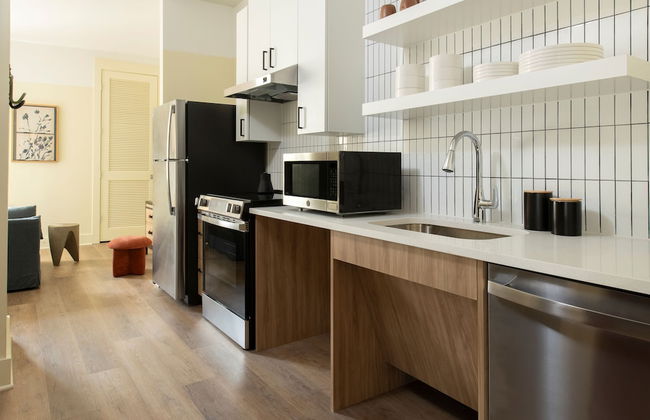


Mint House Nashville Marathon Village by Kasa
Nashville - Watkins Park - À 1.3 km du centre
- 70 M2
- 6 personnes
- Air conditionné
- Le chauffage
- Terrasse
- Piscine
- Parking
- Ascenseur
- Tv
- Serviettes
- Feuilles


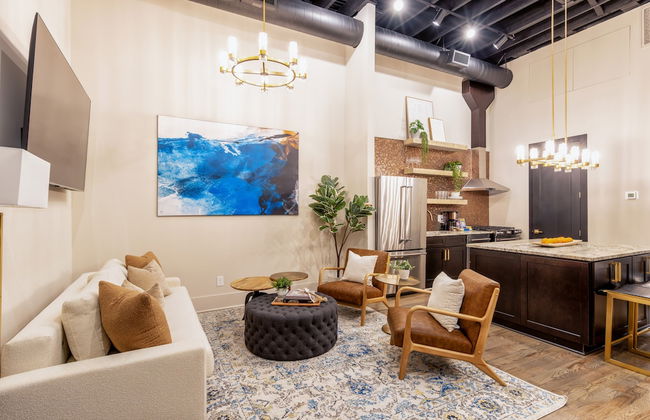
Outrider Buyout - 2 Units - DT Nashville by AvantStay
Nashville - Five - À 2.2 km du centre
- 130 M2
- 8 chambres
- 14 personnes
- Air conditionné
- Le chauffage
- Terrasse
- Parking
- Balcon
- Tv
- Machine à laver
- Serviettes
- Feuilles


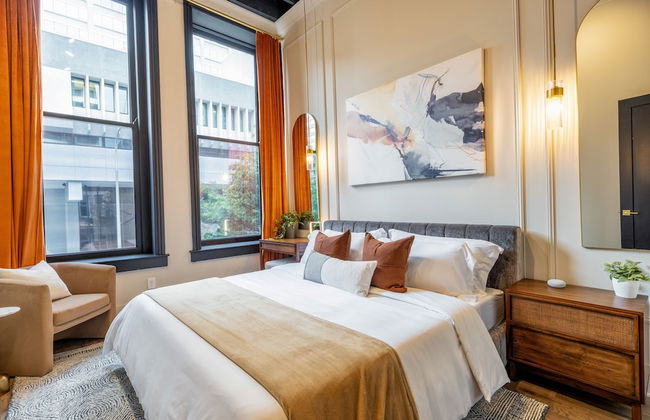
Kasa Capitol Hill Downtown Nashville
Nashville - Downtown Nashville - À 230 m du centre
- 113 M2
- 3 chambres
- 8 personnes
- Air conditionné
- Le chauffage
- Terrasse
- Parking
- Ascenseur
- Jardin
- Tv
- Serviettes
- Feuilles


Union Street Lofts
Nashville - Downtown Nashville - Dans le centre
- 8 personnes
- Air conditionné
- Le chauffage
- Tv
- Machine à laver
- Serviettes
- Feuilles


Studio 154 Luxury Hotel
Nashville - Downtown Nashville - Dans le centre
- 163 M2
- 12 personnes
- Cuisinette
- Air conditionné
- Le chauffage
- Terrasse
- Balcon
- Tv
- Machine à laver
- Serviettes
- Feuilles


The Nashville Reserve
Nashville - Downtown Nashville - À 330 m du centre
- 93 M2
- 6 personnes
- Air conditionné
- Le chauffage
- Parking
- Ascenseur
- Tv
- Machine à laver
- Serviettes
- Feuilles


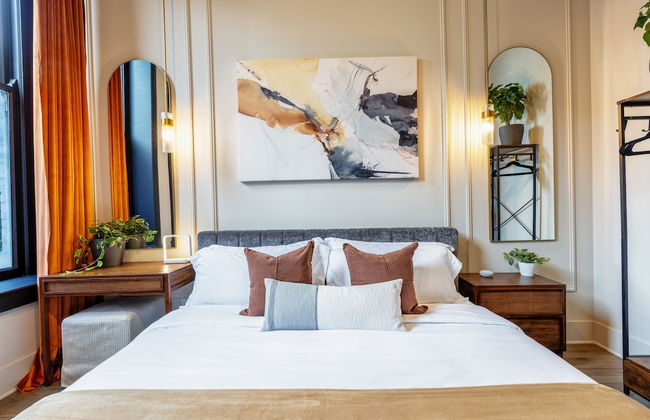
The Bel Air Suite Penthouse The Gulch
Nashville - Sobro - À 1.6 km du centre
- 5 personnes
- Parking
- Ascenseur
- Tv
- Machine à laver
- Serviettes


The Nomad by AvantStay
Nashville - Hillsboro Village - À 3.7 km du centre
- 4 personnes
- Air conditionné
- Le chauffage
- Parking
- Jardin
- Tv
- Machine à laver
- Serviettes


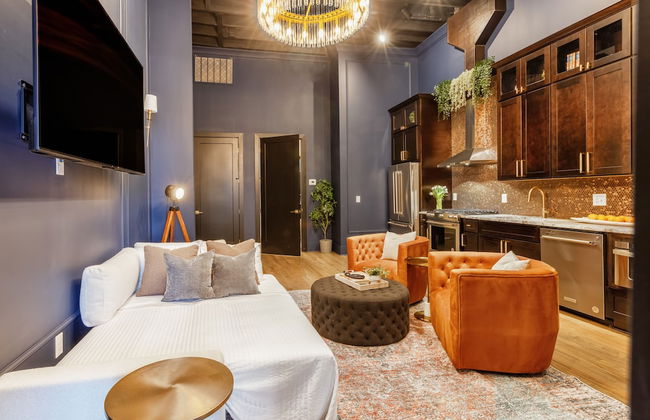
The Conway by AvantStay
Nashville - Buena - À 910 m du centre
- 181 M2
- 4 chambres
- 14 personnes
- Air conditionné
- Le chauffage
- Terrasse
- Parking
- Ascenseur
- Balcon
- Tv
- Machine à laver
- Serviettes
- Feuilles


Vintage Vibes - Minutes From The Broadway Buzz
Nashville - Jones/Buena Vista - À 2.1 km du centre
- 56 M2
- 1 chambre
- 4 personnes
- Air conditionné
- Le chauffage
- Parking
- Ascenseur


Dolly's Yacht Club - Cozy Retreat Near Broadway
Nashville - Jones/Buena Vista - À 2.1 km du centre
- 56 M2
- 1 chambre
- 4 personnes
- Air conditionné
- Le chauffage
- Parking
- Ascenseur


Hart Suite 10 by Avantstay Gorgeous Town House w/ Modern Amenities in Nashville!
Nashville - Cameron Trimble - À 2.7 km du centre
- 112 M2
- 10 personnes
- Air conditionné
- Le chauffage
- Parking
- Tv
- Machine à laver
- Serviettes
- Feuilles


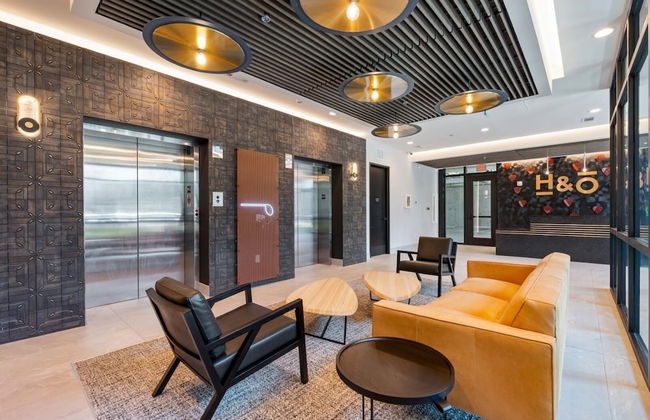

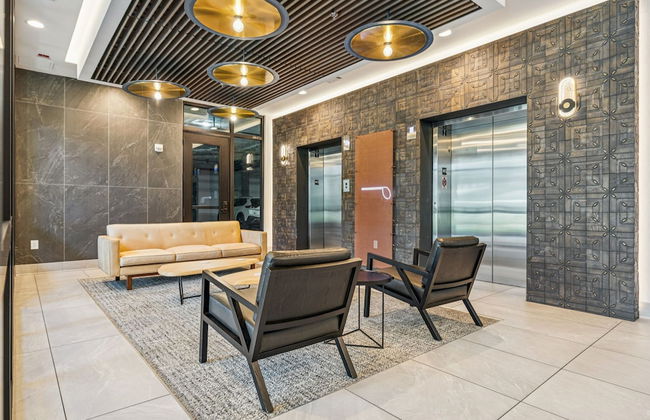


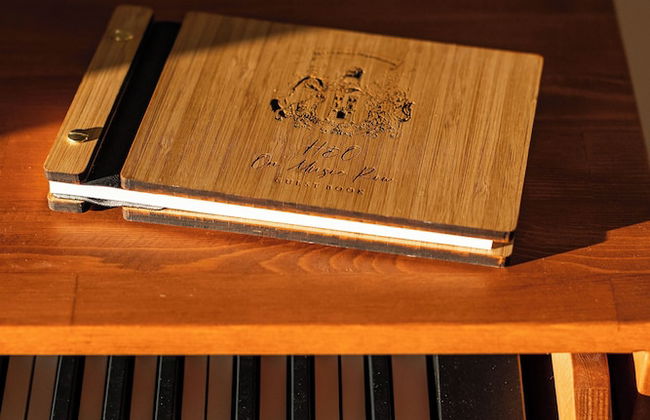


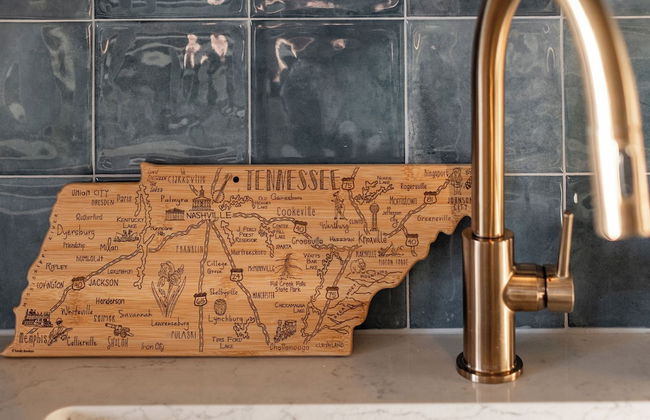


H&O on Music Row
Nashville - Edgehill - À 2.3 km du centre
- 94 M2
- 2 chambres
- 8 personnes
- Air conditionné
- Le chauffage
- Terrasse
- Piscine
- Parking
- Ascenseur
- Balcon
- Tv
- Machine à laver
- Serviettes
- Feuilles


The 121 Hotel
Nashville - Vanderbilt/West End - À 3.7 km du centre
- 58 personnes
- Air conditionné
- Le chauffage
- Parking
- Ascenseur
- Tv
- Cheminée
- Serviettes
- Feuilles


Dolly's Art Deco - Luxe Stay Near Broadway
Nashville - Jones/Buena Vista - À 2.1 km du centre
- 56 M2
- 1 chambre
- 4 personnes
- Air conditionné
- Le chauffage
- Parking
- Ascenseur


The Carter by AvantStay
Nashville - Five - À 1.7 km du centre
- 135 M2
- 4 chambres
- 14 personnes
- Air conditionné
- Le chauffage
- Terrasse
- Parking
- Ascenseur
- Balcon
- Tv
- Machine à laver
- Serviettes
- Feuilles