
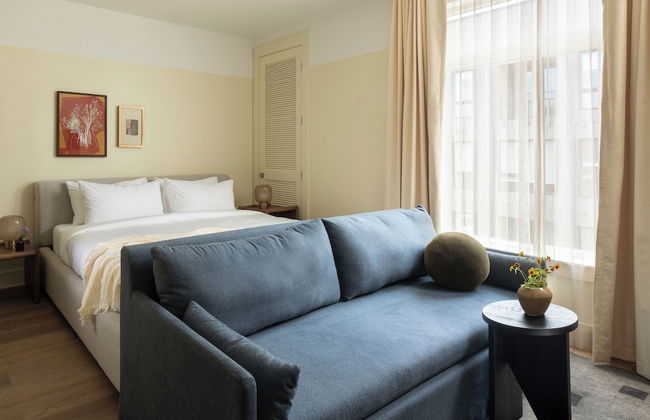
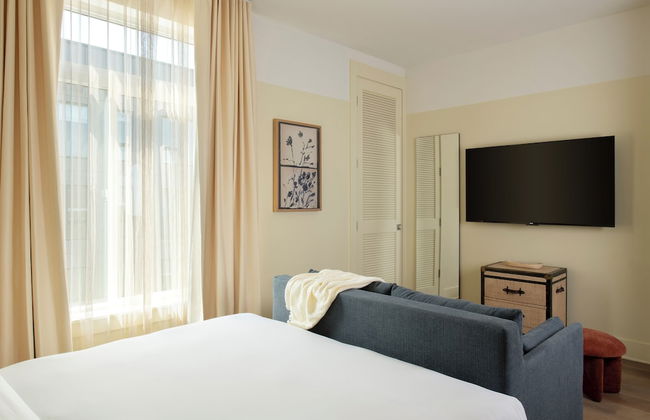
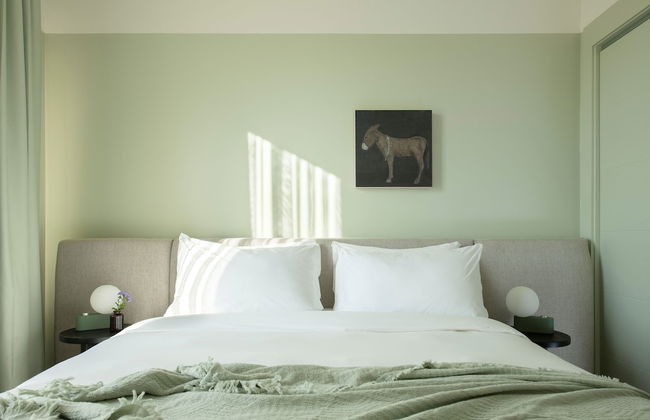
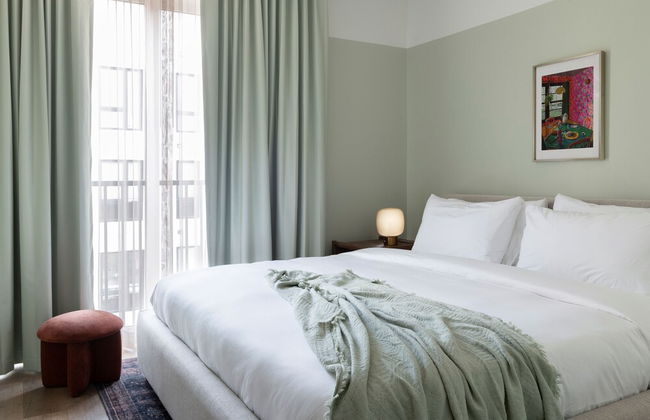
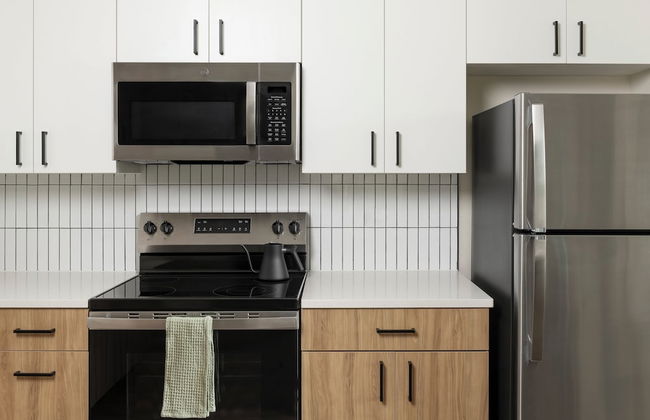
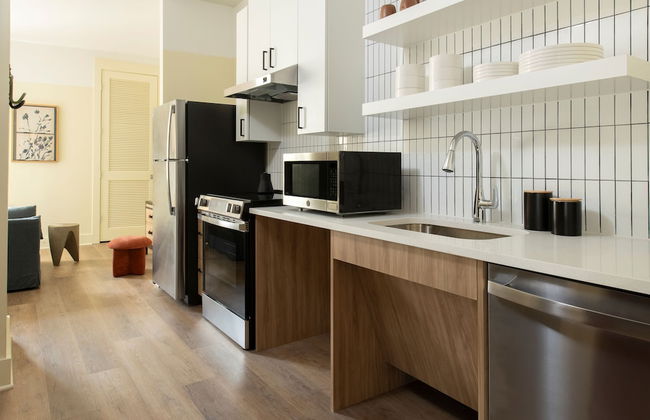
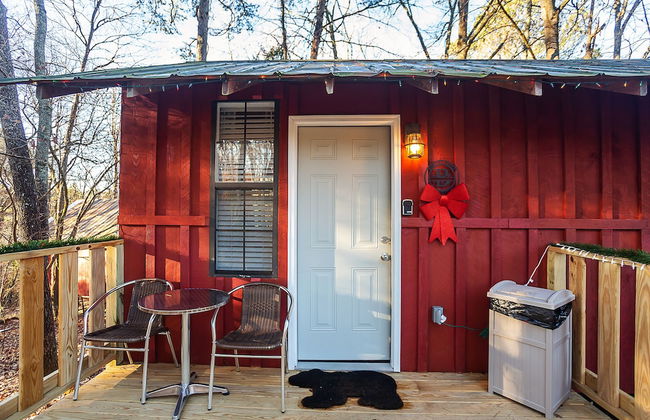
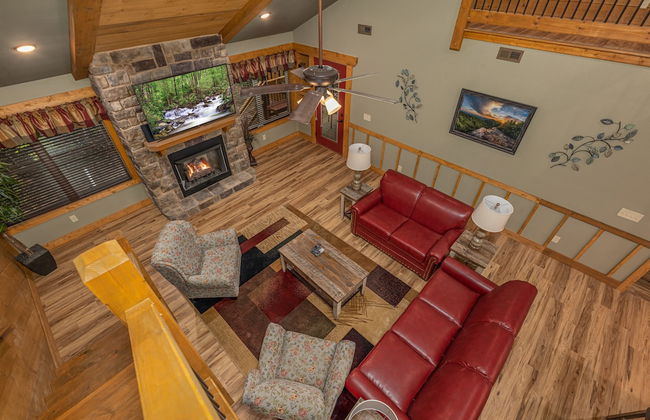
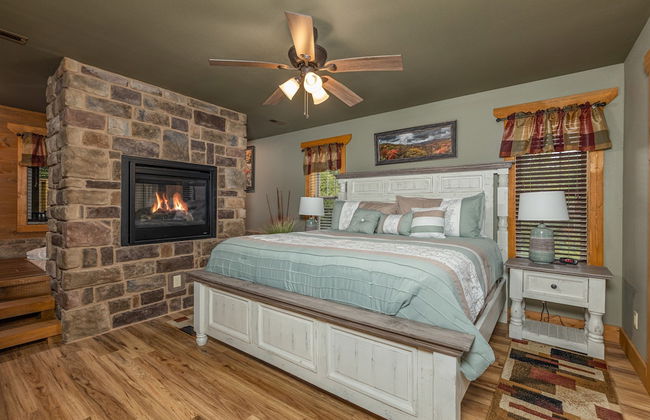
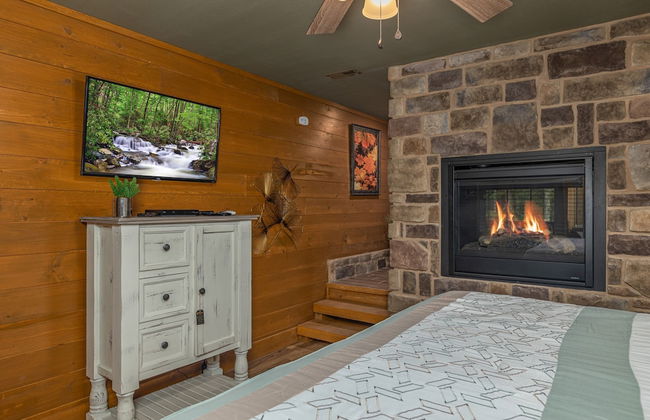
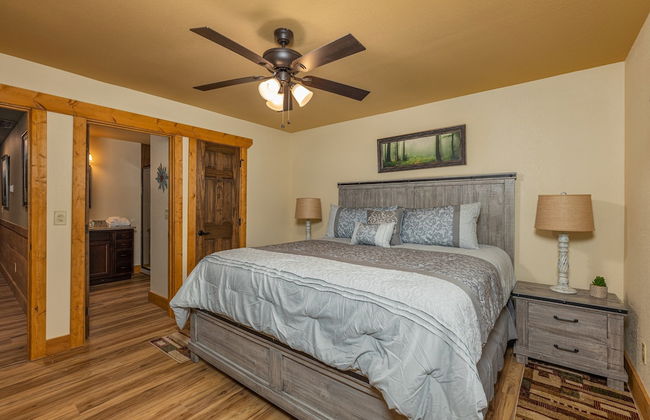
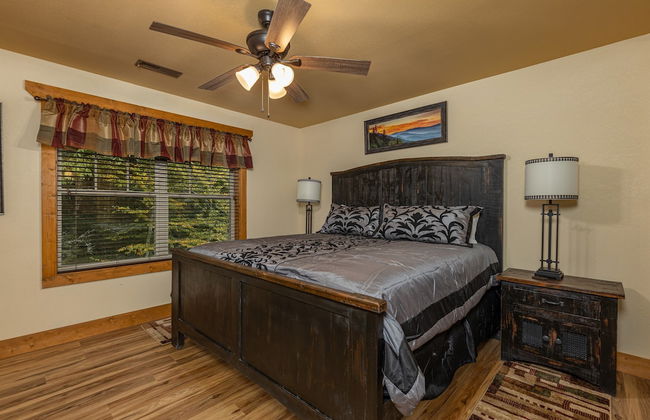
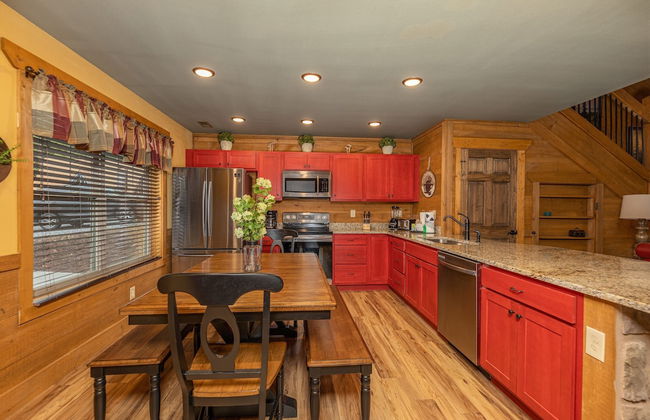
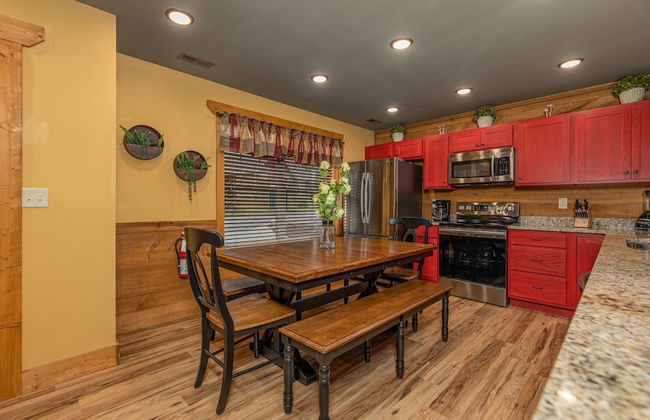
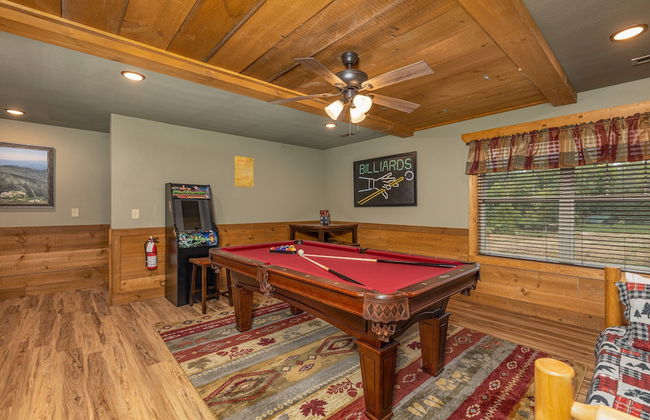
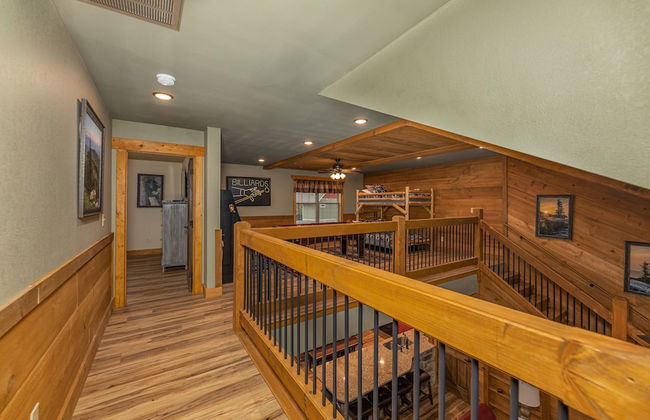
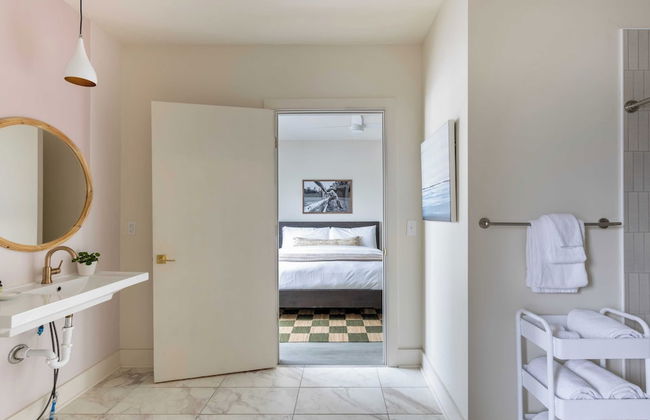
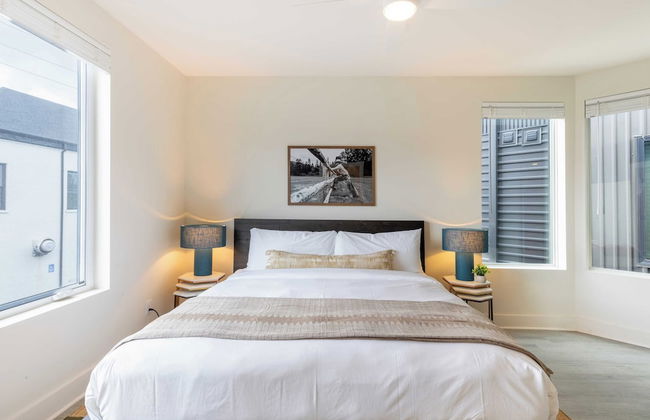
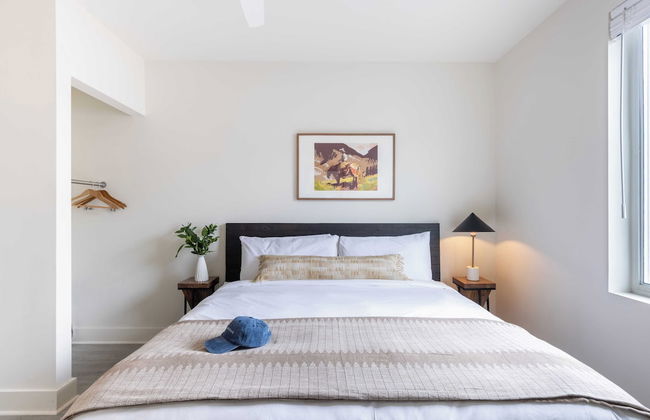
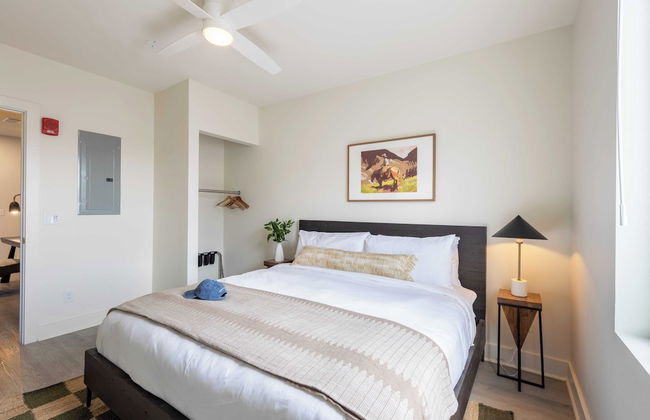
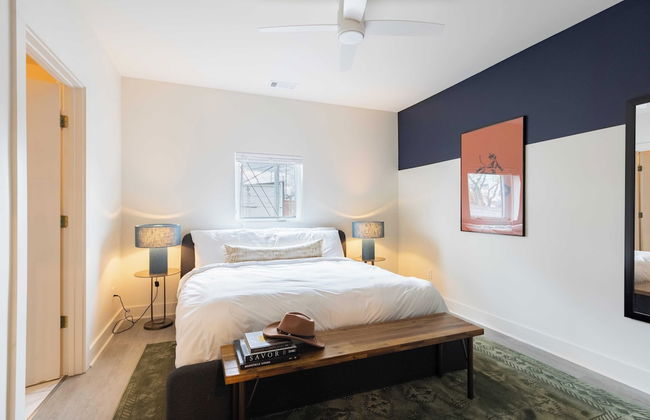
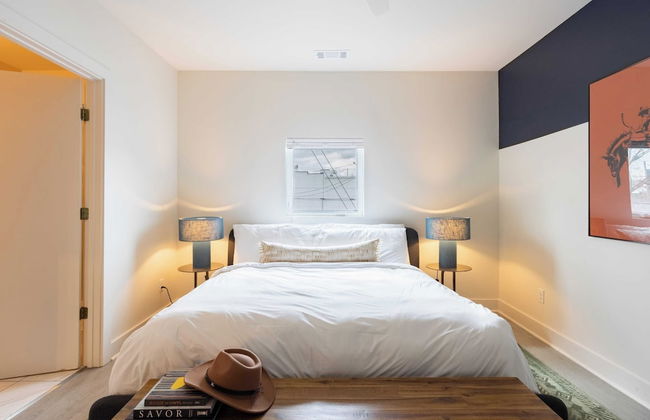
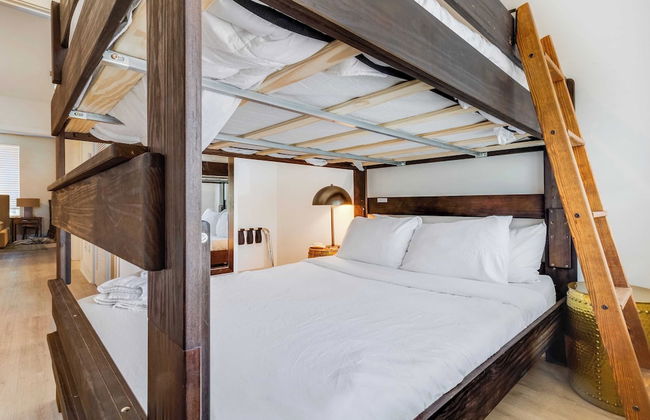
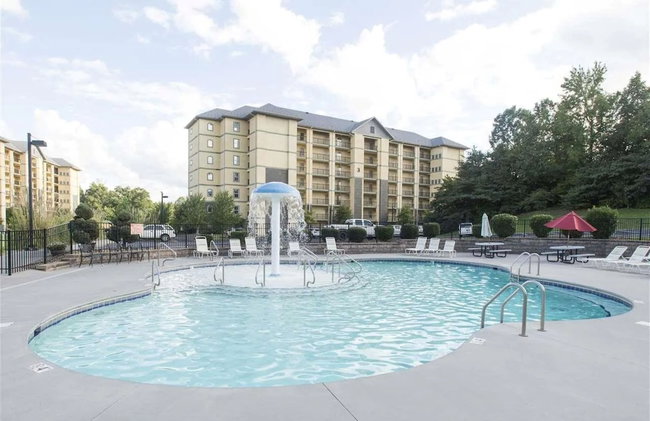
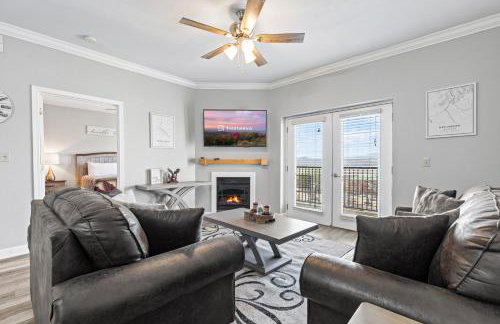
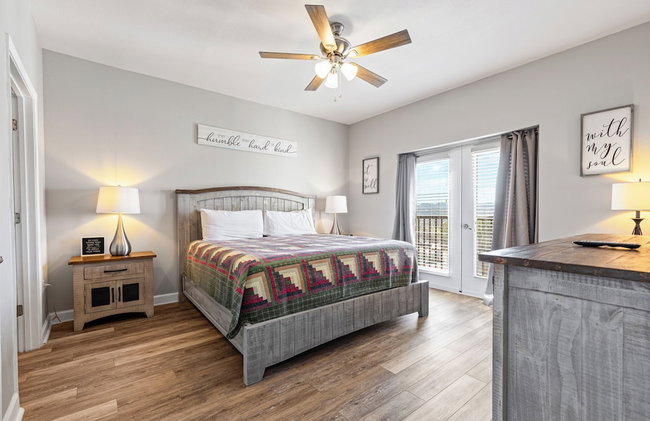
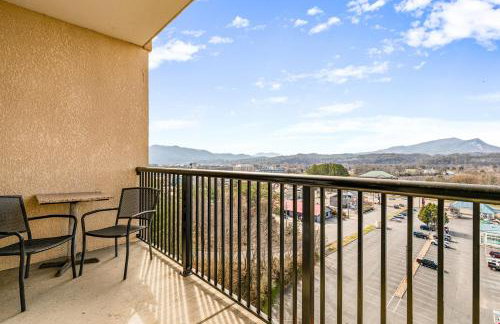
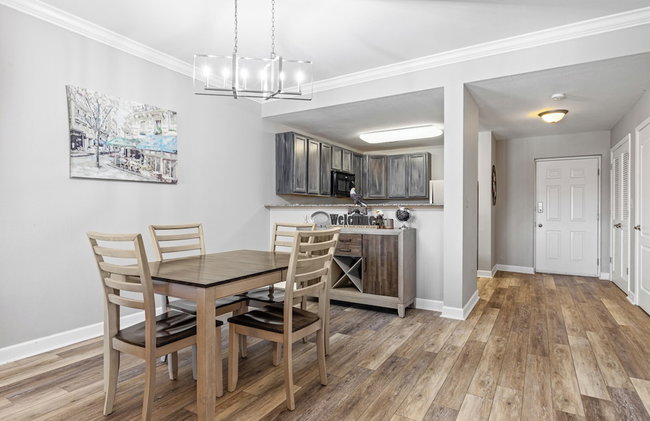
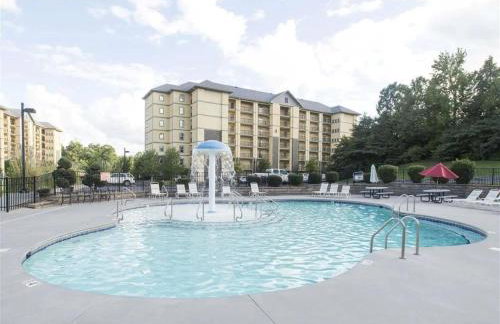
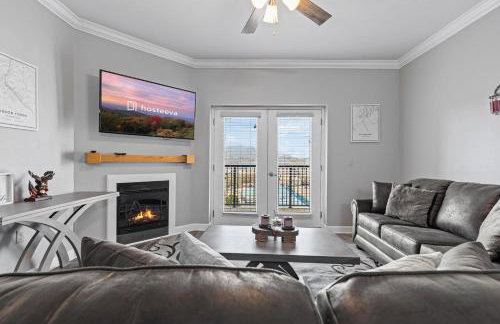
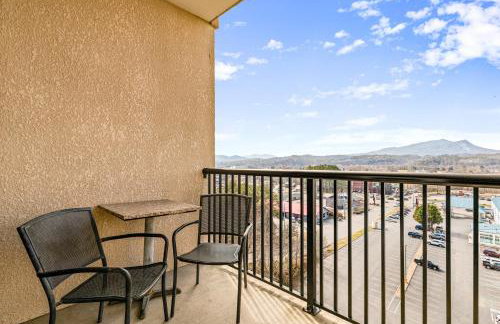
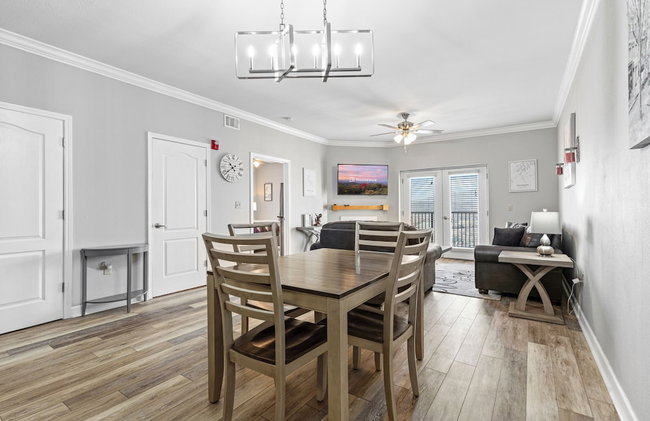
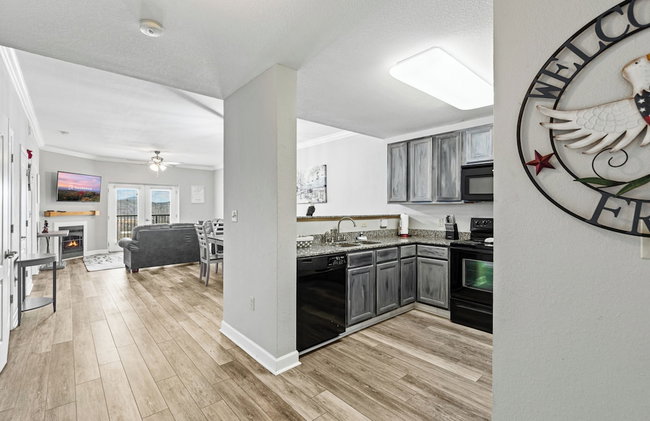
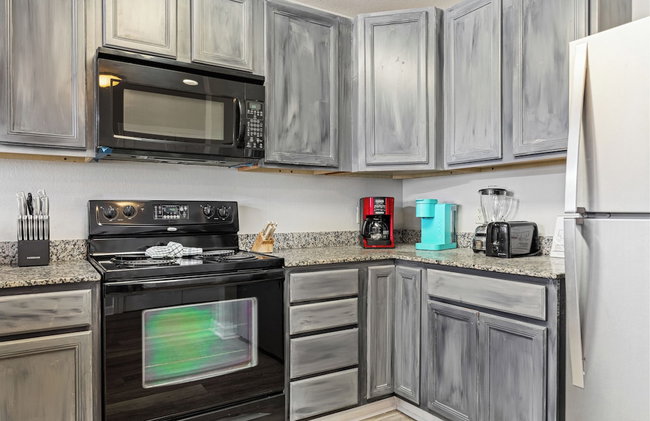
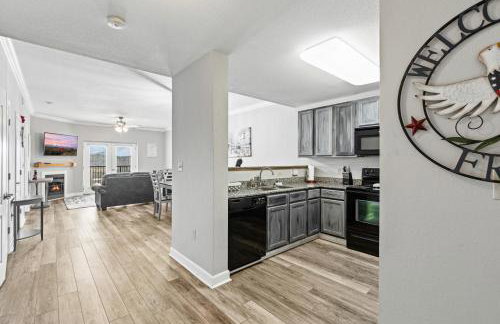
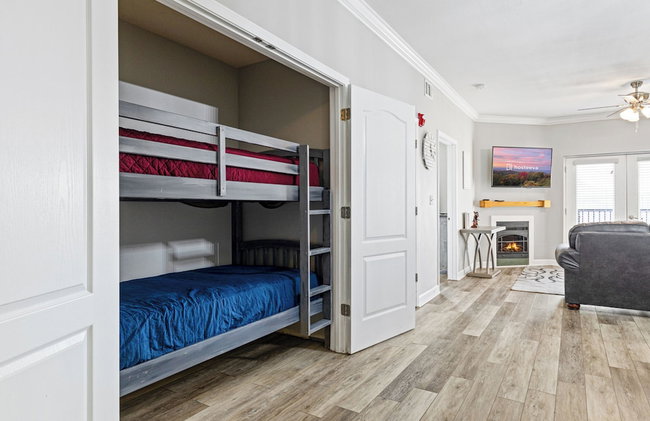
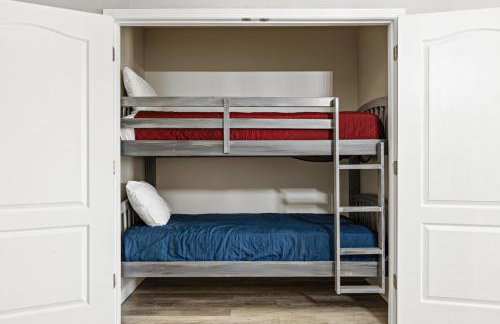
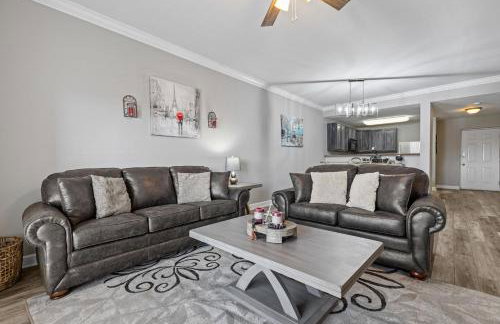
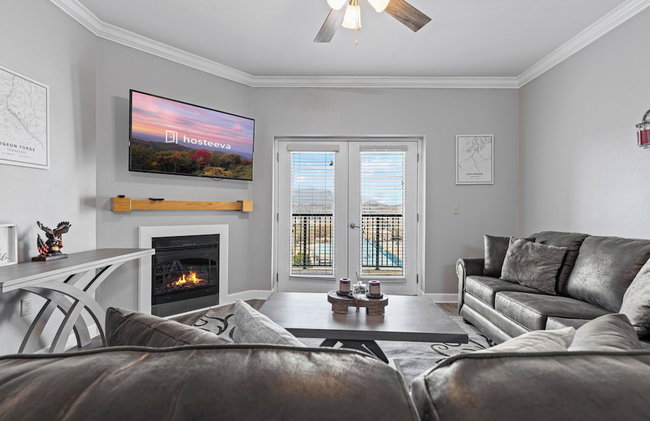
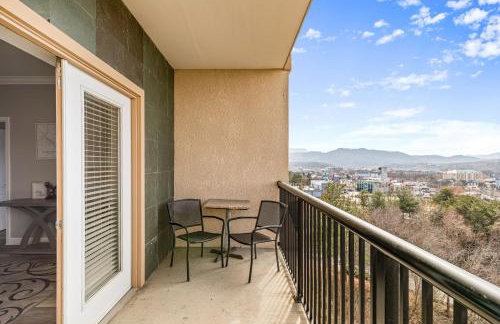
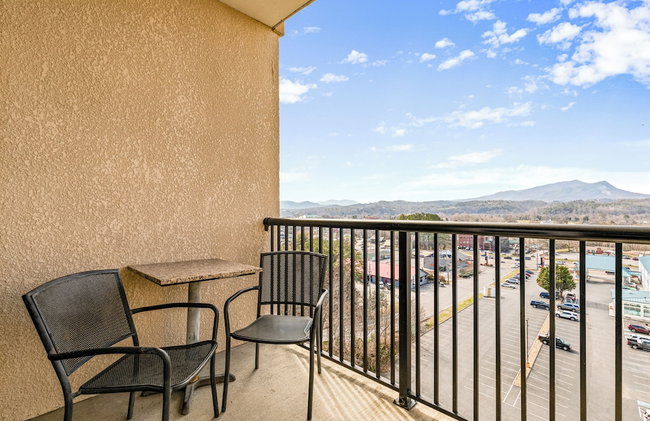
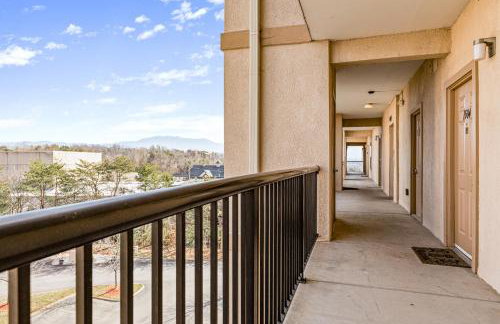
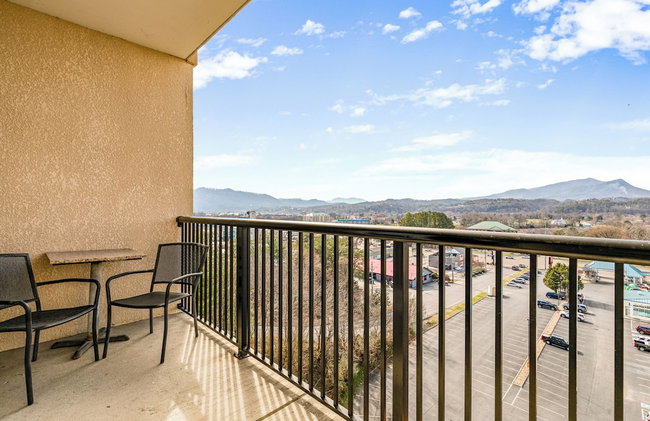
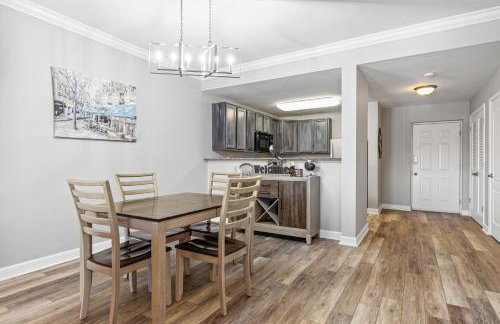
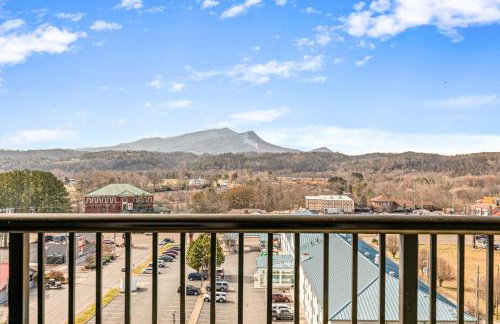
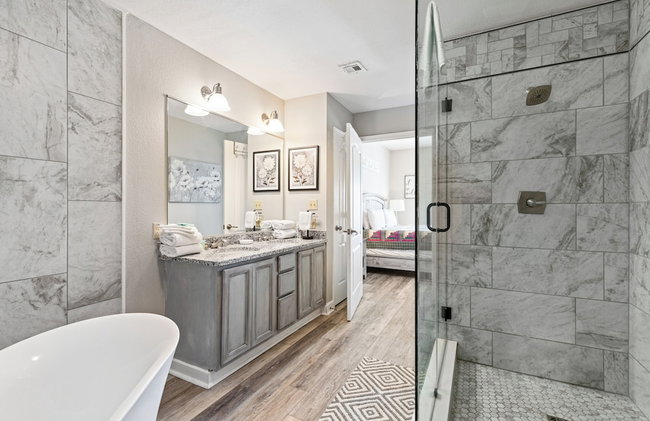
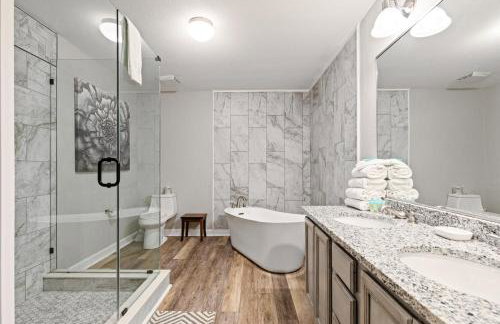
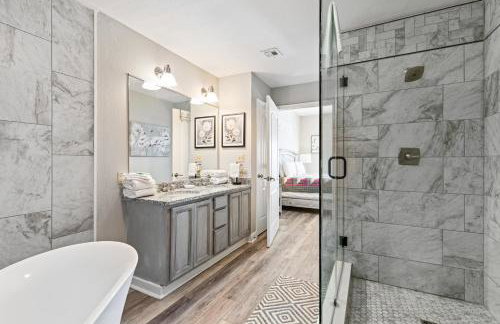
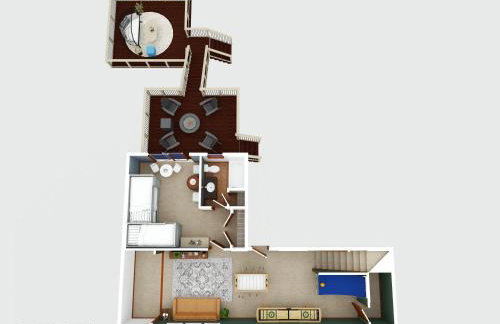
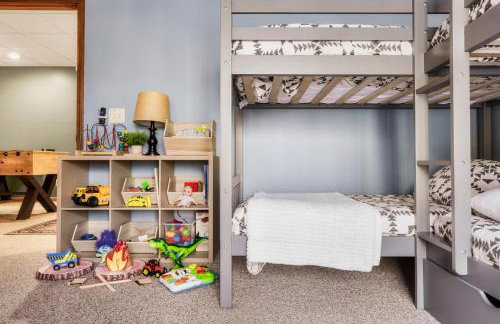
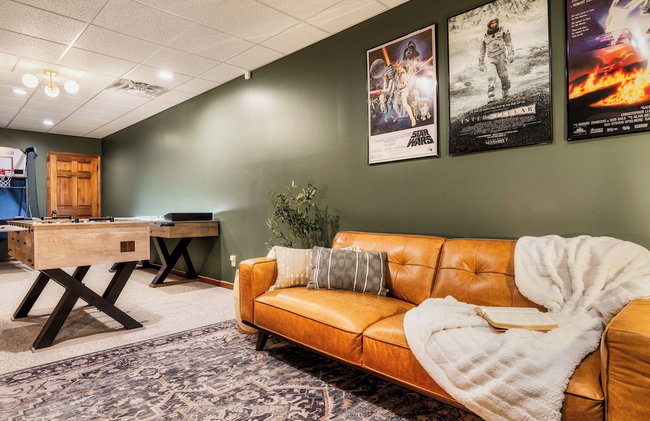
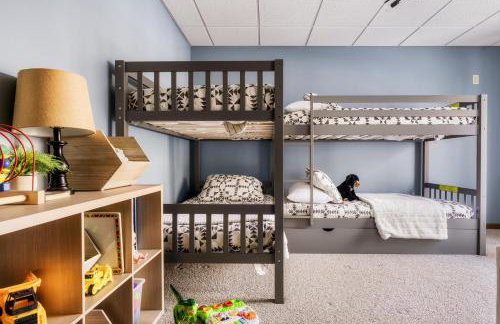
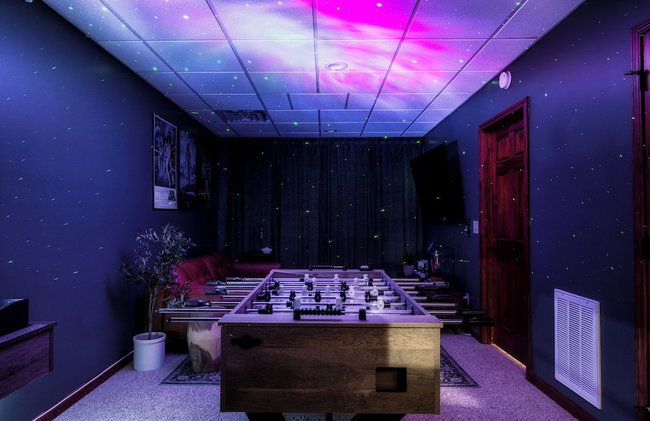
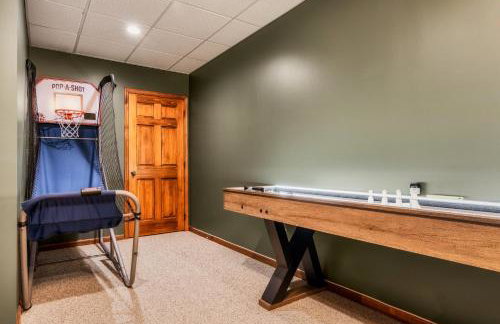
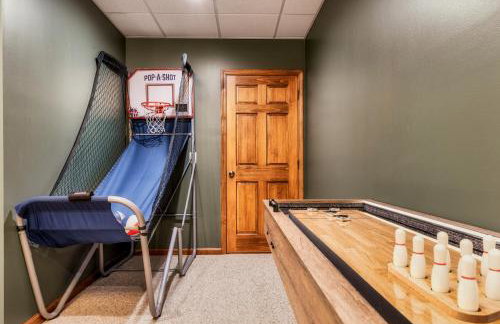
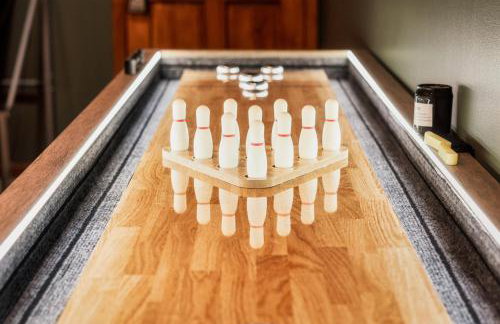
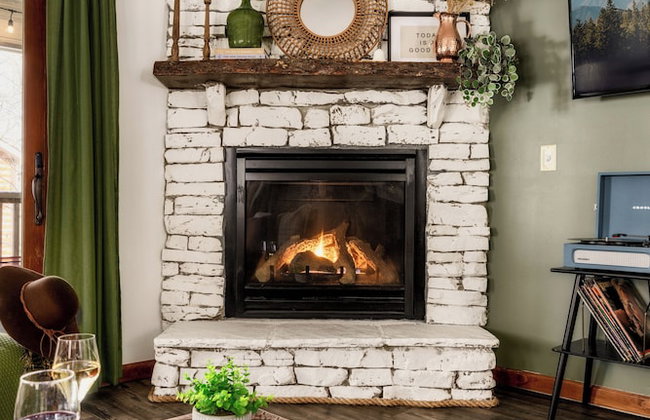
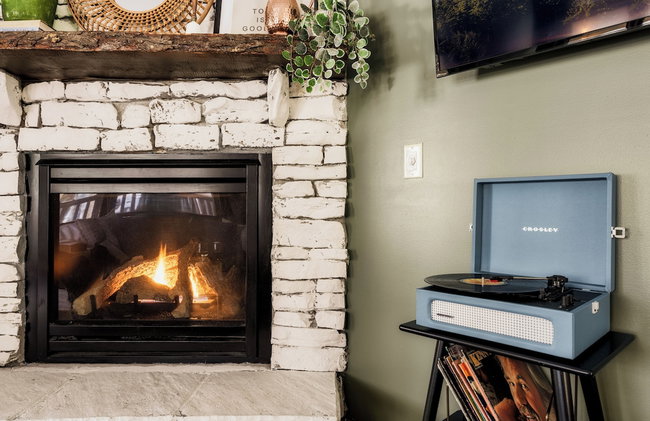
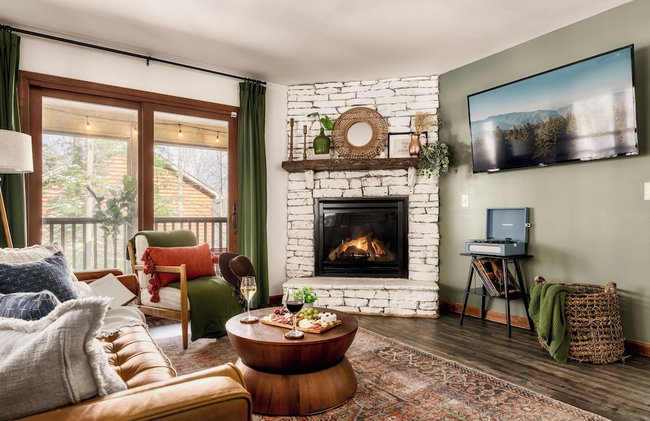
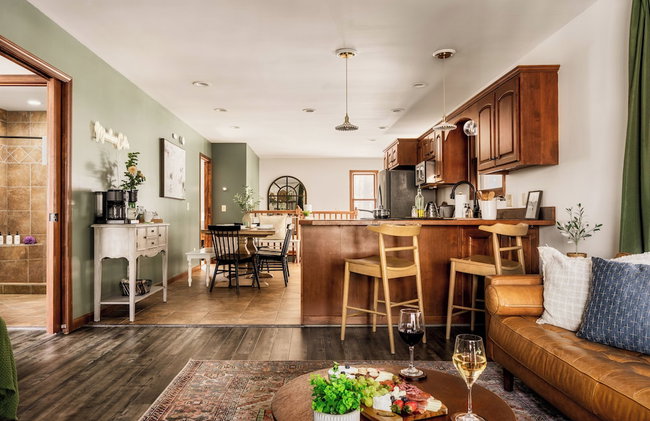
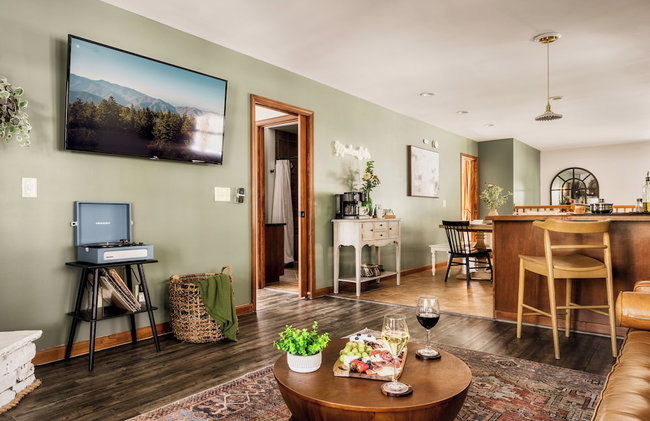
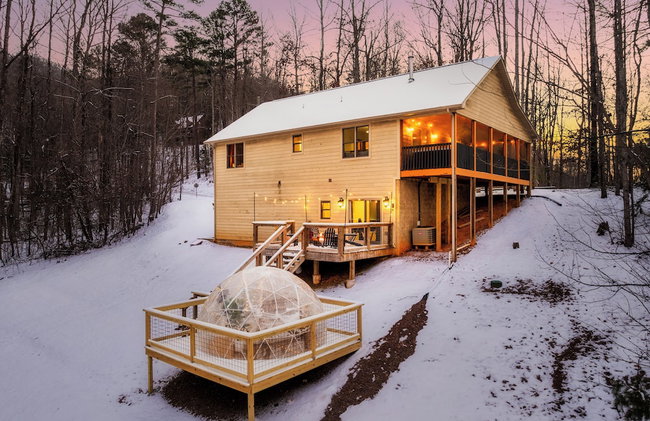
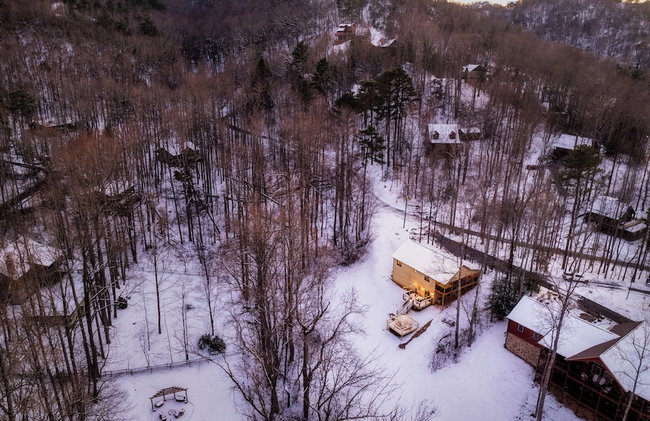
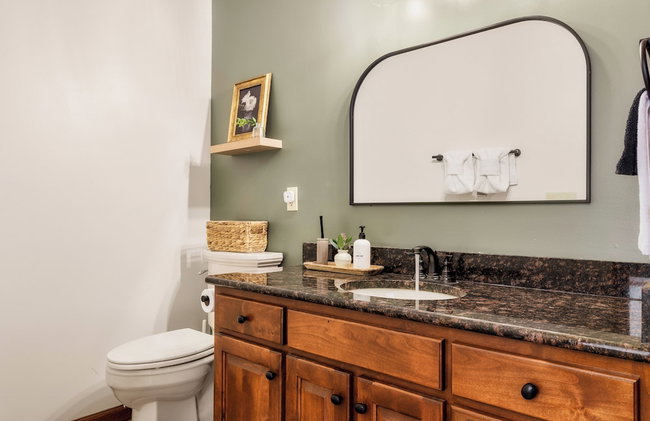
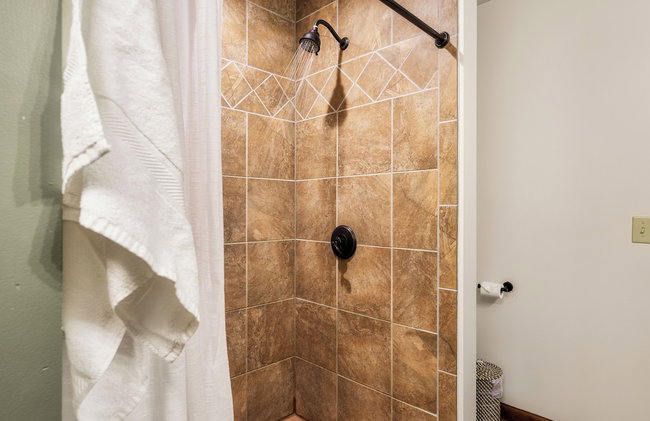
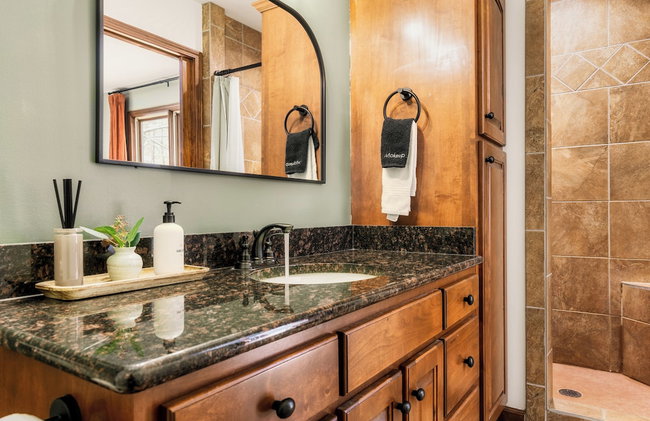
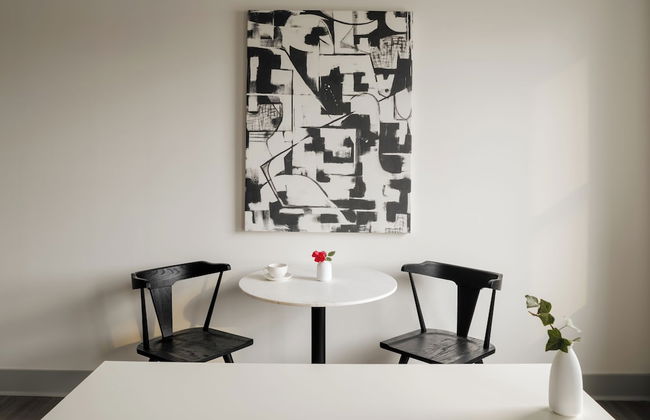
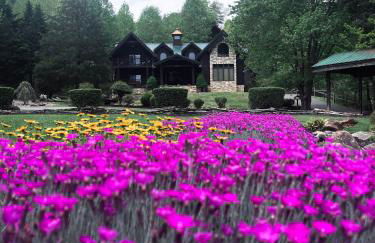
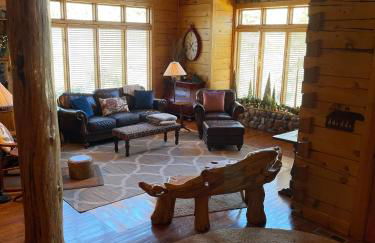
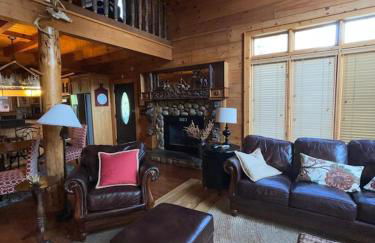
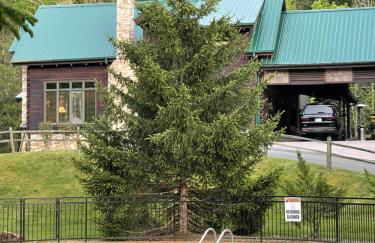
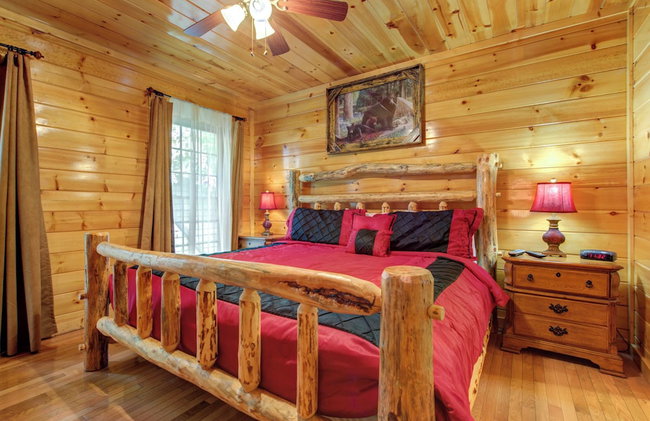
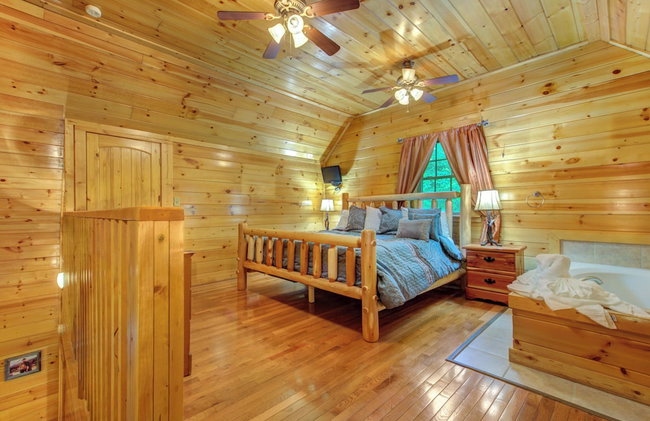
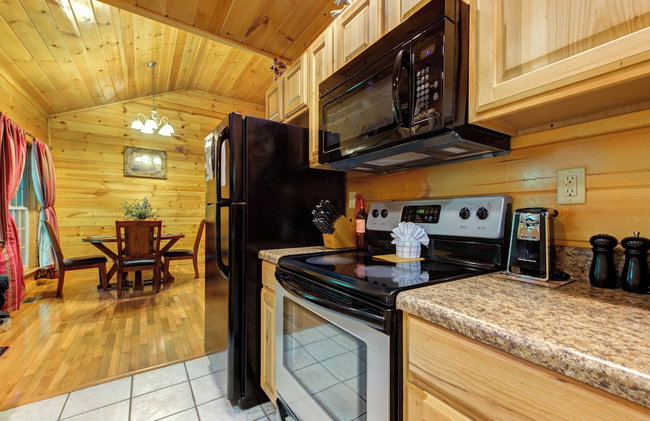
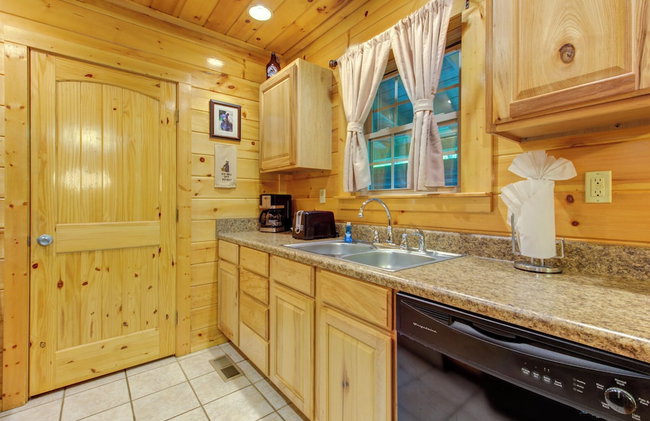
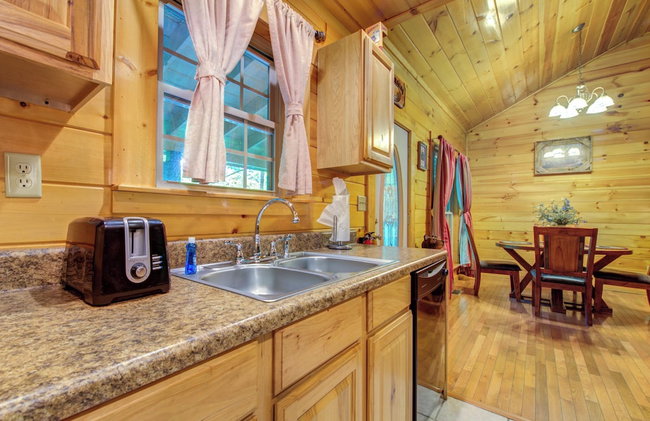
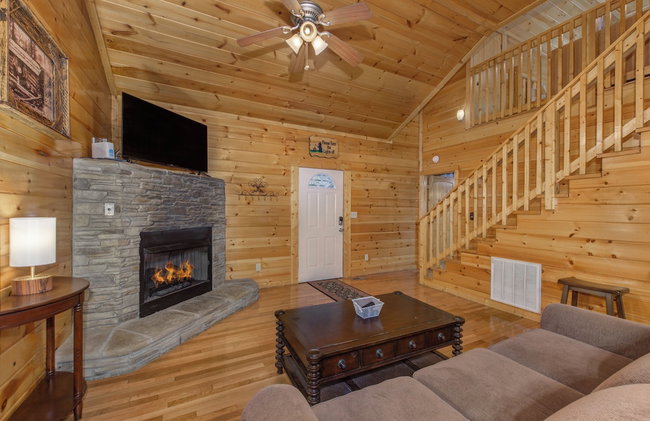
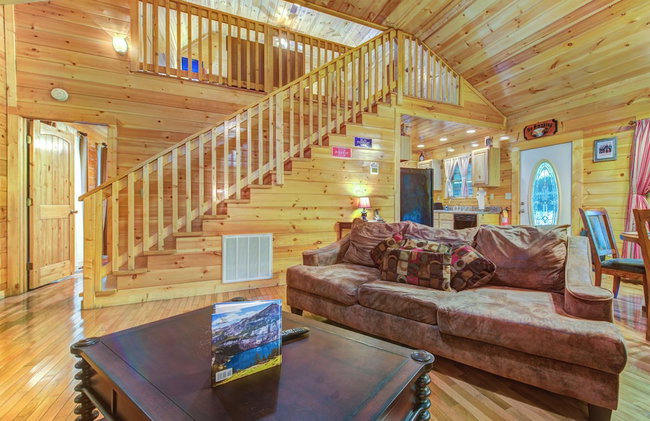
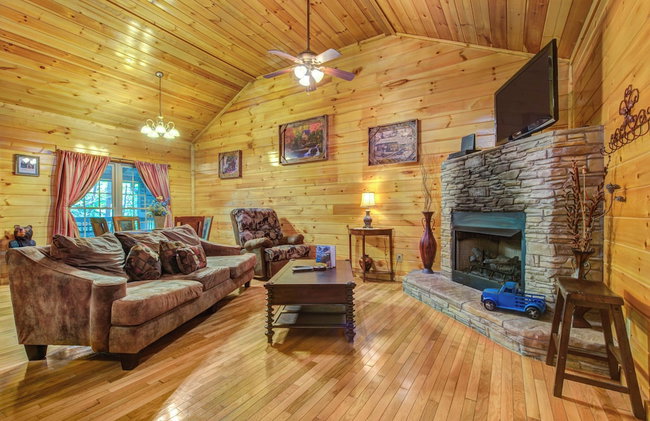
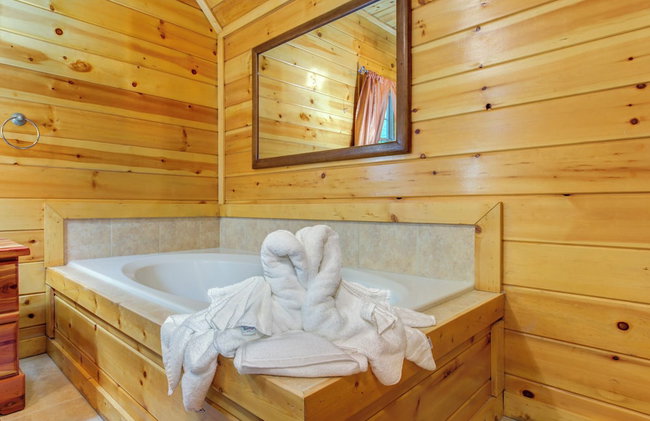
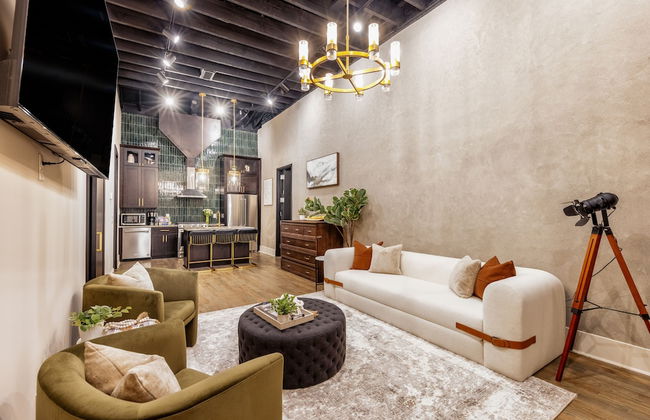
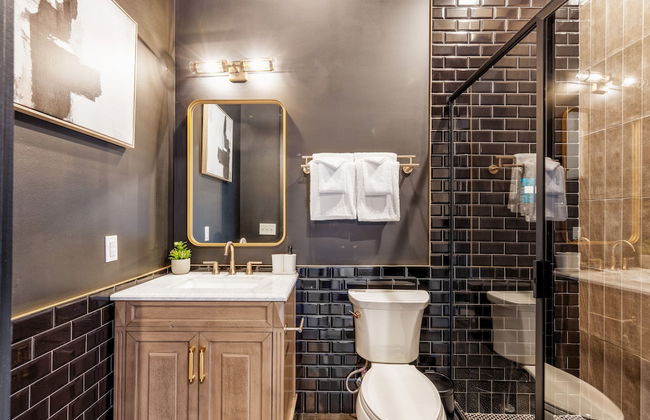
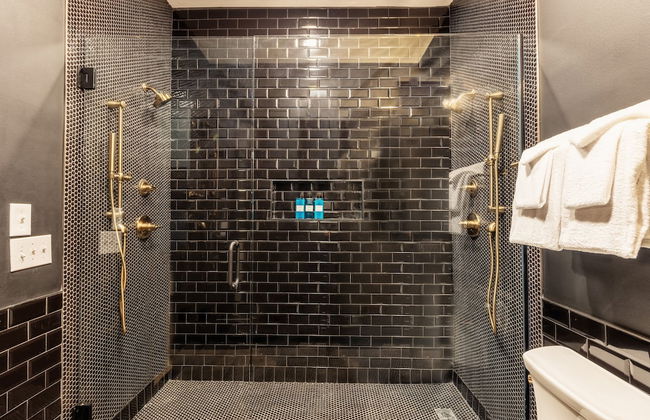
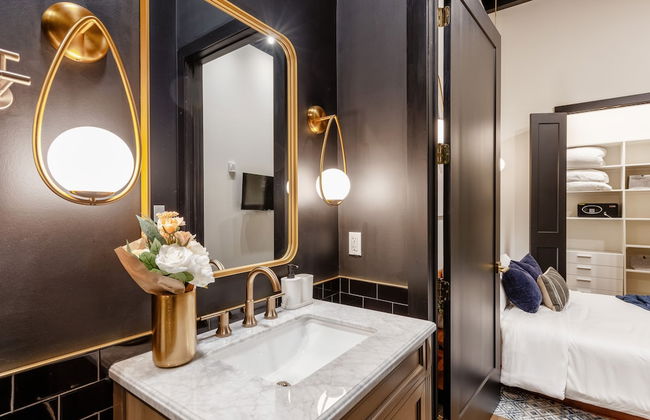
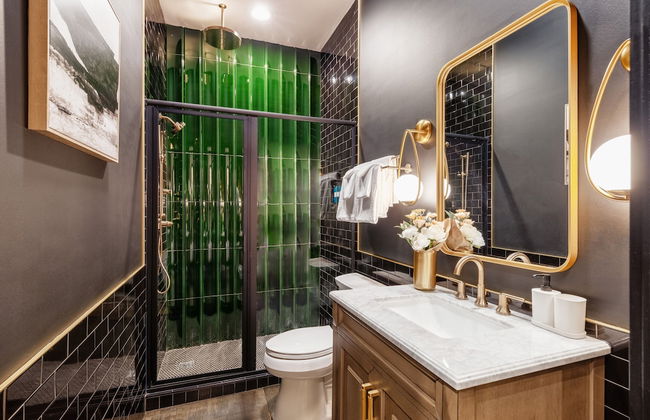
10223 Appartements à Tennessee


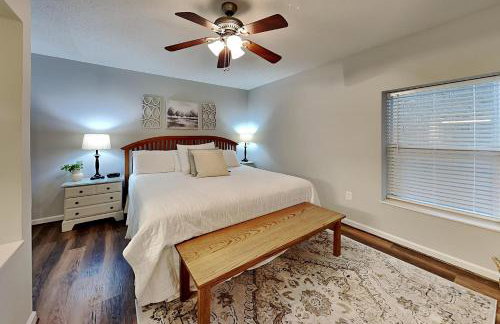

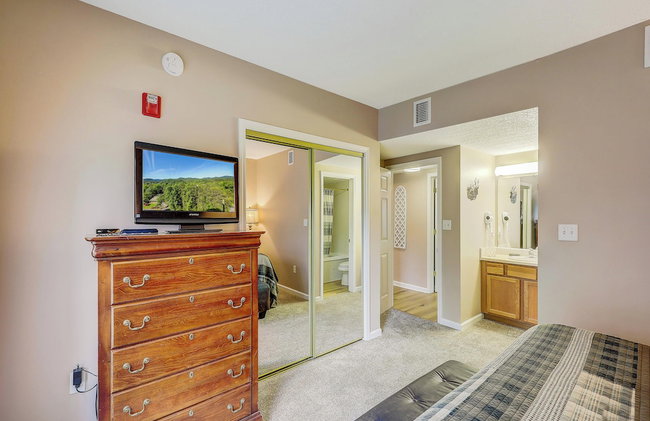
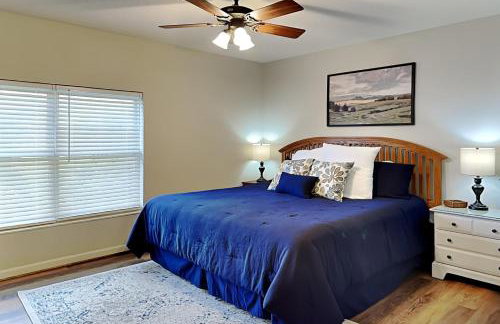
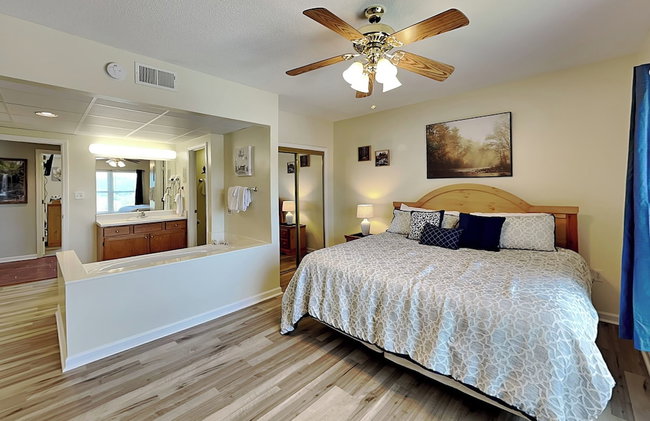
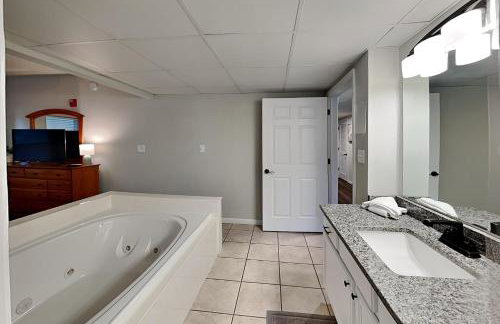
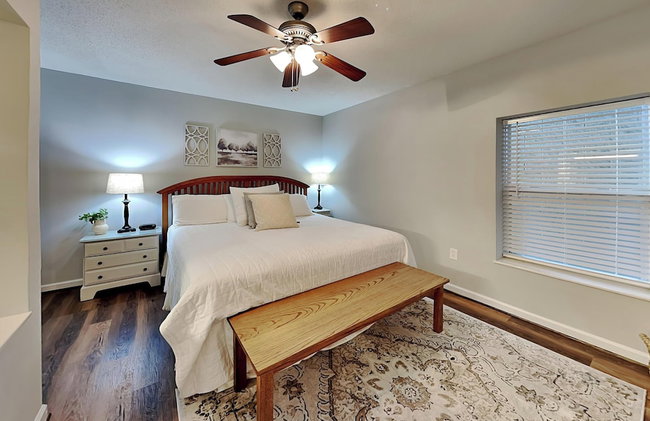
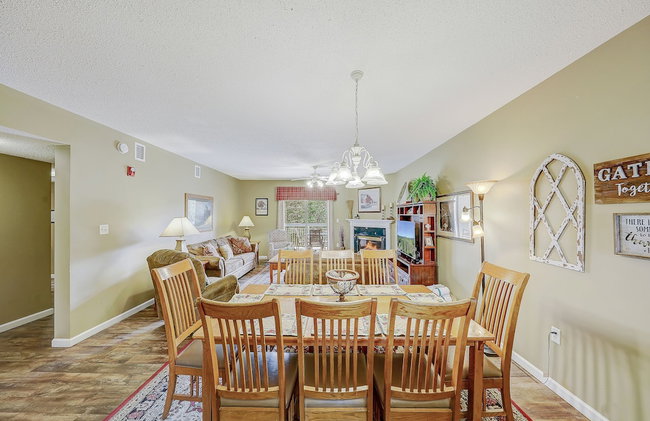
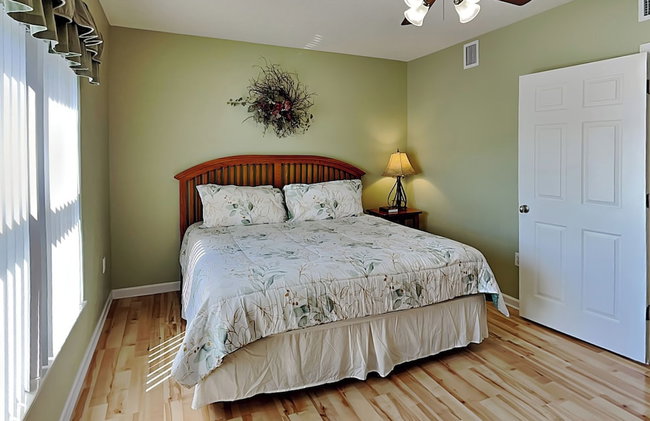

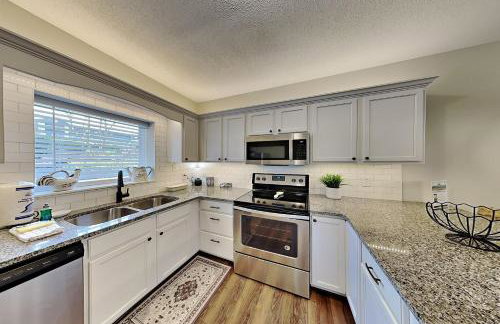
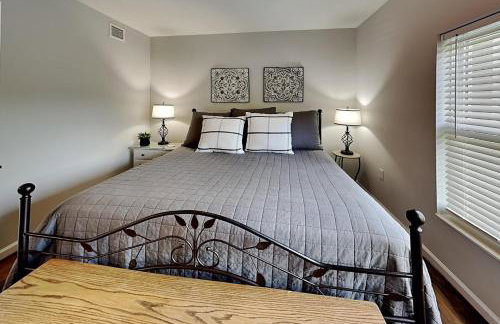

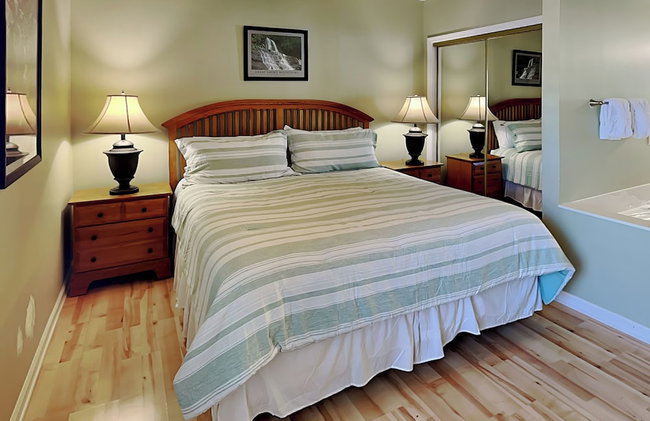
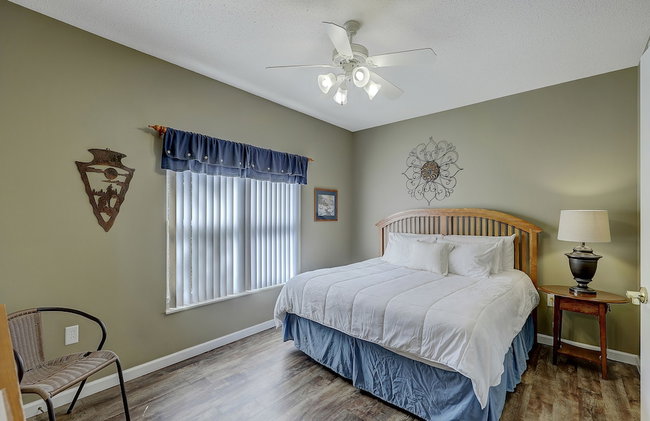


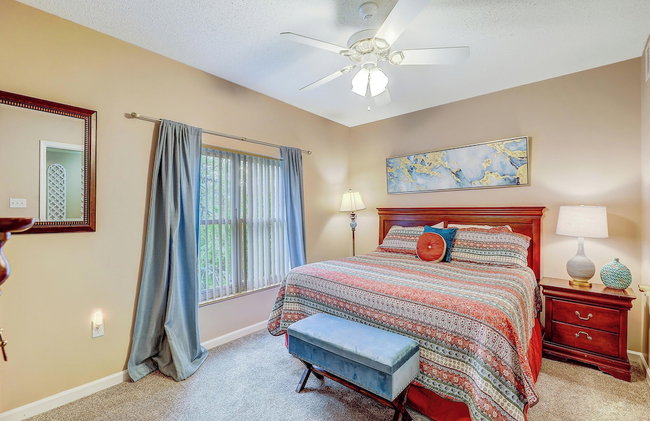
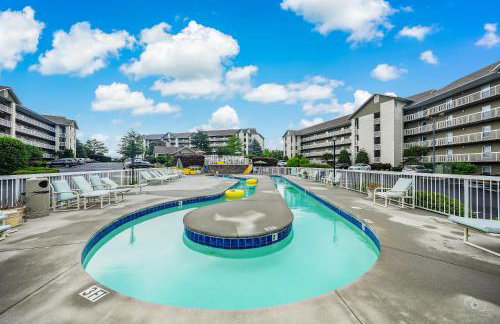
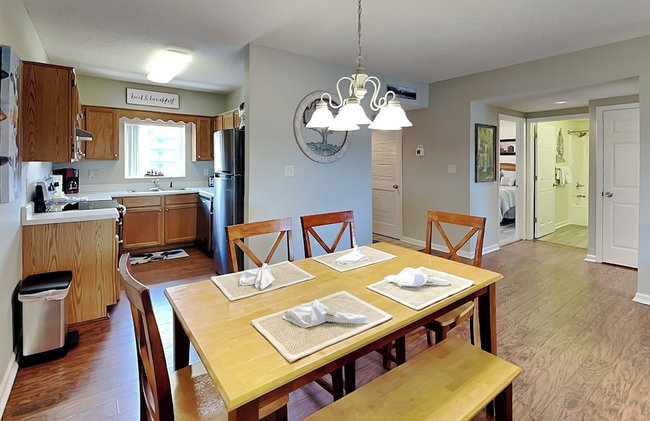
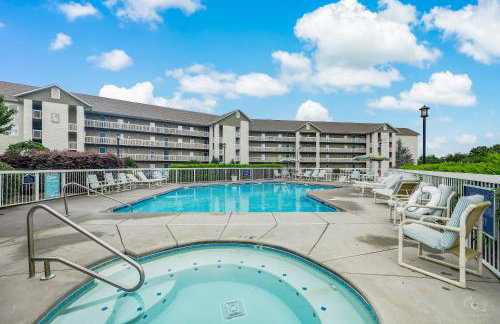
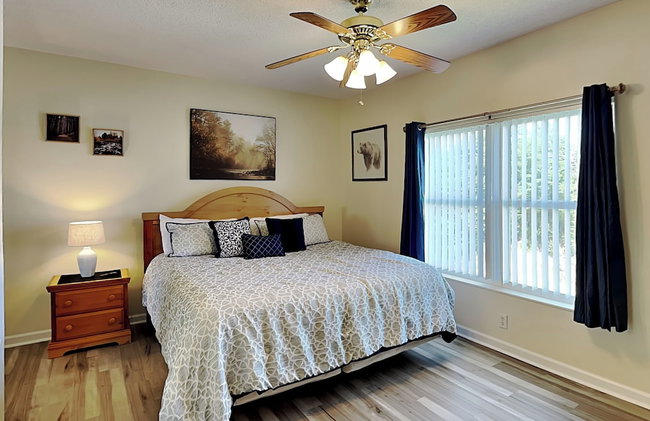

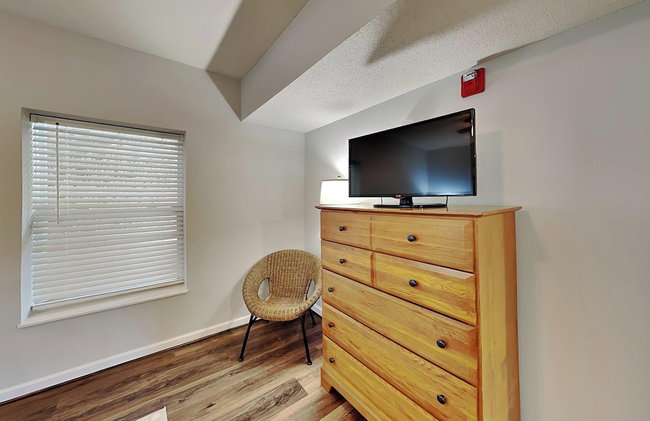
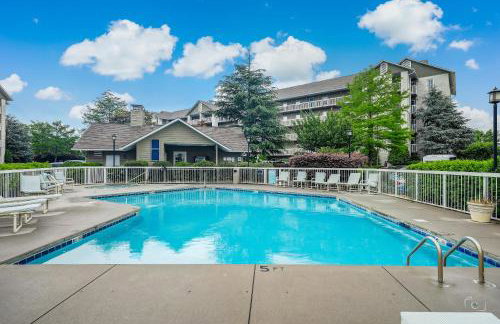


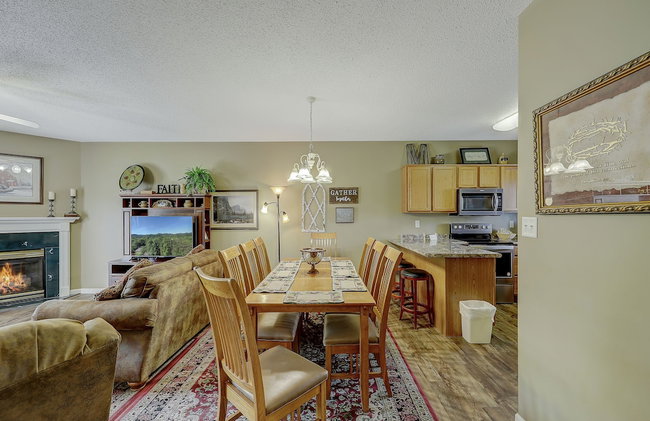

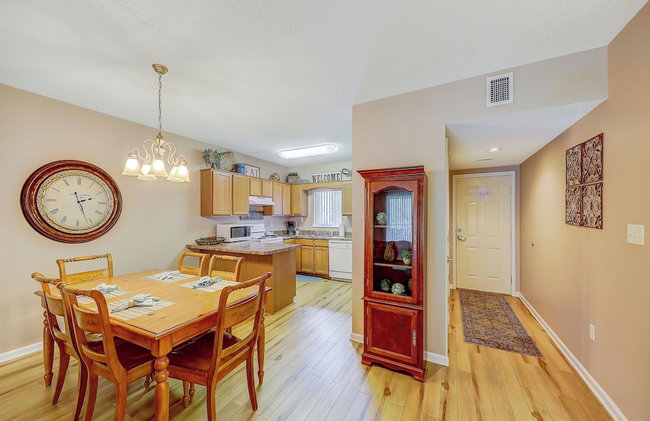


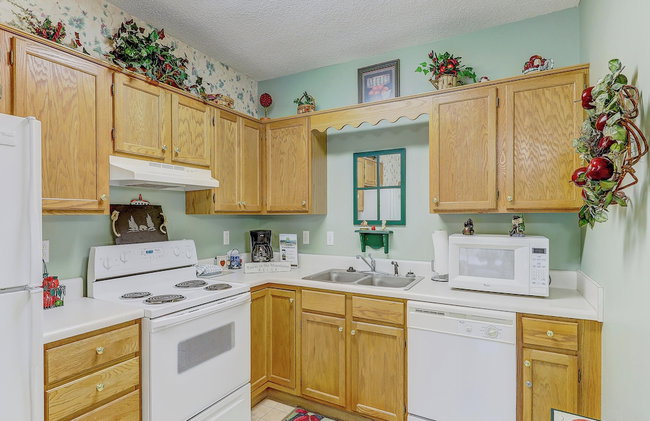
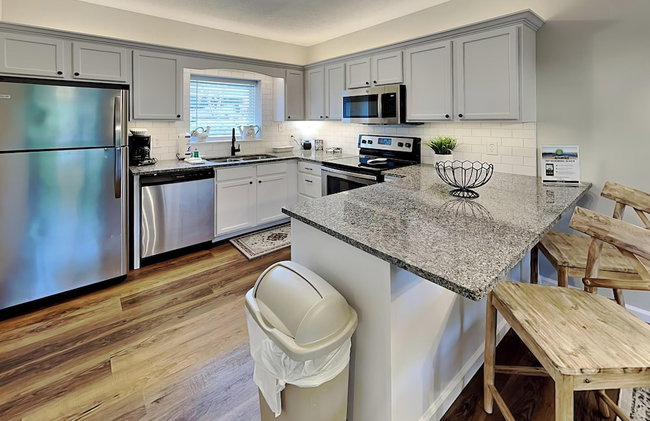
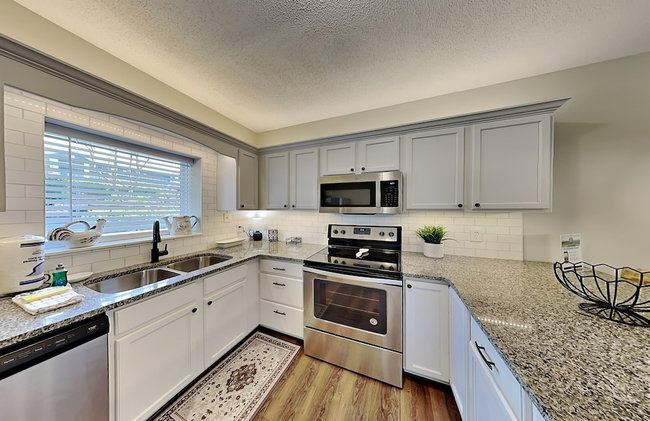
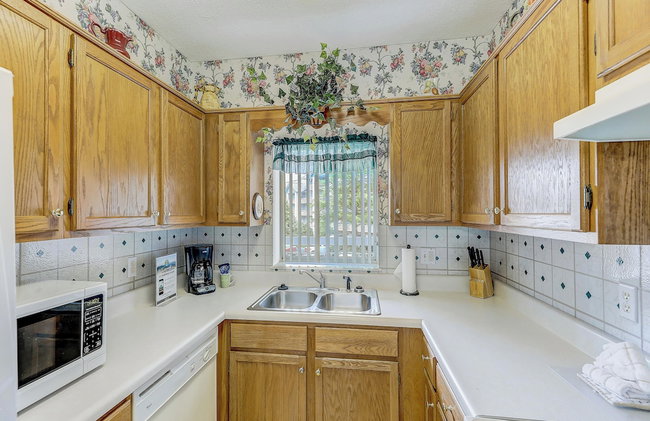
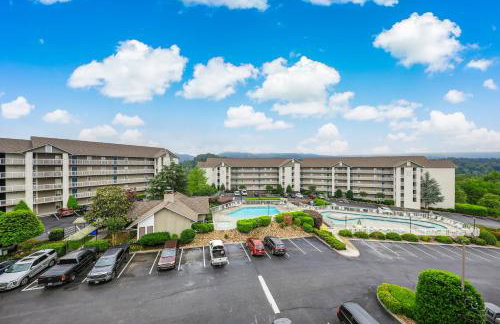
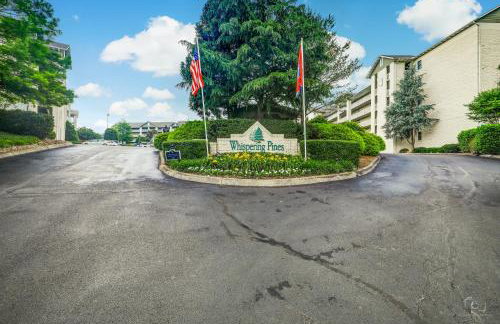

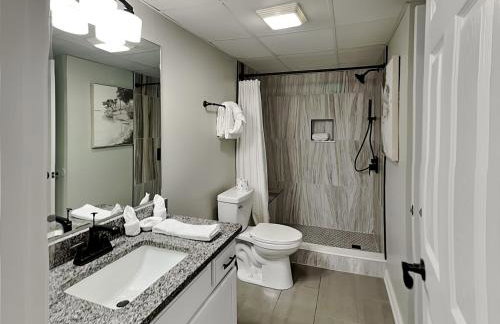
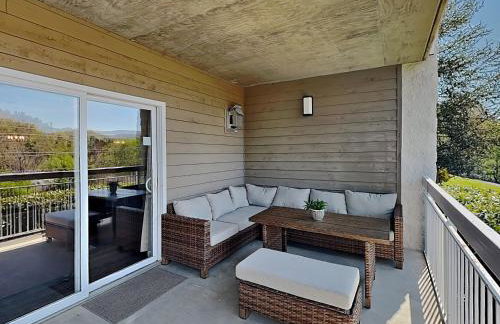

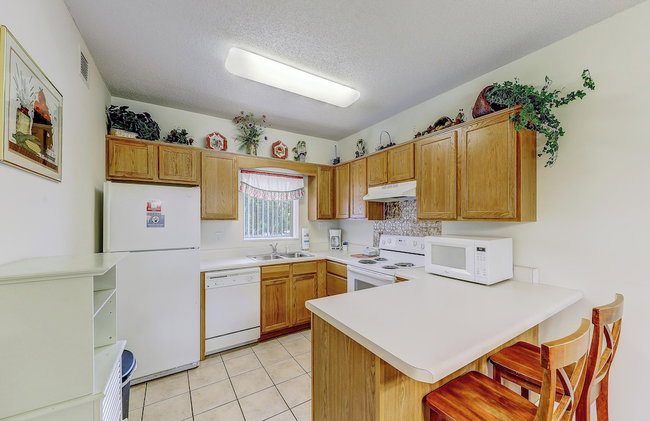

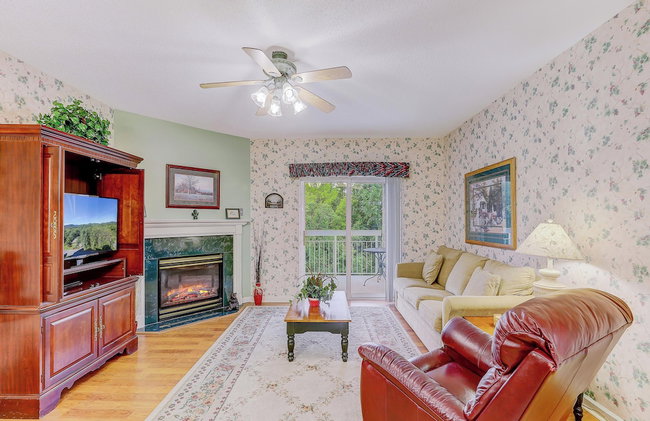
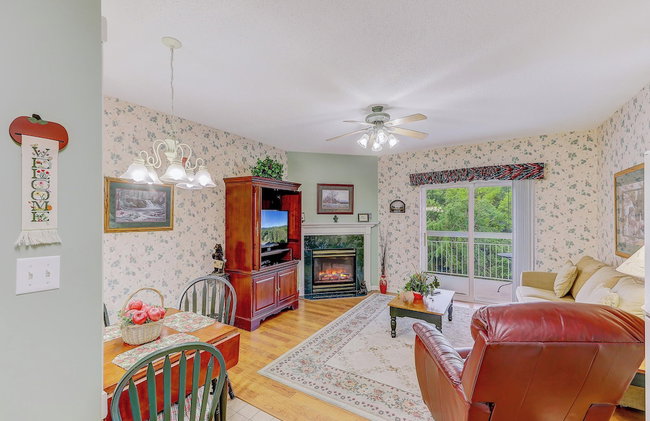
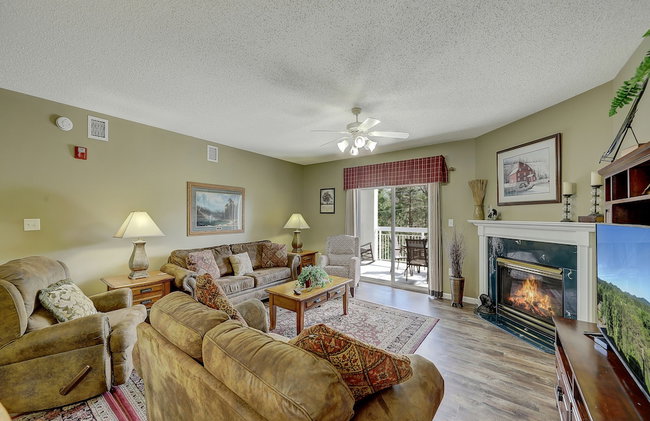
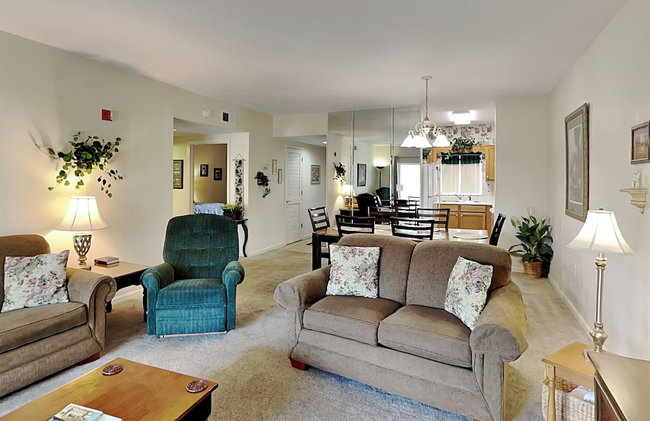
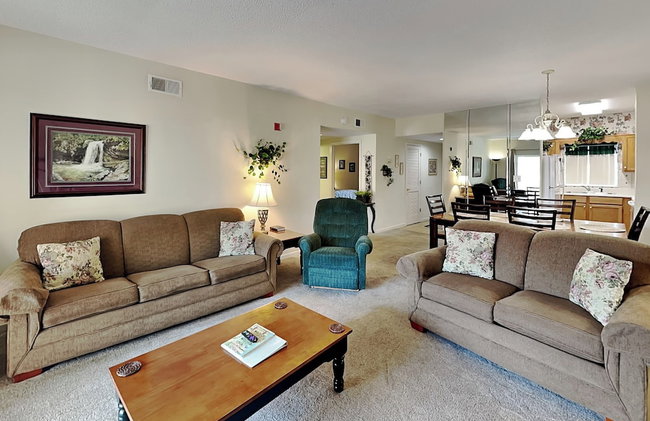
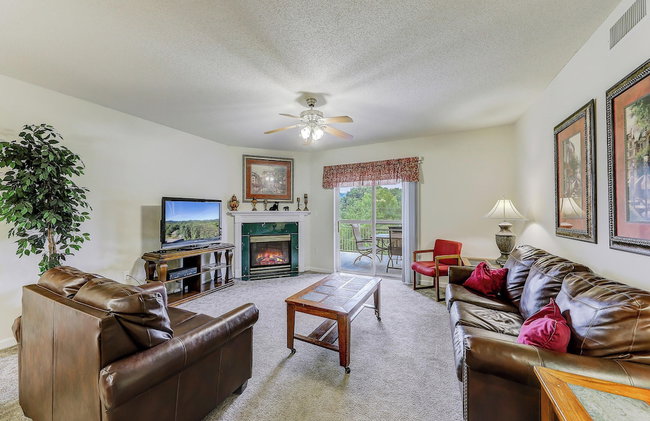
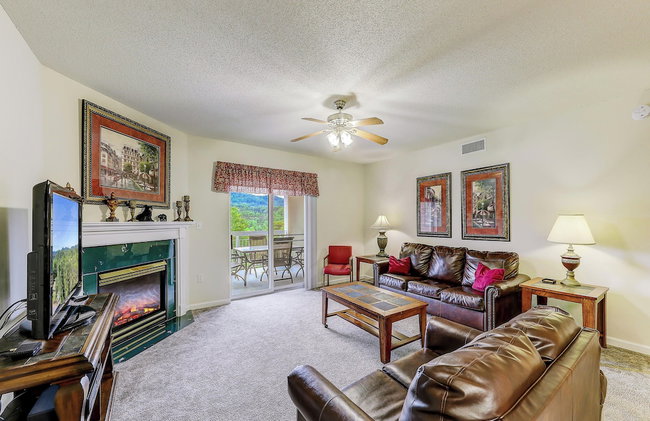
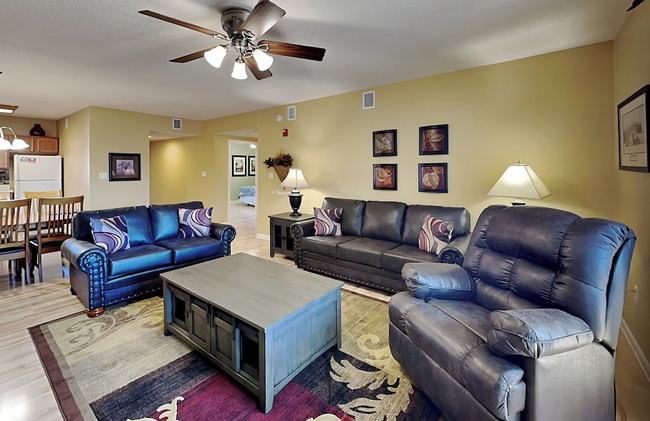


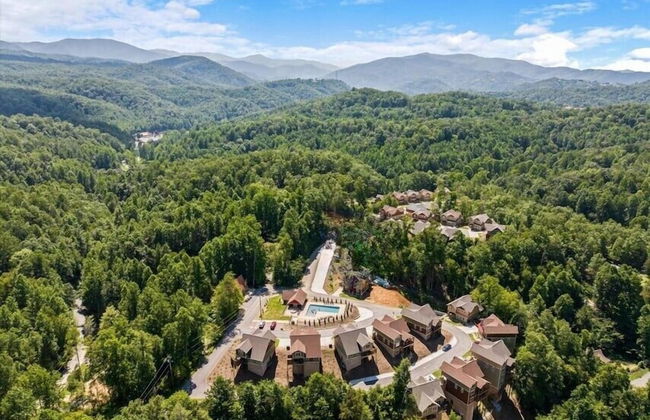
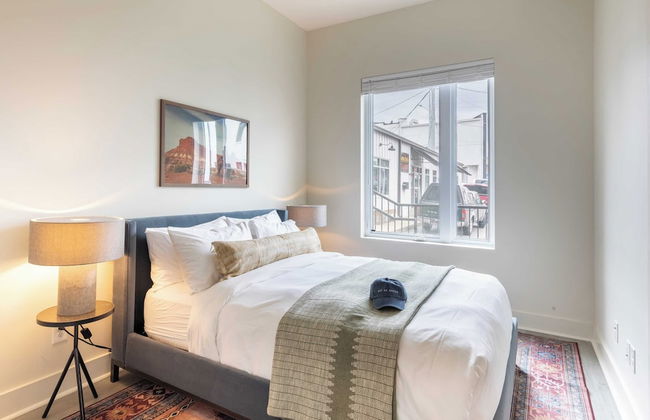
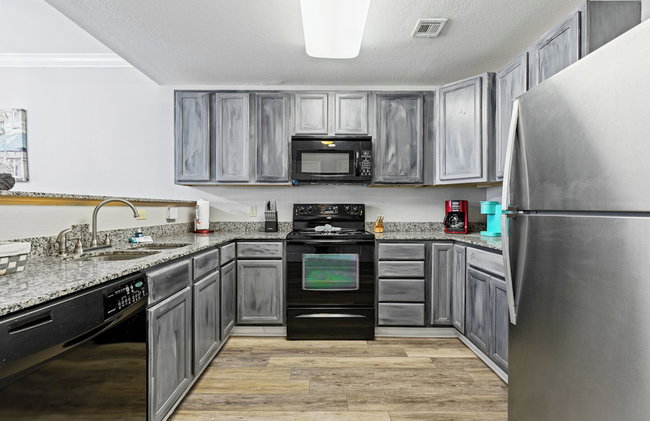
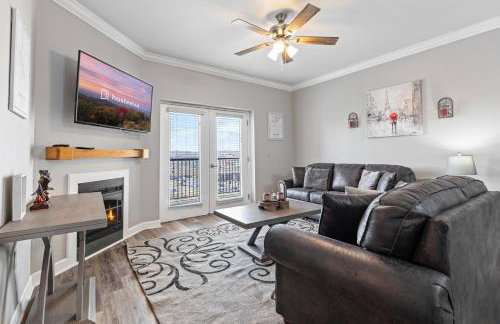
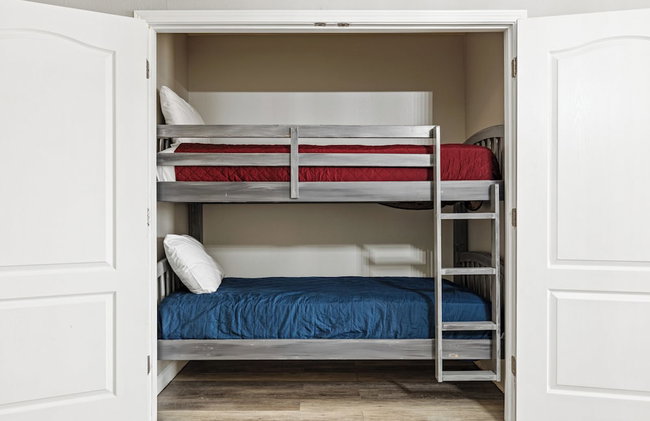
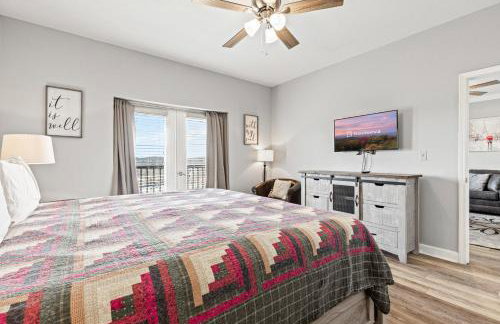
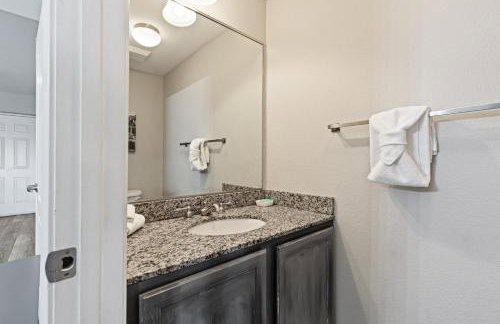
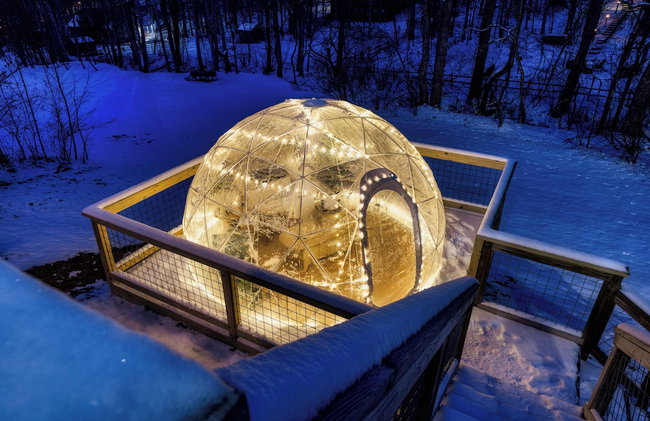
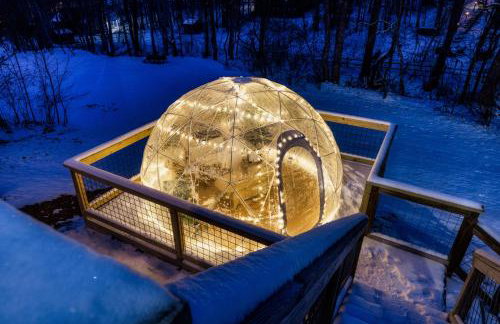
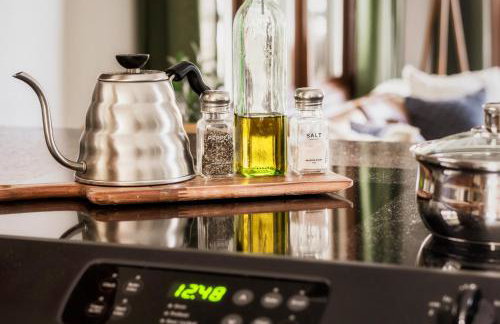
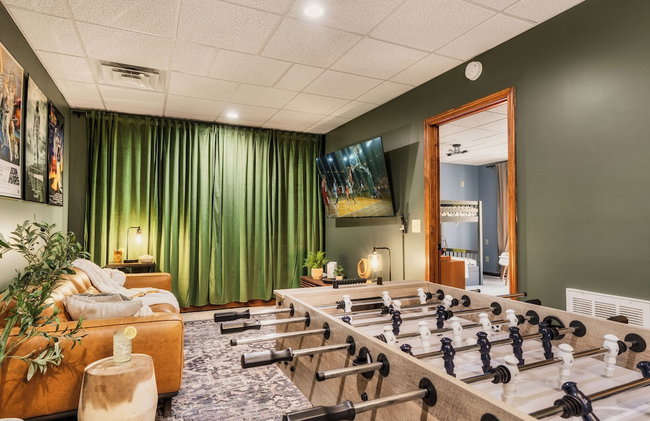
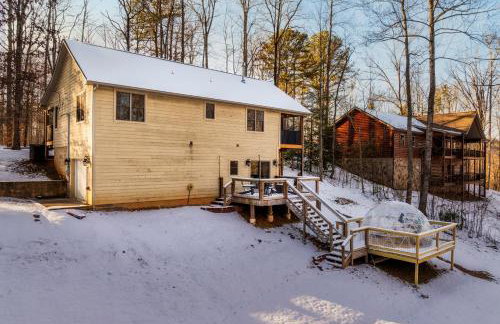
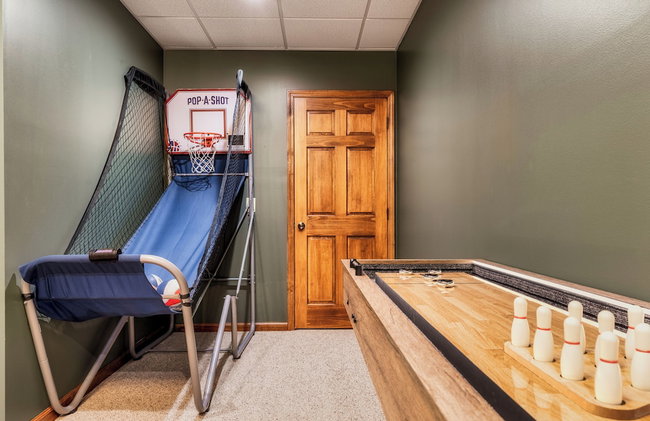
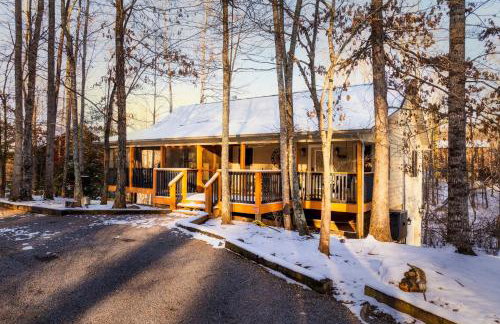
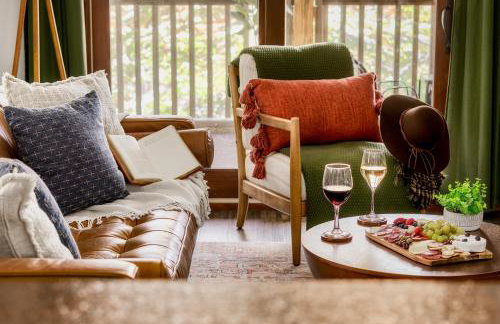
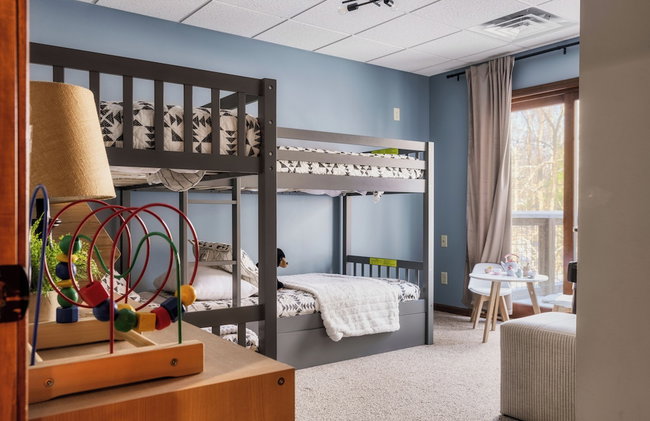
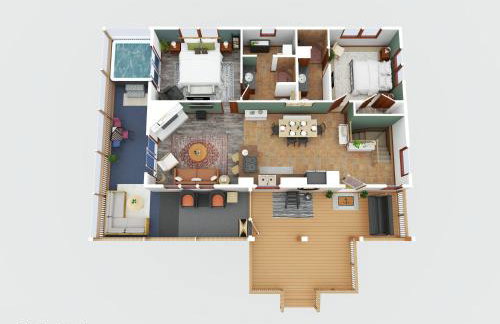
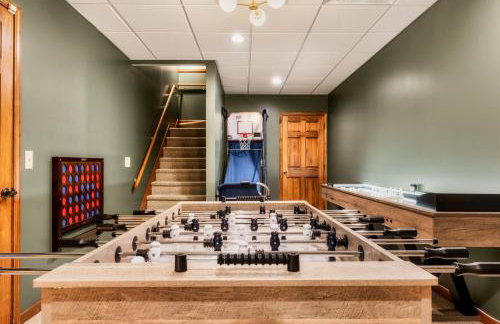
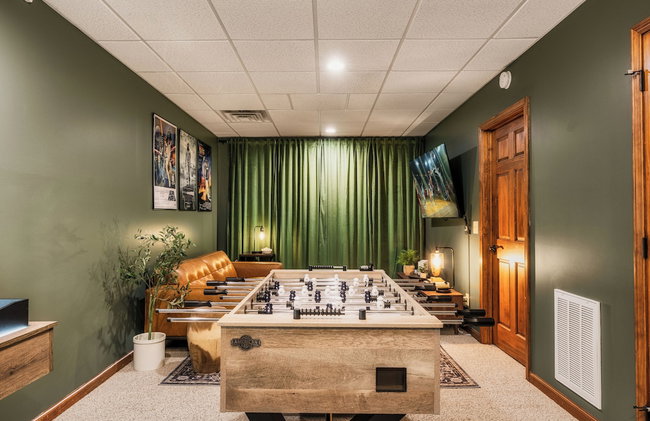
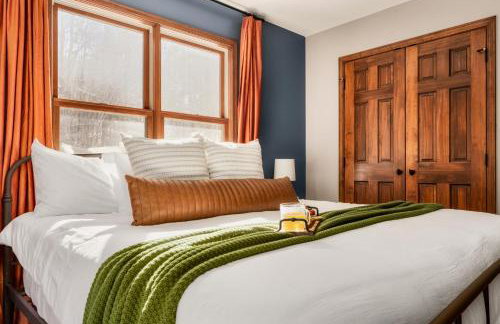
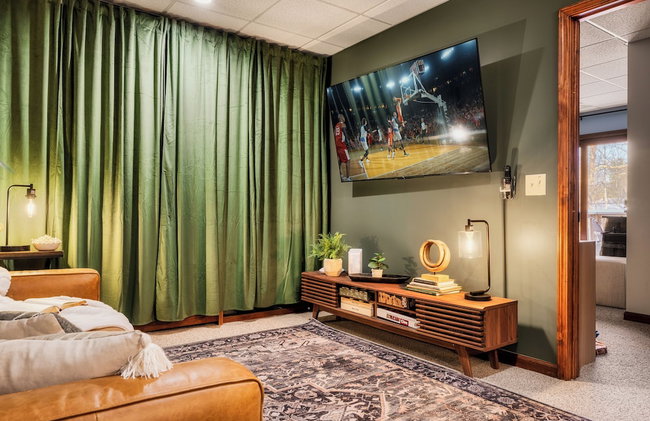
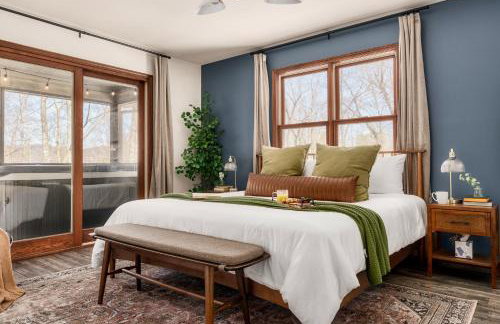
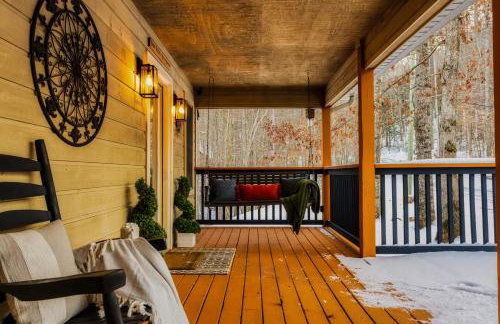
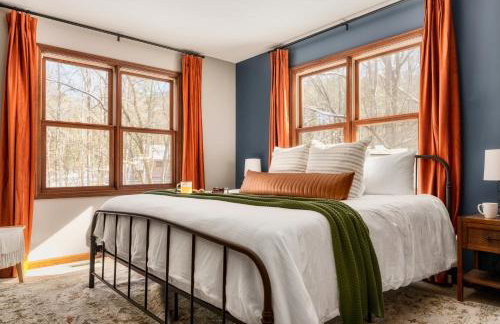
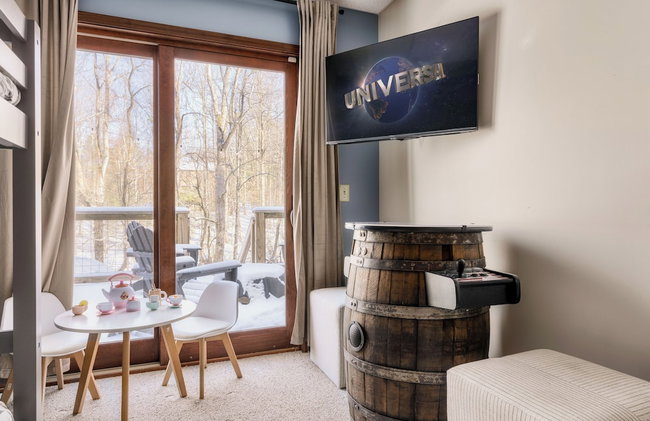
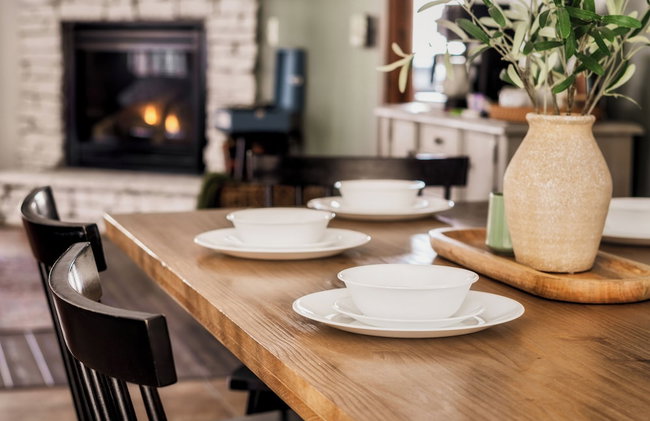
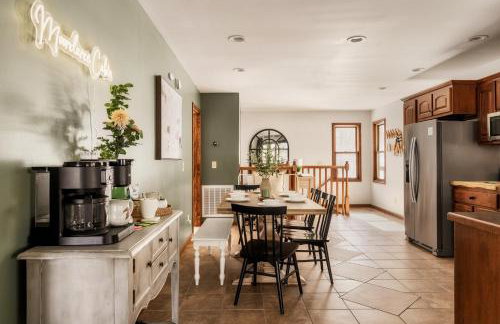
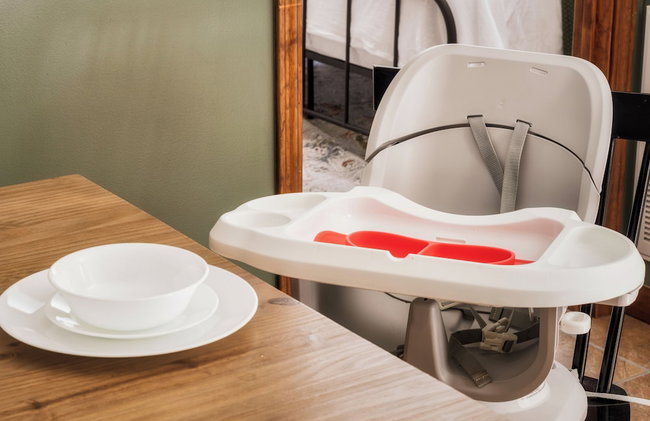
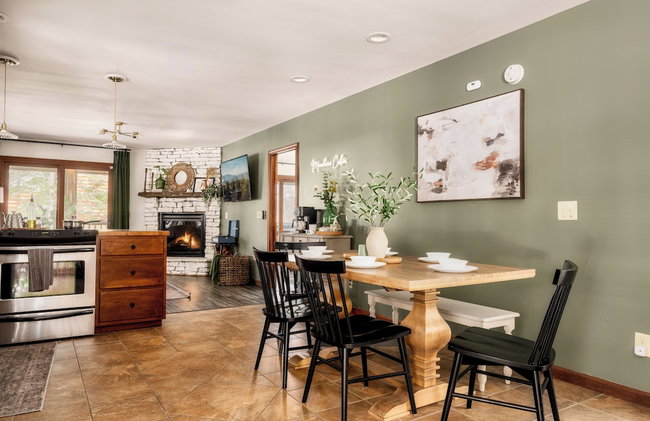
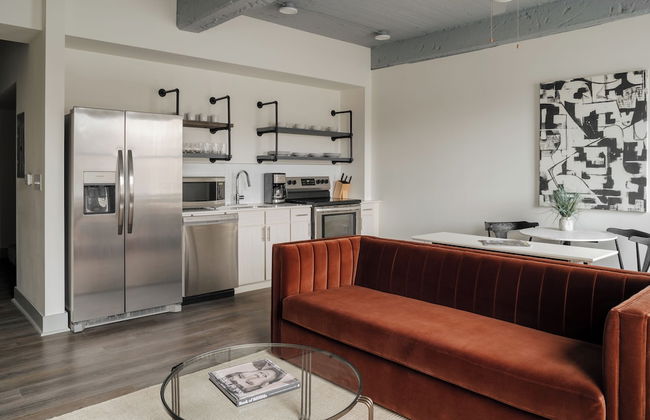
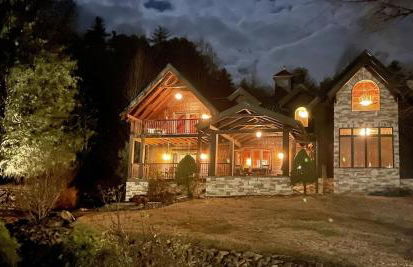
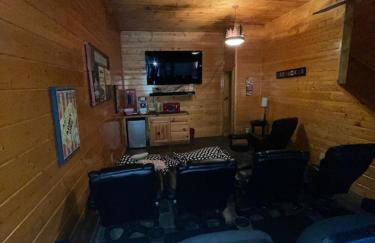
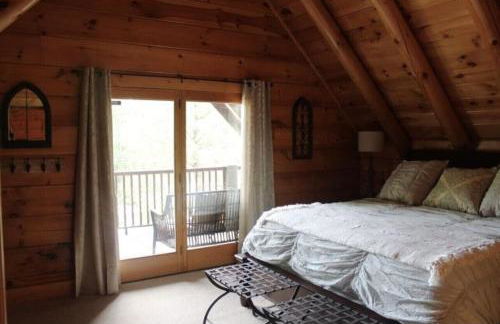
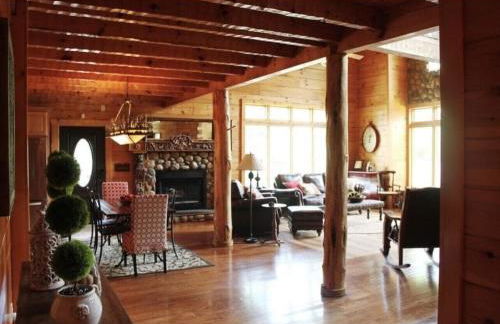
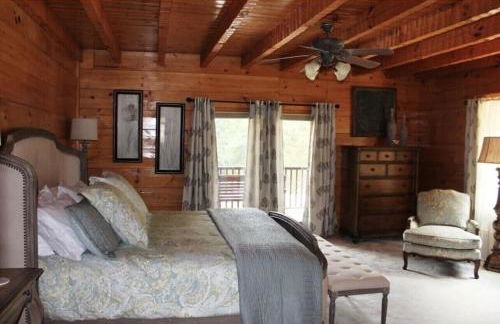
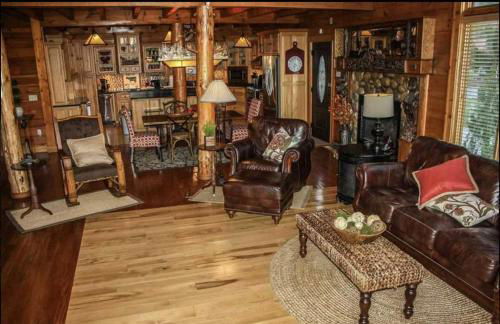
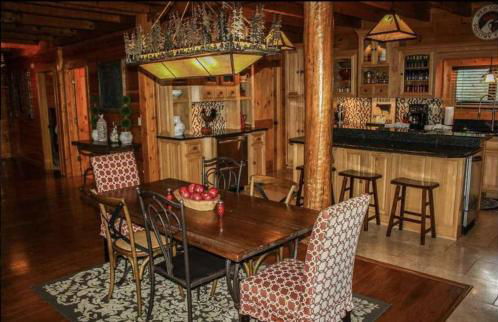
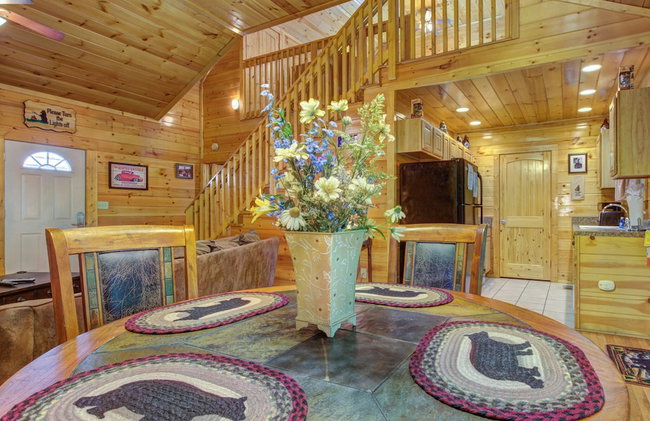
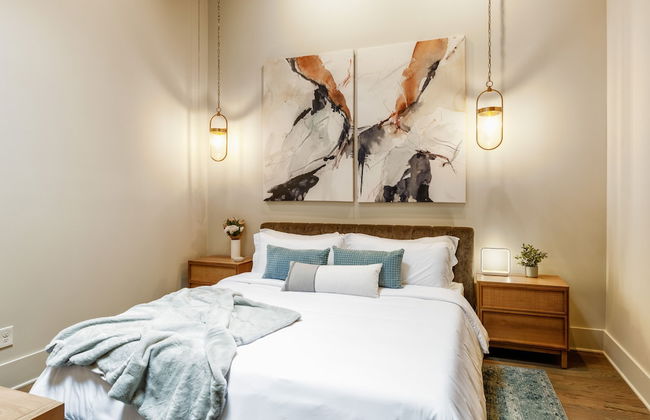
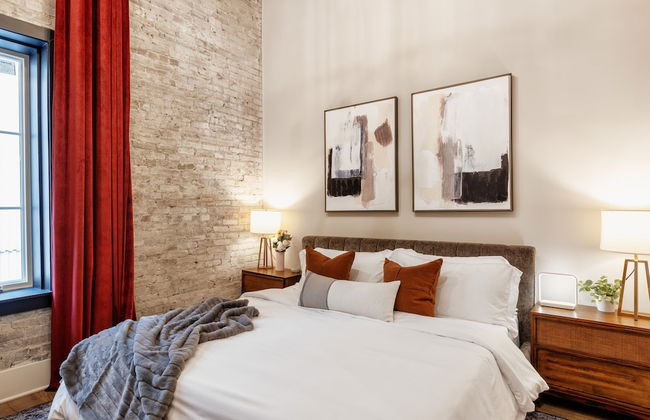
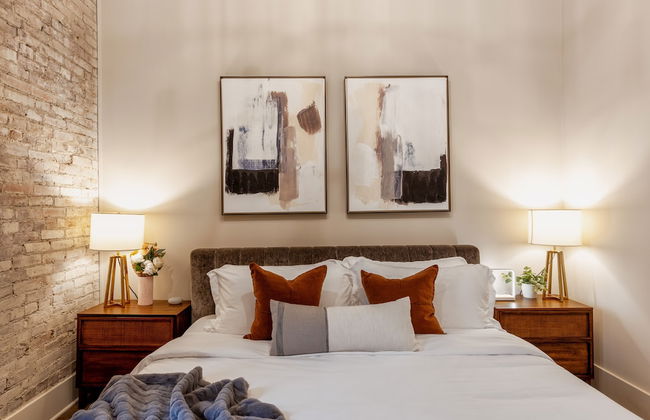
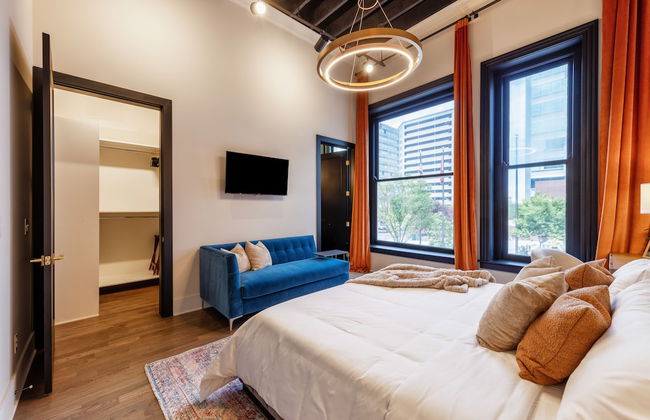
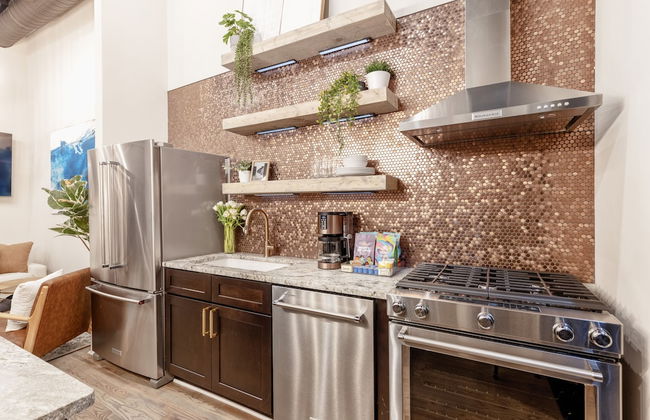
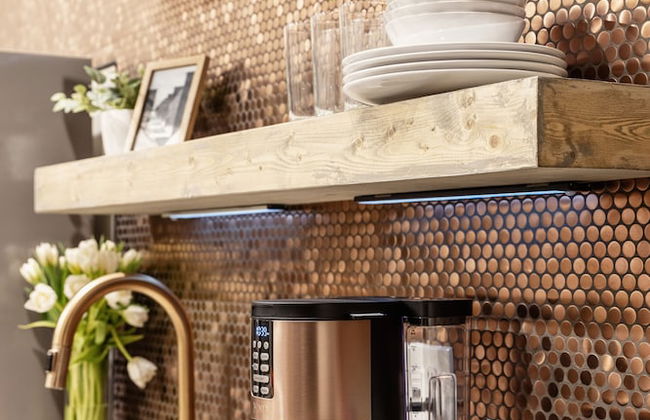
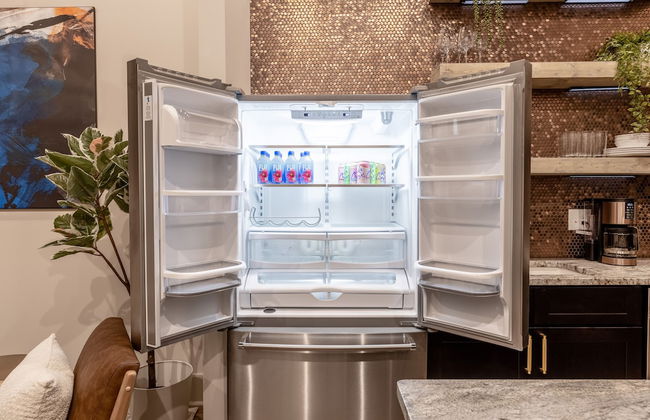
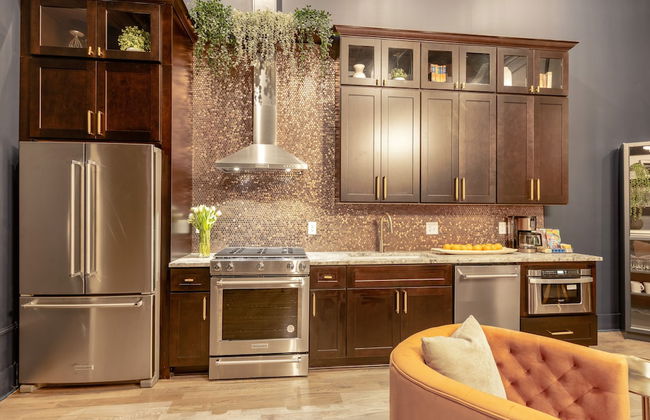
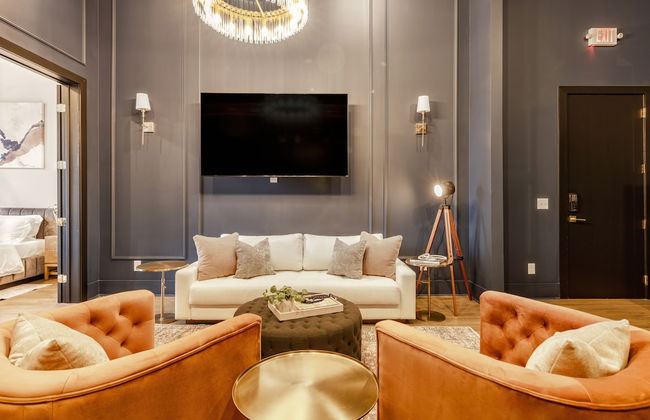
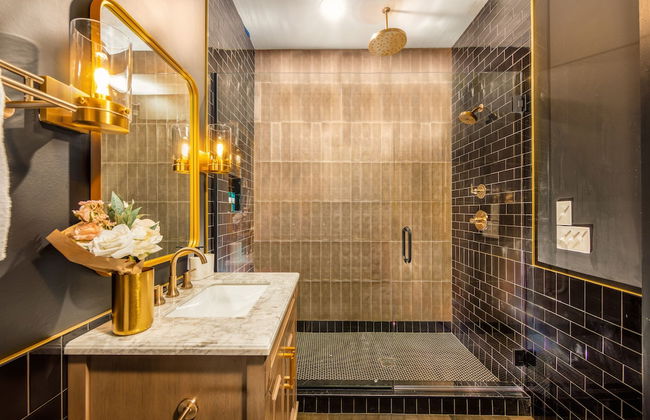
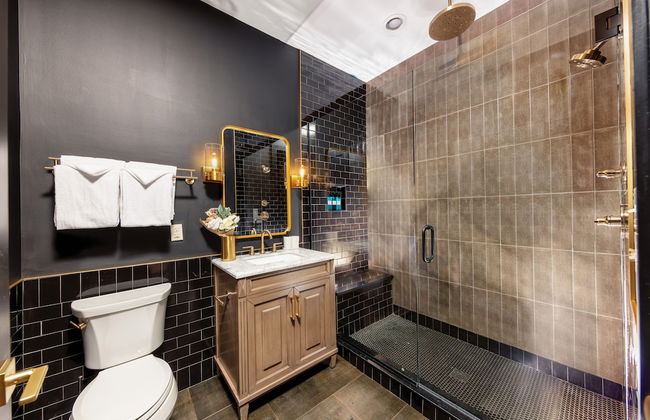
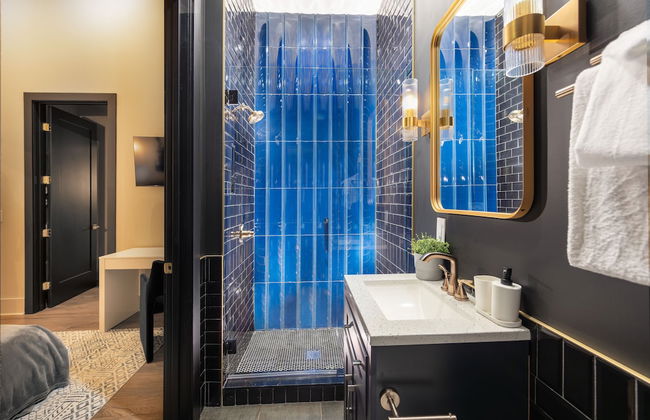
Whispering Pines II by Jackson Mountain Rentals
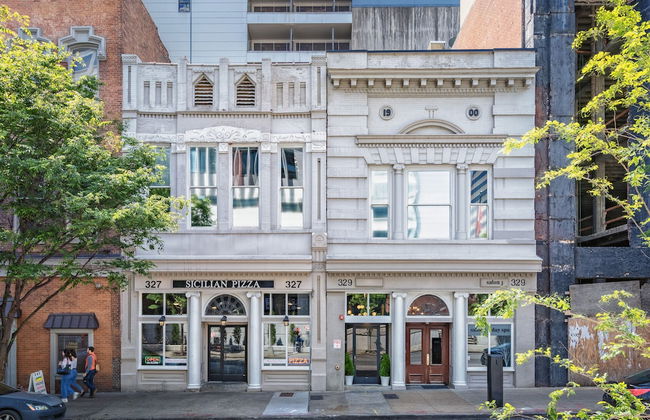
Pigeon Forge - Dans le centre
- 121 M2
- 4 chambres
- 11 personnes
- Air conditionné
- Le chauffage
- Piscine
- Parking
- Ascenseur
- Balcon
- Tv
- Machine à laver
- Cheminée
- Barbecue
- Serviettes
- Feuilles
13 avis


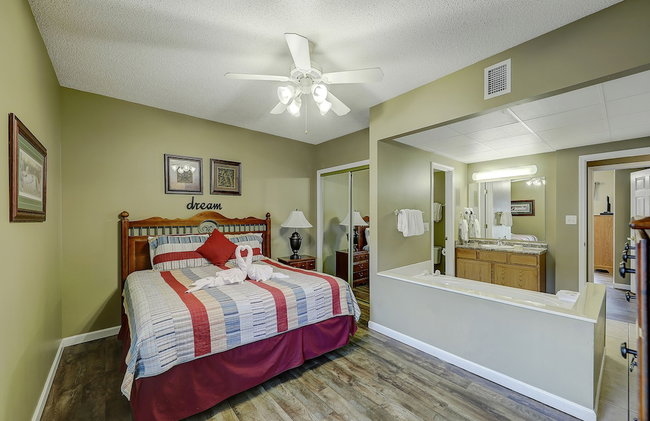
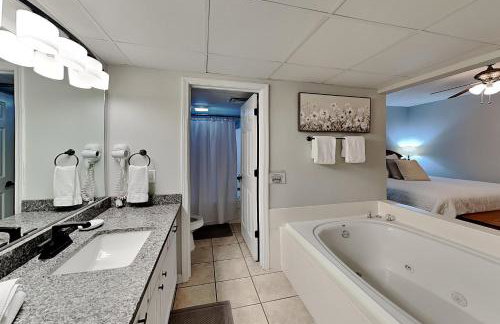
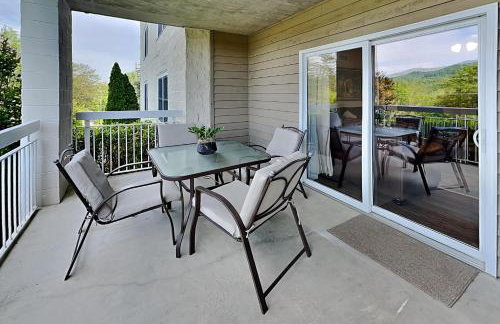
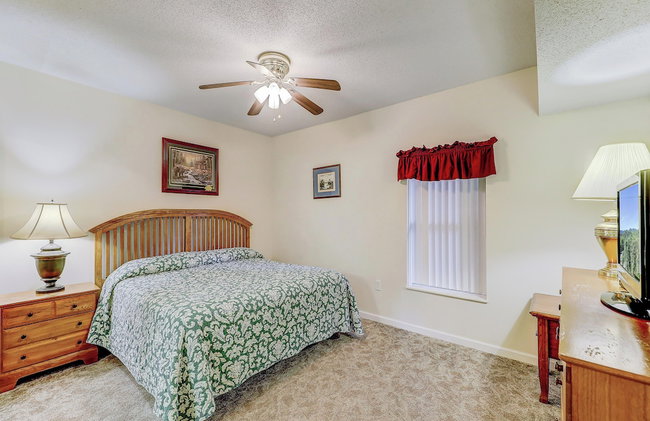
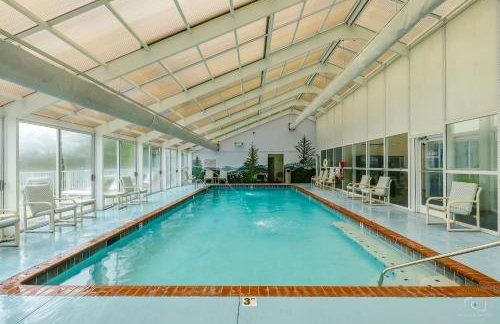
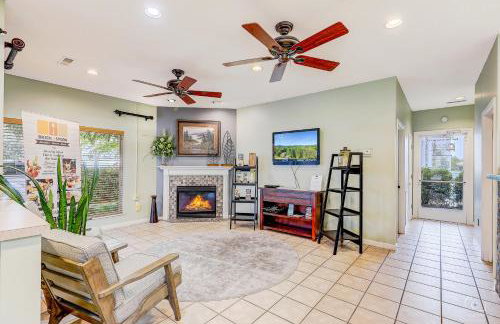
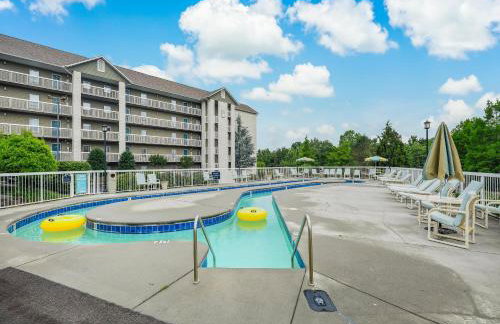
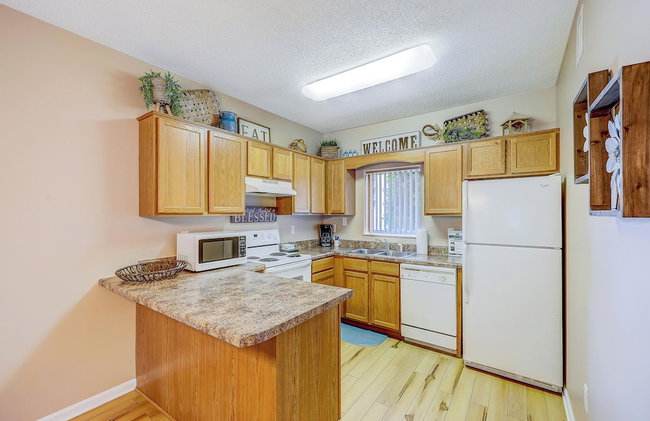
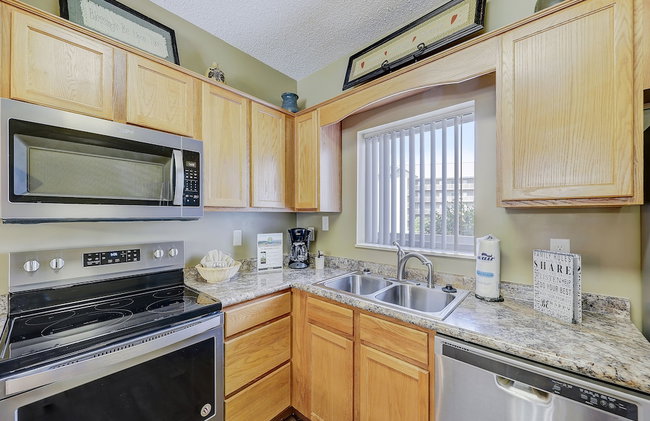
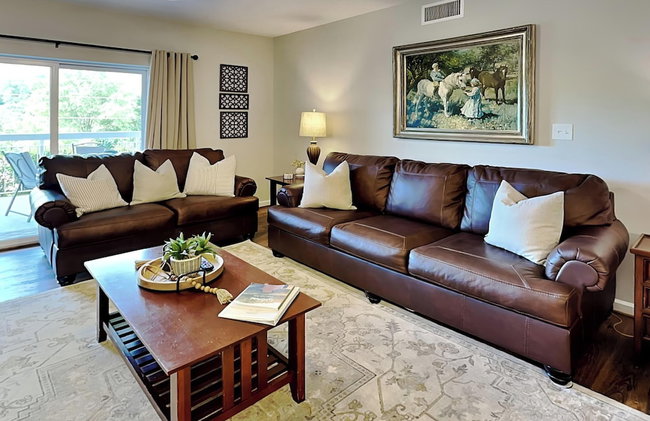
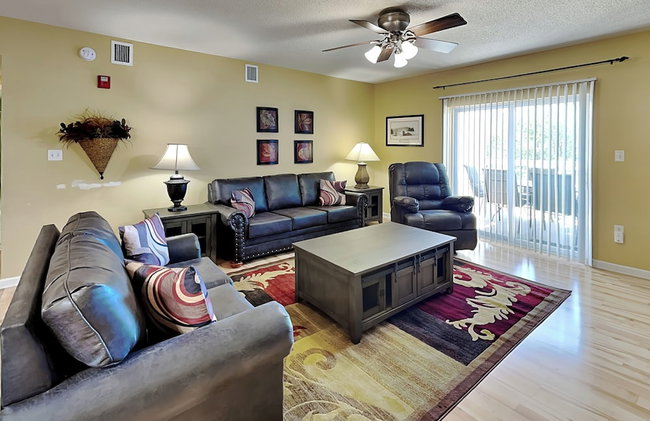
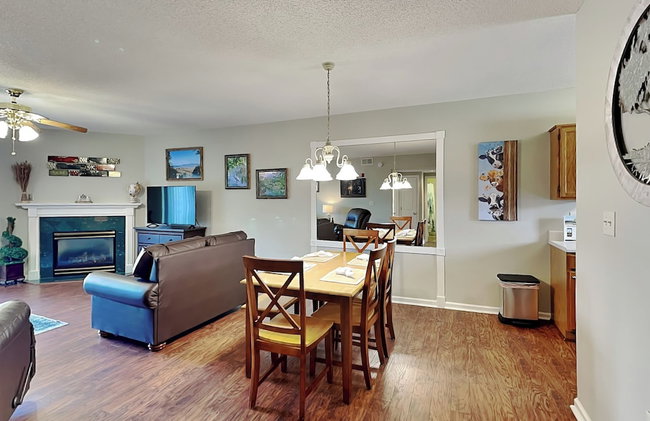
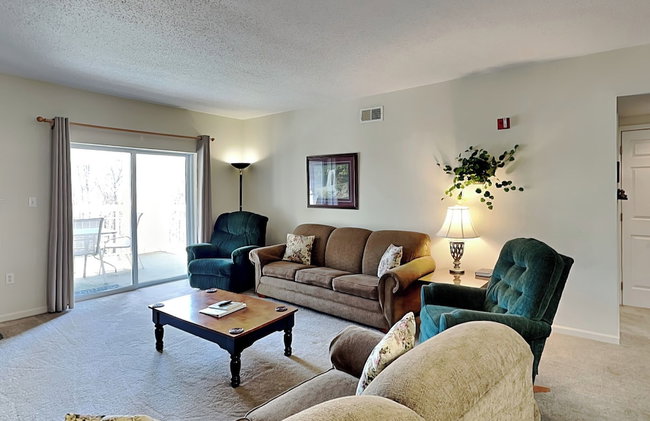
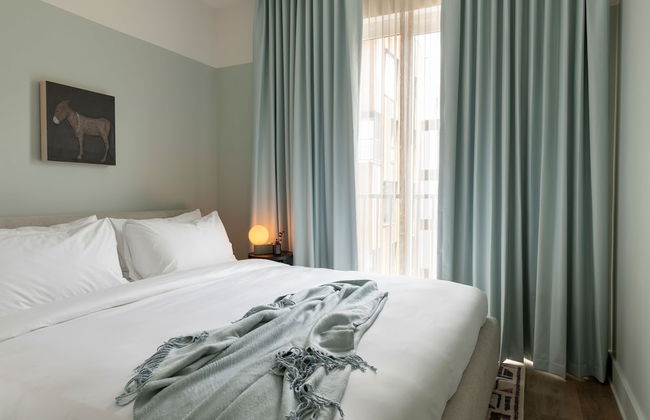
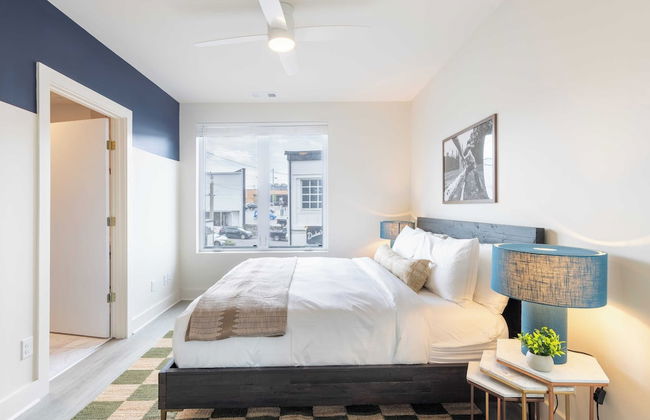
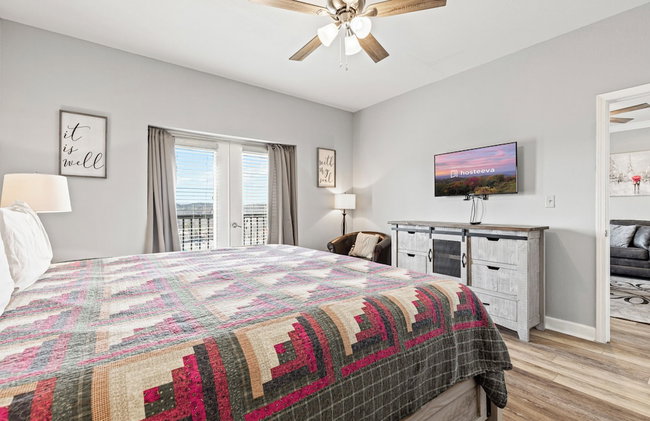
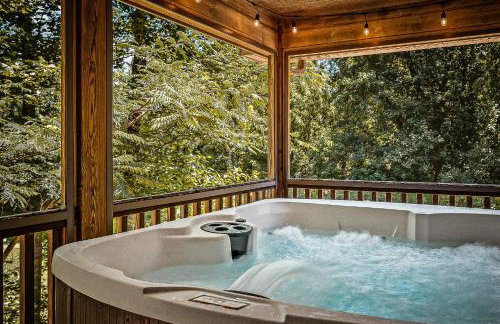
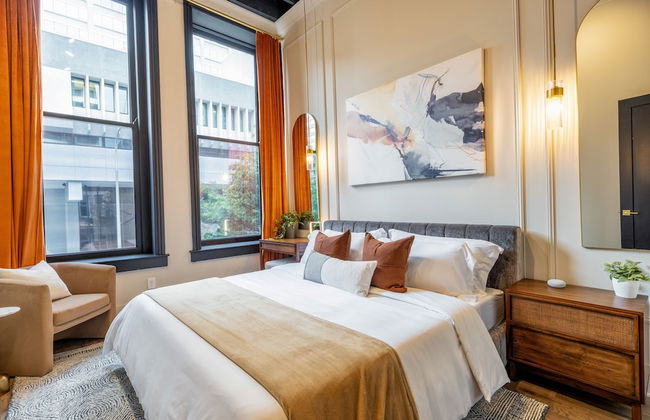
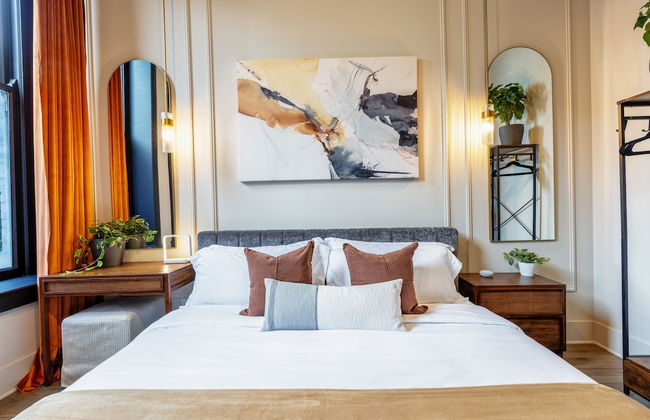
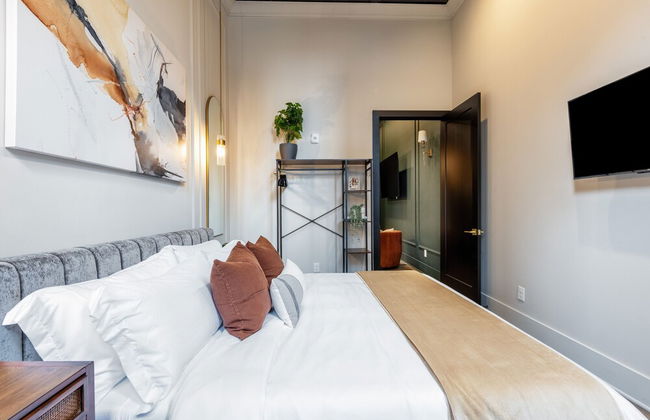
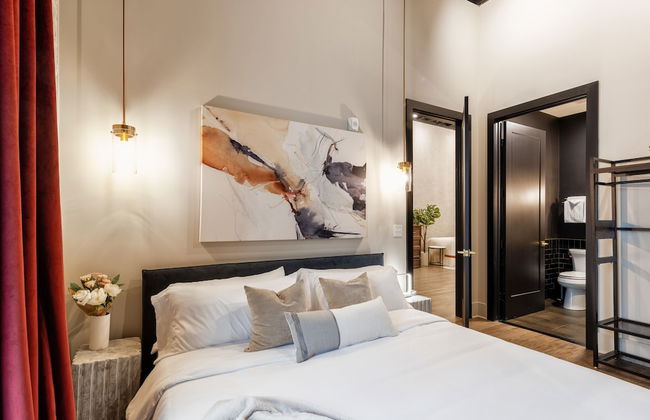
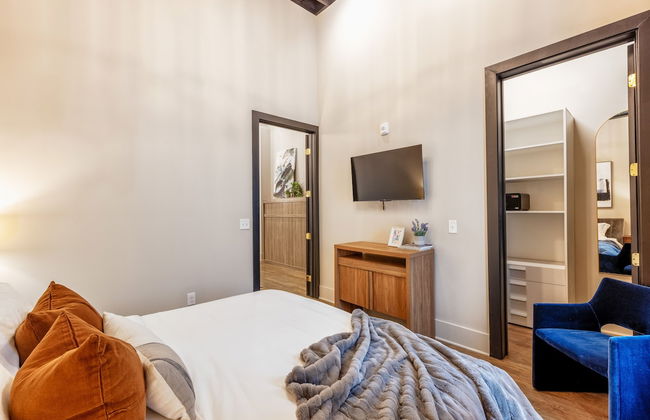
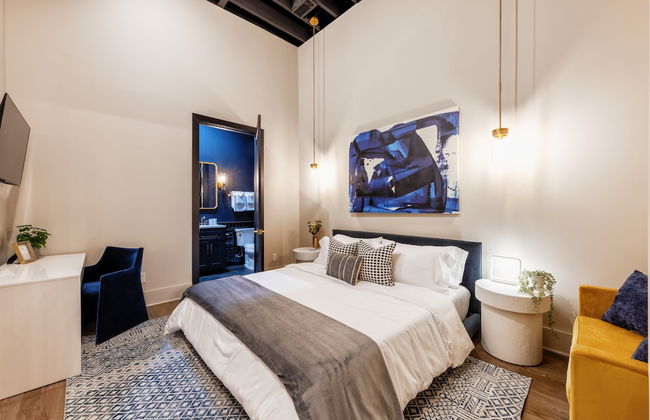
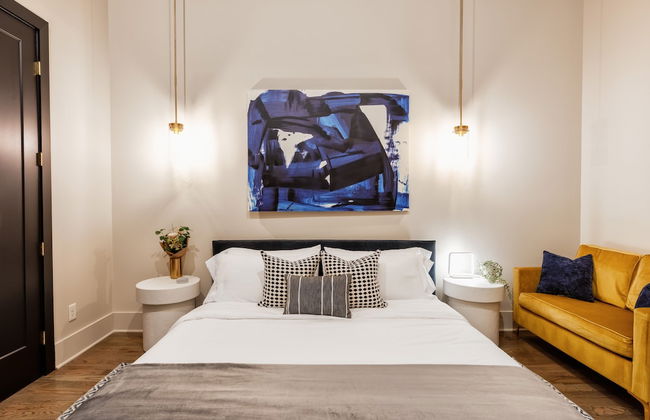
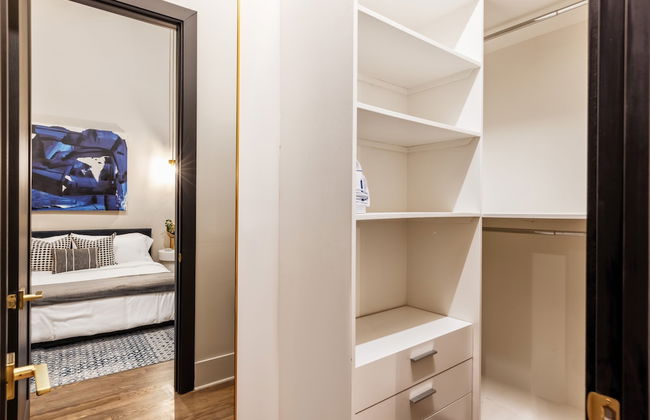
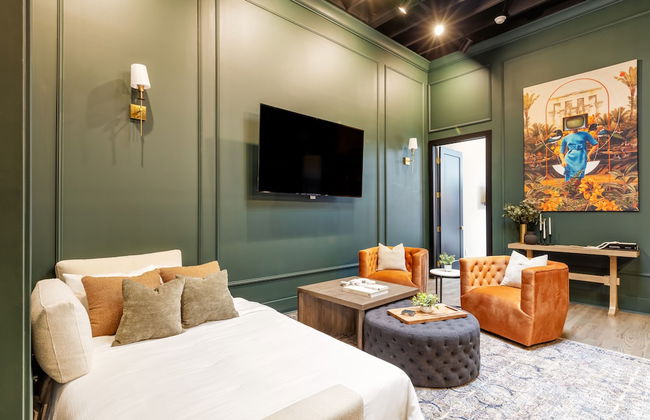
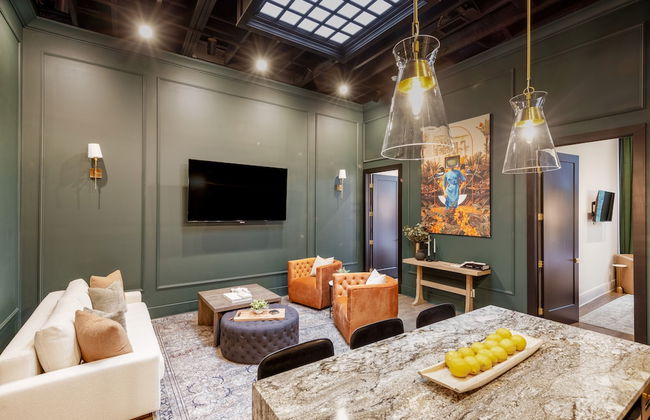
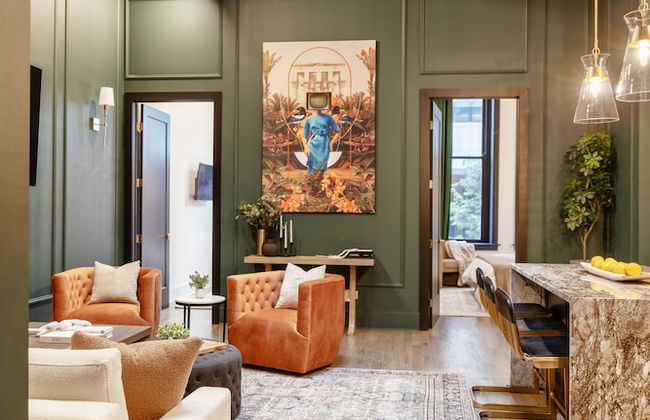
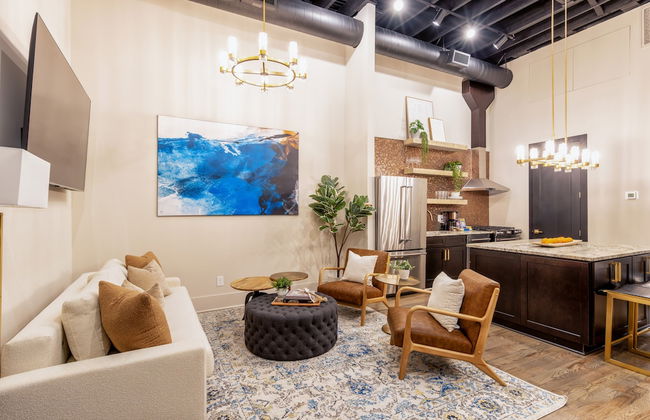
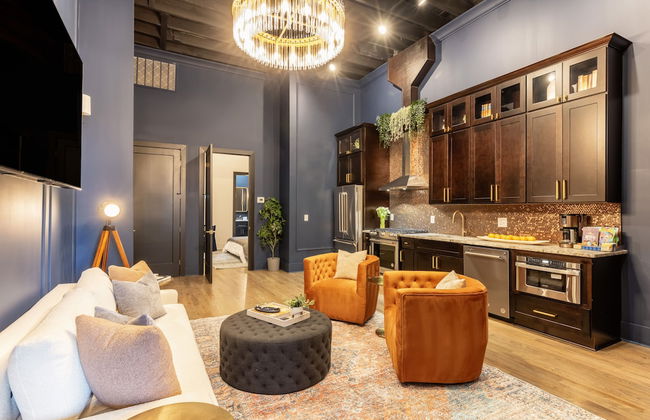
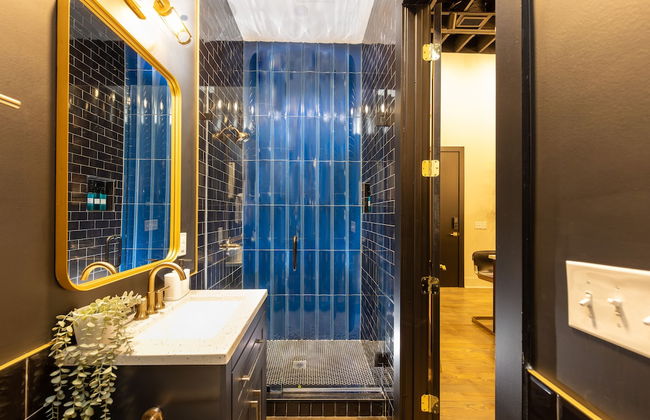
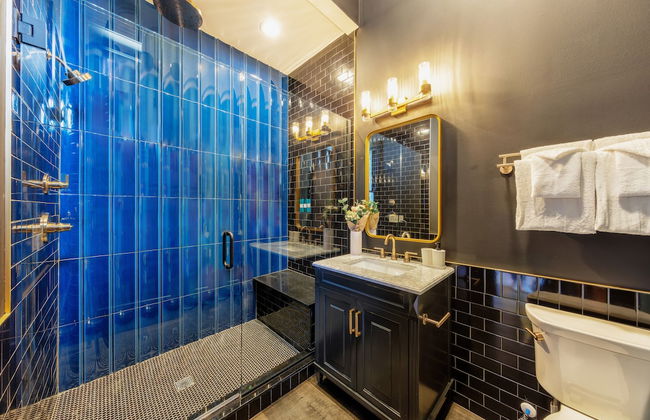
Midnight Manor Penthouse Suite The Gulch
Nashville - Sobro - À 1.6 km du centre
- 104 M2
- 2 chambres
- 7 personnes
- Air conditionné
- Le chauffage
- Terrasse
- Piscine
- Parking
- Ascenseur
- Jardin
- Tv
- Machine à laver
- Cheminée
- Barbecue
- Serviettes
16 avis


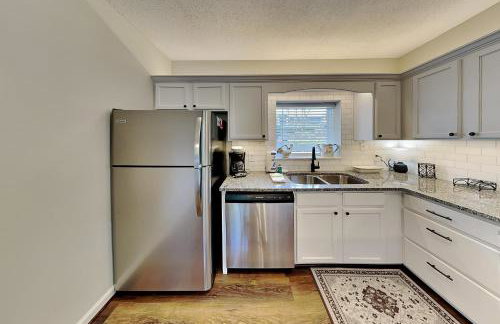
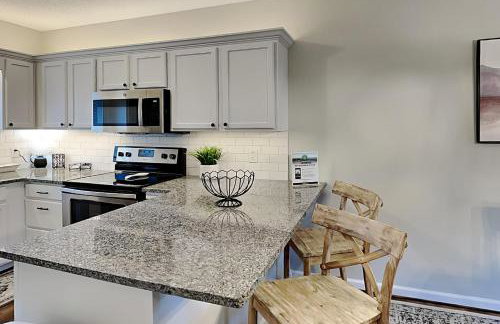
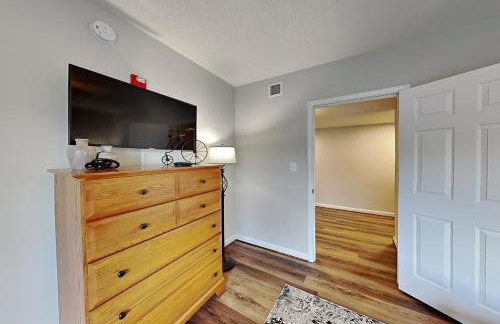
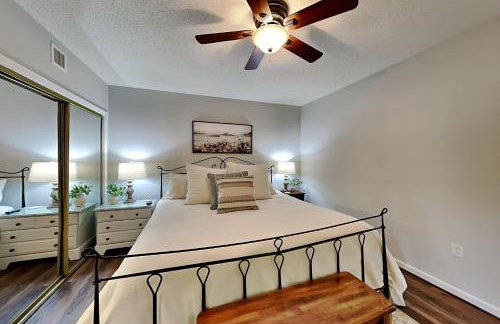
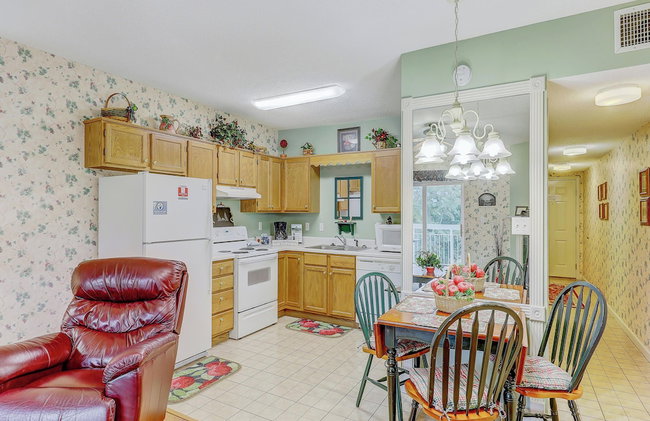
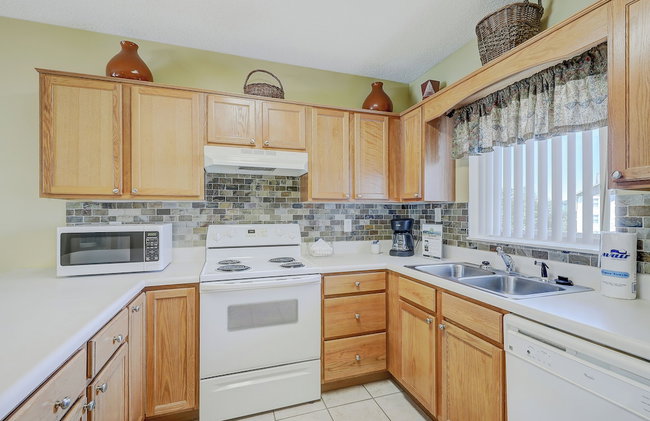
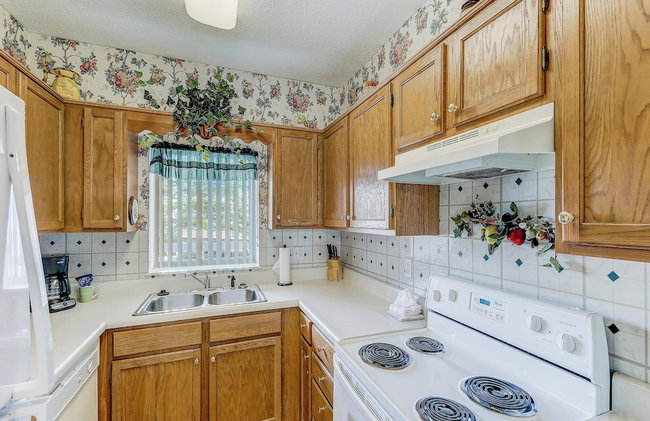
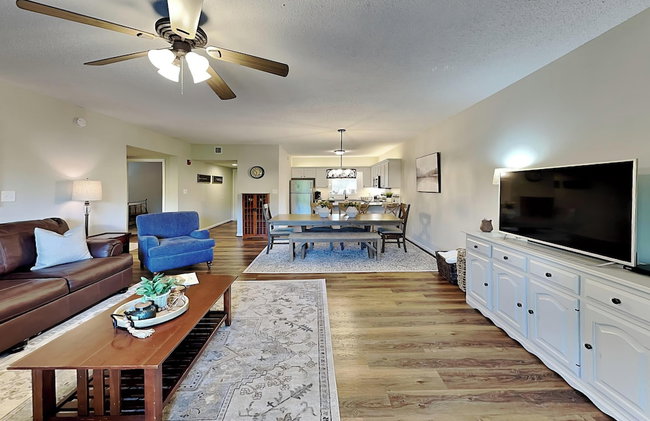
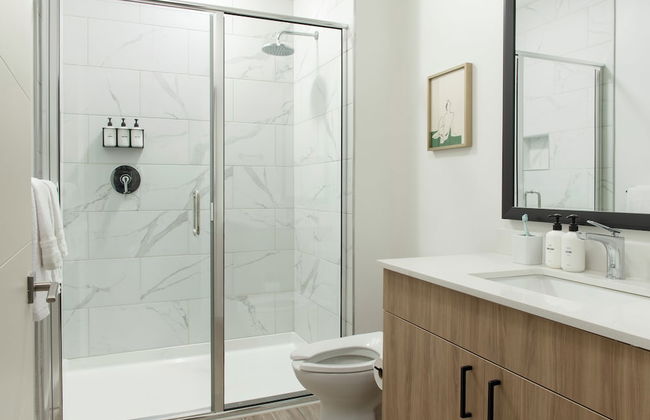
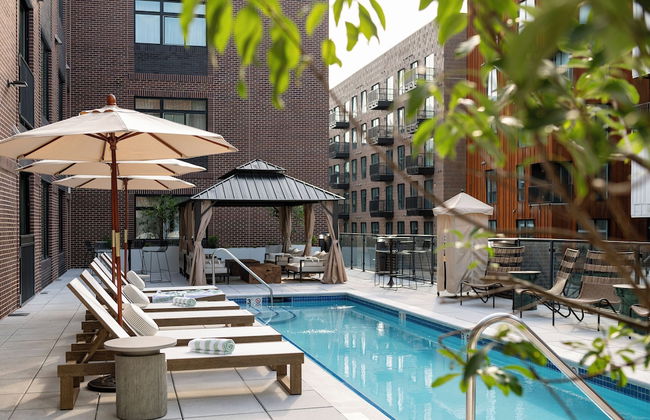
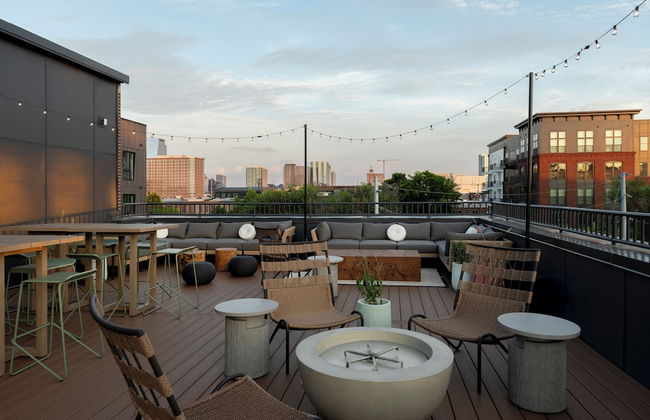
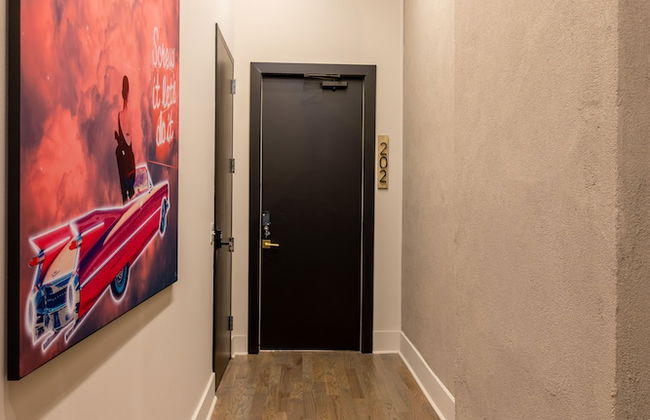
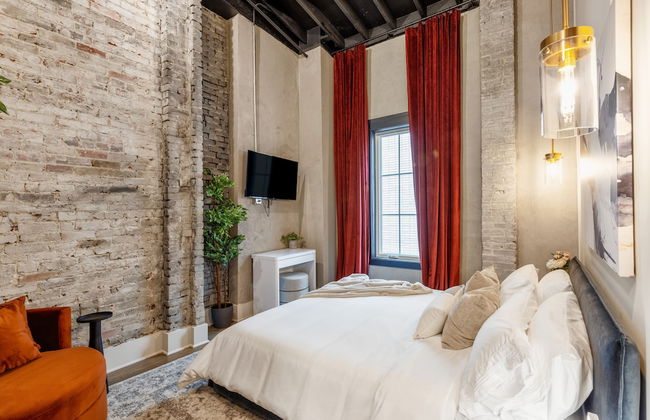
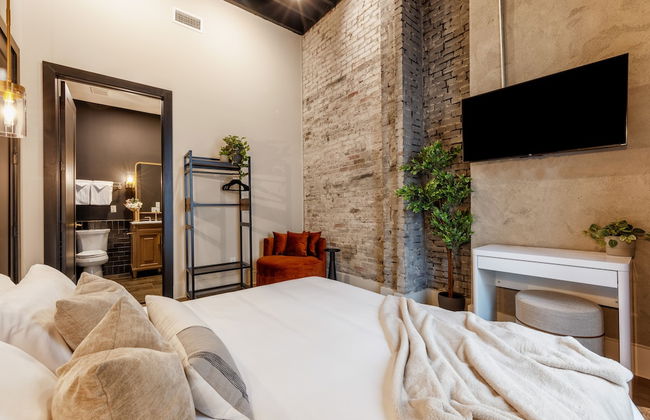
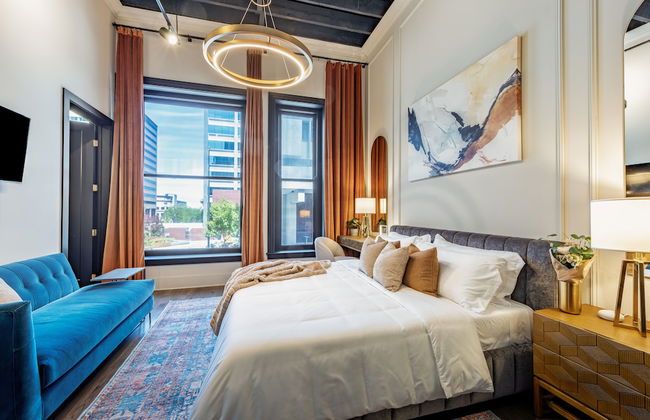
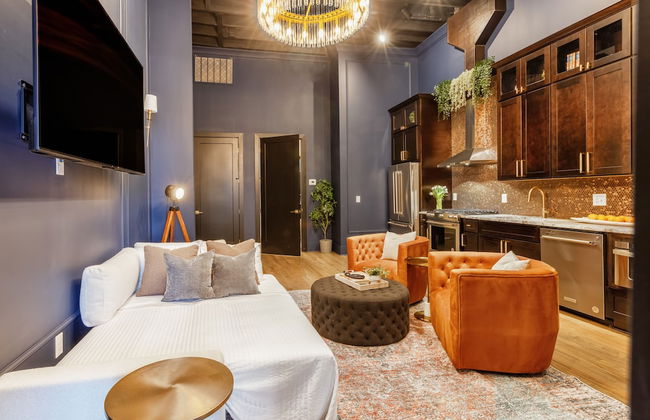
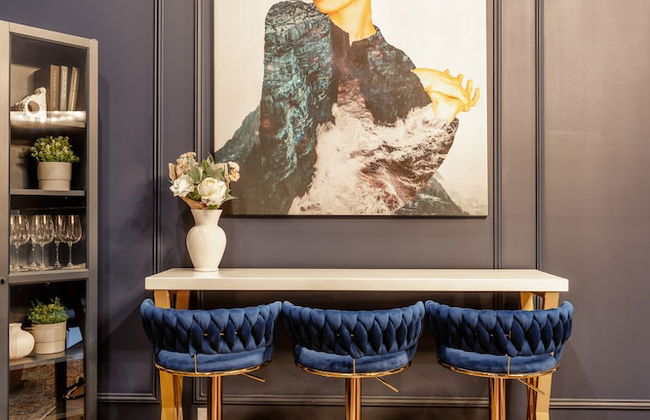
Placemakr Premier SoBro
Nashville - Sobro - À 500 m du centre
- 166 M2
- 6 personnes
- Air conditionné
- Le chauffage
- Terrasse
- Piscine
- Ascenseur
- Balcon
- Tv
- Machine à laver
- Cheminée
- Barbecue
- Serviettes
- Feuilles
3511 avis


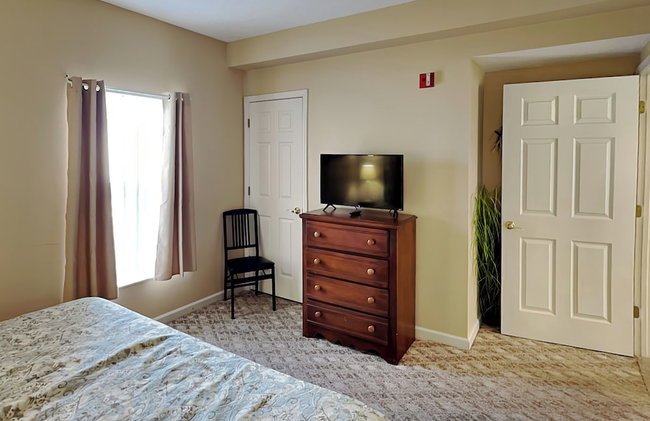
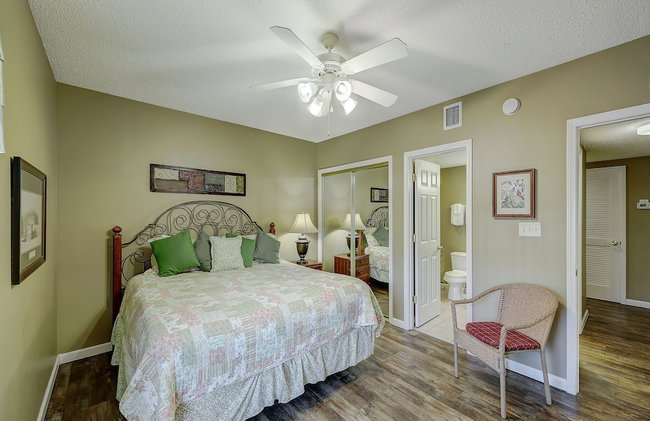
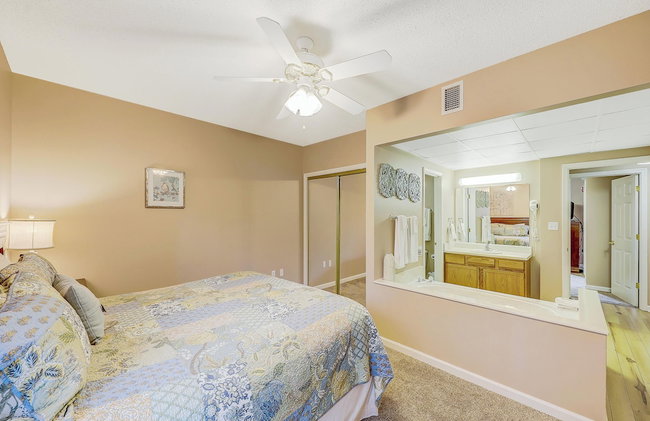
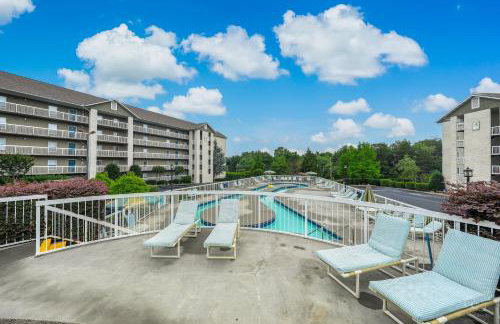
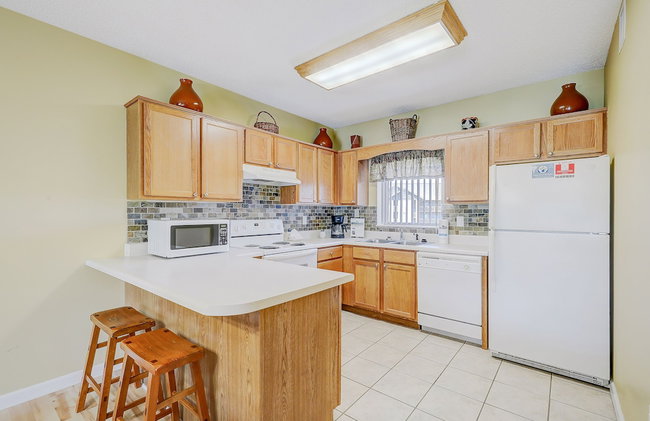
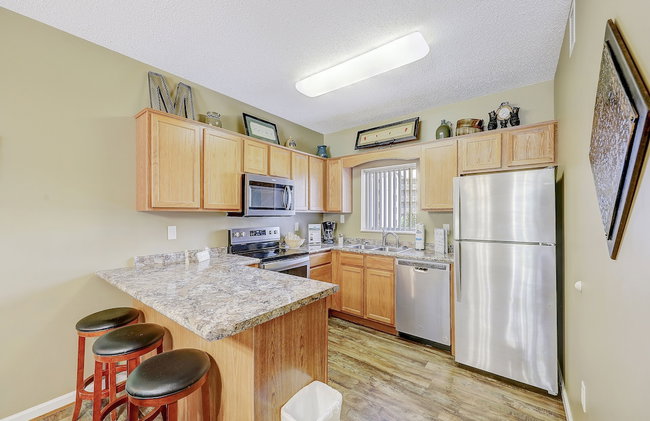
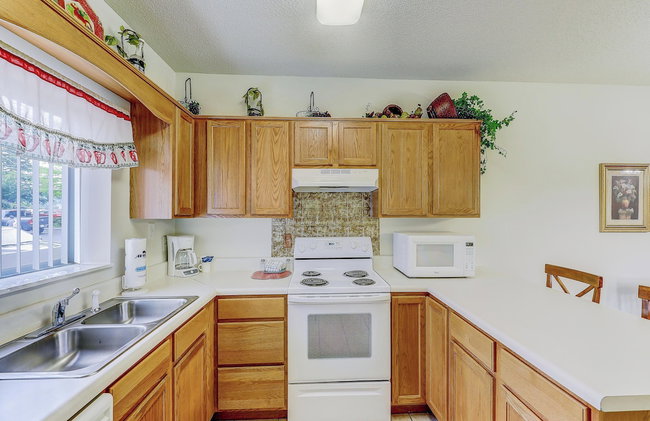
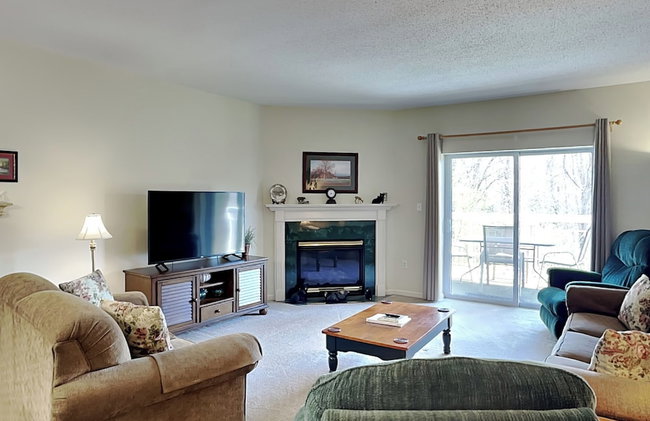
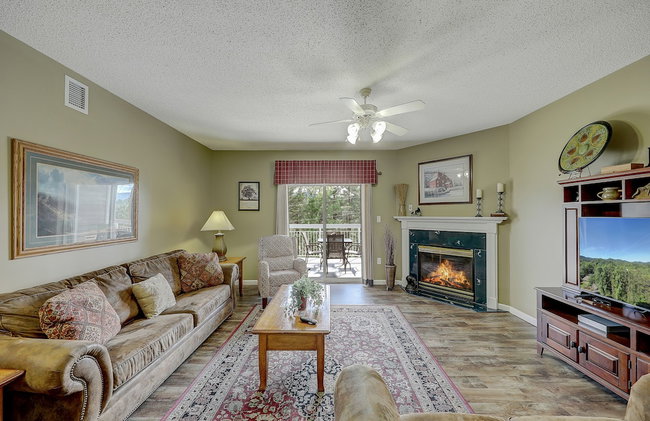
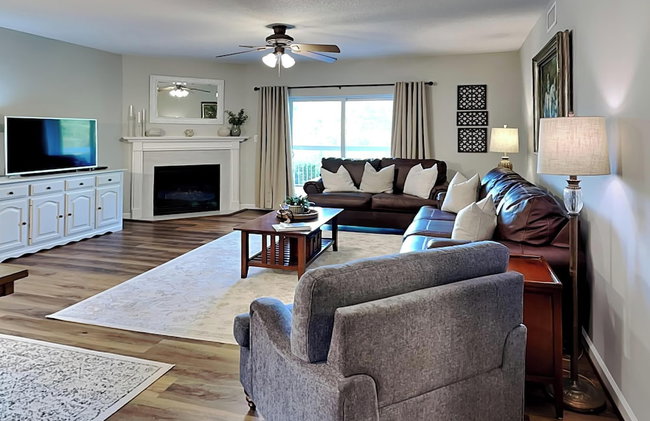
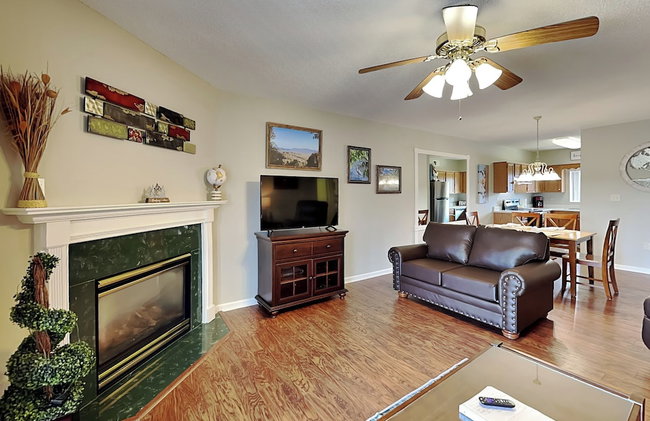
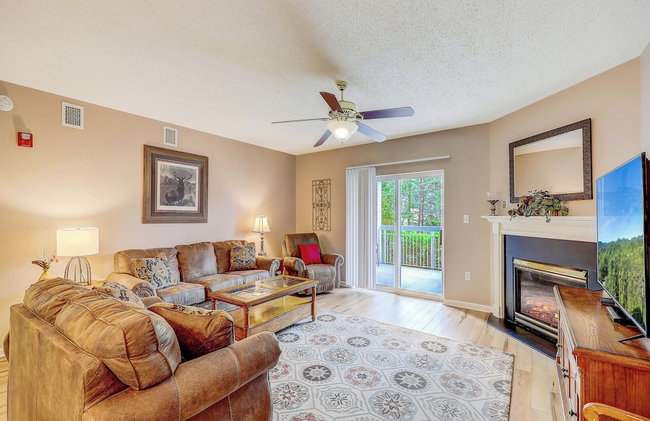
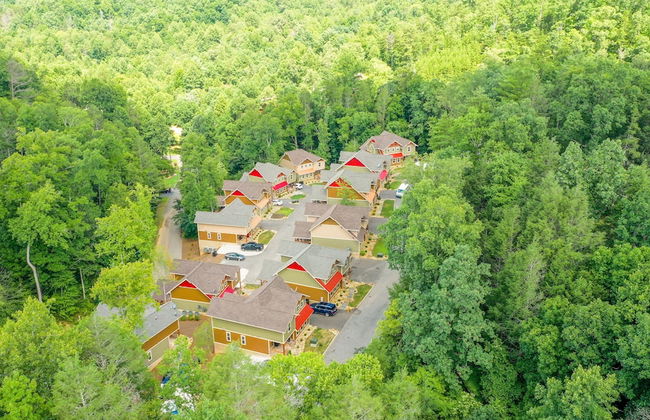
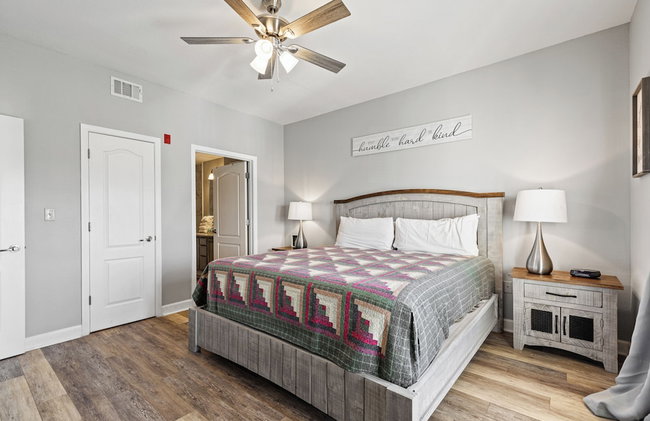
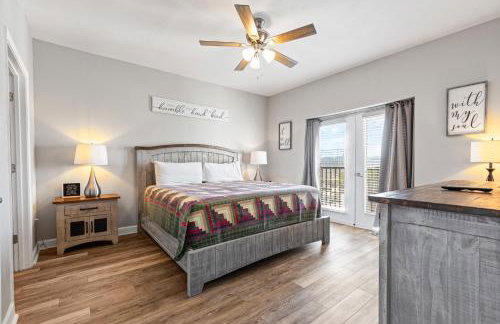
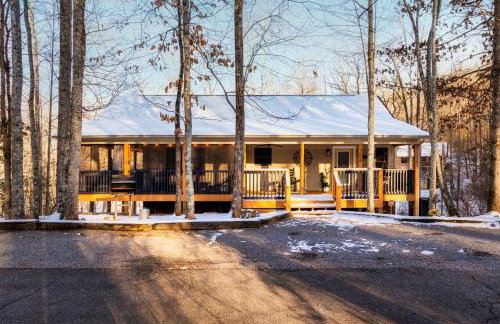
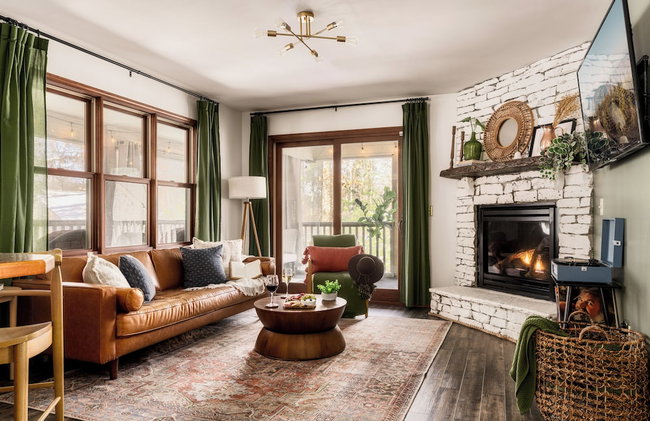
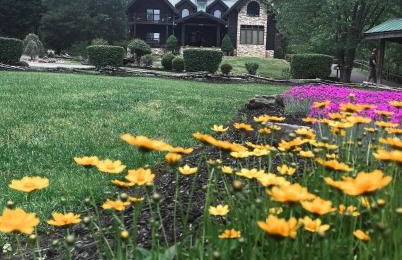
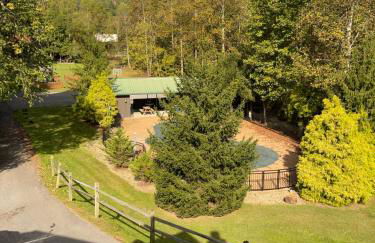
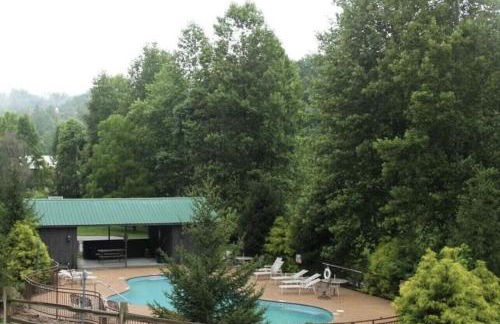
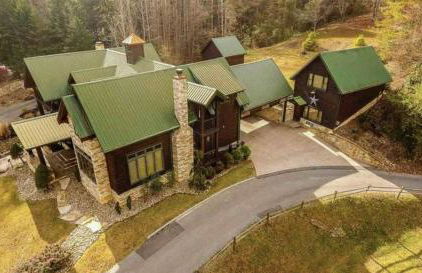
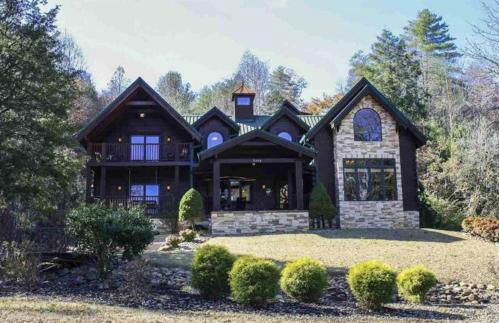
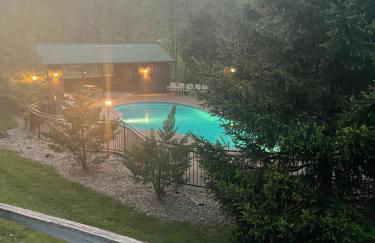
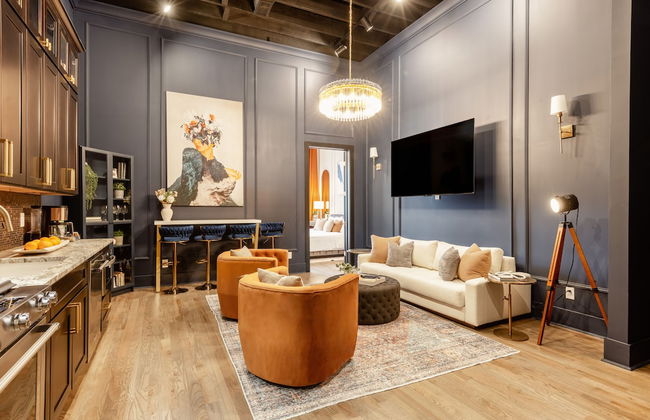
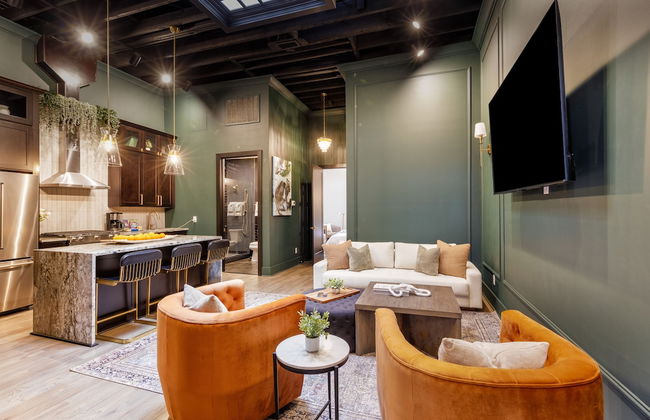
Whispering Pines Retreat By Ghosal Luxury Lodging
Gatlinburg - À 3.8 km du centre
- 150 M2
- 1 chambre
- 6 personnes
- Air conditionné
- Le chauffage
- Piscine
- Parking
- Jardin
- Tv
- Machine à laver
- Cheminée
- Barbecue
- Serviettes
- Feuilles
11 avis


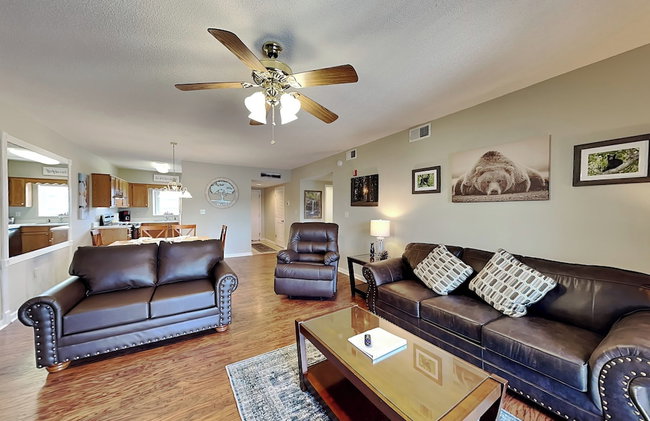
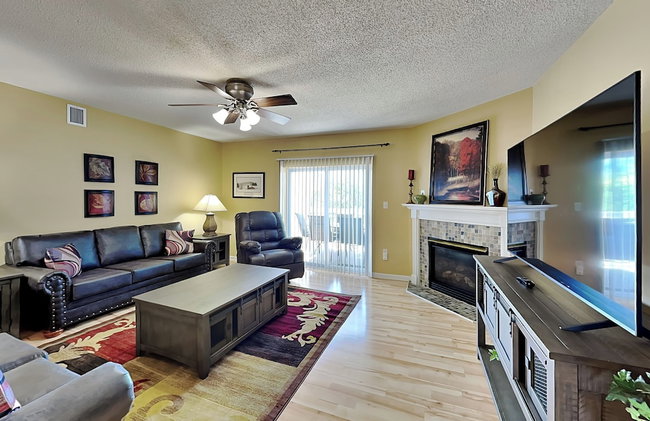
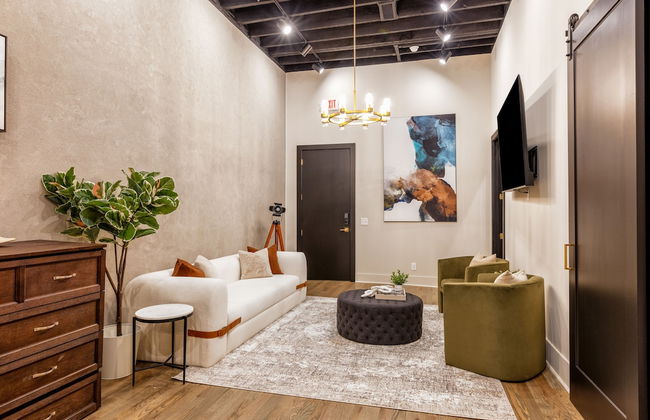
Memoir Wedgewood Houston
Nashville - South Nashville - À 2.2 km du centre
- 46 M2
- 2 personnes
- Air conditionné
- Le chauffage
- Piscine
- Parking
- Ascenseur
- Tv
- Machine à laver
- Cheminée
- Barbecue
- Serviettes
- Feuilles
142 avis


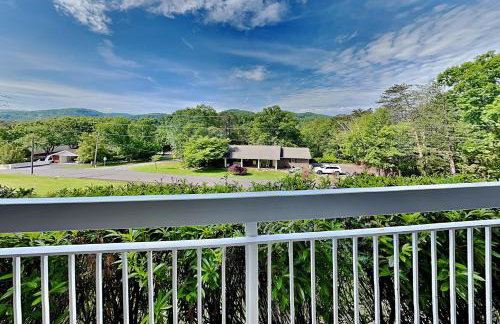
Waters Edge
Dandridge
- 204 M2
- 10 personnes
- Air conditionné
- Le chauffage
- Terrasse
- Parking
- Balcon
- Tv
- Machine à laver
- Cheminée
- Barbecue
- Serviettes
- Feuilles
10 avis


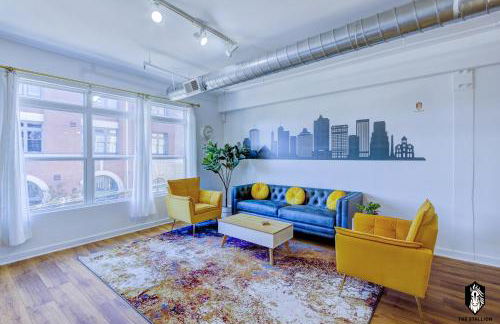

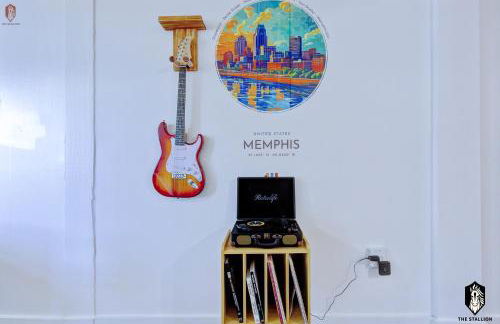


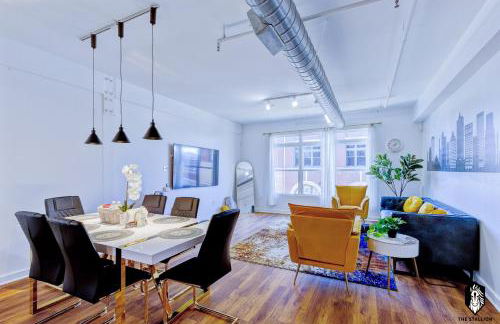


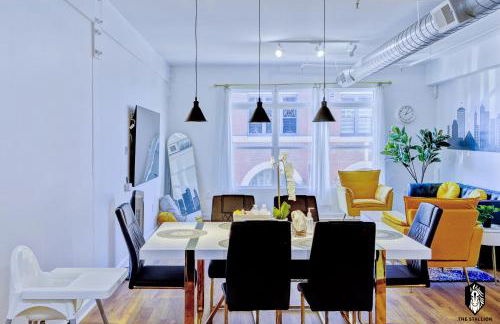

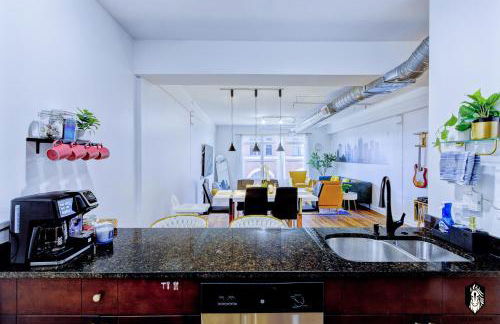

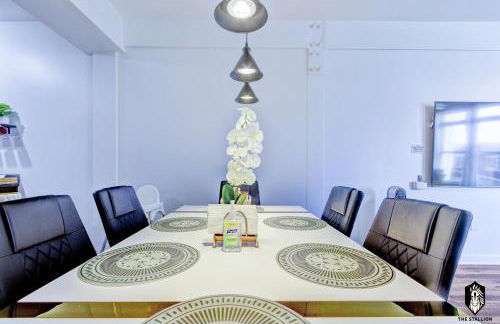


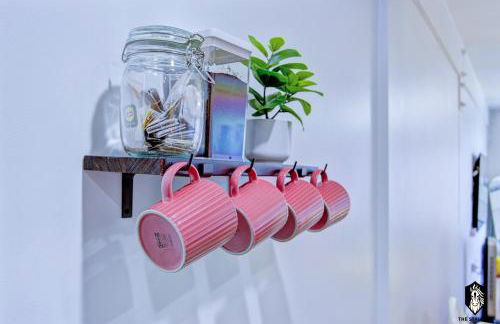

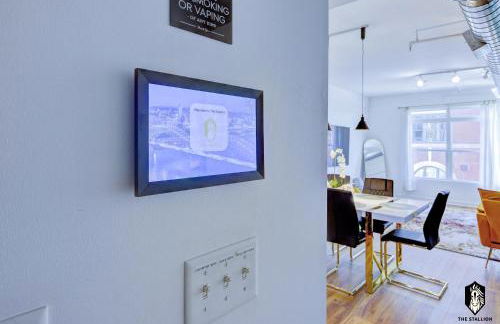


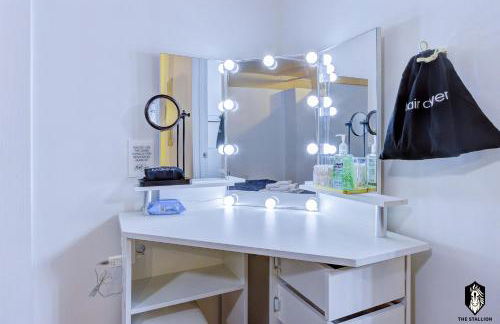

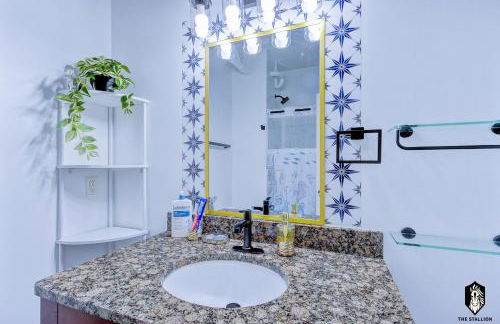

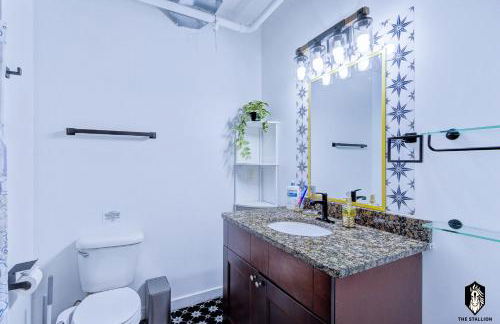


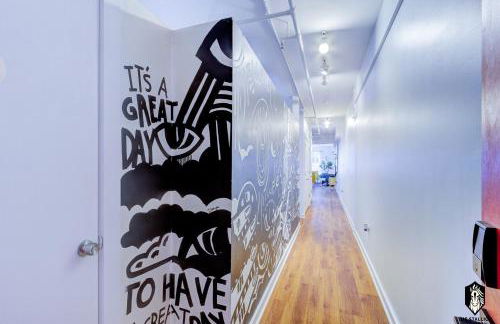

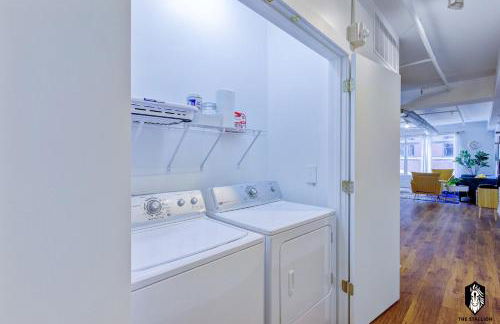

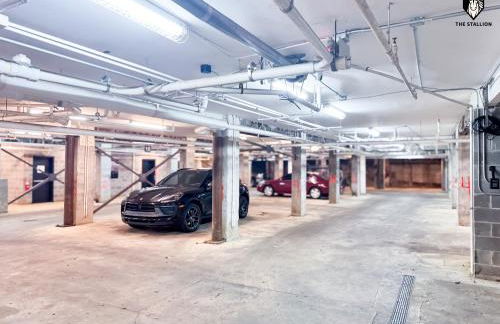


The Stallion #208 - Walk to Attractions - Modern Luxe Loft in Memphis Downtown with free covered gated parking
Memphis - Southside - À 1.4 km du centre
- 130 M2
- 1 chambre
- 6 personnes
- Air conditionné
- Le chauffage
- Parking
- Ascenseur
- Tv
- Machine à laver
- Serviettes
- Feuilles
322 avis


Mint House Nashville Marathon Village by Kasa
Nashville - Watkins Park - À 1.3 km du centre
- 70 M2
- 6 personnes
- Air conditionné
- Le chauffage
- Terrasse
- Piscine
- Parking
- Ascenseur
- Tv
- Serviettes
- Feuilles
256 avis


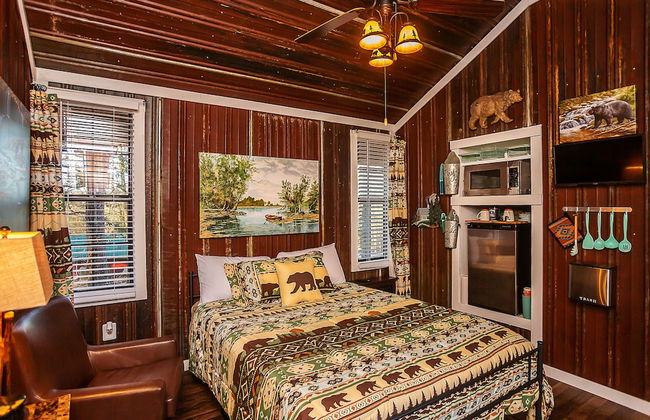
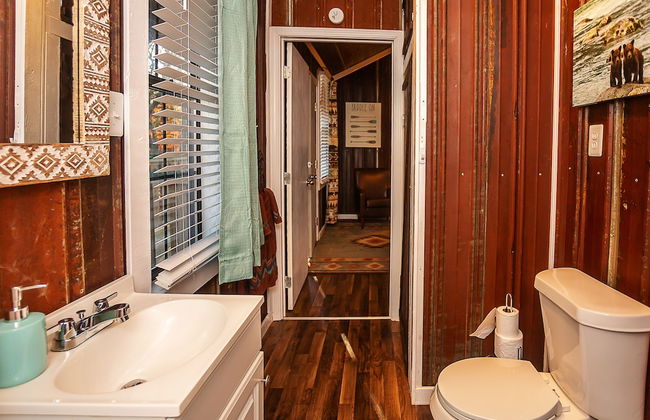
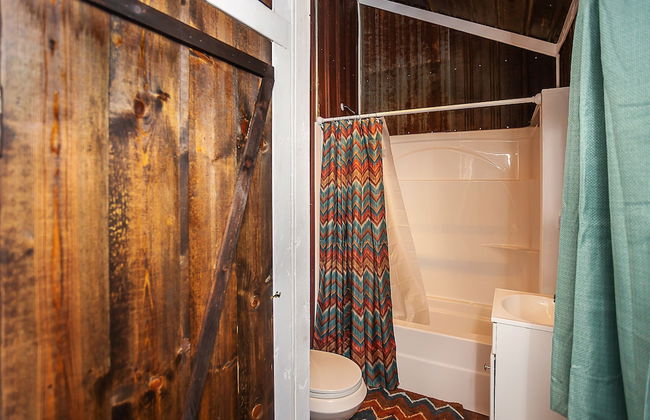

Yeti Cabin
Benton
- 24 M2
- 2 personnes
- Air conditionné
- Le chauffage
- Terrasse
- Parking
- Tv
- Cheminée
- Barbecue
- Serviettes
- Feuilles
23 avis


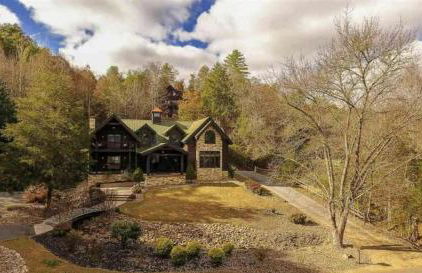
Tennessee Dream
Gatlinburg - À 4.8 km du centre
- 215 M2
- 3 chambres
- 11 personnes
- Air conditionné
- Le chauffage
- Piscine
- Parking
- Balcon
- Jardin
- Tv
- Machine à laver
- Barbecue
- Serviettes
15 avis


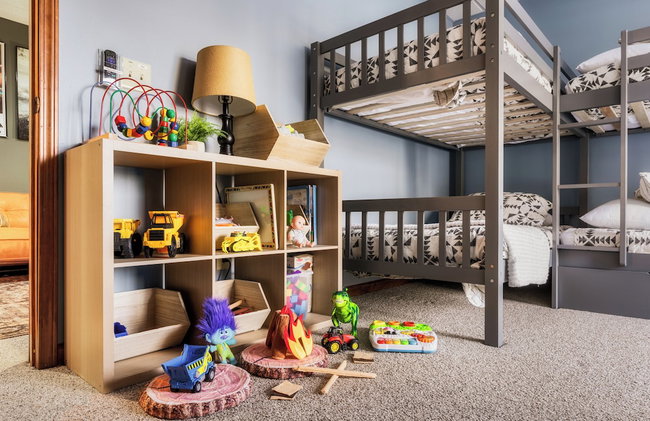
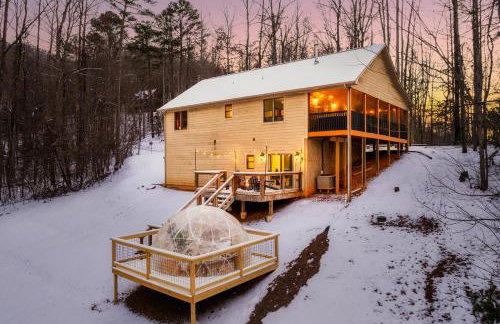
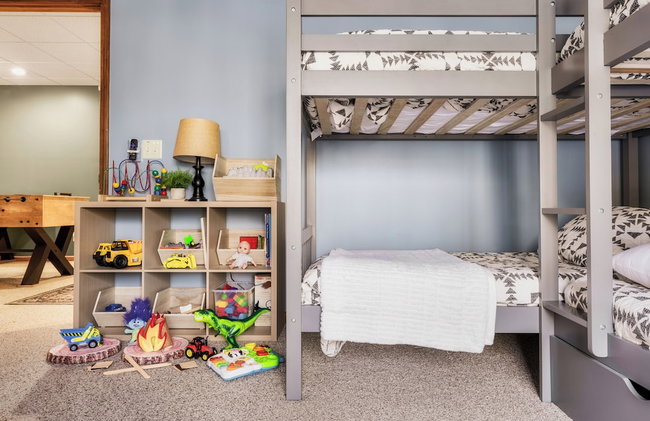
Outrider Buyout - 2 Units - DT Nashville by AvantStay
Nashville - Five - À 2.2 km du centre
- 130 M2
- 8 chambres
- 14 personnes
- Air conditionné
- Le chauffage
- Terrasse
- Parking
- Balcon
- Tv
- Machine à laver
- Serviettes
- Feuilles
19 avis


Eagles Landing 1BR Heaven
Pigeon Forge - À 3.2 km du centre
- 88 M2
- 1 chambre
- 4 personnes
- Air conditionné
- Le chauffage
- Piscine
- Parking
- Ascenseur
- Balcon
- Jardin
- Tv
- Machine à laver
- Cheminée
- Serviettes
- Feuilles
6 avis

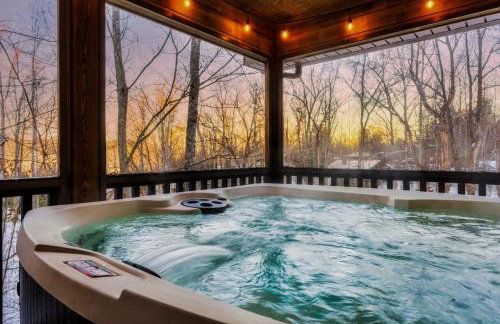

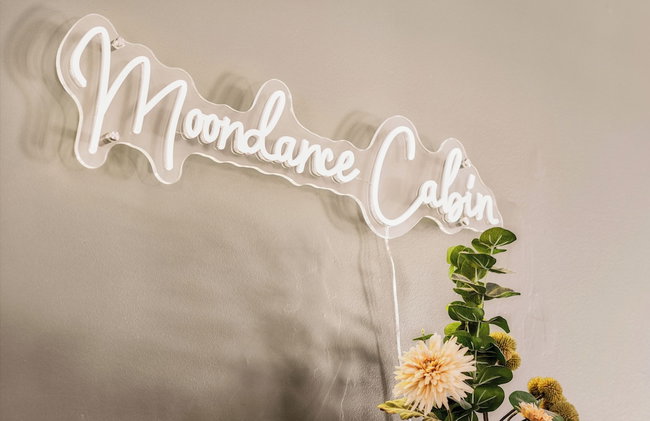
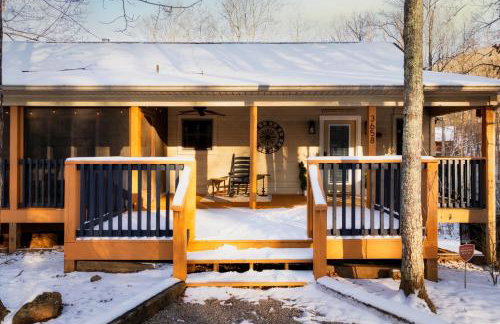


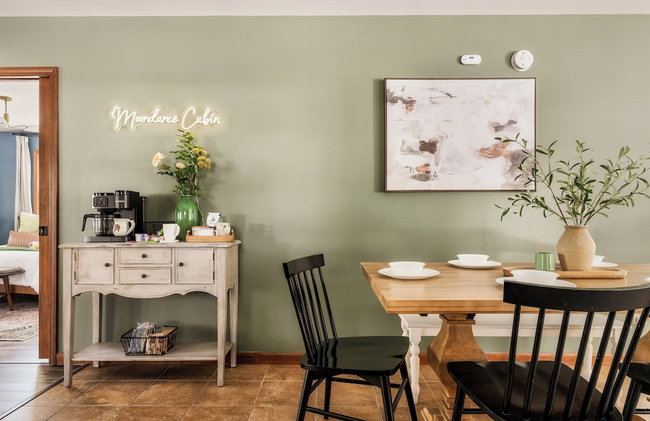

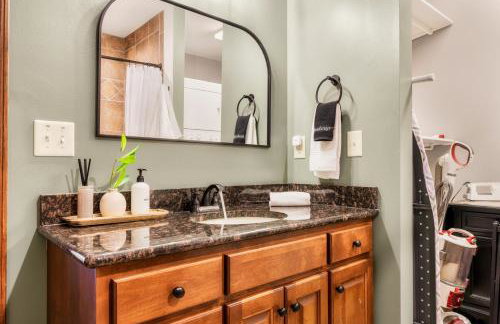
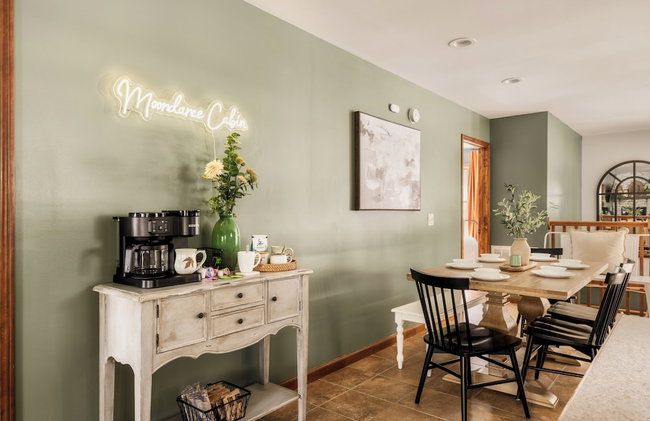
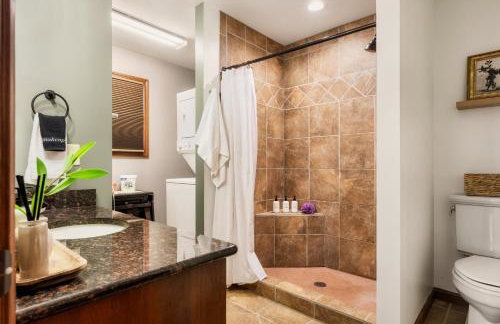

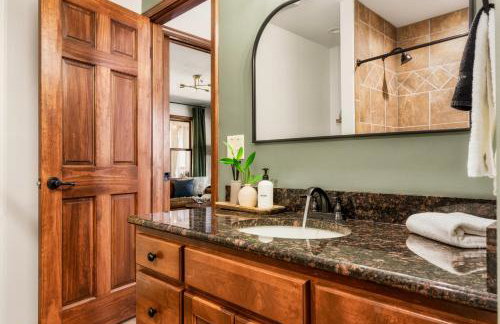
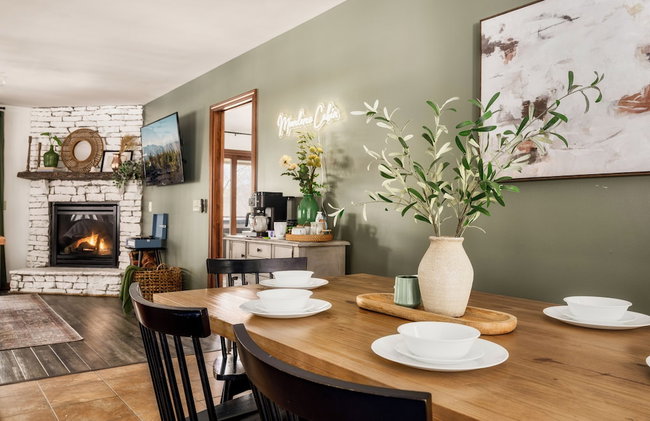


The Moondance Cabin by Lightfoot Stays Vacation Rentals
Sevierville - À 20 km du centre
- 167 M2
- 4 chambres
- 8 personnes
- Air conditionné
- Le chauffage
- Terrasse
- Piscine
- Parking
- Jardin
- Tv
- Machine à laver
- Cheminée
- Barbecue
- Serviettes
- Feuilles
7 avis


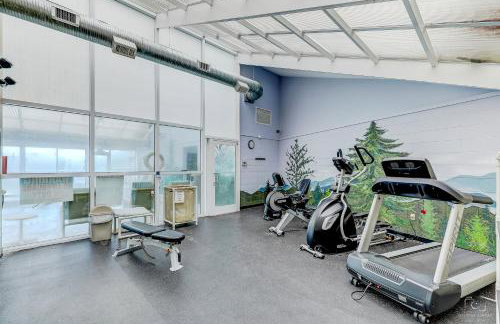
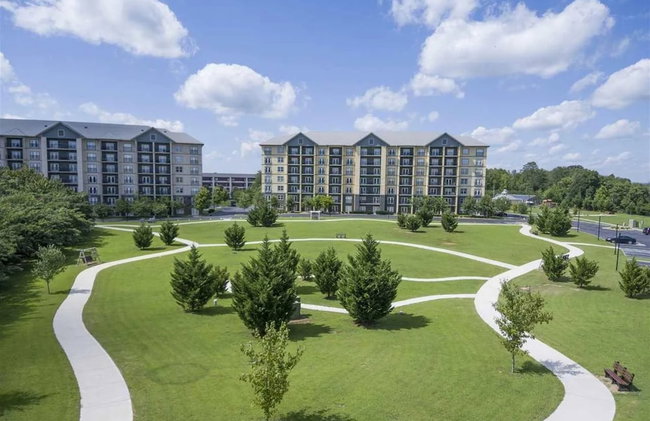
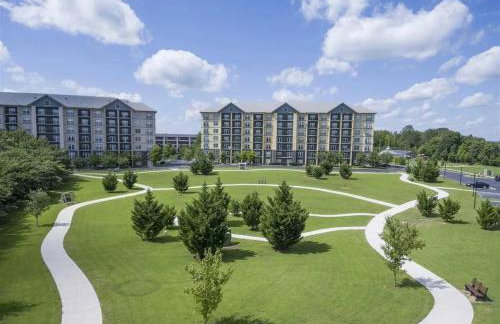
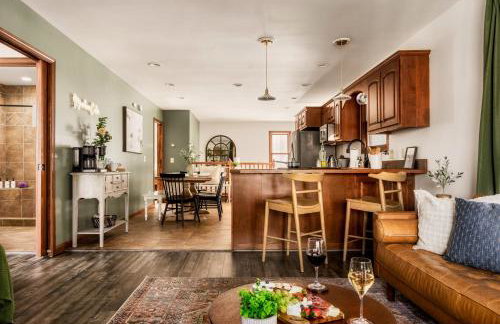
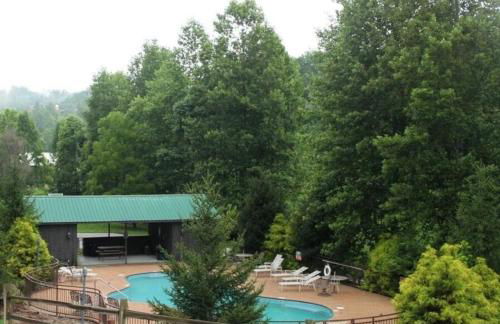
NEW Game Rm, Nerf, Outdoor Pool, Sauna, HotTub
Sevierville - À 6.7 km du centre
- 223 M2
- 3 chambres
- 14 personnes
- Air conditionné
- Le chauffage
- Terrasse
- Piscine
- Parking
- Jardin
- Tv
- Machine à laver
- Barbecue
- Serviettes
- Feuilles
15 avis


Kasa Capitol Hill Downtown Nashville
Nashville - Downtown Nashville - À 230 m du centre
- 113 M2
- 3 chambres
- 8 personnes
- Air conditionné
- Le chauffage
- Terrasse
- Parking
- Ascenseur
- Jardin
- Tv
- Serviettes
- Feuilles
1068 avis


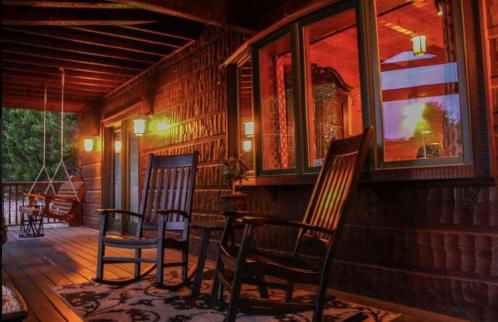


A River Runs Through It
Sevierville - À 13.5 km du centre
- 431 M2
- 7 chambres
- 17 personnes
- Air conditionné
- Le chauffage
- Terrasse
- Piscine
- Parking
- Jardin
- Barbecue
11 avis


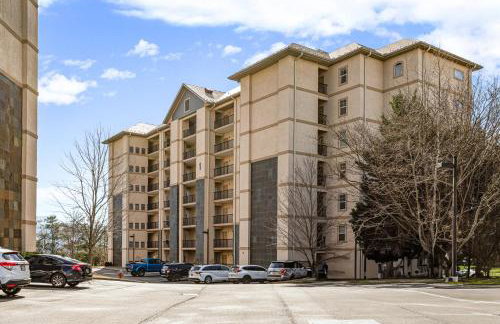
Laurel Point Resort
Gatlinburg - À 1.5 km du centre
- 99 M2
- 6 personnes
- Air conditionné
- Terrasse
- Piscine
- Parking
- Ascenseur
- Balcon
- Tv
- Cheminée
- Barbecue
- Serviettes
- Feuilles
326 avis


Smokies Bungalow
Gatlinburg - À 2.2 km du centre
- 116 M2
- 4 personnes
- Air conditionné
- Le chauffage
- Parking
- Balcon
- Tv
- Machine à laver
- Cheminée
- Serviettes
- Feuilles
18 avis


Union Street Lofts
Nashville - Downtown Nashville - Dans le centre
- 8 personnes
- Air conditionné
- Le chauffage
- Tv
- Machine à laver
- Serviettes
- Feuilles
20 avis


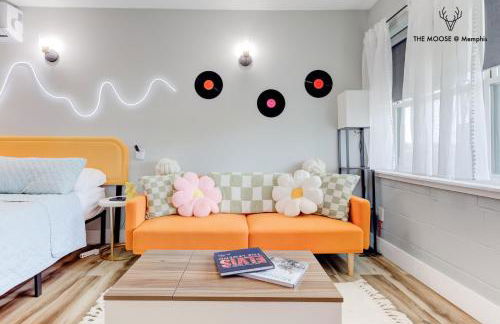


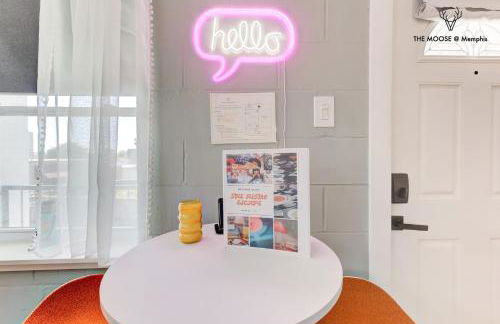

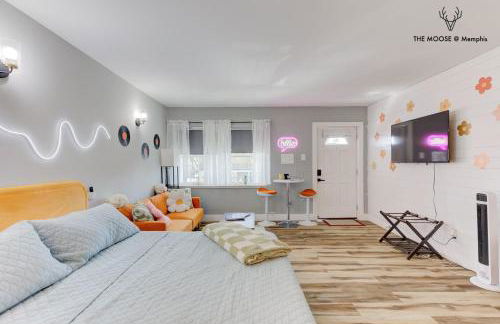

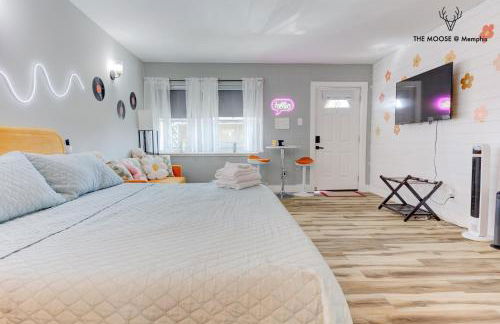

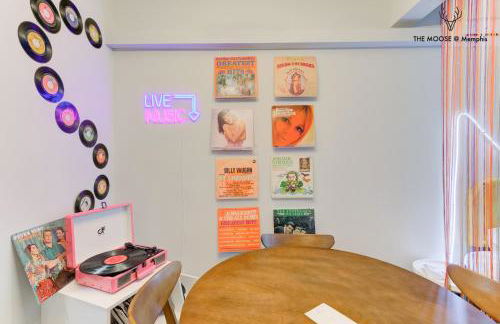

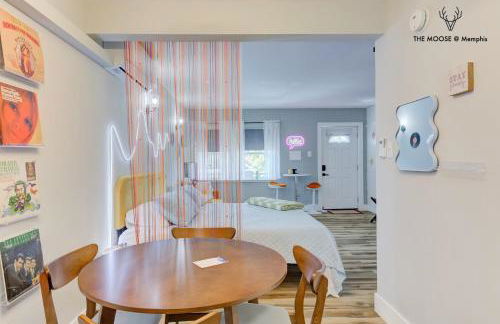

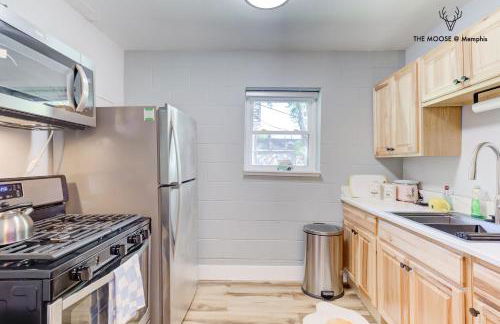


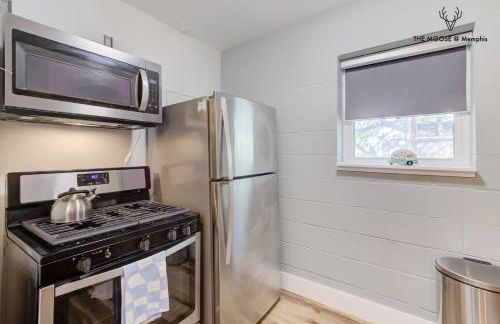

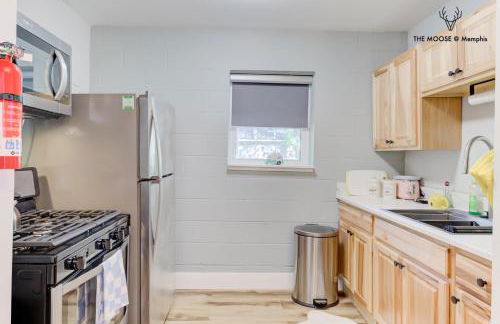


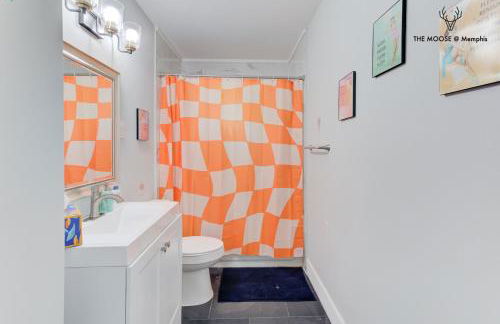

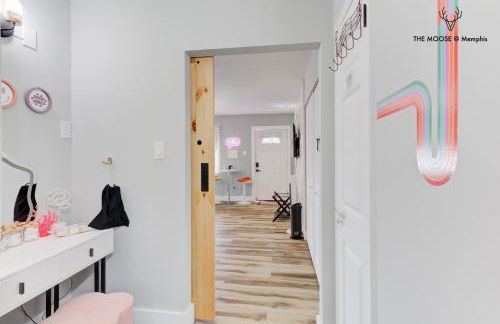

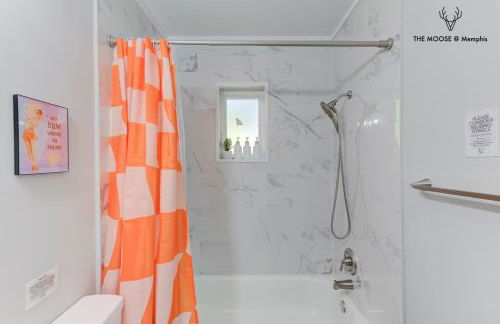

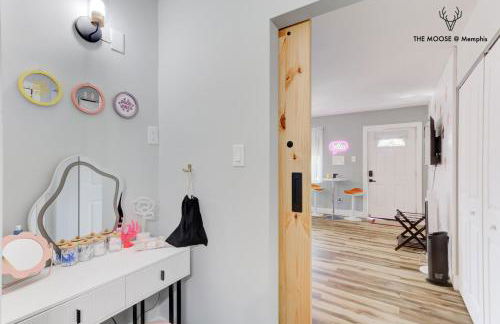

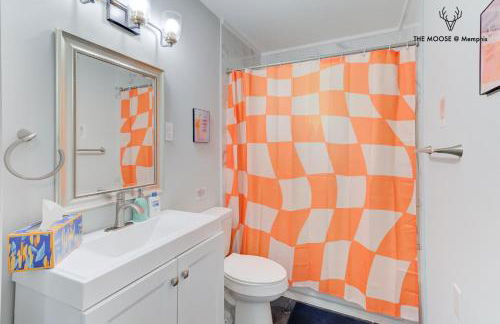

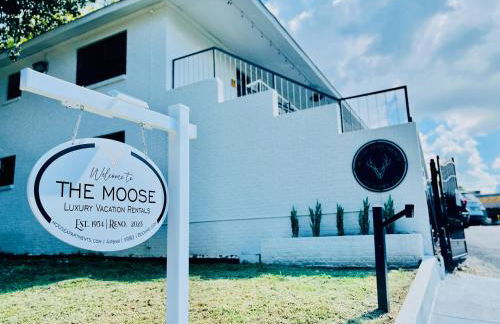


The Moose #10 - Stylish Loft with King Bed, Free Parking & Wi-Fi
Memphis - Downtown Core - À 670 m du centre
- 56 M2
- 1 chambre
- 3 personnes
- Air conditionné
- Le chauffage
- Parking
- Jardin
- Tv
- Machine à laver
- Barbecue
- Serviettes
- Feuilles
244 avis