


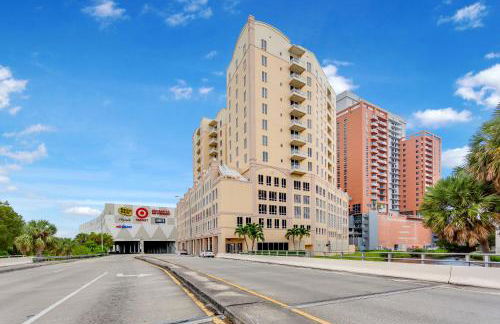
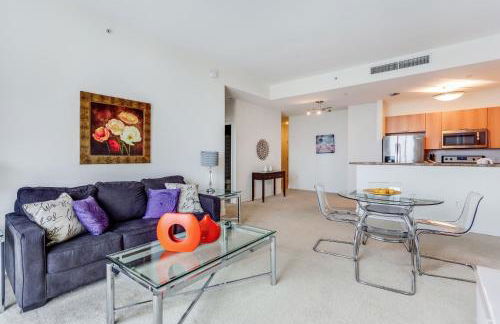
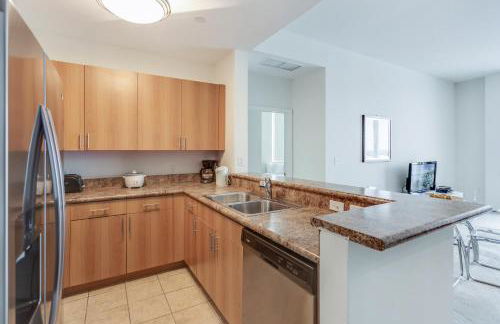
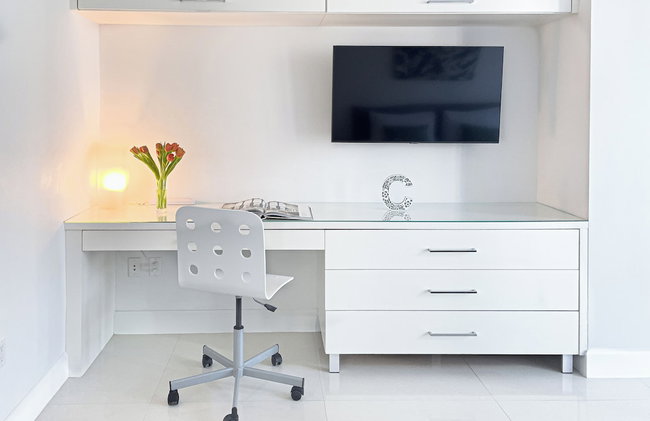
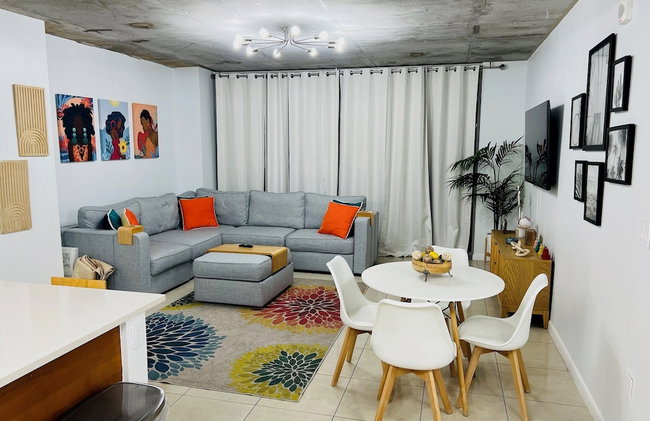
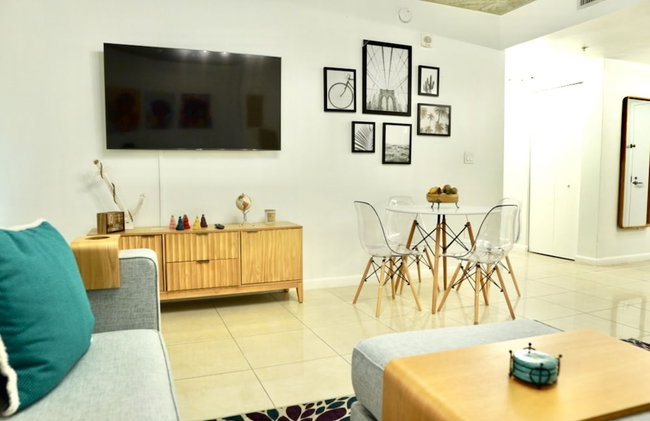
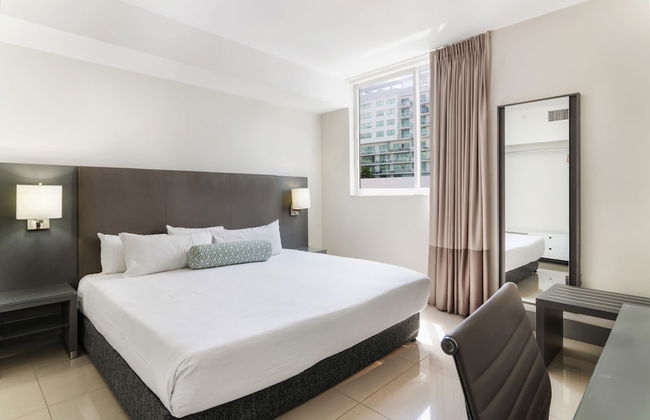
Downtown Doral Condo w-Free Parking
Miami - À 14.1 km du centre
- 60 M2
- 1 chambre
- 4 personnes
- Air conditionné
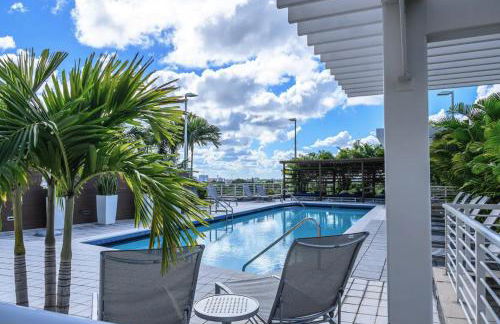
- Piscine
- Parking
- Ascenseur
- Balcon
- Jardin
- Tv
- Serviettes
- Feuilles


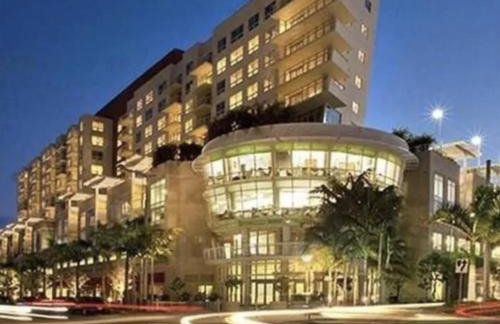
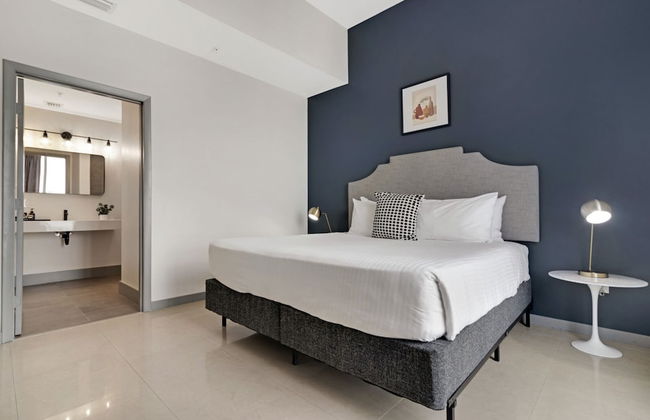
Towers of Dadeland by Miami Vacations
Miami - Glenvar Heights - À 13.7 km du centre
- 102 M2
- 2 chambres
- 6 personnes
- Air conditionné
- Le chauffage
- Terrasse
- Piscine
- Parking
- Ascenseur
- Balcon
- Tv
- Machine à laver
- Serviettes
- Feuilles


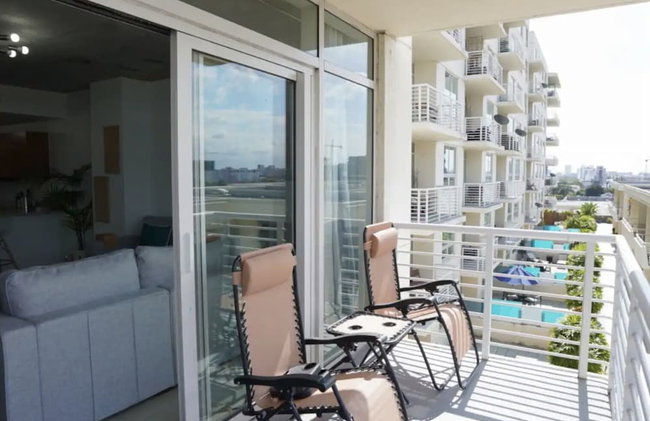
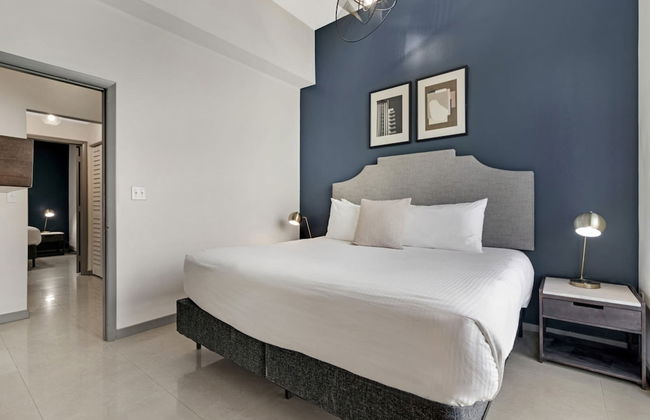
Nomada Destination Residences - Quadro
Miami - Design District - À 3.9 km du centre
- 99 M2
- 2 chambres
- 6 personnes
- Air conditionné
- Le chauffage
- Terrasse
- Piscine
- Parking
- Ascenseur
- Balcon
- Tv
- Machine à laver
- Barbecue
- Serviettes
- Feuilles


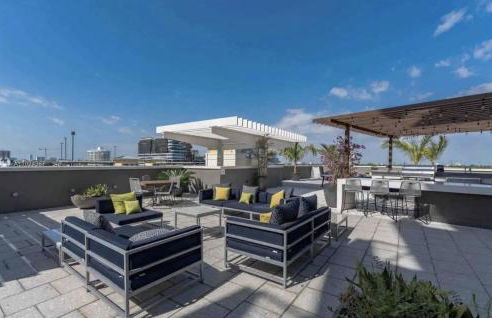
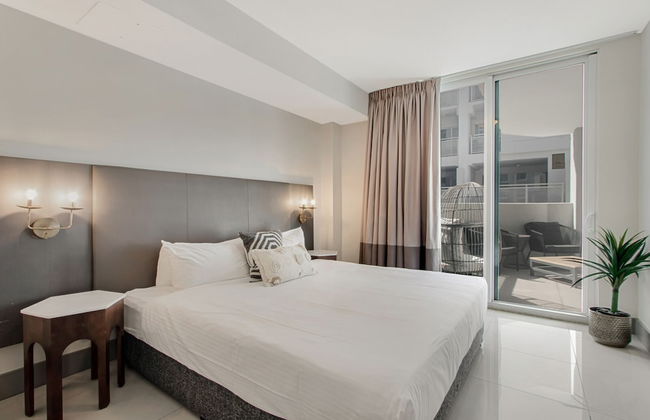
Luxurious 3BR Condo with Pool in Brickell
Miami - Downtown Miami - À 1.1 km du centre
- 114 M2
- 3 chambres
- 9 personnes
- Air conditionné
- Terrasse
- Piscine
- Parking
- Ascenseur
- Balcon
- Jardin
- Tv
- Machine à laver
- Serviettes
- Feuilles


Lofts of Aventura
Miami - À 20.1 km du centre
- 92 M2
- 1 chambre
- 6 personnes
- Air conditionné
- Le chauffage
- Piscine
- Parking
- Ascenseur
- Tv
- Machine à laver
- Barbecue
- Serviettes
- Feuilles


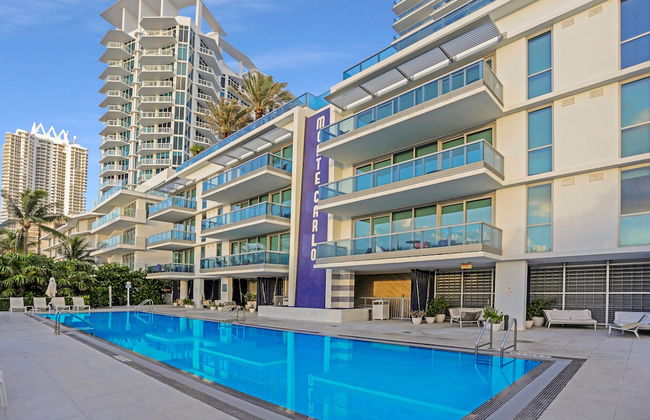


Monte Carlo by Miami Vacations
Miami - North Shores - À 10.8 km du centre
- 69 M2
- 1 chambre
- 4 personnes
- Air conditionné
- Le chauffage
- Terrasse
- Piscine
- Parking
- Ascenseur
- Balcon
- Jardin
- Tv
- Machine à laver
- Serviettes
- Feuilles


Miami Luxury Executive Apartment
Miami - Downtown Miami - À 1.2 km du centre
- 2 personnes
- Cuisinette
- Piscine
- Parking
- Machine à laver


Prime Location Apt on Calle Ocho in Little Havana
Miami - East Little Havana - À 1.3 km du centre
- 118 M2
- 1 chambre
- 6 personnes
- Air conditionné
- Terrasse
- Parking
- Tv
- Serviettes
- Feuilles


Wynwood Bungalows By Renzzi
Miami - Allapattah - À 2.7 km du centre
- 60 M2
- 2 chambres
- 4 personnes
- Air conditionné
- Le chauffage
- Piscine
- Parking
- Jardin
- Tv
- Serviettes
- Feuilles


Amazing apartment in the Heart of Brickell
Miami - Downtown Miami - À 1.1 km du centre
- 1 chambre
- 8 personnes
- Air conditionné
- Terrasse
- Piscine
- Parking
- Ascenseur
- Jardin
- Tv
- Machine à laver
- Serviettes
- Feuilles


Fantastic 2BR Condo on 31st Floor Free Parking
Miami - Downtown Miami - À 1.2 km du centre
- 96 M2
- 2 chambres
- 6 personnes
- Air conditionné
- Terrasse
- Piscine
- Parking
- Ascenseur
- Balcon
- Jardin
- Tv
- Machine à laver
- Serviettes
- Feuilles


Miami Vacation Rentals - Brickell
Miami - Downtown Miami - À 640 m du centre
- 129 M2
- 2 chambres
- 6 personnes
- Air conditionné
- Terrasse
- Piscine
- Parking
- Ascenseur
- Jardin
- Tv
- Machine à laver
- Serviettes
- Feuilles


Downtown Miami 2Br 2Bath Oasis Bayside & Port of Miami Minutes Away
Miami - Downtown Miami - À 380 m du centre
- 86 M2
- 1 chambre
- 5 personnes
- Air conditionné
- Le chauffage
- Terrasse
- Piscine
- Parking
- Ascenseur
- Jardin
- Barbecue


Milan Aventura Hotel
Miami - À 19.2 km du centre
- 79 M2
- 2 personnes
- Cuisinette
- Air conditionné
- Parking
- Ascenseur
- Balcon
- Tv
- Serviettes
- Feuilles


Beautiful 1BD 1BTH at Midblock FREE PARKING
Miami - Wynwood-Edgewater - À 3.2 km du centre
- 111 M2
- 1 chambre
- 6 personnes
- Air conditionné
- Le chauffage
- Terrasse
- Piscine
- Parking
- Ascenseur
- Tv
- Machine à laver
- Serviettes
- Feuilles
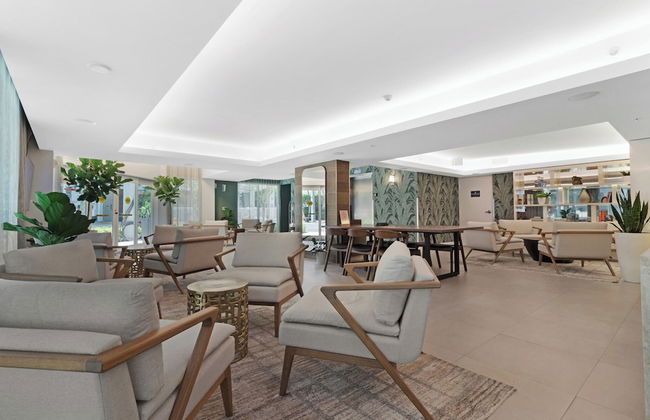

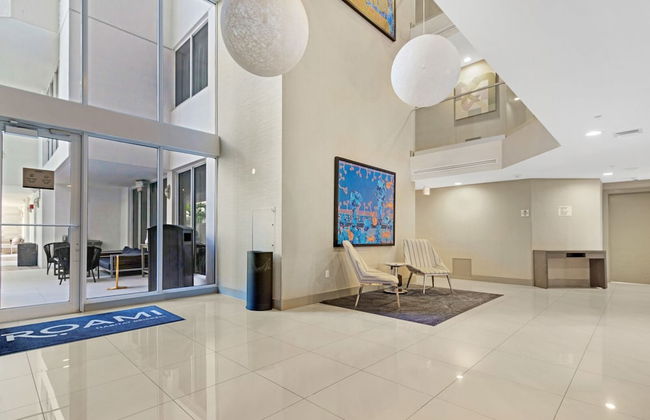


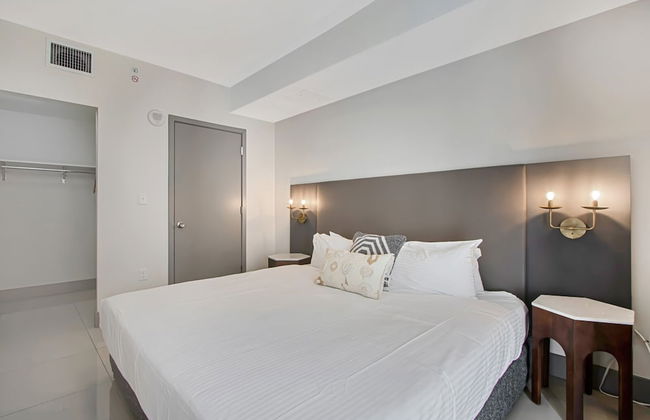
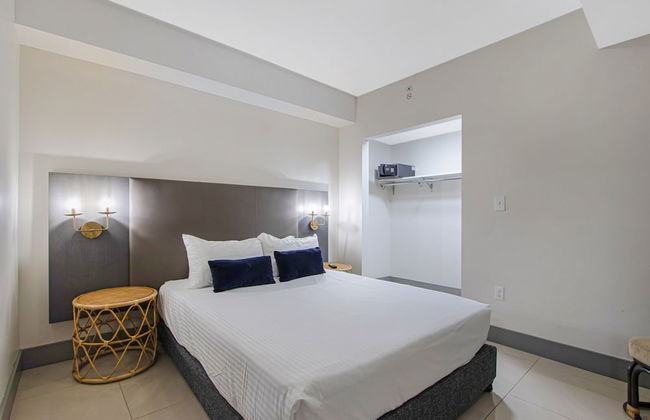
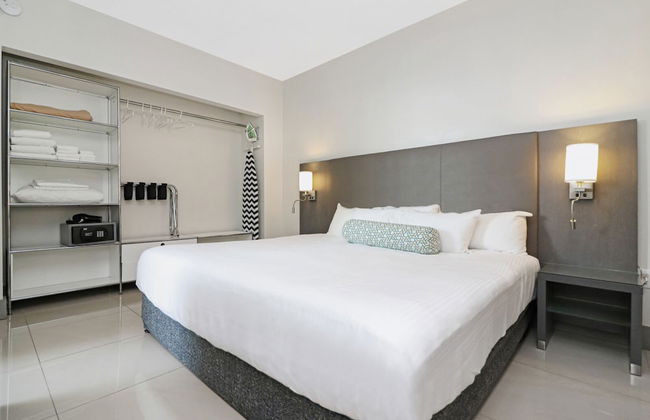
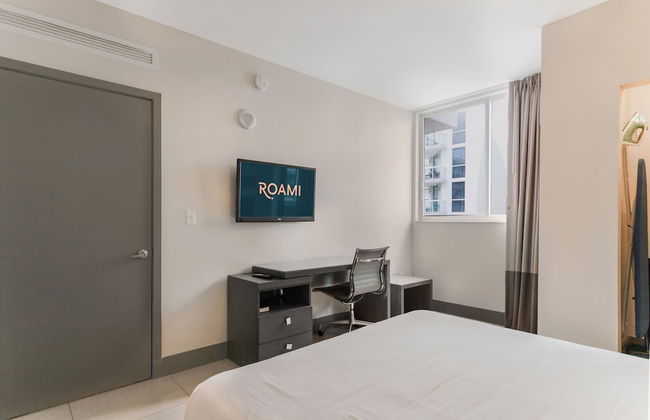
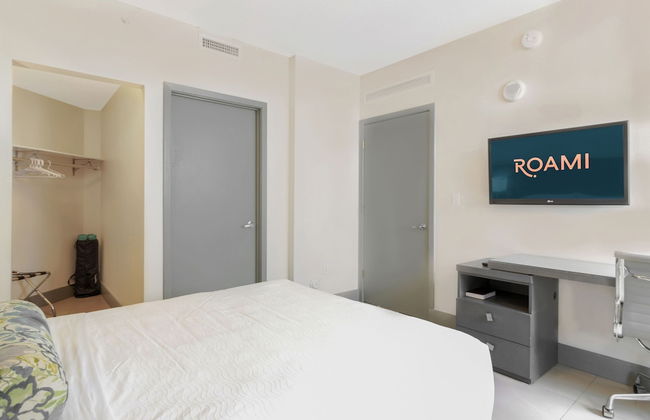
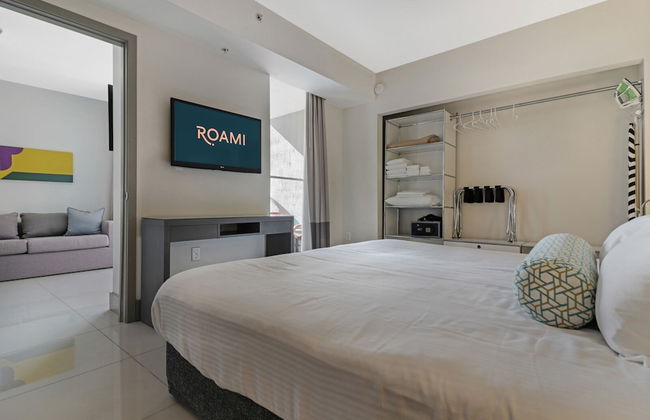
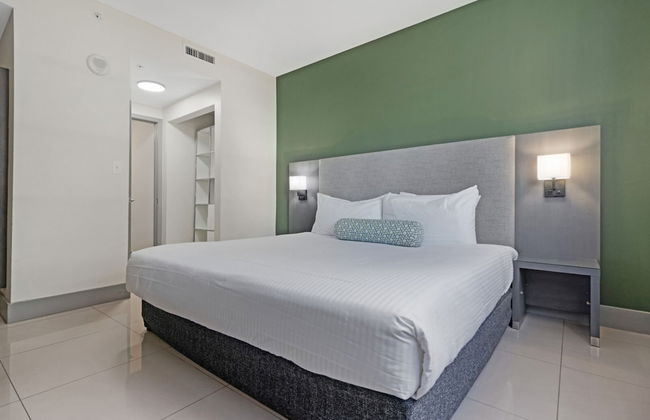
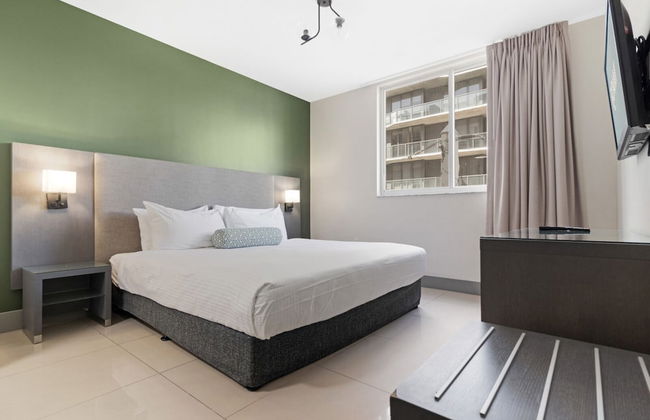
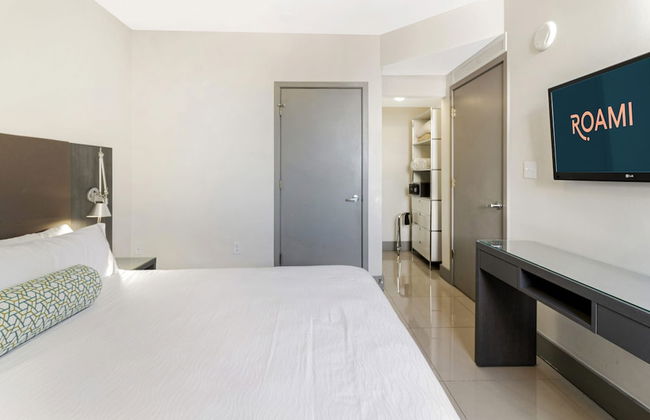


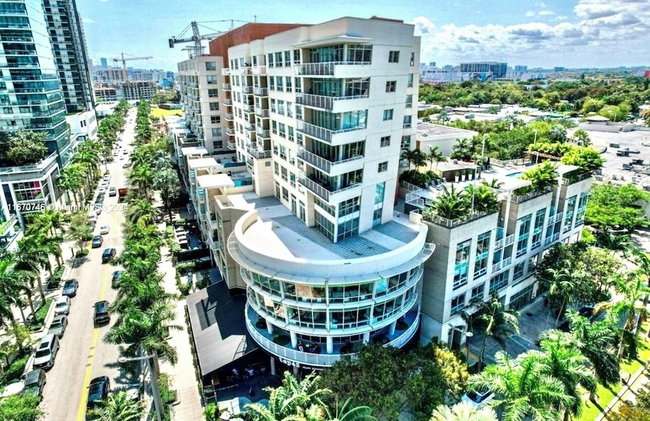
Roami at Habitat Brickell
Miami - Coral Way - À 1.2 km du centre
- 149 M2
- 3 chambres
- 12 personnes
- Air conditionné
- Le chauffage
- Piscine
- Parking
- Ascenseur
- Balcon
- Jardin
- Tv
- Machine à laver
- Serviettes
- Feuilles


Ocean 2 Sky at Monte Carlo Miami Beach
Miami - North Shores - À 10.8 km du centre
- 65 M2
- 1 chambre
- 5 personnes
- Air conditionné
- Le chauffage
- Terrasse
- Piscine
- Parking
- Ascenseur
- Jardin


Churchill Suites Monte Carlo Miami Beach
Miami - North Shores - À 10.9 km du centre
- 84 M2
- 1 chambre
- 5 personnes
- Air conditionné
- Le chauffage
- Terrasse
- Piscine
- Parking
- Ascenseur
- Balcon
- Jardin
- Tv
- Machine à laver
- Serviettes
- Feuilles


The Boutique Guest House
Miami - Golden Glades - À 13 km du centre
- 74 M2
- 1 chambre
- 4 personnes
- Air conditionné
- Le chauffage
- Terrasse
- Parking
- Jardin
World Cup Studio near Hard Rock Stadium
Miami - À 16.9 km du centre
- 65 M2
- 2 personnes
- Air conditionné
- Terrasse
- Parking
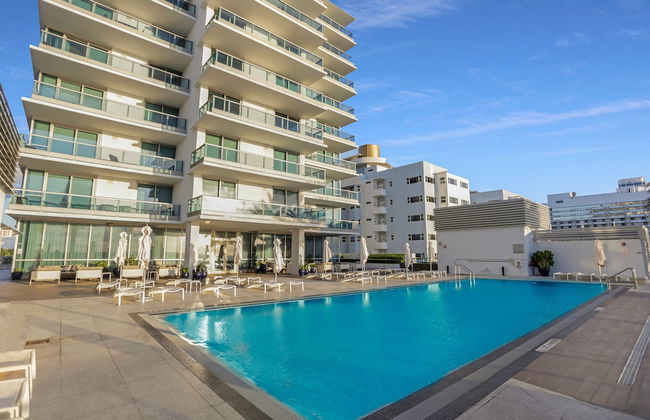
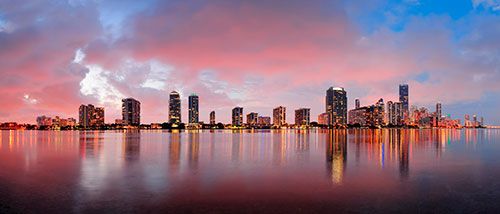
Appartements à Miami Beach -- Locations Économiques
Miami personnifie le glamour. En surface, la ville est remplie d'architecture excentrique, de boutiques de luxe, de bars chics et de galeries d'art << white cube >> à chaque coin de rue. La population elle-même y déborde de charme sensuel, ses habitants en vêtements chics s'animant d'un lieu à un autre, et ses hommes d'affaire élégamment habillés s'y affairant. Mais approfondissez un peu et vous découvrirez une ville pleine de personnalité, ayant hérité d'influences venues des quatre coins du monde. En cherchant bien, vous y trouverez un bouquiniste caché dans un entrepôt rénové, une soirée karaoké latino dans un bar local ou un marché rempli de curiosités venues de Cuba et d'autres horizons. Avec en toile de fond ses couchers de soleil couleur rouge orangé, les eaux infinies de l'océan et des plages de sable s'étirant à perte de vue, Miami Beach vous ravira. Certes, Miami est une ville chic, mais pas seulement. Nos appartements à Miami Beach vous permettront de découvrir le charme de cette ville et de partir à la rencontre de mondes inattendus cachés sous ce qui semble être une couverture de papier glacé de magazine de mode.
Boulevards, Palmiers et Îles -- Choses à faire à Miami Beach
- South Beach -- Également surnommé avec affection SoBe par les habitants du coin, ce quartier de Miami est l'un des plus populaires. Il présente une longue étendue de plage et une multitude de bars et restaurants - l'endroit idéal pour se relaxer.
- Ocean Drive -- Ce boulevard bordé de palmiers s'étend dans South Breach et est parsemé de boutiques et de cafés chics. Le boulevard est également célèbre pour ses nombreux hôtels de style Art Déco, tel que le Colony Hotel.
- Lincoln Road -- Située au cœur de Miami Beach, cette zone piétonne animée est un lieu populaire chez les touristes comme chez les locaux.
- Wolfsonian-FIU -- Situé au cœur du quartier Art Déco de Miami Beach, ce campus de l'Université Internationale de Floride est à la fois un musée, une bibliothèque et un centre de recherches. Les collections rassemblant près de 180000 pièces visent à illustrer le pouvoir de persuasion de l'art et du design.
- South Pointe Park -- Ce parc urbain d'environ 7 hectares se situe à la pointe sud de l'île-barrière et offre de belles étendues de gazon où pique-niquer et des chemins où se promener en profitant de magnifiques vues sur l'océan.
- Le Musée Juif de Floride -- Situé dans deux anciennes synagogues restaurées, ce musée présente l'histoire du judaïsme en Floride et plus encore.
- Le Musée Bass -- Ce populaire musée d'art expose des œuvres venues du monde entier et couvre les périodes allant de la Renaissance à l'art moderne.
- Le Jardin Botanique de Miami Beach -- Rénové en 2011, ce parc urbain s'étend sur environ un hectare de jardins soigneusement entretenus et de végétation luxuriante.
- Le Palais des Congrès de Miami Beach -- Un vaste espace couvert au cœur de Miami Beach accueillant toutes sortes d'événements et de conférences en cours d'année.
- Star Island -- Ce quartier exclusif est une petite île artificielle de la baie de Biscayne abritant une douzaine de somptueuses et immenses villas, certaines appartenant à des célébrités.
- Clinton Hotel Miami Beach -- Il s'agit d'un hôtel chic de style Art Déco très connu et réputé, proposant des services de spa. Il se situe à deux rues des plages.
- Belle Isle -- Un îlot appartenant à la Chaussée Vénitienne qui relie Miami à Miami Beach. Il s'agit surtout d'un quartier résidentiel.
- Hibiscus Island -- Une autre île de la baie de Biscayne possédant une abondance de palmiers et de demeures chics.
- Le Parc Greynolds -- Situé au nord de Miami Beach, ce grand parc s'étend sur environ 1 km² de paysages verdoyants. L'endroit idéal pour se ressourcer.
- Les Îles Vénitiennes -- Il s'agit d'une chaîne d'îles artificielles reliant Miami à Miami Beach. Les îles sont principalement constituées de quartiers d'habitation.
- Le Mémorial de l'Holocauste -- Un monument en mémoire des victimes de la Shoah durant la Seconde Guerre mondiale.
- San Marino Island -- Situé dans la baie de Biscayne Bay, cet îlot artificiel est un quartier résidentiel chic.
- Allison Island -- Située au milieu d'un cours d'eau, l'Indian Creek, Allison Island appartient au quartier de La Gorce. Cette île est parsemée de demeures luxueuses.
Nous disposons d'un large choix d'appartements à Miami Beach dispersés dans tous les quartiers et à proximité de tous les sites d'intérêt. Ils offrent diverses perspectives sur la ville en fonction de vos intérêts et de ce que vous souhaitez explorer.
Les Meilleures Plages de Miami Beach
Miami Beach est réputée pour ses longues étendues de sable qui attirent les touristes du monde entier. Ses plages bordant son littoral étincelant offrent le cadre idéal pour se détendre et passer des moments inoubliables.
Lummus Park, est un long parc urbain qui s'étend entre les plages et Ocean Drive, c'est un endroit fameux possédant une vibrante atmosphère et qui est fréquenté par les sportifs et autres amateurs de fitness. Tandis que la plupart des plages de Miami Beach sont réputées pour la pratique du surf, Haulover Beach au nord de la ville attirera les amateurs d'autres sports nautiques et aussi de naturisme. Oleta River State Park (le parc national du fleuve Oleta), non loin du parc d'Haulover, mérite une visite si vous souhaitez profiter d'une journée tranquille au milieu de pêcheurs et amateurs de bateaux. Pour admirer des vues à 360° sur l'Océan, dirigez-vous à South Pointe Park (le parc de la pointe sud), mais n'oubliez pas pour autant de fouler du pied les autres plages de Miami Beach (au nord, au centre et au sud), chacune possédant sa propre personnalité.
Locations d'appartements à Miami Beach
Avec ses plages de sable blanc accueillant une foule de visiteurs fortunés et ses clins d'œil au mode de vie des célébrités, Miami Beach est une destination de prédilection des personnes à la recherche d'un endroit où règne le luxe. Dans toute la ville tentaculaire, les locations d'appartements à Miami Beach proposent des hôtels extravagants qui répondent aux besoins d'un public à la recherche de grandeur, mais aussi des auberges intimes constituant un moyen plus abordable pour découvrir la ville. Si le style de vie indépendant vous convient mieux, alors la sélection d'appartements de vacances disponibles est le bon choix : ils assurent une expérience personnalisée à ce séjour forcément unique.
Se Déplacer à Miami -- Les Transports Publics
Grâce à son immense popularité touristique, Miami Beach possède des services de transport public efficaces qui permettent de circuler dans toute la ville et qui relient nos appartements à Miami Beach aux attractions principales. Que vous souhaitiez vous rendre rapidemment d'un endroit à l'autre ou explorer la ville sous un angle différent, il existe un moyen de transport idéal pour vous. Le service de bus local de South Beach parcourt un itinéraire en boucle dans la zone permettant de la découvrir entièrement et de façon économique. Alternativement, il existe un nouveau service gratuit de tramways au design rétro qui permettent aux visiteurs de se rendre rapidemment d'un endroit à l'autre. Les services de transports publics de la ville sont fiables et réguliers. Profitez-en.
À côté de ces méthodes de transports privilégiées par les touristes pour découvrir la vie locale, vous pouvez également prendre le taxi. Les stations abondent dans la ville et les prix sont raisonnables. Une des meilleures façons de visiter est toutefois de marcher, ce qui vous donnera l'occasion de découvrir les coins et recoins de l'île. Vous pourriez même avoir envie de louer un vélo ou de chausser des rollers commes les habitants de la ville.