
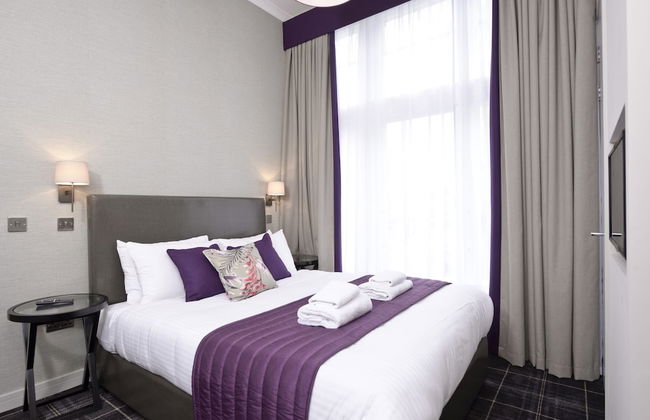
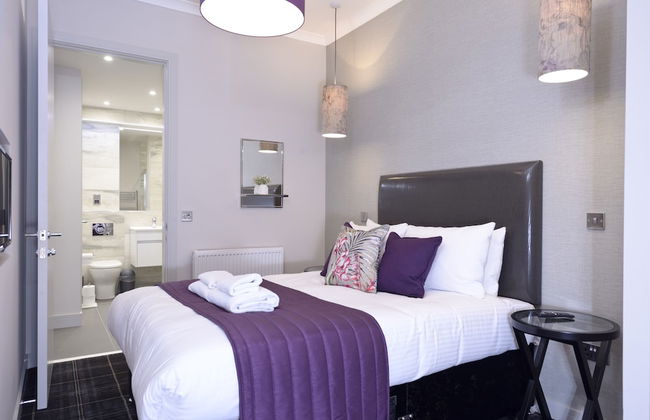
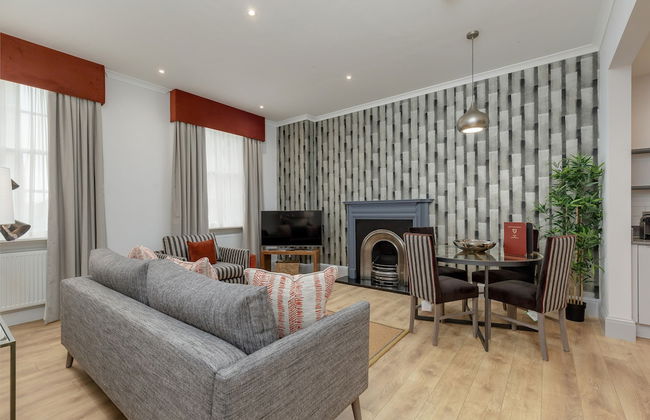
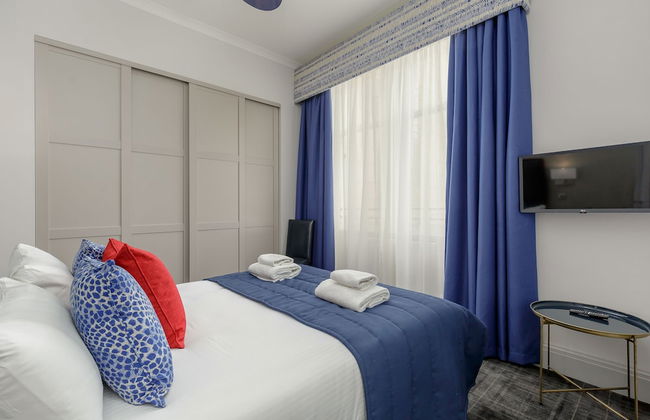
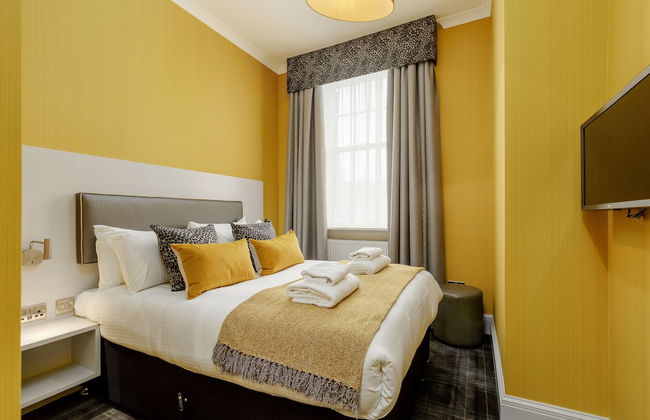
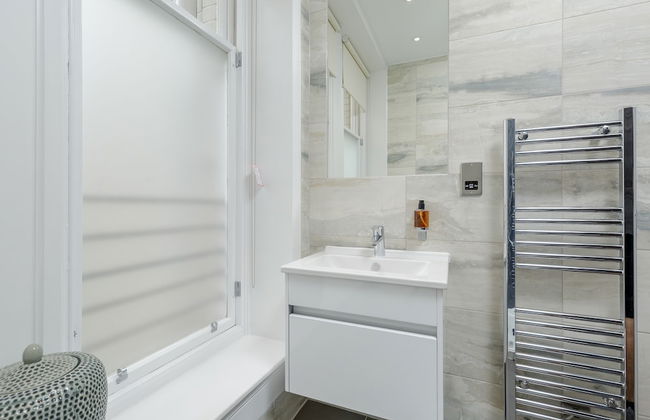
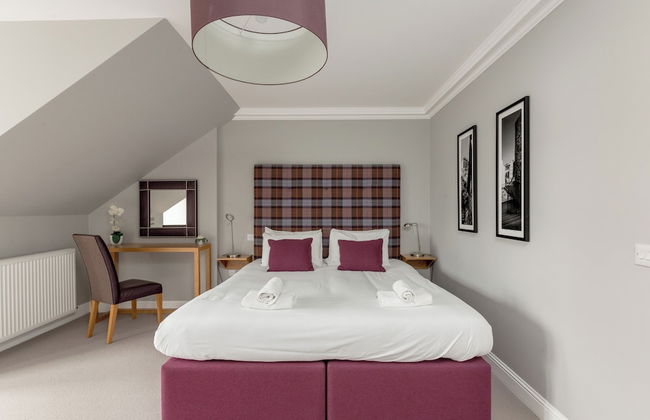
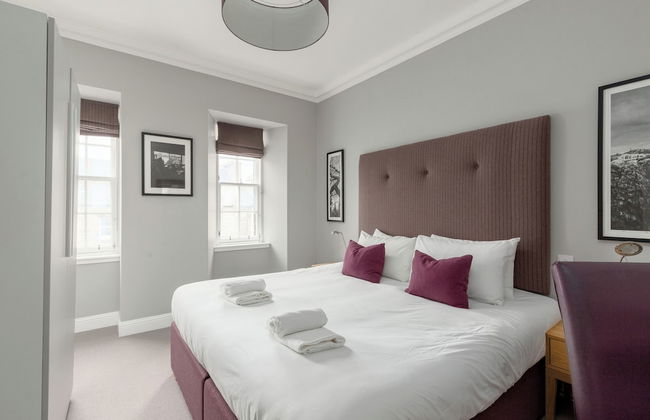
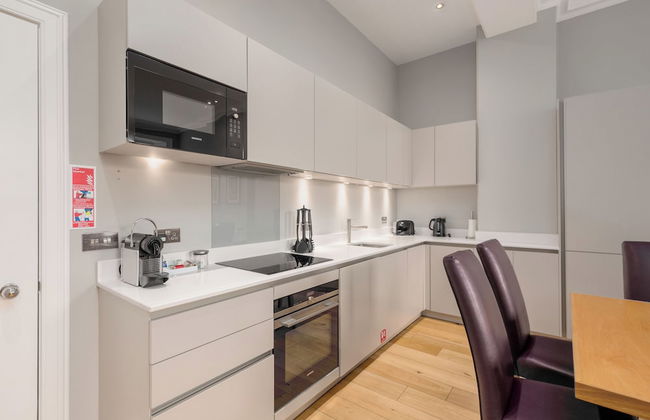
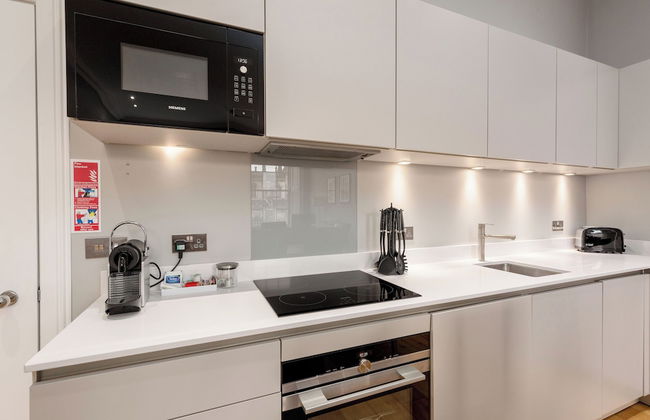
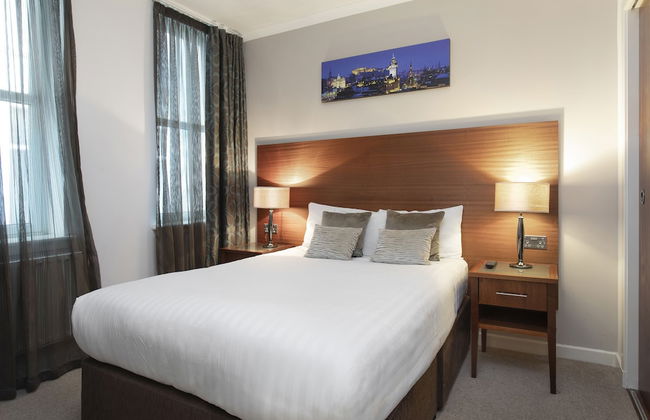
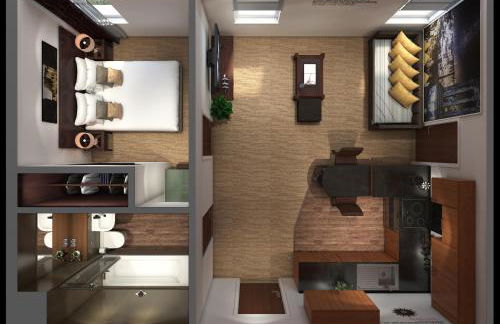
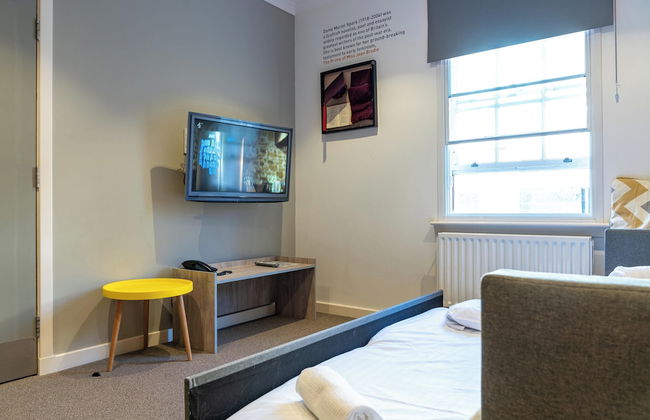
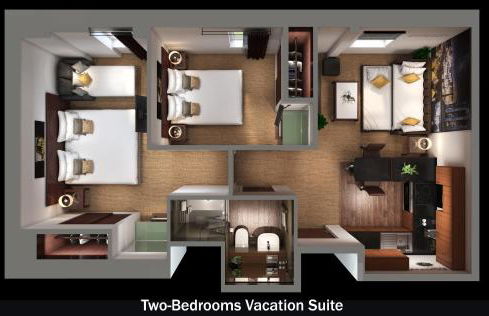
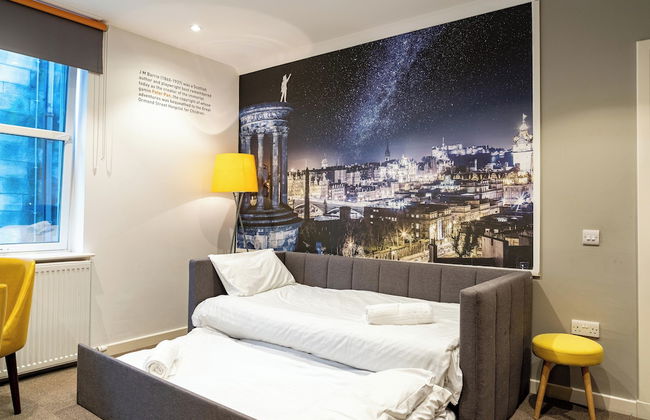
145 Appartements à EH2


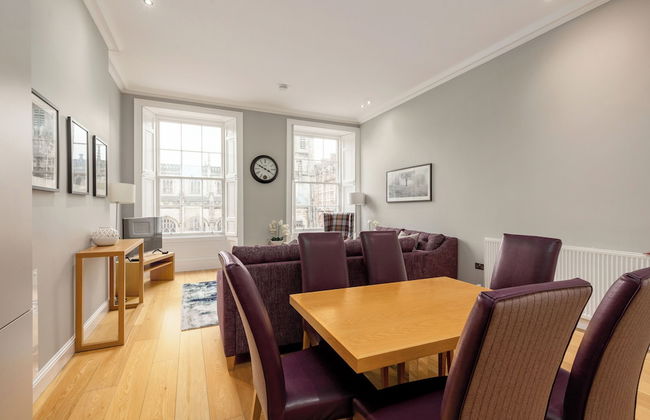
RÌGH Residences - George Street
Édimbourg - EH2 - Dans le centre
- 72 M2
- 2 chambres
- 5 personnes
- Cuisinette
- Air conditionné
- Le chauffage
- Ascenseur
- Tv
- Serviettes
- Feuilles
187 avis


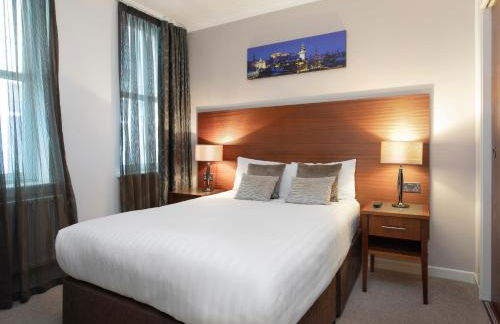
Sovo - Luxury Romantic WestEnd Apartment With Jacuzzi Spa Bath
Édimbourg - EH2 - À 300 m du centre
- 93 M2
- 1 chambre
- 2 personnes
- Air conditionné
- Le chauffage
- Terrasse
- Parking
- Jardin
24 avis


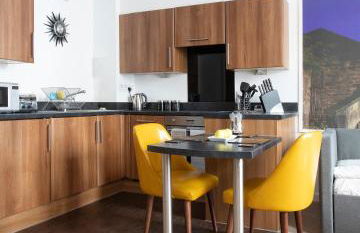
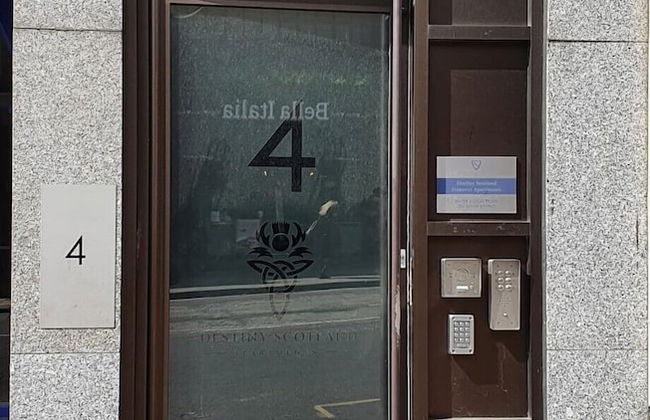
Destiny Scotland Charlotte Square Apartments
Édimbourg - EH2 - Dans le centre
- 78 M2
- 2 chambres
- 4 personnes
- Le chauffage
- Parking
- Tv
- Machine à laver
- Serviettes
- Feuilles
121 avis


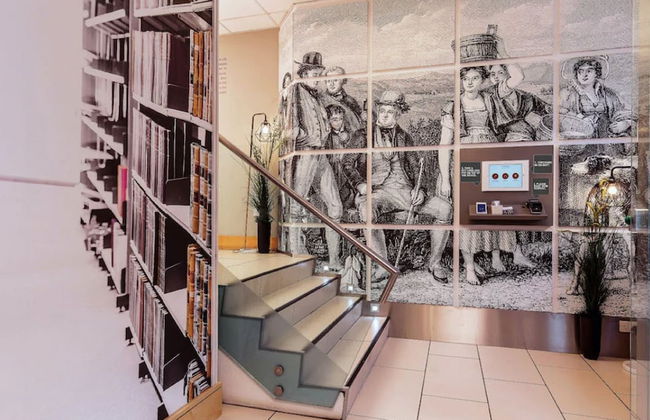
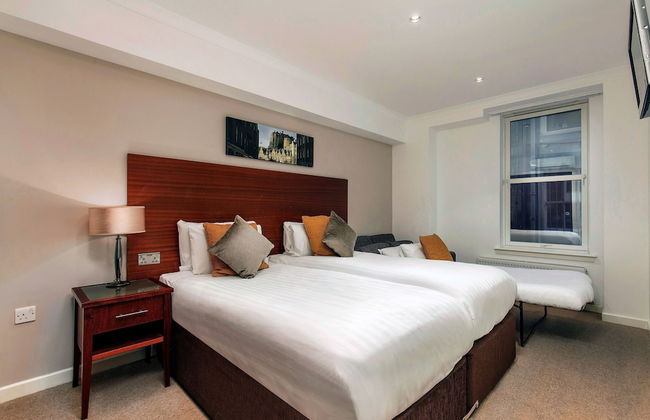
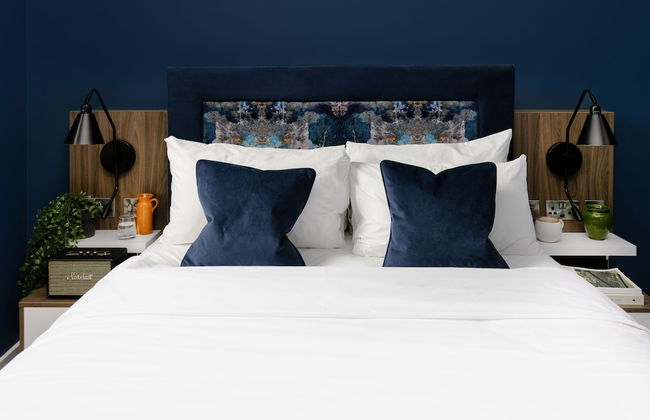
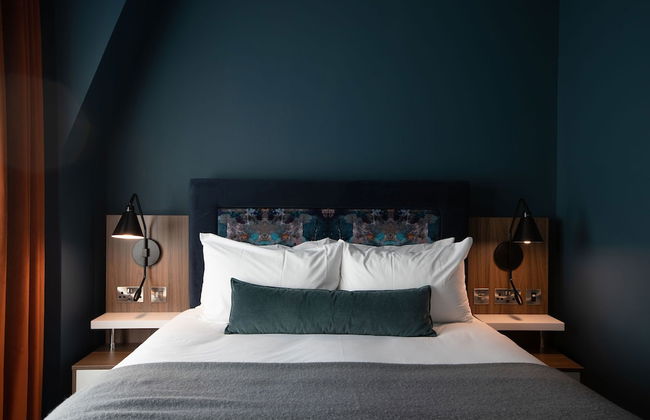
Eden Locke
Édimbourg - EH2 - Dans le centre
- 33 M2
- 3 personnes
- Air conditionné
- Le chauffage
- Tv
- Machine à laver
- Serviettes
- Feuilles
1216 avis


Destiny Scotland - Princes Street Residence
Édimbourg - EH2 - Dans le centre
- 115 M2
- 3 chambres
- 6 personnes
- Le chauffage
- Parking
- Tv
- Machine à laver
- Serviettes
- Feuilles
247 avis


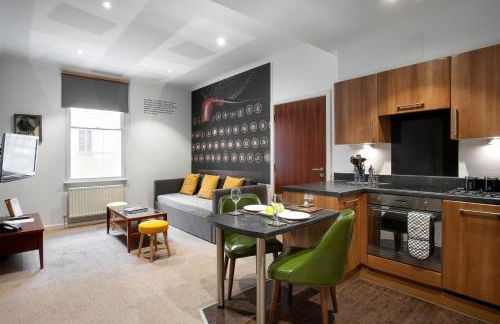


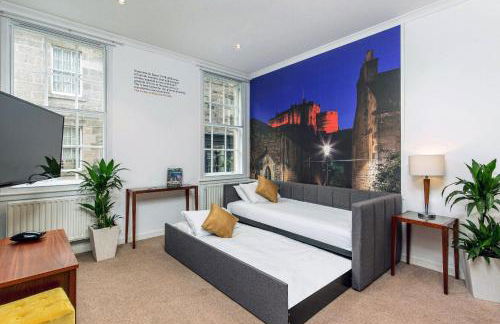

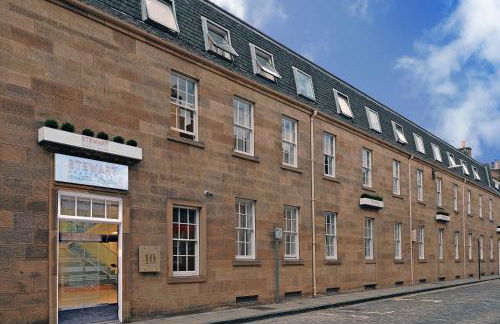

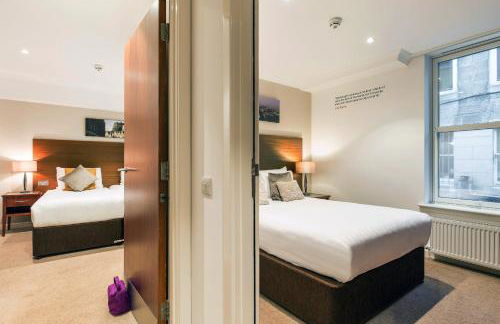

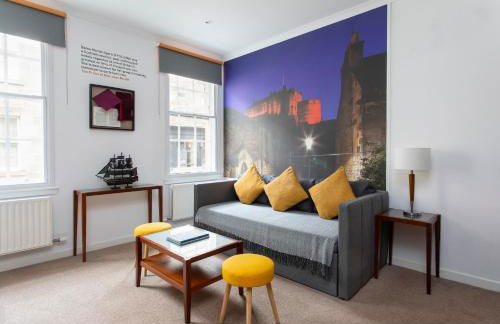


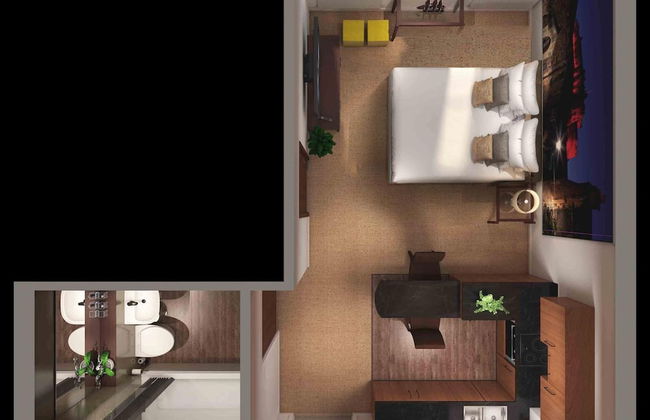


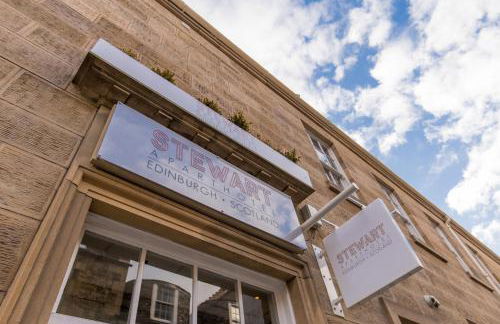


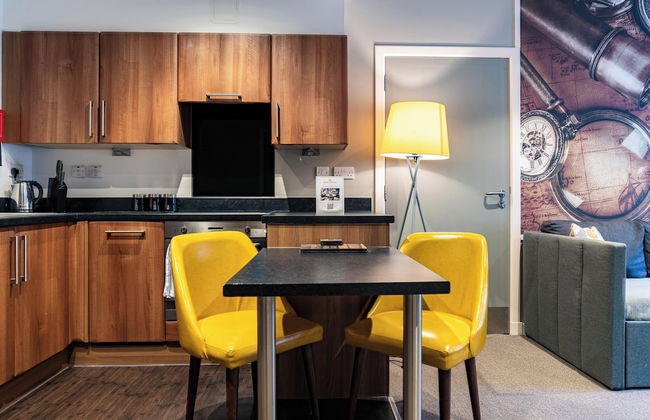

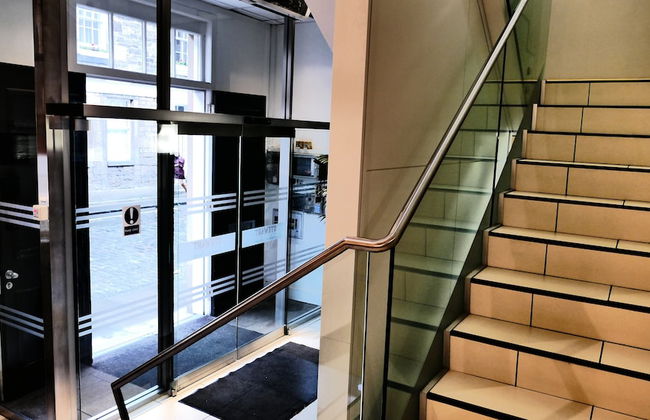


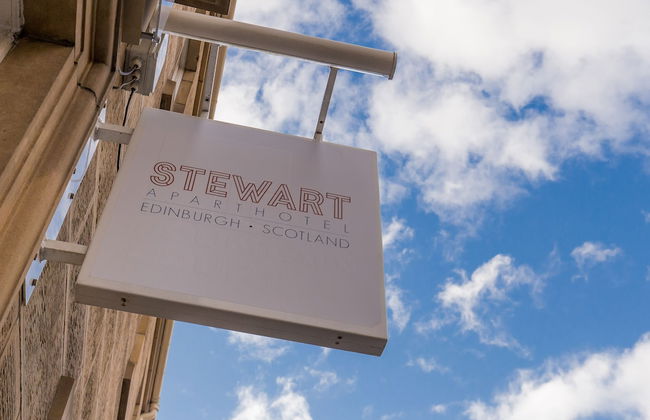


Stewart by Heeton Concept - Aparthotel Edinburgh
Édimbourg - EH2 - Dans le centre
- 46 M2
- 1 chambre
- 7 personnes
- Air conditionné
- Le chauffage
- Parking
- Ascenseur
- Tv
- Machine à laver
- Serviettes
- Feuilles
810 avis


Destiny Scotland Hanover Apartments
Édimbourg - EH2 - Dans le centre
- 60 M2
- 2 chambres
- 4 personnes
- Le chauffage
- Parking
- Tv
- Machine à laver
- Serviettes
- Feuilles
186 avis


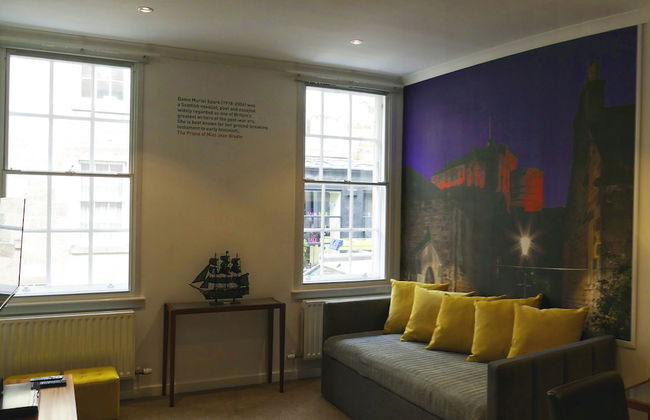
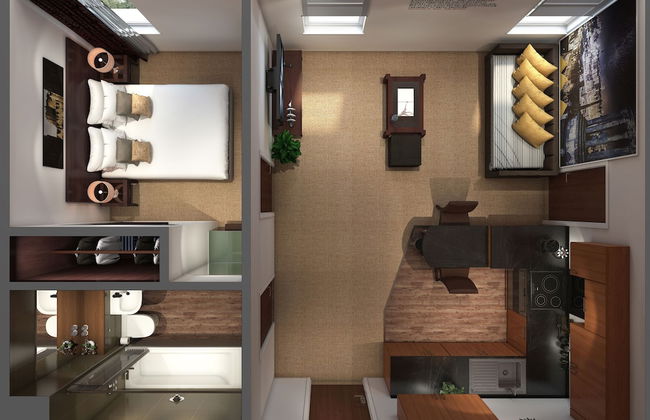
Heeton Concept Aparthotel Edinburgh Queen Street
Édimbourg - EH2 - Dans le centre
- 34 M2
- 6 personnes
- Air conditionné
- Le chauffage
- Parking
- Ascenseur
- Tv
- Machine à laver
- Cheminée
- Serviettes
- Feuilles
1057 avis


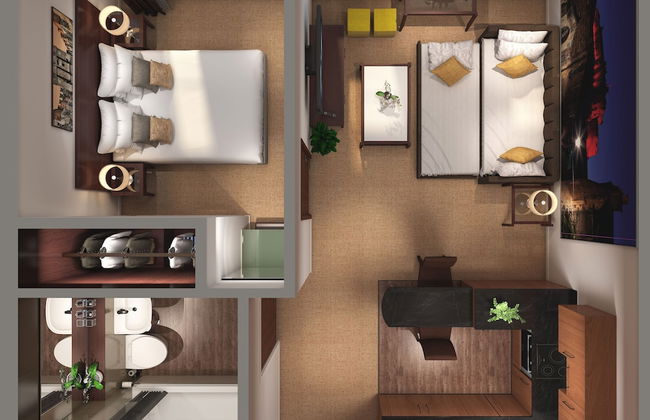
Destiny Scotland - St. Andrew Square Apartments
Édimbourg - EH2 - Dans le centre
- 42 M2
- 2 chambres
- 4 personnes
- Cuisinette
- Le chauffage
- Parking
- Tv
- Machine à laver
- Serviettes
- Feuilles
346 avis


JOIVY Luxury Flat Near Edinburgh Castle
Édimbourg - EH2 - Dans le centre
- 70 M2
- 2 chambres
- 4 personnes
- Le chauffage
- Tv
- Machine à laver
- Serviettes
- Feuilles
49 avis


JOIVY Great Location - Lovely Rose St Apt in City Centre
Édimbourg - EH2 - Dans le centre
- 55 M2
- 1 chambre
- 2 personnes
- Le chauffage
- Tv
- Machine à laver
- Serviettes
2 avis


JOIVY Luxury George Street Apartments: Edinburgh Suite
Édimbourg - EH2 - Dans le centre
- 6 personnes
- Le chauffage
- Machine à laver
- Serviettes
3 avis


Central New Town Apartment
Édimbourg - EH2 - Dans le centre
- 88 M2
- 2 chambres
- 4 personnes
- Le chauffage
- Parking
- Jardin
- Tv
- Machine à laver
- Serviettes
- Feuilles
3 avis


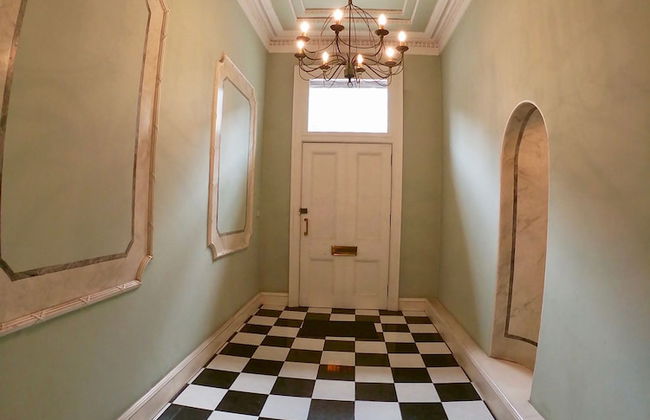

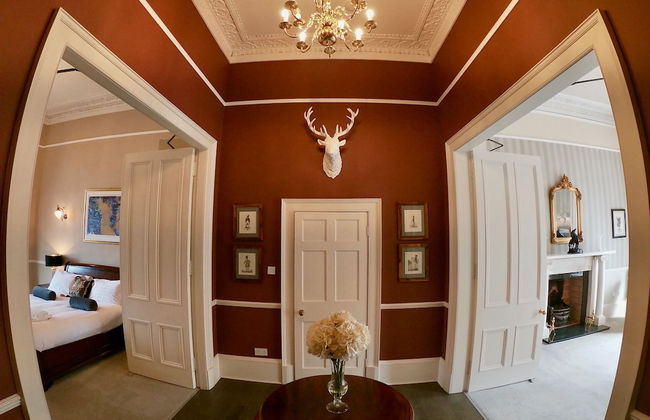

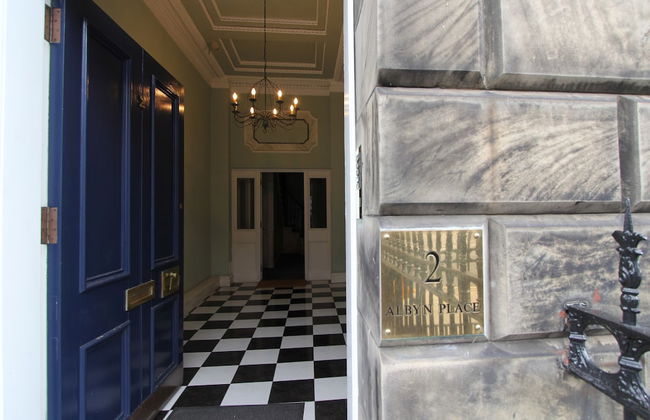


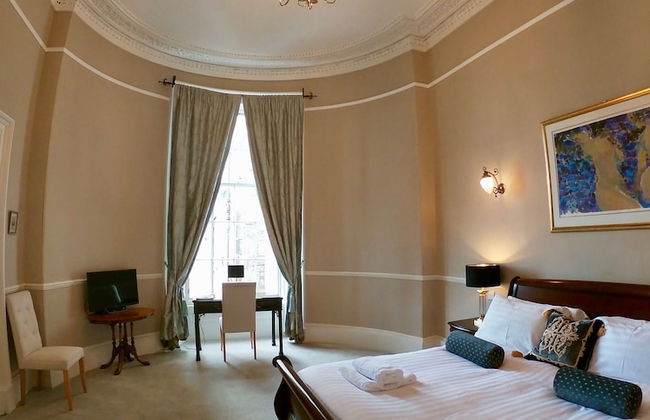


Escape To Edinburgh @ Albyn Place
Édimbourg - EH2 - Dans le centre
- 100 M2
- 2 personnes
- Le chauffage
- Tv
- Machine à laver
- Cheminée
- Serviettes
- Feuilles
2 avis


JOIVY Luxury George Street Apartments: Castle Suite
Édimbourg - EH2 - Dans le centre
- 4 personnes
- Le chauffage
- Machine à laver
- Serviettes
2 avis


Alva - City Centre Apartment
Édimbourg - EH2 - Dans le centre
- 8 personnes
- Le chauffage
- Tv
- Serviettes
- Feuilles
5 avis


Braid Apartments by Mansley
Édimbourg - EH2 - Dans le centre
- 64 M2
- 2 chambres
- 4 personnes
- Air conditionné
- Le chauffage
- Ascenseur
- Tv
- Machine à laver
- Serviettes
- Feuilles
608 avis


Wemyss Hideaway Retreat
Édimbourg - EH2 - Dans le centre
- 89 M2
- 2 chambres
- 5 personnes
- Le chauffage
- Terrasse
- Parking
- Jardin
35 avis


Thistle Suite city centre
Édimbourg - EH2 - Dans le centre
- 64 M2
- 2 chambres
- 4 personnes
- Le chauffage
81 avis


Destiny Scotland New Town Apartments
Édimbourg - EH2 - Dans le centre
- 70 M2
- 2 chambres
- 4 personnes
- Le chauffage
- Parking
- Ascenseur
- Tv
- Machine à laver
- Serviettes
- Feuilles
177 avis