


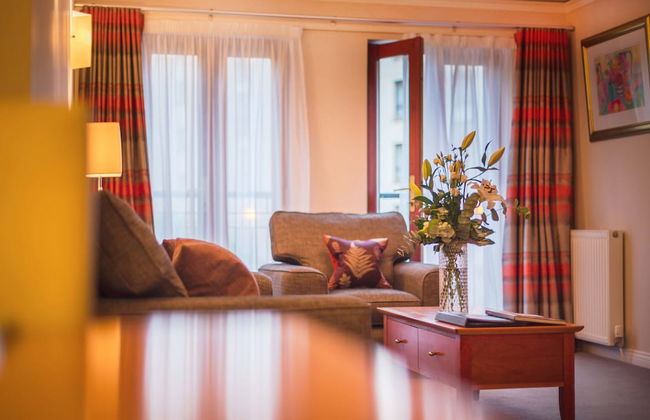
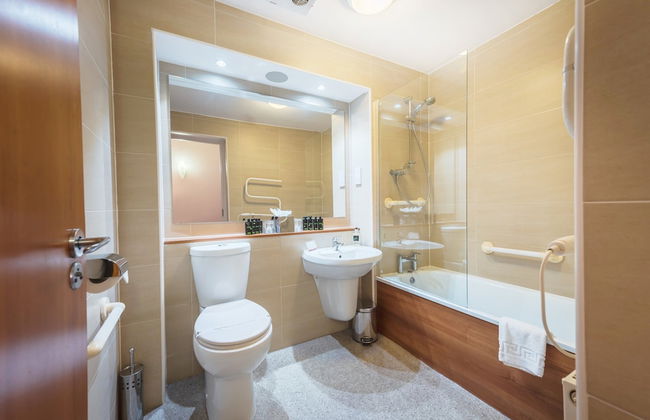
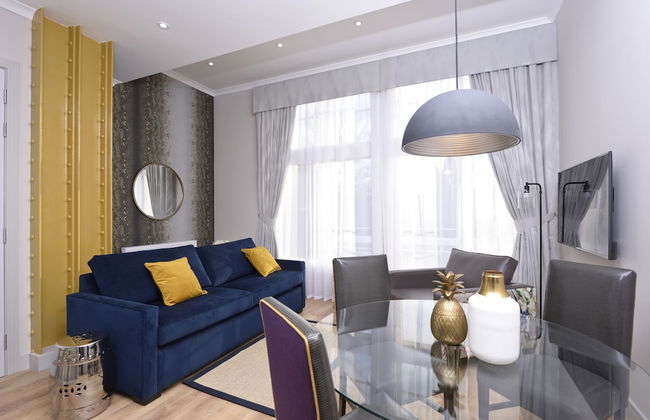
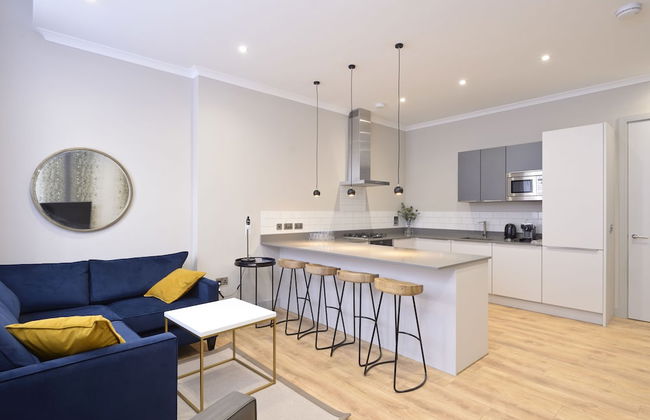
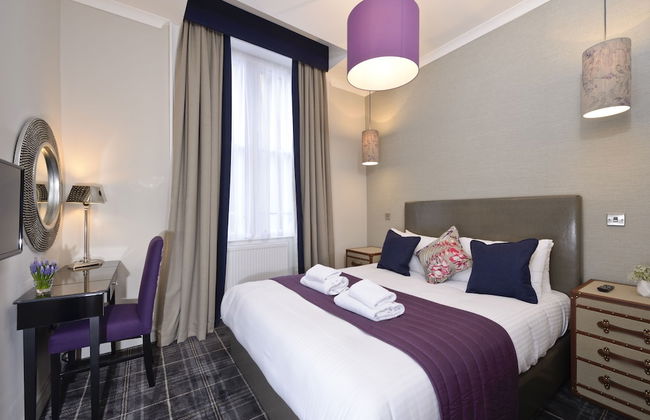
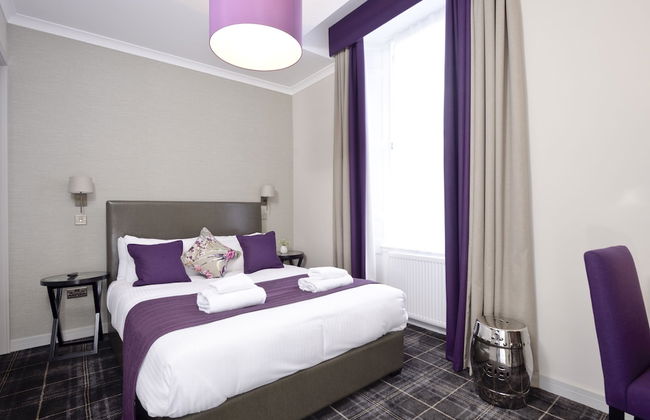
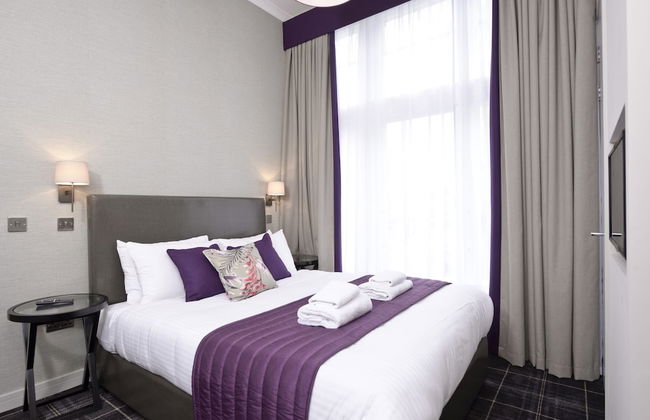
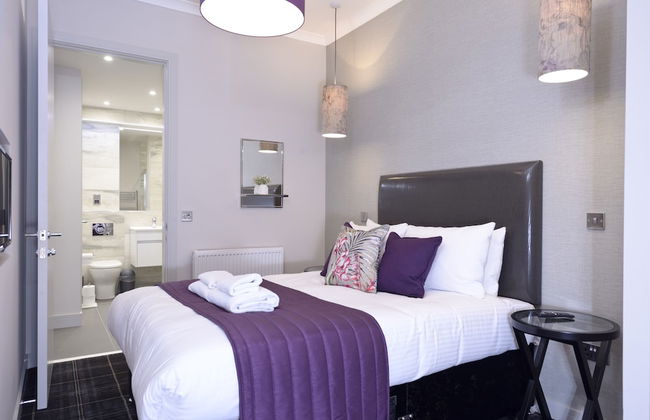
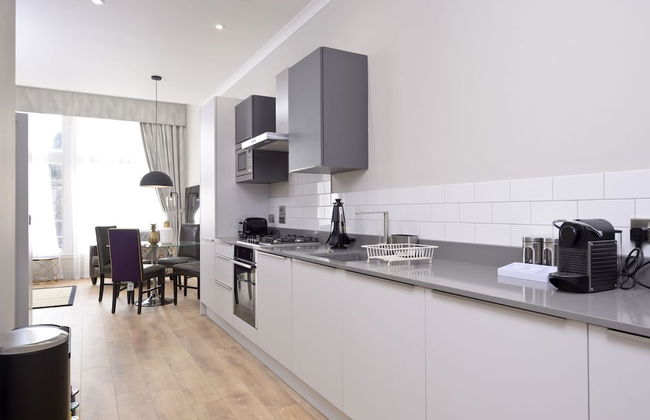
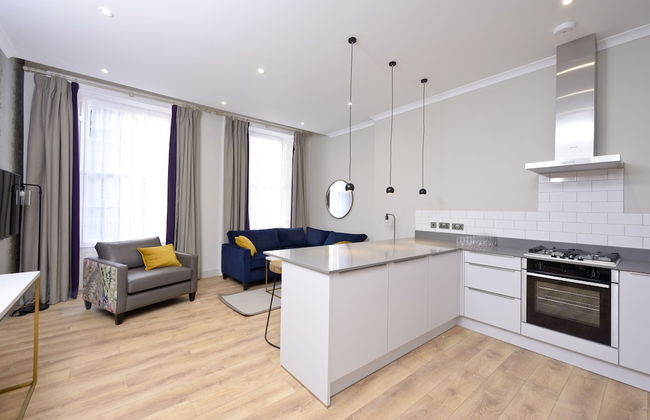
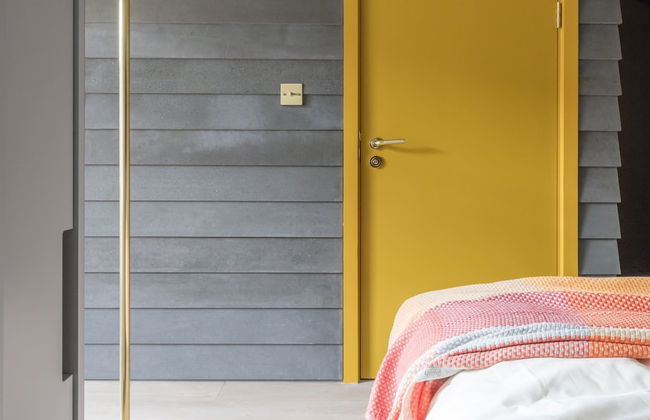
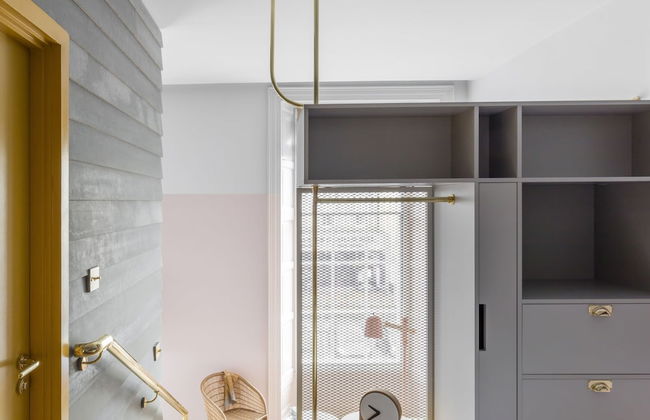
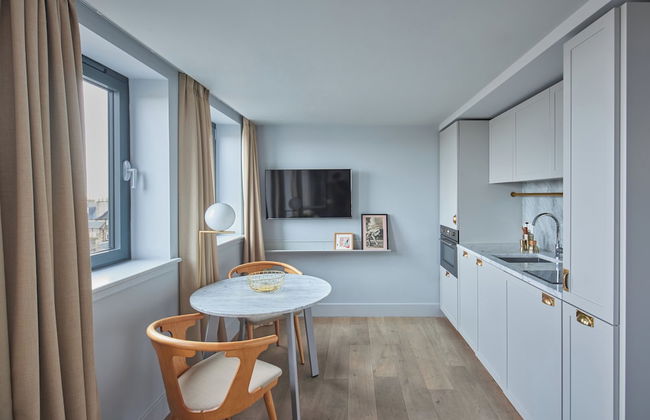
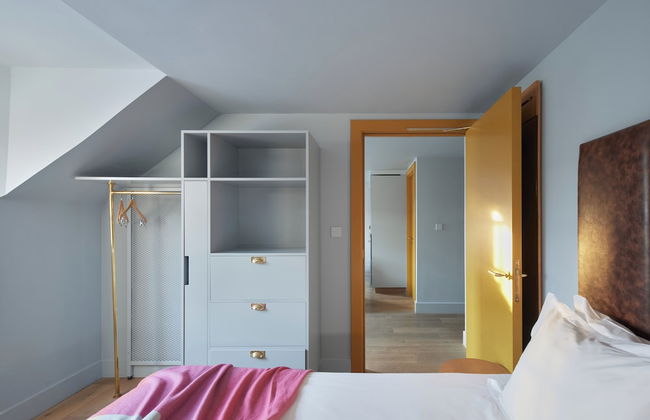
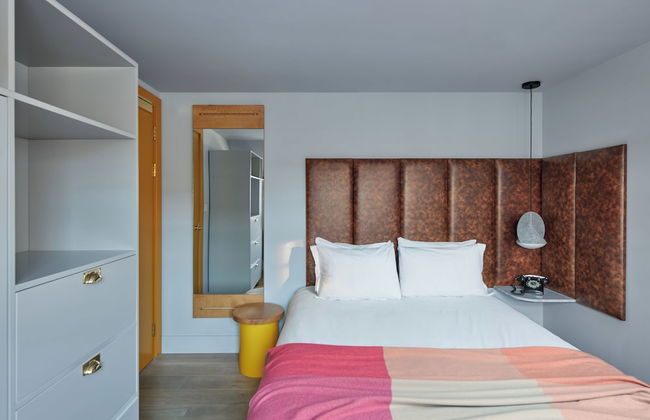
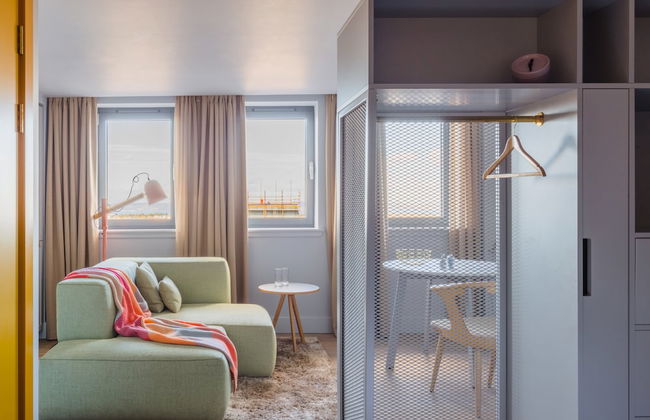
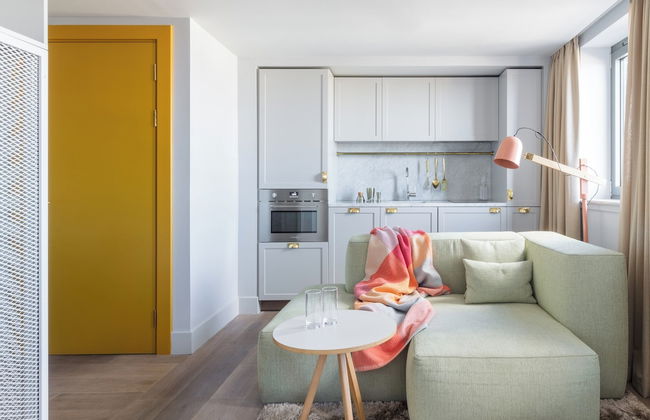
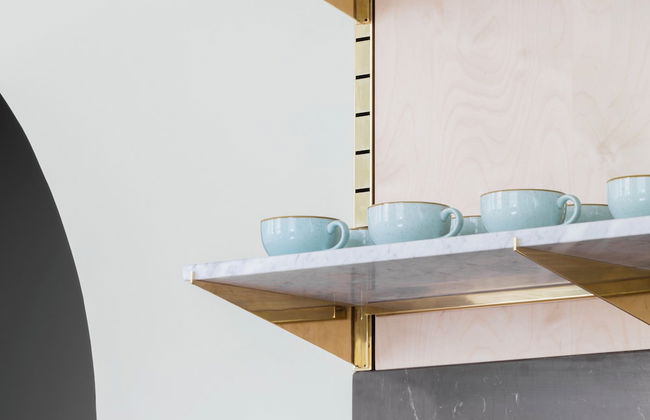
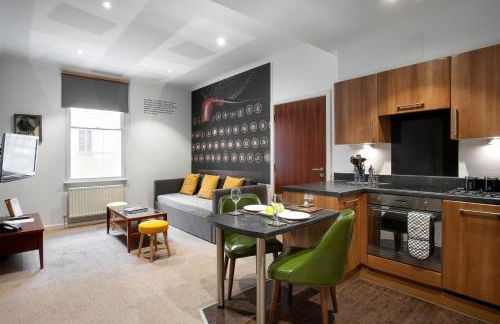
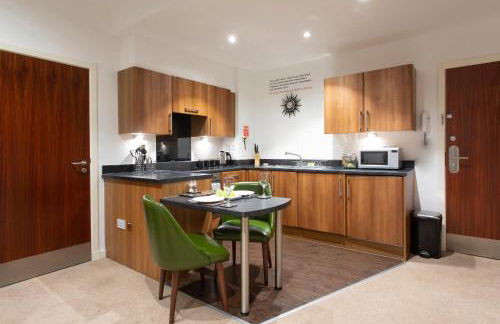
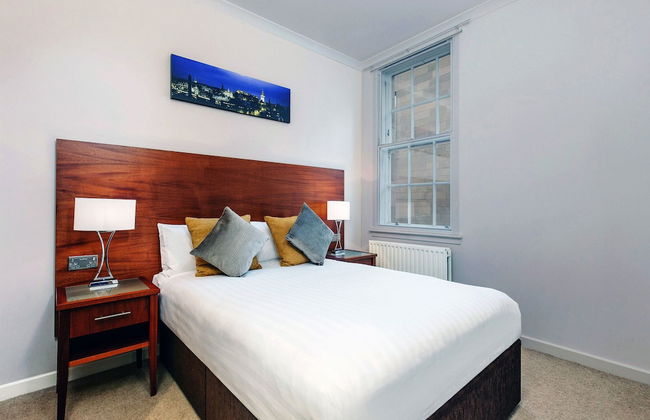
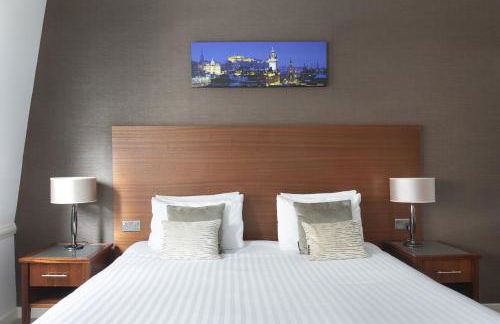
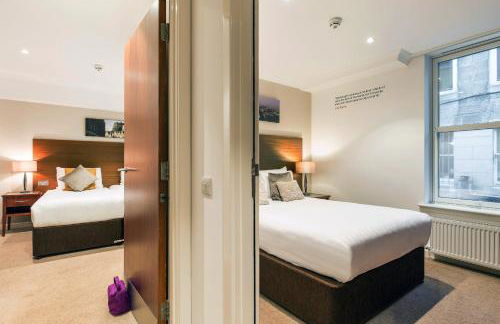
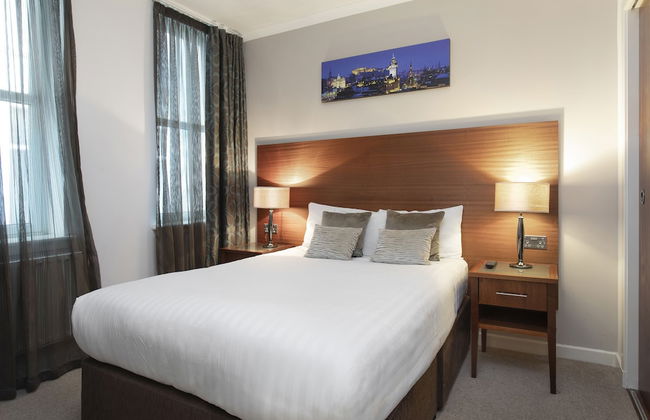
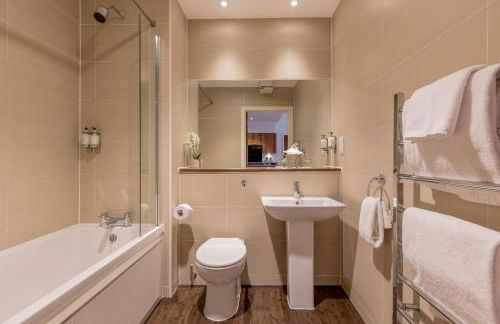
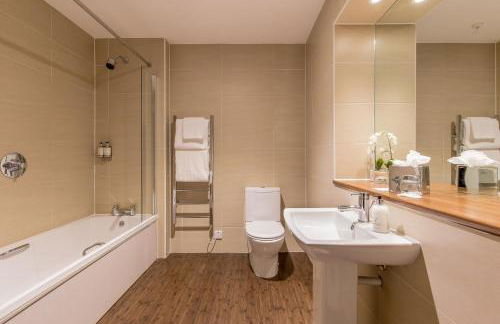
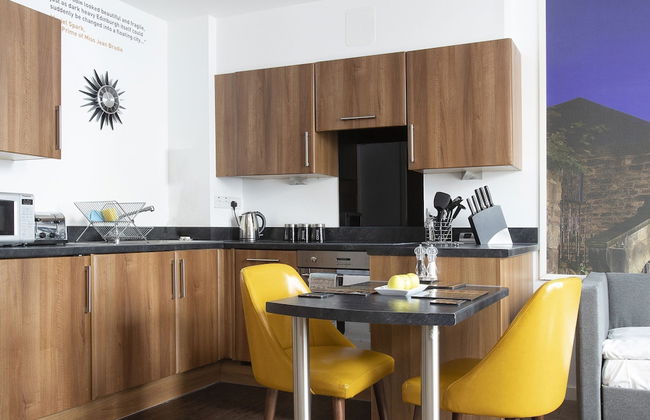
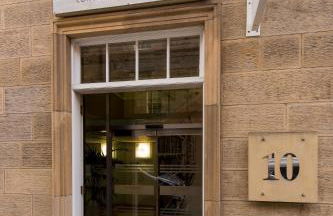
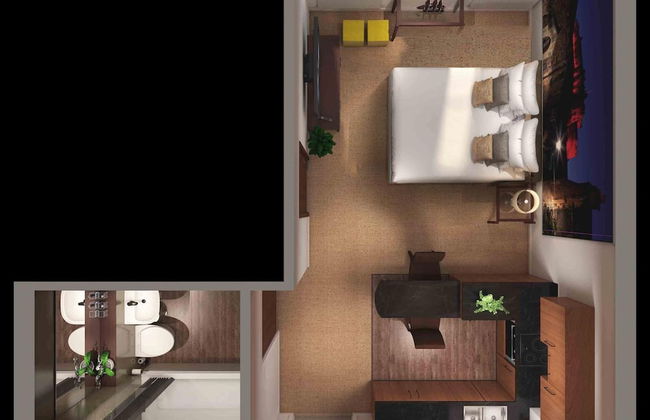
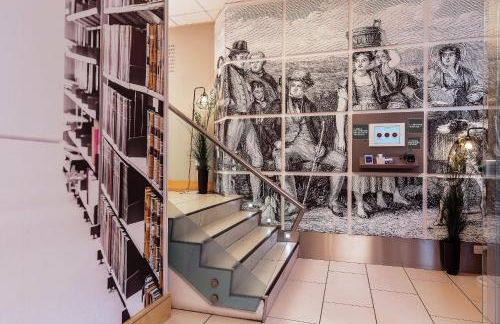
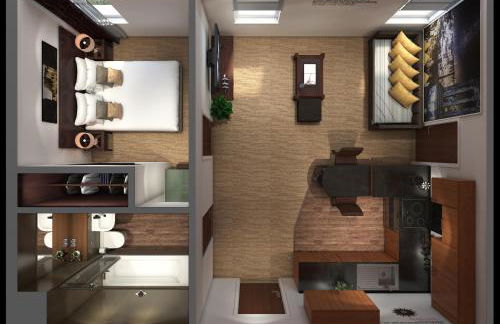
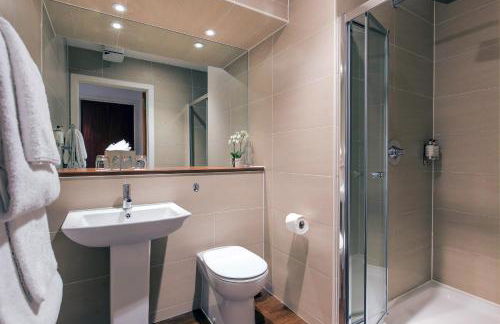
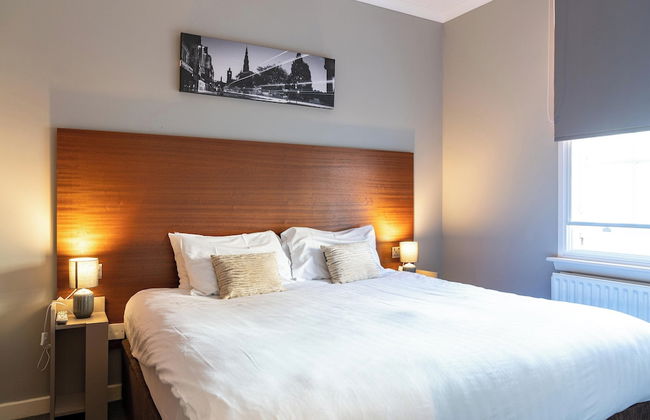
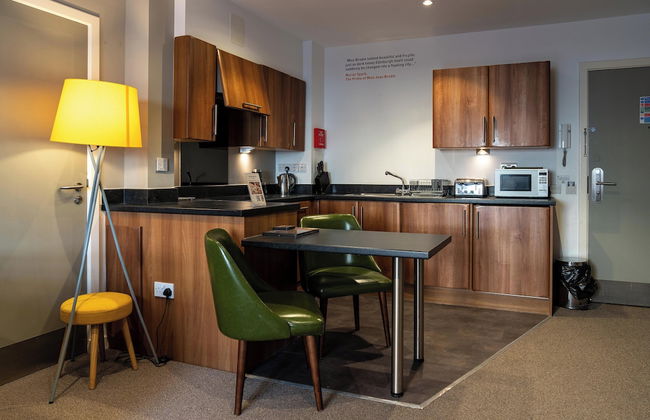
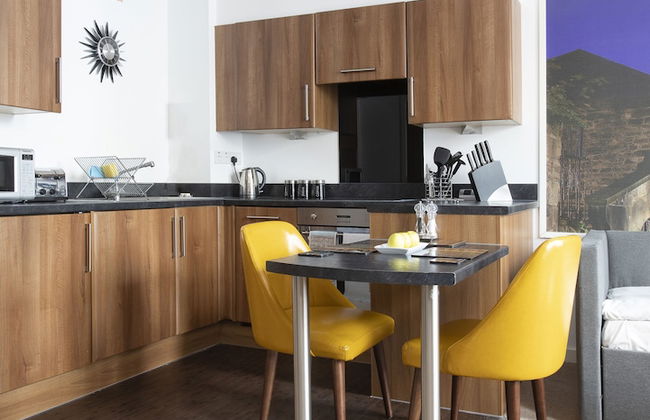
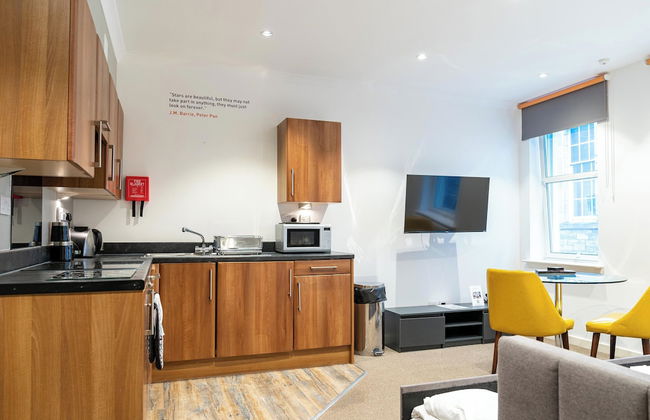
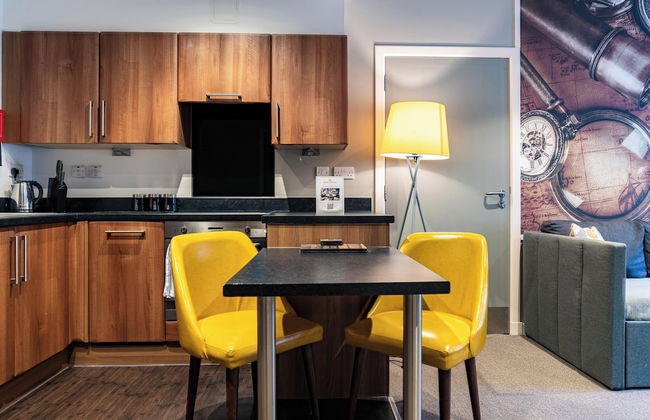
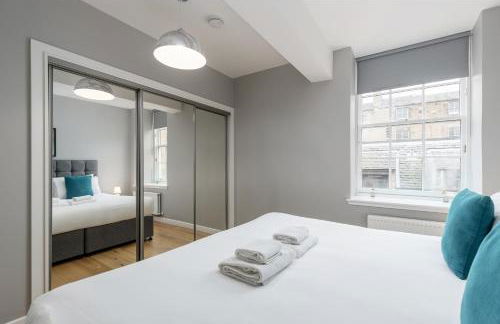
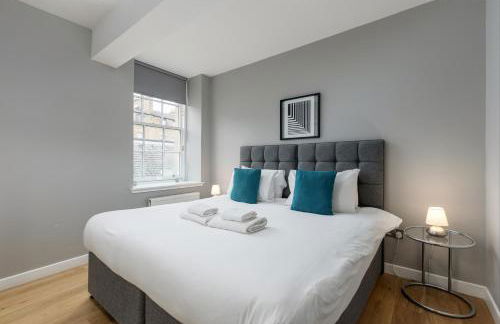
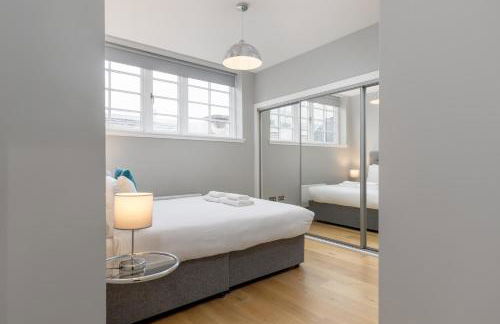
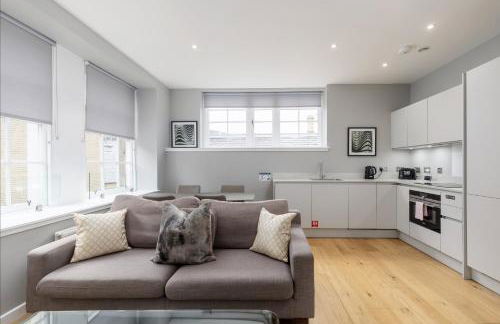
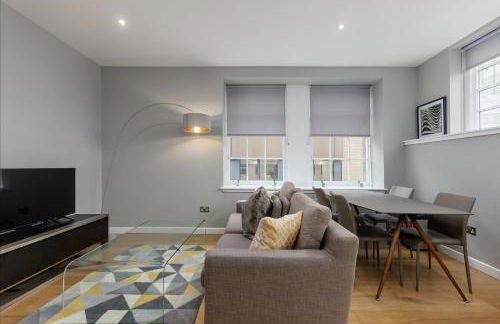
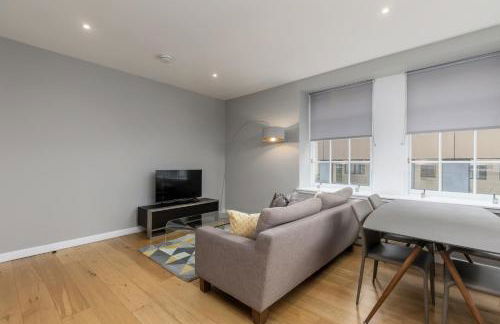
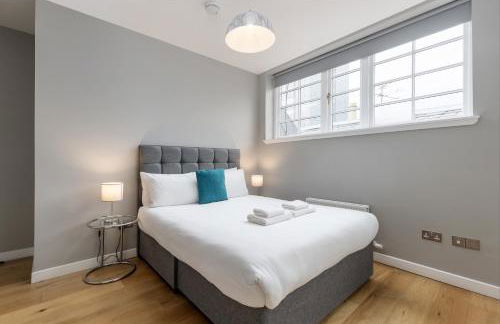
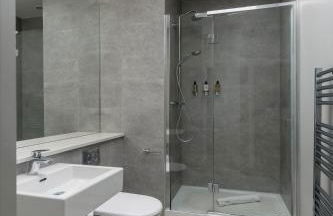
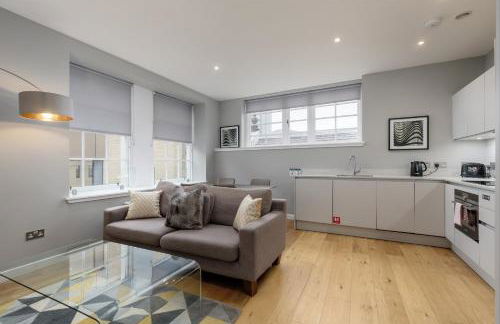
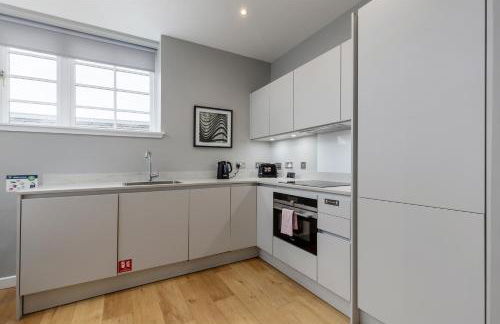
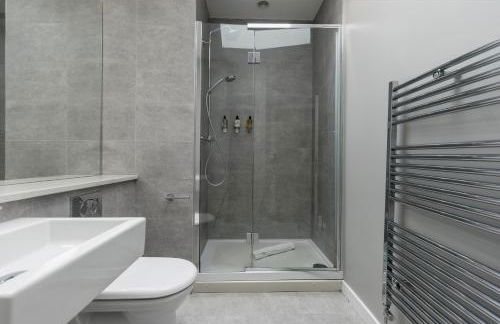
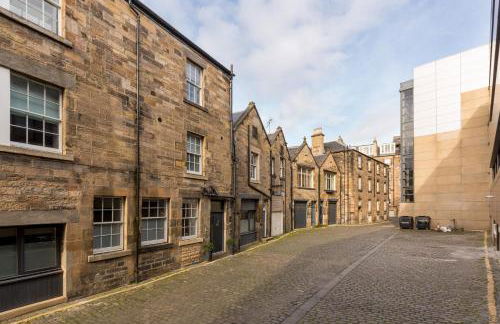
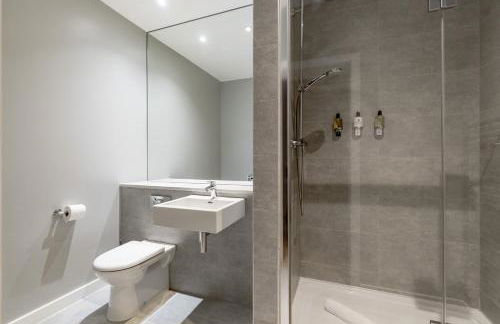
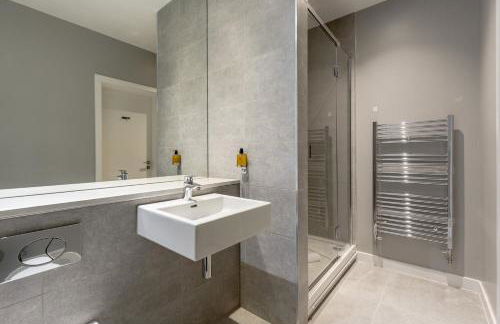
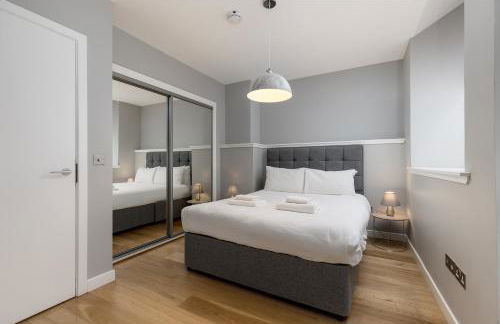
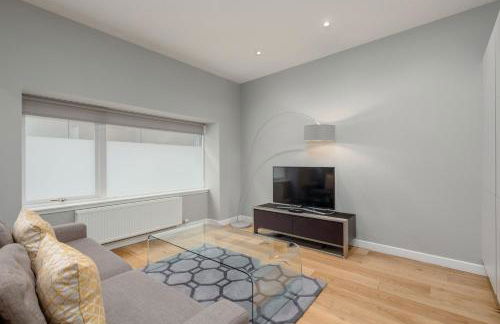
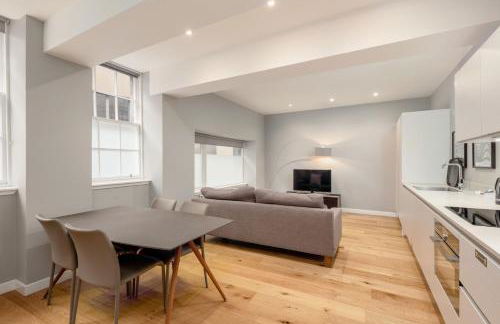
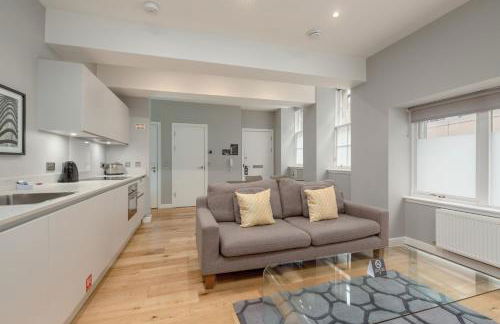
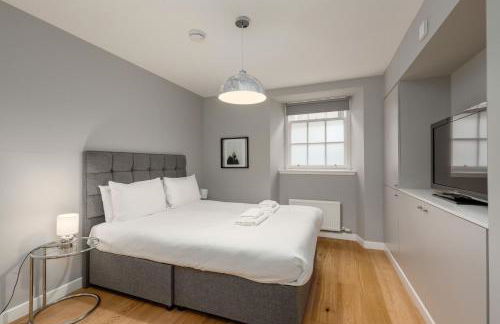
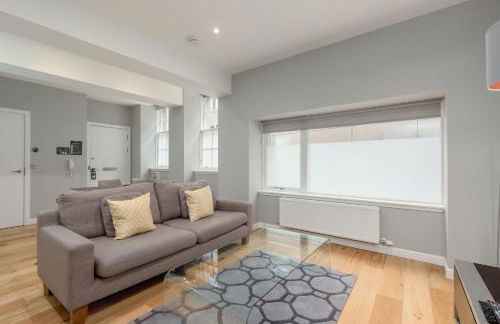
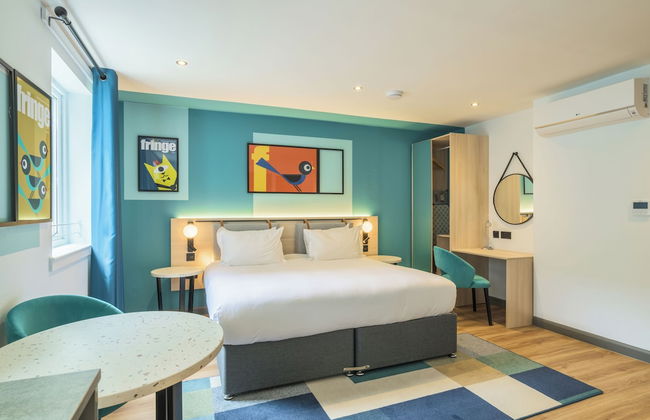
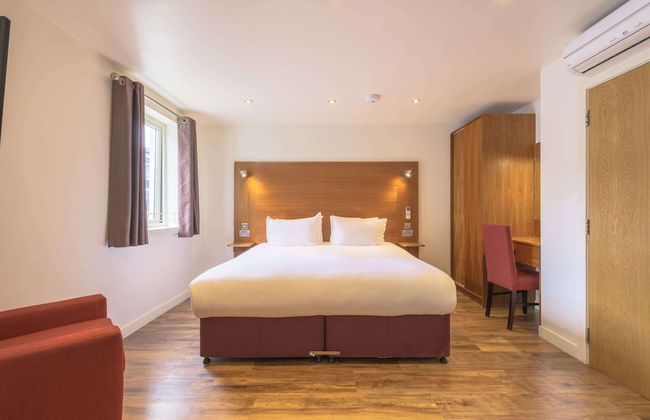
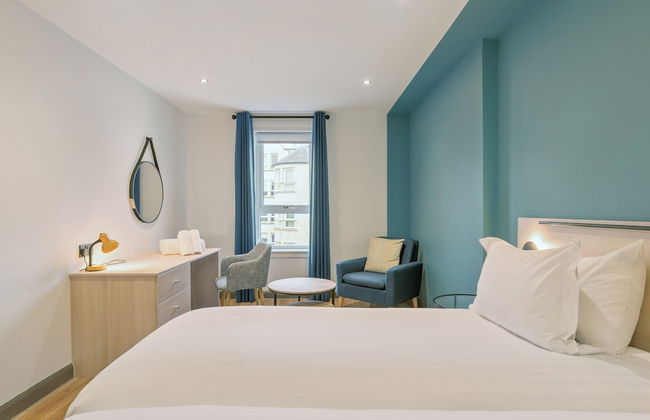
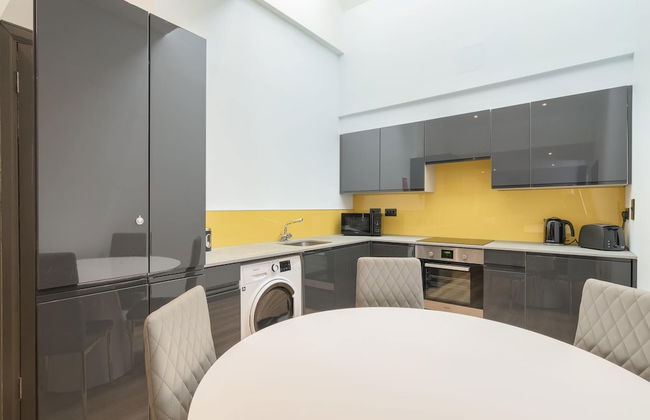
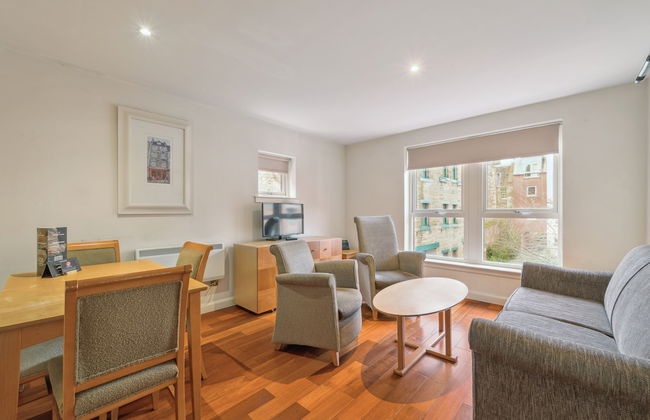
RÌGH Residences - George Street
Édimbourg - EH2 - Dans le centre
- 72 M2
- 2 chambres
- 5 personnes
- Cuisinette
- Air conditionné
- Le chauffage
- Ascenseur
- Tv
- Serviettes
- Feuilles


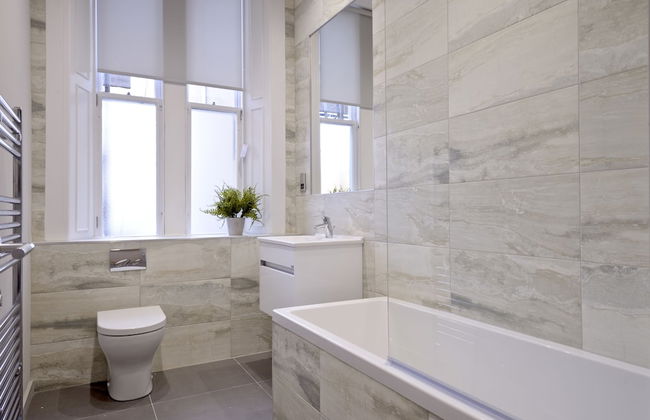
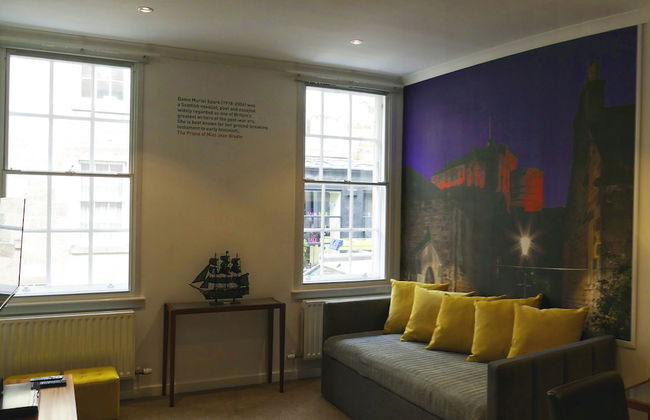
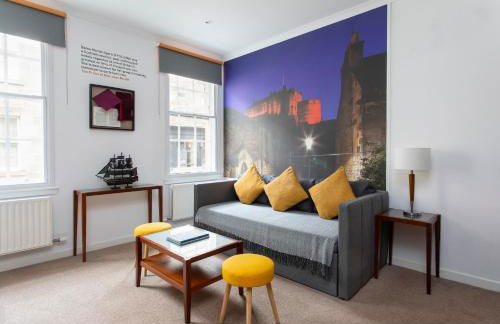
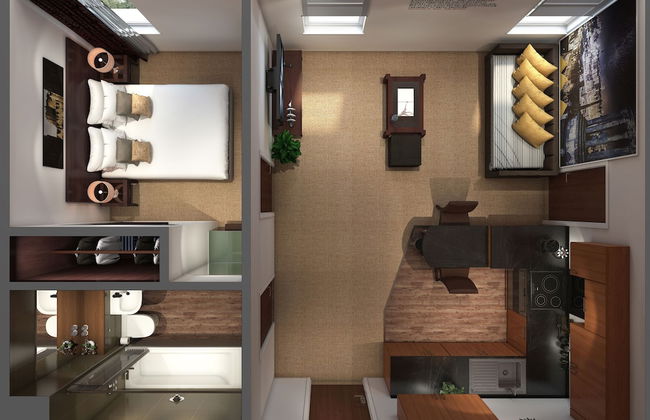
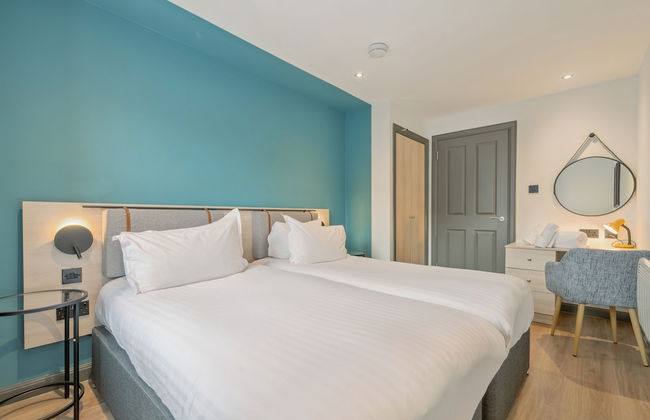
Grassmarket, Below Edinburgh Castle in Old Town
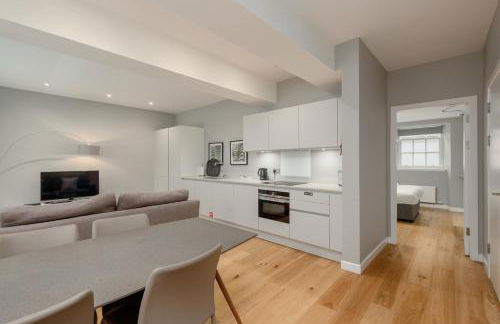
Édimbourg - EH1 - À 350 m du centre
- 76 M2
- 4 personnes
- Le chauffage
- Tv
- Machine à laver
- Cheminée
- Serviettes
- Feuilles


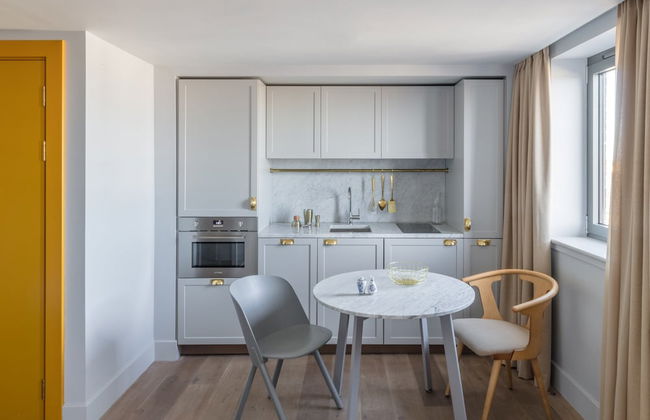
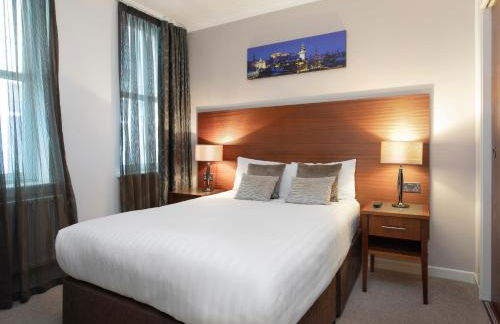
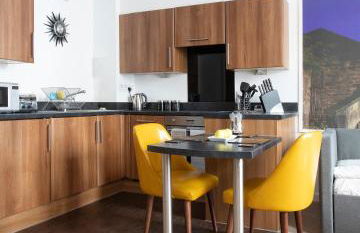
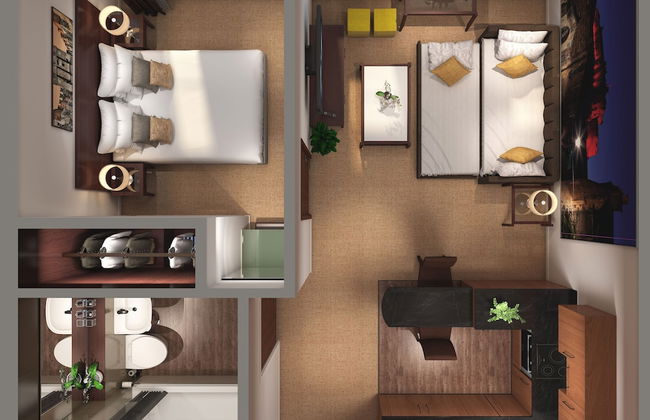
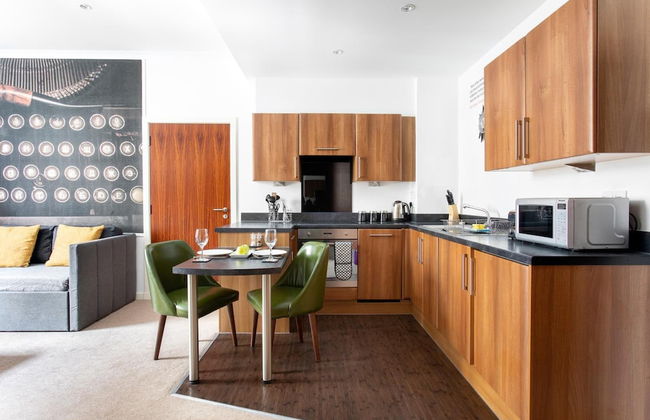
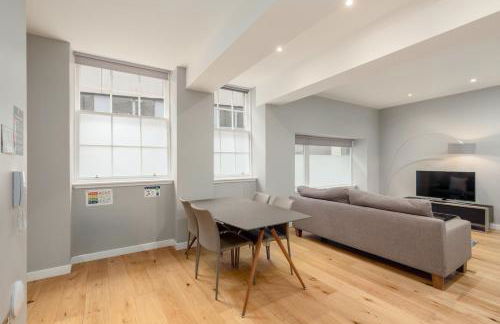
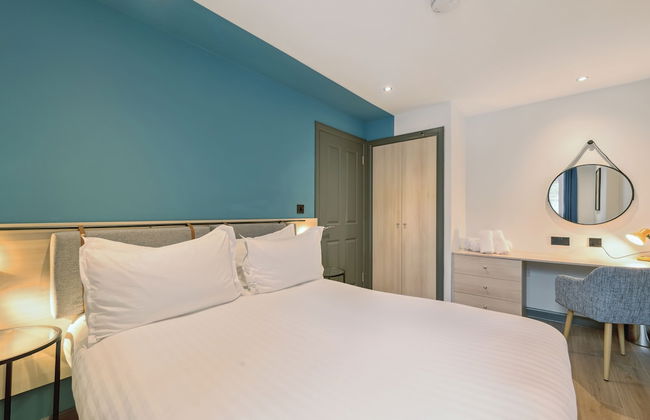
Linton Collection - 28 North Bridge
Édimbourg - EH1 - À 420 m du centre
- 58 M2
- 2 chambres
- 4 personnes
- Cuisinette
- Le chauffage
- Ascenseur
- Tv
- Machine à laver
- Serviettes
- Feuilles


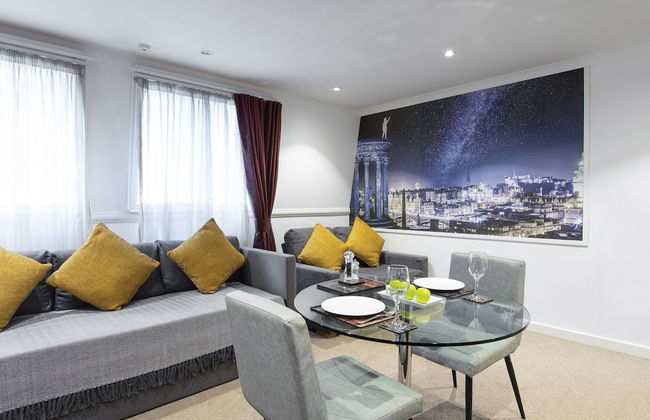
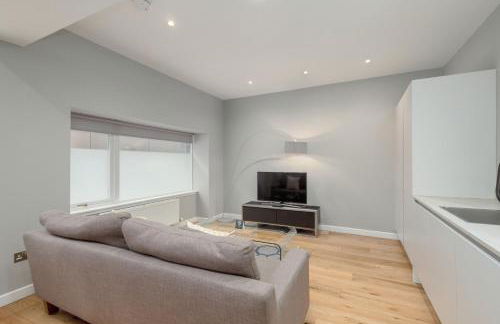
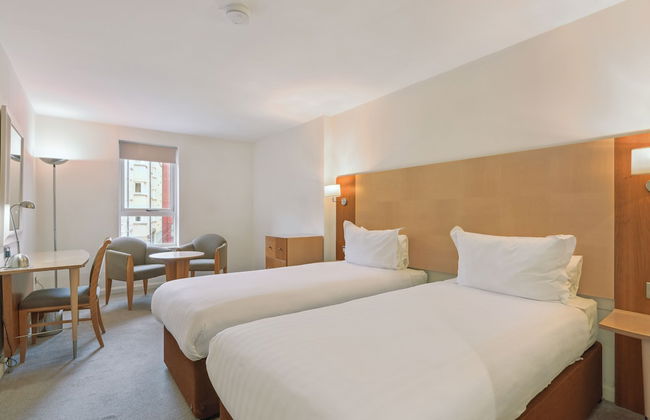
Sovo - Luxury Romantic WestEnd Apartment With Jacuzzi Spa Bath
Édimbourg - EH2 - À 300 m du centre
- 93 M2
- 1 chambre
- 2 personnes
- Air conditionné
- Le chauffage
- Terrasse
- Parking
- Jardin


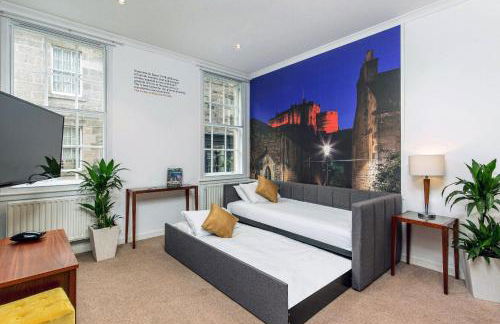
The Knight Residence Apartments by Mansley
Édimbourg - EH3 - À 490 m du centre
- 59 M2
- 3 chambres
- 5 personnes
- Le chauffage
- Parking
- Ascenseur
- Tv
- Machine à laver
- Serviettes
- Feuilles


Princes Street Suites
Édimbourg - EH1 - À 410 m du centre
- 120 M2
- 3 chambres
- 6 personnes
- Le chauffage
- Terrasse
- Parking
- Ascenseur
- Tv
- Machine à laver
- Serviettes


No1. Apartments Edinburgh - New Town
Édimbourg - EH3 - Dans le centre
- 50 M2
- 4 personnes
- Le chauffage
- Tv
- Serviettes
- Feuilles


Destiny Scotland Charlotte Square Apartments
Édimbourg - EH2 - Dans le centre
- 78 M2
- 2 chambres
- 4 personnes
- Le chauffage
- Parking
- Tv
- Machine à laver
- Serviettes
- Feuilles


Silver Lining - Penthouse with parking
Édimbourg - EH3 - À 940 m du centre
- 5 personnes
- Le chauffage
- Terrasse
- Parking
- Tv
- Machine à laver
- Serviettes
- Feuilles


Eden Locke
Édimbourg - EH2 - Dans le centre
- 33 M2
- 3 personnes
- Air conditionné
- Le chauffage
- Tv
- Machine à laver
- Serviettes
- Feuilles


Clarendon Luxury Apartments
Édimbourg - EH4 - À 340 m du centre
- 3 personnes
- Cuisinette
- Tv
- Serviettes
- Feuilles


Cadell House Apt - Royal Mile
Édimbourg - EH8 - À 970 m du centre
- 4 personnes
- Le chauffage
- Tv
- Machine à laver
- Serviettes
- Feuilles


Luxury Georgian City Retreat by Sovo Apartments
Édimbourg - EH6 - À 2.7 km du centre
- 3 chambres
- 6 personnes
- Le chauffage
- Parking
- Jardin


Destiny Scotland - Broughton St Lofts
Édimbourg - EH1 - À 350 m du centre
- 55 M2
- 2 chambres
- 4 personnes
- Le chauffage
- Parking
- Tv
- Machine à laver
- Serviettes
- Feuilles


Destiny Scotland - Distillers House
Édimbourg - EH3 - À 670 m du centre
- 65 M2
- 2 chambres
- 4 personnes
- Le chauffage
- Parking
- Tv
- Machine à laver
- Serviettes
- Feuilles


Edinburgh Nine
Édimbourg - EH1 - À 340 m du centre
- 29 M2
- 2 personnes
- Cuisinette
- Le chauffage
- Tv
- Serviettes
- Feuilles


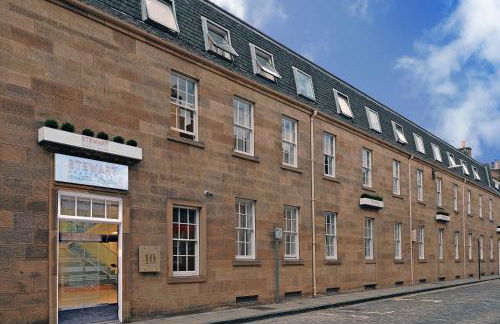


Stewart by Heeton Concept - Aparthotel Edinburgh
Édimbourg - EH2 - Dans le centre
- 46 M2
- 1 chambre
- 7 personnes
- Air conditionné
- Le chauffage
- Parking
- Ascenseur
- Tv
- Machine à laver
- Serviettes
- Feuilles


Destiny Scotland Apartments at Canning Street Lane
Édimbourg - EH3 - À 370 m du centre
- 80 M2
- 2 chambres
- 4 personnes
- Le chauffage
- Parking
- Tv
- Machine à laver
- Serviettes
- Feuilles


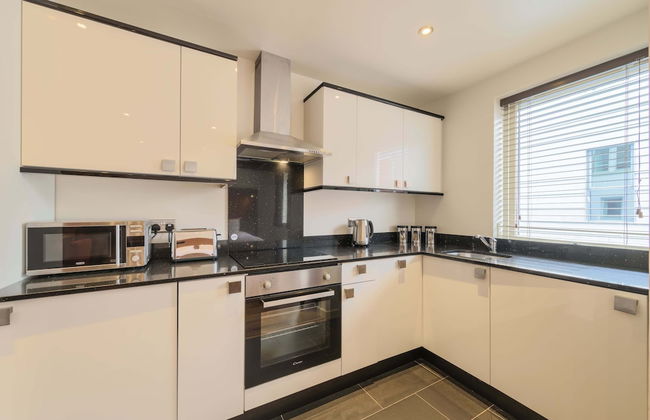
JOIVY Luxurious 2 Br Apt On Notable George Street
Édimbourg - EH2 - Dans le centre
- 60 M2
- 2 chambres
- 4 personnes
- Le chauffage
- Parking
- Tv
- Machine à laver
- Serviettes
- Feuilles


Holyrood Aparthotel
Édimbourg - EH8 - À 980 m du centre
- 51 M2
- 2 chambres
- 4 personnes
- Le chauffage
- Parking
- Ascenseur
- Tv
- Machine à laver
- Serviettes
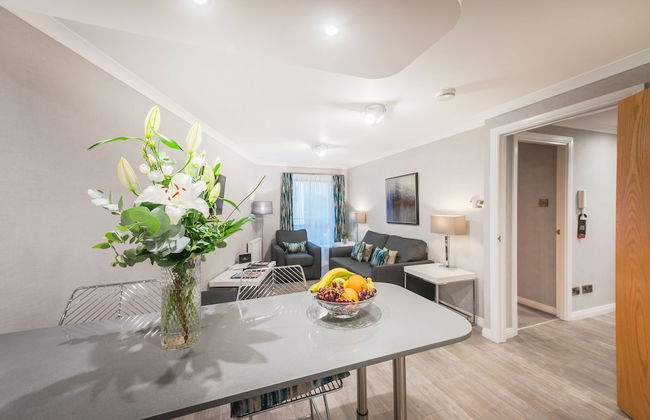
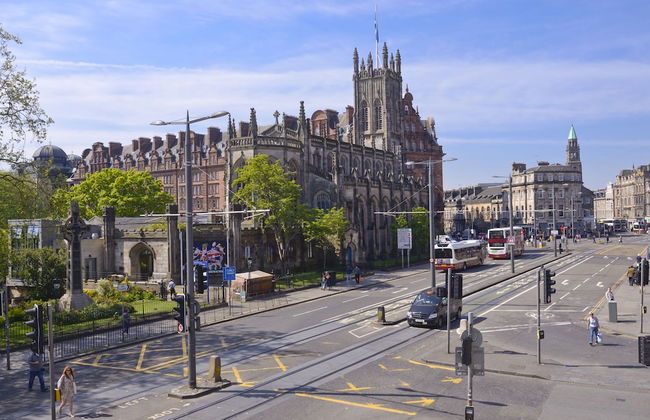
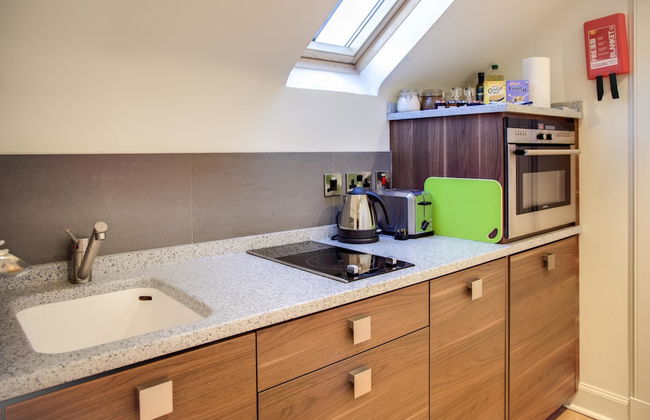
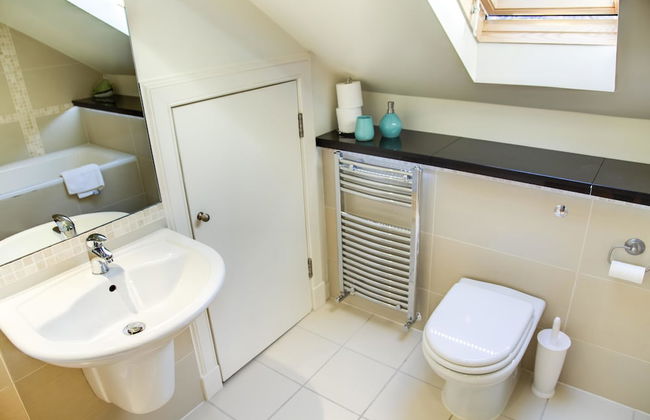
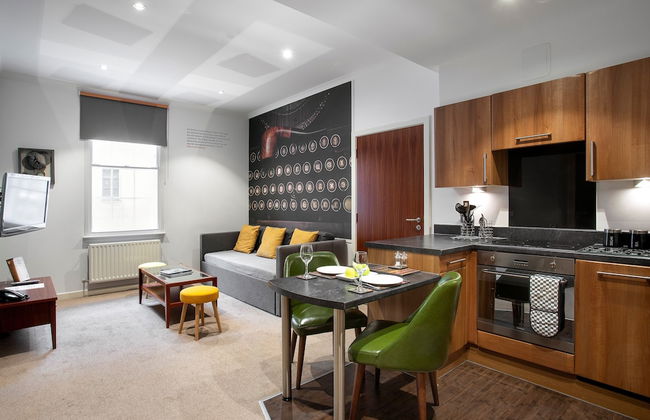
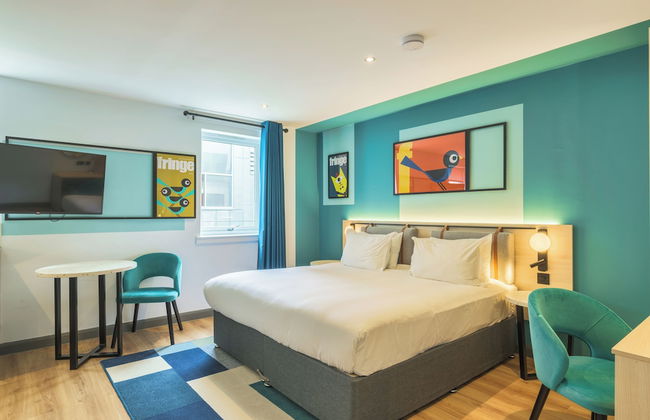
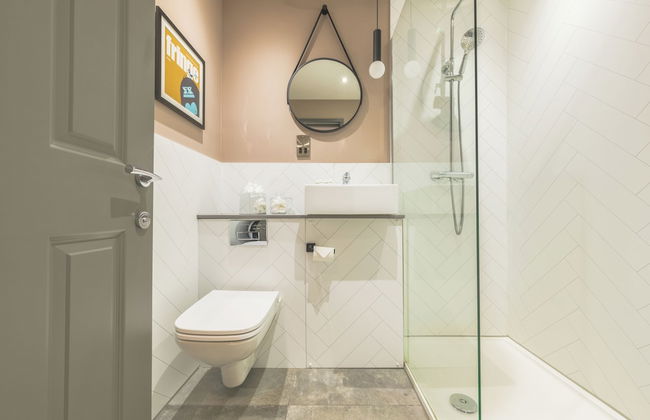
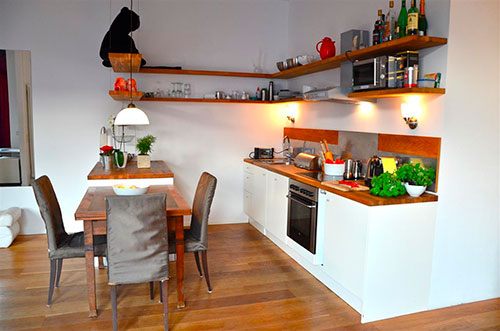
Appartements à Édimbourg -- Hébergement abordable
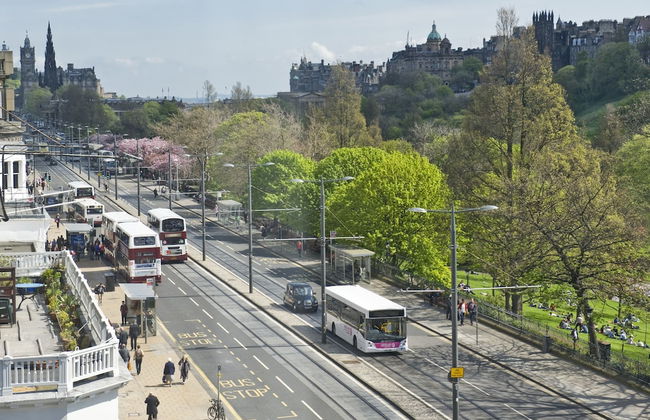
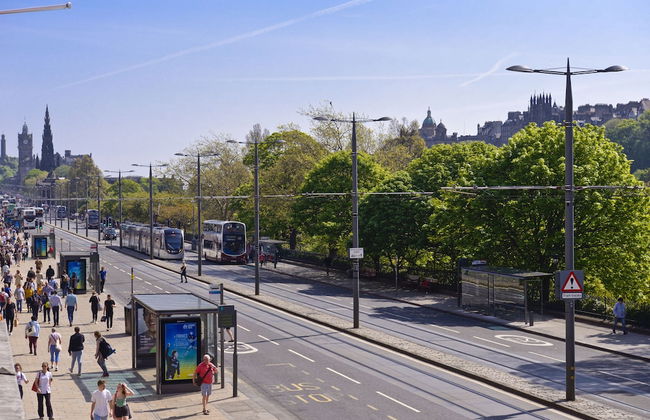
Édimbourg est un bastion d'histoire, << sur son trente et un >> avec ses ravissantes façades et son architecture remarquable. Des << wynds >> -- ruelles étroites -- mènent du centre de la vieille ville aux villages urbains, à la culture et au charme rustique rayonnants, et il y a pléthore de coins et recoins qui n'attendent que d'être découverts. À chaque tour et détour, l'on peut profiter d'un nouveau spectacle, qu'il s'agisse d'une boutique de livres anciens, d'un clocher d'église ornementé ou d'un château au sommet d'une colline. Mais la beauté de la nature à Édimbourg est aussi à couper le souffle, avec ses collines vert bouteille s'élevant vers le ciel, ses roches escarpées couleur rouille et la mer qui scintille au loin. Les lieux séculaires vont de pair avec les panoramas extraordinaires, façonnant ainsi une ville incroyablement agréable et chargée de culture. Elle propose au voyageur contemporain une gamme de pubs à la mode, des concerts improvisés, des fêtes nocturnes et un mélange éclectique de boutiques haut de gamme. Réservez l'un de nos appartements à Édimbourg et commencez à explorer cette ville aux multiples dimensions.
Châteaux, Closes (<< passages >>) et cathédrales -- Choses à faire à Édimbourg
Forte d'une histoire fascinante et de son extraordinaire toile de fond, Édimbourg est l'endroit idéal à explorer. Nos appartements à Édimbourg sont répartis dans toute la ville, vous offrant bien des possibilités pour découvrir ses nombreux secrets et curiosités.
- Le château d'Édimbourg -- Une forteresse du XIe siècle qui se dresse fièrement au sommet d'une colline, et abrite les joyaux de la Couronne ainsi que le musée national de la guerre d'Écosse.
- Le palais de Holyrood -- La résidence officielle du souverain britannique en Écosse est un palais Stuart construit au XVIe siècle. Il regorge de salles de réception royales et de nombreuses collections d'antiquités et de reliques.
- Le jardin botanique royal d'Édimbourg -- Ce centre scientifique est spécialisé dans l'étude des plantes et s'étend sur 28 hectares de jardins luxuriants.
- HMY Britannia -- L'ancien yacht royal de la Reine Elizabeth II, qui était en service entre 1954 et 1997. Les visiteurs peuvent aujourd'hui se promener dans le navire.
- Arthur's Seat (<< le siège d'Arthur >>) -- Une incroyable colline qui surplombe Édimbourg depuis les confins luxuriants du parc de Holyrood.
- Outlook Tower (<< la tour Observatoire >>) -- Également connue sous le nom de Camera Obscura et World of Illusions, cet établissement de divertissement propose toutes sortes d'illusions d'optique grandeur nature et d'habiles supercheries.
- Mary King's Close (<< le passage de Mary King >>) -- Devant son nom à la fille d'Alexander King, au XVIIe siècle, ce passage propose des visites guidées en costume d'époque et des extraits d'histoires d'autrefois.
- La Galerie nationale d'Écosse -- Cette galerie néo-classique située dans le Mound, au cœur d'Édimbourg, ouvrit ses portes au milieu des années 1800. Aujourd'hui, elle détient une immense collection de chefs-d'œuvre européens et de tableaux écossais locaux.
- Les jardins de Princes Street -- Un jardin public qui offre un petit coin de paradis au milieu de l'agitation de la ville. Il est parsemé d'un certain nombre de monuments et de mémoriaux à découvrir.
- La cathédrale Saint-Gilles (St. Giles' Cathedral) -- Cet édifice médiéval gothique est le plus important lieu de culte d'Édimbourg.
- Le parc Holyrood -- Un parc royal raffiné sis à l'est du château d'Édimbourg, qui se distingue par de luxuriantes pentes vertes et des roches rouge-rouille.
- Our Dynamic Earth -- Cette attraction populaire auprès des visiteurs divertit toute la famille, en proposant un parcours à travers l'histoire, du Big Bang jusqu'à nos jours.
- Le stade Murrayfield -- Terrain de l'équipe nationale d'Écosse de rugby à XV, ce stade accueille une série de rencontres sportives tout au long de l'année.
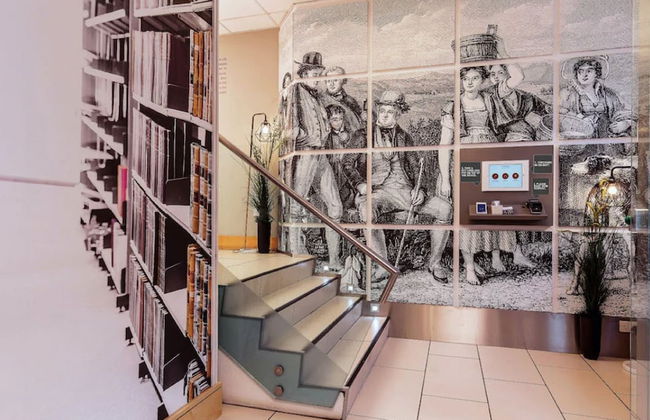
Découvrir le côté littéraire d'Édimbourg
Tout autant que pour son histoire séculaire et ses décors spectaculaires, Édimbourg est aussi connue pour son histoire littéraire. Ses paysages ont inspiré de nombreux poètes et écrivains au fil des ans, et de nombreux monuments sont dédiés à l'art des mots.
Commencez par boire un café à l'Elephant House Café. Non seulement les boissons chaudes sont parmi les meilleures de la ville, mais c'est aussi l'endroit où J.K. Rowling a écrit les tout premiers livres Harry Potter. Prenez donc une table, installez-vous au milieu des statuettes d'éléphants éparpillées ici et là et imprégnez-vous de cette source d'inspiration.
Il est vraiment difficile de marcher dans Édimbourg, quelle que soit la distance, sans tomber sur une librairie. La ville en est littéralement remplie, ce qui en fait le lieu de prédilection des amoureux de littérature. Passez à la librairie de la Vieille Ville -- Old Town Bookshop, l'une des meilleures de la ville, ainsi que chez Analogue Books et Word Power Books. Prenez le temps de parcourir les rayons poussiéreux et immergez-vous dans nombre de mondes différents.
Si vous souhaitez marcher sur les traces du génie littéraire, participez à la visite guidée Dorothy Wordsworth autour de la ville. Wordsworth a voyagé à Édimbourg avec sa sœur en 1803 et elle y écrivit des pages magnifiques sur sa beauté et son atmosphère unique.
Pour terminer, dirigez-vous vers la Bibliothèque nationale d'Écosse, qui présente une passionnante exposition de livres, cartes et lettres anciennes. Vous pourrez ici parcourir des manuscrits rares comme ceux de Byron, Austen et Melville.
Plongez au cœur de la grandeur littéraire grâce à nos appartements à Édimbourg, qui sont situés autour de tous ces refuges pour les mots.
Locations d'appartements à Édimbourg
La riche histoire et l'architecture grandiose de la ville se reflètent dans les locations d'appartements à Édimbourg, où l'on trouve en nombre des magnifiques hôtels anciens, des chambres d'hôtes confortables et des B&B au charme désuet nichés dans ses rues sinueuses. Pour se mêler à son présent luxueux, il y a aussi une poignée d'hôtels haut de gamme et d'appartements de charme.
Accès facile à Édimbourg -- Comment s'y rendre
L'aéroport d'Édimbourg n'est qu'à 8 kilomètres du centre-ville de la capitale de l'Écosse, et il y a plusieurs moyens de rejoindre facilement la ville.
Tout d'abord, les bus haut de gamme Airlink quittent l'aéroport toutes les 10 minutes et se rendent à Waverley Bridge au centre-ville. Il y a aussi quelques arrêts dans l'ouest de la ville, si vous séjournez dans cette partie.
Sinon, si vous préférez une option plus abordable, montez dans un bus local. Le trajet est un peu plus long qu'avec le bus Airlink, mais il se rend dans plus de quartiers de la ville et vous offre la possibilité de voir une partie d'Édimbourg avant d'arriver effectivement.
Enfin, vous pouvez également prendre un taxi à l'extérieur des terminaux de l'aéroport. Il y a de très nombreuses stations et les prix sont relativement abordables. Ce n'est évidemment pas l'option la moins chère, mais si vous recherchez rapidité et commodité, alors il s'agit là du meilleur choix.