
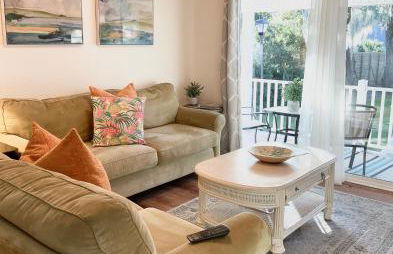
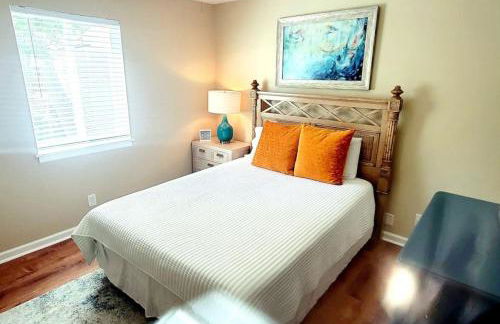
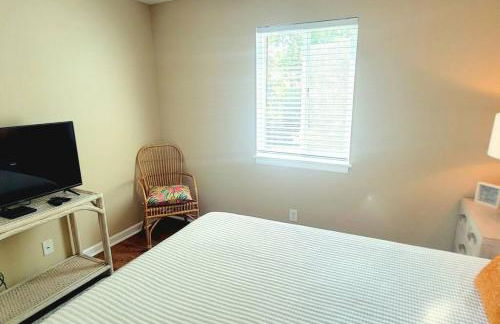
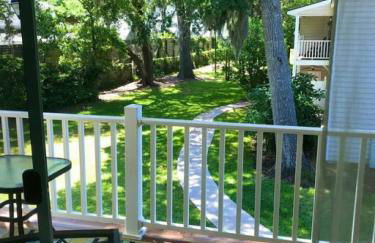
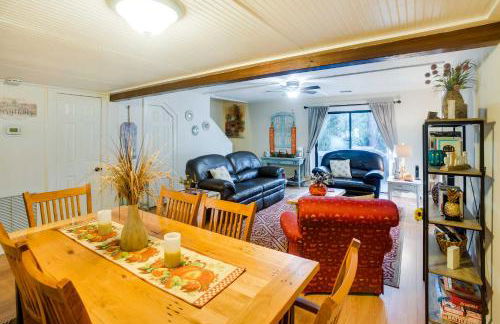
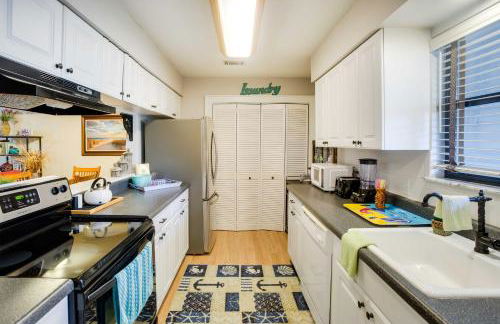
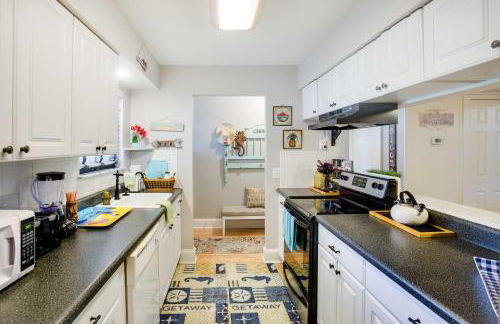
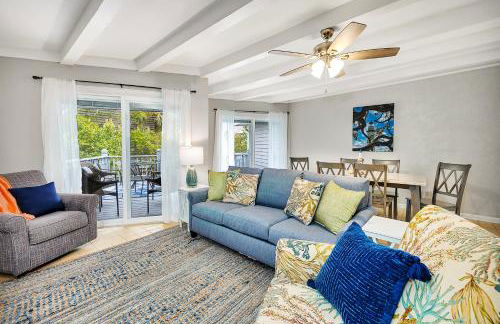
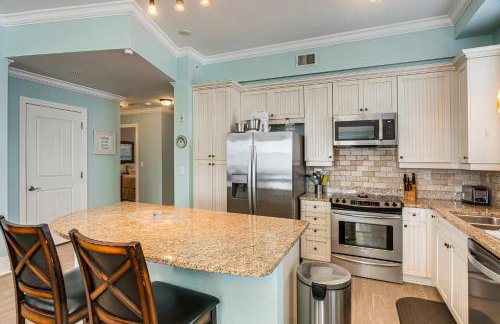
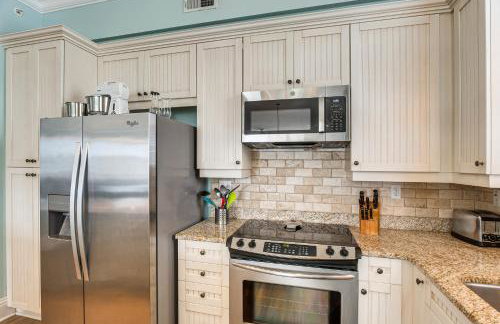
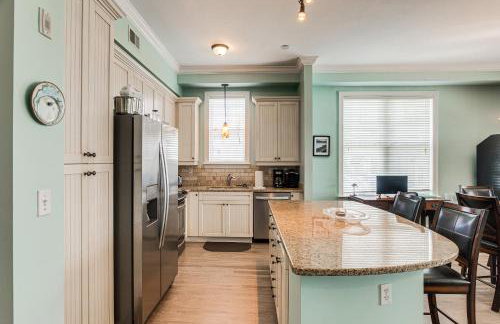
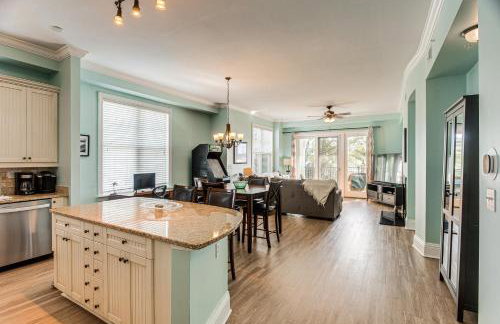
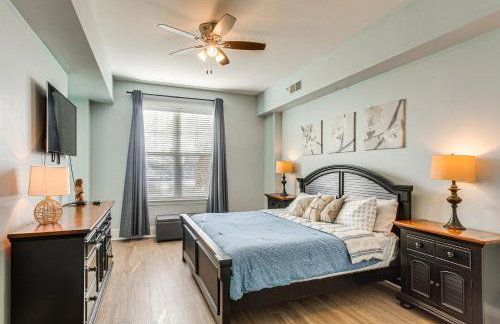
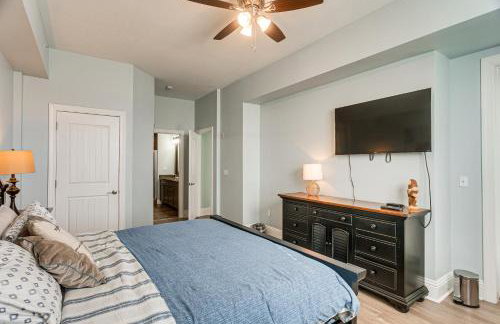
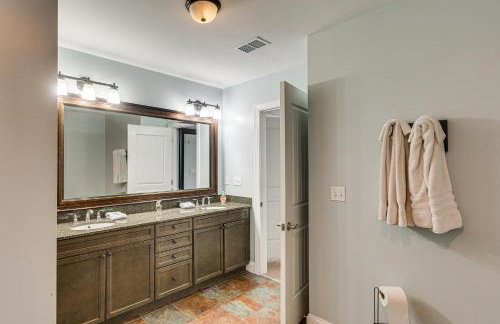
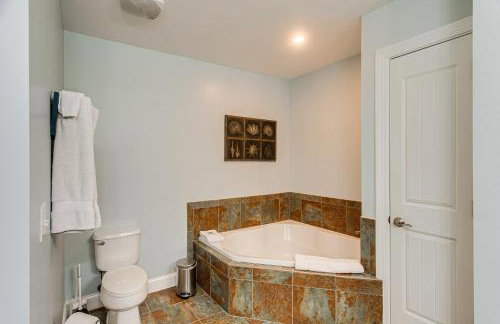
251 Apartments in St Simons Island


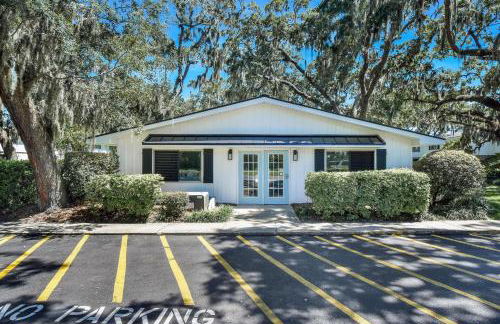
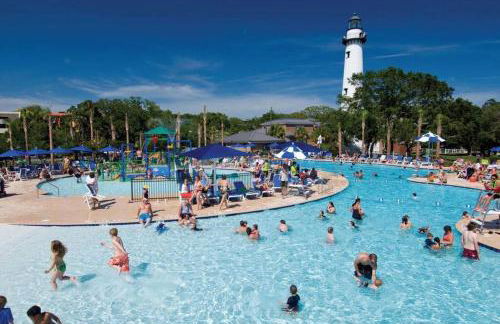
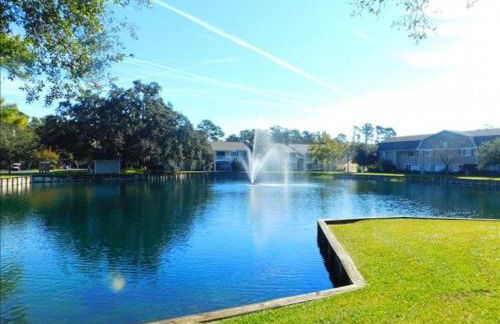
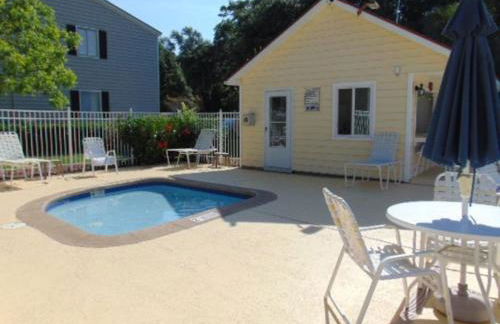
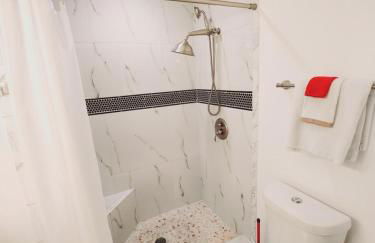
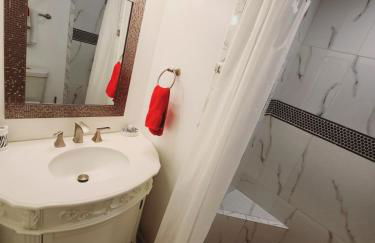
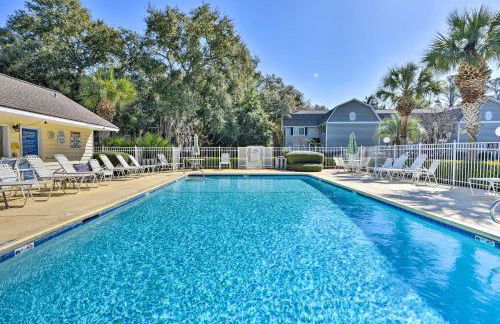
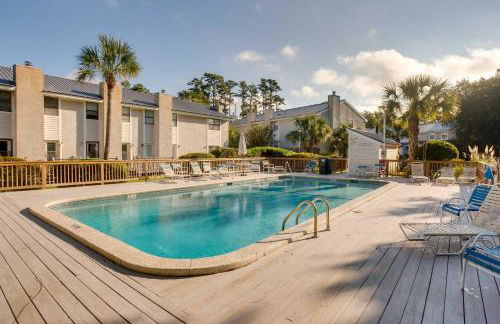
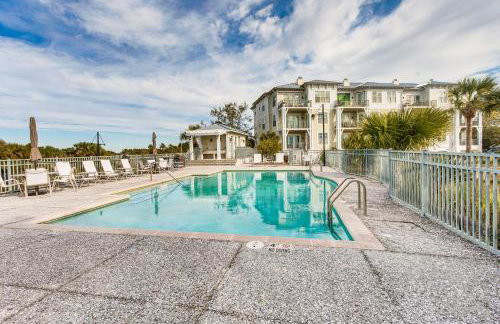
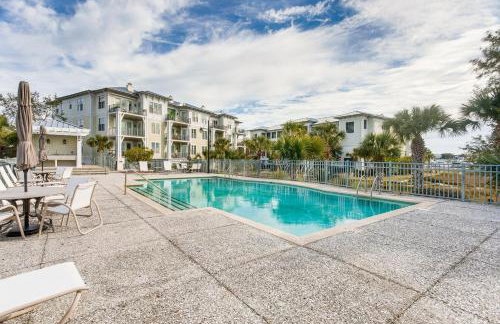
The Sea Gate
St Simons Island
- 4 people
- Air conditioning
- Heating
- Terrace
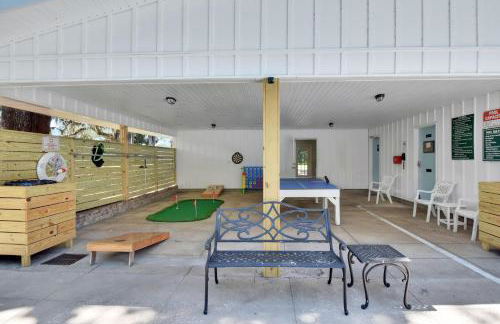
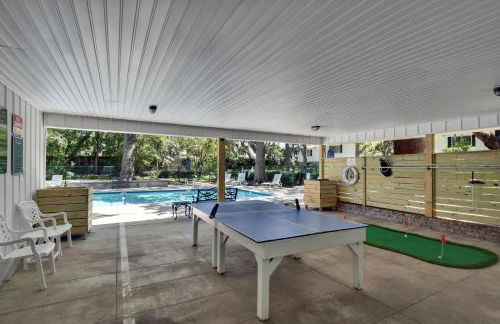
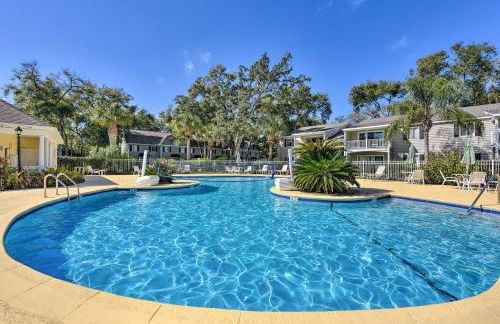
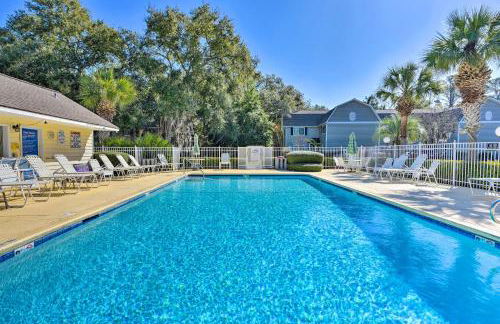
- Swimming pool
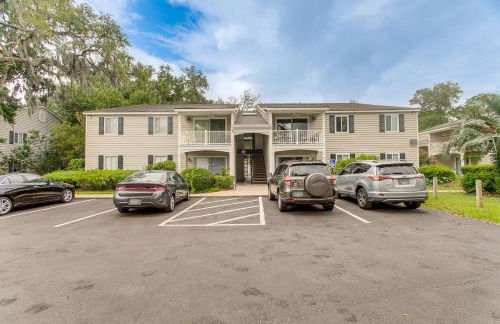
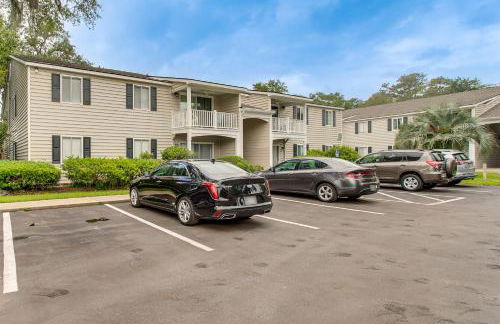
- Parking
- Elevator
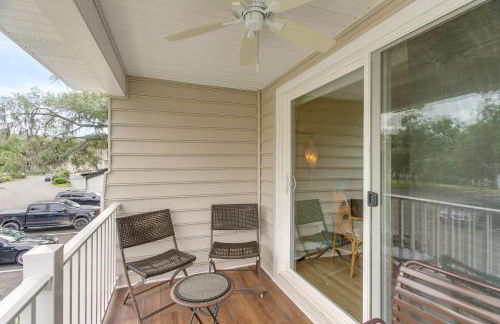
- Balcony
- Tv
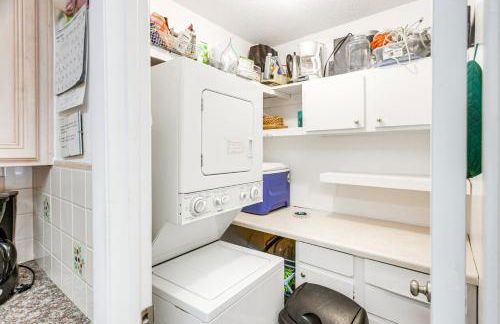
- Washing machine
- Bath linen
- Bed linen
615 reviews


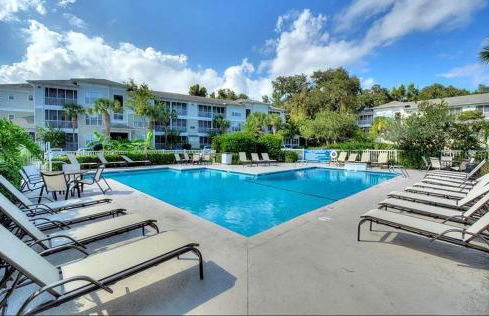
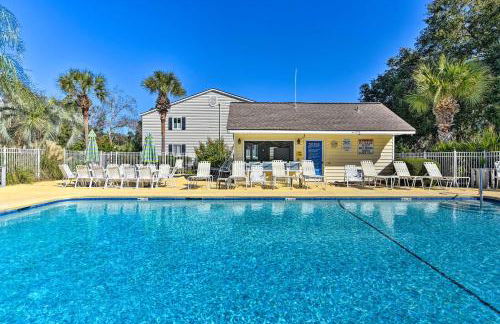
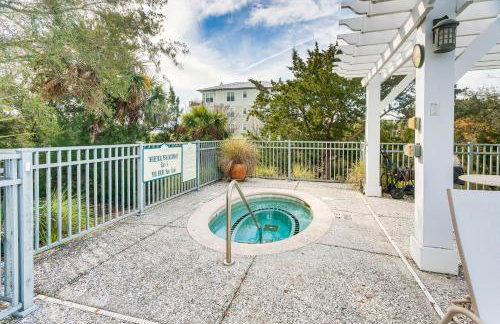
Hodnett Cooper's Beach Club
St Simons Island
- 6 people
- Air conditioning
- Heating
- Swimming pool
- Parking
- Elevator
- Balcony
- Tv
- Washing machine
- Barbecue
- Bath linen
- Bed linen
108 reviews


Ocean Lodge Resort
St Simons Island
- 84 M2
- 1 bedroom
- 6 people
- Air conditioning
- Heating
- Terrace
- Parking
- Elevator
- Garden
- Tv
- Bath linen
- Bed linen
385 reviews


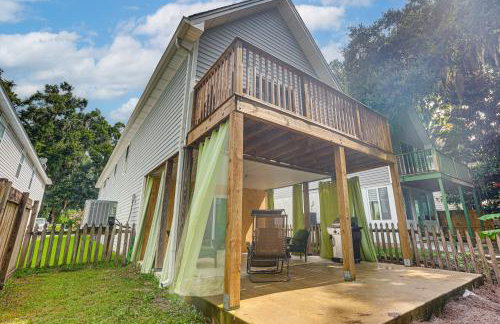
Pierside Retreat Saint Simons Island 3BR Sleeps 8
St Simons Island
- 102 M2
- 3 bedrooms
- 8 people
- Air conditioning
- Terrace
- Parking
- Garden
- Barbecue
8 reviews


Coastal Condo with pool, minutes from beach
St Simons Island
- 111 M2
- 4 people
- Air conditioning
- Swimming pool
- Parking
3 reviews


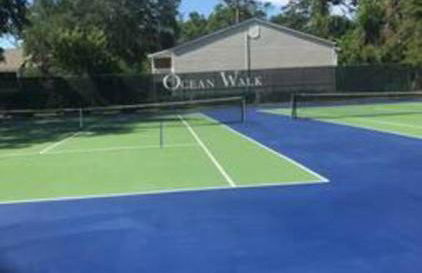


Q16 Comfortable 2 BR, 2 BA second level in Ocean Walk
St Simons Island
- 8 M2
- 2 bedrooms
- 4 people
- Air conditioning
- Heating
- Swimming pool
- Parking
- Garden
- Barbecue
6 reviews


E10 comfortable and neat 2 bedroom 2 bath
St Simons Island
- 89 M2
- 2 bedrooms
- 4 people
- Air conditioning
- Heating
21 reviews


Q4 Professionally decorated upstairs beautiful soothing colors close to back pool
St Simons Island
- 89 M2
- 2 bedrooms
- 4 people
- Air conditioning
- Heating
8 reviews


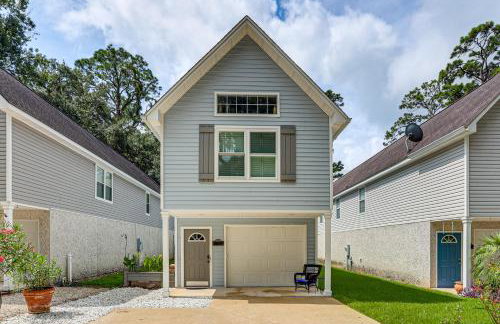
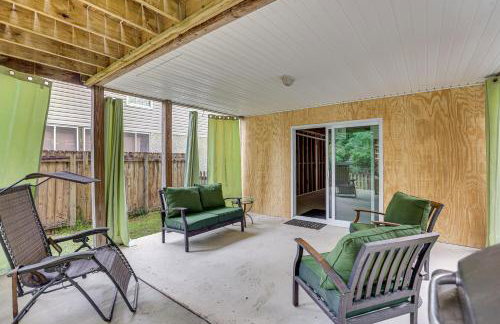
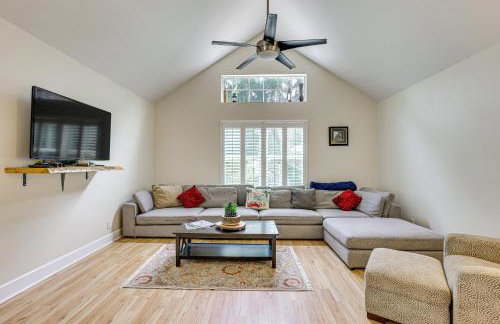
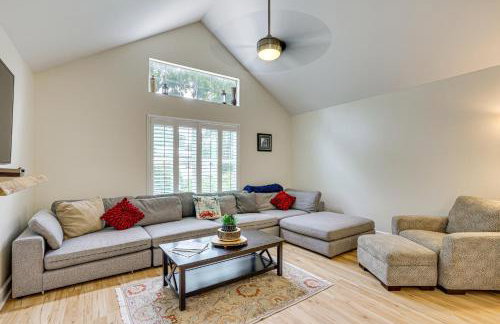
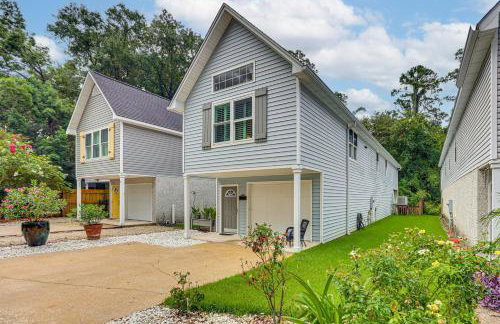
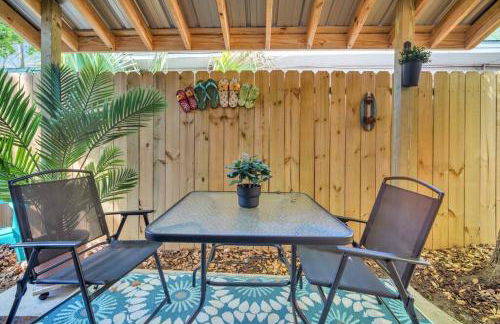
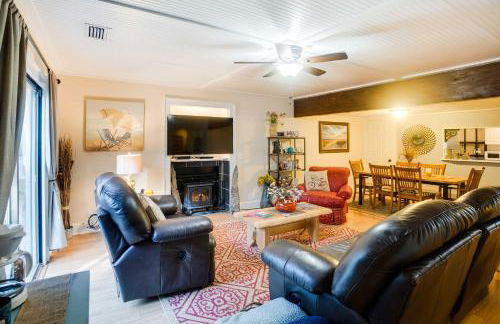
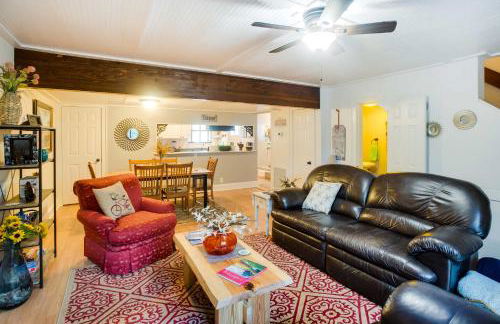
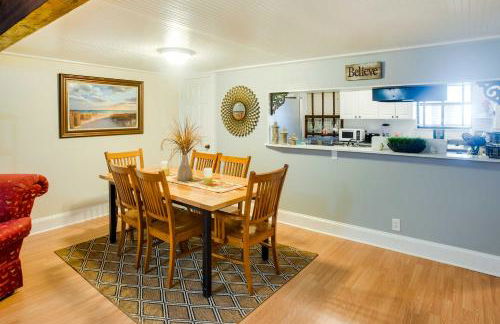
4 Mi to Beaches: St Simons Island Escape w/ Patio!
St Simons Island
- 125 M2
- 3 bedrooms
- 6 people
- Heating
- Terrace
- Parking
2 reviews


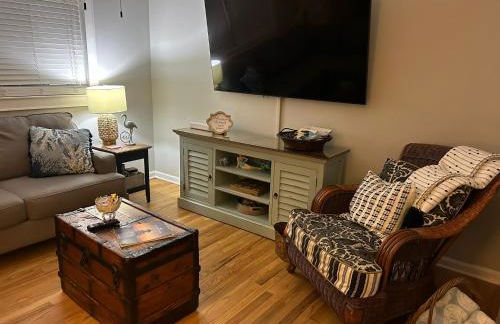
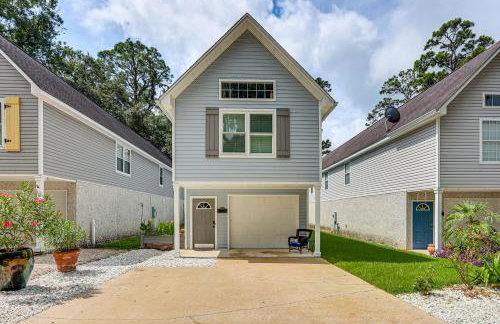
Condo w/ Amazing Amenities: 1 Mi to Beach!
St Simons Island
- 70 M2
- 1 bedroom
- 2 people
- Heating
- Swimming pool
- Parking
2 reviews


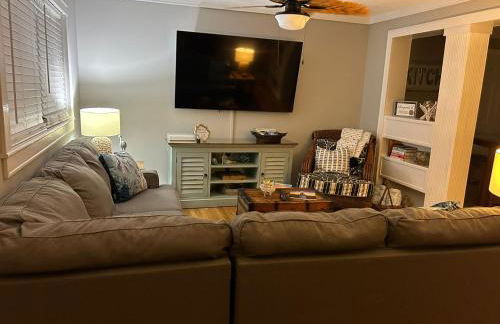
Resort-Style Condo in St Simons ~ 1 Mi to Pier!
St Simons Island
- 102 M2
- 2 bedrooms
- 6 people
- Heating
- Swimming pool
- Parking
3 reviews


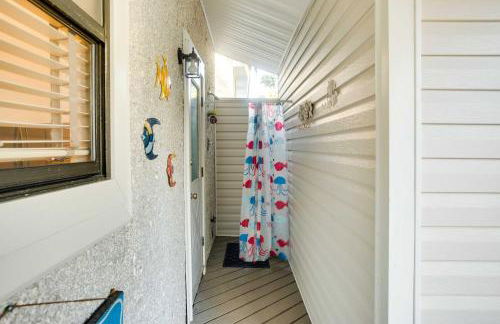
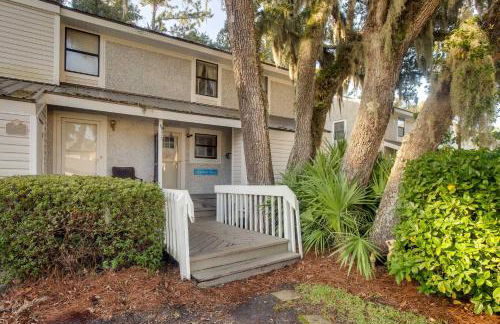
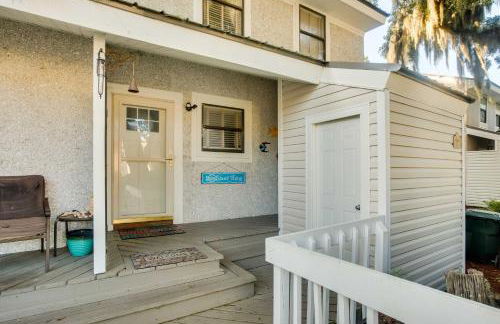


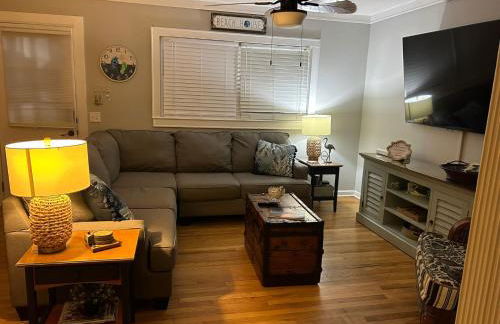
St Simons Island Condo w/ Deck & Outdoor Shower
St Simons Island
- 112 M2
- 3 bedrooms
- 6 people
- Heating
- Swimming pool
- Parking
6 reviews


Steps to East Beach & Pet Friendly w/ 2 King Beds
St Simons Island
- 110 M2
- 2 bedrooms
- 9 people
- Air conditioning
- Heating
- Parking
- Garden
- Barbecue
2 reviews


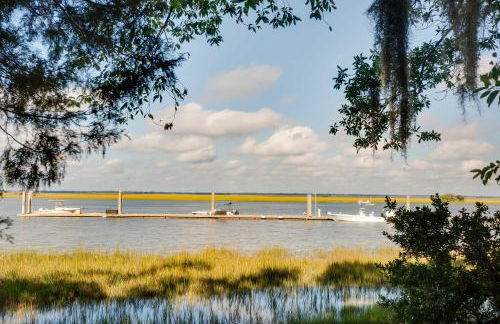
Breezy St Simons Hideaway with Waterfront Views!
St Simons Island
- 166 M2
- 3 bedrooms
- 6 people
- Heating
- Swimming pool
- Parking
- Elevator
2 reviews