
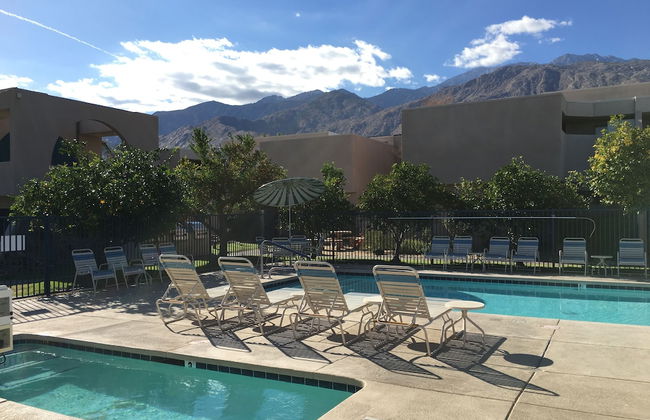
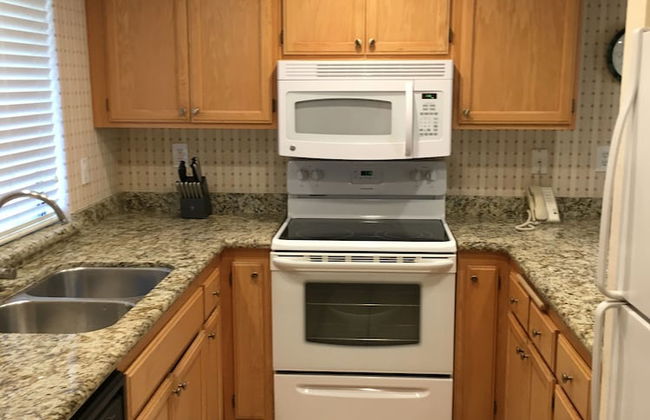
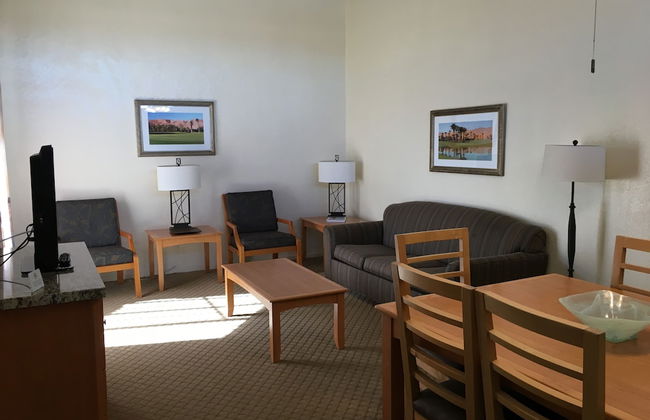
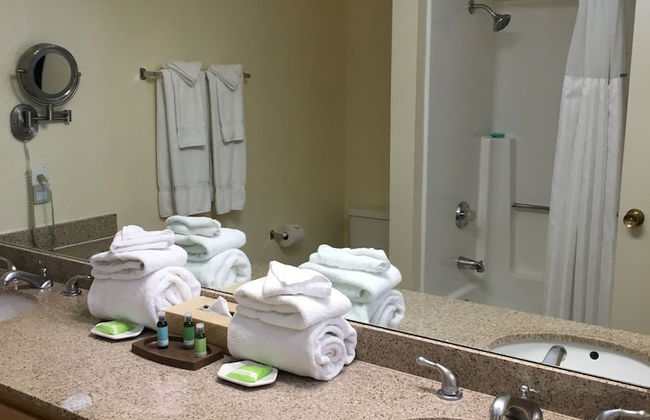
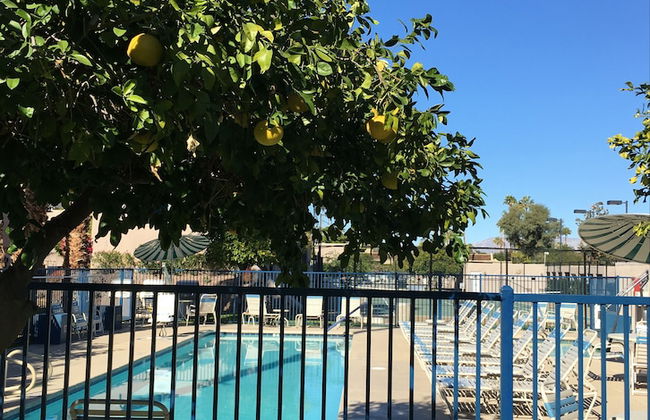
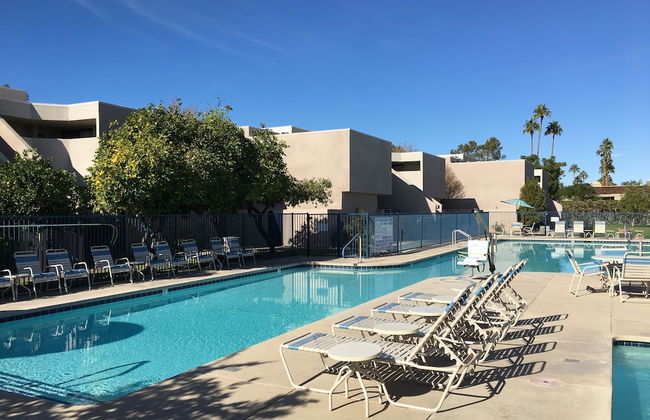

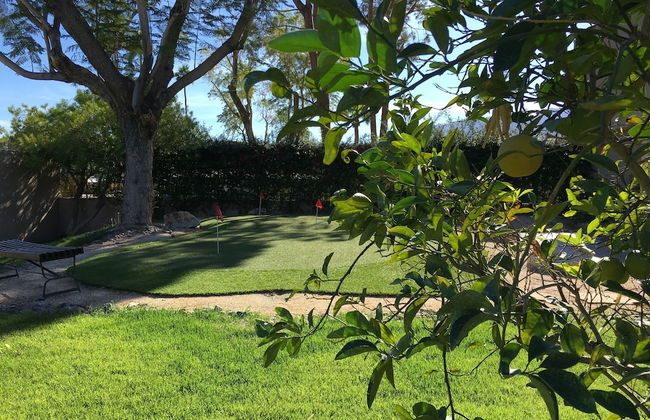
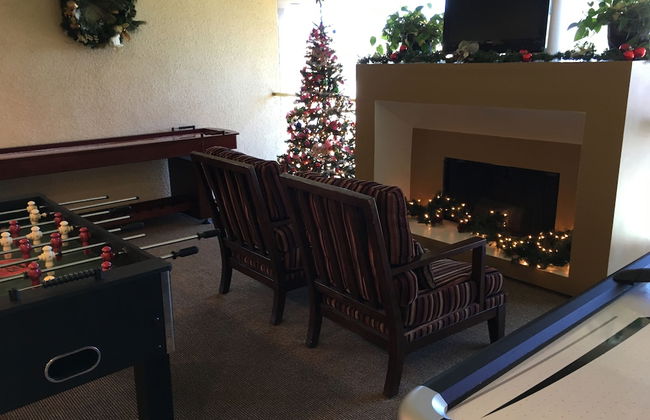
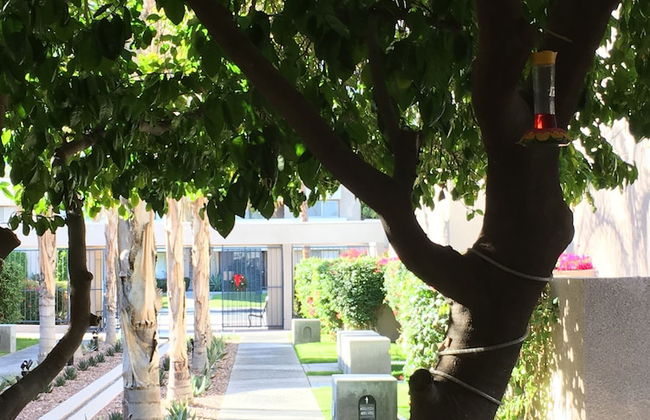
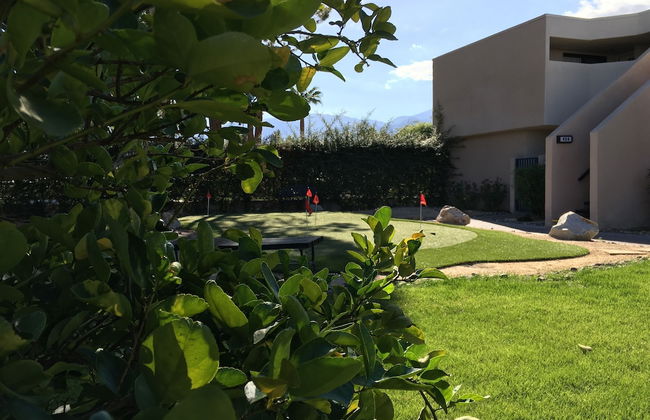
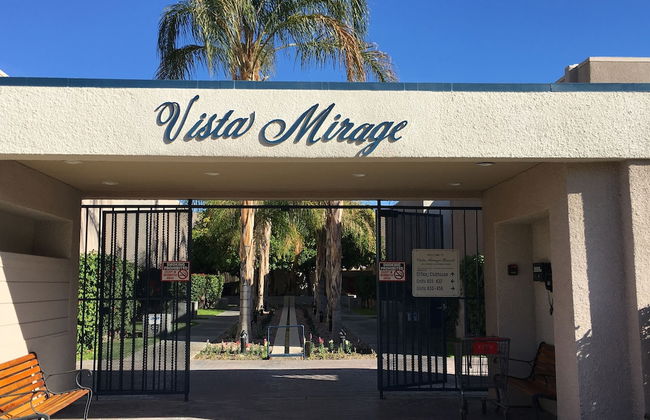
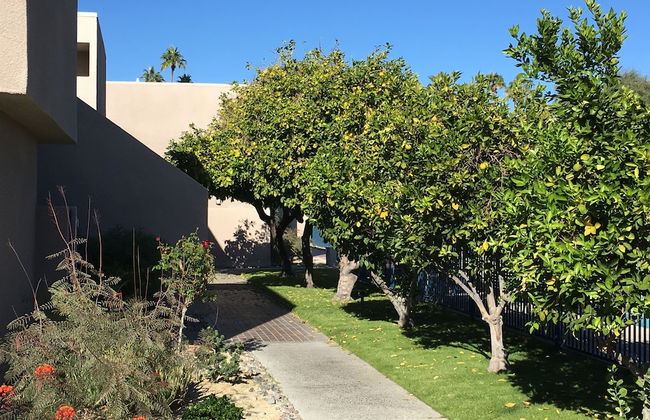
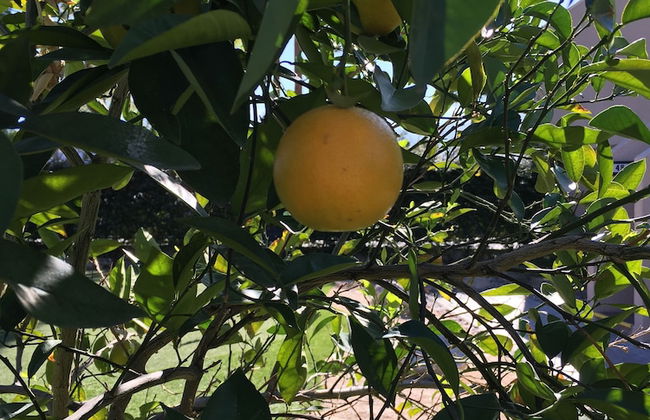
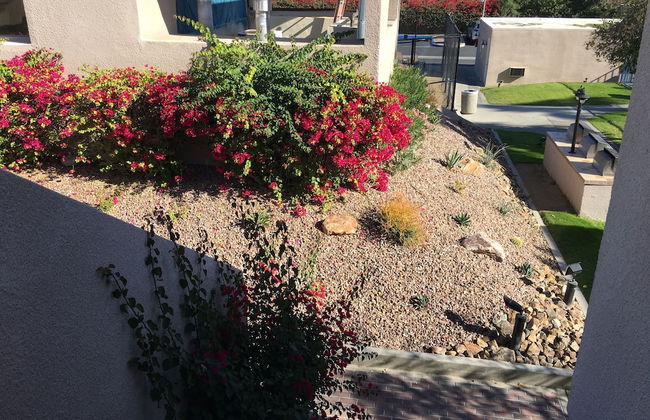

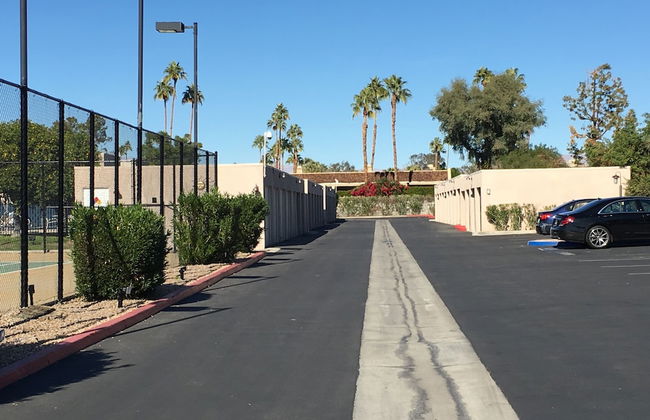
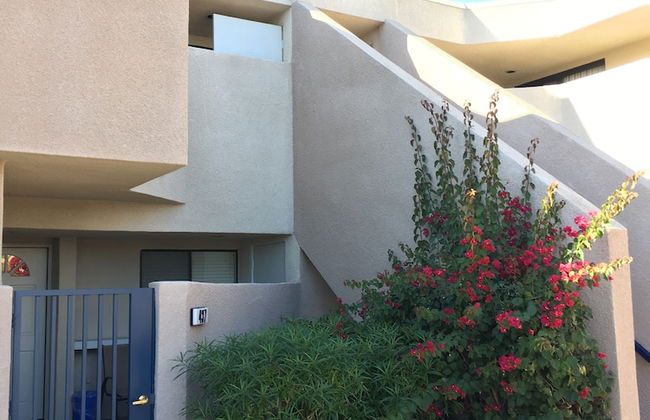
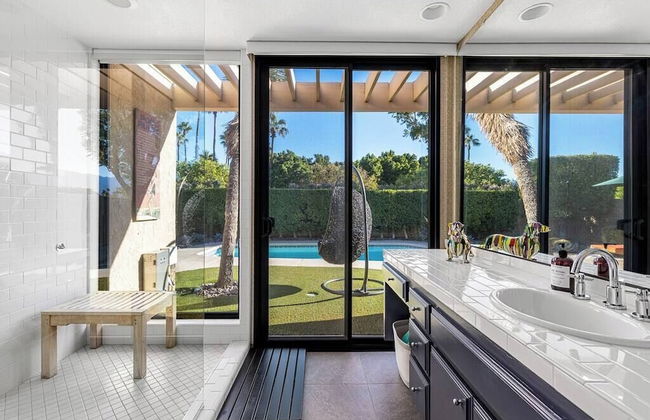
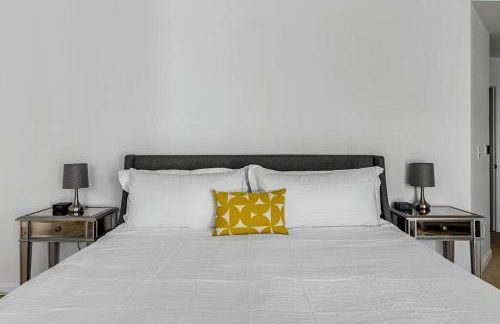
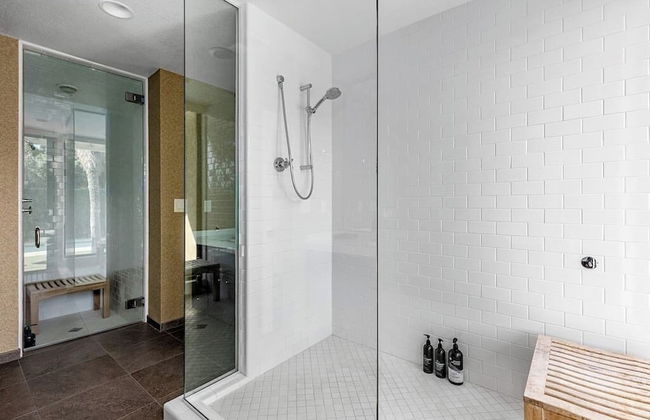
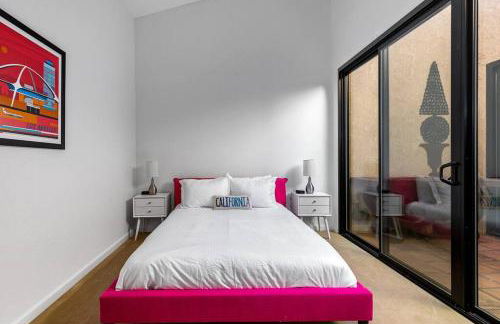
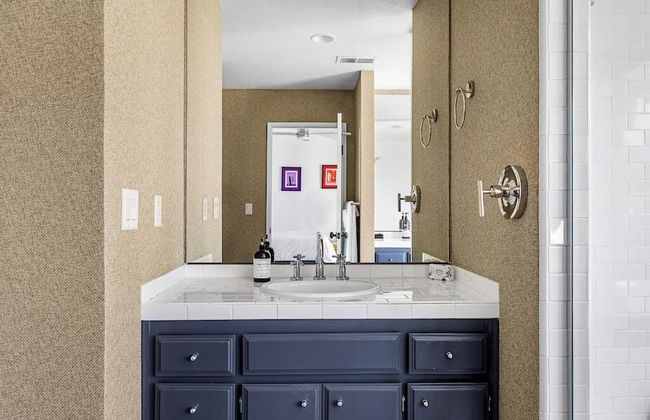
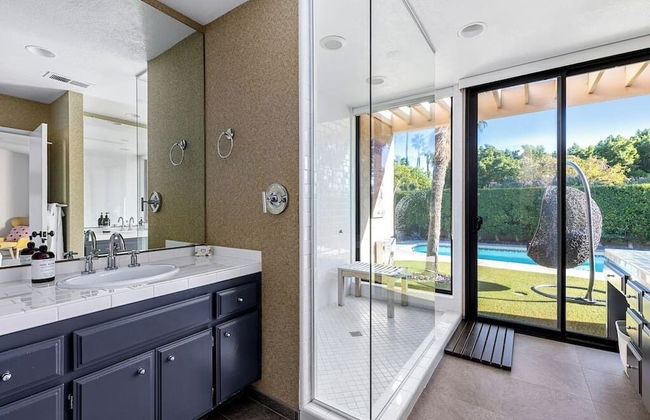
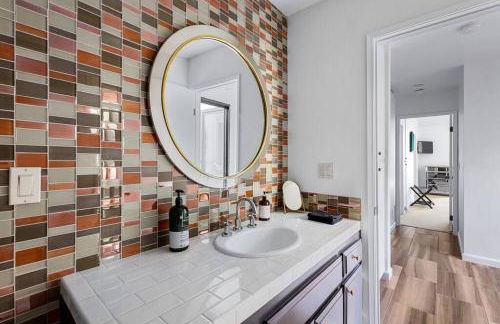
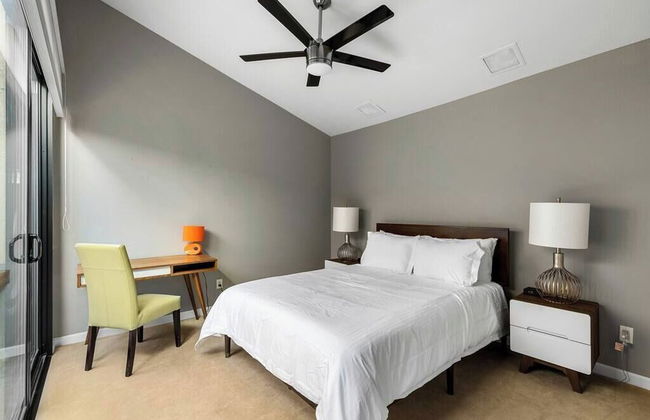
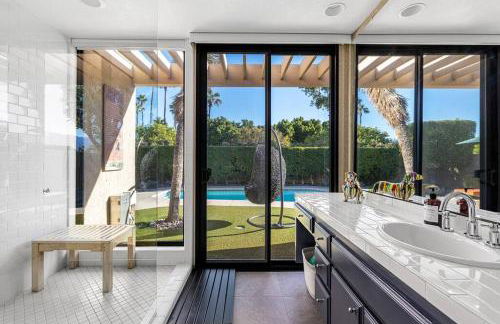
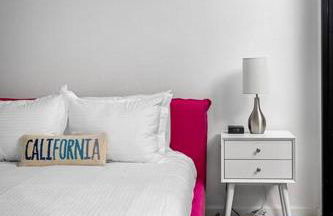
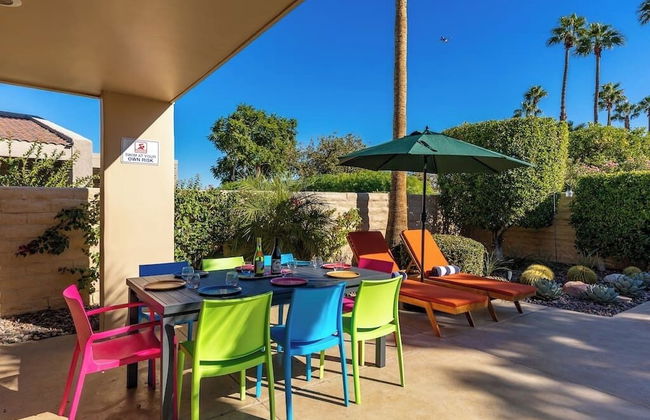
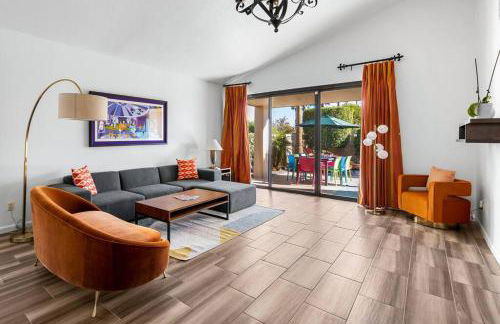
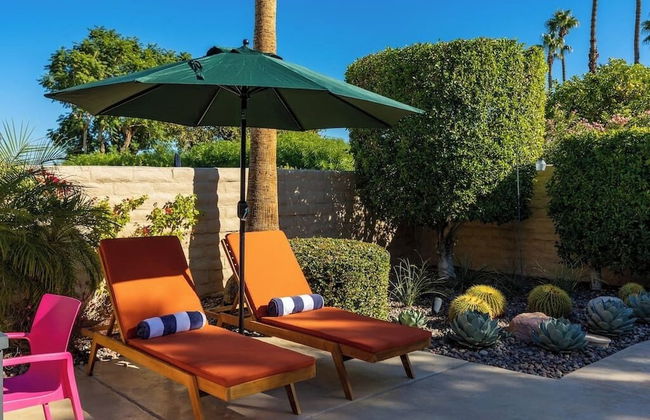
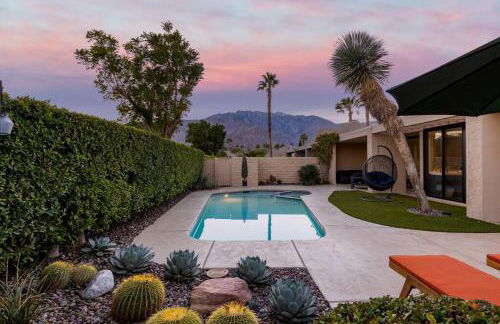
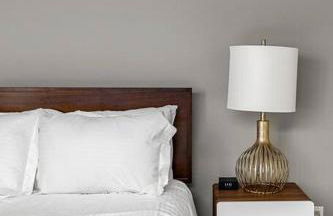
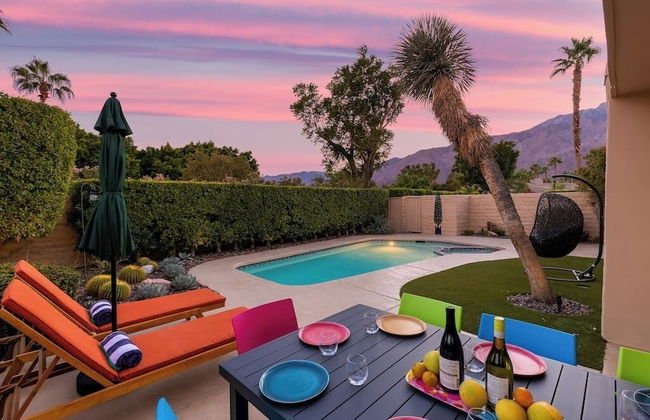
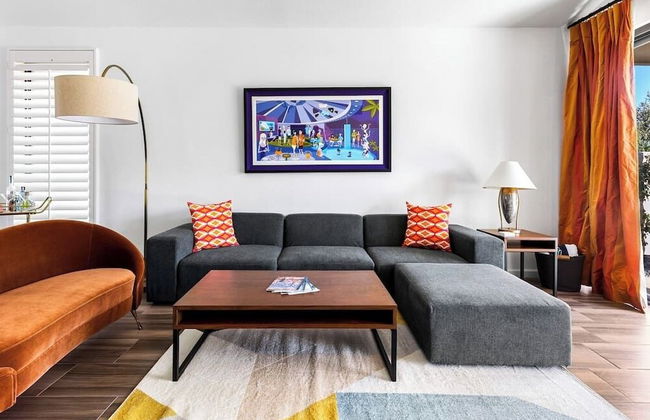
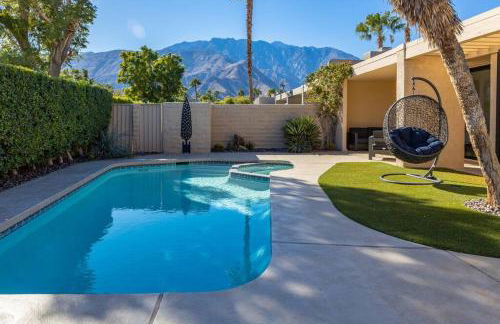
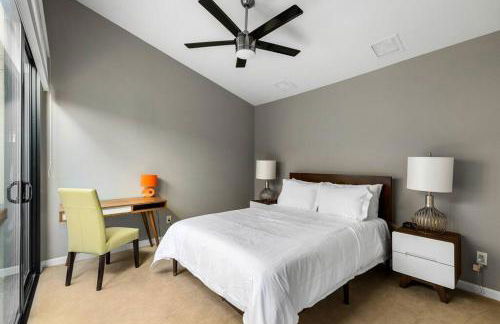
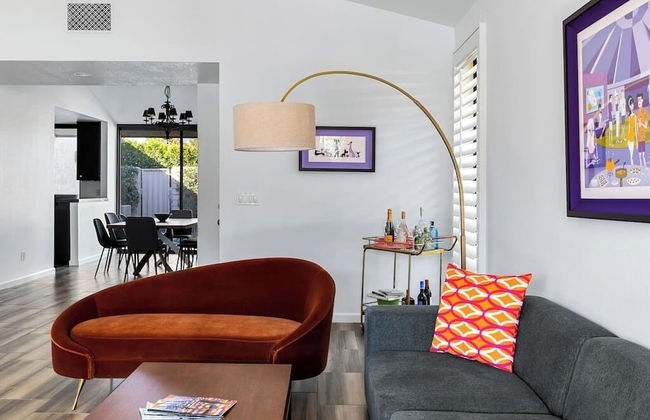
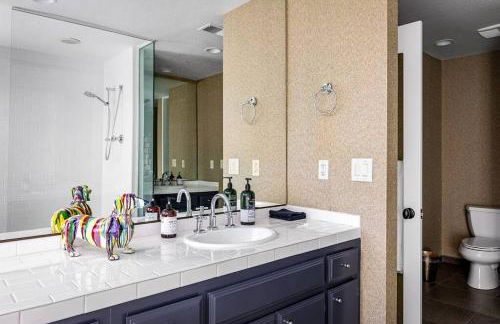
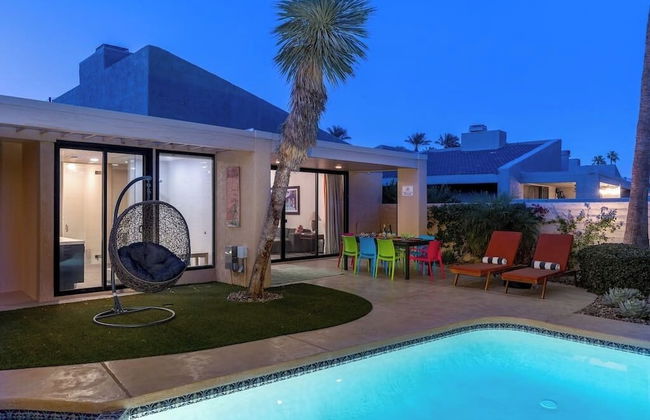
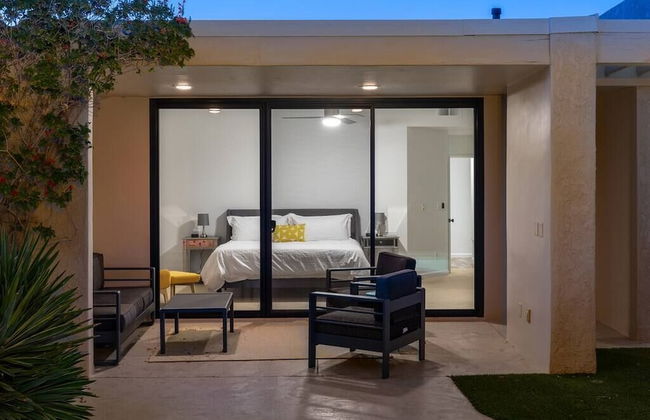
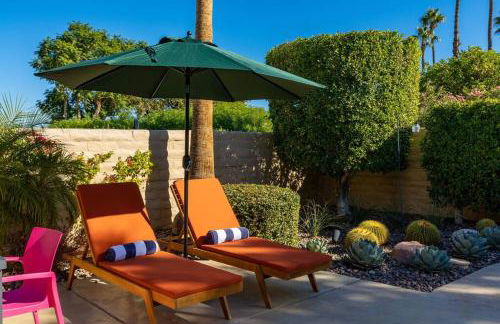
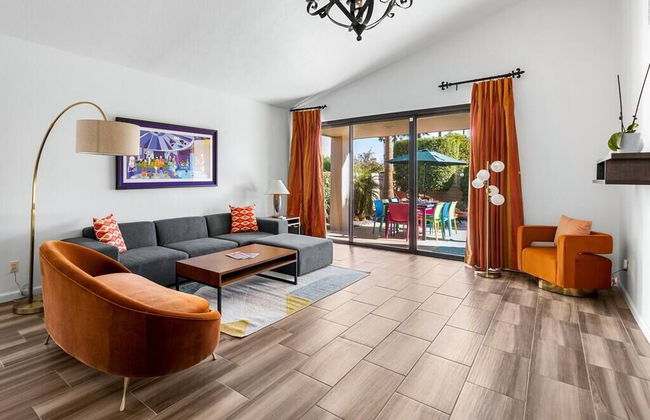
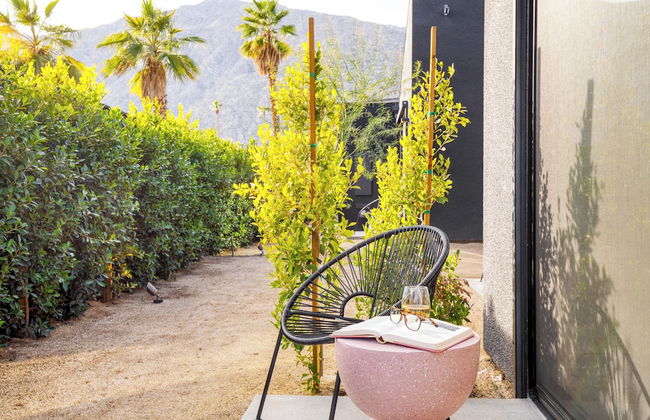
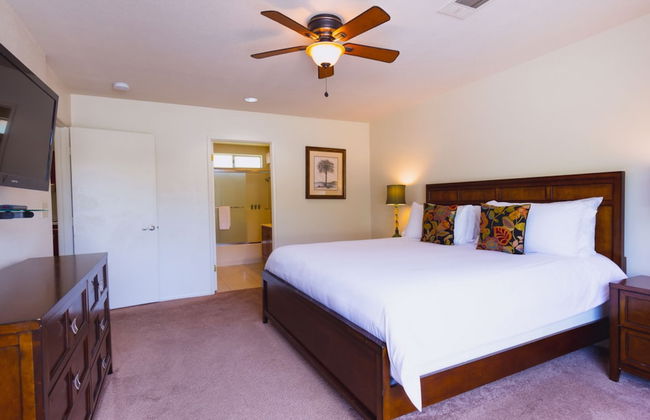
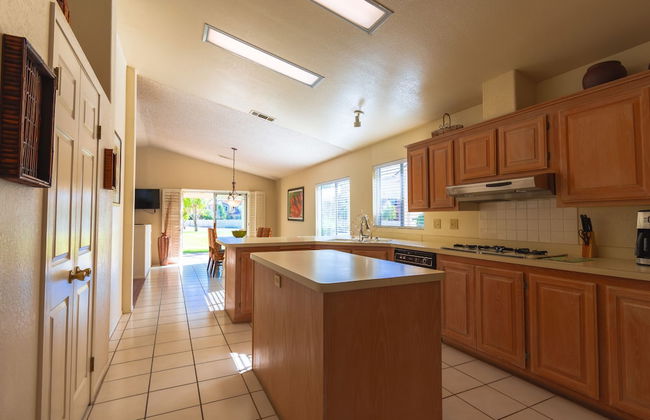
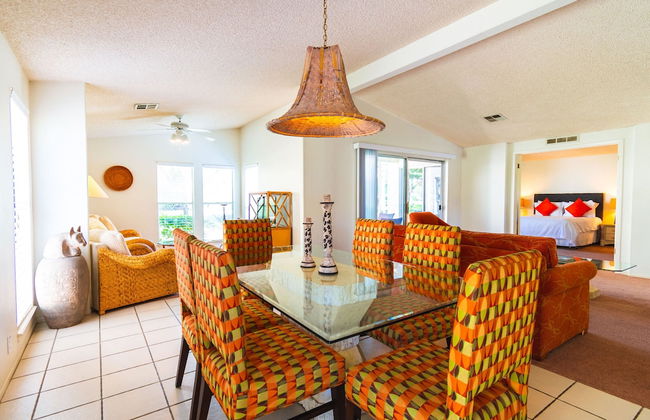
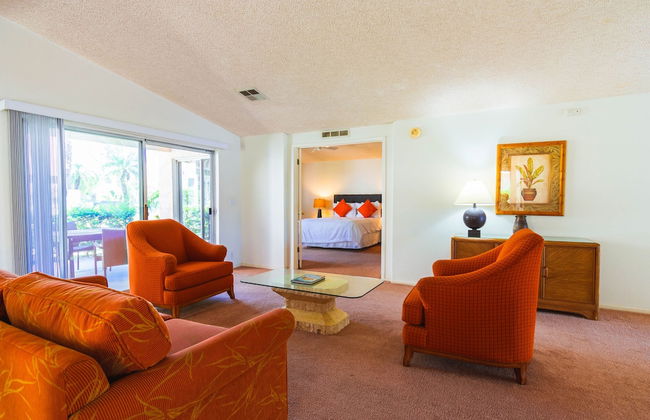
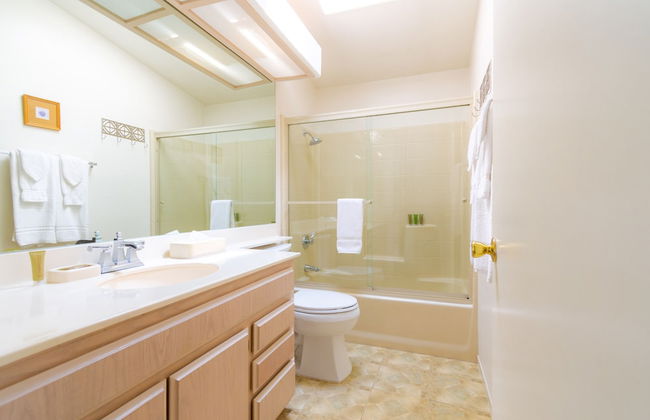
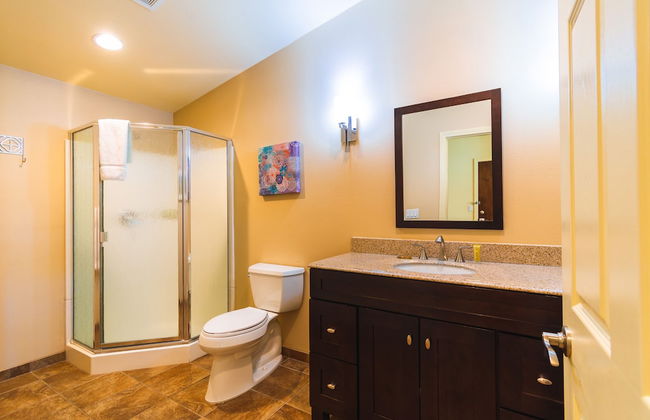
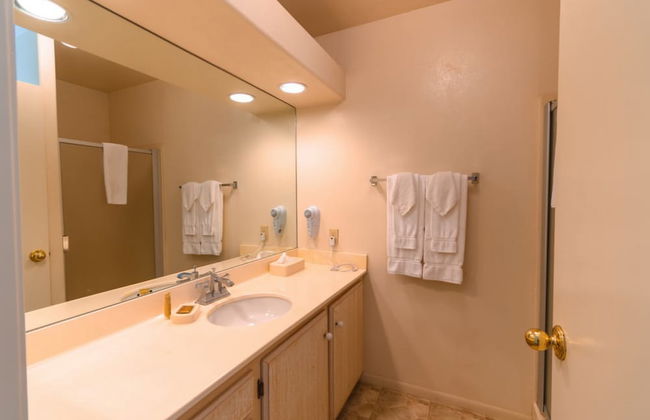
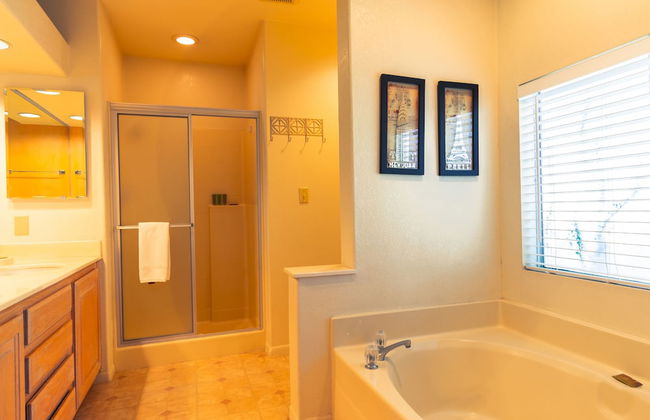
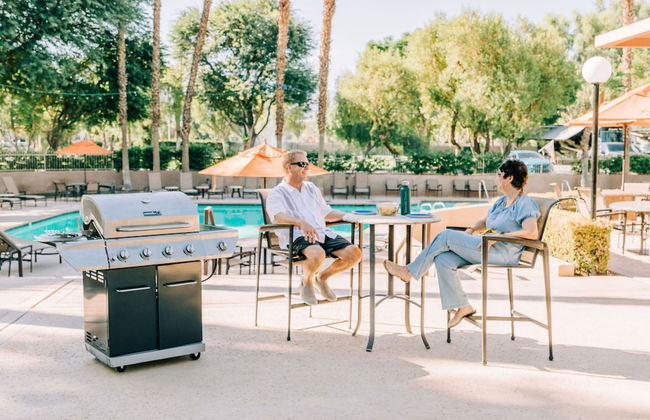
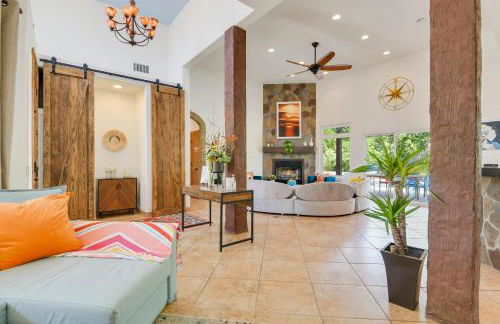
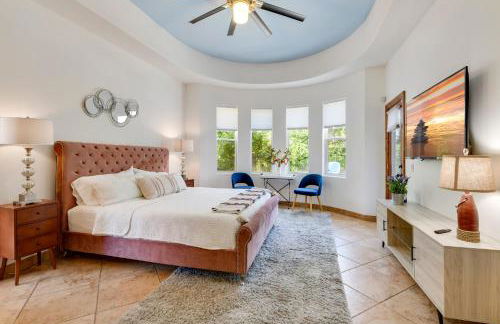
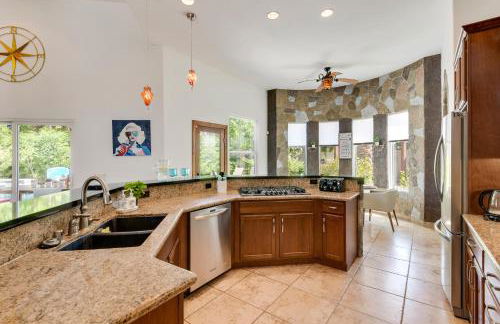
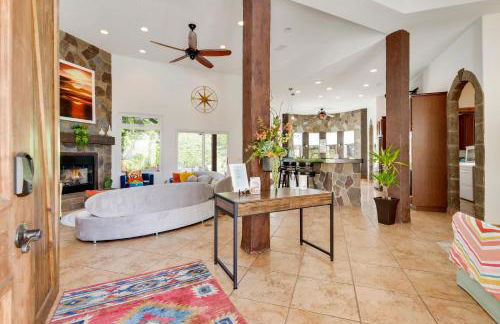
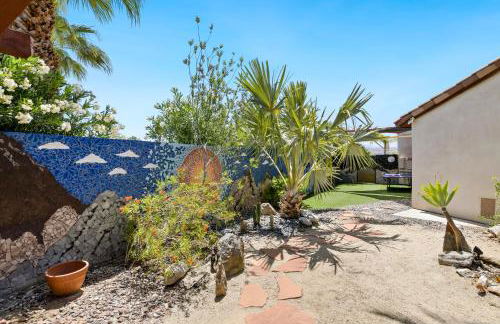
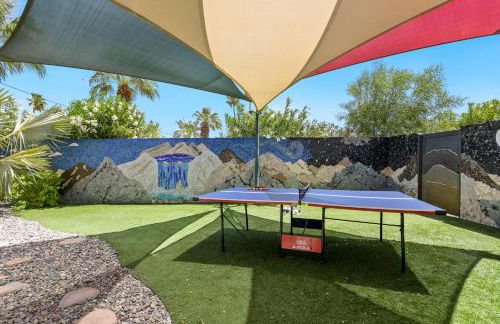
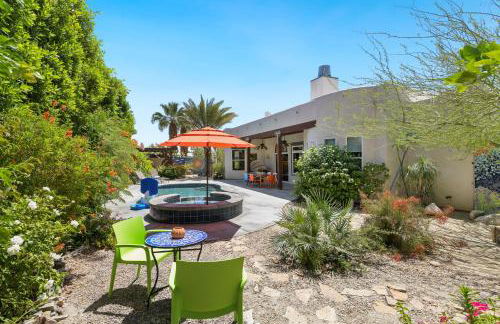
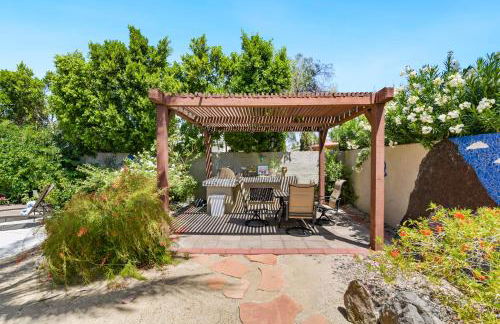
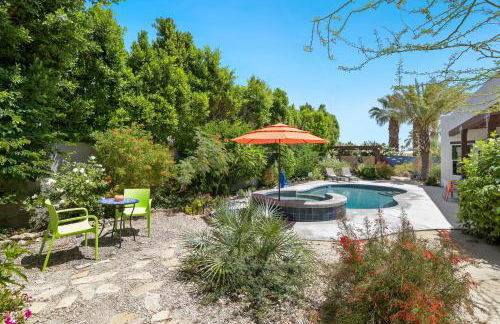
GetAways at Vista Mirage
Palm Springs - Baristo - 1.5 km from the center
- 6 people
- Air conditioning
- Heating
- Swimming pool
- Parking
- Garden
- Tv
- Barbecue
- Bath linen
- Bed linen


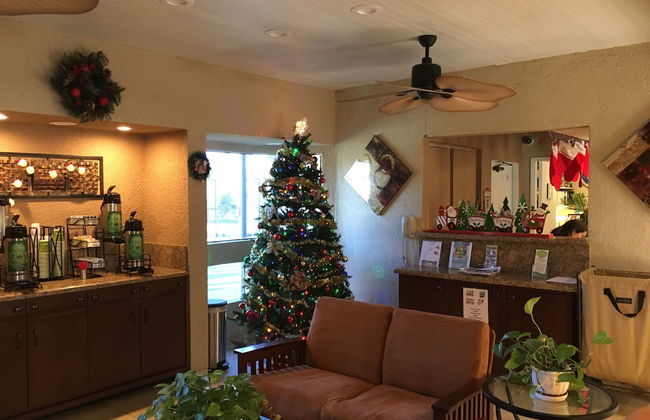
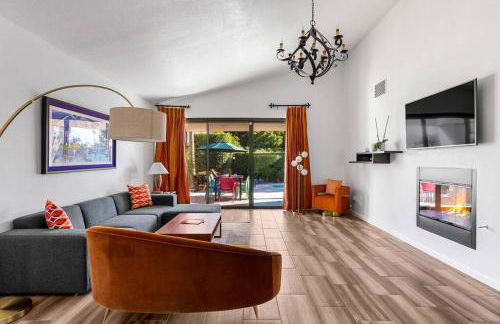
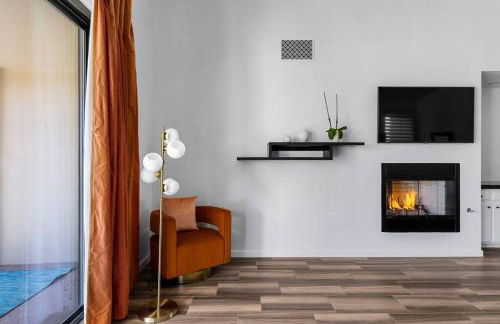
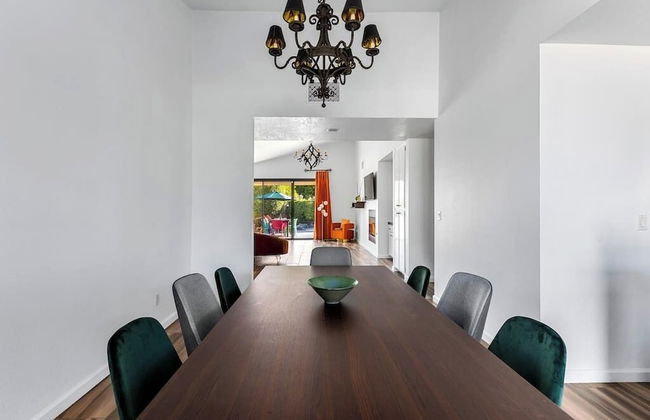
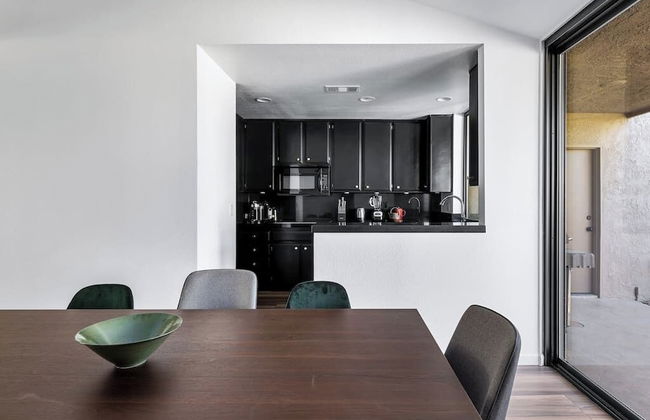
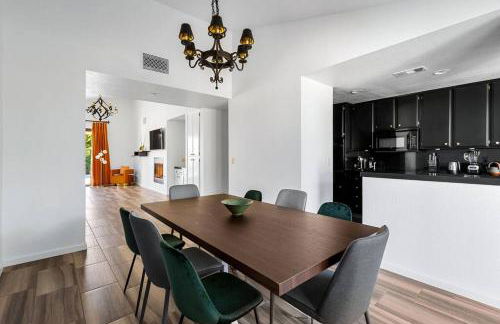
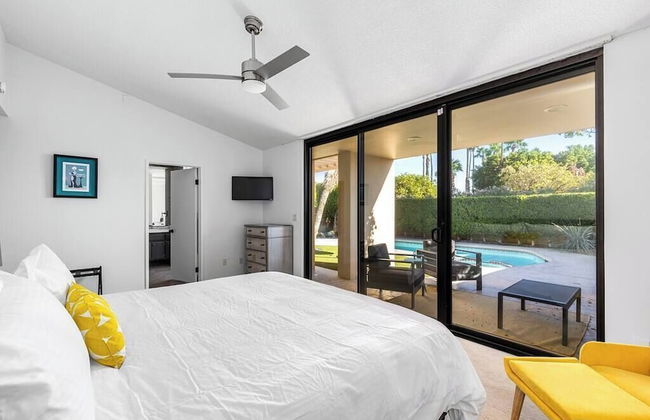
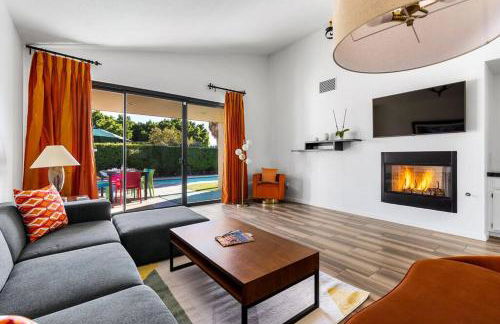
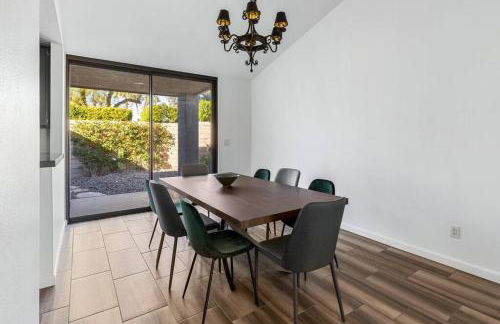
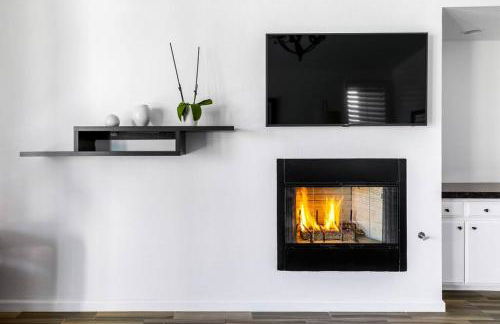
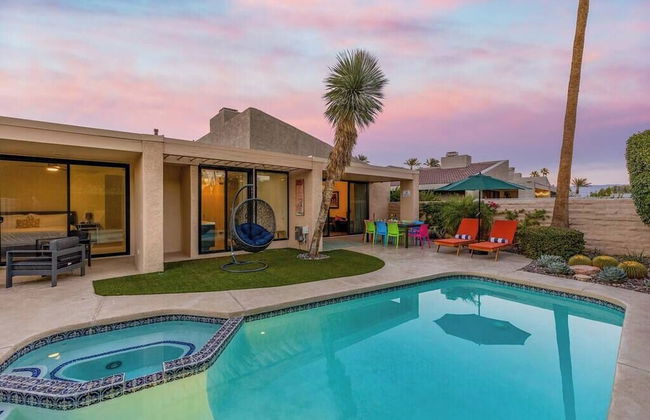
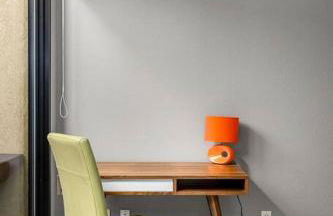
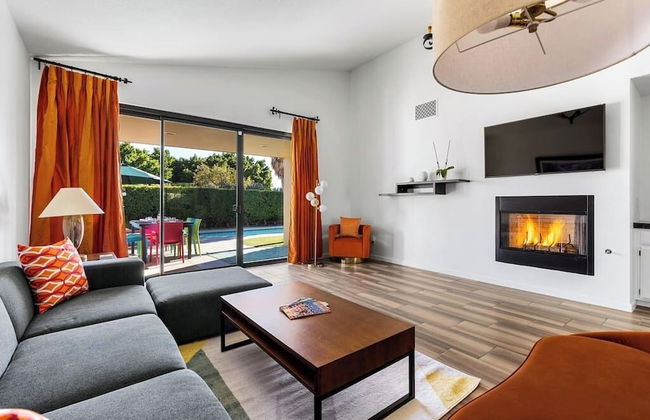
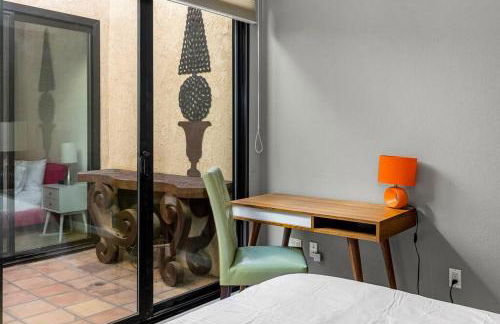
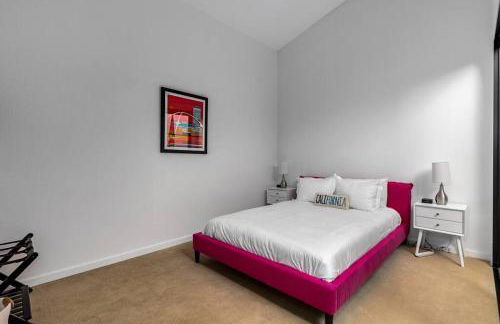
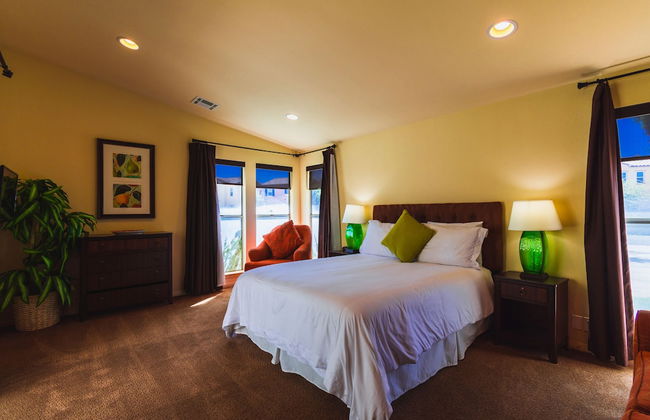
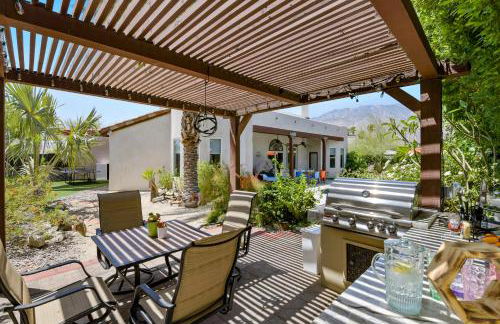
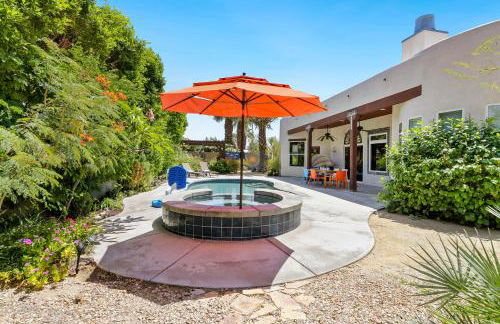
Desert Isle Resort
Palm Springs - 2.1 km from the center
- 102 M2
- 6 people
- Air conditioning
- Terrace
- Swimming pool
- Parking
- Balcony
- Garden
- Tv
- Fireplace
- Barbecue
- Bath linen
- Bed linen
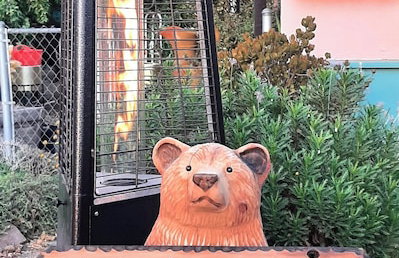


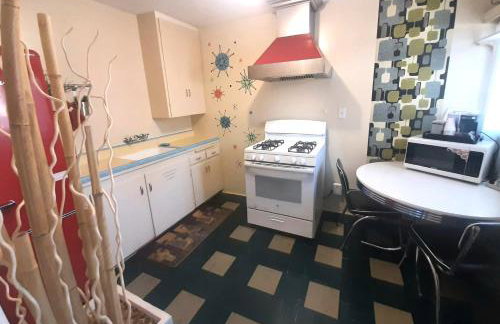


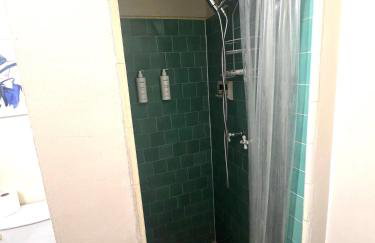

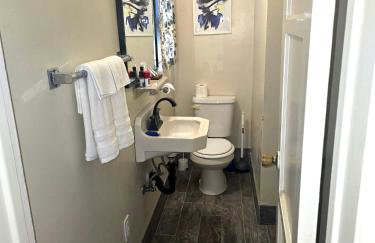

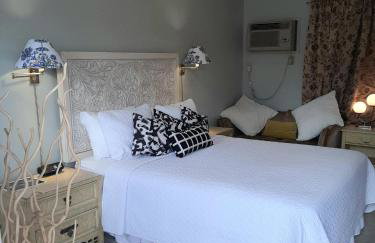


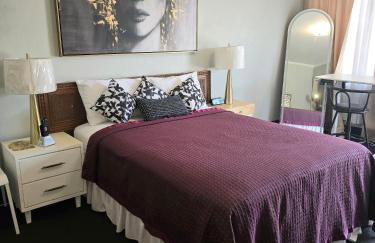

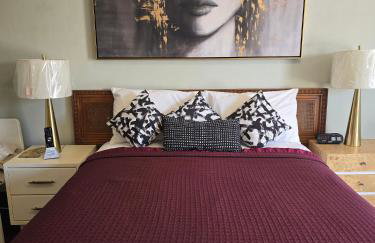

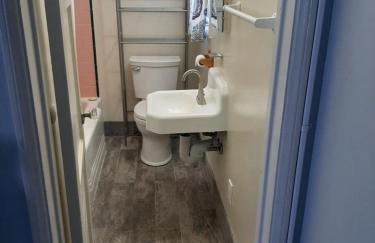

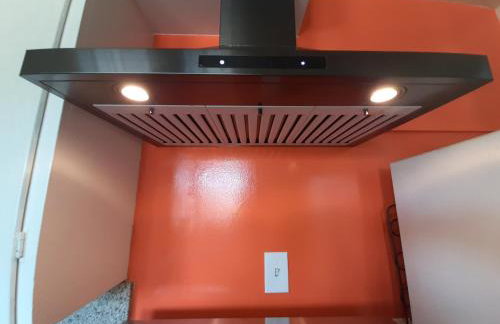

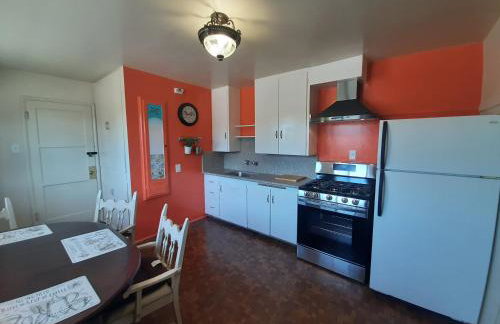

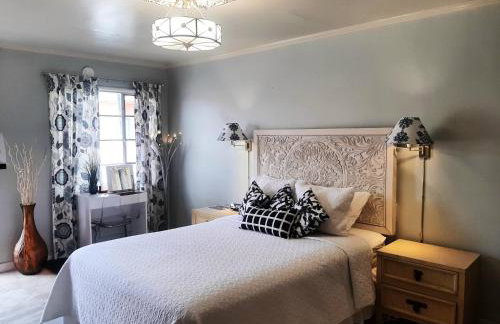


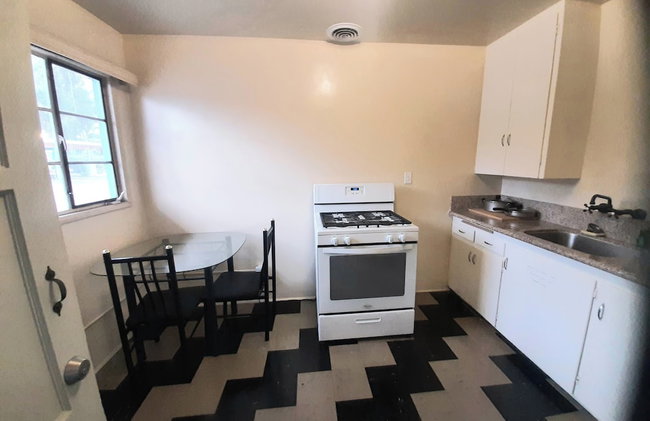

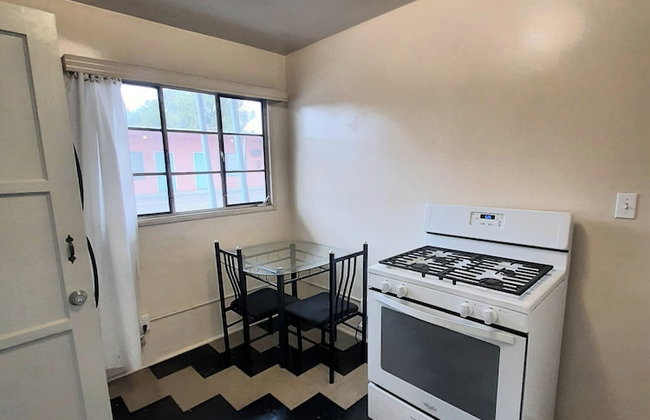


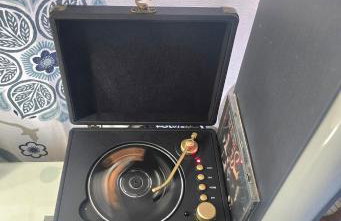

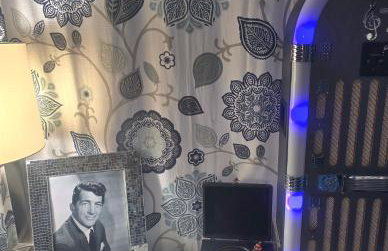


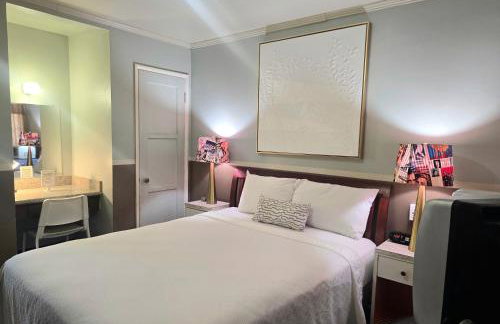

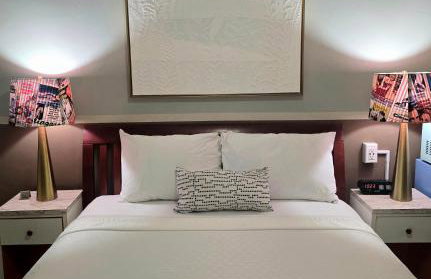
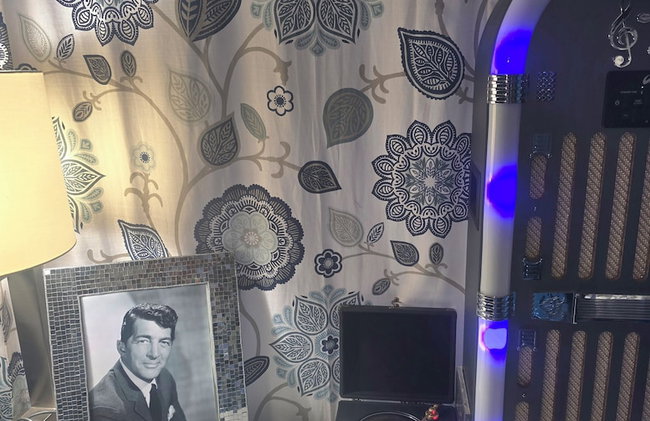
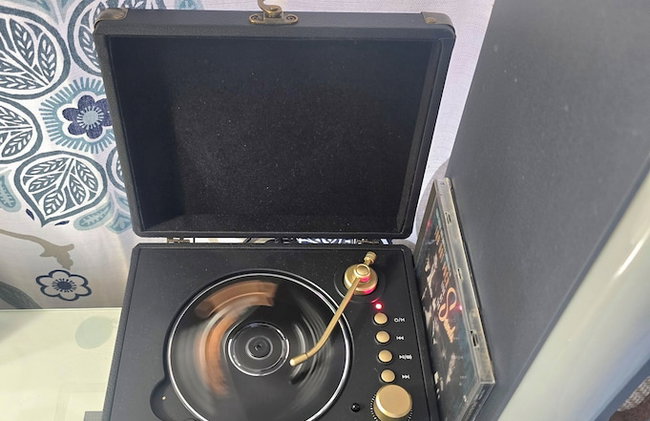
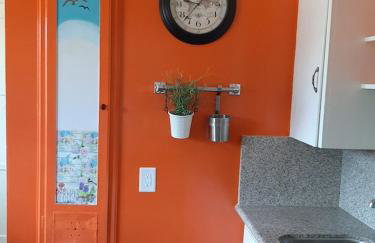
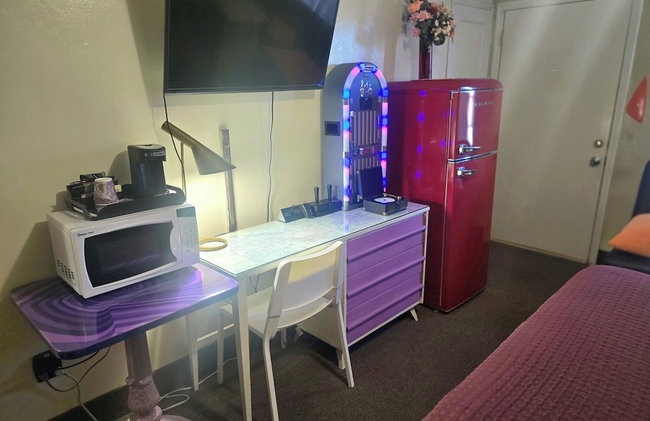
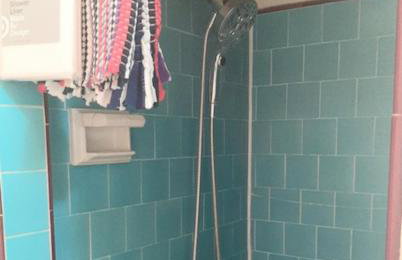


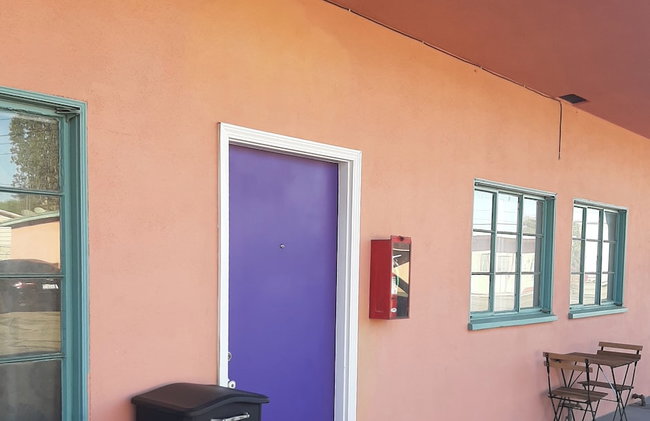
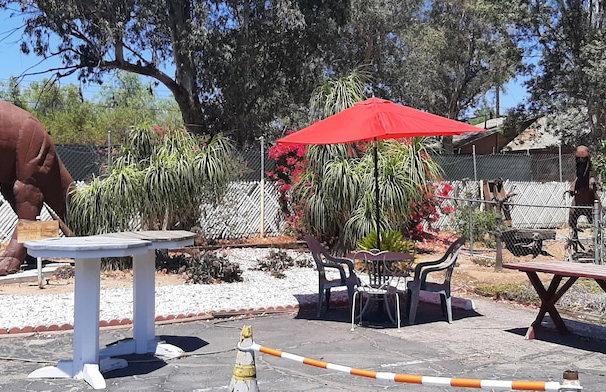
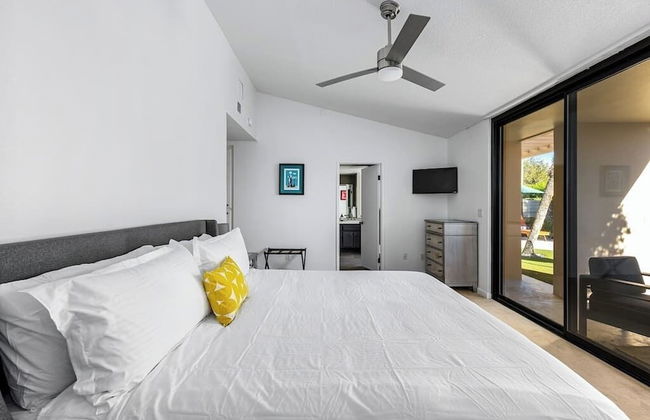
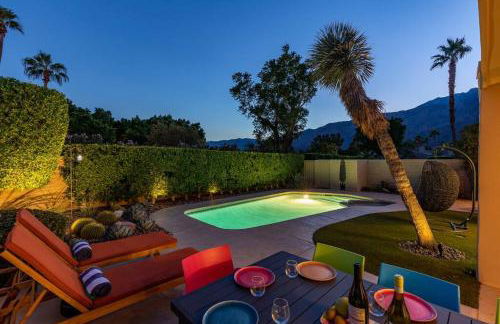
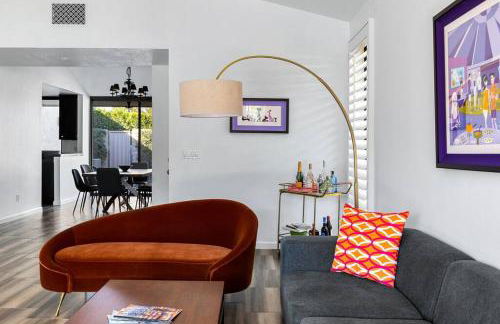
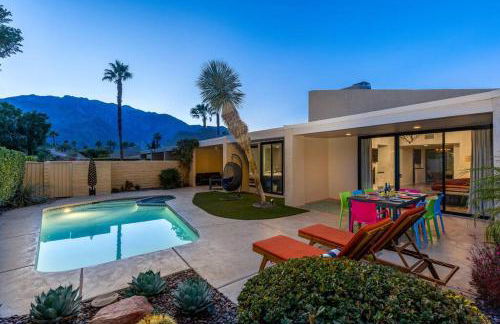
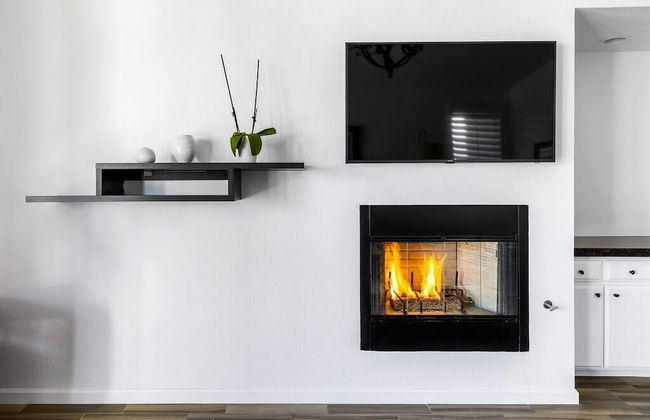
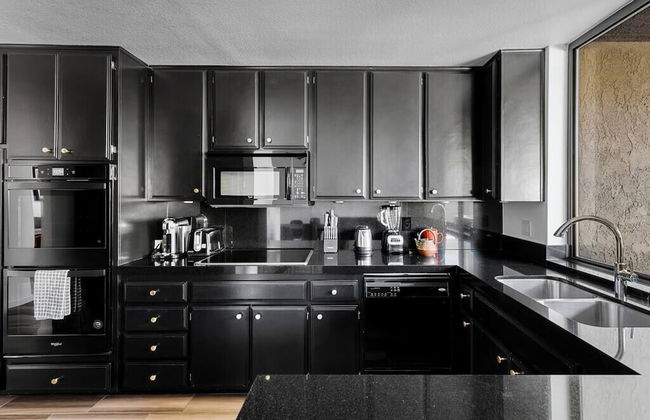
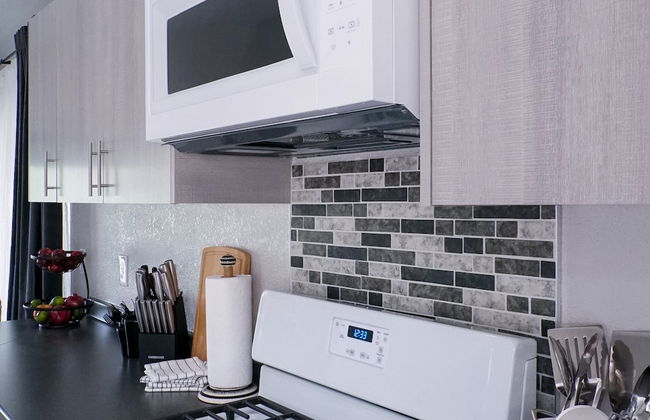
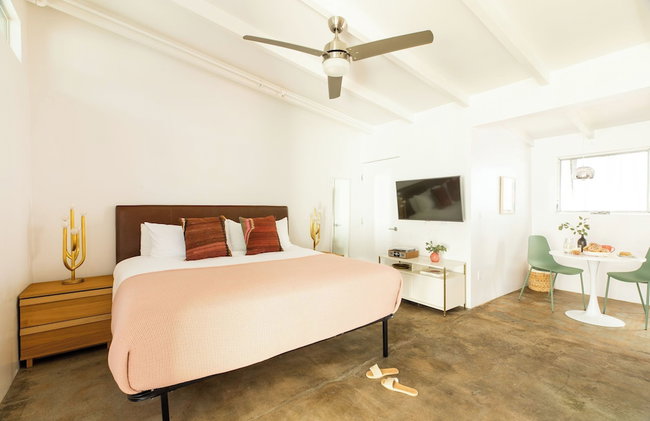
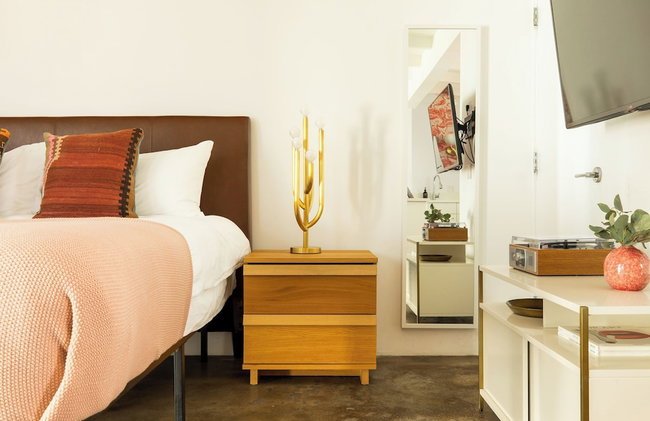
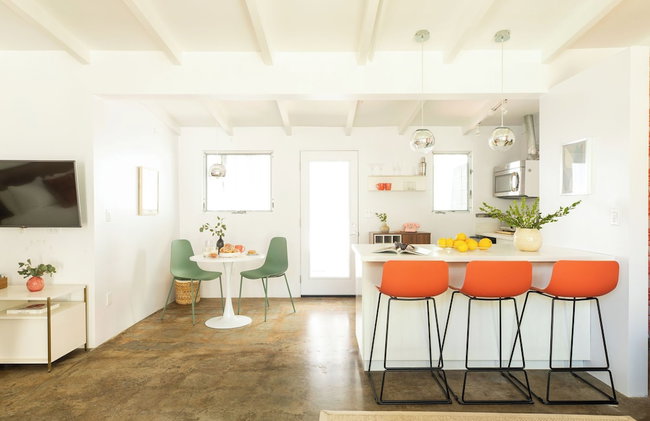
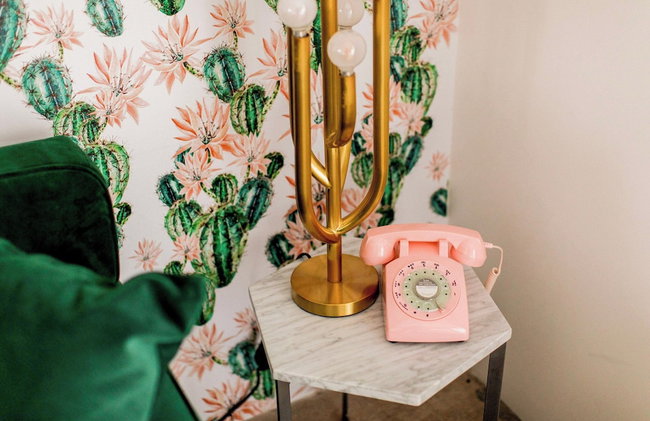
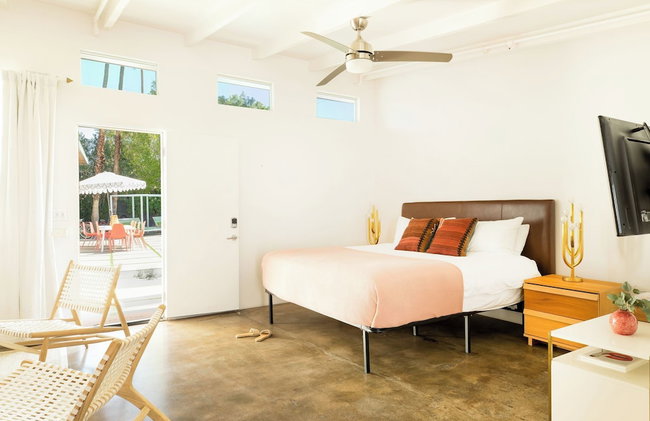
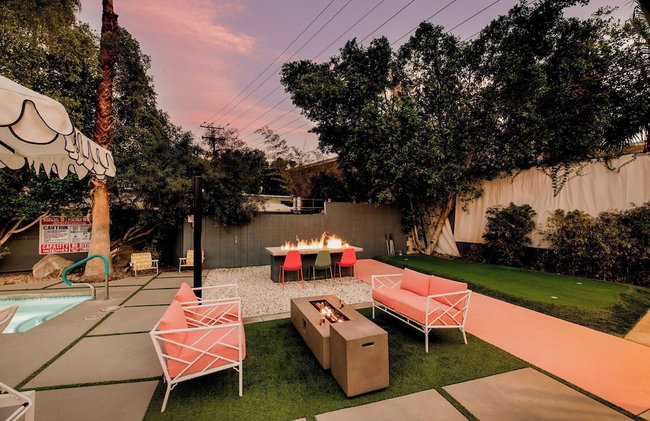
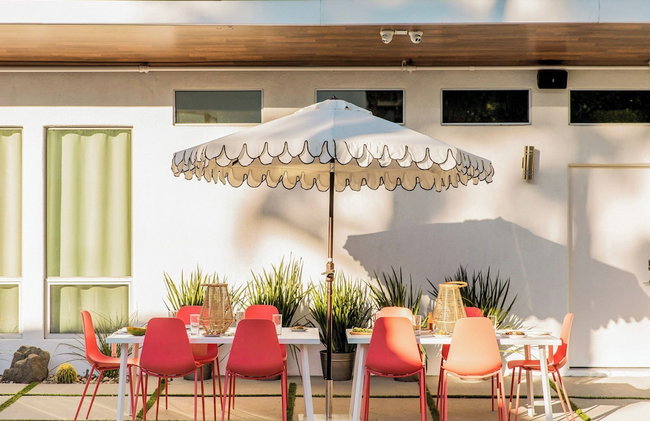
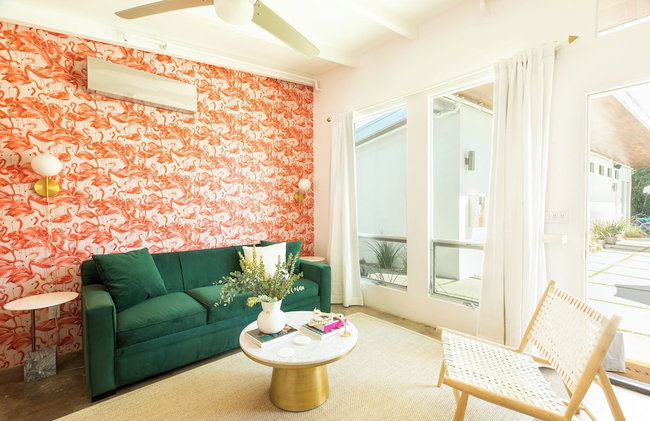
HARRY'S MAN CAVE - A Vintage Motel on the Historic 395 route - The New Star Motel Experience
Moreno - 1.6 km from the center
- 37 M2
- 4 people
- Air conditioning
- Heating
- Parking
- Garden
- Tv
- Barbecue
- Bath linen
- Bed linen


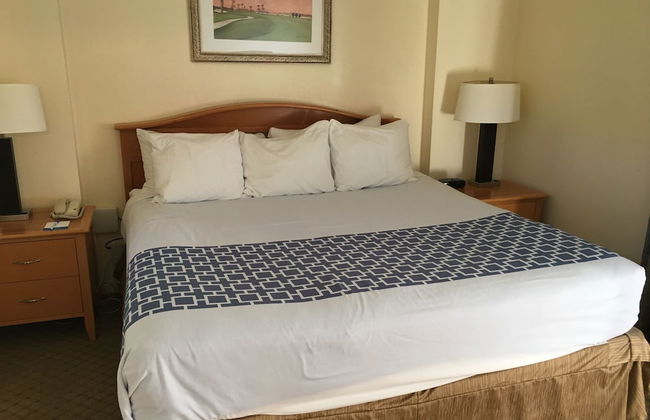
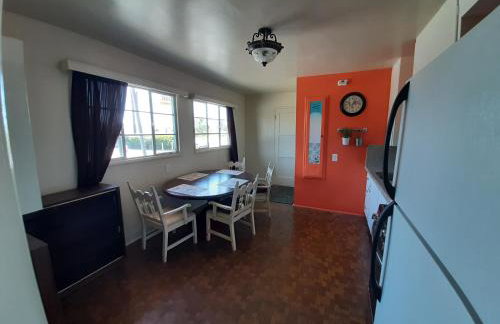
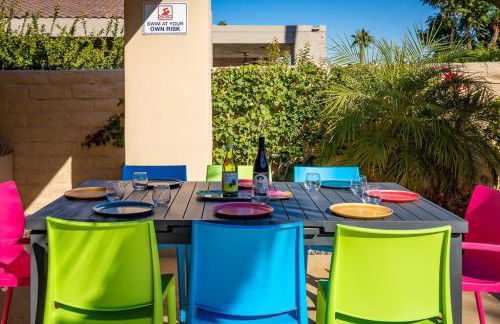
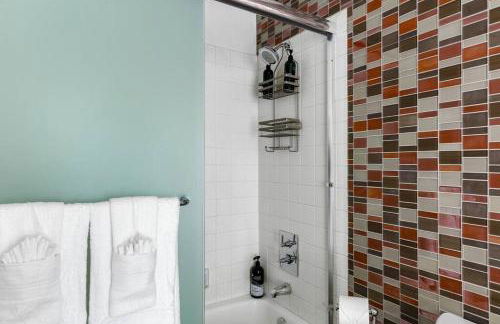
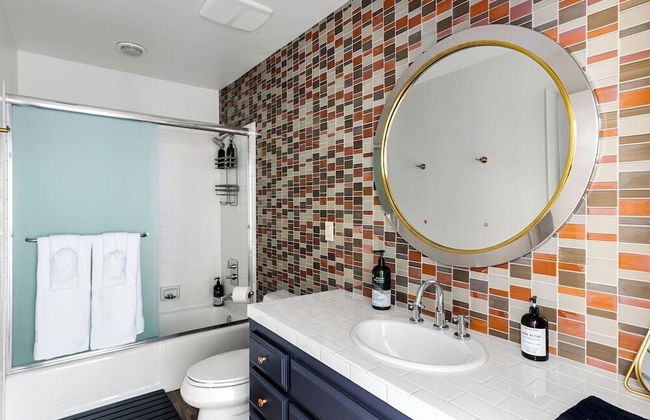
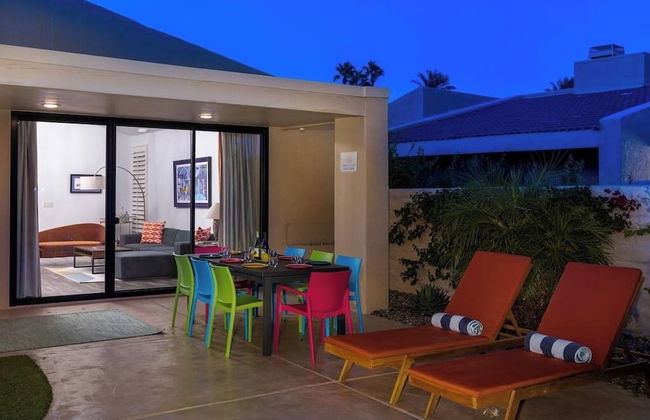
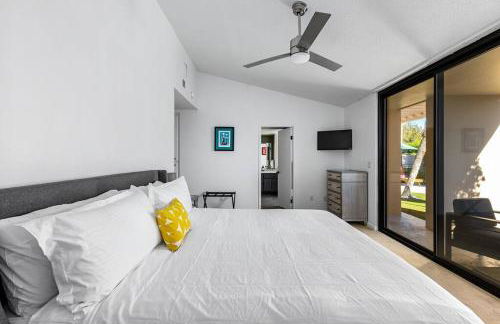
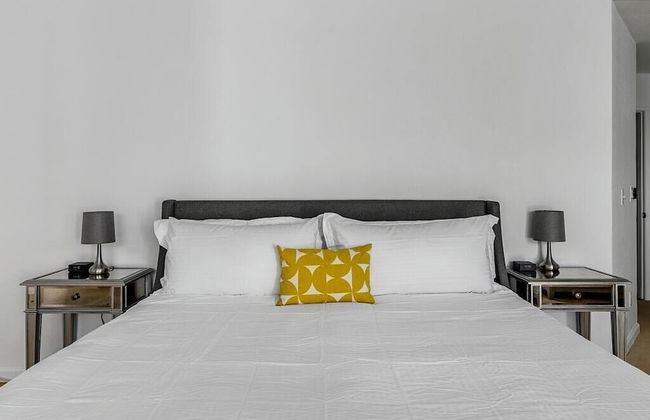
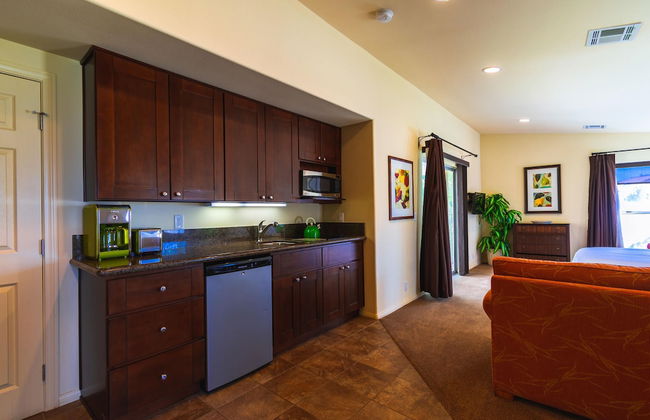
Saint Boniface Hotel
Indio - In the center
- 49 M2
- 1 bedroom
- 4 people
- Air conditioning
- Heating
- Terrace
- Swimming pool


The Villas of Palm Springs
Palm Springs - Taquitz River Estates - 3 km from the center
- 2 people
- Air conditioning
- Heating
- Terrace
- Swimming pool
- Parking
- Garden
- Tv
- Barbecue
- Bath linen
- Bed linen


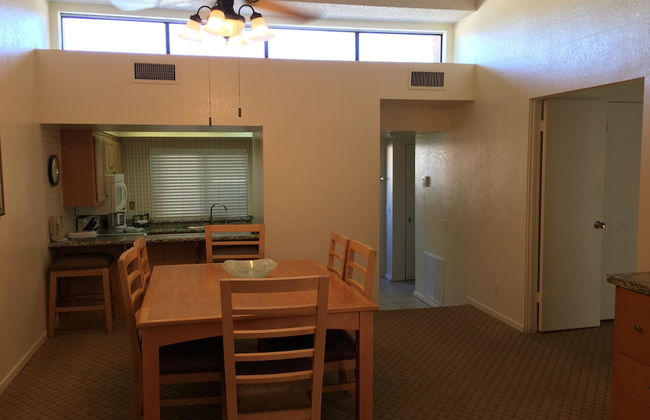
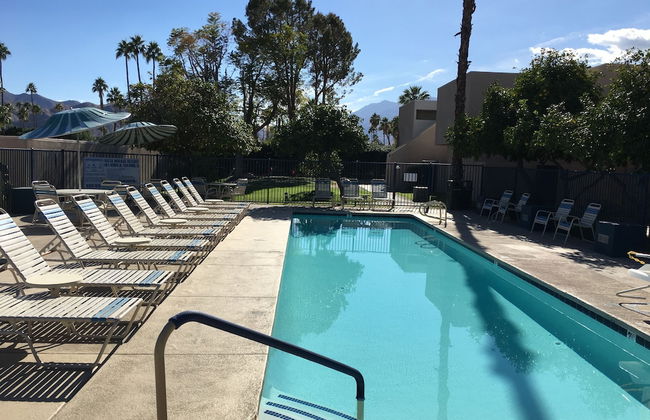
Vista Mirage Resort
Palm Springs - Baristo - 1.5 km from the center
- 116 M2
- 6 people
- Air conditioning
- Swimming pool
- Parking
- Balcony
- Tv
- Barbecue
- Bath linen
- Bed linen


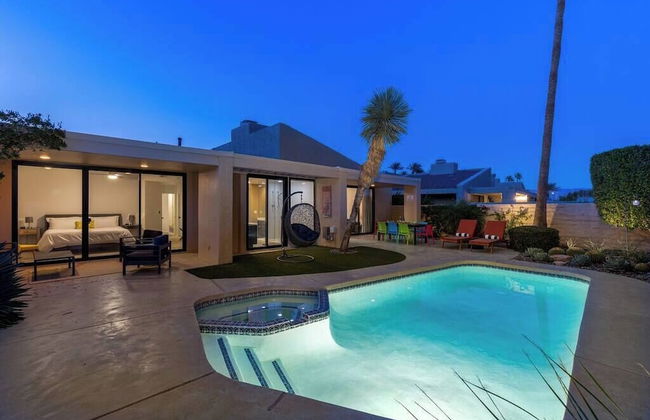


The Sunset House Pool & Spa
Palm Springs - 4 km from the center
- 172 M2
- 3 bedrooms
- 6 people
- Air conditioning
- Swimming pool
- Parking
- Balcony
- Garden
- Tv
- Washing machine
- Barbecue
- Bath linen
- Bed linen


Blackhaus Suites by AvantStay
Palm Springs - 2.5 km from the center
- 84 M2
- 6 people
- Air conditioning
- Heating
- Terrace
- Swimming pool
- Parking
- Garden
- Tv
- Washing machine
- Fireplace
- Bath linen
- Bed linen


The Cottages at Golden Village Palms RV Resort
Hemet - 3.6 km from the center
- 2 people
- Air conditioning
- Swimming pool
- Parking
- Garden
- Fireplace
- Bath linen
- Bed linen


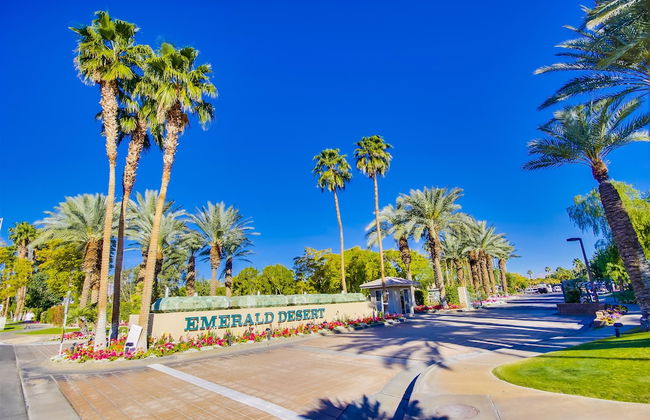


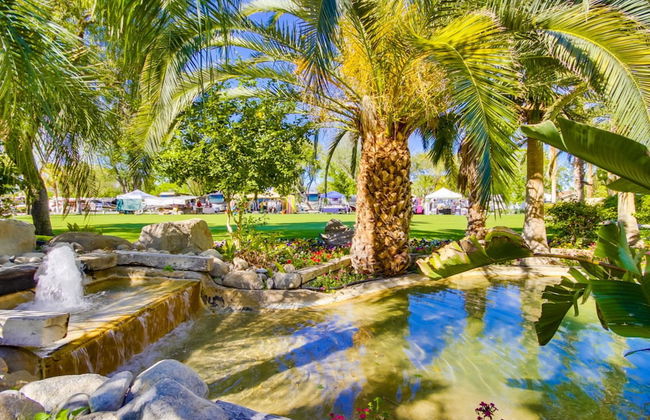


The Villas at Emerald Desert RV Resort
Palm Desert - 5.6 km from the center
- 8 people
- Terrace
- Swimming pool
- Parking
- Barbecue
- Bath linen
- Bed linen


The Getaway Boutique Vacation Rentals
Desert Hot Springs - 3 km from the center
- 251 M2
- 15 people
- Air conditioning
- Heating
- Terrace
- Swimming pool
- Parking
- Garden
- Tv
- Bath linen
- Bed linen


Raintree's Cimarron Golf Resort
Cathedral City - 5.2 km from the center
- 123 M2
- 6 people
- Air conditioning
- Terrace
- Swimming pool
- Parking
- Balcony
- Garden
- Tv
- Barbecue
- Bath linen
- Bed linen


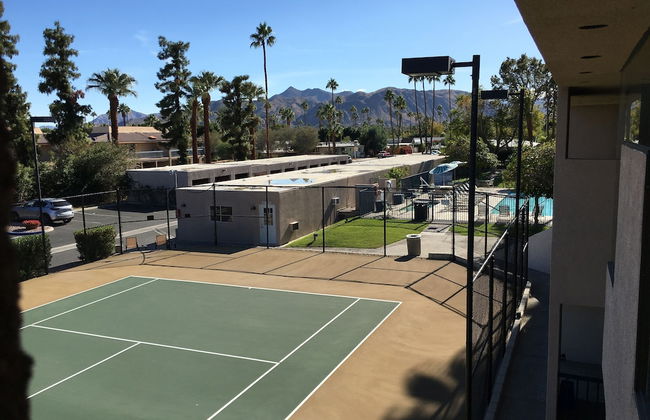
GetAways at Palm Springs Tennis Club
Palm Springs - Historic Tennis Club - 3.4 km from the center
- 6 people
- Kitchenette
- Air conditioning
- Heating
- Terrace
- Swimming pool
- Parking
- Garden
- Tv
- Barbecue
- Bath linen
- Bed linen


2 Rooms, Sleeps 8 Retro Hotel w/ Pool Wesley King Studio Buyout by Avantstay
Palm Springs - Taquitz River Estates - 2.6 km from the center
- 800 M2
- 8 people
- Kitchenette
- Air conditioning
- Heating
- Terrace
- Swimming pool
- Parking
- Fireplace
- Bath linen
- Bed linen


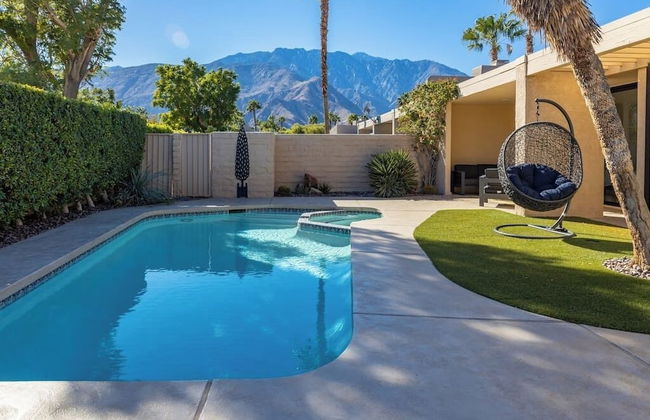
Swan House
Palm Springs - 2.3 km from the center
- 226 M2
- 4 bedrooms
- 8 people
- Air conditioning
- Heating
- Terrace
- Swimming pool
- Parking
- Garden
- Barbecue


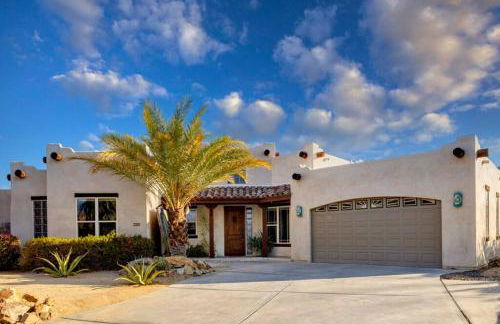


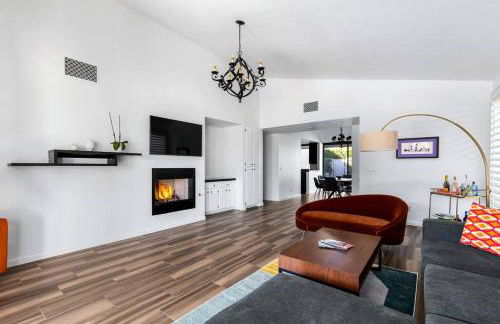
A Beautiful Desert Escape with Everything You Need
Palm Springs - 2 km from the center
- 183 M2
- 3 bedrooms
- 8 people
- Air conditioning
- Heating
- Terrace
- Swimming pool
- Parking
- Garden
- Barbecue


Desert Breezes Resort 1 Bedroom Suite with Resort Access
Palm Desert - 6.2 km from the center
- 102 M2
- 1 bedroom
- 6 people
- Kitchenette
- Air conditioning
- Heating
- Swimming pool
- Parking
- Balcony
- Garden
- Tv
- Barbecue
- Bath linen
- Bed linen


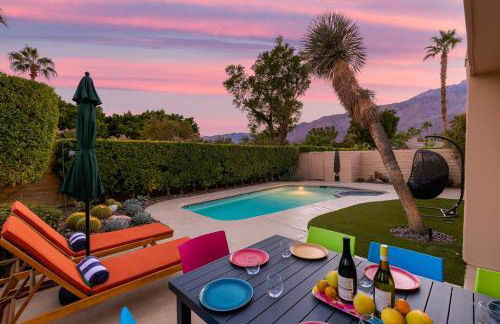
The Galvan Estate
Palm Springs - Racquet Club West - 4.7 km from the center
- 279 M2
- 8 people
- Air conditioning
- Heating
- Swimming pool
- Parking
- Tv
- Fireplace
- Barbecue
- Bath linen
- Bed linen


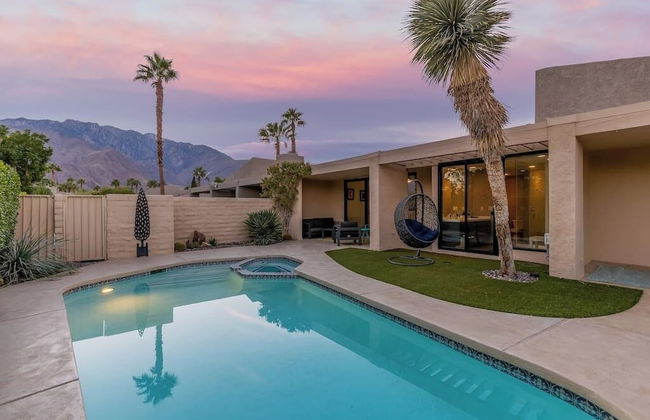
3 BDR Desert Oasis in the Heart of Palm Springs!
Palm Springs - Racquet Club Estates South - 2.6 km from the center
- 130 M2
- 3 bedrooms
- 6 people
- Air conditioning
- Heating
- Swimming pool
- Parking
- Garden
- Tv
- Washing machine
- Fireplace
- Bath linen
- Bed linen
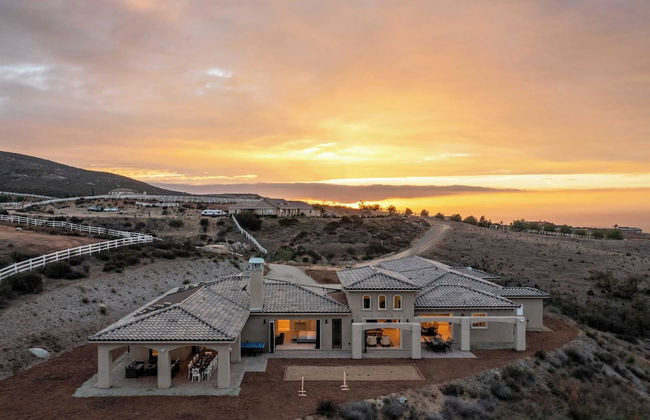
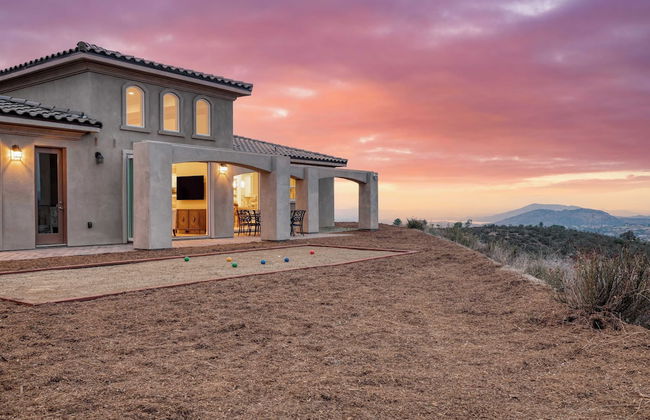


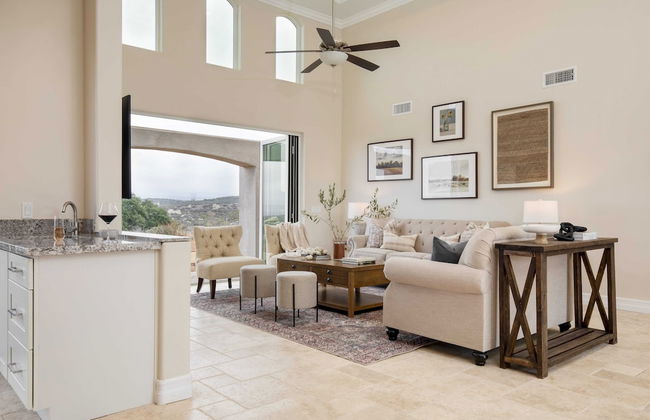
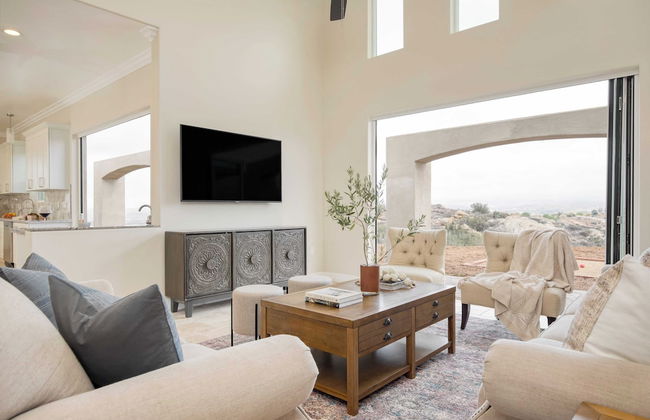
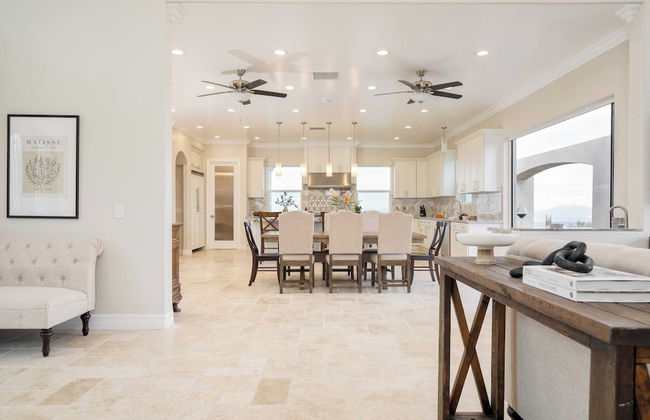


Incredible Estate w/ Panoramic Views & Bocce Ball Court! Malbec by Avantstay
Temecula - 17.8 km from the center
- 464 M2
- 18 people
- Air conditioning
- Heating
- Terrace
- Parking
- Tv
- Washing machine
- Bath linen
- Bed linen