
2788 Apartments in Pinellas
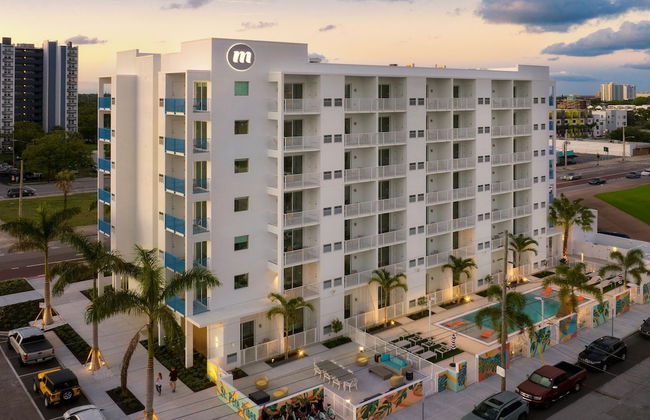


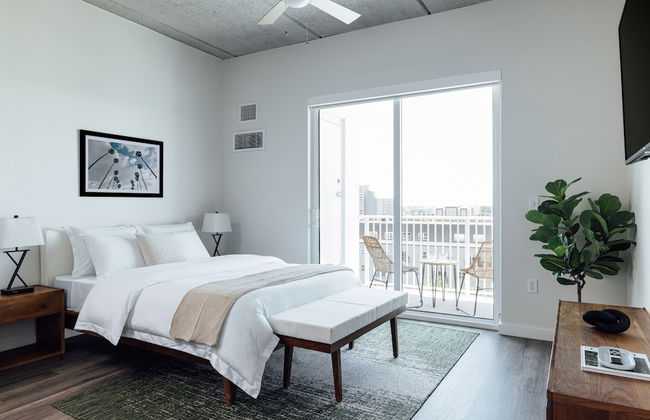
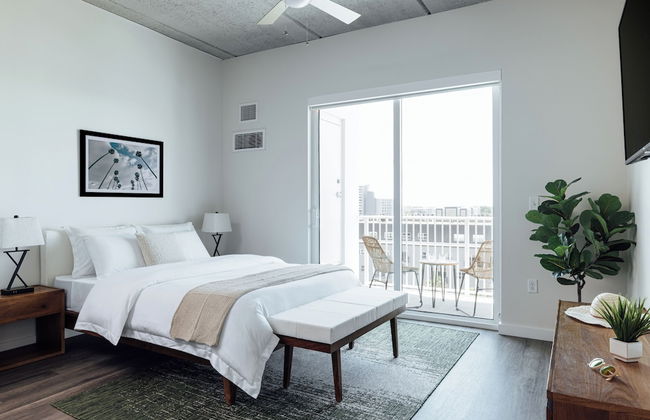


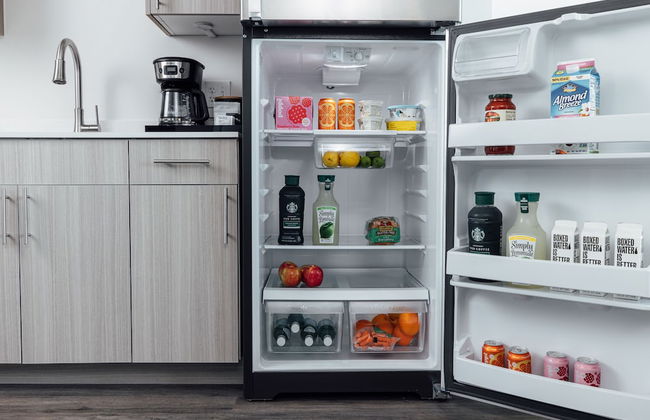
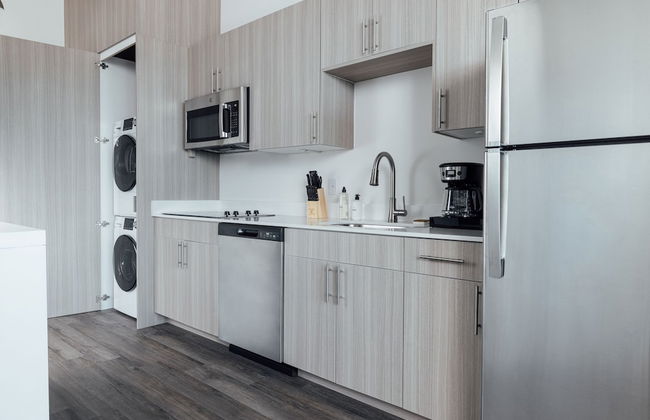
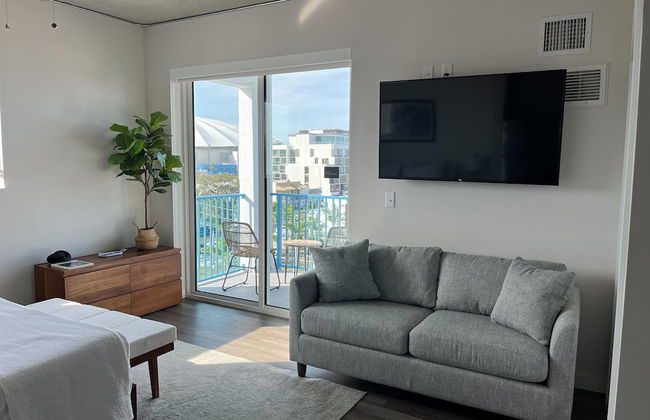


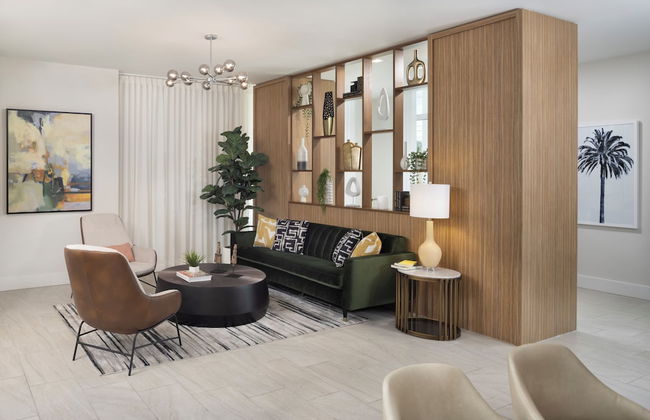

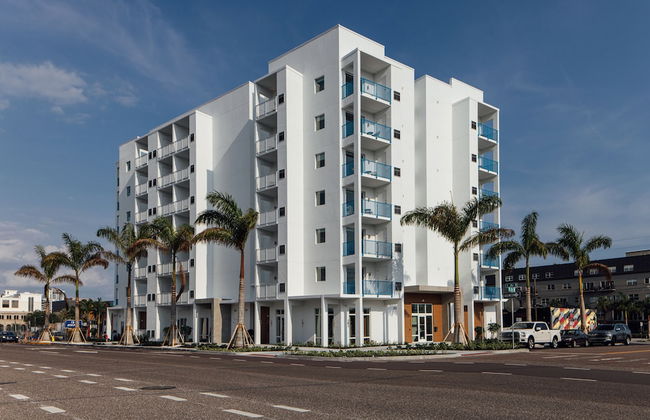

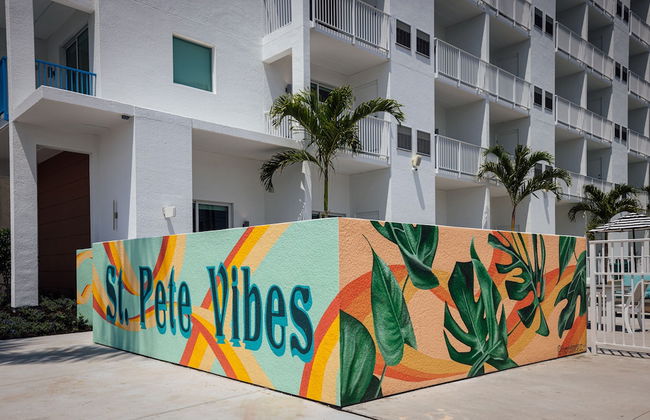


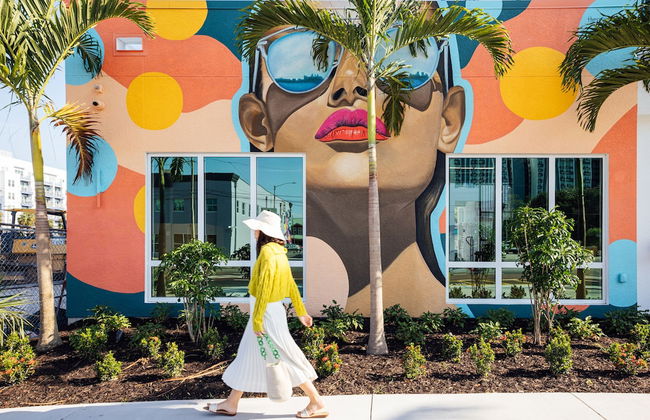


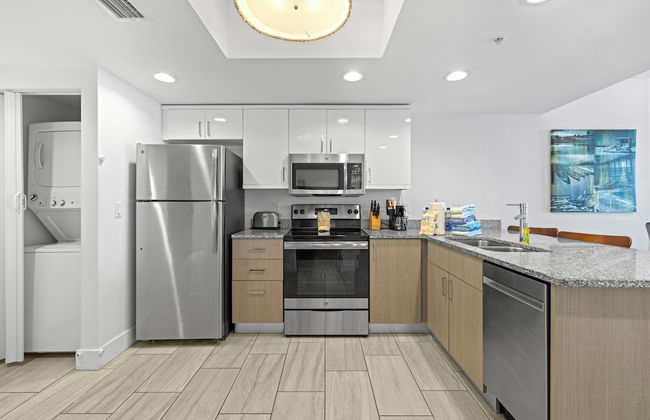
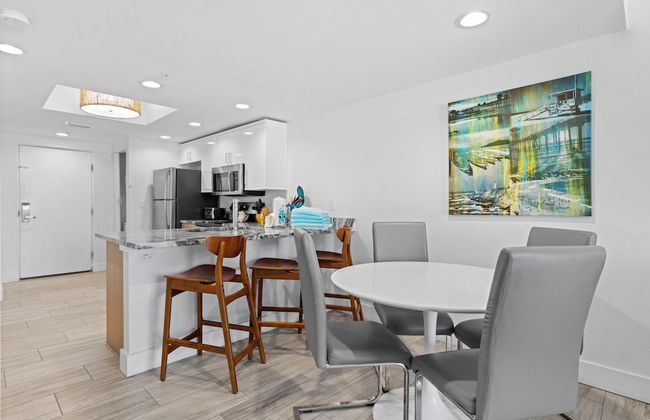
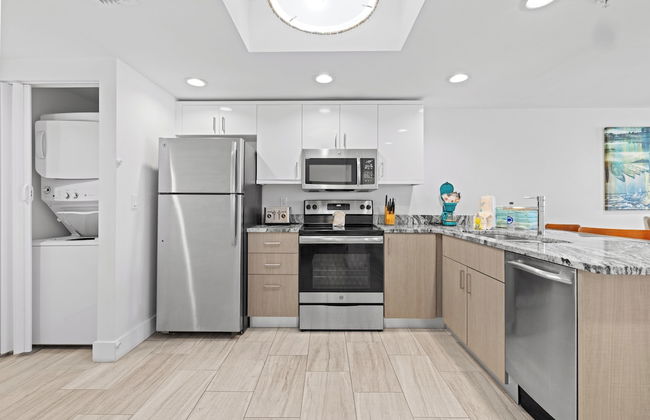
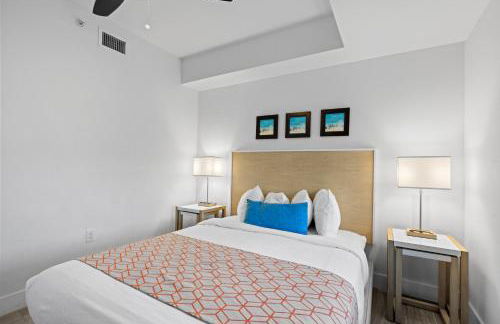
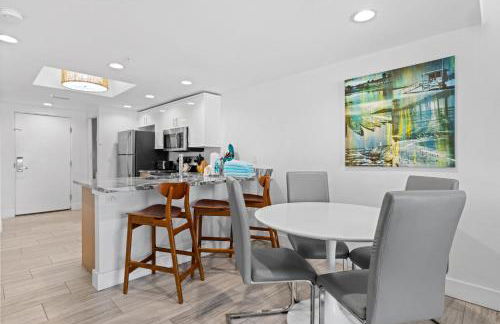
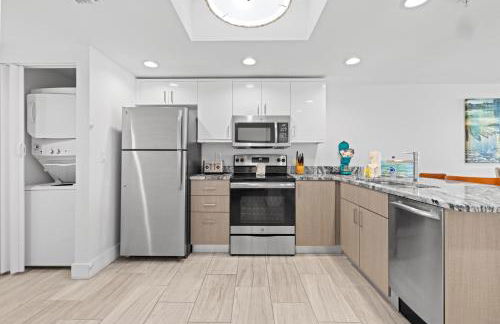
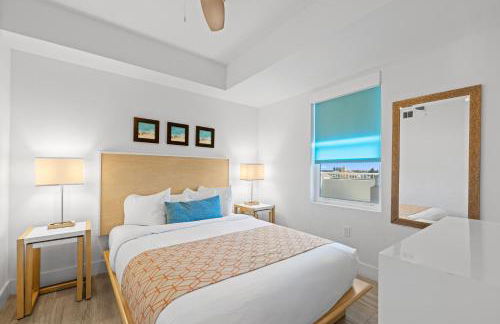
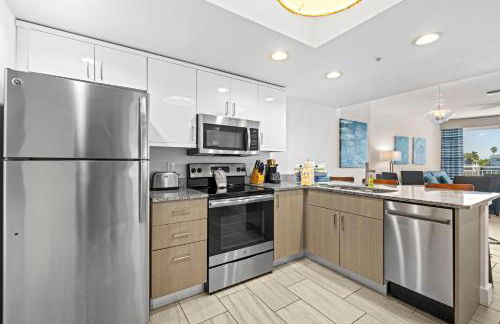
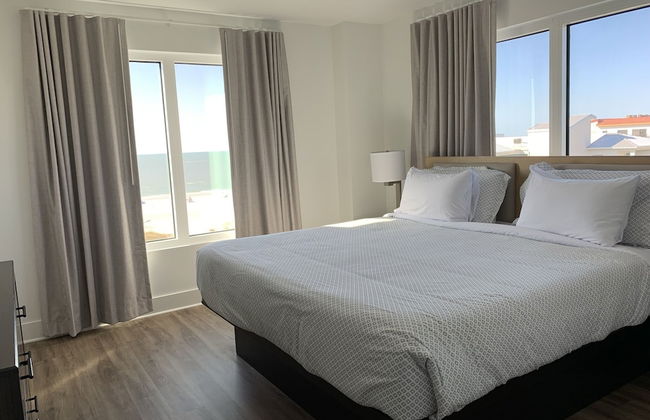
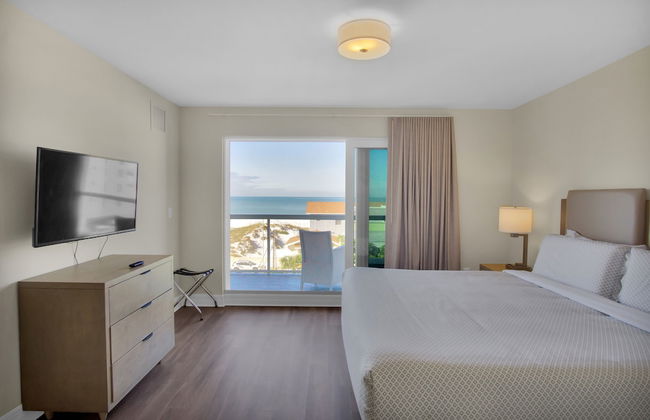
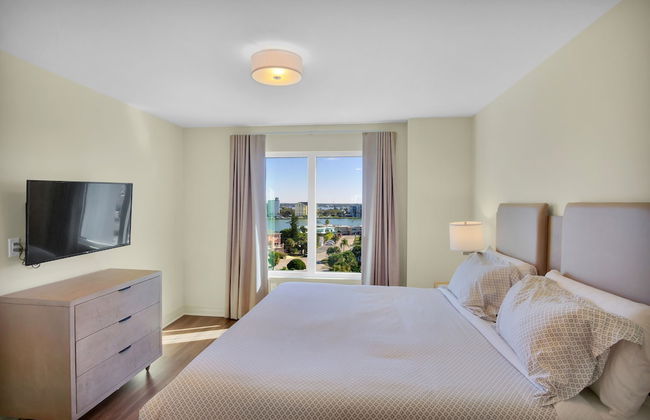
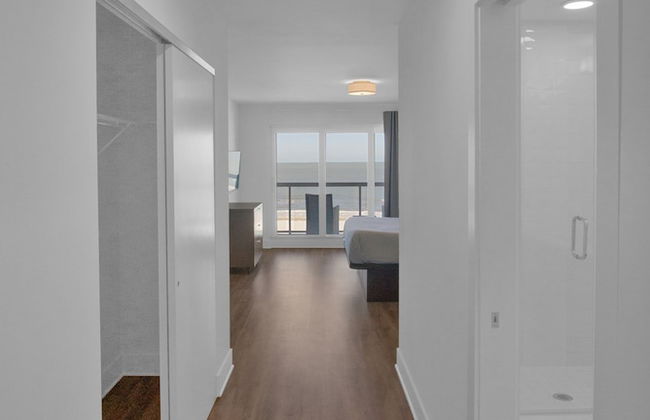
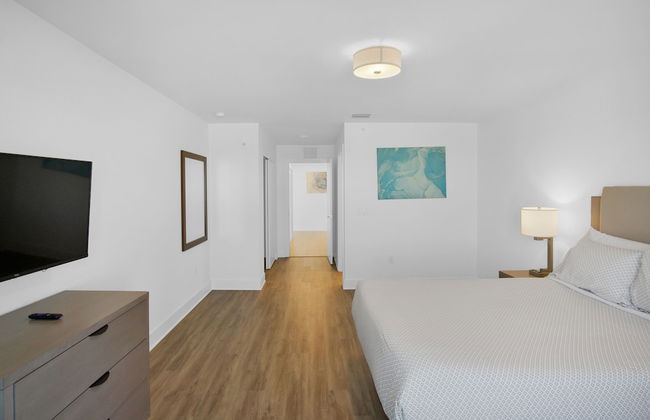
Mint House St. Petersburg Downtown by Kasa
St Petersburg - 550 m from the center
- 32 M2
- 4 people
- Kitchenette
- Air conditioning
- Heating
- Terrace
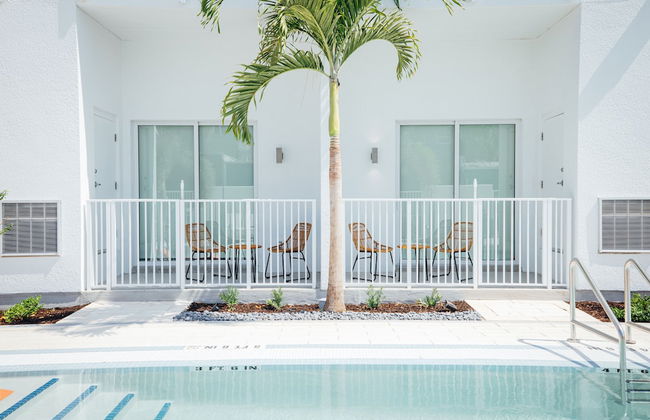
- Swimming pool
- Parking
- Elevator
- Tv
- Washing machine
- Fireplace
- Barbecue
- Bath linen
- Bed linen
606 reviews


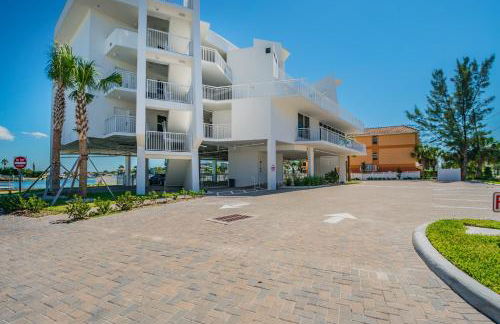
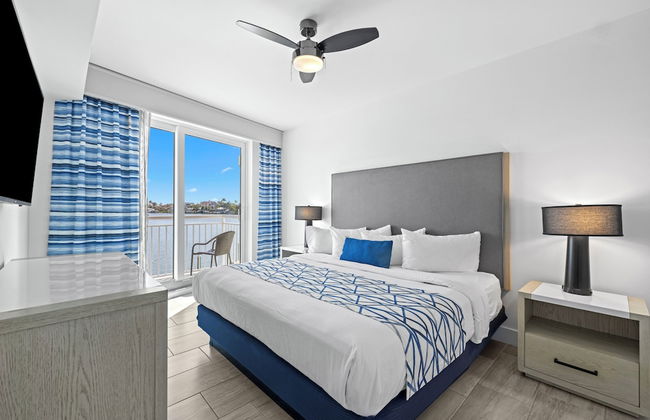
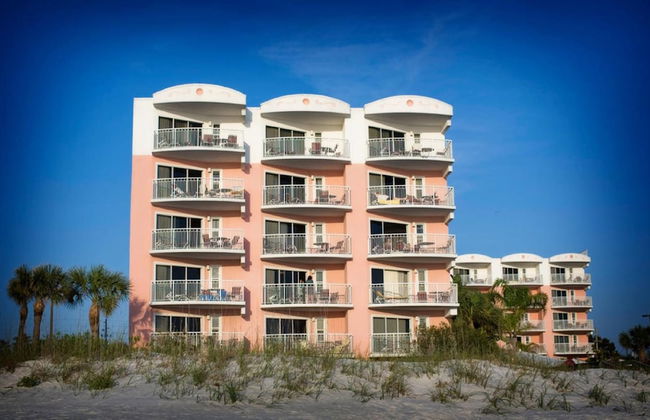
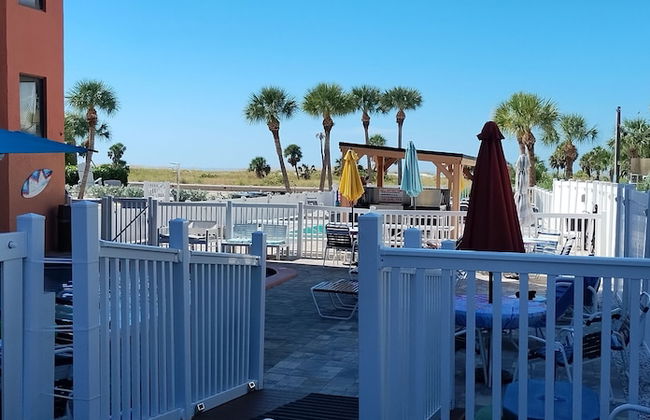
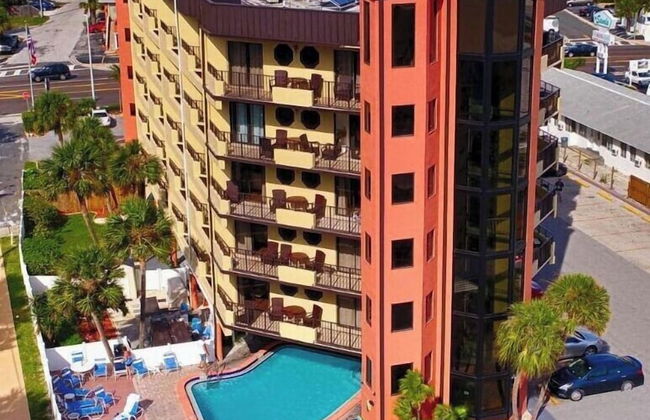
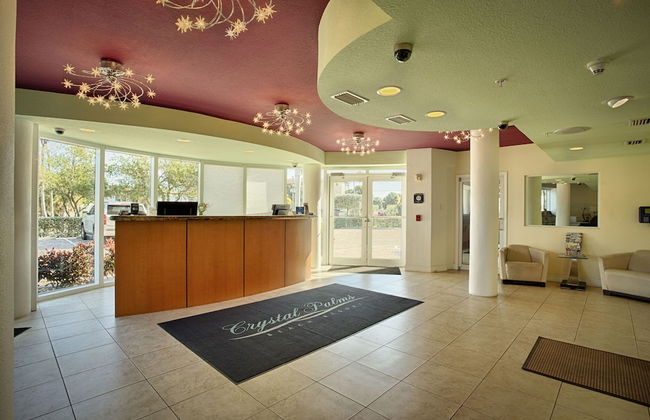
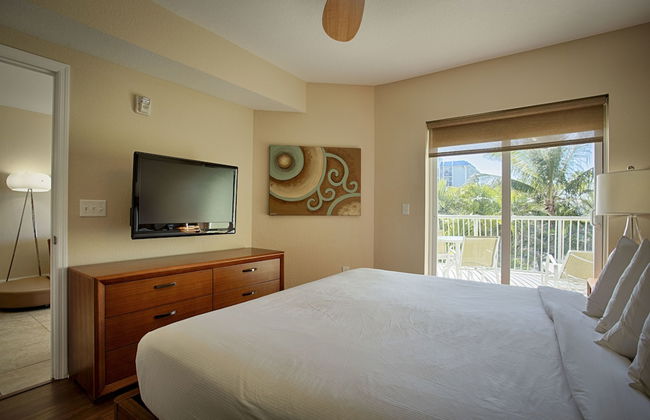
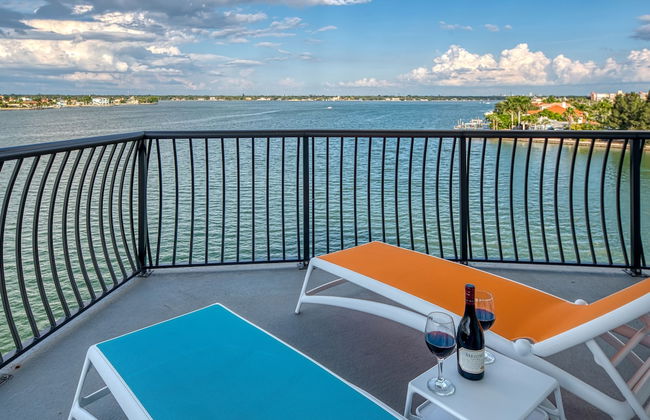
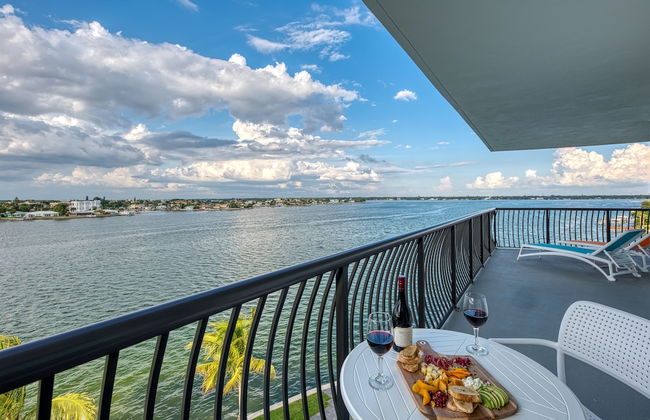
Crystal Palms Treasure Island Retreat Steps from the Beach
Treasure Island
- 72 M2
- 2 bedrooms
- 6 people
- Air conditioning
- Heating
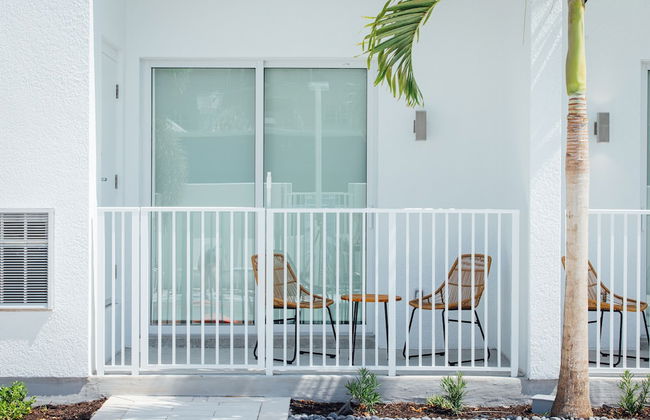
- Terrace
- Swimming pool
- Parking
- Elevator
- Balcony
- Garden
- Tv
- Washing machine
- Barbecue
- Bath linen
- Bed linen
1070 reviews


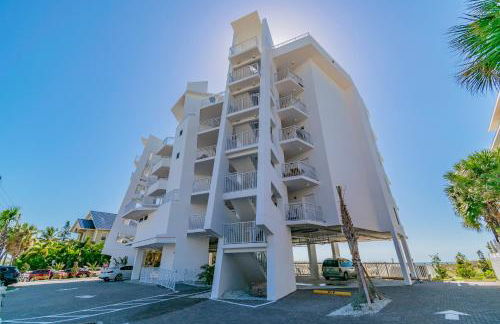
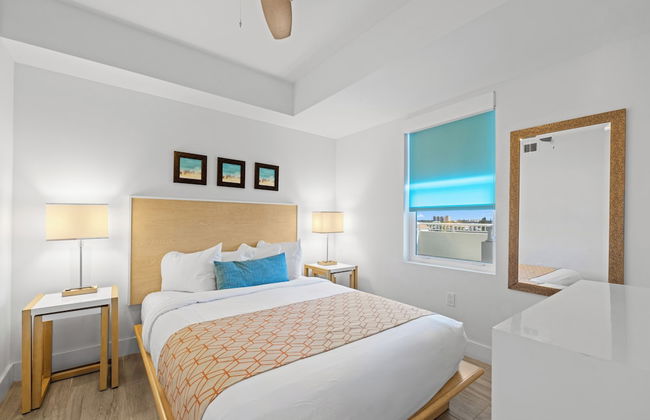
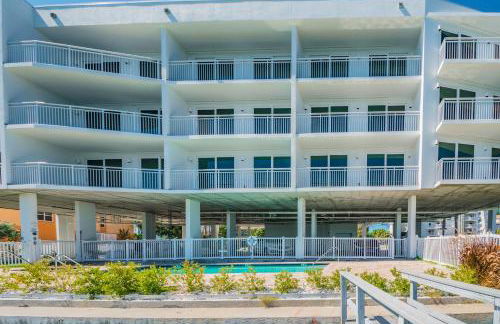
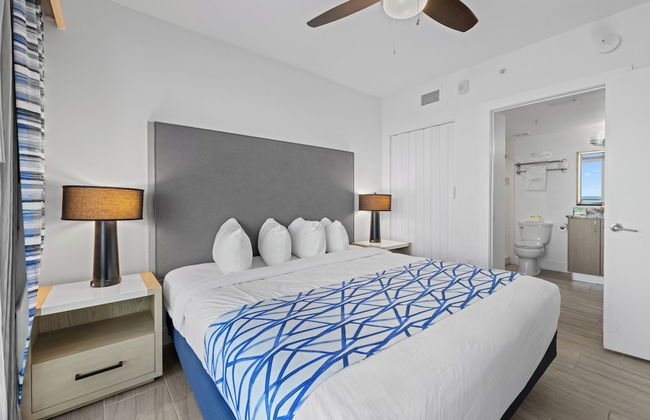


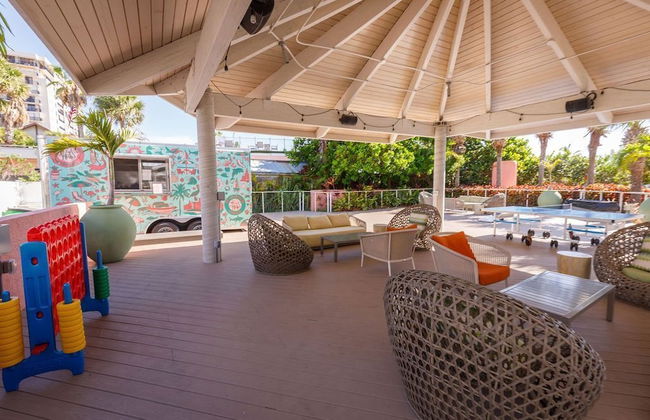
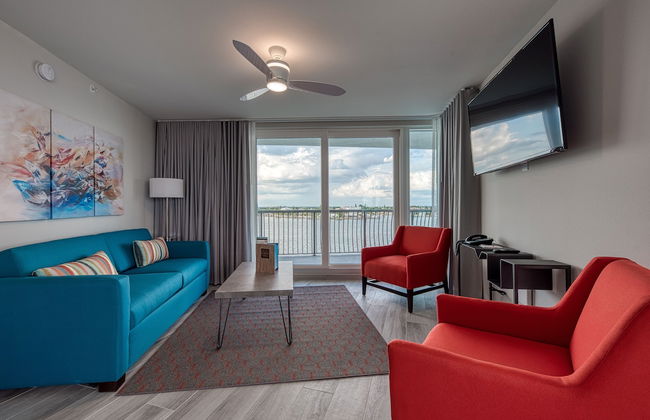
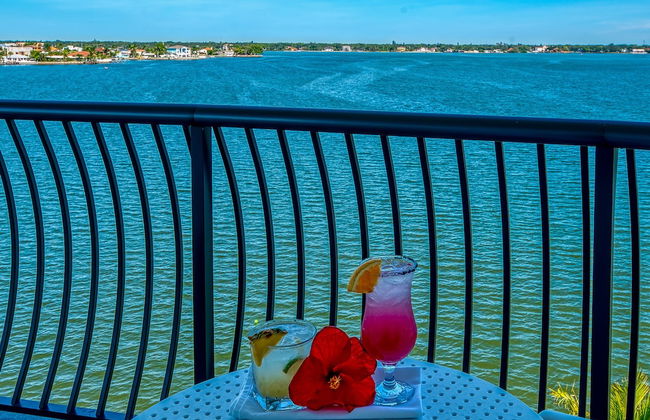
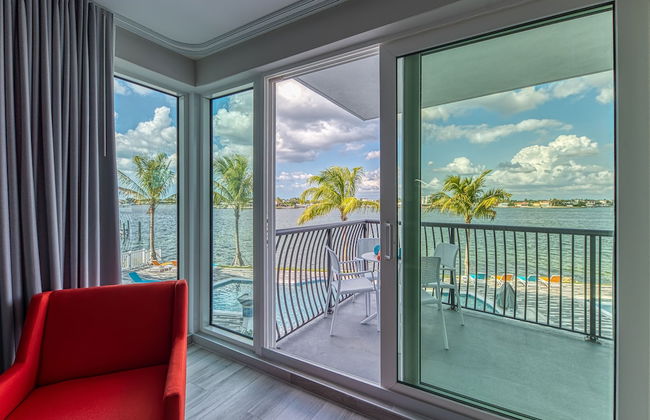
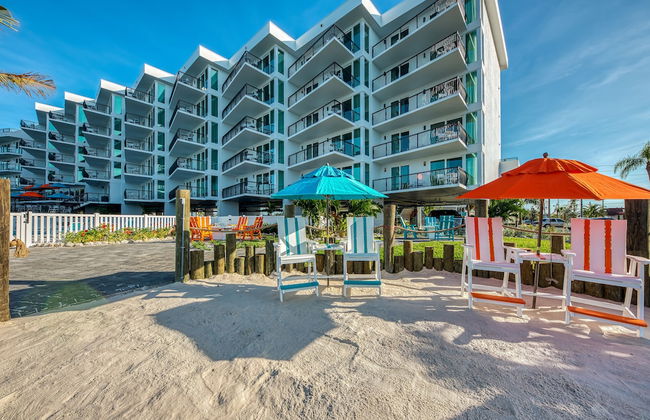
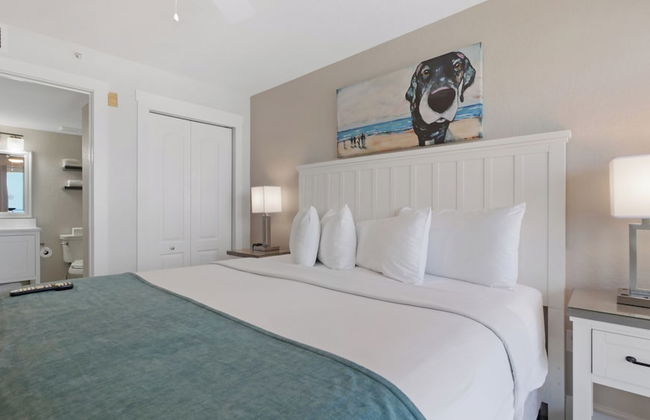
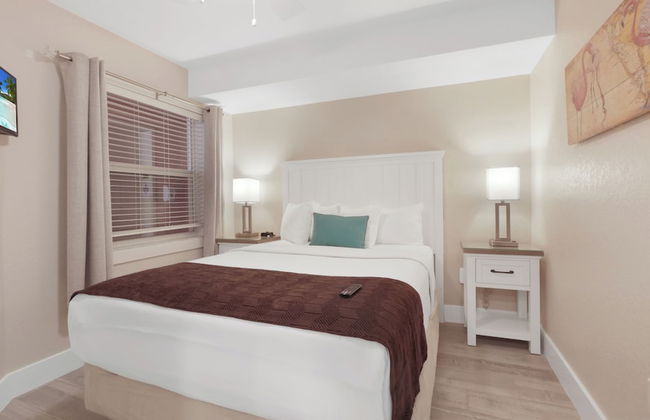
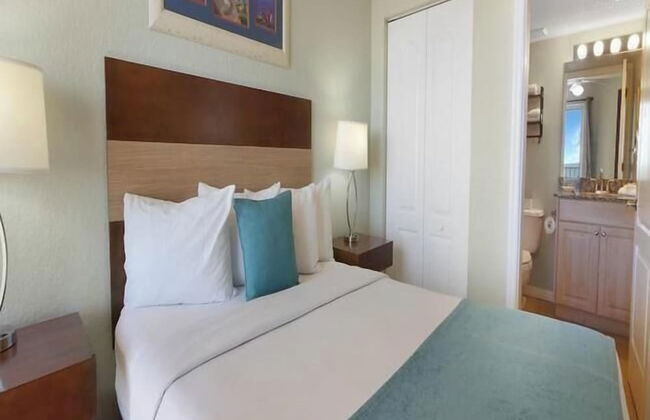
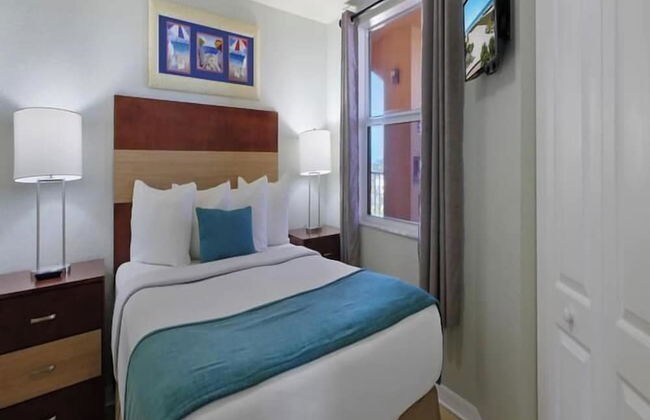
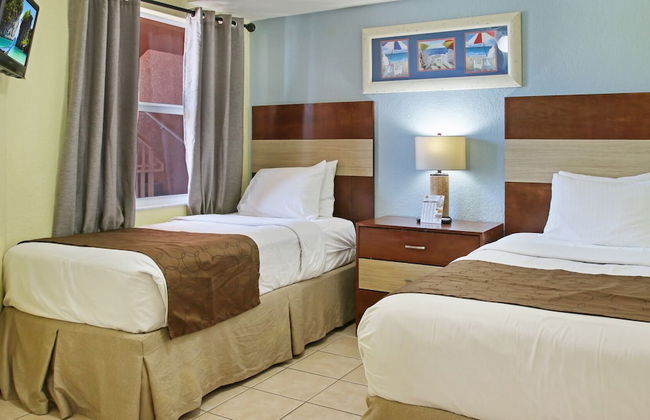
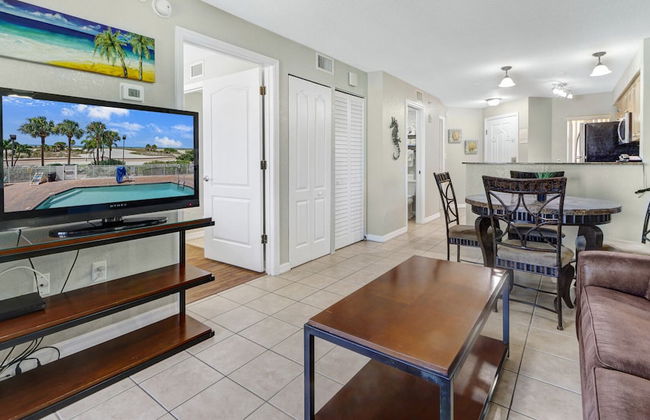
Provident Oceana Beachfront Suites
Treasure Island
- 116 M2
- 3 bedrooms
- 8 people
- Air conditioning
- Heating
- Terrace
- Swimming pool
- Parking
- Elevator
- Balcony
- Garden
- Tv
- Washing machine
- Bath linen
- Bed linen
551 reviews


BeachTrail Lodging
Indian Rocks Beach - Independence Square
- 56 M2
- 2 bedrooms
- 4 people
- Air conditioning
- Heating
- Terrace
- Parking
- Balcony
- Garden
- Tv
- Washing machine
- Bath linen
- Bed linen
94 reviews


The Fold Hotels Indian Shores
Indian Rocks Beach
- 113 M2
- 4 people
- Kitchenette
- Air conditioning
- Terrace
- Swimming pool
- Parking
- Elevator
- Balcony
- Tv
- Fireplace
- Barbecue
- Bath linen
- Bed linen
888 reviews


Silver Sands
St Petersburg - 13.4 km from the center
- 42 M2
- 4 people
- Air conditioning
- Heating
- Terrace
- Swimming pool
- Parking
- Garden
- Tv
- Barbecue
- Bath linen
- Bed linen
144 reviews


Shoreline Island Resort - Exclusively Adult
St Petersburg - 15.2 km from the center
- 42 M2
- 4 people
- Kitchenette
- Air conditioning
- Terrace
- Swimming pool
- Parking
- Elevator
- Balcony
- Garden
- Tv
- Washing machine
- Barbecue
- Bath linen
- Bed linen
1341 reviews


Beach House Suites by the Don CeSar
St Petersburg - 11.1 km from the center
- 6 people
- Kitchenette
- Air conditioning
- Heating
- Terrace
- Swimming pool
- Parking
- Elevator
- Balcony
- Garden
- Tv
- Washing machine
- Fireplace
- Bath linen
- Bed linen
922 reviews


The Avalon Club
Clearwater Beach
- 196 M2
- 10 people
- Air conditioning
- Heating
- Swimming pool
- Parking
- Elevator
- Balcony
- Tv
- Bath linen
- Bed linen
402 reviews


Westwinds Waterfront Resort
St Petersburg - 12.1 km from the center
- 90 M2
- 6 people
- Air conditioning
- Heating
- Swimming pool
- Parking
- Elevator
- Garden
- Tv
- Barbecue
- Bath linen
- Bed linen
663 reviews


Funshine Pointe Capri
Treasure Island
- 62 M2
- 1 bedroom
- 4 people
- Air conditioning
- Heating
- Terrace
- Swimming pool
- Parking
- Garden
- Barbecue
22 reviews


Voyager Beach Club
St Petersburg - 13.1 km from the center
- 4 people
- Air conditioning
- Heating
- Terrace
- Swimming pool
- Parking
- Elevator
- Balcony
- Tv
- Barbecue
- Bath linen
- Bed linen
96 reviews


The Akoya & Pearl Houses at the Gemma - 2 Homes with Private Pools Just Steps to Clearwater Beach
Clearwater Beach
- 303 M2
- 12 bedrooms
- 16 people
- Air conditioning
- Heating
- Terrace
- Swimming pool
- Parking
- Elevator
- Balcony
- Garden
- Tv
- Washing machine
- Barbecue
- Bath linen
- Bed linen
2 reviews


Crystal Palms Beach Resort
St Petersburg - 12.9 km from the center
- 171 M2
- 2 bedrooms
- 6 people
- Air conditioning
- Heating
- Swimming pool
- Parking
- Elevator
- Balcony
- Garden
- Tv
- Washing machine
- Barbecue
- Bath linen
- Bed linen
2307 reviews

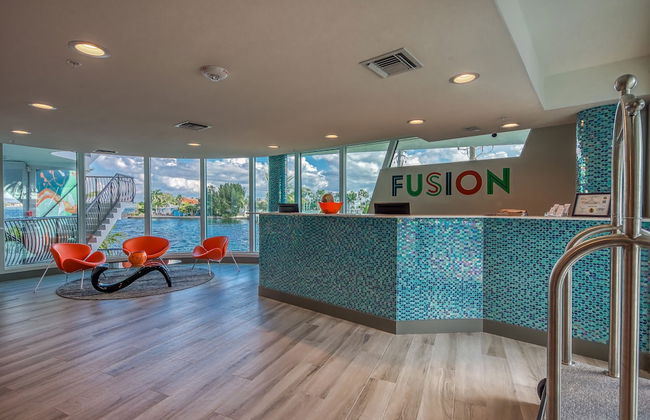


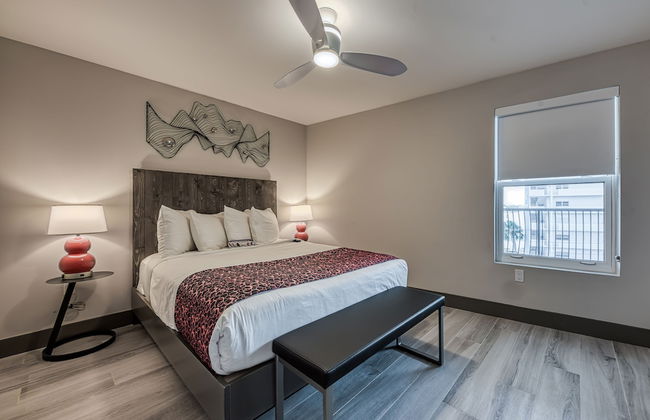


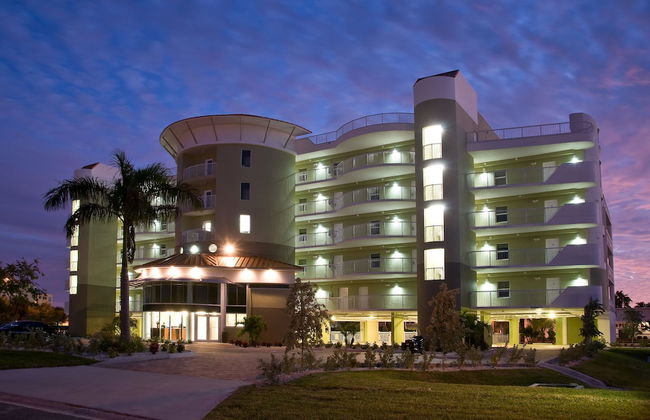
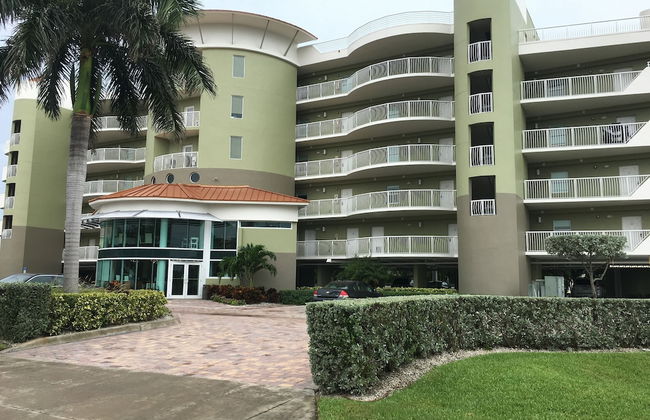
FUSION Resort Waterfront Suites
St Petersburg - 11.9 km from the center
- 159 M2
- 8 people
- Air conditioning
- Heating
- Terrace
- Swimming pool
- Parking
- Elevator
- Balcony
- Tv
- Washing machine
- Fireplace
- Bath linen
- Bed linen
1018 reviews


Surf Beach Treasure Island Resort
Treasure Island
- 64 M2
- 2 bedrooms
- 6 people
- Air conditioning
- Heating
- Terrace
- Swimming pool
- Parking
- Elevator
- Balcony
- Tv
- Washing machine
- Barbecue
- Bath linen
- Bed linen
792 reviews


Beachfront Condo On Quiet Treasure Island- 1 Bed
Treasure Island
- 37 M2
- 4 people
- Air conditioning
- Heating
- Terrace
- Swimming pool
- Parking
- Garden
- Barbecue
27 reviews


Large Mediterranean Oasis - Water Views & Pool
Indian Rocks Beach
- 1000 M2
- 6 bedrooms
- 12 people
- Air conditioning
- Swimming pool
- Parking
- Elevator
- Garden
- Barbecue
12 reviews


Waterfront Luxury w/ Heated Salt Pool & Golf Cart
Indian Rocks Beach
- 446 M2
- 4 bedrooms
- 12 people
- Air conditioning
- Heating
- Terrace
- Swimming pool
- Parking
- Elevator
- Garden
- Barbecue
13 reviews


Sea Club Condo #37
Indian Rocks Beach
- 116 M2
- 2 bedrooms
- 6 people
- Air conditioning
- Heating
- Swimming pool
- Parking
- Garden
- Barbecue
14 reviews