
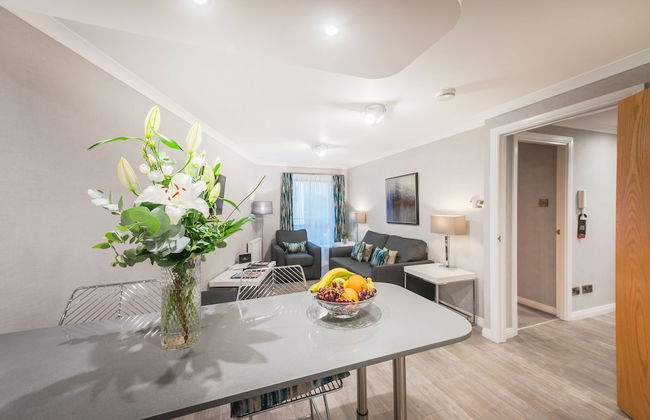
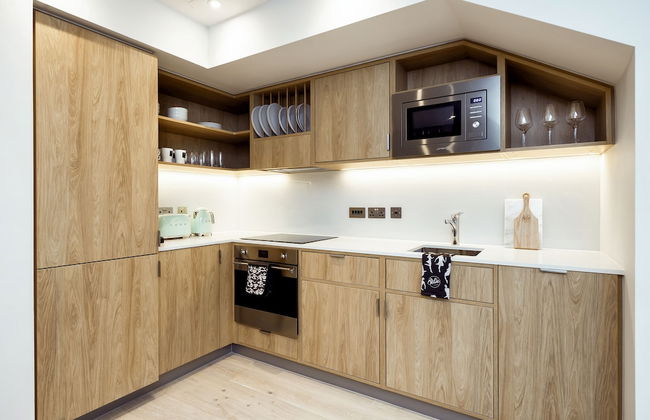
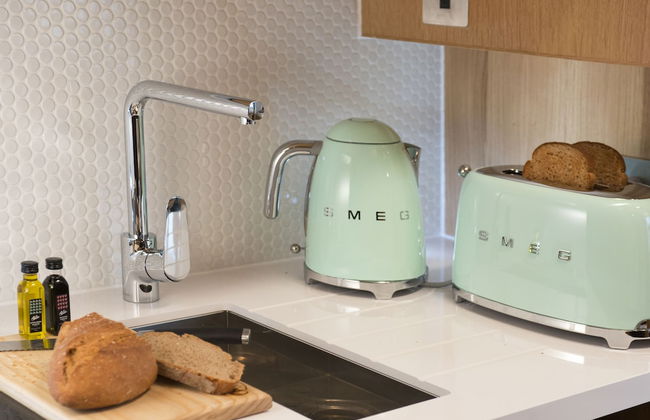
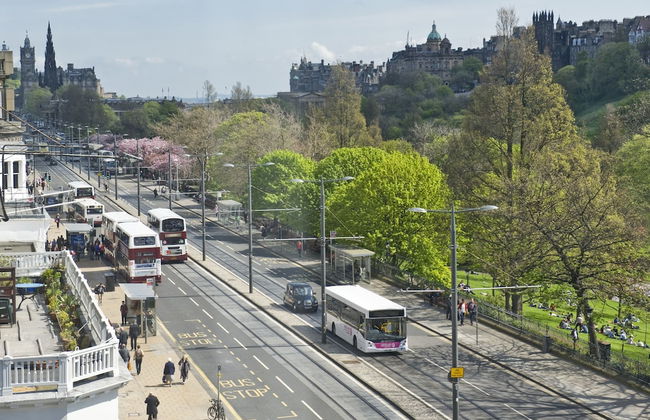
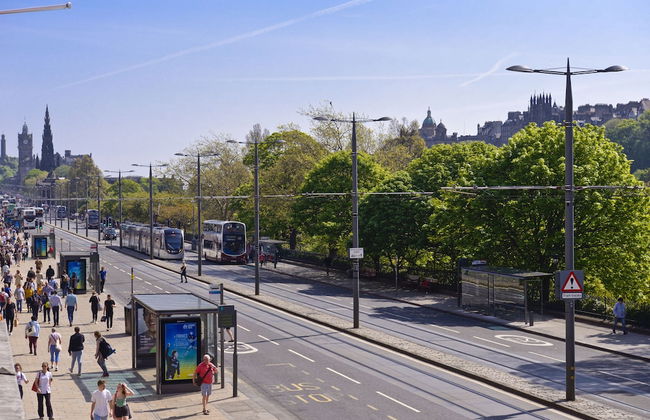
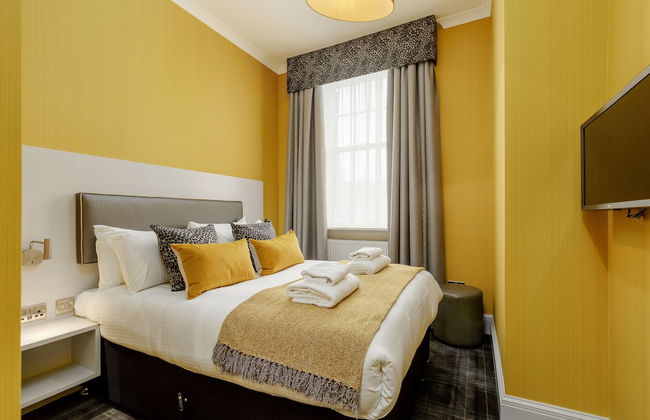
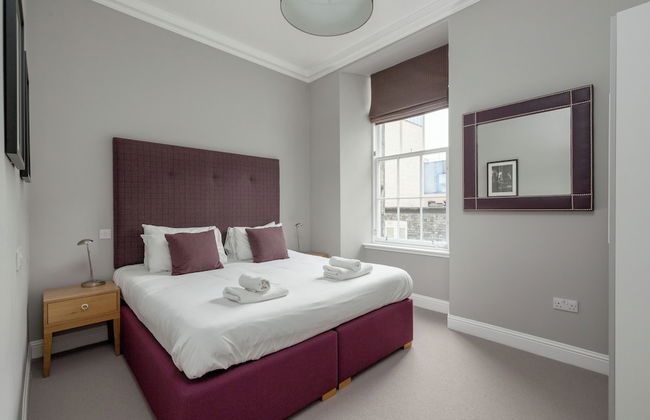
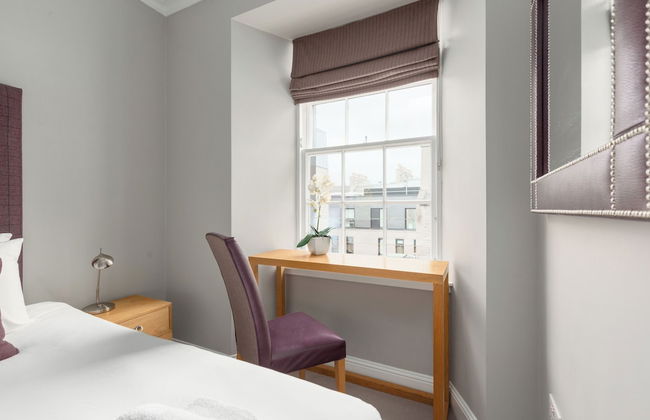
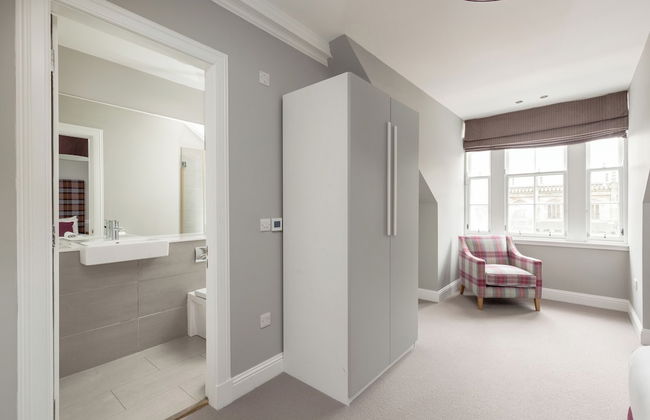
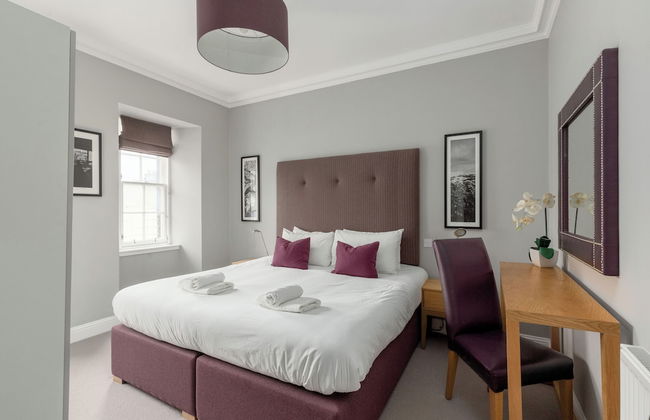
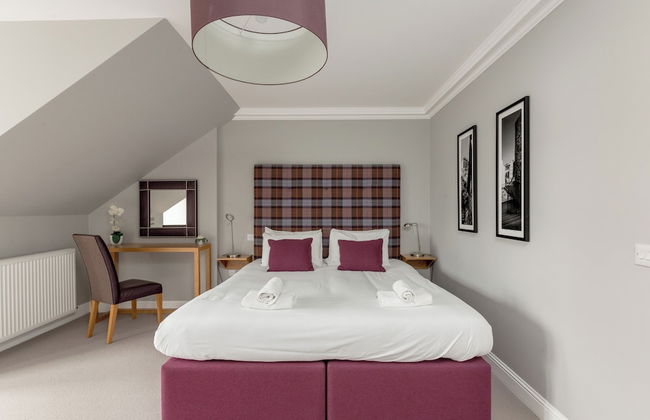
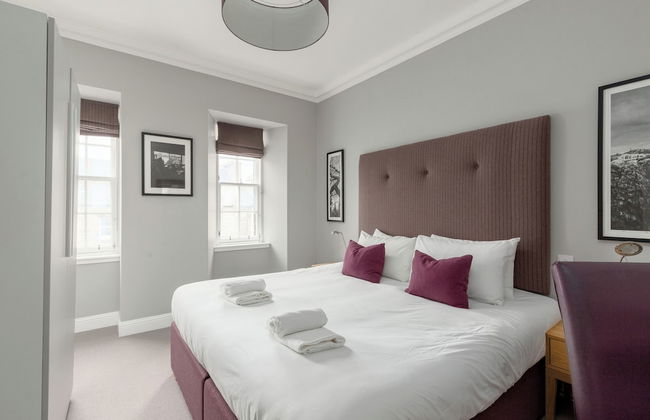
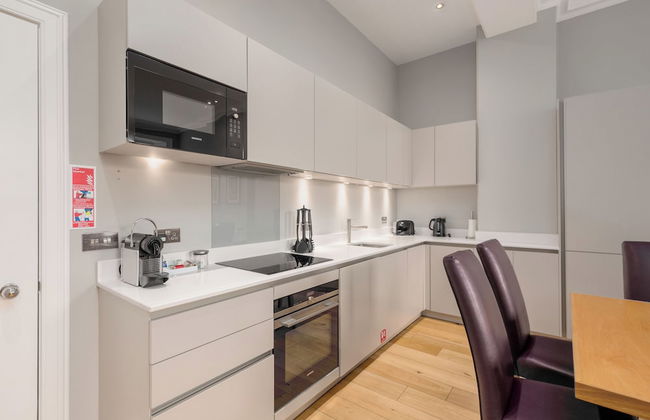
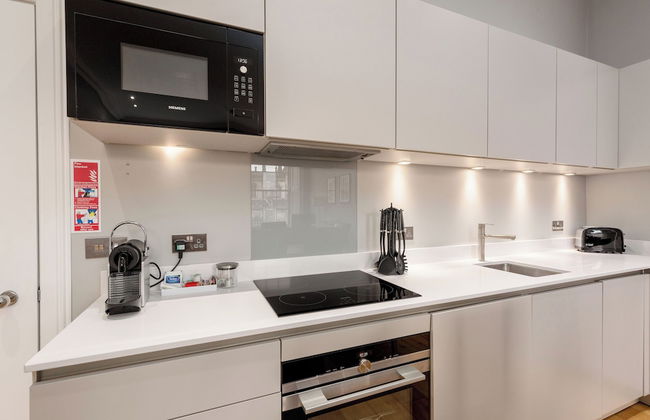
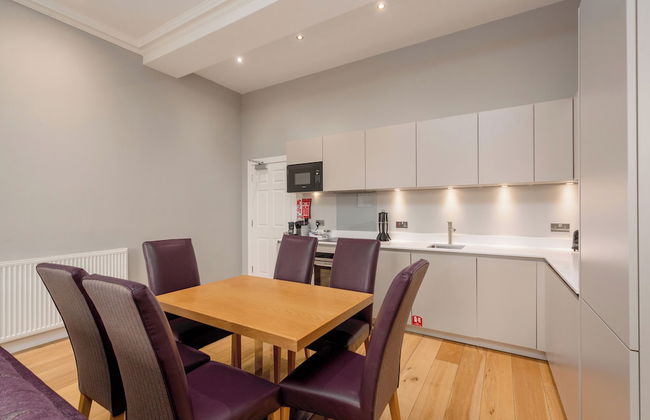
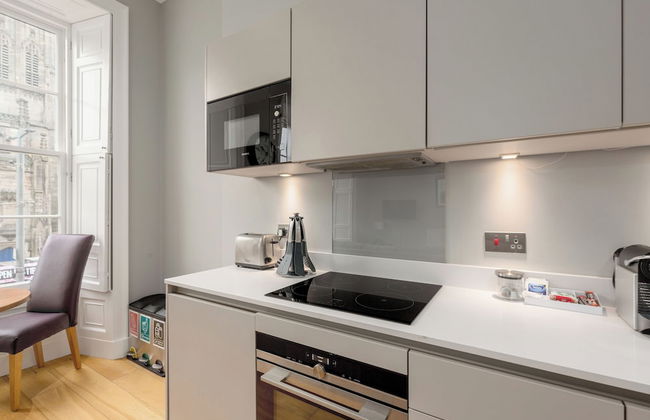
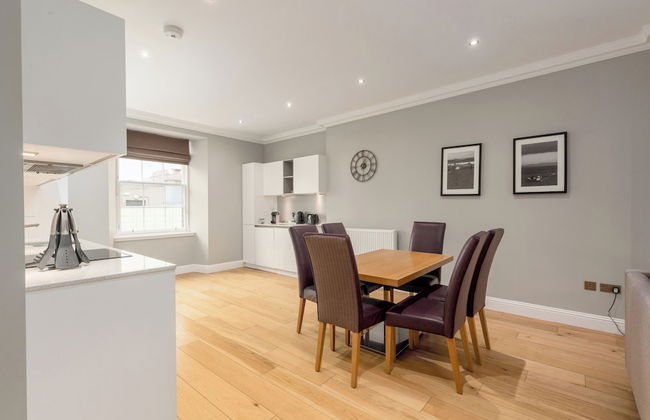
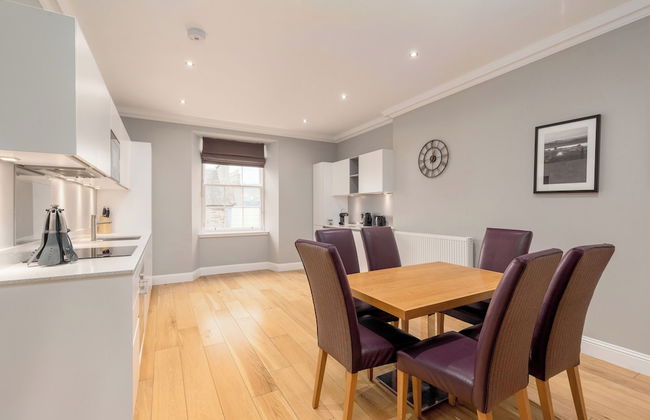
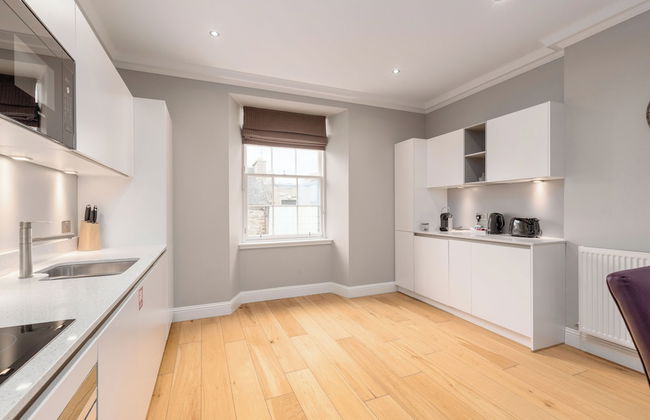
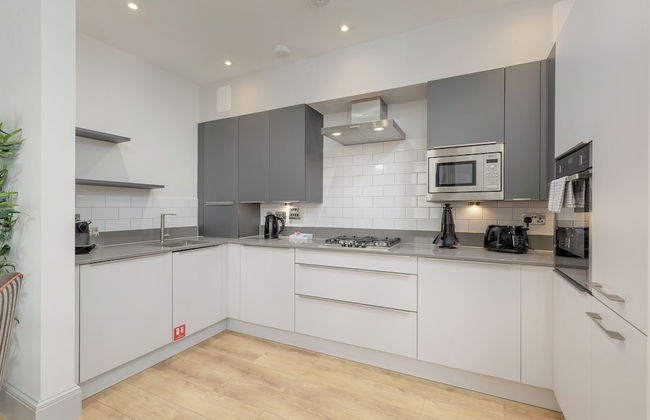
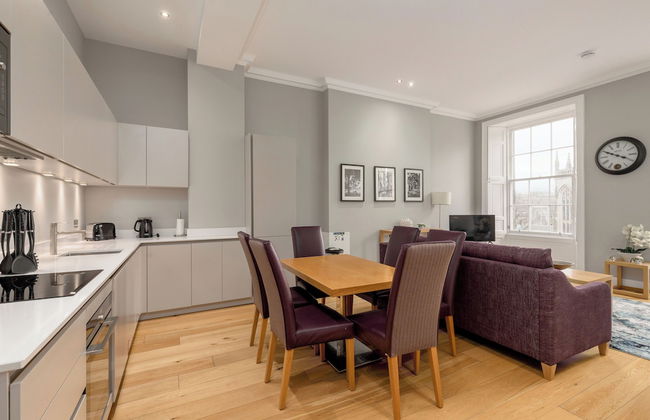
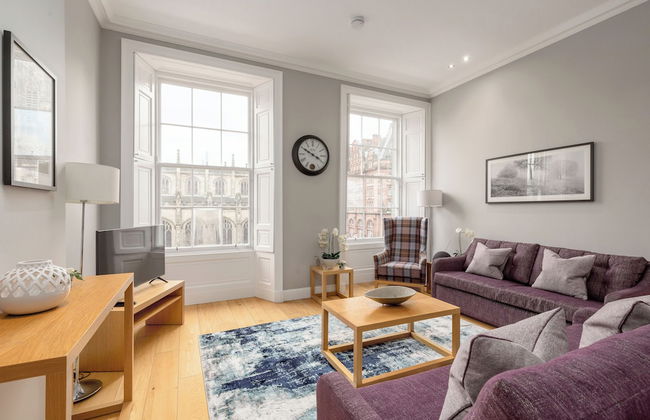
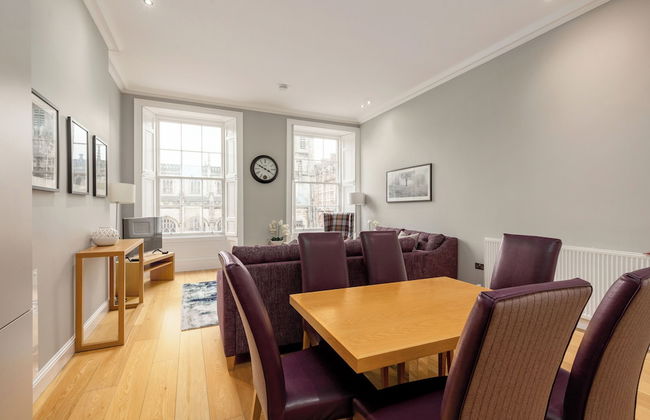
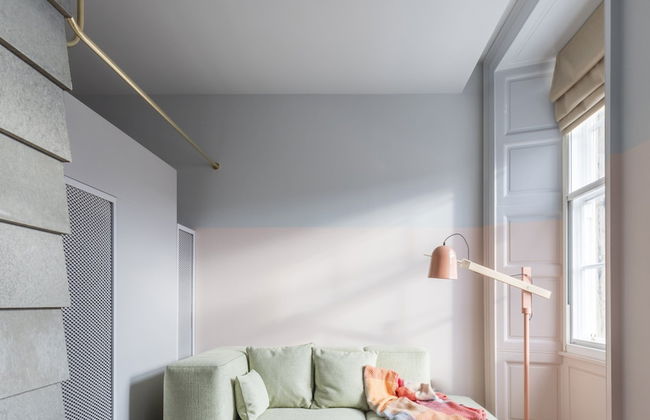
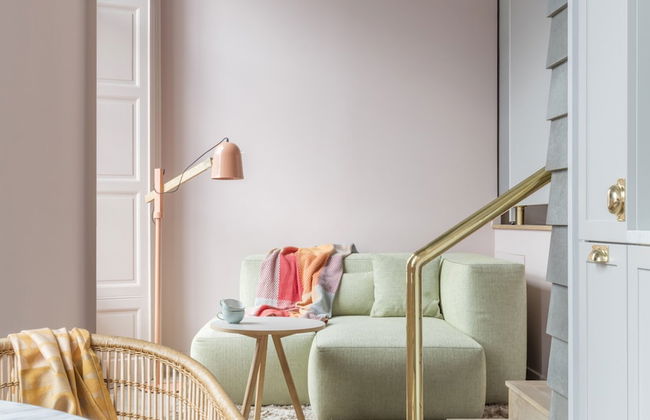
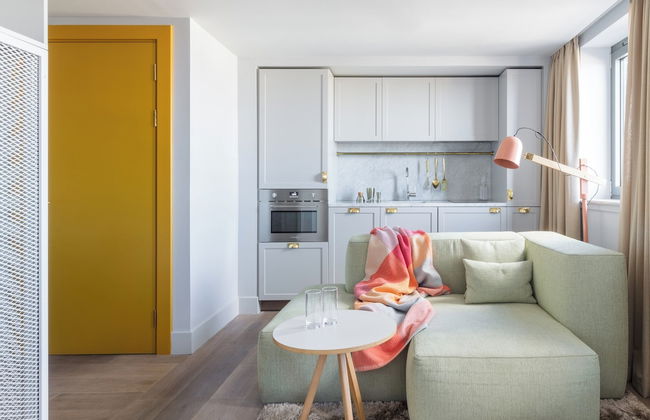
1804 Apartments in Midlothian


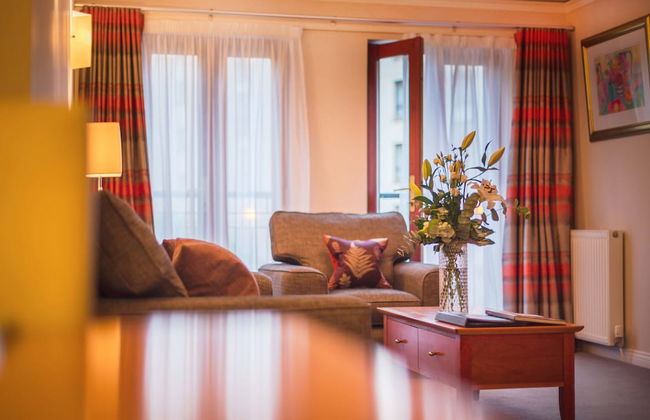
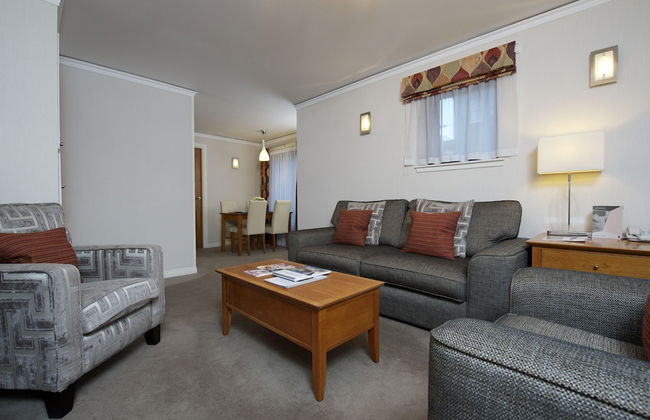
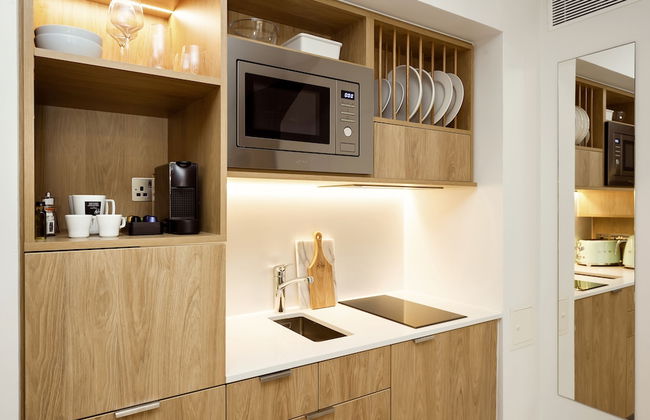
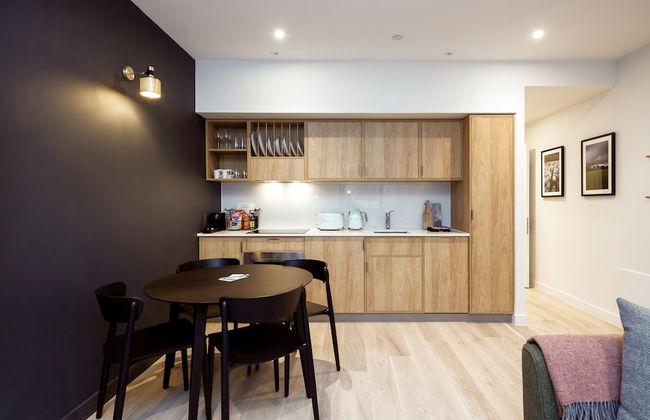
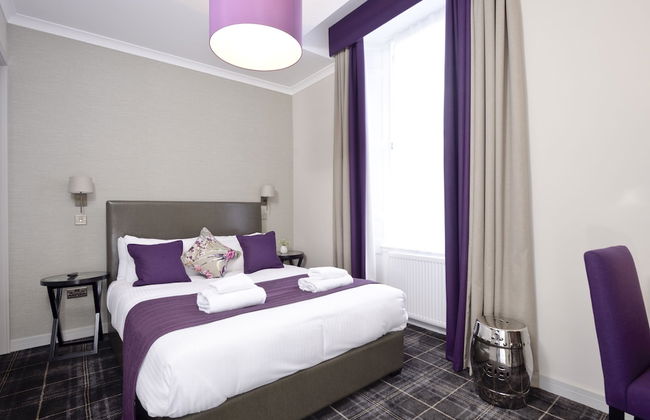
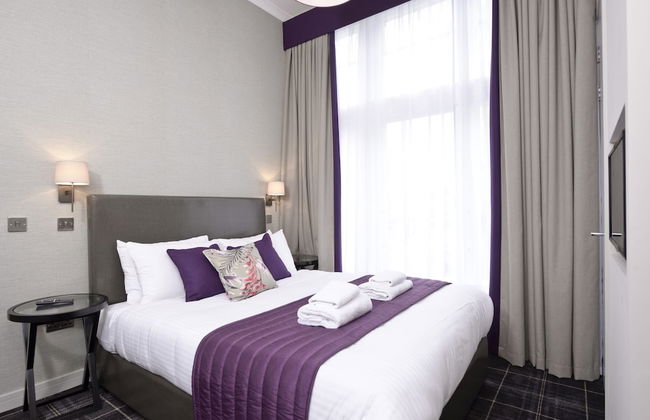
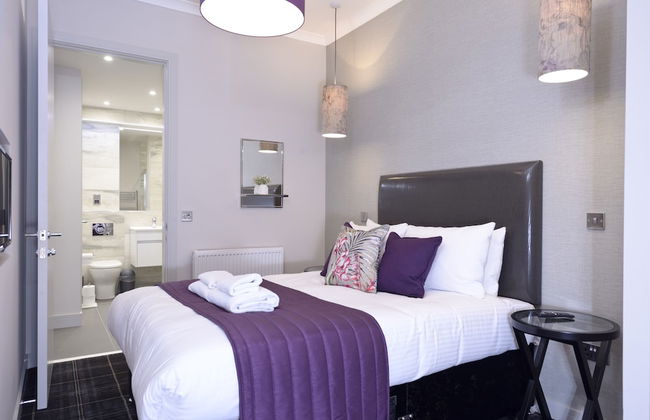
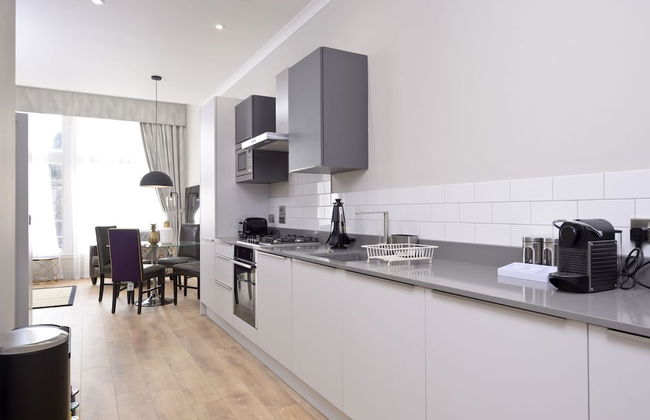
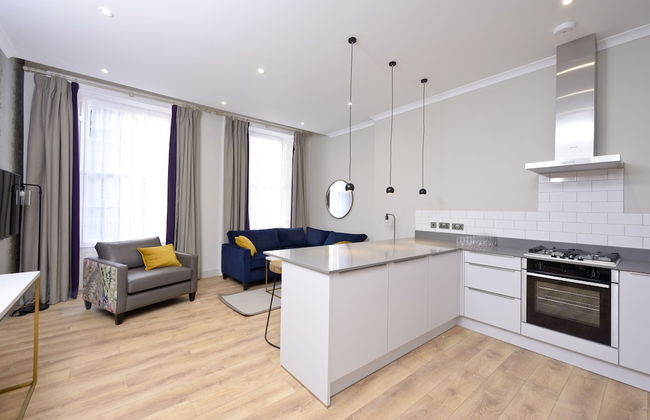
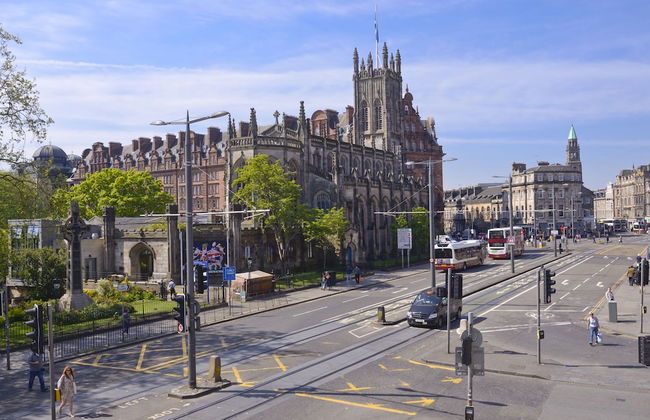
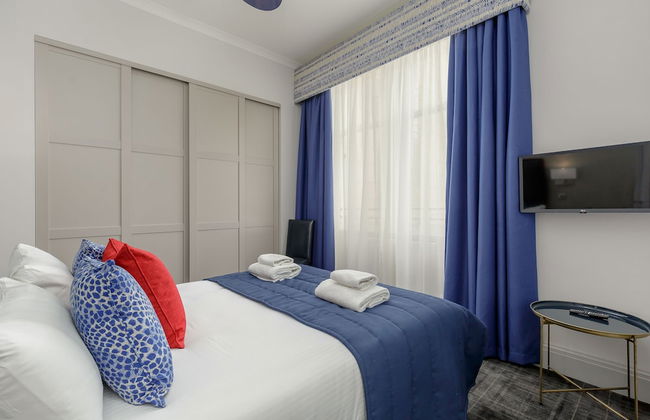
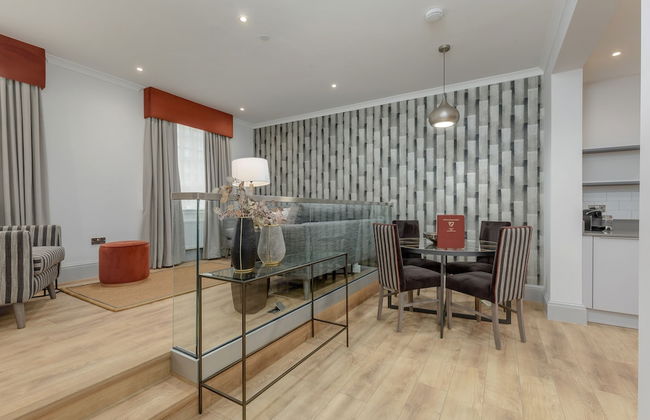
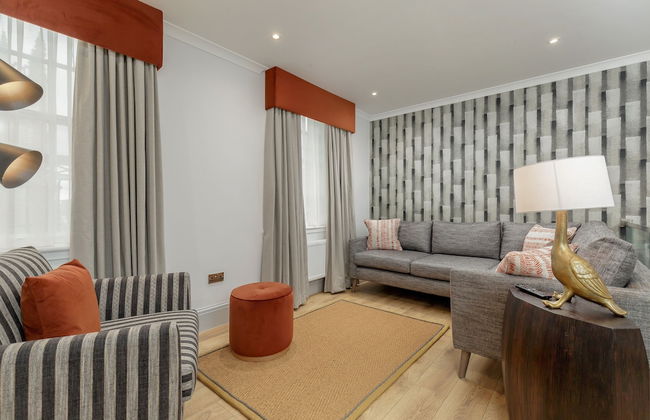
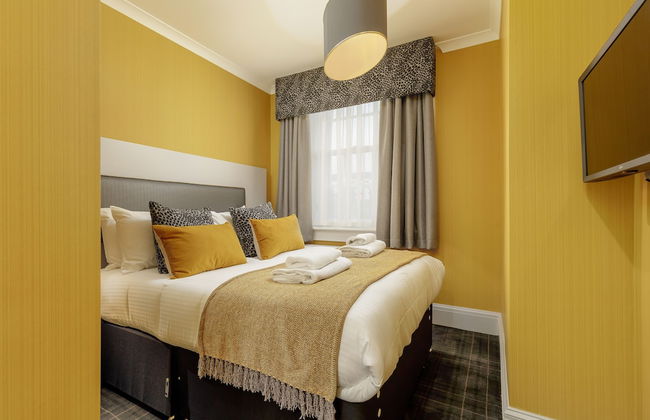
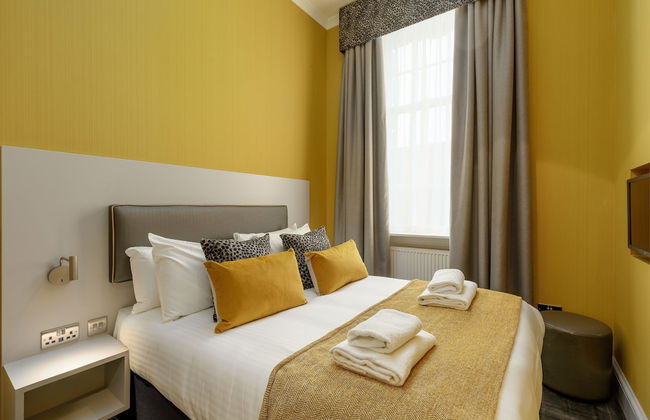
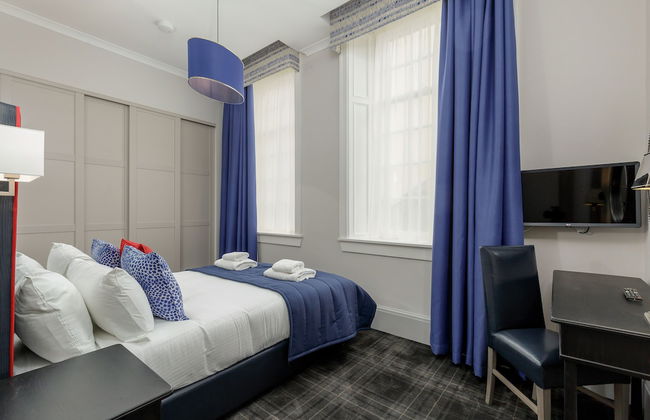
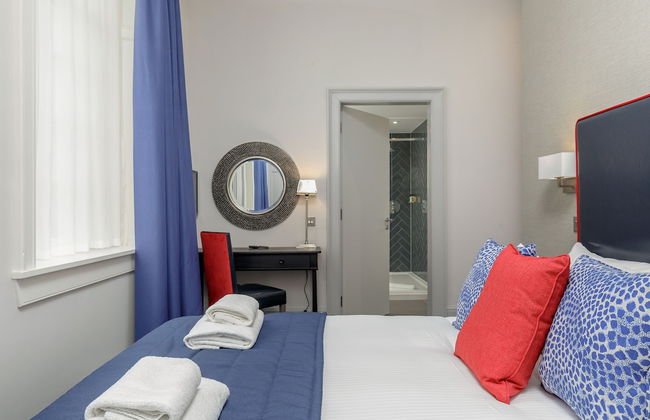
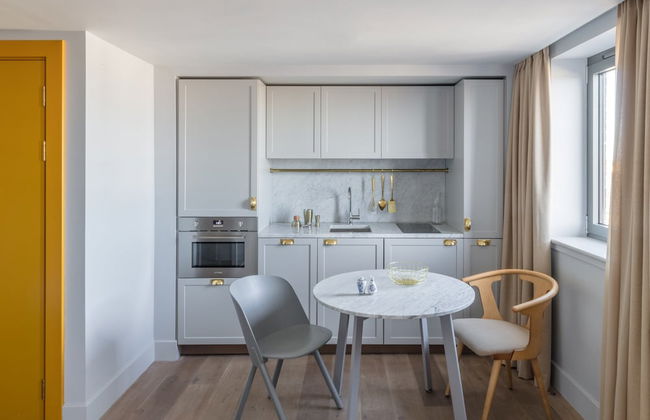
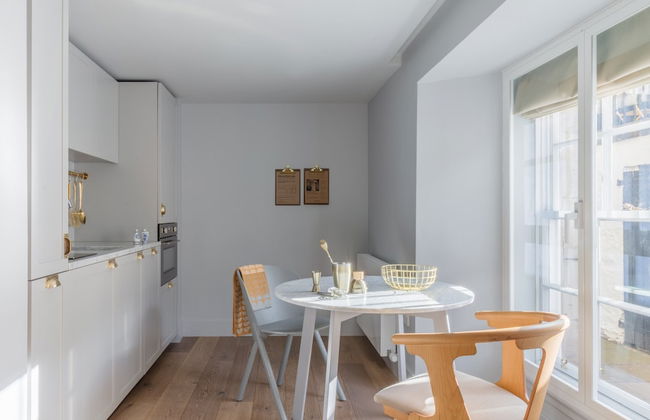
RÌGH Residences - George Street
Edinburgh - EH2 - In the center
- 72 M2
- 2 bedrooms
- 5 people
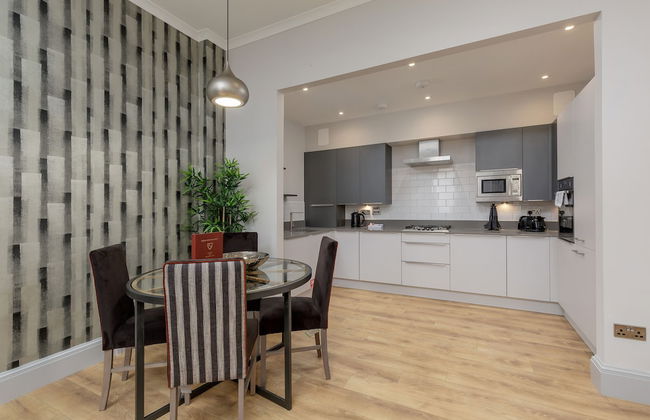
- Kitchenette
- Air conditioning
- Heating
- Elevator
- Tv
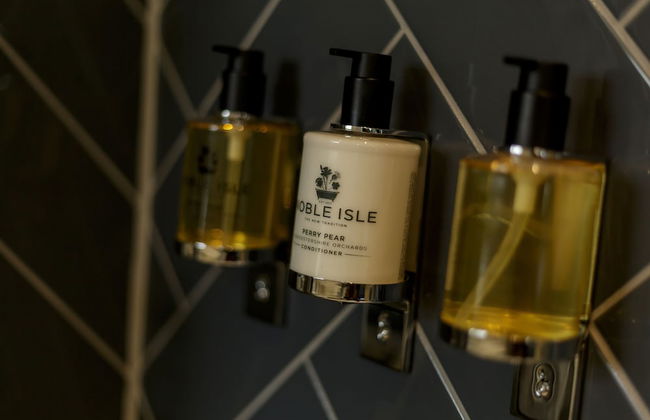
- Bath linen
- Bed linen
187 reviews


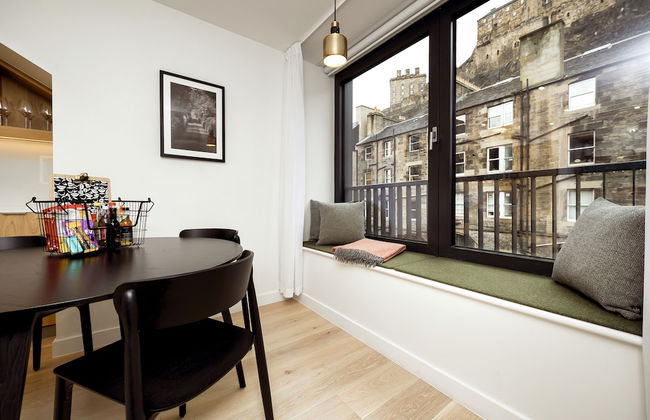
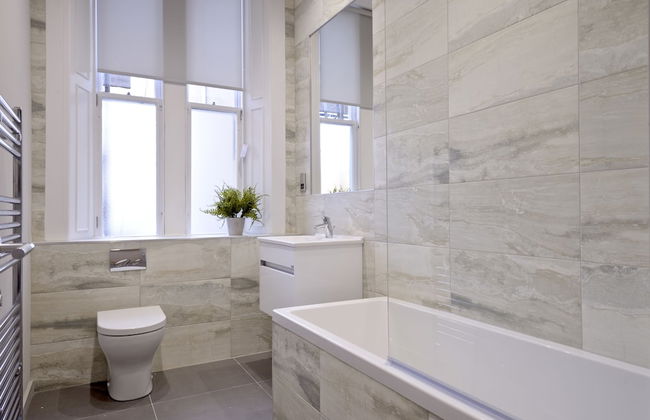
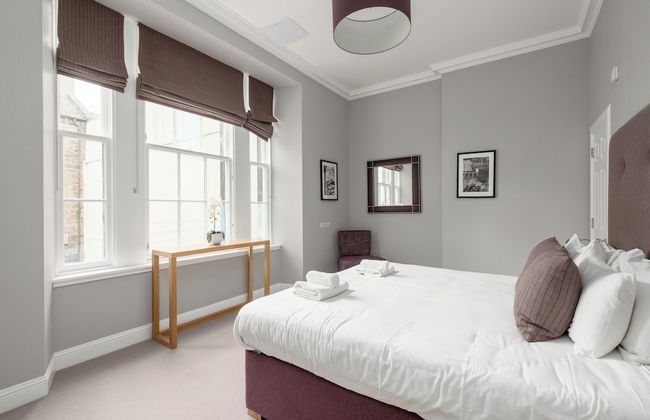
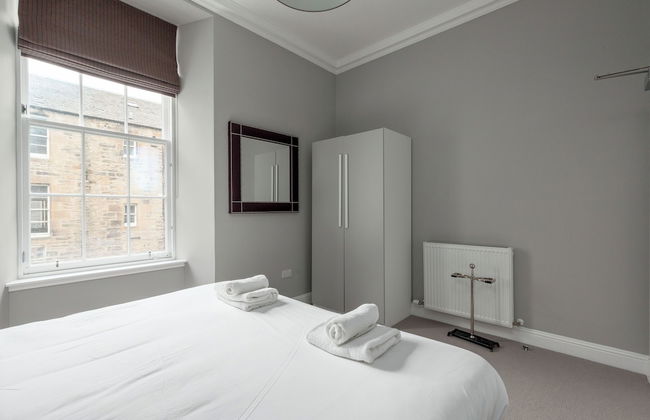
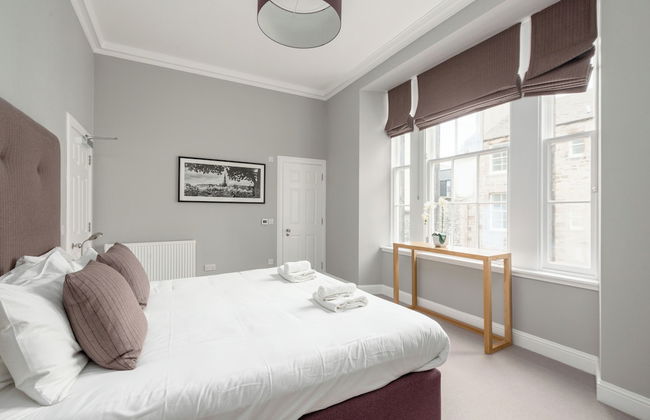
Grassmarket, Below Edinburgh Castle in Old Town
Edinburgh - EH1 - 350 m from the center
- 76 M2
- 4 people
- Heating
- Tv
- Washing machine
- Fireplace
- Bath linen
- Bed linen
16 reviews


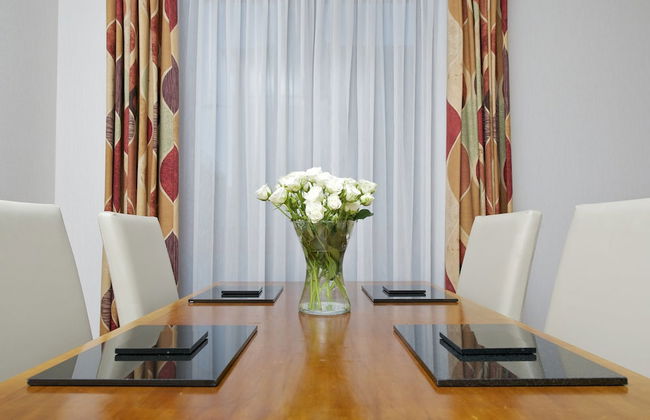
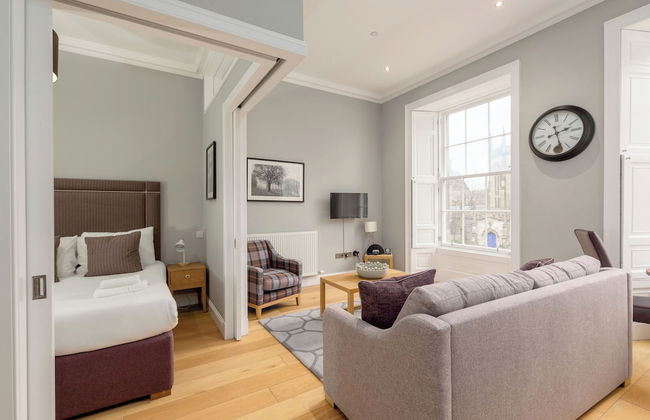
Linton Collection - 28 North Bridge
Edinburgh - EH1 - 420 m from the center
- 58 M2
- 2 bedrooms
- 4 people
- Kitchenette
- Heating
- Elevator
- Tv
- Washing machine
- Bath linen
- Bed linen
675 reviews


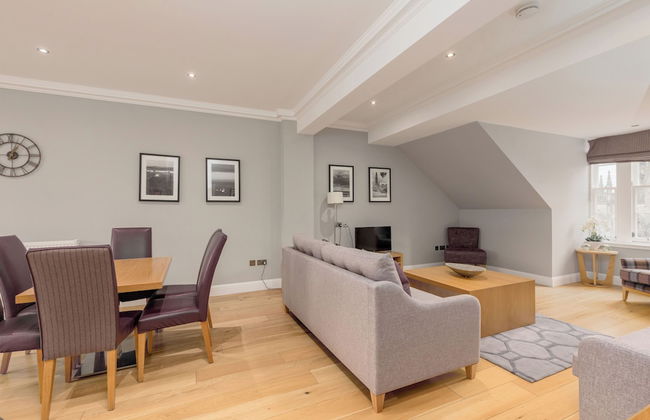
Sovo - Luxury Romantic WestEnd Apartment With Jacuzzi Spa Bath
Edinburgh - EH2 - 300 m from the center
- 93 M2
- 1 bedroom
- 2 people
- Air conditioning
- Heating
- Terrace
- Parking
- Garden
24 reviews


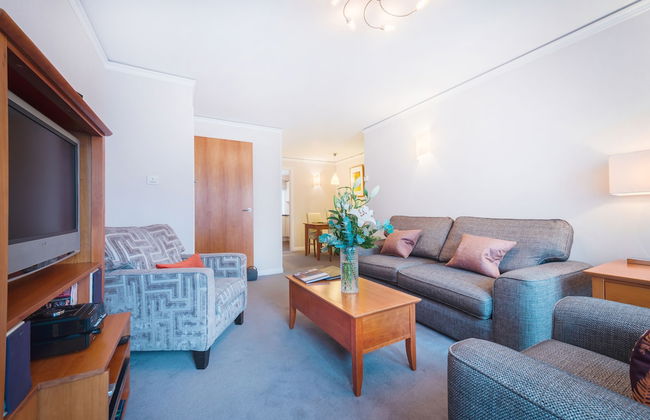


The Knight Residence Apartments by Mansley
Edinburgh - EH3 - 490 m from the center
- 59 M2
- 3 bedrooms
- 5 people
- Heating
- Parking
- Elevator
- Tv
- Washing machine
- Bath linen
- Bed linen
1358 reviews


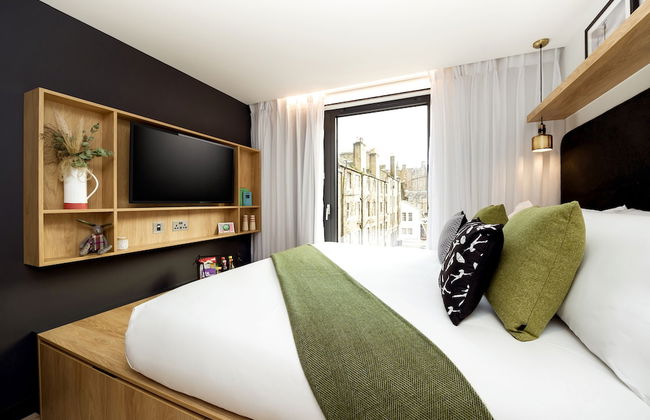


Wilde Aparthotels, Edinburgh, Grassmarket
Edinburgh - EH1 - 340 m from the center
- 33 M2
- 6 people
- Kitchenette
- Air conditioning
- Heating
- Elevator
- Tv
- Bath linen
- Bed linen
860 reviews


Princes Street Suites
Edinburgh - EH1 - 410 m from the center
- 120 M2
- 3 bedrooms
- 6 people
- Heating
- Terrace
- Parking
- Elevator
- Tv
- Washing machine
- Bath linen
1452 reviews


Aaron Glen Guest Apartments
Loanhead - Loanhead
- 13 M2
- 2 bedrooms
- 5 people
- Heating
- Terrace
- Parking
- Elevator
- Garden
93 reviews


Destiny Scotland Charlotte Square Apartments
Edinburgh - EH2 - In the center
- 78 M2
- 2 bedrooms
- 4 people
- Heating
- Parking
- Tv
- Washing machine
- Bath linen
- Bed linen
121 reviews


No1. Apartments Edinburgh - New Town
Edinburgh - EH3 - In the center
- 50 M2
- 4 people
- Heating
- Tv
- Bath linen
- Bed linen
70 reviews


Silver Lining - Penthouse with parking
Edinburgh - EH3 - 940 m from the center
- 5 people
- Heating
- Terrace
- Parking
- Tv
- Washing machine
- Bath linen
- Bed linen
8 reviews


Clarendon Luxury Apartments
Edinburgh - EH4 - 340 m from the center
- 3 people
- Kitchenette
- Tv
- Bath linen
- Bed linen
613 reviews


Destiny Scotland - Distillers House
Edinburgh - EH3 - 670 m from the center
- 65 M2
- 2 bedrooms
- 4 people
- Heating
- Tv
- Washing machine
- Bath linen
- Bed linen
319 reviews


Destiny Scotland - Princes Street Residence
Edinburgh - EH2 - In the center
- 115 M2
- 3 bedrooms
- 6 people
- Heating
- Parking
- Tv
- Washing machine
- Bath linen
- Bed linen
247 reviews


Destiny Scotland - Broughton St Lofts
Edinburgh - EH1 - 350 m from the center
- 55 M2
- 2 bedrooms
- 4 people
- Heating
- Parking
- Tv
- Washing machine
- Bath linen
- Bed linen
87 reviews


Cadell House Apt - Royal Mile
Edinburgh - EH8 - 970 m from the center
- 4 people
- Heating
- Tv
- Washing machine
- Bath linen
- Bed linen
21 reviews


Eden Locke
Edinburgh - EH2 - In the center
- 33 M2
- 3 people
- Heating
- Tv
- Washing machine
- Bath linen
- Bed linen
1216 reviews


Luxury Georgian City Retreat by Sovo Apartments
Edinburgh - EH6 - 2.7 km from the center
- 3 bedrooms
- 6 people
- Heating
- Parking
- Garden
42 reviews


Edinburgh Nine
Edinburgh - EH1 - 340 m from the center
- 29 M2
- 2 people
- Kitchenette
- Heating
- Tv
- Bath linen
- Bed linen
78 reviews


