
108 Apartments in Jackson


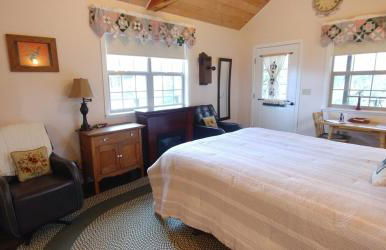
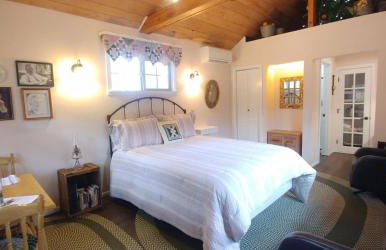
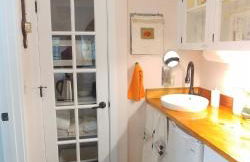
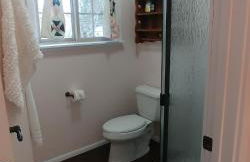
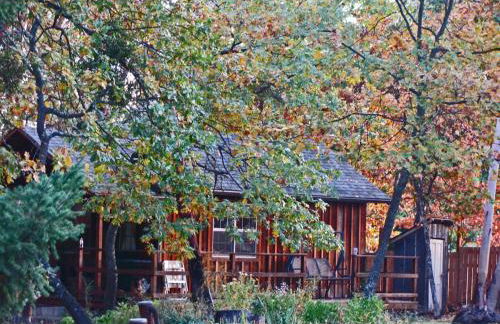
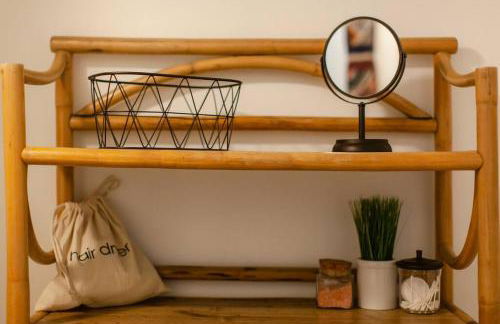
Paschal Winery - Dream 1 Cottage
Talent
- 79 M2
- 1 bedroom
- 6 people
- Air conditioning
- Heating
- Parking
- Balcony
- Garden
- Tv
- Fireplace
- Barbecue
- Bath linen
10 reviews


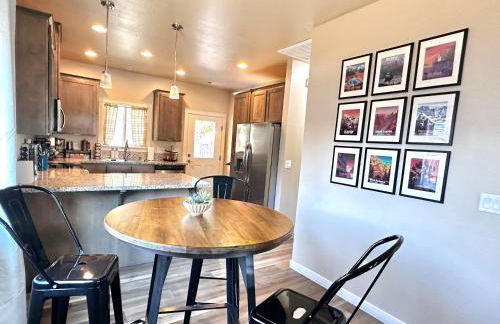
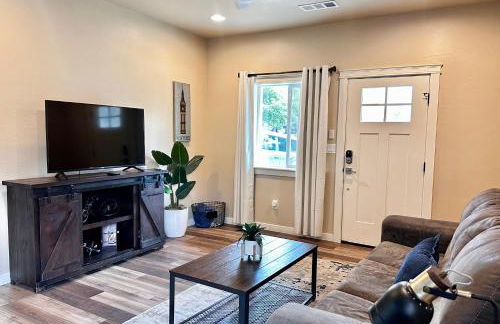
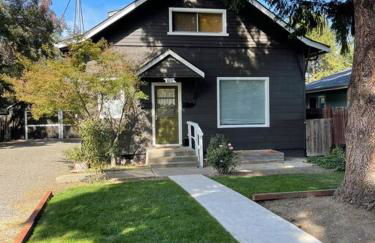
Jacksonville Towne Square.
Jacksonville
- 149 M2
- 7 people
- Kitchenette
- Air conditioning
- Heating
- Parking
- Tv
- Washing machine
- Bed linen
12 reviews


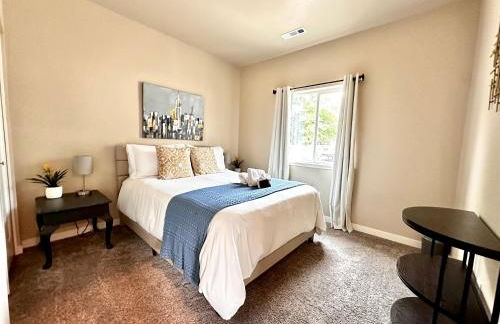
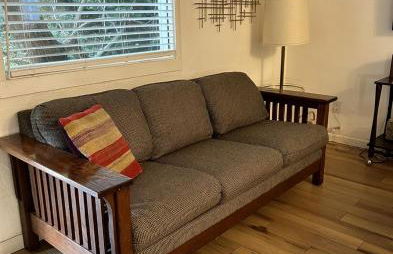
A Cowslip's Belle Inn
Ashland - 4.9 km from Mt. Ashland
- 3 people
- Kitchenette
- Air conditioning
- Heating
- Parking
- Balcony
- Tv
- Fireplace
- Bath linen
- Bed linen
31 reviews


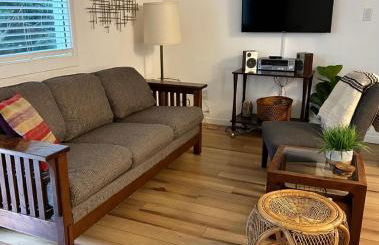
The Mountain Ave House by WanderLodges
Ashland - 3.2 km from Mt. Ashland
- 158 M2
- 3 bedrooms
- 6 people
- Air conditioning
- Heating
- Parking
- Garden
- Tv
- Washing machine
- Bath linen
- Bed linen
4 reviews


Barclay Klum House by WanderLodges
Ashland - 3.4 km from Mt. Ashland
- 139 M2
- 2 bedrooms
- 4 people
- Air conditioning
- Heating
- Parking
- Garden
- Barbecue
- Bath linen
- Bed linen
5 reviews


RedTail Inn - 3 Suites Sleeps up to 12
Ashland - 3.9 km from Mt. Ashland
- 260 M2
- 4 bedrooms
- 12 people
- Air conditioning
- Heating
- Terrace
- Parking
- Barbecue
13 reviews
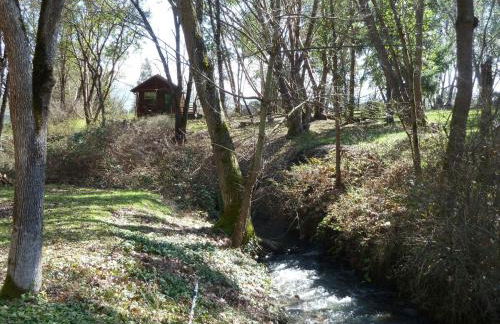
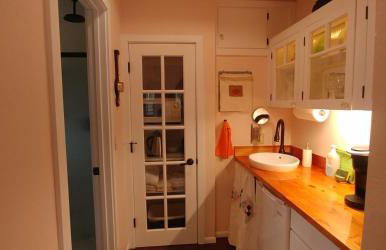
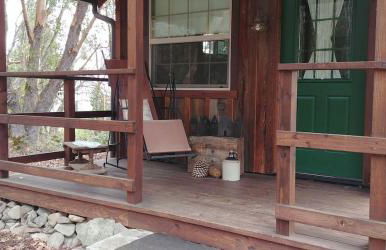
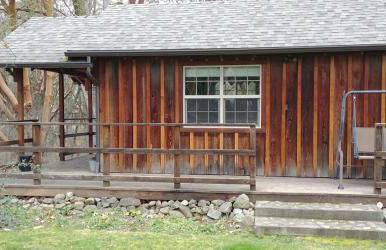
Creekside Cabin
Medford - 7 km from the center
- 20 M2
- 2 people
- Air conditioning
- Heating
- Parking
- Garden
31 reviews


Charming 2BR Cottage Near Freeway-Cul-de-sac
Medford - 3.6 km from the center
- 74 M2
- 2 bedrooms
- 4 people
- Air conditioning
- Heating
- Parking
- Barbecue
19 reviews
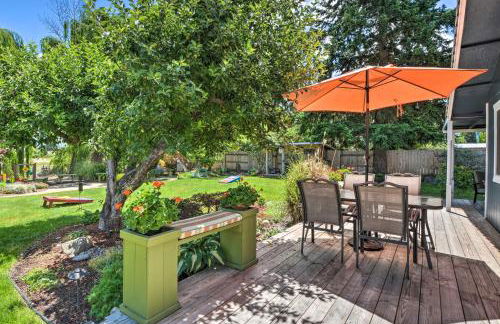
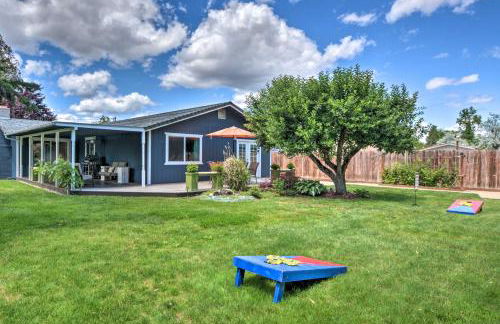
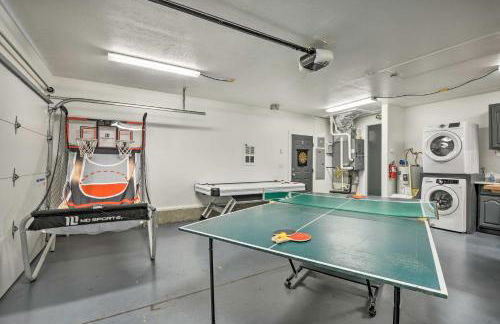
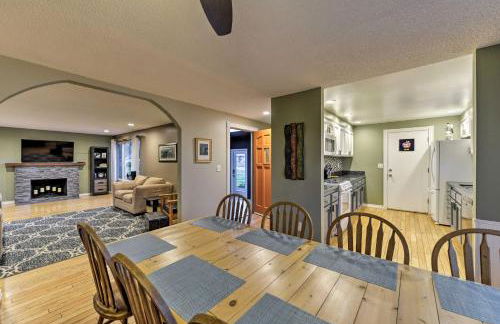
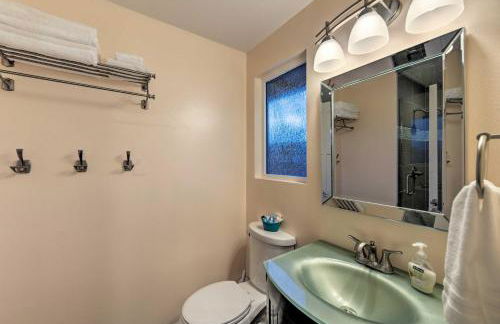
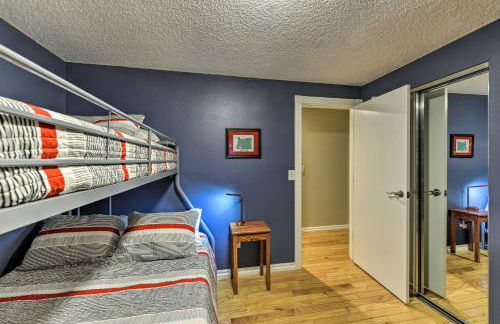
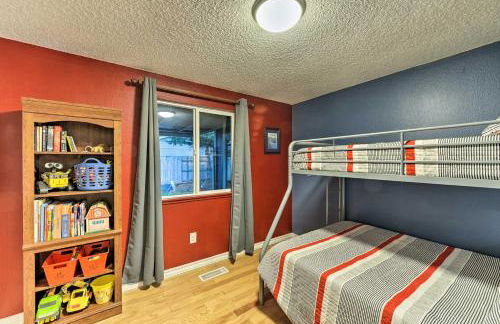
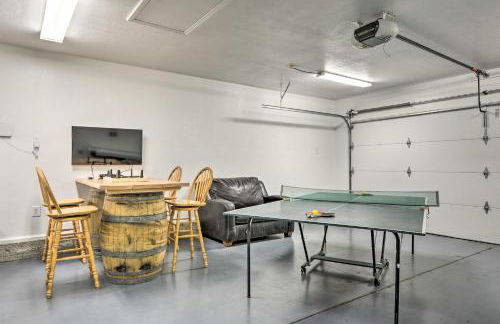

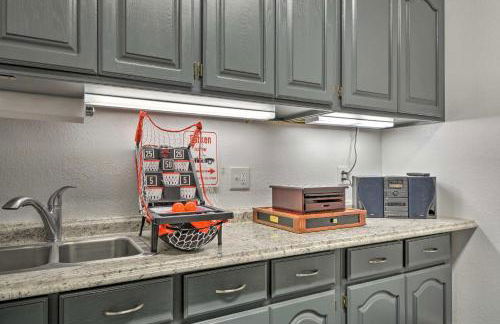
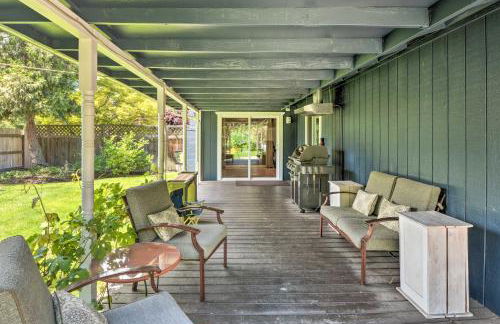
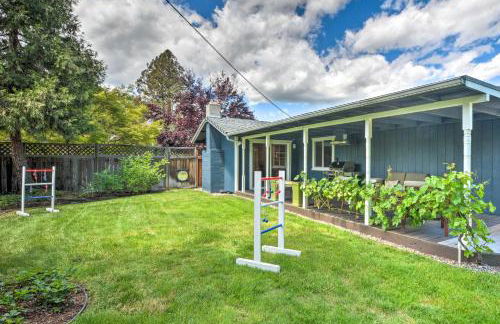
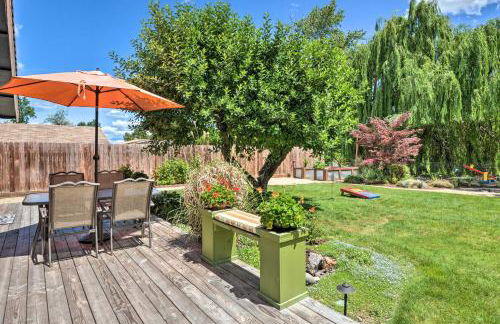

Game Room Fun! Medford Family Retreat
Medford - 1.7 km from the center
- 131 M2
- 3 bedrooms
- 7 people
- Heating
- Parking
10 reviews


The Rellik House and Winery
Central Point
- 102 M2
- 3 bedrooms
- 6 people
- Kitchenette
- Air conditioning
- Heating
- Terrace
- Swimming pool
- Parking
- Balcony
- Garden
- Tv
- Washing machine
- Fireplace
- Bath linen
- Bed linen
3 reviews


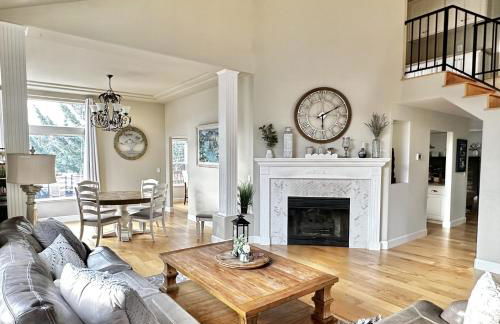
1930s Queen Anne Historic Downtown Retreat
Medford - 980 m from the center
- 186 M2
- 4 bedrooms
- 8 people
- Air conditioning
- Heating
- Parking
- Barbecue
16 reviews


Pioneer Vacation Rentals - Pioneer South downtown Ashland
Ashland - 4.4 km from Mt. Ashland
- 111 M2
- 3 bedrooms
- 8 people
- Air conditioning
- Heating
- Parking
- Garden
6 reviews


Southern Oregon Gem
Medford - 340 m from the center
- 84 M2
- 2 bedrooms
- 6 people
- Air conditioning
- Heating
- Parking
- Garden
22 reviews


Mahar Homes - Plaza North on First
Ashland - 4.3 km from Mt. Ashland
- 334 M2
- 3 bedrooms
- 8 people
- Air conditioning
- Heating
- Parking
- Elevator
- Garden
6 reviews


Pioneer Vacation Rentals - Pioneer North Suite downtown Ashland
Ashland - 4.4 km from Mt. Ashland
- 88 M2
- 2 bedrooms
- 6 people
- Air conditioning
- Heating
- Parking
- Garden
12 reviews
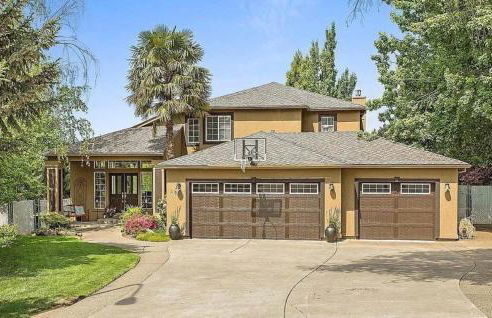

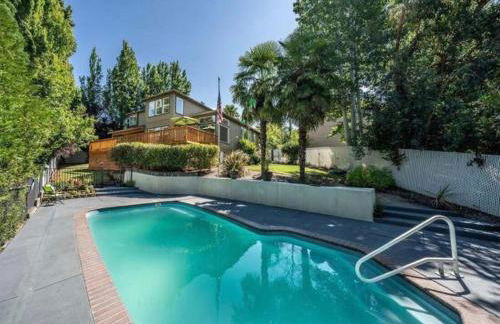
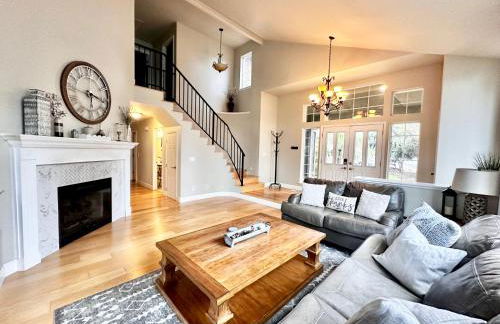
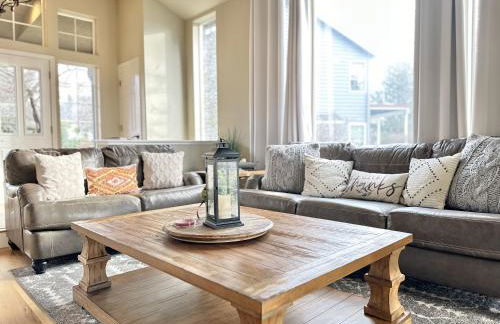

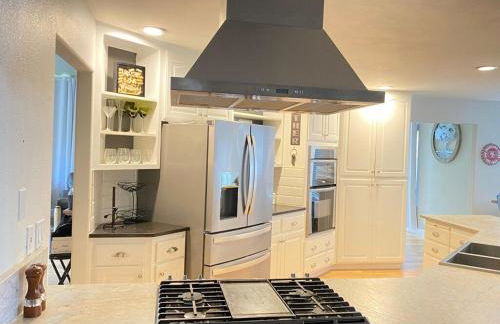

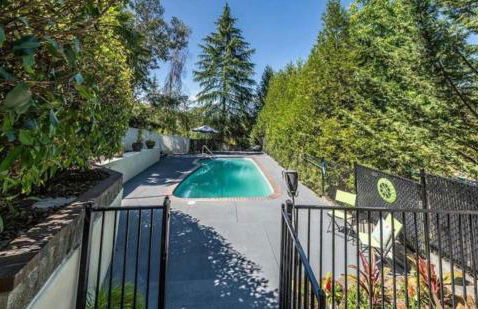
Chef's Kitchen Pool Bright, Spacious 4 Bed
Medford - 6.7 km from the center
- 186 M2
- 4 bedrooms
- 8 people
- Air conditioning
- Heating
- Terrace
- Swimming pool
- Parking
- Barbecue
9 reviews
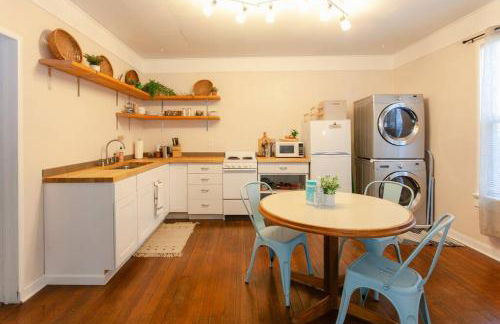


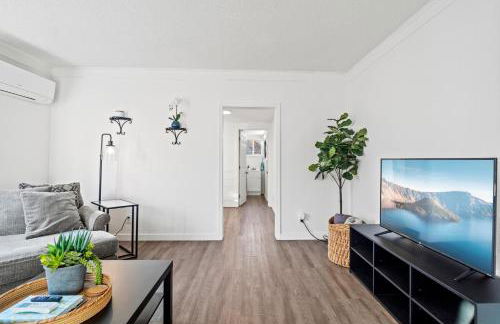
Classic & Cozy Apartments - Parking & Close to DW
Medford - 570 m from the center
- 79 M2
- 1 bedroom
- 2 people
- Air conditioning
- Heating
- Parking
26 reviews


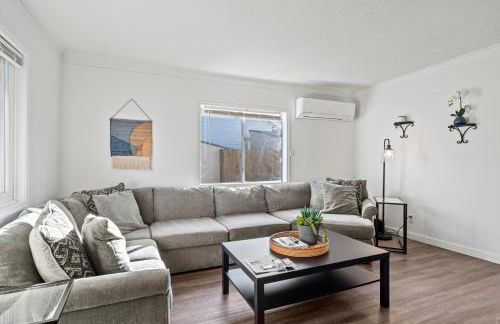
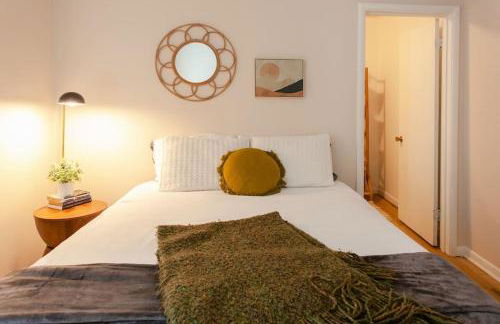
Peach Street Super Suite
Medford - 910 m from the center
- 46 M2
- 1 bedroom
- 4 people
- Air conditioning
- Heating
- Parking
31 reviews


Southern Comfort - Hot tub - Modern - Relaxing
Central Point
- 60 M2
- 2 bedrooms
- 5 people
- Air conditioning
- Heating
- Parking
- Garden
2 reviews


Swank House on Main St in Ashland
Ashland - 3.9 km from Mt. Ashland
- 139 M2
- 2 bedrooms
- 4 people
- Air conditioning
- Heating
- Parking
5 reviews