
29 Apartments in Hope

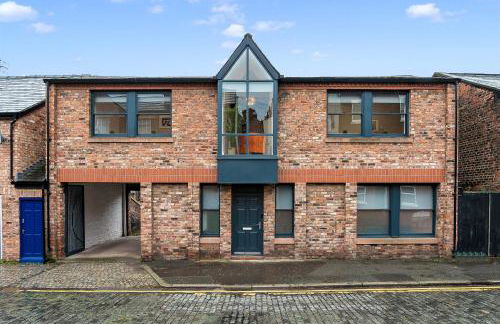

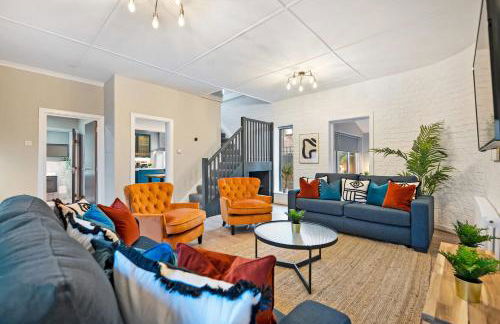

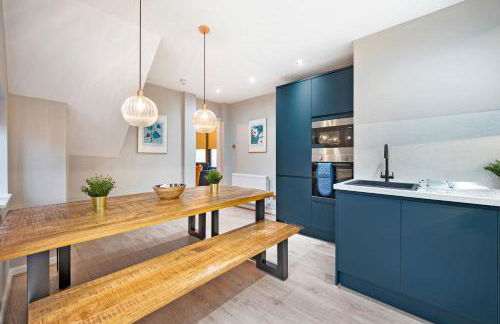

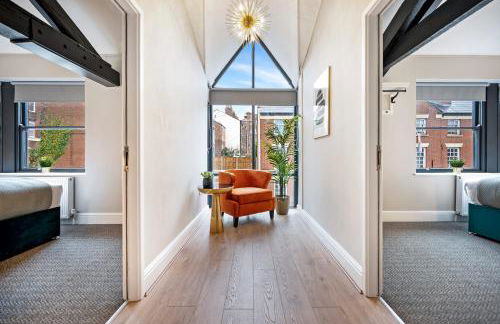

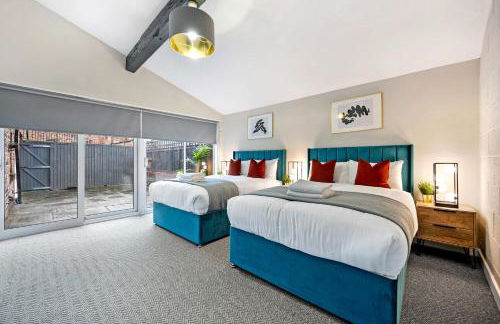

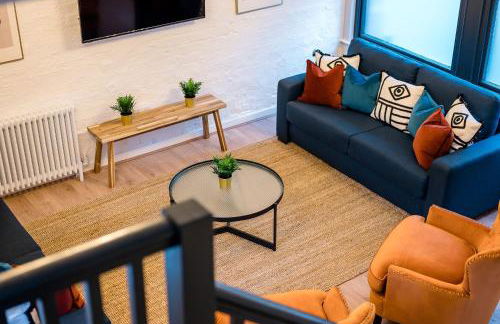

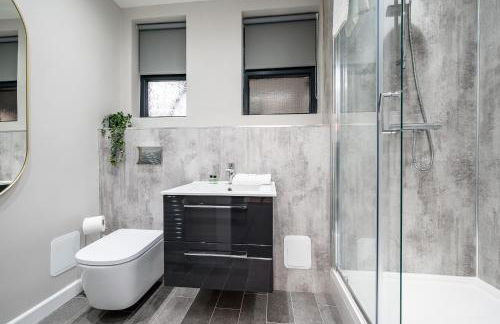

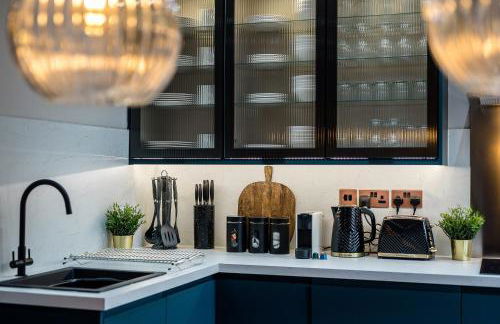

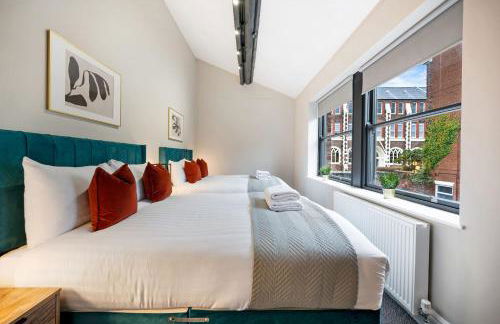

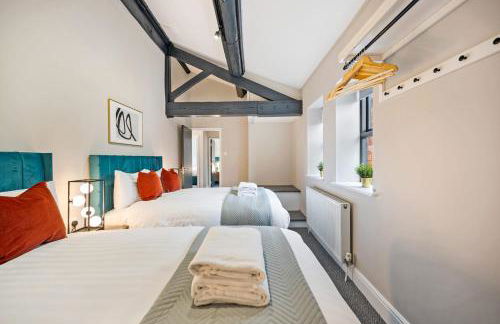

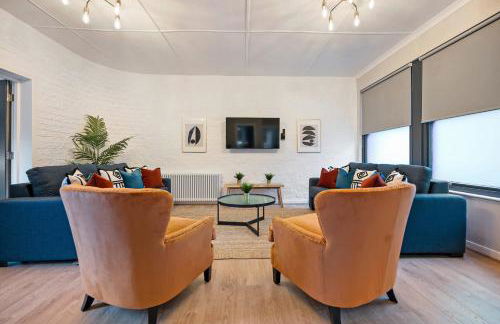

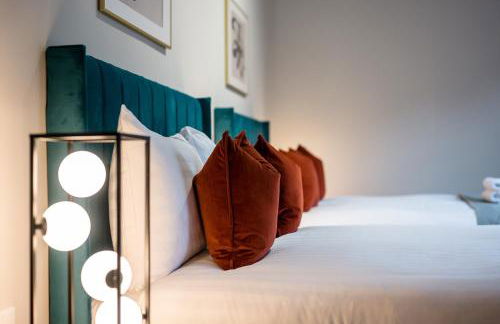


Host Apartments The Coachouse at Pilgrim St
Liverpool - Hope - 610 m from the center
- 140 M2
- 5 bedrooms
- 16 people
- Heating
- Parking
- Tv
- Bath linen
- Bed linen
47 reviews


Host Apartments Upper Duke Street Apartment
Liverpool - Hope - 760 m from the center
- 353 M2
- 3 bedrooms
- 12 people
- Heating
- Parking
- Tv
- Washing machine
- Bath linen
- Bed linen
36 reviews


19 Rodney Street Apartments
Liverpool - Hope - 460 m from the center
- 1024 M2
- 3 bedrooms
- 20 people
- Air conditioning
- Heating
- Terrace
- Garden
351 reviews


Luxury 4BDR House By Torr Property Group Short Lets & Serviced Accommodation With Free Gated Secure Parking & Private Patio Garden Liverpool
Liverpool - Hope - 580 m from the center
- 85 M2
- 4 bedrooms
- 10 people
- Heating
- Parking
- Garden
21 reviews


Pilgrim House by Phoenix Collection
Liverpool - Hope - 620 m from the center
- 4 bedrooms
- 8 people
- Terrace
- Parking
57 reviews


City Centre Georgian Qtr Apartment Canning St 2bed 2bath
Liverpool - Hope - 860 m from the center
- 45 M2
- 2 bedrooms
- 6 people
- Heating
- Parking
26 reviews


City Centre Georgian Townhouse
Liverpool - Hope - 670 m from the center
- 16 M2
- 4 bedrooms
- 10 people
- Heating
76 reviews


Host & Stay - The Georgian Quarters at Falkner Street
Liverpool - Hope - 790 m from the center
- 372 M2
- 8 bedrooms
- 10 people
- Heating
- Tv
- Washing machine
- Bath linen
- Bed linen
198 reviews


Liverpool Central City Centre Modern Apartment - Sleeps 4
Liverpool - Hope - 480 m from the center
- 65 M2
- 1 bedroom
- 4 people
- Parking
8 reviews


GuestReady - Georgian Quarter retreat with terrace
Liverpool - Hope - 810 m from the center
- 85 M2
- 2 bedrooms
- 6 people
- Terrace
- Garden
30 reviews


71 Townhouse By Elite
Liverpool - Hope - 720 m from the center
- 446 M2
- 8 bedrooms
- 20 people
- Heating
- Garden
7 reviews


Clarence Street Town House
Liverpool - Hope - 250 m from the center
- 2 bedrooms
- 5 people
- Heating
- Garden
- Tv
- Washing machine
- Bath linen
- Bed linen
340 reviews


City Studios - Rodney Street
Liverpool - Hope - 510 m from the center
- 27 M2
- 1 bedroom
- 4 people
- Kitchenette
- Heating
- Parking
- Tv
- Bath linen
- Bed linen
68 reviews


Host & Stay - The Georgian Quarters at Canning
Liverpool - Hope - 900 m from the center
- 161 M2
- 6 bedrooms
- 22 people
- Heating
194 reviews


3BR Georgian Quarter Coach Houses - Private Parking
Liverpool - Hope - 580 m from the center
- 68 M2
- 3 bedrooms
- 6 people
- Heating
- Terrace
- Parking
- Garden
1 review


Central L1 Stay, Close to all Attractions, Parking Nearby
Liverpool - Hope - 530 m from the center
- 200 M2
- 1 bedroom
- 10 people
- Heating
- Parking
- Garden
8 reviews


Host Apartments The Georgian Quarters at Canning
Liverpool - Hope - 890 m from the center
- 8 people
- Heating
- Parking
- Tv
- Washing machine
- Bath linen
- Bed linen