
6 Apartments in Grayling
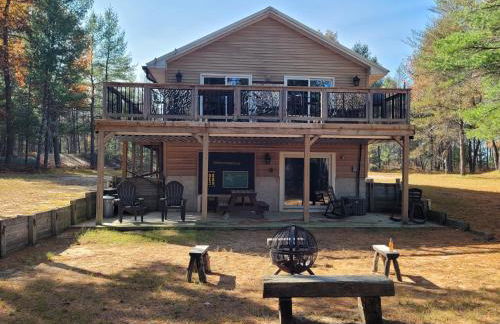

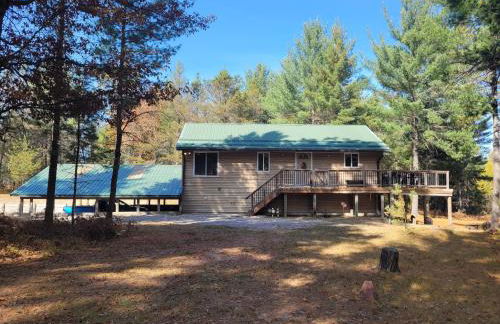
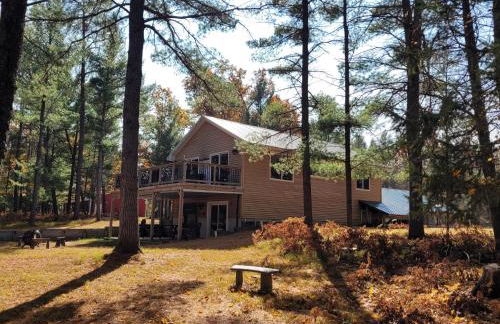
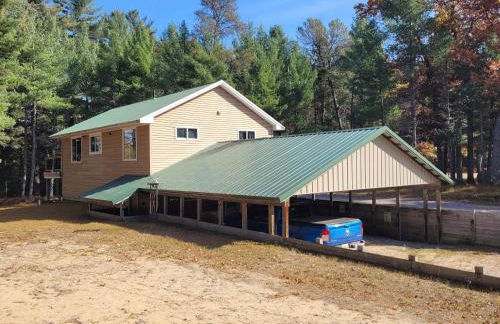
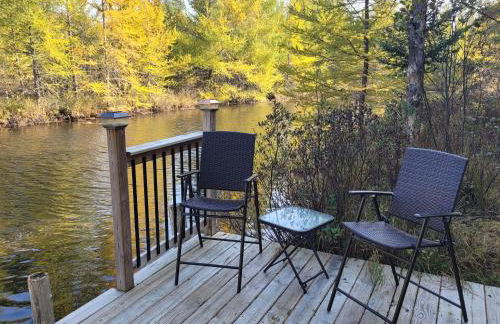

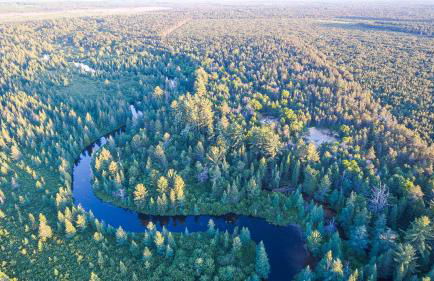
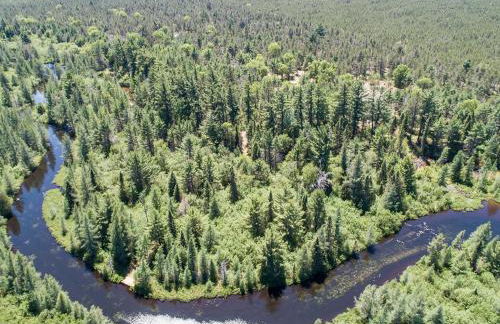


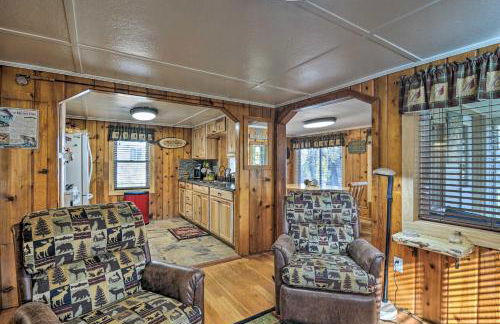
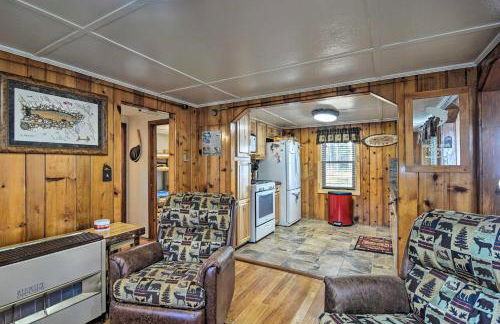
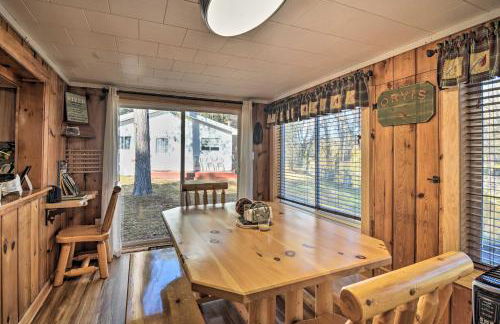
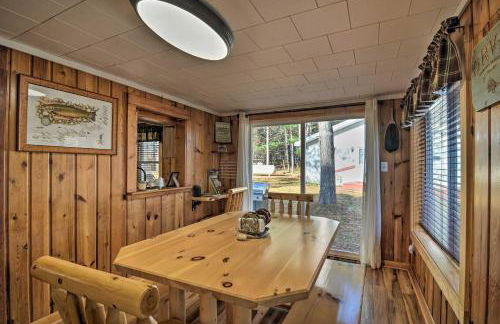
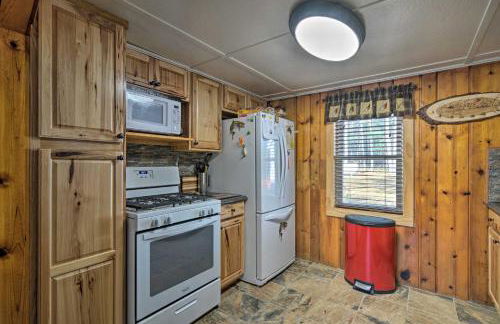
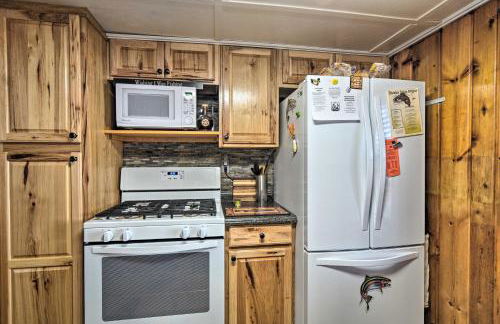
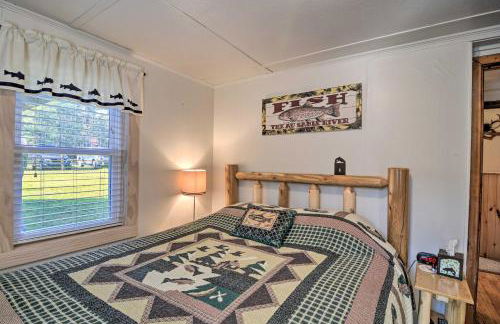
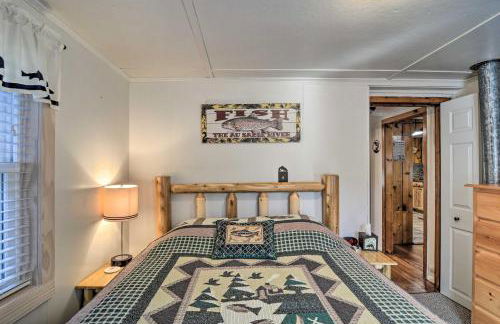
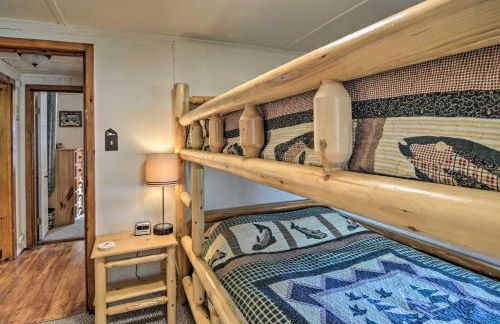
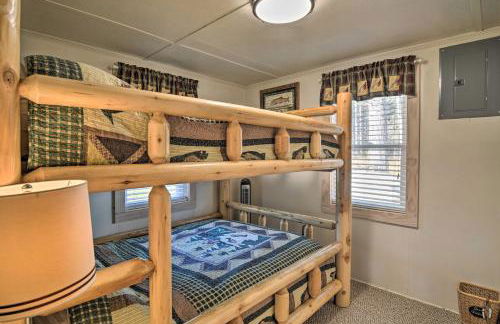
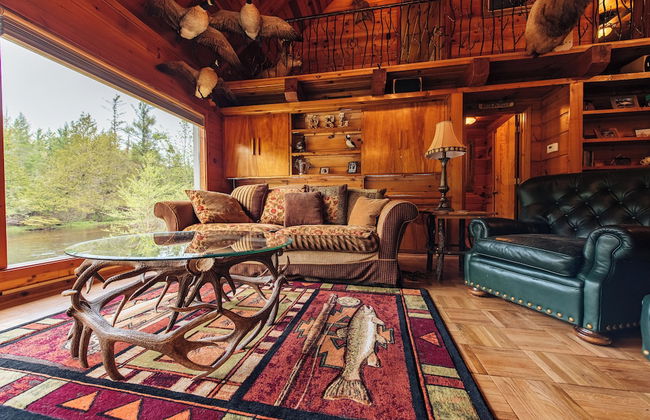
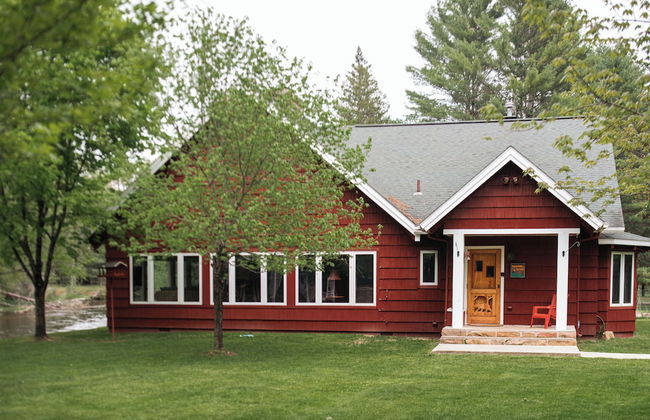
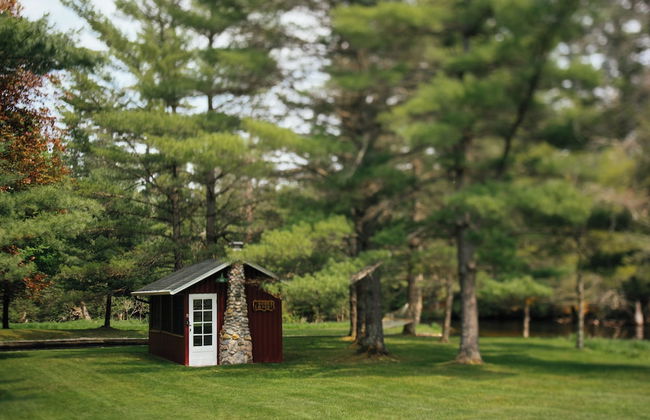
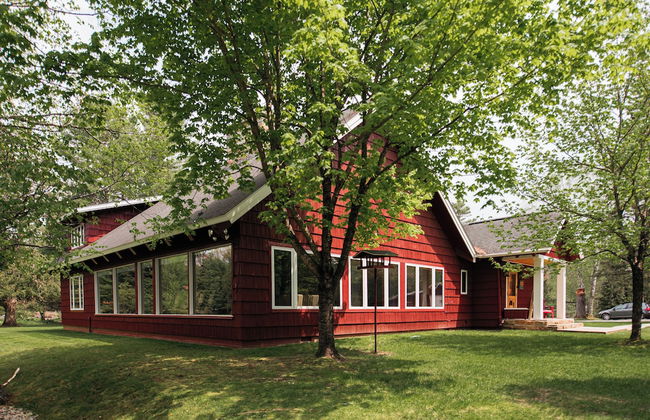
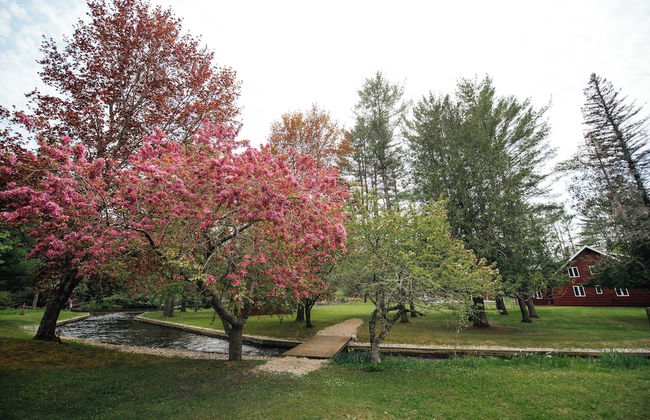
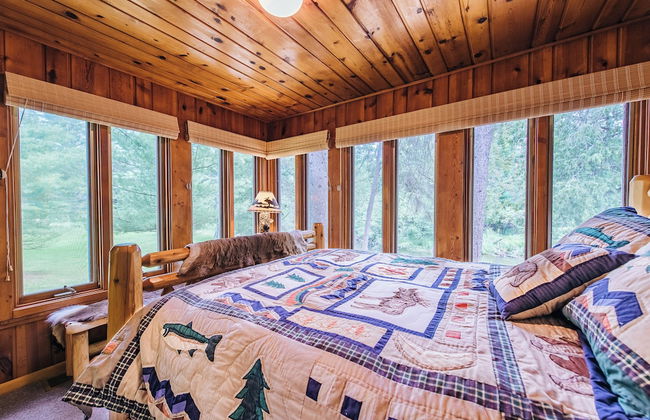
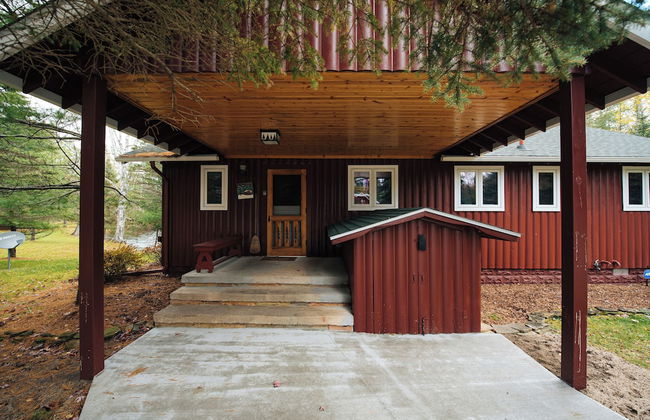
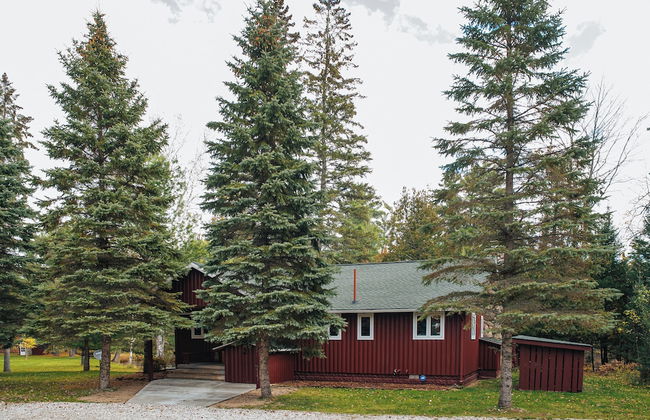
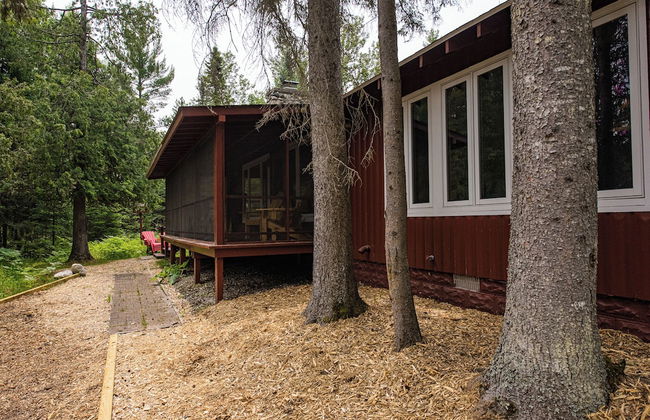
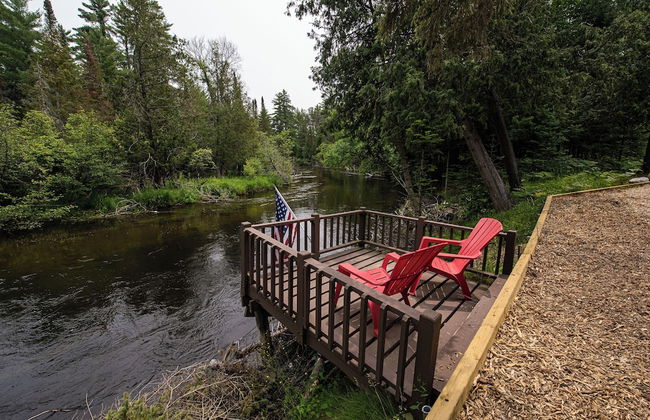
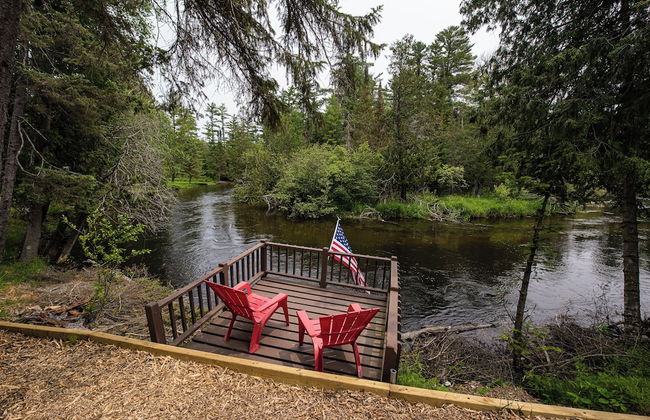
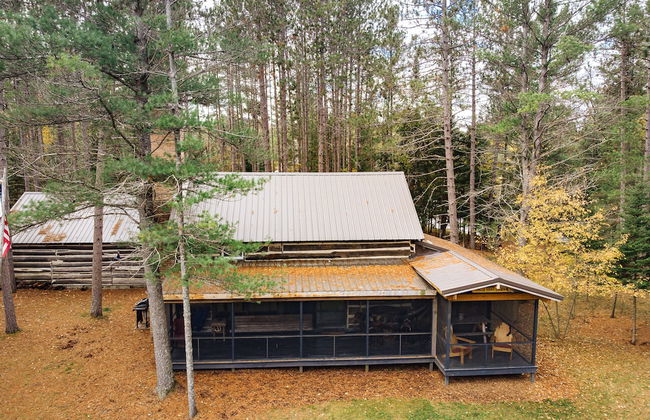
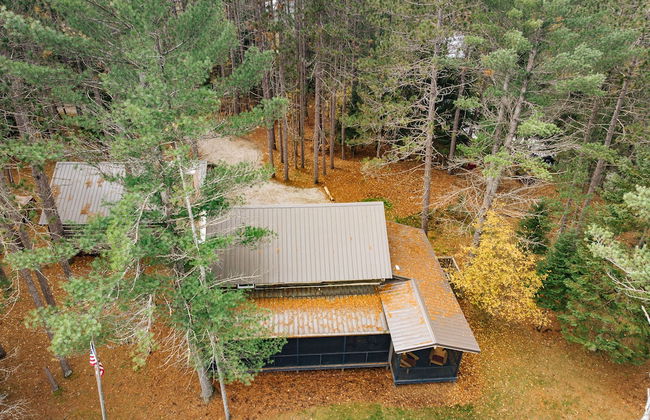
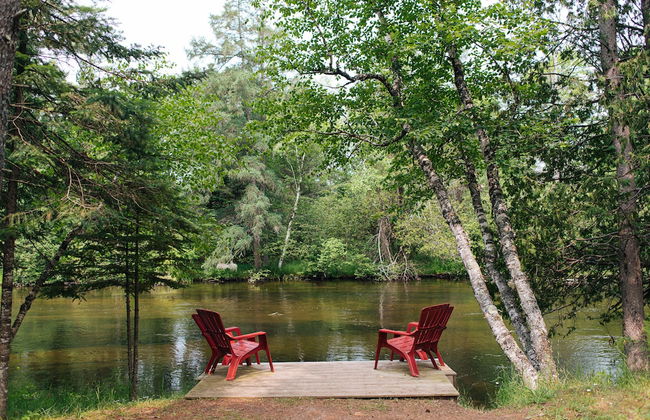
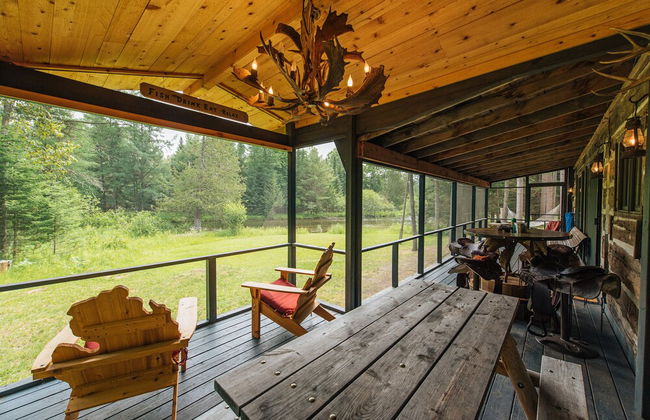
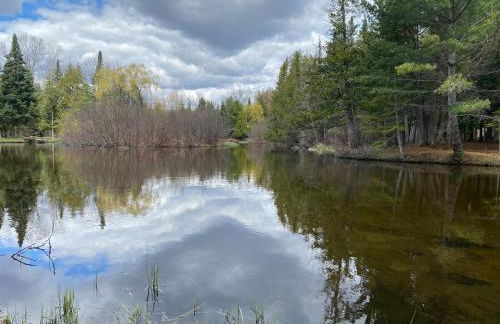
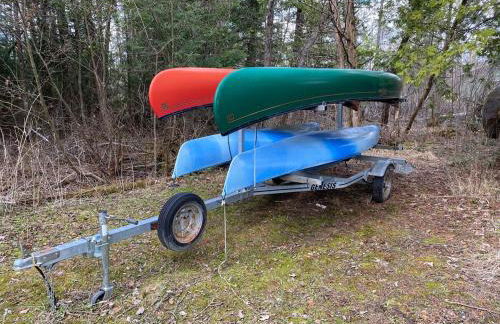
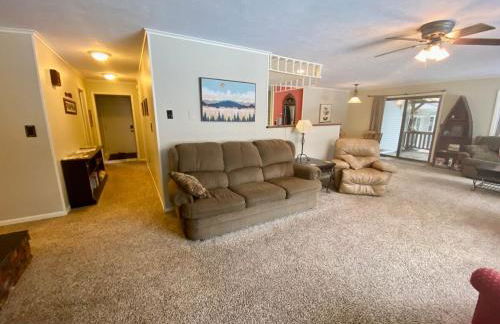
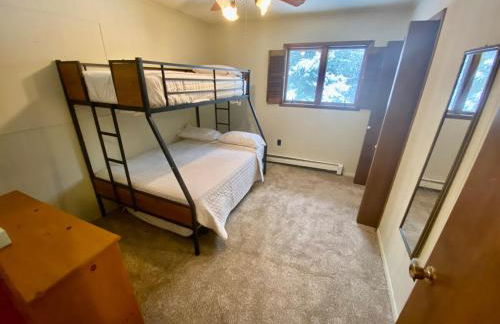
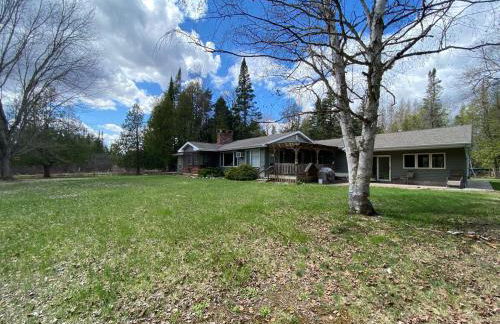
Hazel's Goose Creek Lodge - Private Riverfront!
Grayling - 10.8 km from Hanson Hills Recreation Area
- 172 M2
- 3 bedrooms
- 8 people
- Air conditioning
- Heating
- Parking
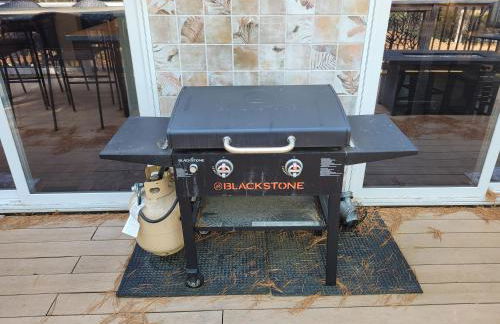
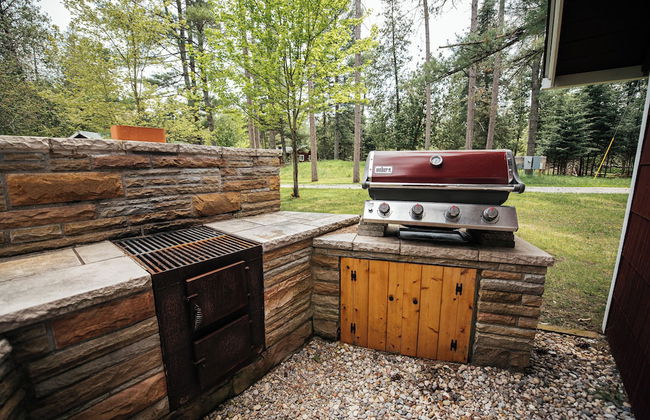
- Barbecue
1 review

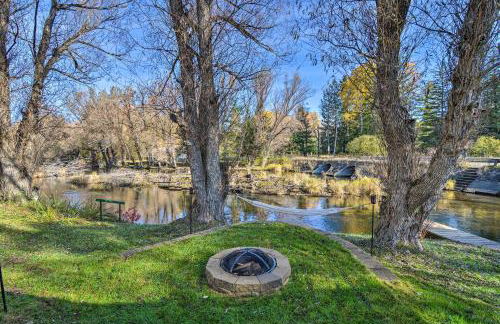


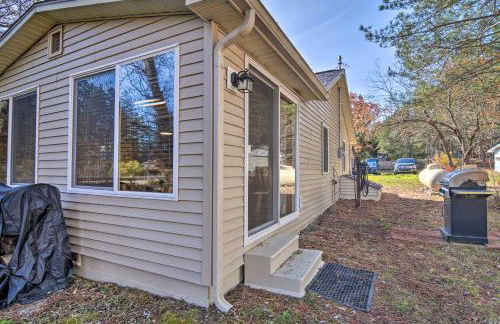
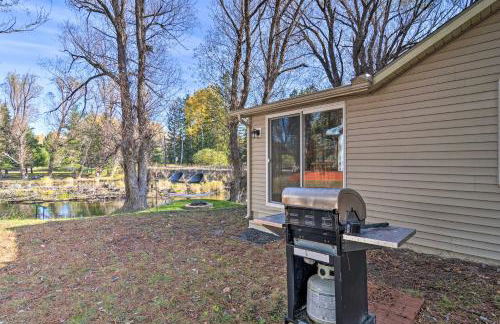
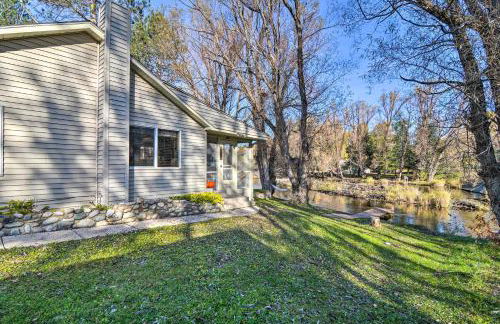
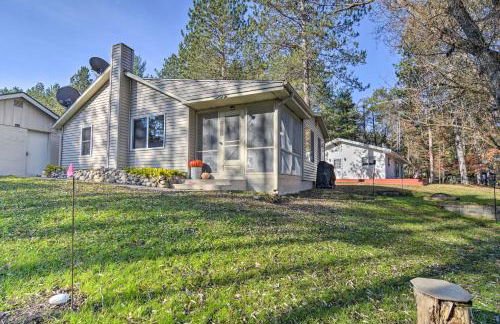
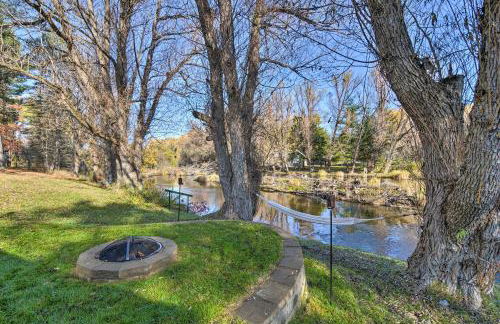
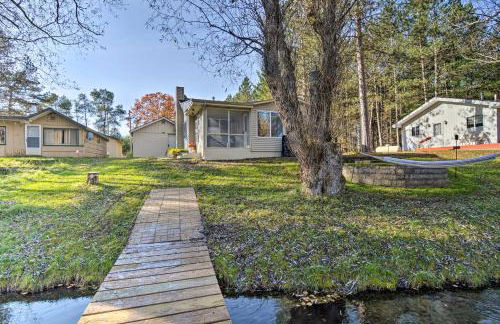
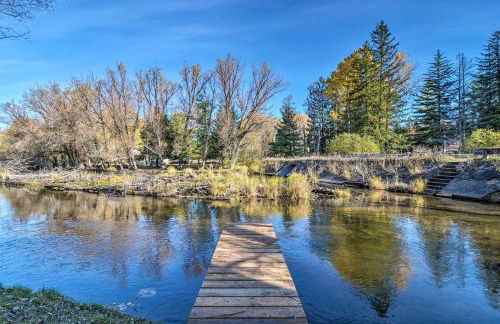

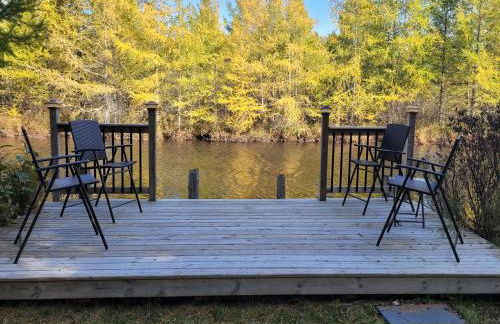
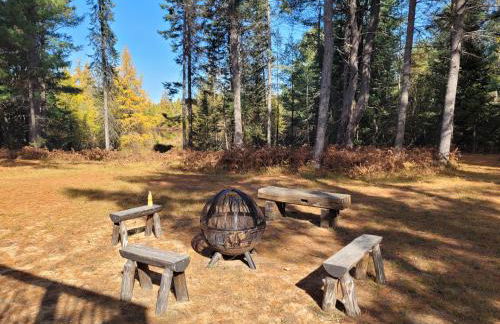
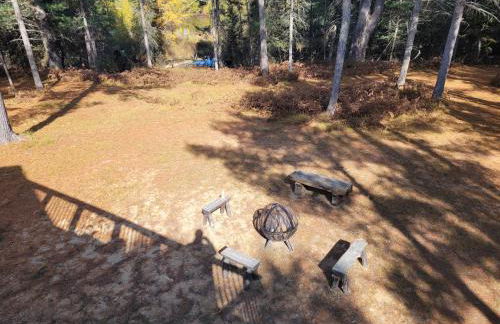
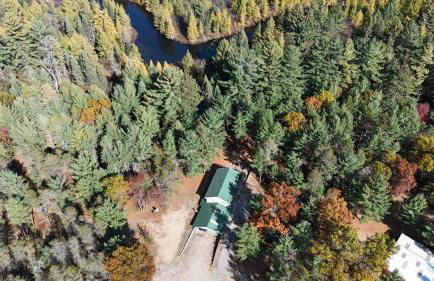
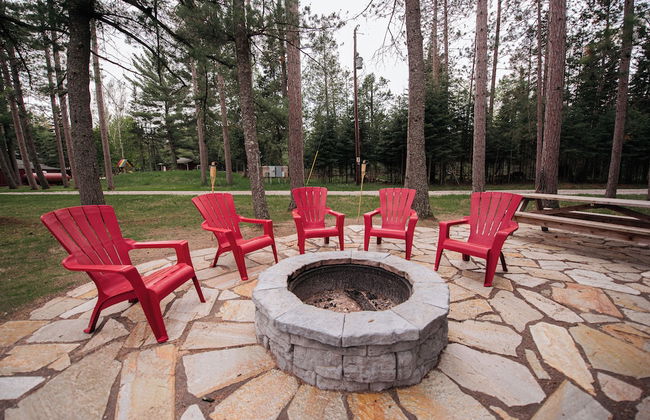
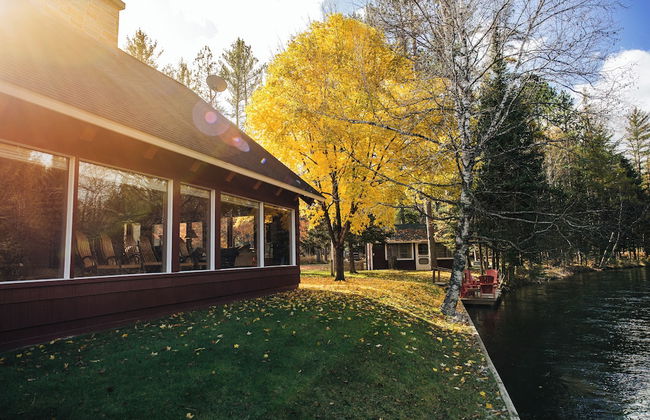
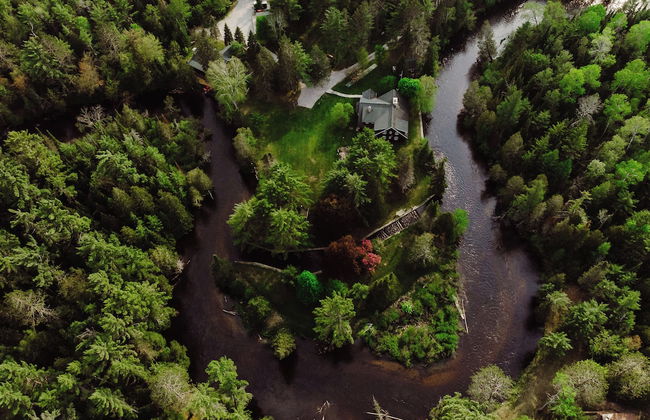
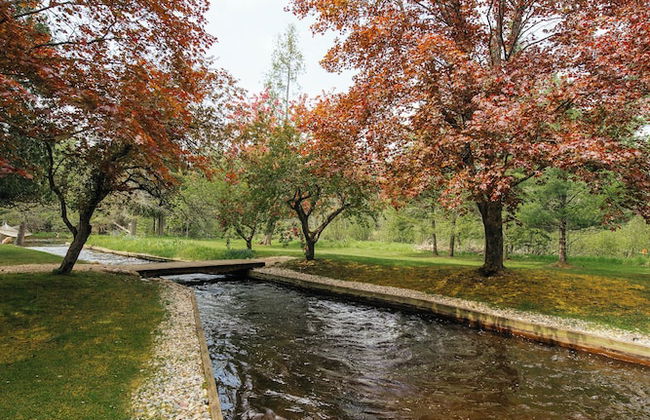
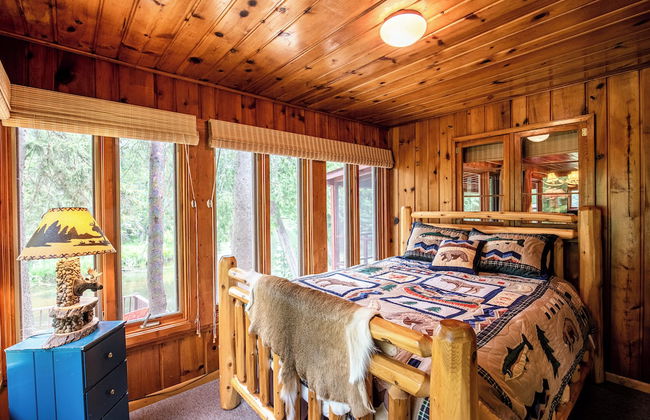
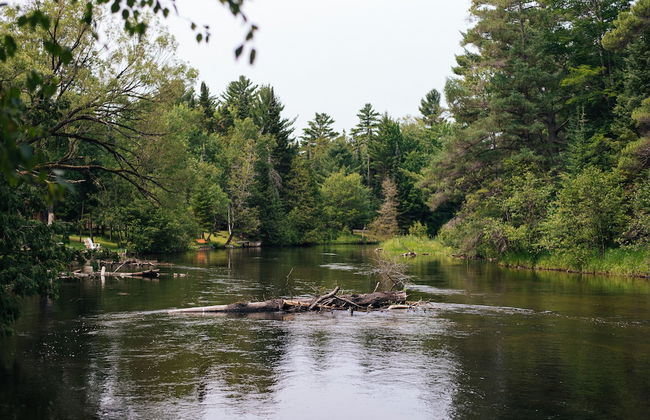
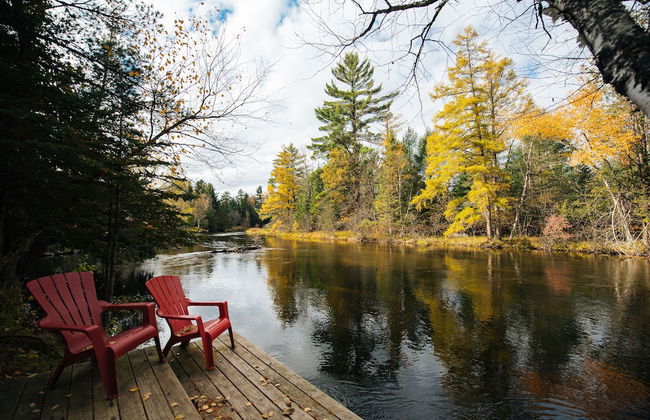
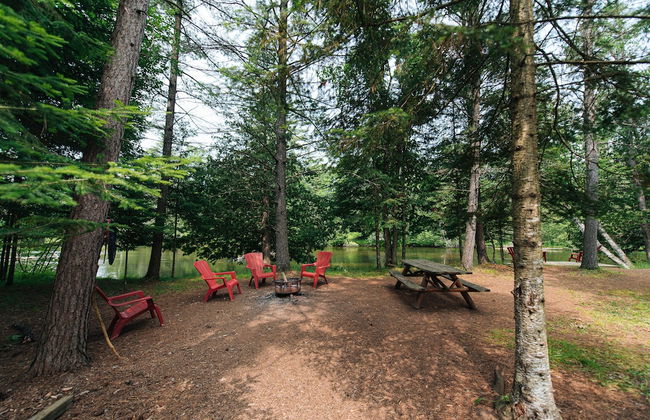
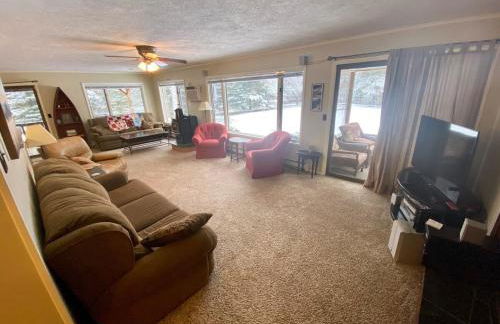
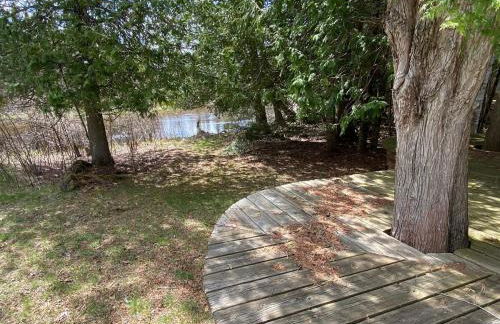
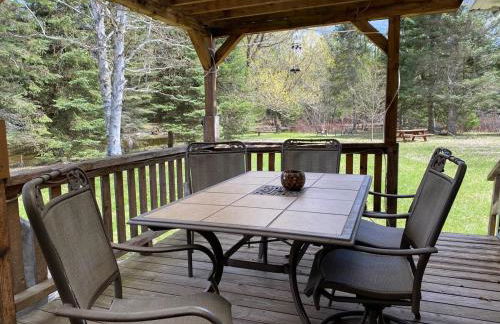
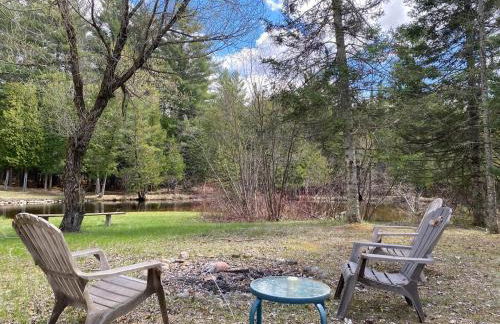
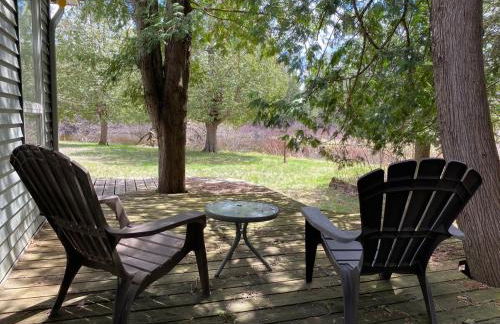
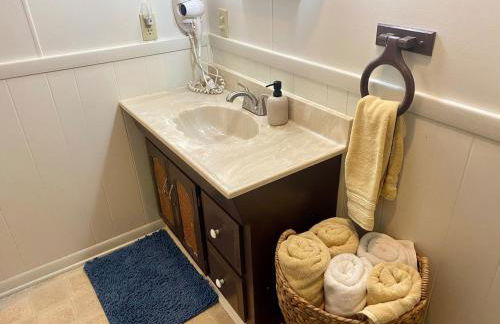
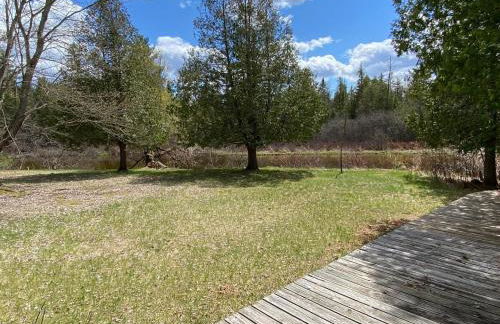
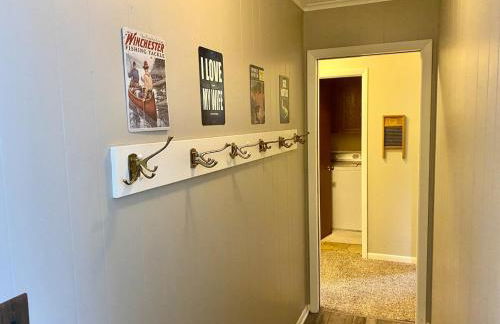
Riverfront Grayling Retreat w/ Fire Pit & Dock!
Grayling
- 78 M2
- 2 bedrooms
- 6 people
- Heating
- Parking
1 review


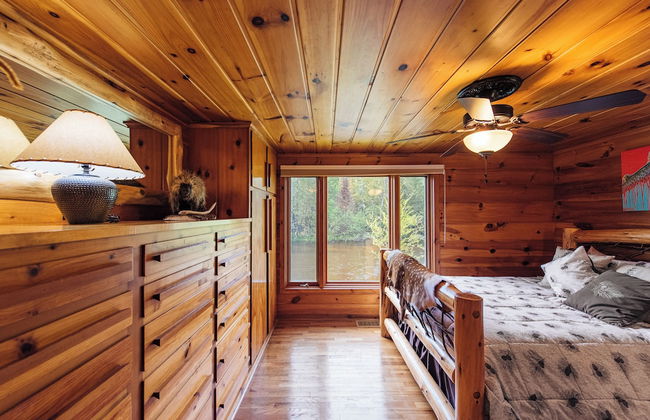

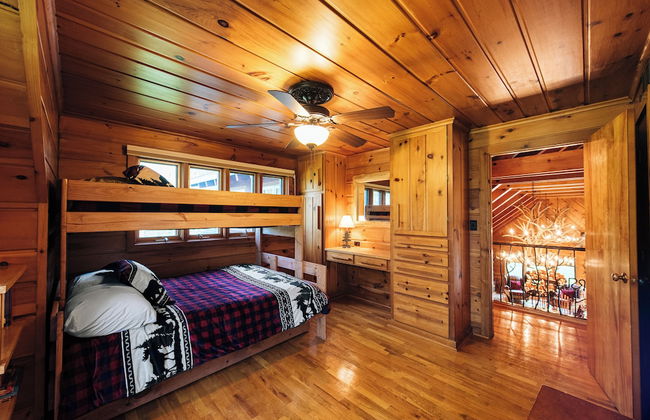
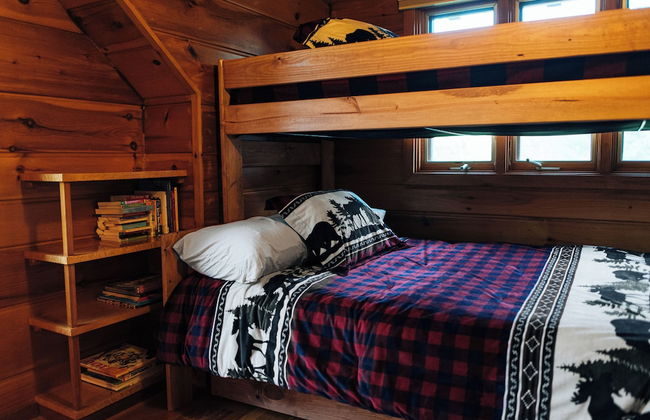
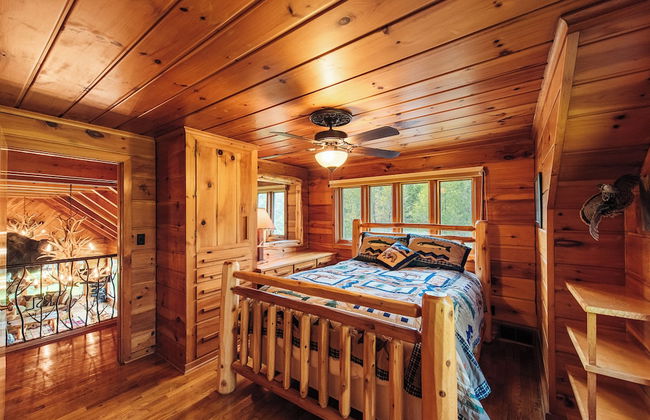


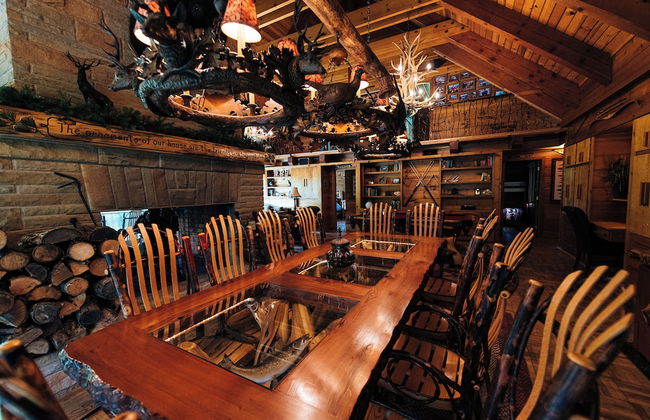

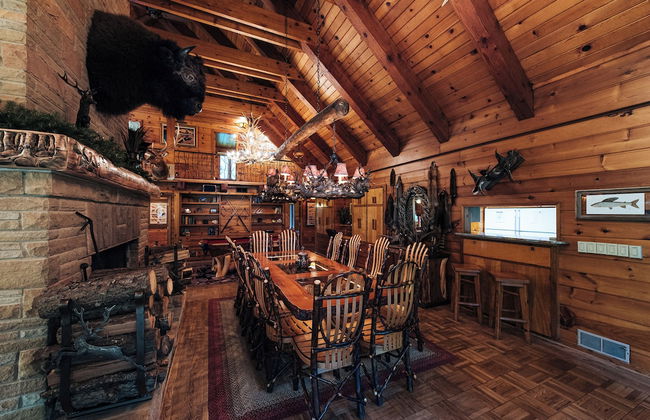


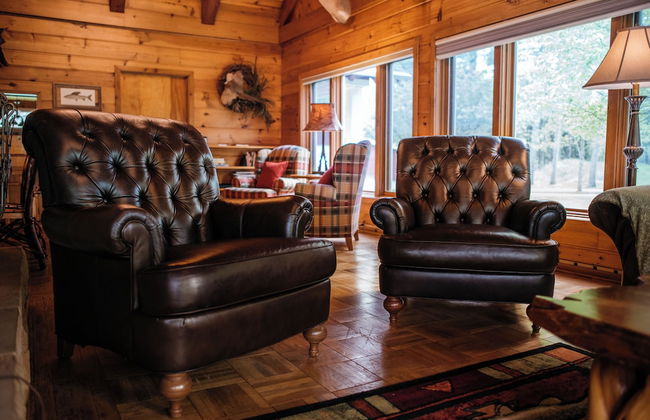
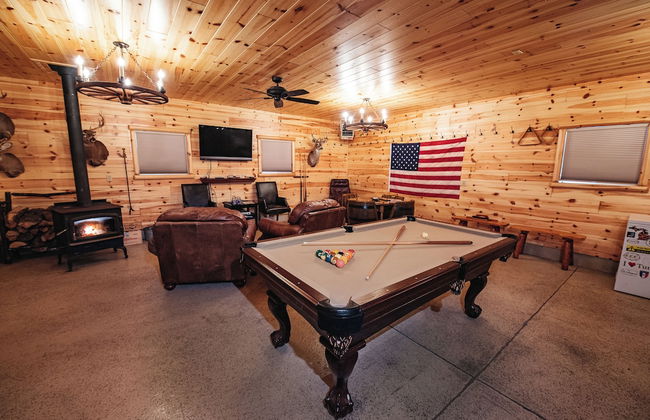

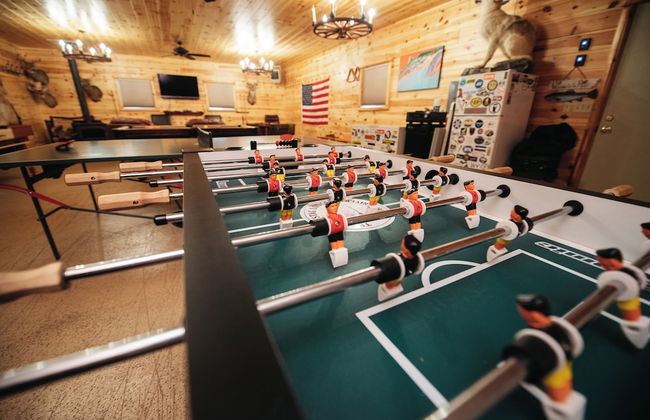
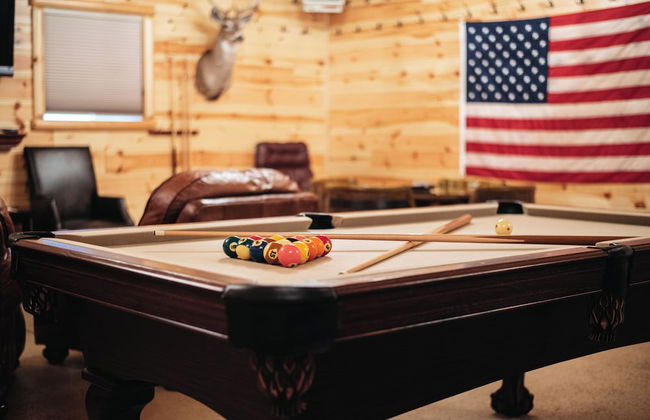


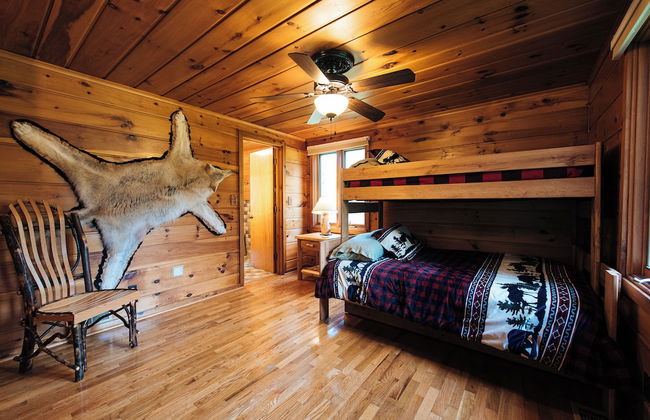


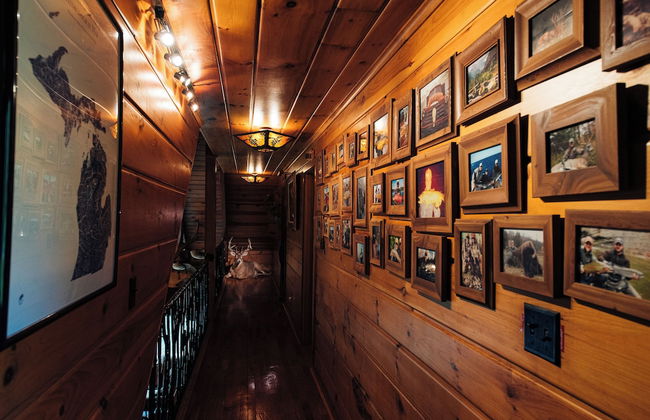
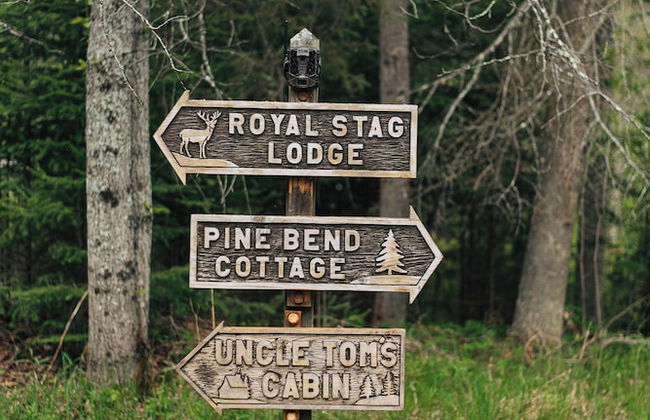
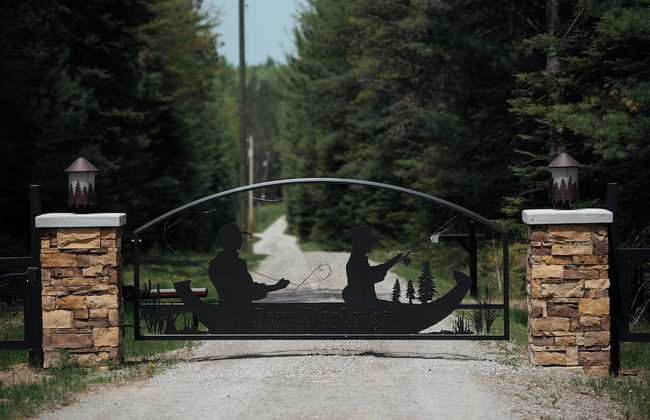


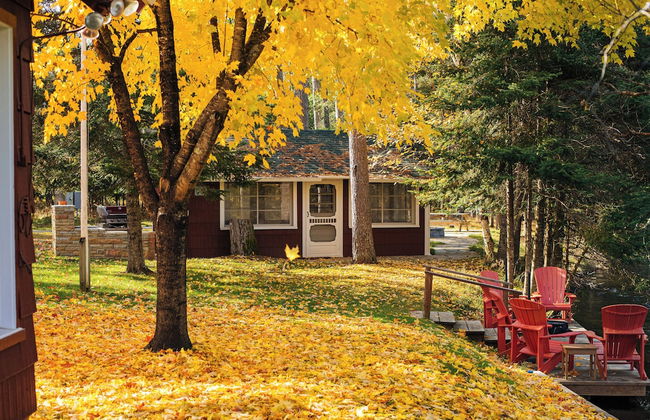

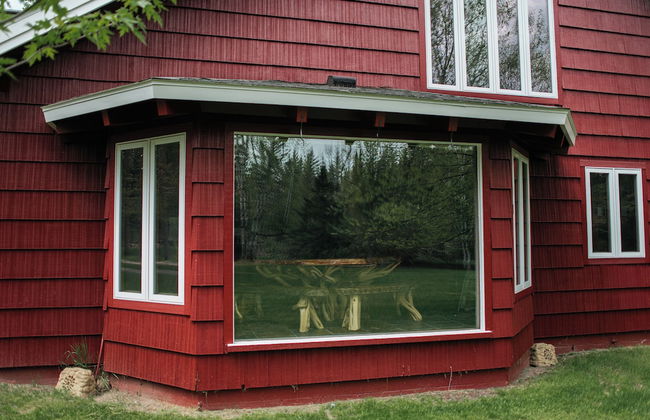


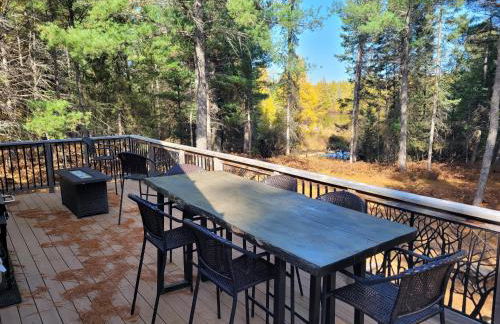
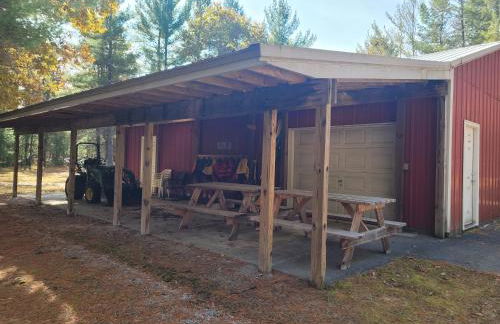
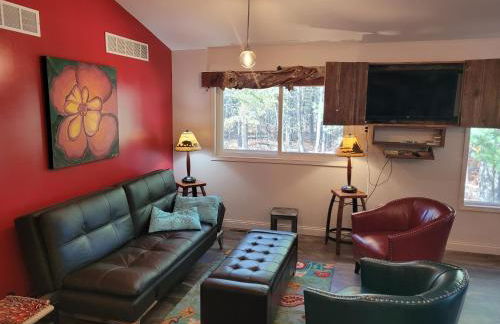
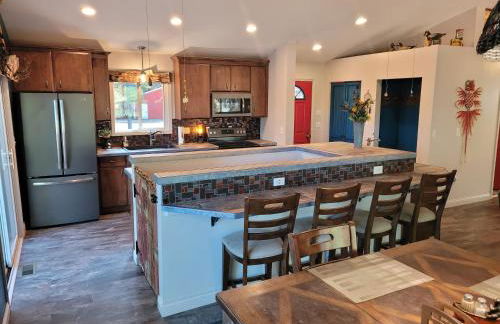
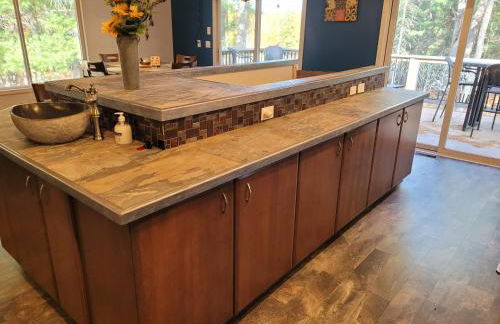
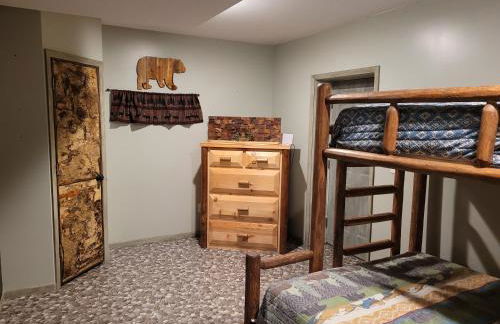
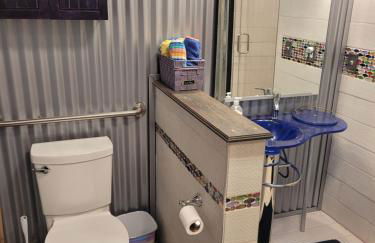
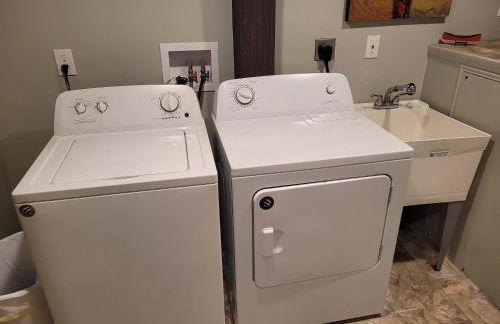
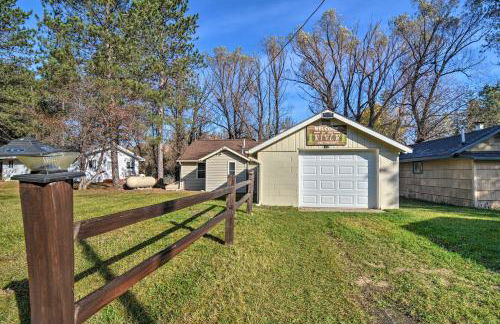
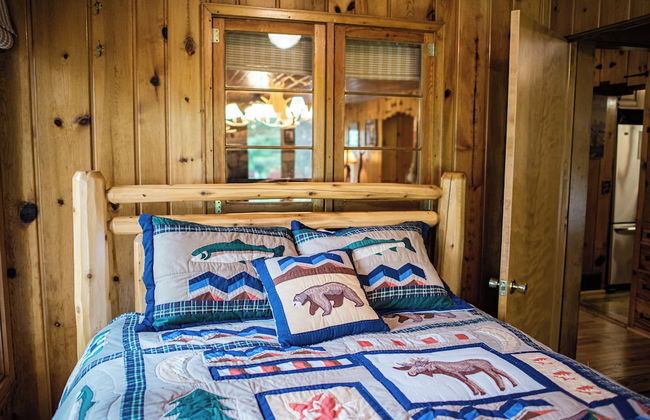
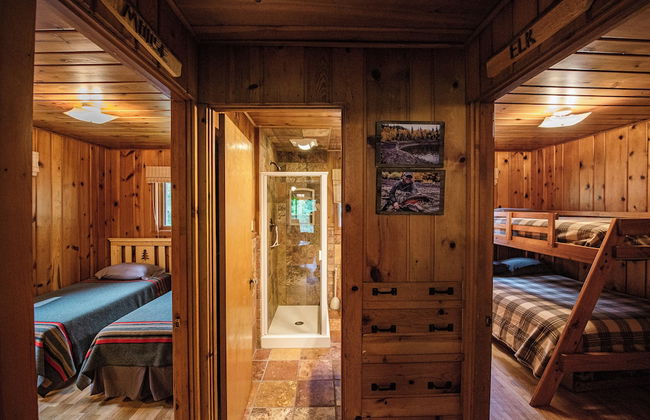
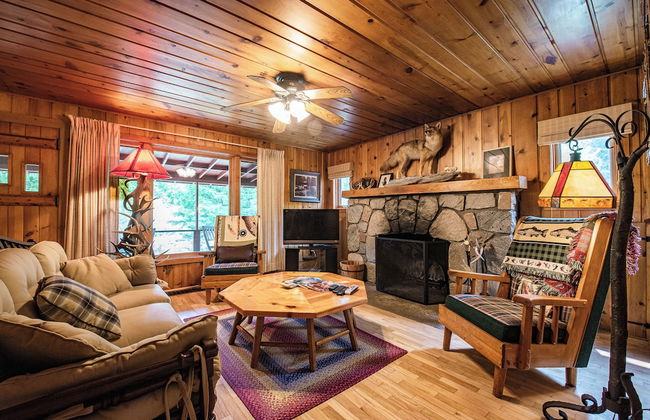
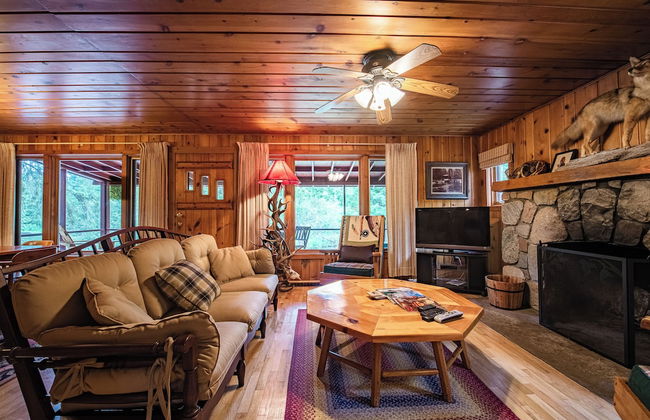
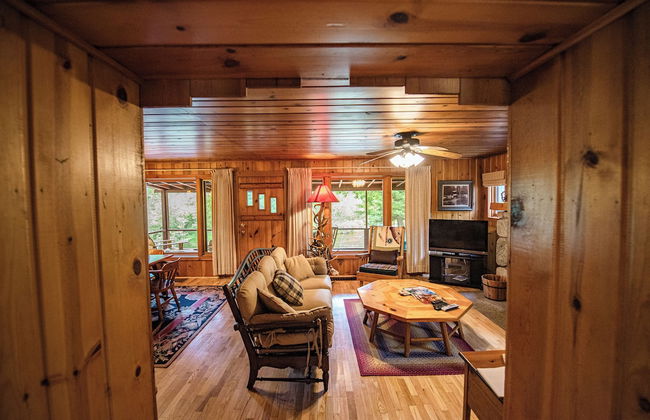
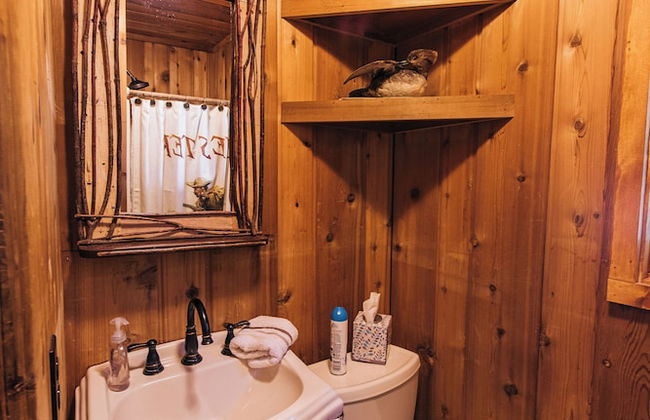
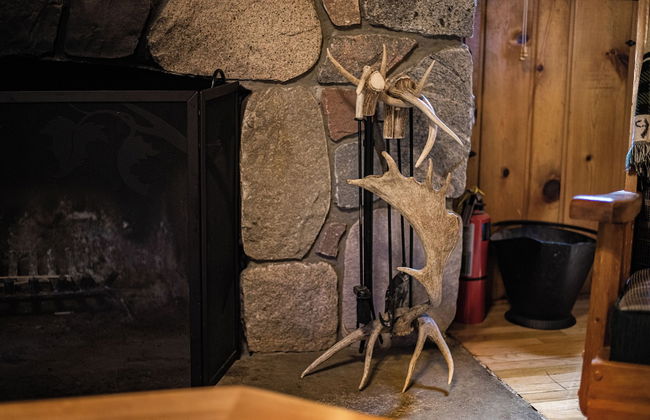
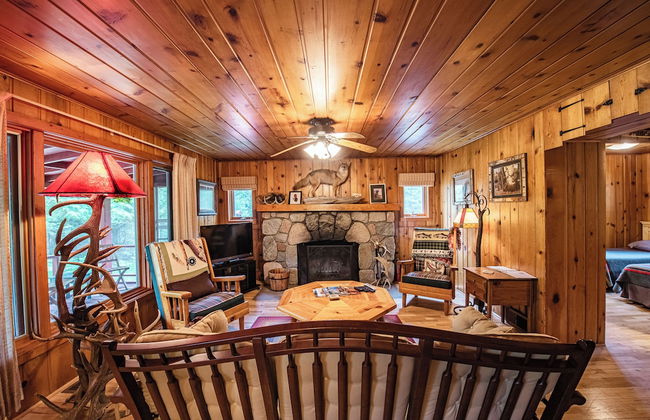
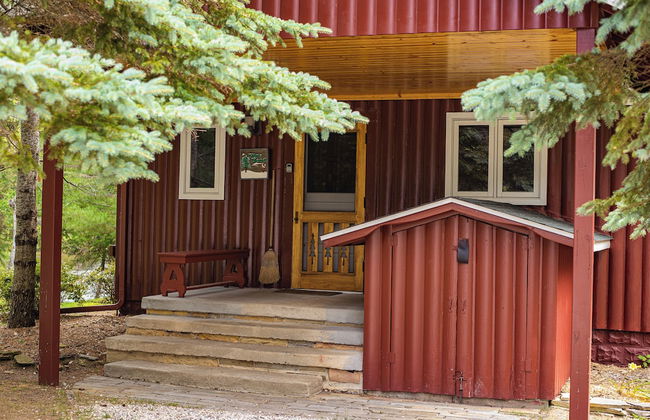
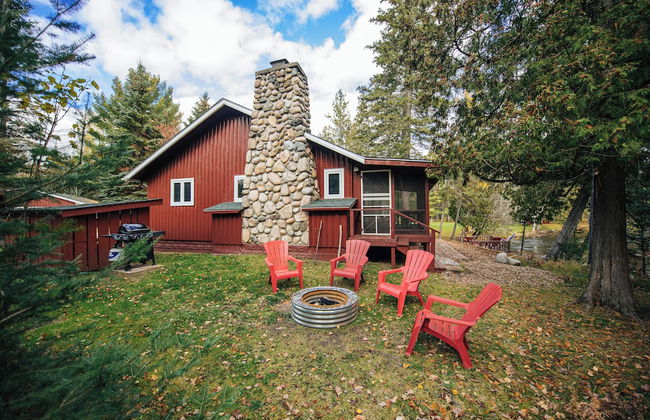
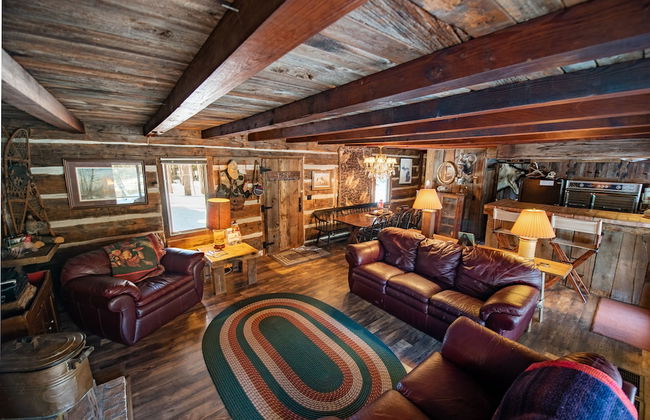
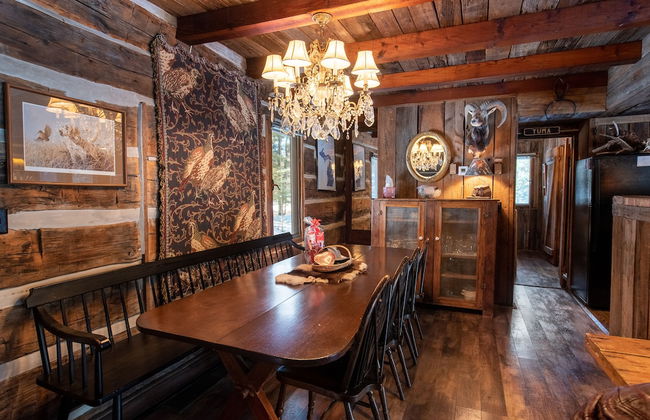
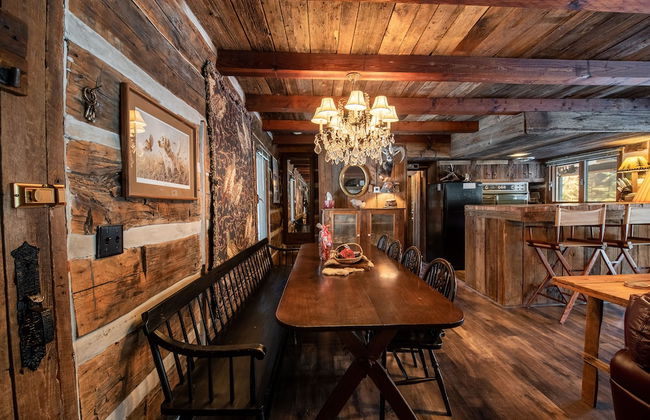
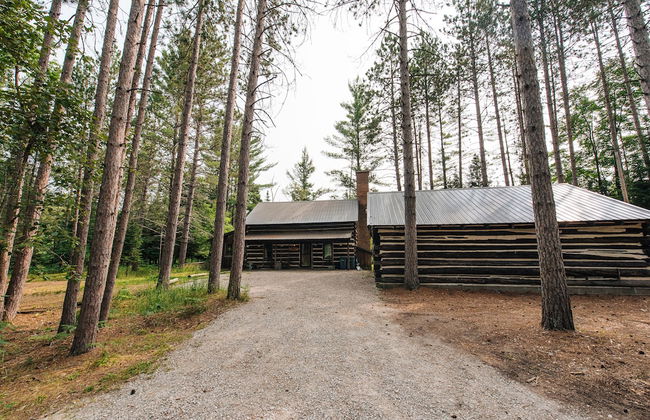
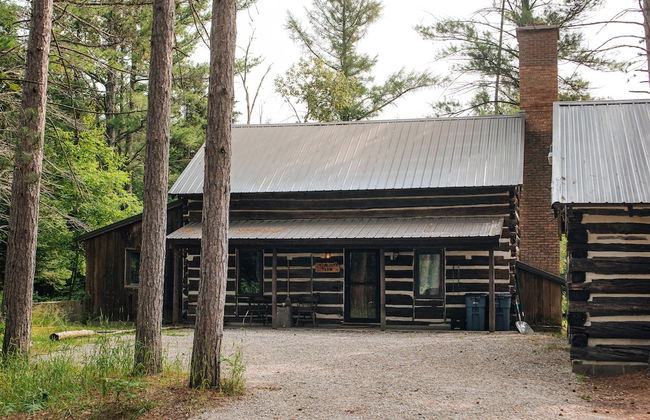
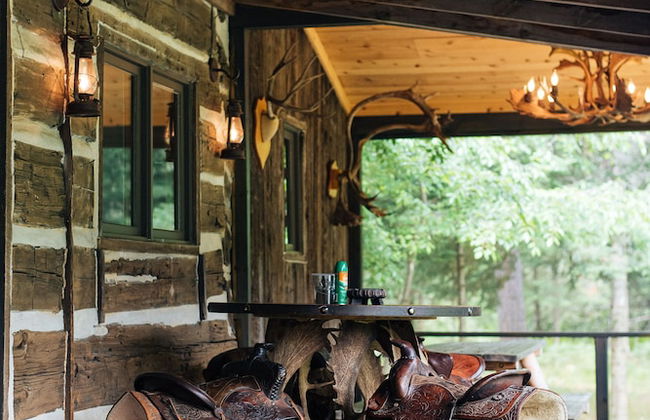
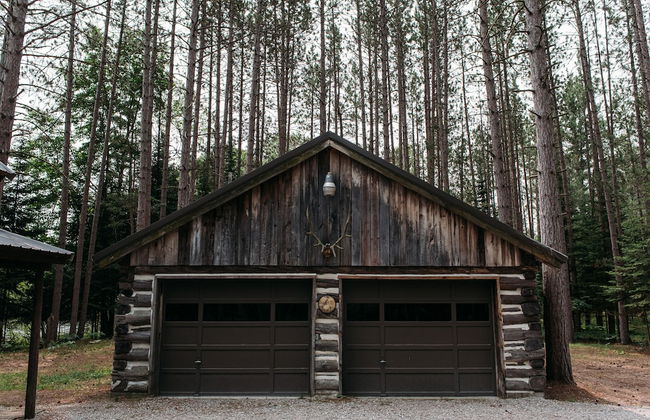
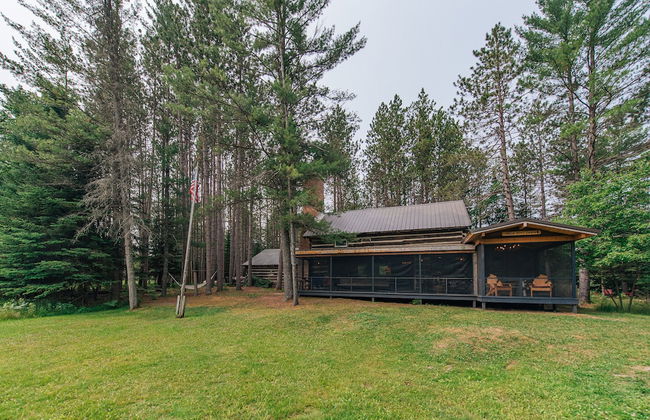
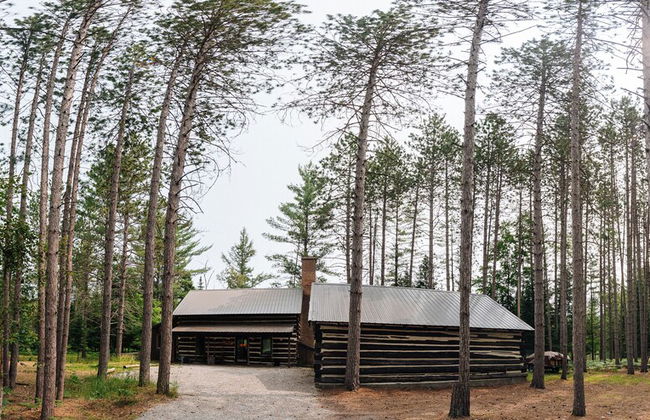
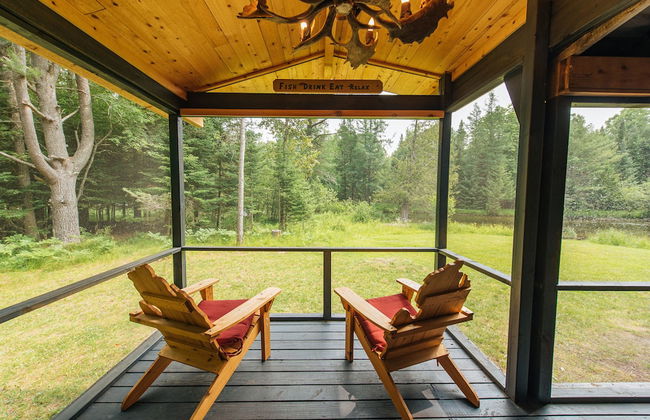
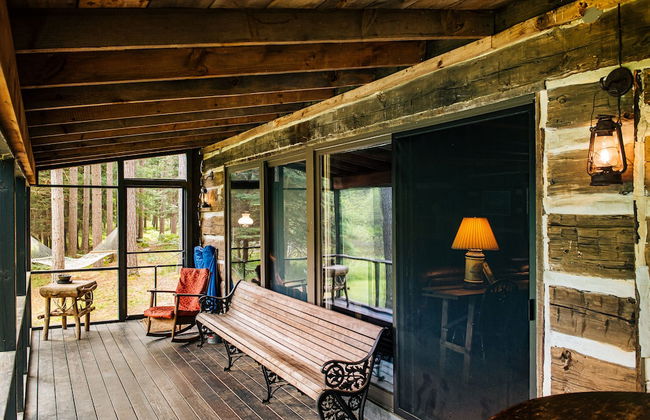
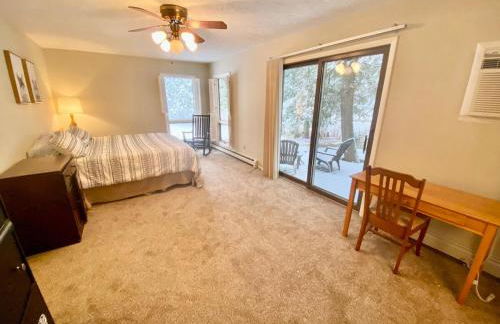
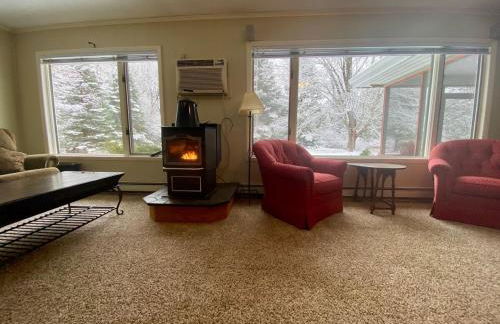
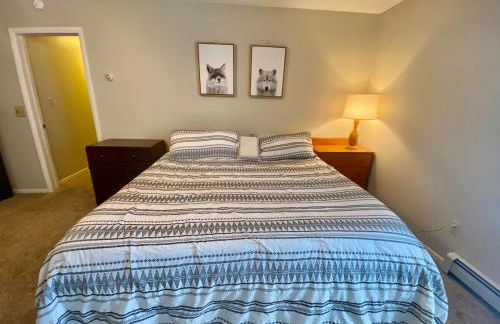
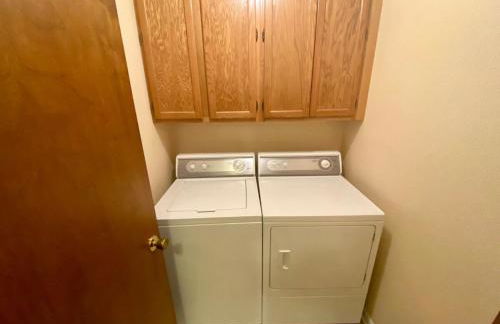
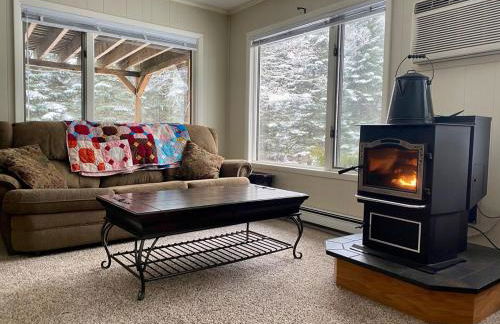
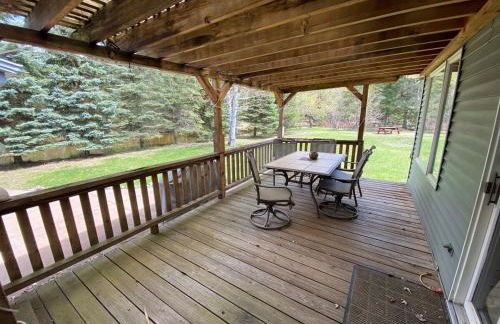
Grayling Gem Royal Stag Lodge
Grayling
- 8 people
- Air conditioning
- Parking
- Tv
- Washing machine
- Fireplace
- Barbecue
- Bath linen
- Bed linen


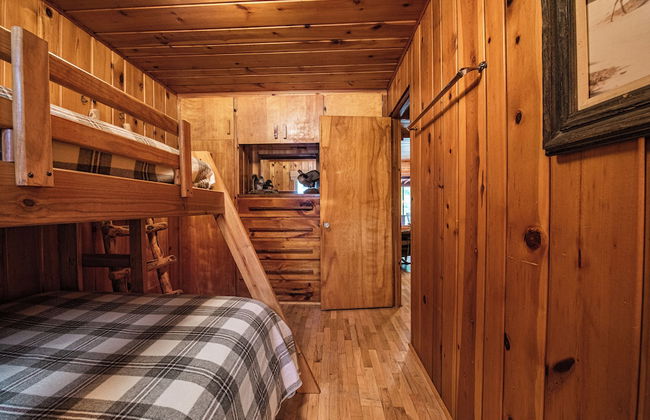
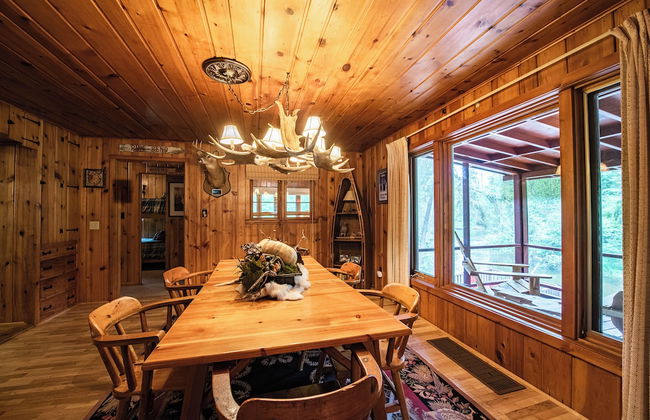


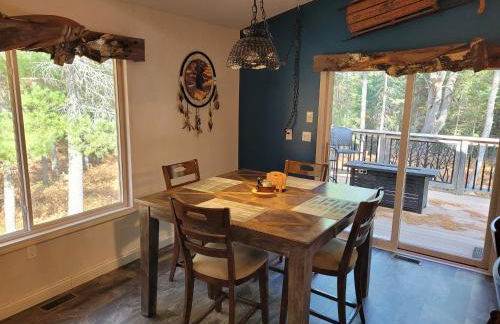
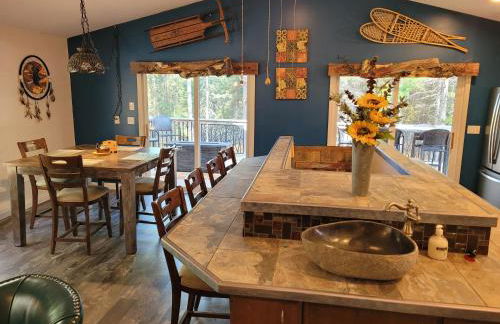
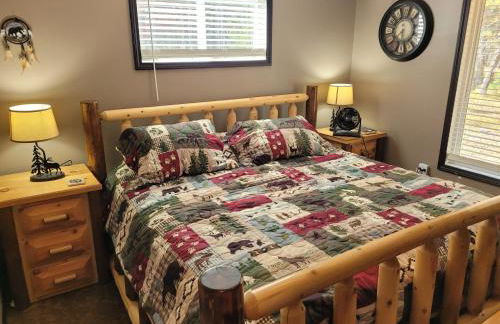
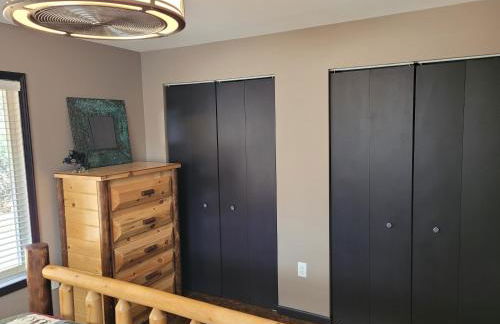
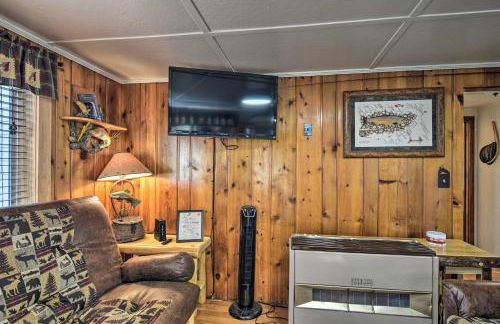
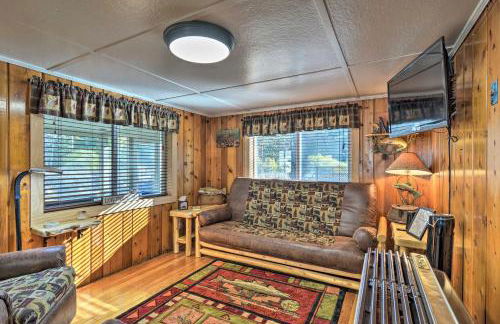
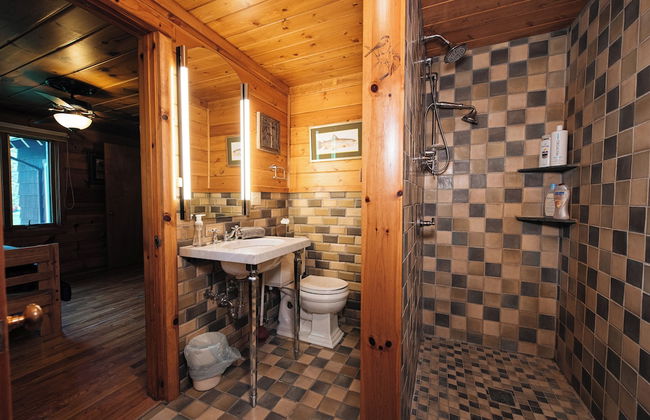
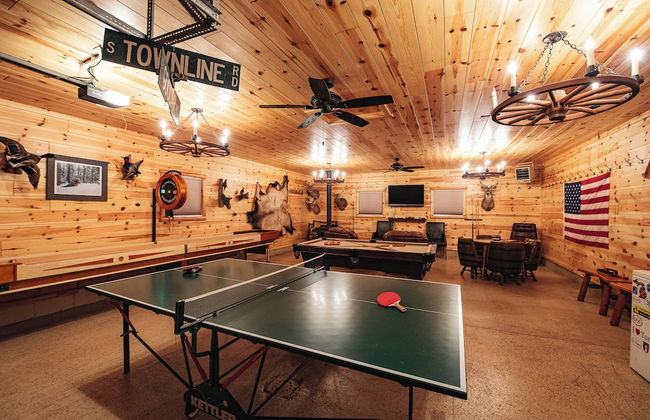
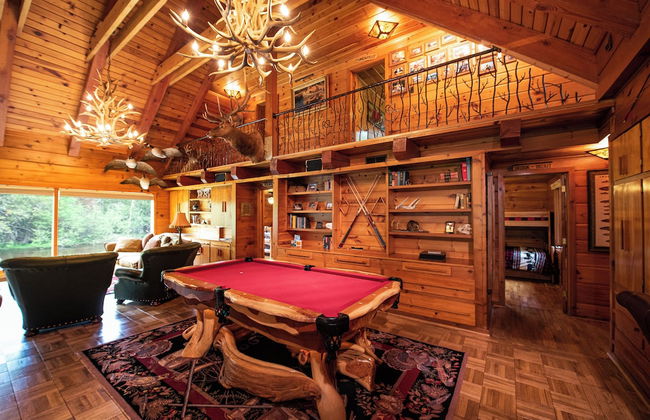
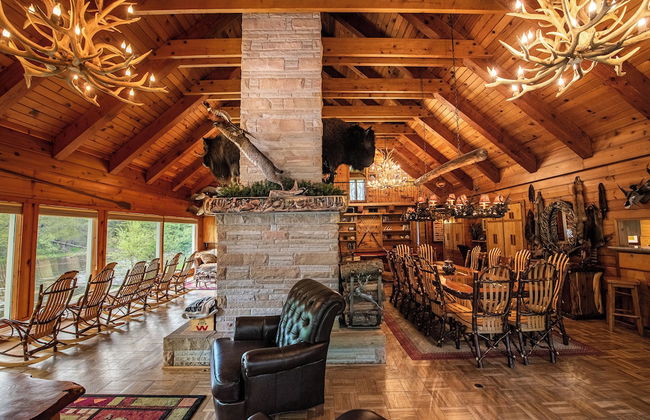
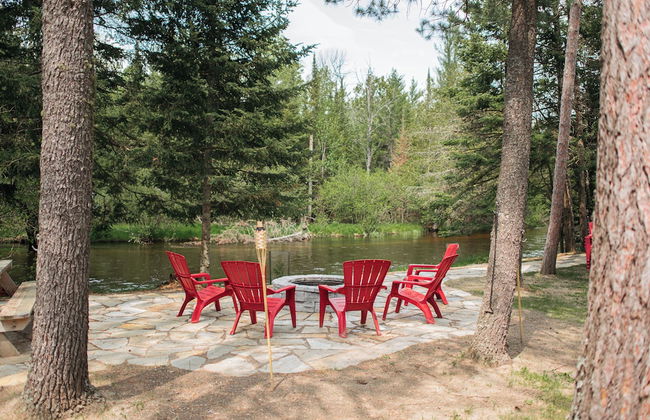
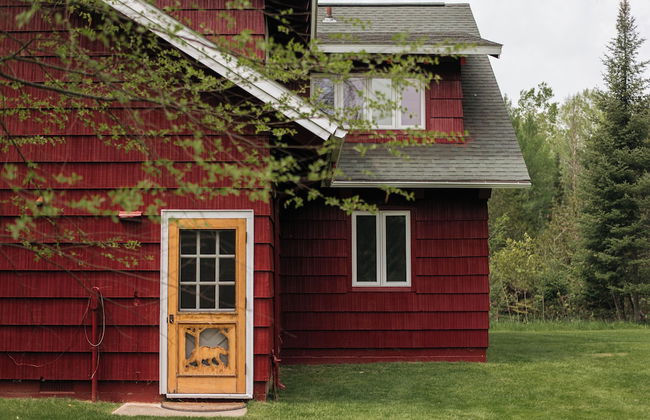
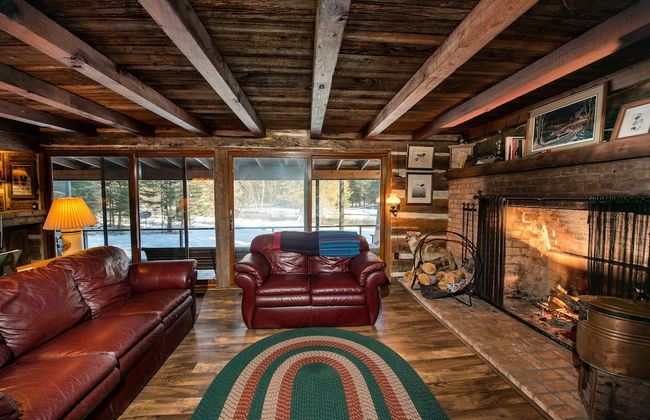
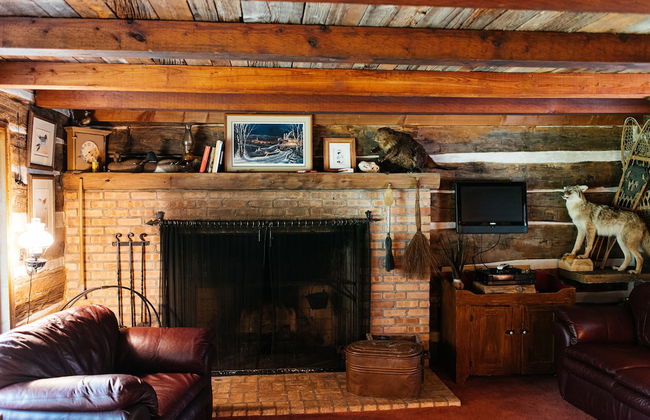
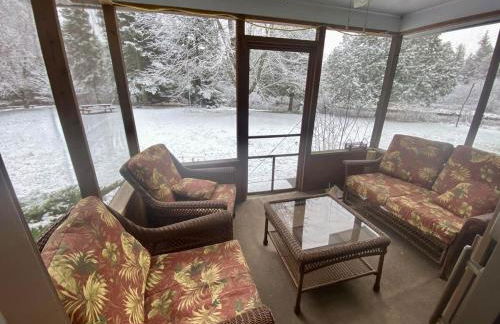
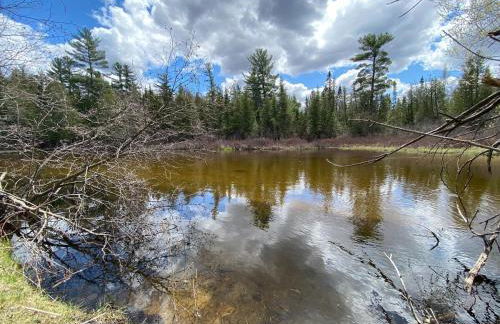
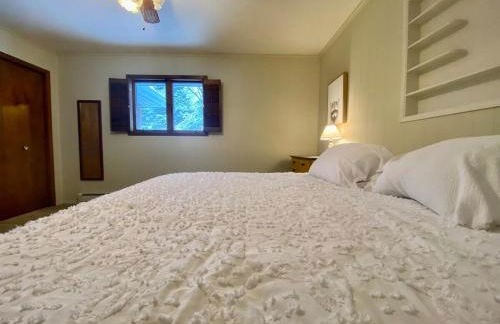
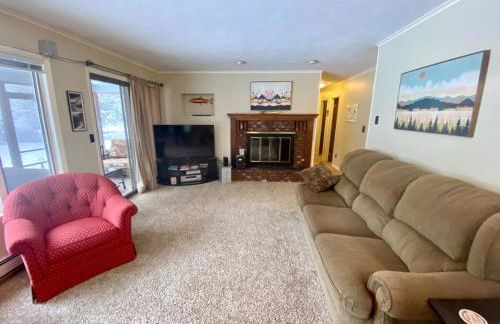
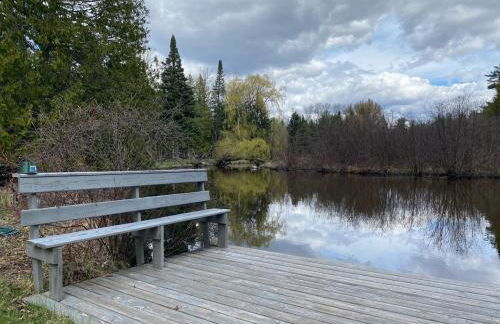
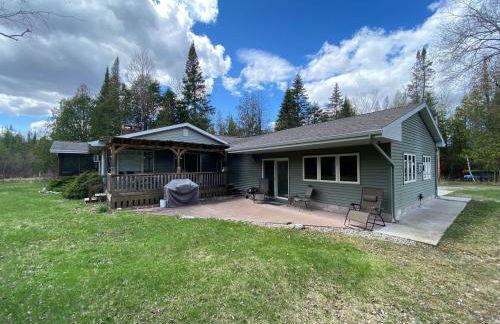
Cozy Riverside Getaway Pine Bend Cottage
Grayling
- 10 people
- Heating
- Parking
- Balcony
- Tv
- Fireplace
- Barbecue
- Bath linen
- Bed linen


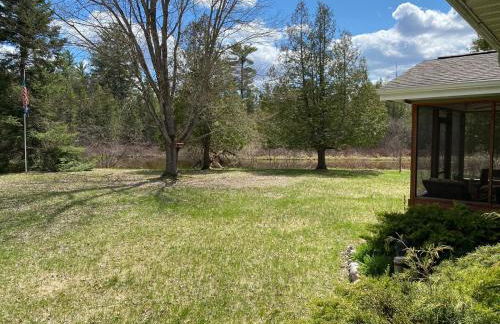


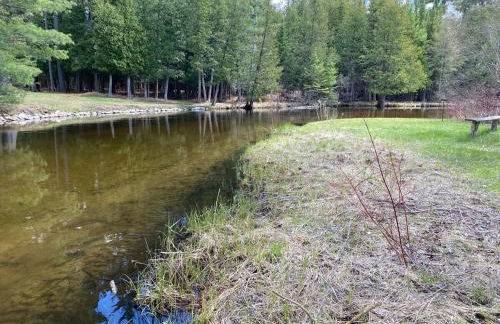

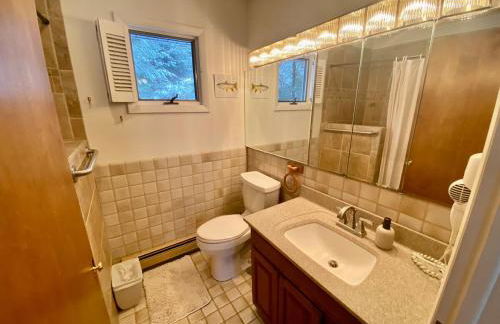


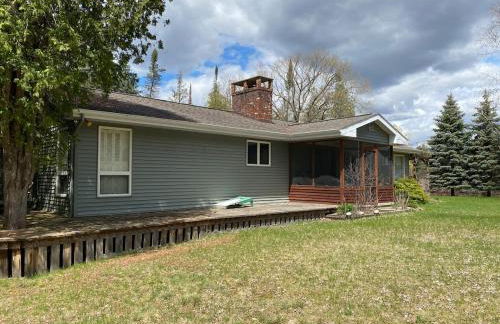

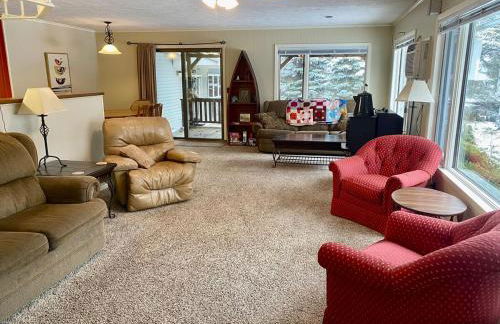


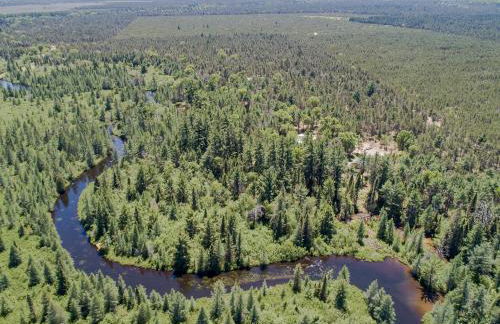
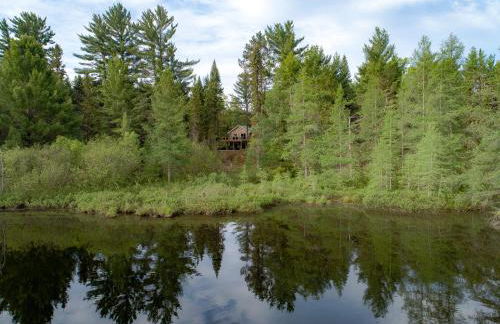
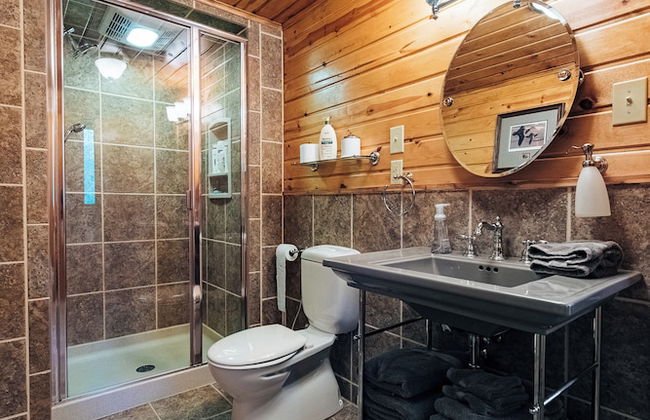
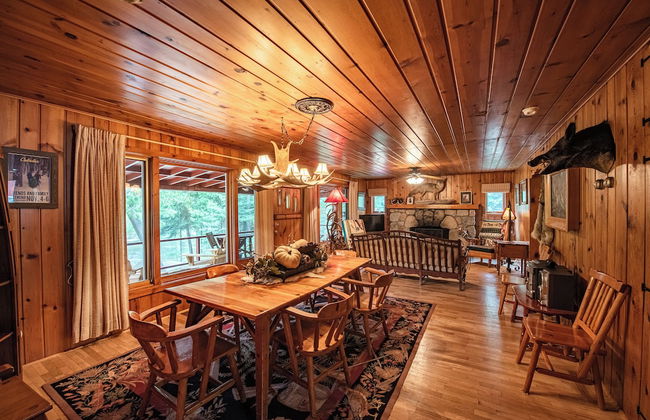
Secluded Au Sable River Home
Grayling - 2.7 km from Hanson Hills Recreation Area
- 195 M2
- 3 bedrooms
- 8 people
- Air conditioning
- Heating
- Parking
- Garden