
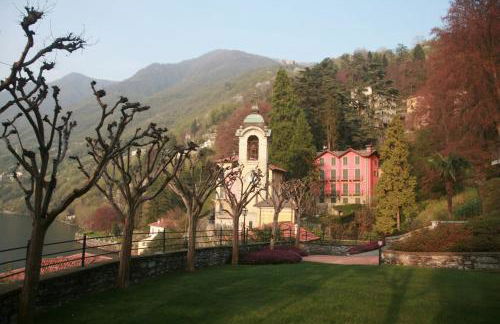
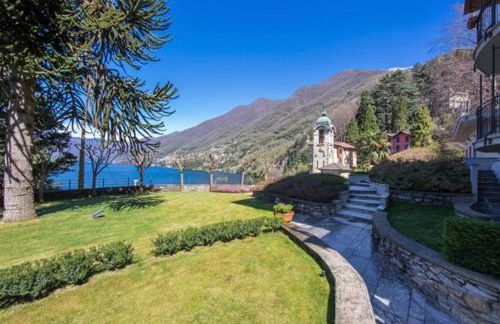
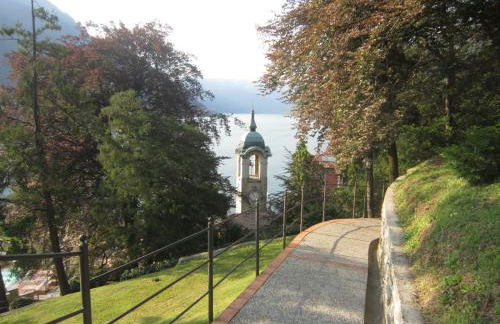
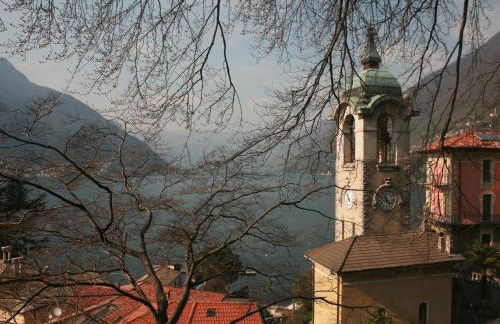
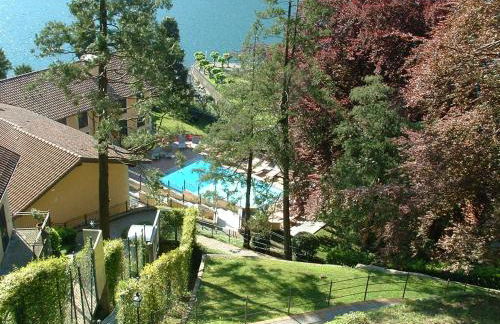
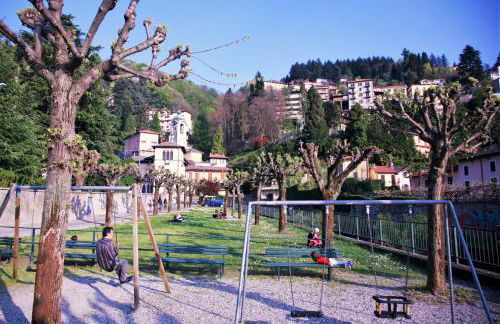
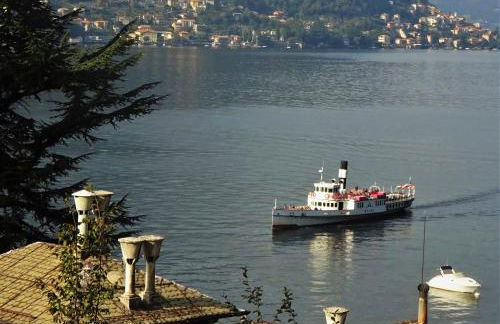
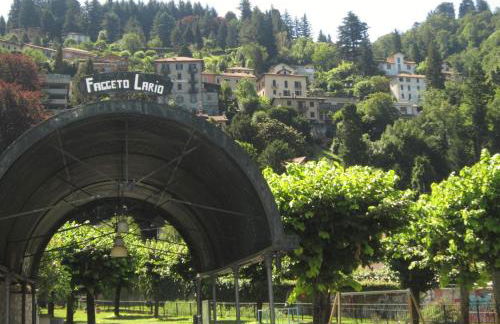
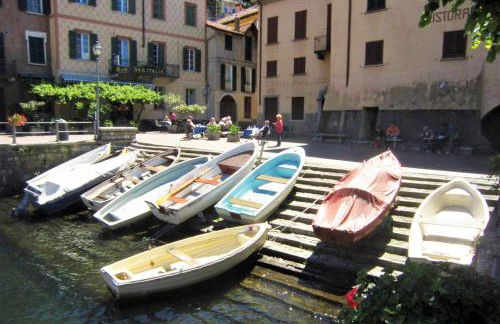
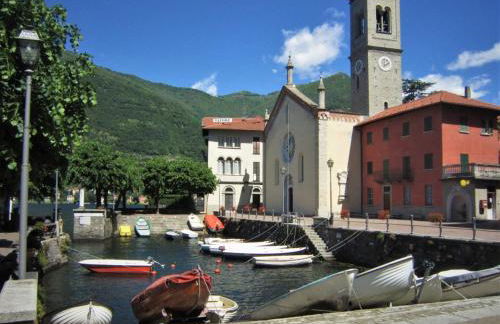
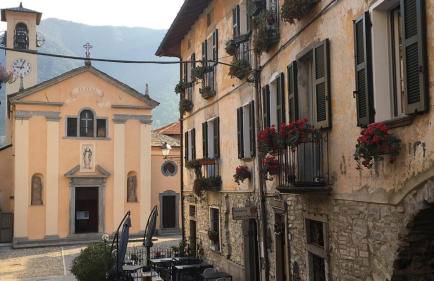
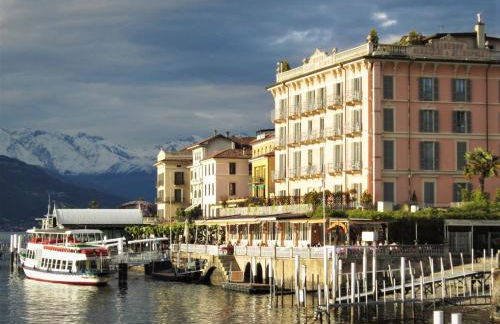
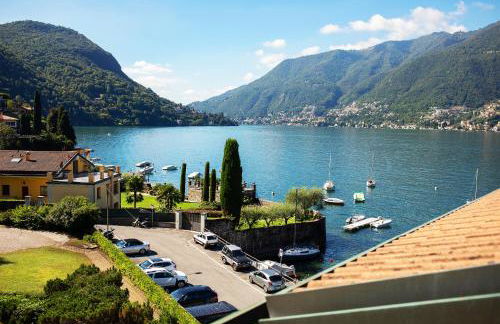
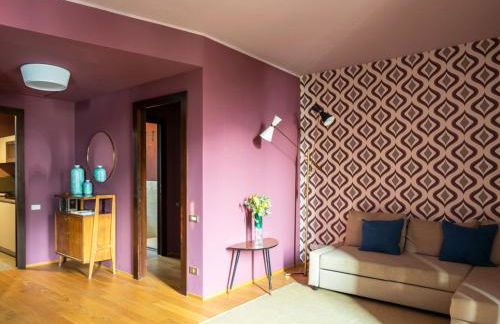
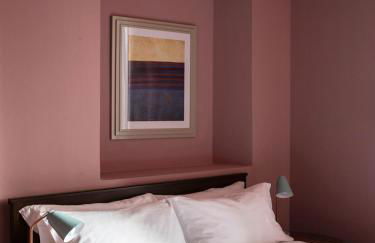
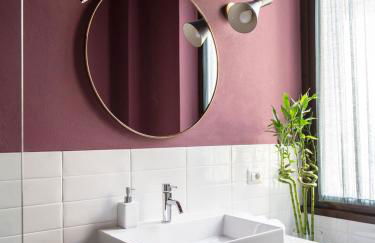
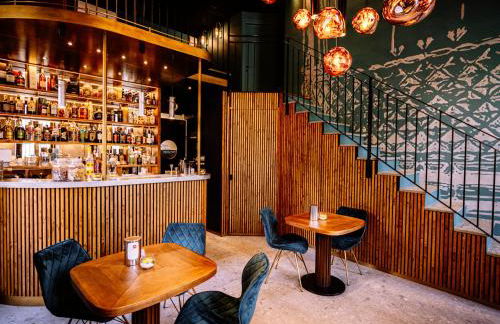
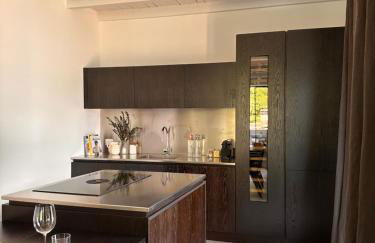
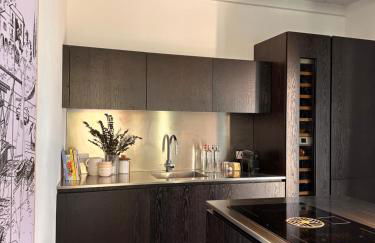
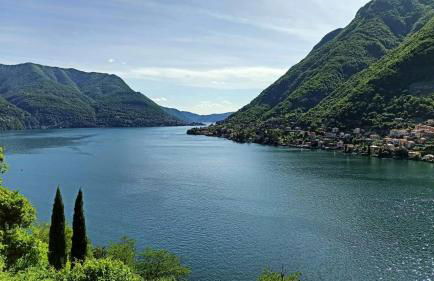
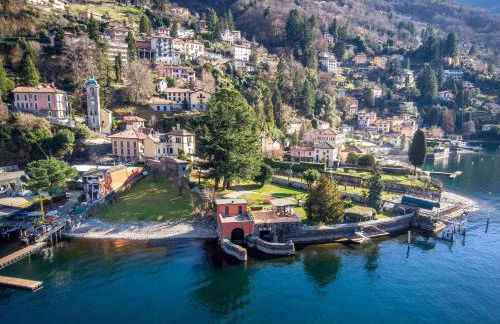
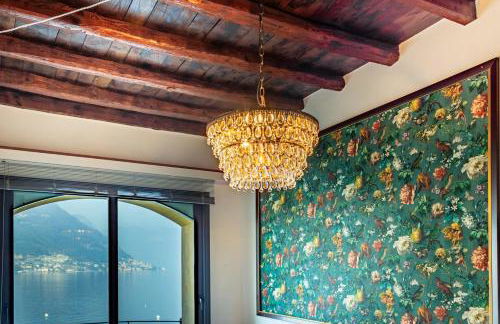
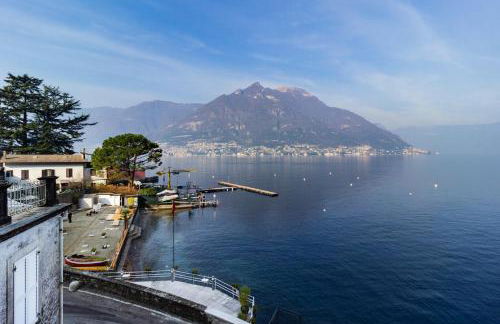
43 Apartments in Faggeto Lario


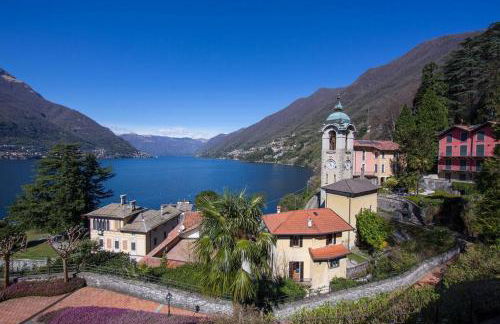
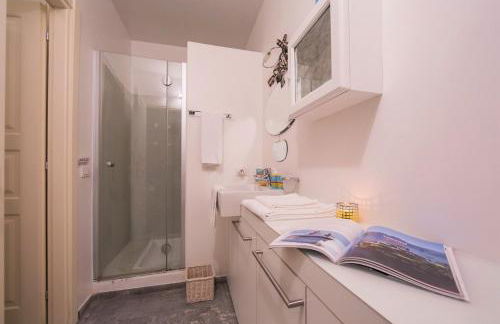
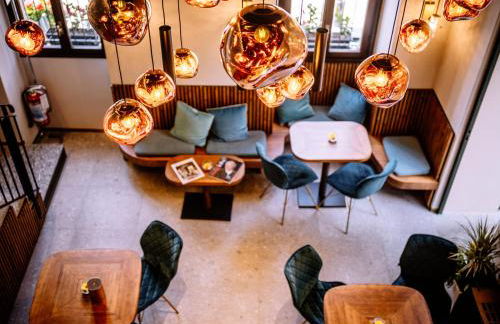
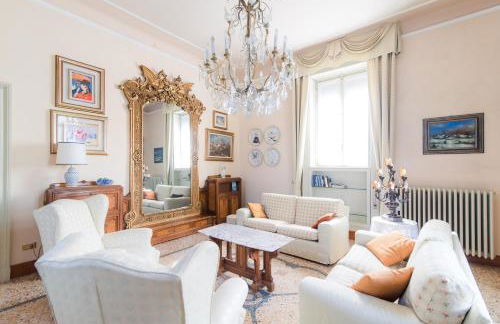
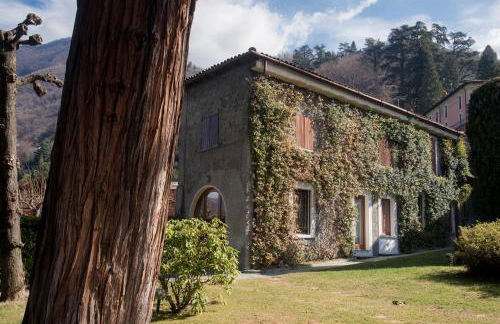
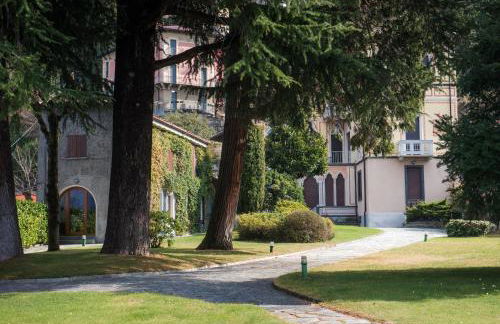
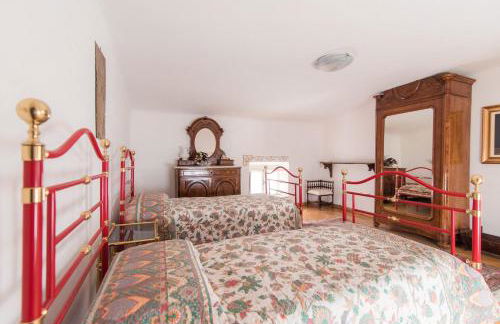
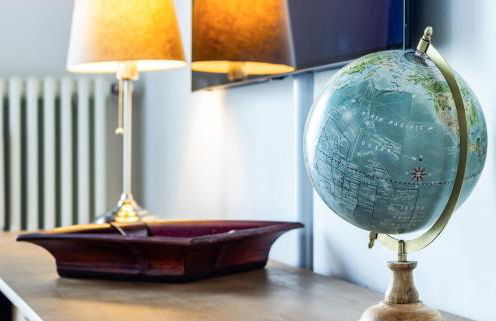
Antica Molina
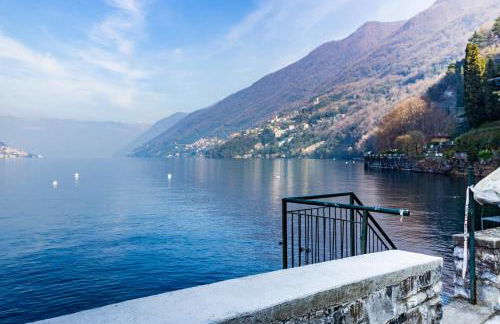
Faggeto Lario - Molina - In the center
- 80 M2
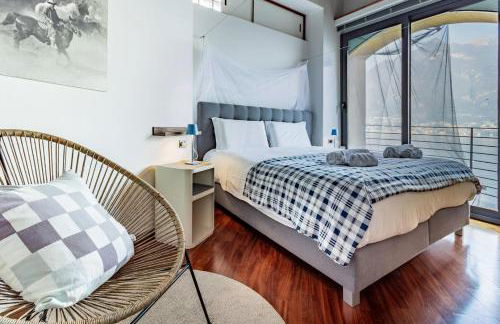
- 2 bedrooms
- 8 people
- Heating
- Terrace
- Parking
- Tv
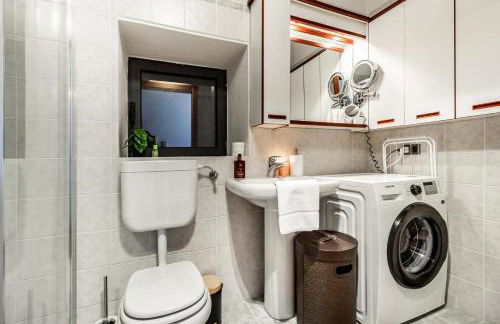
- Washing machine
- Fireplace
- Bath linen
- Bed linen
17 reviews


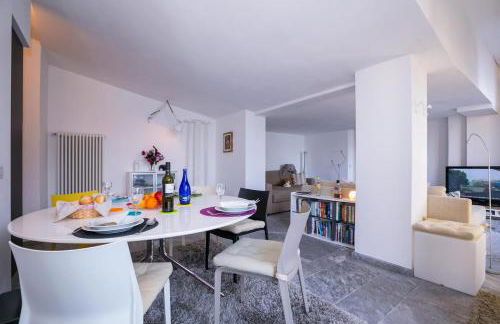
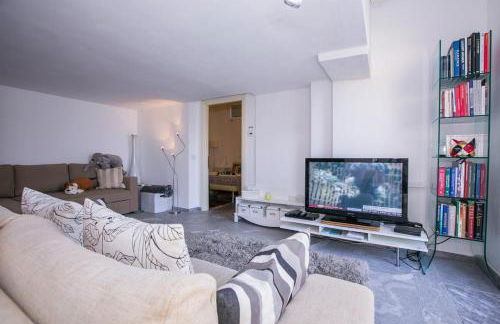
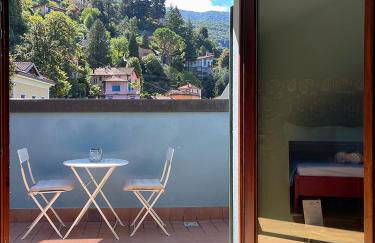
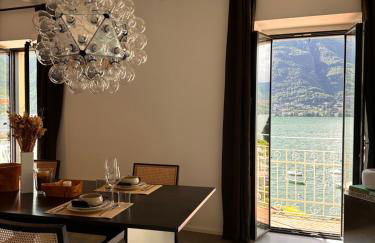
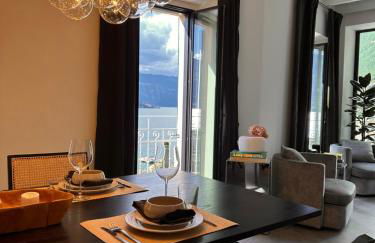
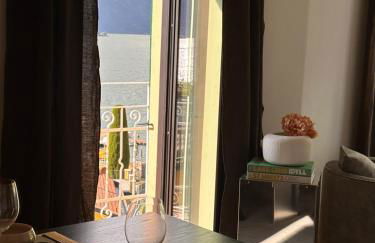
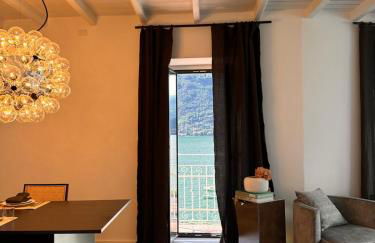
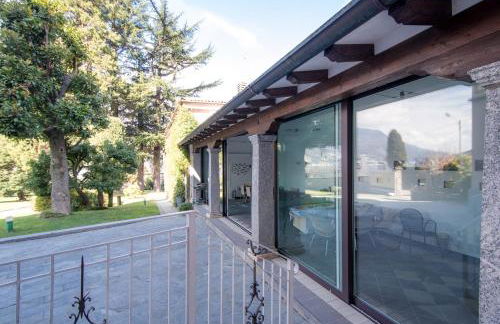
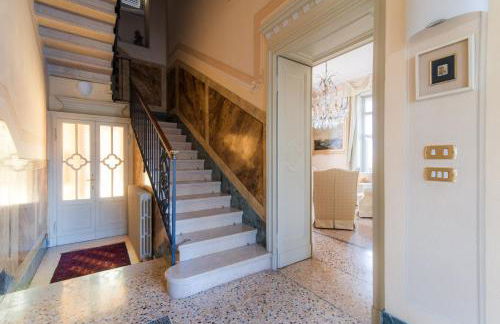
Lake Como Villa Ines Apartment
Faggeto Lario - 450 m from the center
- 200 M2
- 2 bedrooms
- 4 people
- Air conditioning
- Heating
- Terrace
- Parking
- Garden
40 reviews


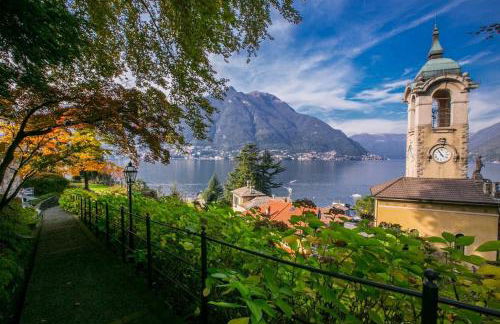
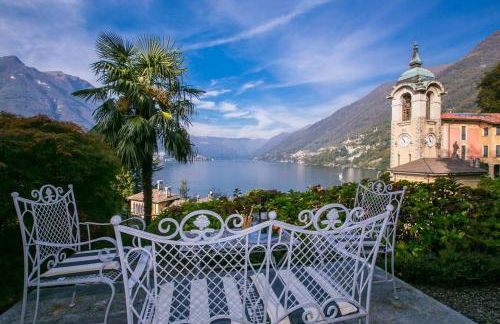
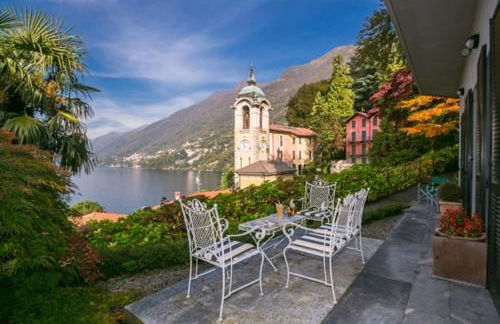
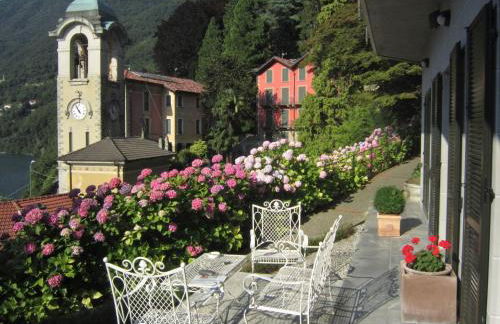
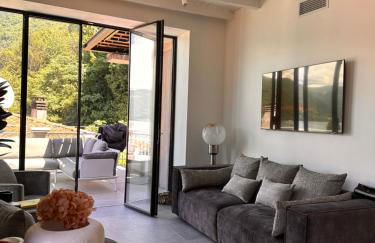
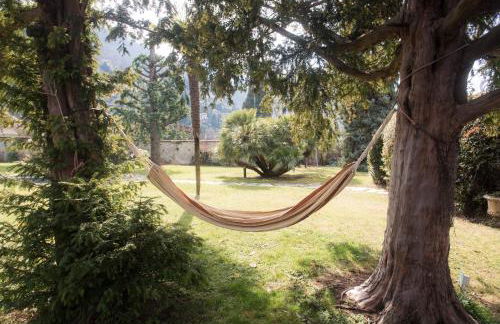
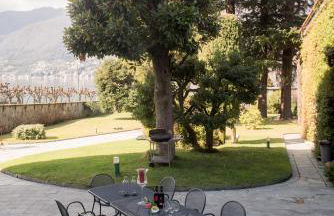
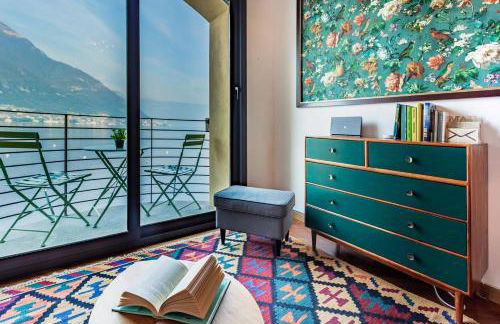
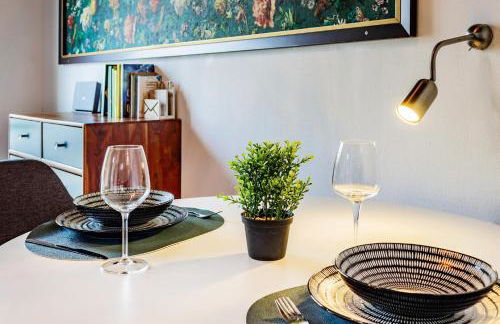
Il Giardino Segreto
Faggeto Lario - Molina - In the center
- 52 M2
- 1 bedroom
- 4 people
- Air conditioning
- Heating
- Terrace
- Parking
- Garden
112 reviews


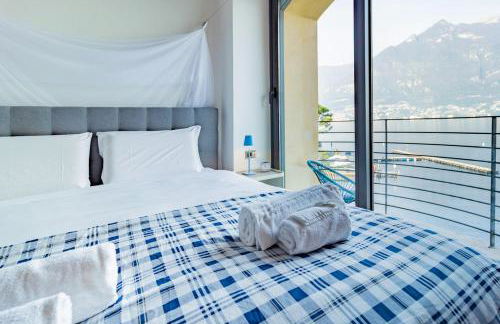
Casa alla Fontana
Faggeto Lario - Lemna - In the center
- 50 M2
- 2 bedrooms
- 6 people
- Heating
- Parking
- Garden
47 reviews


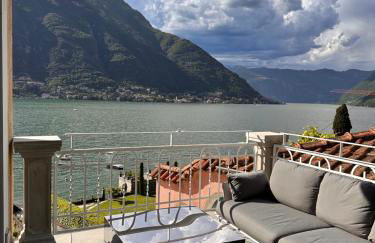
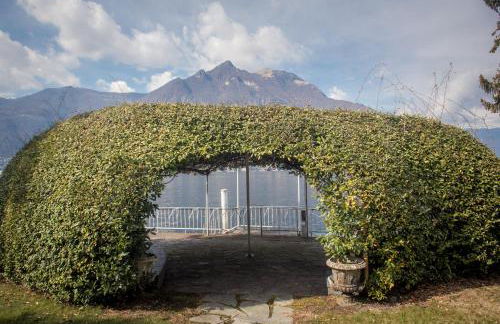
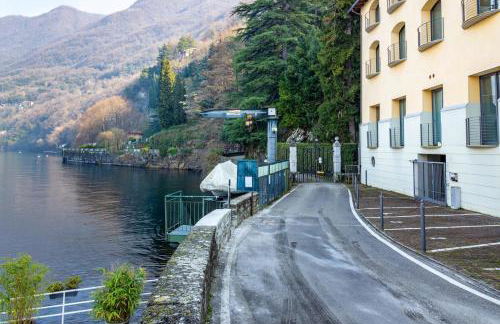
Riva di Faggeto Lario
Faggeto Lario - Riva - 470 m from the center
- 55 M2
- 1 bedroom
- 4 people
- Heating
- Terrace
- Swimming pool
- Parking
- Garden
16 reviews


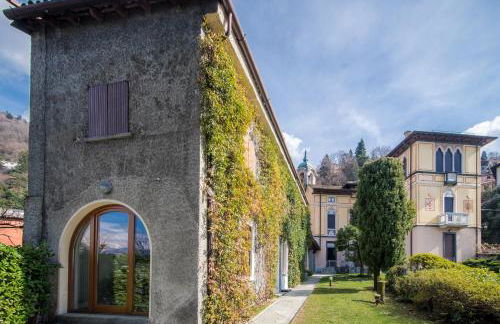
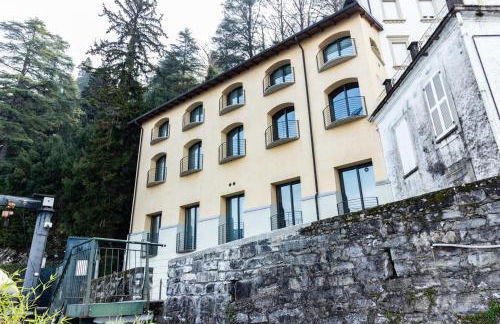
Domus Plinii 1792 Suites
Faggeto Lario - Riva - 570 m from the center
- 75 M2
- 2 bedrooms
- 4 people
- Air conditioning
- Heating
- Terrace
- Swimming pool
- Parking
- Elevator
- Garden
455 reviews


Holiday Home Liliana
Faggeto Lario - Molina - In the center
- 80 M2
- 2 bedrooms
- 5 people
- Air conditioning
- Terrace
- Parking
- Garden
- Barbecue
487 reviews


CasaB Lake Como
Faggeto Lario - Riva - 510 m from the center
- 130 M2
- 2 bedrooms
- 4 people
- Air conditioning
- Heating
- Terrace
- Parking
- Garden
6 reviews


Appartamento "Bella vista" sul Lago di Como
Faggeto Lario - 490 m from the center
- 90 M2
- 2 bedrooms
- 4 people
- Air conditioning
- Heating
- Terrace
- Parking
- Garden
54 reviews


Lake Como Villa Ines Junior Apartment
Faggeto Lario - 460 m from the center
- 70 M2
- 1 bedroom
- 3 people
- Heating
- Parking
- Garden
47 reviews


Villa Giù Luxury - The House Of Travelers
Faggeto Lario - Riva - 590 m from the center
- 600 M2
- 5 bedrooms
- 12 people
- Heating
- Terrace
- Swimming pool
- Parking
- Garden
- Barbecue
27 reviews


Residenza Vecchio Faggeto
Faggeto Lario - Lemna - In the center
- 55 M2
- 1 bedroom
- 5 people
- Heating
- Terrace
- Parking
48 reviews


Casa sul lago di Como
Faggeto Lario - Riva - 530 m from the center
- 75 M2
- 1 bedroom
- 4 people
- Air conditioning
- Heating
- Terrace
- Swimming pool
- Parking
- Elevator
- Garden
6 reviews


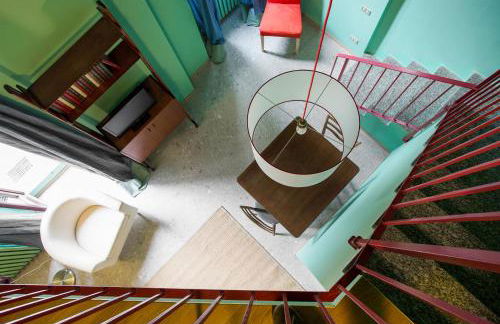
Ca Bossa Molina
Faggeto Lario - Molina - In the center
- 50 M2
- 2 people
- Heating
- Terrace
- Parking
- Balcony
- Tv
- Bath linen
- Bed linen
1 review

Casa Giulia
Faggeto Lario - Riva - 570 m from the center
- 50 M2
- 1 bedroom
- 2 people
- Heating
- Parking
- Elevator
- Garden
9 reviews


Lake Como View - Luminosa casa con PISCINA e Terrazza
Faggeto Lario - Riva - 560 m from the center
- 55 M2
- 1 bedroom
- 4 people
- Heating
- Terrace
- Swimming pool
- Elevator
- Garden
7 reviews


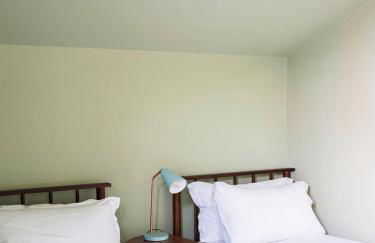
Secret Retreat With Lake View by Halldis
Faggeto Lario - 450 m from the center
- 47 M2
- 2 people
- Heating
- Garden
3 reviews


270 View - By My Home In Como
Faggeto Lario - 790 m from the center
- 189 M2
- 4 bedrooms
- 7 people
- Air conditioning
- Heating
- Terrace
- Parking
- Tv
- Washing machine
- Bath linen
- Bed linen
2 reviews