
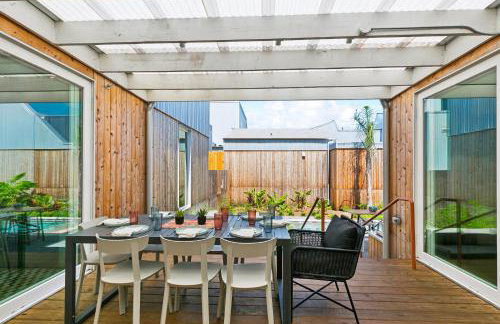
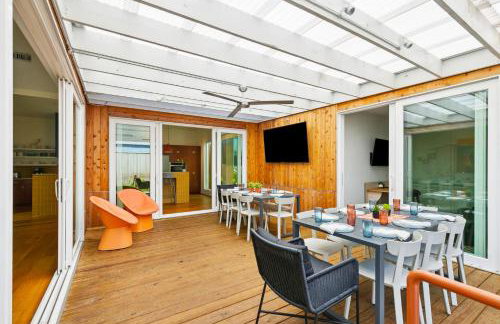
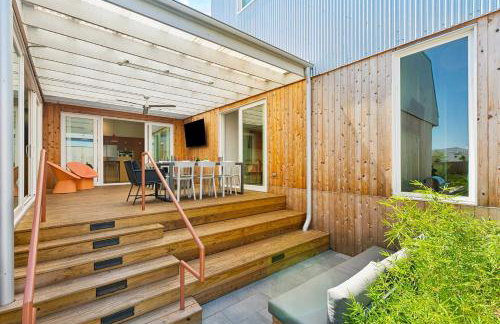
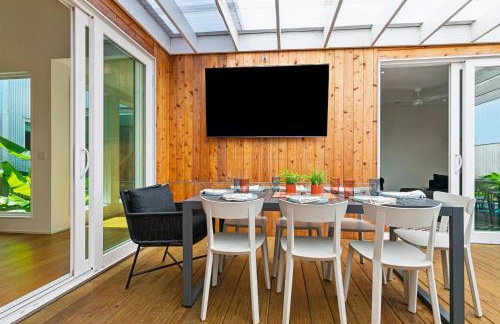
12 Apartments in Bywater
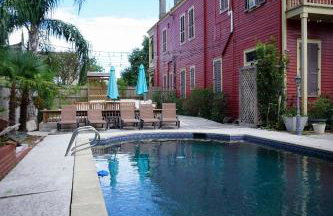

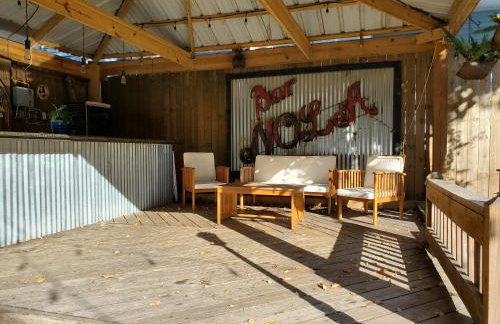
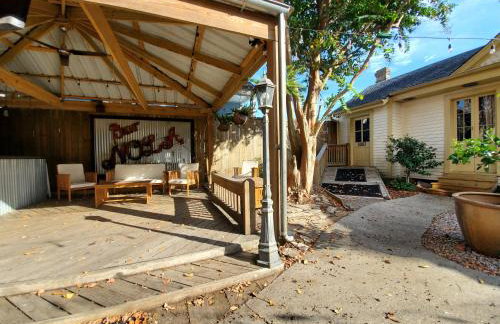

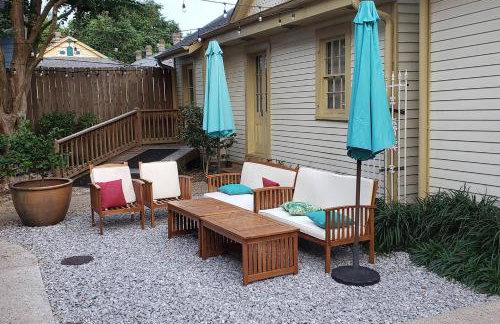
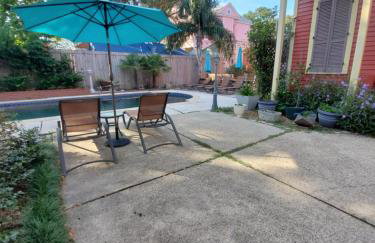
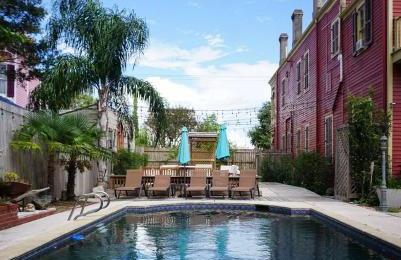


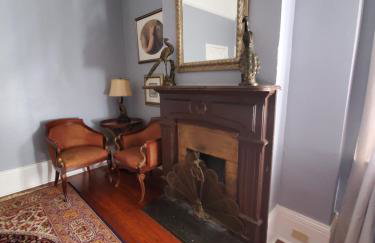


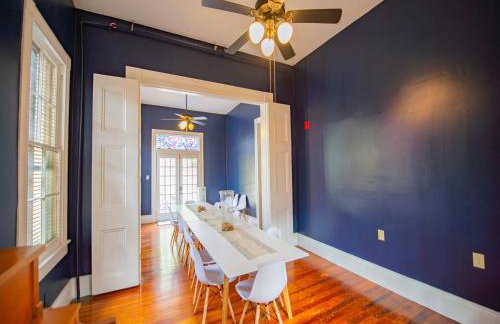
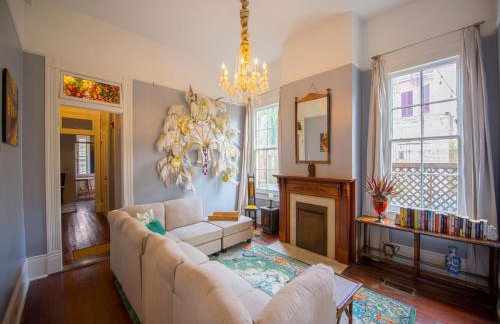
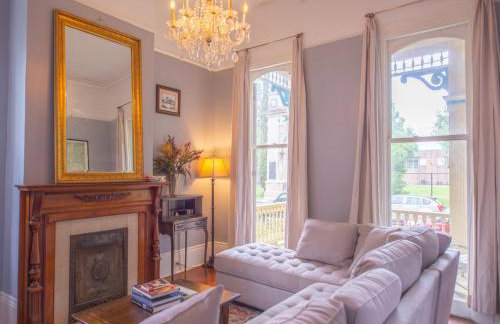
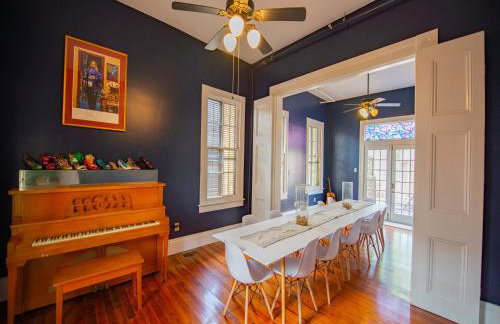


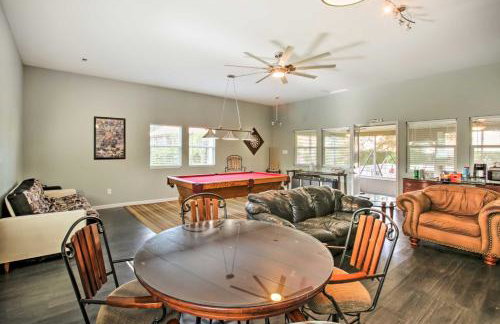
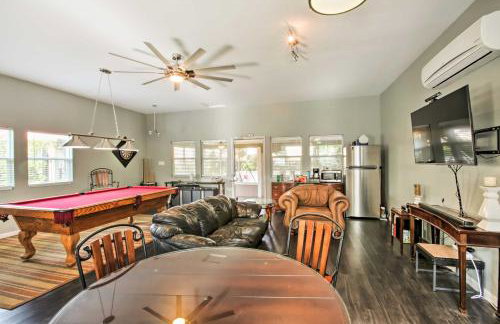
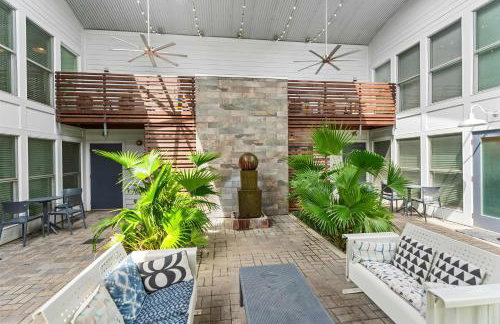
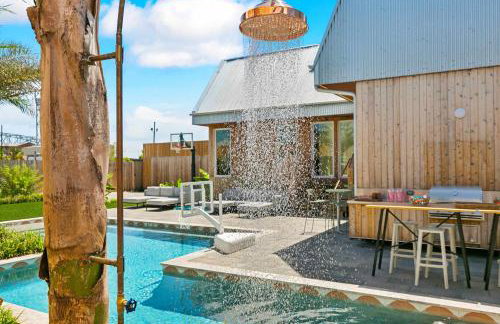
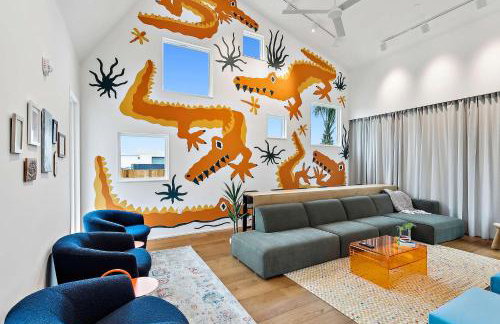
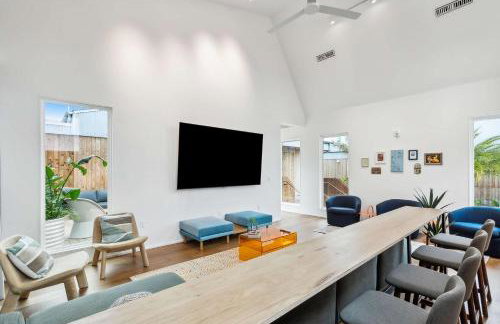
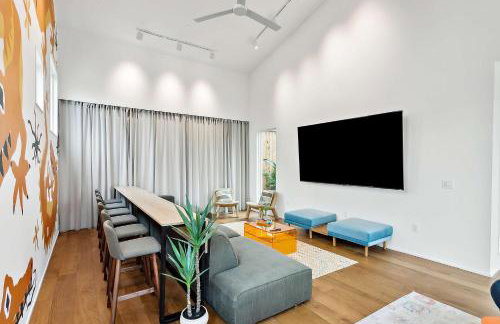
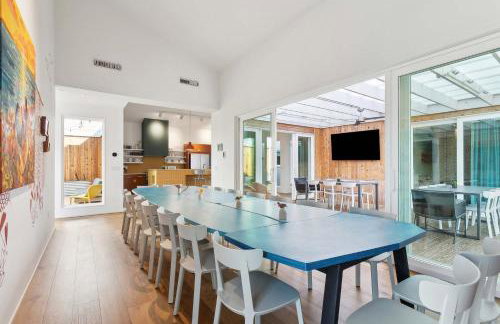
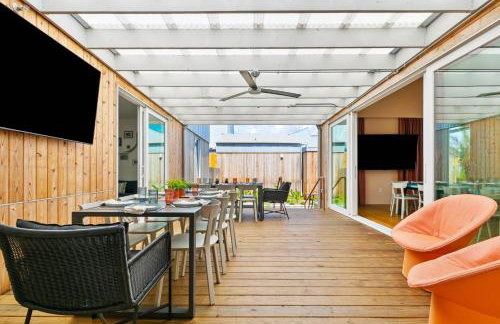
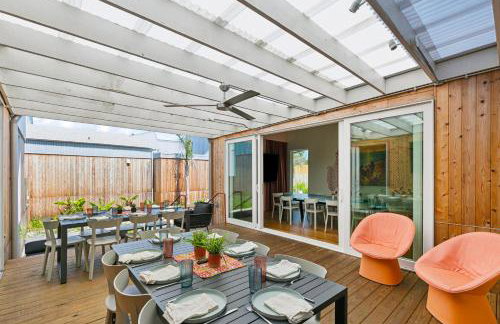
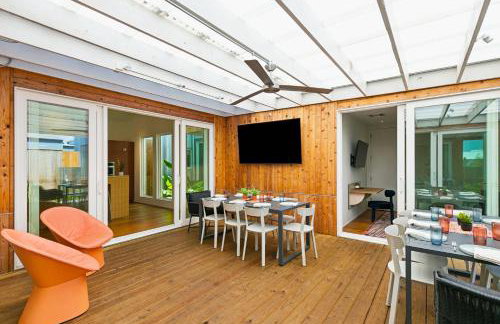
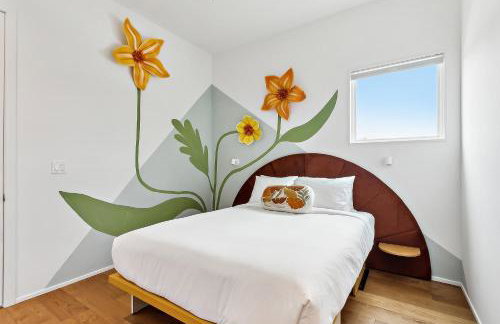
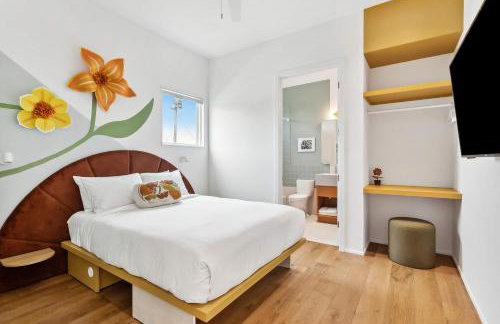
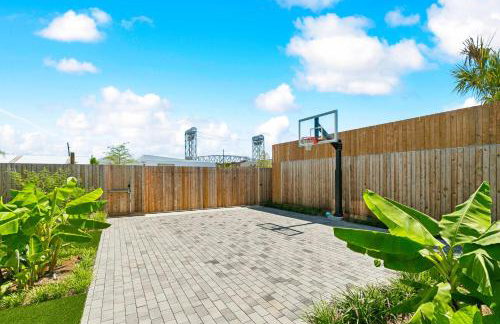
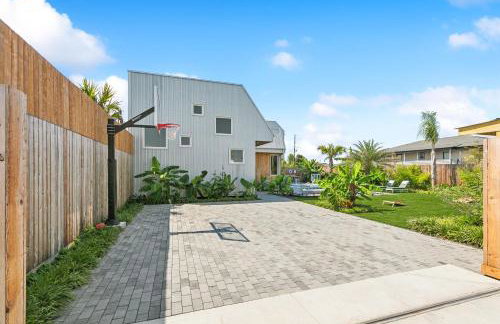
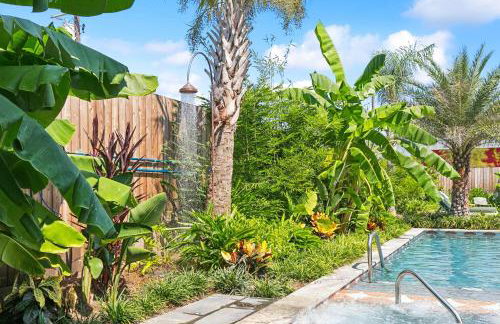
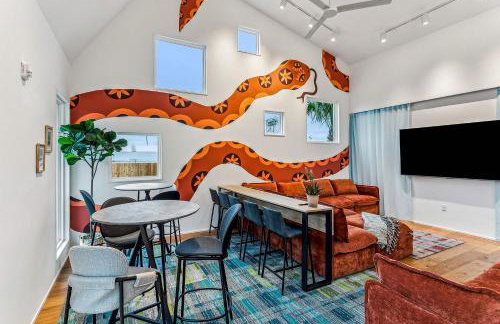
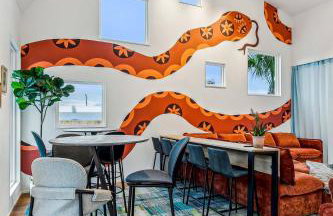
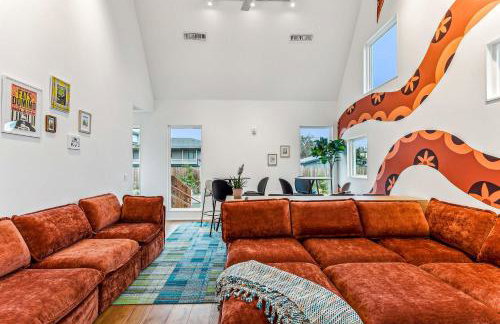
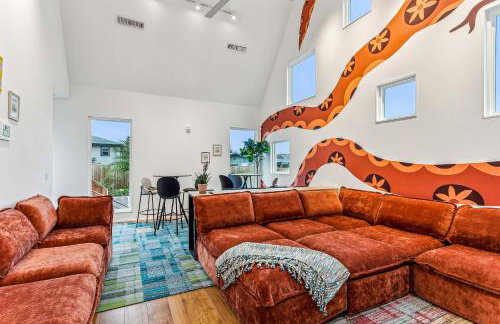
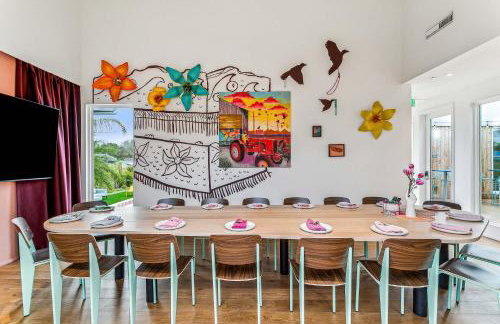
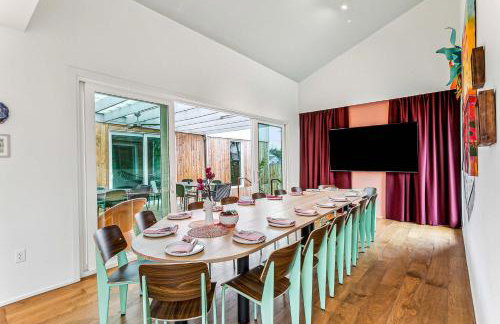
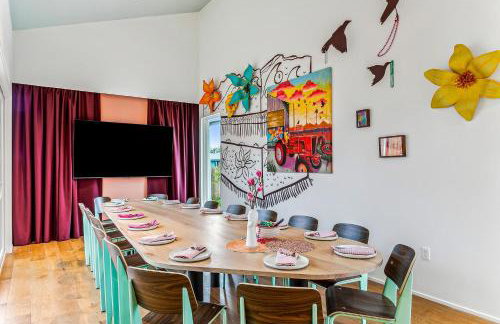
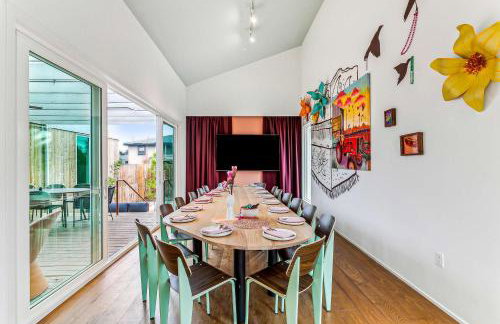
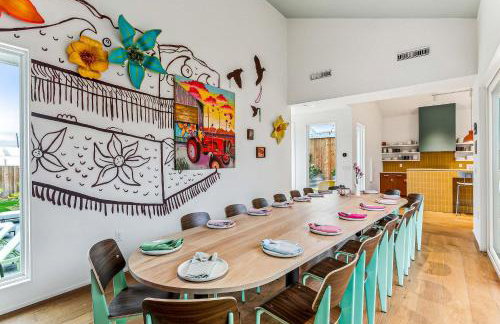
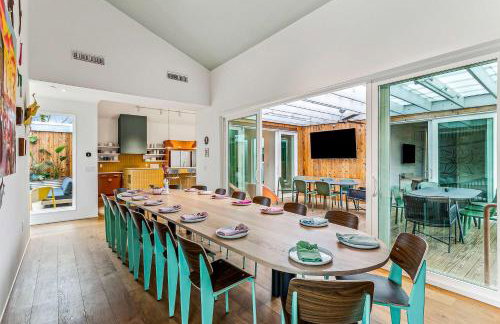
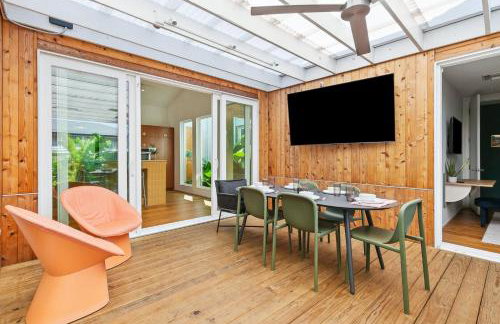
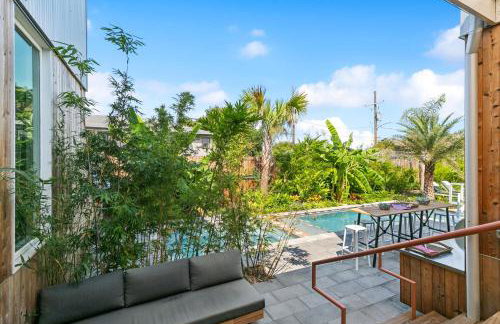
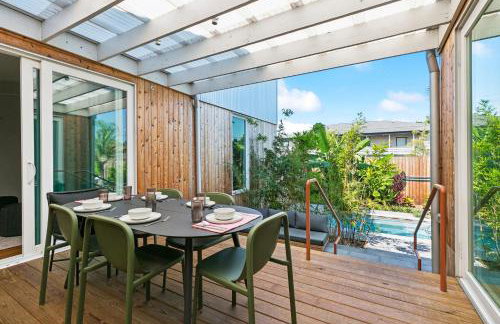
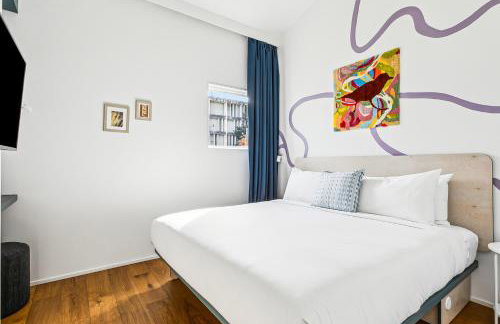
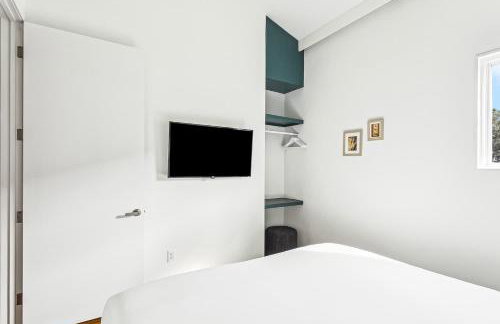
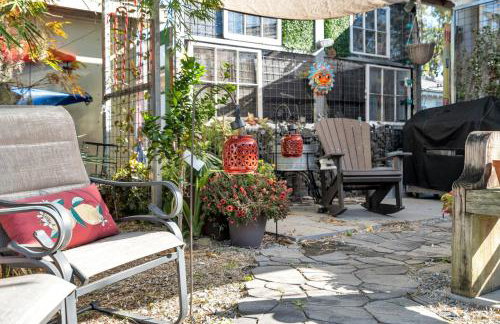
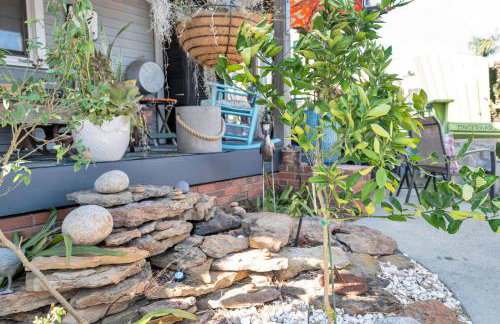
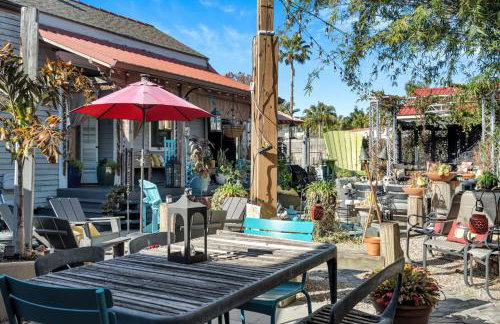
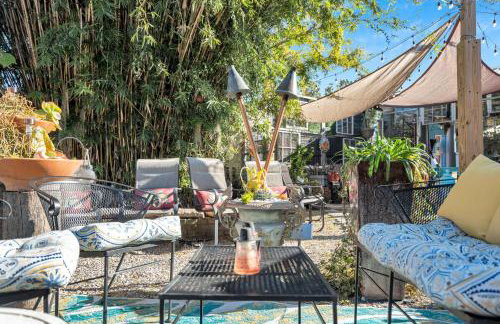
Macarty House, A Bohemian Resort with pool and cabana bar
NO LA - Bywater - 3.5 km from the center
- 399 M2
- 8 bedrooms
- 24 people
- Air conditioning
- Heating
- Swimming pool
- Parking
- Garden
- Barbecue
2 reviews


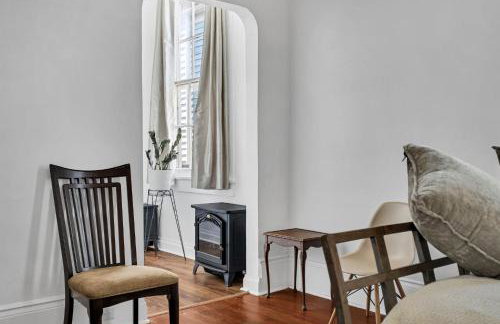


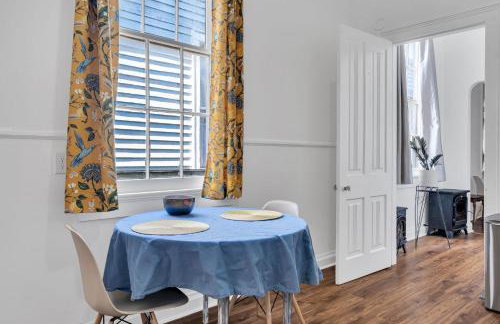
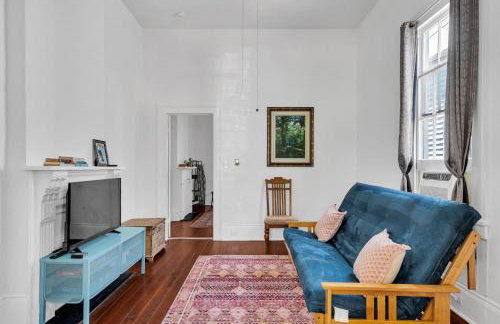
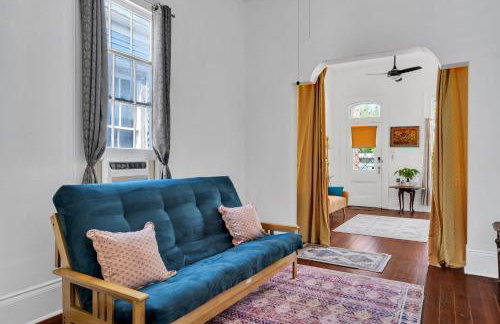
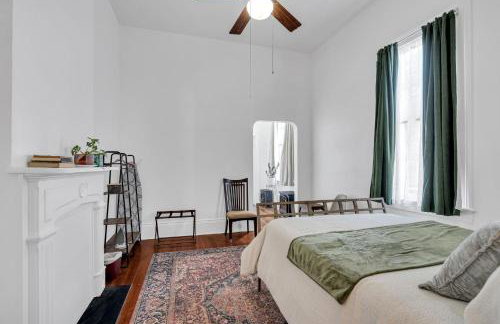

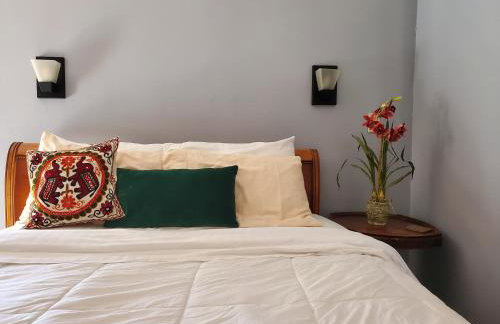
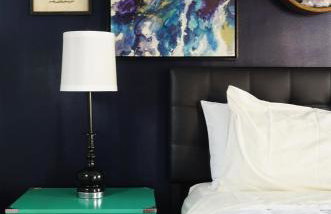
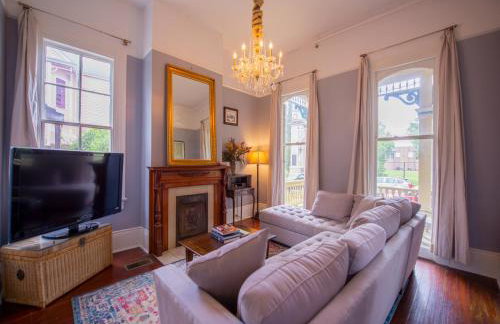
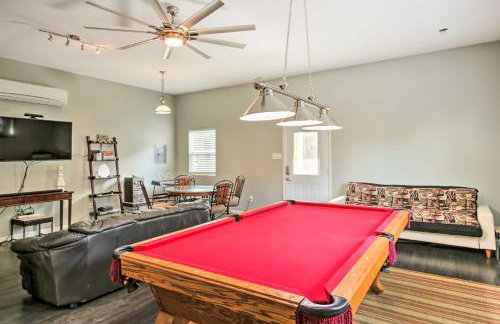
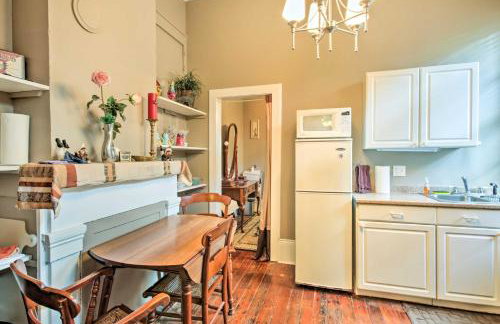
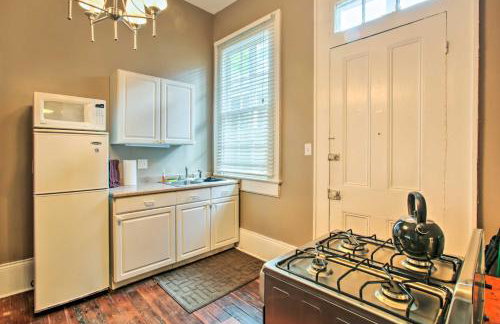
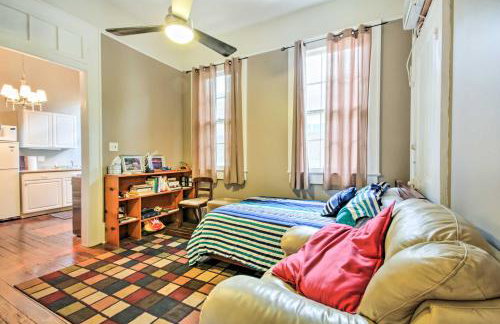
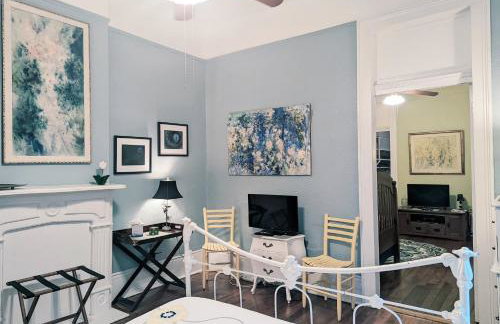
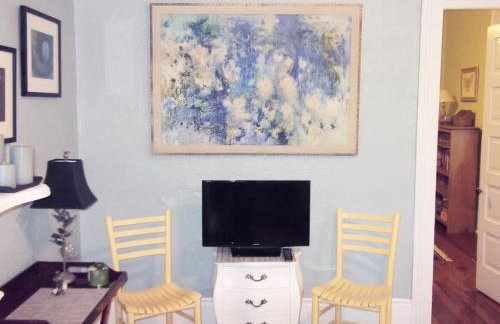
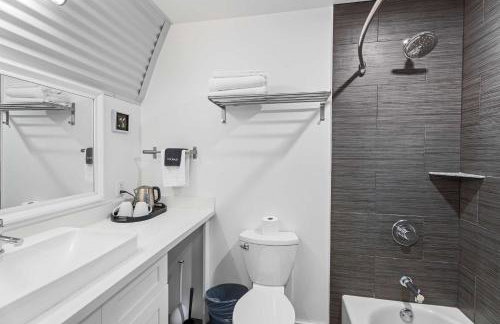
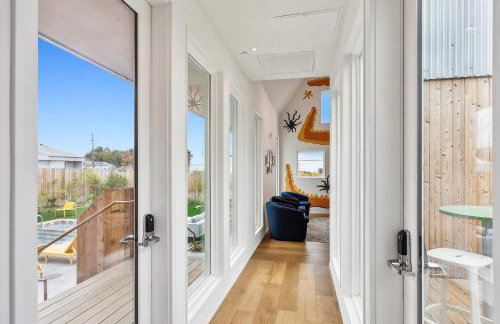
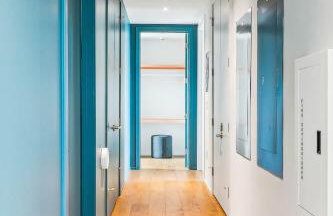
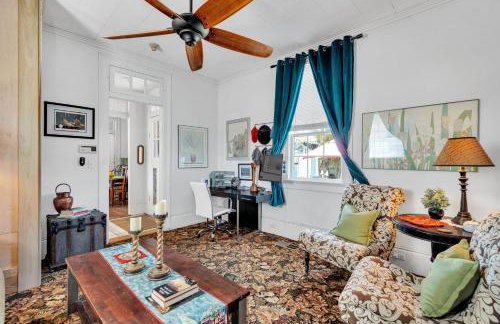
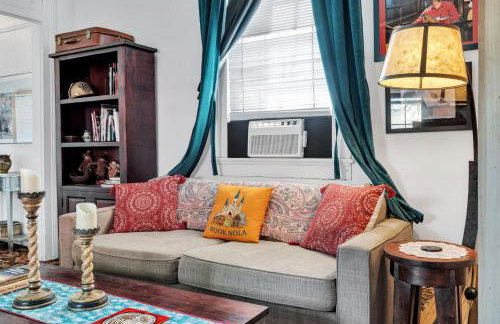
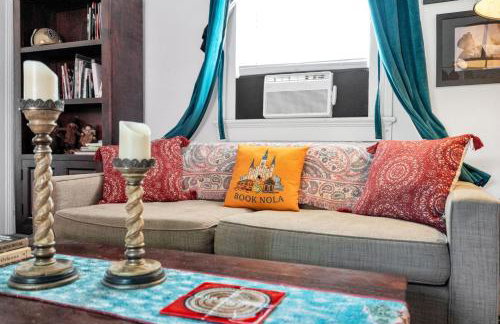
Entire Apartment Bywater New Orleans Great Location
NO LA - Bywater - 3 km from the center
- 102 M2
- 2 bedrooms
- 4 people
- Air conditioning
10 reviews


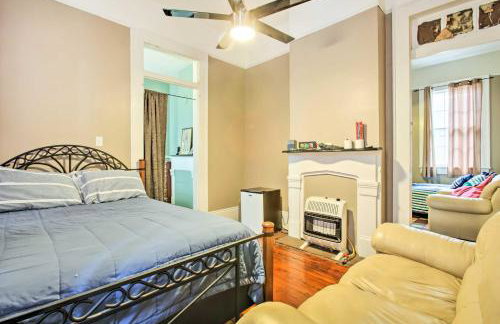


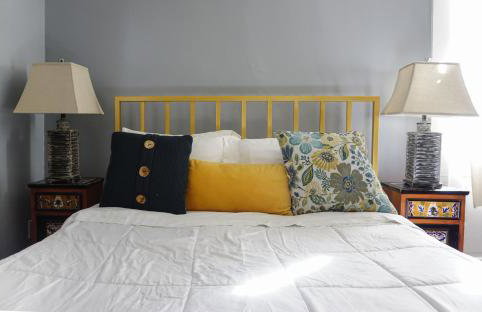
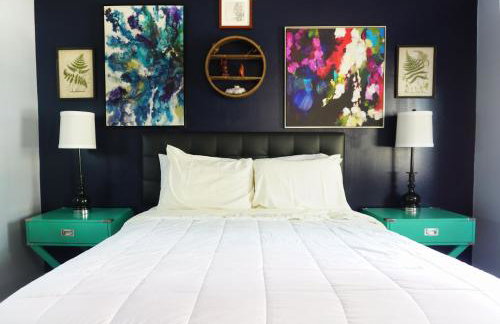
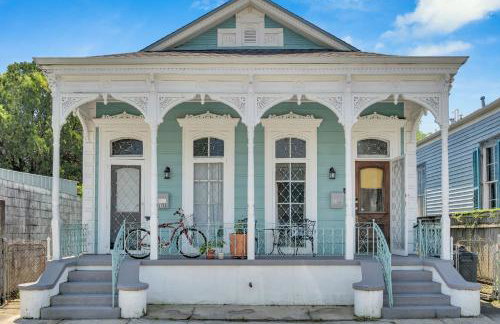
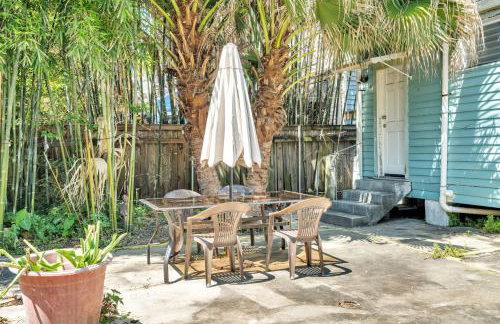
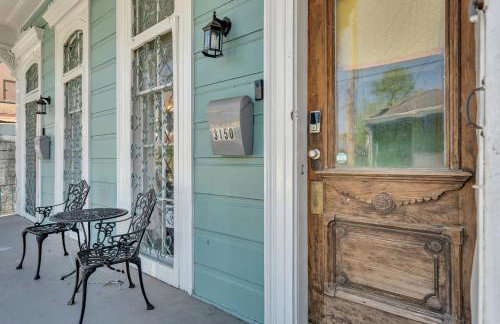
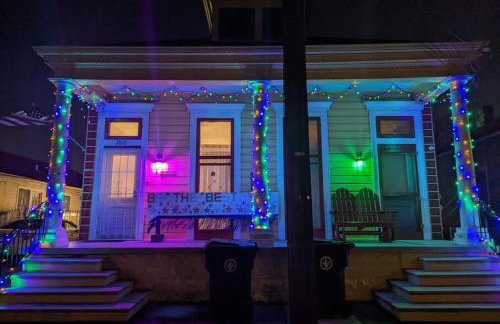
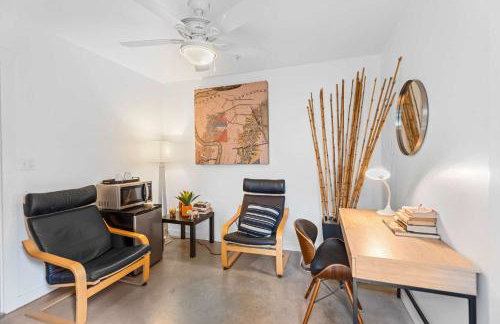
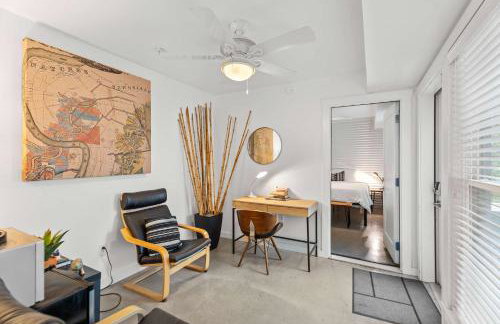
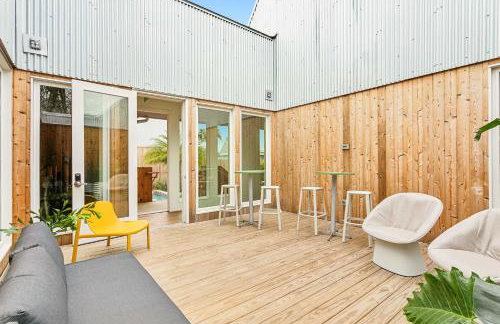
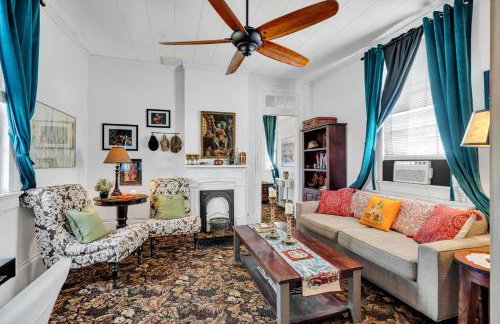
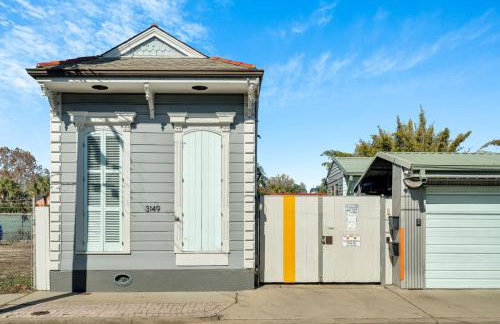
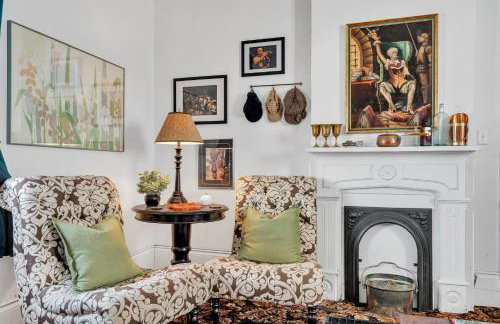
1 Mi to French Quarter: Walkable NOLA Home!
NO LA - Bywater - 2.9 km from the center
- 167 M2
- 3 bedrooms
- 6 people
- Terrace
- Parking
6 reviews


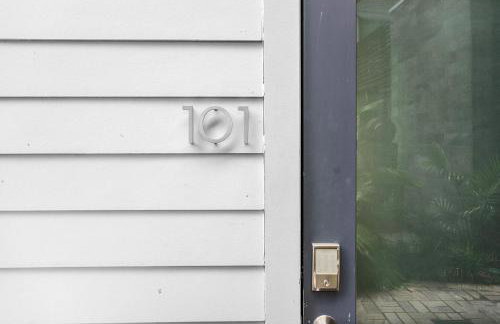
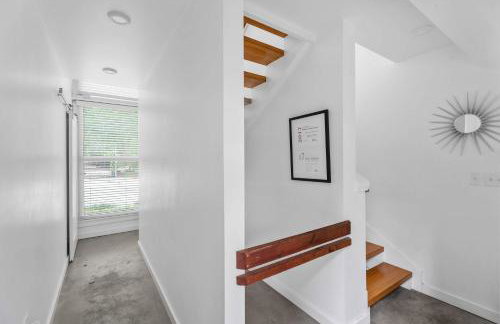
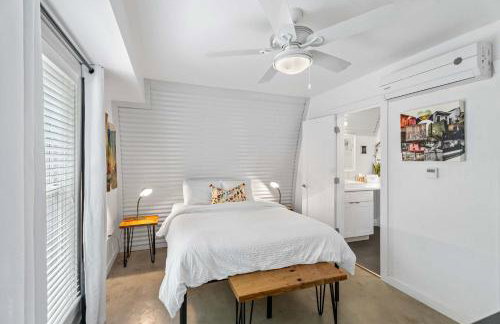
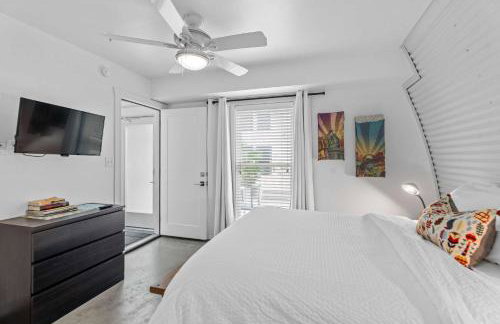


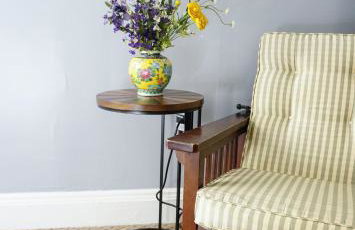
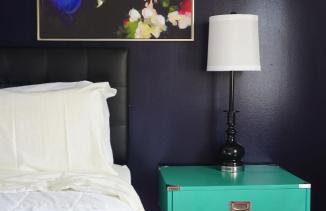
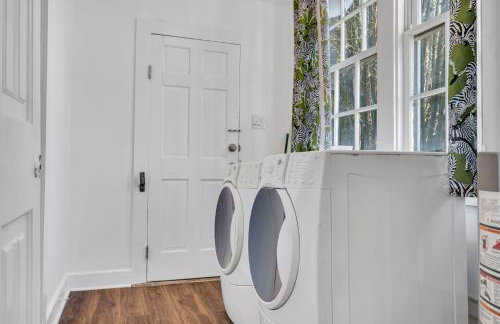
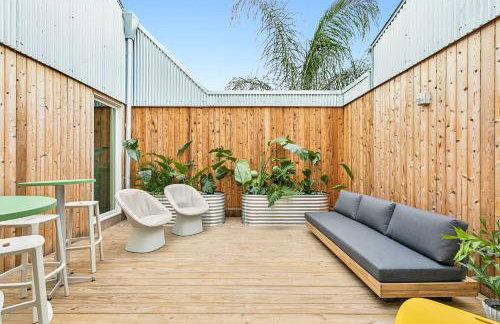
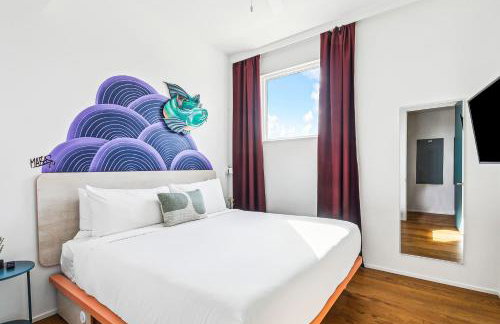
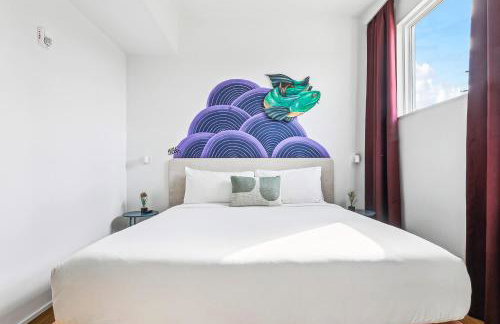
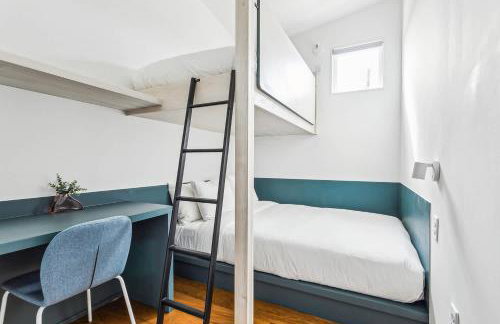
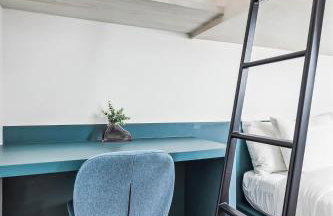
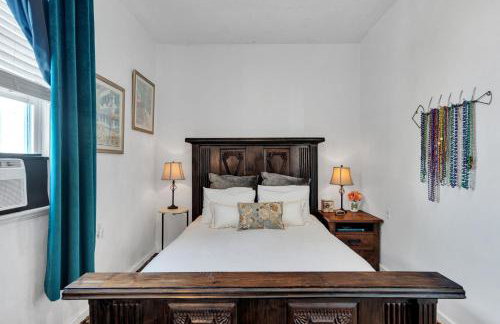
Moon 101 - Full Moon Suite - 2BR 2 5 Bath + Living
NO LA - Bywater - 3.1 km from the center
- 111 M2
- 4 people
- Air conditioning
- Heating
- Parking
2 reviews
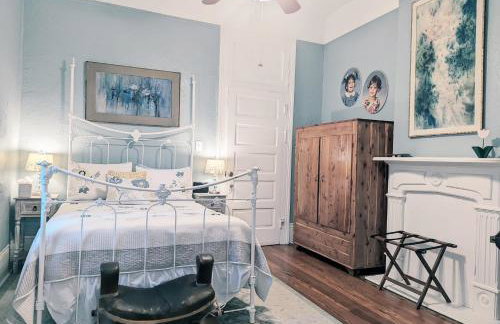


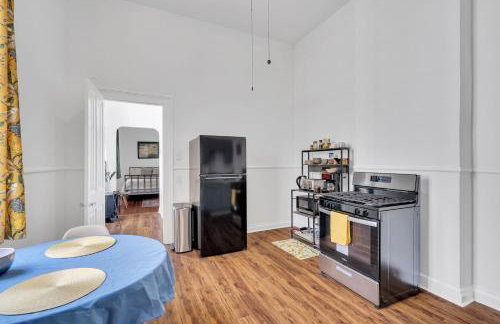
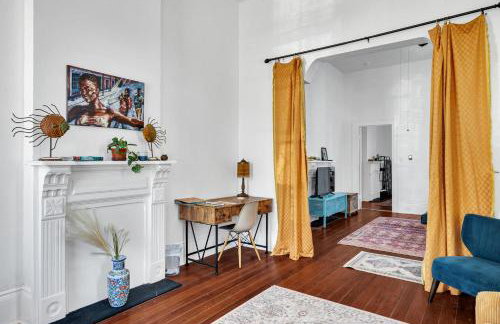
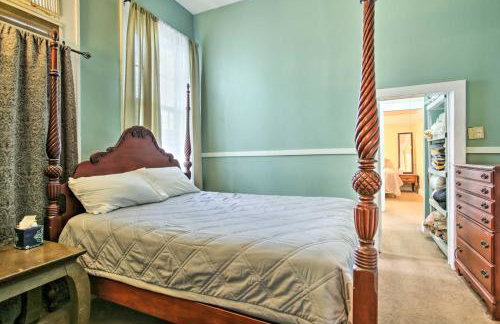
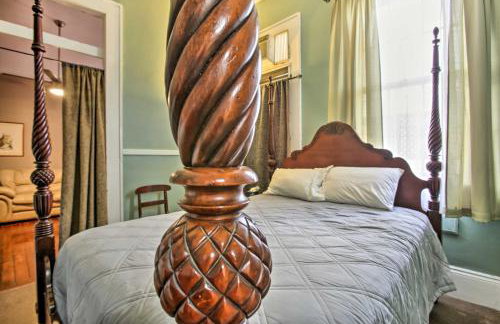
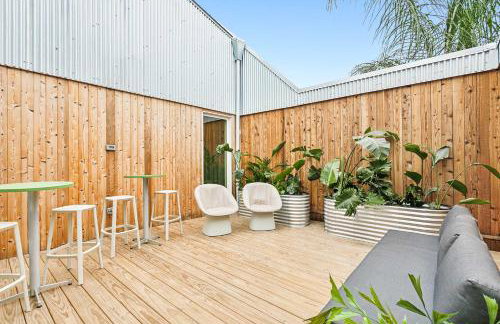
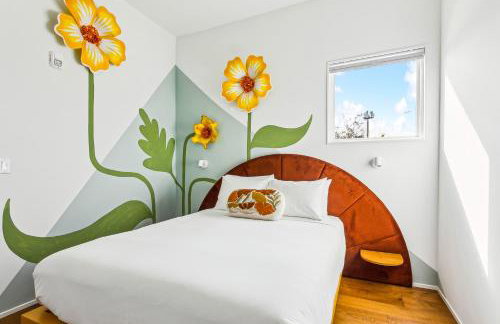
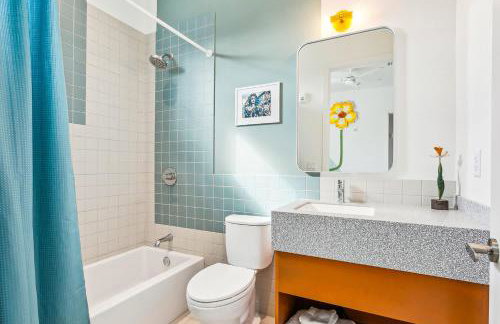
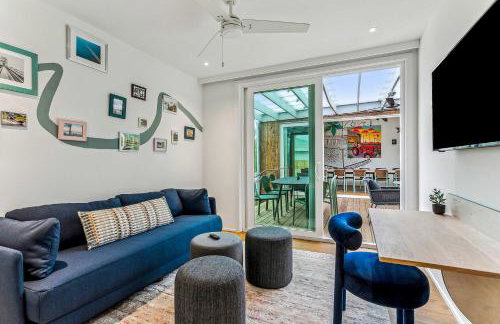
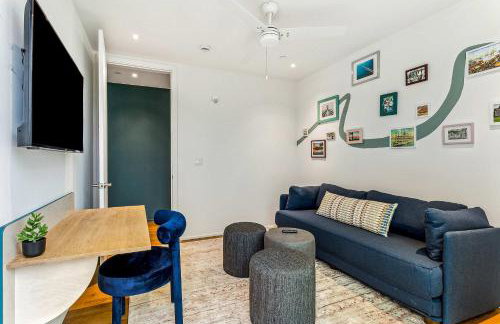
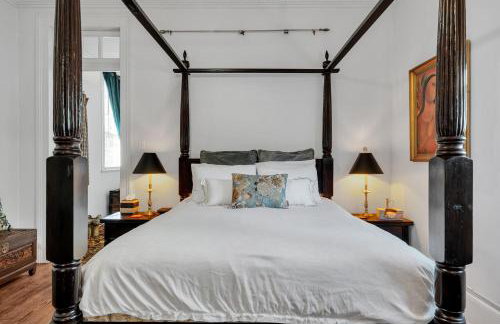
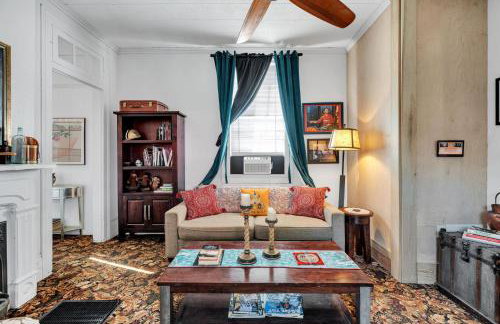
Royal Sunshine
NO LA - Bywater - 3.4 km from the center
- 93 M2
- 2 bedrooms
- 4 people
- Air conditioning
- Heating
- Terrace
- Parking
- Garden
12 reviews


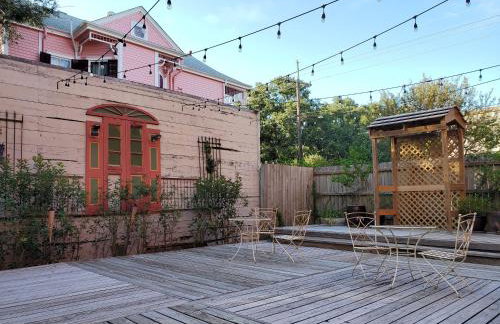
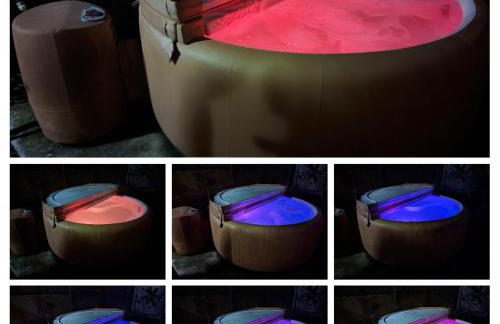
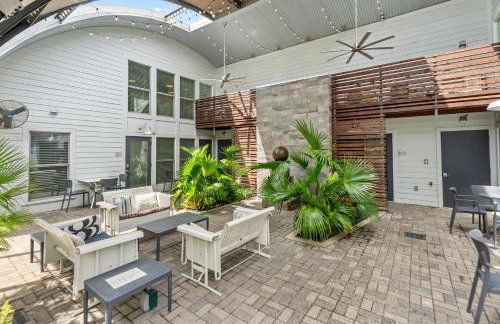
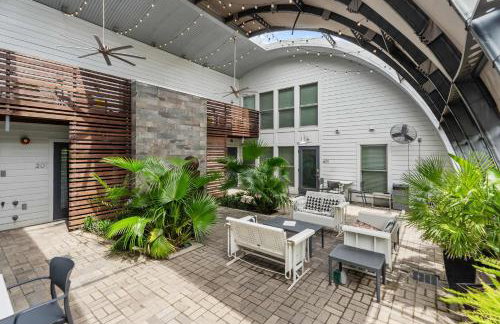
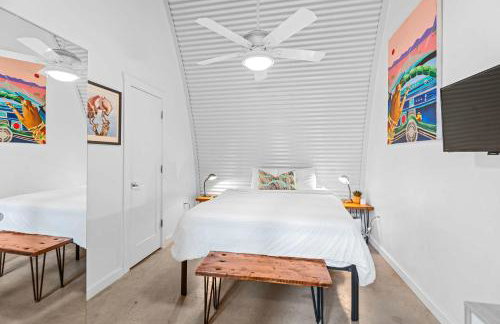
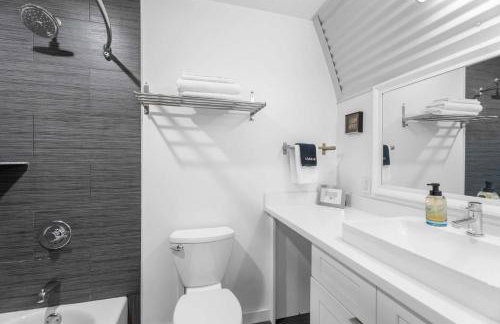
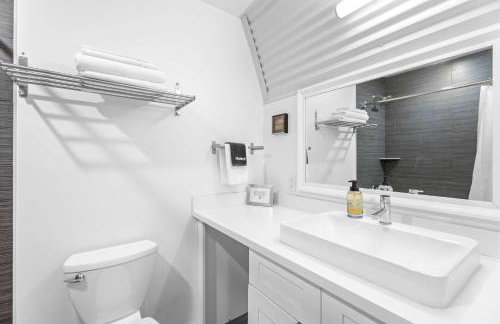
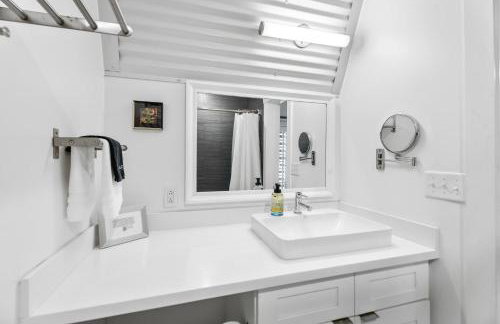
The Moon Quonset Hut Vacation Rental Heated & Chilled Pool
NO LA - Bywater - 3.1 km from the center
- 251 M2
- 6 bedrooms
- 12 people
- Air conditioning
- Heating
- Swimming pool
- Parking
- Garden
5 reviews


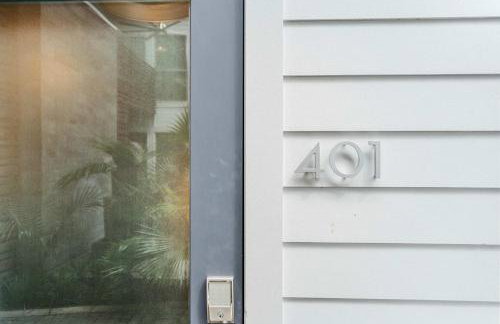

Moon 401 - Half Moon Suite - 2BR - 2 Bath
NO LA - Bywater - 3.1 km from the center
- 46 M2
- 2 bedrooms
- 4 people
- Air conditioning
- Heating
- Parking
- Garden
3 reviews


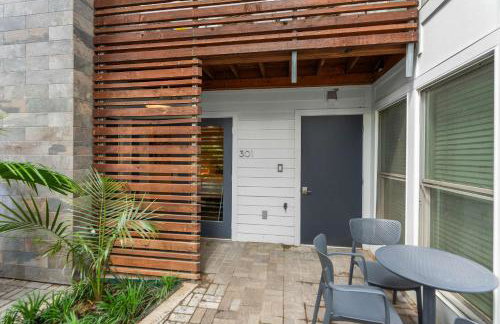
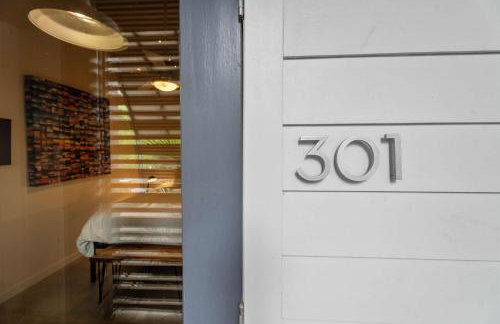


Moon 301 - Crescent Moonrise Suite - 1 BR - 1 Bath
NO LA - Bywater - 3.1 km from the center
- 23 M2
- 2 people
- Air conditioning
- Heating
- Parking
8 reviews


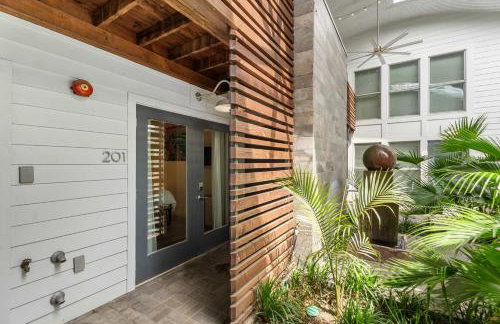


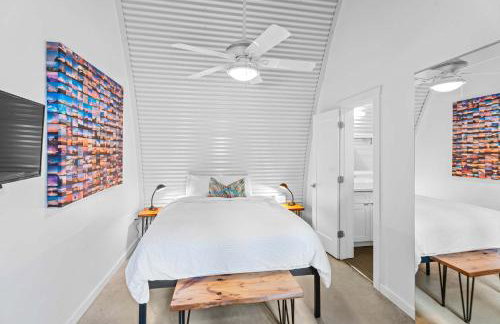
Moon 201 - Crescent Moonset Suite - 1BR - 1 Bath
NO LA - Bywater - 3.1 km from the center
- 23 M2
- 2 people
- Air conditioning
- Heating
- Parking
5 reviews


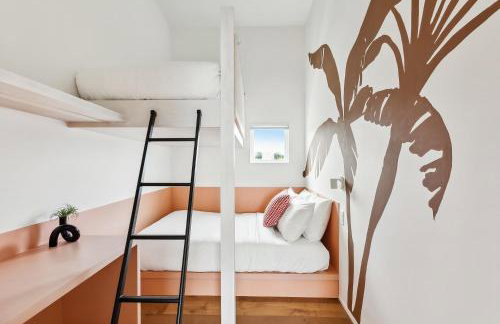

The Cocodrie Private 12BR Villa
NO LA - Bywater - 4.5 km from the center
- 325 M2
- 12 bedrooms
- 30 people
- Air conditioning
- Heating
- Swimming pool
- Parking
- Garden
1 review


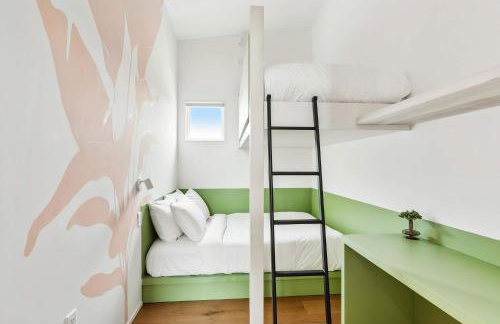
The Herald 12BR Private Villa
NO LA - Bywater - 4.5 km from the center
- 325 M2
- 12 bedrooms
- 30 people
- Air conditioning
- Heating
- Swimming pool
- Parking
- Garden
- Barbecue

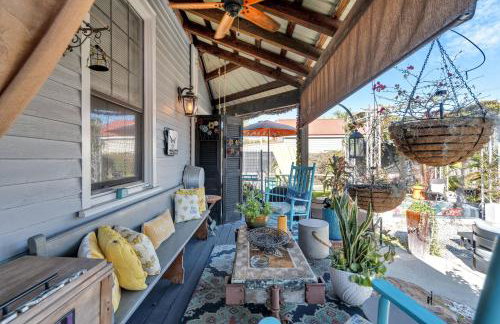


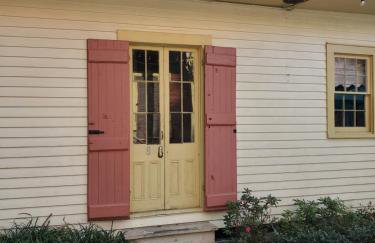
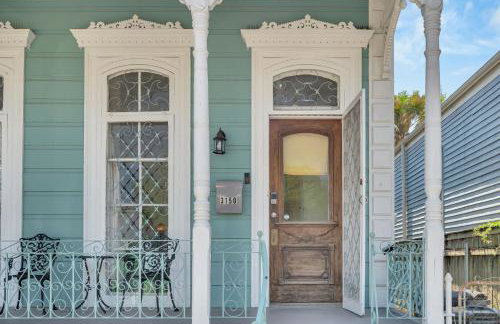
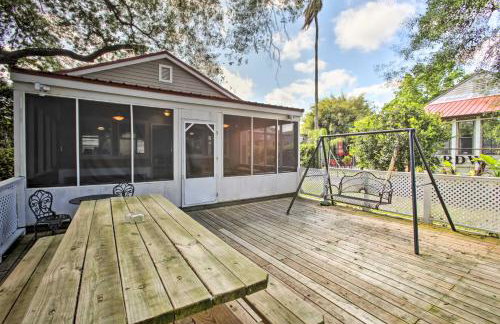
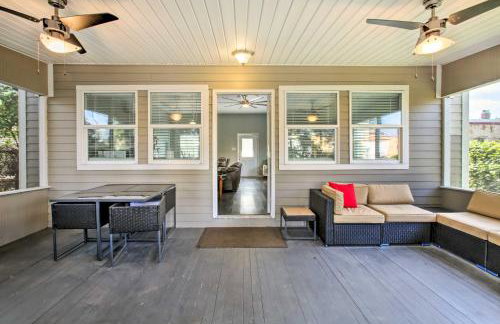
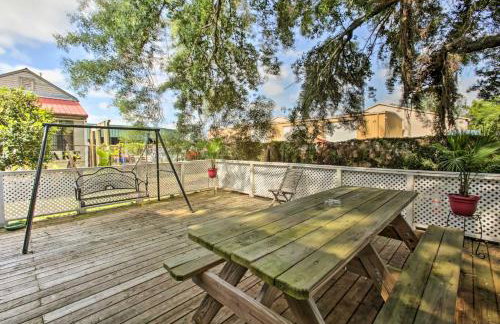
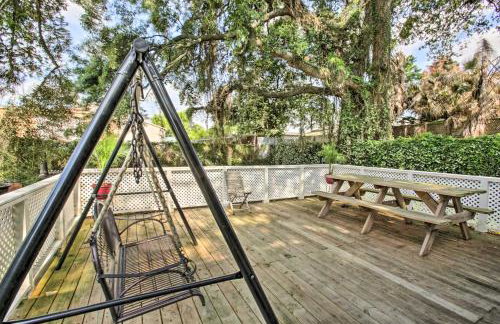
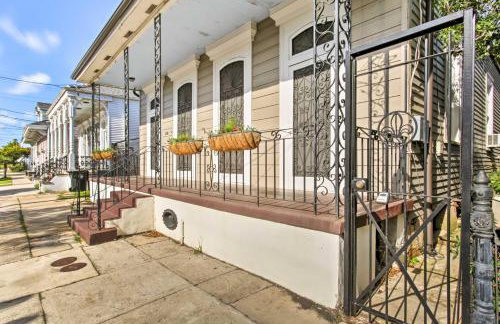
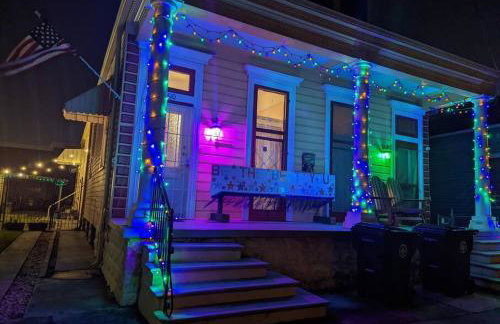
Bright cottage w gardens & bayou-style porch
NO LA - Bywater - 2.8 km from the center
- 102 M2
- 2 bedrooms
- 4 people
- Air conditioning
- Heating
- Parking
- Barbecue