


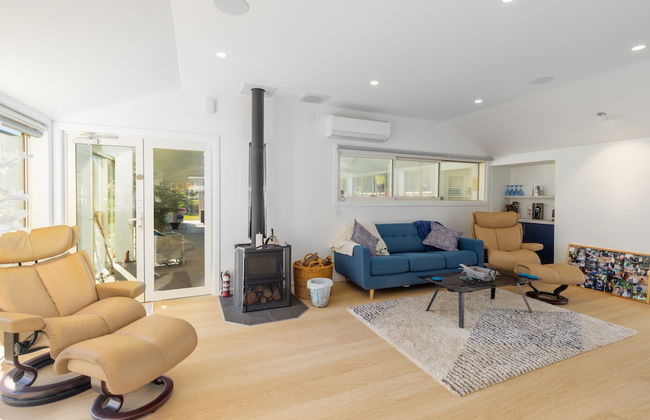


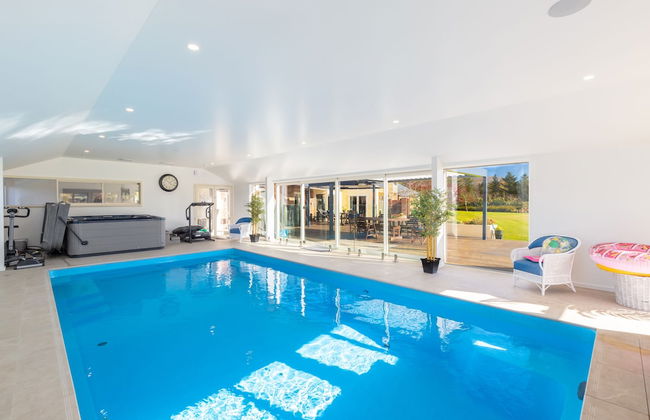


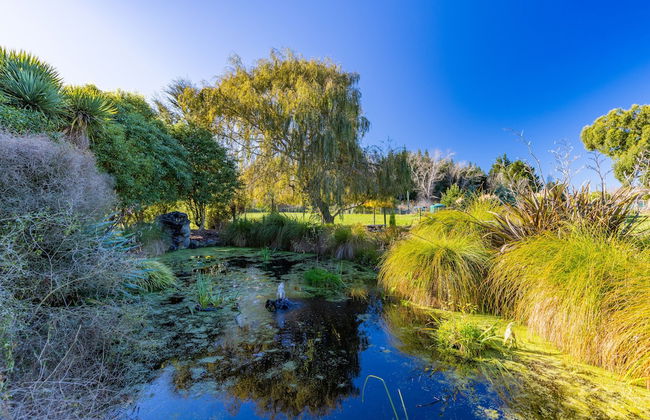


The Meadows Villa
Christchurch - Ouruhia - 10.2 km dal centro
- 180 M2
- 4 persone
- Cucinino
- Aria condizionata
- Riscaldamento
- Terrazza
- Piscina
- Parcheggio
- Giardino
- Tv
- Lavatrice
- Barbecue
- Lino da bagno
- Lino da letto


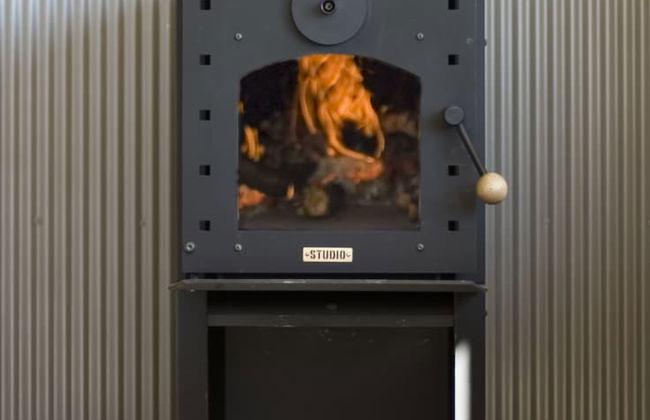
Antares Homestay
Blenheim - Rapaura - 9.7 km dal centro
- 10 M2
- 5 persone
- Aria condizionata
- Riscaldamento
- Terrazza
- Piscina
- Parcheggio
- Balcone
- Giardino
- Tv
- Focolare
- Barbecue
- Lino da bagno
- Lino da letto


Glenburn Coastal Retreat
Kaikoura - Hapuku - 6.9 km dal centro
- 80 M2
- 2 persone
- Aria condizionata
- Riscaldamento
- Terrazza
- Parcheggio
- Ascensore
- Giardino
- Tv
- Lavatrice
- Focolare
- Barbecue
- Lino da bagno
- Lino da letto


Remarkable Location – Queenstown
Queenstown - Queenstown - Al centro
- 243 M2
- 7 persone
- Aria condizionata
- Riscaldamento
- Terrazza
- Parcheggio
- Ascensore
- Balcone
- Tv
- Lavatrice
- Focolare
- Lino da bagno
- Lino da letto


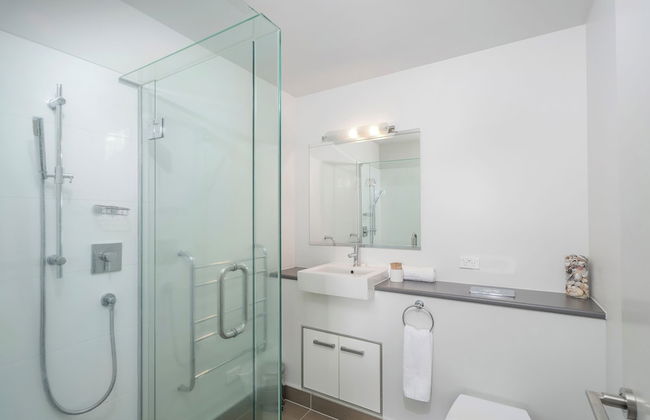
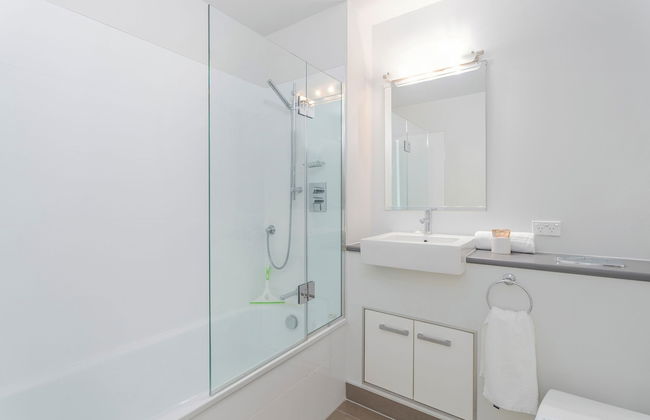
The Reef Beachfront Apartments
Mount Maunganui - 1.6 km dal centro
- 140 M2
- 7 persone
- Aria condizionata
- Riscaldamento
- Terrazza
- Piscina
- Parcheggio
- Ascensore
- Balcone
- Giardino
- Tv
- Lavatrice
- Lino da bagno
- Lino da letto


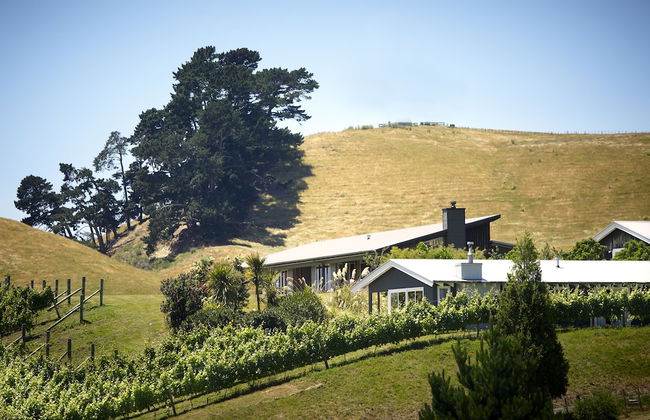
Manata Lodge
Queenstown - Lower Shotover - 8 km dal centro
- 23 persone
- Aria condizionata
- Riscaldamento
- Terrazza
- Piscina
- Parcheggio
- Giardino
- Tv
- Lavatrice
- Focolare
- Barbecue
- Lino da bagno
- Lino da letto


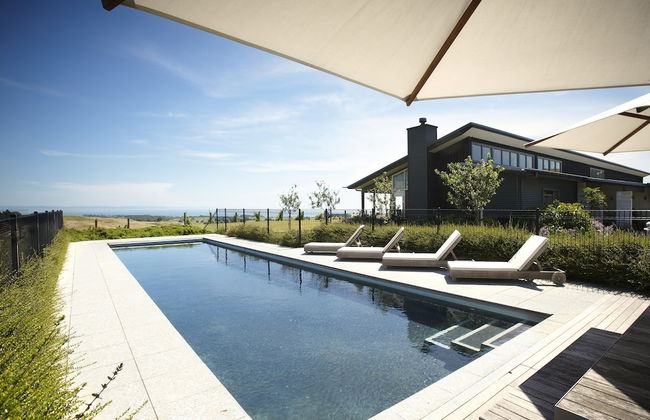
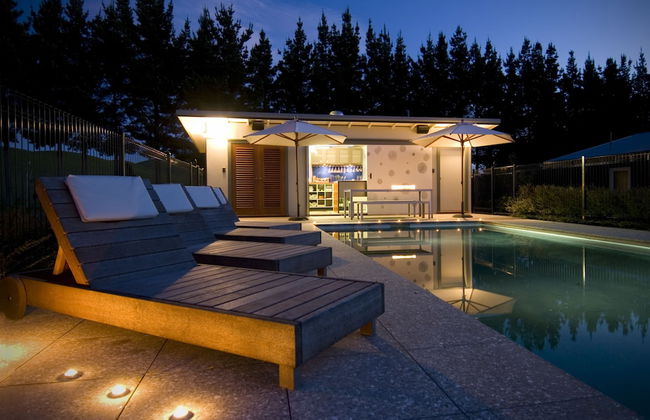
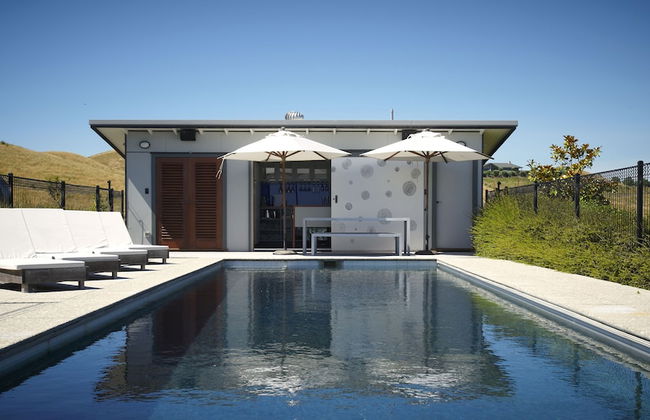

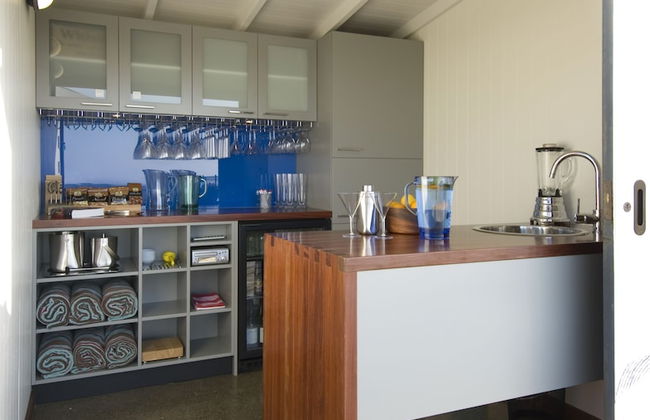


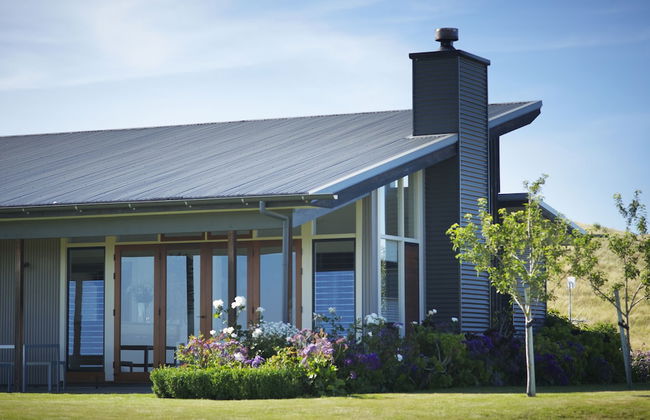


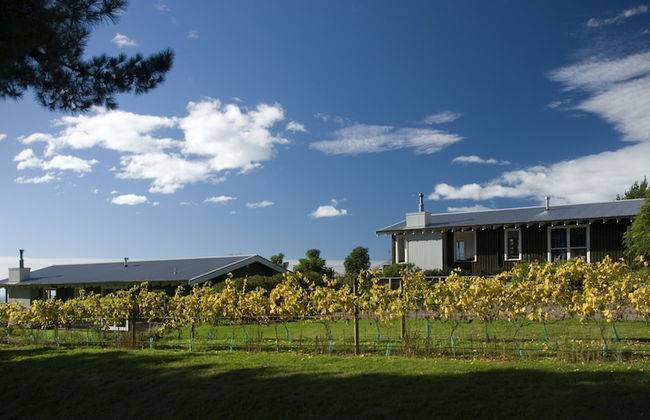

Millar Road
Haumoana - 4 km dal centro
- 93 M2
- 5 persone
- Aria condizionata
- Riscaldamento
- Terrazza
- Piscina
- Parcheggio
- Balcone
- Giardino
- Tv
- Lavatrice
- Focolare
- Barbecue
- Lino da bagno
- Lino da letto
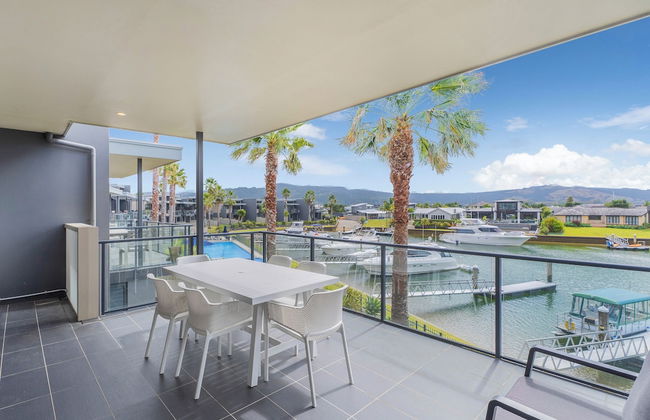


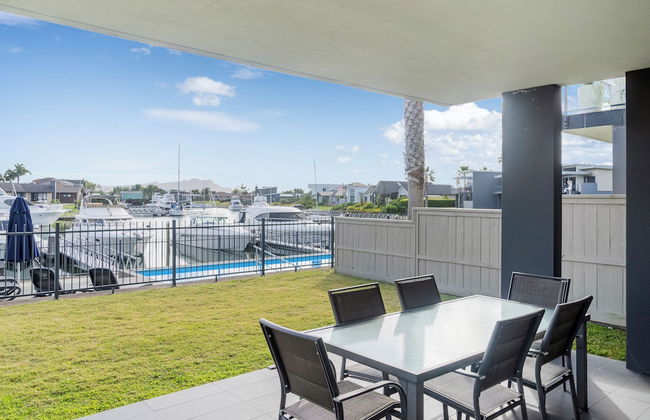
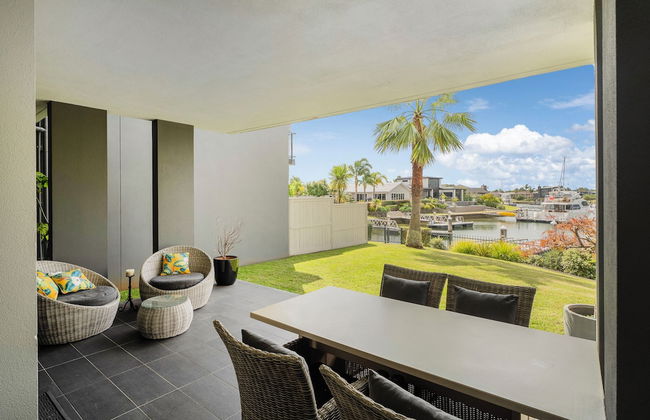
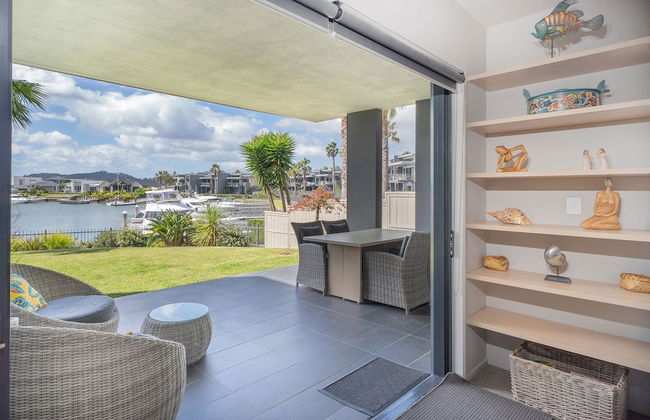

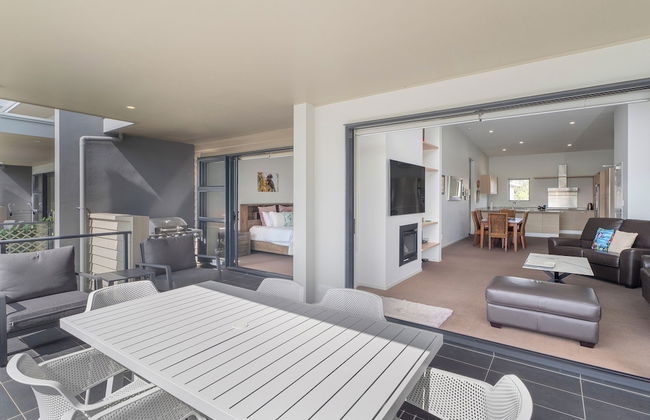

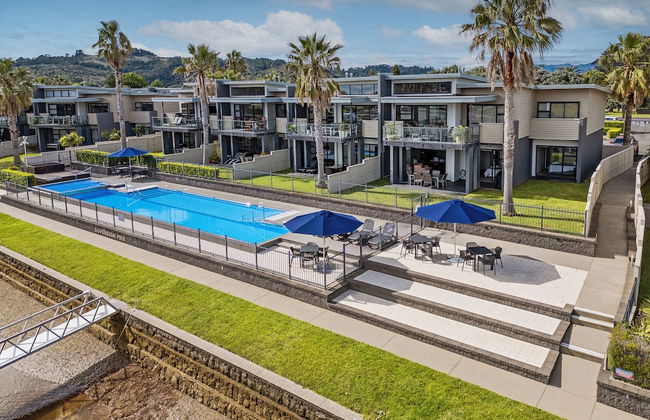
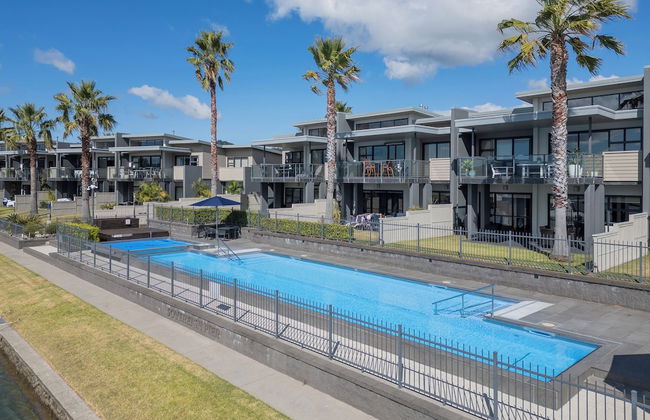
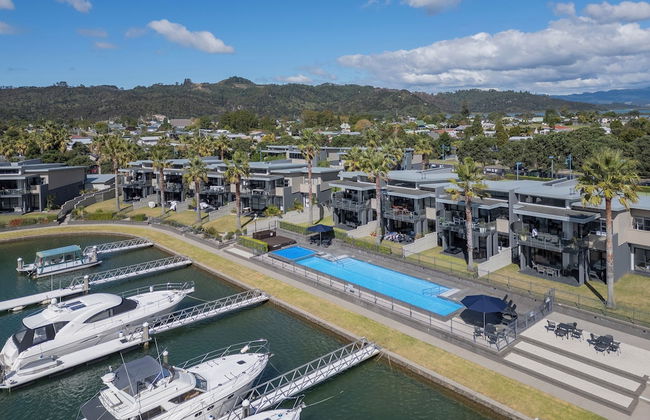
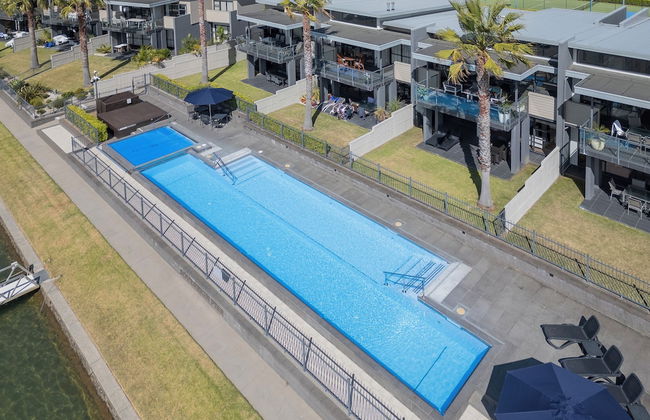
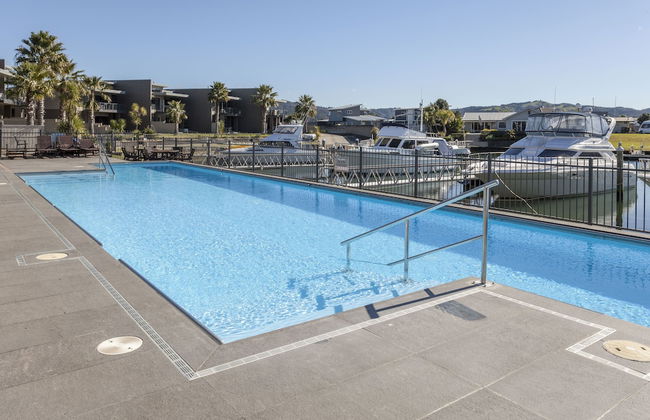
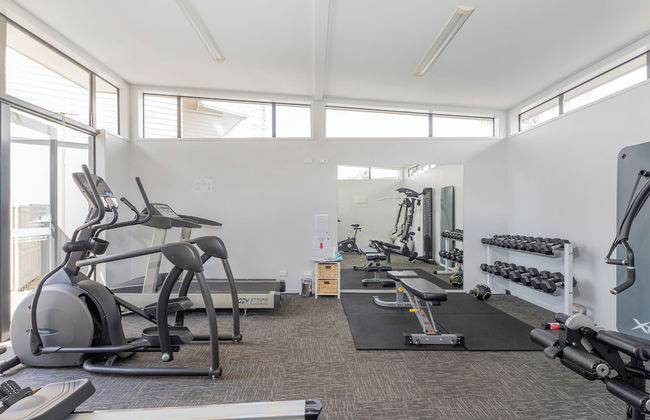
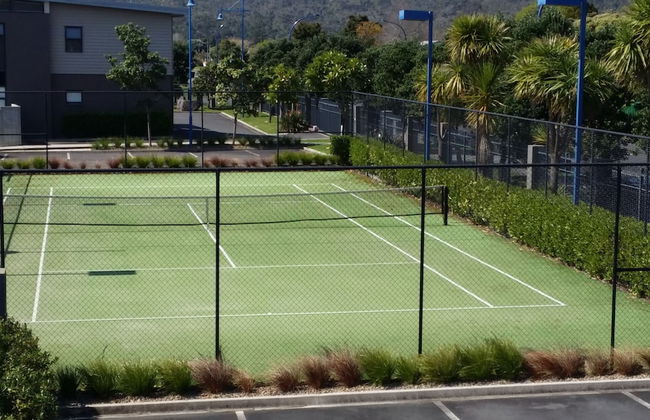
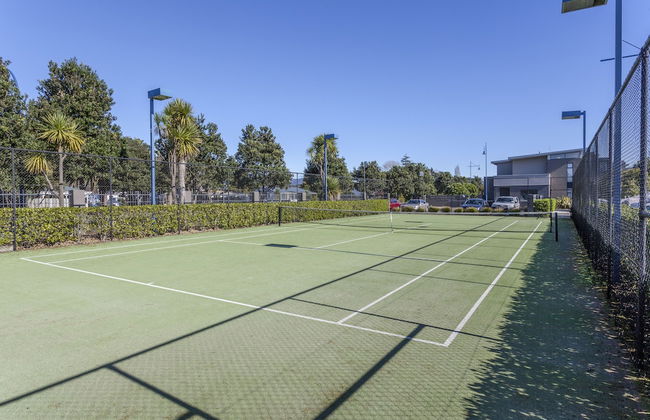

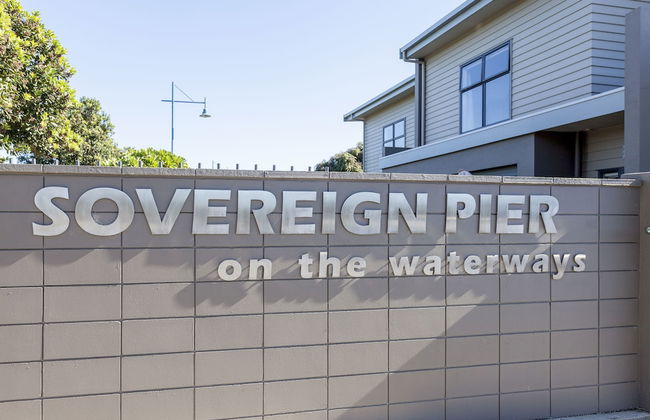
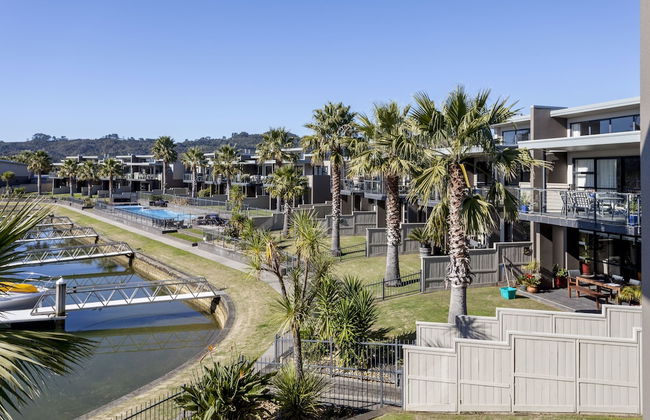
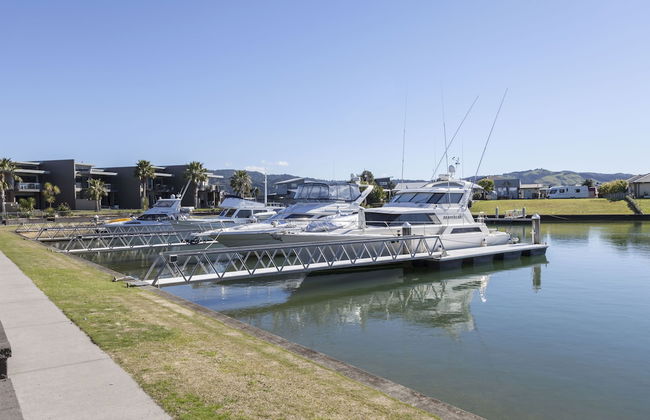
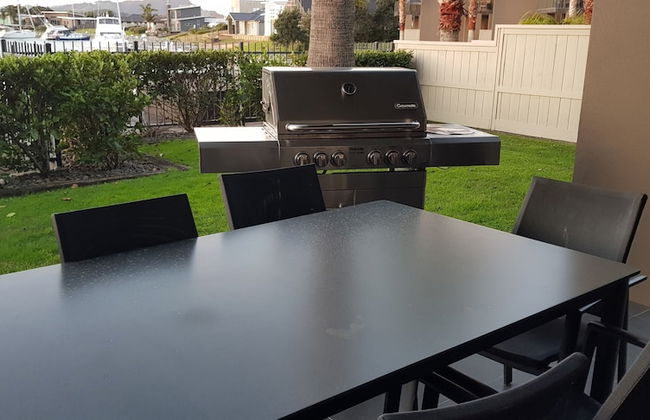
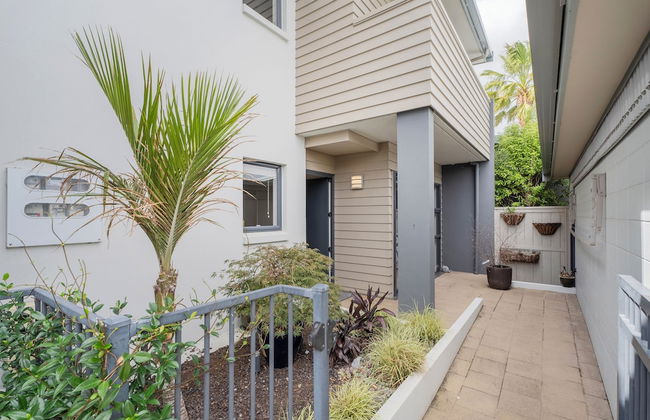

Sovereign Pier on the Waterways
Whitianga - Whitianga - 710 m dal centro
- 131 M2
- 6 persone
- Aria condizionata
- Riscaldamento
- Terrazza
- Piscina
- Parcheggio
- Balcone
- Giardino
- Tv
- Lavatrice
- Barbecue
- Lino da bagno
- Lino da letto


Clear Ridge Apartments
Hanmer Springs - Hanmer Springs - Al centro
- 90 M2
- 6 persone
- Aria condizionata
- Riscaldamento
- Terrazza
- Piscina
- Parcheggio
- Ascensore
- Balcone
- Giardino
- Tv
- Lavatrice
- Barbecue
- Lino da bagno
- Lino da letto


Adrift In Golden Bay
Collingwood - Parapara - 6.5 km dal centro
- 45 M2
- 2 persone
- Aria condizionata
- Riscaldamento
- Terrazza
- Parcheggio
- Giardino
- Tv
- Barbecue
- Lino da bagno
- Lino da letto


Ben Ohau Vista
Twizel - Twizel - 1000 m dal centro
- 220 M2
- 6 persone
- Aria condizionata
- Riscaldamento
- Terrazza
- Parcheggio
- Giardino
- Tv
- Lavatrice
- Focolare
- Barbecue
- Lino da bagno
- Lino da letto


Paihia Beach 3 Bedroom Apartment
Paihia - Paihia - Al centro
- 75 M2
- 6 persone
- Aria condizionata
- Riscaldamento
- Parcheggio
- Ascensore
- Balcone
- Lino da bagno


Paihia Apartments
Paihia - Paihia - Al centro
- 65 M2
- 4 persone
- Aria condizionata
- Riscaldamento
- Terrazza
- Parcheggio
- Balcone
- Giardino
- Tv
- Lavatrice
- Barbecue
- Lino da bagno
- Lino da letto


Private Country Cottage
Paraparaumu - Paraparaumu - 2.8 km dal centro
- 2 persone
- Aria condizionata
- Riscaldamento
- Terrazza
- Parcheggio
- Giardino
- Tv
- Barbecue
- Lino da bagno
- Lino da letto


Black Peak View
Wanaka - Lake Wanaka - 1.2 km dal centro
- 30 M2
- 2 persone
- Cucinino
- Aria condizionata
- Riscaldamento
- Terrazza
- Parcheggio
- Balcone
- Giardino
- Tv
- Lino da bagno
- Lino da letto


Lawn Cottages
Clive - 1.5 km dal centro
- 52 M2
- 4 persone
- Aria condizionata
- Riscaldamento
- Terrazza
- Parcheggio
- Giardino
- Tv
- Barbecue
- Lino da bagno
- Lino da letto


Guest House on Queens
Waiheke Island - 5.1 km dal centro
- 45 M2
- 2 persone
- Aria condizionata
- Riscaldamento
- Terrazza
- Parcheggio
- Giardino
- Tv
- Lino da bagno
- Lino da letto


Christchurch City & Country Cottages - Clarence Cottage
Christchurch - Addington - 2.2 km dal centro
- 25 M2
- 6 persone
- Aria condizionata
- Riscaldamento
- Terrazza
- Parcheggio
- Balcone
- Giardino
- Tv
- Lavatrice
- Lino da bagno
- Lino da letto


Mudbrick Cottages
Waiheke Island - Waiheke Island - 8 km dal centro
- 3 persone
- Cucinino
- Aria condizionata
- Riscaldamento
- Terrazza
- Parcheggio
- Giardino
- Tv
- Lavatrice
- Focolare
- Barbecue
- Lino da bagno
- Lino da letto


Marchmont Gardens
Hanmer Springs - Hanmer Springs - Al centro
- 44 M2
- 2 persone
- Cucinino
- Aria condizionata
- Riscaldamento
- Terrazza
- Parcheggio
- Giardino
- Tv
- Barbecue
- Lino da bagno
- Lino da letto
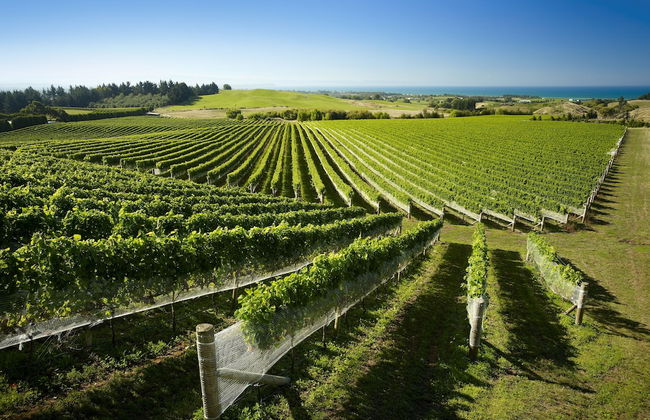
Nuova Zelanda è uno stato insulare a sud-ovest dell'Australia costituito da due grandi isole: la Isola Nord e la isola Sud, oltre a isole minori da visitare. La capitale è Wellington e, nonostante ci sono due lingue ufficiali, la lingua più parlata è l'inglese. Questo paese ti innamorerà se ti piace l'antropologia, la storia e la natura. Oltre al sole e alla spiaggia, naturalmente. Immergetevi nella cultura Maori, la sua cucina ricca di pesce e la sua vasta area di vegetazione. Un paese che sicuramente non vi lascerà indifferenti.