


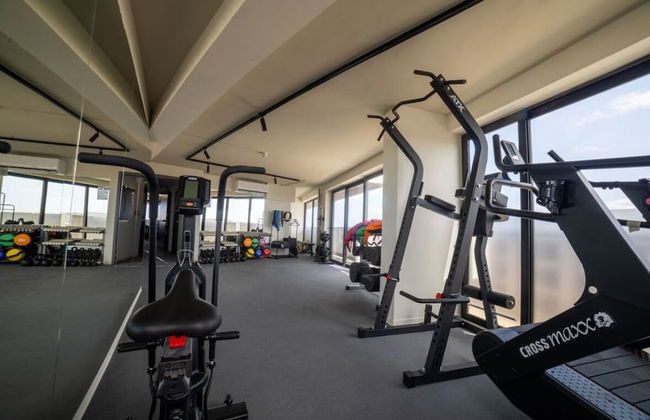


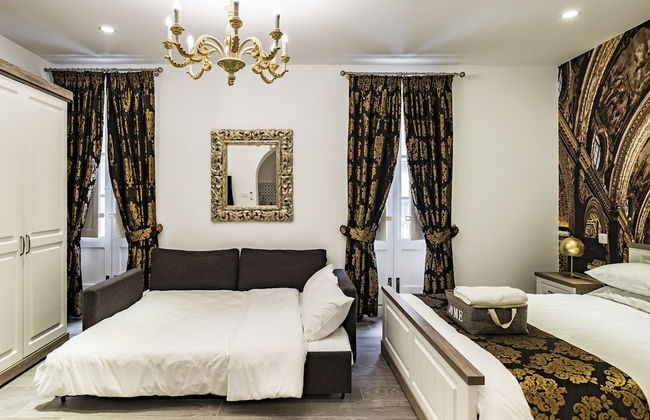
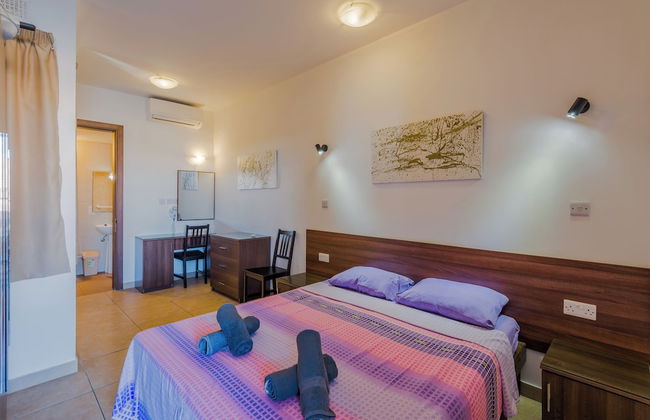
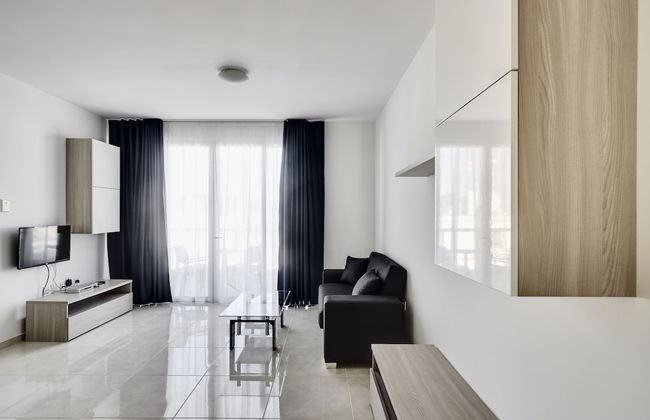
Park Heights by the Warren Collection
Msida - Msida
- 4 persone
- Aria condizionata
- Riscaldamento
- Terrazza
- Piscina
- Parcheggio
- Ascensore
- Balcone
- Tv
- Lino da bagno
- Lino da letto
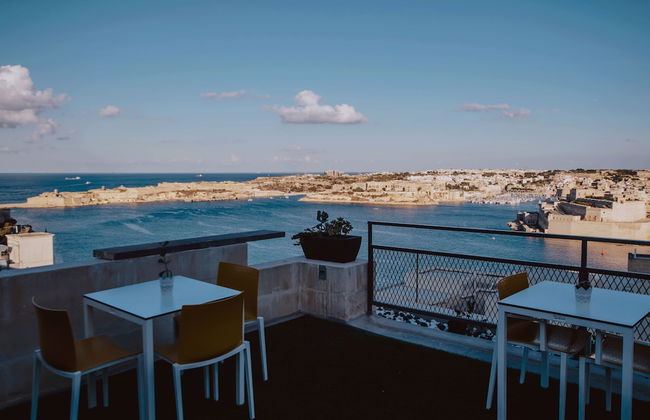


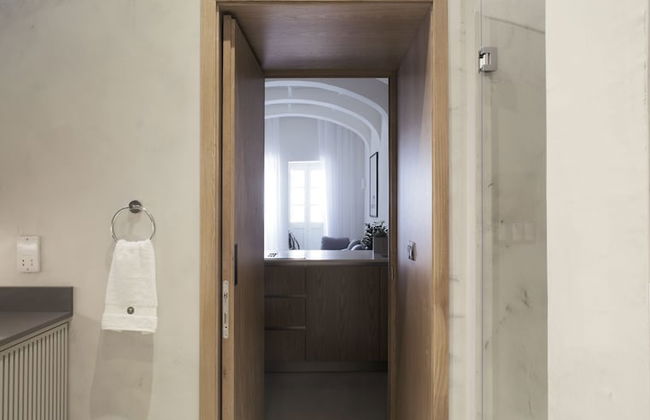
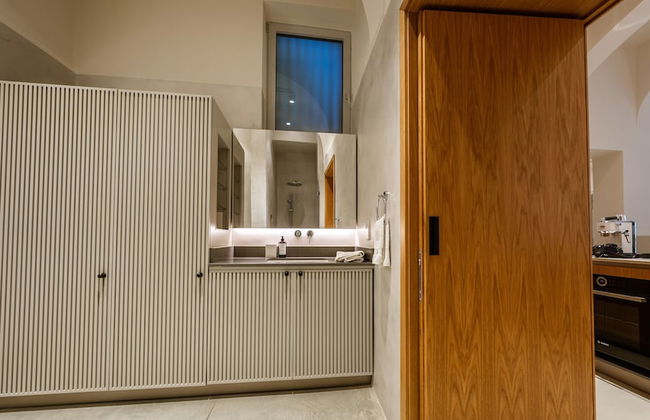
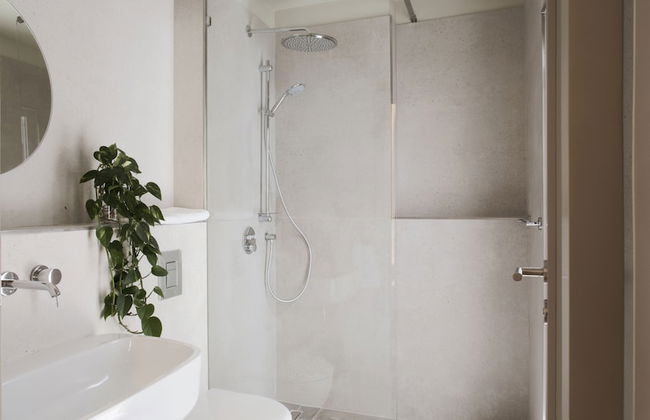
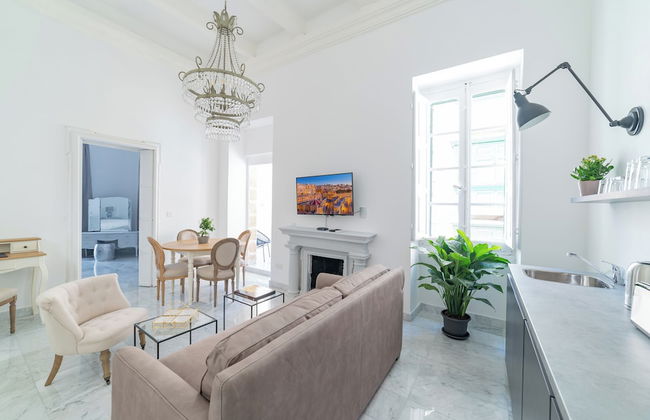
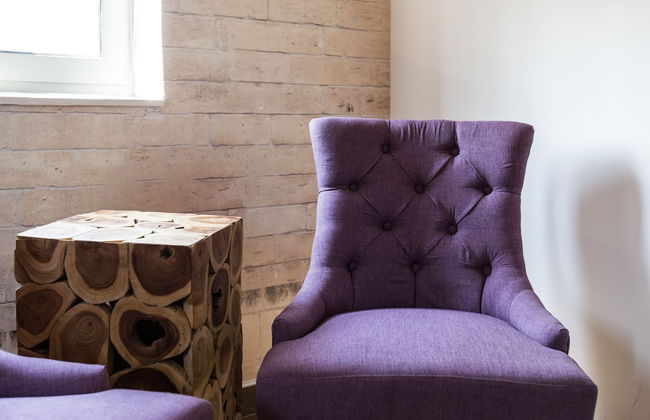
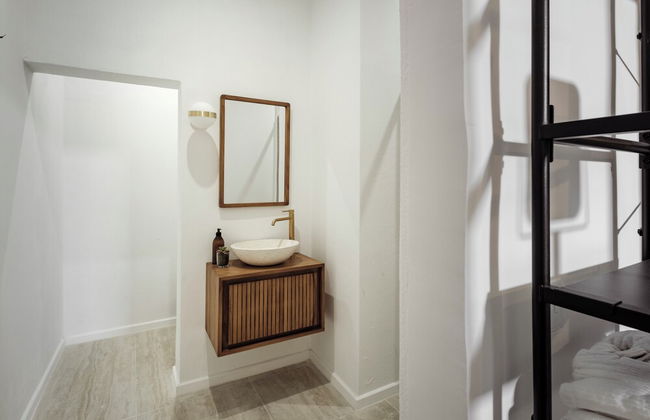
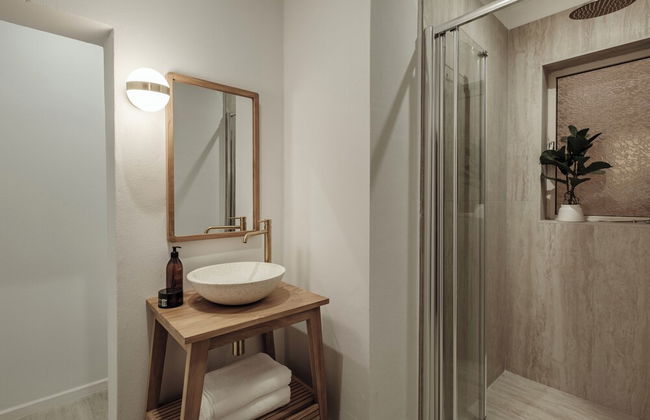
Sally Port Suites
La Valletta - Valletta
- 25 M2
- 2 persone
- Cucinino
- Aria condizionata
- Riscaldamento
- Terrazza
- Tv
- Lino da bagno
- Lino da letto


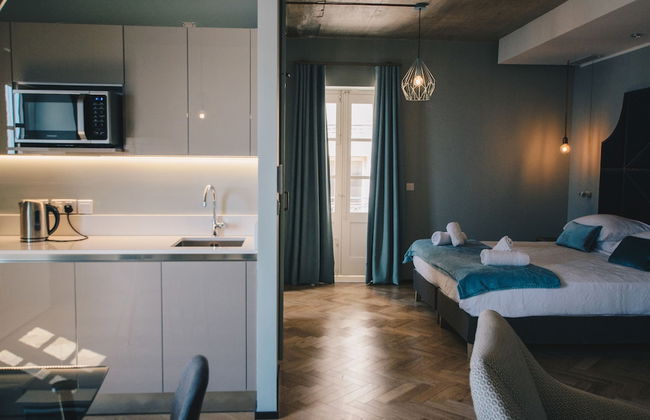
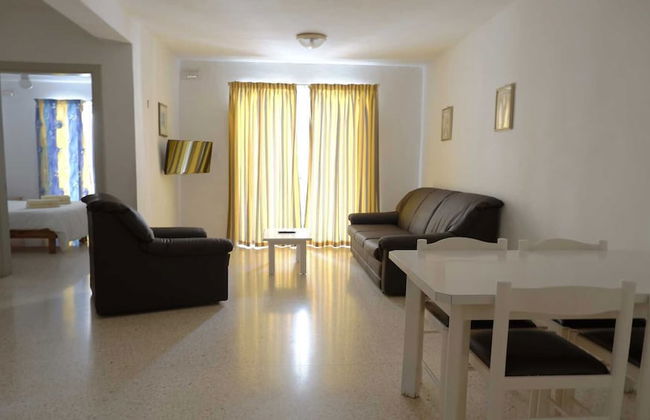
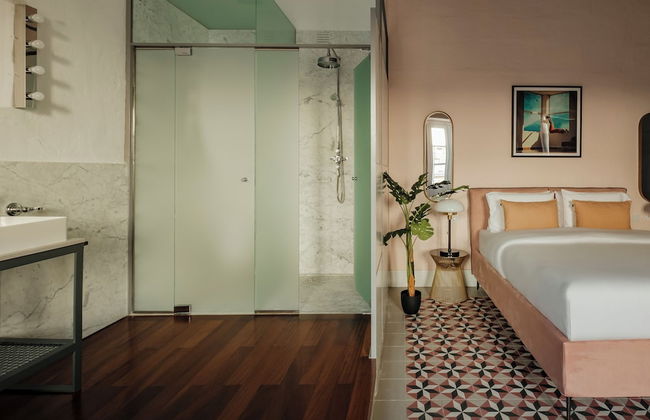
Trabuxu Boutique Living
La Valletta - Valletta
- 300 M2
- 4 persone
- Aria condizionata
- Riscaldamento
- Terrazza
- Piscina
- Ascensore
- Balcone
- Tv
- Lavatrice
- Lino da bagno
- Lino da letto


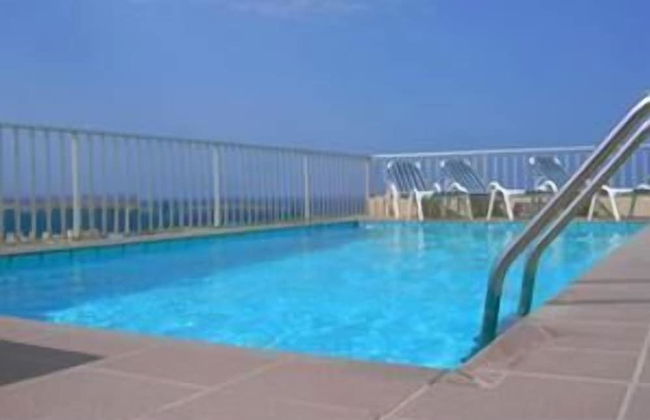
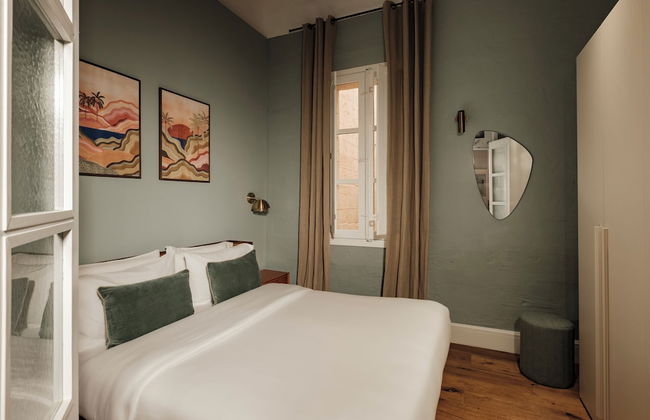
Carmelita
La Valletta - Valletta
- 55 M2
- 4 persone
- Cucinino
- Aria condizionata
- Riscaldamento
- Tv
- Lino da bagno


Three Cities Apartments
Bormla - Bormla
- 63 M2
- 2 persone
- Aria condizionata
- Riscaldamento
- Terrazza
- Parcheggio
- Tv
- Lavatrice
- Lino da bagno
- Lino da letto


StiLLel Retreat
Saint Paul's Bay - Saint Paul's Bay
- 50 M2
- 5 persone
- Aria condizionata
- Riscaldamento
- Terrazza
- Tv
- Lavatrice
- Lino da bagno
- Lino da letto


Seafront Luxury Apartment Incl Pool
- 4 persone
- Aria condizionata
- Riscaldamento
- Terrazza
- Piscina
- Parcheggio
- Ascensore
- Balcone
- Tv
- Lavatrice
- Lino da bagno
- Lino da letto


Jean De Valette Boutique Living
La Valletta - Valletta
- 45 M2
- 4 persone
- Cucinino
- Aria condizionata
- Riscaldamento
- Terrazza
- Ascensore
- Balcone
- Tv
- Lavatrice
- Lino da bagno
- Lino da letto


Shamrock
- 65 M2
- 6 persone
- Riscaldamento
- Terrazza
- Piscina
- Ascensore
- Balcone
- Tv
- Lino da bagno
- Lino da letto


Ellul Living
Floriana - Floriana
- 100 M2
- 4 persone
- Riscaldamento
- Terrazza
- Tv
- Lavatrice
- Lino da bagno
- Lino da letto


136 Old Bakery
La Valletta - Valletta
- 55 M2
- 2 persone
- Cucinino
- Aria condizionata
- Riscaldamento
- Ascensore
- Tv
- Lino da bagno
- Lino da letto


Blue Harbour 2 by Getaways Malta
- 100 M2
- 9 persone
- Aria condizionata
- Riscaldamento
- Terrazza
- Parcheggio
- Ascensore
- Tv
- Lavatrice
- Barbecue
- Lino da bagno
- Lino da letto


Eleven by Warren Collection
Sliema - Sliema
- 3 persone
- Aria condizionata
- Piscina
- Ascensore
- Balcone
- Tv
- Lino da bagno
- Lino da letto


Seashells Self Catering Apartment by Getaways Malta
- 71 M2
- 5 persone
- Aria condizionata
- Riscaldamento
- Terrazza
- Parcheggio
- Ascensore
- Balcone
- Tv
- Lavatrice
- Lino da bagno
- Lino da letto


Blue Harbour – Seafront Self-Catering Holiday Penthouse – St Paul’s Bay
- 75 M2
- 4 persone
- Aria condizionata
- Riscaldamento
- Terrazza
- Parcheggio
- Ascensore
- Balcone
- Tv
- Lavatrice
- Barbecue
- Lino da bagno
- Lino da letto


Triton
- 40 M2
- 6 persone
- Aria condizionata
- Riscaldamento
- Terrazza
- Parcheggio
- Ascensore
- Balcone
- Tv
- Lino da bagno


The Village Apartments
- 110 M2
- 6 persone
- Aria condizionata
- Riscaldamento
- Parcheggio
- Balcone
- Tv
- Lavatrice
- Lino da bagno
- Lino da letto


Art Deco Apartment in Central Sliema
- 100 M2
- 6 persone
- Aria condizionata
- Riscaldamento
- Terrazza
- Parcheggio
- Ascensore
- Tv
- Lavatrice
- Lino da bagno
- Lino da letto


Seashells 2 bedroom Apartment with sunny terrace with stunning panoramic sea views by Getaways Malta
Saint Paul's Bay - Saint Paul's Bay
- 63 M2
- 5 persone
- Aria condizionata
- Riscaldamento
- Terrazza
- Parcheggio
- Ascensore
- Tv
- Lavatrice
- Barbecue
- Lino da bagno
- Lino da letto


Stunning Seaview Apartment, Wifi
- 55 M2
- 5 persone
- Aria condizionata
- Riscaldamento
- Terrazza
- Piscina
- Parcheggio
- Balcone
- Tv
- Lino da bagno
- Lino da letto
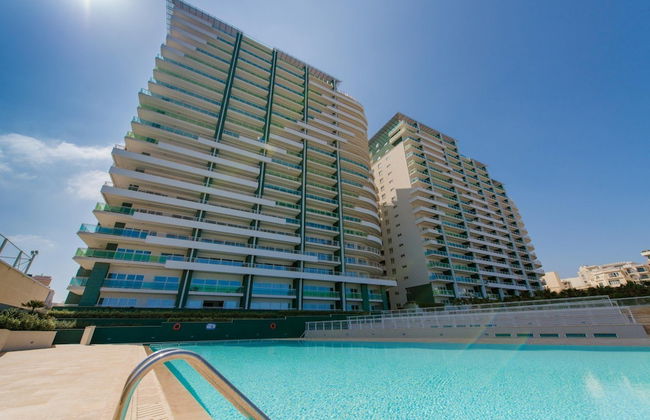
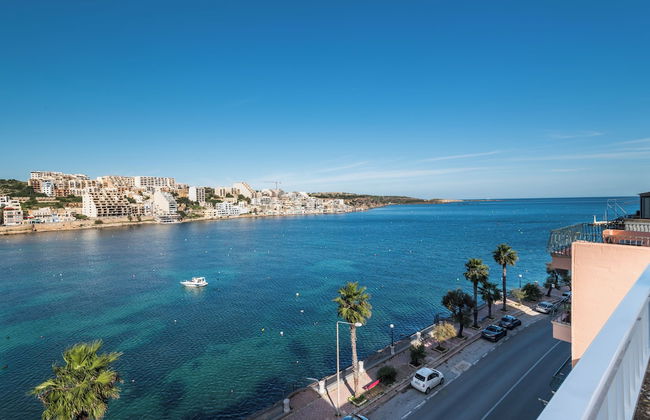
Appartamenti a Malta: case vacanza vicino al mare
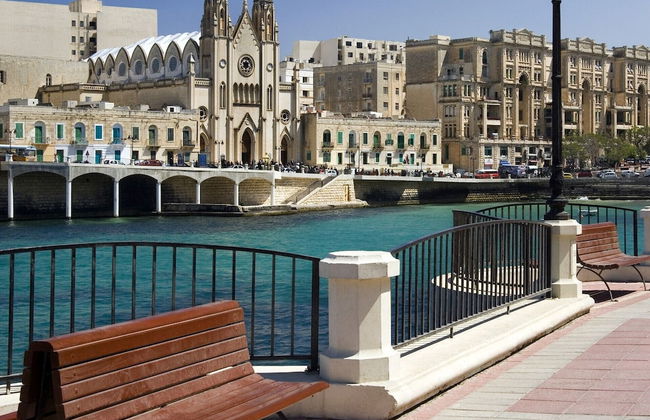
Malta si trova nel cuore del Mediterraneo, a sud della Sicilia e a nord della Libia, ed è lo Stato con la più alta densità di popolazione in Europa. L'arcipelago si estende su una superficie di 316 km² e comprende tre grandi isole e vari isolotti. L'acqua isolana non riesce a soddisfare il fabbisogno della popolazione e per questo la maggior parte della fornitura arriva da altri Paesi Europei. Con il suo clima mite Malta è una destinazione turistica ideale in ogni periodo dell'anno e il settore turistico è orientato principalmente al turismo di lusso; per i suoi bellissimi paesaggi l'isola è stata scelta come location di numerosi film. La sua posizione strategica nel Mediterraneo l'ha resa più volte oggetto di conquista nel corso della storia e solo nel settembre del 1964 ha raggiunto l'indipendenza dall'Impero Britannico. Malta ha due lingue ufficiali, l'inglese e il maltese, e la sua cultura è un mix di influenze italiane e inglesi; anche la gastronomia è una fusione di sapori spagnoli, italiani e turchi. Le varie occupazioni che si sono succedute nel corso della storia hanno lasciato tracce importanti nell'architettura dell'isola, che sfoggia elementi fenici, francesi, italiani, spagnoli e britannici; tra gli edifici spiccano in particolar modo quelli di epoca medievale che oggi sono una grande attrazione per i turisti.
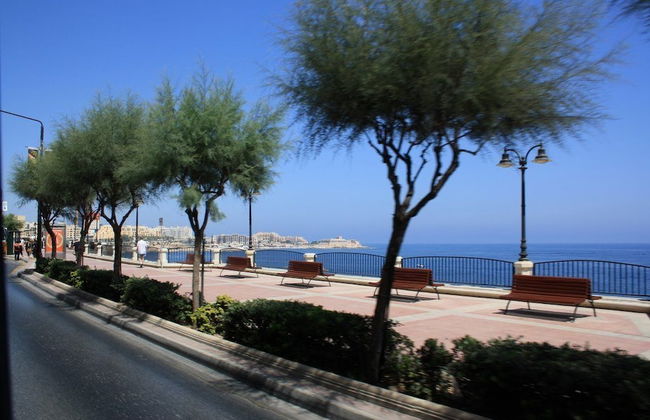
La capitale La Valetta vanta numerosi ristoranti di qualità, negozietti, bar e caffetterie. Gli amanti del sole e del mare possono "rifugiarsi" nelle incantevoli calette dell'isola, che si affacciano su un mare cristallino, perfetto per praticare immersioni; a pochi passi dalle spiagge sorgono bar e ristorantini tipici in cui fare una sosta e rifocillarsi. Per gli avventurosi appassionati di sport estremi l'isola offre alcune location mozzafiato per arrampicate, escursioni e praticare il volo col parapendio. Il cuore pulsante della vita notturna è Paceville, nel quartiere di St. Julian, largamente popolato da discoteche, bar, ristoranti e pub.
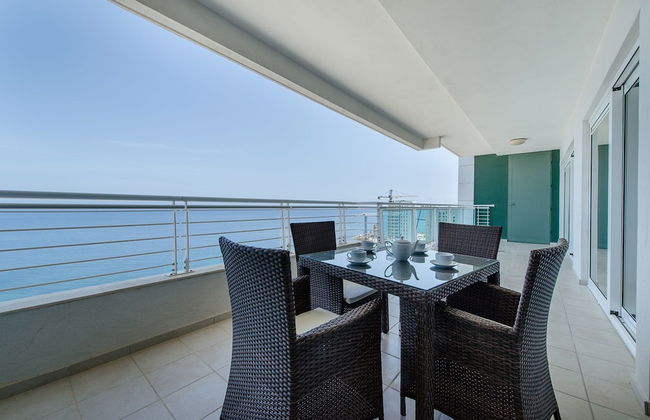
Se volete vivere una vacanza unica ed indimenticabile nel cuore del Mediterraneo, scegliete uno dei nostri appartamenti a Malta; disponiamo di una vasta selezione di case vacanza in questa cornice magica.
Case Vacanza a Malta
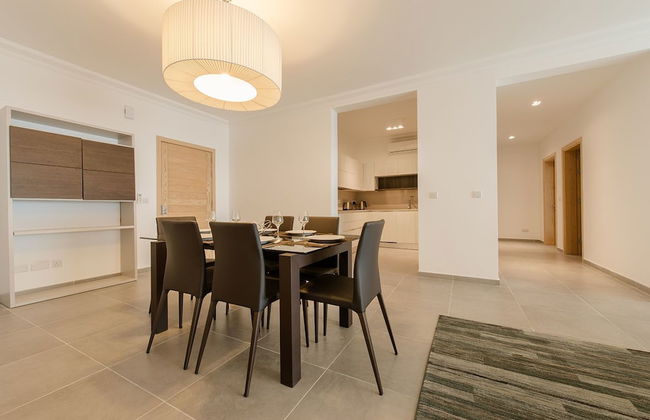
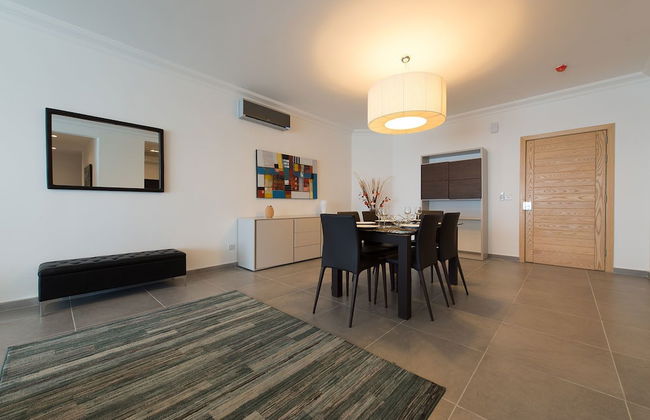
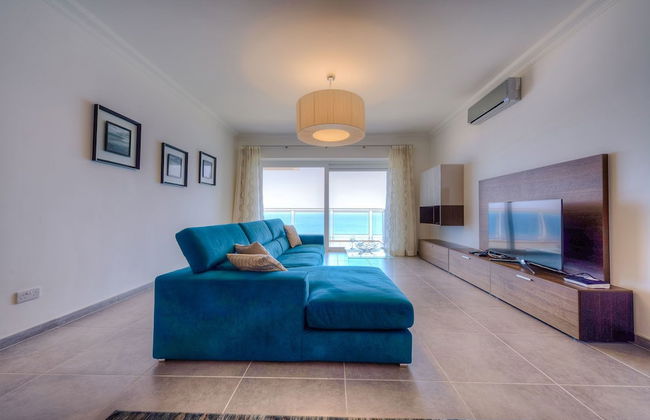
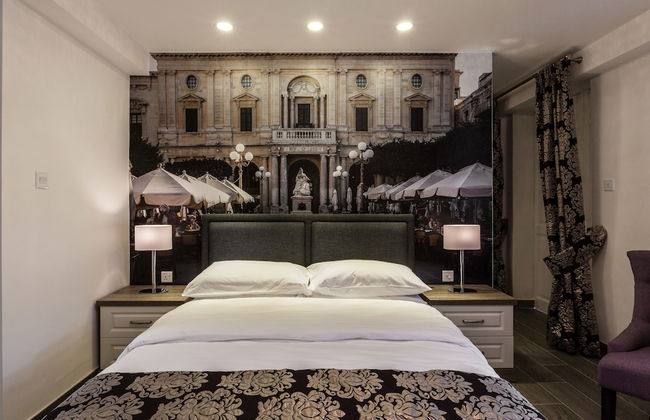
In quanto a sistemazioni, Malta offre una serie infinita di alternative, tra cui hotel, appartamenti, guesthouse, B&B, pensioni, ostelli, residence, case vacanza, attici, villette, stanze in affitto e monolocali. Ma solo con Only-apartments avrete la migliore qualità a prezzi imbattibili. Disponiamo di un'ampia selezione di appartamenti vista mare e dotati di ogni comfort, monolocali perfetti per chi cerca una soluzione più raccolta ed essenziale ed eleganti case vacanza con cucina, lavatrice e connessione internet ideali per le famiglie.
Città e luoghi da visitare a Malta
- Passeggiare per le vie de La Valetta è un'esperienza unica, che vi catapulterà indietro nel tempo, tra pittoreschi vicoli in salita, scalinate, fortificazioni e splendidi edifici medievali con porte intagliate e balconi traboccanti di fiori; a godersi questa atmosfera, oltre a voi, ci sono anche i gatti della città che si riposano sotto i raggi del sole. Agli amanti dello shopping si consiglia una visita a Centru Snajja Maltim, dove si trovano i migliori prodotti artigianali della zona; ricordatevi che a Malta si usa negoziare sul prezzo.
- La città di Hamrun si trova nella parte retrostante della zona portuale di Malta. Le sue stradine acciottolate sono gremite di persone durante il famoso festival del cioccolato che si tiene in ottobre.
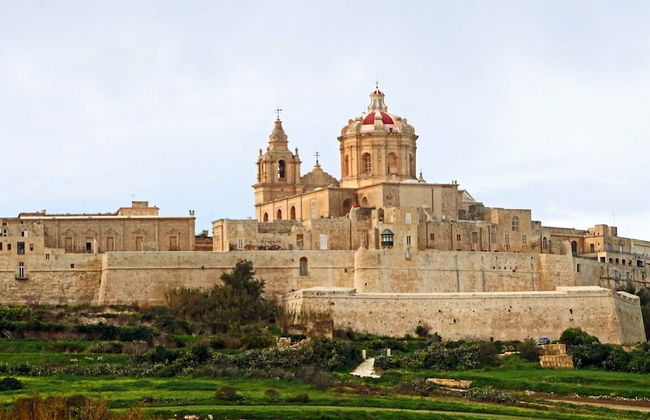
- La città fortificata di Mdina, situata nella parte centro-occidentale di Malta, è considerata la più bella dell'isola. Fu fondata dai Fenici nel 700 a.C. ed è chiamata la "città del silenzio" per la sua atmosfera tranquilla. In origine era la capitale dell'isola e oggi è un museo a cielo aperto. Le sue attrazioni includono le stradine medievali meglio conservate di Malta, il Museo Mdina, la cattedrale risalente all'XI secolo, Palazzo Falson, costruito nel XV secolo, Palazzo Vilhena con il suo Museo di Storia Naturale e il Convento Carmelitano. Alla sera fate una passeggiata per le sue vie e godetevi la quiete di questo luogo.
- Il villaggio di pescatori Marsaxlokk sembra appena uscito da una cartolina: gli edifici in stile gotico si affacciano su spiagge ornate di palme e lambite da un mare color turchese, sulle cui acque calme ondeggiano gondole variopinte. Non perdetevi il mercato della domenica, fermatevi a pranzo in uno dei ristoranti del porto e scattate alcune foto al Castello di San Lucjan, risalente al XVII secolo.
- Sulla strada per Cottonera si trova il conglomerato delle "Tre Città" Senglea , Vittoriosa e Cospicua, una splendida testimonianza della storia dell'isola e dell'epoca barocca. Senglea è rinomata per il Castello di Saint Michael, risalente al XVI secolo; Vittoriosa vi ammalierà mentre passeggiate lungo Triq it Tarzna; Cospicua è la sede dei Cavalieri del Sovrano Militare Ordine di Malta.
- Mosta è popolare per la sua chiesa maestosa, che vanta la terza cupola più grande d'Europa.
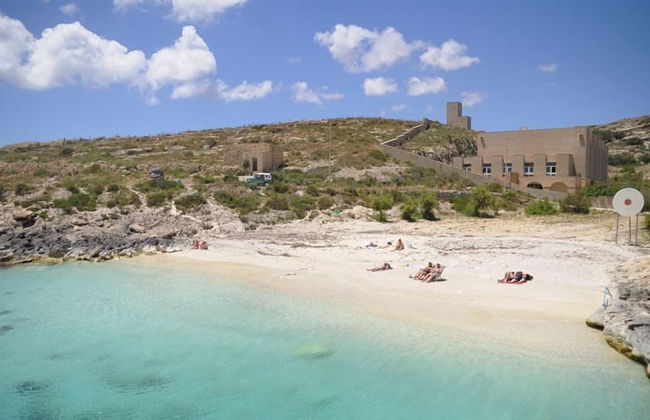
- Trascorrete una giornata a Isla Comino. Prendete un traghetto diretto all'isola al porto Cirkewwa nel nord di Malta. Potete cimentarvi in un'escursione, prendere il sole, fare una nuotata nelle acque limpide della Laguna Blu e distendervi sulla sua spiaggia, la più famosa di Malta!
- La Grotta Azzurra è una delle attrazioni naturali maggiormente visitate dell'isola. È una pittoresca caverna naturale in roccia calcarea che offre uno scenario mozzafiato e si trova nelle vicinanze dei templi megalitici di Hagar Qim e Mnajdra.
- Il Majjistrl Nature Park è la scelta perfetta per gli amanti di natura ed escursioni, che possono avventurarsi nei numerosi percorsi per osservare da vicino la flora e la fauna dell'isola.
Se Malta è la destinazione delle vostre prossime vacanze, allora prenotate uno dei nostri appartamenti per soggiornare vicino ai luoghi più affascinanti e interessanti dell'isola.
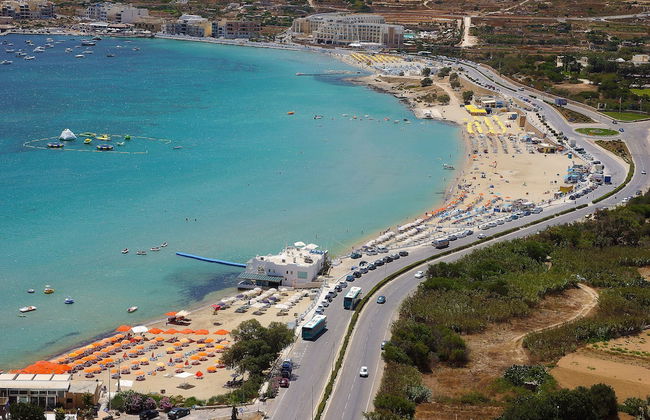
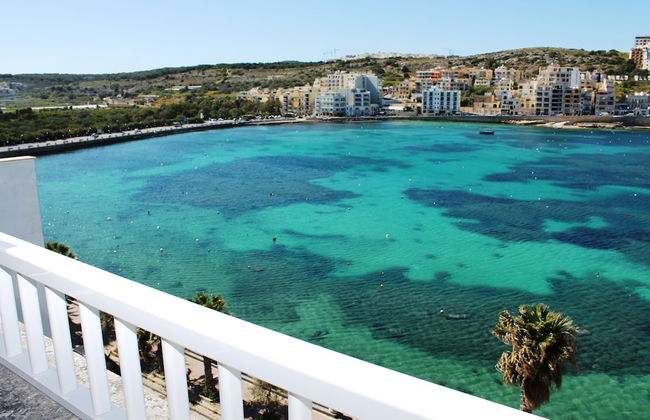
Spiagge a Malta
Malta ha una costa rocciosa,a maggior parte delle calette e baie sono quindi adatte solo allo snorkeling e alle immersioni.
Golden Bay è la spiaggia più popolare di Malta e offre tanti servizi per i turisti. Vanta una distesa di sabbia finissima ed un mare perfetto per nuotare.
Ghajn Tuffieha Bay si trova nelle vicinanze di Golden Bay ed è quindi raggiungibile a piedi; la spiaggia di sabbia fine è ideale per distendersi e prendere il sole.
Paradise Bay, come suggerisce il nome, è davvero una spiaggia paradisiaca: la sabbia bianca e fine e le calme acque turchesi offrono l'ambiente ideale per prendere il sole, nuotare, praticare snorkeling e semplicemente rilassarsi al mare.
Gneja Bay è un incanto, con le sua distesa di sabbia bianca accarezzata da un mare cristallino. Si trova lungo la costa occidentale dell'isola e offre un'atmosfera tranquilla perché non è mai affollata.
Tutte le spiagge sono costellate di bar, servizi e stabilimenti in cui noleggiare lettini e ombrelloni.
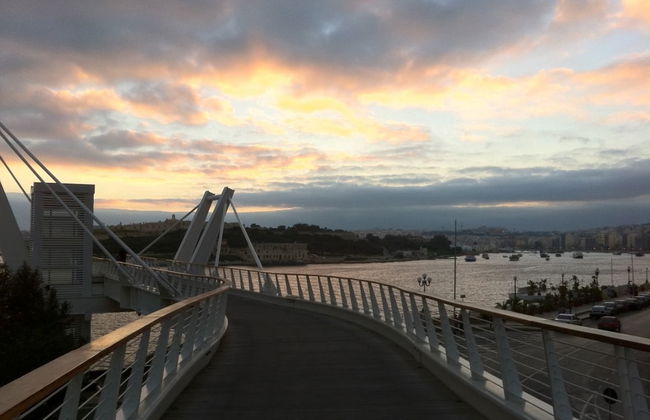
Come raggiungere Malta
Potete raggiungere Malta in aereo, atterrando all'Aeroporto Internazionale Luga , che dista 8km da La Valetta. L'autobus n.8 effettua un servizio di trasporto regolare dal terminal fino al centro della città. Se invece preferite viaggiare in taxi dovete acquistare dei biglietti in aeroporto. Chi desidera esplorare l'isola in totale libertà può noleggiare un'auto.
Malta è raggiungibile anche via mare con traghetti che partono da Civitavecchia, Genova e dalle coste della Sicilia.