
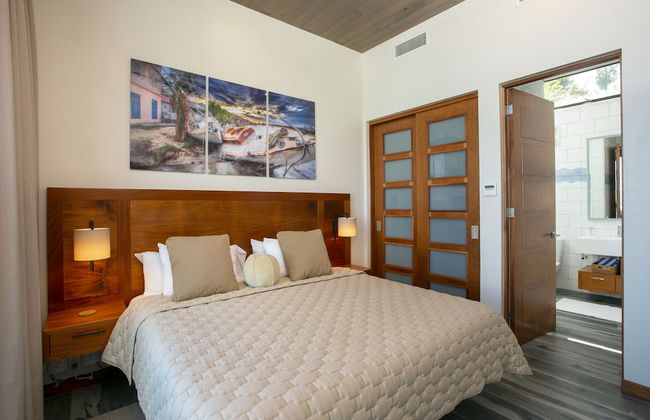
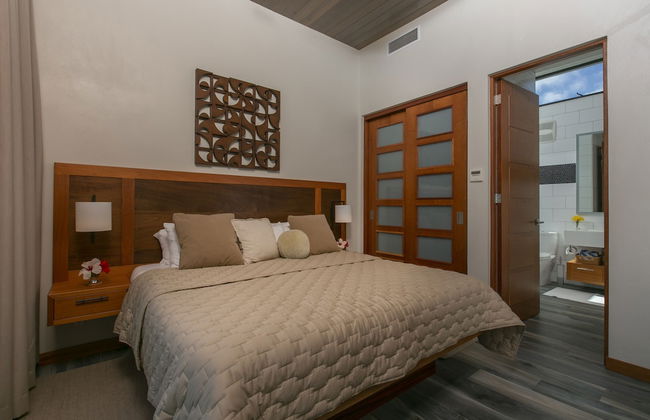
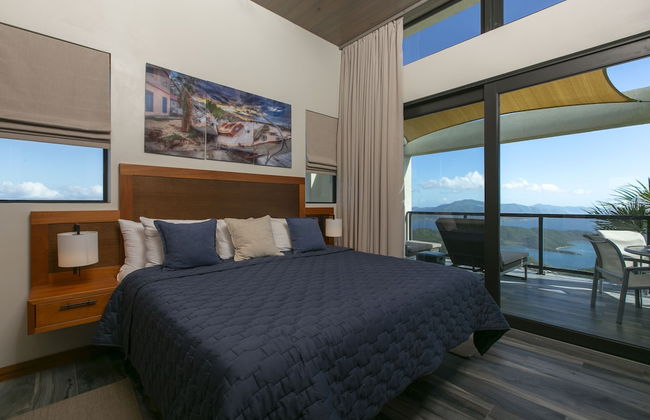
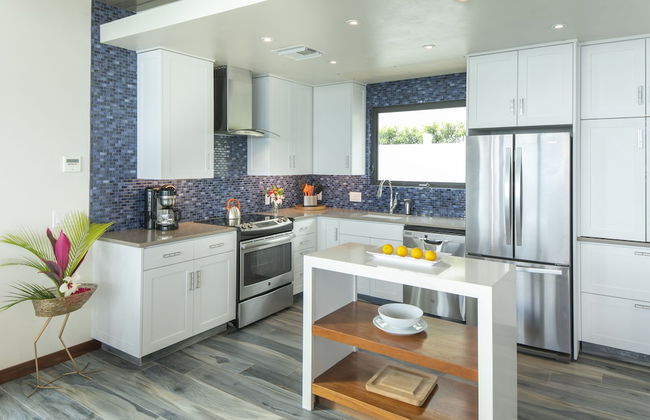
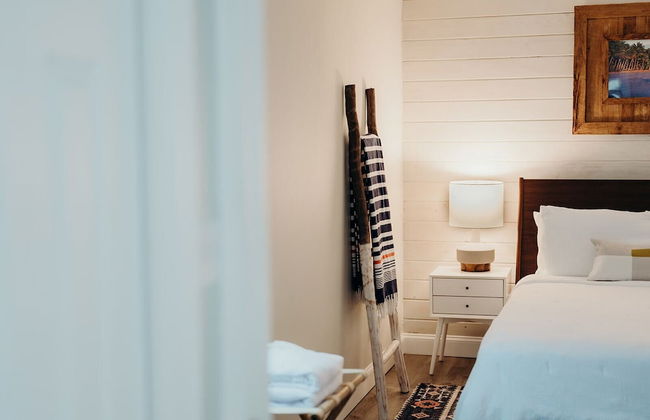
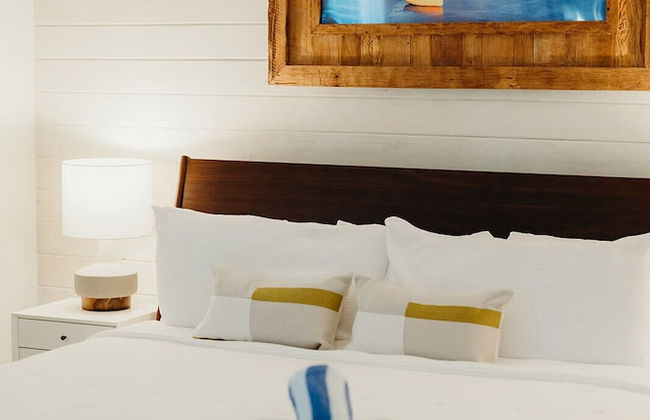
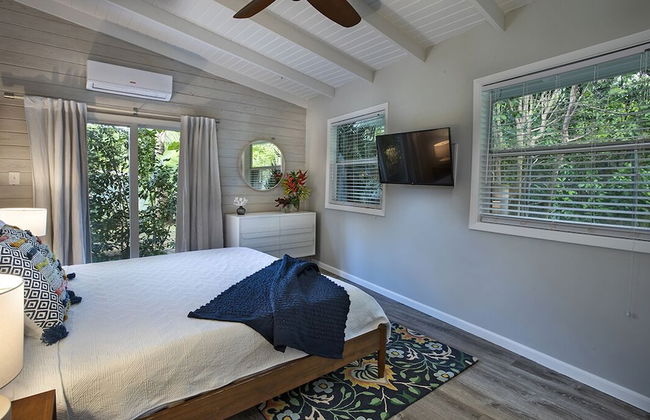
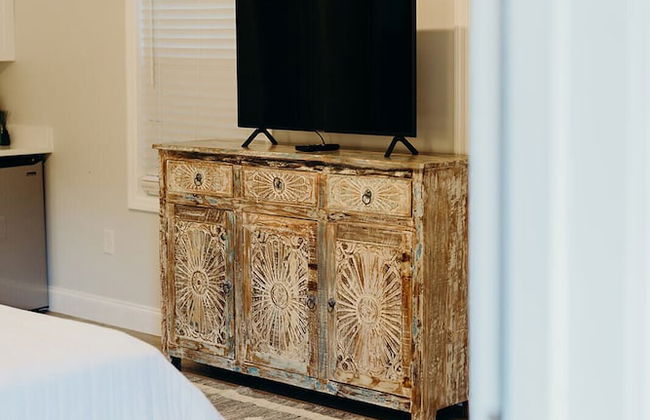
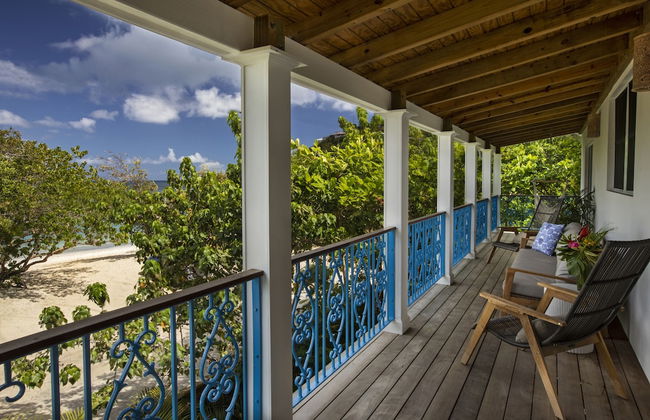
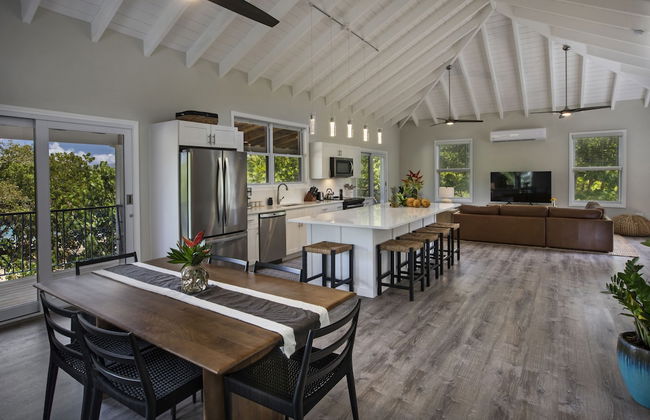
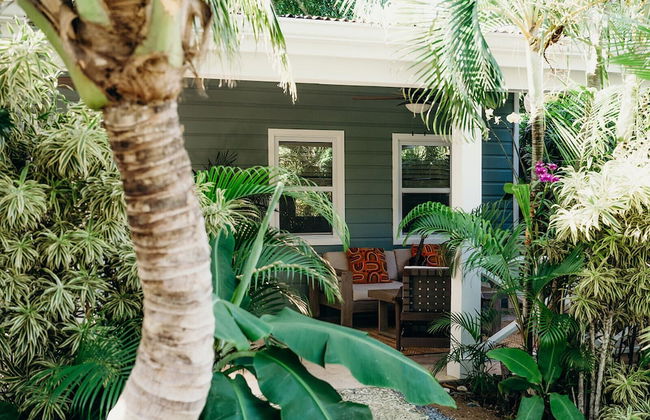
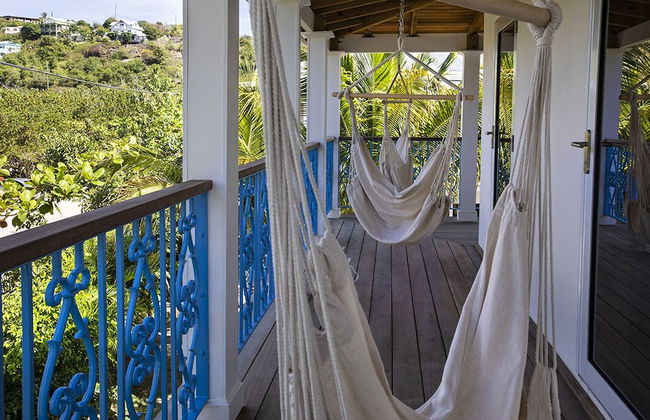
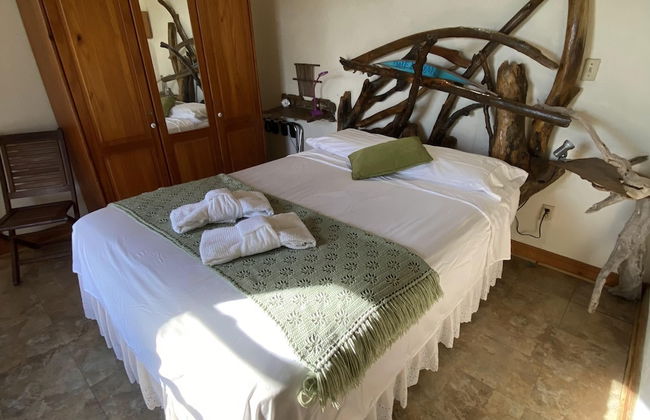
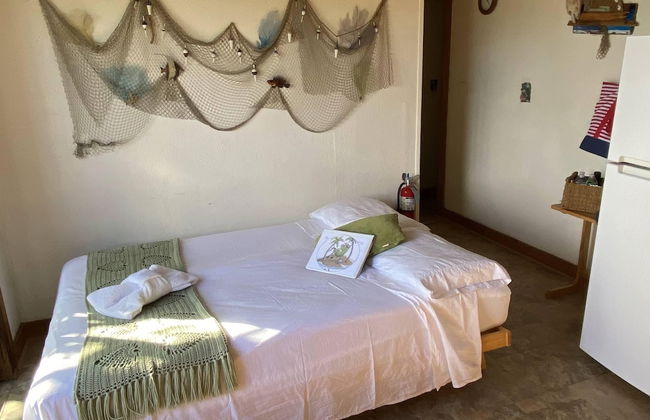
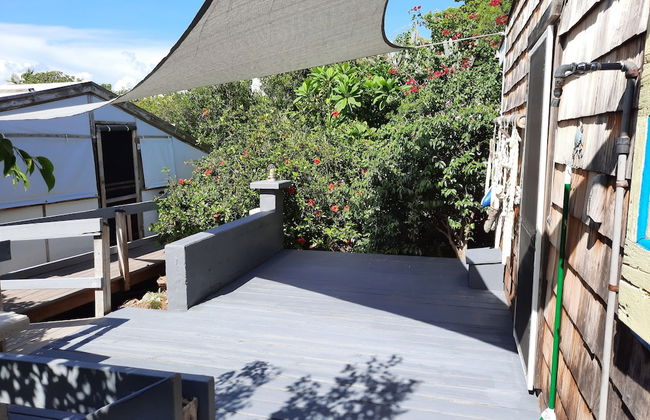
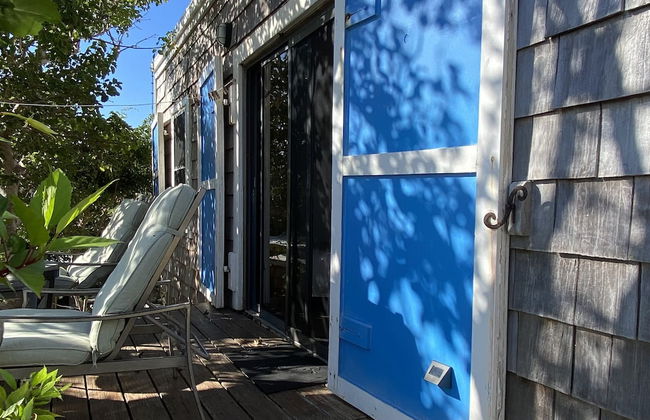
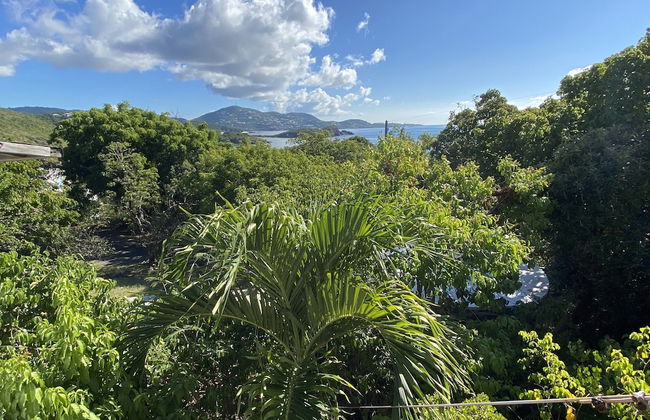
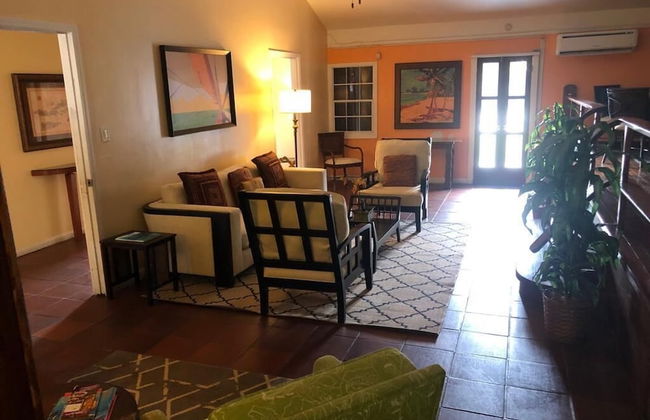
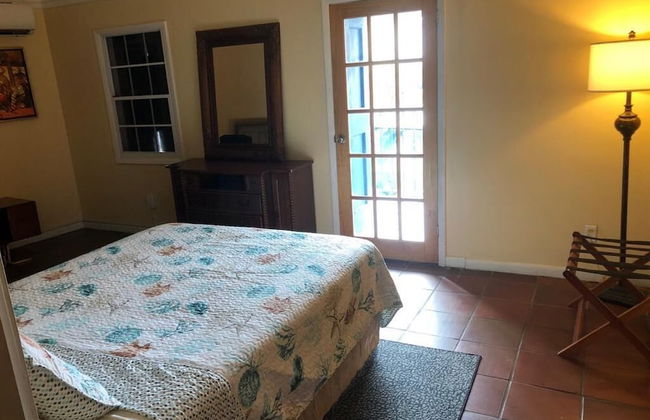
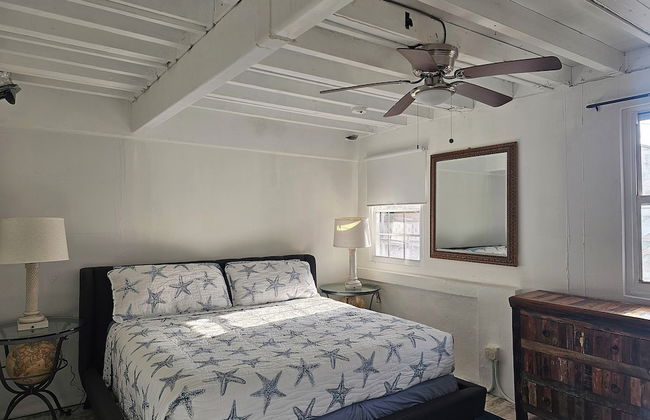
46 Appartamenti a Isole Vergini Americane


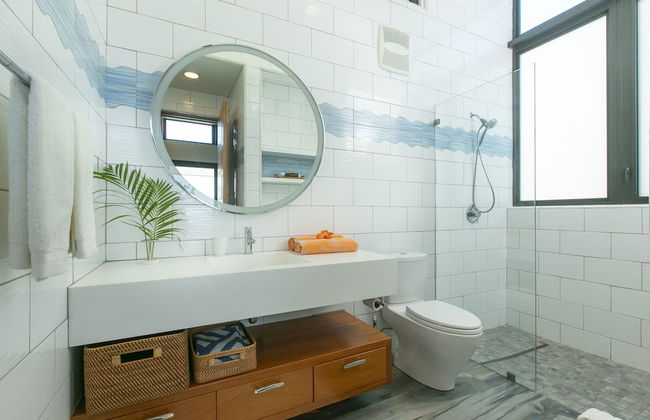


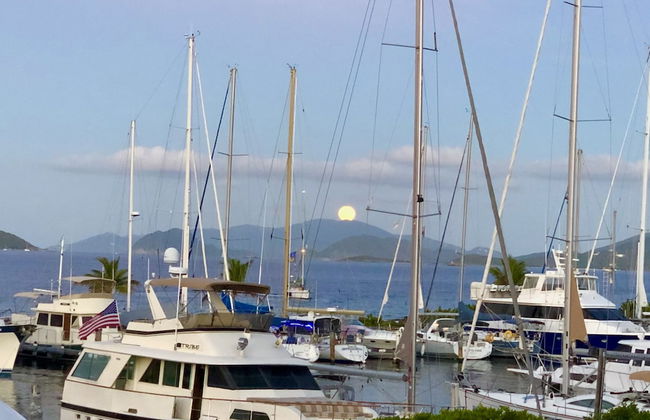
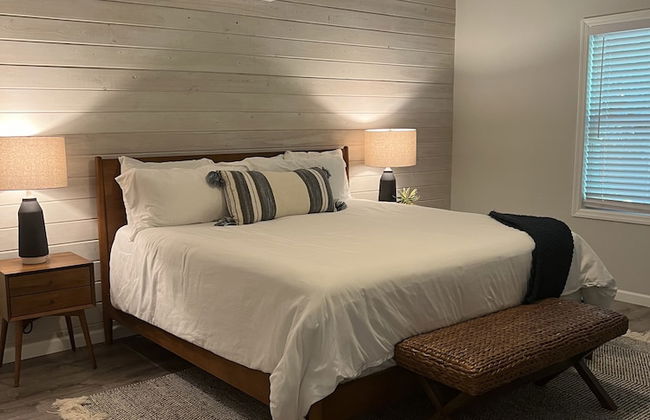
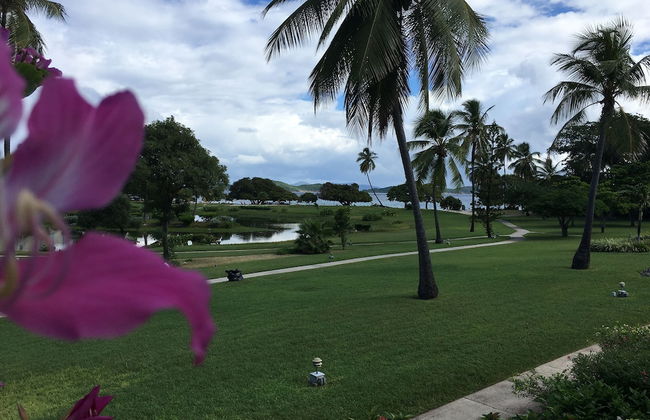
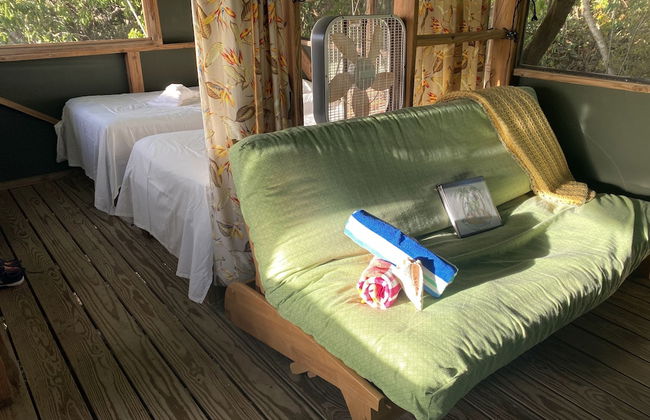
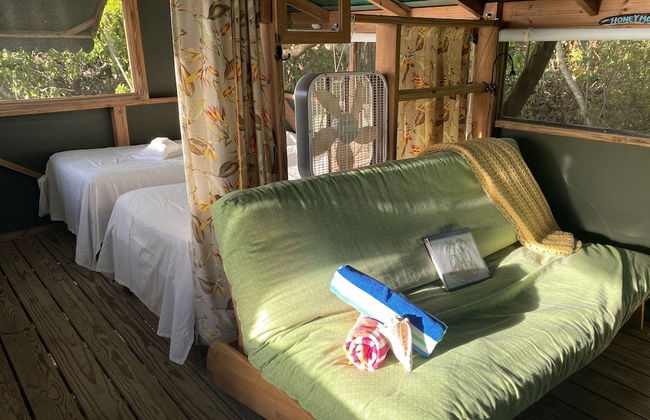
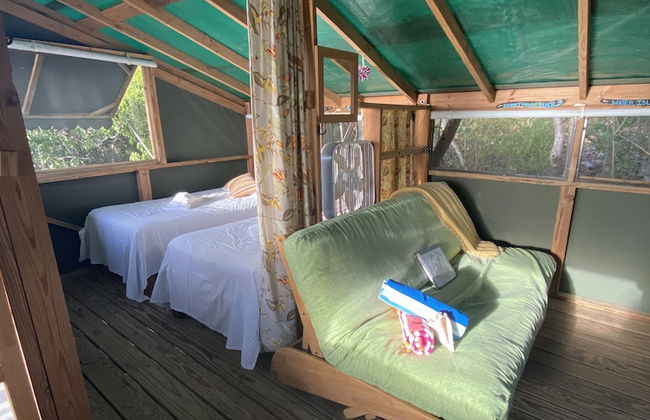
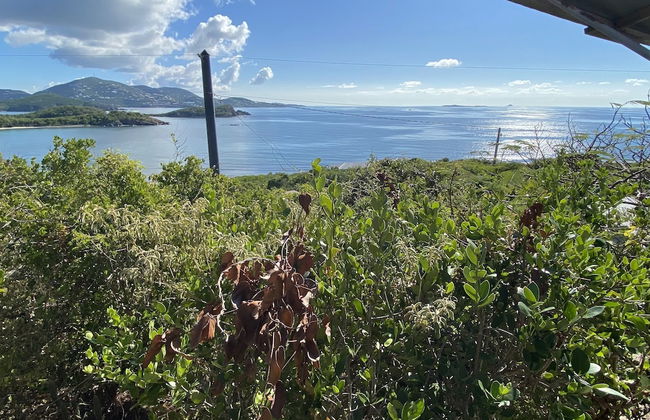
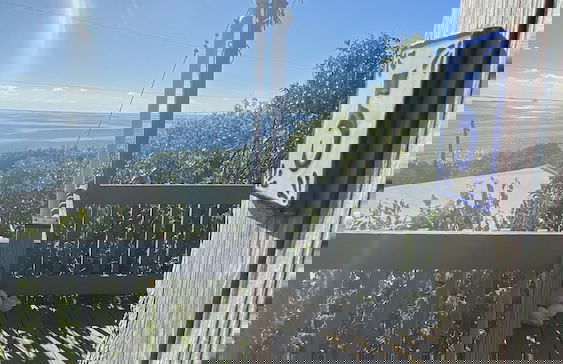
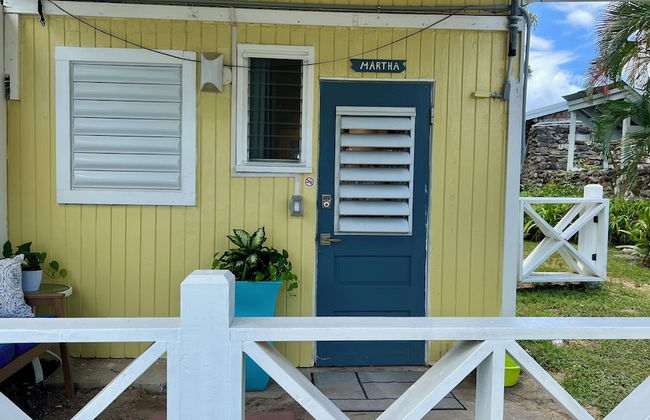
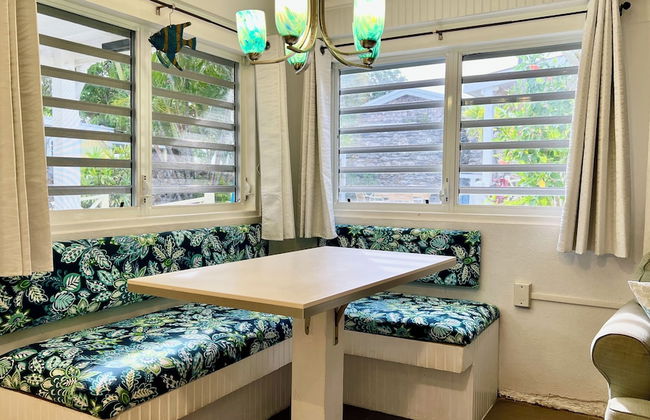
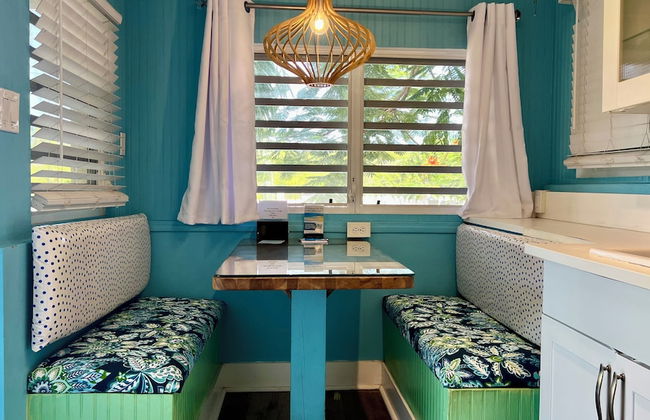
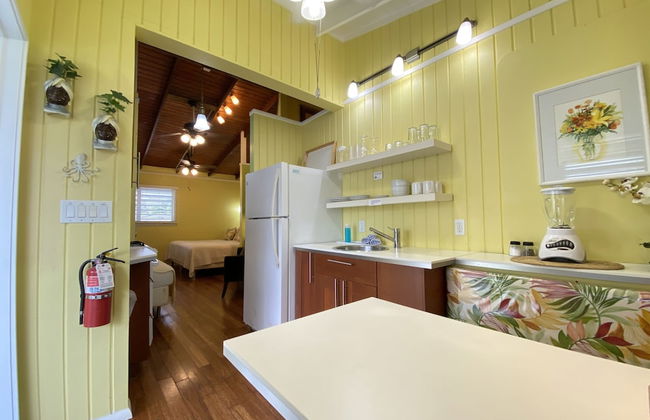
Calichi at Picture Point
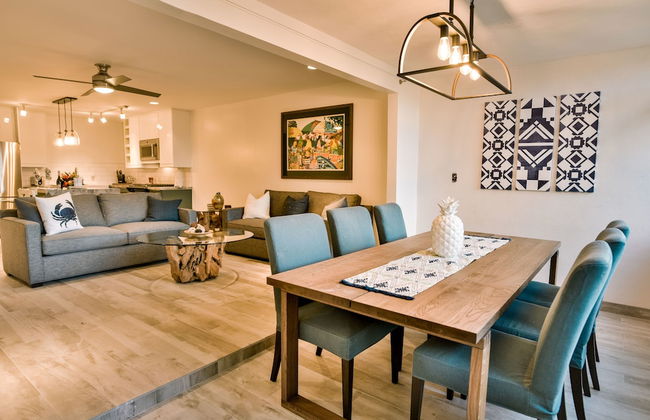
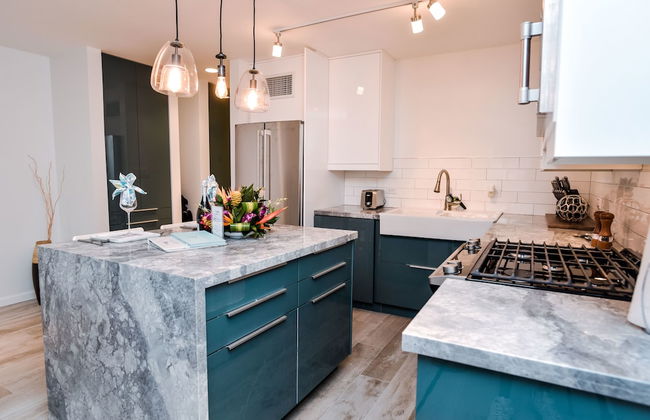
Central - Bordeaux - 3 km dal centro
- 90 M2
- 4 persone
- Aria condizionata
- Terrazza
- Piscina
- Parcheggio
- Balcone
- Giardino
- Tv
- Lavatrice
- Focolare
- Barbecue
- Lino da bagno
- Lino da letto
66 recensioni


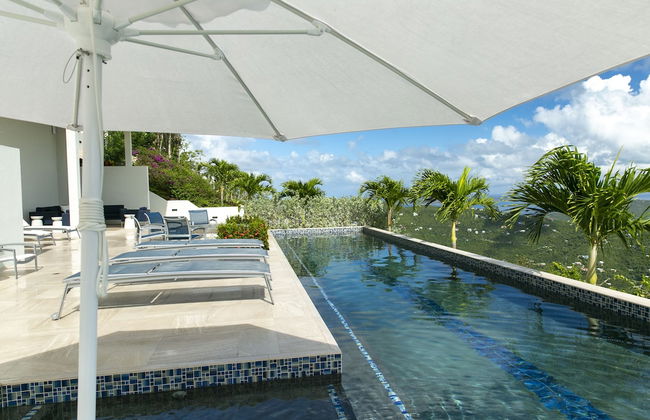
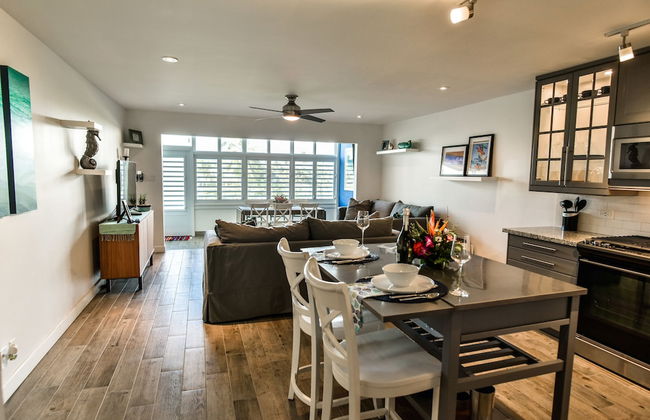
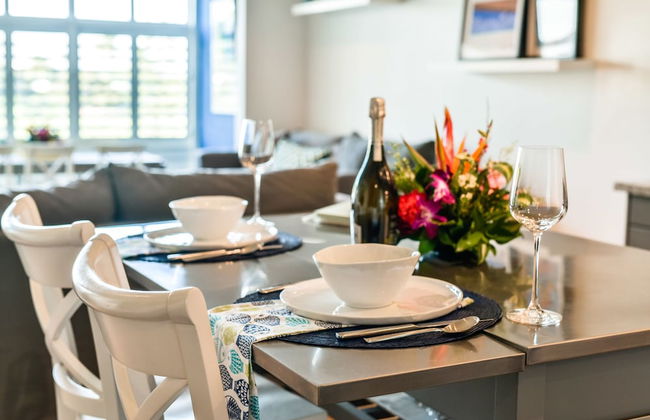
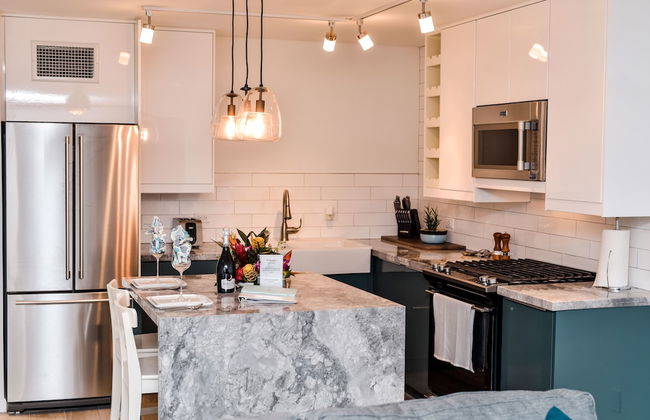
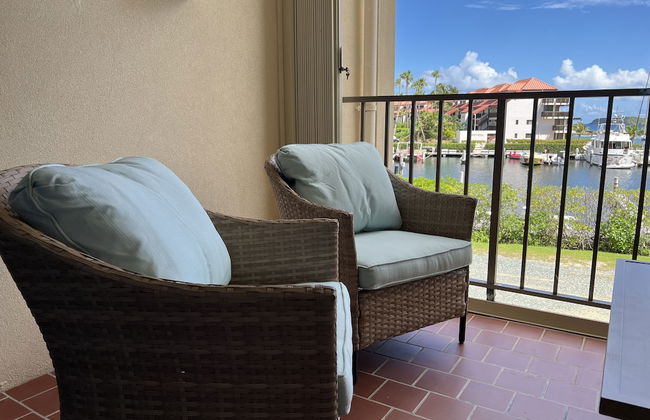
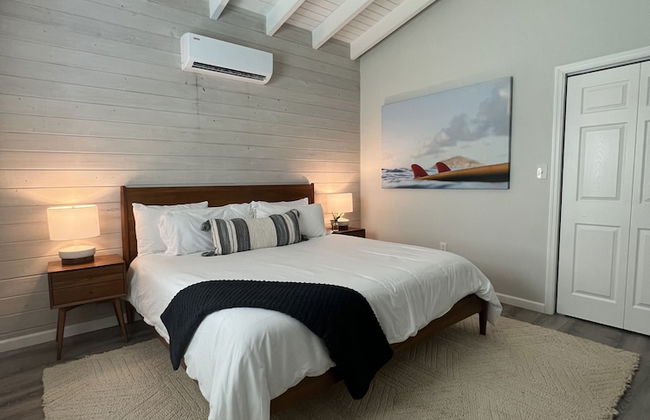
Villa Marina Vista
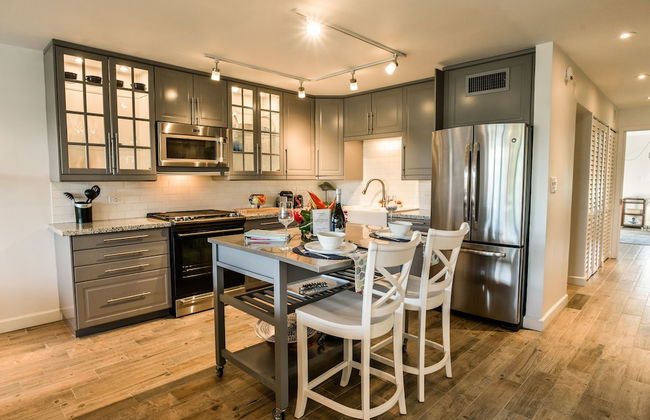
East End - Nazareth
- 111 M2
- 6 persone
- Aria condizionata
- Terrazza
- Piscina
- Parcheggio
- Balcone
- Giardino
- Tv
- Lavatrice
- Barbecue
- Lino da bagno
- Lino da letto
44 recensioni


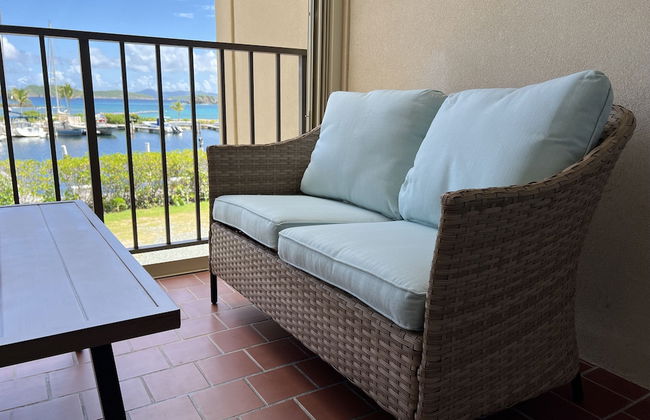
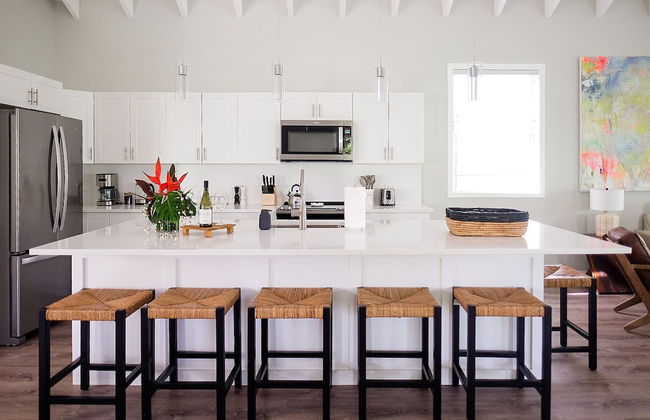
Beachfront Villas at Crystal Cove
East End - Smith Bay
- 93 M2
- 5 persone
- Aria condizionata
- Terrazza
- Piscina
- Parcheggio
- Balcone
- Giardino
- Tv
- Lavatrice
- Barbecue
- Lino da bagno
- Lino da letto
124 recensioni


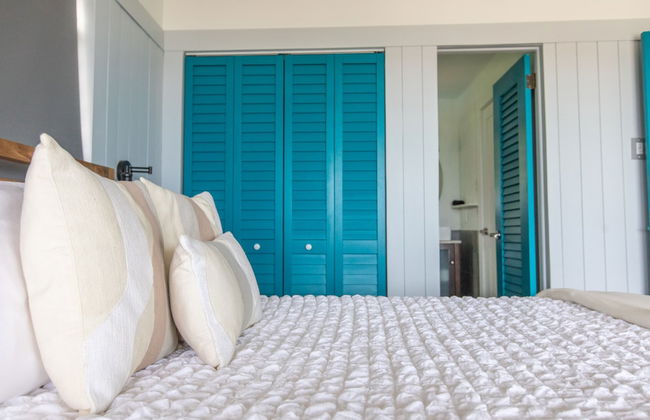
Casa Cielo
Northside - Lerkenlund - 700 m dal centro
- 6 persone
- Aria condizionata
- Terrazza
- Parcheggio
- Giardino
- Tv
- Lavatrice
- Barbecue
- Lino da bagno
- Lino da letto
19 recensioni


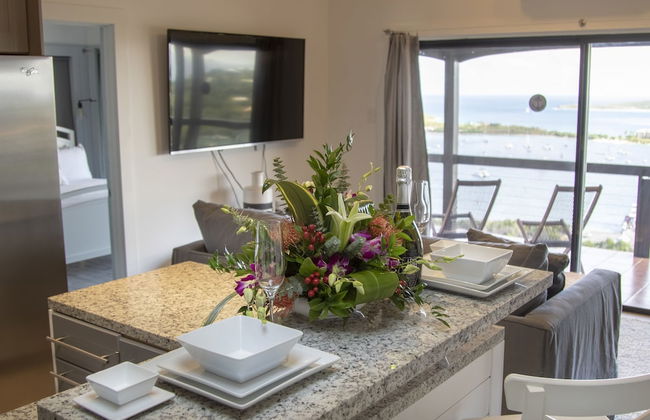
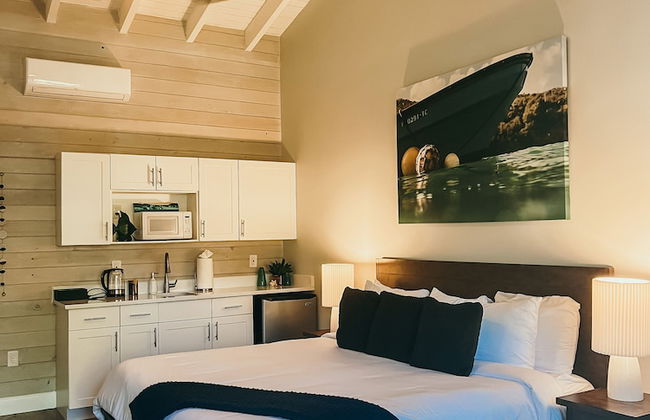
The Hills, St John
Cruz Bay - Enighed
- 279 M2
- 8 persone
- Aria condizionata
- Terrazza
- Piscina
- Parcheggio
- Balcone
- Tv
- Lavatrice
- Barbecue
- Lino da bagno
- Lino da letto
38 recensioni


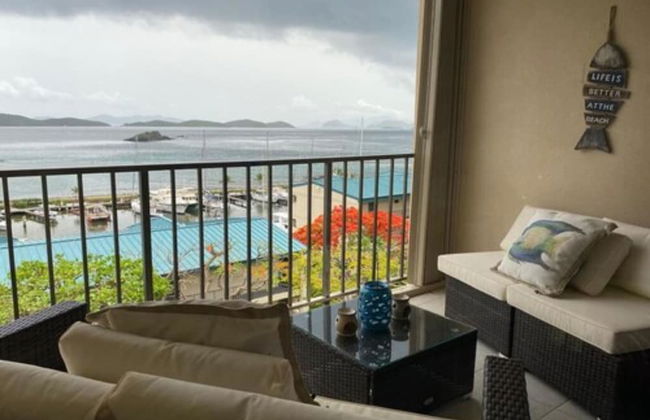


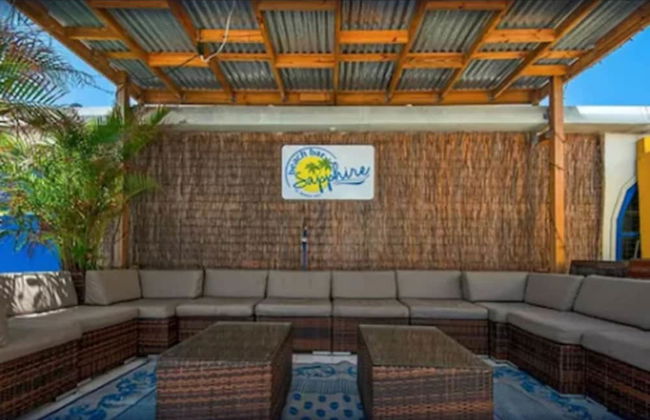
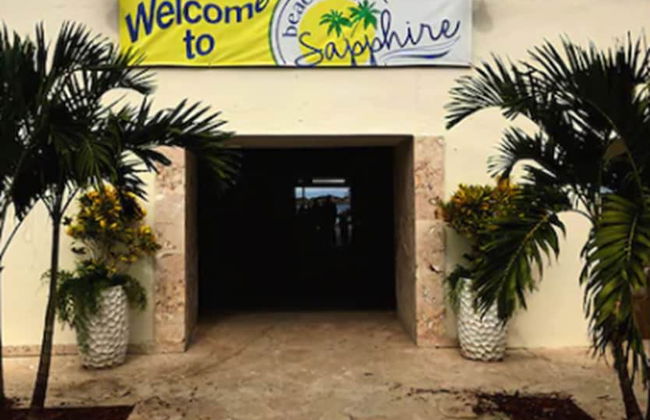
Sapphire Beach Villa
East End - Smith Bay
- 4 persone
- Aria condizionata
- Piscina
- Parcheggio
- Balcone
- Tv
- Lino da bagno
- Lino da letto
58 recensioni


The Hideaway Hull Bay
Northside - Hull - 2.6 km dal centro
- 36 persone
- Cucinino
- Aria condizionata
- Piscina
- Parcheggio
- Balcone
- Giardino
- Tv
- Lino da bagno
- Lino da letto
43 recensioni


Historic Apt in Heart of Christiansted
Christiansted - East Street
- 93 M2
- 7 persone
- Aria condizionata
- Parcheggio
- Tv
- Lino da bagno
- Lino da letto
16 recensioni


Sapphire Sanctuary by the Sea
East End - Frydendal
- 836 M2
- 5 persone
- Aria condizionata
- Riscaldamento
- Piscina
- Parcheggio
- Giardino
- Tv
- Barbecue
- Lino da bagno
- Lino da letto
41 recensioni

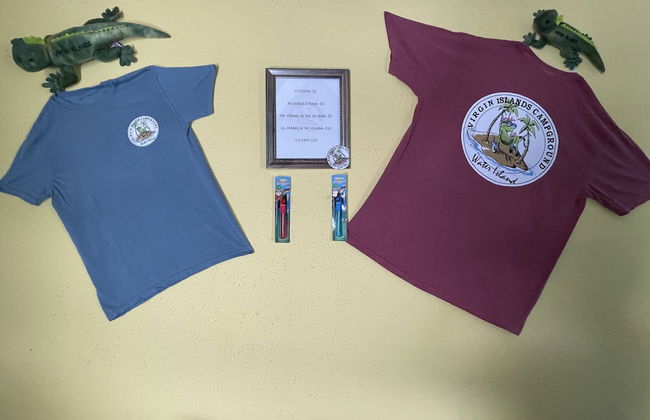
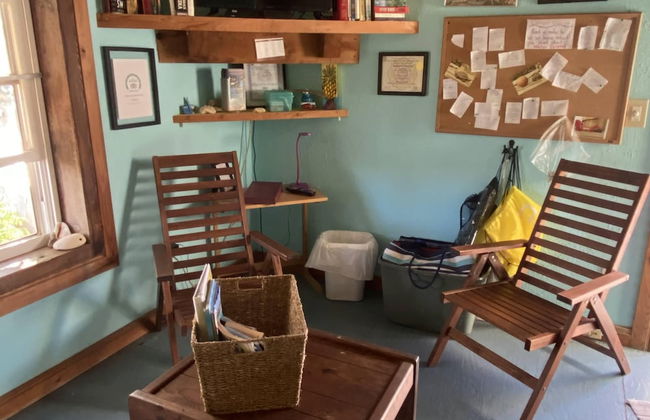


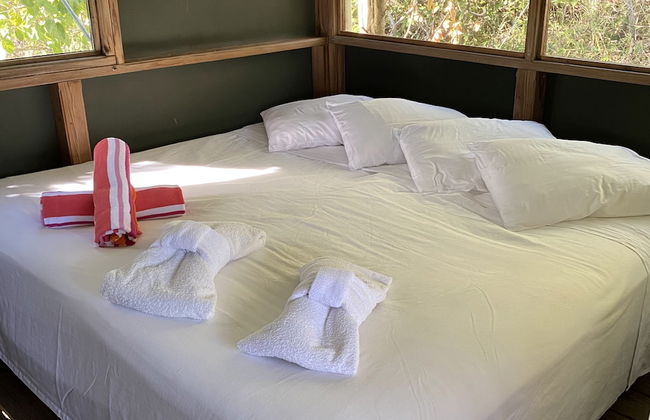


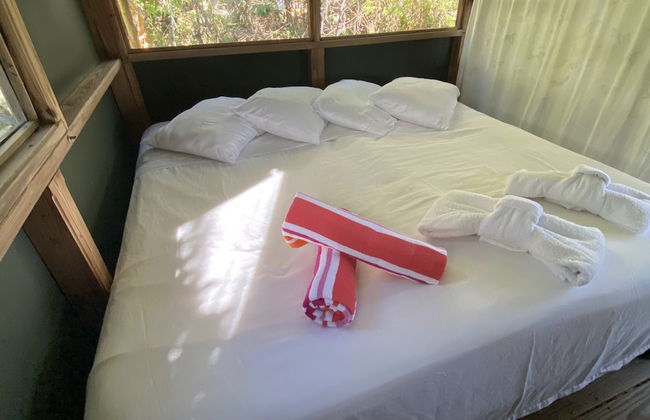
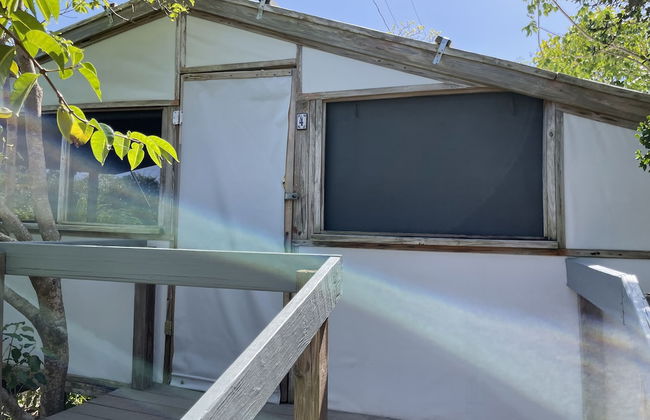
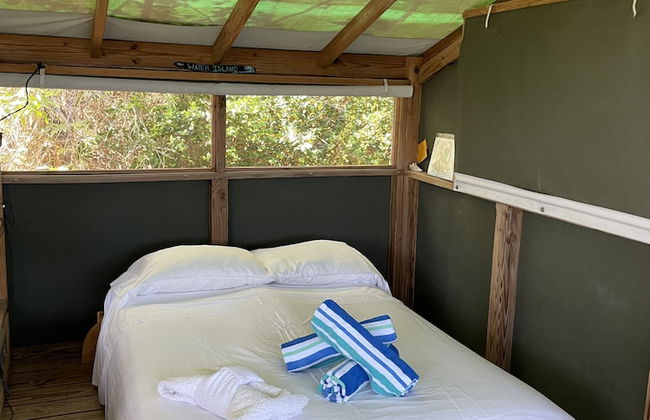
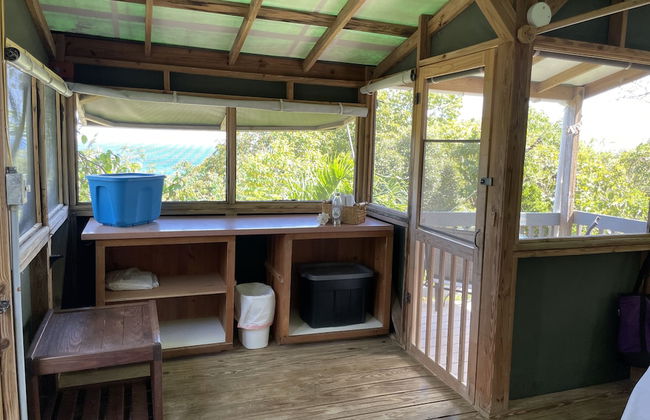


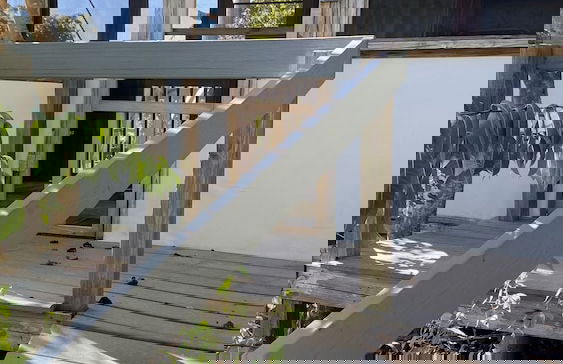


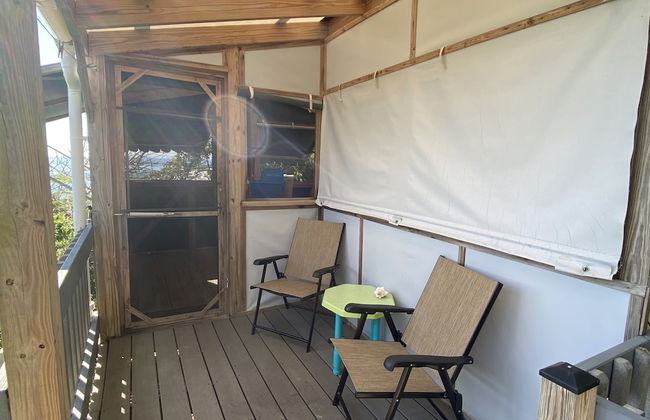

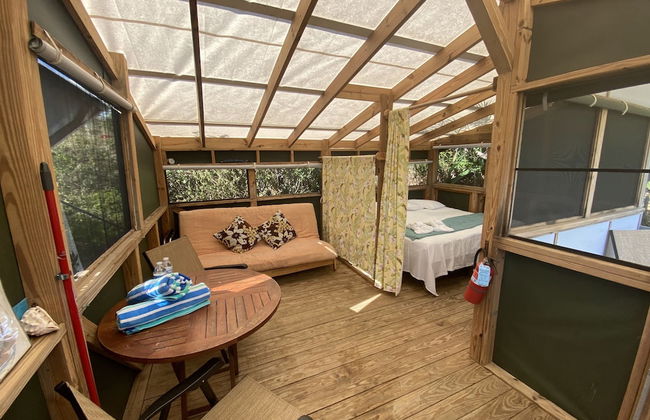


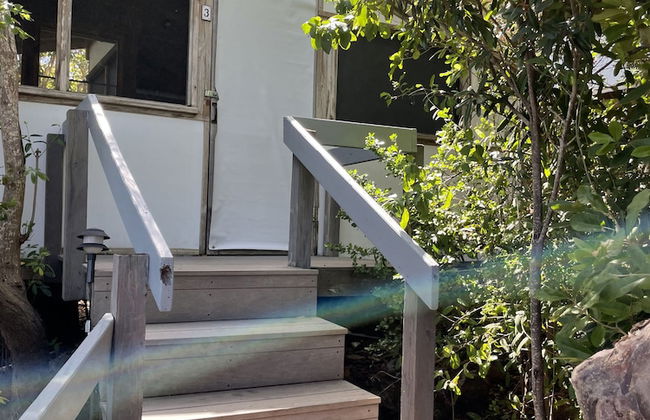


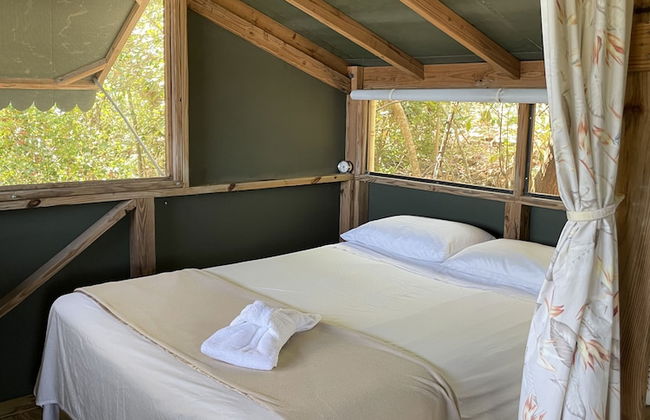


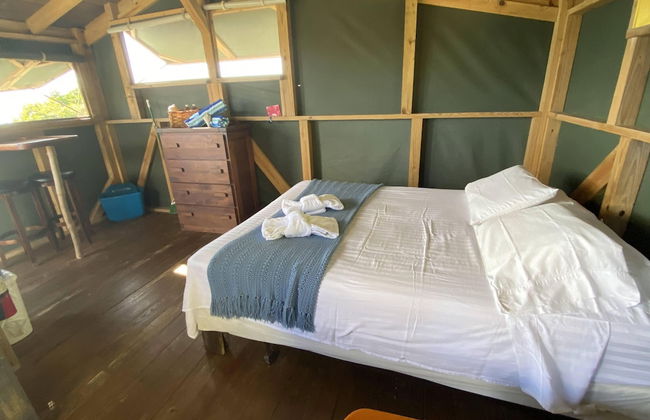
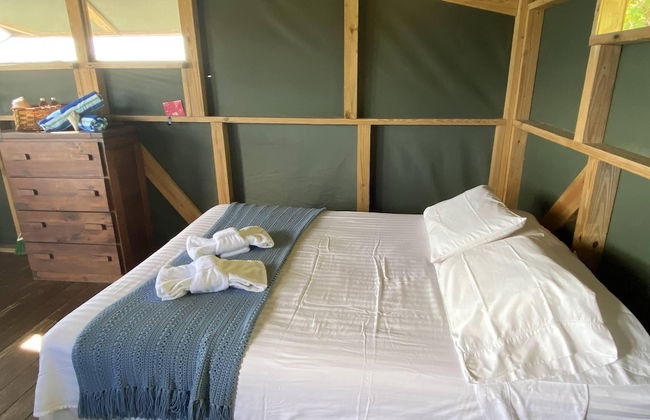


Virgin Islands Campground
Water Island - Western Water Island
- 69 M2
- 4 persone
- Terrazza
- Parcheggio
- Balcone
- Giardino
- Barbecue
- Lino da bagno
- Lino da letto
115 recensioni


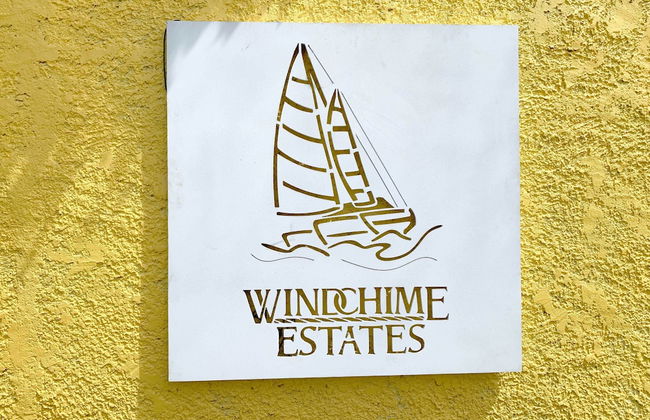


Windchime Estates
Northcentral - Concordia East - 3.8 km dal centro
- 186 M2
- 9 persone
- Cucinino
- Aria condizionata
- Terrazza
- Parcheggio
- Tv
- Lino da bagno
- Lino da letto
20 recensioni


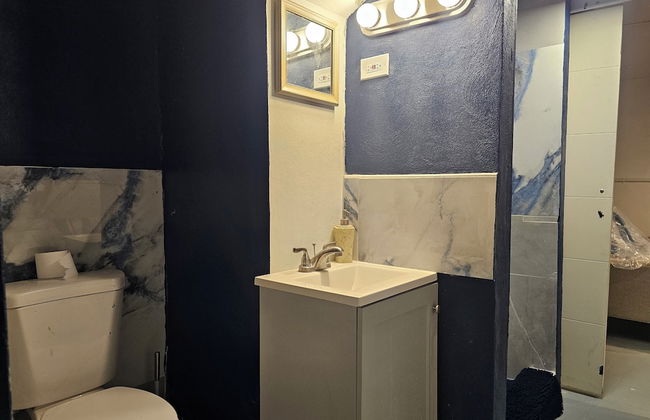


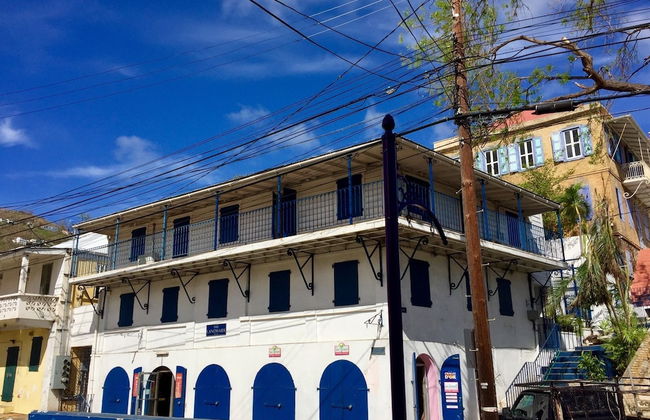
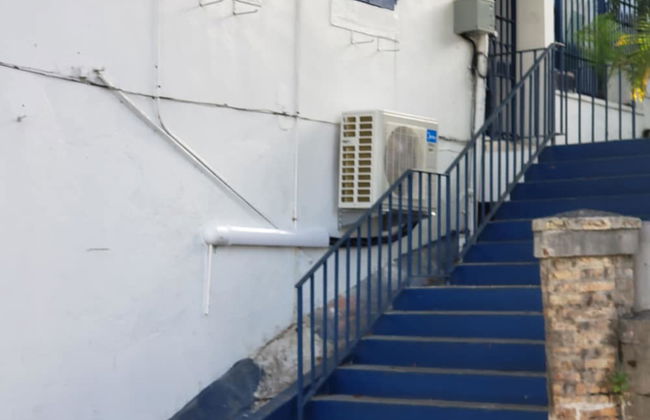
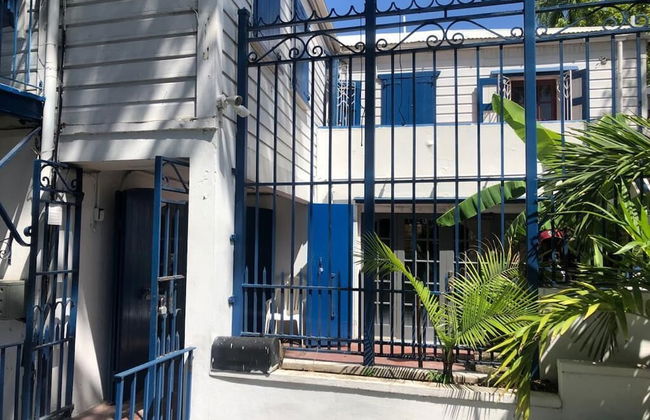


The Landmark Apartment
Charlotte Amalie - Kings Quarter
- 279 M2
- 8 persone
- Aria condizionata
- Terrazza
- Parcheggio
- Balcone
- Giardino
- Tv
- Lavatrice
- Lino da bagno
- Lino da letto
13 recensioni

Hilltop Villas at Bluebeard's Castle
Charlotte Amalie - Kings Quarter
- Piscina
- Parcheggio
- Ascensore
1570 recensioni


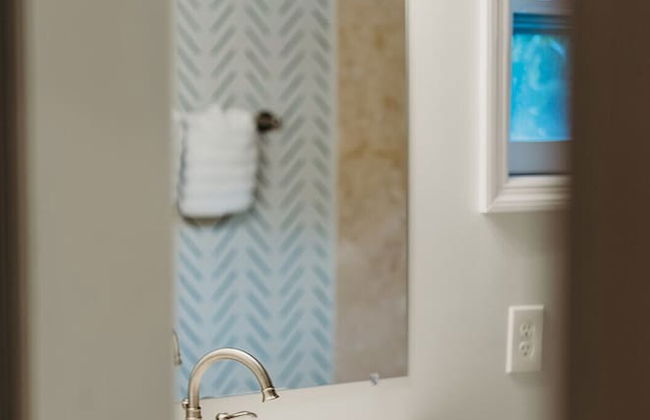
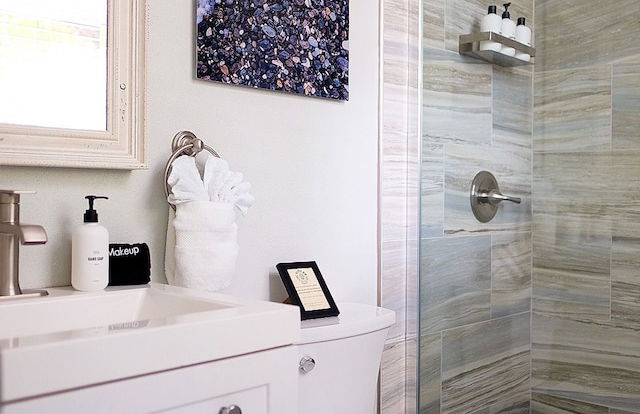
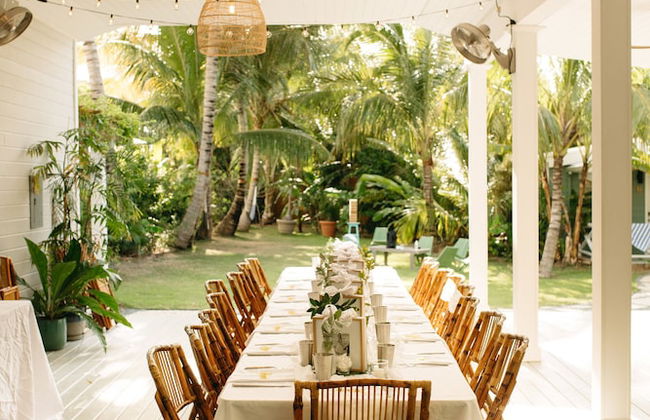
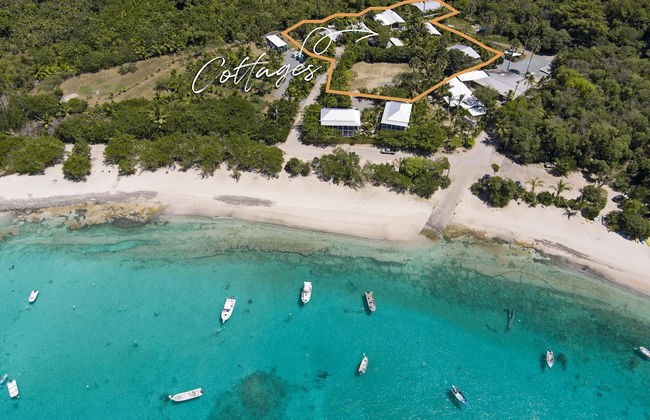
Cottages by the Sea
Southwest - Two Brothers
- 3 persone
- Cucinino
- Aria condizionata
- Terrazza
- Parcheggio
- Giardino
- Tv
- Barbecue
- Lino da bagno
- Lino da letto
263 recensioni

Castle Villas at Bluebeard's
Charlotte Amalie - Kings Quarter
- Piscina
- Parcheggio
- Ascensore
1083 recensioni


Dolphin Suites
Cruz Bay - Enighed
- 2 persone
- Aria condizionata
- Parcheggio
- Lino da bagno
- Lino da letto
10 recensioni


Gorgeous Ocean Views! Welcome to Bella Breeze! BeachFront 2BR 2BA
Sion Farm - La Grande Princess - 340 m dal centro
- 102 M2
- 6 persone
- Aria condizionata
- Terrazza
- Piscina
- Parcheggio
- Giardino
- Tv
- Lavatrice
- Barbecue
- Lino da letto
8 recensioni
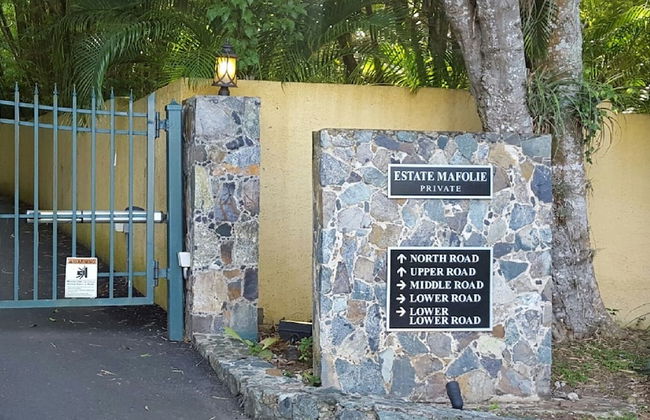


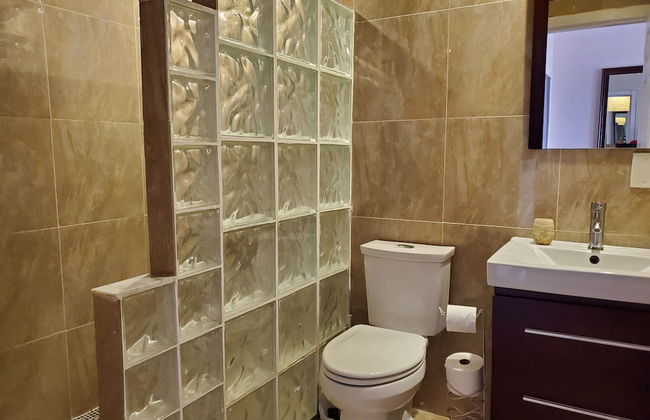

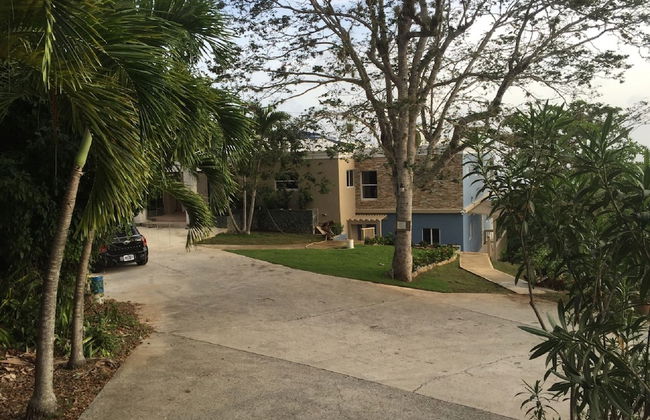

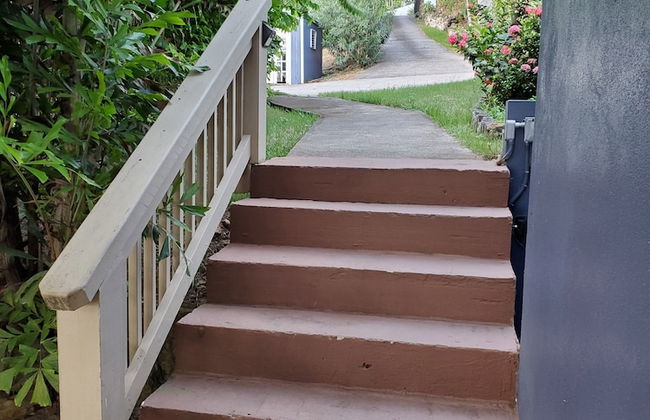


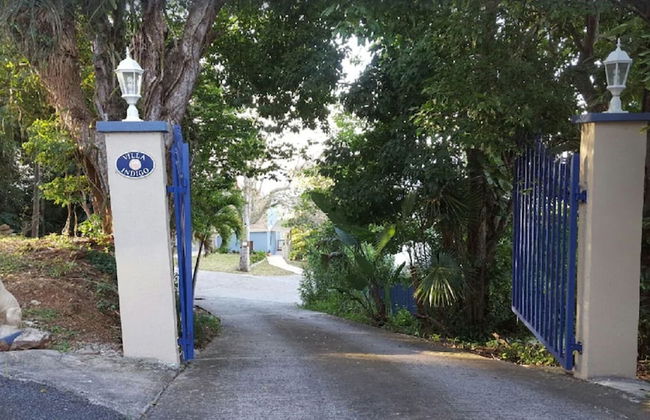
Villa Indigo 1BR in Private Gated Estate
Northside - Mafolie - Al centro
- 121 M2
- 3 persone
- Aria condizionata
- Terrazza
- Parcheggio
- Balcone
- Giardino
- Tv
- Lavatrice
- Lino da bagno
- Lino da letto
23 recensioni


The Cottage at Villa Indigo
Charlotte Amalie - Kings Quarter
- 6 persone
- Parcheggio
- Tv
- Lavatrice
- Lino da letto
14 recensioni


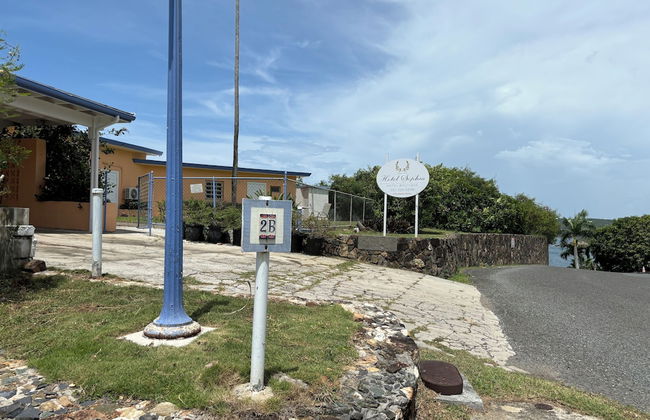
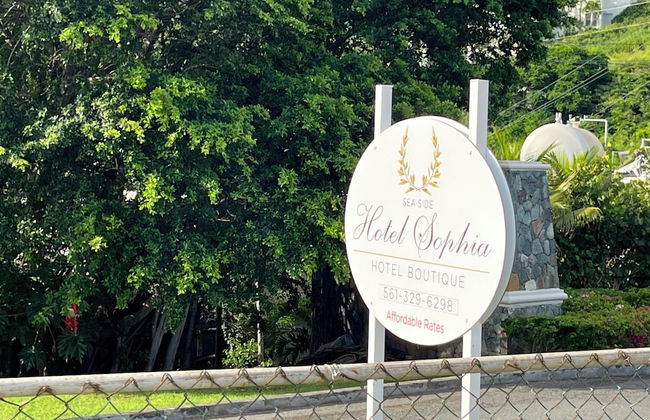


Hotel Sophia Boutique Hotel
Southside - Bakkero
- 2 persone
- Aria condizionata
- Parcheggio
- Balcone
- Giardino
- Tv
- Lino da bagno
- Lino da letto
27 recensioni