


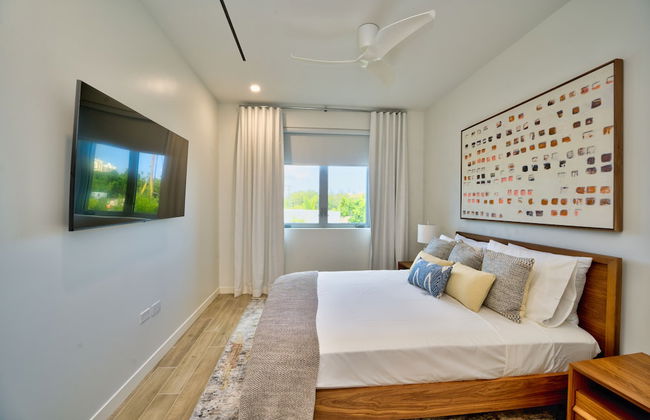


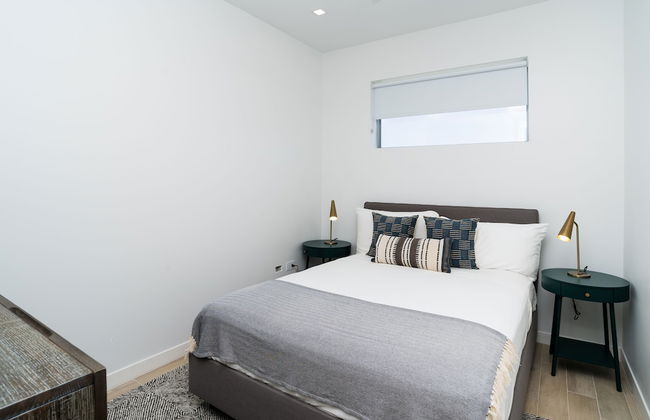


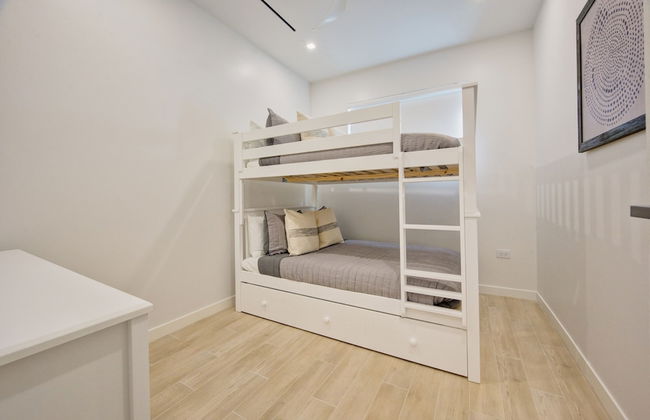

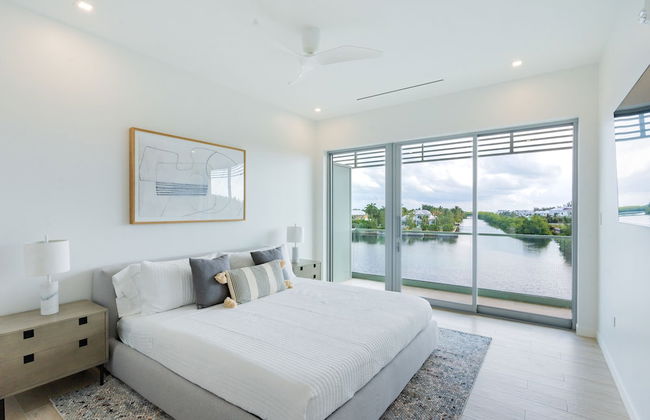
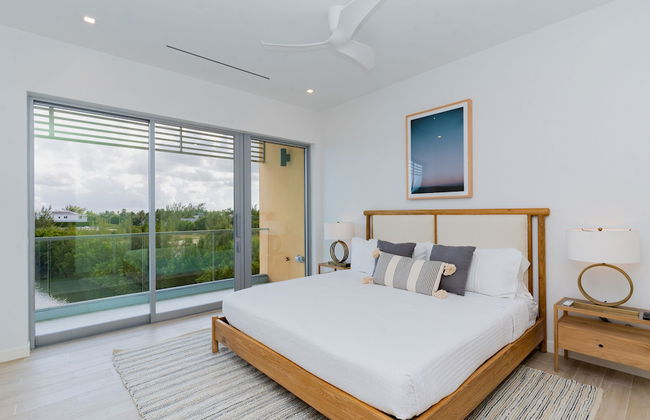

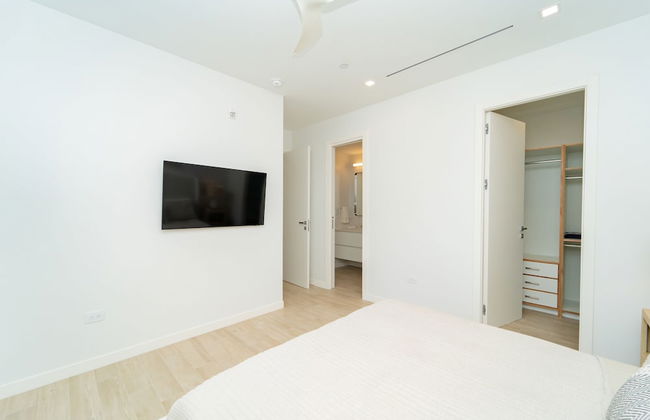


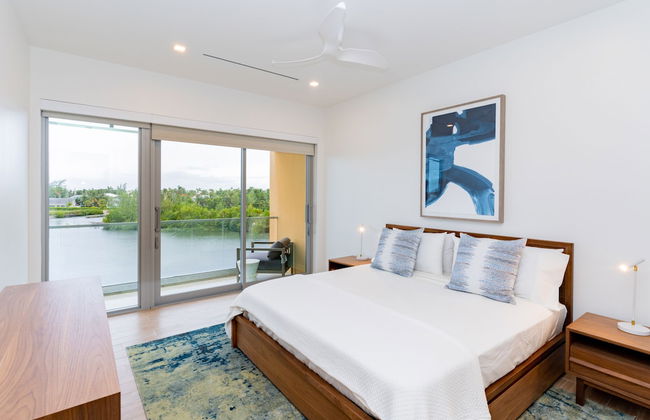


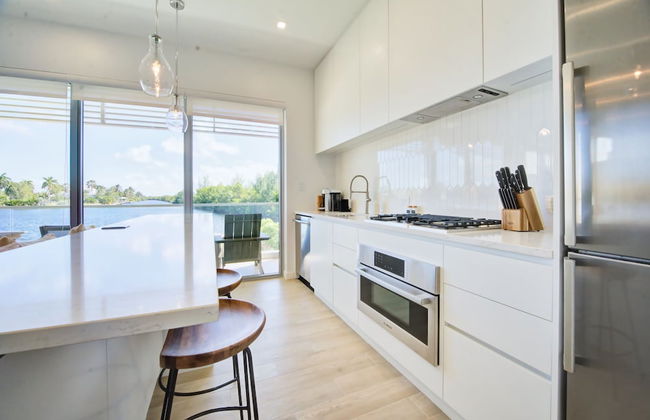


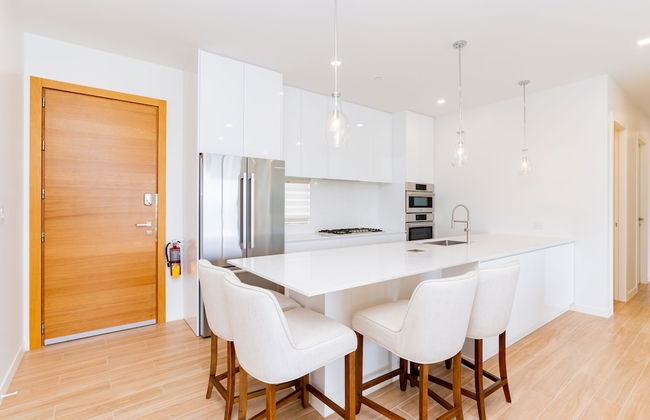


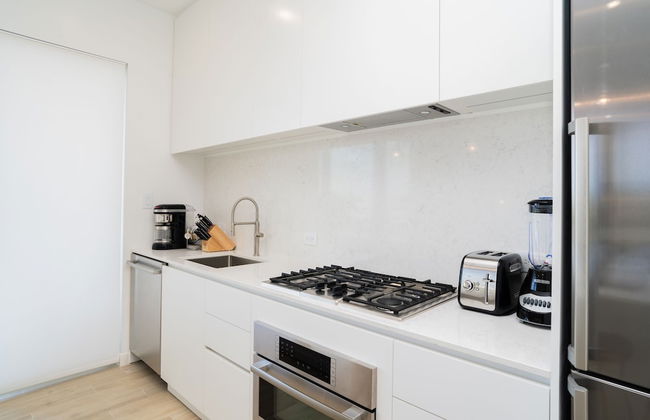


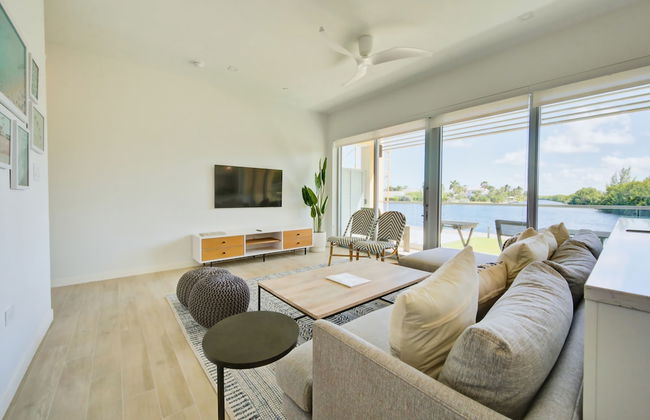
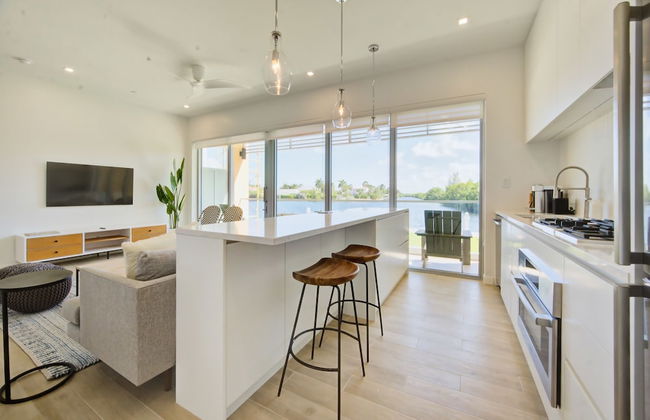
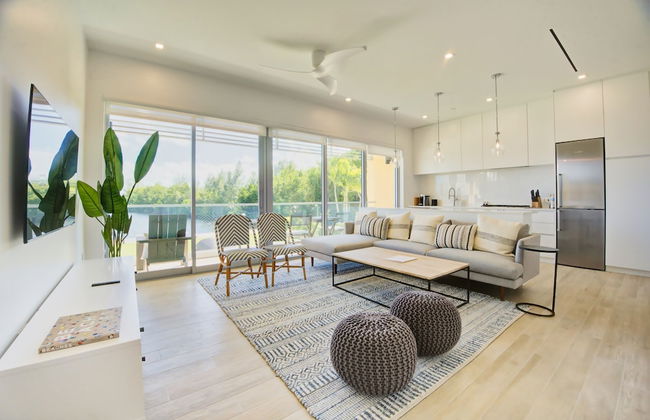
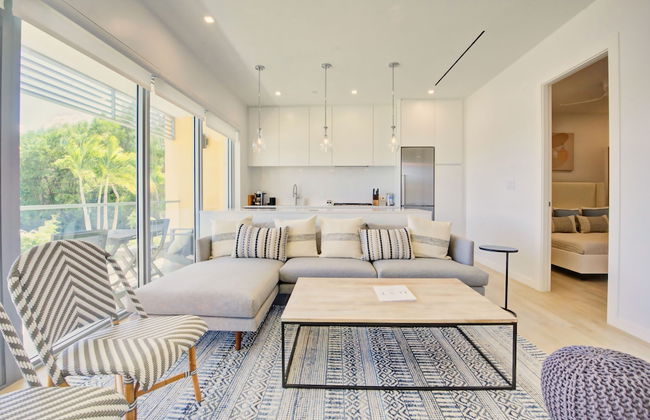
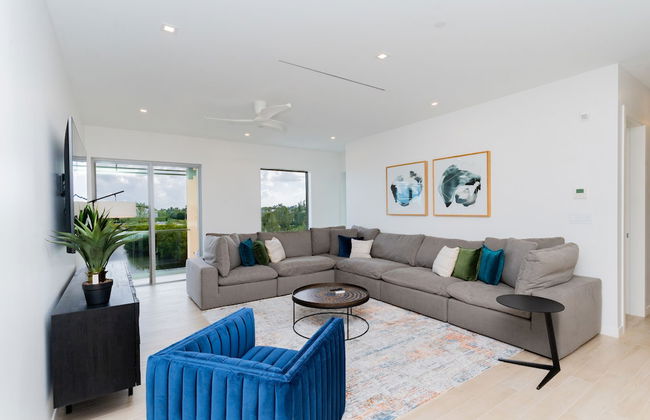
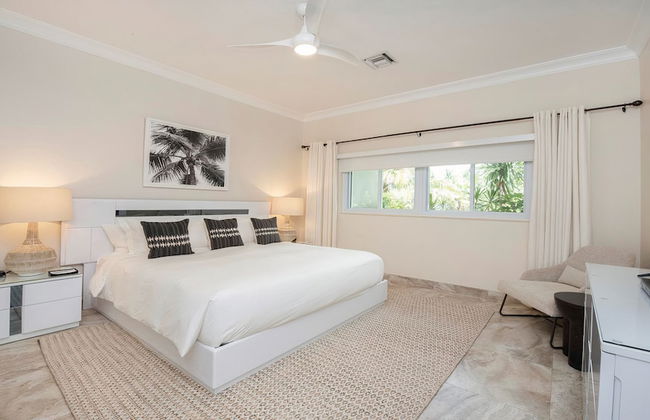
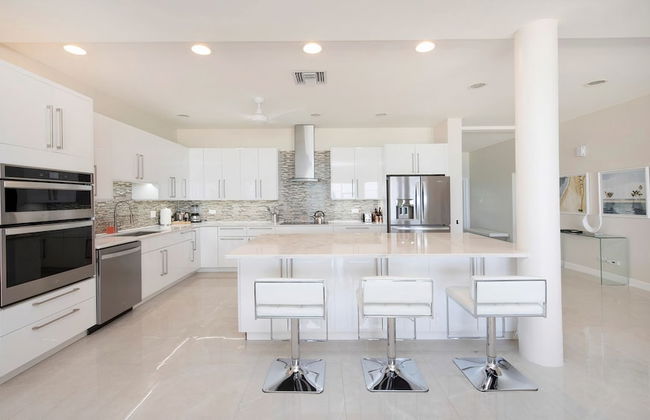
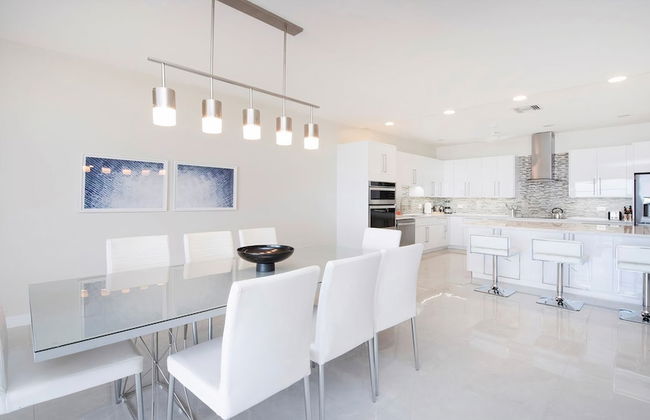
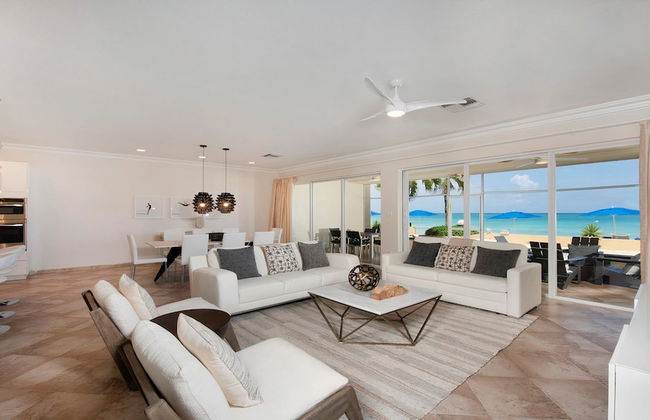
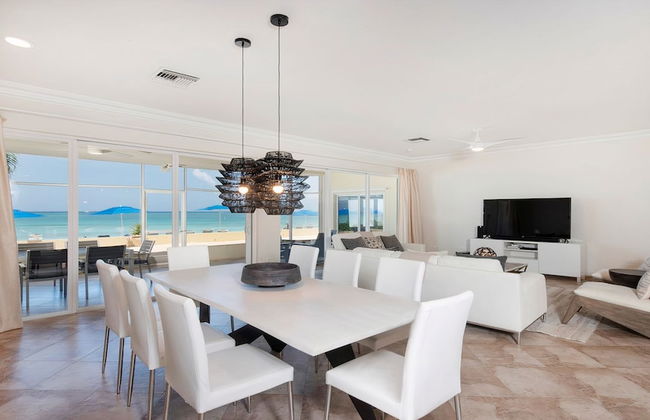
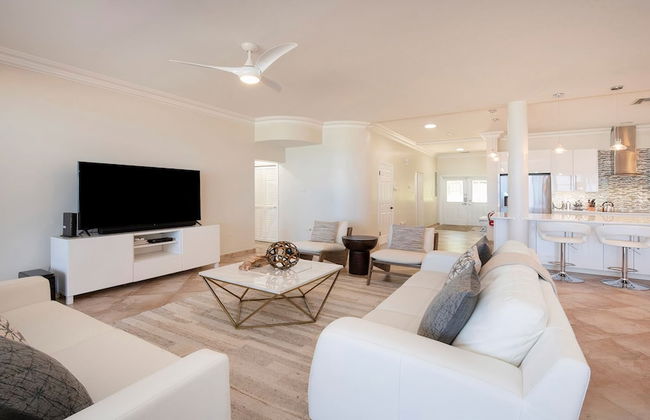
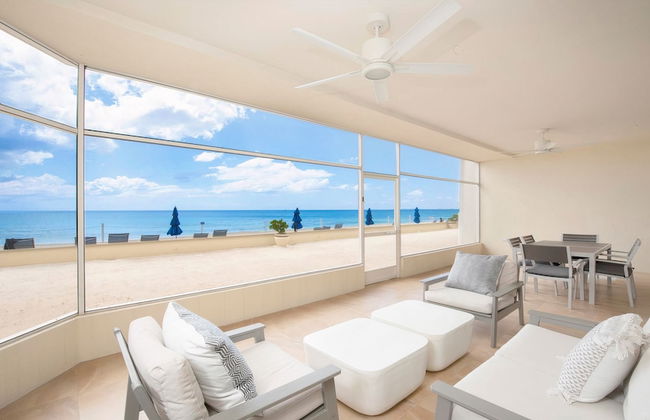
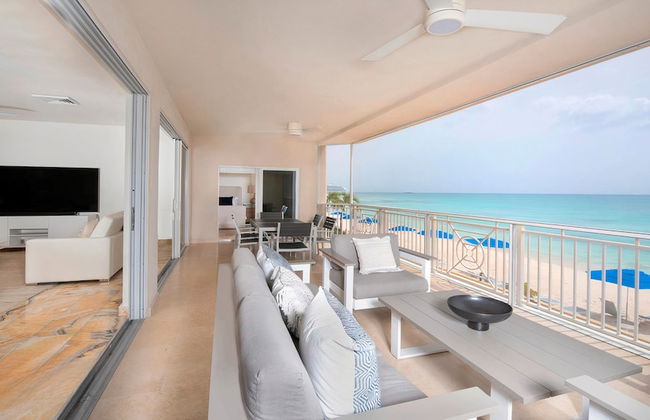
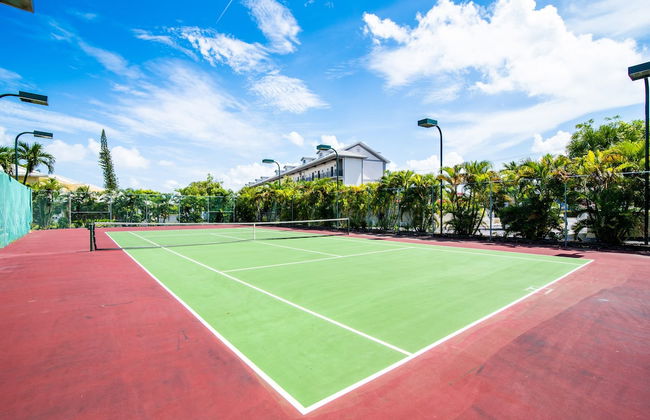
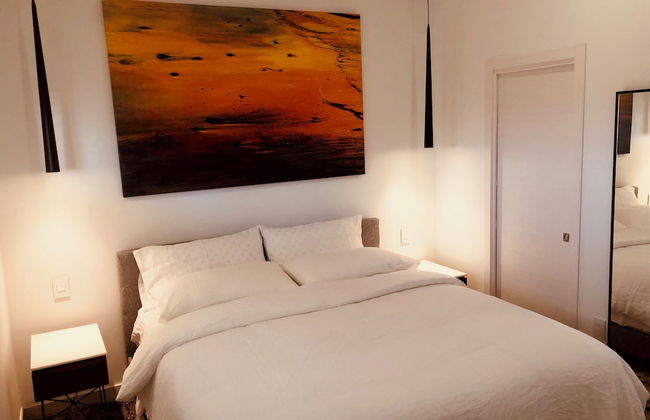
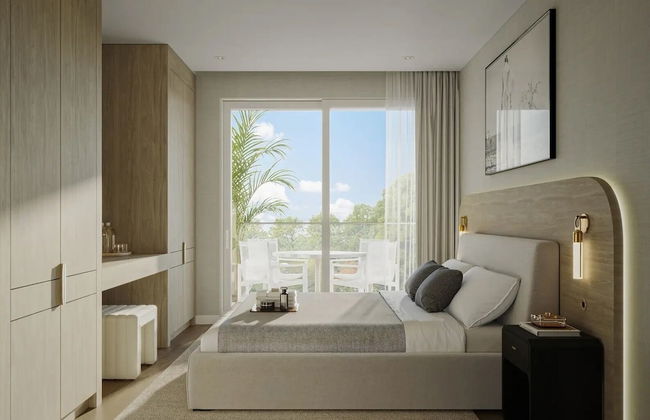
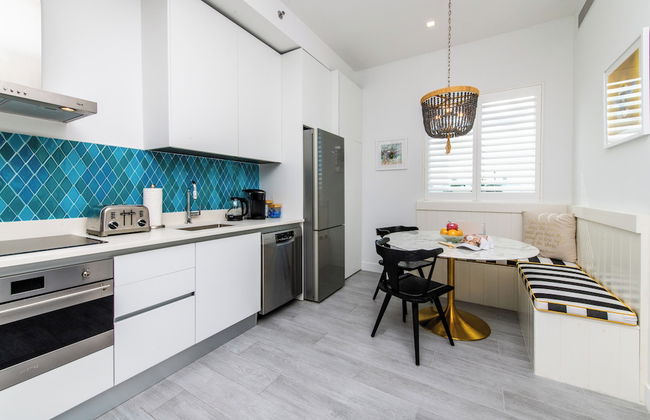
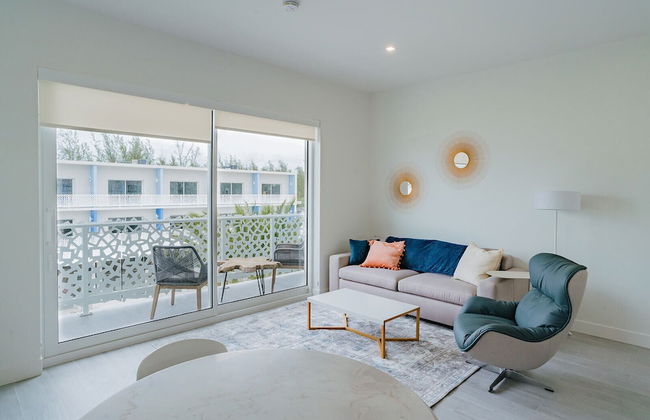
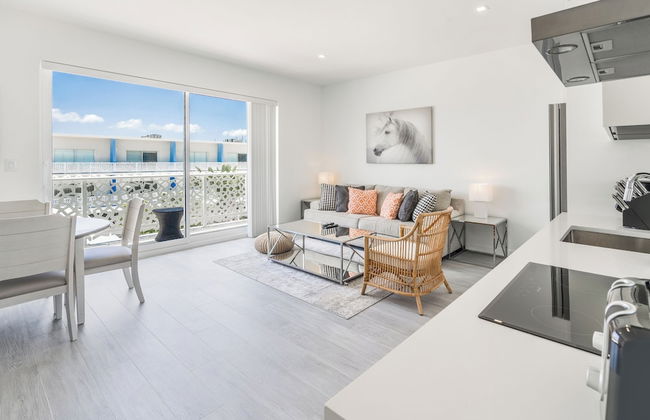
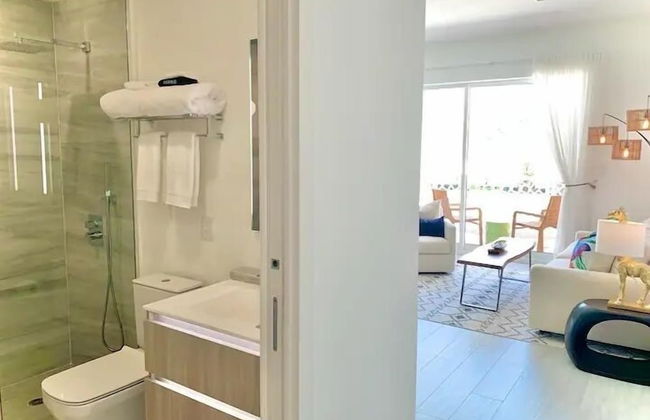
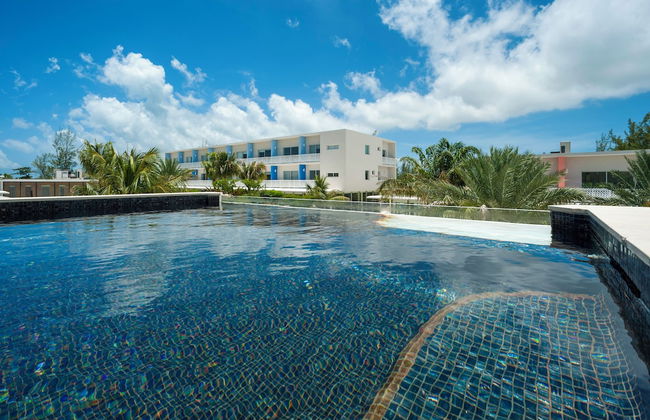
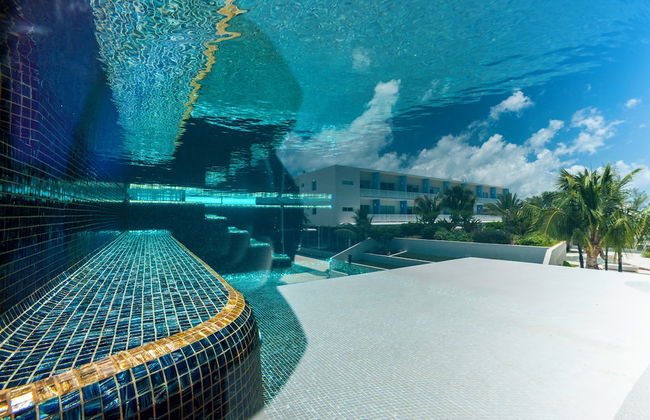
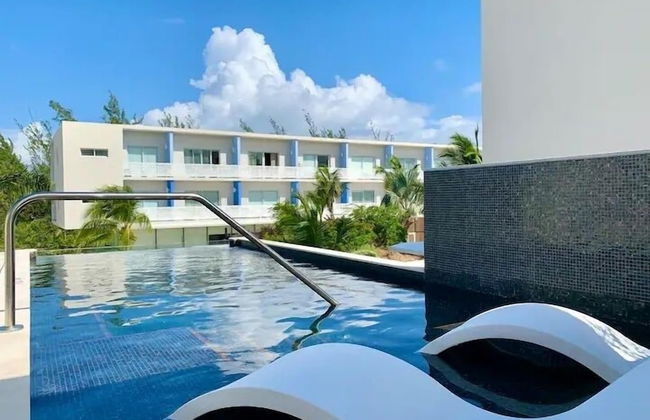
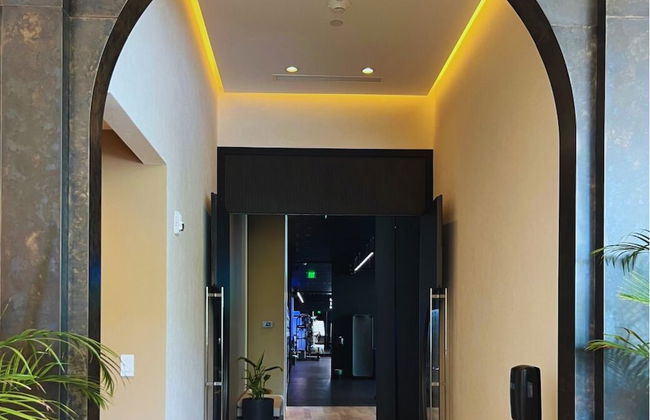
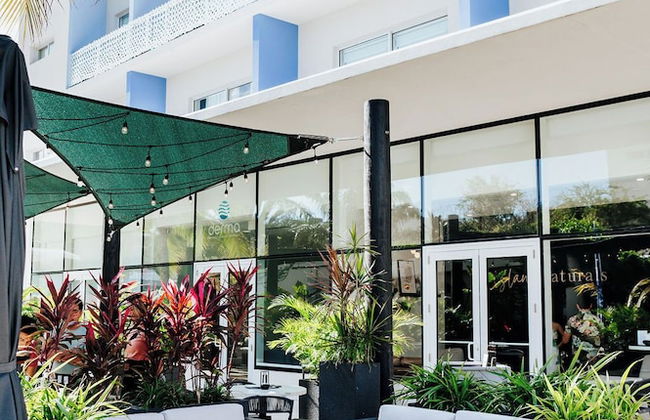
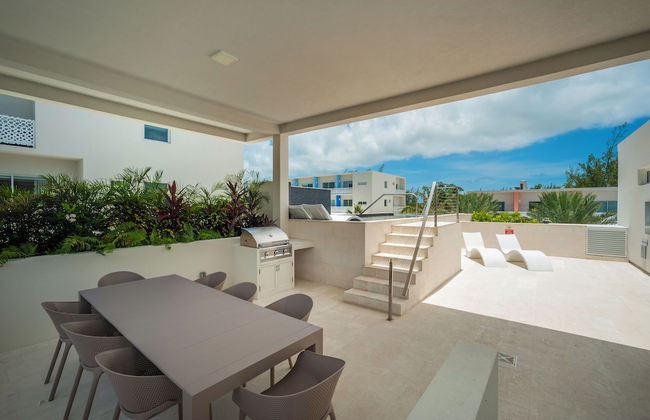
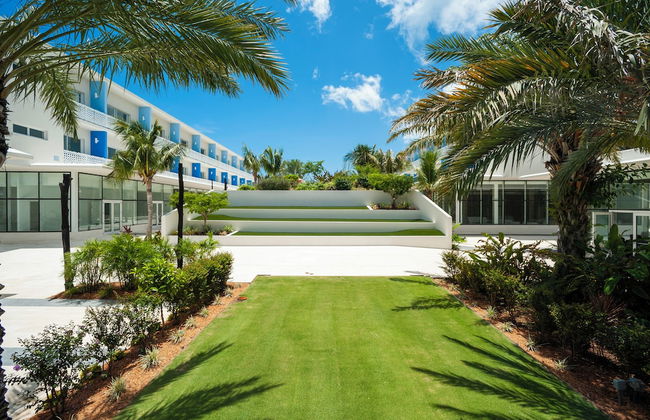
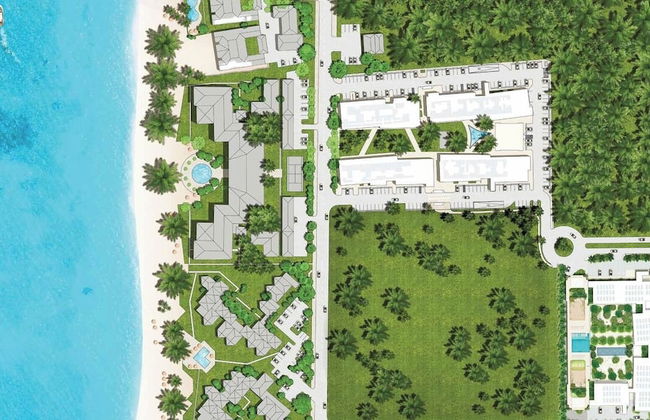
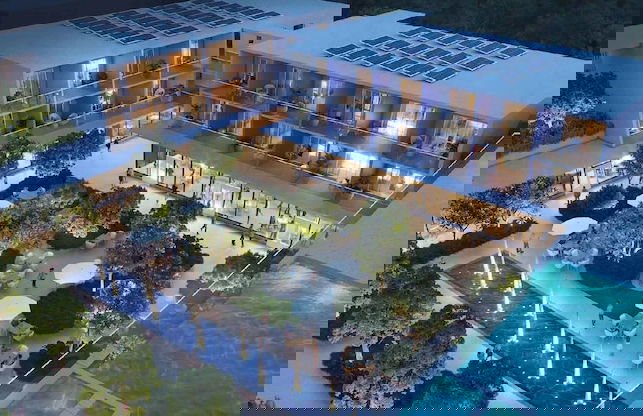
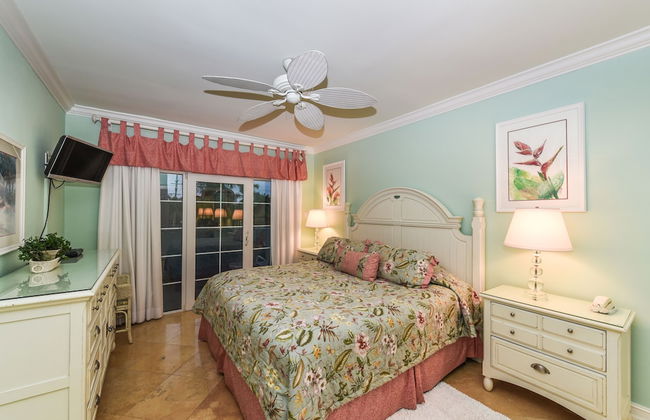
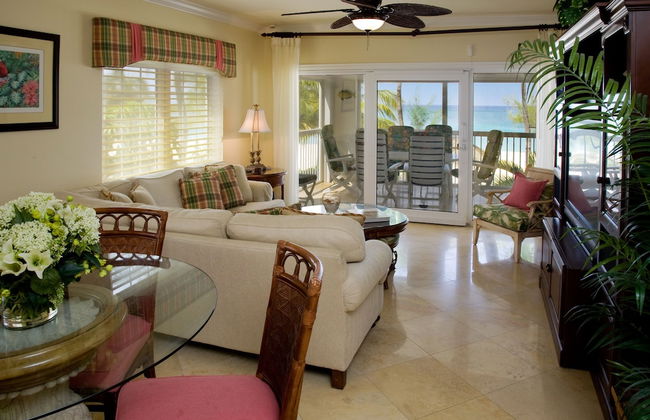
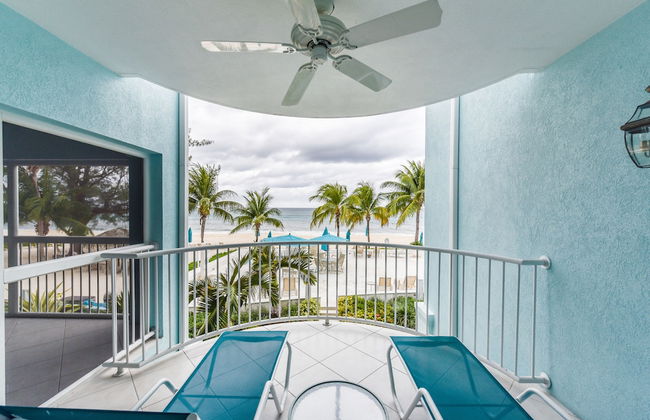
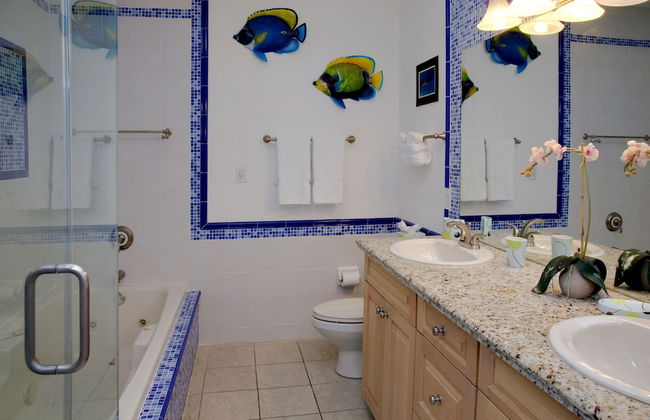
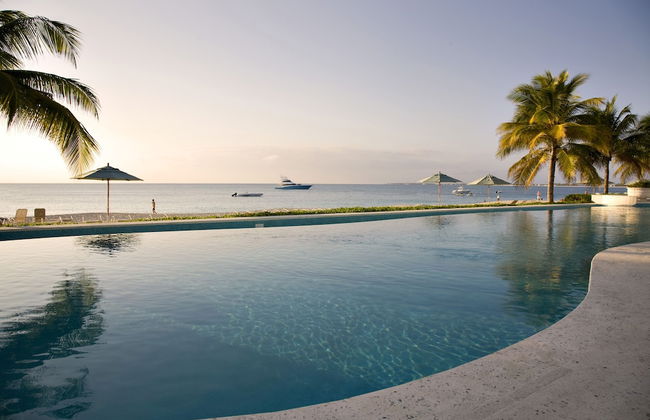
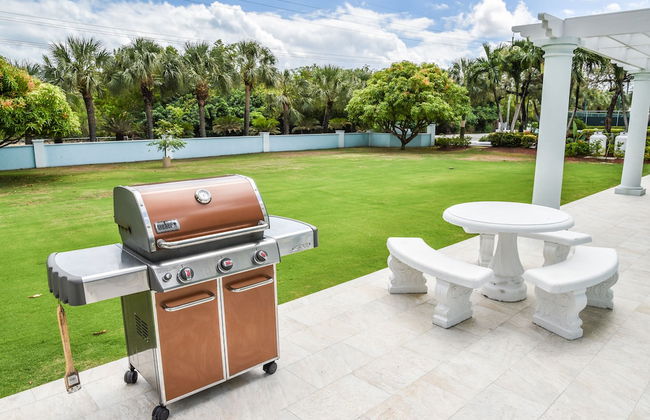
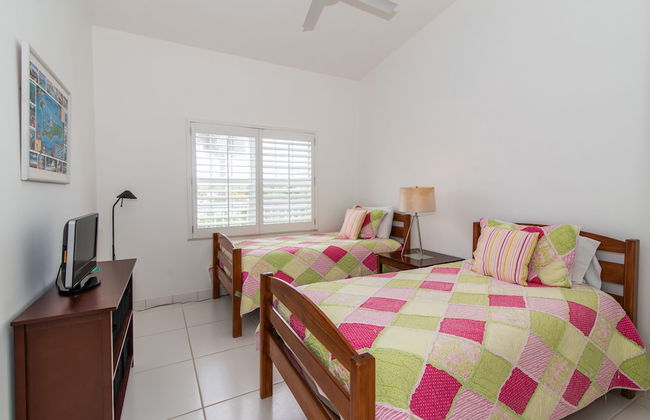
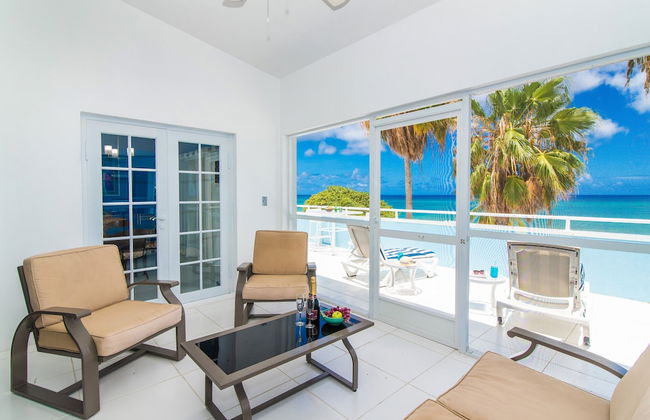
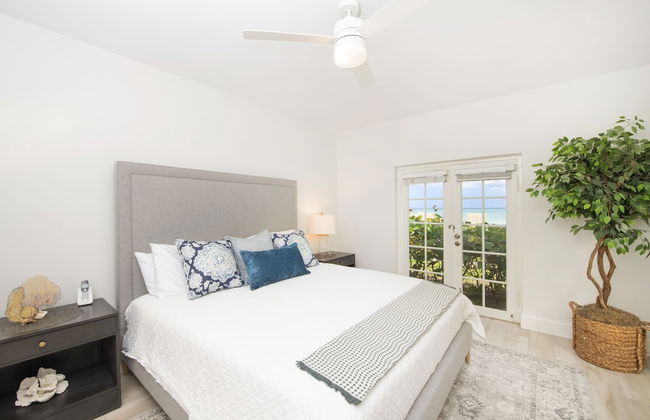
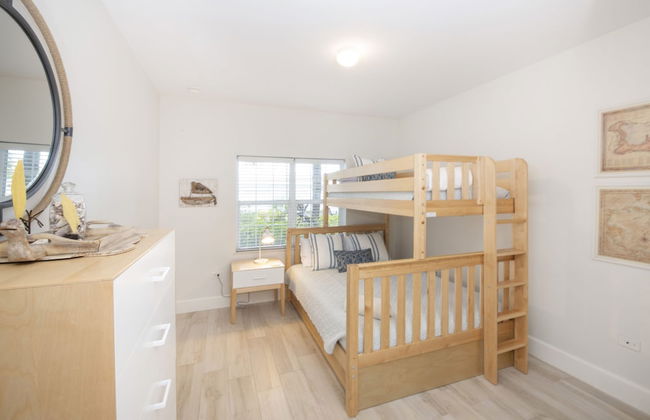
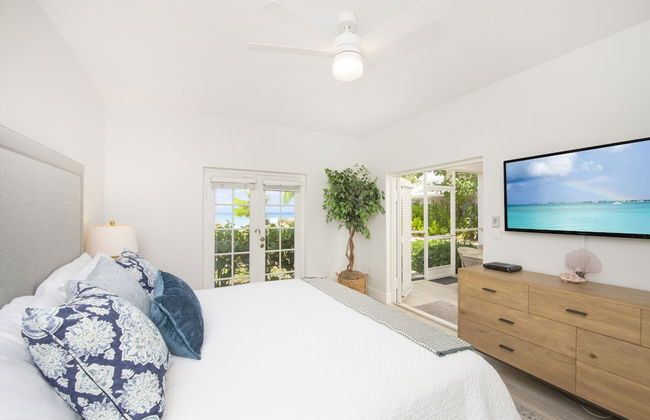
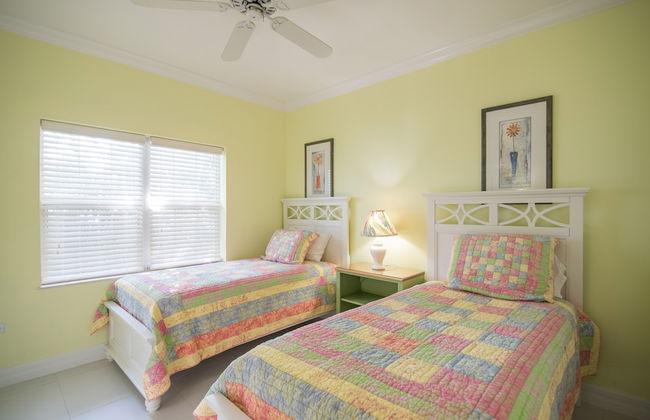
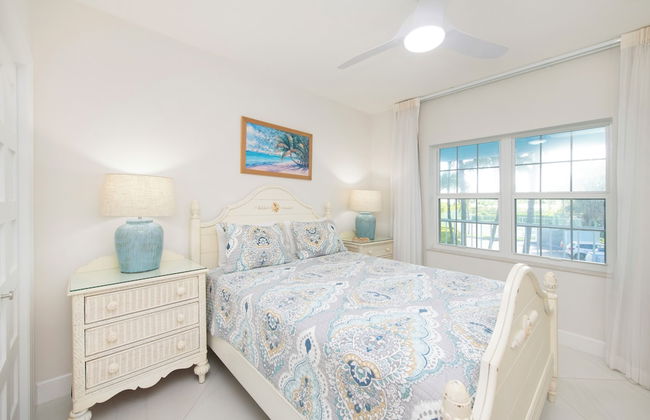
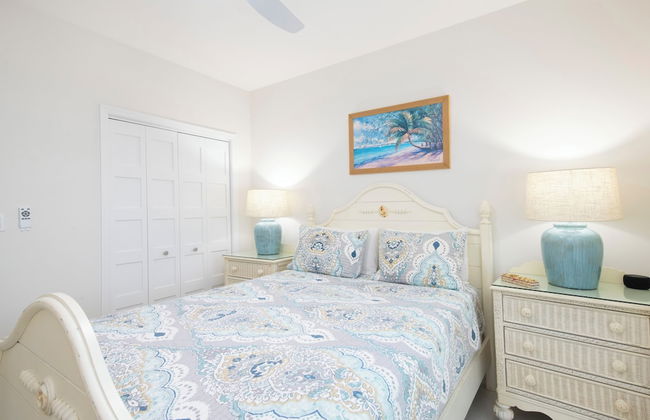
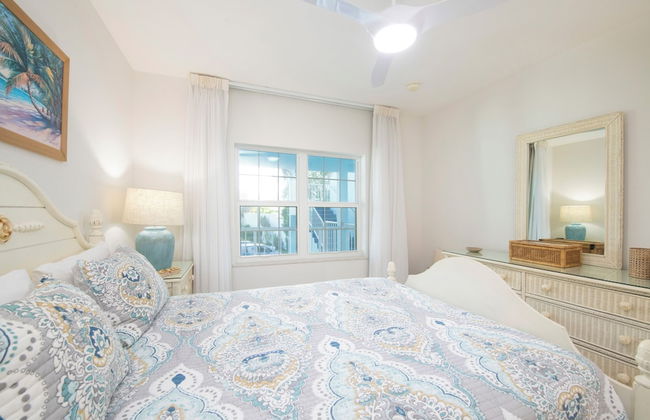
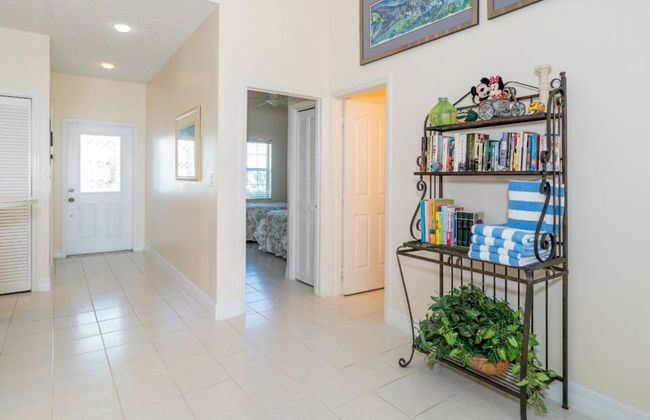
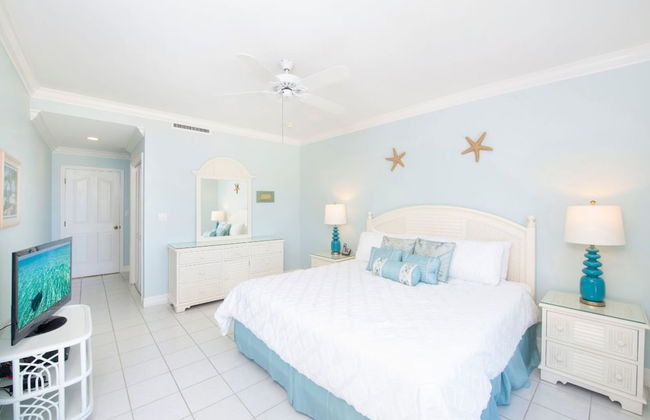
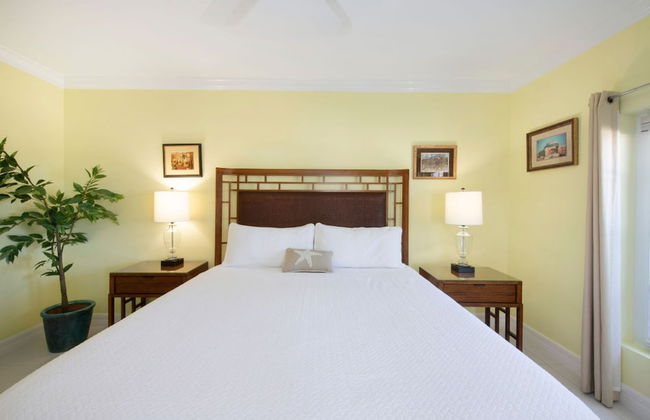
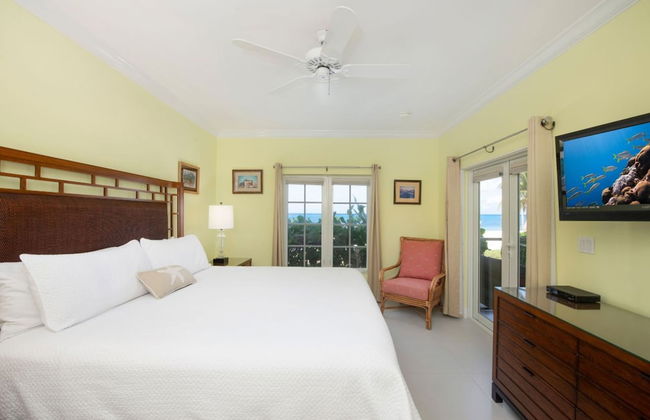
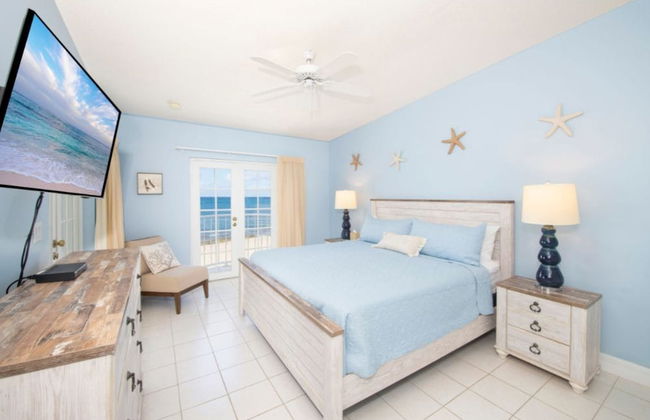
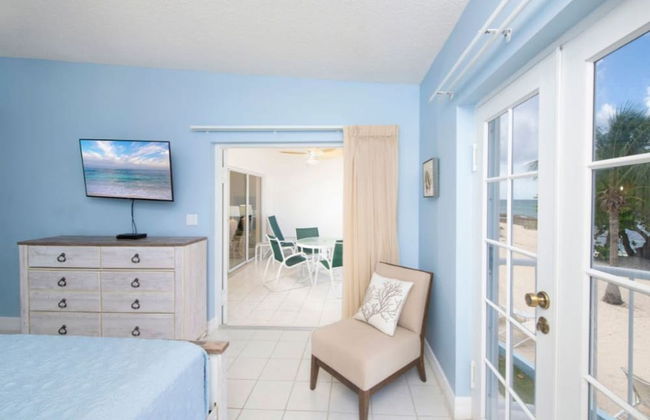
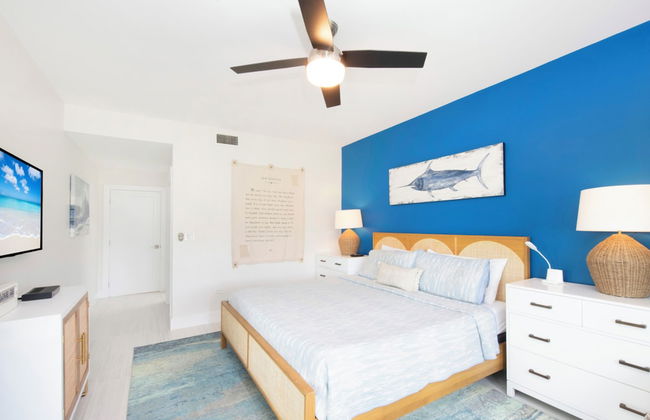
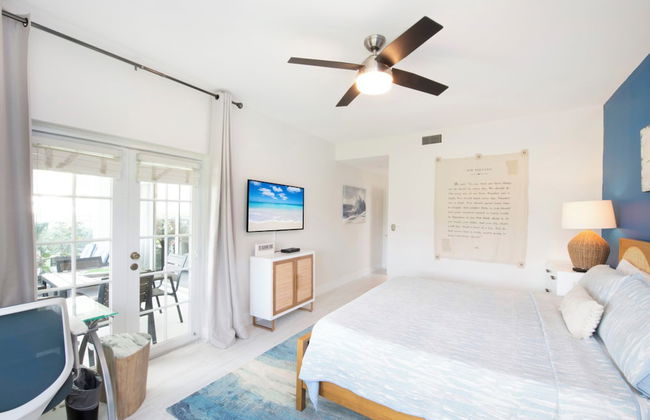
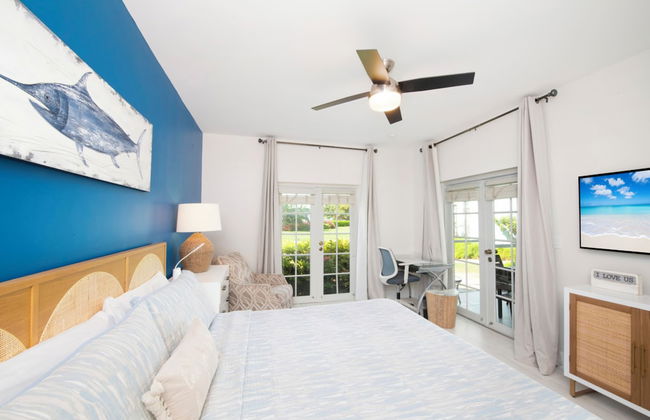
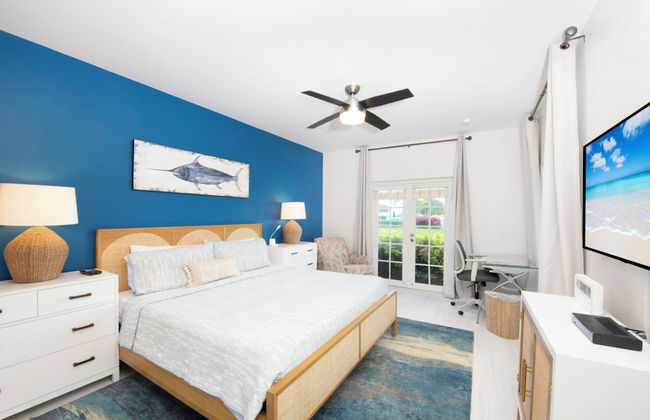
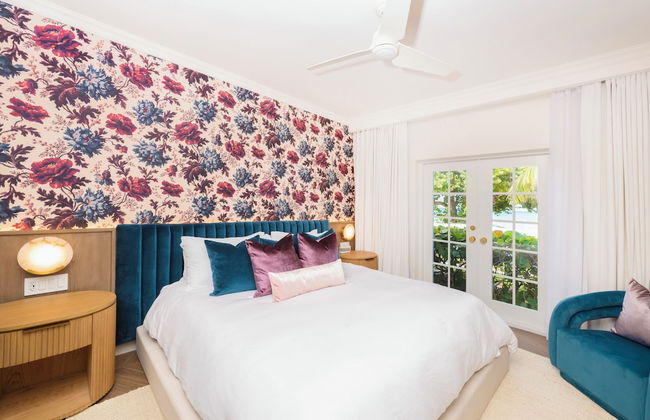
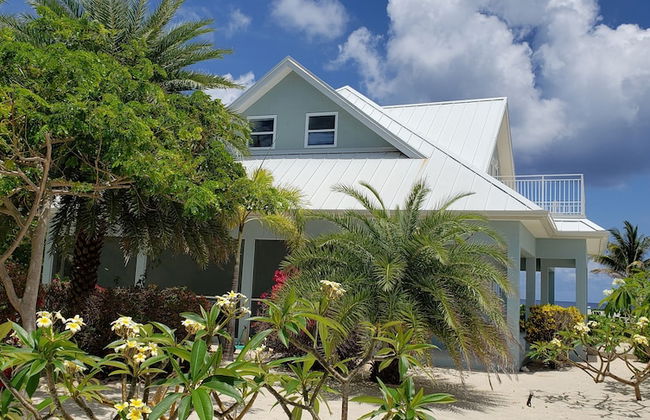
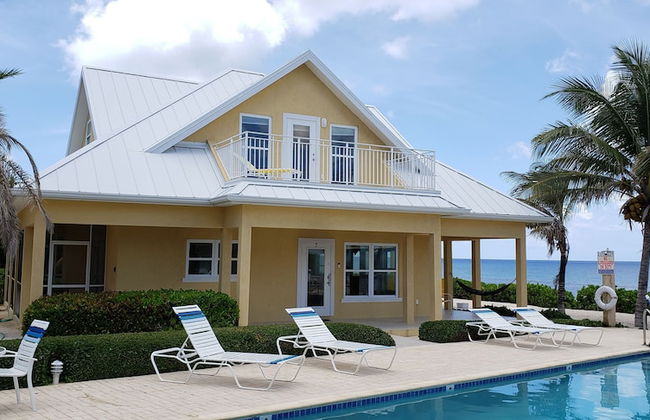
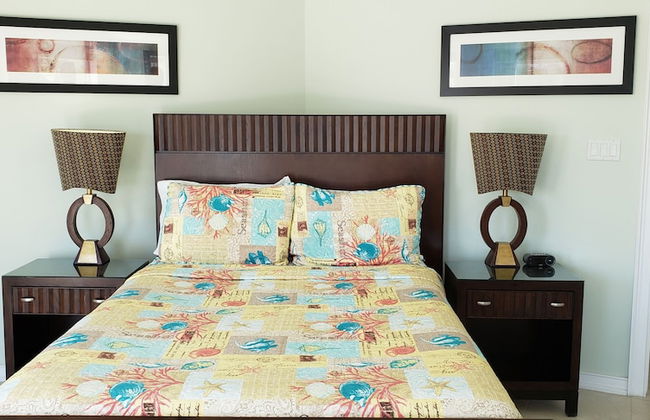
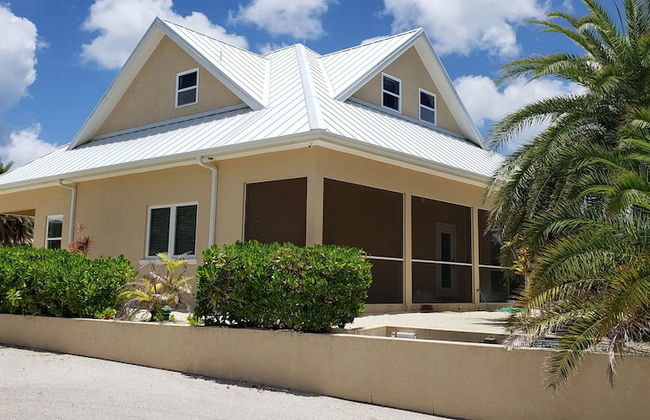
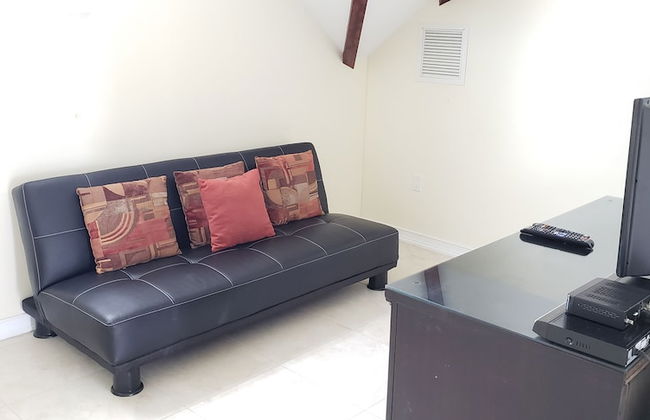
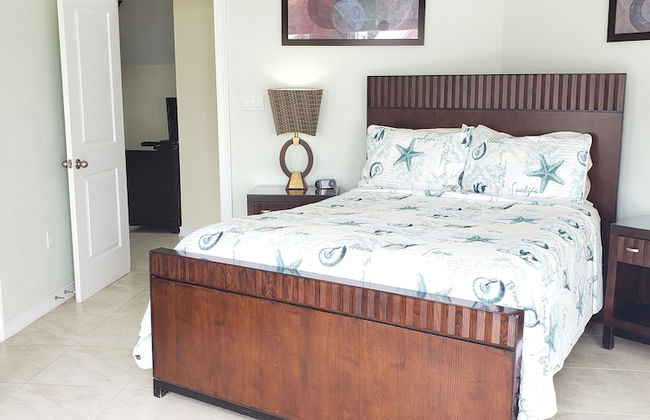
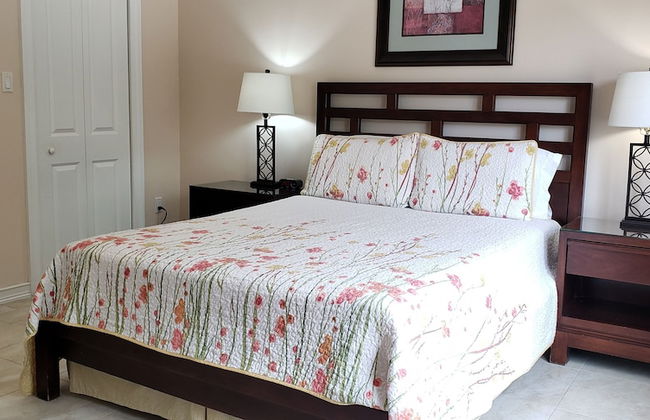
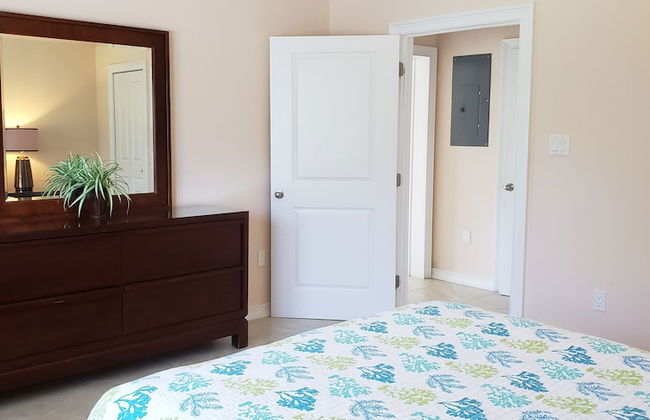
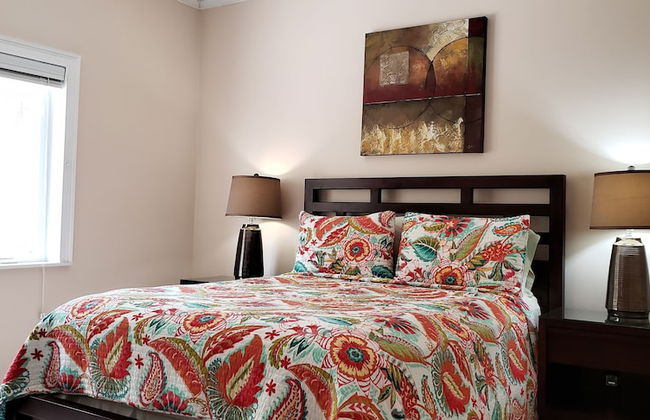
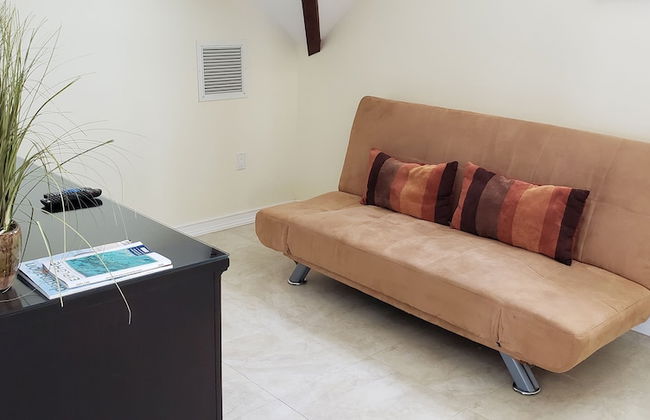
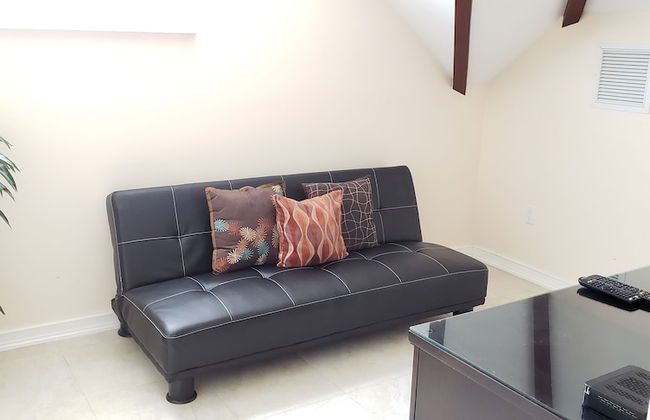
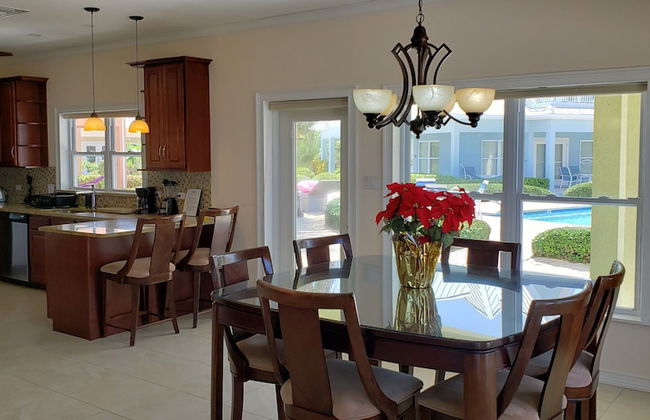
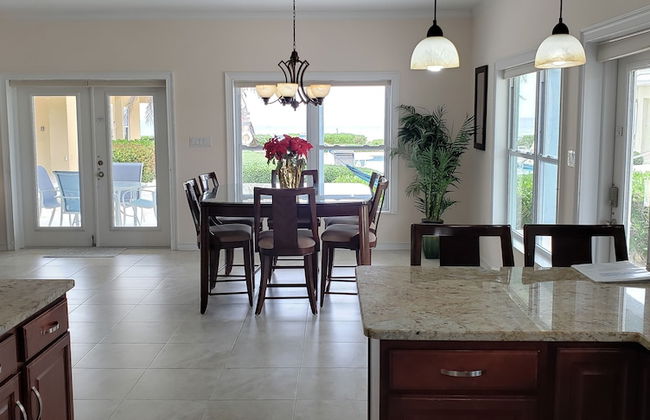
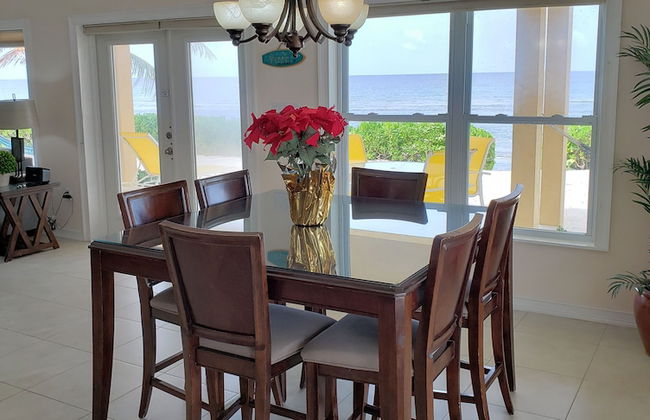
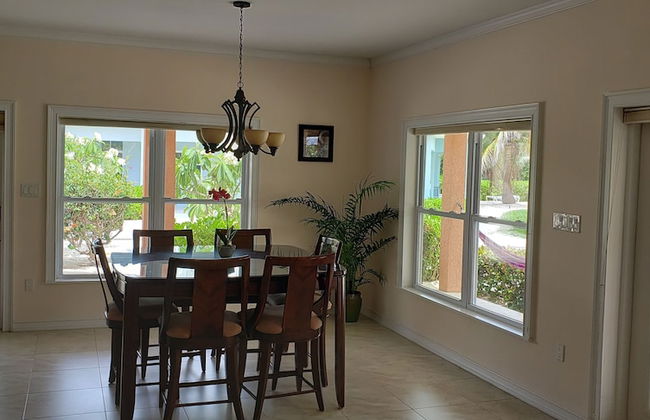
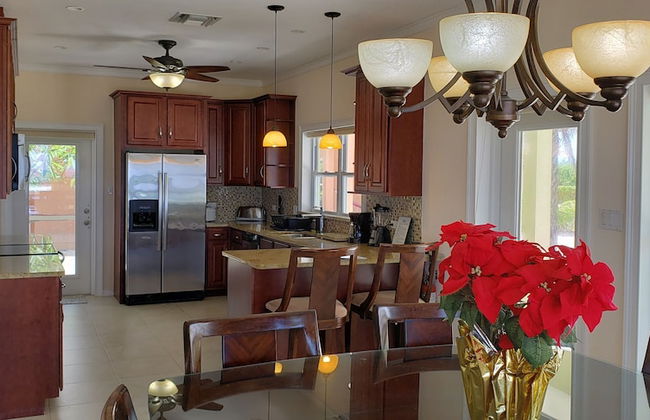
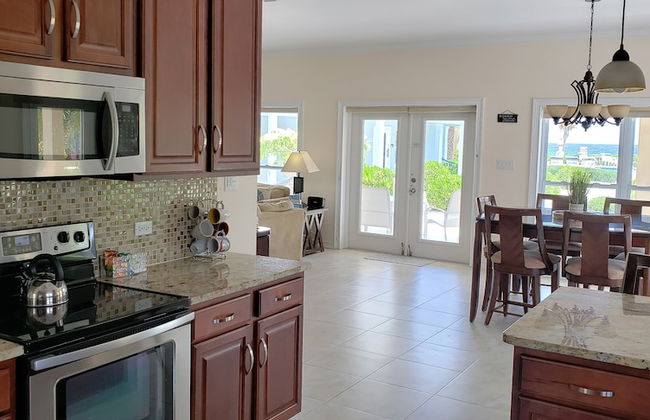
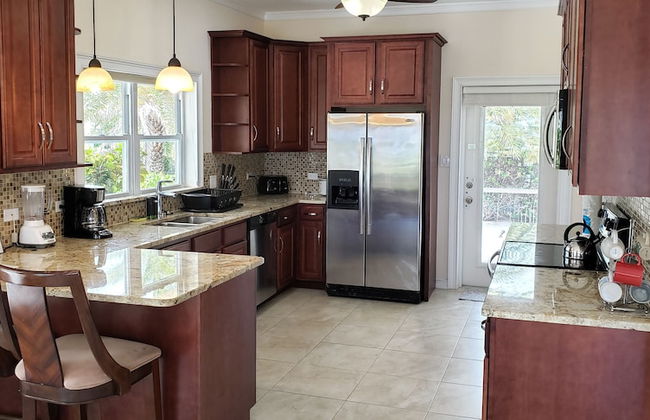
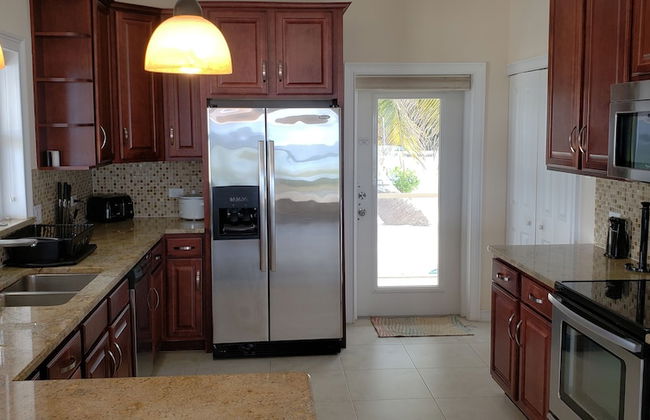
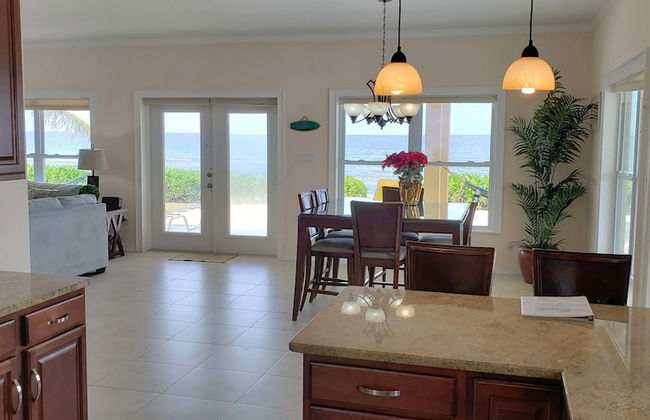
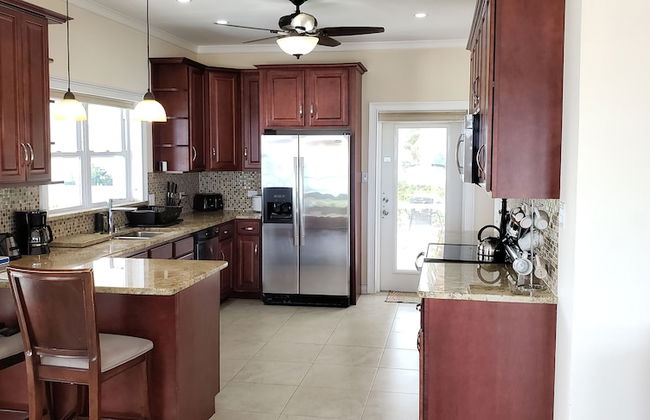
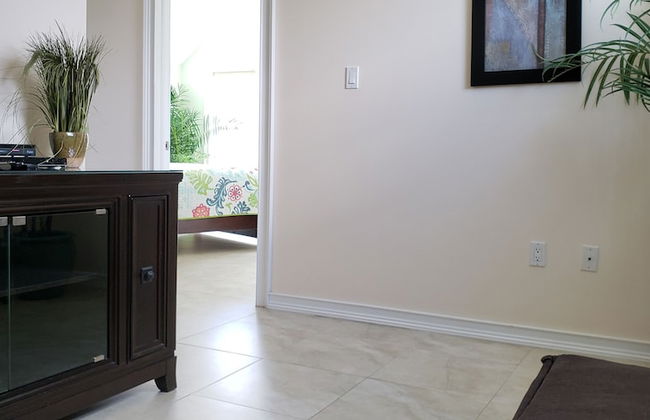
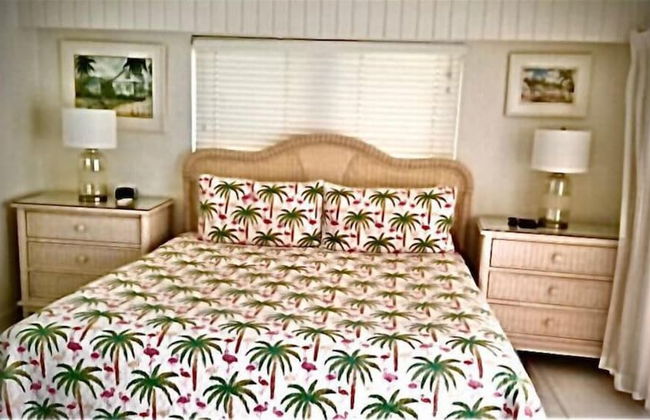
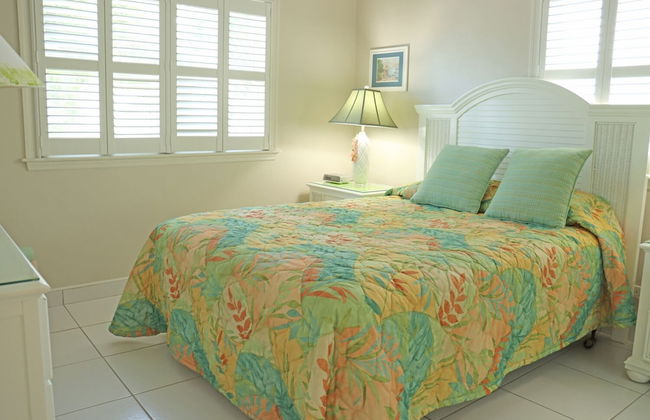
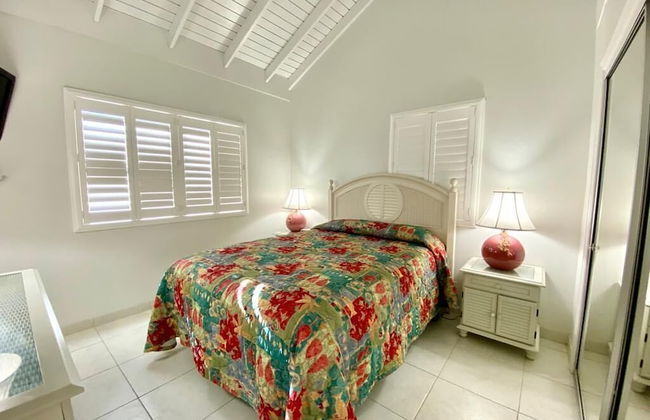
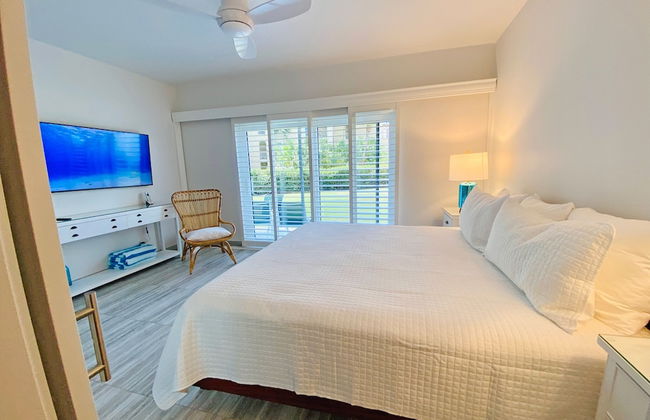
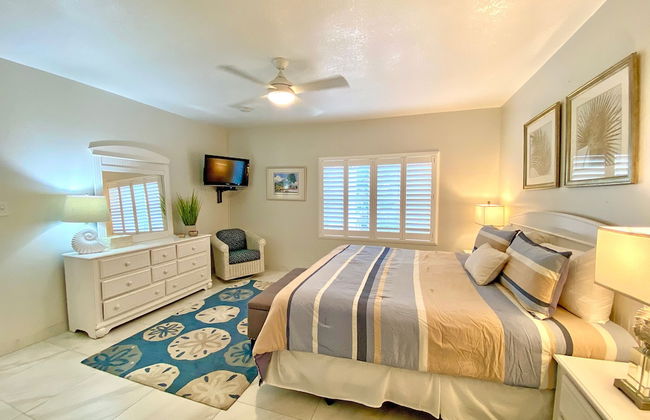
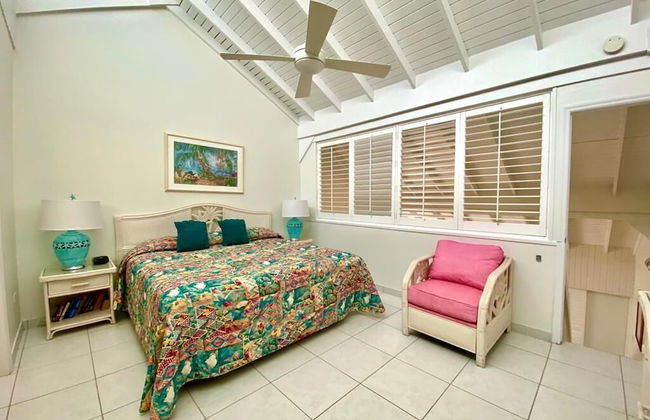
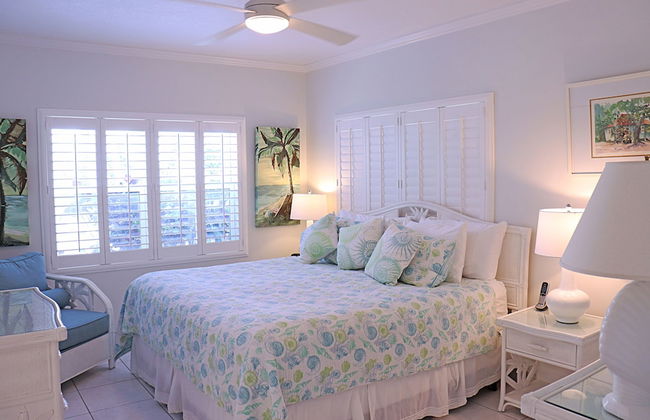
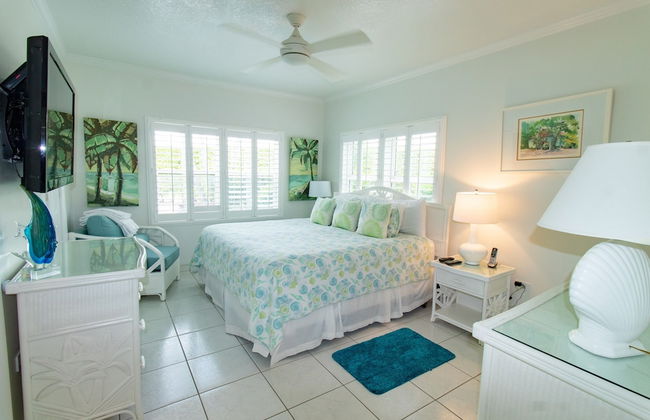
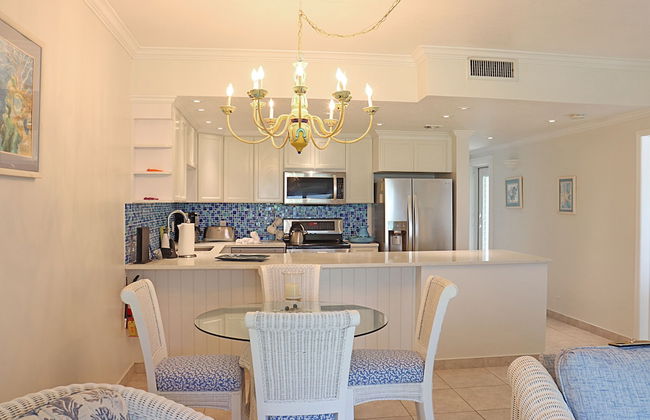
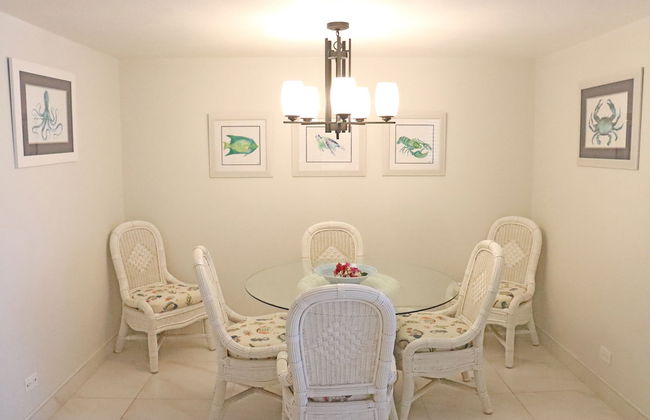
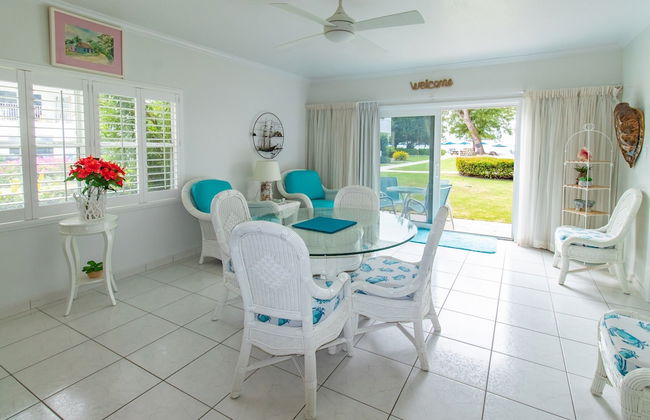
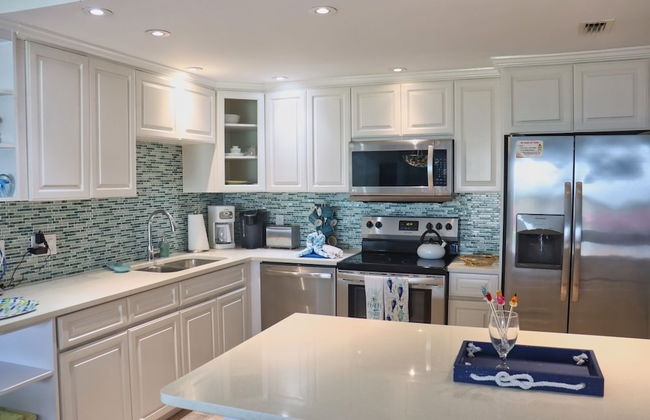
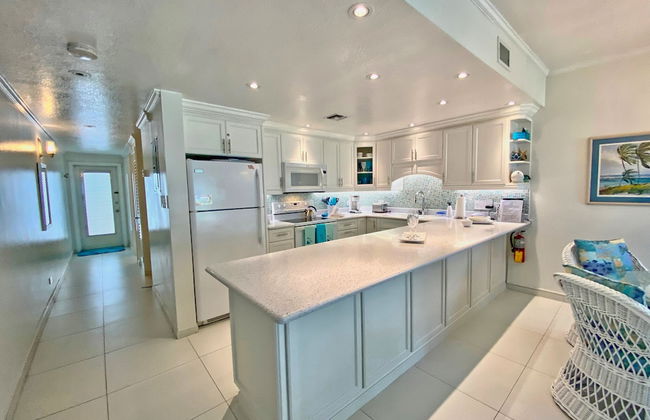
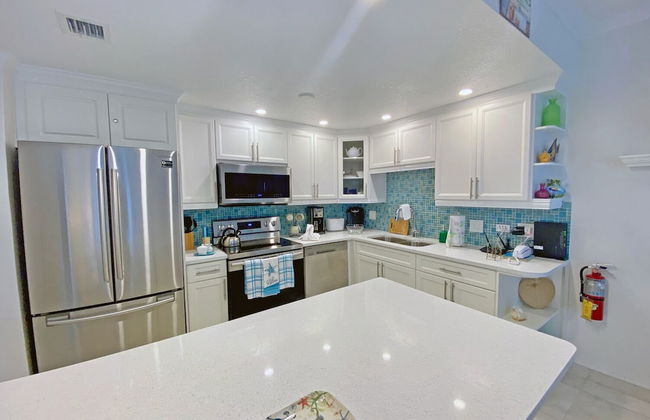
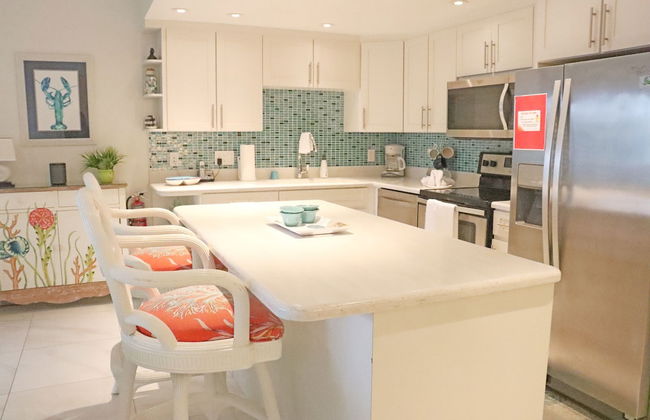
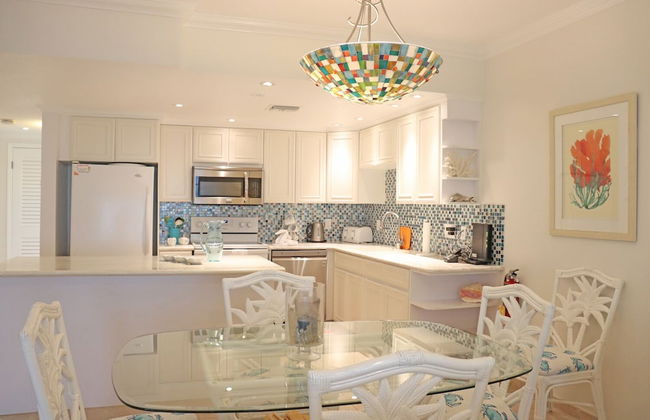
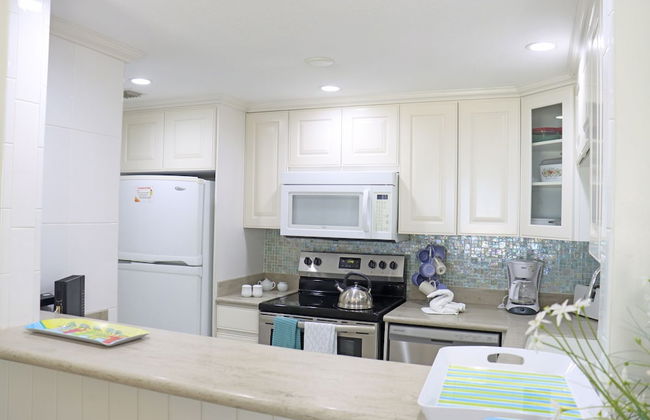
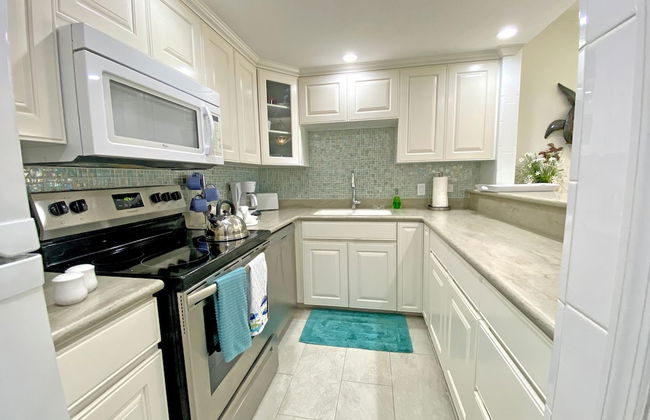
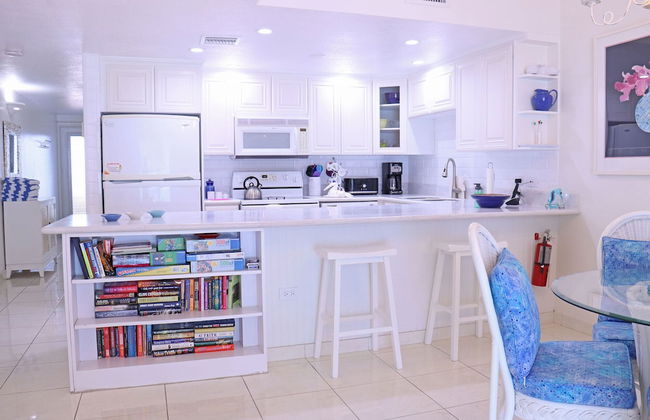
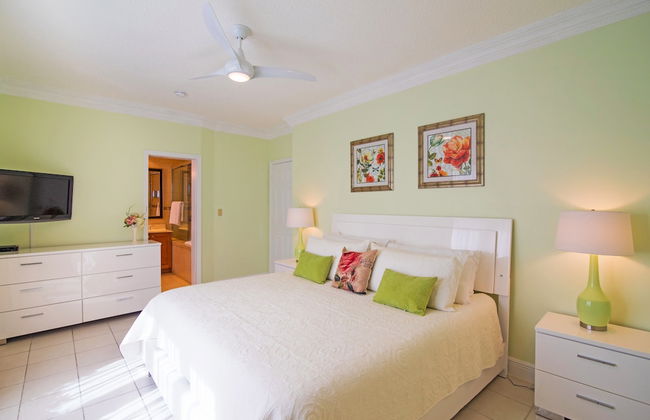
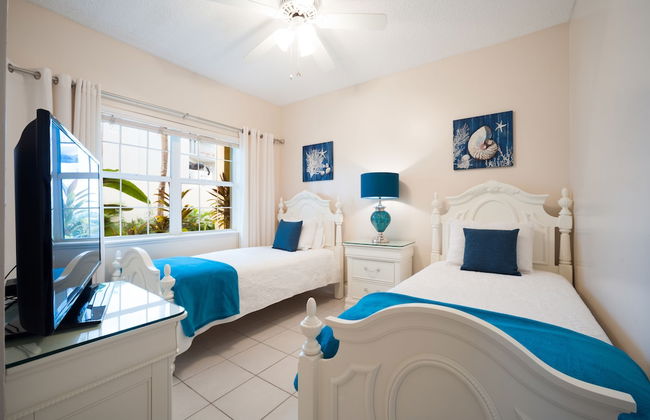
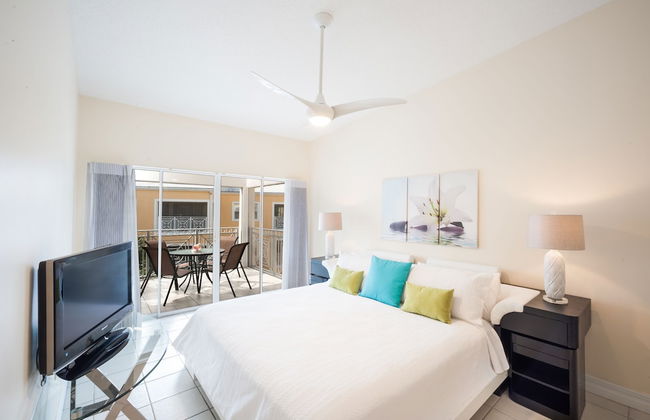
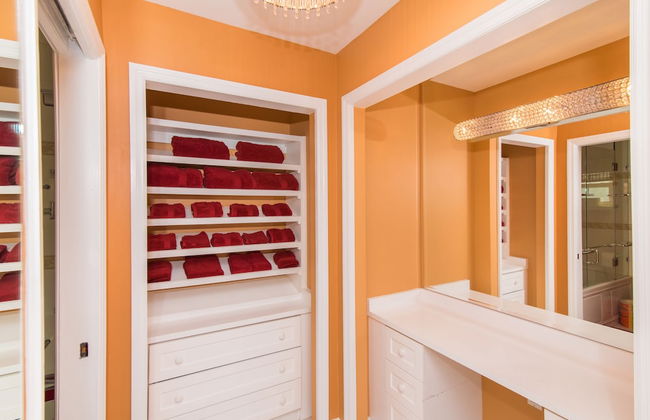
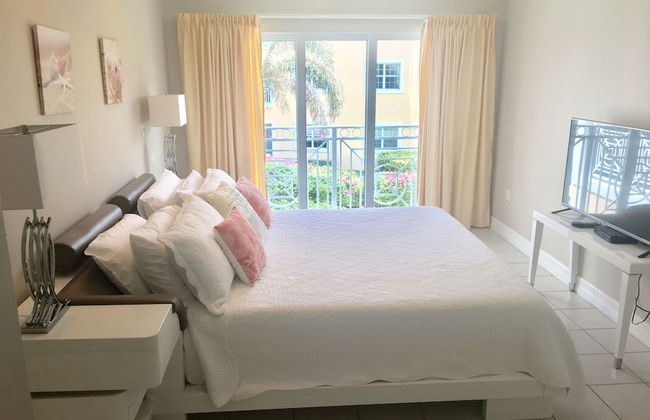
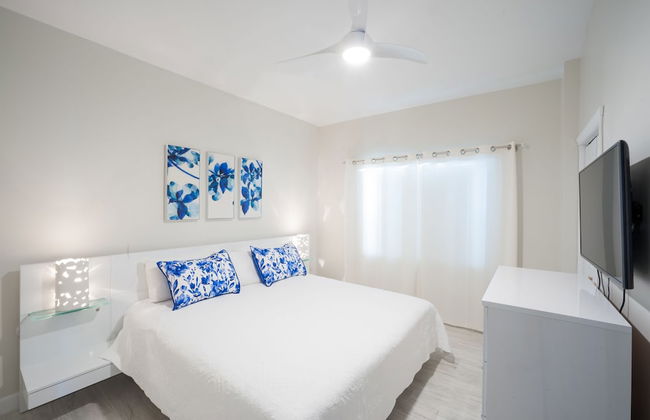
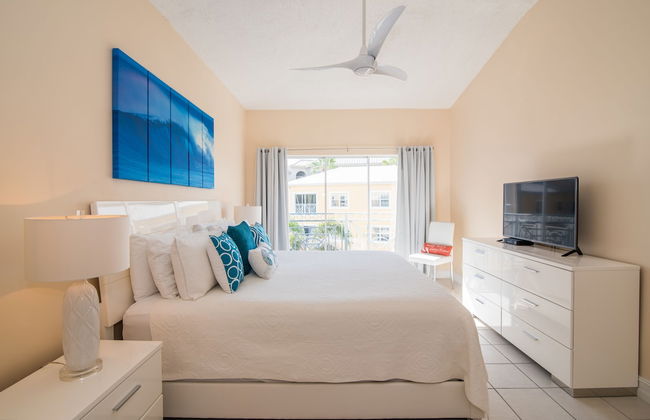
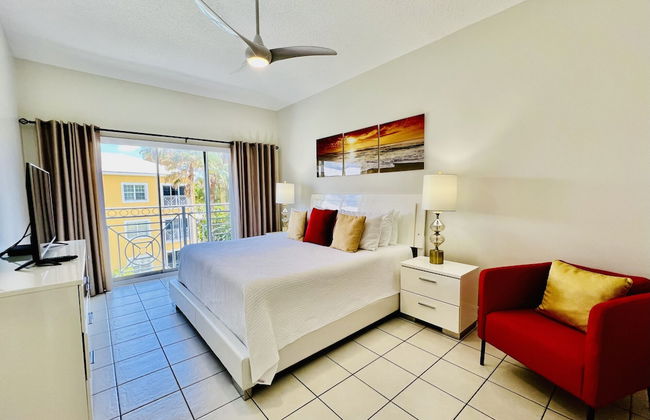
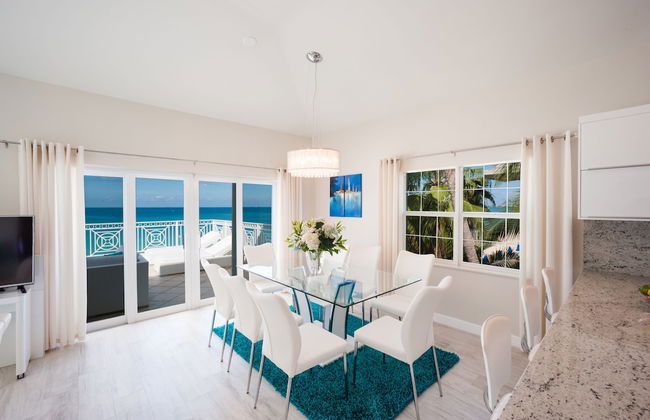
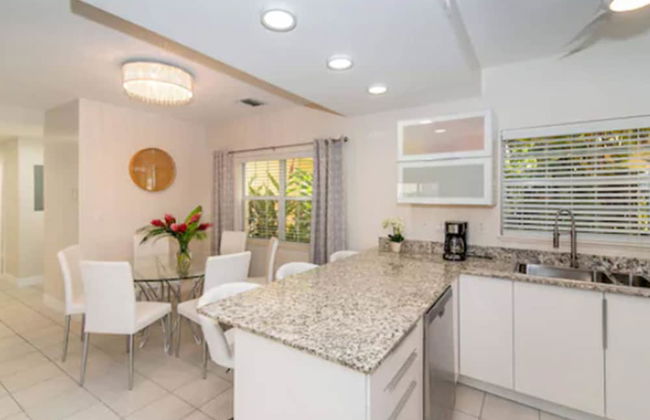
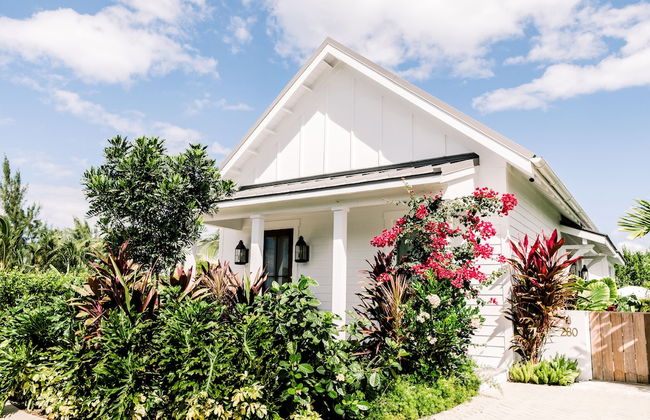
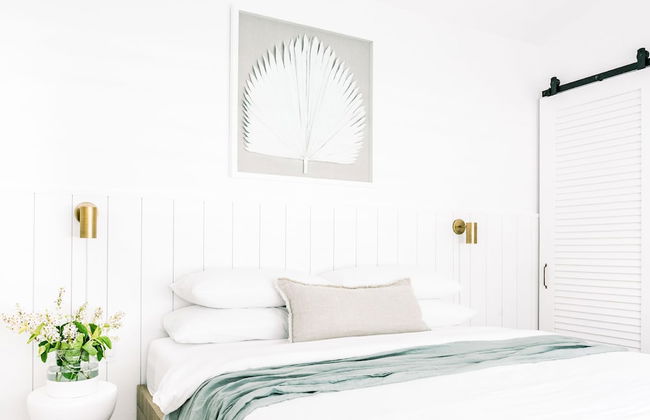
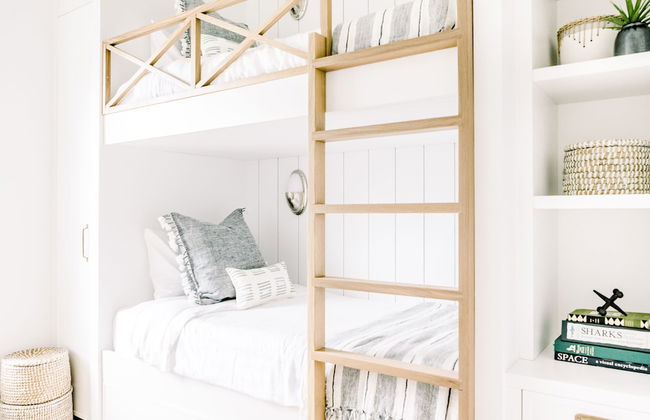
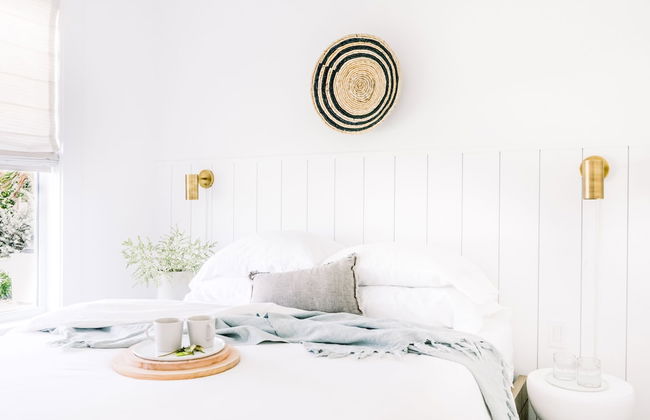
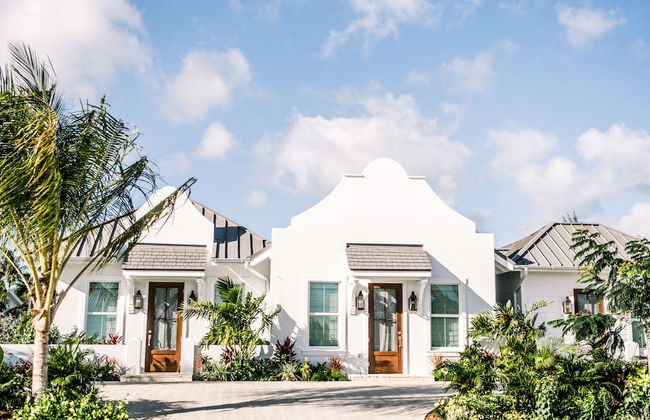
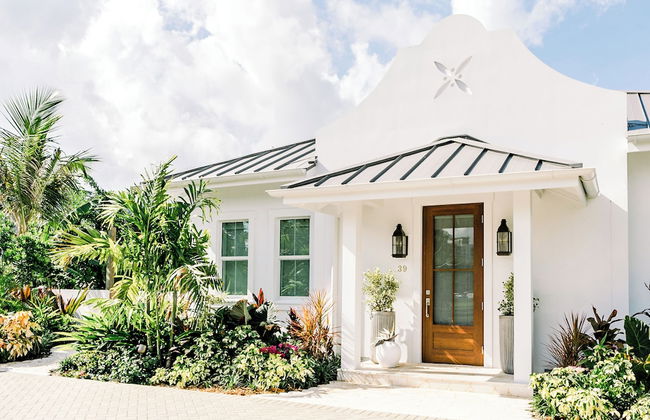
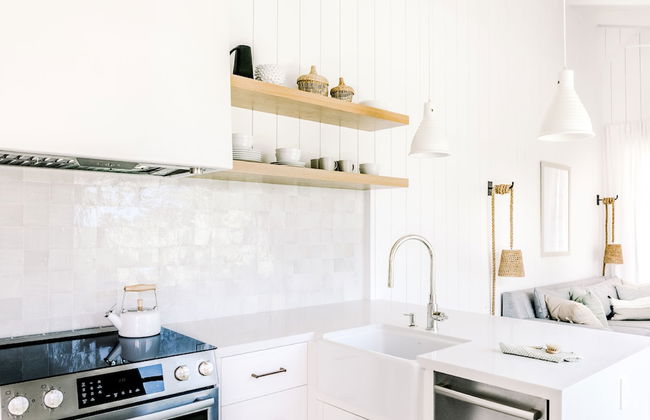
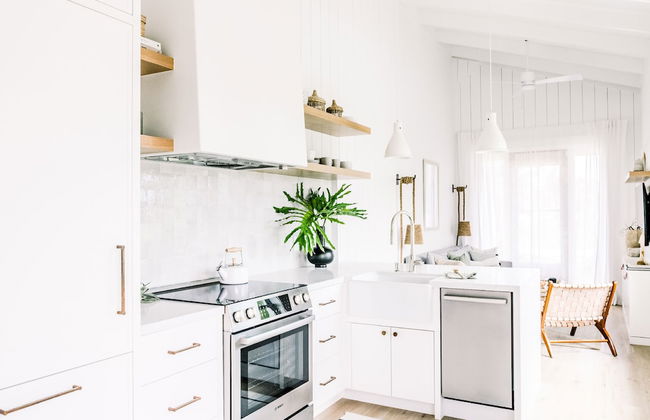
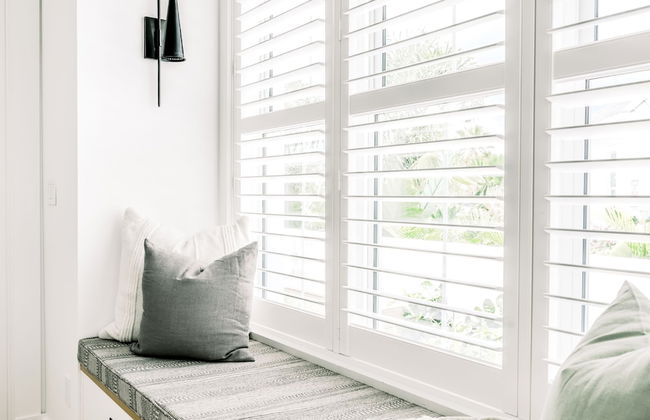
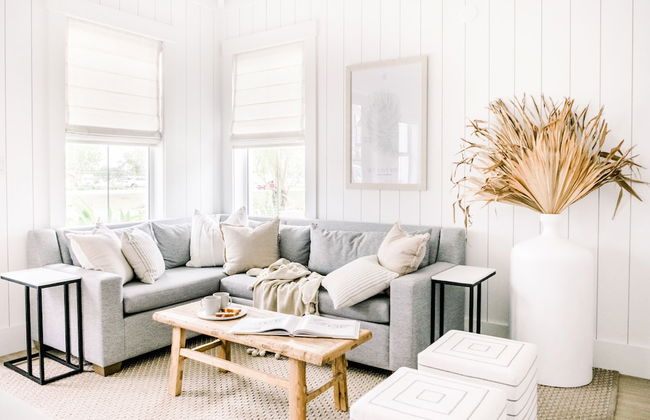
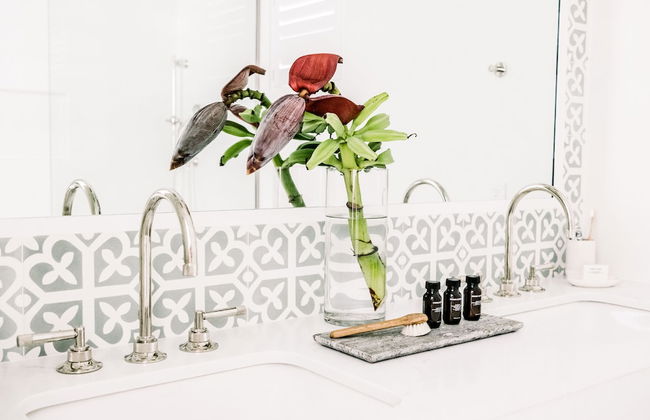
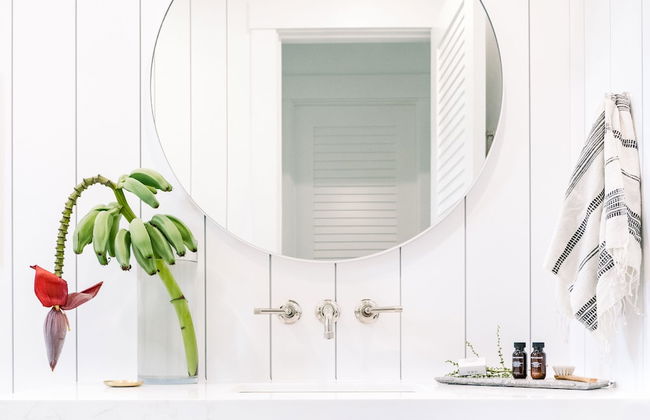
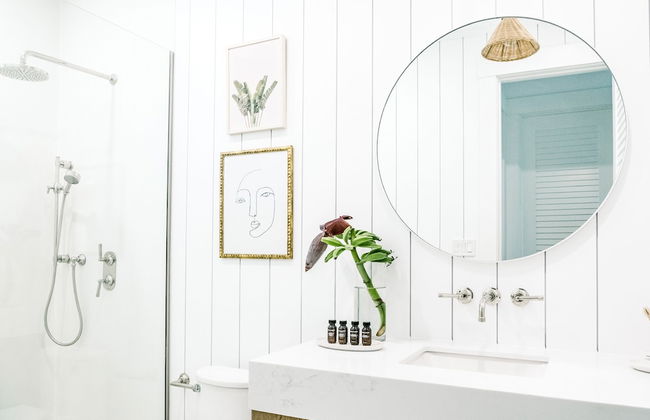
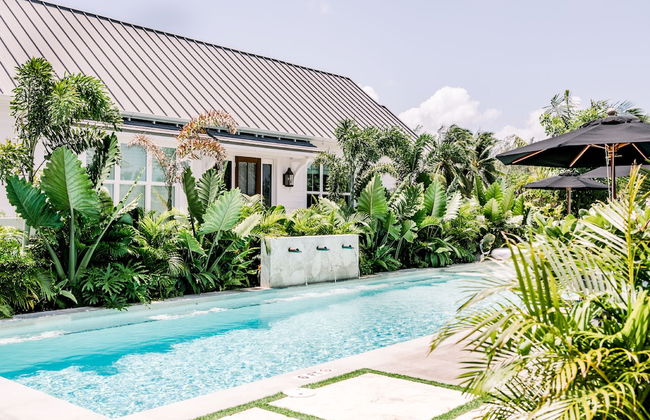
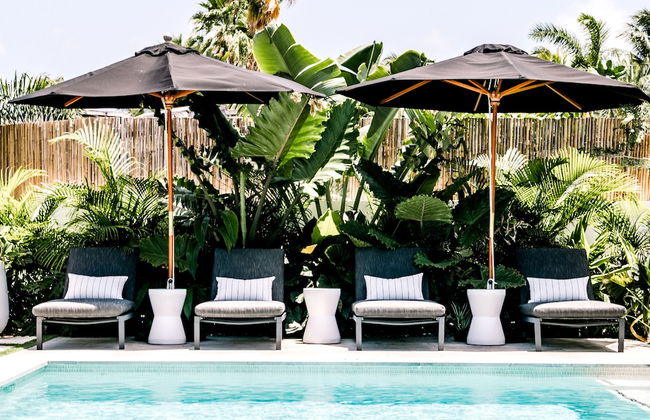
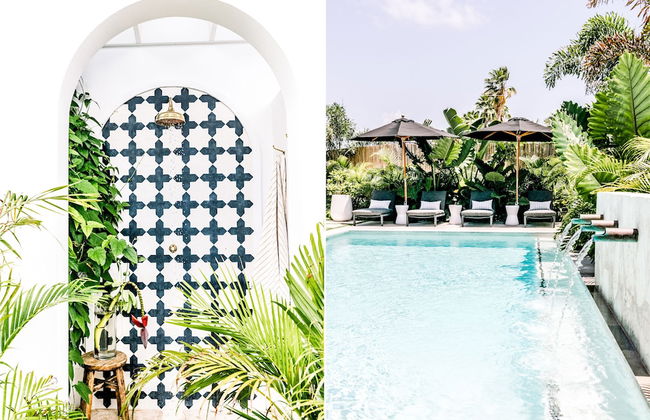
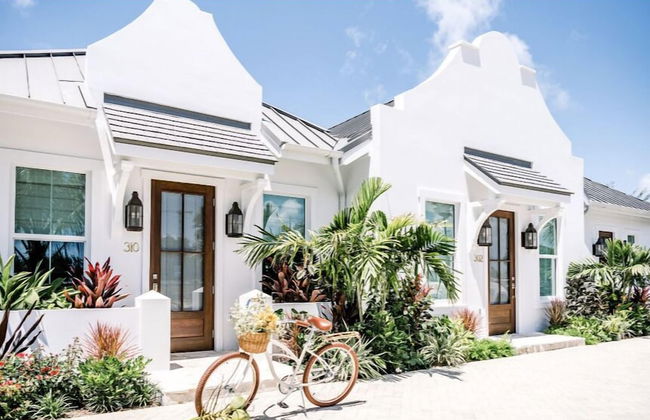
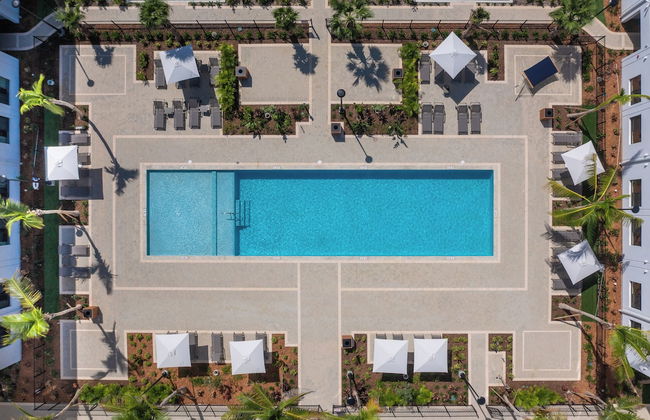
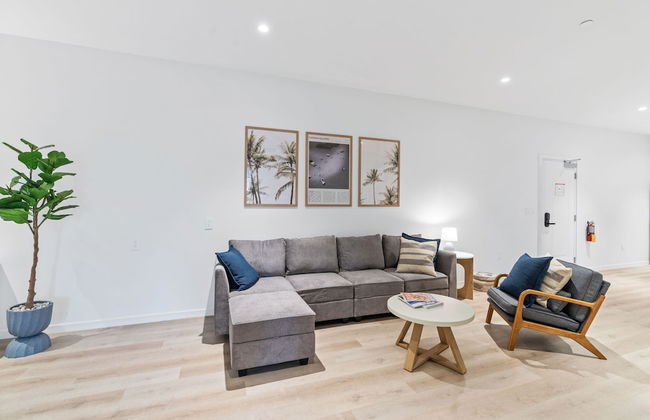
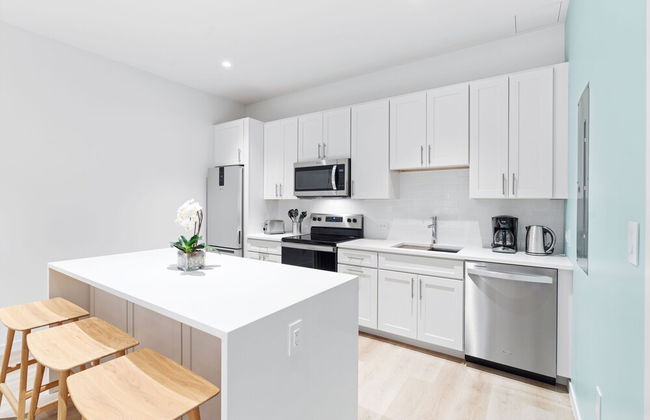
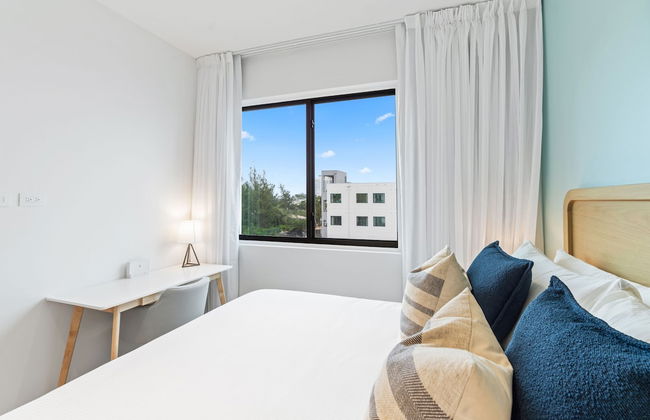
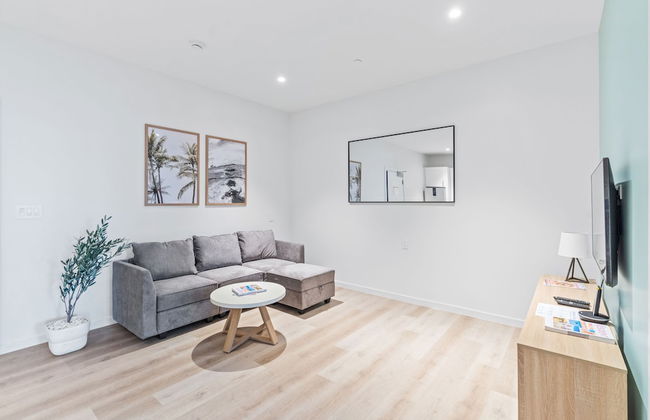
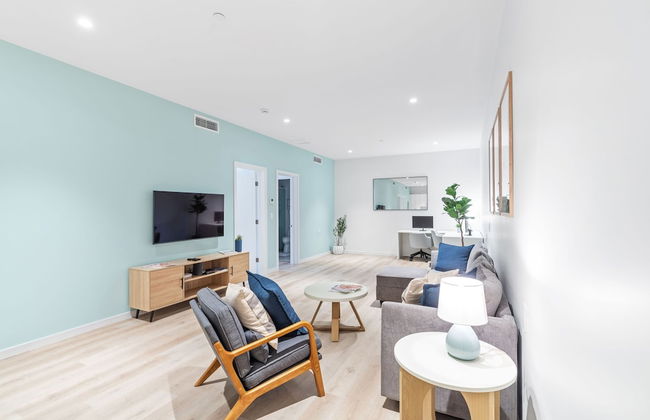
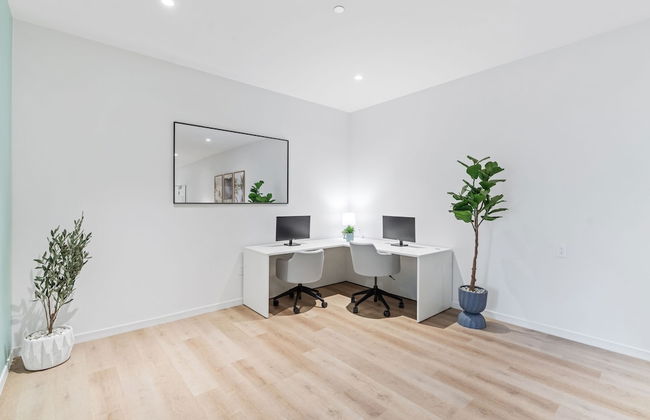
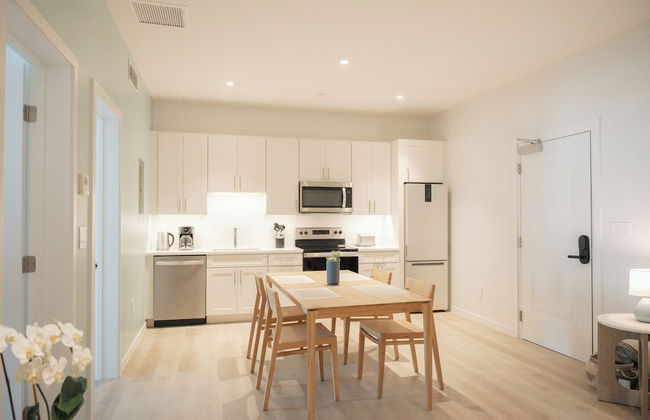
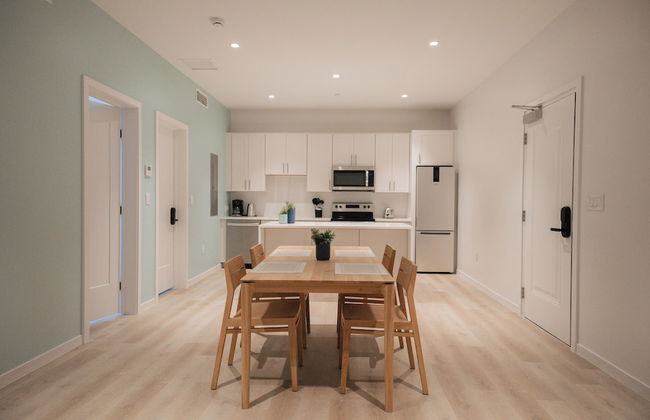
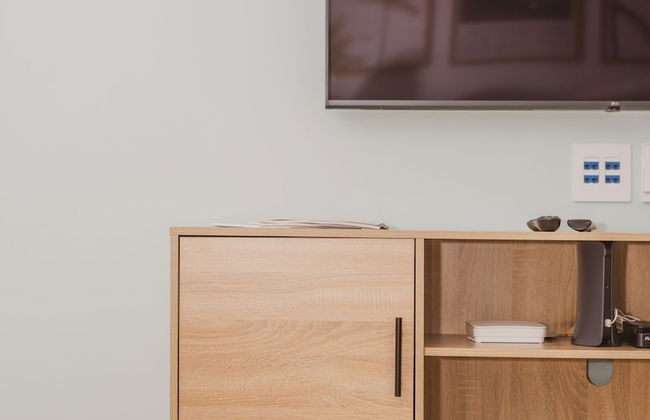
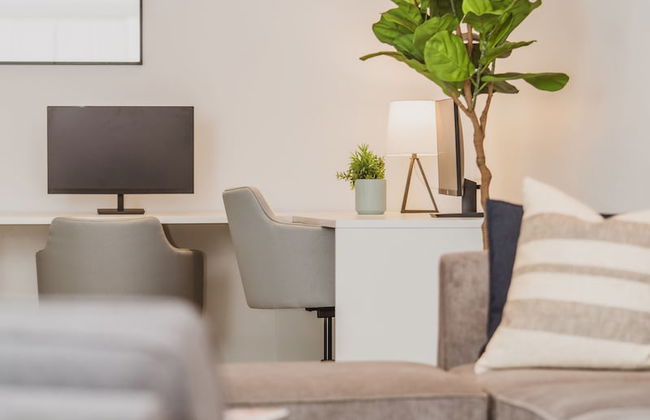
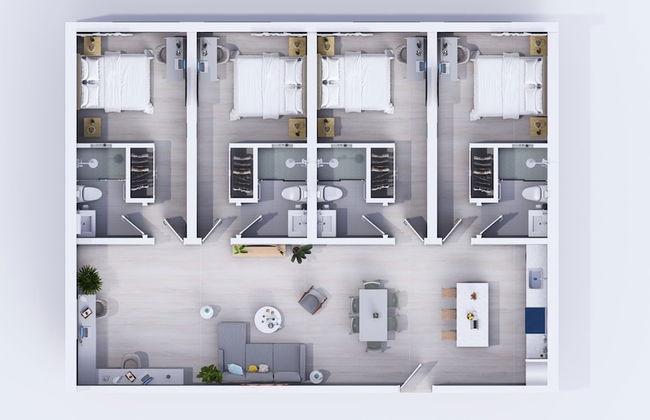
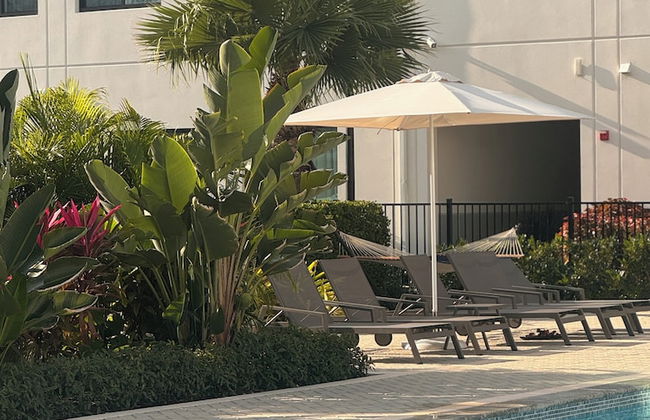
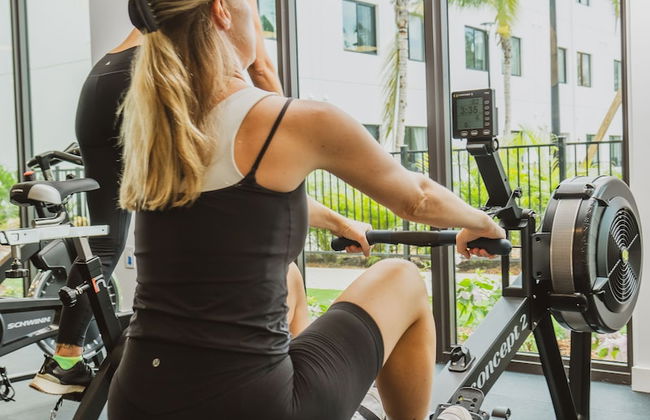
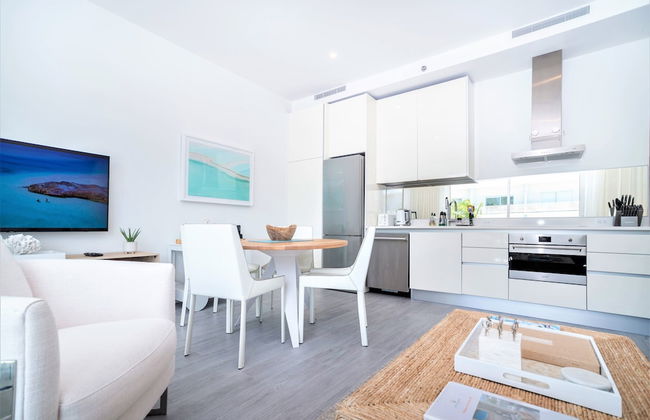
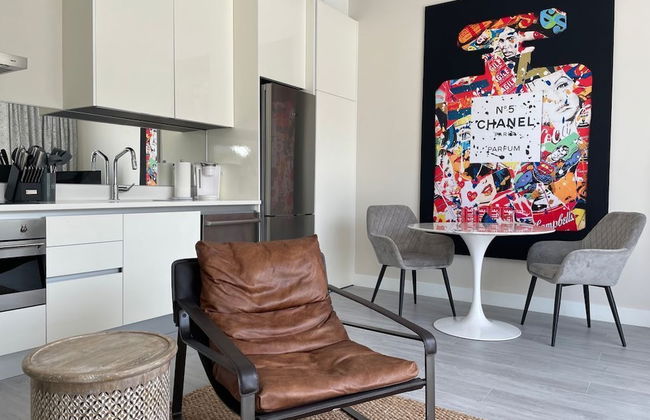
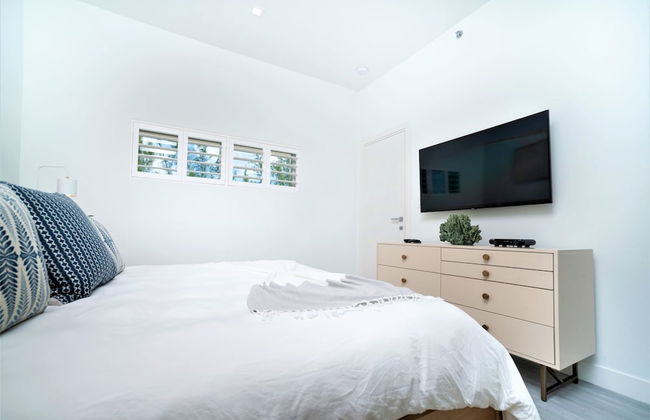
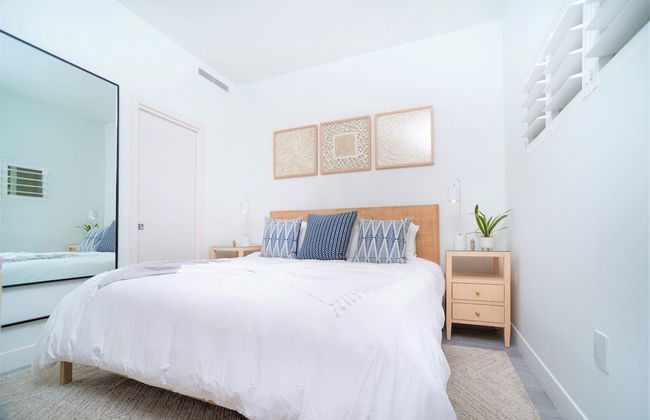
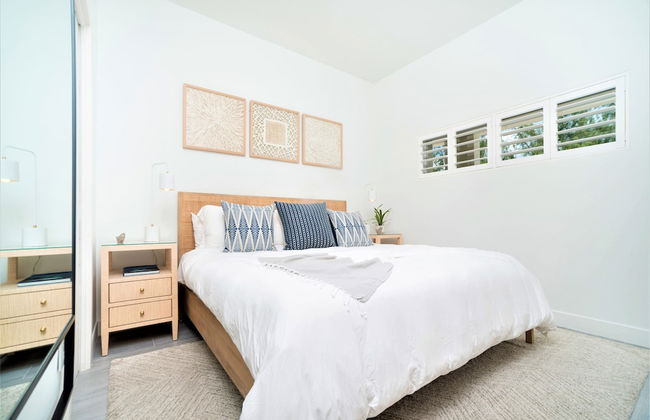
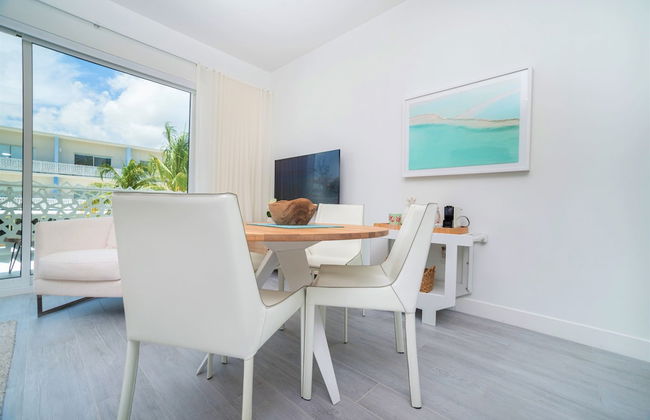
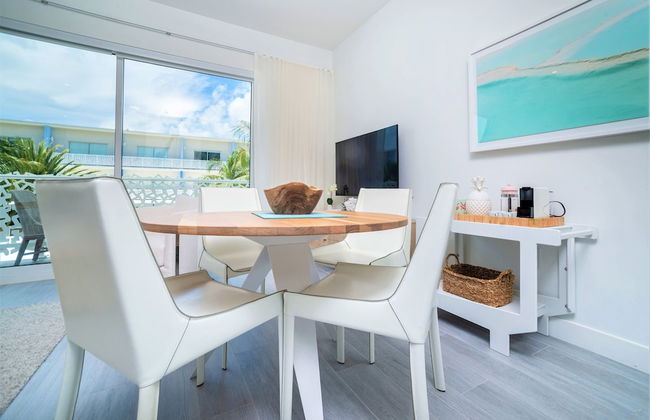
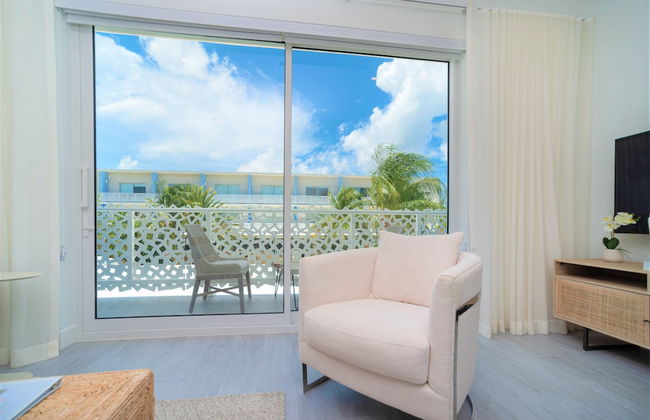
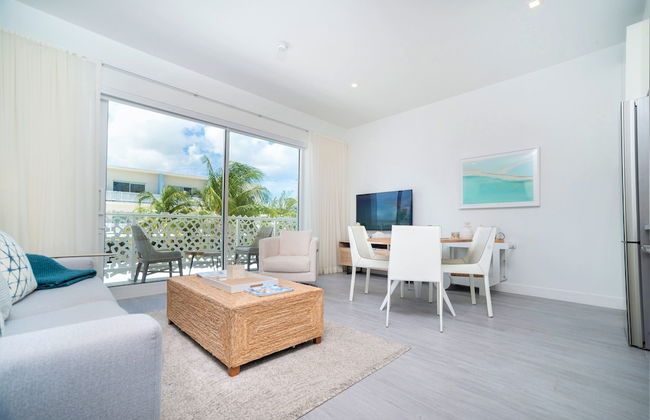
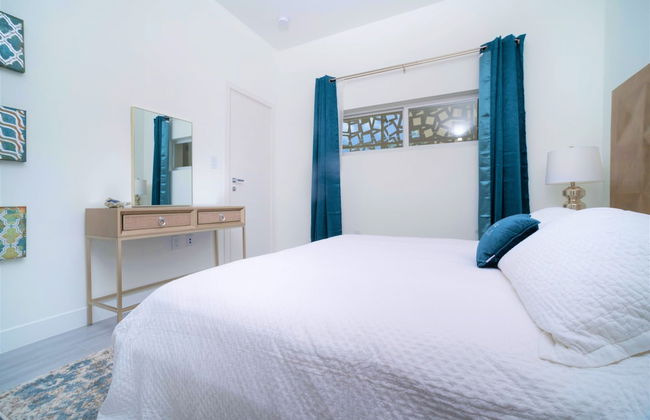
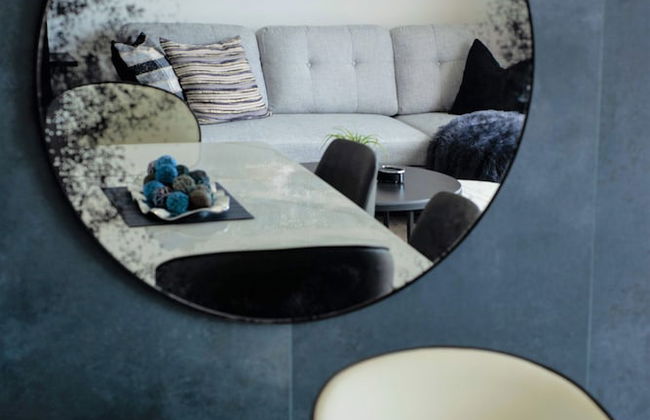
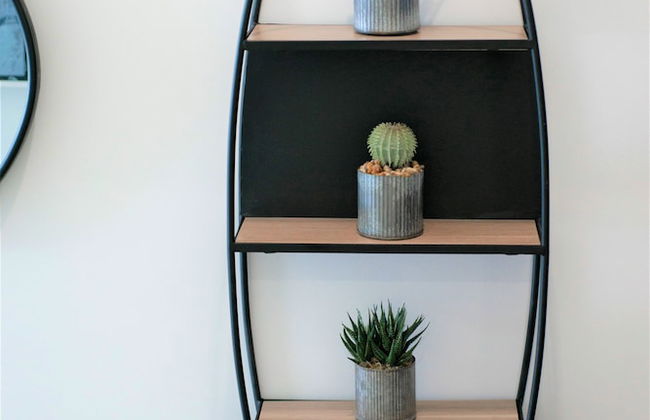
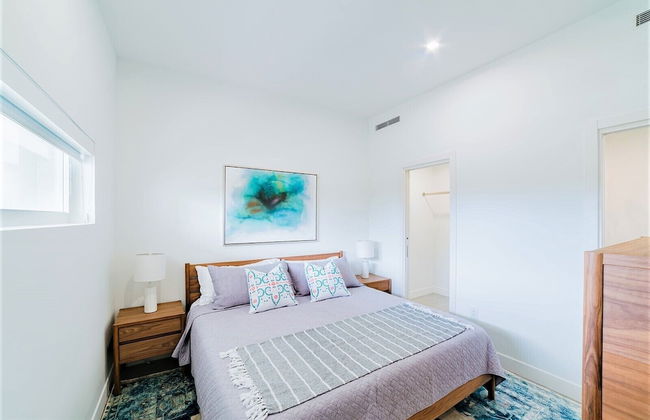
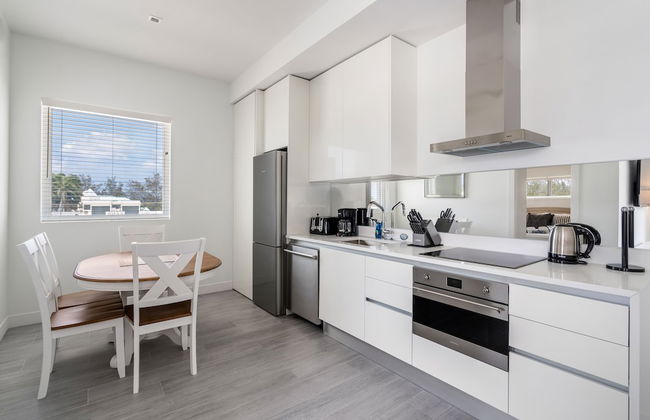
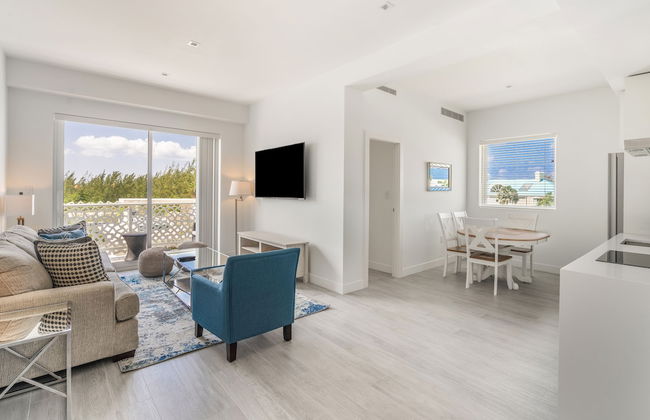
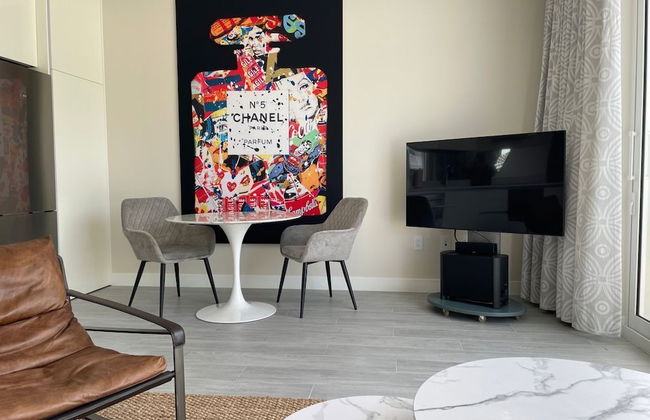
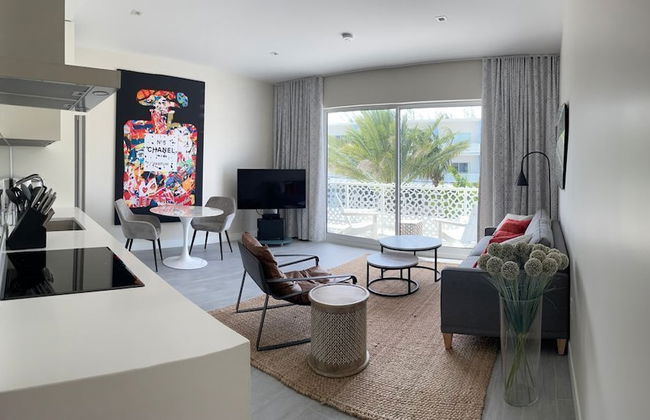
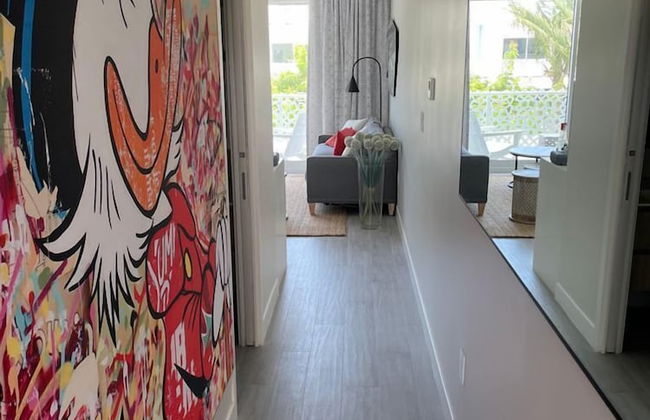
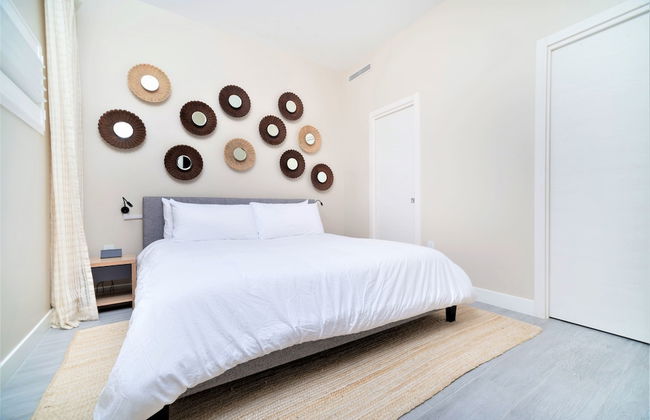
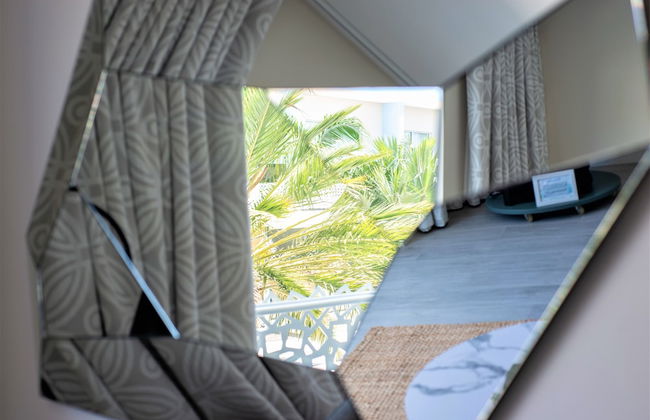
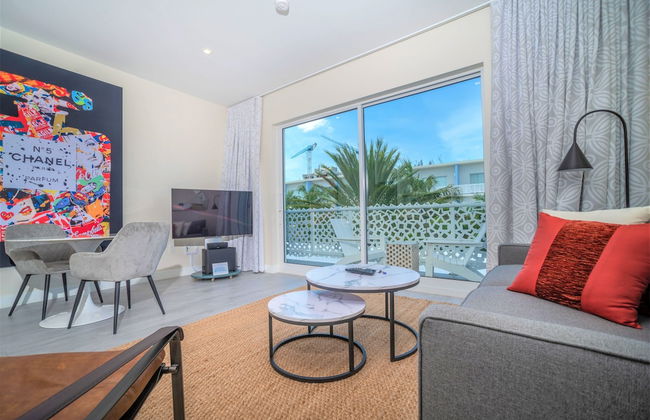
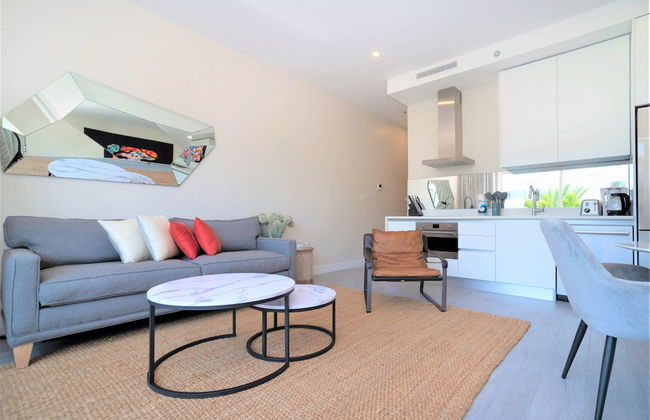
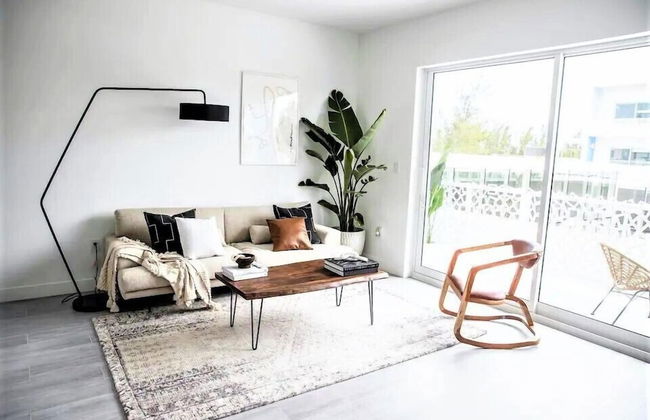
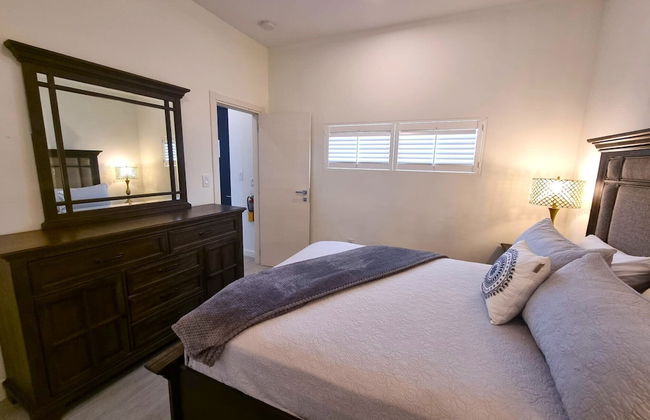
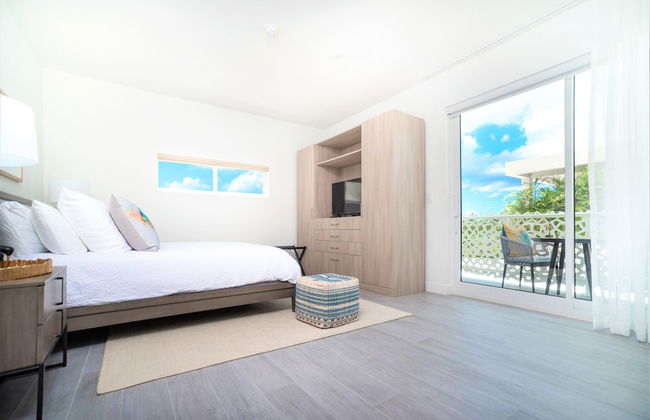
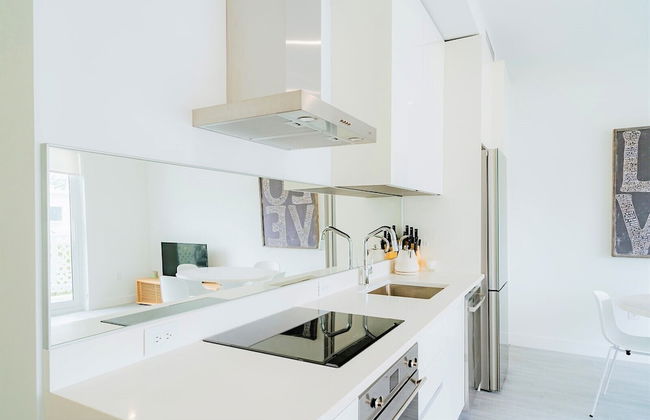
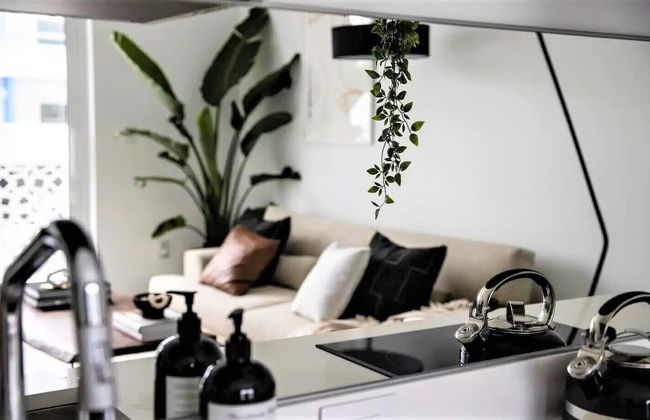
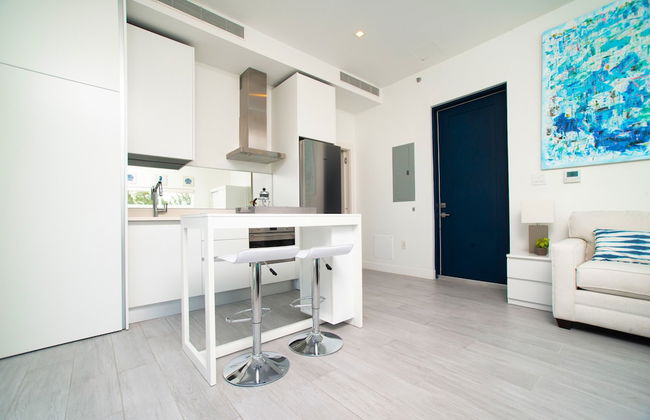
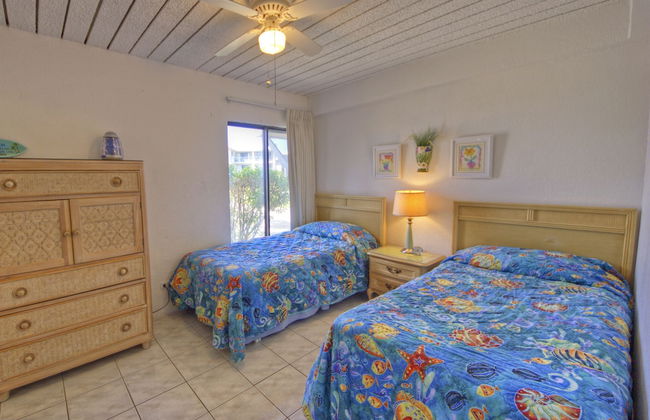
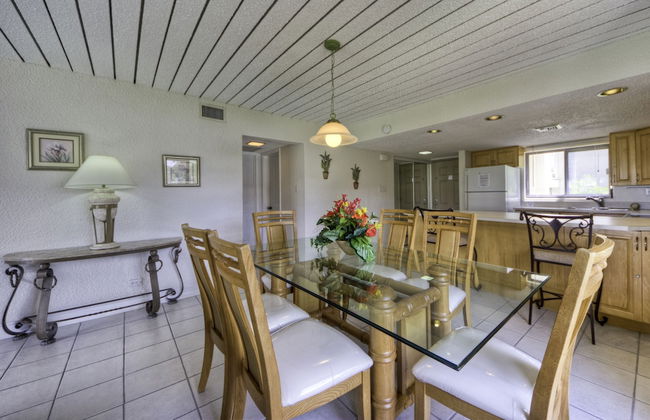
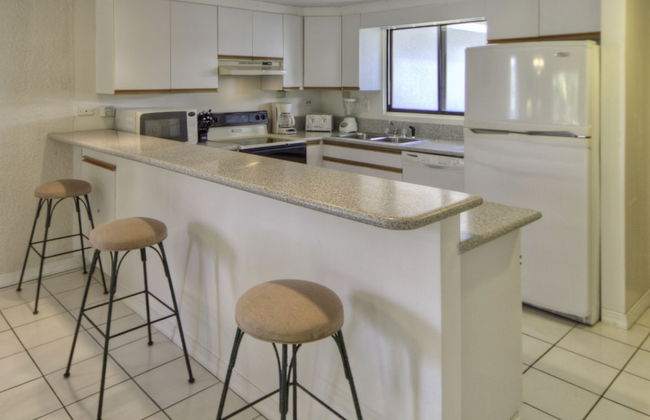
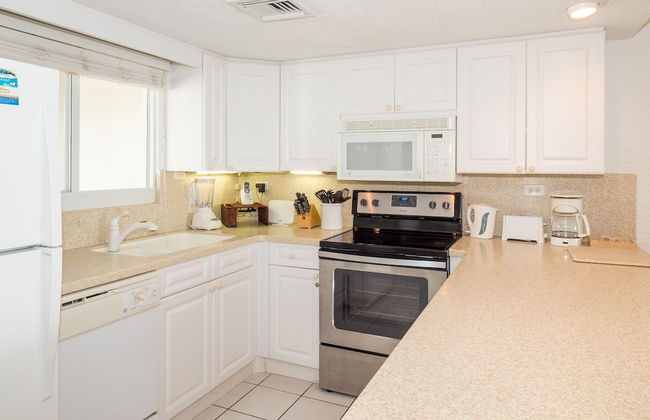
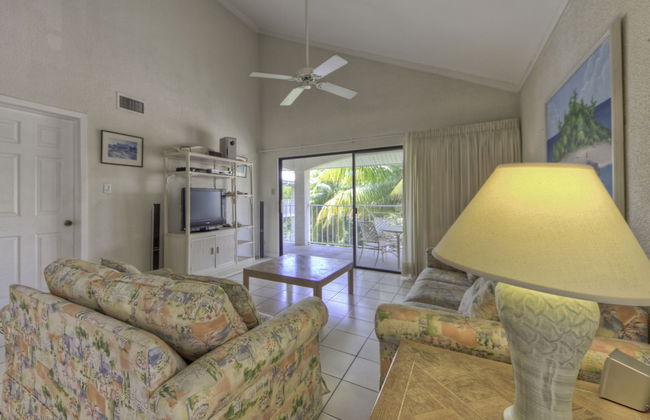
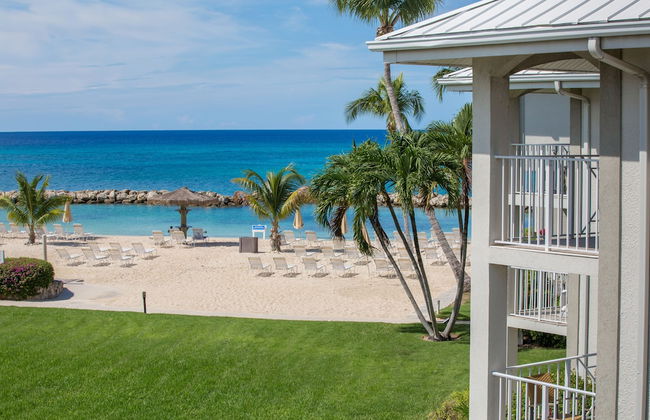
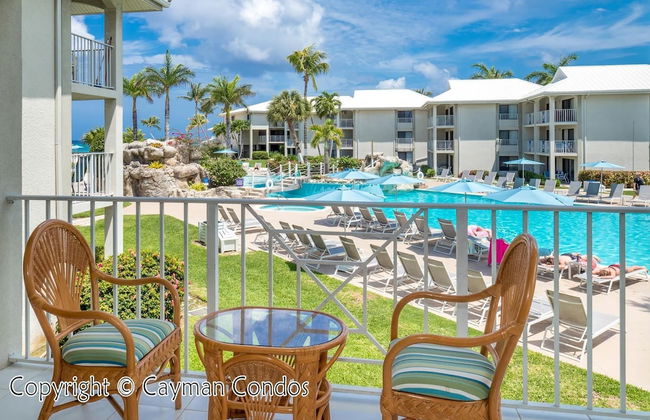
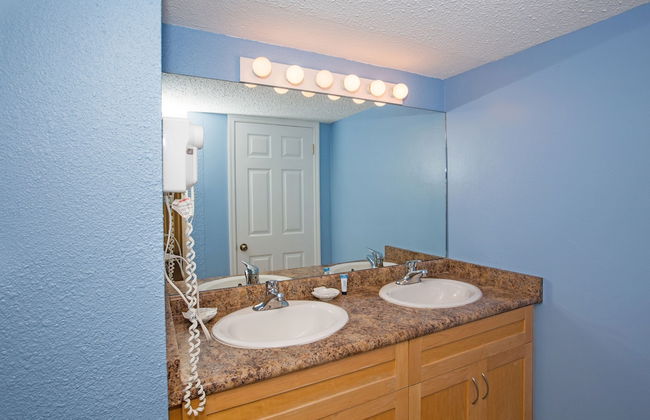
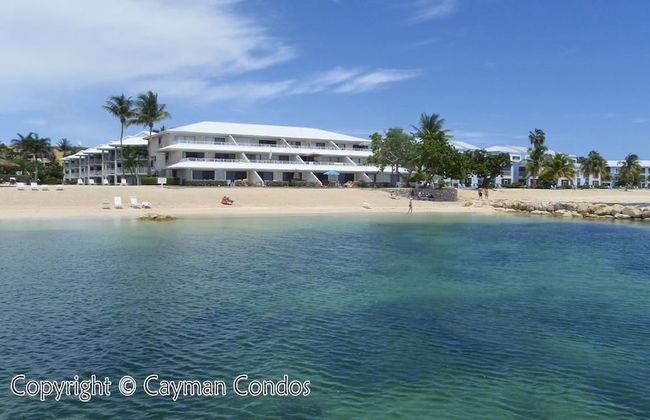
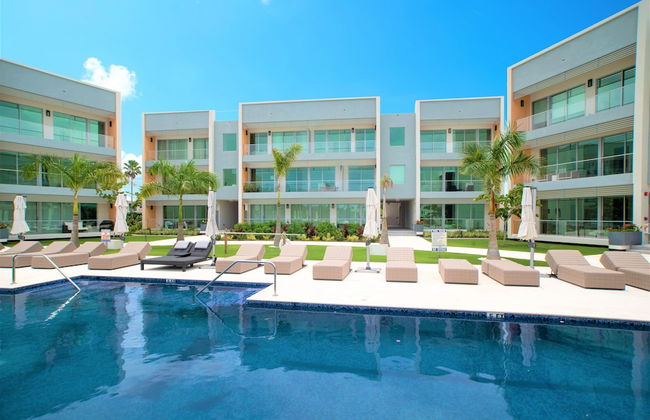
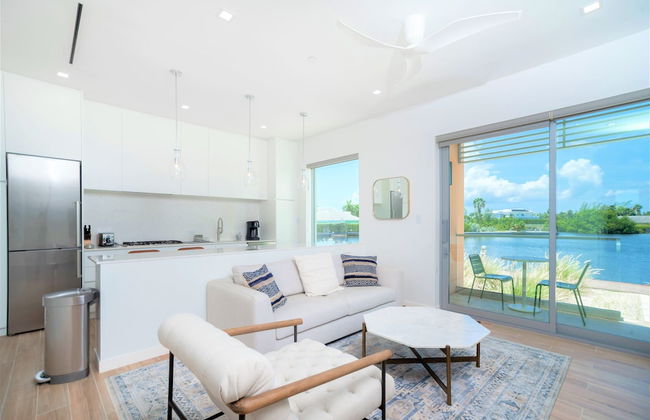
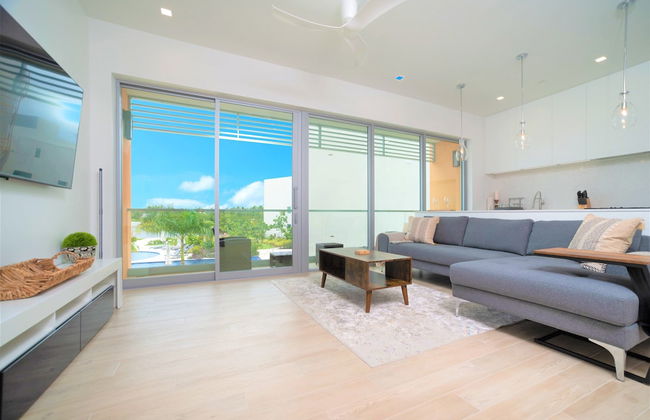
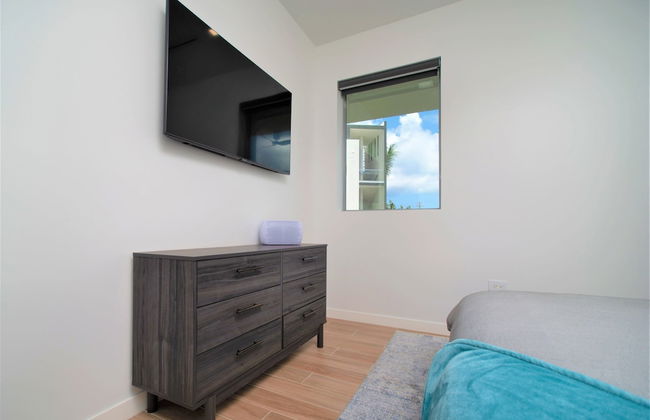
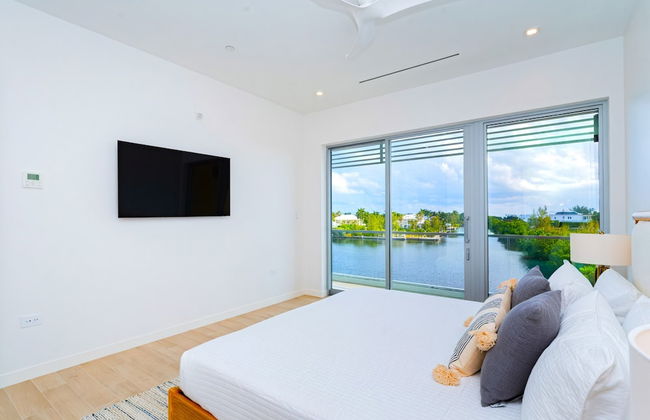
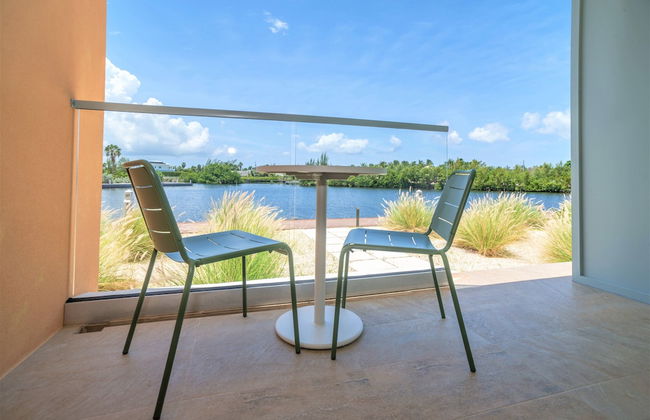
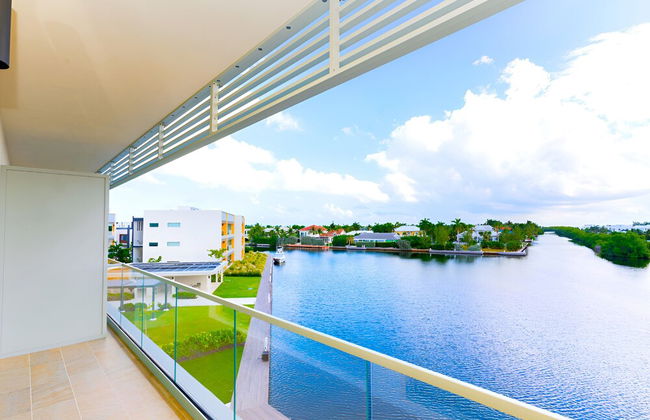
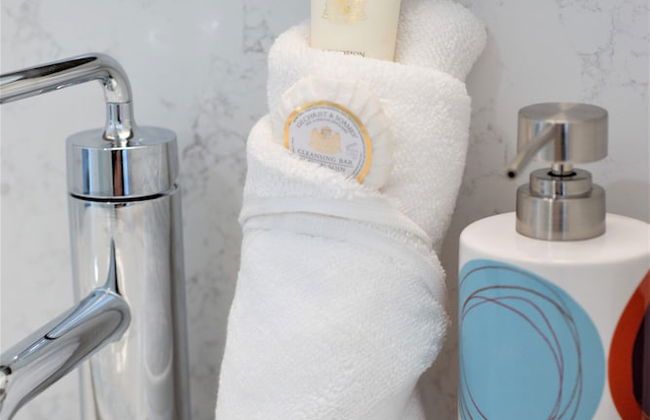
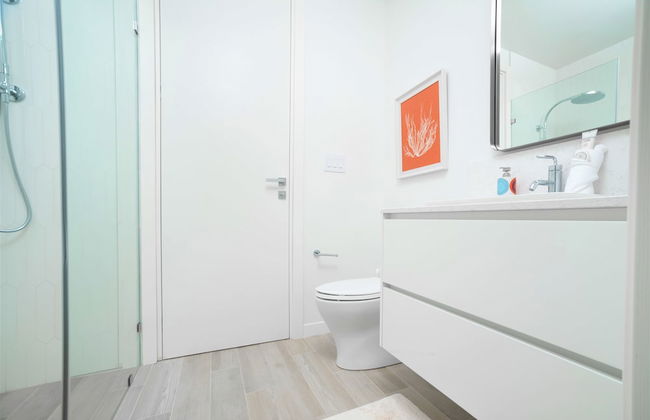
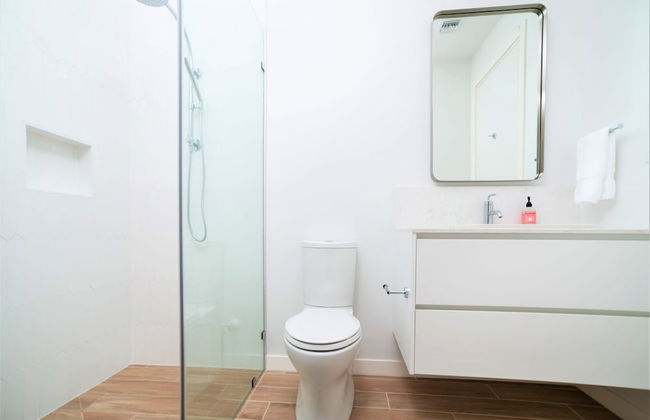
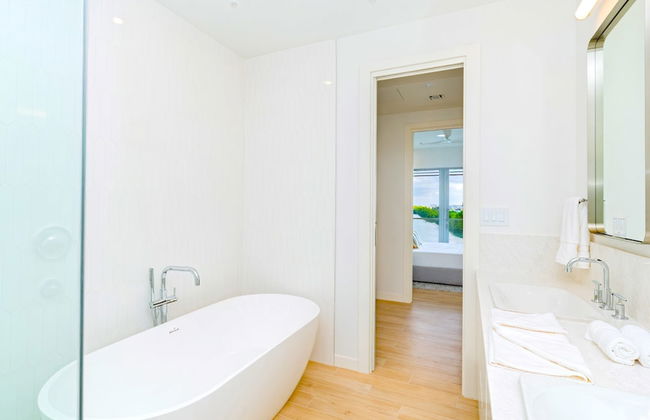
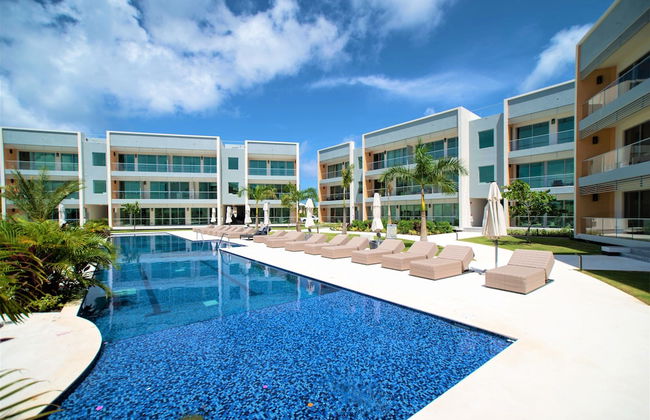
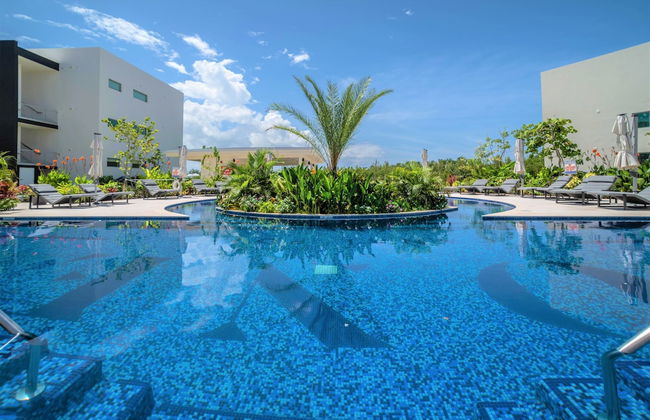
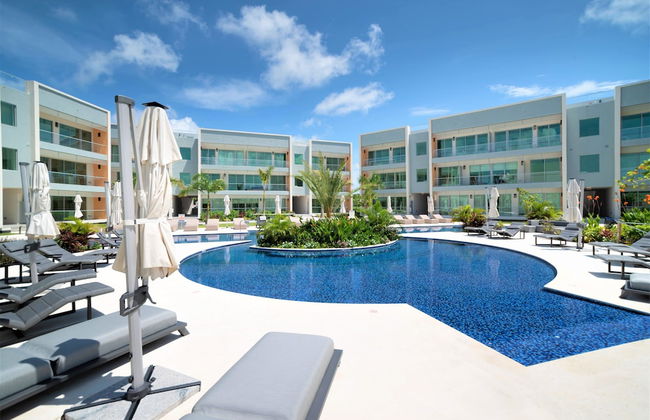
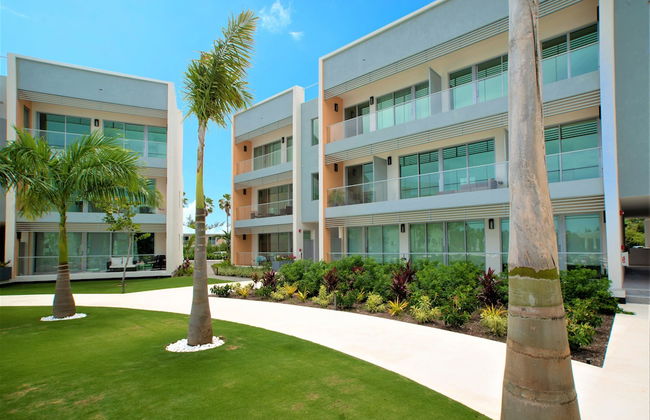
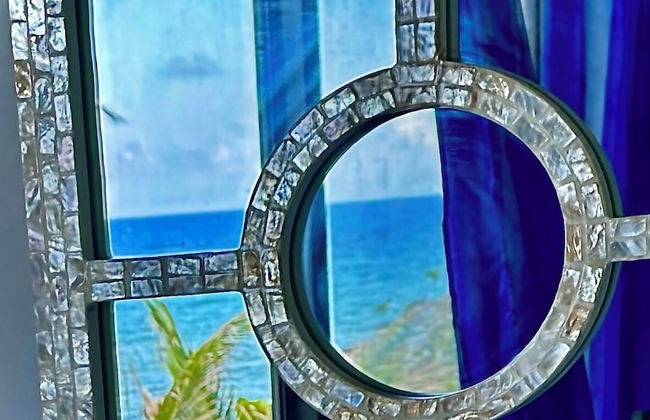
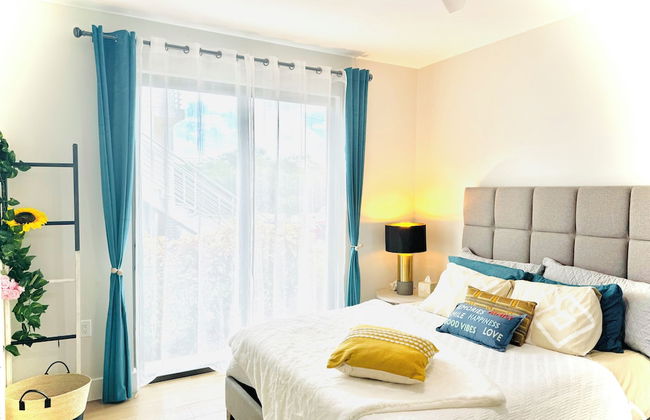
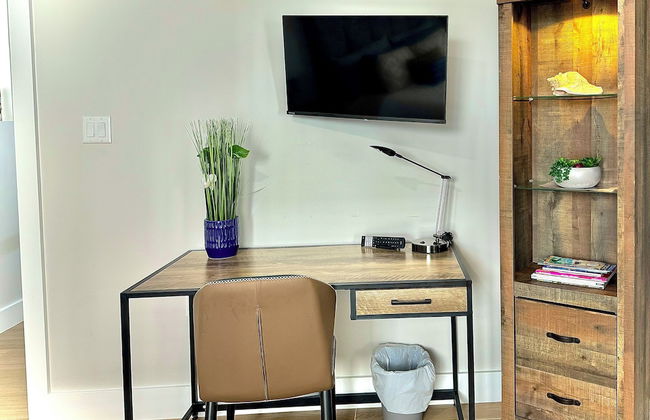
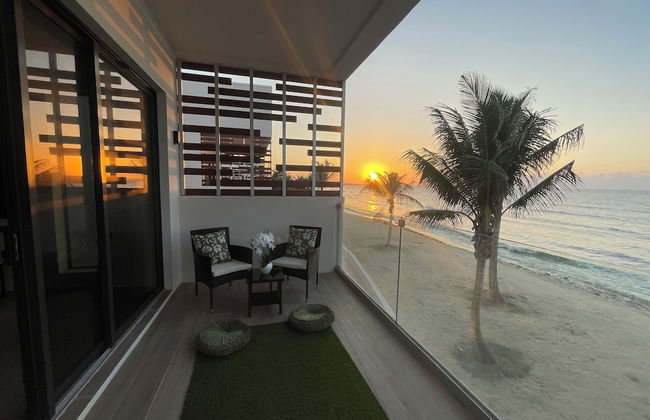
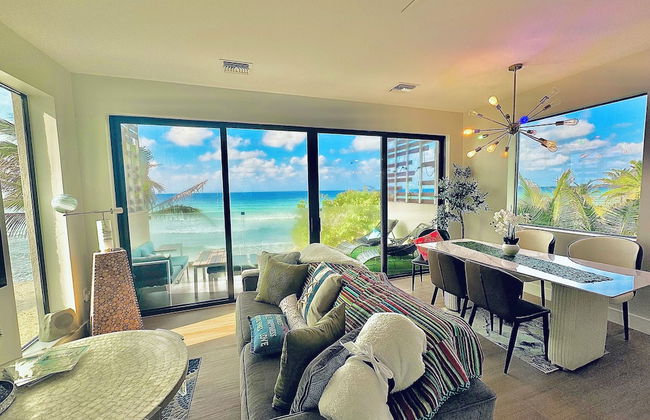
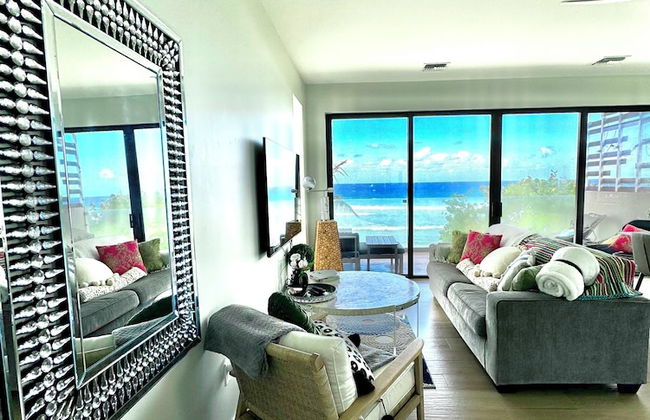
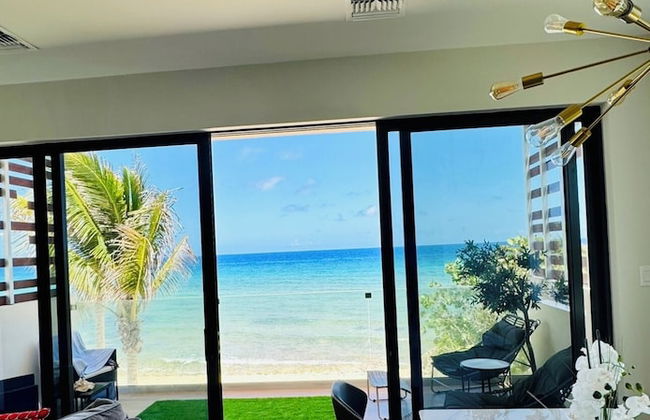
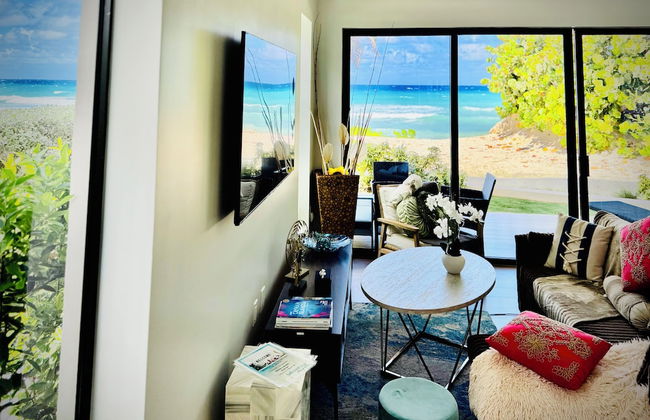
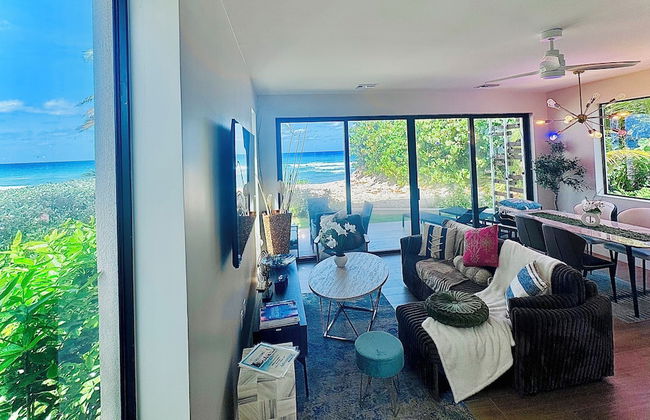
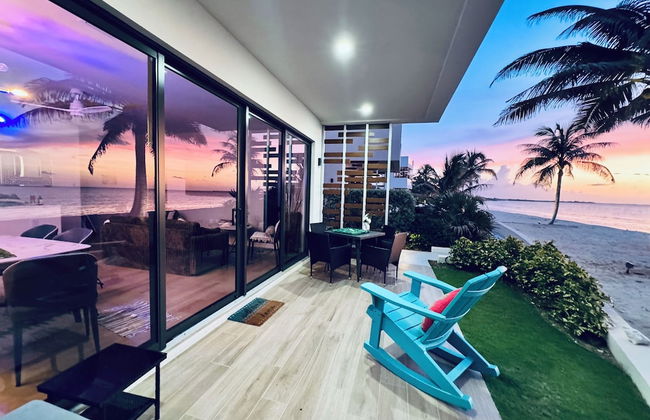
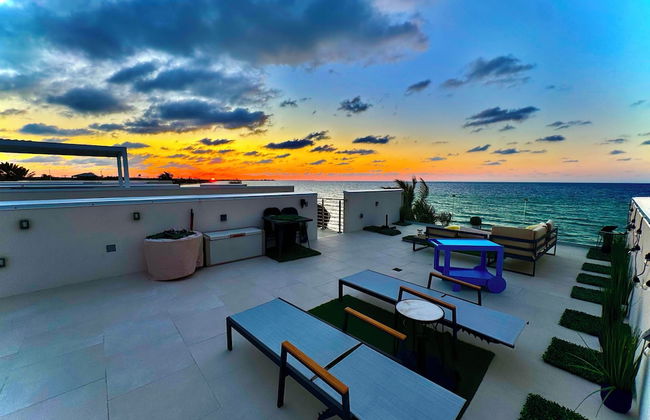
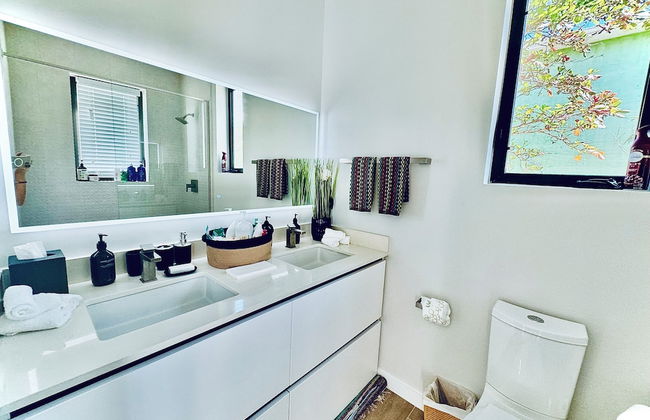
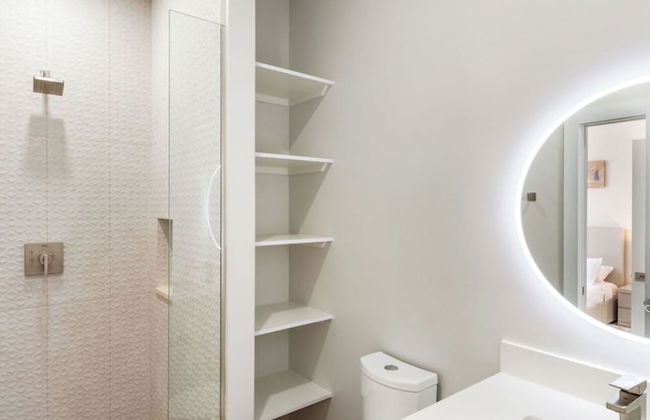
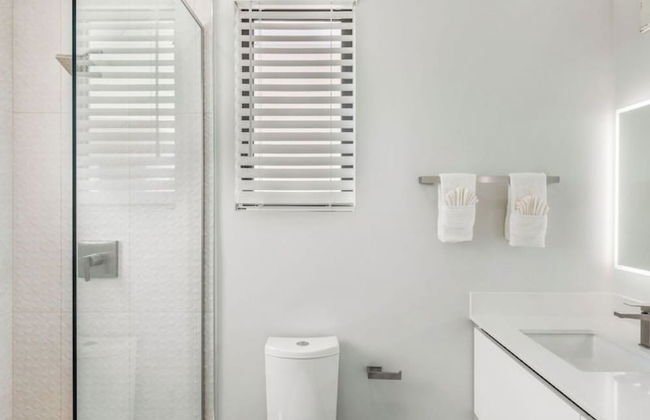
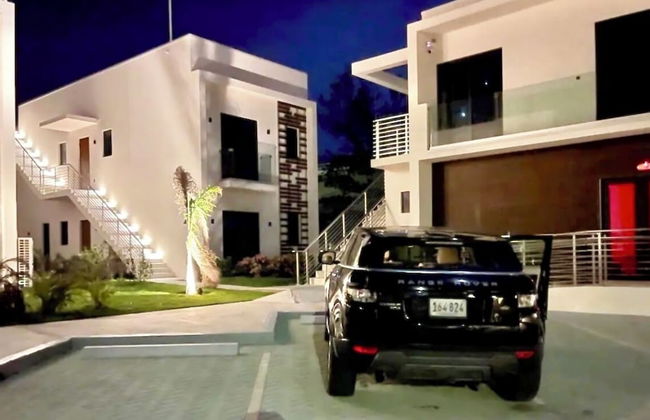
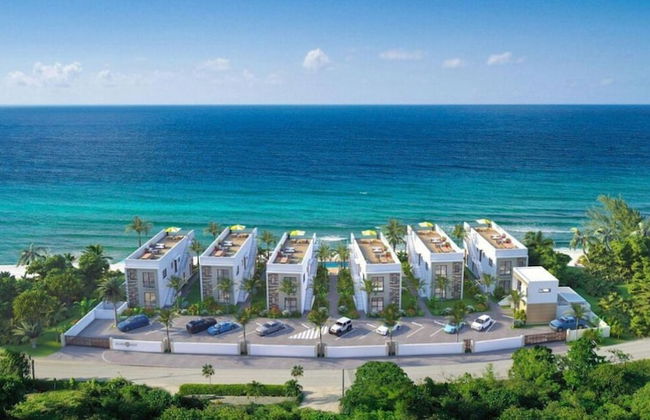
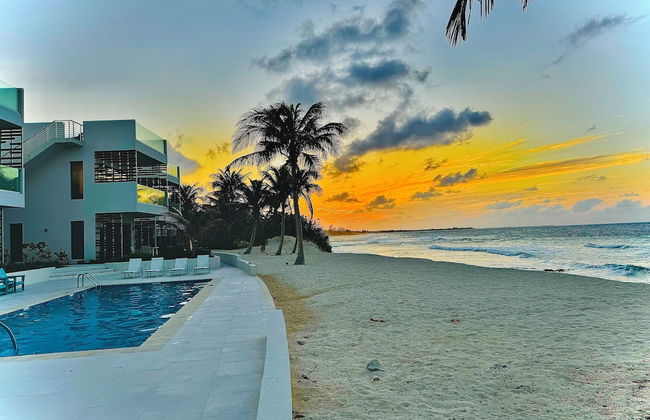
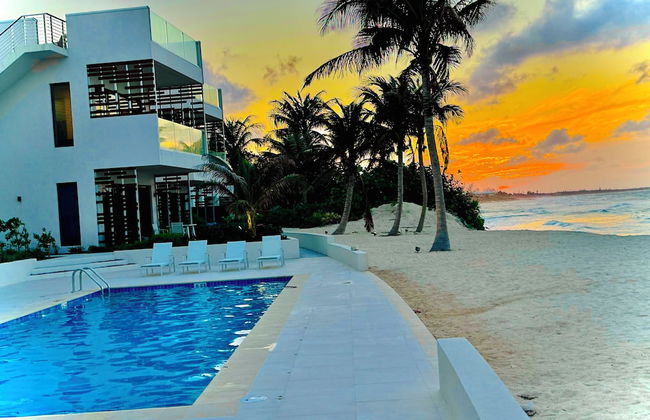
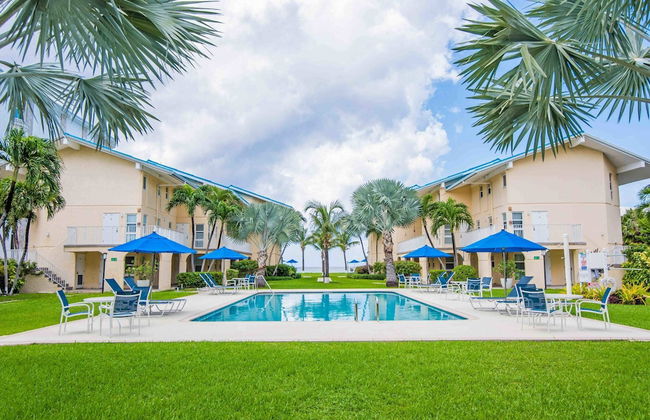
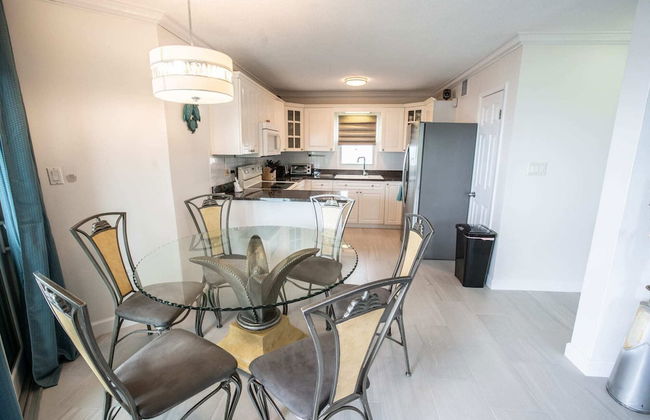
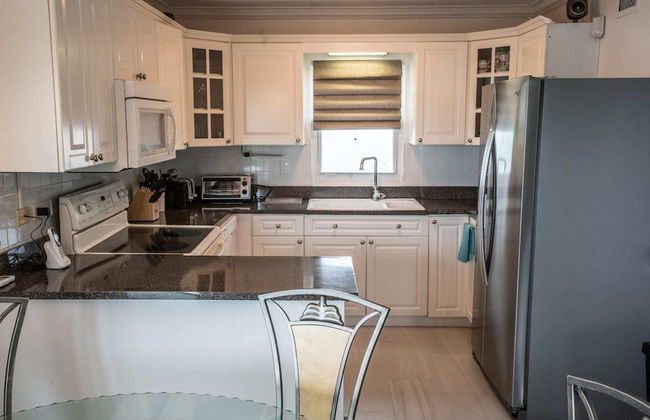
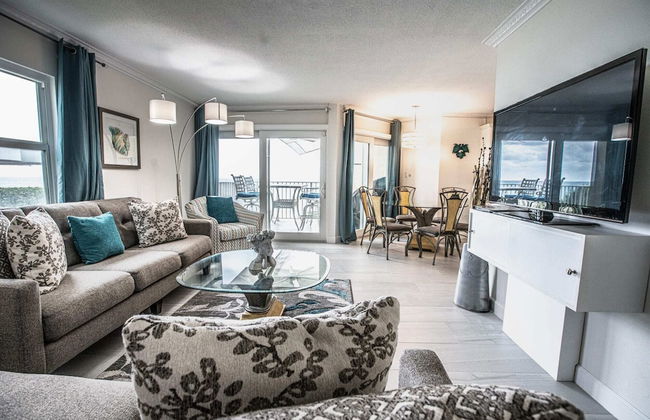
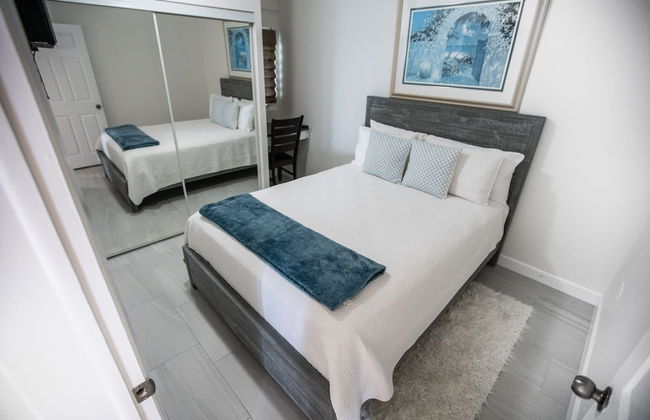
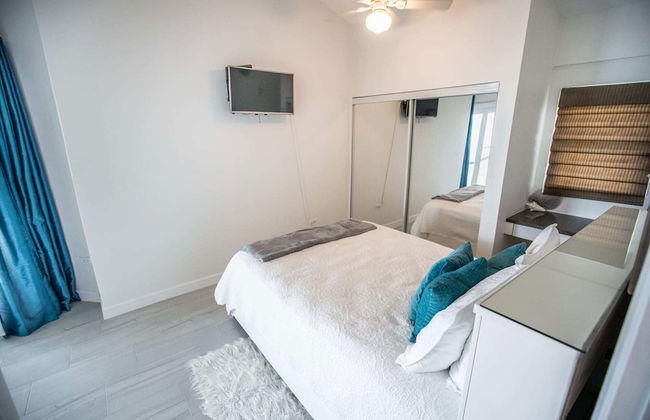
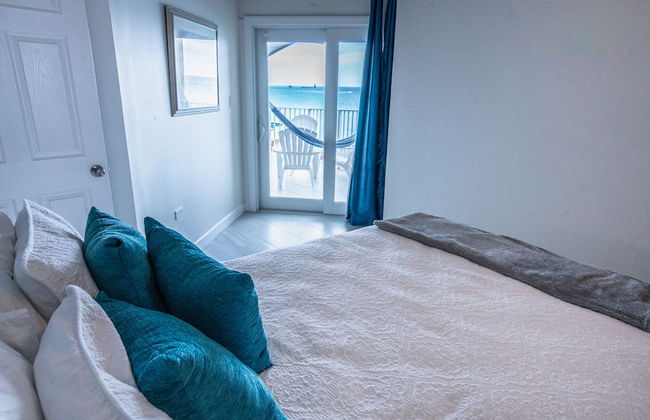
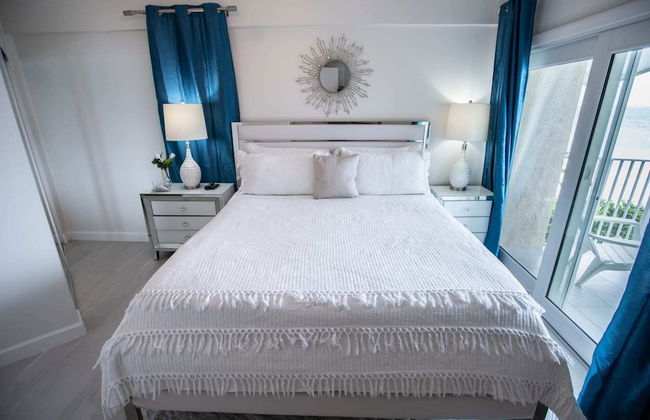
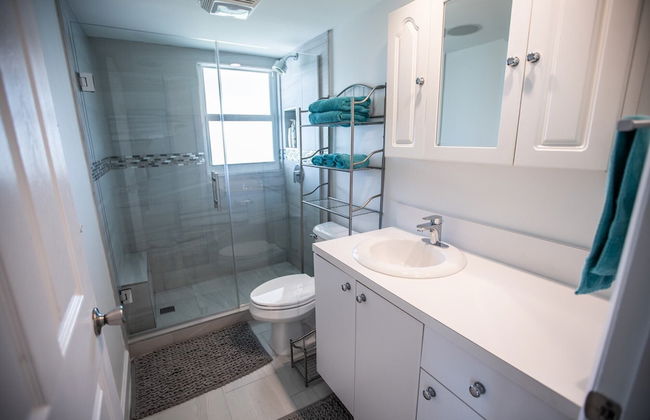
ONE Canal Point
George Town - Snug Harbor - 3.6 km dal centro
- 175 M2
- 6 persone
- Aria condizionata
- Terrazza
- Piscina
- Parcheggio
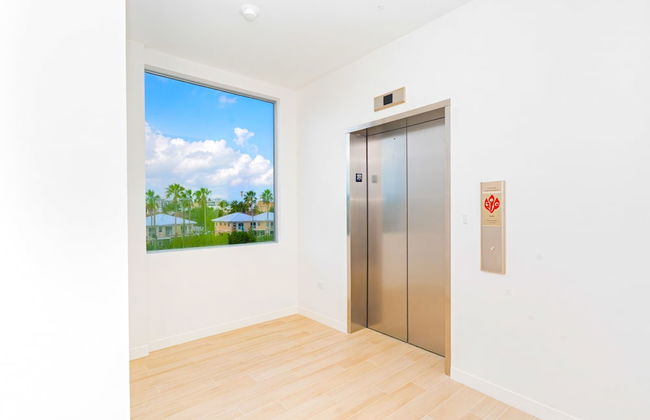
- Ascensore
- Balcone
- Giardino
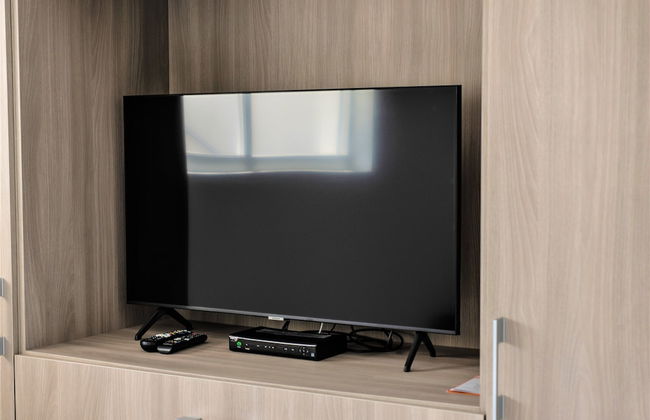
- Tv
- Barbecue
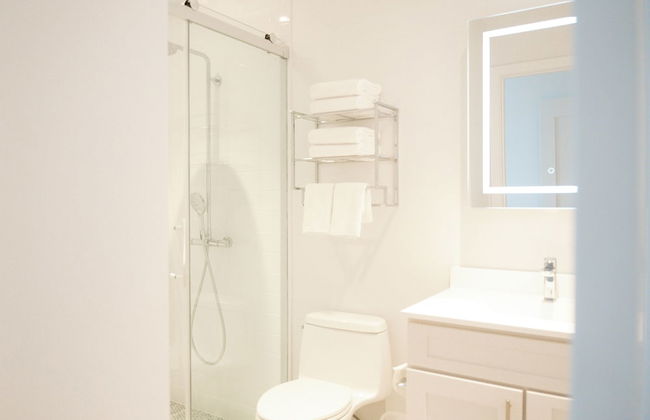
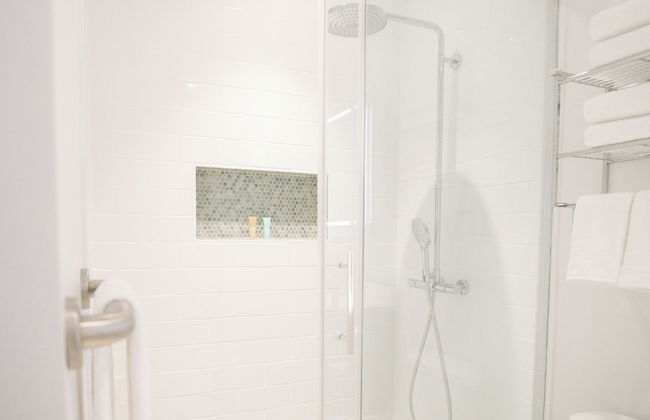
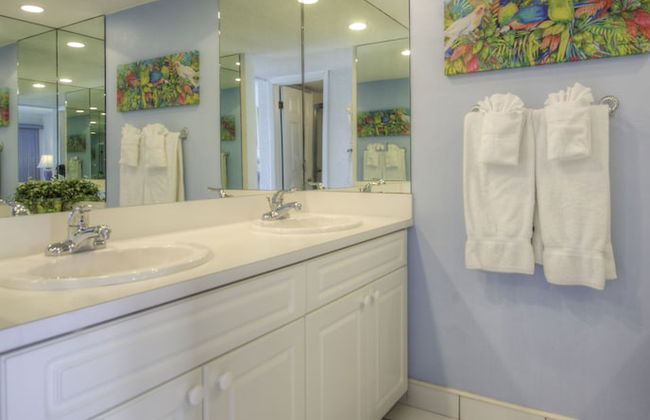
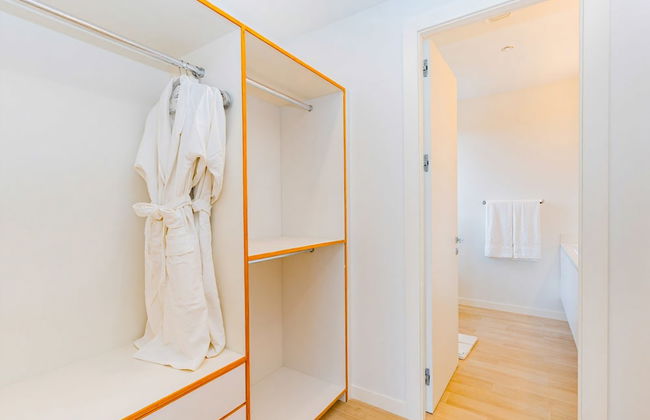
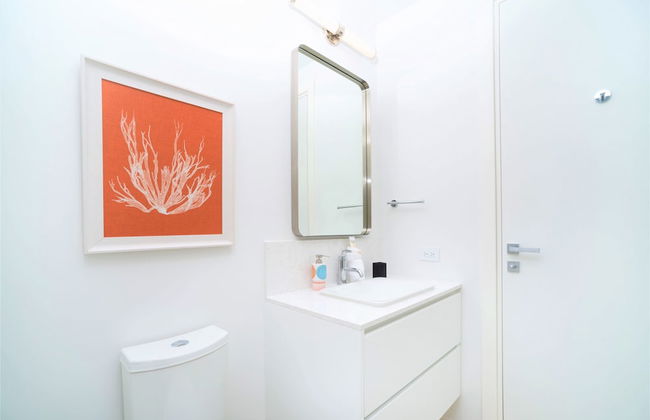
- Lino da bagno
- Lino da letto
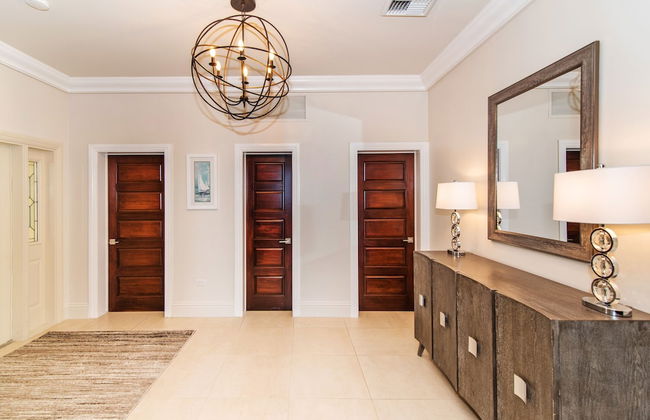


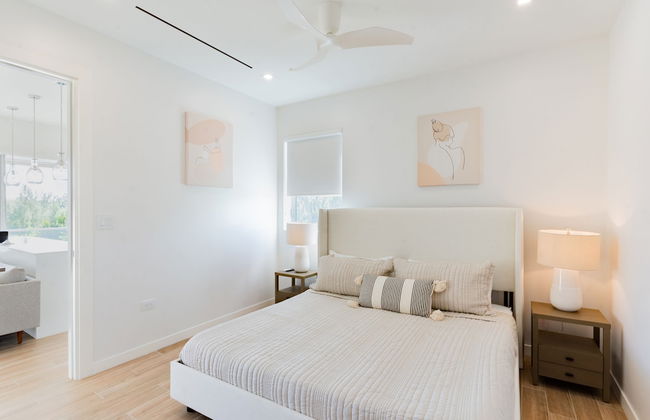
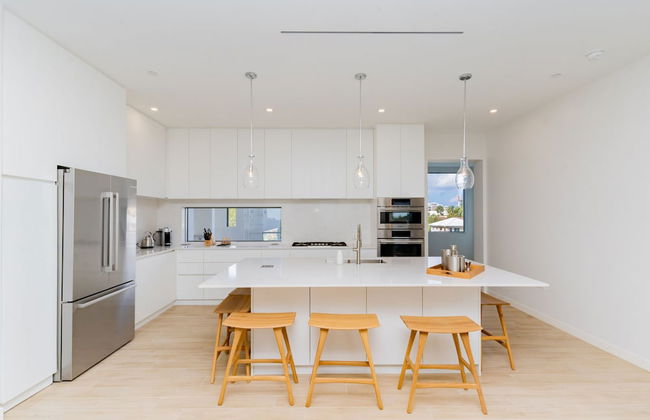
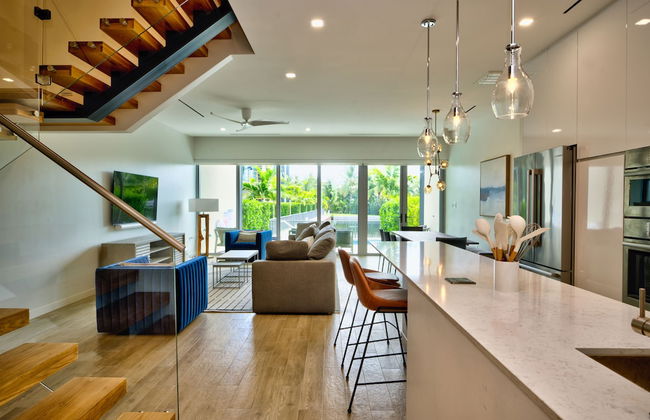
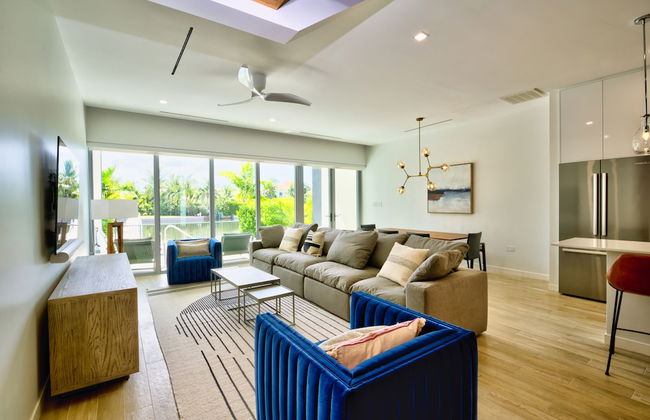
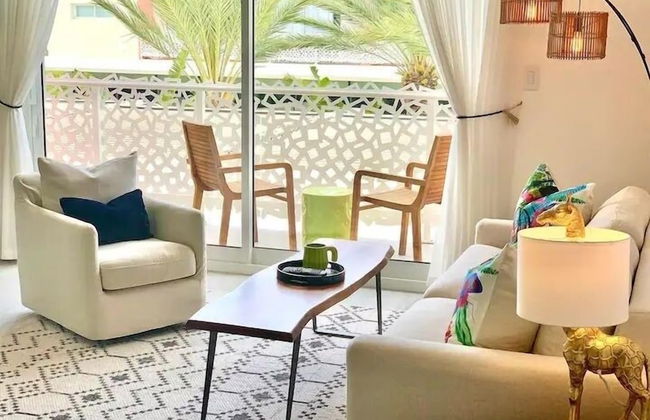
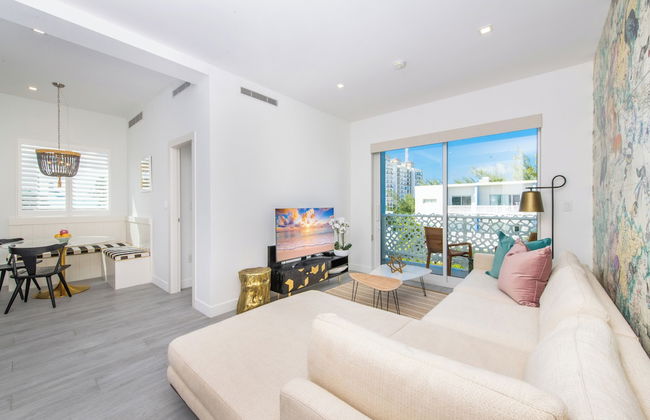
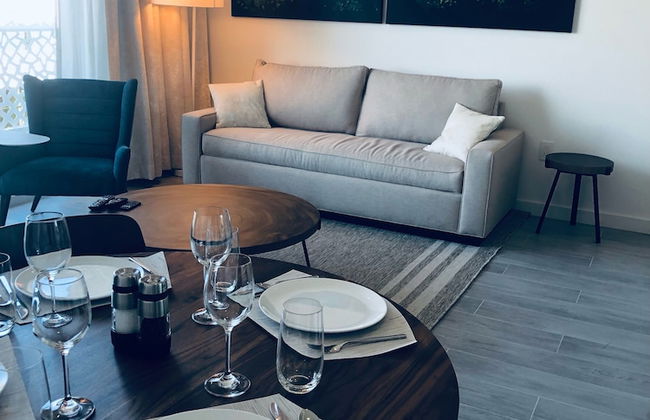
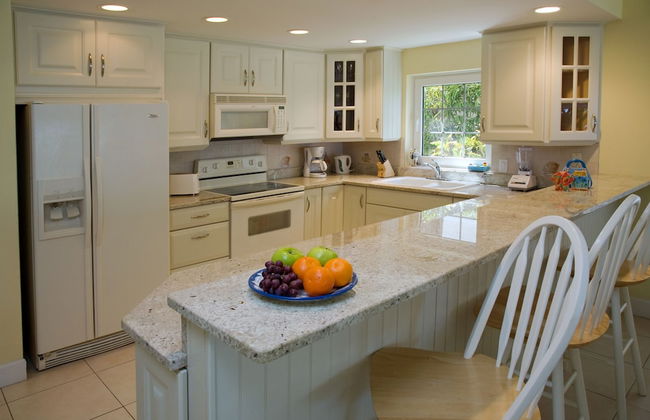
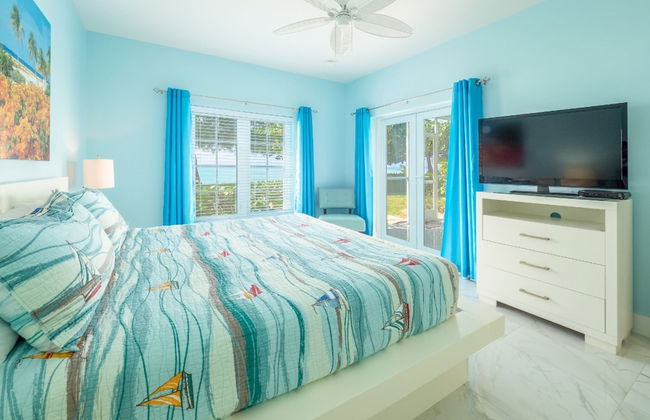
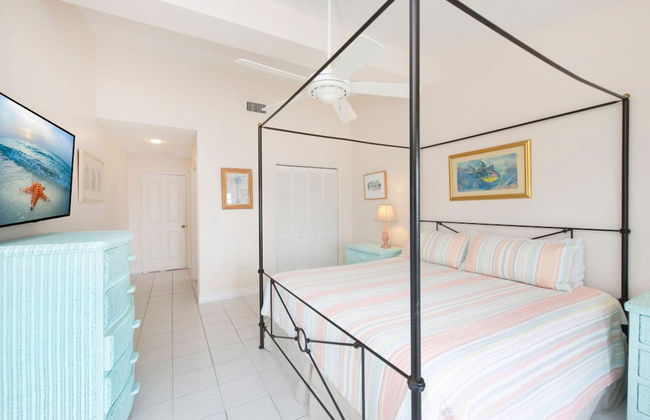
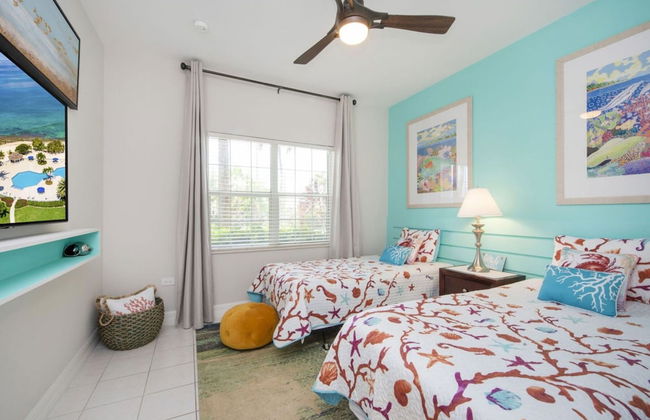
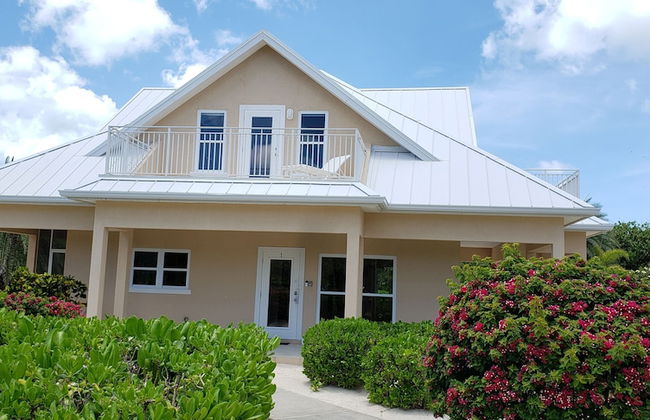
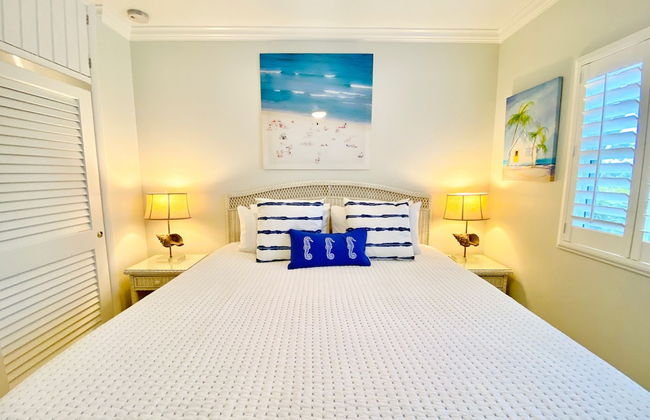
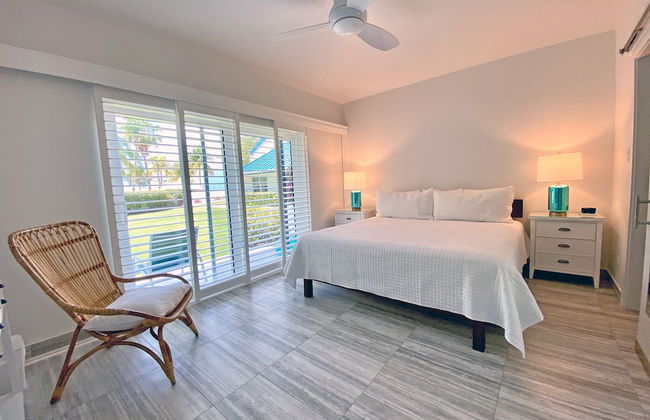
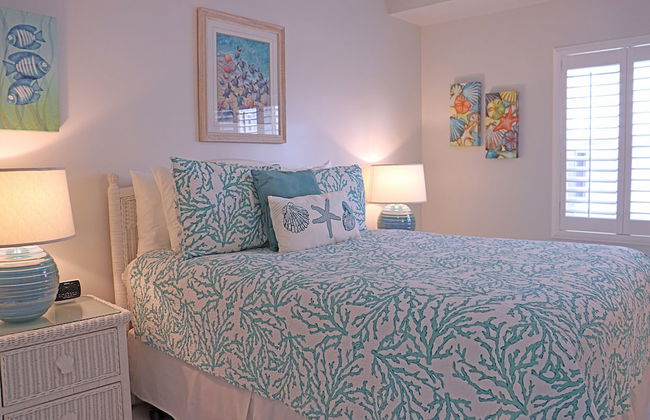
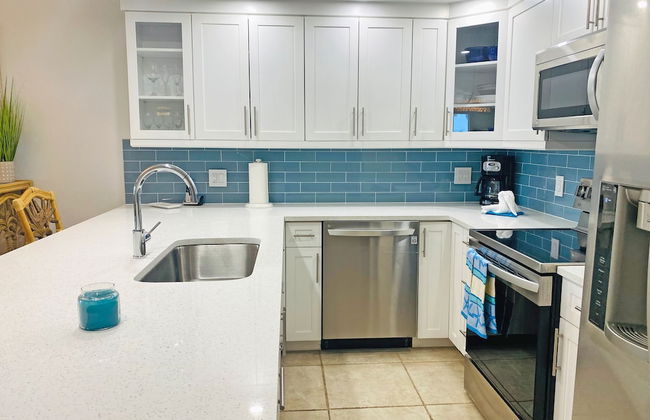
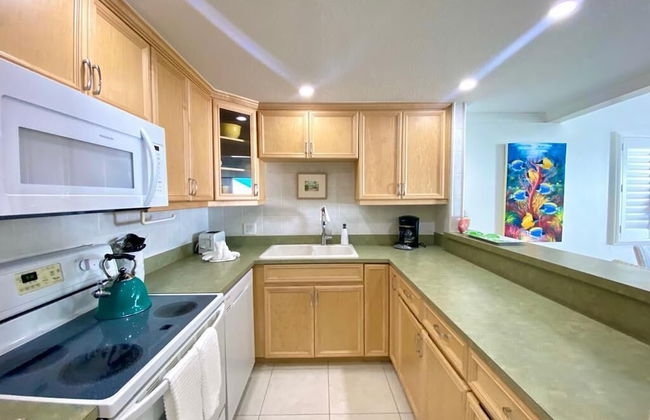
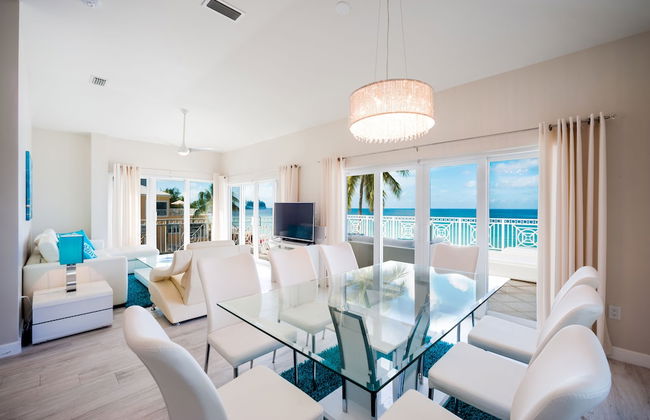
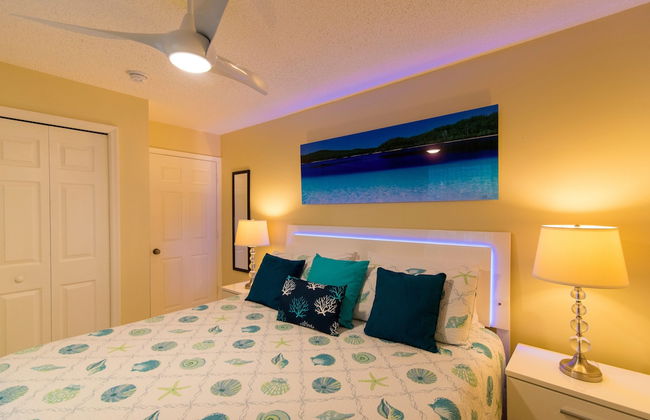
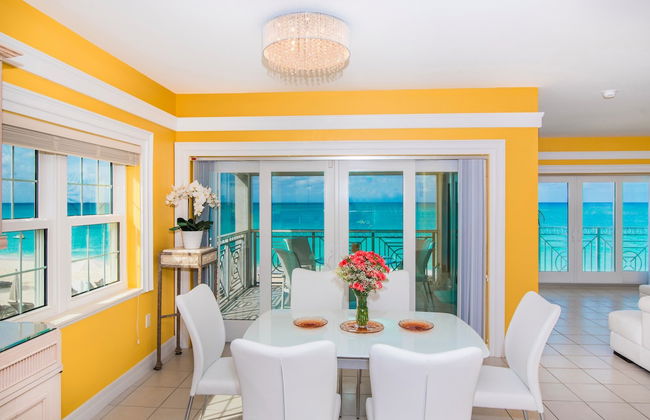
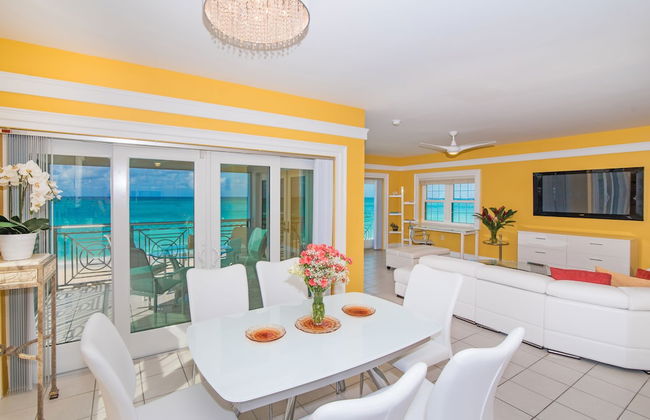
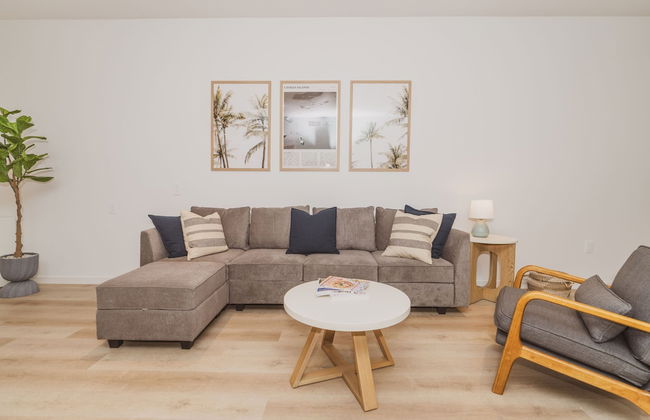
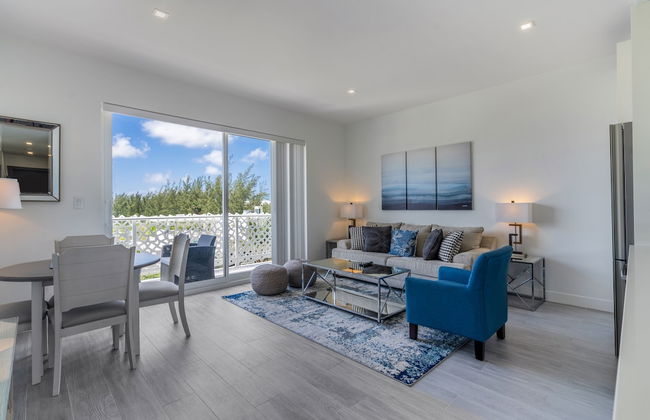
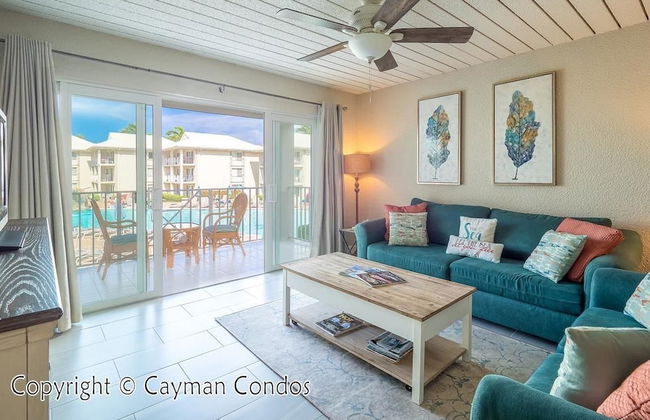
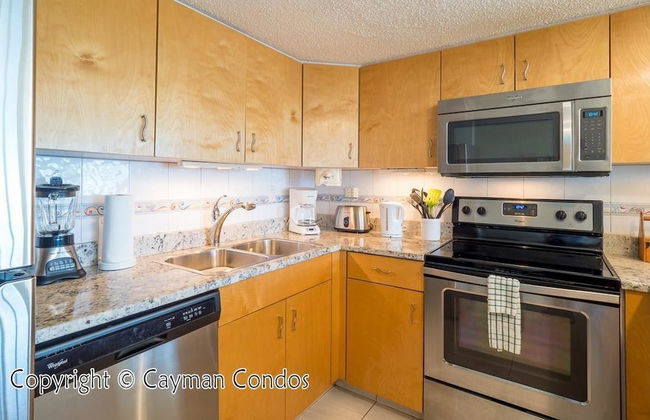
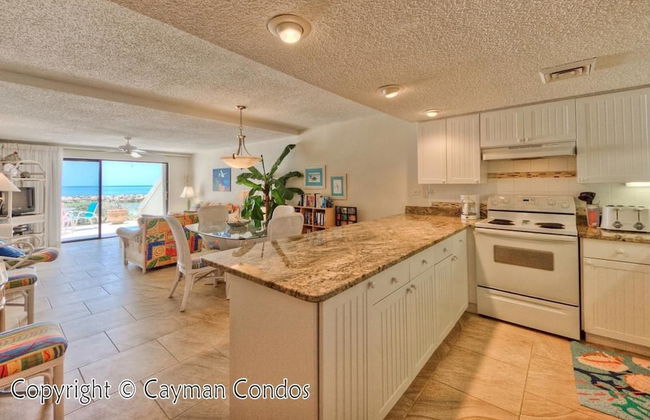
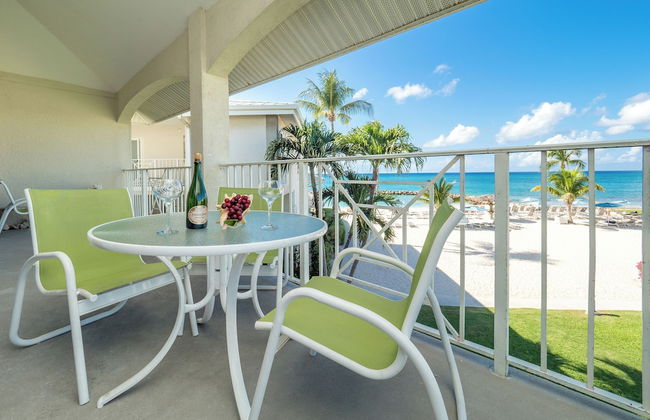
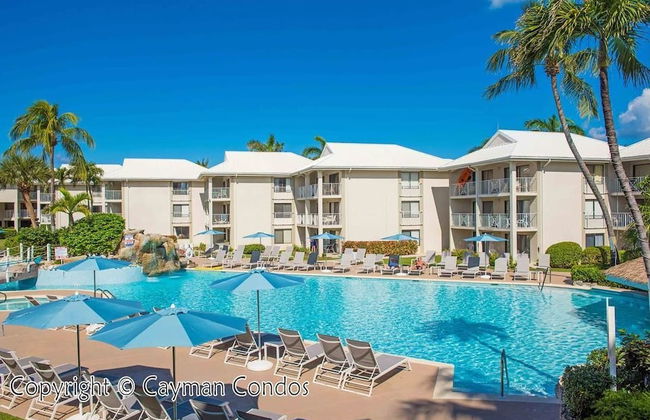
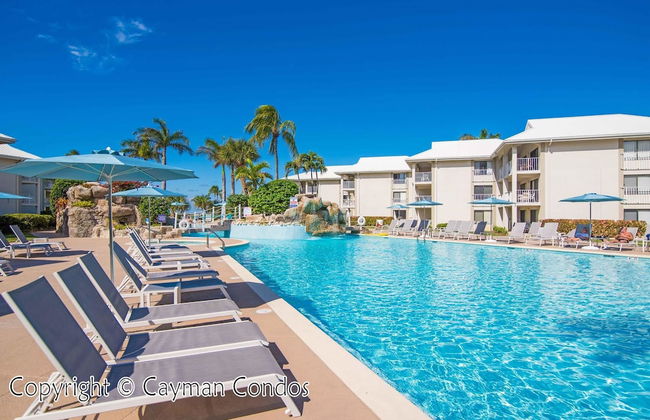
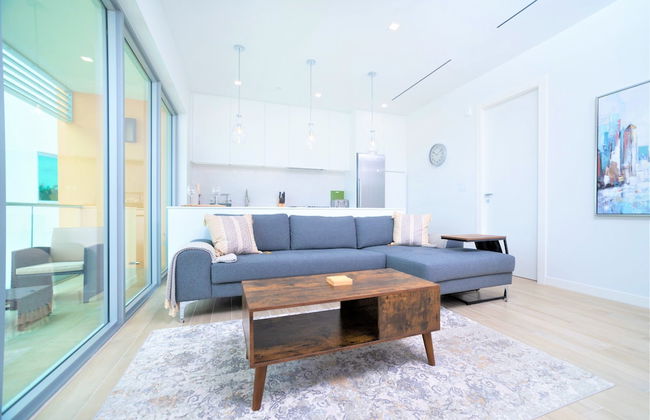
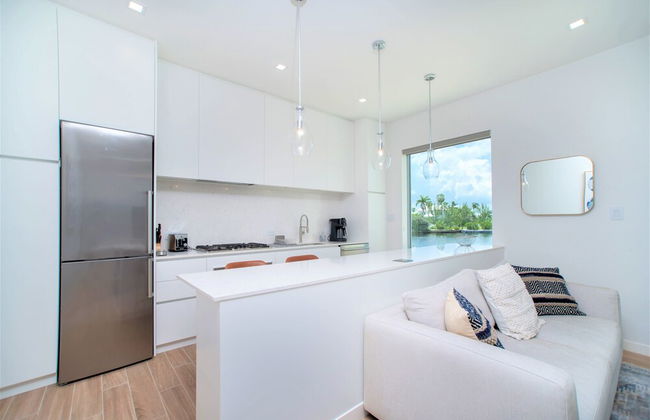
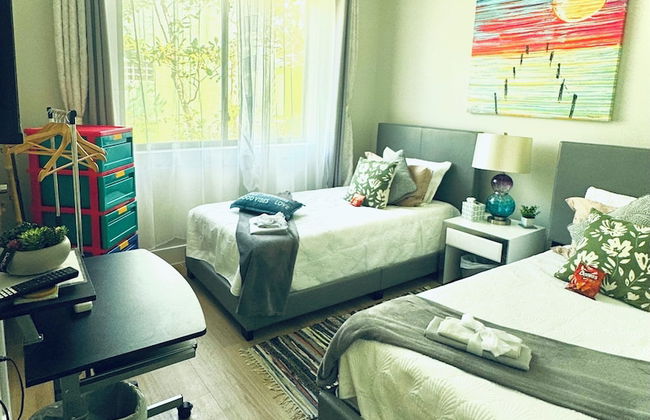
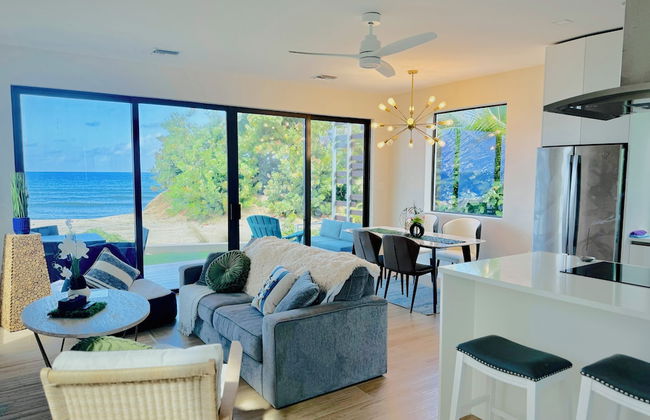
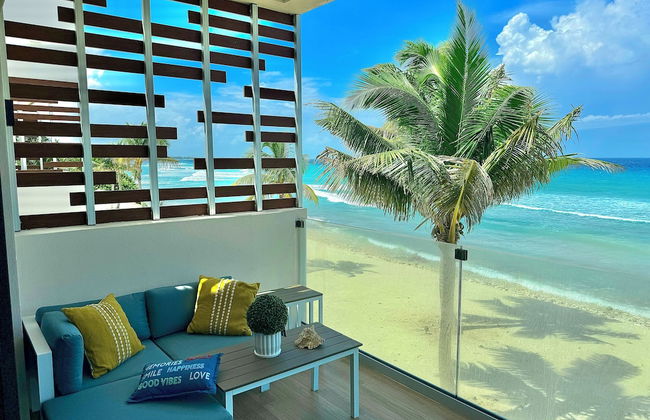
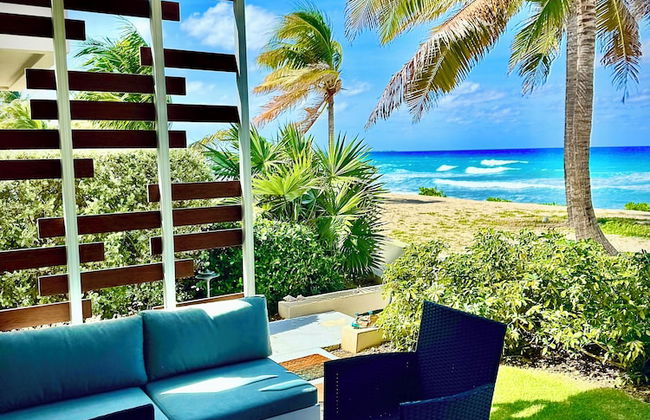
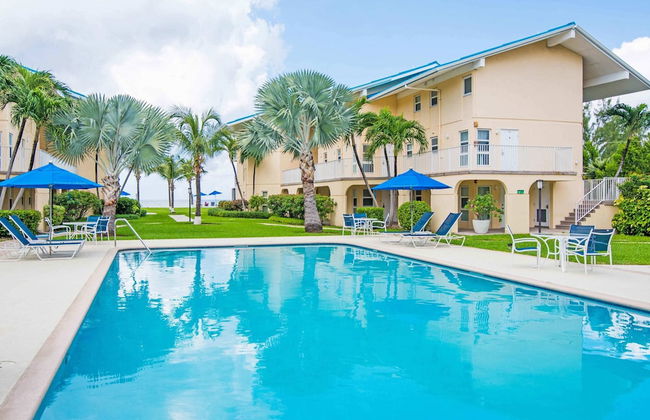
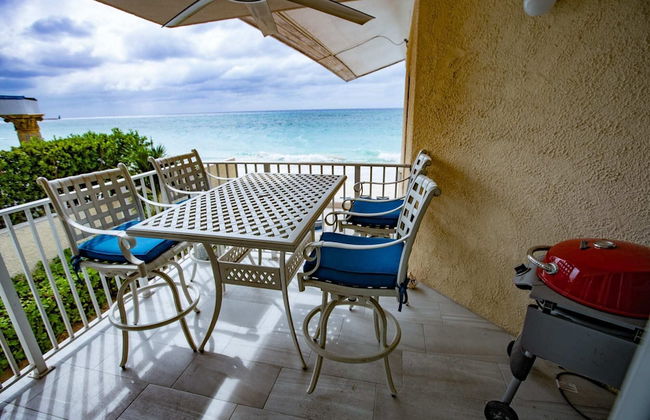
Laguna Del Mar
George Town - Seven Mile Beach - 2 km dal centro
- 286 M2
- 11 persone
- Aria condizionata
- Terrazza
- Piscina
- Parcheggio
- Balcone
- Giardino
- Tv
- Lavatrice
- Barbecue
- Lino da bagno
- Lino da letto


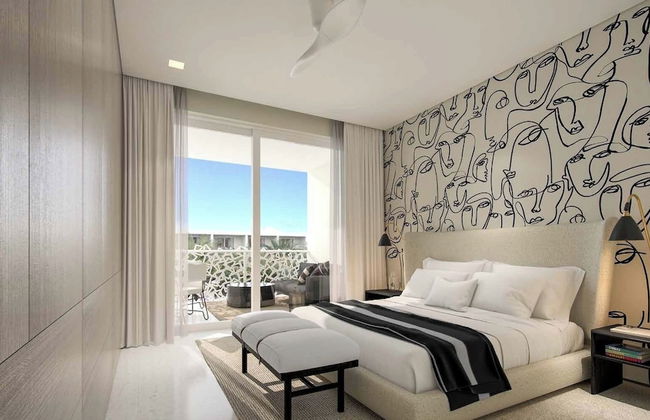

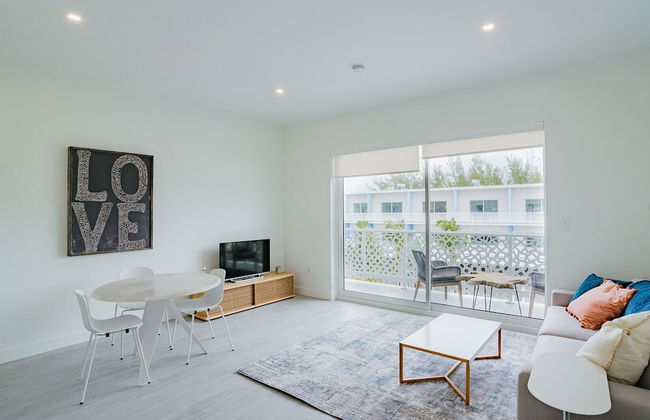


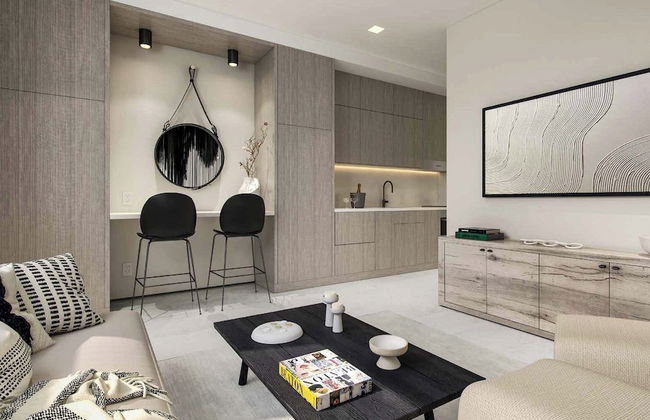


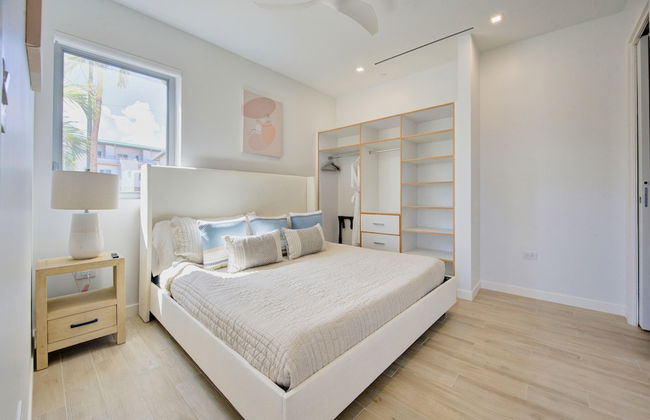
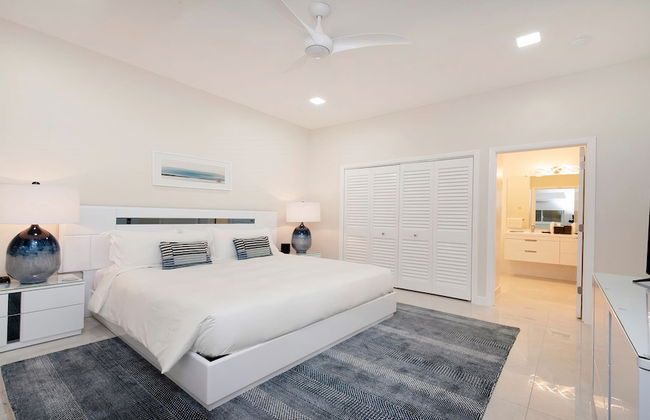
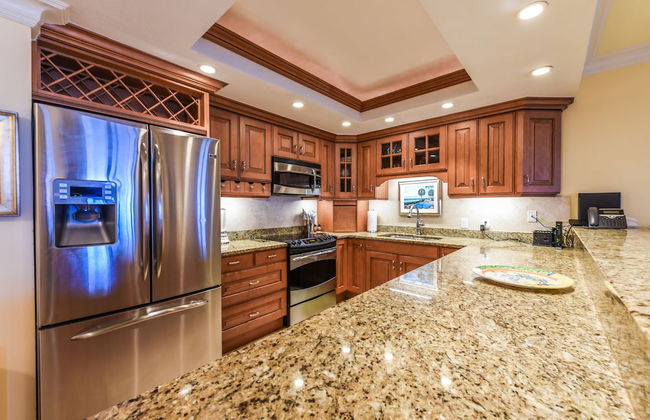
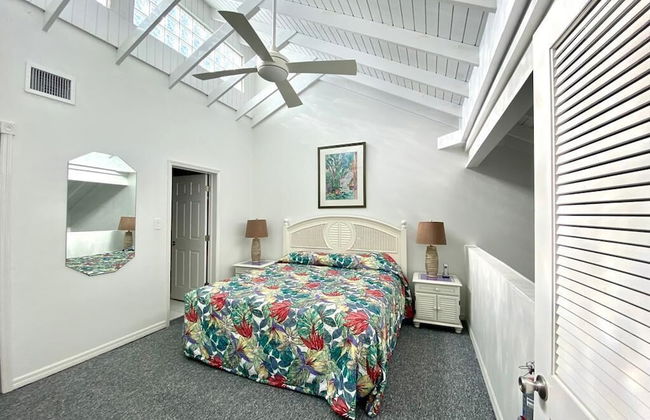
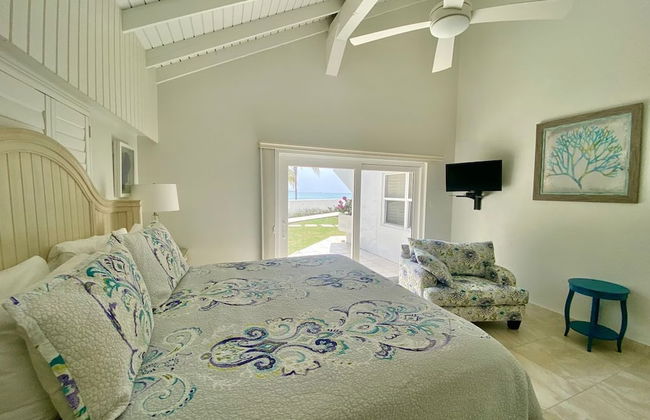
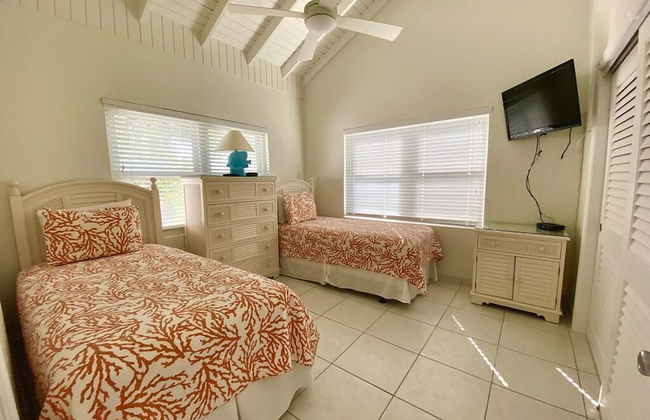
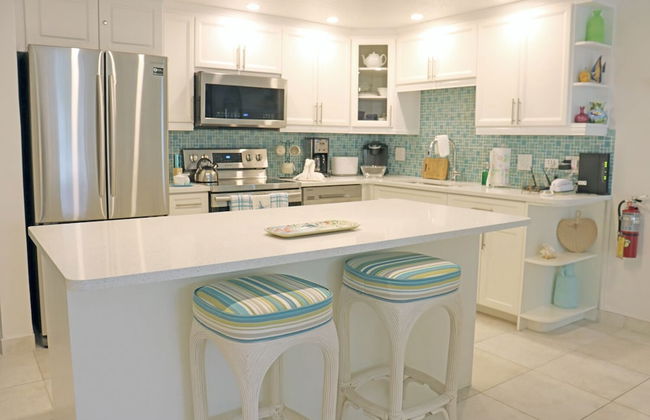
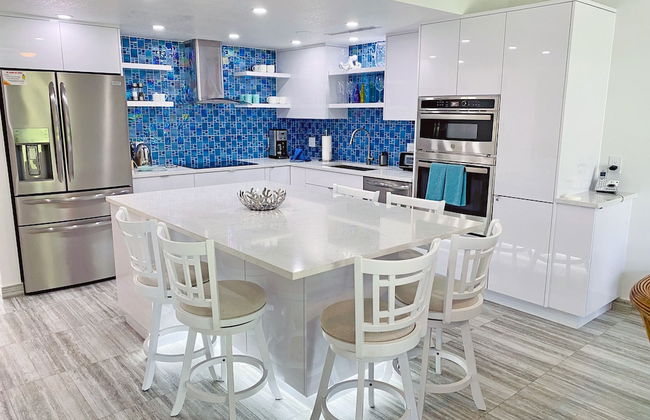
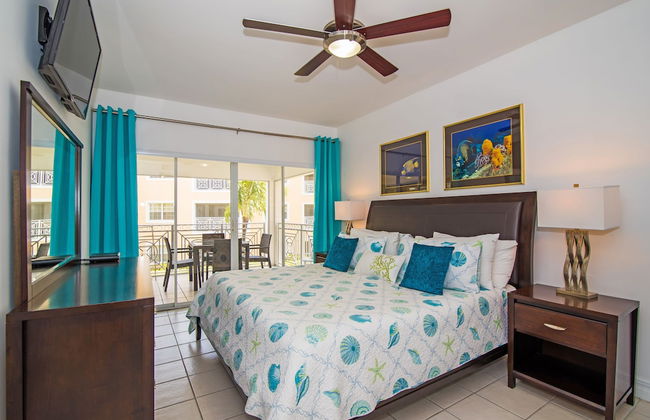
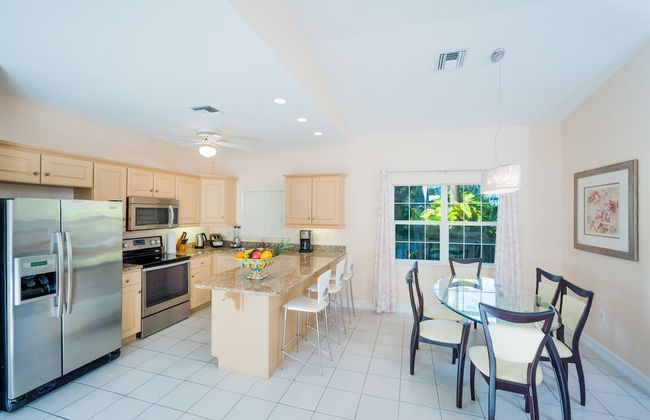
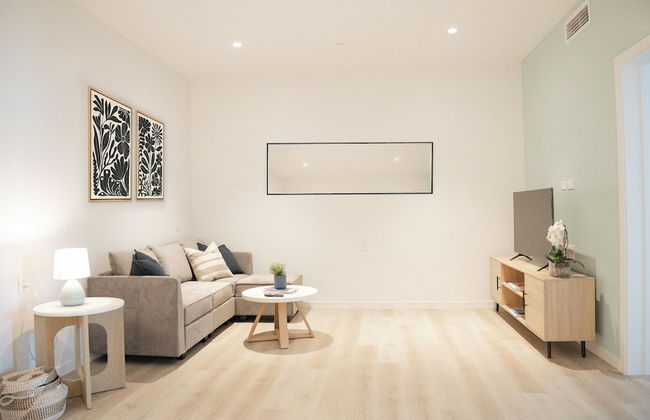
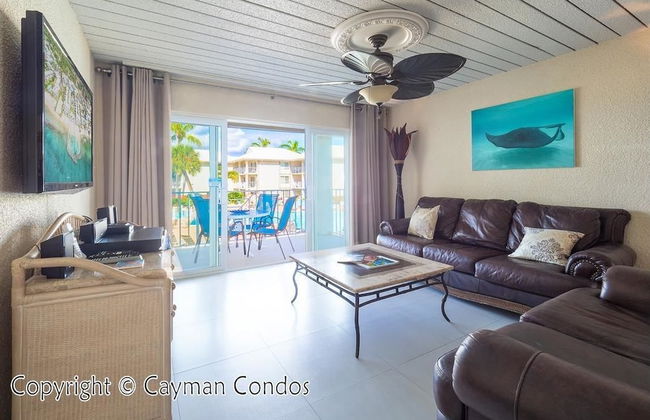
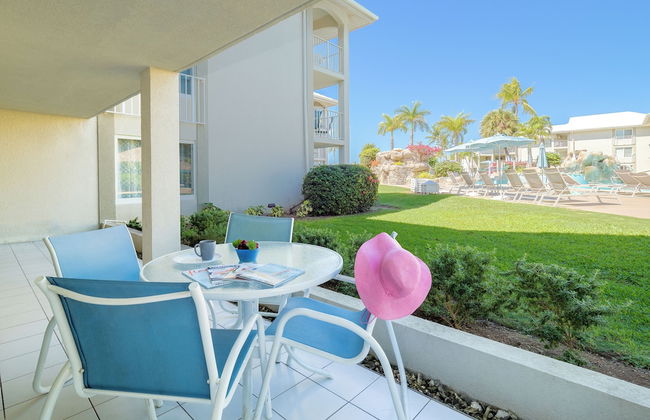
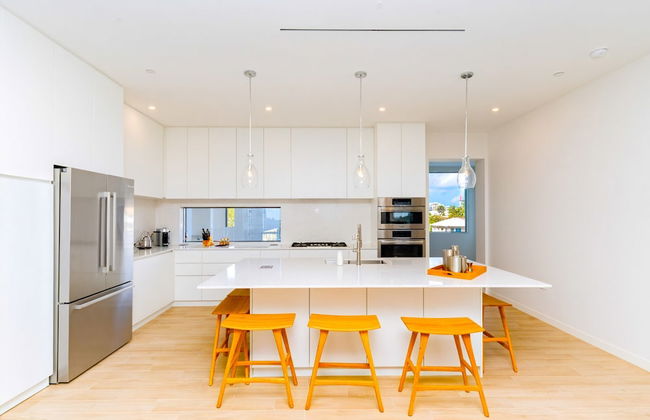
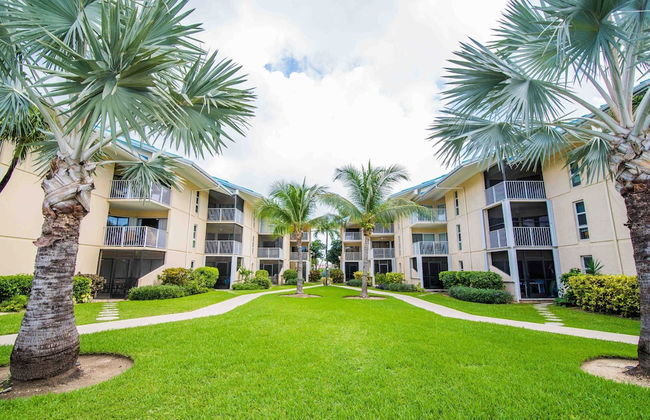
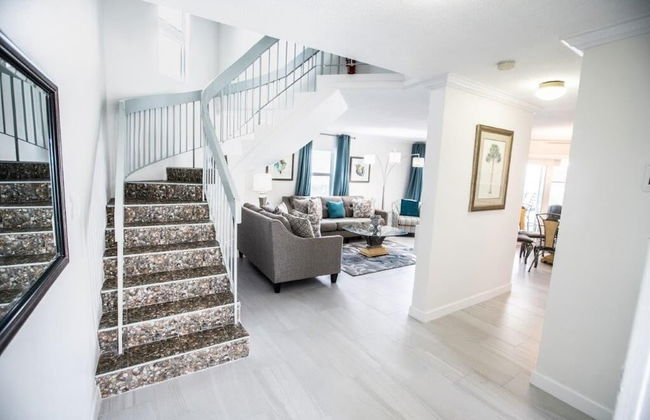
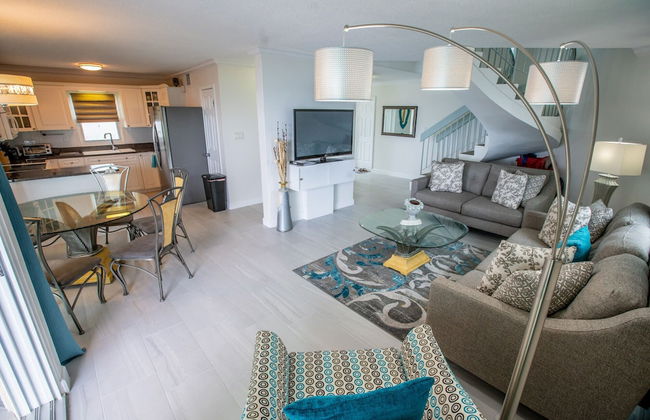
The Grove
West Bay - Batabano
- 204 M2
- 10 persone
- Aria condizionata
- Terrazza
- Piscina
- Parcheggio
- Ascensore
- Giardino
- Tv
- Lavatrice
- Barbecue
- Lino da bagno
- Lino da letto


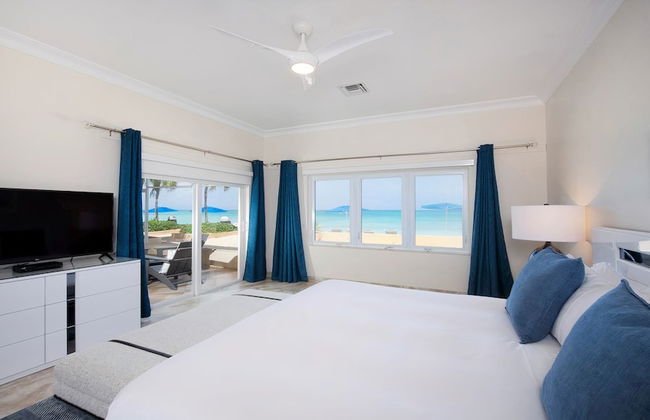
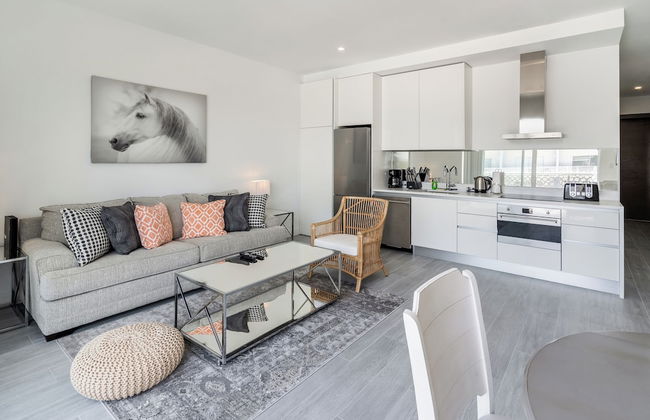
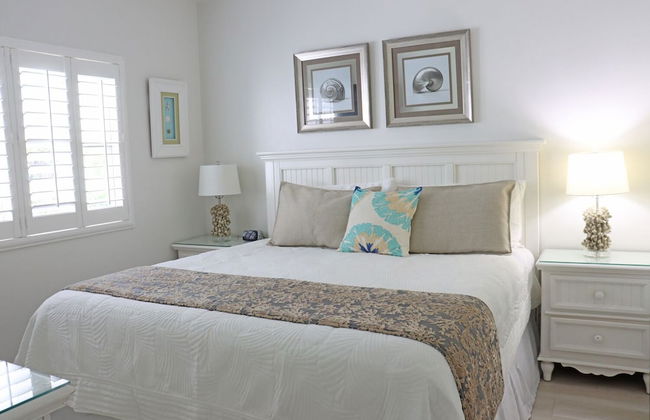
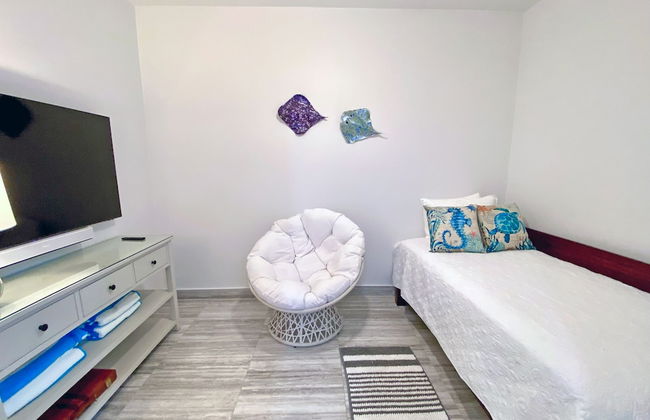
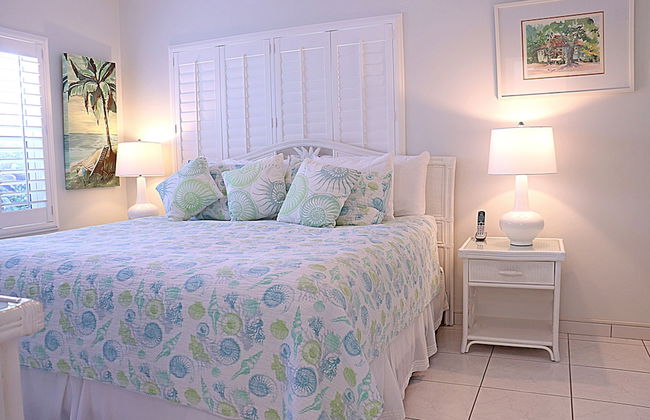
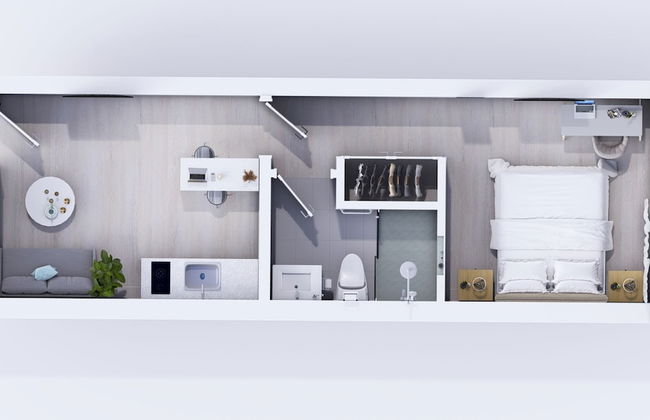
Coral Stone Club
George Town - Seven Mile Beach - 3.7 km dal centro
- 167 M2
- 6 persone
- Aria condizionata
- Terrazza
- Piscina
- Parcheggio
- Ascensore
- Balcone
- Tv
- Lavatrice
- Barbecue
- Lino da bagno
- Lino da letto


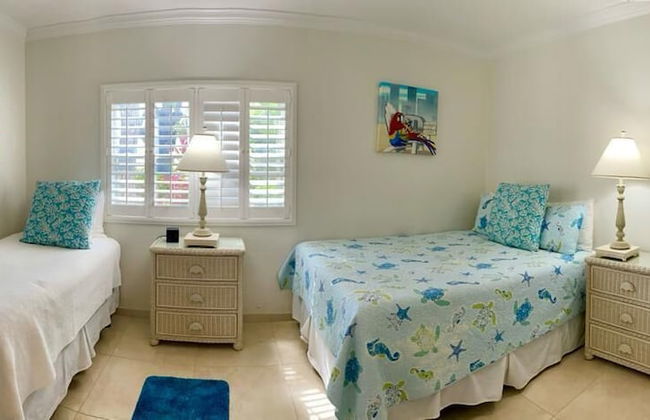
The Colonial Club, Oceanfront Condos
George Town - Seven Mile Beach - 3 km dal centro
- 184 M2
- 8 persone
- Aria condizionata
- Piscina
- Parcheggio
- Ascensore
- Balcone
- Giardino
- Tv
- Lavatrice
- Barbecue
- Lino da bagno
- Lino da letto


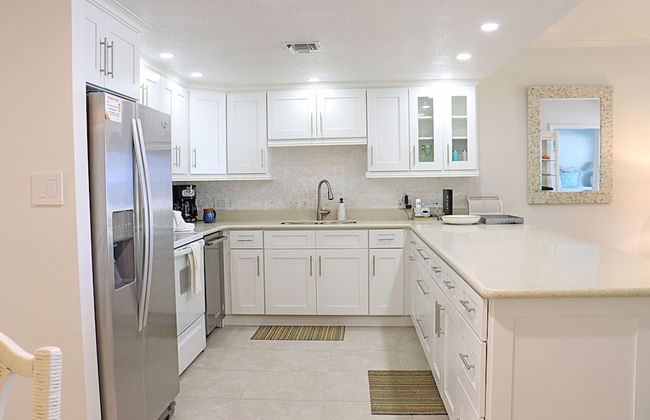
The Grandview Condos on Seven Mile Beach
George Town - Seven Mile Beach - 1.3 km dal centro
- 195 M2
- 8 persone
- Aria condizionata
- Terrazza
- Piscina
- Balcone
- Giardino
- Tv
- Lavatrice
- Barbecue
- Lino da bagno
- Lino da letto


Ocean Paradise
North Side - Cayman Kai - 4.3 km dal centro
- 279 M2
- 8 persone
- Aria condizionata
- Terrazza
- Piscina
- Parcheggio
- Balcone
- Giardino
- Tv
- Lavatrice
- Barbecue
- Lino da bagno
- Lino da letto


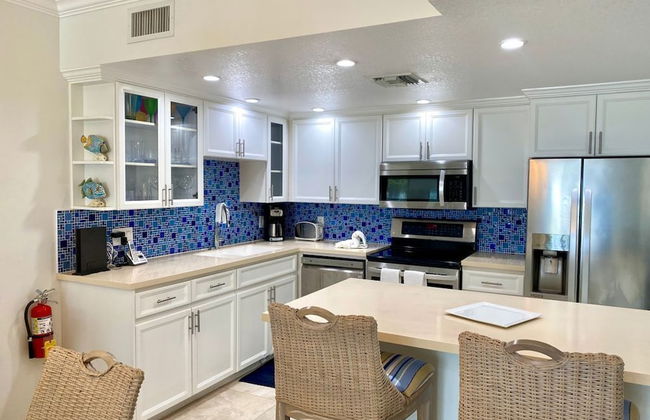
Caribbean Club Luxury Condo Hotel
George Town - Seven Mile Beach - 3.3 km dal centro
- 251 M2
- 8 persone
- Aria condizionata
- Piscina
- Tv
- Lavatrice
- Barbecue
- Lino da bagno
- Lino da letto


Galleon Villas by Hello Cayman Vacation
West Bay - Batabano
- 7 persone
- Aria condizionata
- Terrazza
- Parcheggio
- Giardino
- Tv
- Lavatrice
- Barbecue
- Lino da bagno
- Lino da letto


Regal Beach Club
George Town - Seven Mile Beach - 2 km dal centro
- 172 M2
- 7 persone
- Aria condizionata
- Piscina
- Parcheggio
- Balcone
- Giardino
- Tv
- Lavatrice
- Barbecue
- Lino da bagno
- Lino da letto


Villas of the Galleon
George Town - Seven Mile Beach - 4 km dal centro
- 151 M2
- 7 persone
- Aria condizionata
- Terrazza
- Parcheggio
- Balcone
- Tv
- Lavatrice
- Barbecue
- Lino da bagno
- Lino da letto


Botanica
West Bay - Batabano
- 130 M2
- 6 persone
- Terrazza
- Piscina
- Parcheggio
- Lavatrice
- Lino da bagno
- Lino da letto


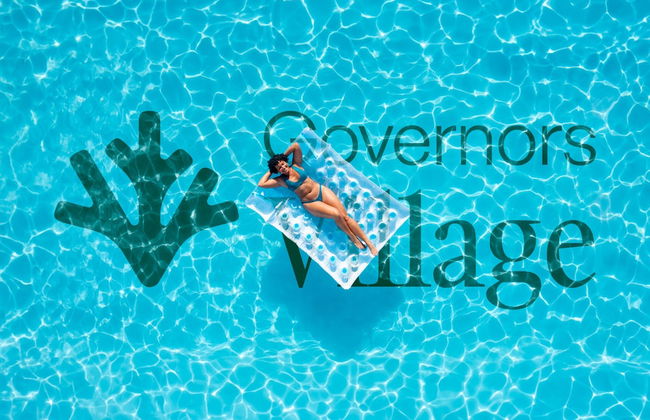


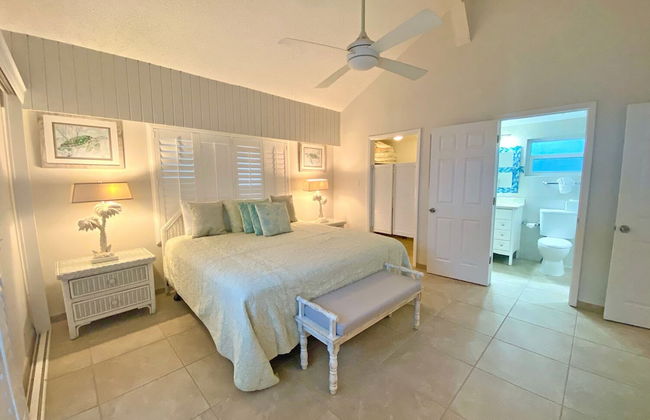
Governors Village Seven Mile Beach Corridor
West Bay - Batabano
- 143 M2
- 8 persone
- Cucinino
- Aria condizionata
- Piscina
- Parcheggio
- Giardino
- Tv
- Lino da bagno
- Lino da letto


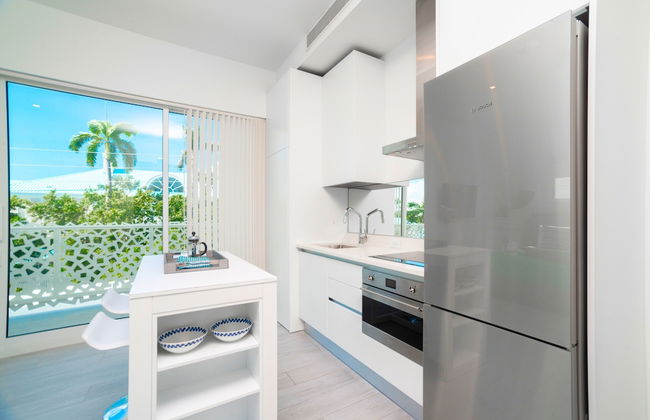
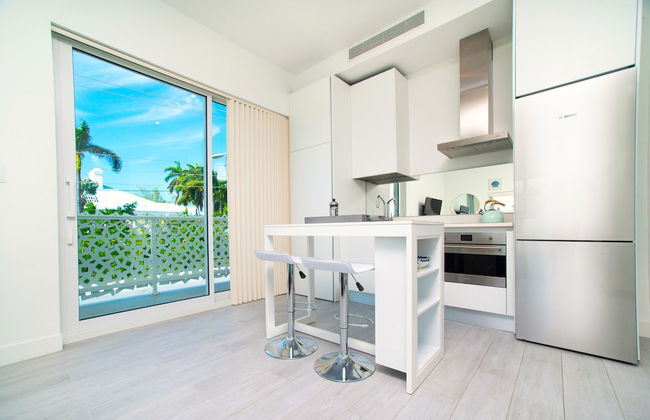
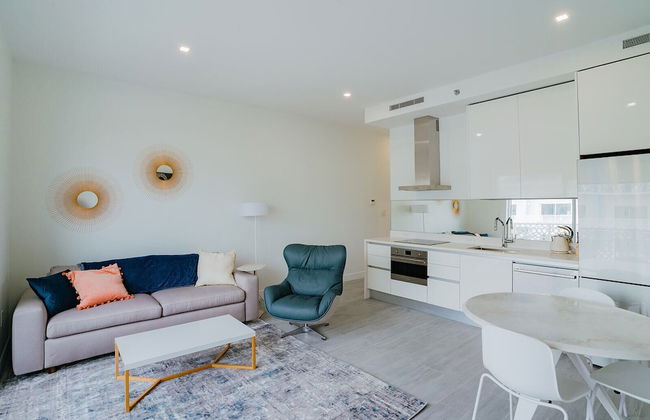
Cayman Luxury Rentals at The Grove
West Bay - Batabano
- 63 M2
- 4 persone
- Aria condizionata
- Terrazza
- Piscina
- Parcheggio
- Balcone
- Giardino
- Tv
- Lavatrice
- Lino da bagno
- Lino da letto


Aqua Bay Club Condos
West Bay - Batabano
- 126 M2
- 6 persone
- Aria condizionata
- Terrazza
- Piscina
- Parcheggio
- Balcone
- Tv
- Barbecue
- Lino da bagno
- Lino da letto


Sunset Cove
George Town - Seven Mile Beach - 1.5 km dal centro
- 149 M2
- 7 persone
- Aria condizionata
- Piscina
- Parcheggio
- Balcone
- Tv
- Lavatrice
- Barbecue
- Lino da bagno
- Lino da letto


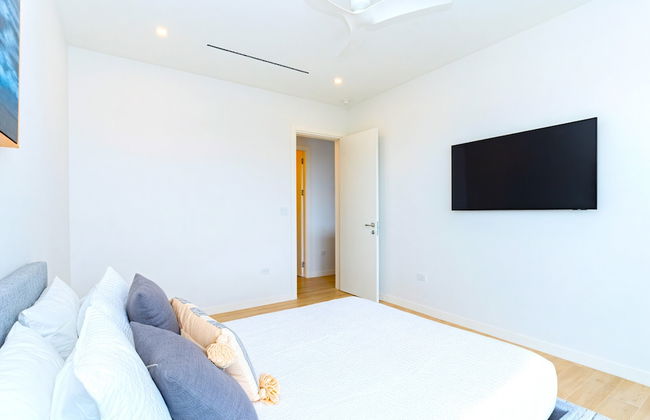


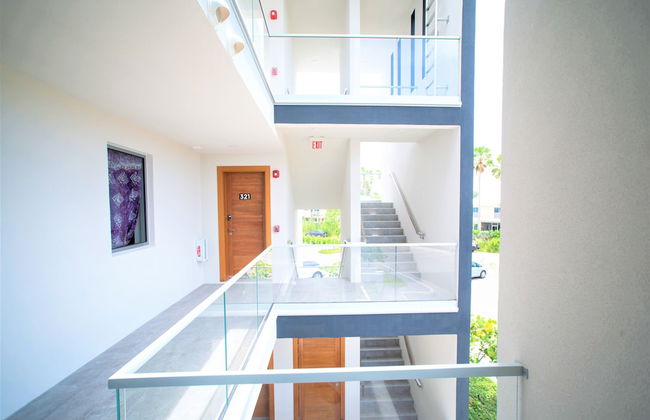
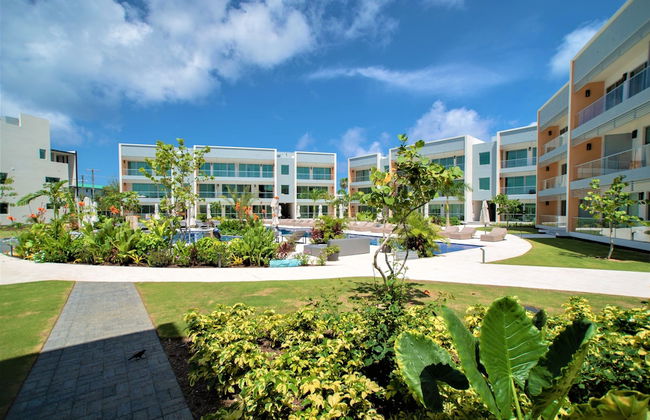


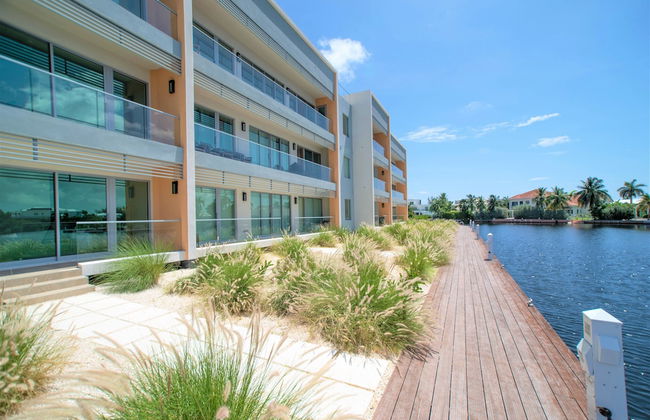


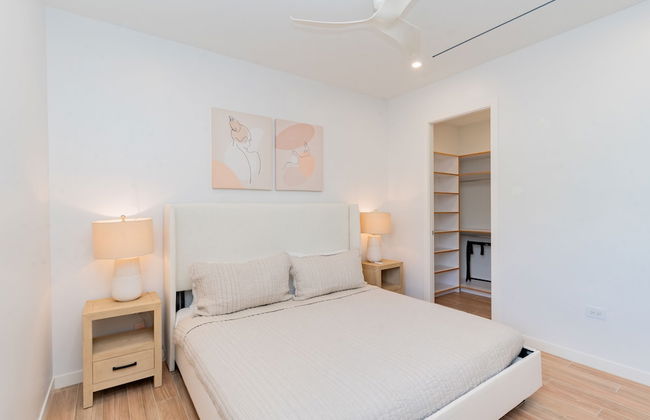
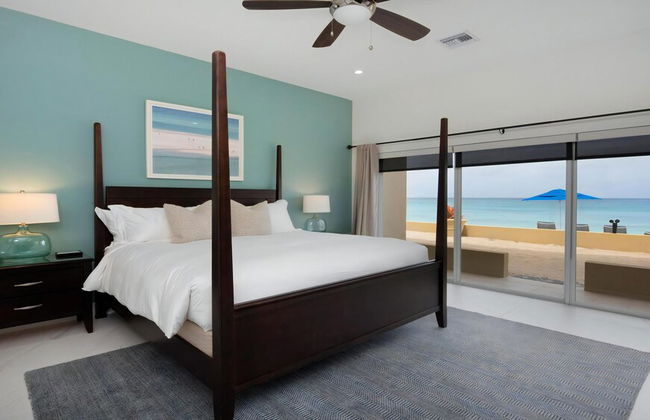
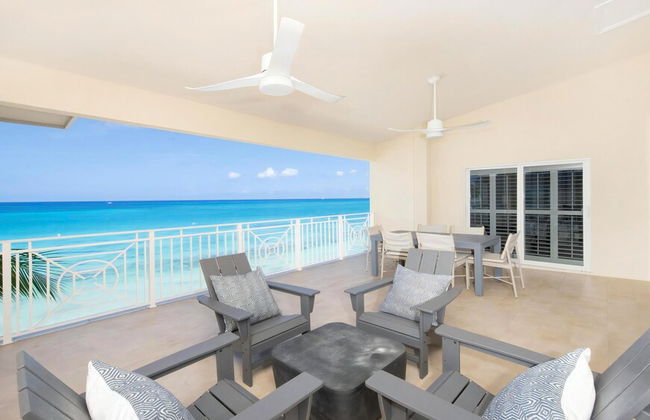
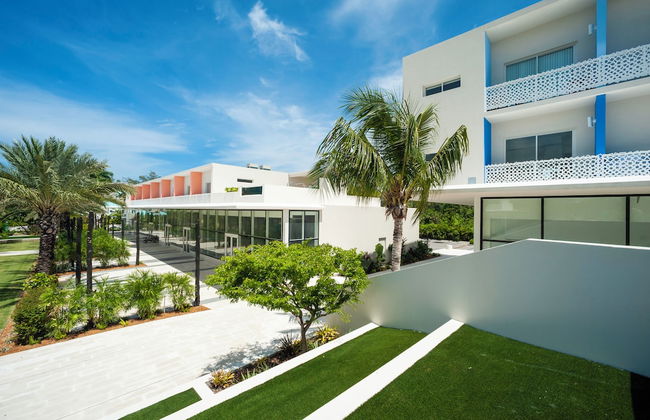
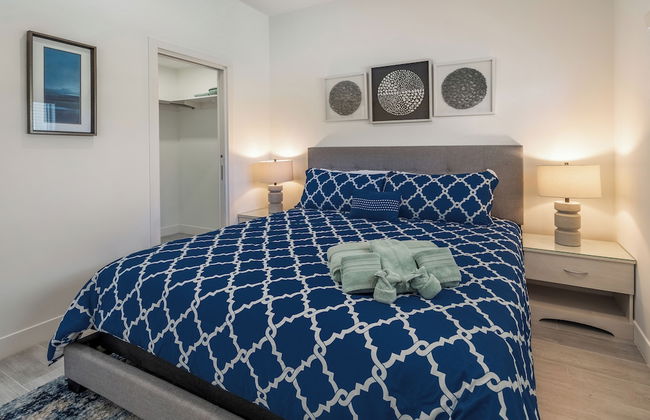
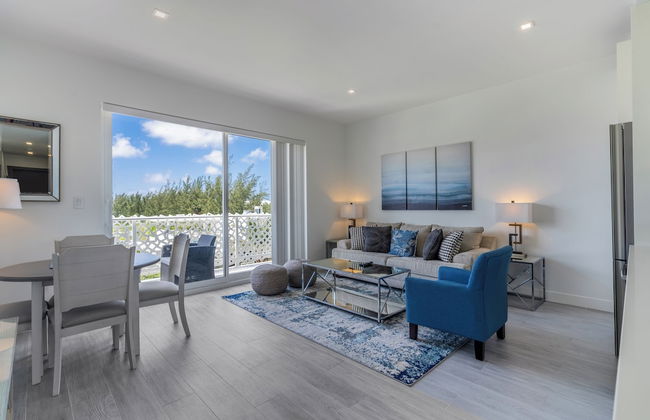
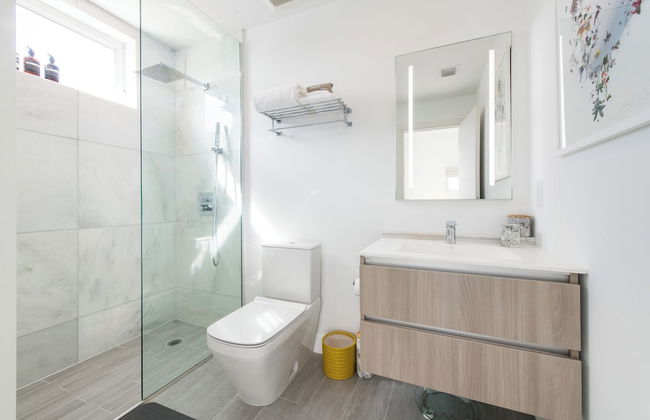
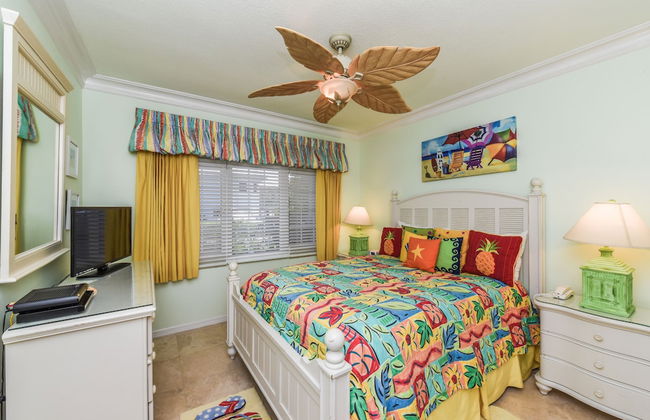
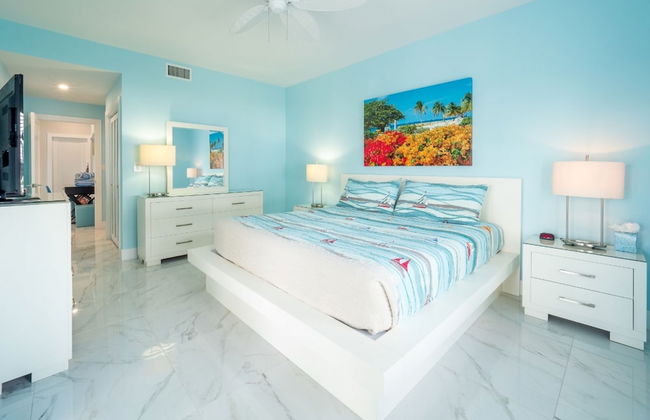
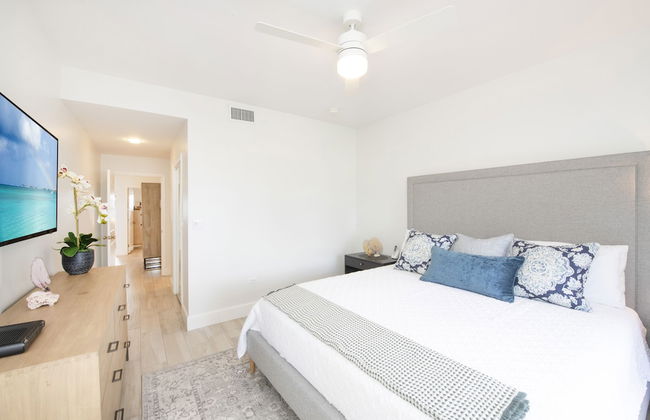
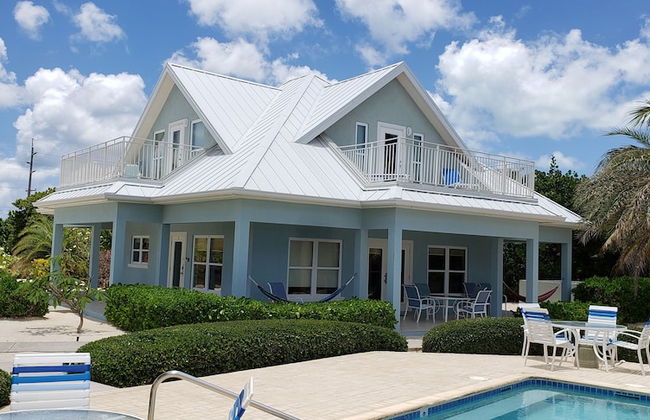
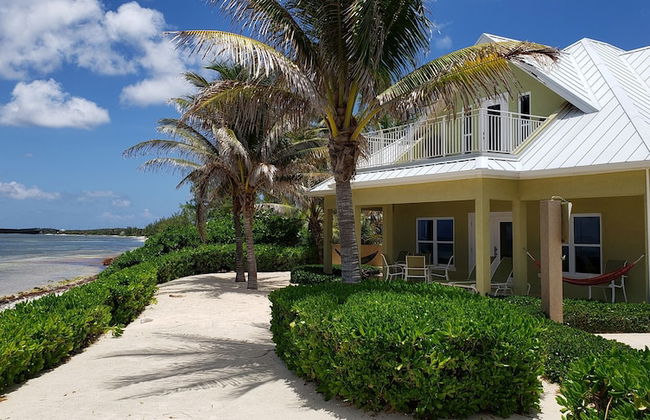
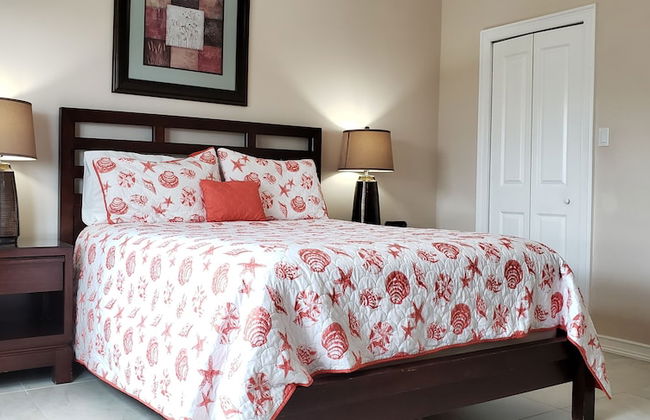
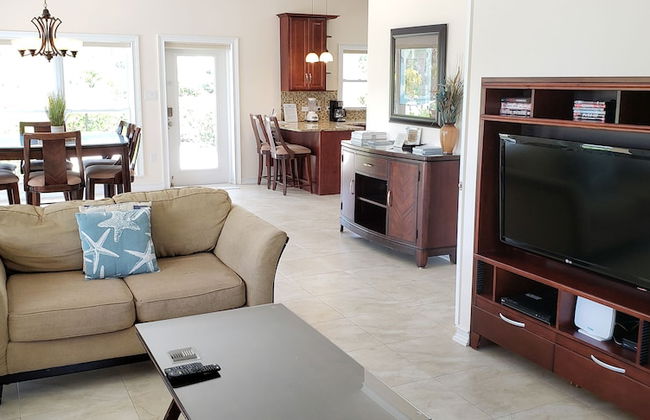
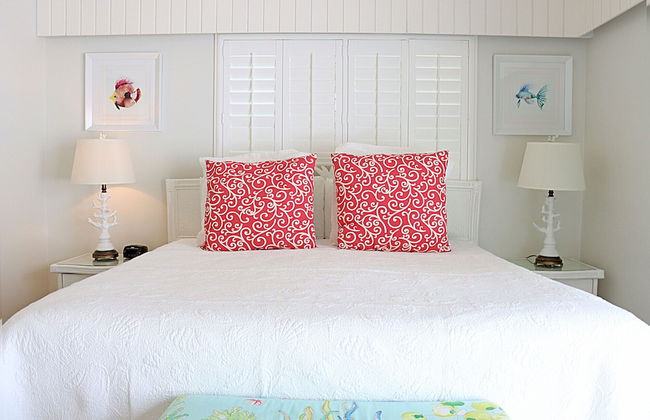
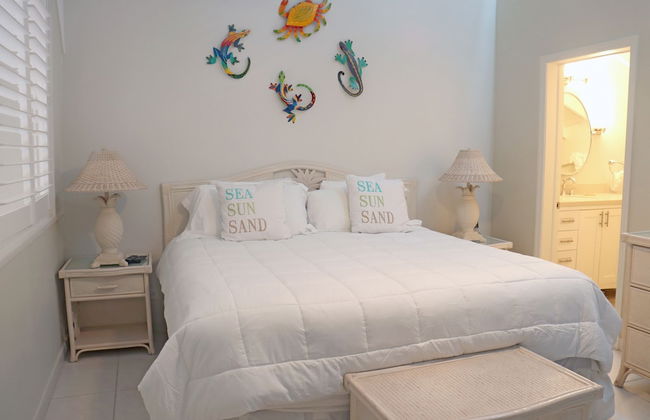
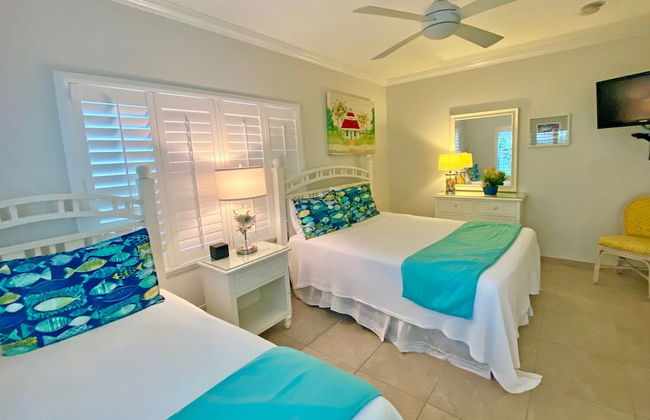
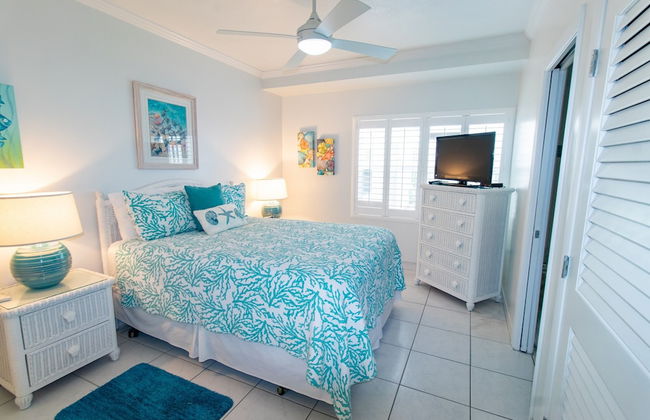
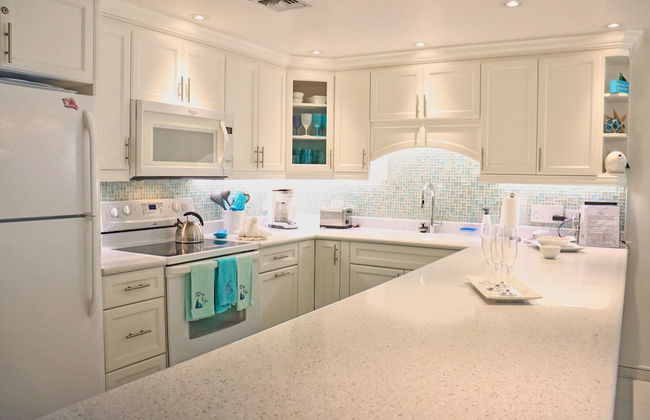
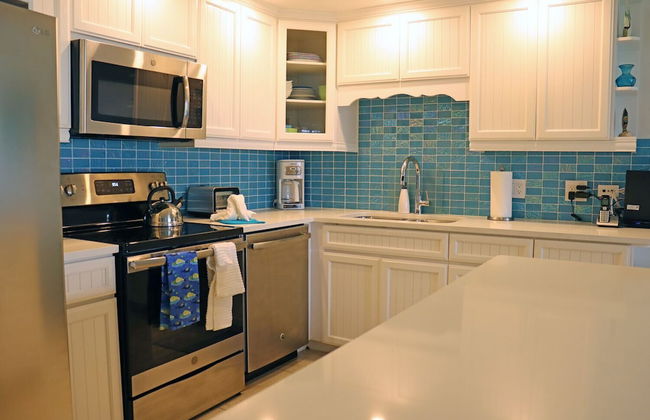
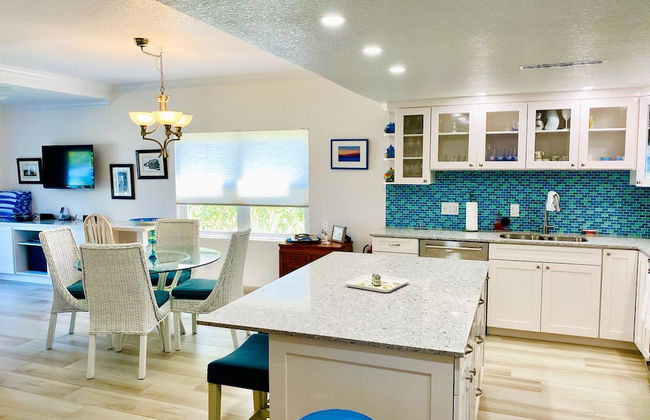
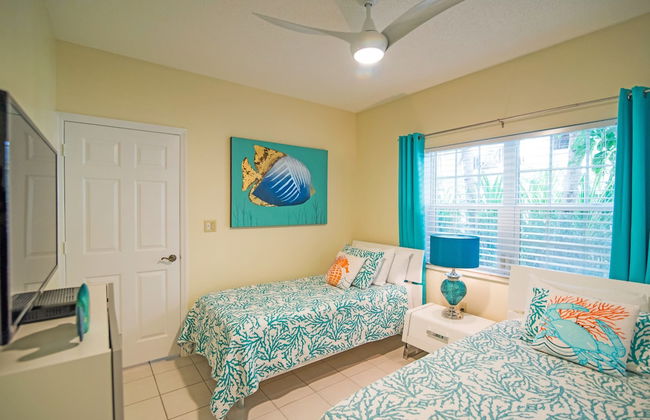
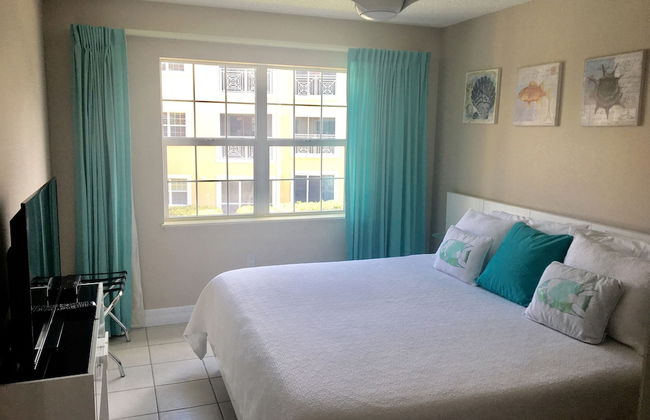
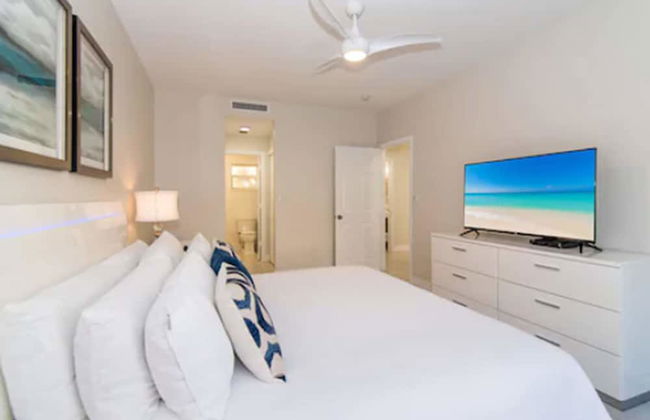
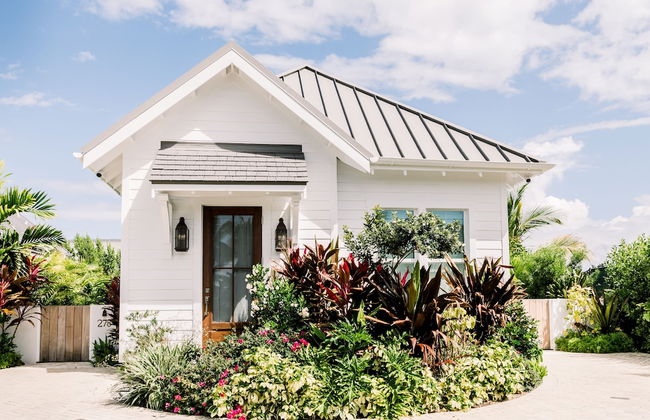
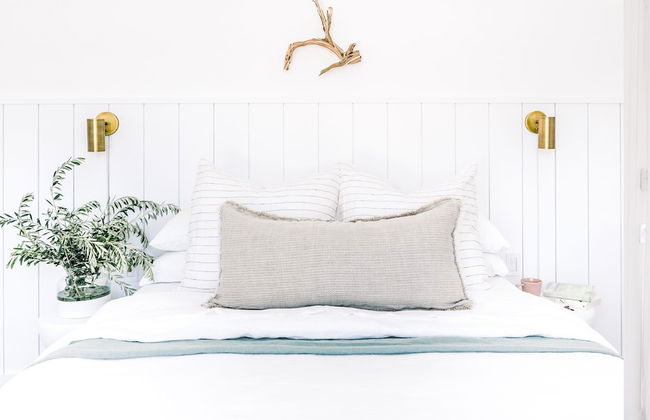
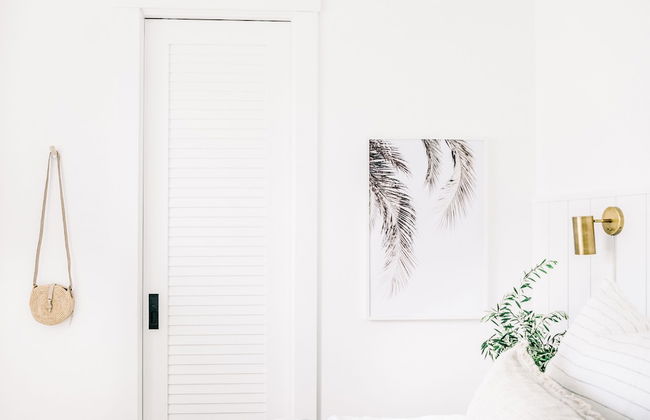
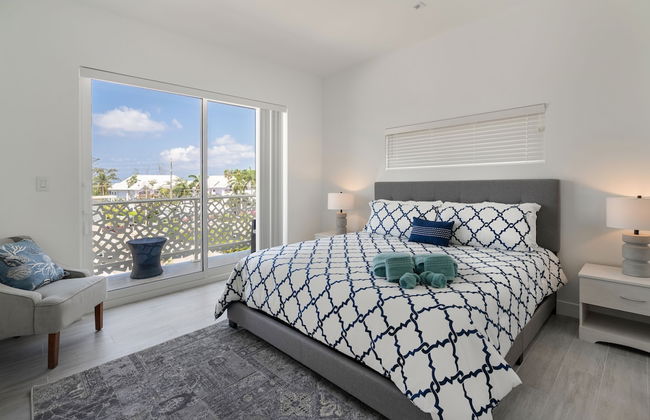
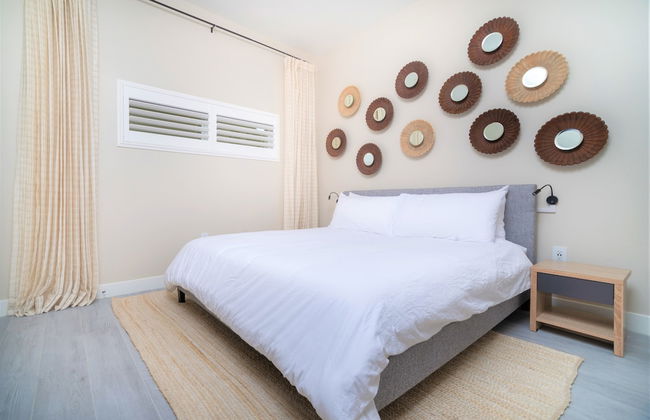
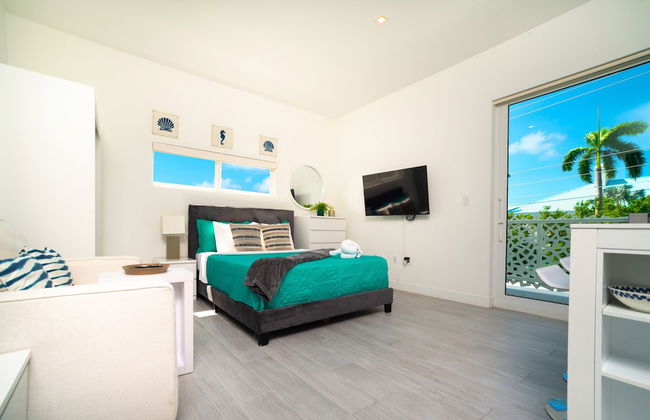
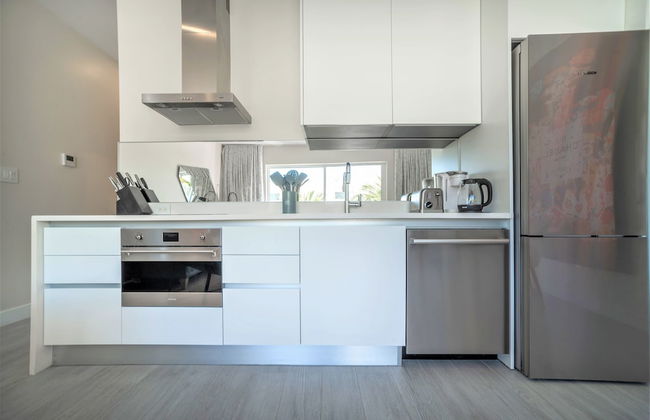
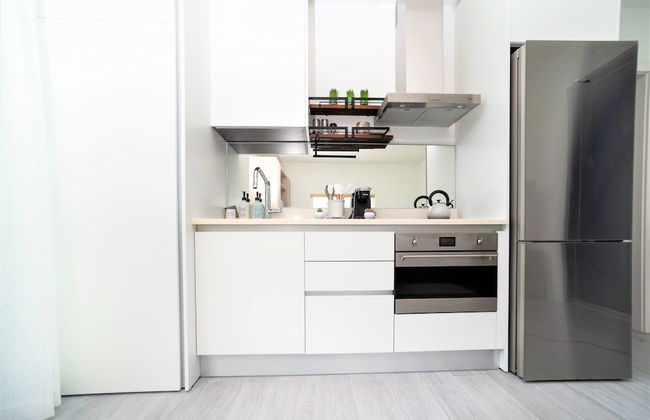
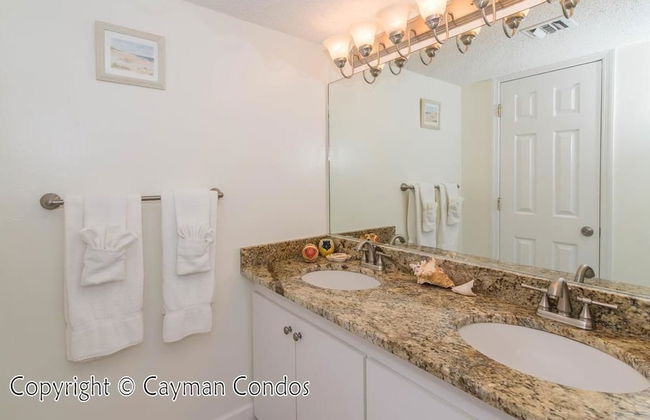
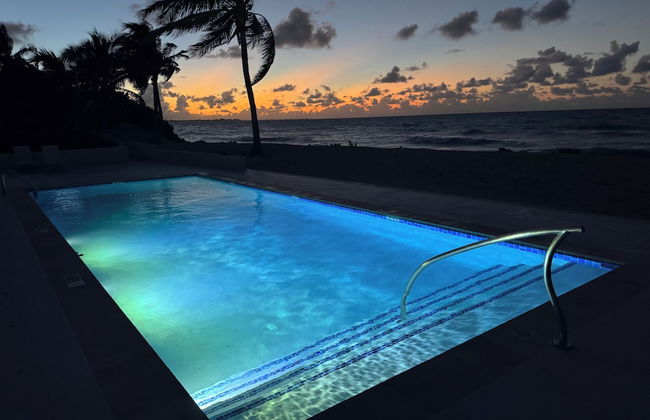
Cayman Luxury Rentals at One Canal Point
George Town - Snug Harbor - 3.6 km dal centro
- 175 M2
- 6 persone
- Aria condizionata
- Piscina
- Parcheggio
- Ascensore
- Balcone
- Tv
- Lavatrice
- Barbecue
- Lino da bagno
- Lino da letto


On The Bay
North Side - Old Man Bay - 2.5 km dal centro
- 8 persone
- Aria condizionata
- Piscina
- Parcheggio
- Ascensore
- Balcone
- Tv
- Lavatrice
- Barbecue
- Lino da bagno
- Lino da letto


Silver Reef Residencies
North Side - Old Man Bay - 3.5 km dal centro
- 120 M2
- 6 persone
- Aria condizionata
- Riscaldamento
- Terrazza
- Piscina
- Parcheggio
- Giardino
- Lavatrice
- Barbecue
- Lino da bagno


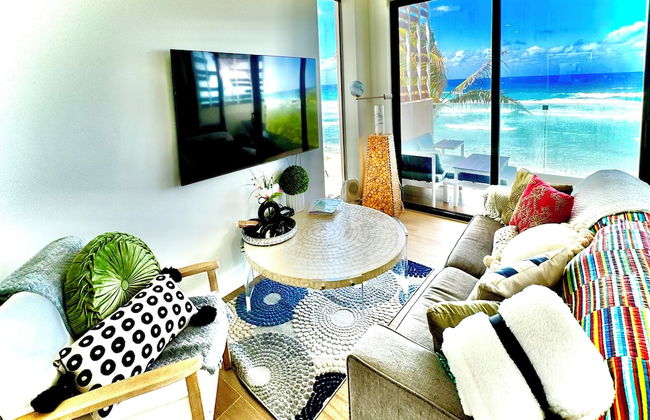
Enjoy Sunsets at Fully Equipped Condo at the Beach
George Town - Seven Mile Beach - 2.2 km dal centro
- 6 persone
- Aria condizionata
- Piscina
- Parcheggio
- Balcone
- Tv
- Lavatrice
- Lino da bagno
- Lino da letto
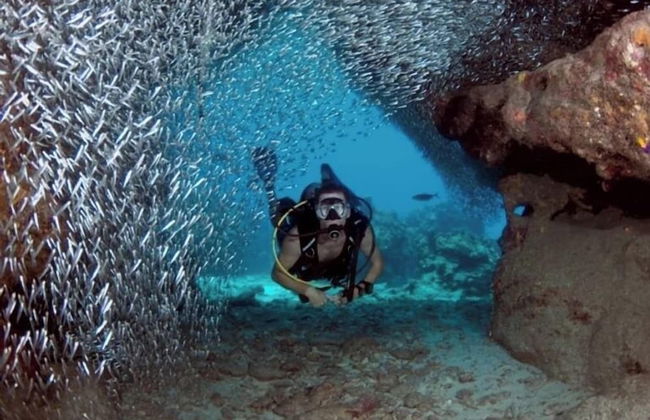
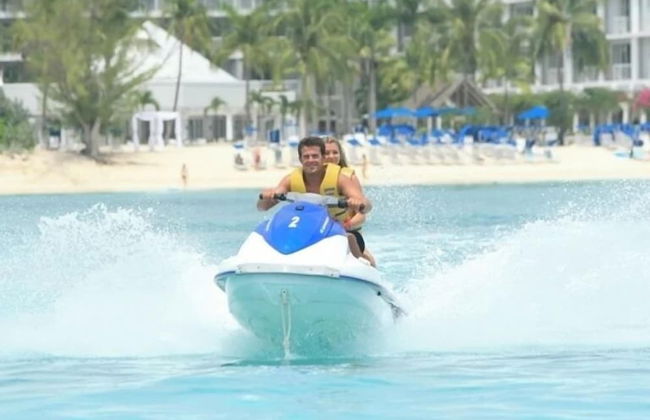
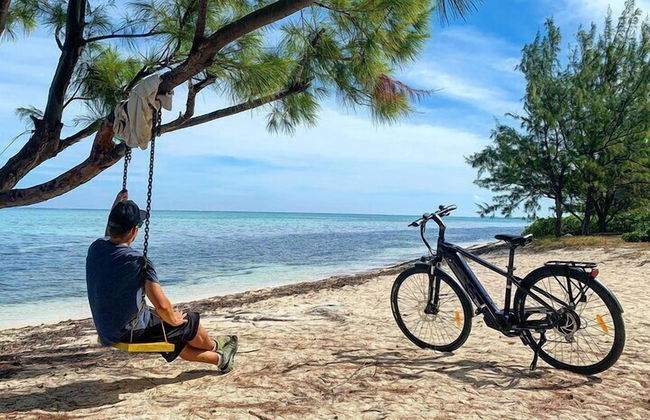
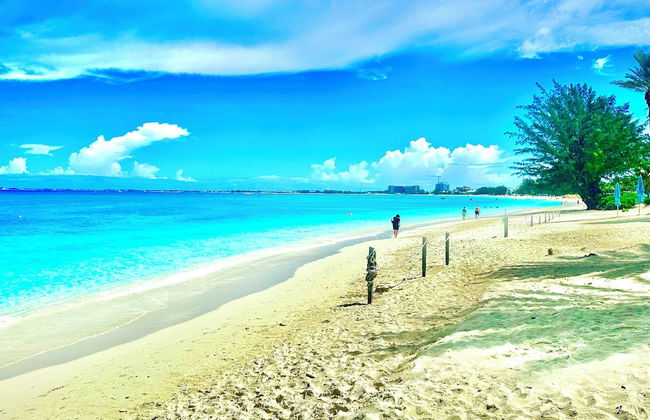
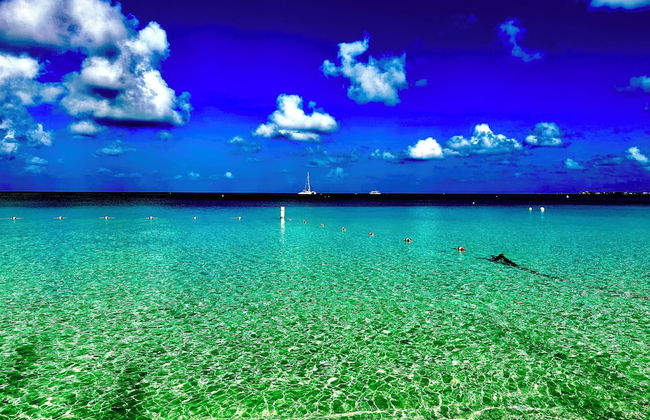
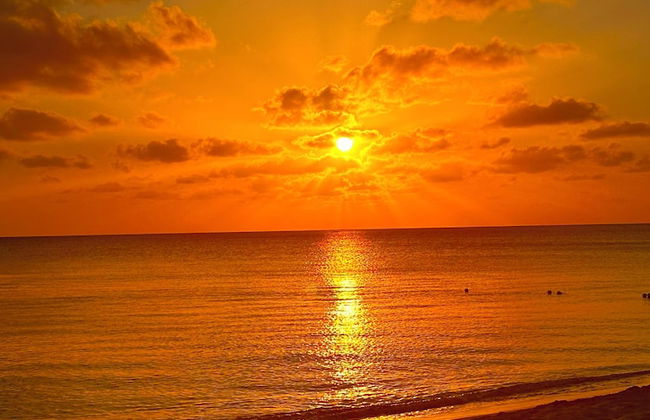
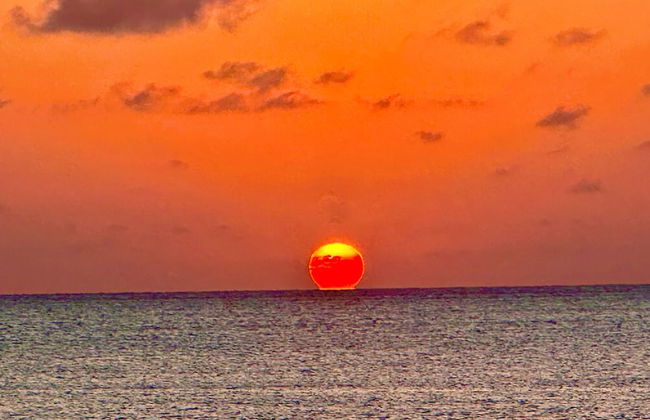
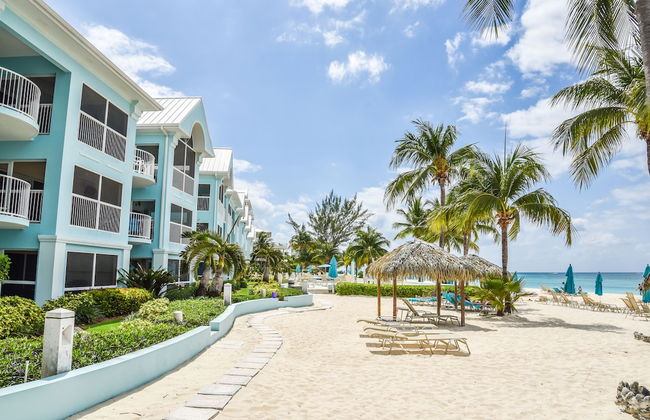
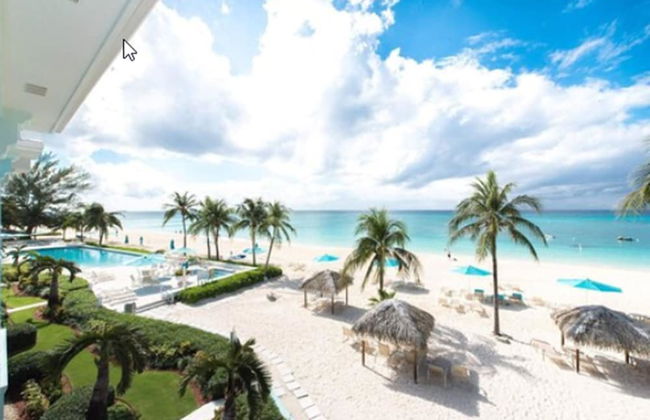
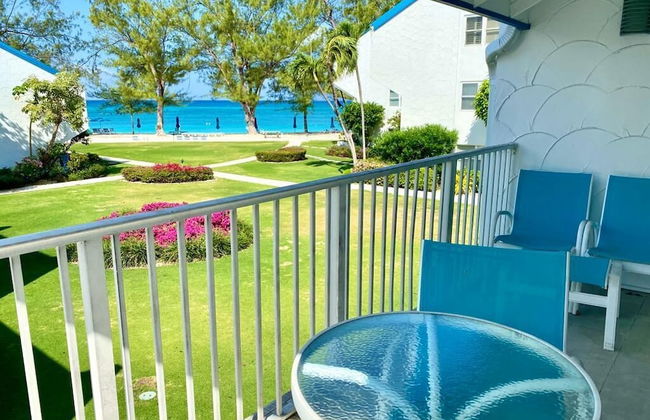
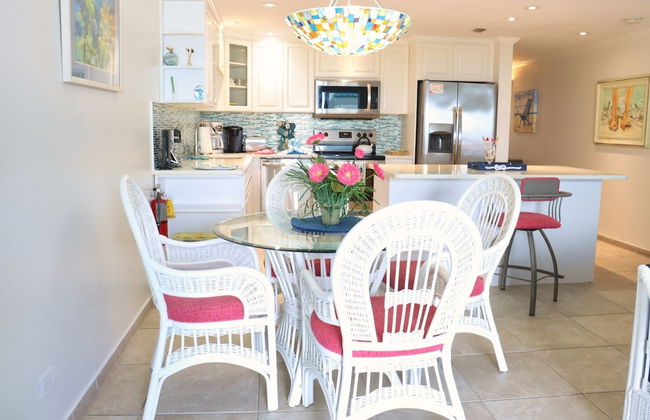
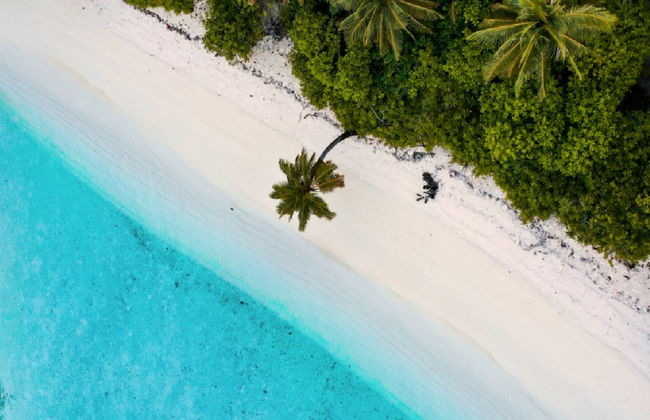
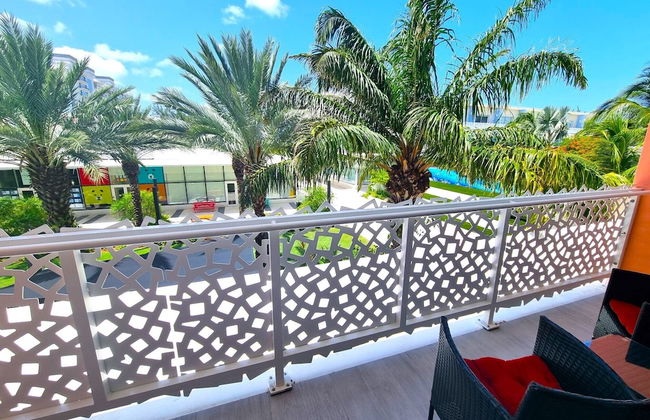
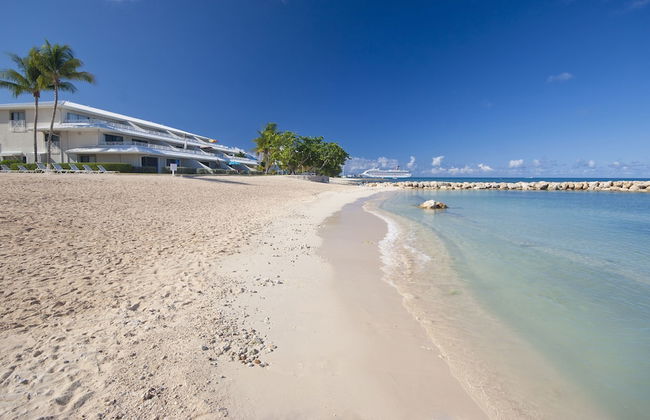
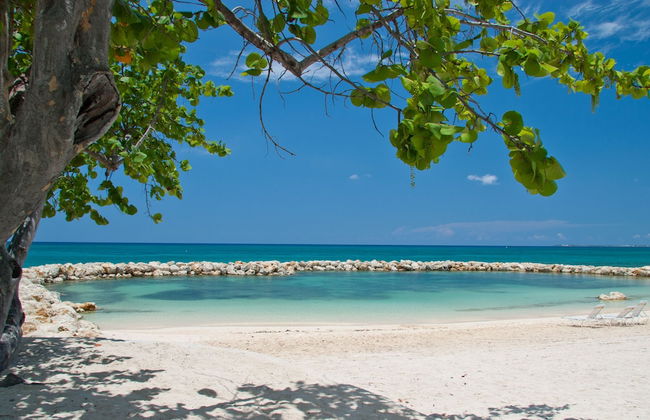
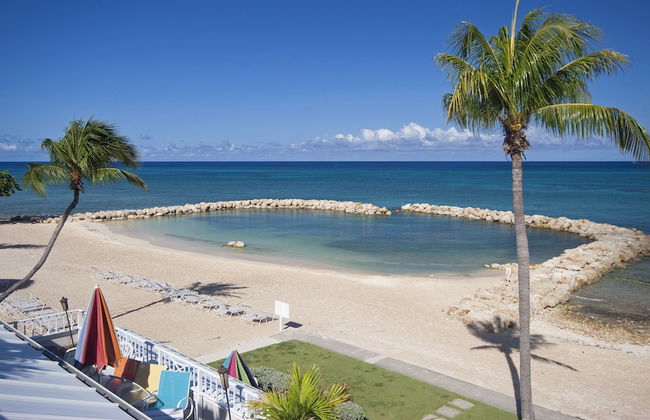
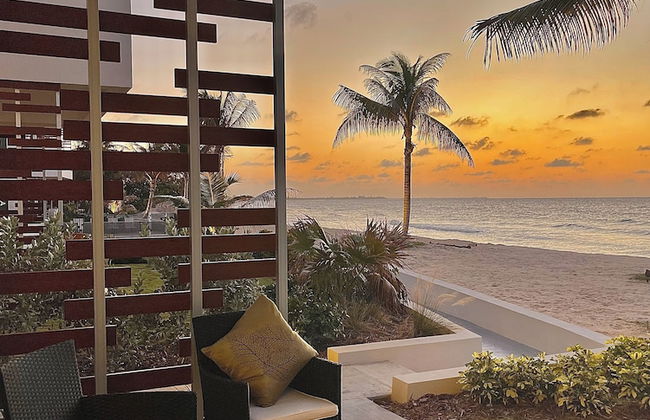
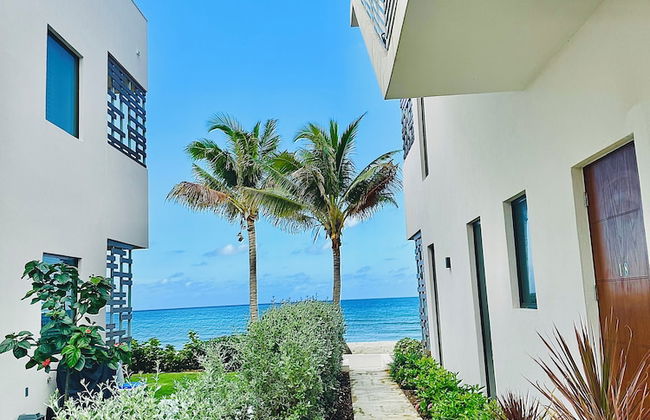
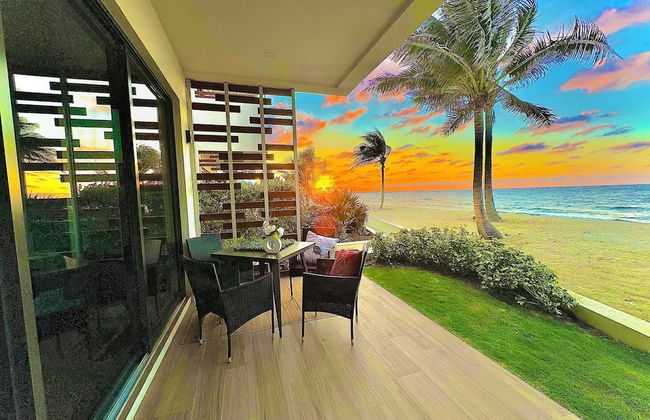
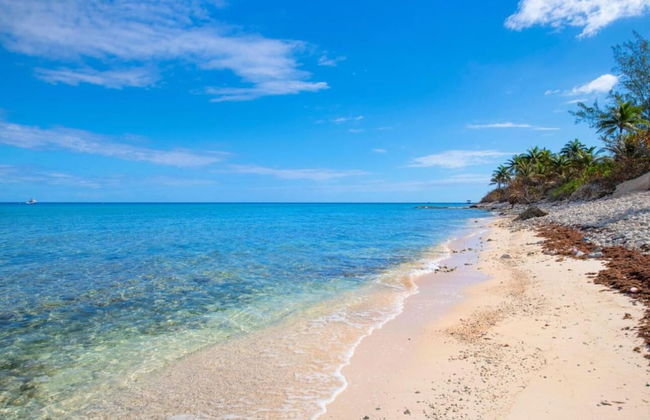
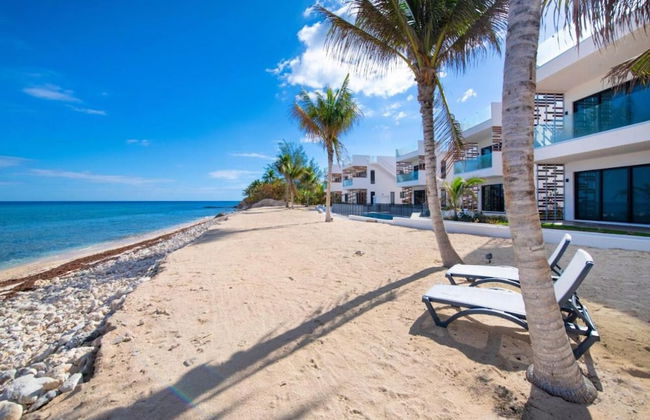
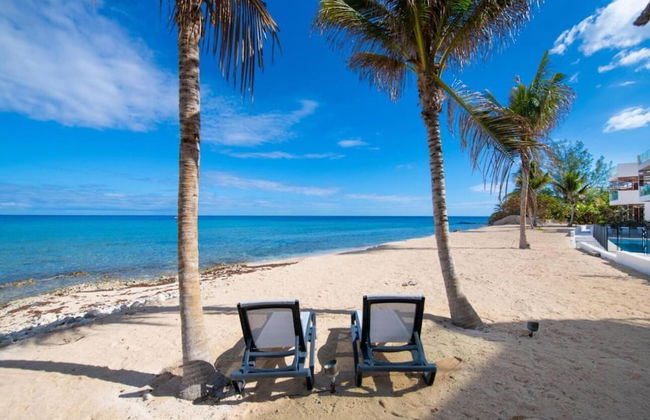
Le isole Caiman si trovano nel mare dei Caraibi tra Cuba e l'Honduras. Spiagge di sabbia fina, un mare cristallina, una bellissima natura fanno di questo arcipelago un paradiso in terra, sogno di tutti i viaggiatori. Il mare con la sua barriera corallina e le razze é un mondo da scoprire attraverso immersioni e snorkling in superficie. Chi pratica snorkling potrá ammirare l emisteriose grotte e delle decine i resti dei naufraghi che si trovano in questa zona. La natura é la meta ideale per escursioni in bicicletta o a piedi. Seven Mile Beach (una delle migliori spiagge del mondo), il paesaggio Ironshore dell'Inferno o Caiman Turtle farm sono solo una delle attrattive che renderá il tuo soggiorno speciale. Le isole Caiman sono magiche e si dice persino che ispirarono a Rober Louis Stevenson quando scrisse il suo famoso romanzo L'isola del Tesoro.