
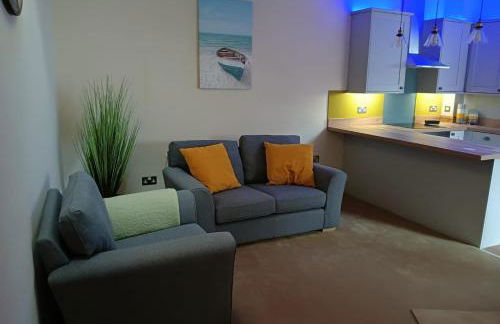
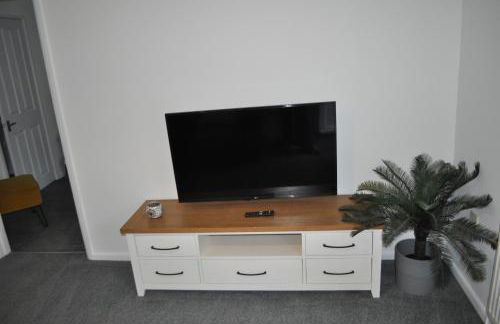
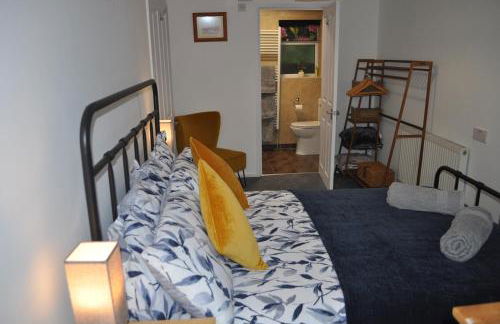
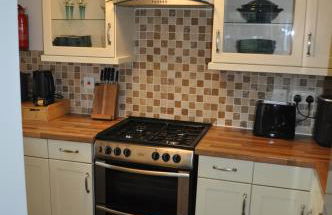
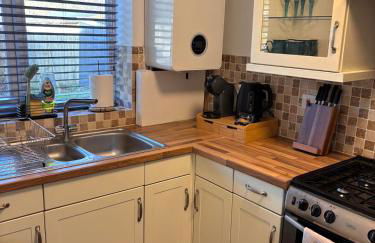
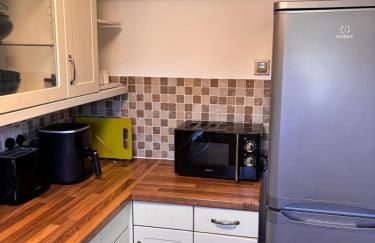
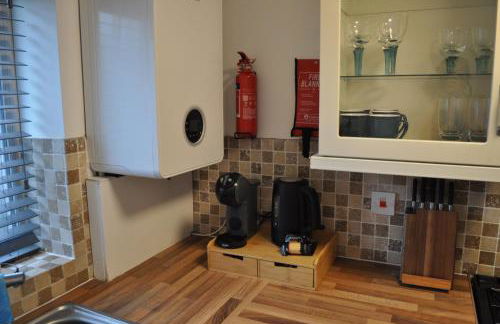
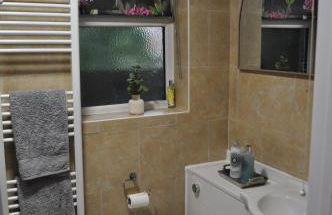
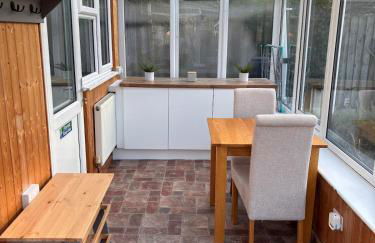
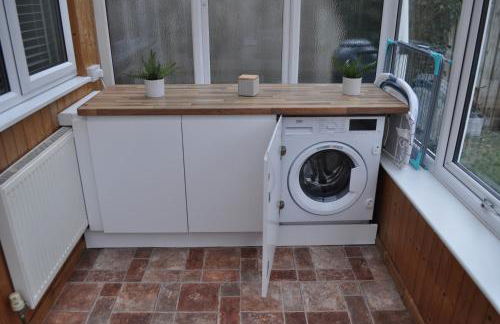
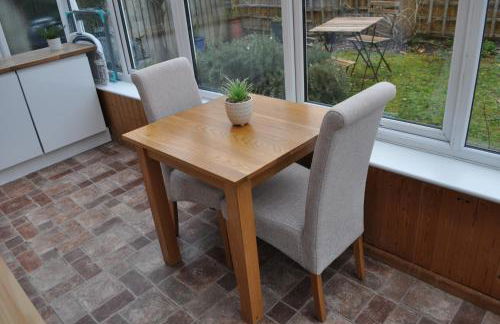
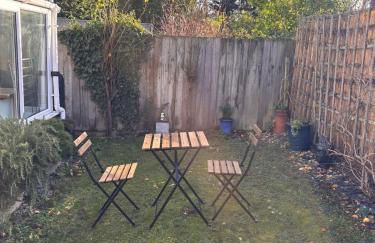
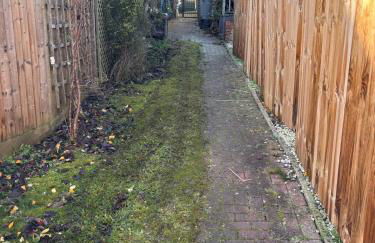
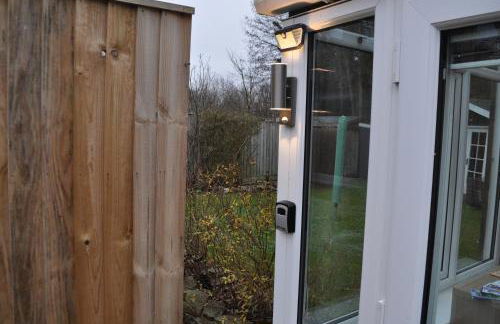
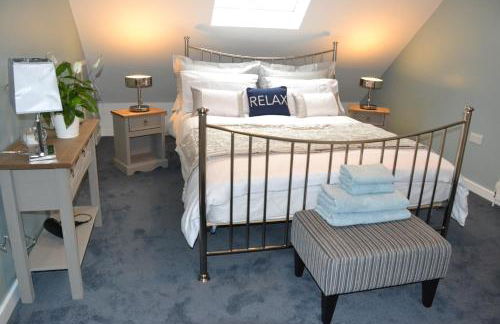
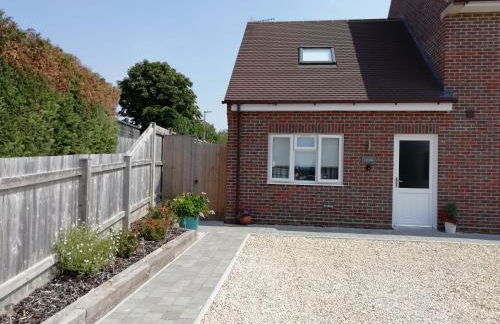
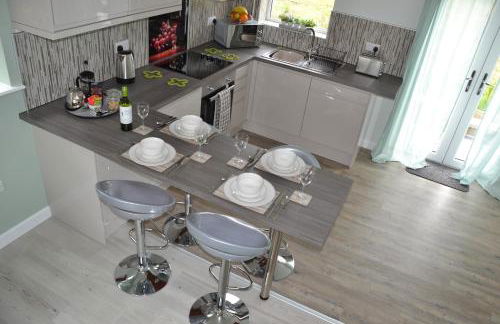
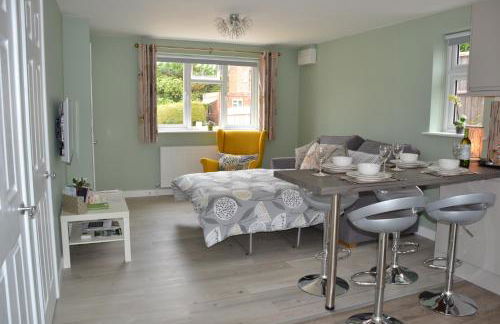
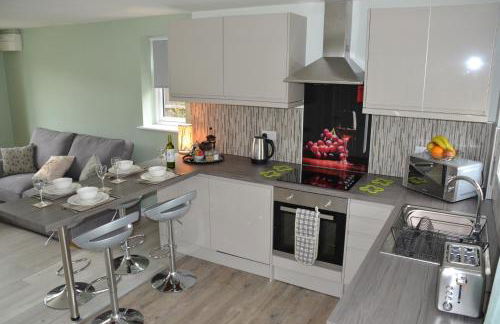
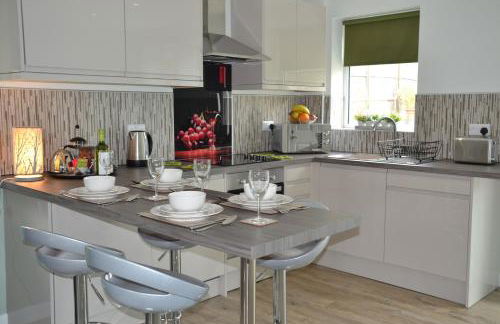
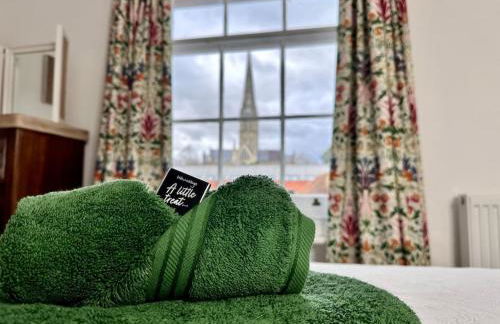
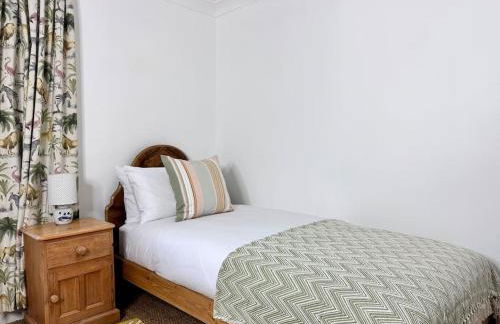
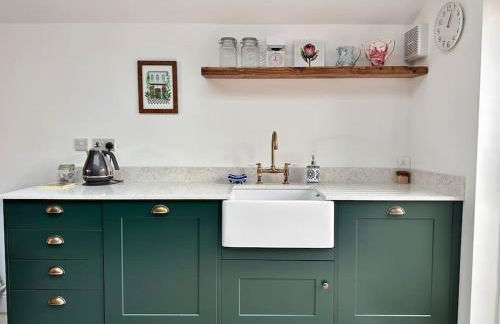
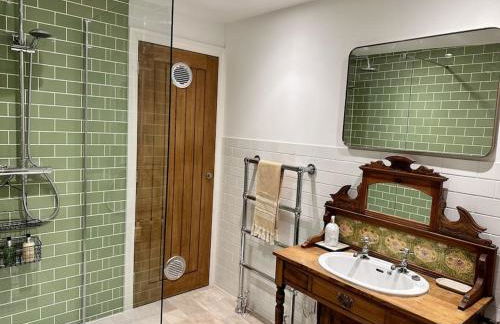
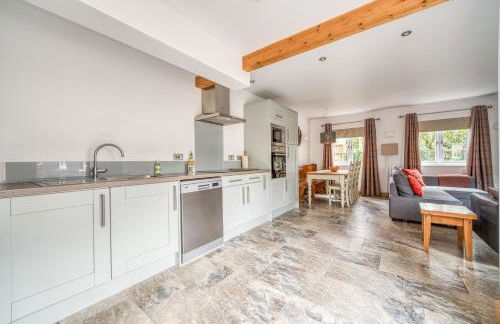
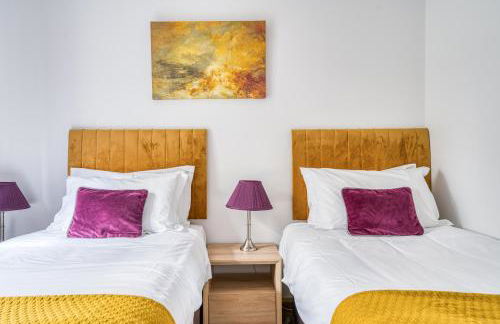
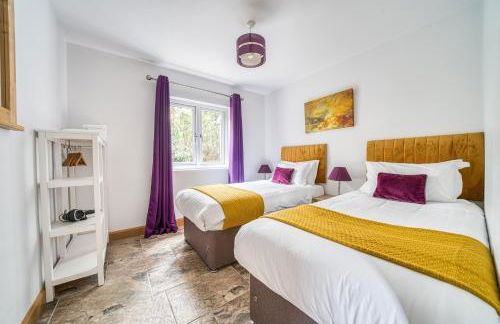
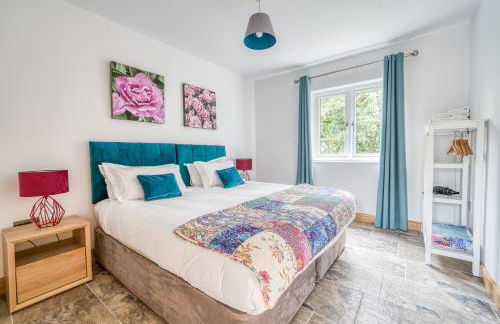
82 Appartamenti a Salisbury


Peartree Serviced Apartments
Salisbury - Salisbury
- 55 M2
- 2 camere
- 5 persone
- Aria condizionata
- Riscaldamento
- Terrazza
- Parcheggio
- Giardino
- Tv
- Lavatrice
- Lino da bagno
- Lino da letto
272 recensioni


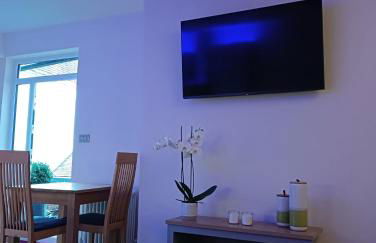
Hideaway Holiday Apartment
Salisbury - Salisbury
- 50 M2
- 1 camera
- 4 persone
- Riscaldamento
- Parcheggio
70 recensioni


Purlins Holiday Apartment
Salisbury - Salisbury
- 120 M2
- 2 camere
- 4 persone
- Riscaldamento
- Terrazza
- Parcheggio
32 recensioni


Salt Lane Apartments
Salisbury - Salisbury
- 46 M2
- 2 persone
- Riscaldamento
- Tv
- Lavatrice
- Lino da bagno
- Lino da letto
4 recensioni


Spacious penthouse with great views of the Cathedral
Salisbury - Salisbury
- 140 M2
- 2 camere
- 3 persone
- Riscaldamento
- Parcheggio
- Ascensore
- Giardino
20 recensioni


Catherine Street Apartments
Salisbury - Salisbury
- 140 M2
- 2 camere
- 4 persone
- Riscaldamento
- Terrazza
- Parcheggio
- Giardino
114 recensioni


2 bedroom house near centre and private parking
Salisbury - Salisbury
- 53 M2
- 2 camere
- 6 persone
- Parcheggio
- Giardino
23 recensioni


Salisbury City Centre 2-Bedroom Serviced Accommodation-Apartment - PennyVille
Salisbury - Salisbury
- 65 M2
- 2 camere
- 5 persone
- Riscaldamento
32 recensioni


Cozy & Self Contained Garden Bungalow
Salisbury - Salisbury
- 45 M2
- 2 persone
- Riscaldamento
- Parcheggio
- Giardino
- Barbecue
10 recensioni


Little Dene Apartment
Salisbury - Salisbury
- 56 M2
- 1 camera
- 4 persone
- Riscaldamento
- Parcheggio
- Giardino
50 recensioni


Cathedral Views Period Townhouse w/ Free Parking
Salisbury - Salisbury
- 4 camere
- 7 persone
- Parcheggio
- Giardino
10 recensioni


Queens Cottage Salisbury
Salisbury - Salisbury
- 80 M2
- 3 camere
- 4 persone
- Riscaldamento
- Terrazza
- Parcheggio
- Giardino
87 recensioni


Flora Cottage, in the heart of the city
Salisbury - Salisbury
- 150 M2
- 3 camere
- 5 persone
- Riscaldamento
- Parcheggio
- Giardino
18 recensioni


Luxury Cottage in New Forest Perfect for Family and Friends
Salisbury - Salisbury
- 75 M2
- 2 camere
- 6 persone
- Riscaldamento
- Terrazza
- Parcheggio
- Giardino
- Barbecue
7 recensioni


Executive Barchester House Apartment
Salisbury - Salisbury
- 83 M2
- 2 camere
- 4 persone
- Parcheggio
54 recensioni


New studio apartment - minutes walk to Cathedral
Salisbury - Salisbury
- 50 M2
- 2 persone
- Parcheggio
53 recensioni


Wisteria 2 bed House - STAYSEEKERS
Salisbury - Salisbury
- 55 M2
- 2 camere
- 6 persone
- Riscaldamento
- Parcheggio
14 recensioni


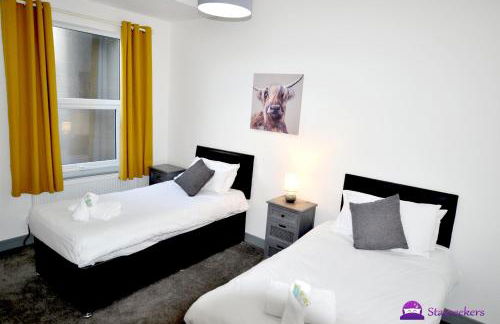


The Moo House 2 bed Property - STAYSEEKERS
Salisbury - Salisbury
- 87 M2
- 2 camere
- 4 persone
- Riscaldamento
- Parcheggio
10 recensioni