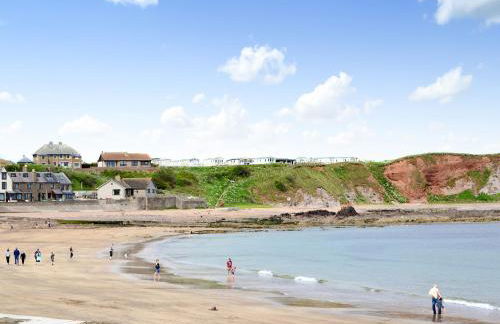
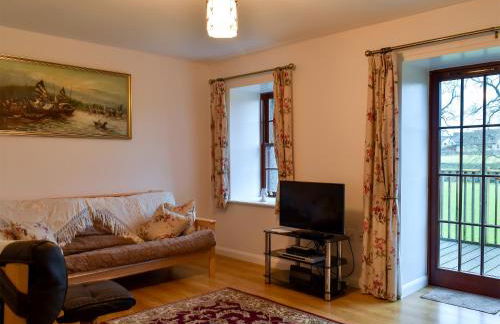
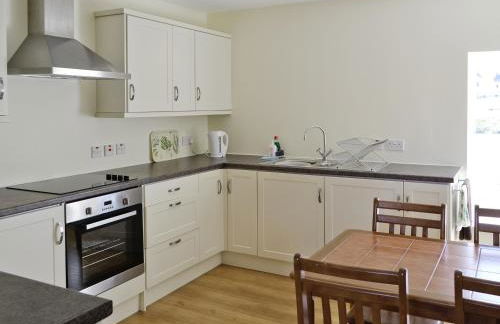
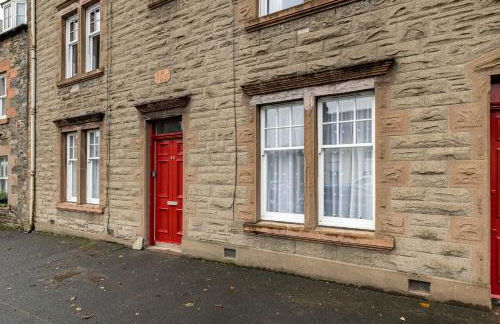
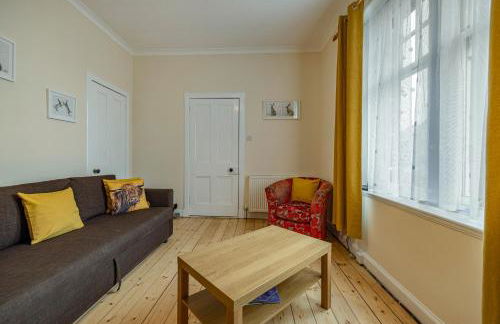
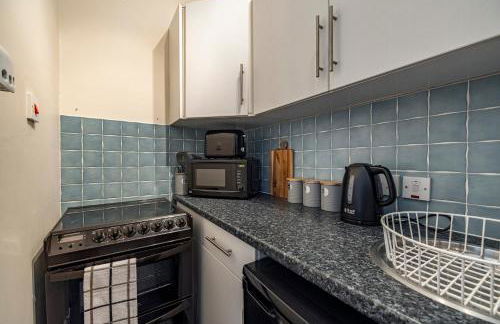
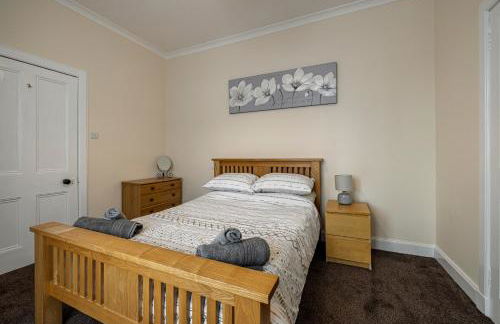
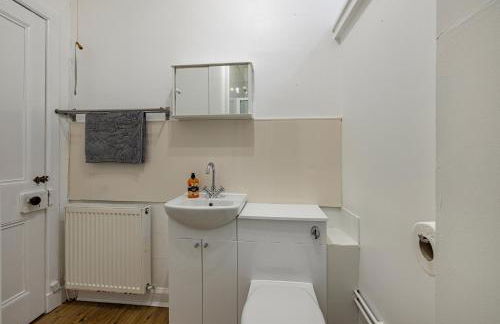
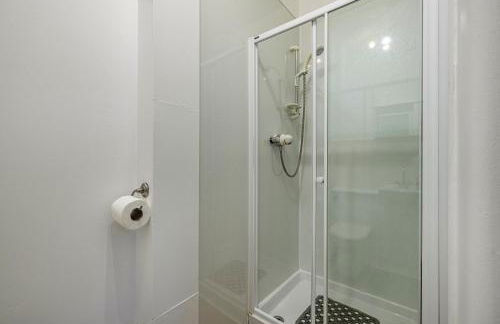
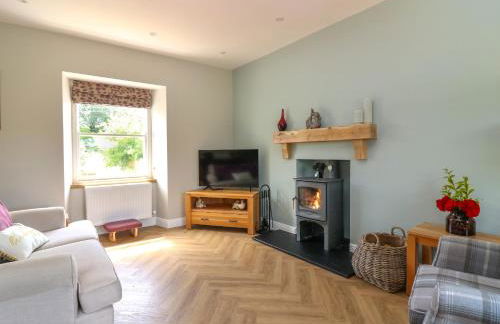
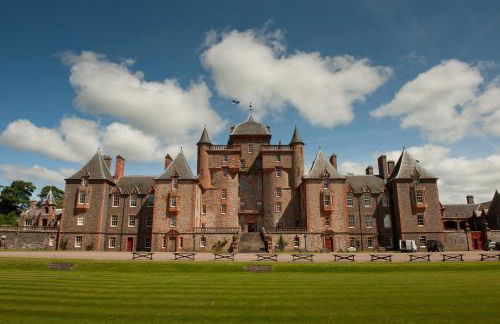
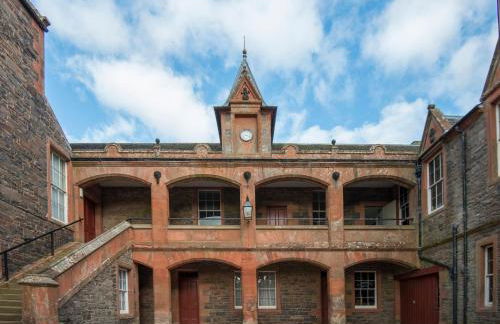
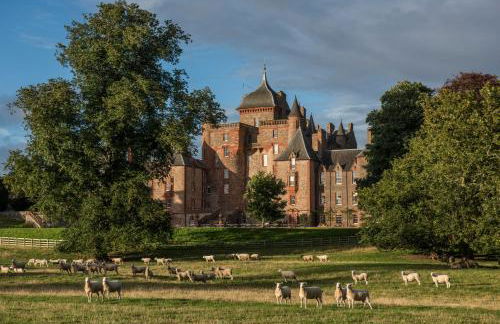
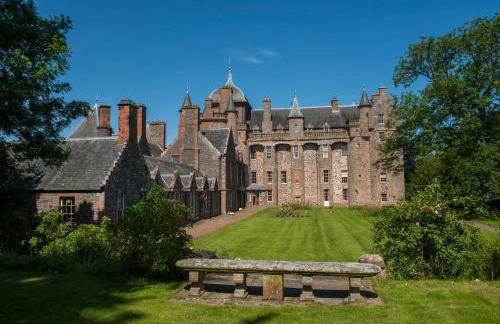
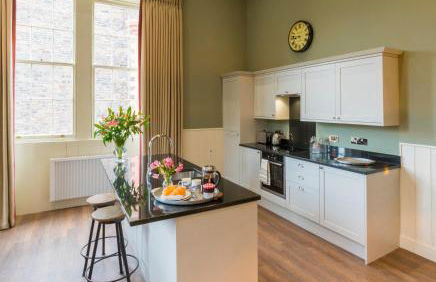
10 Appartamenti a Lauder

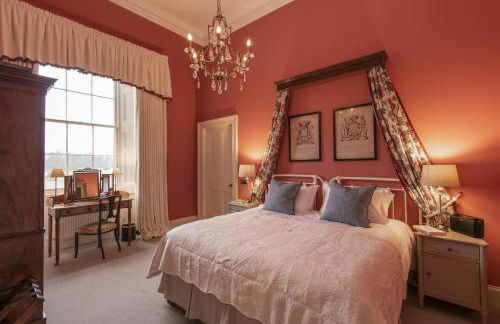


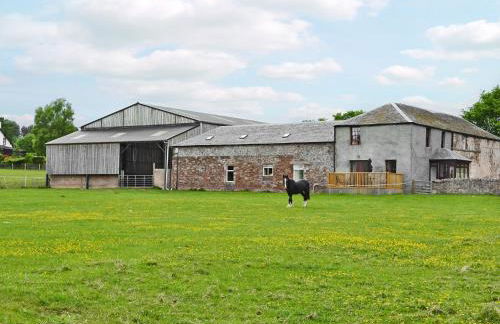
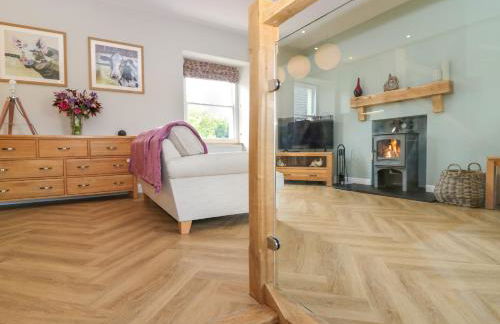
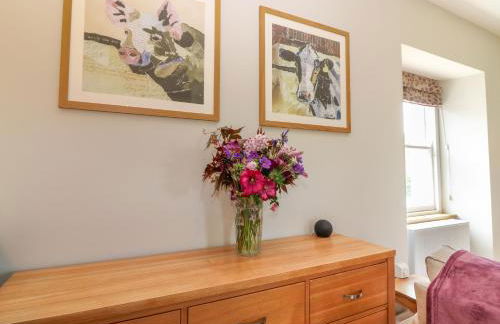
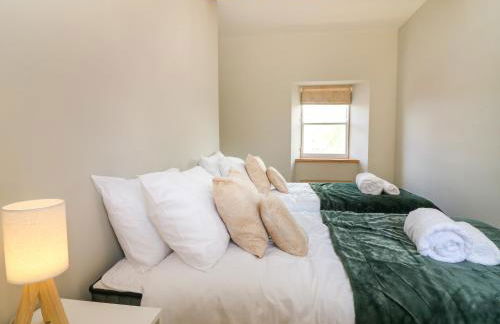
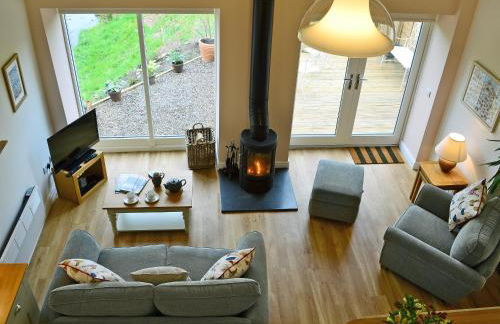
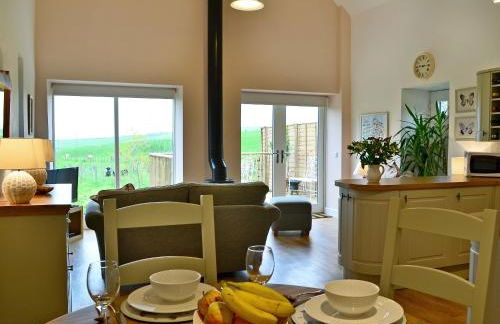
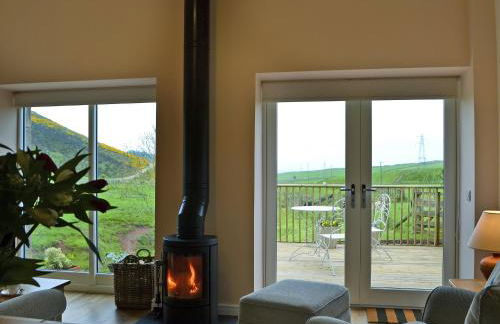
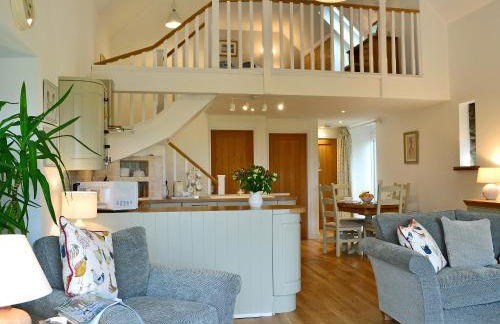
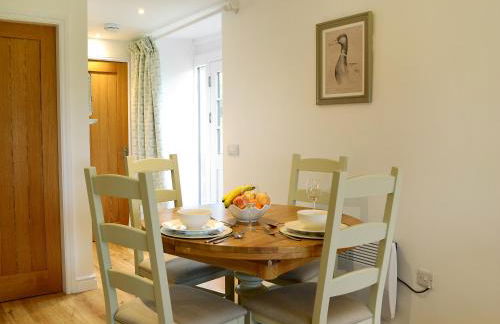
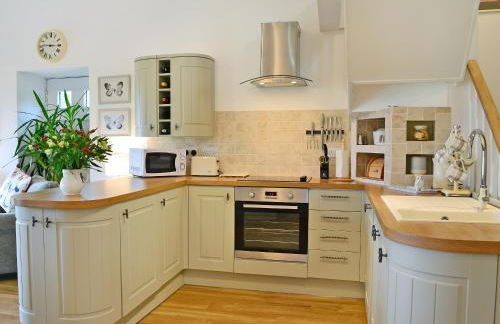
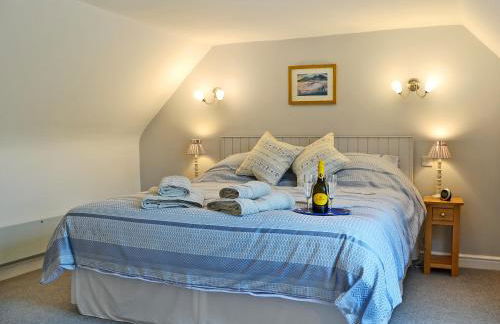
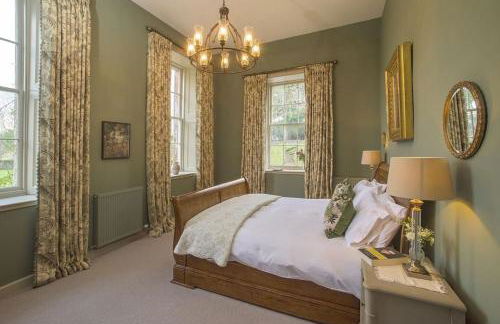
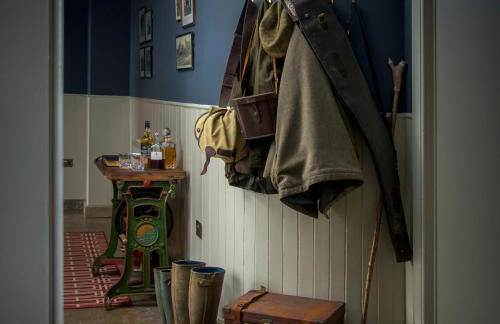
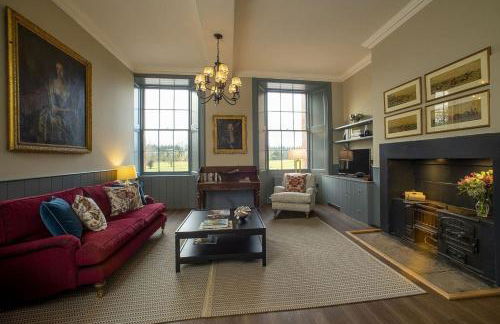
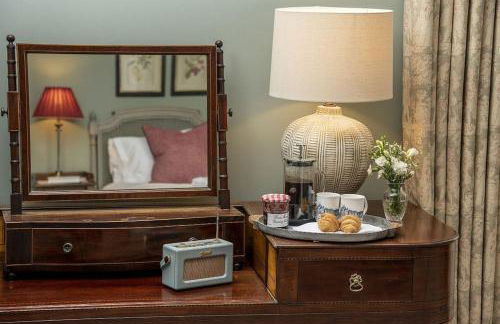
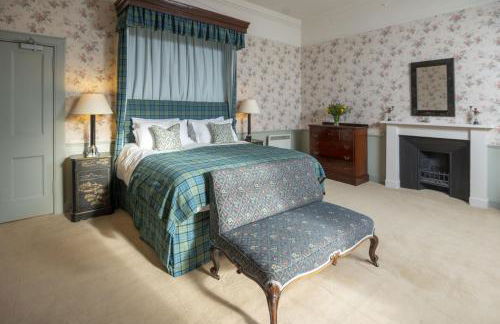
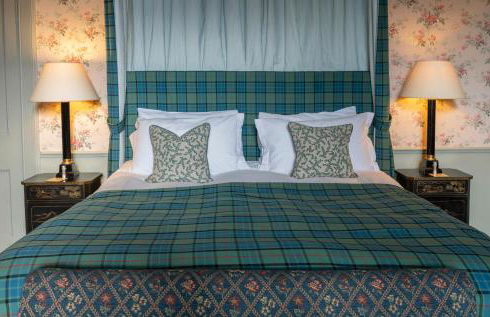
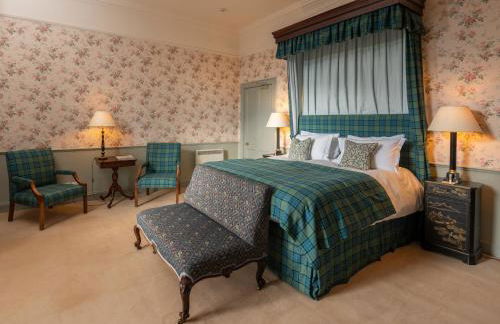
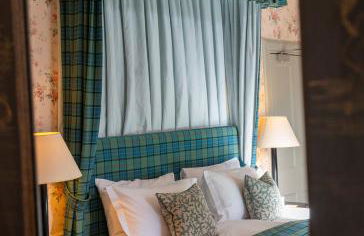
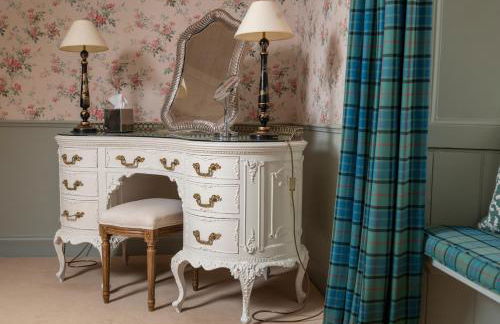
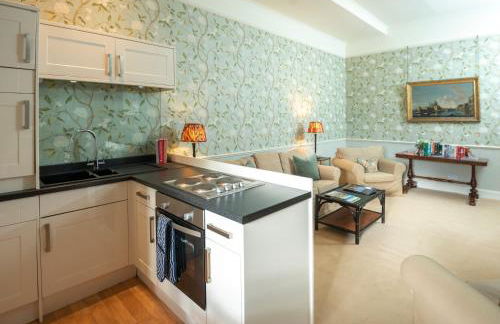
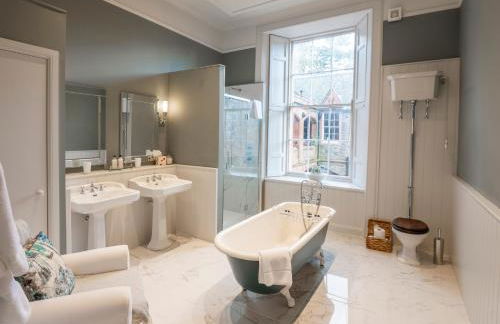
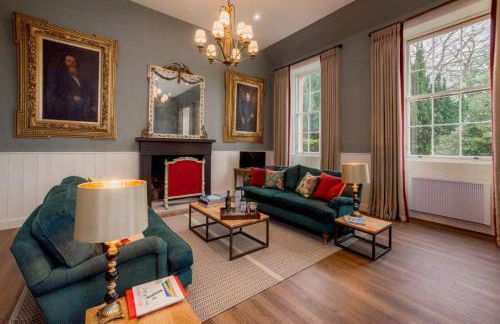
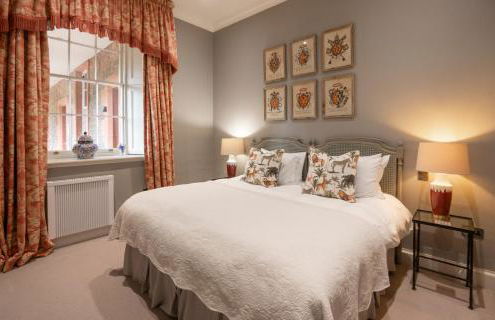
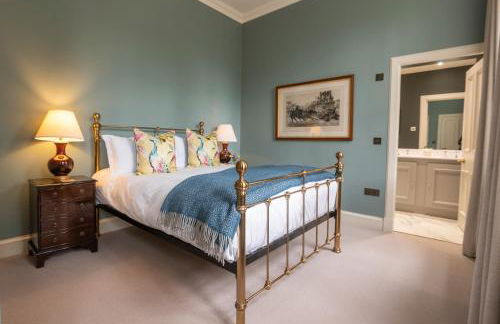
The Earl & Countess at Thirlestane Castle
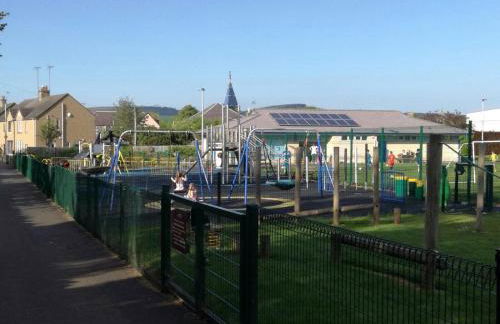
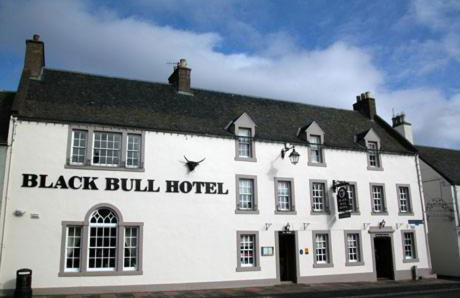
Lauder - Lauder
- 115 M2
- 3 camere
- 6 persone
- Riscaldamento
- Terrazza
- Parcheggio
- Giardino
13 recensioni


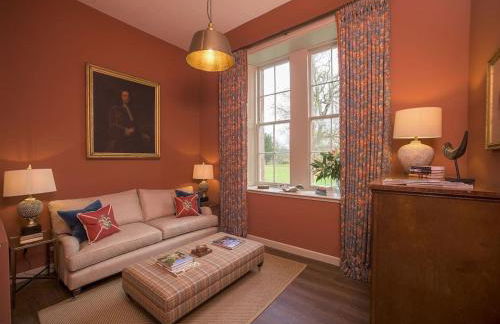


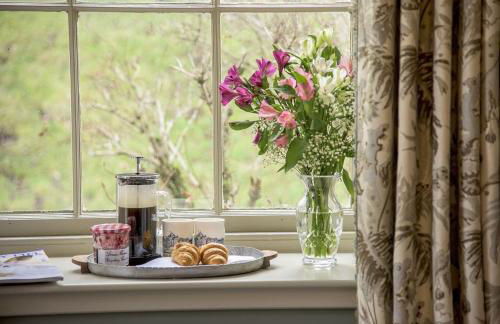


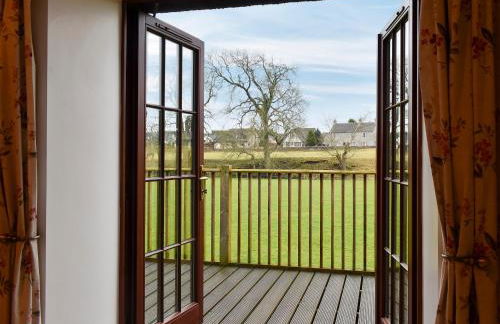
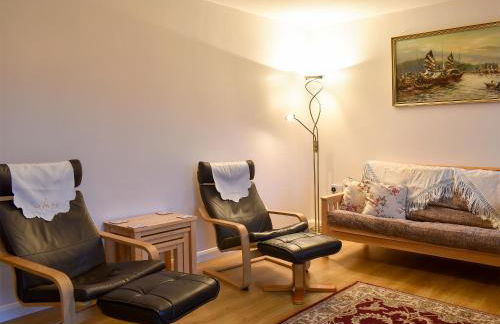
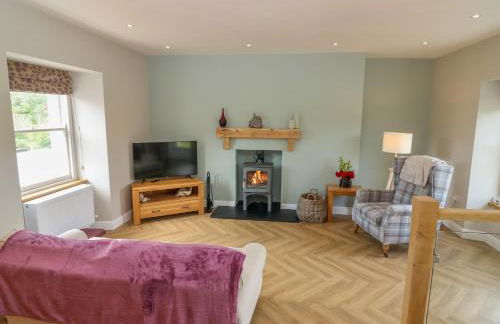
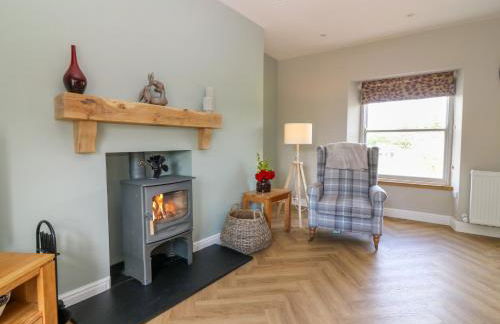
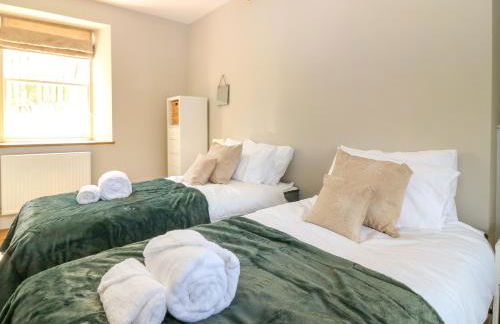
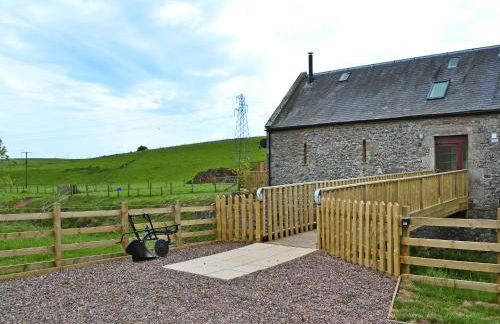
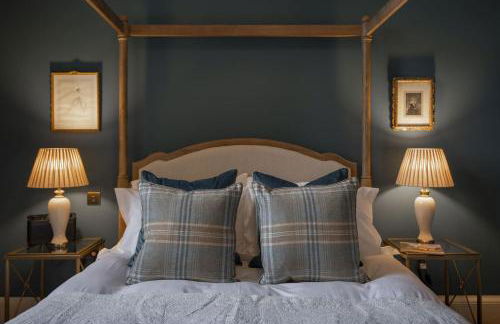
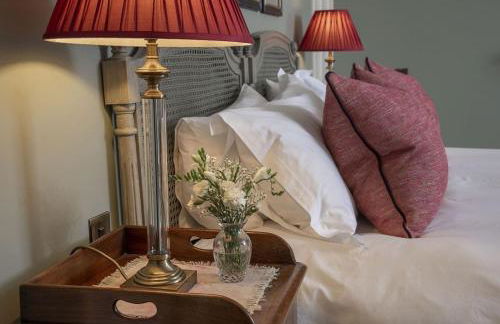
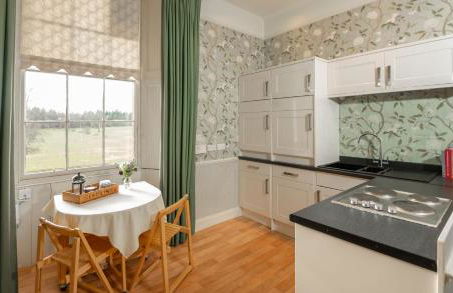
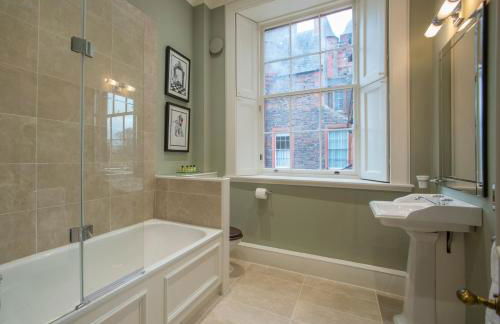
The Sculleries at Thirlestane Castle
Lauder - Lauder
- 115 M2
- 1 camera
- 6 persone
- Riscaldamento
- Terrazza
- Parcheggio
- Giardino
- Tv
- Lino da bagno
- Lino da letto
4 recensioni


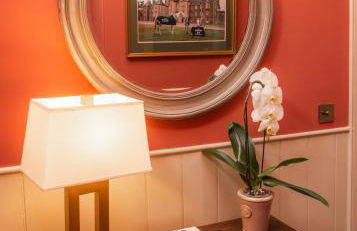

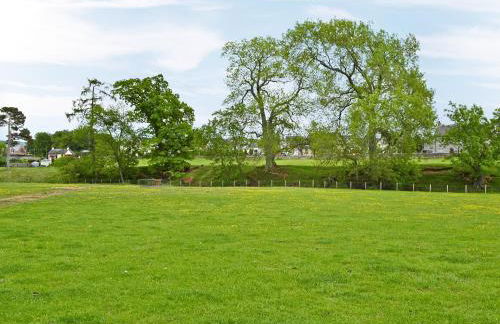
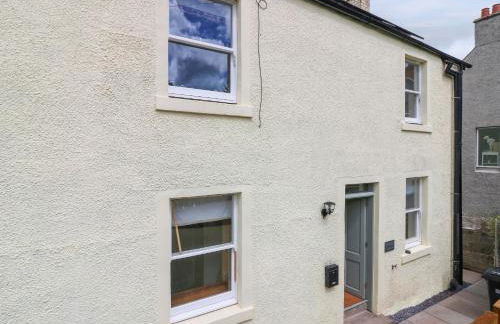
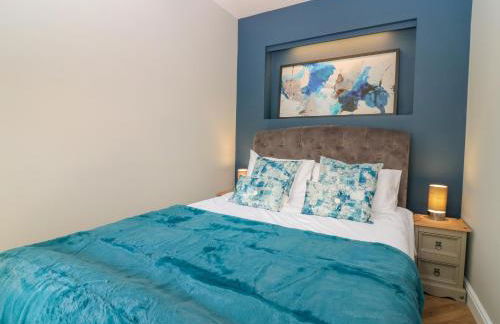
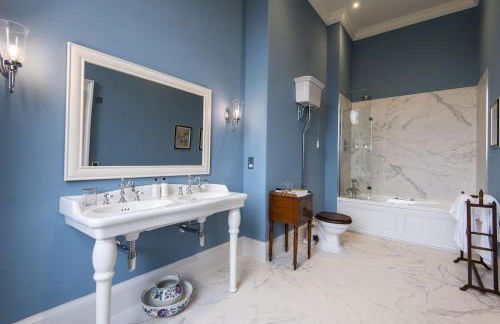
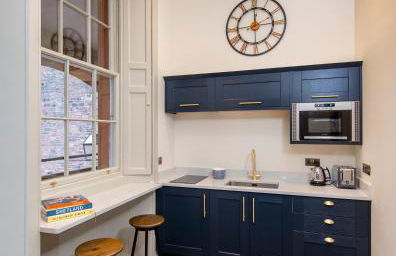
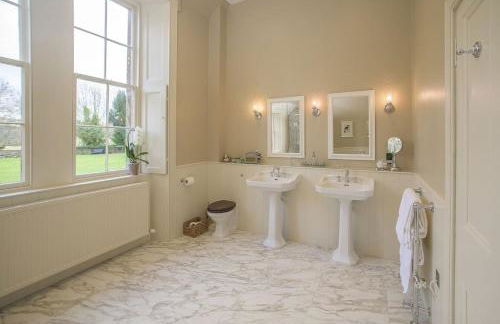
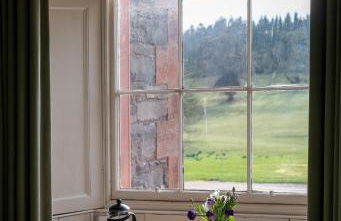
Glenburnie at Thirlestane Castle
Lauder - Lauder
- 76 M2
- 2 persone
- Riscaldamento
- Terrazza
- Parcheggio
- Giardino
16 recensioni

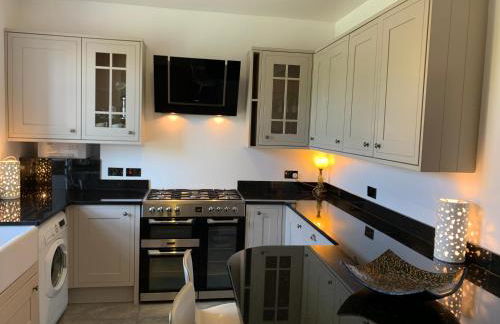


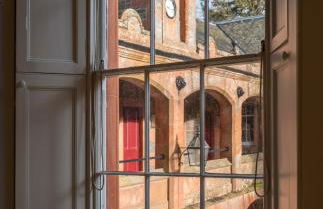

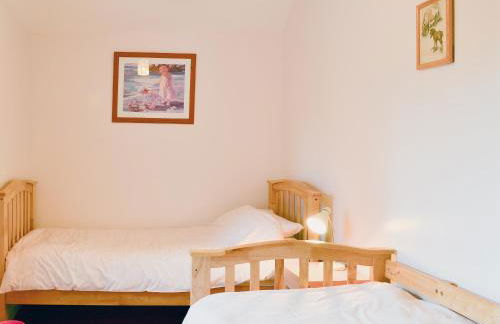
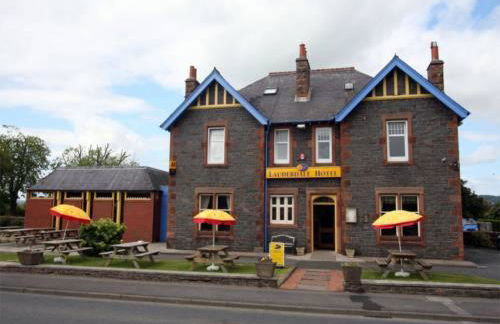
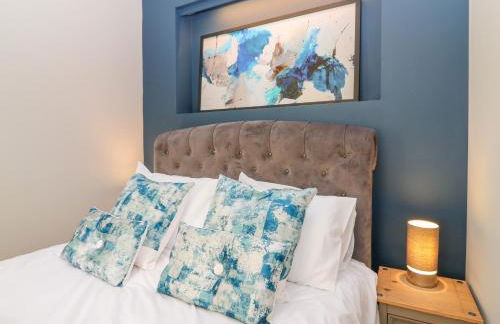
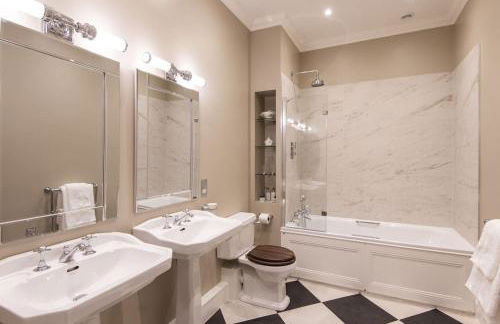
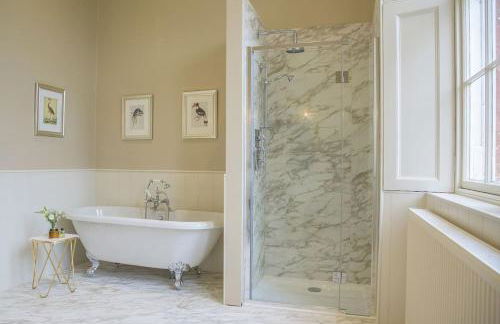
The Lauderdale at Thirlestane Castle
Lauder - Lauder
- 72 M2
- 2 persone
- Riscaldamento
- Terrazza
- Parcheggio
- Giardino
8 recensioni


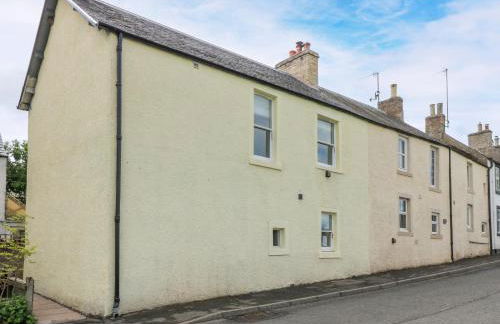
The Maitland at Thirlestane Castle
Lauder - Lauder
- 106 M2
- 2 camere
- 4 persone
- Riscaldamento
- Parcheggio
- Giardino
8 recensioni