
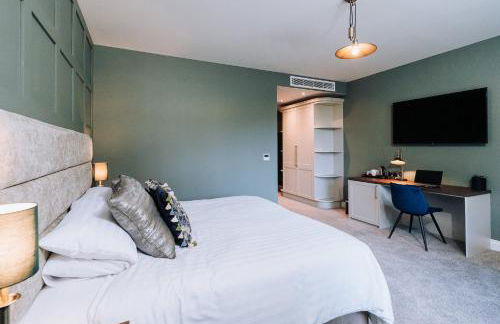
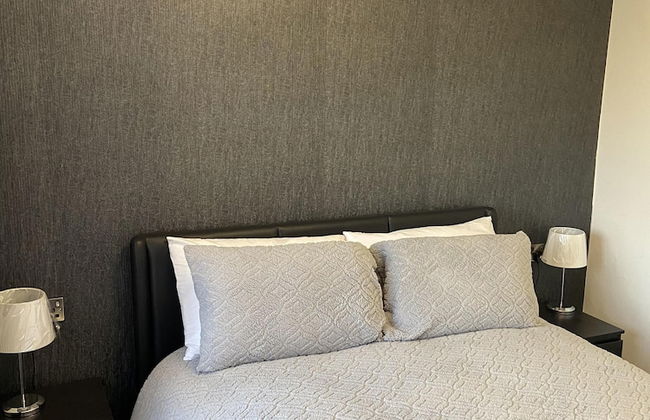
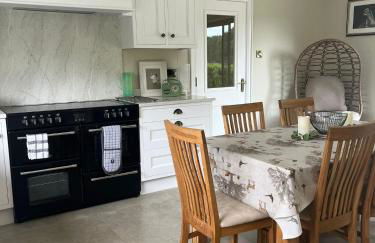
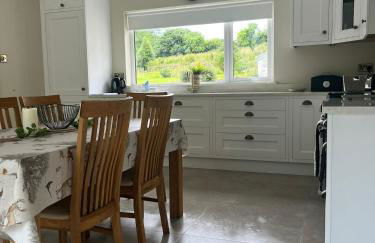
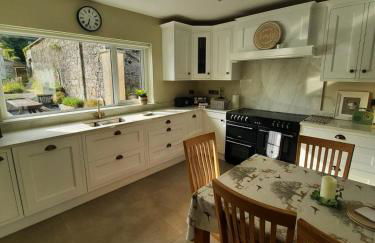
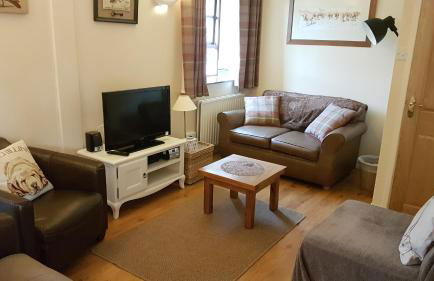
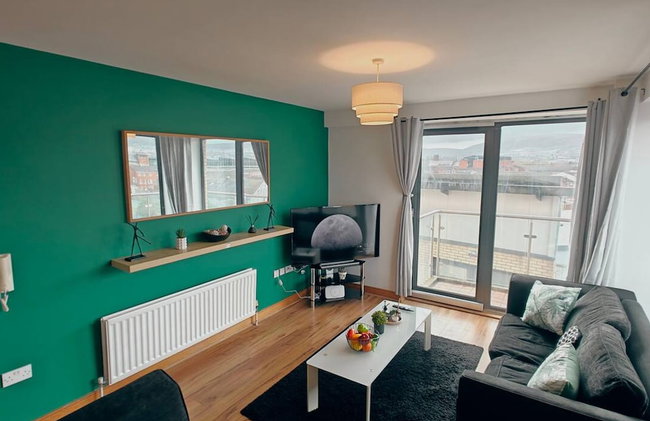
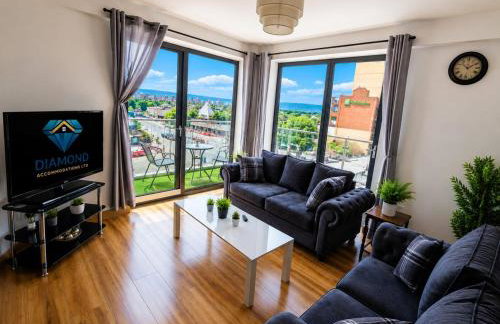
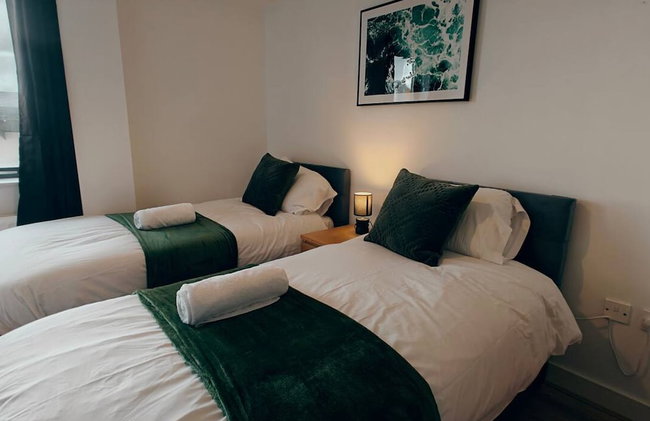
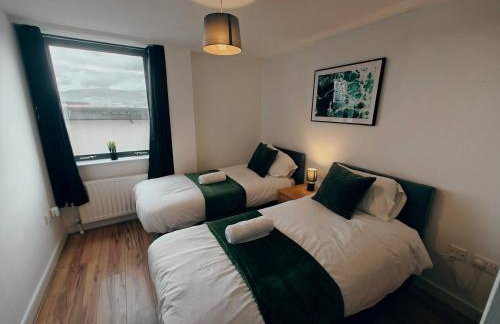
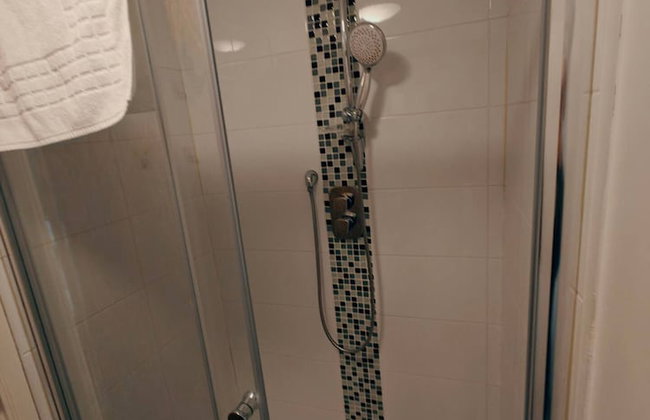
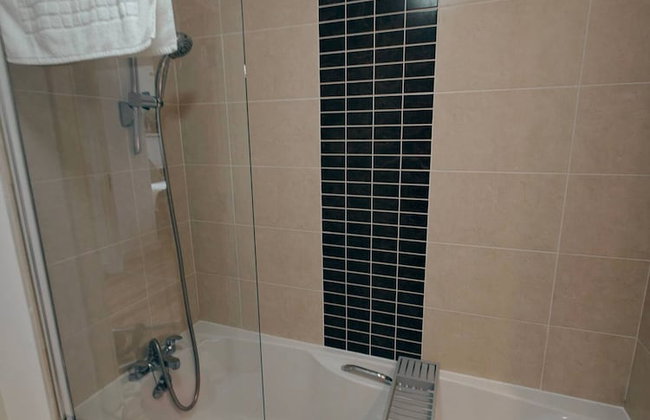
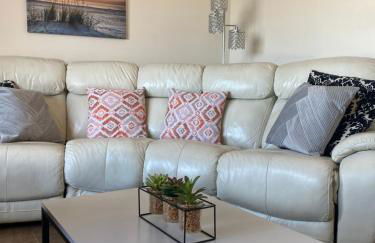
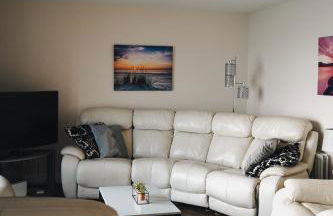
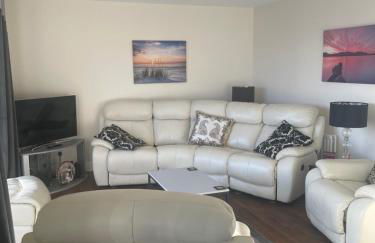
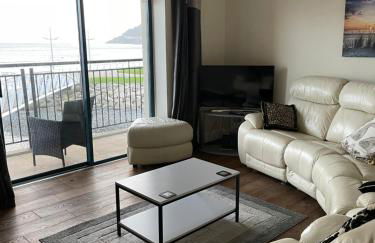
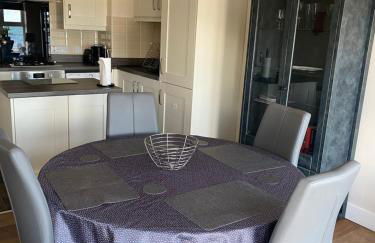
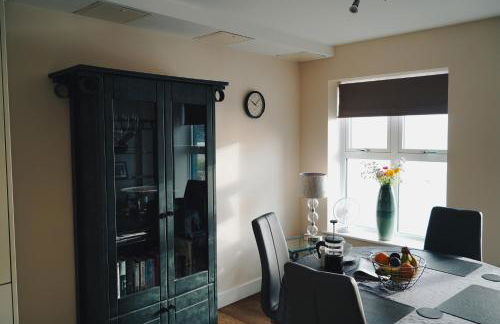
2947 Appartamenti a Irlanda del Nord

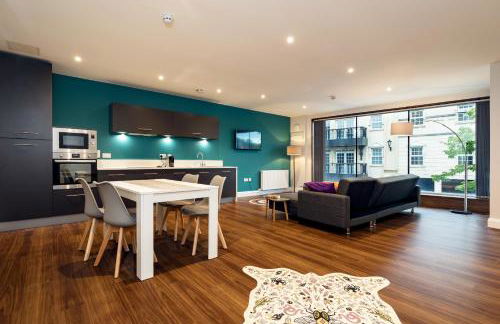


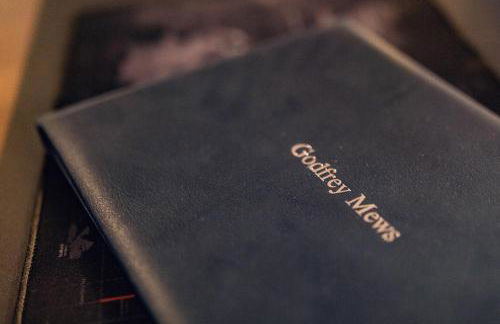


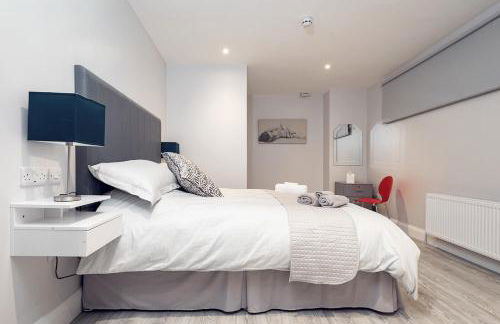

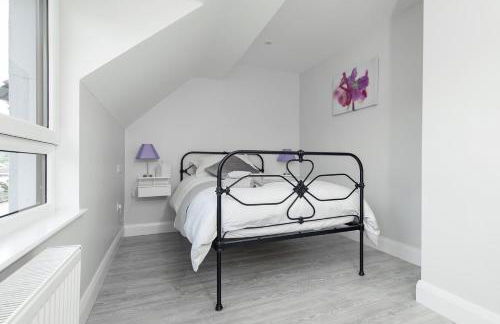


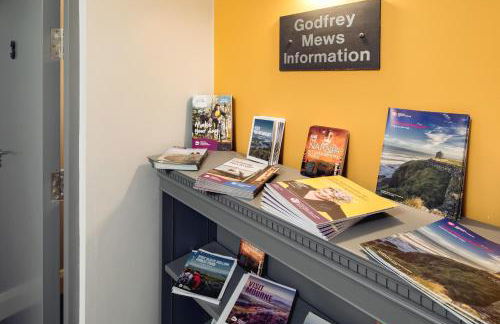


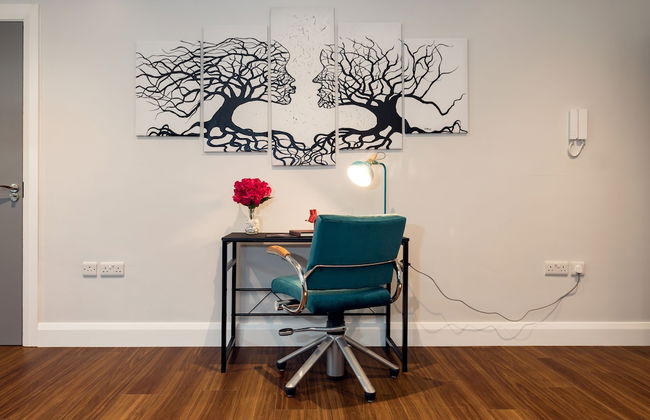
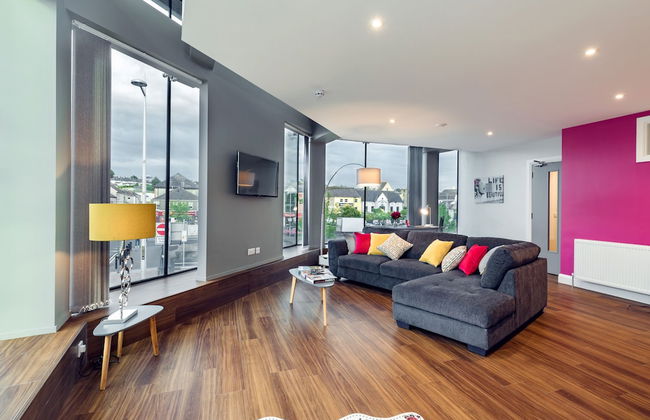
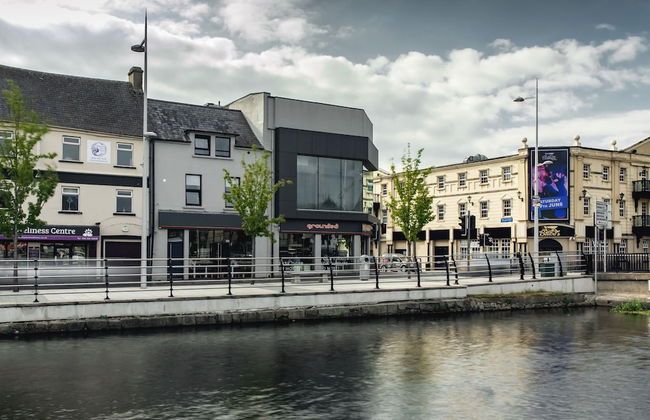


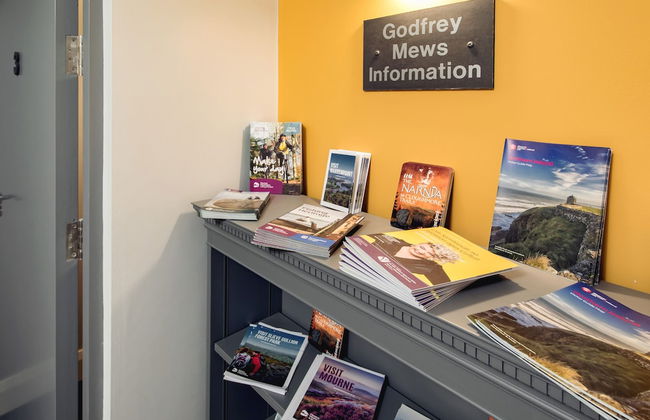
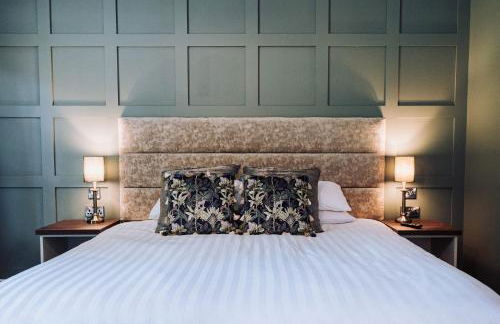
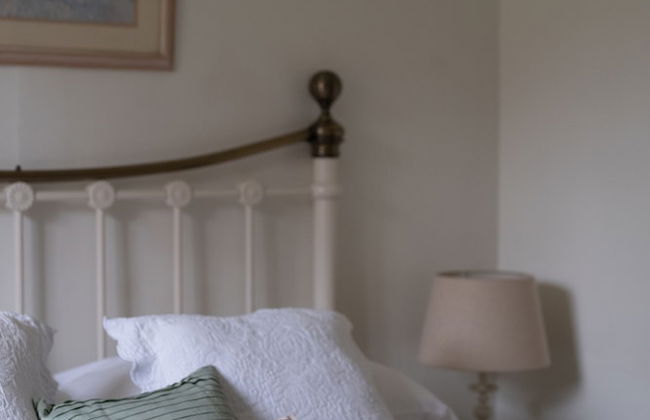
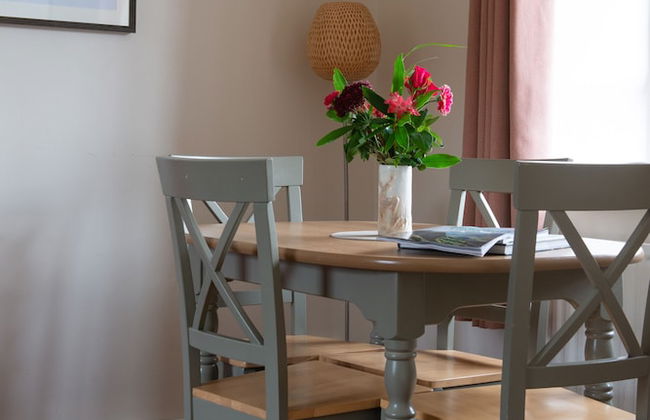
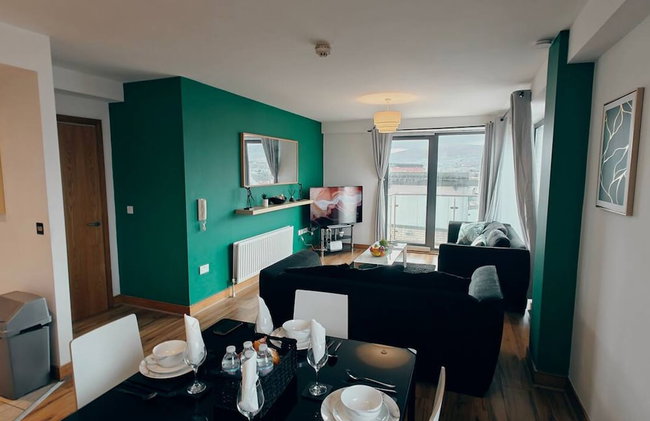
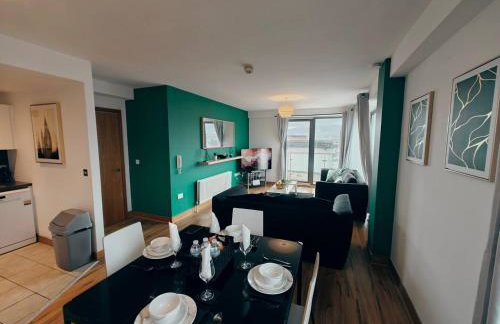
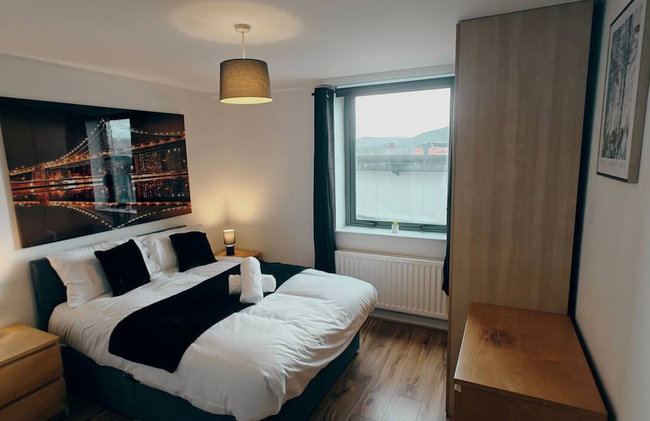
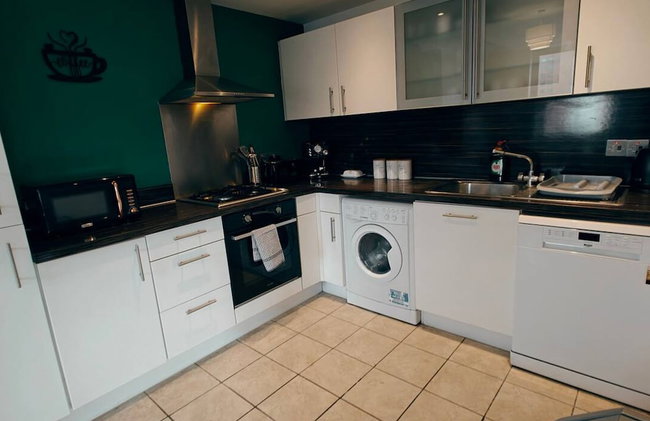
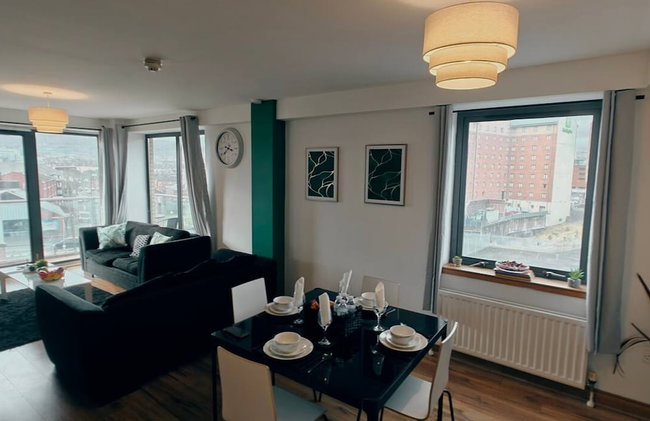
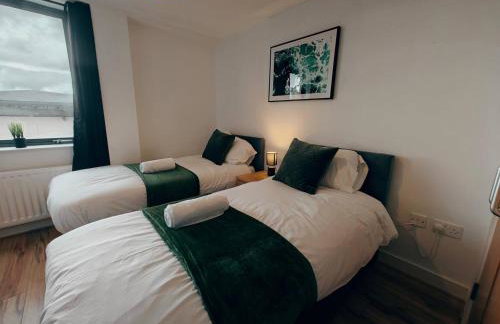
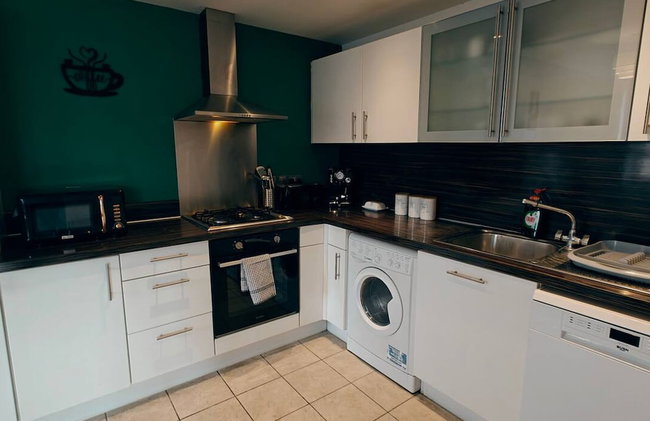
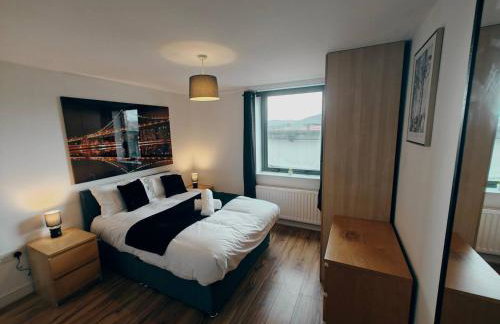
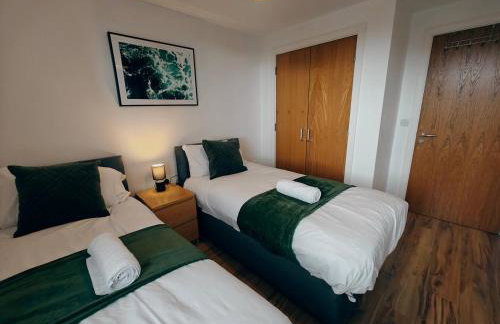
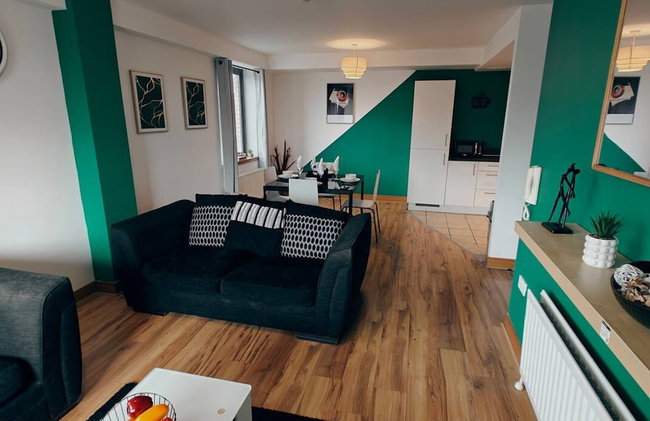
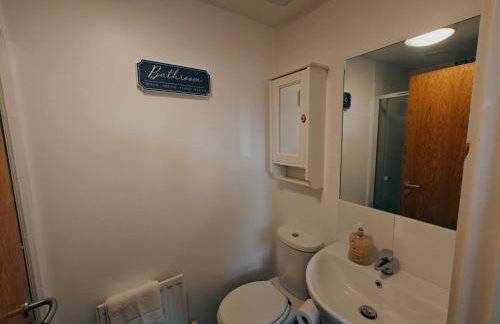
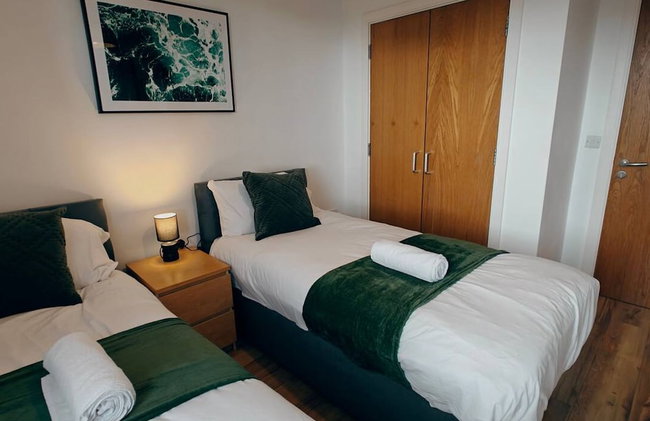
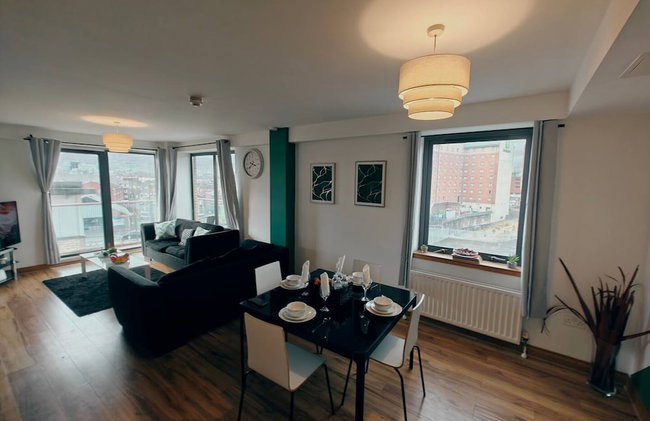
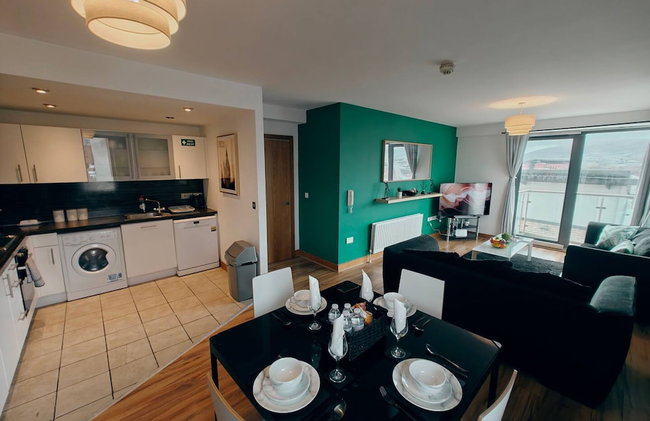
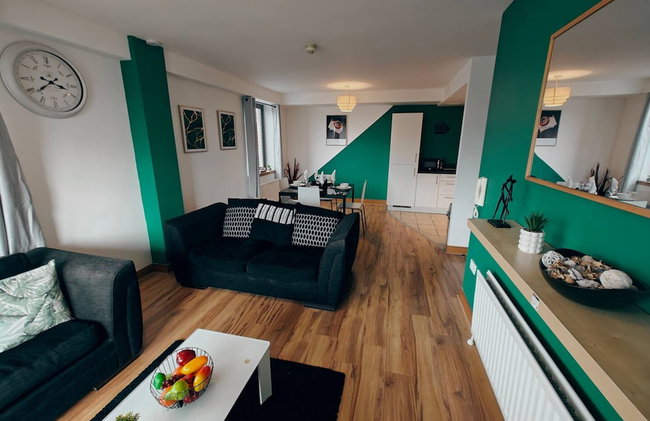
Godfrey Mews
Newry - Cloughoge
- 86 M2
- 2 camere
- 4 persone
- Aria condizionata
- Riscaldamento
- Parcheggio
- Ascensore
- Tv
- Lavatrice
- Lino da bagno
- Lino da letto
43 recensioni


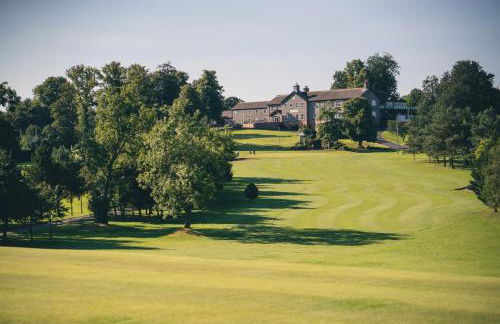

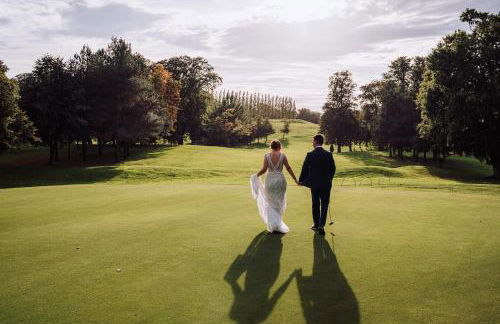

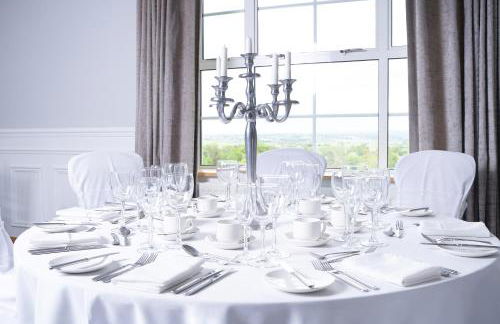


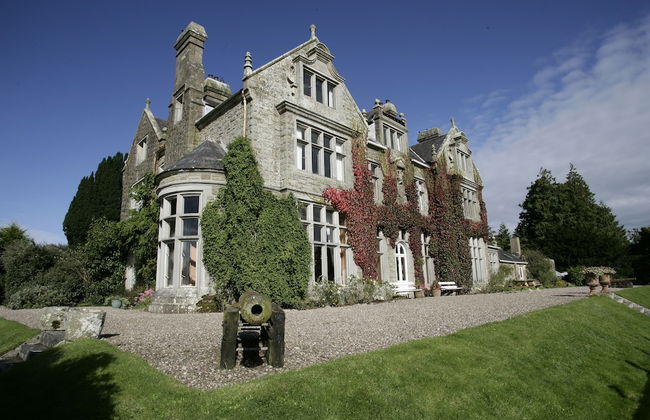
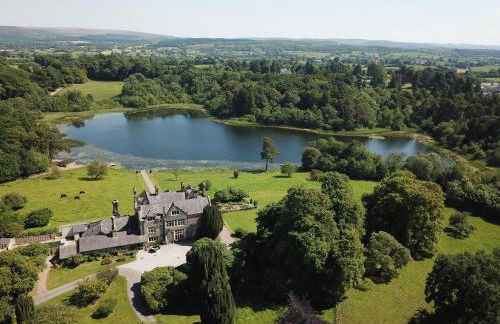
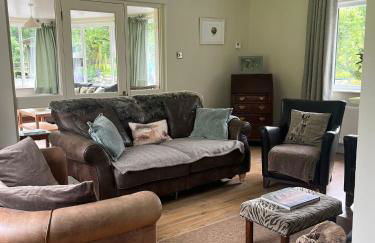
Edenmore Golf and Country Club
Craigavon - Donaghcloney
- 40 M2
- 4 persone
- Aria condizionata
- Riscaldamento
- Parcheggio
- Ascensore
- Tv
- Lino da bagno
- Lino da letto
38 recensioni


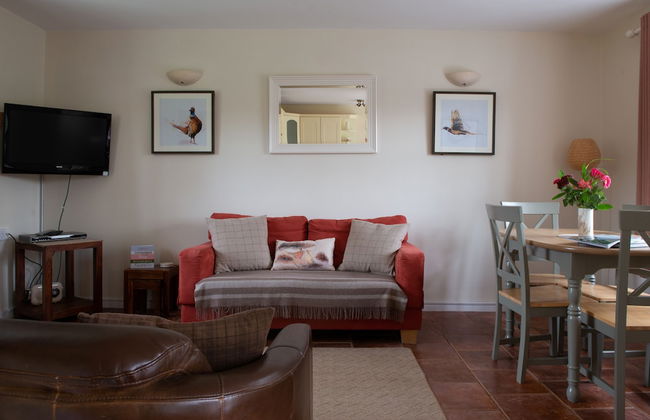
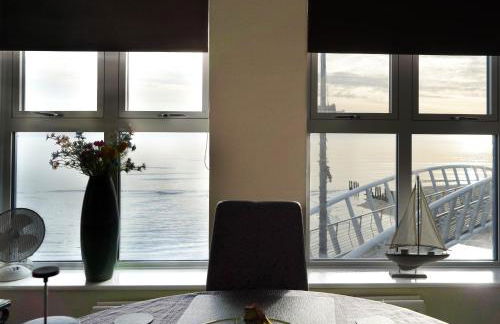
Curran Gate Luxury Apartments, Portrush
Portrush - Portrush
- 153 M2
- 6 persone
- Riscaldamento
- Terrazza
- Parcheggio
- Ascensore
- Balcone
- Giardino
- Tv
- Lavatrice
- Lino da bagno
- Lino da letto
19 recensioni


Picturesque Village House
Enniskillen - Kesh
- 100 M2
- 4 persone
- Riscaldamento
- Terrazza
- Parcheggio
- Balcone
- Giardino
- Tv
- Lavatrice
- Focolare
- Lino da bagno
- Lino da letto
15 recensioni


Stay Lagom Lodge
Ballycastle - Ballycastle
- 5 persone
- Riscaldamento
- Terrazza
- Parcheggio
- Giardino
- Tv
- Focolare
- Barbecue
- Lino da bagno
- Lino da letto
34 recensioni


Ocean View Pods
Ballymena - Glenarm
- 18 M2
- 4 persone
- Cucinino
- Riscaldamento
- Terrazza
- Giardino
- Focolare
- Lino da bagno
- Lino da letto
19 recensioni


Ballymultimber Cottages - traditional cottages on the Causeway Coast
Limavady - Limavady
- 80 M2
- 3 camere
- 5 persone
- Cucinino
- Riscaldamento
- Parcheggio
- Giardino
- Tv
- Lavatrice
- Focolare
- Barbecue
- Lino da bagno
- Lino da letto
33 recensioni


Ballylagan Organic Farm
Ballyclare - Ballyclare
- 204 M2
- 4 camere
- 9 persone
- Cucinino
- Riscaldamento
- Parcheggio
- Giardino
- Tv
- Lavatrice
- Barbecue
- Lino da bagno
- Lino da letto
36 recensioni


Minnie's Cottage
Ballymoney - Armoy
- 90 M2
- 4 persone
- Riscaldamento
- Parcheggio
- Giardino
- Tv
- Lavatrice
- Lino da bagno
- Lino da letto
12 recensioni


5 Star - The Ulsterville Residences - Free On-site Parking
Belfast - Belfast
- 70 M2
- 2 camere
- 4 persone
- Riscaldamento
- Parcheggio
- Giardino
- Tv
- Lavatrice
- Lino da bagno
- Lino da letto
105 recensioni


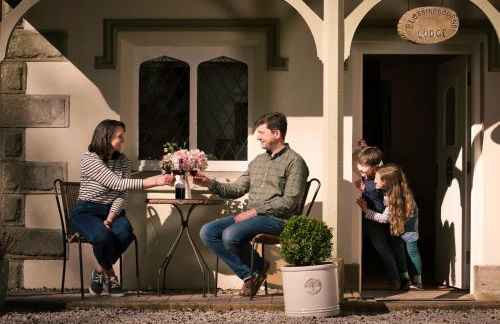


Blessingbourne Cottages & Apartments
Fivemiletown - Fivemiletown
- 4 camere
- 5 persone
- Riscaldamento
- Terrazza
- Parcheggio
- Giardino
- Tv
- Barbecue
- Lino da bagno
- Lino da letto
13 recensioni


2BR Mountain View City Centre
Belfast - Belfast
- 83 M2
- 2 camere
- 4 persone
- Riscaldamento
- Terrazza
- Parcheggio
- Ascensore
- Balcone
- Tv
- Lavatrice
- Lino da bagno
- Lino da letto
56 recensioni


Squirrel Cottage
Ballymena - Dunloy
- 70 M2
- 2 persone
- Riscaldamento
- Terrazza
- Parcheggio
- Giardino
- Tv
- Lavatrice
- Barbecue
- Lino da bagno
- Lino da letto
13 recensioni

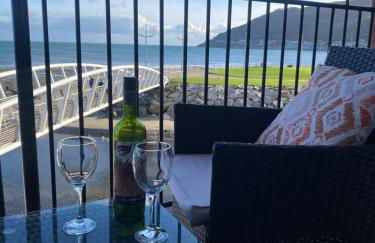


Newcastle Seafront Apartment with Wifi and Parking
Newcastle - Newcastle
- 2 camere
- 4 persone
- Riscaldamento
- Terrazza
- Parcheggio
- Ascensore
36 recensioni


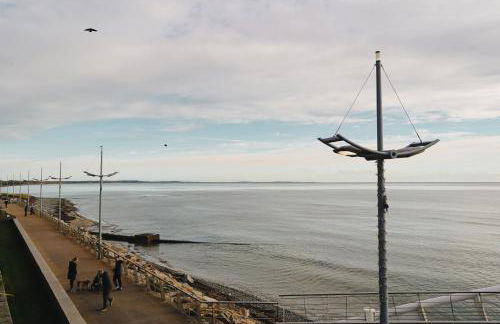
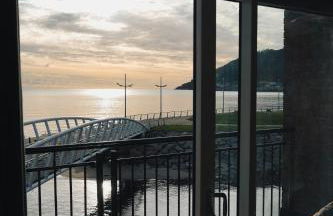
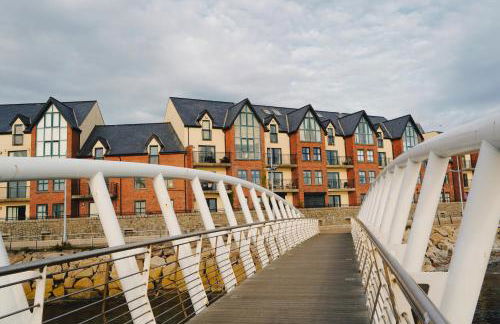
Portrush Apt with Stunning Sea Views- West Beach 5
Portrush - Portrush
- 47 M2
- 2 camere
- 5 persone
- Riscaldamento
- Terrazza
- Parcheggio
71 recensioni


Art House
Derry - Derry
- 15 M2
- 10 camere
- 3 persone
- Riscaldamento
- Parcheggio
- Tv
- Lino da bagno
- Lino da letto
73 recensioni


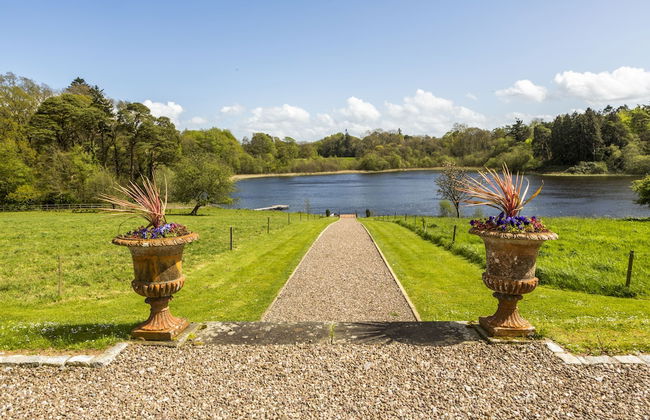
Lisieux House on Lough Neagh
Craigavon - Gawleys Gate
- 3 persone
- Riscaldamento
- Parcheggio
- Giardino
- Barbecue
- Lino da bagno
- Lino da letto
22 recensioni


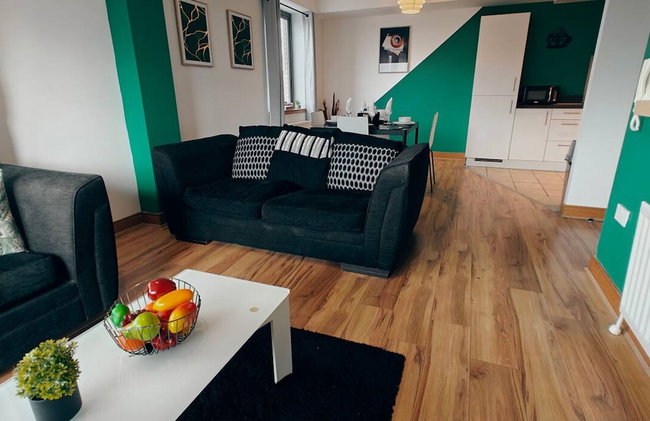
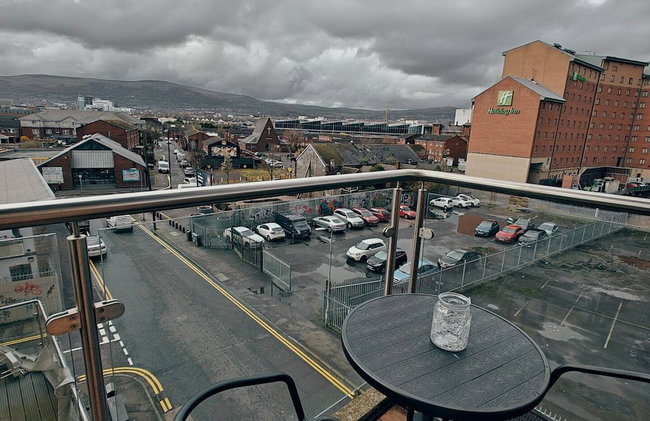
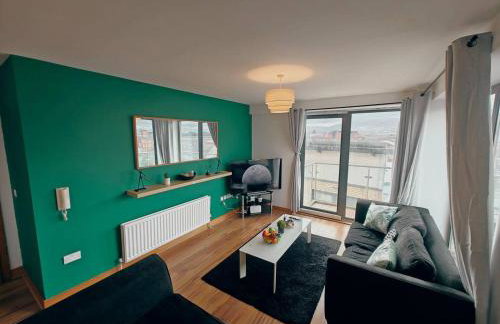
Central Belfast Apartments: Alfred Street
Belfast - Belfast
- 79 M2
- 4 camere
- 6 persone
- Riscaldamento
- Tv
- Lavatrice
- Lino da bagno
- Lino da letto
18 recensioni


Seaview Cottage on the Island
Larne - Islandmagee
- 60 M2
- 4 persone
- Riscaldamento
- Terrazza
- Parcheggio
- Giardino
- Tv
- Lavatrice
- Focolare
- Barbecue
- Lino da bagno
- Lino da letto
6 recensioni