
246 Appartamenti a EH1


Grassmarket, Below Edinburgh Castle in Old Town
Edimburgo - EH1 - 350 m dal centro
- 76 M2
- 4 persone
- Riscaldamento
- Tv
- Lavatrice
- Focolare
- Lino da bagno
- Lino da letto
16 recensioni


Linton Collection - 28 North Bridge
Edimburgo - EH1 - 420 m dal centro
- 58 M2
- 2 camere
- 4 persone
- Cucinino
- Riscaldamento
- Ascensore
- Tv
- Lavatrice
- Lino da bagno
- Lino da letto
675 recensioni


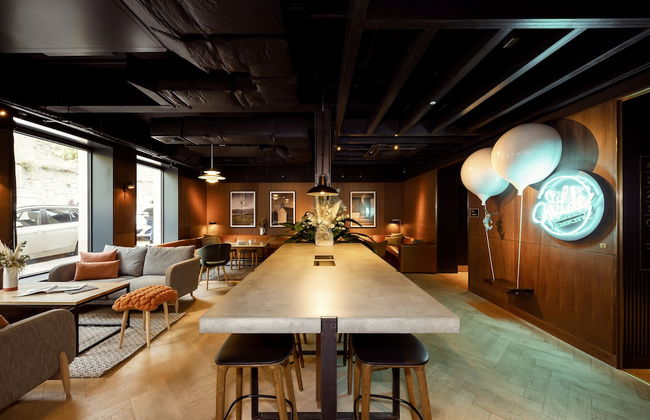
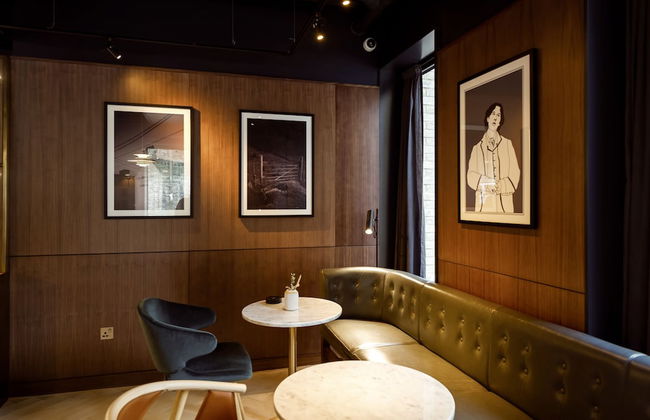


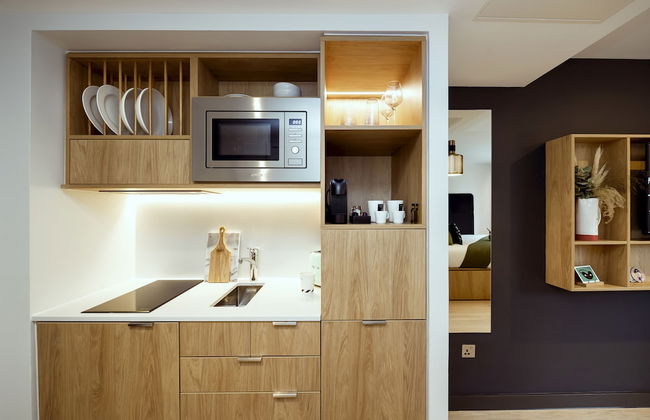

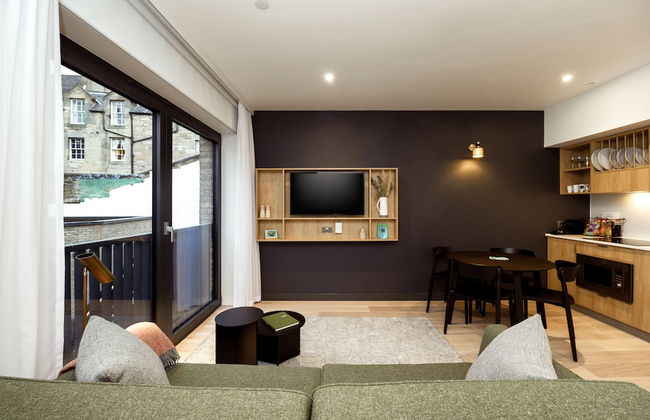


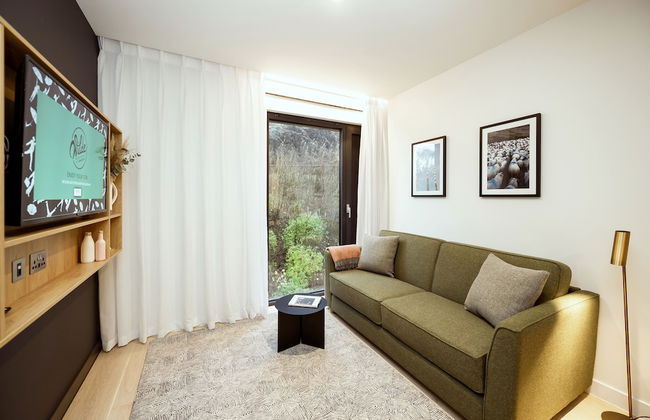


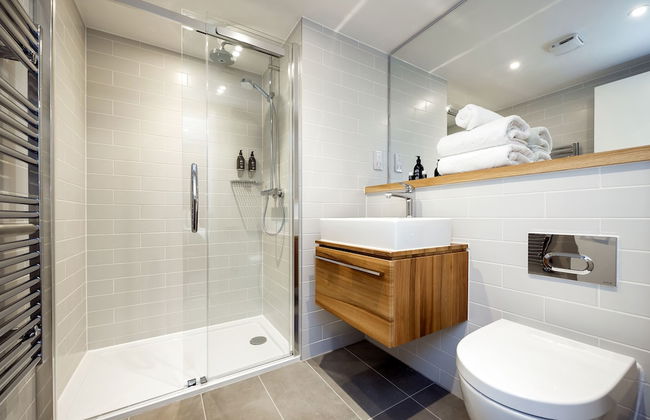


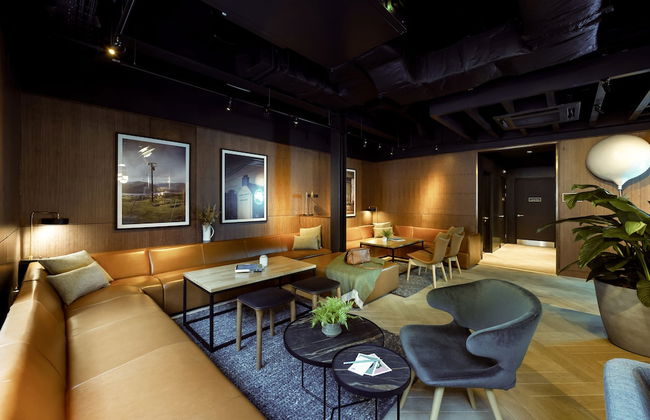


Wilde Aparthotels, Edinburgh, Grassmarket
Edimburgo - EH1 - 340 m dal centro
- 33 M2
- 6 persone
- Cucinino
- Aria condizionata
- Riscaldamento
- Ascensore
- Tv
- Lino da bagno
- Lino da letto
860 recensioni


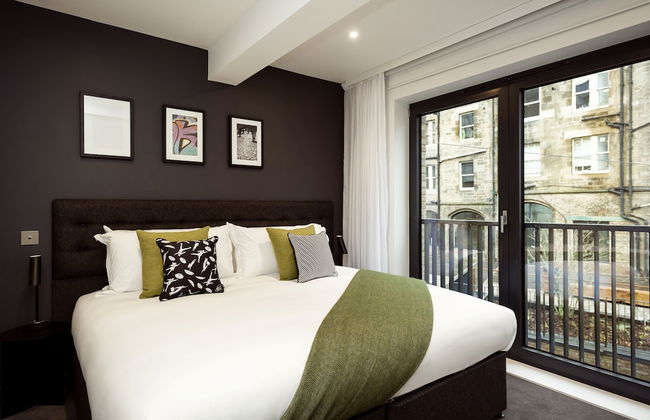
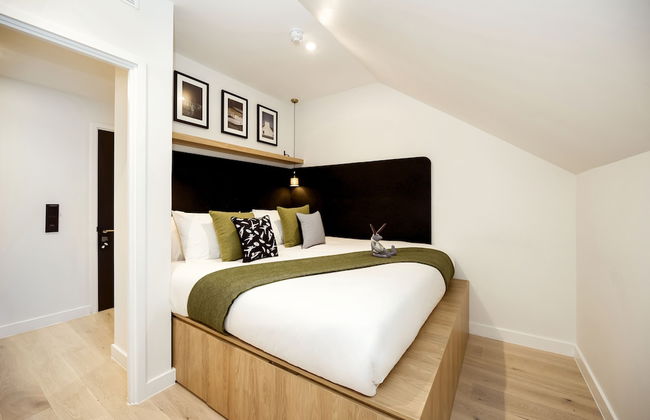
Princes Street Suites
Edimburgo - EH1 - 410 m dal centro
- 120 M2
- 3 camere
- 6 persone
- Riscaldamento
- Terrazza
- Parcheggio
- Ascensore
- Tv
- Lavatrice
- Lino da bagno
1452 recensioni


Destiny Scotland - Broughton St Lofts
Edimburgo - EH1 - 350 m dal centro
- 55 M2
- 2 camere
- 4 persone
- Riscaldamento
- Parcheggio
- Tv
- Lavatrice
- Lino da bagno
- Lino da letto
87 recensioni


Edinburgh Nine
Edimburgo - EH1 - 340 m dal centro
- 29 M2
- 2 persone
- Cucinino
- Riscaldamento
- Tv
- Lino da bagno
- Lino da letto
78 recensioni


JOIVY Vibrant City Centre 2-bed Apt.
Edimburgo - EH1 - 540 m dal centro
- 100 M2
- 2 camere
- 2 persone
- Riscaldamento
- Balcone
- Giardino
- Tv
- Lavatrice
- Lino da bagno
- Lino da letto
29 recensioni

Royal Mile Mansions Apartments
Edimburgo - EH1 - 460 m dal centro
- 55 M2
- 6 persone
- Riscaldamento
- Ascensore
- Tv
- Lavatrice
- Lino da bagno
- Lino da letto
6 recensioni


Destiny Scotland - Royal Mile Residence
Edimburgo - EH1 - 540 m dal centro
- 90 M2
- 3 camere
- 6 persone
- Riscaldamento
- Parcheggio
- Ascensore
- Balcone
- Tv
- Lavatrice
- Lino da bagno
- Lino da letto
139 recensioni


Gorgeous Royal Mile Mansion Apartment
Edimburgo - EH1 - 460 m dal centro
- 129 M2
- 4 persone
- Riscaldamento
- Tv
- Lavatrice
- Lino da bagno
- Lino da letto
6 recensioni


Linton Collection - Blackfriars Lofts
Edimburgo - EH1 - 590 m dal centro
- 50 M2
- 2 camere
- 4 persone
- Riscaldamento
- Tv
- Lavatrice
- Lino da bagno
- Lino da letto
275 recensioni


JOIVY Charming Nest for Two with Castle View
Edimburgo - EH1 - 370 m dal centro
- 50 M2
- 2 persone
- Riscaldamento
- Tv
- Lavatrice
- Lino da bagno
- Lino da letto
16 recensioni


JOIVY Beautiful apartment, private garden, Calton Hill
Edimburgo - EH1 - 470 m dal centro
- 55 M2
- 1 camera
- 2 persone
- Riscaldamento
- Giardino
- Tv
- Lavatrice
- Focolare
- Lino da bagno
- Lino da letto
19 recensioni


JOIVY York Place Apartment in Georgian City Centre Building
Edimburgo - EH1 - Al centro
- 75 M2
- 1 camera
- 2 persone
- Riscaldamento
- Tv
- Lavatrice
- Lino da bagno
- Lino da letto
24 recensioni


223 Websters land - stunning castle view
Edimburgo - EH1 - 380 m dal centro
- 37 M2
- 2 persone
- Riscaldamento
76 recensioni


Old Town Apartments
Edimburgo - EH1 - 460 m dal centro
- 6 persone
- Parcheggio
- Tv
- Lino da bagno
62 recensioni


JOIVY Iconic Cockburn Street 4 Bedroom Apartment: Heart of Old Town
Edimburgo - EH1 - 370 m dal centro
- 195 M2
- 4 camere
- 8 persone
- Riscaldamento
- Tv
- Lavatrice
- Lino da bagno
- Lino da letto
24 recensioni


The cosy courtyard
Edimburgo - EH1 - 410 m dal centro
- 50 M2
- 2 camere
- 3 persone
- Riscaldamento
- Giardino
83 recensioni


Royal Mile apt, just 1 min from Edinburgh Castle!
Edimburgo - EH1 - 250 m dal centro
- 11 M2
- 3 persone
68 recensioni


Royal Mile Mansions Apartment 27
Edimburgo - EH1 - 470 m dal centro
- 6 persone
- Tv
- Lavatrice
- Lino da bagno
41 recensioni