
152 Appartamenti a Buxton


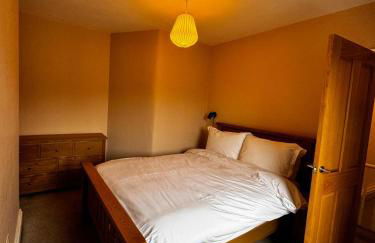
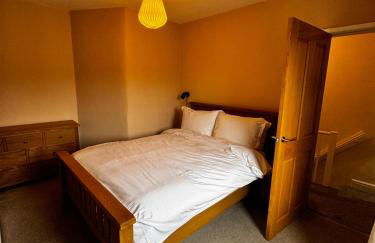
Smithy Bungalow, free private parking included, Buxton
Buxton - Buxton
- 36 M2
- 1 camera
- 4 persone
- Parcheggio
143 recensioni


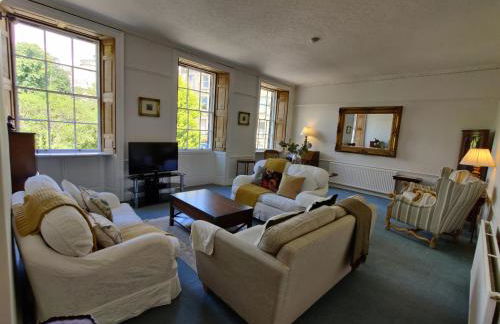
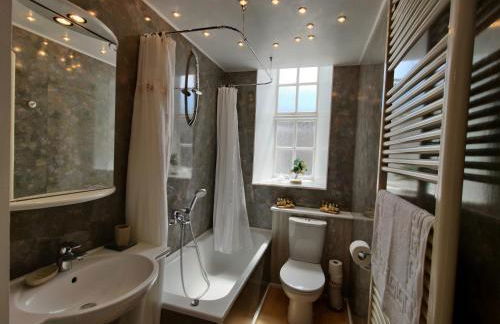

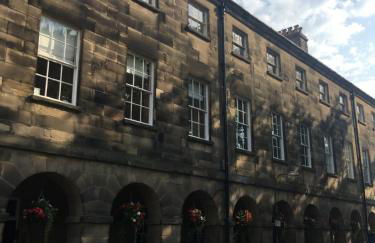
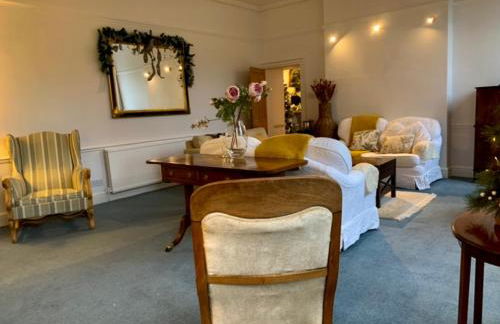


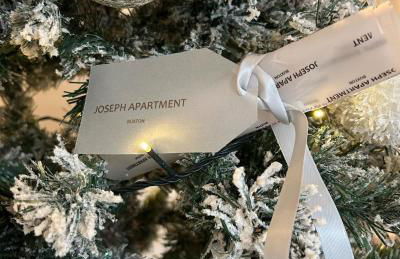


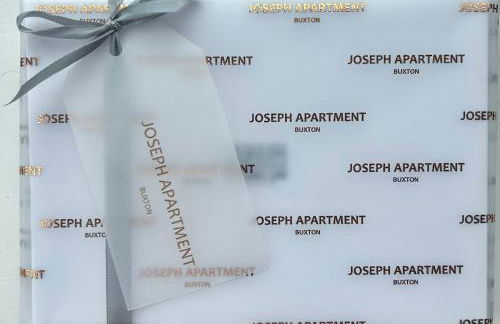


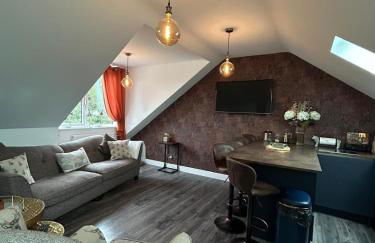
The Joseph - Exclusive Use - ROOM ONLY option
Buxton - Buxton
- 1 M2
- 2 camere
- 8 persone
- Riscaldamento
- Parcheggio
31 recensioni


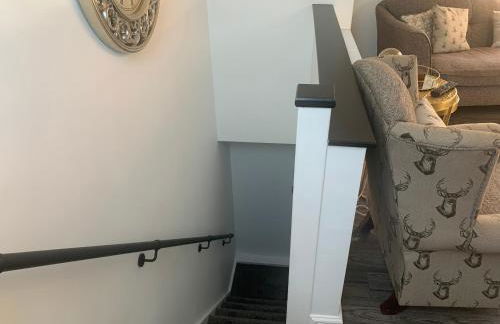

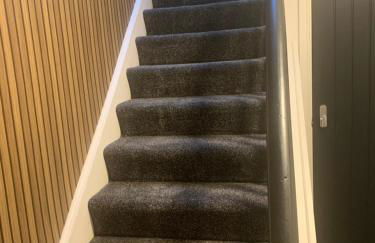


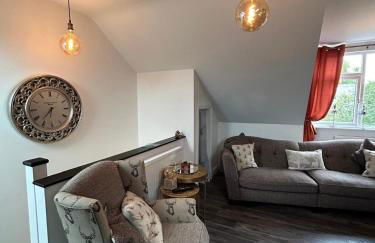


Cannons Loft Central Buxton, Duplex loft 3 bedroom Set over 3 floors stairs no lift sleeps 5
Buxton - Buxton
- 3 camere
- 5 persone
- Riscaldamento
- Parcheggio
17 recensioni


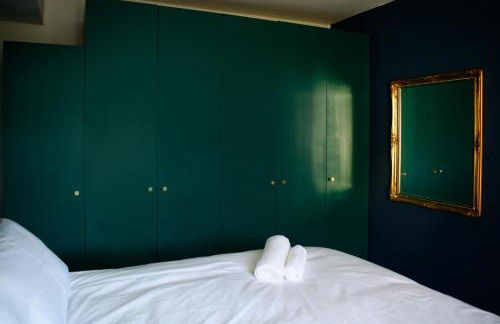
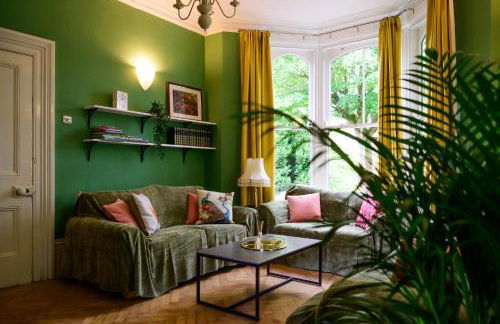
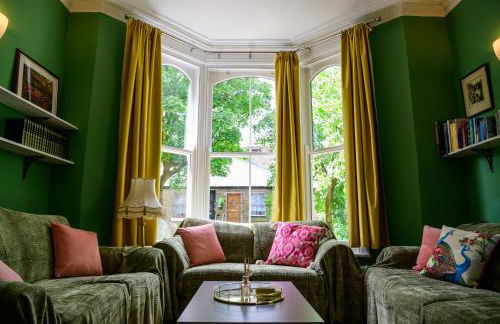
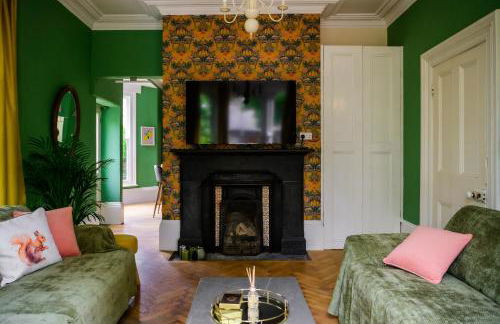
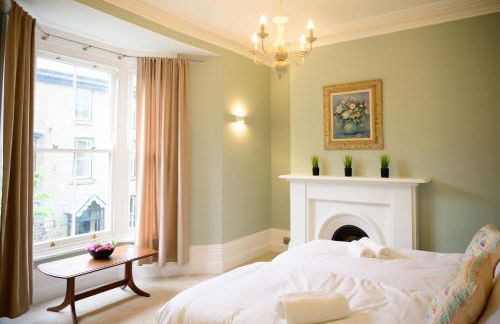
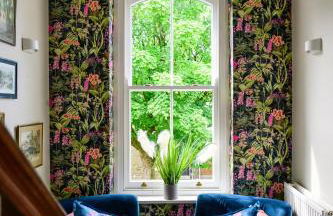
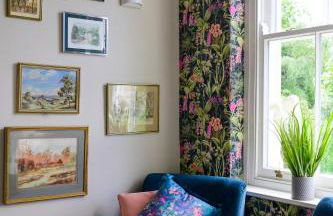
The Buxton Retreat A Luxurious 3-Storey Townhouse with Four Poster Bed and Double Jacuzzi Bath"
Buxton - Buxton
- 16 M2
- 2 camere
- 4 persone
- Riscaldamento
- Giardino
92 recensioni


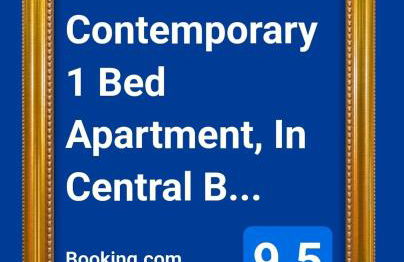

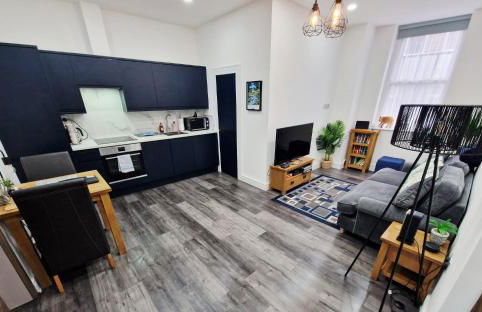
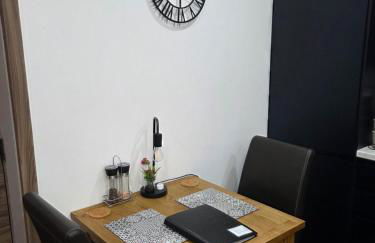


Contemporary 1 Bed Apartment, In Central Buxton
Buxton - Buxton
- 42 M2
- 2 persone
- Riscaldamento
105 recensioni


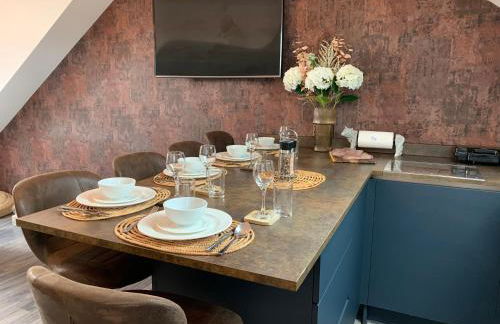
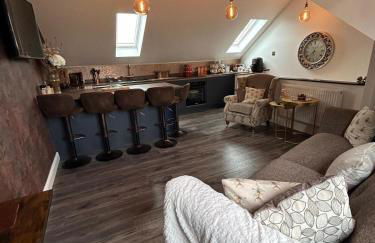
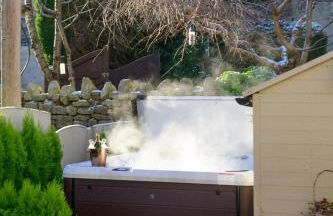
Finest Retreats - The Old Post Office Apartment 3
Buxton - Buxton
- 100 M2
- 3 camere
- 6 persone
- Riscaldamento
- Terrazza
- Parcheggio
- Giardino
- Barbecue
14 recensioni


Lovely Cosy Two Bed Home,Peak District Gateway
Buxton - Buxton
- 41 M2
- 2 camere
- 4 persone
- Riscaldamento
- Terrazza
- Parcheggio
106 recensioni


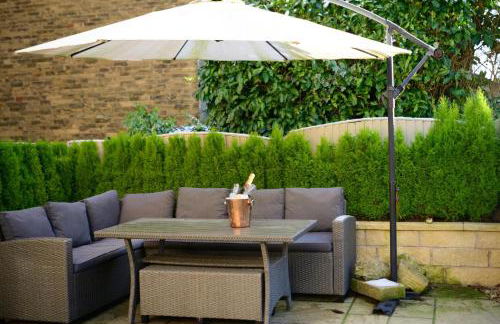
2 Brocklehurst Cottages
Buxton - Buxton
- 80 M2
- 2 camere
- 4 persone
- Riscaldamento
- Terrazza
- Parcheggio
- Giardino
109 recensioni


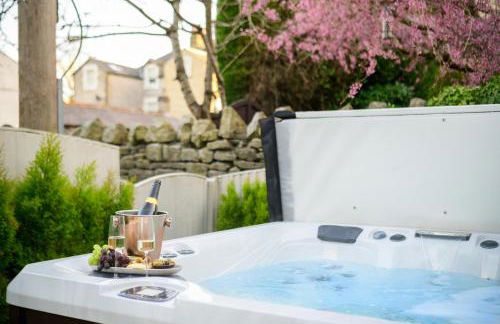
Buxton centre cosy cottage with free secure parking
Buxton - Buxton
- 55 M2
- 2 camere
- 5 persone
- Riscaldamento
- Terrazza
- Parcheggio
- Giardino
74 recensioni


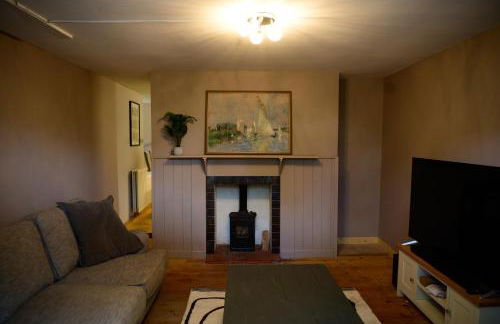
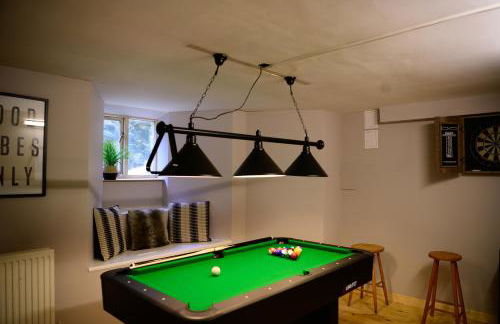
Modern Buxton Town House
Buxton - Buxton
- 150 M2
- 3 camere
- 6 persone
- Riscaldamento
- Terrazza
- Parcheggio
- Giardino
56 recensioni


The Stalls - Luxury Apartment by Opera & Dome
Buxton - Buxton - 280 m da Buxton Railway Station (geolocation.placetype.train_station)
- 1 M2
- 1 camera
- 4 persone
14 recensioni


"The Circle" Luxury Apartment by Opera & Dome
Buxton - Buxton - 290 m da Buxton Railway Station (geolocation.placetype.train_station)
- 80 M2
- 2 camere
- 6 persone
- Parcheggio
48 recensioni


