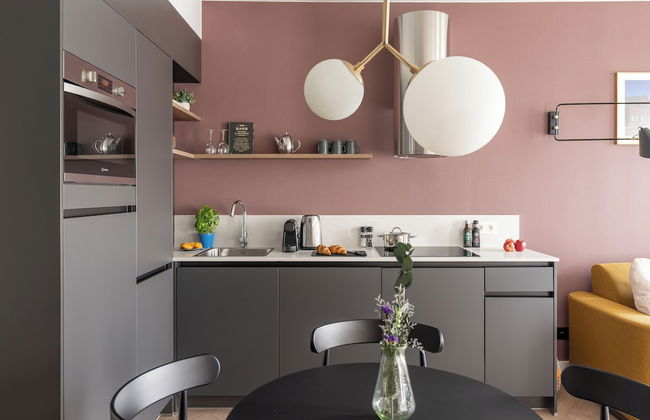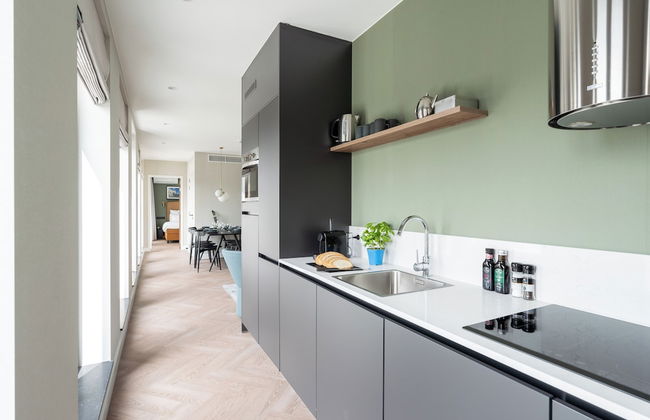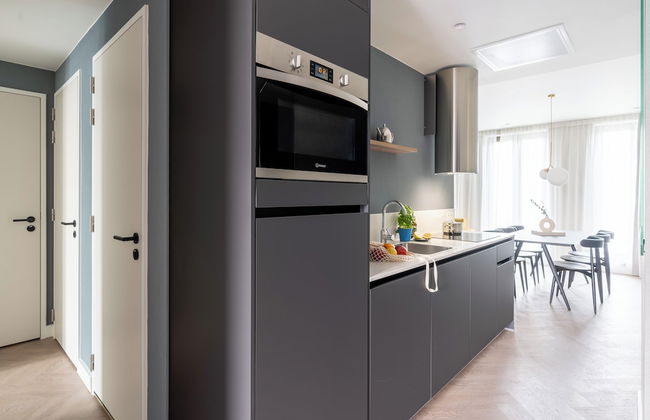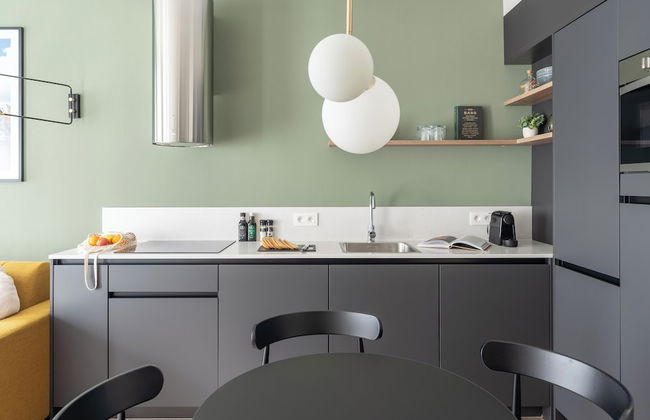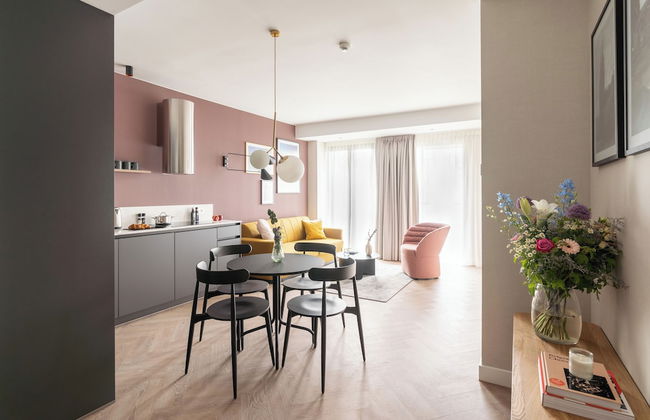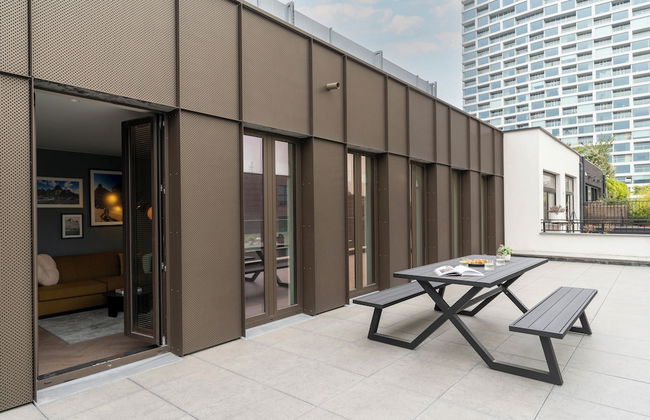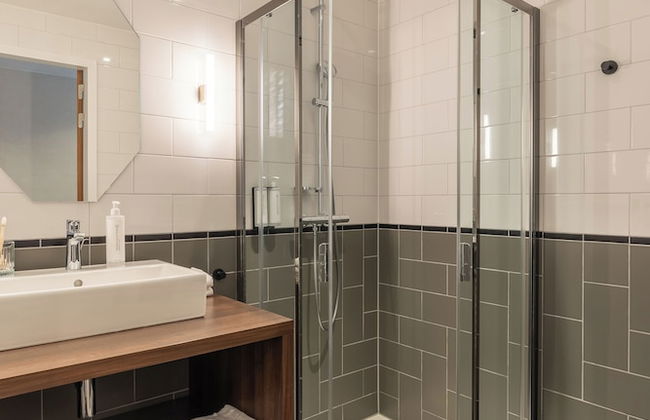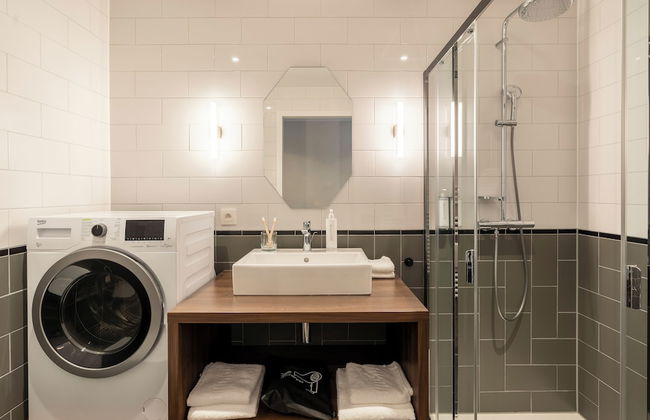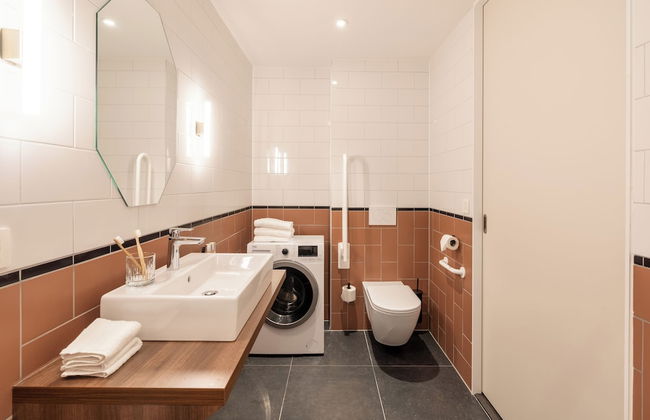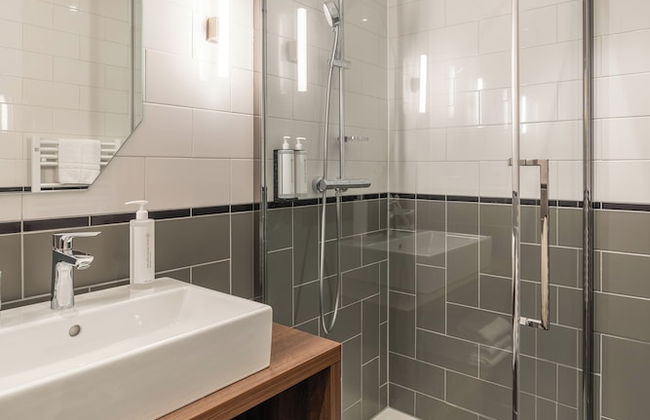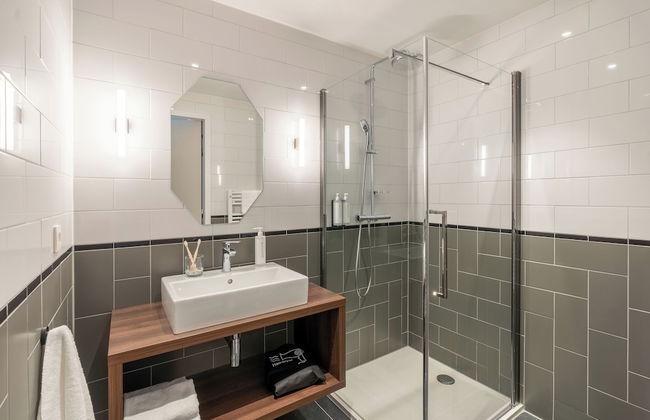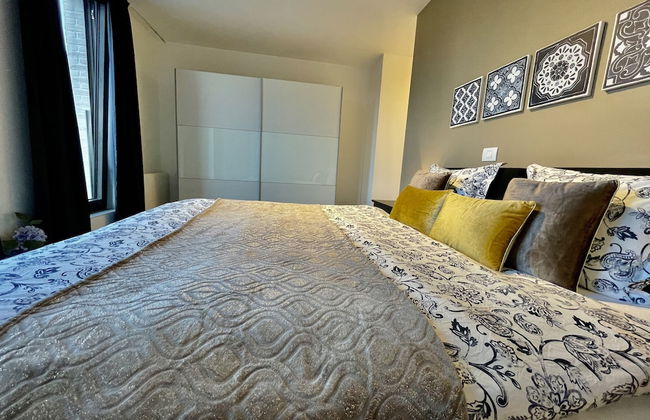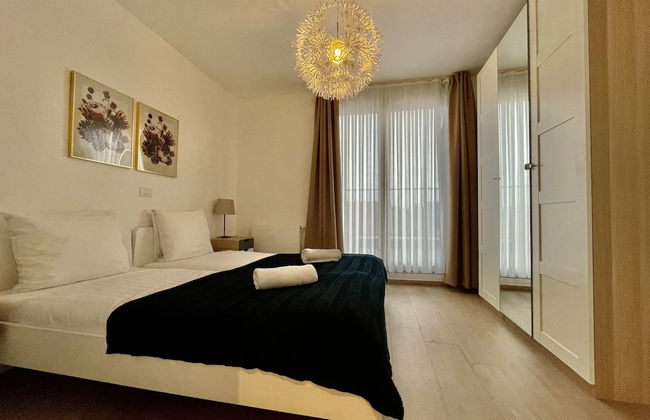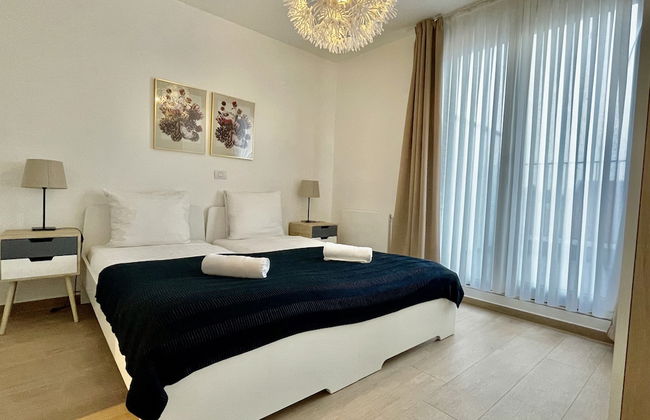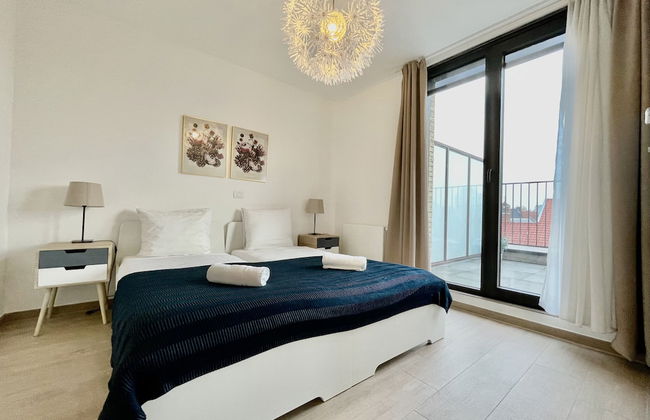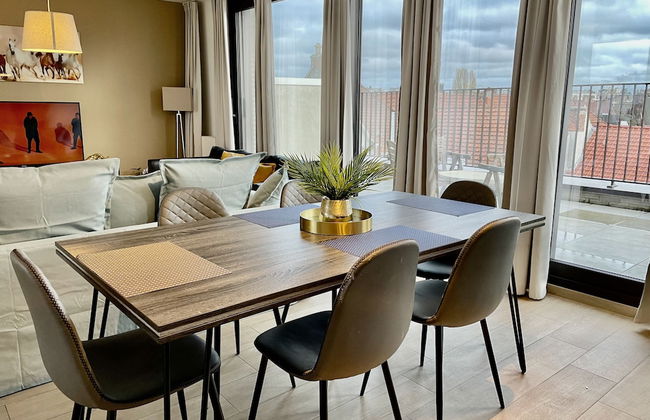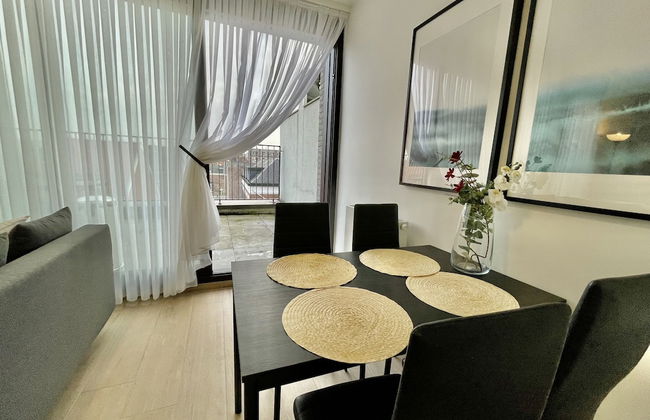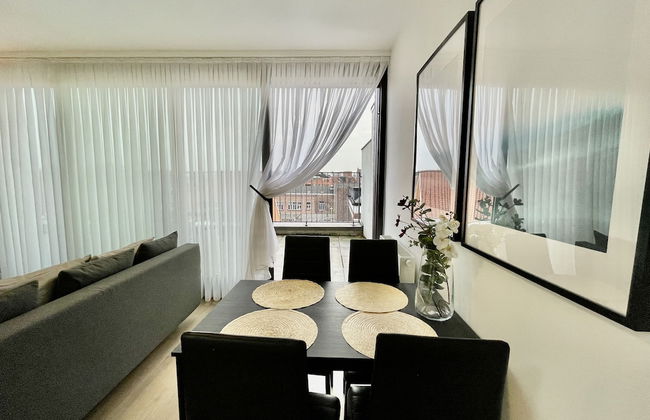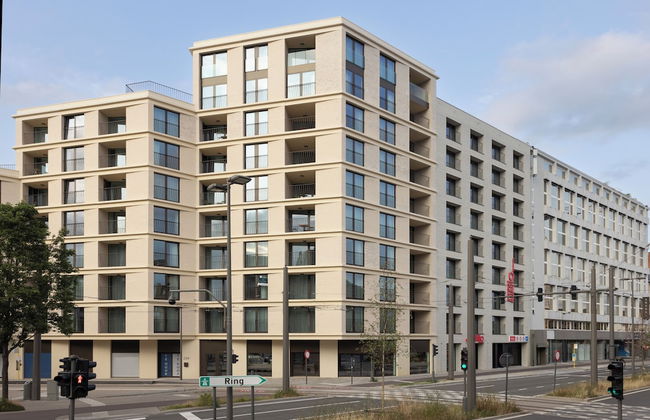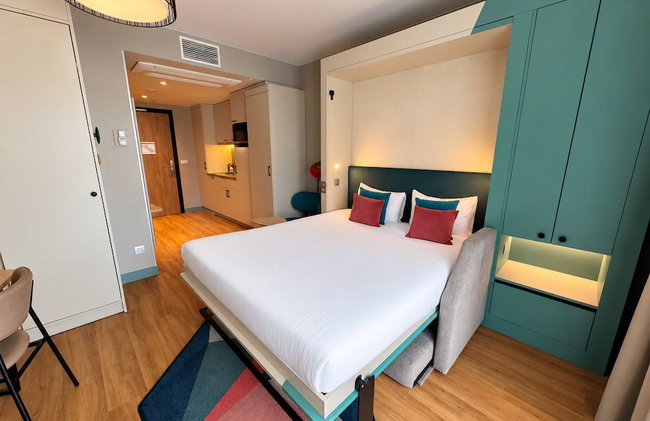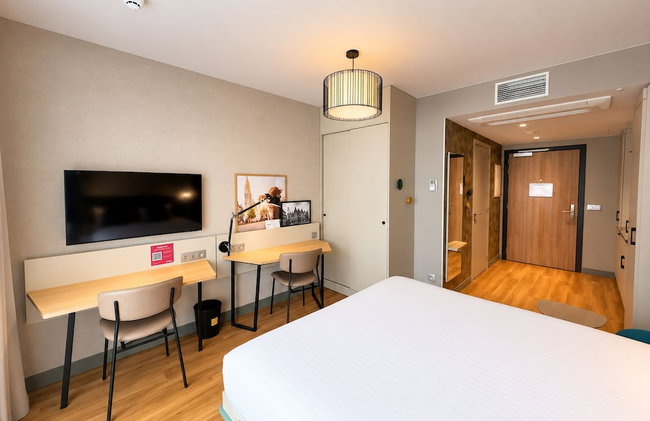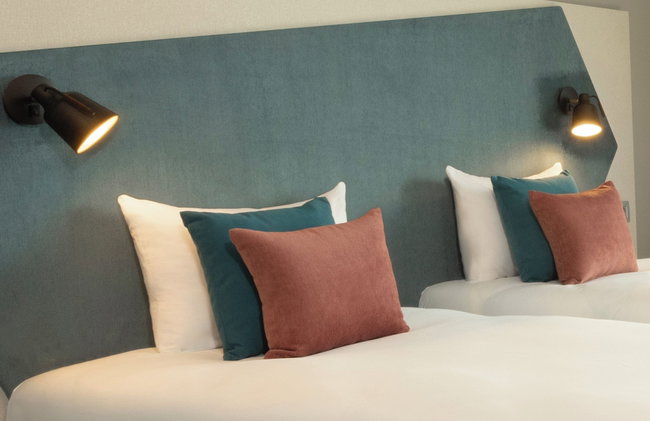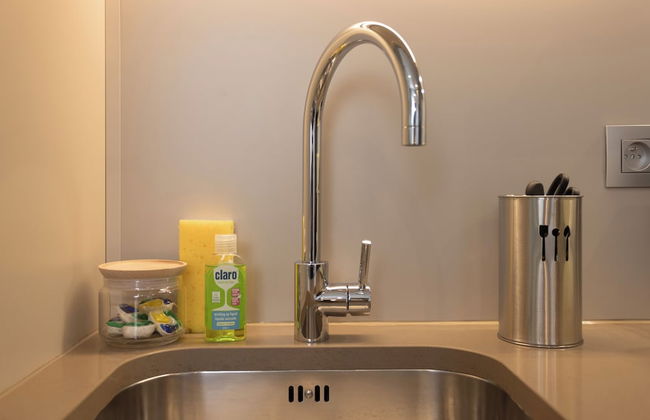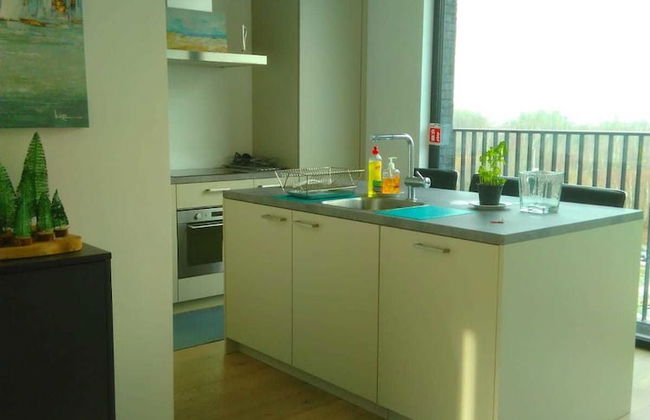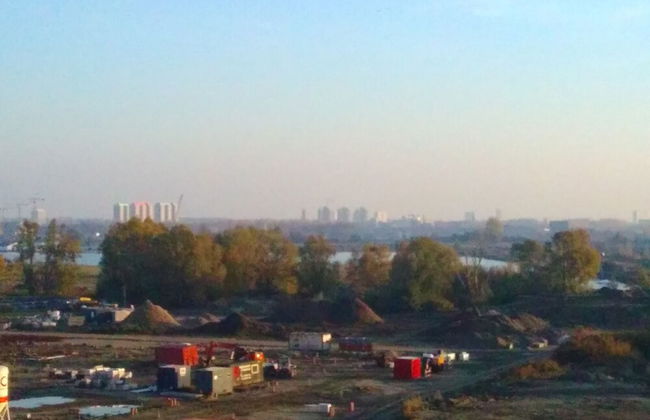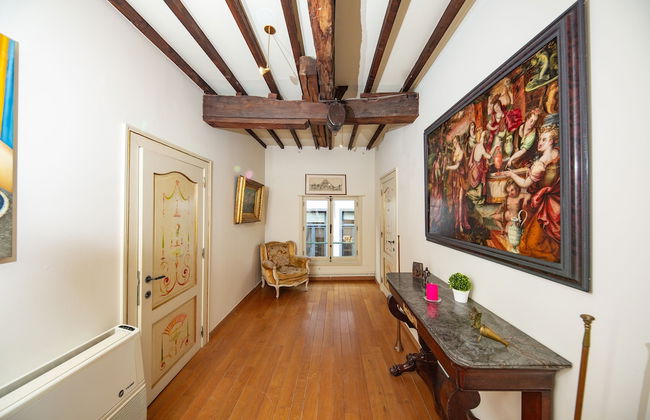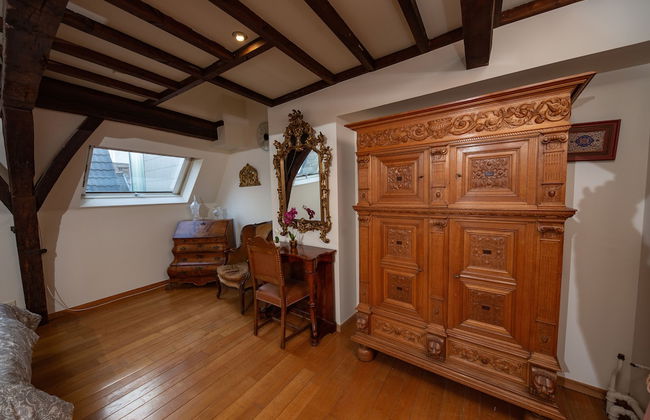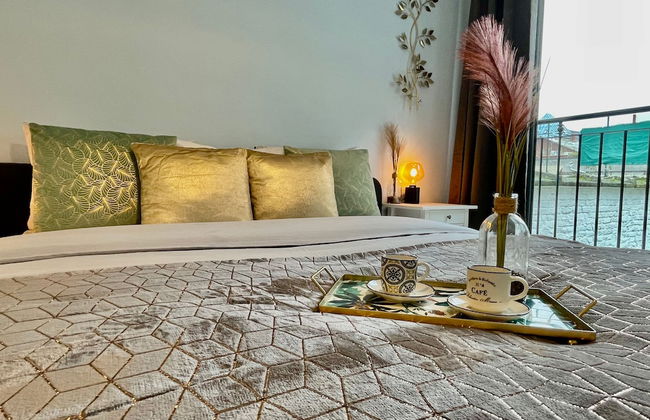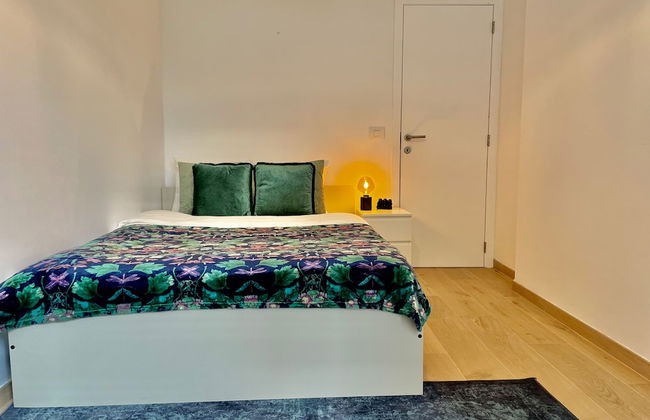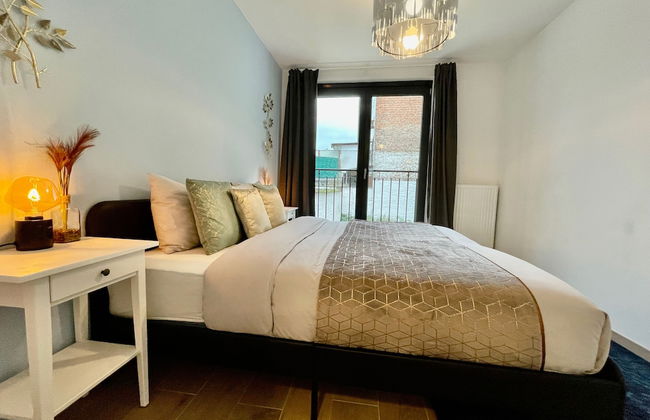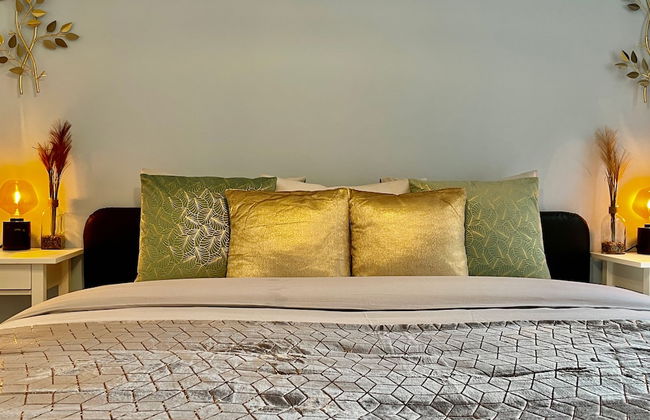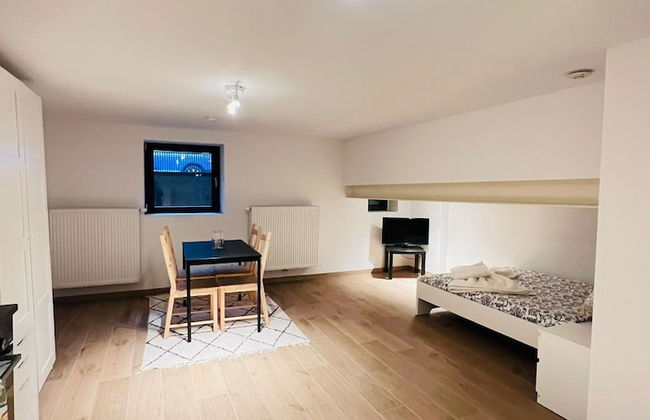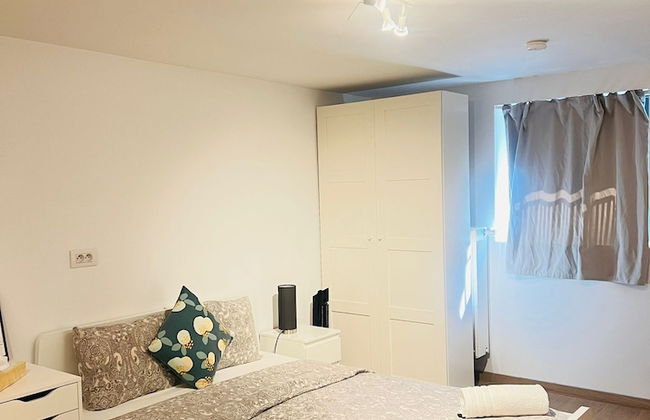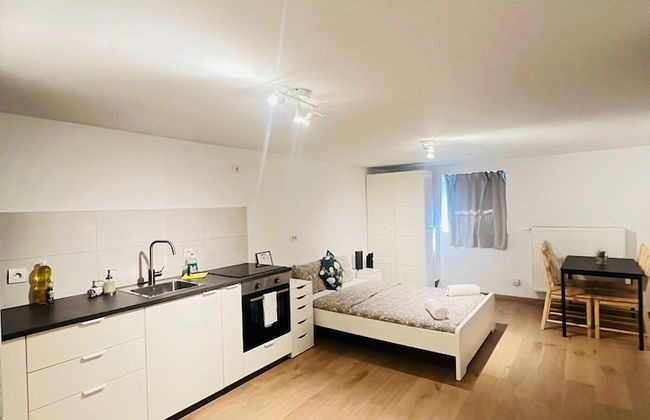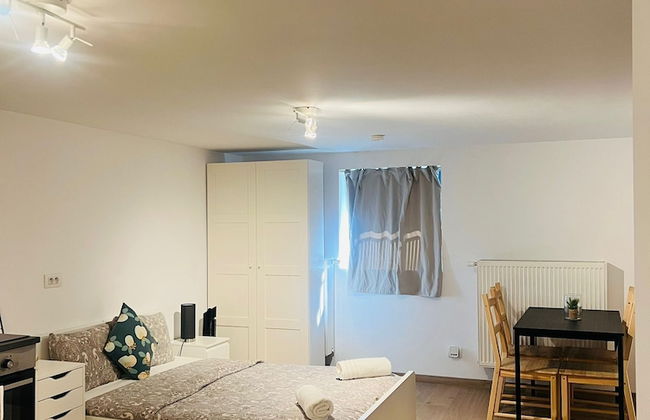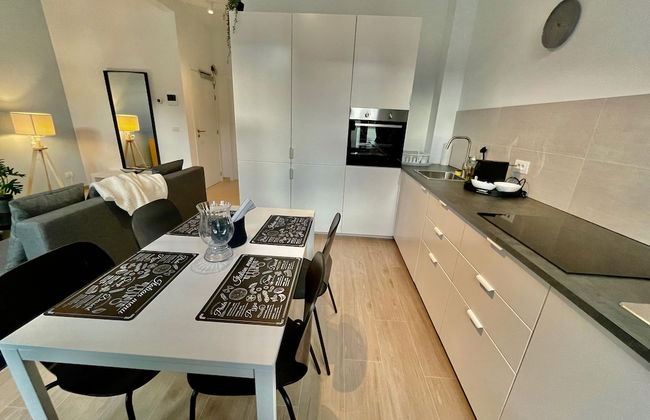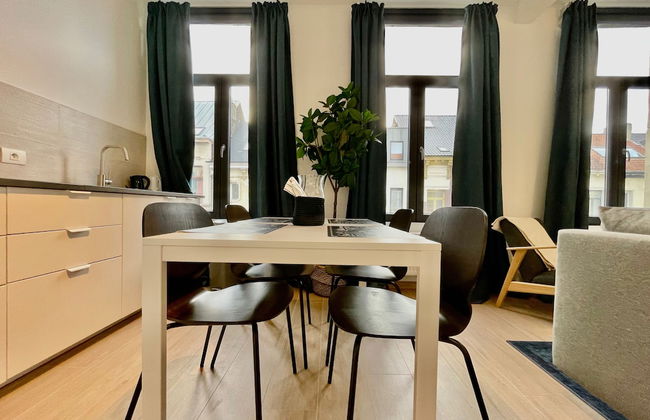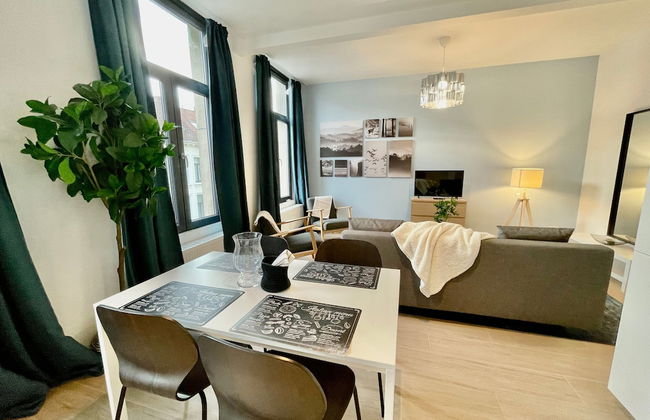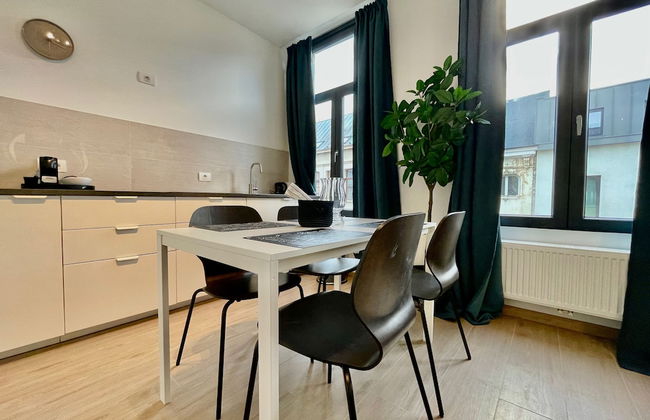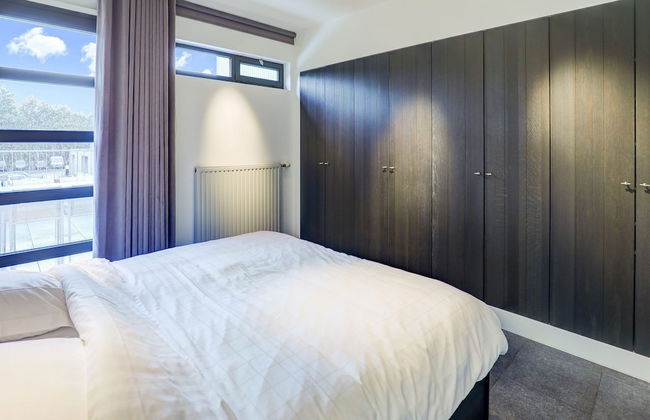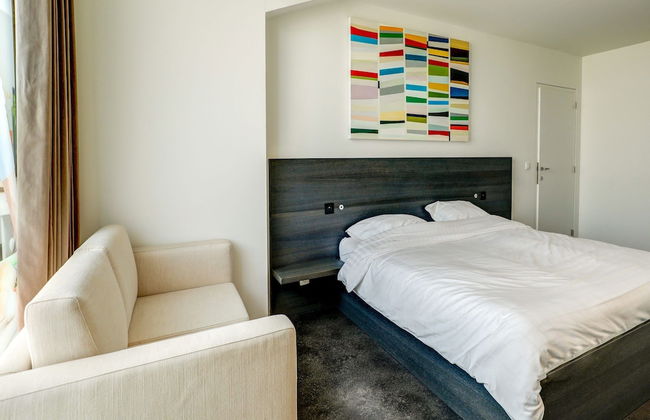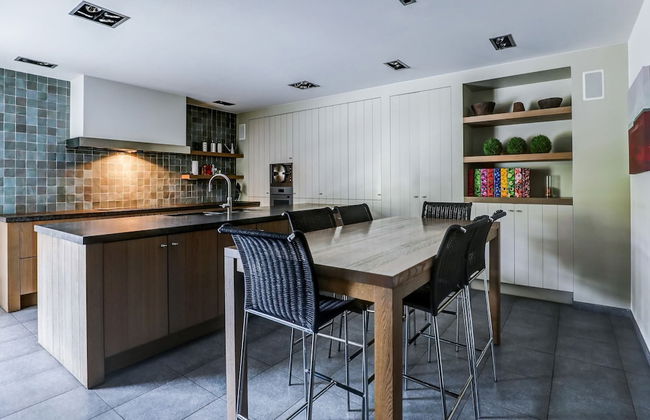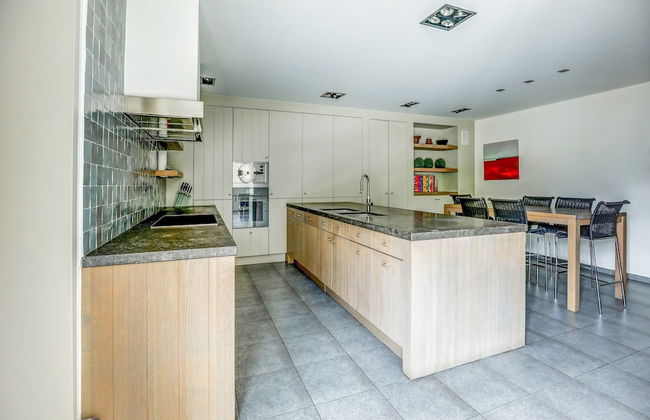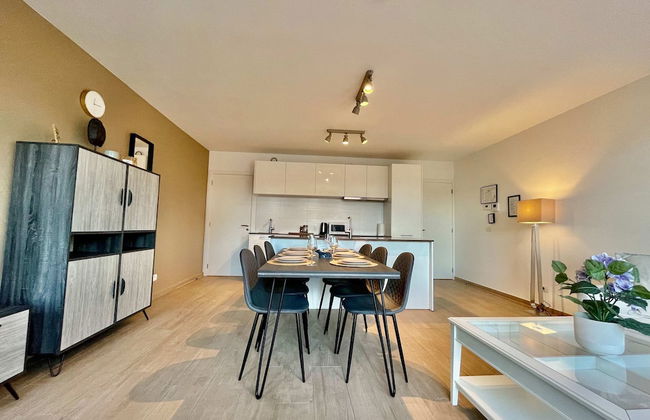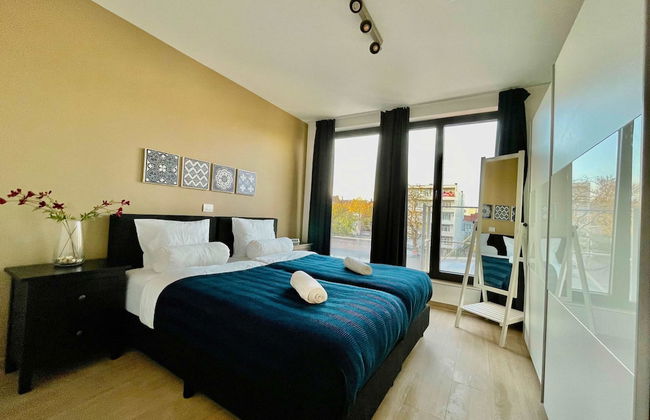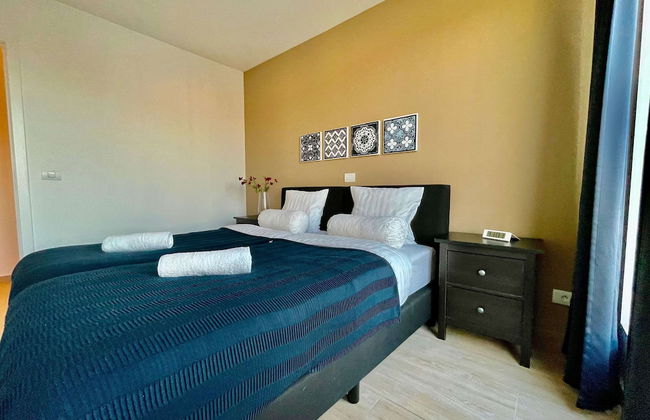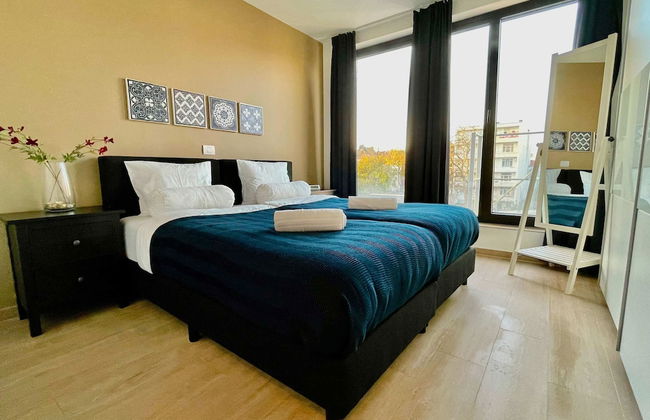

























104 Appartamenti a Anversa
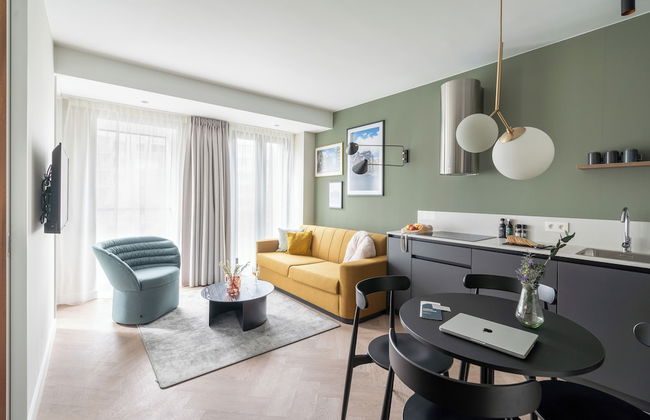
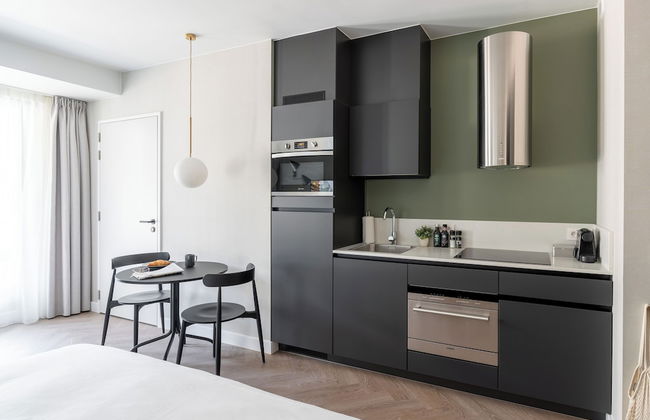
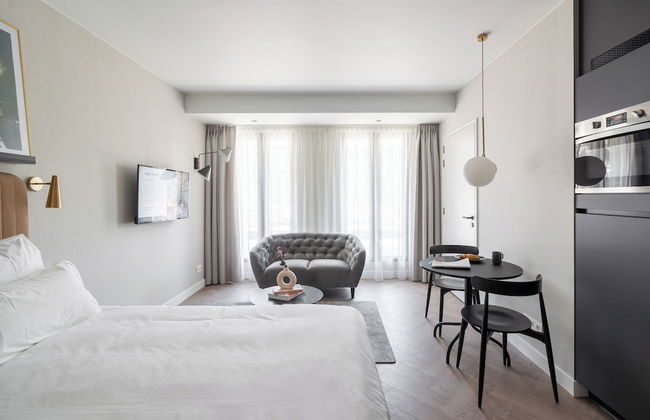
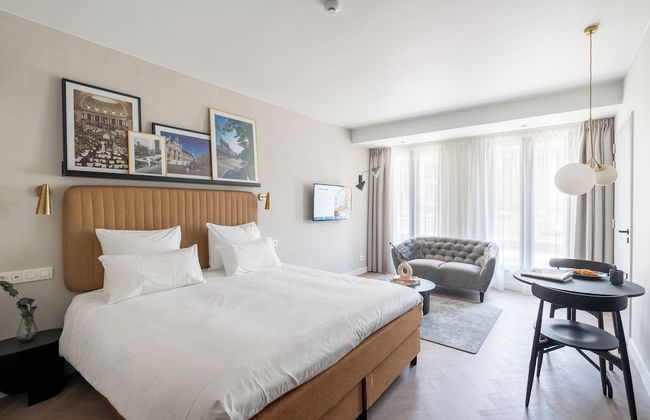
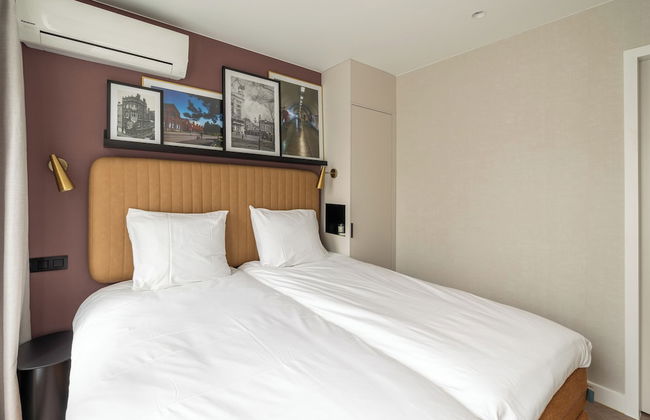
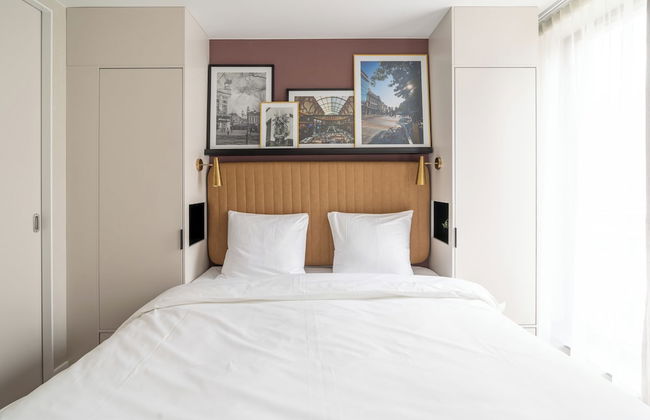
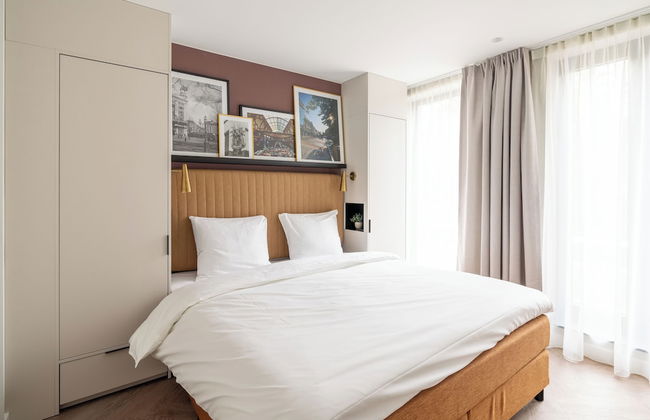
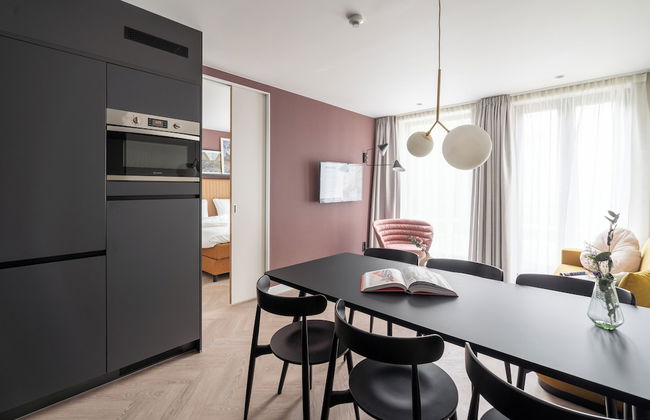
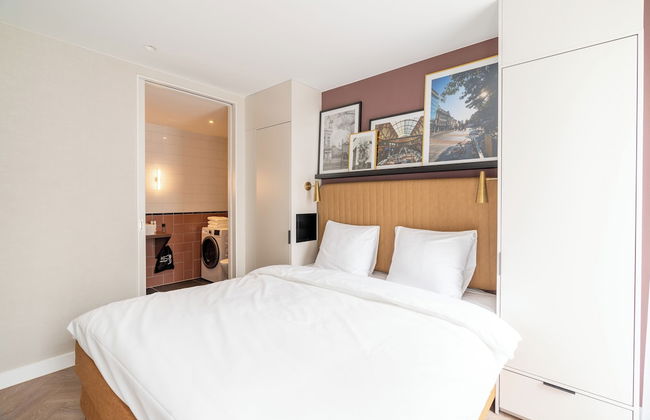
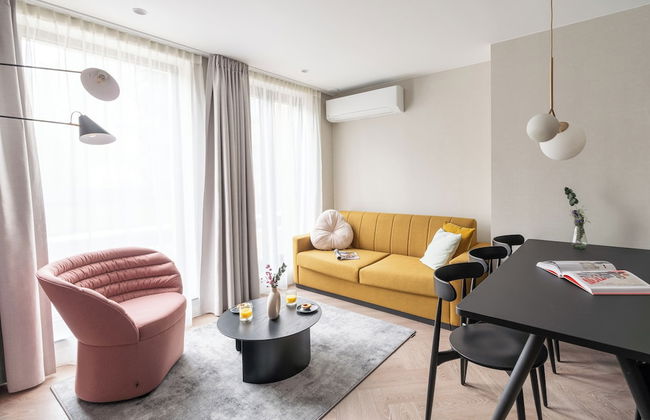
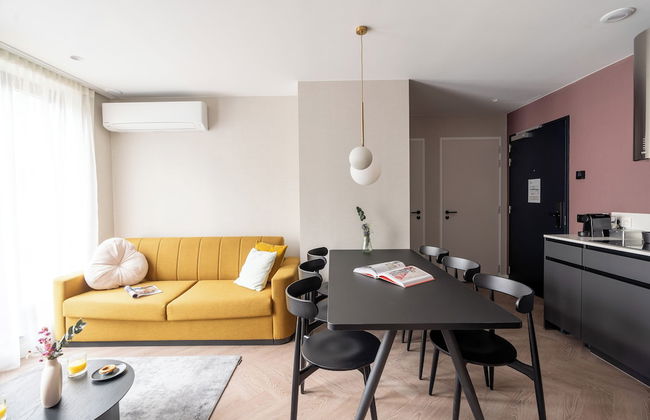
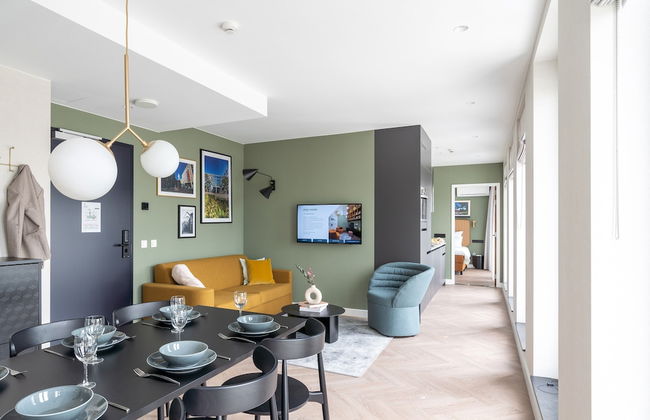
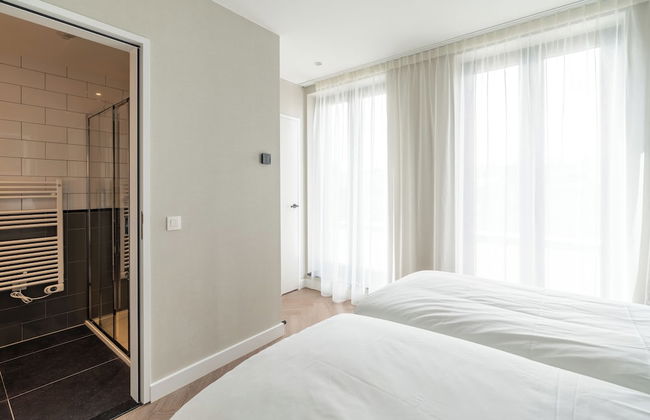
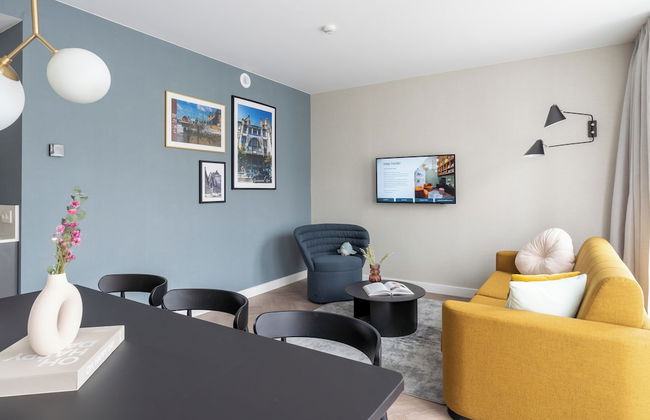
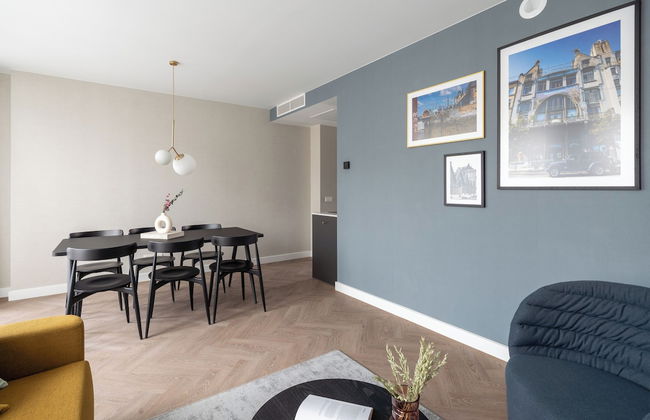
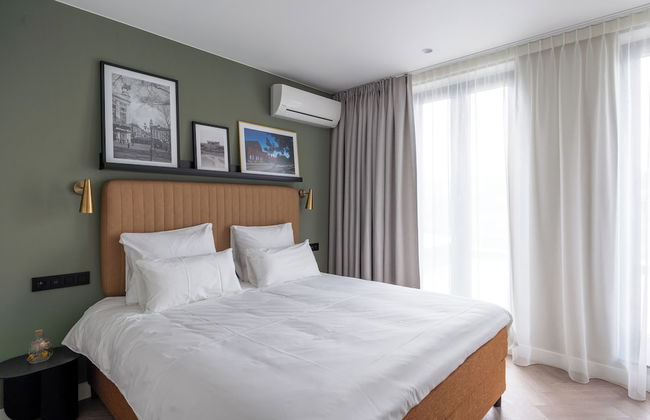
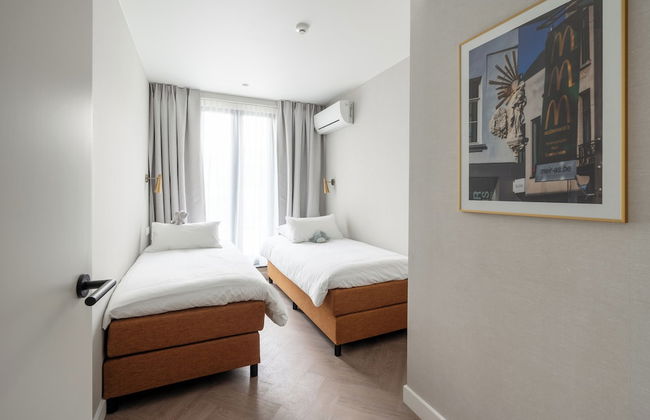
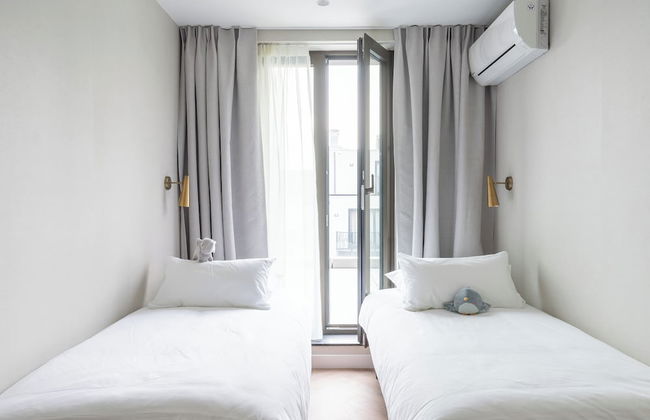
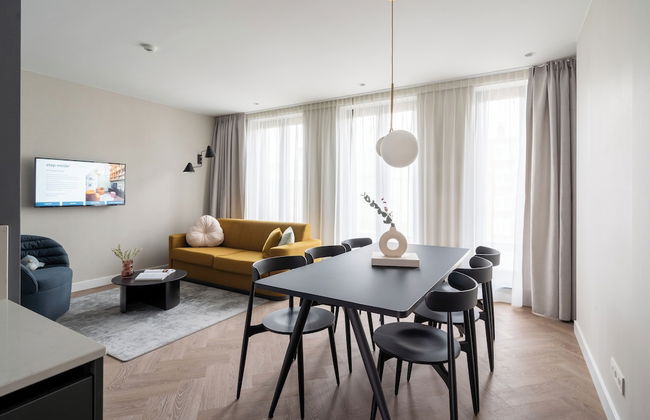
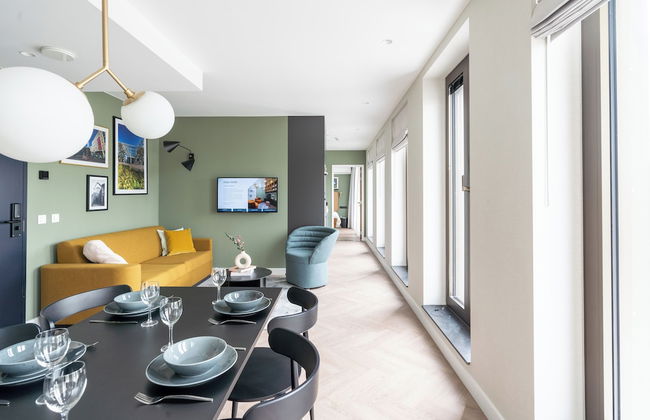
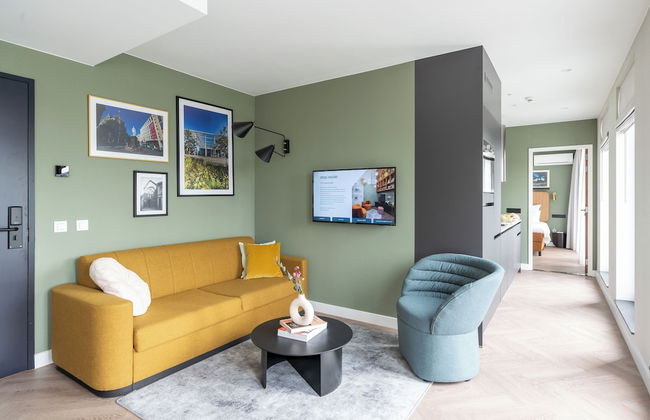
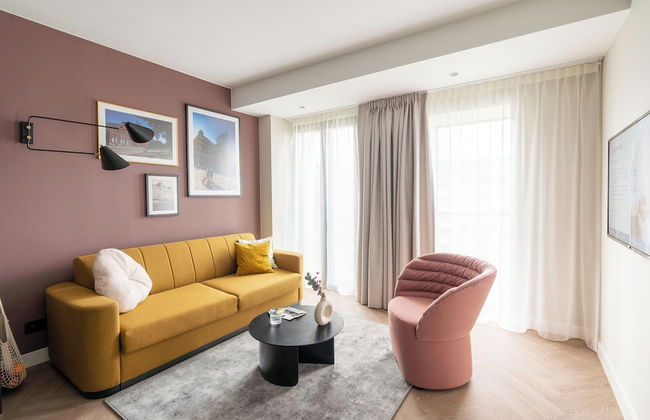
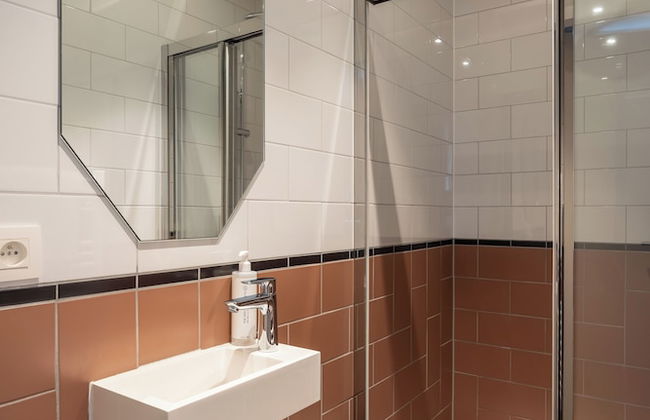
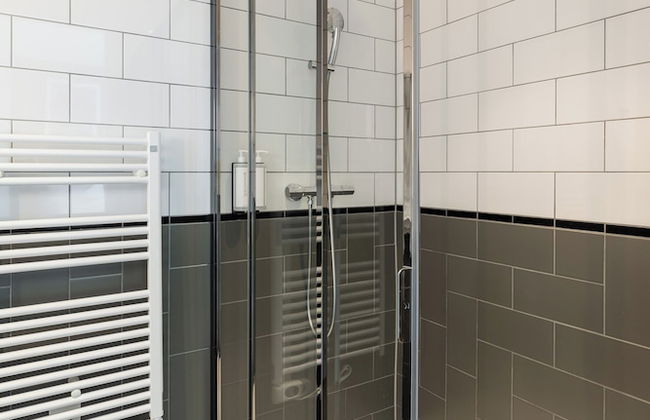
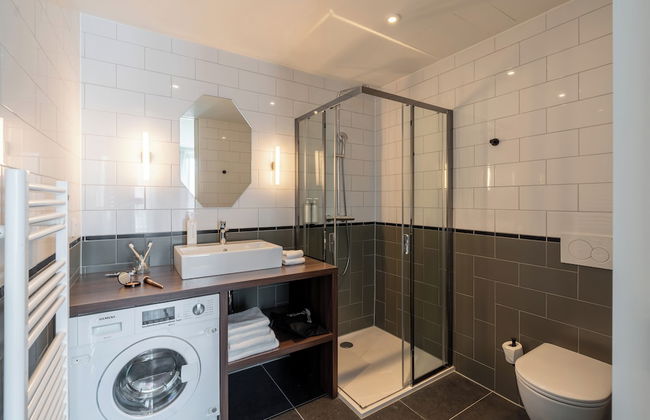
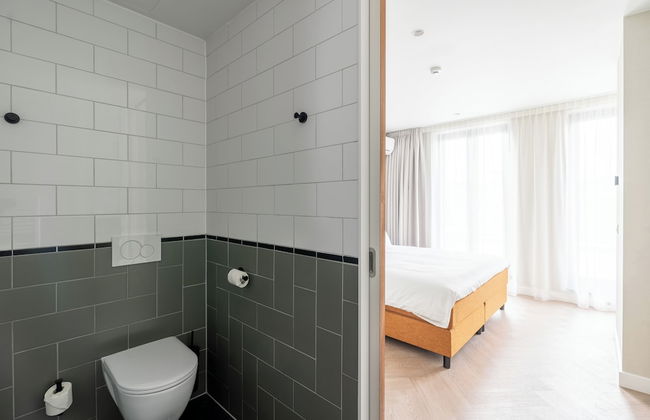
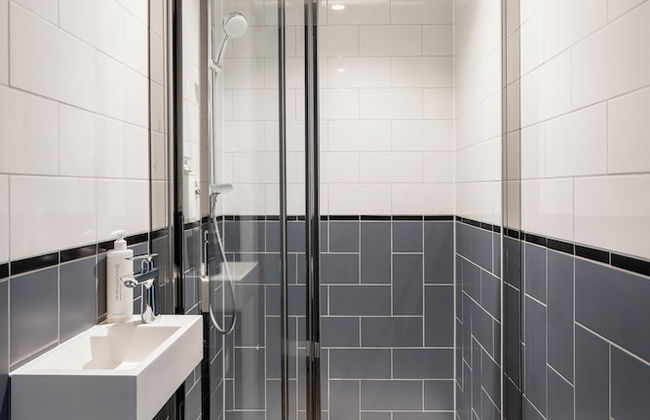
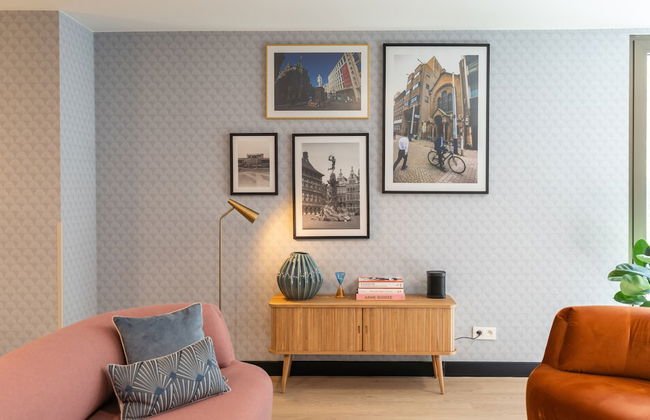
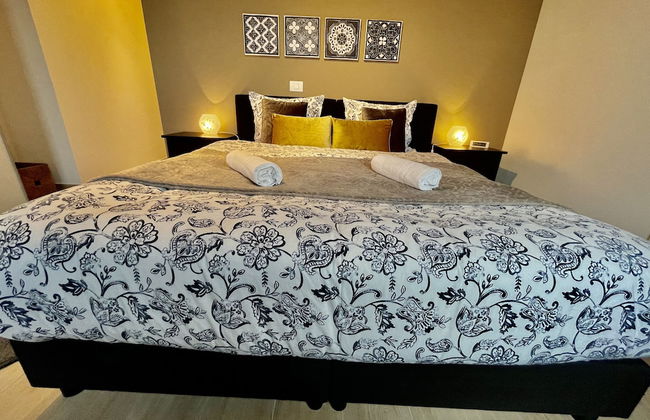
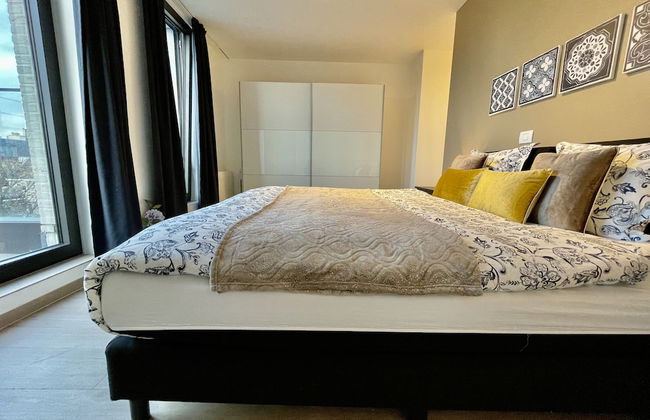
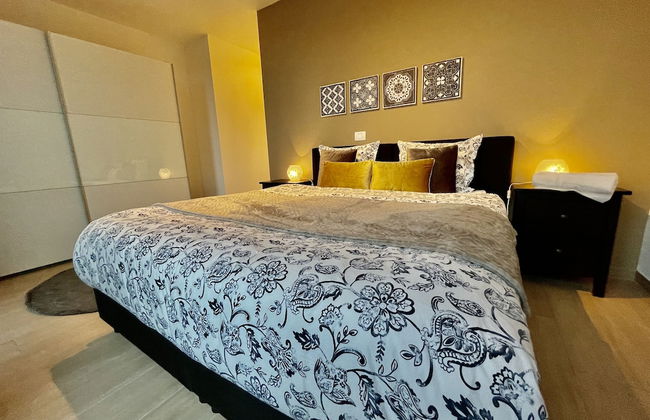
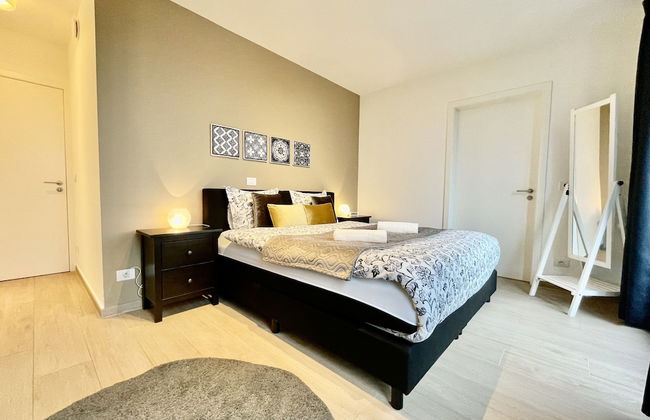
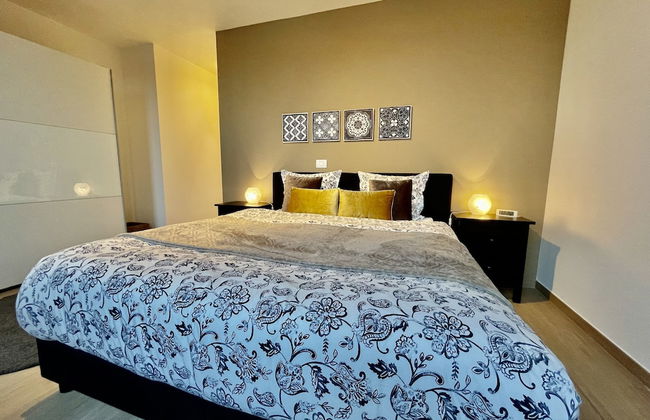
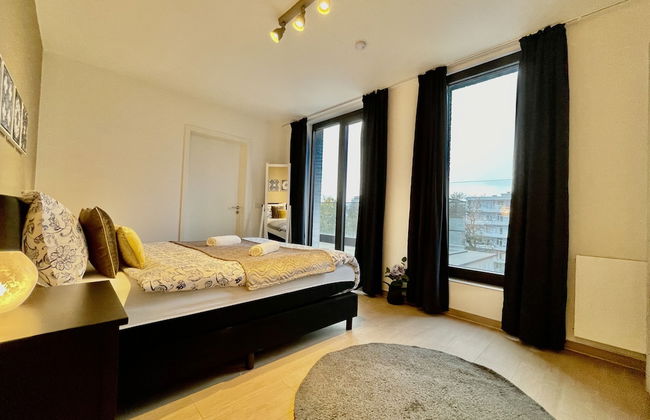
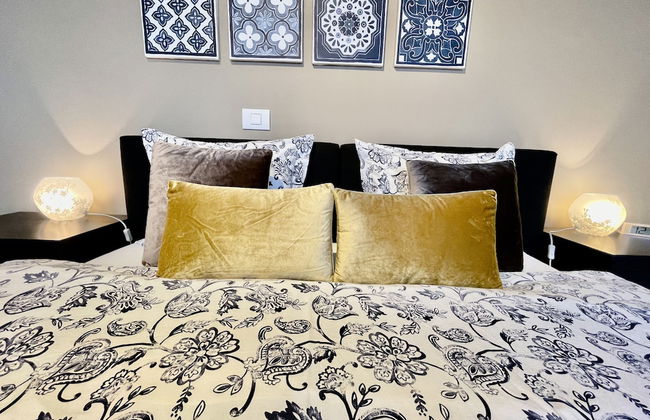
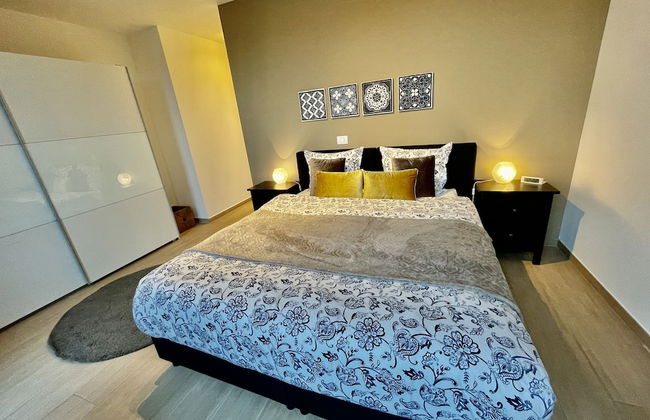
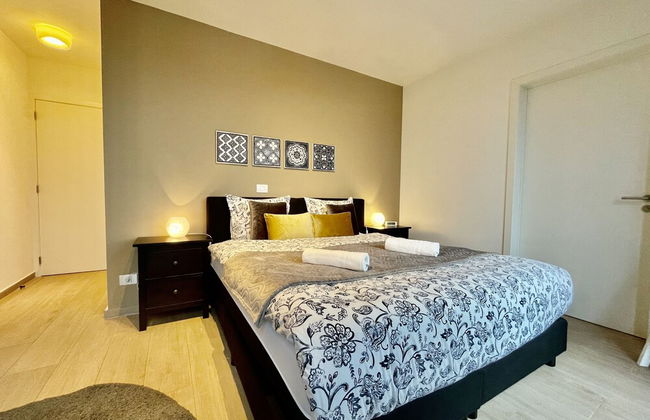
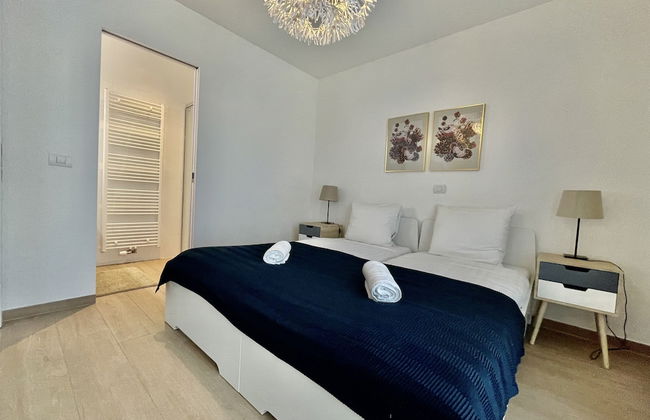
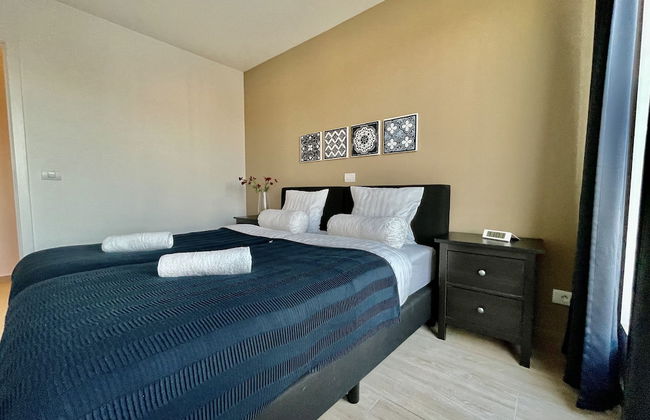
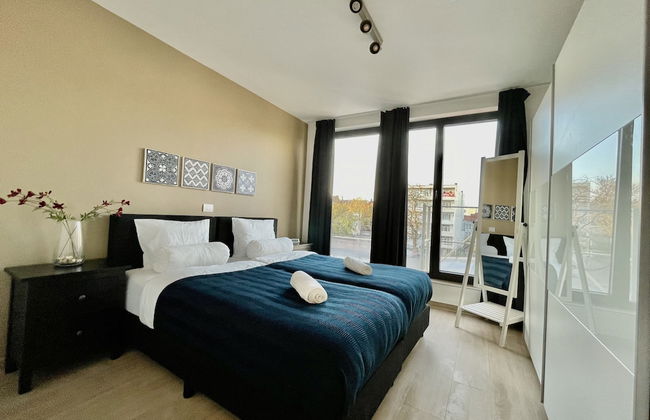
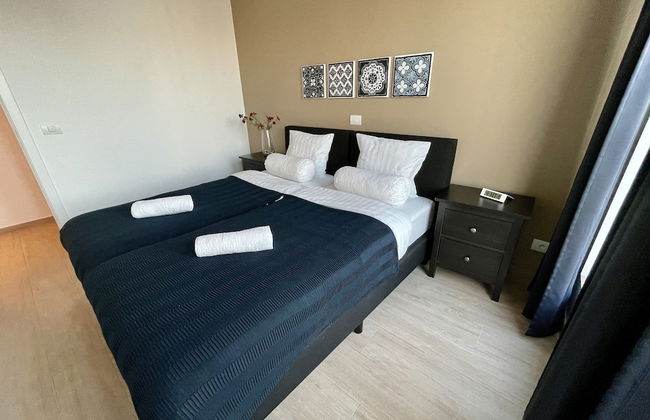
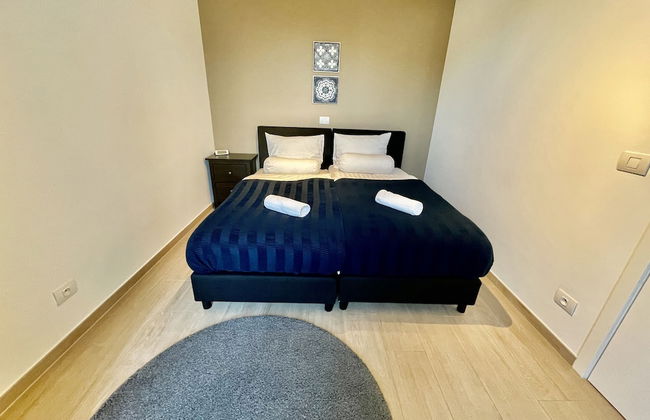
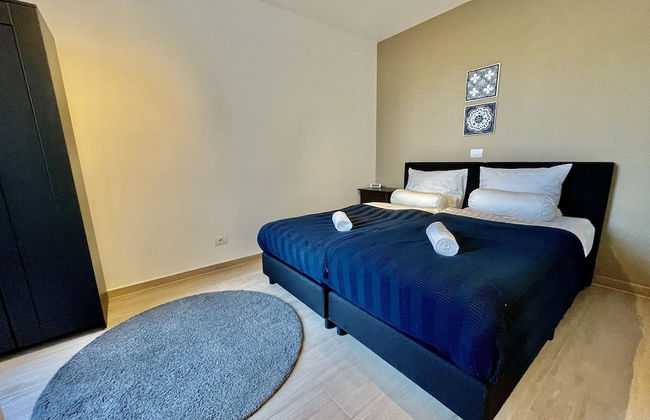
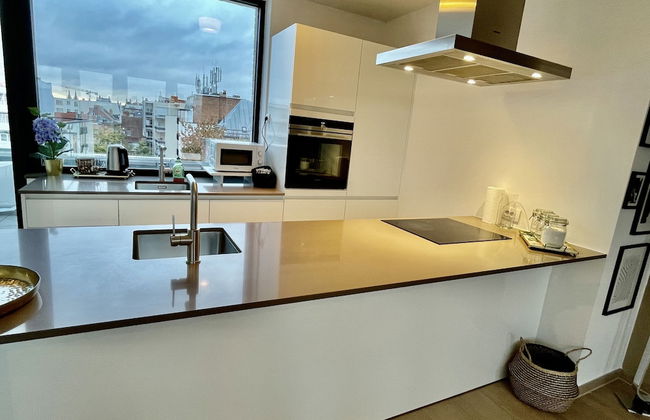
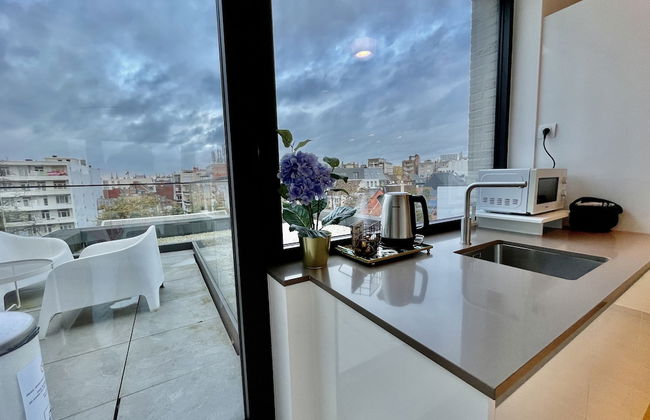
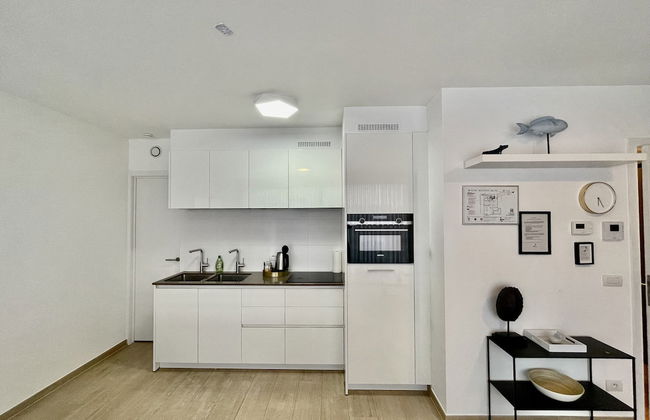
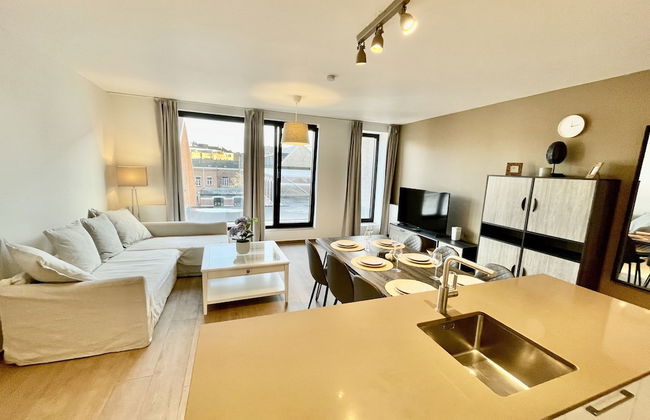
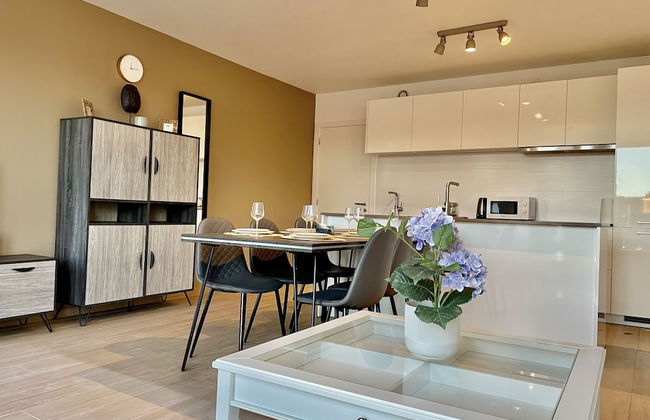
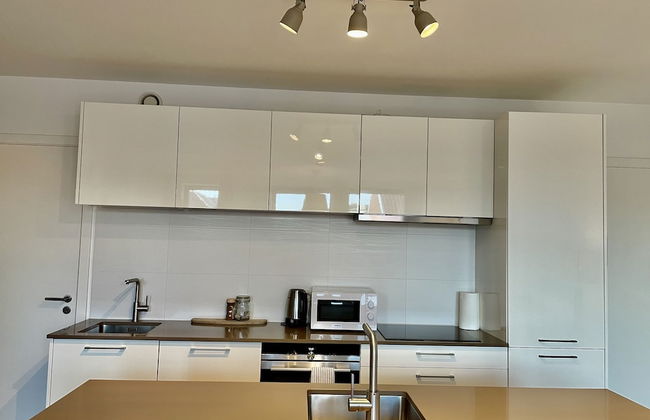
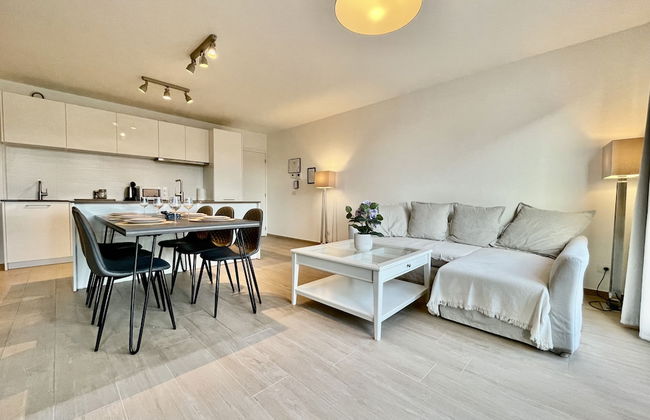
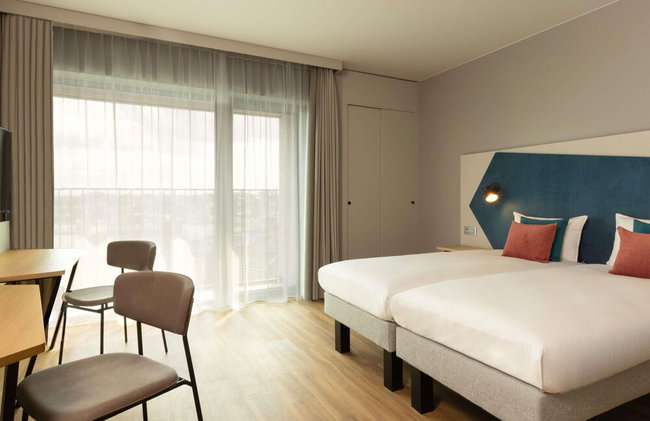
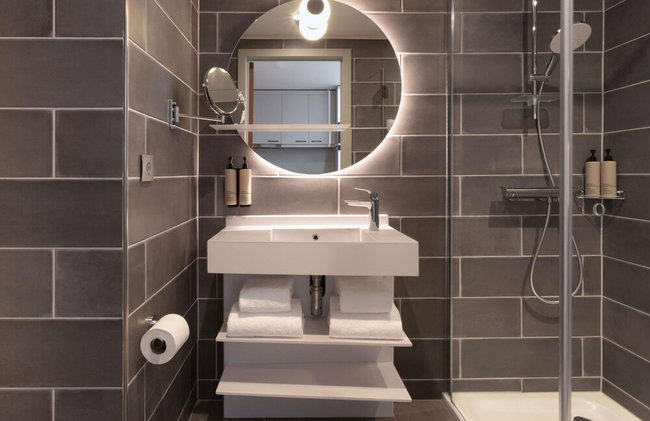
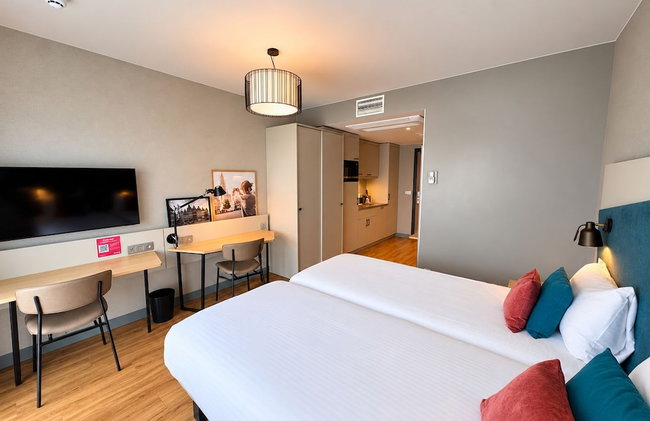
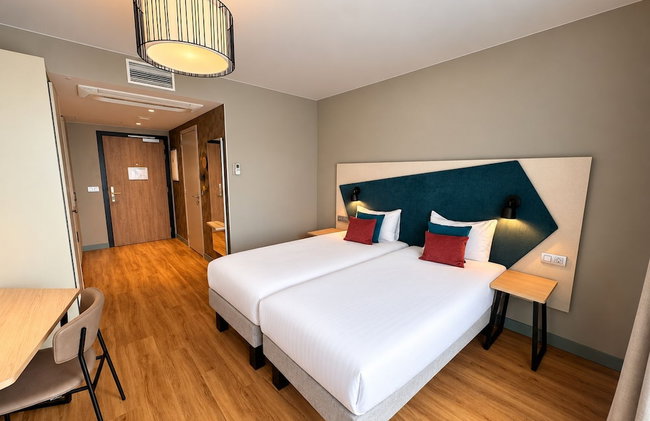
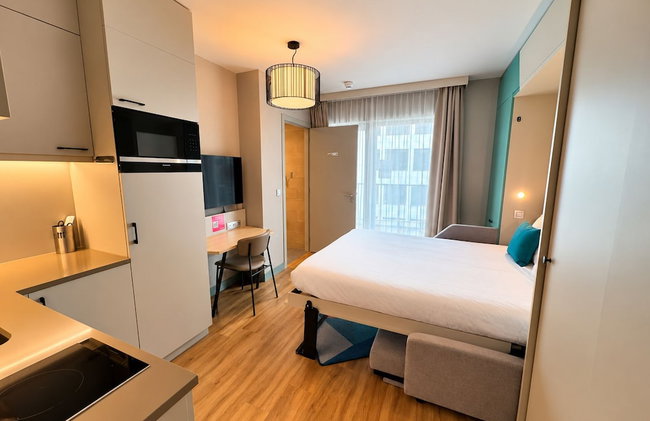
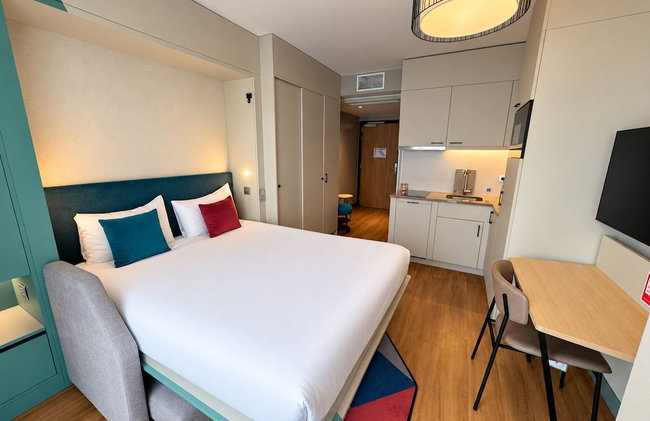
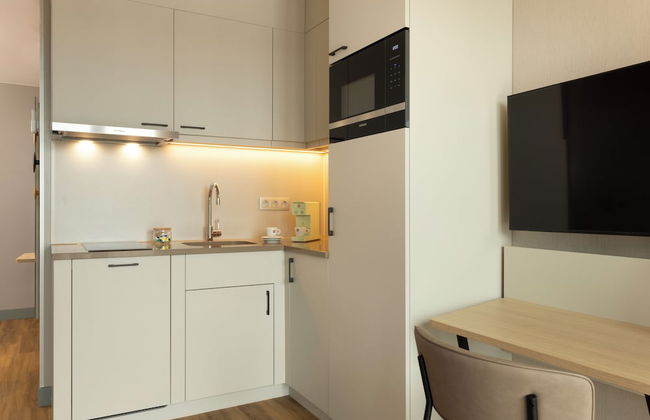
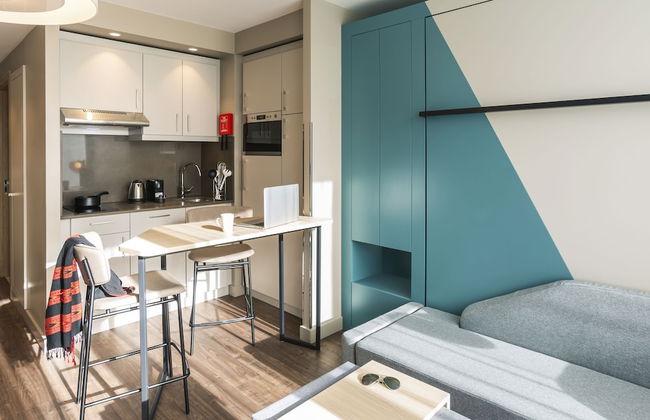
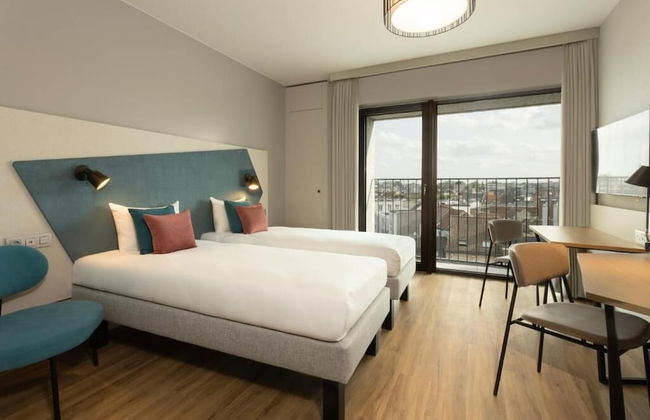
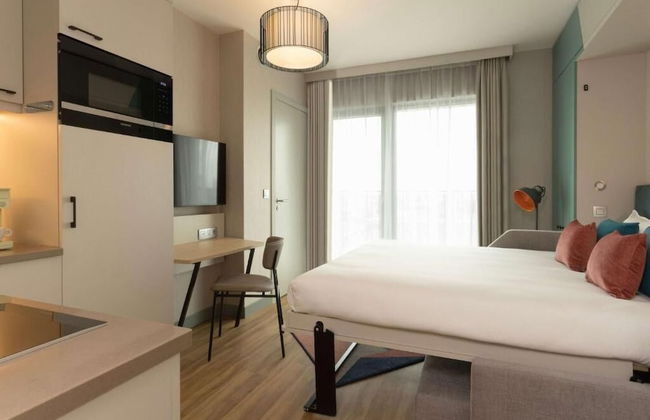
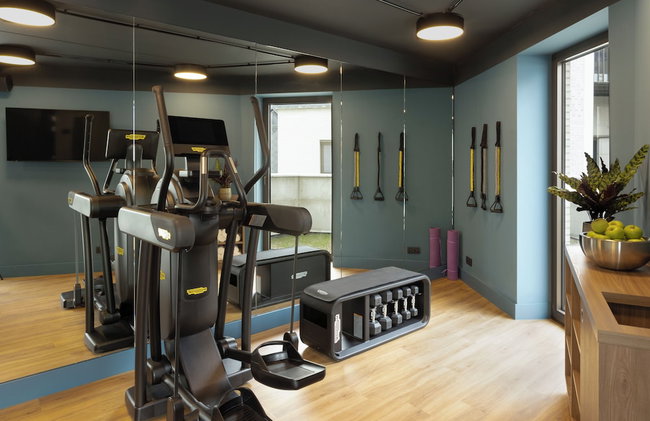
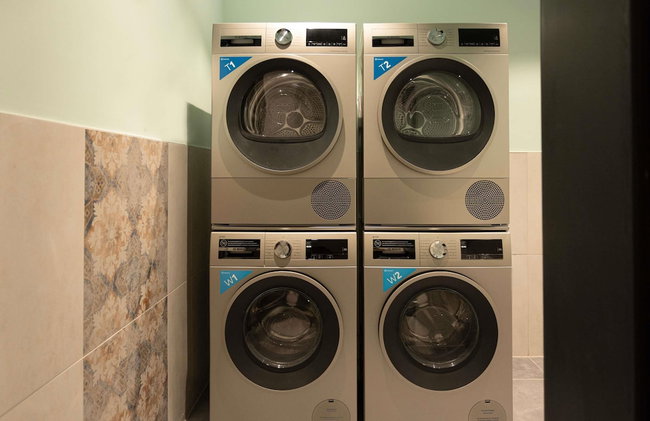
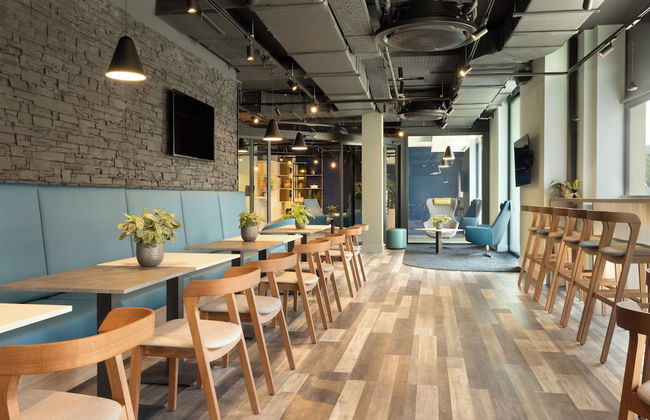
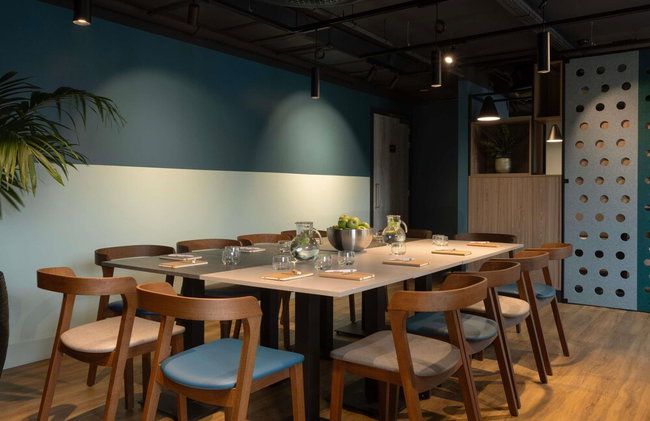
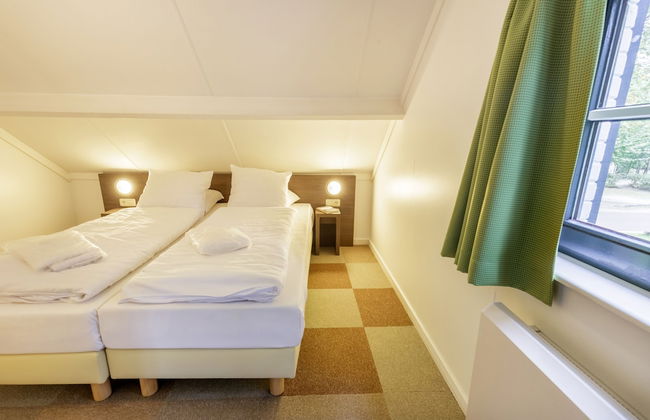
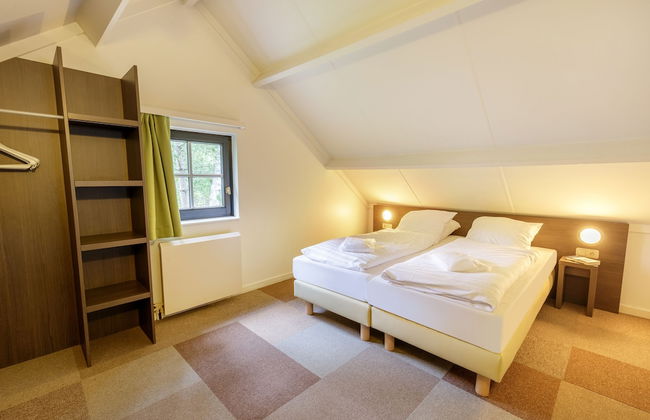
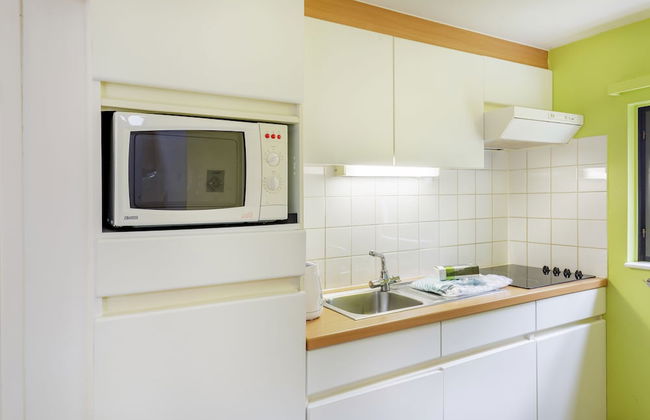
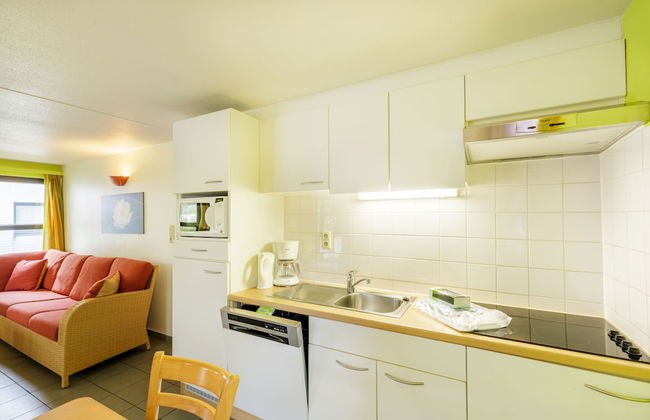
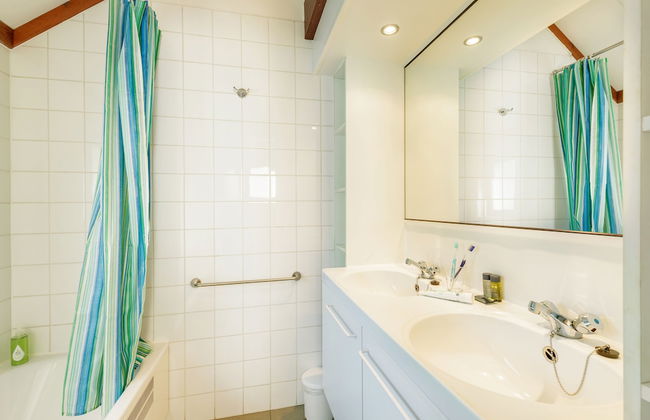
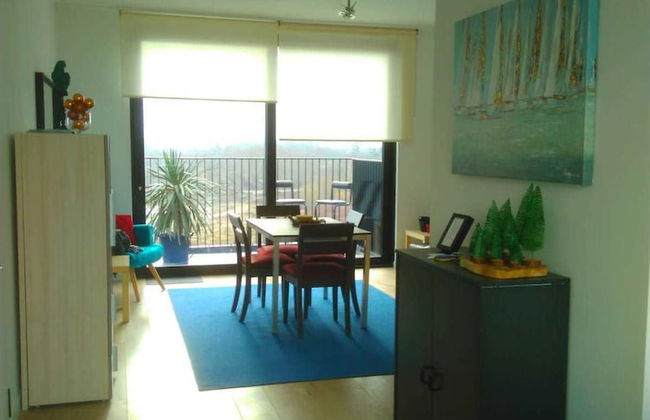
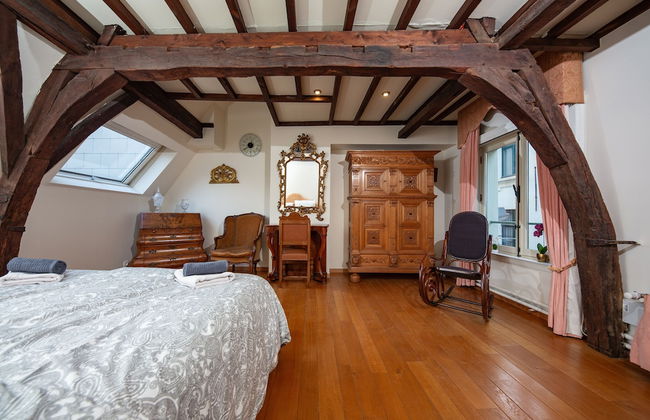
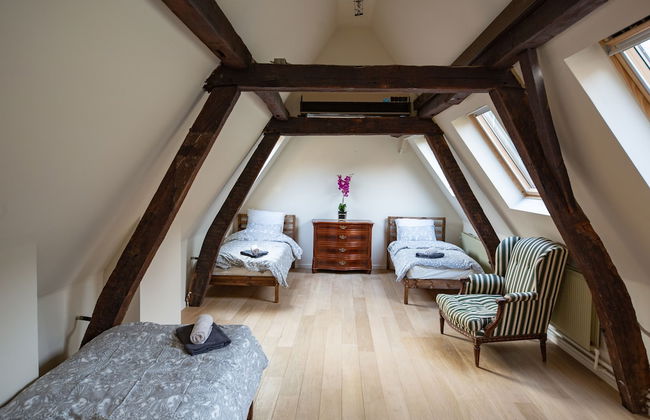
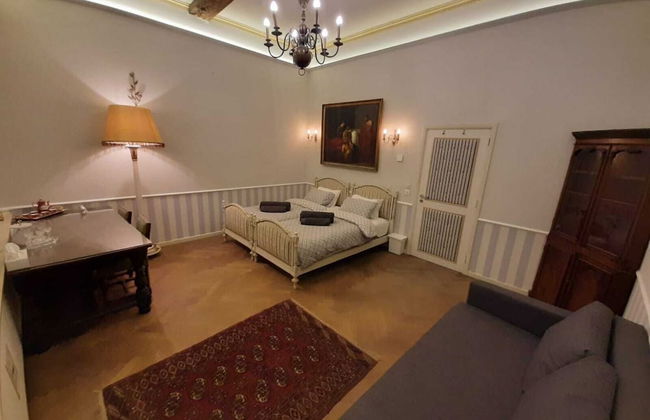
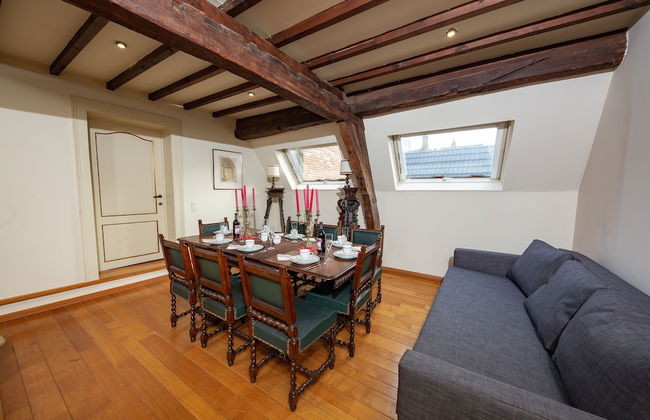
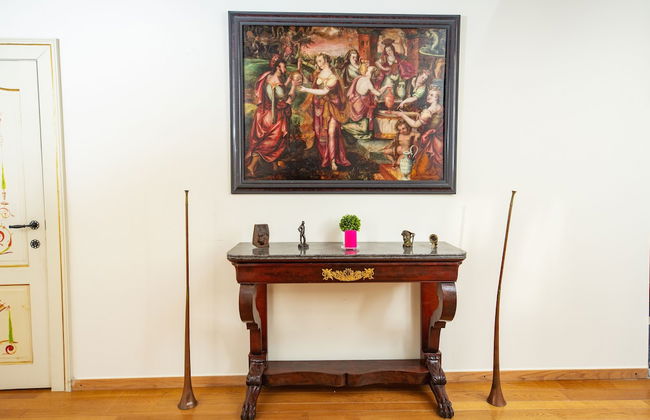
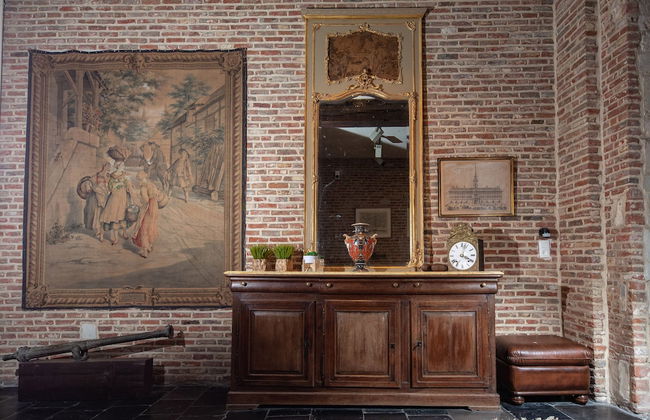
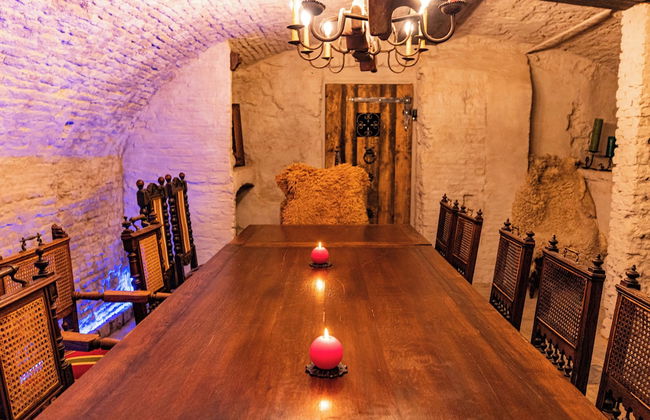
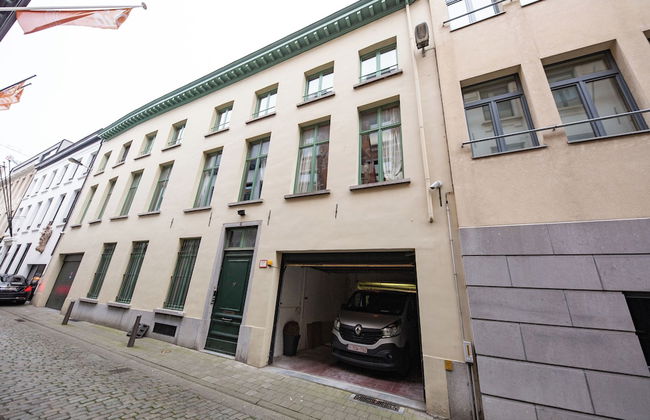
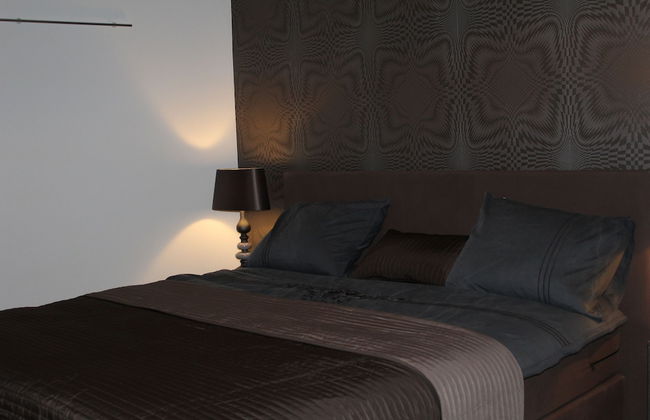
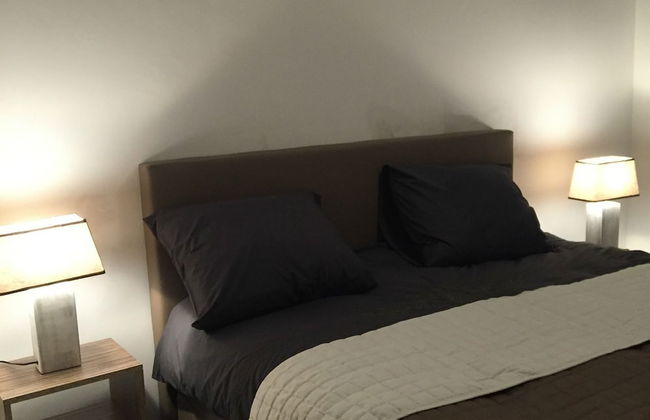
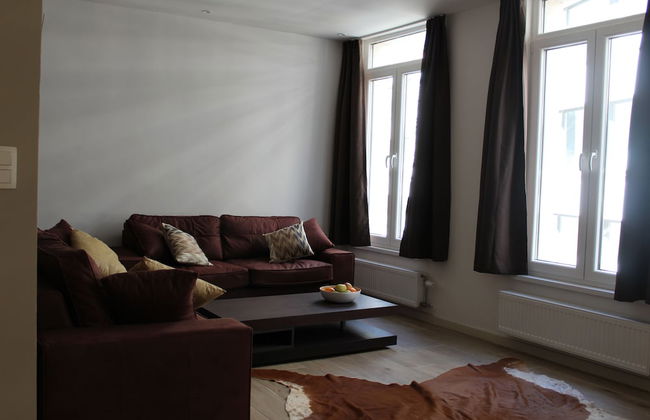
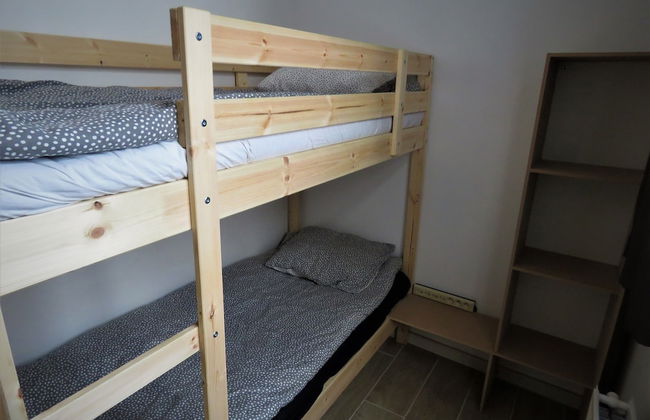
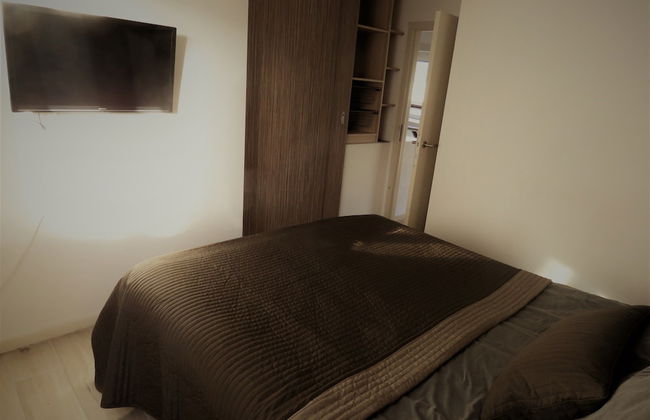
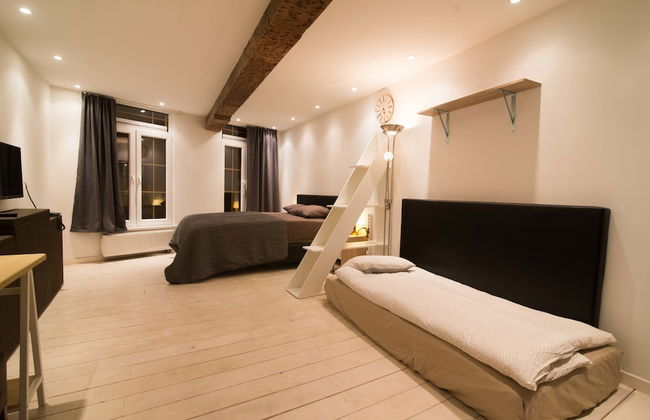
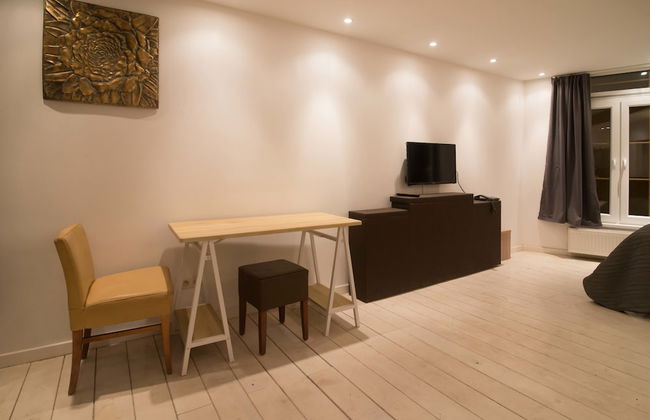
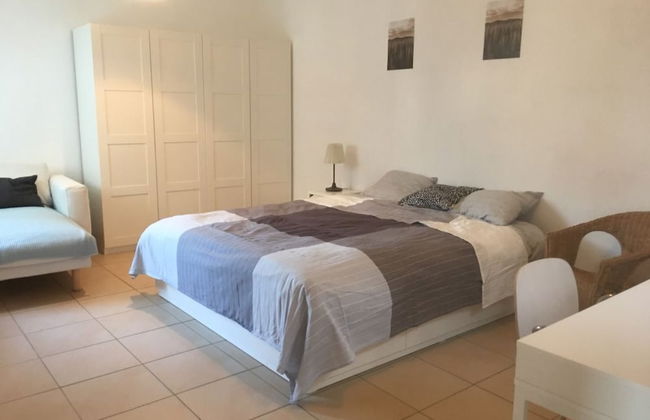
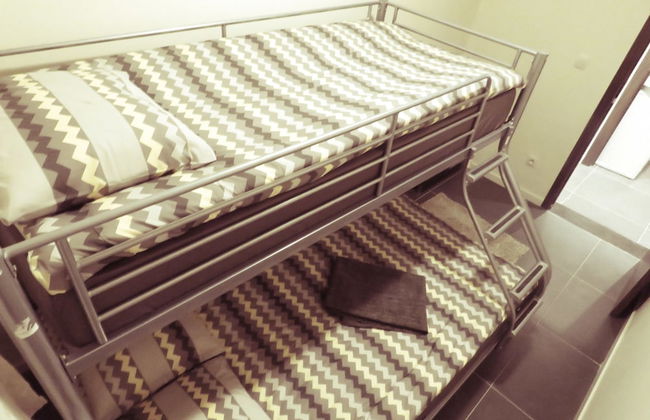
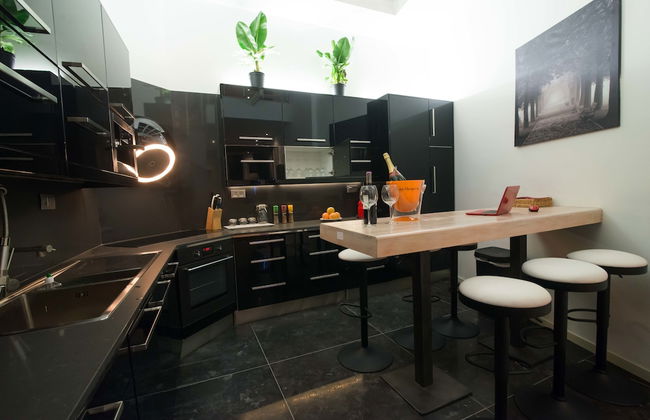
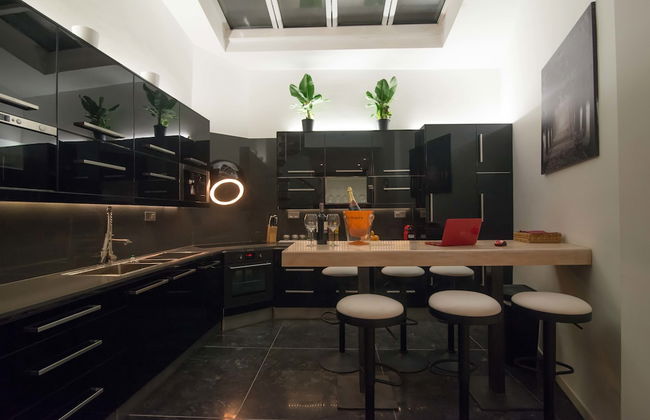
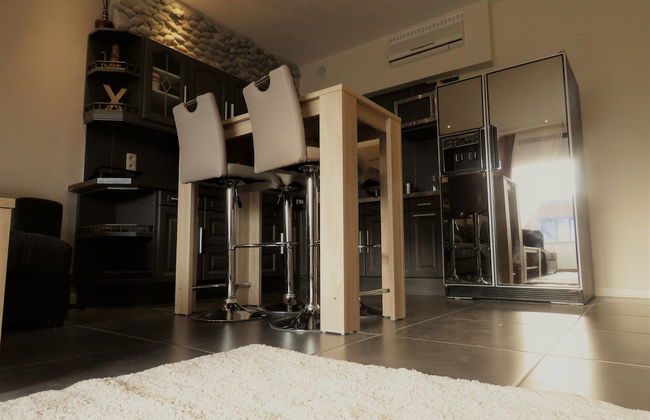
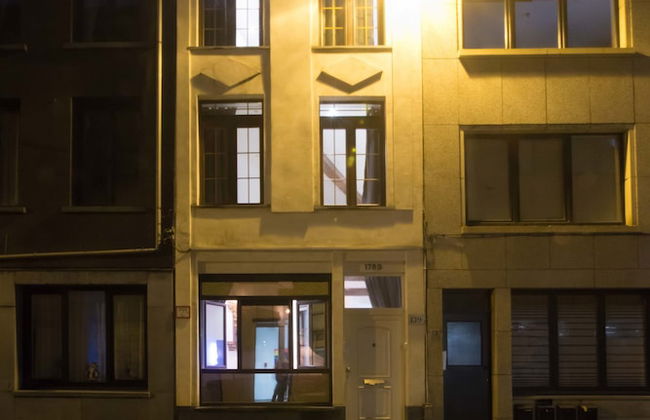
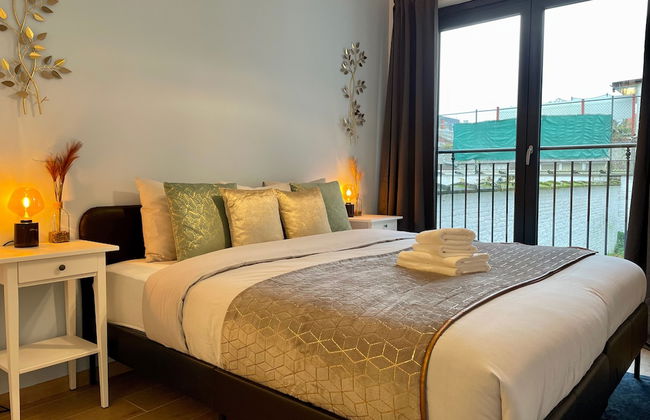
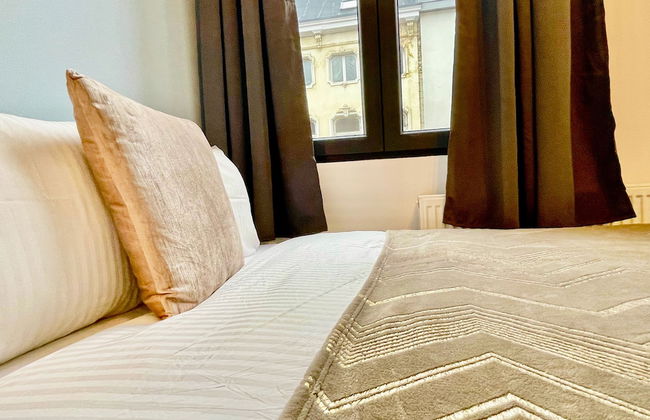
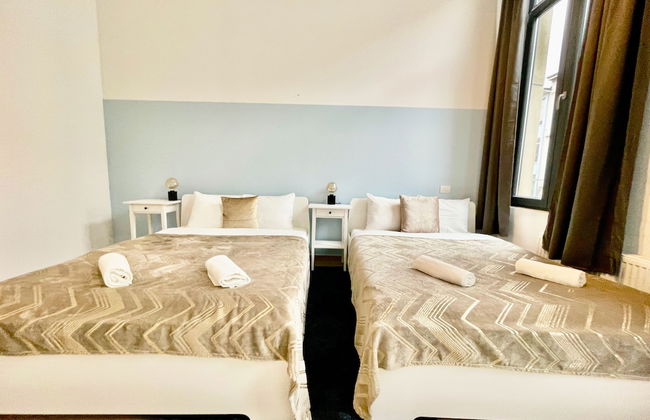
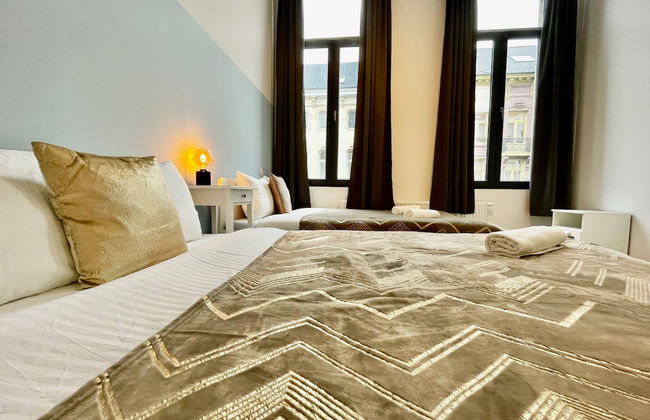
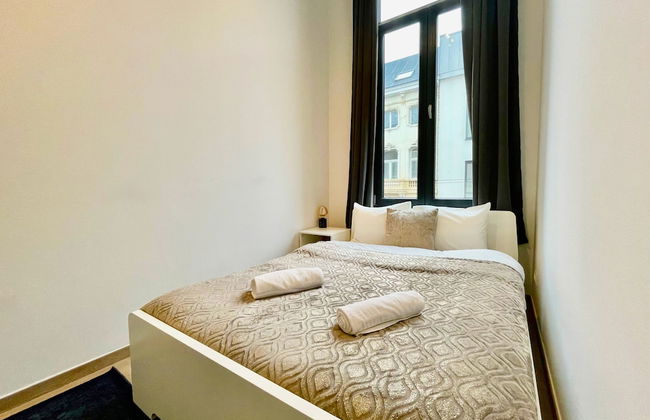
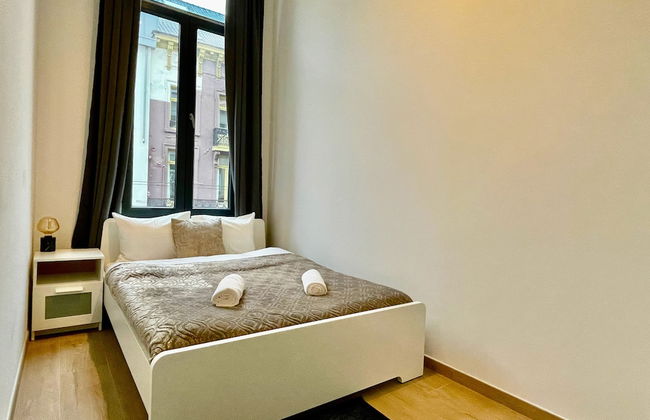
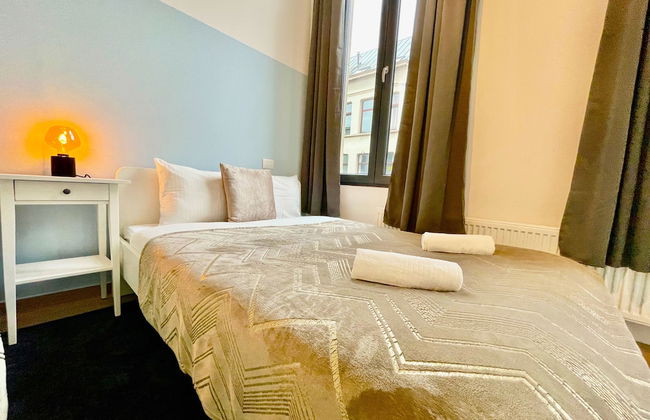
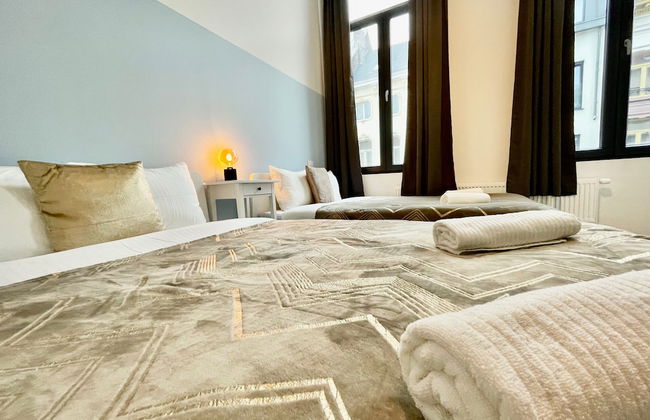
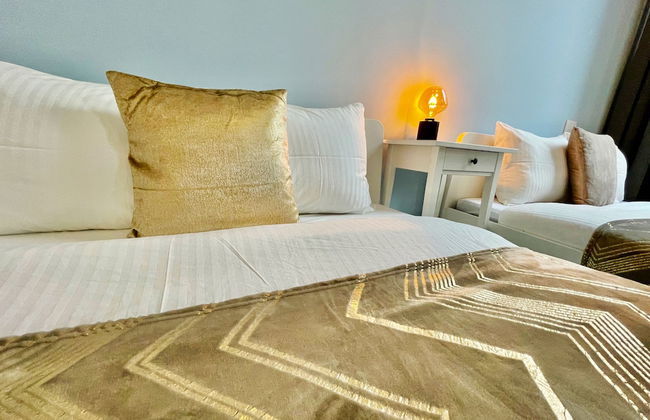
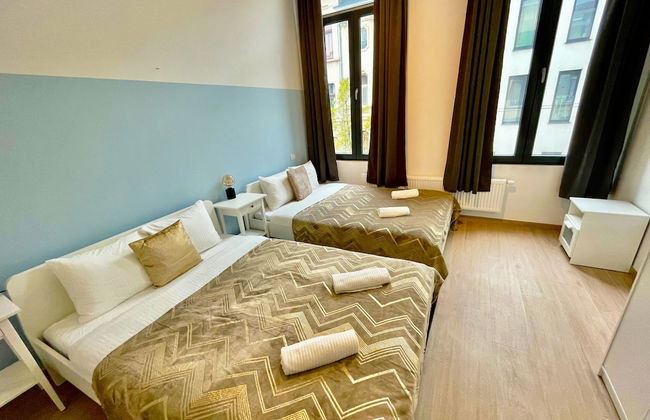
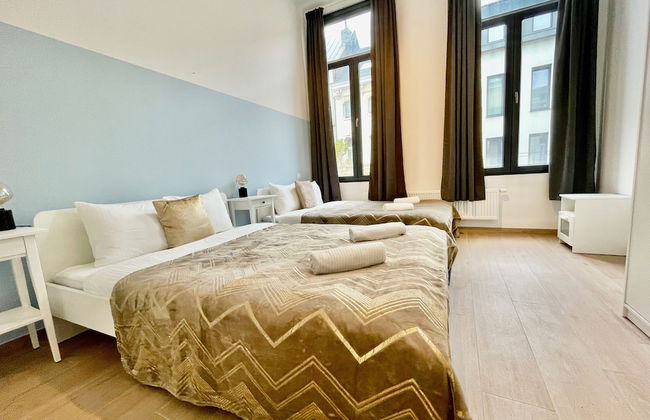
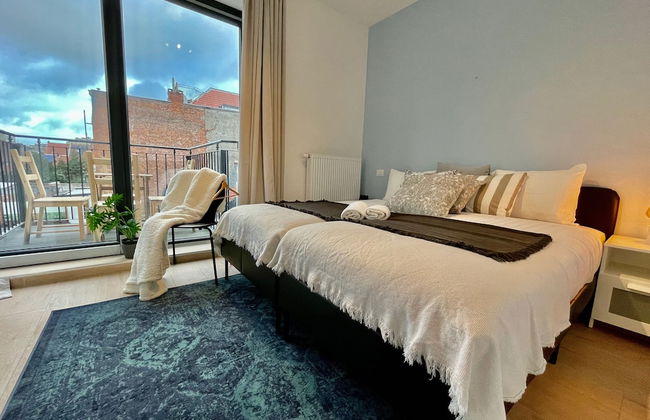
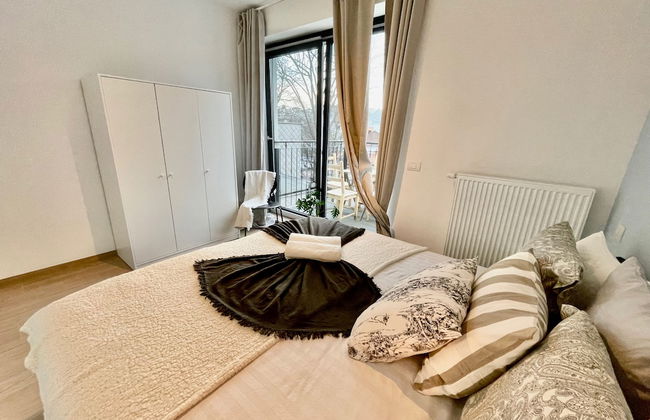
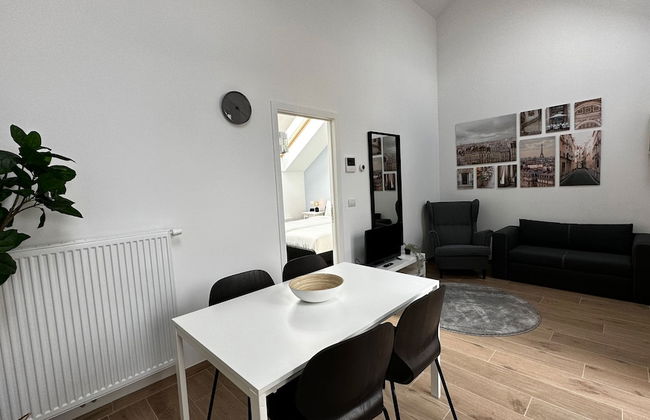
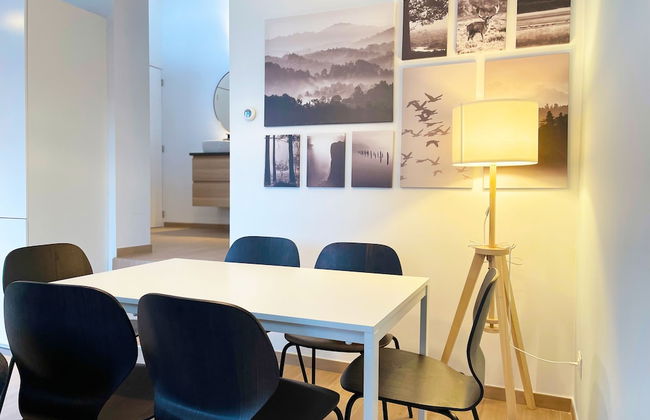
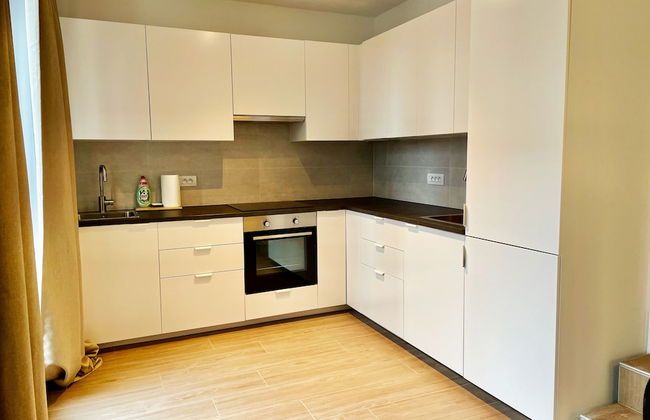
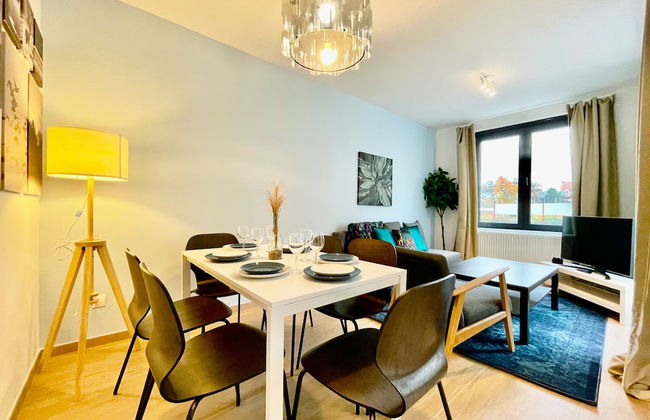
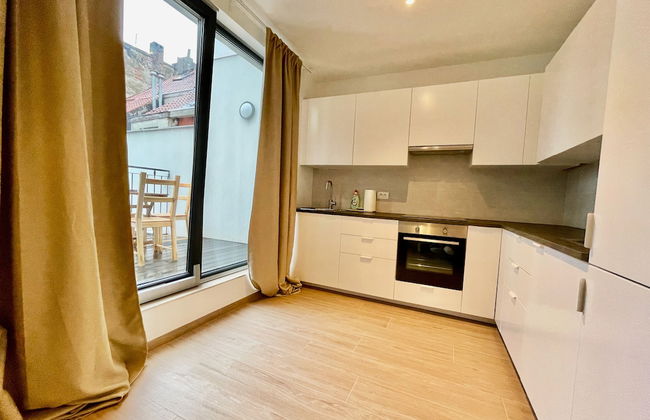
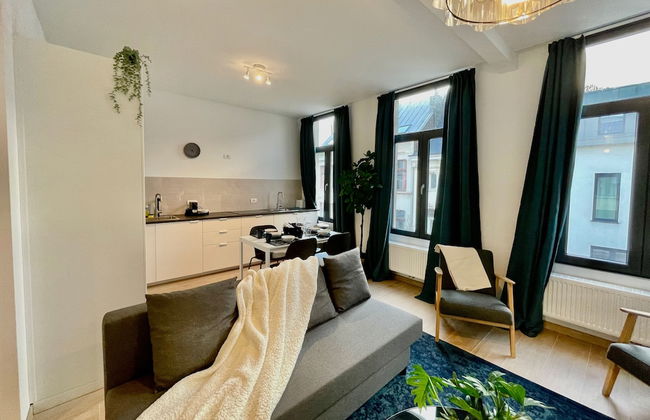
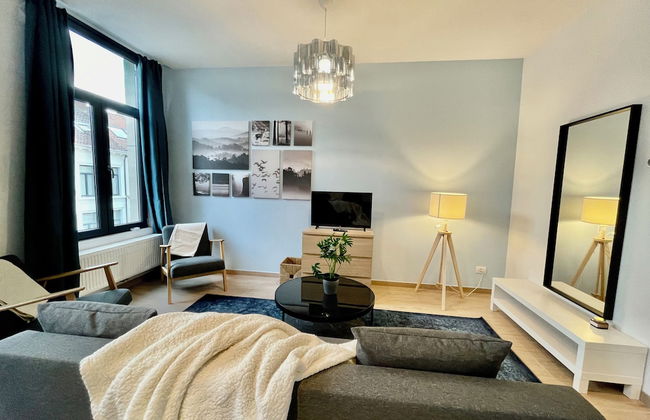
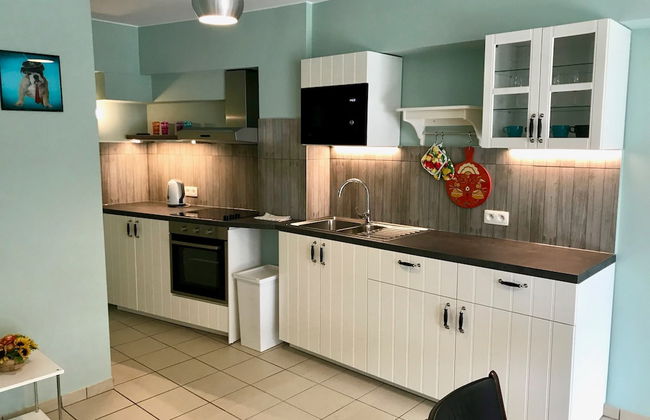
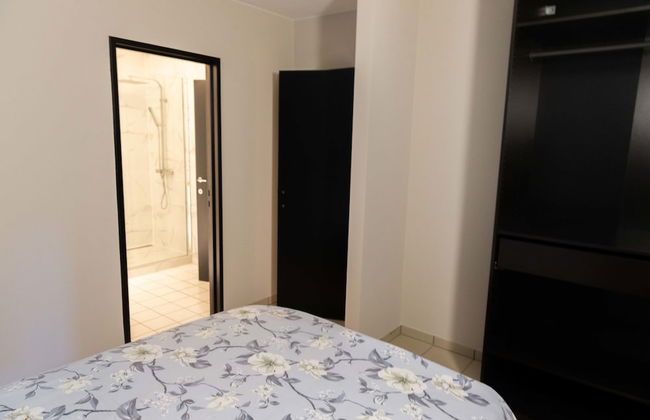
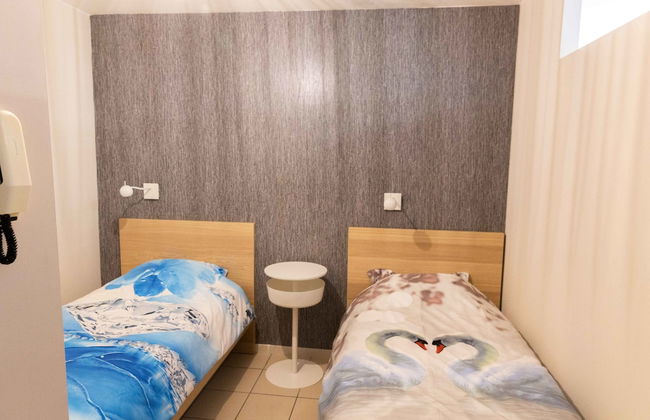
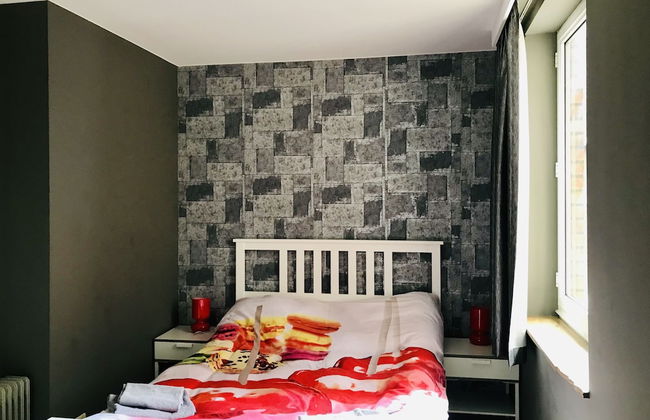
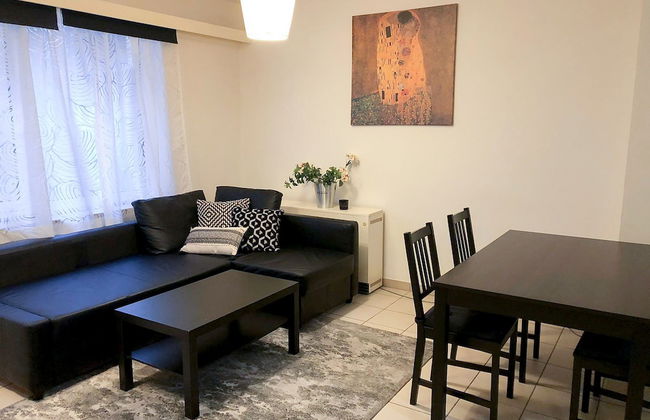
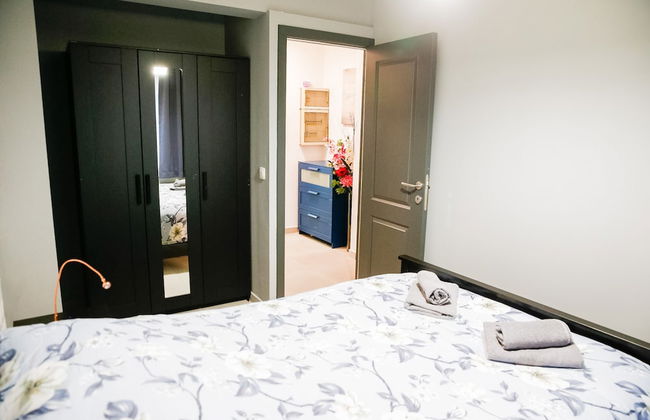
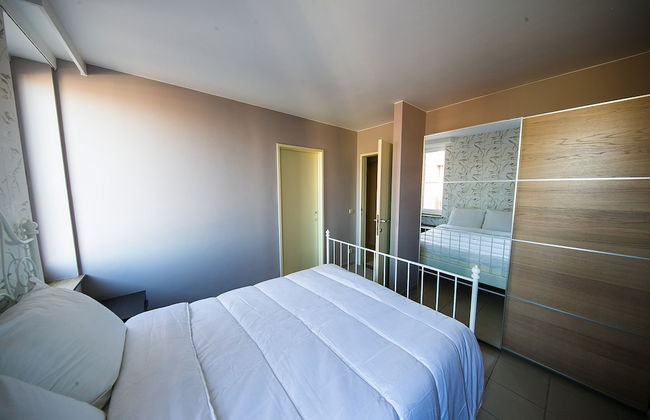
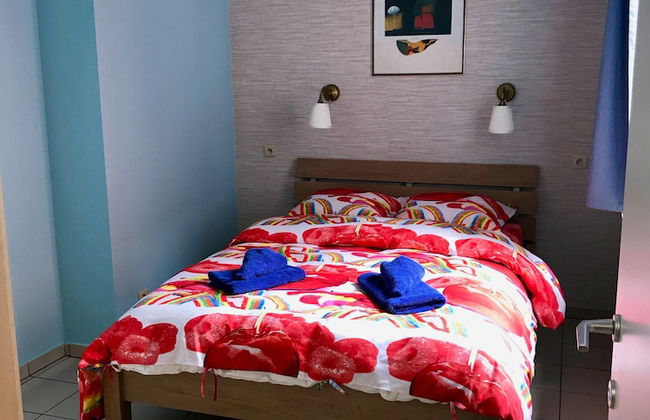
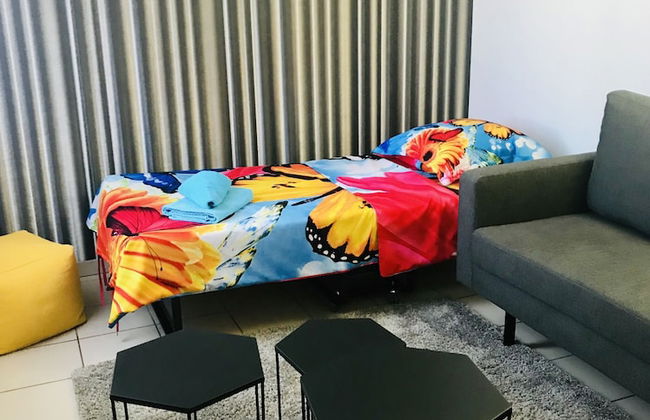
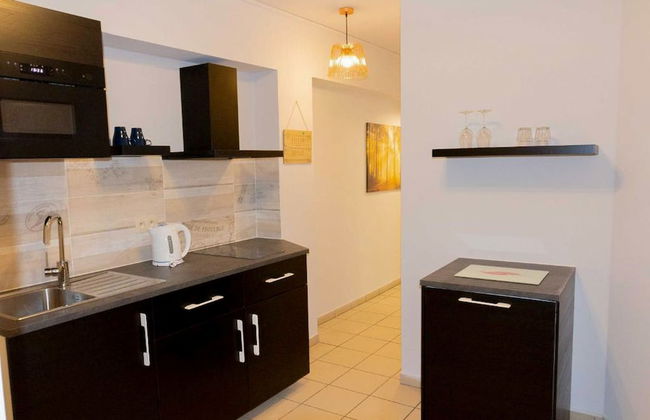
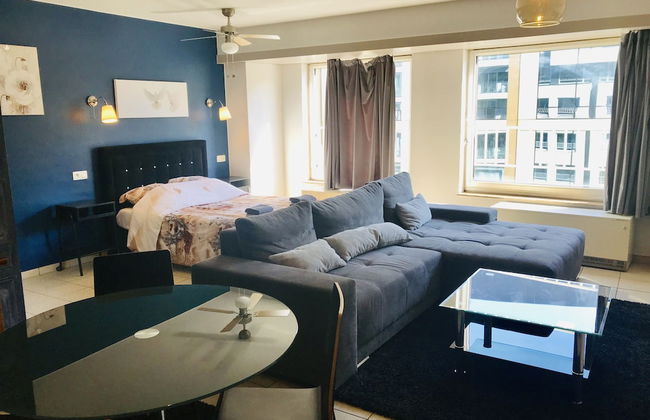
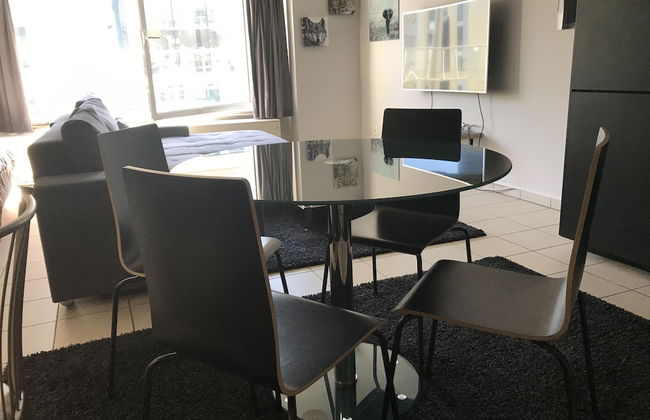
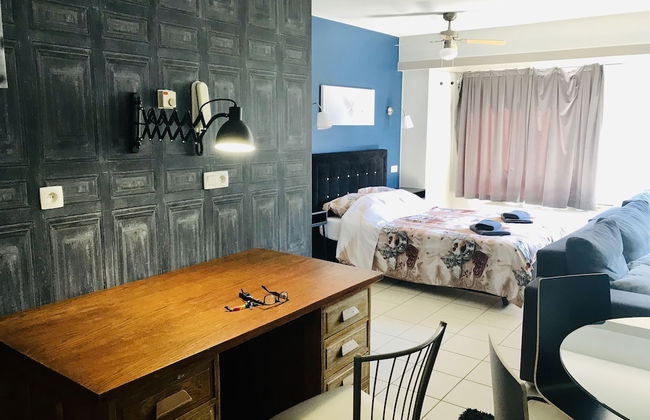
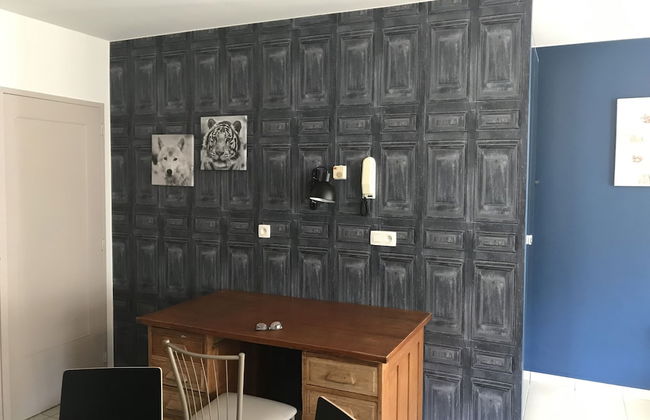
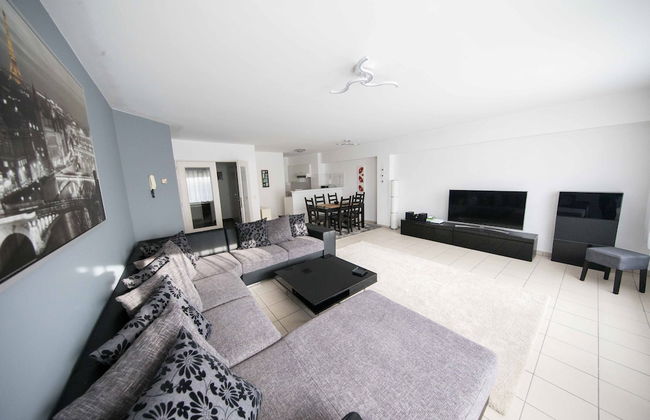
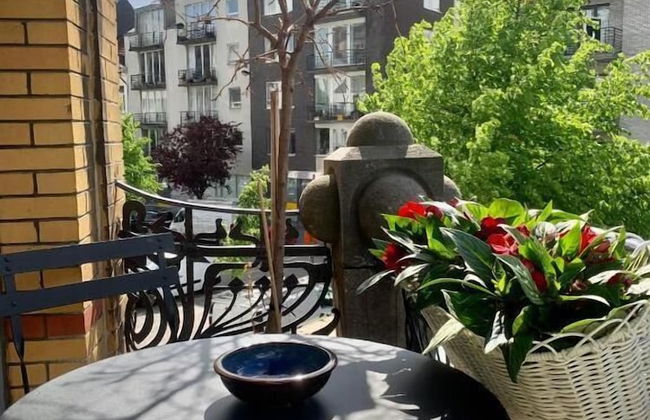
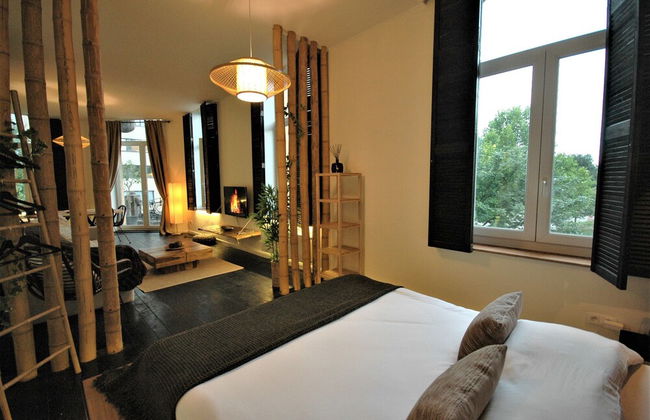
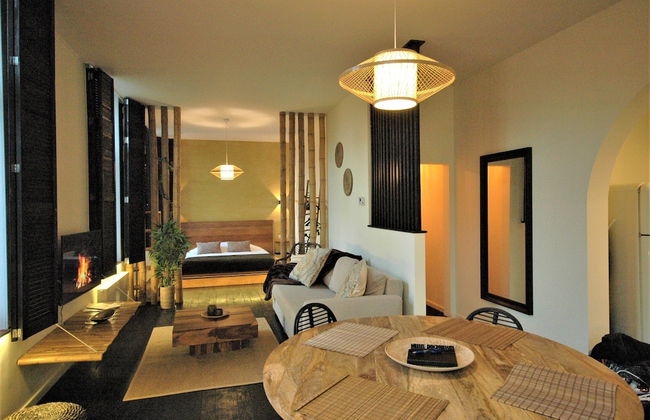
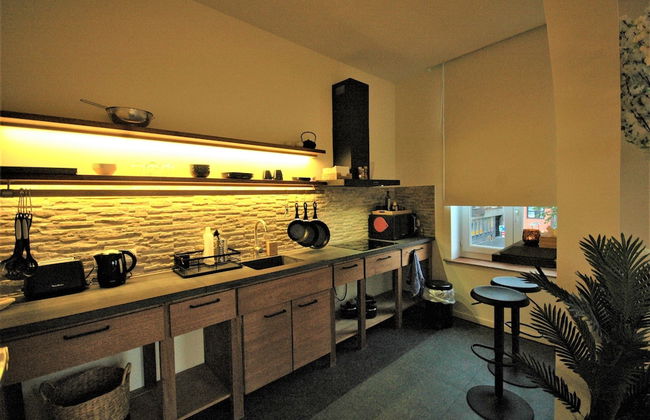
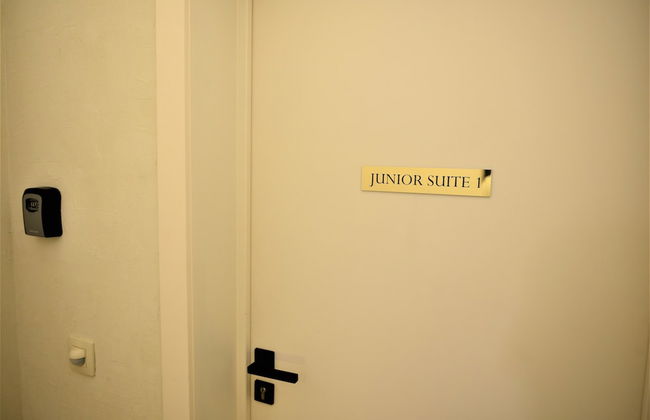
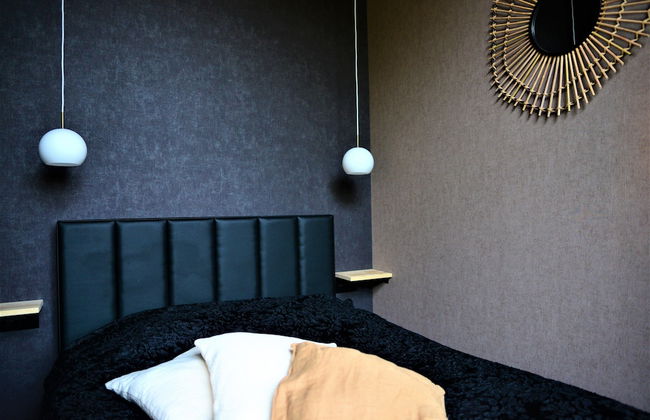
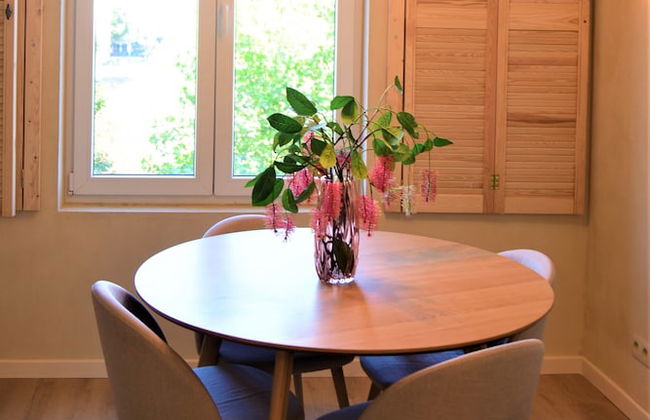
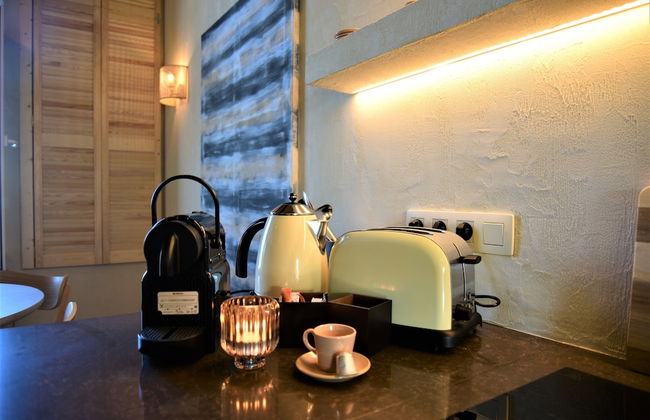
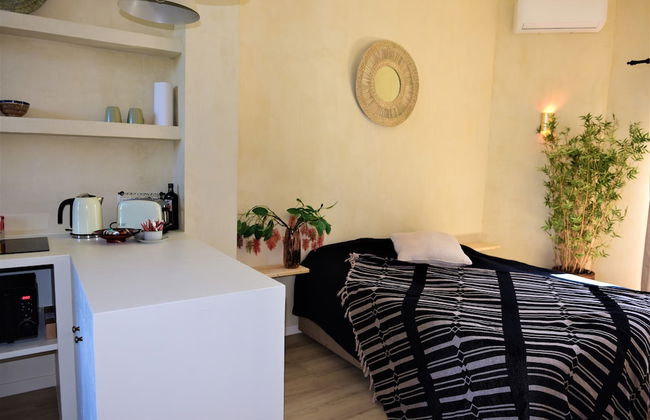
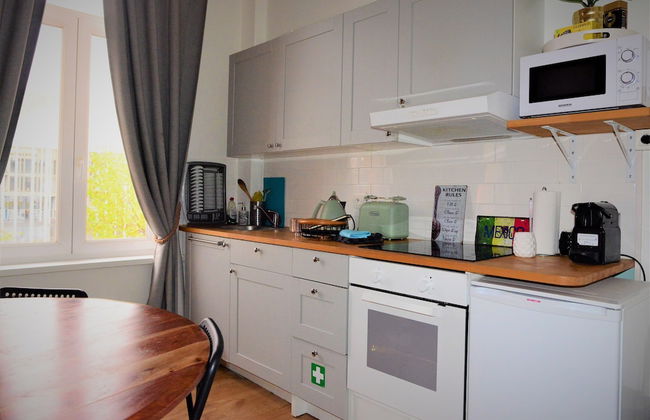
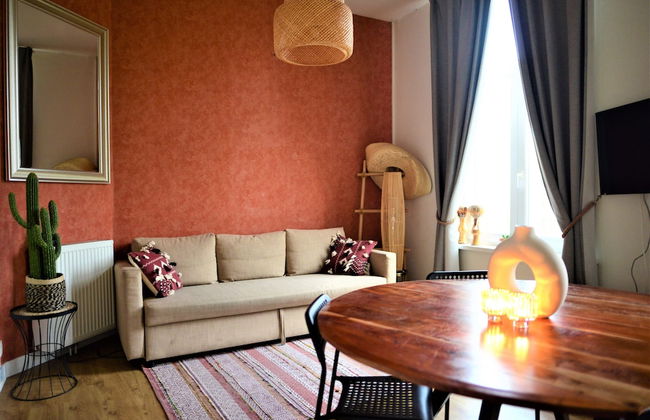
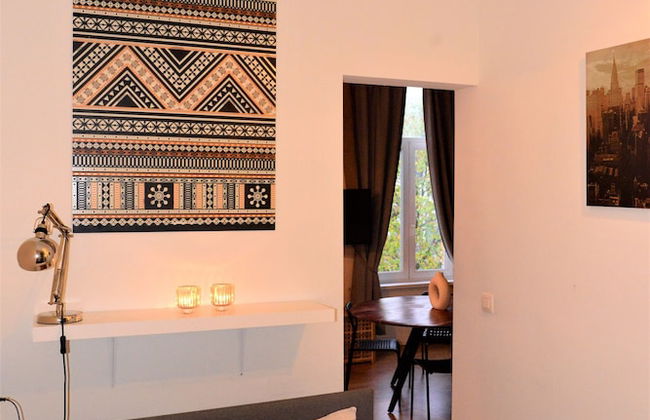
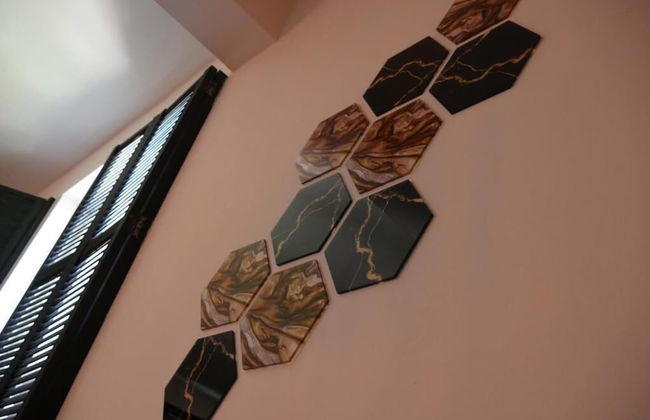
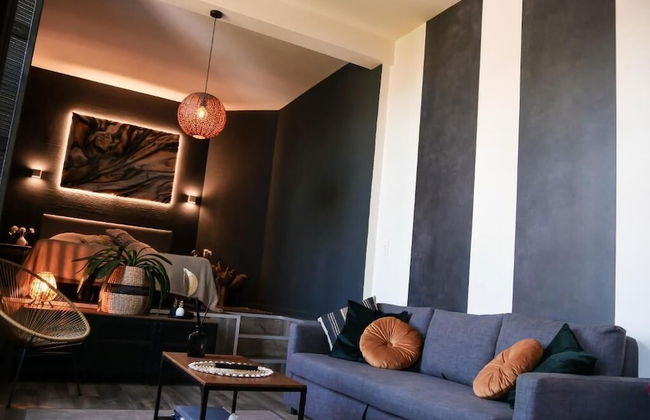
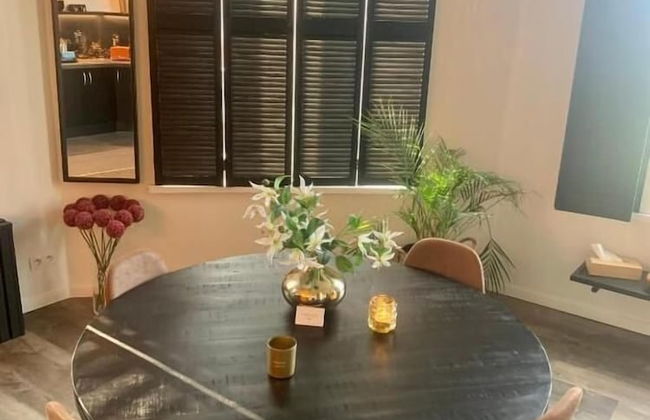
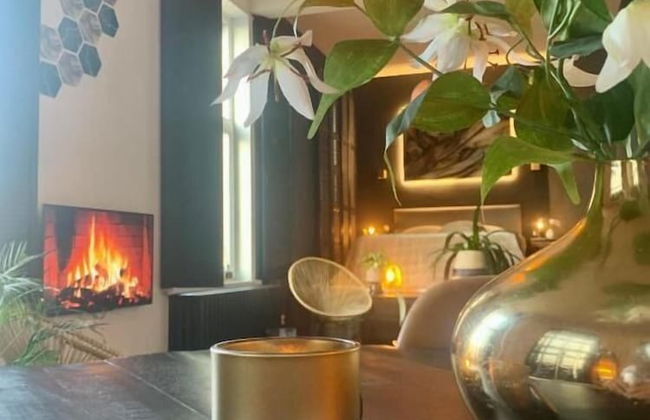
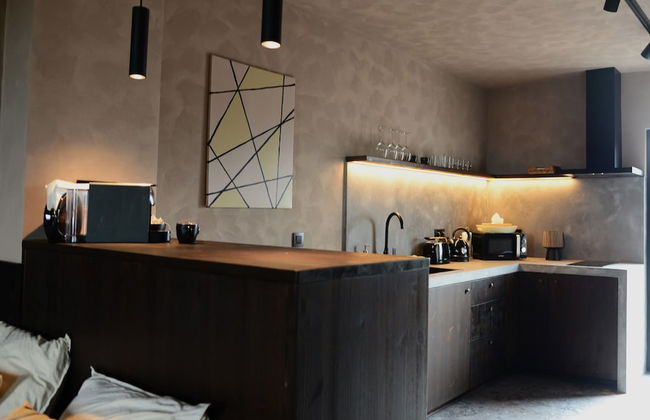
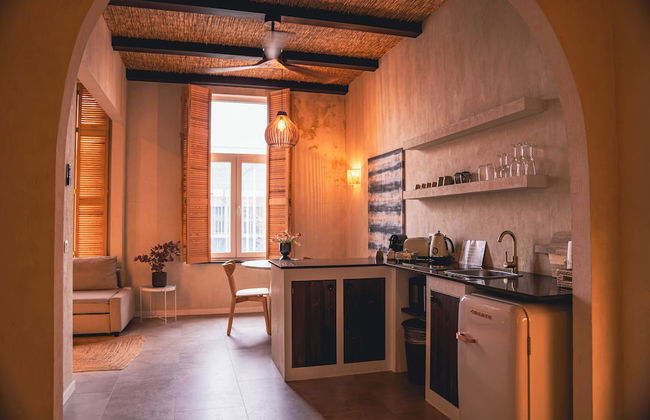
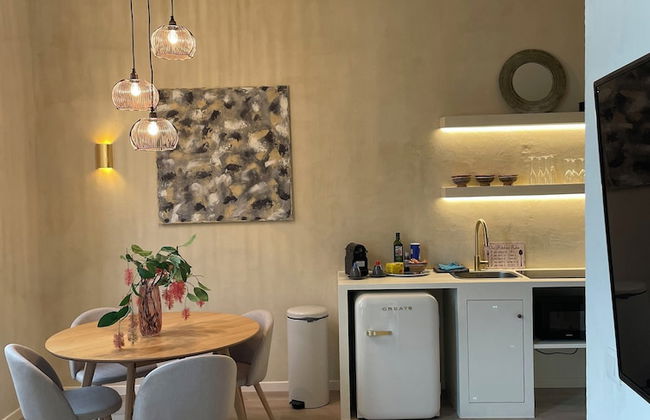
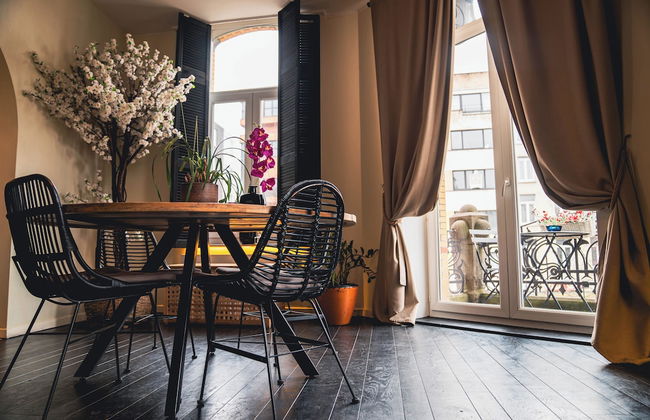
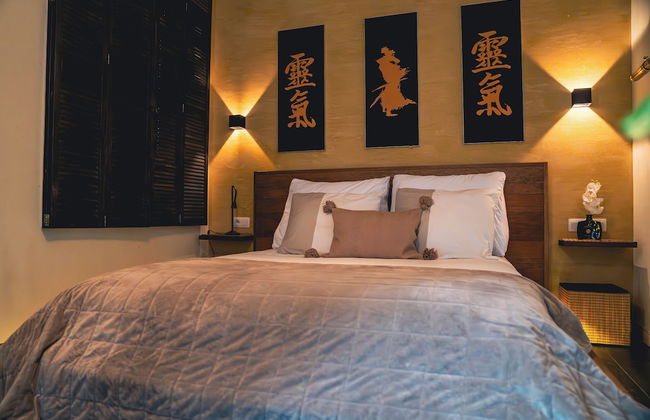
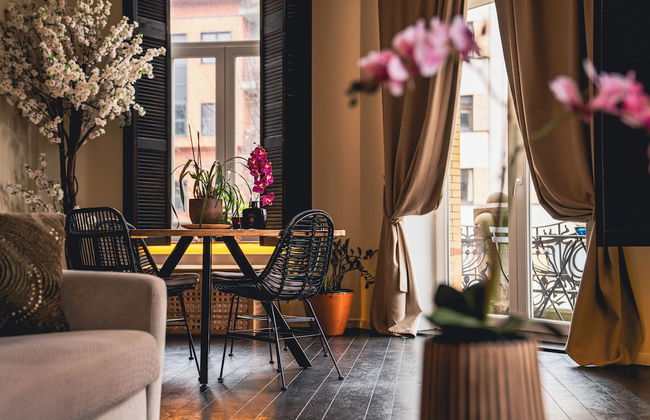
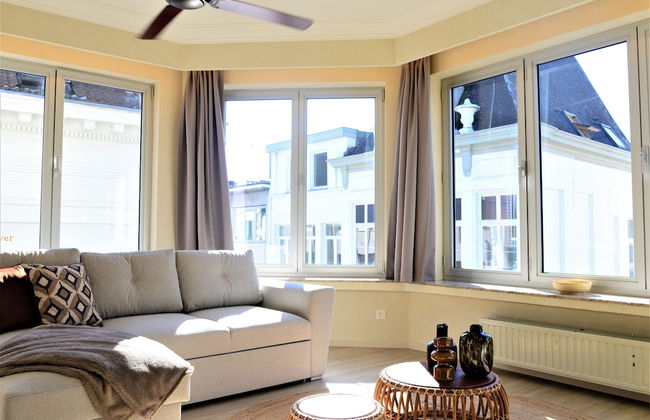
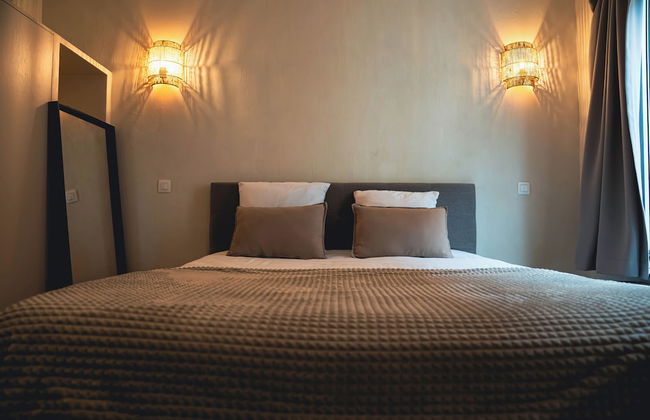
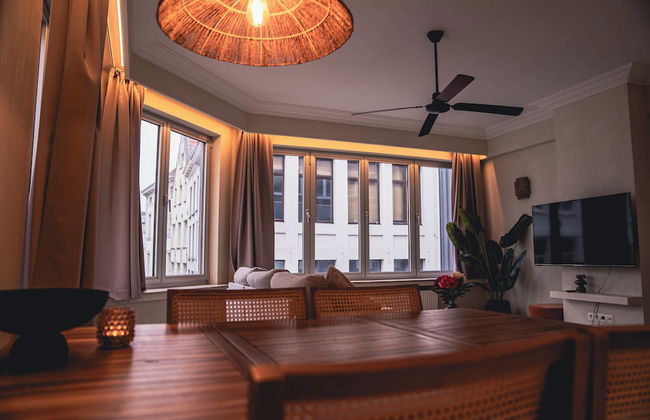
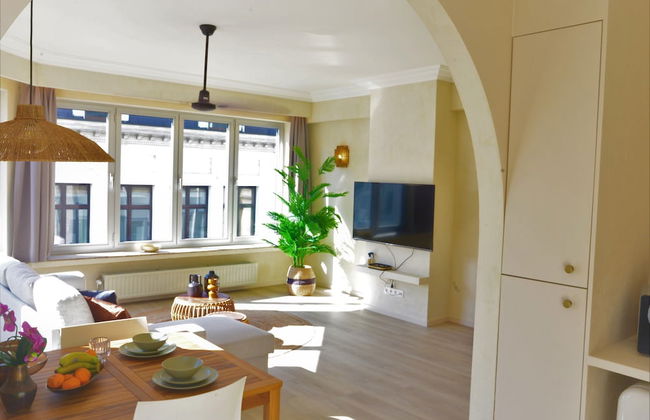
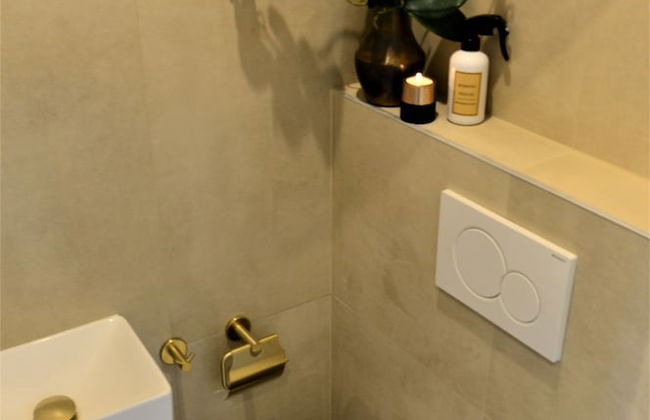
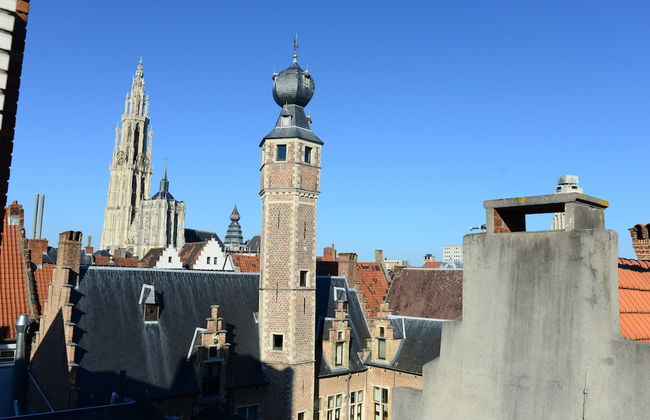
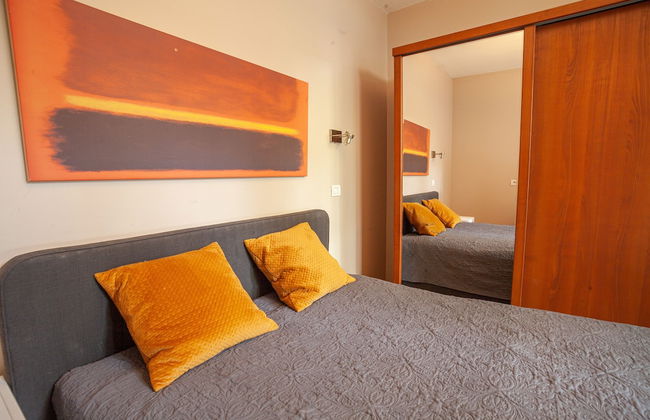
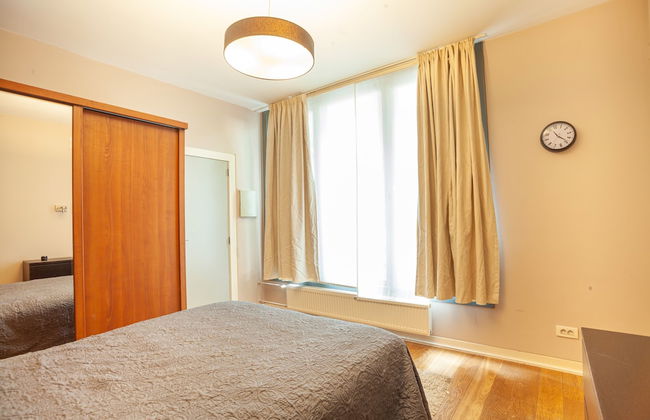
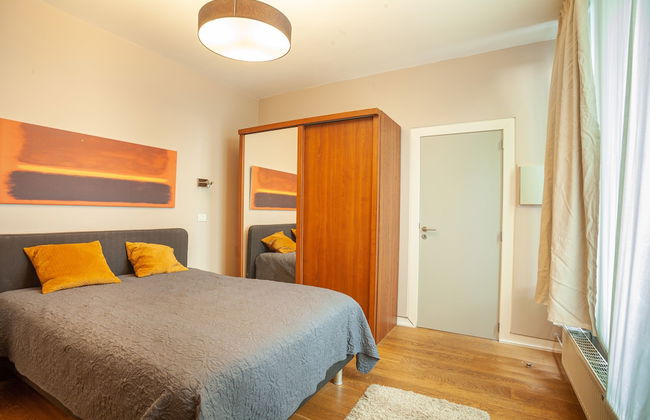
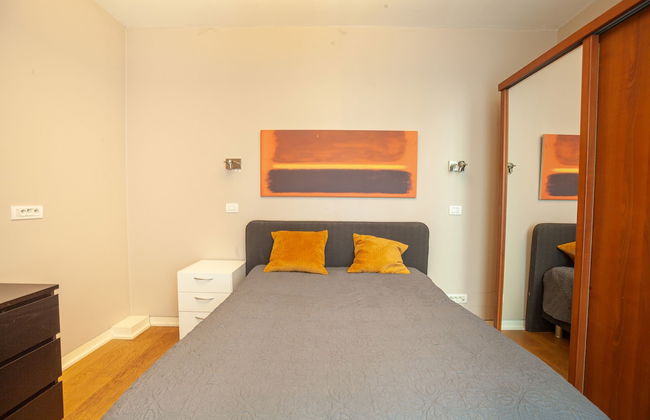
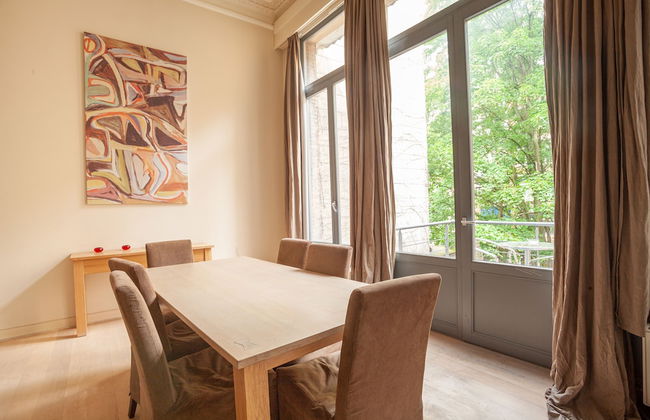
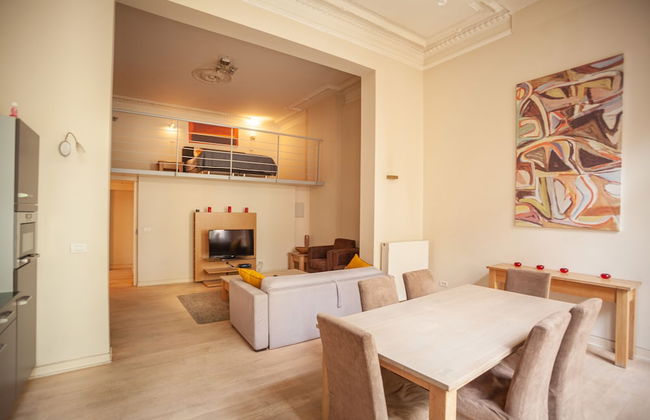
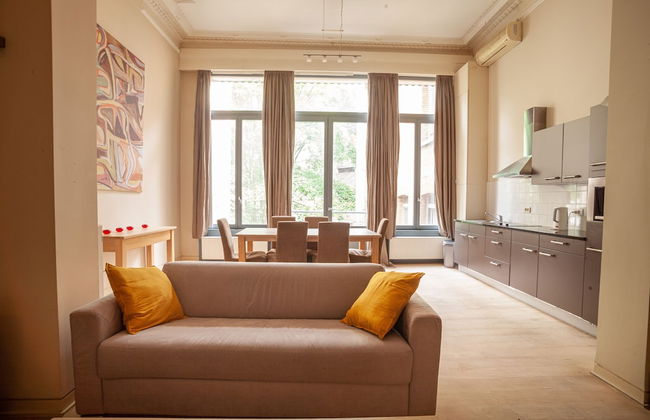
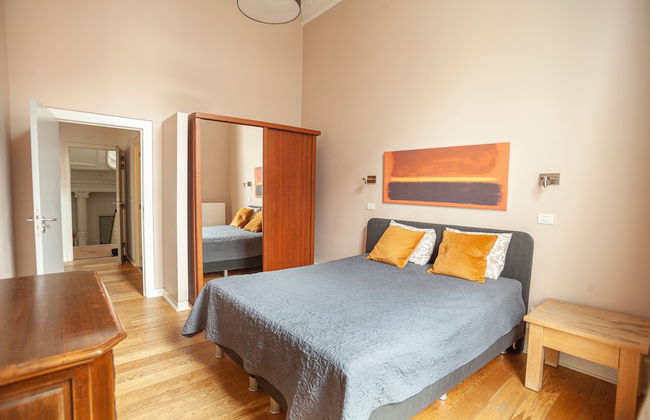
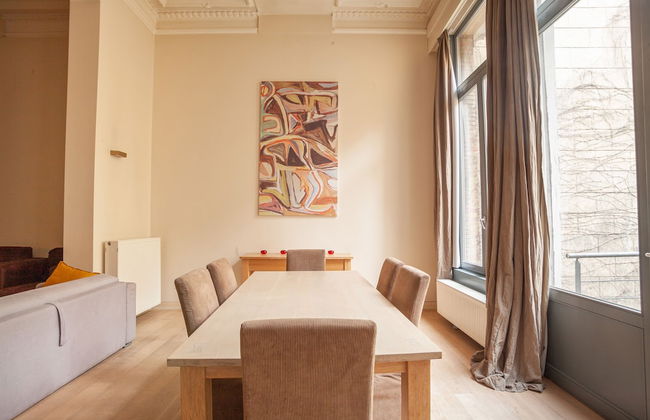
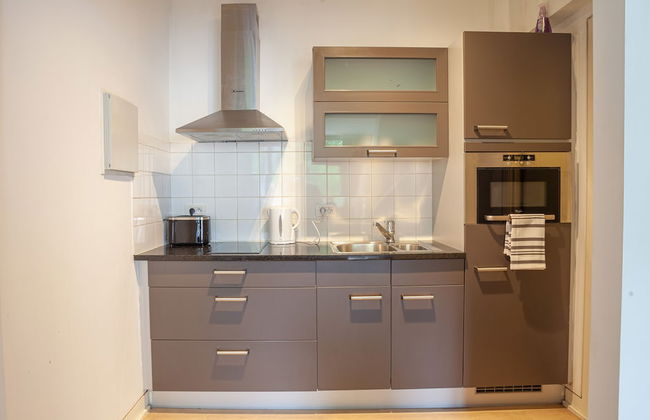
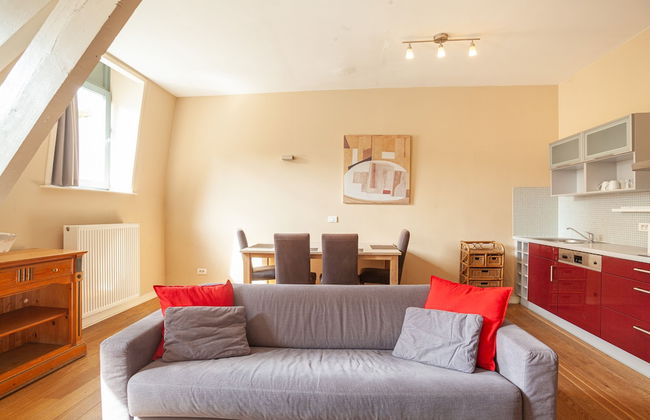
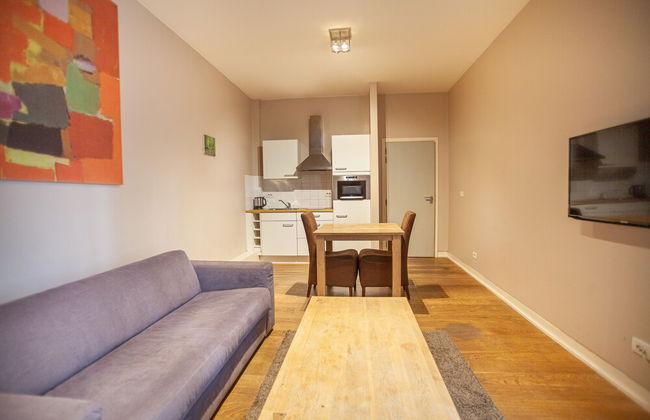
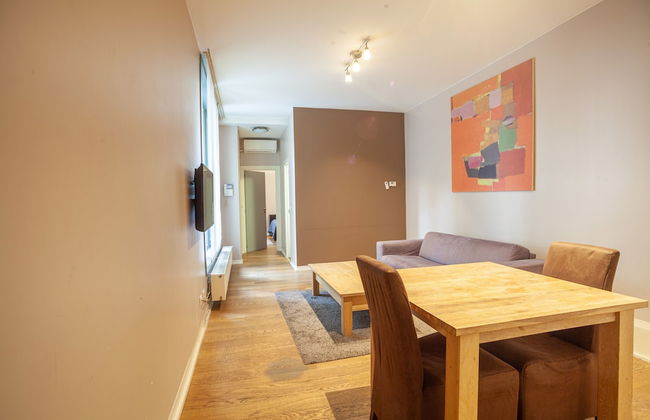
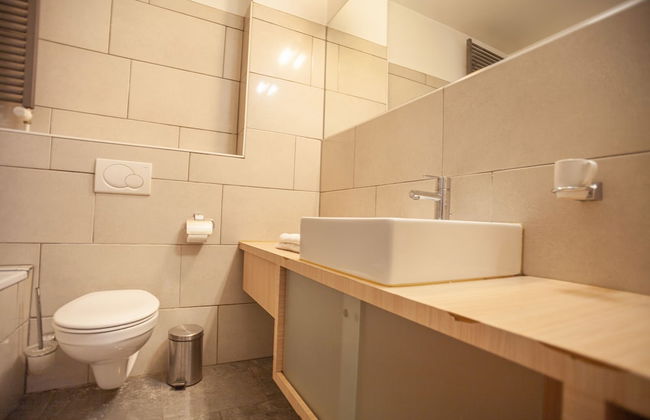
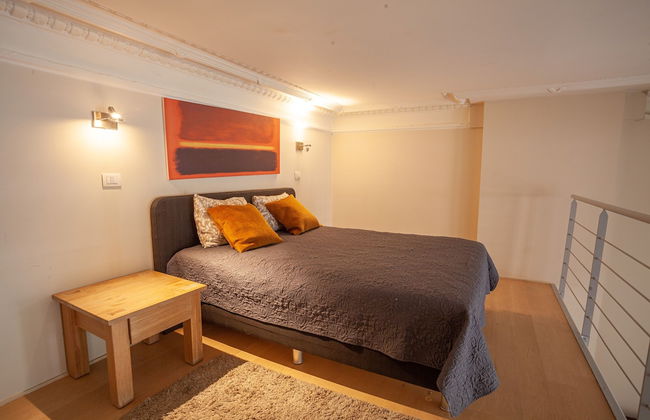
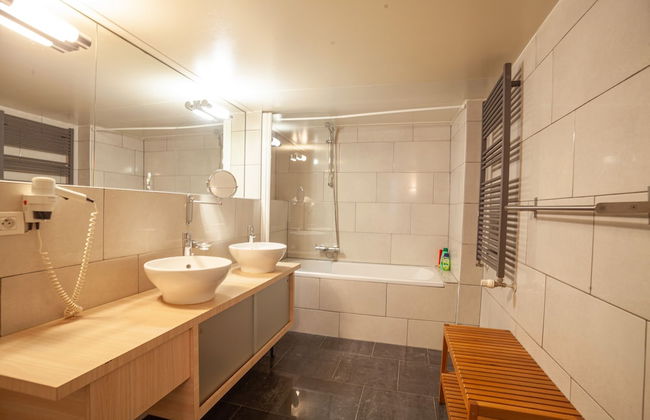
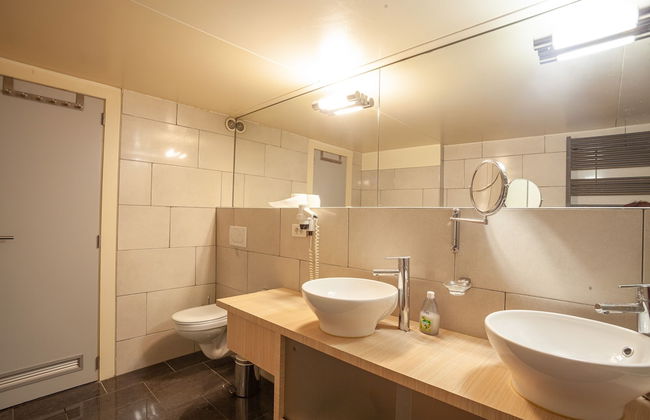
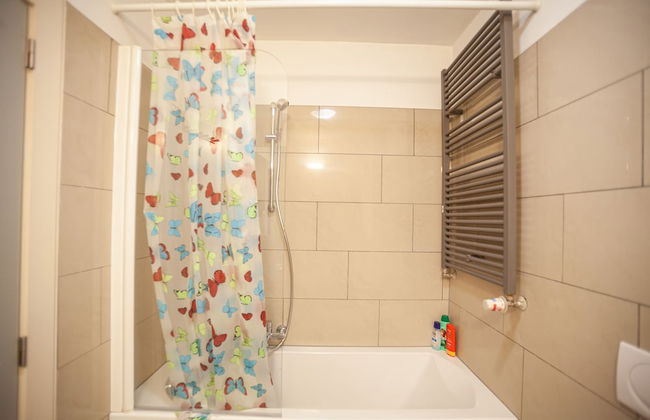
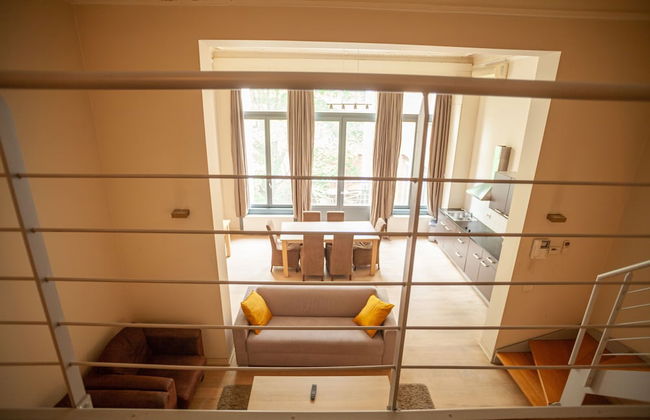
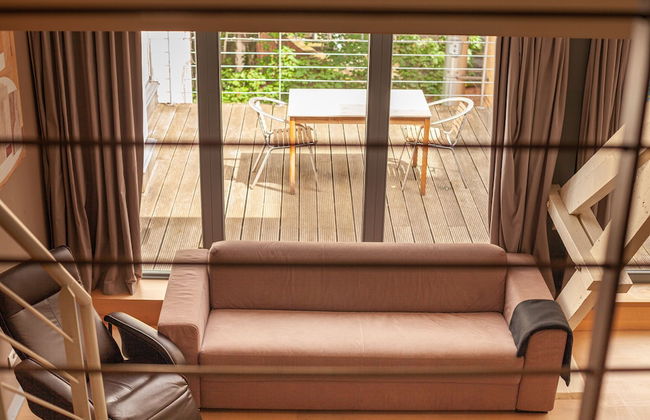
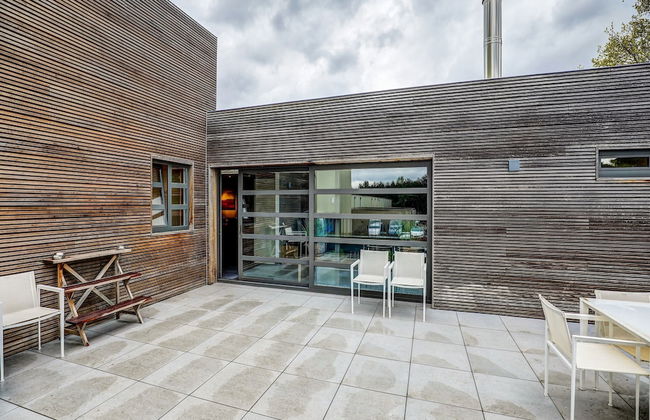
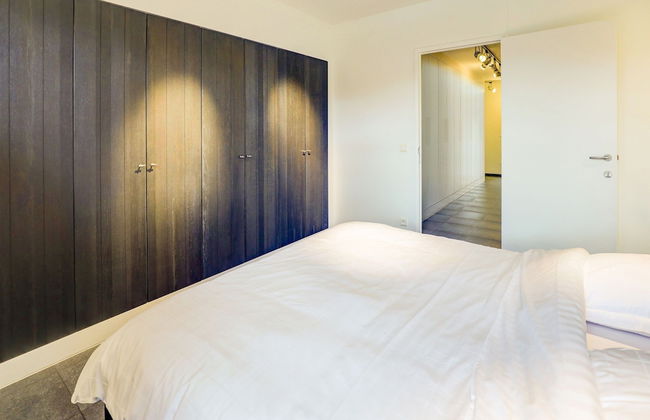
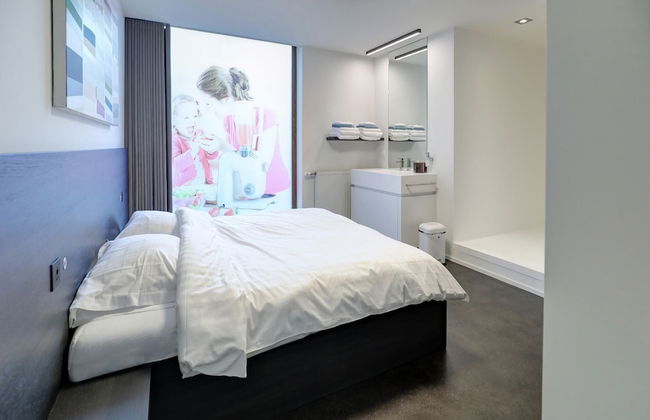
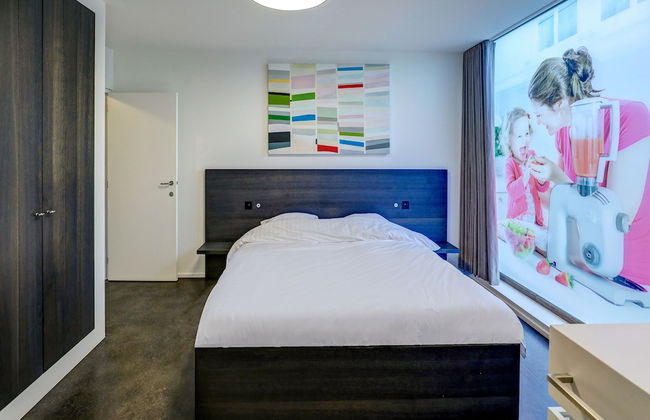
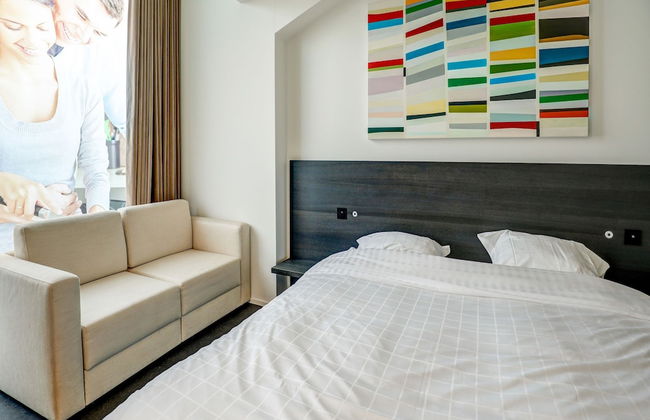
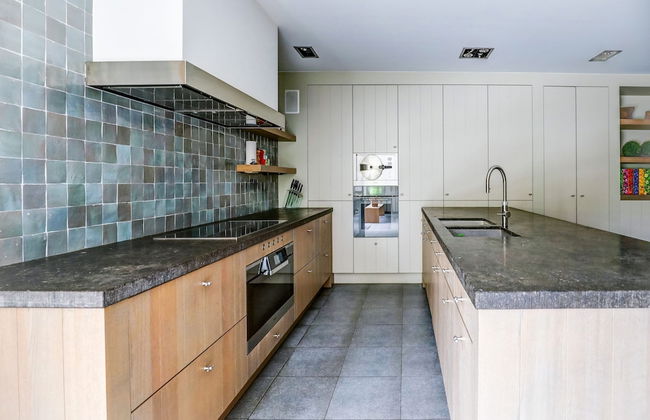
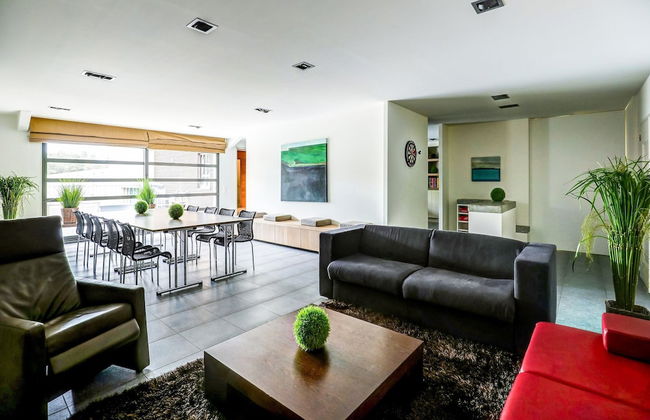
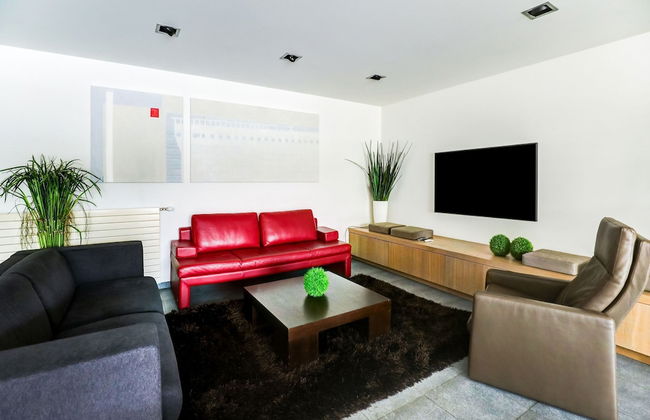
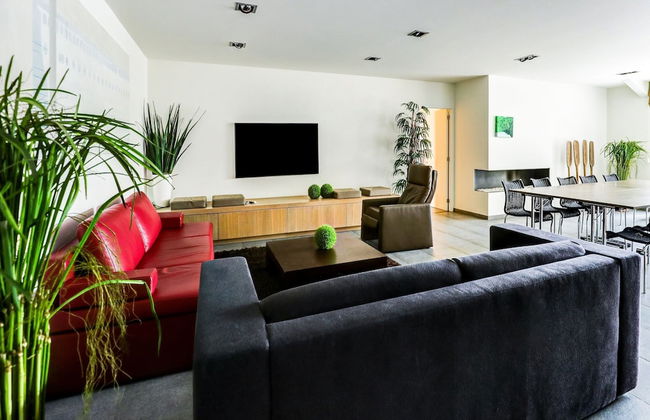
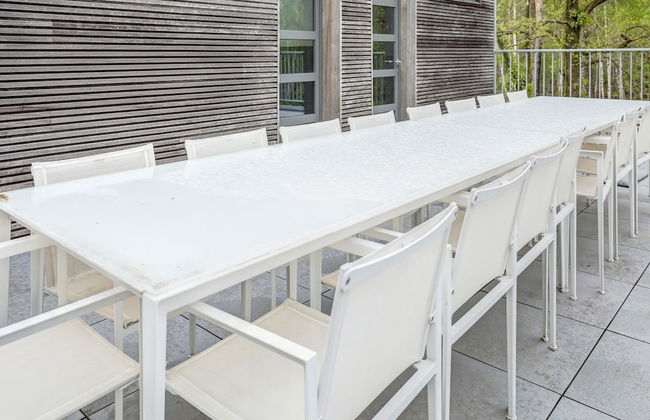
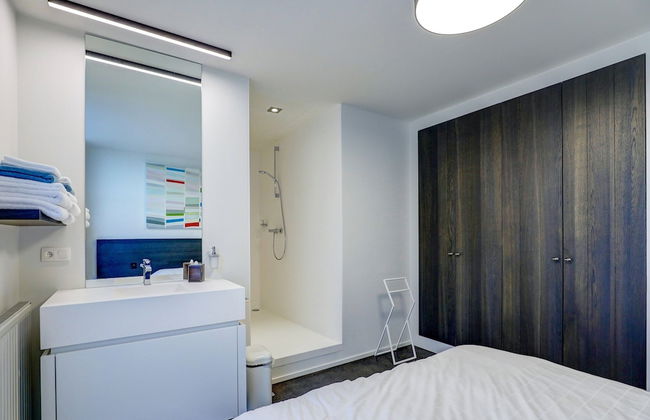
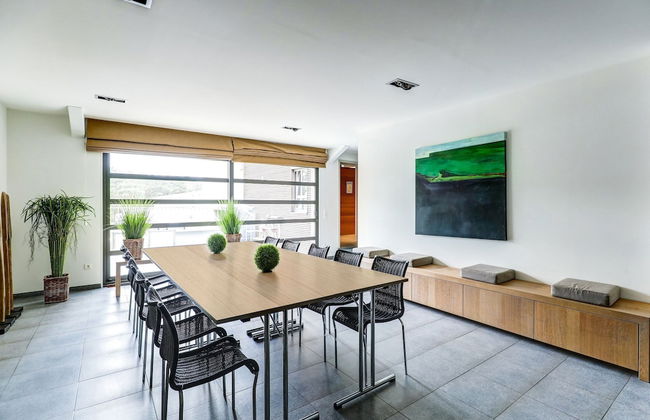
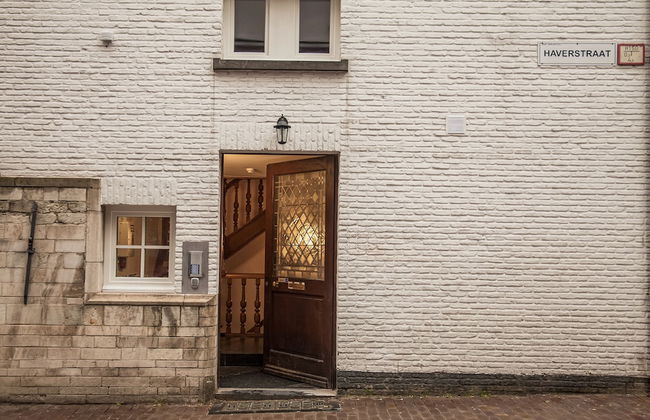
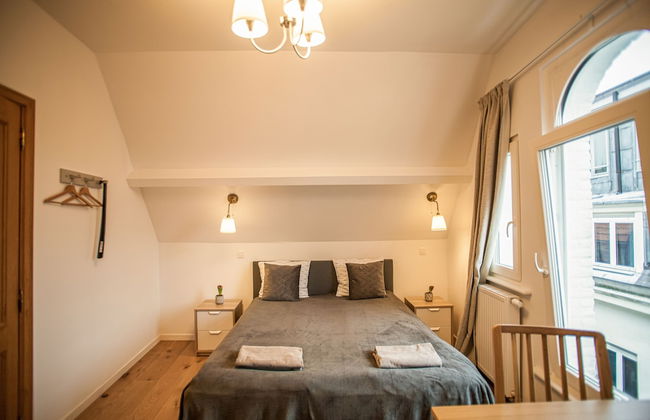
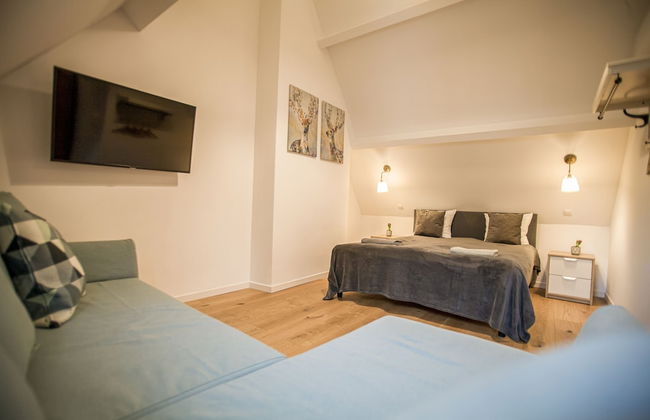
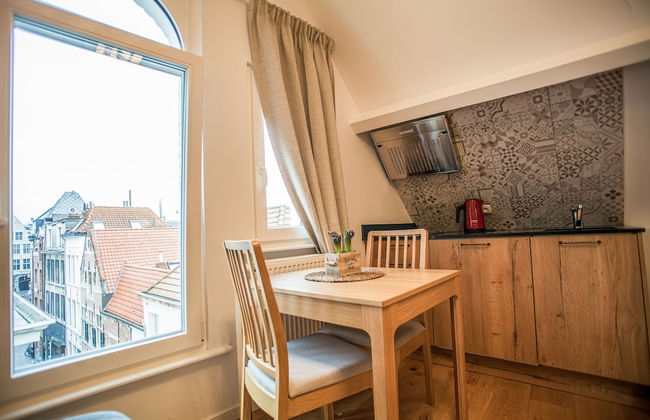
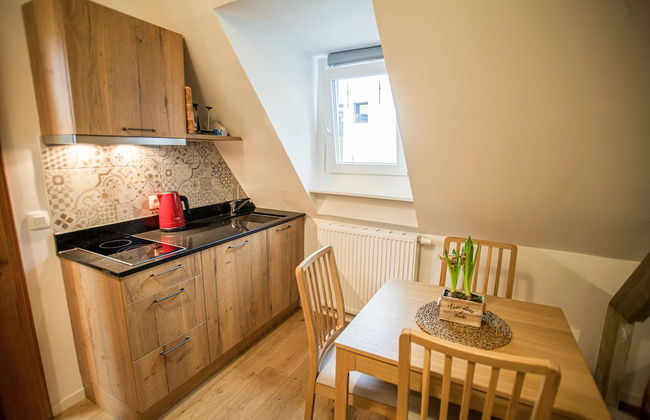
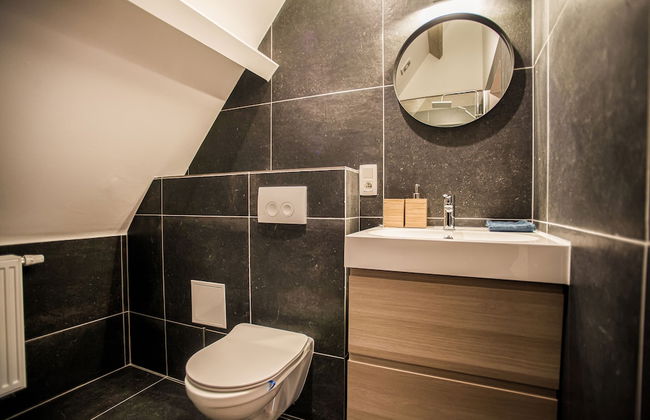
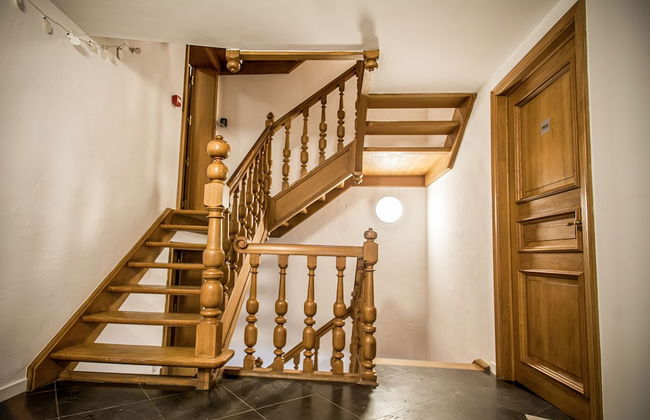
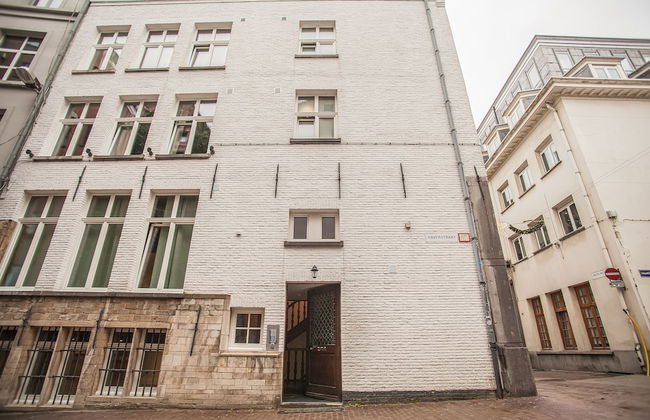
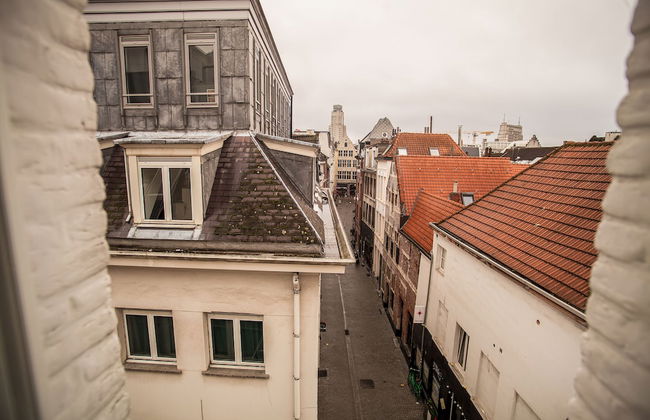
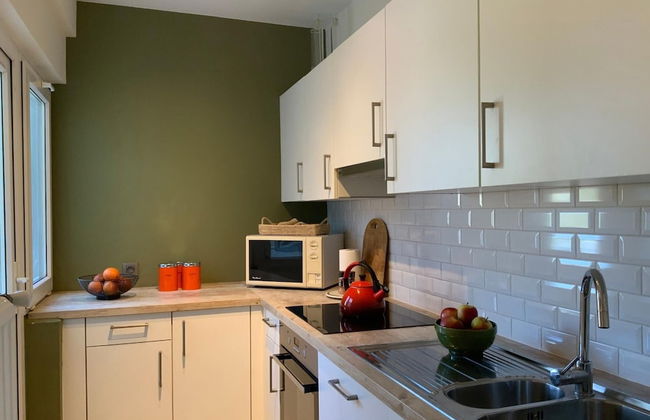
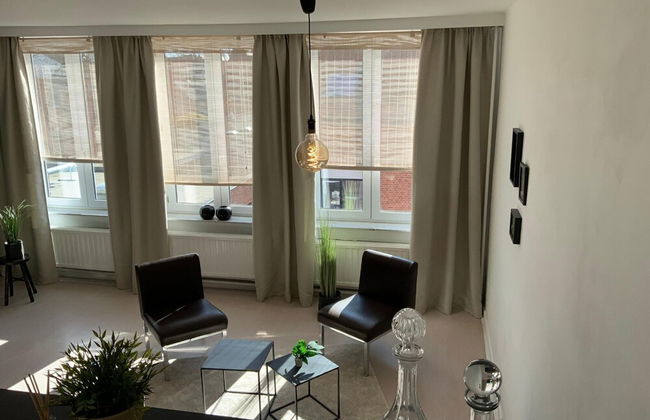
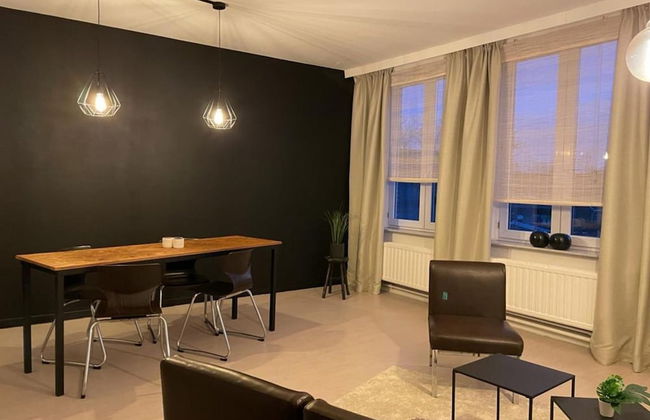
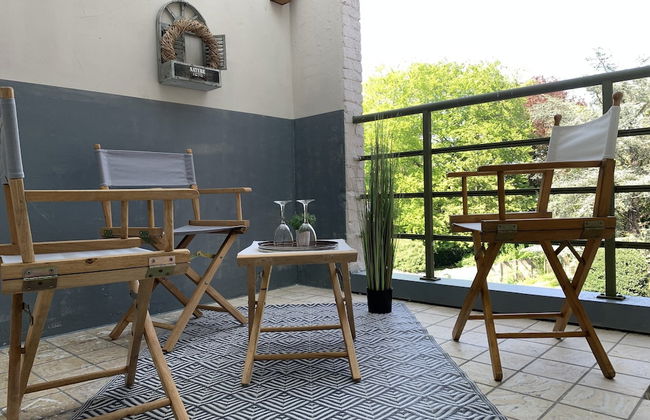
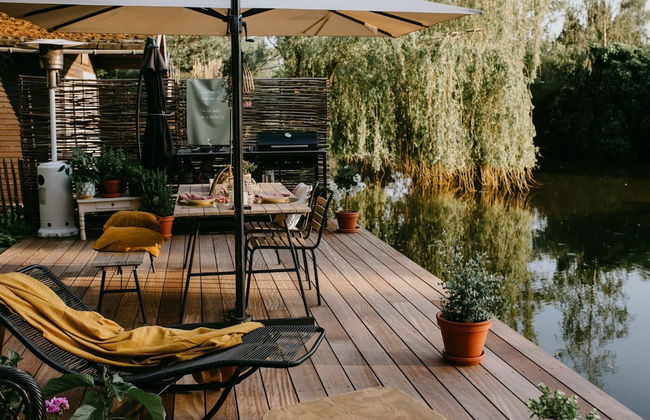
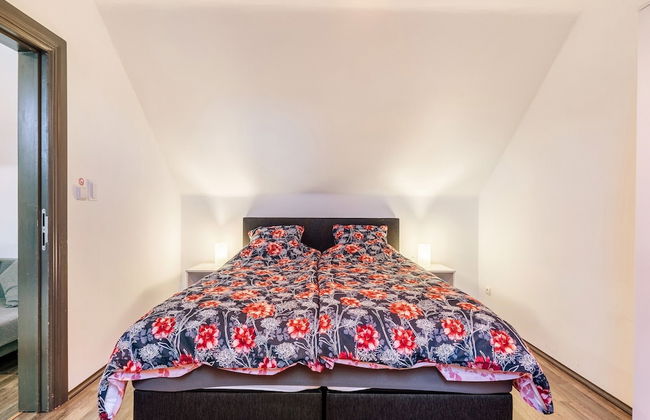
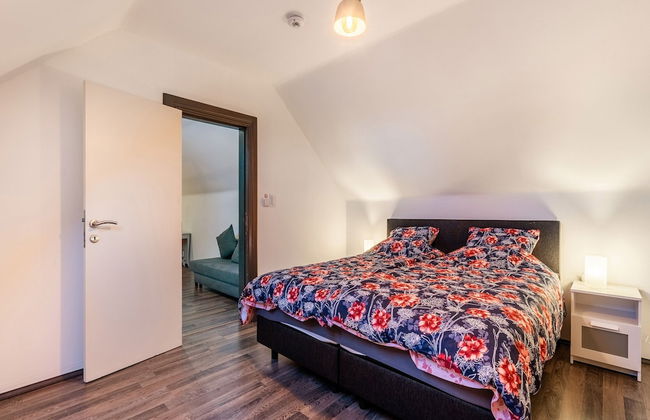
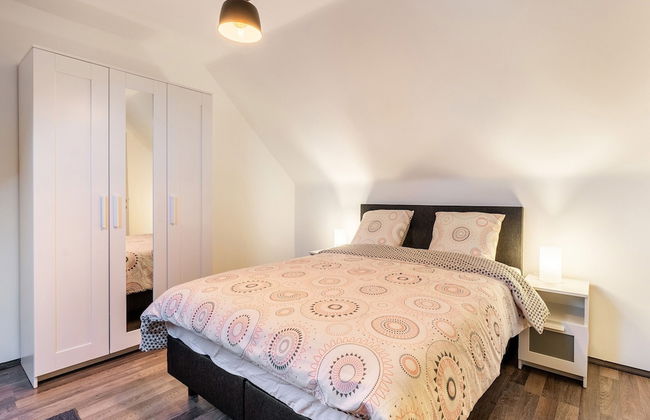
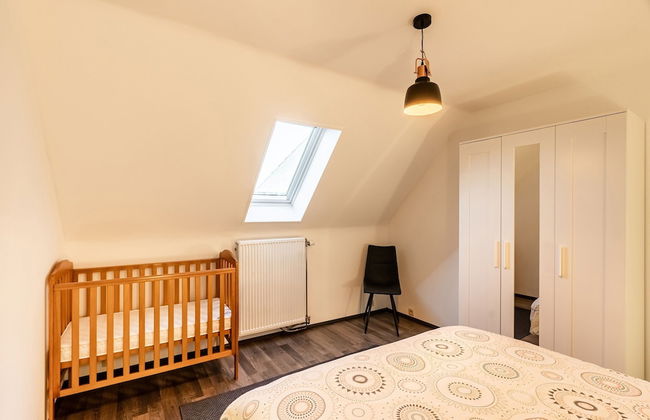
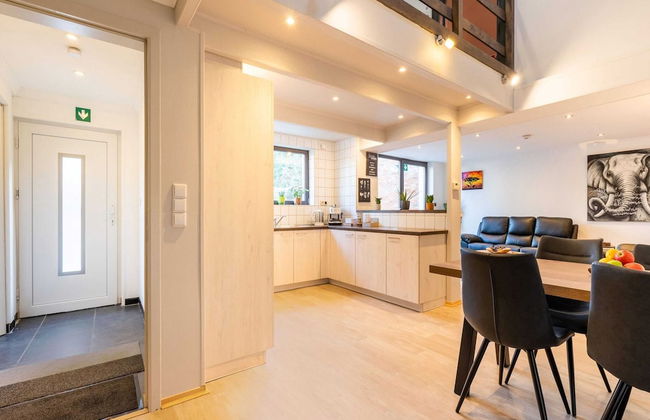
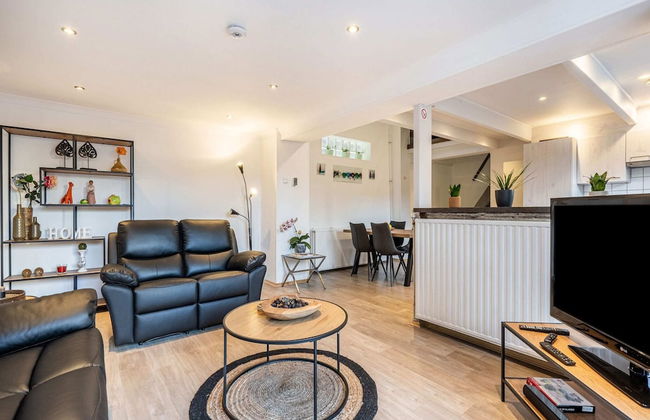
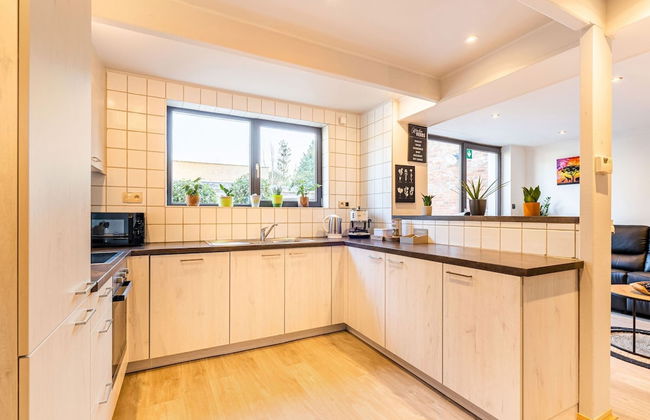
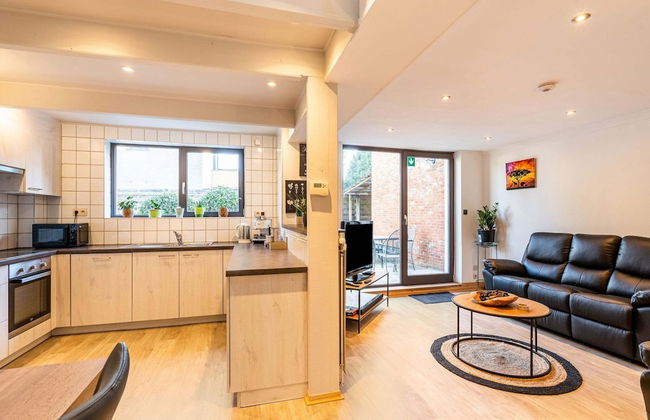
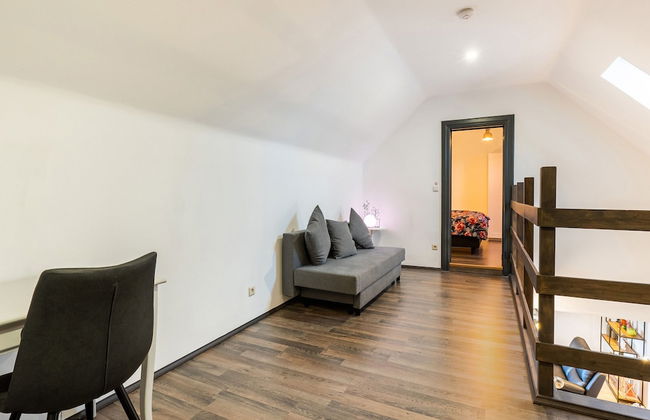
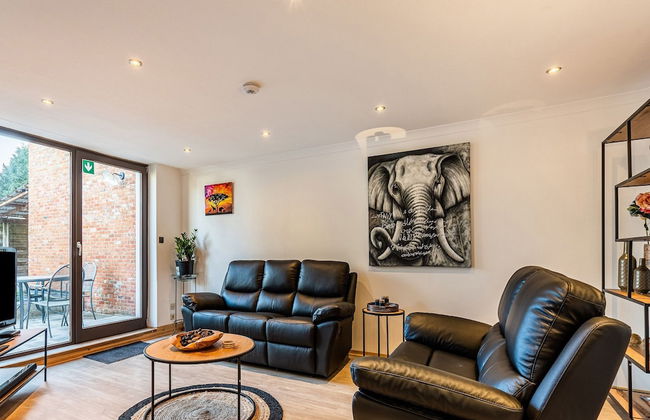
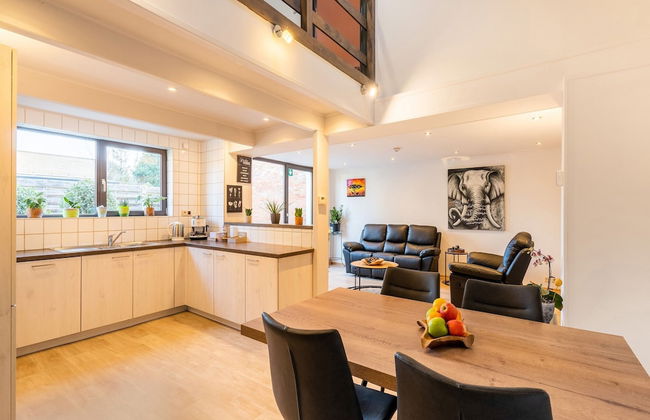
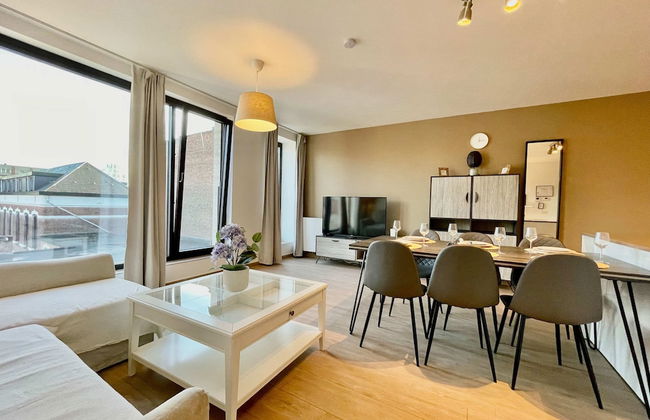
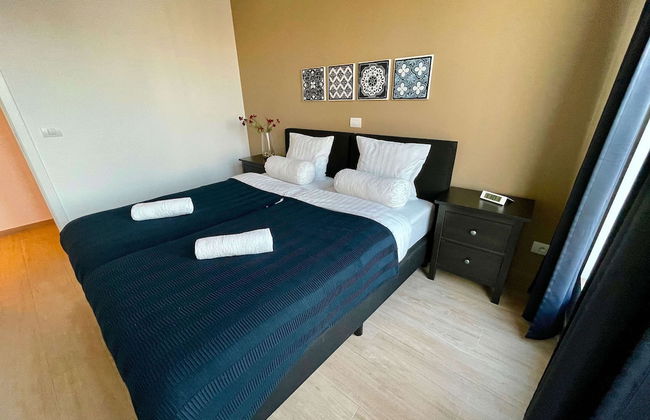
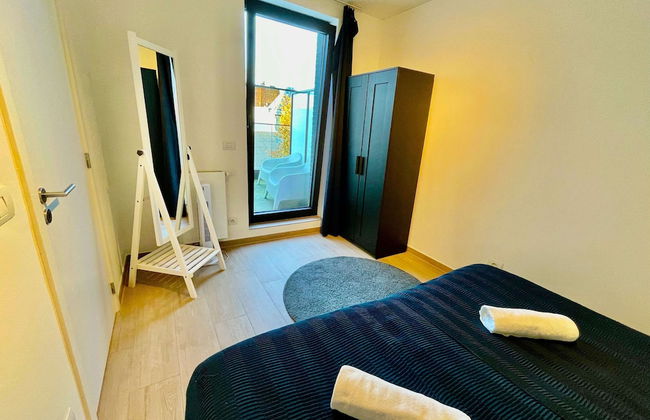
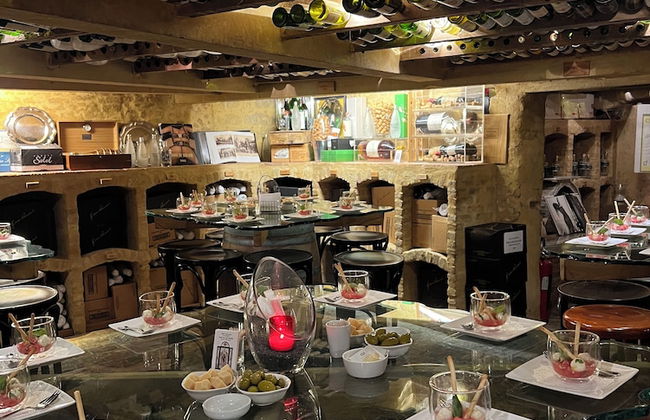
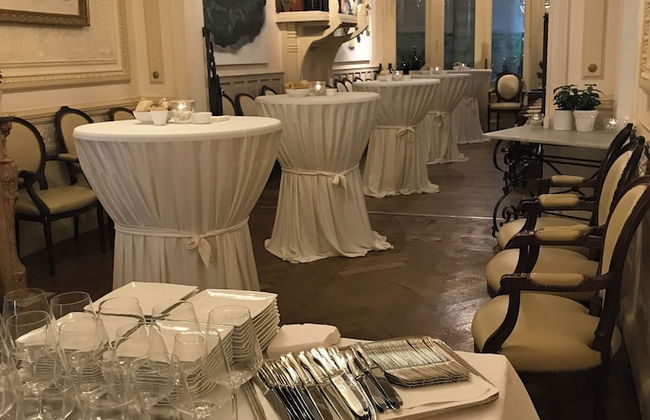
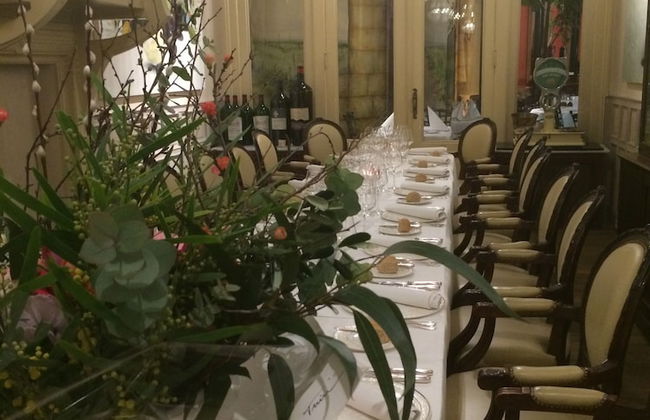
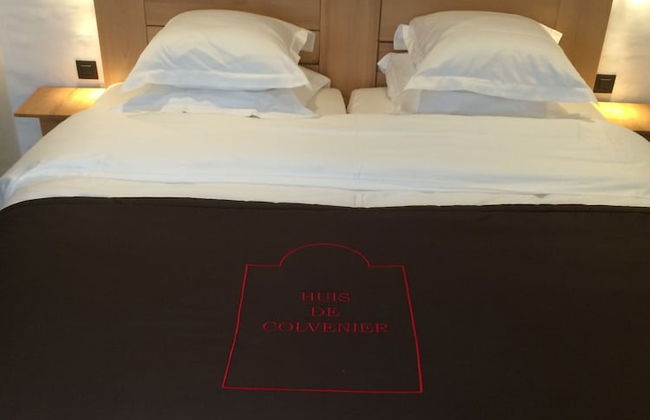
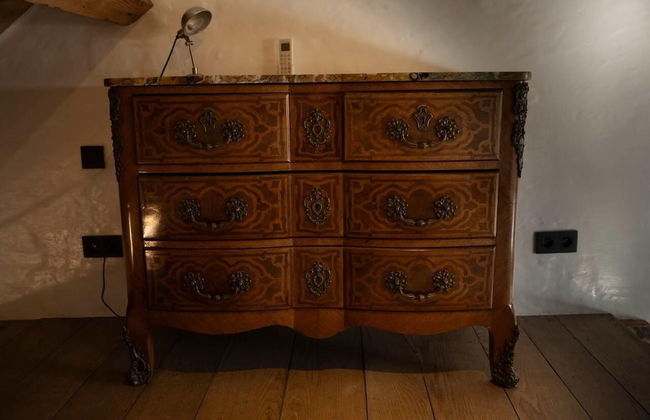
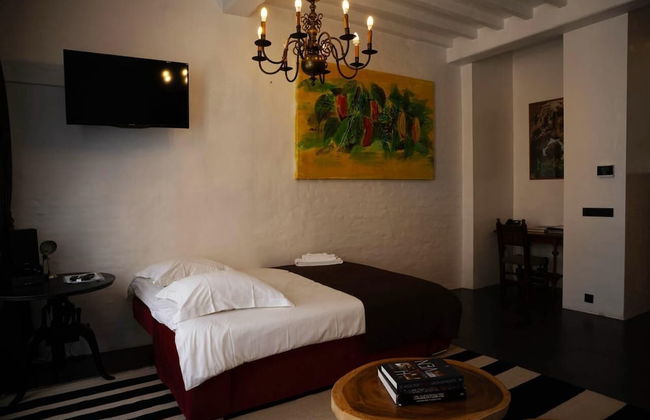
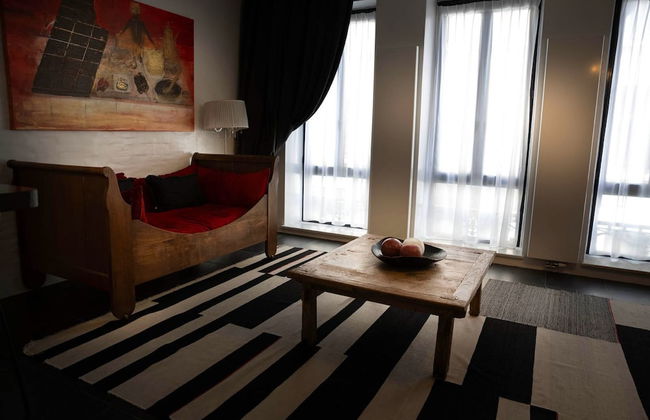
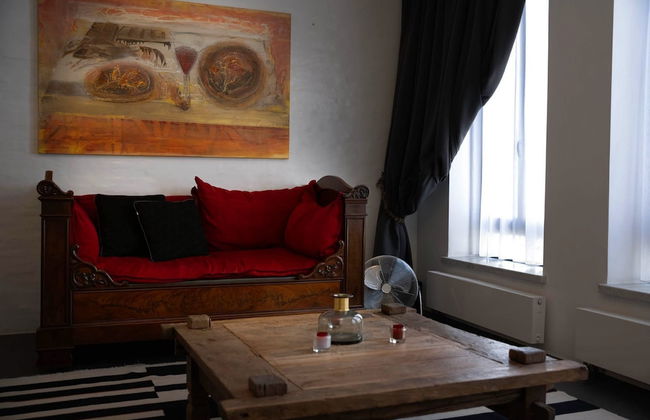
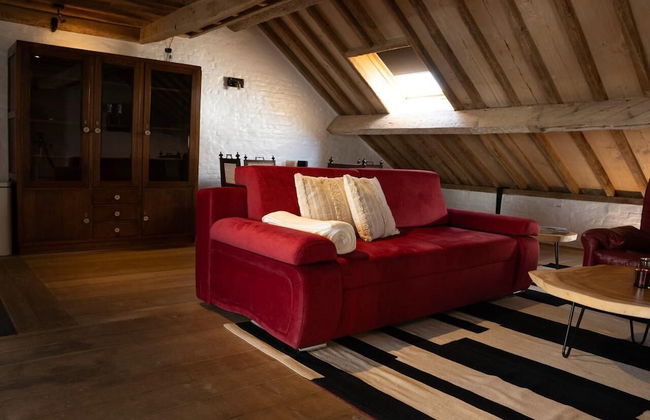
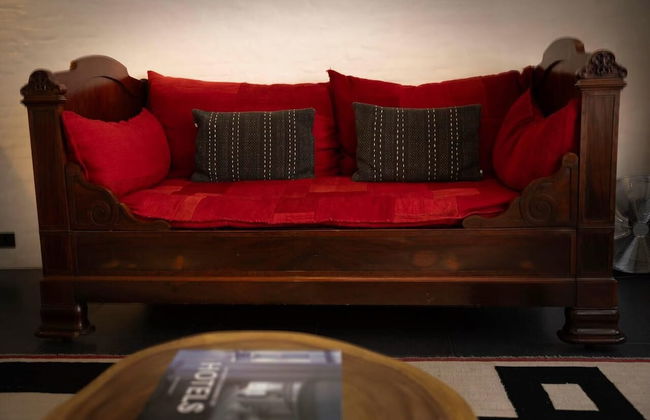
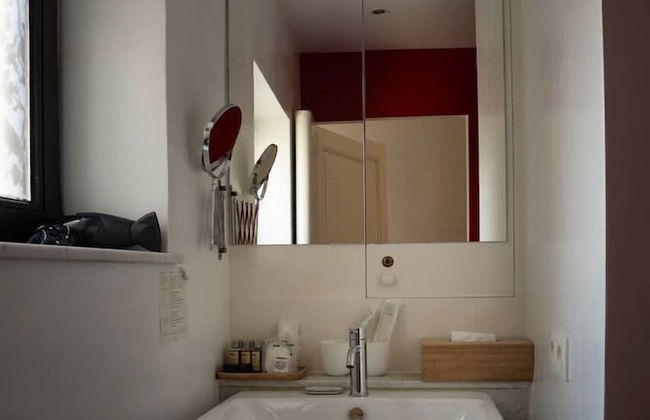
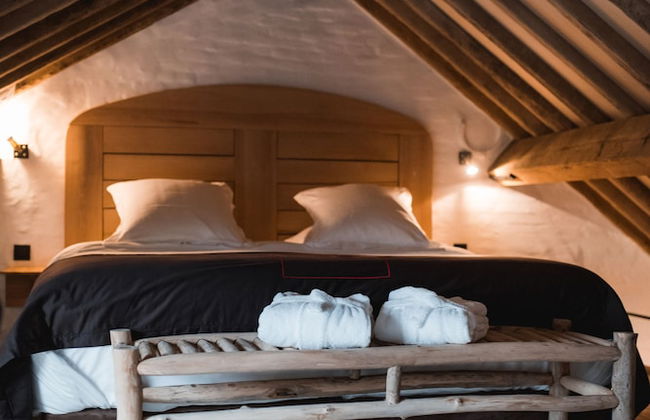
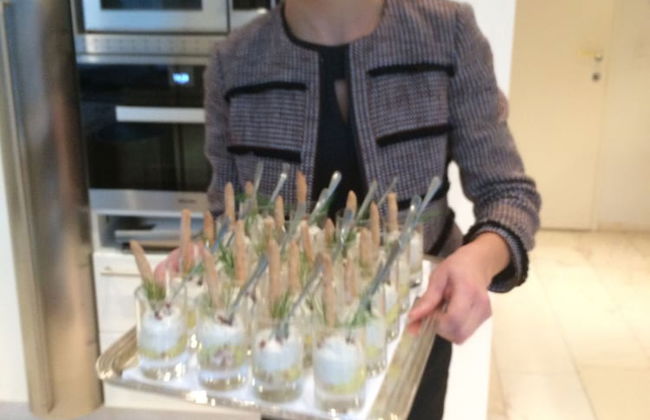
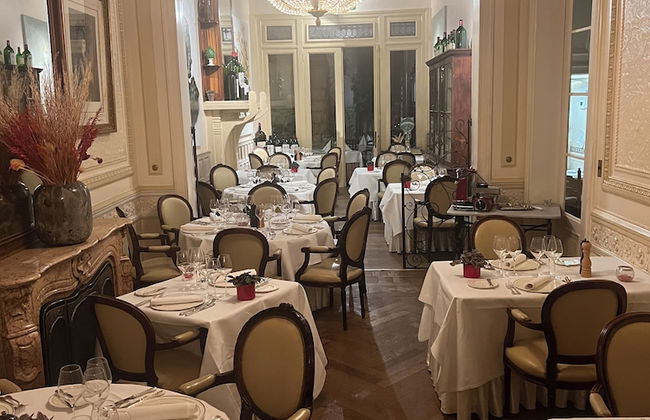
Hotel Colvenier - Foto 1
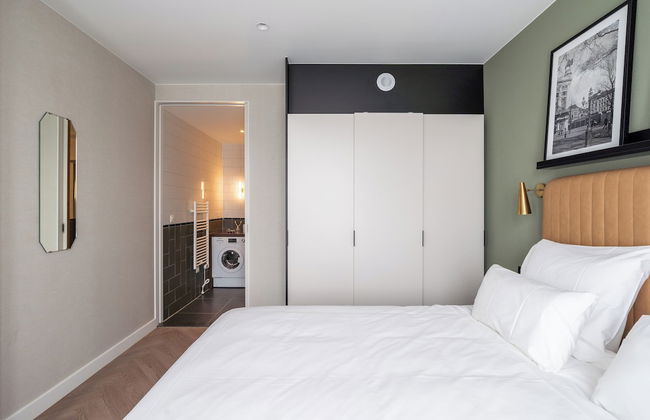
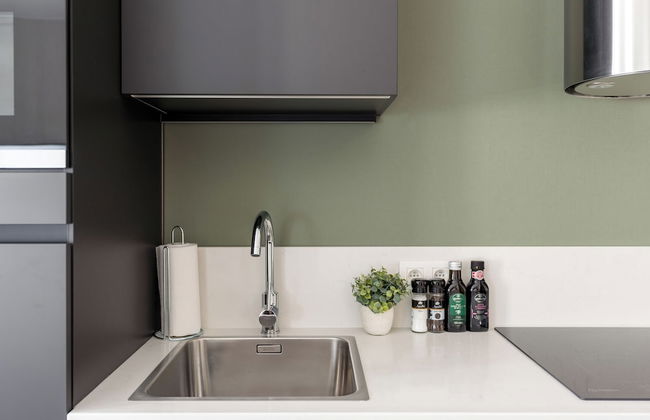
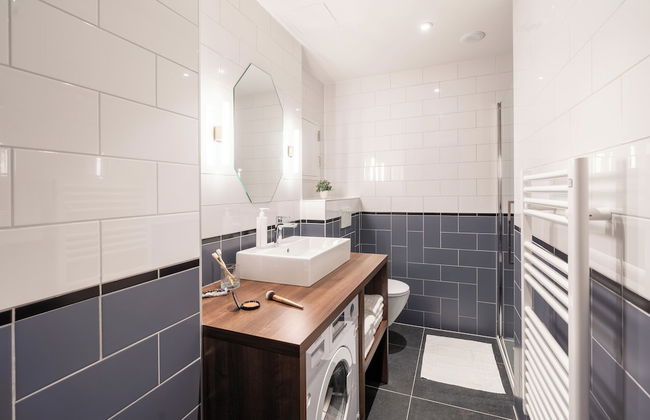
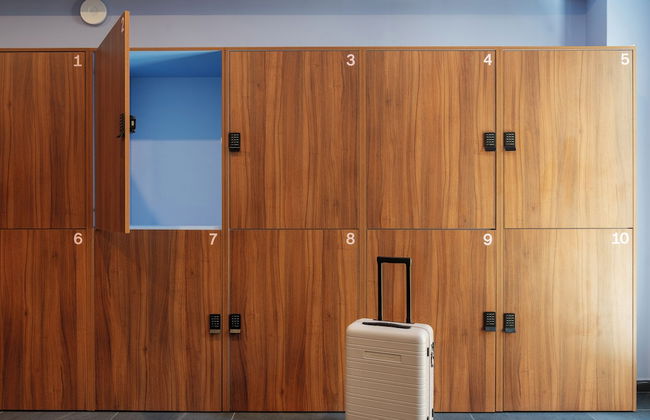
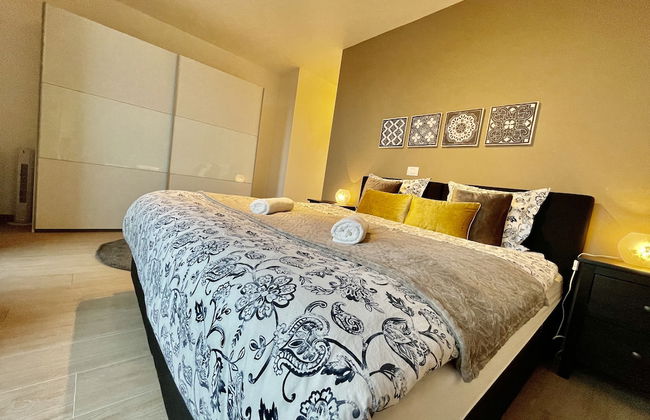
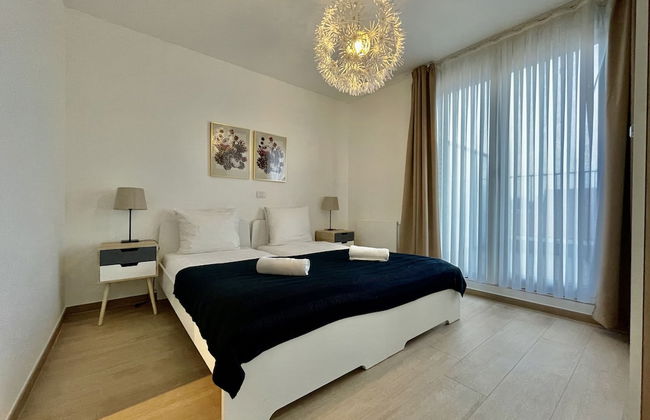
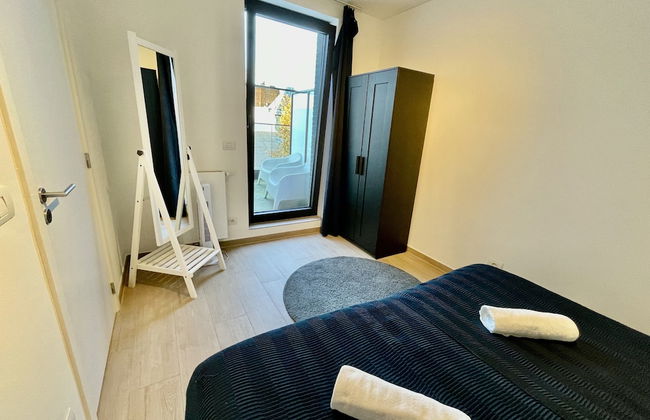
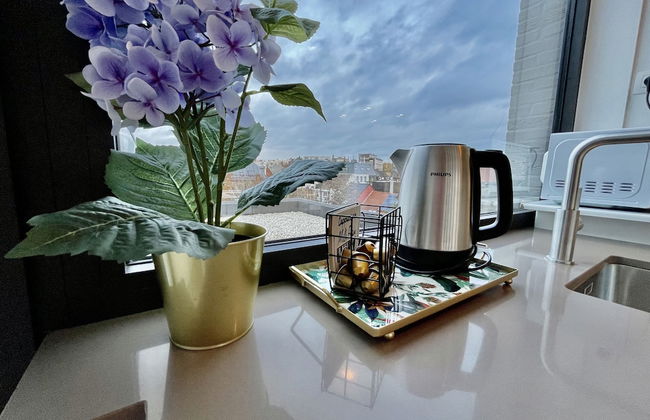
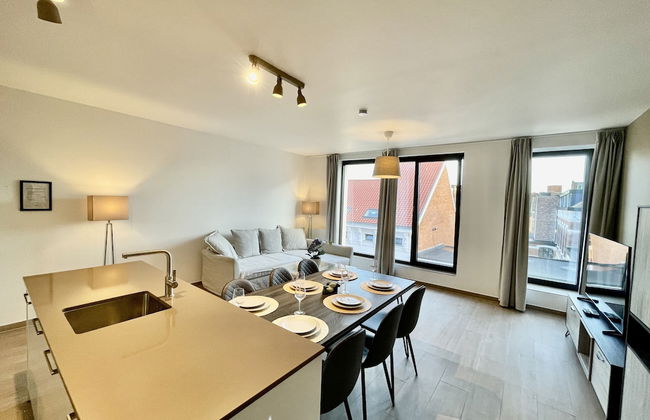
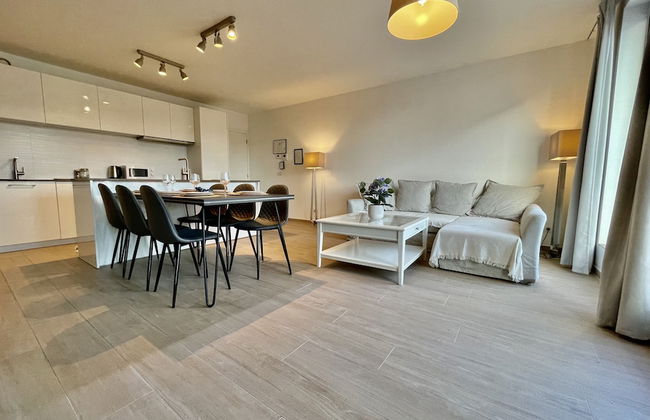
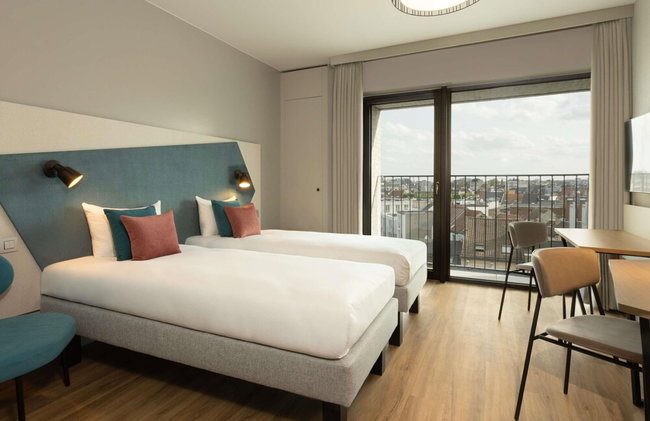
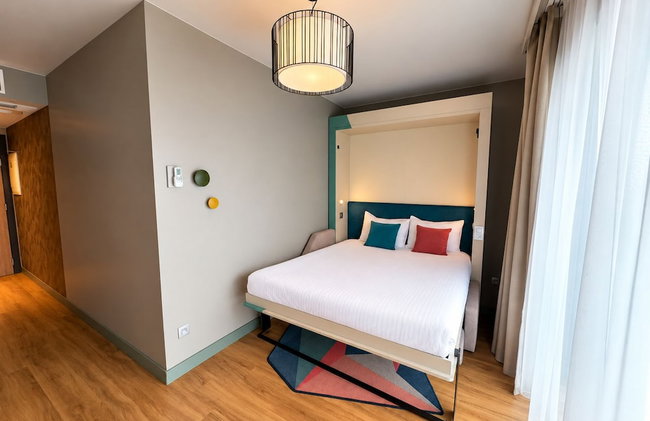
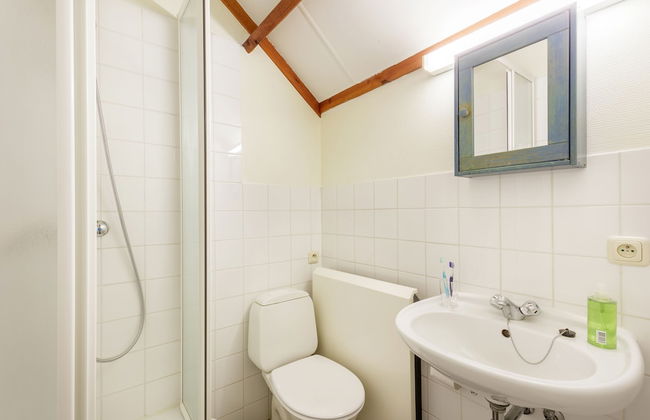
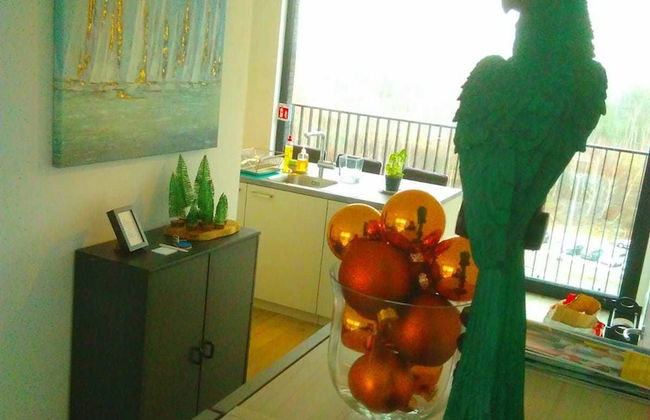
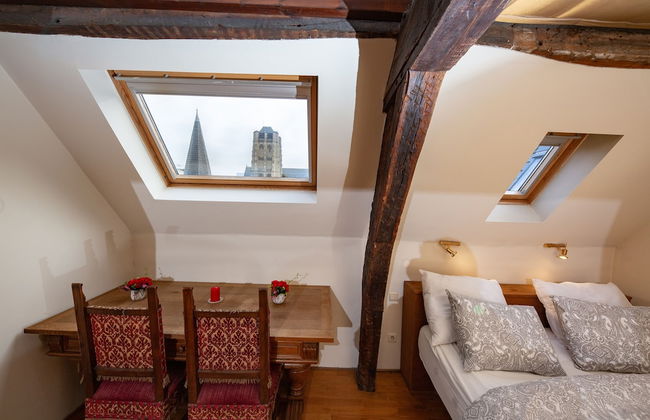
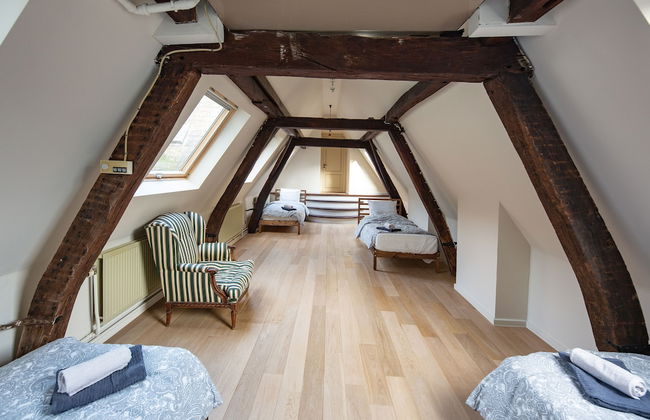
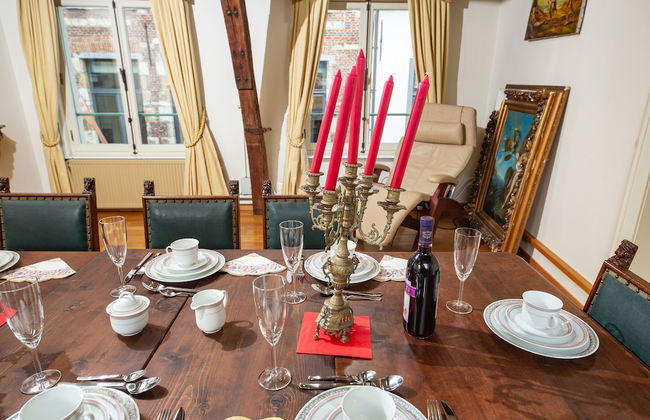
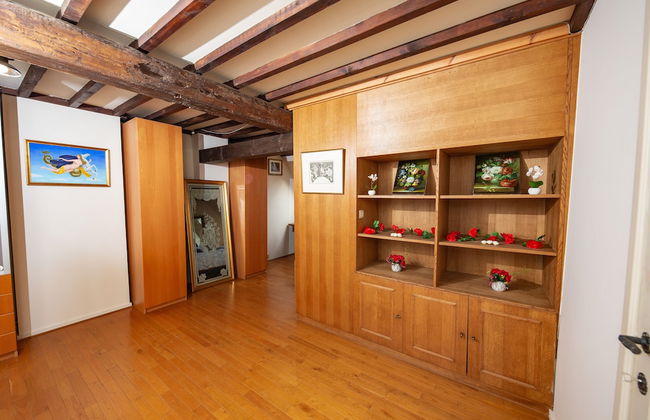
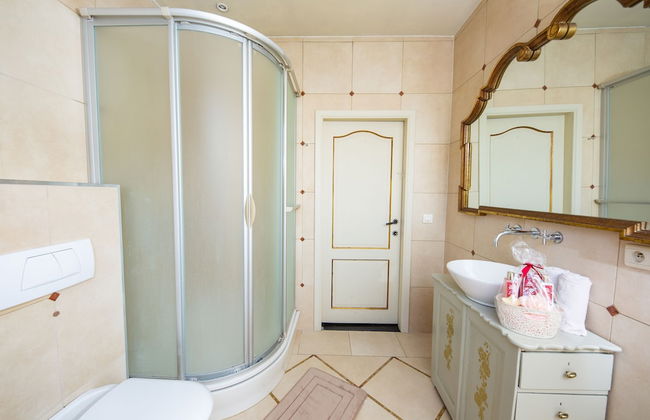
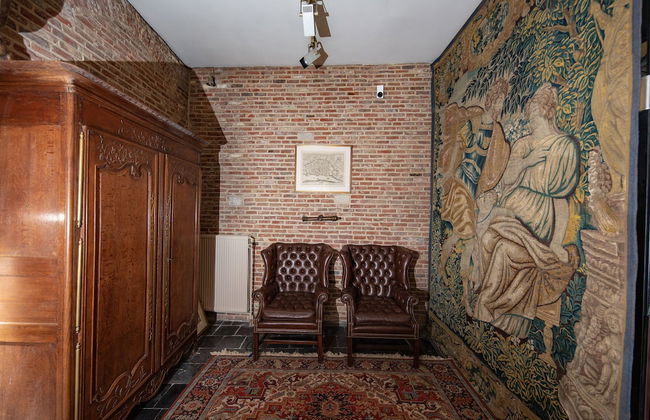
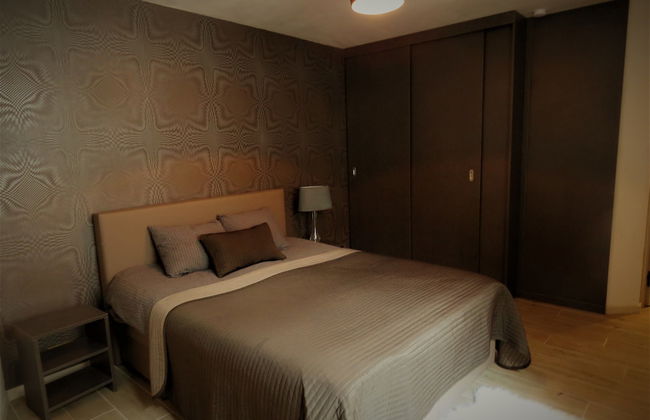
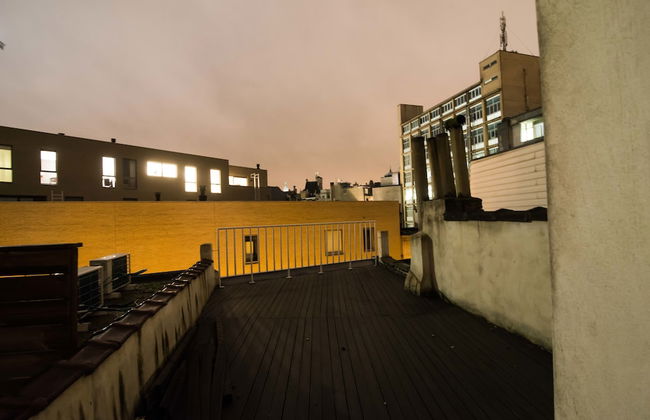
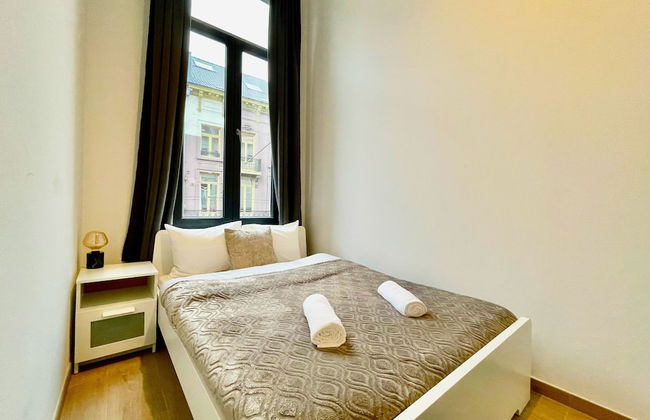
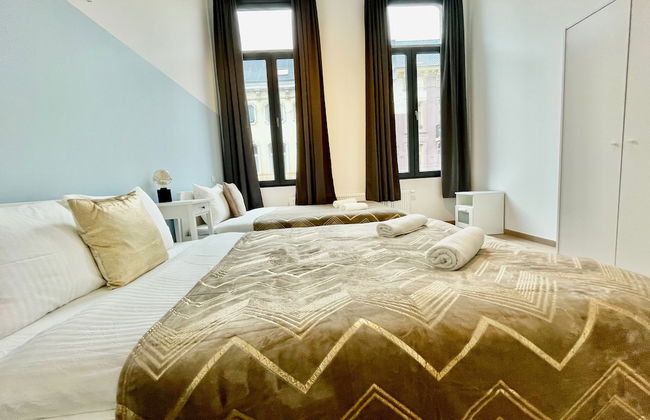
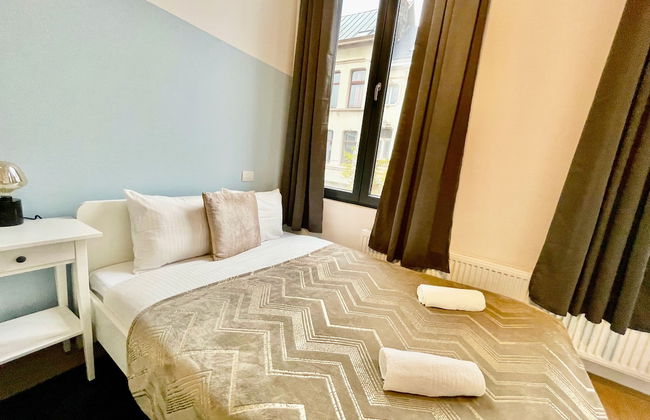
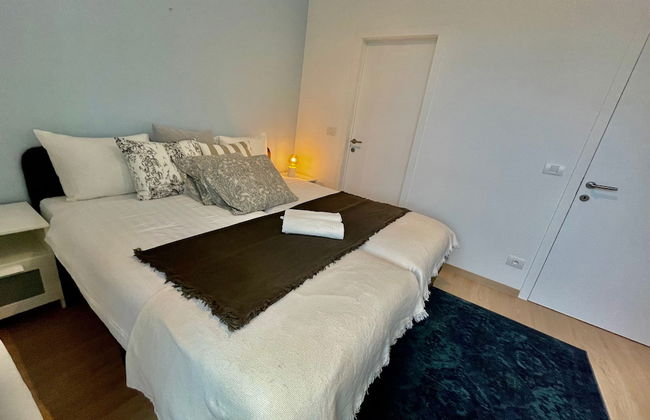
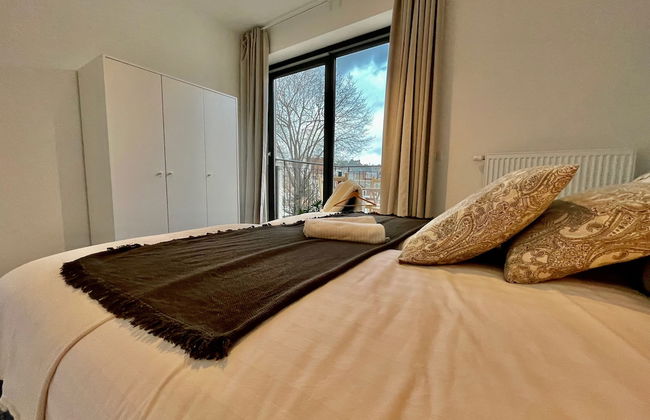
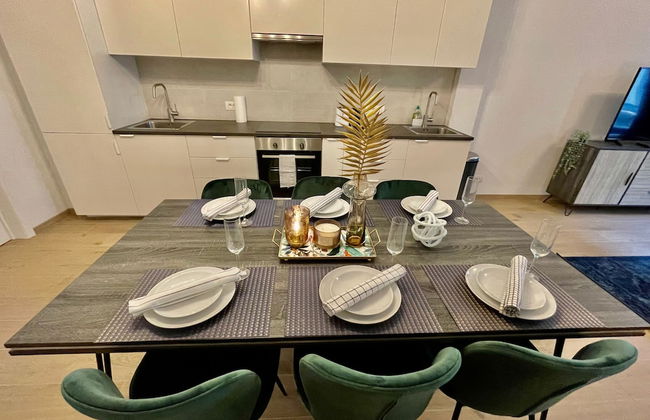
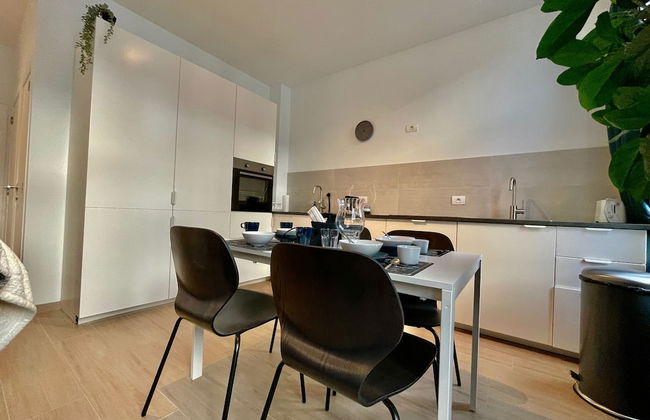
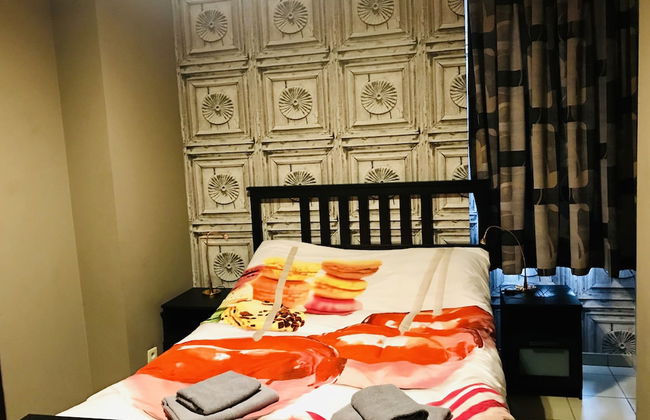
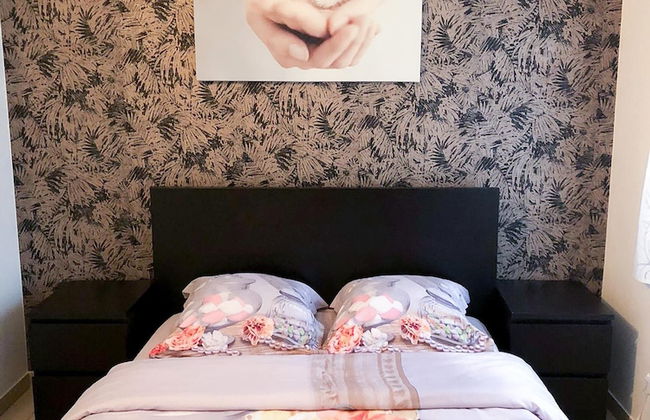
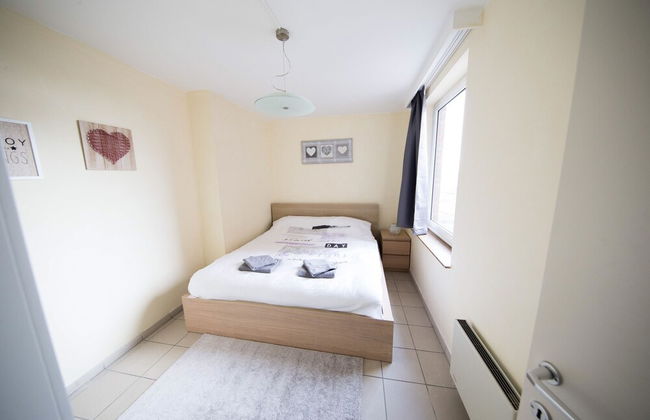
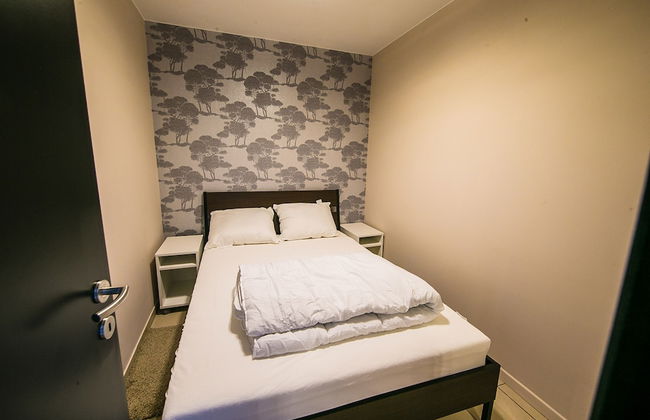
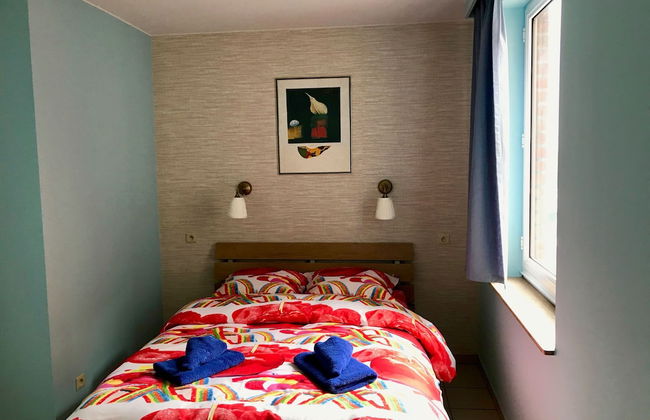
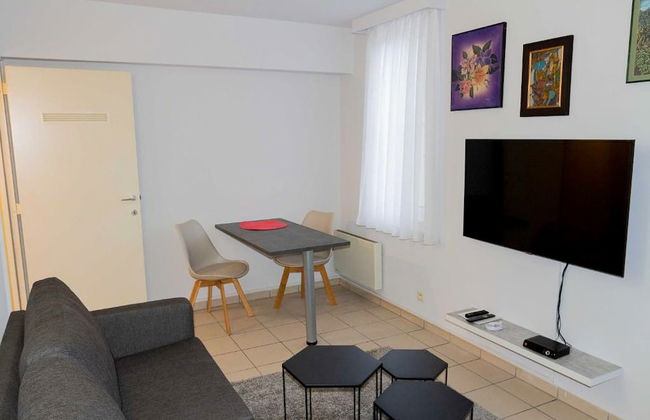
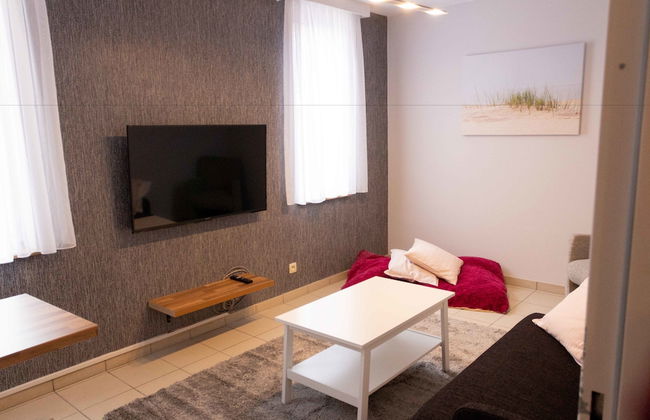
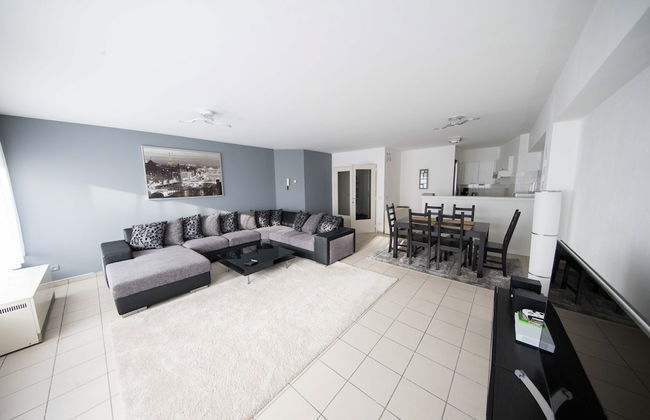
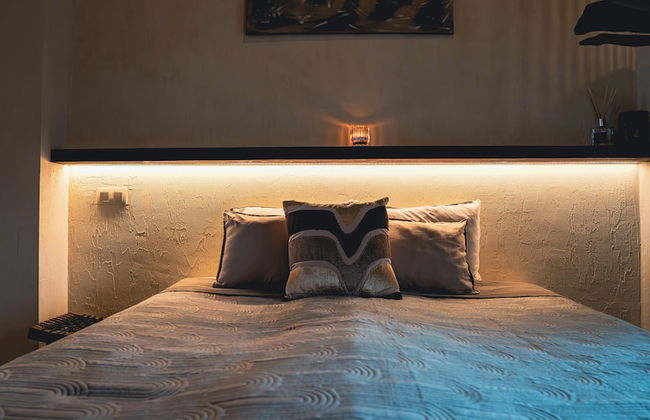
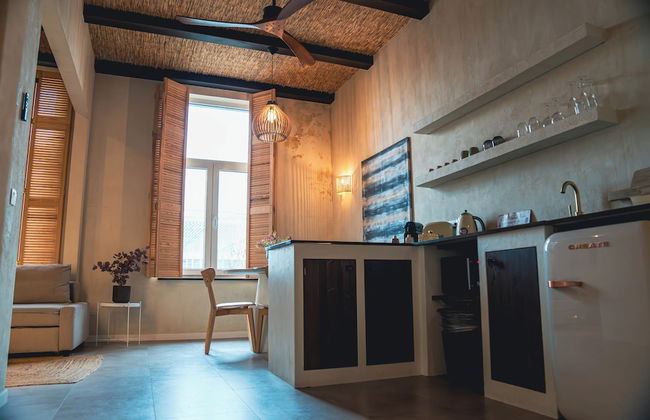
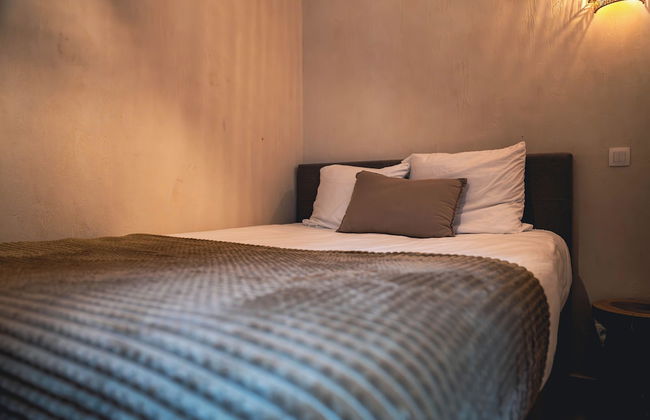
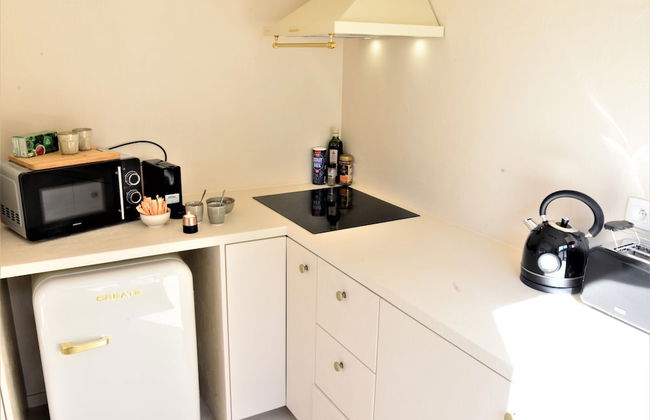
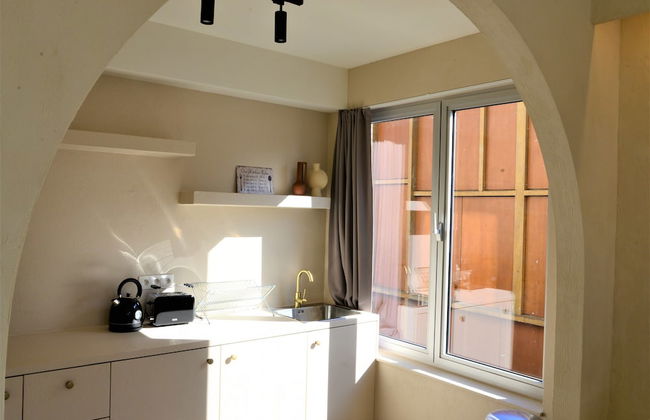
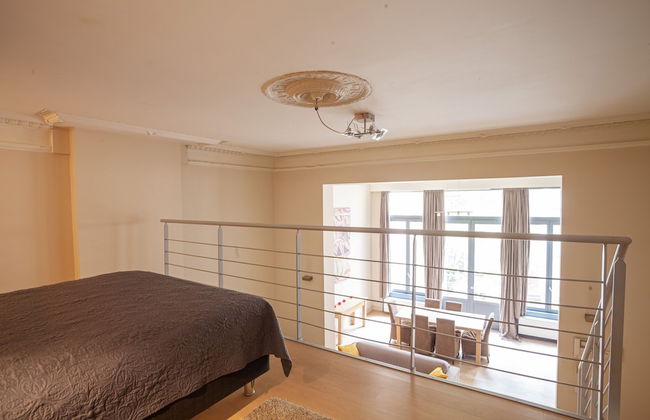
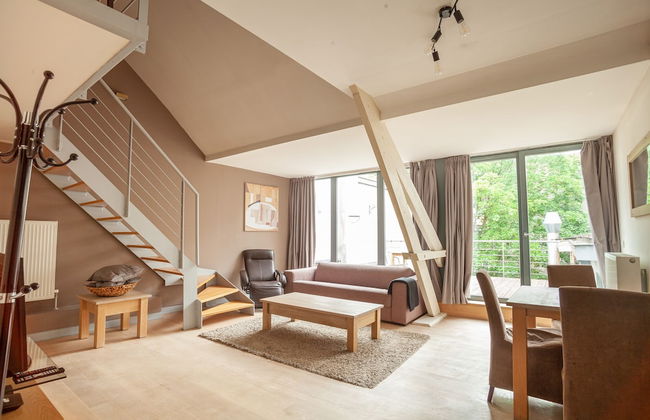
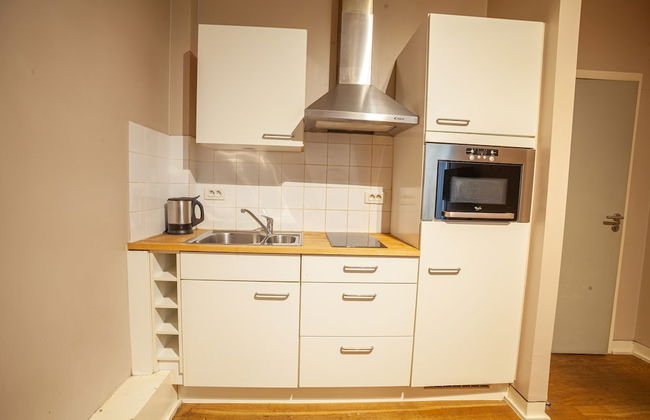
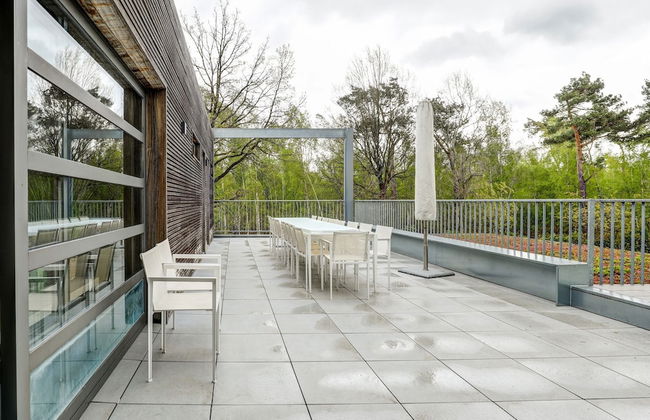
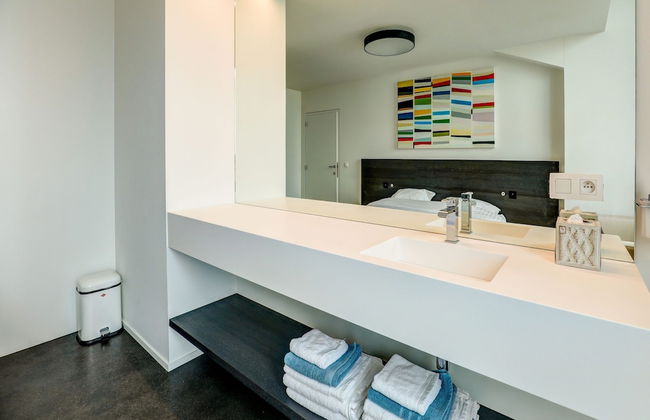
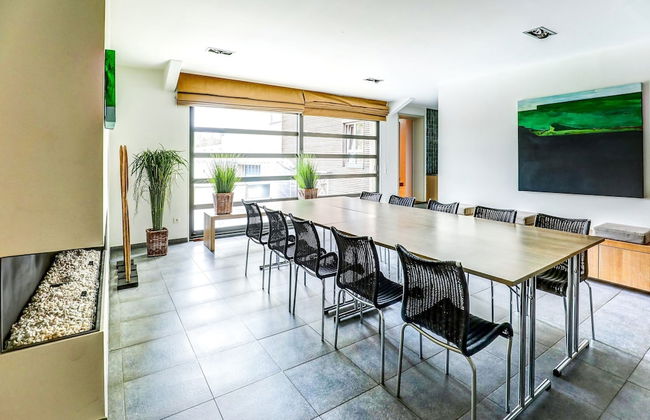
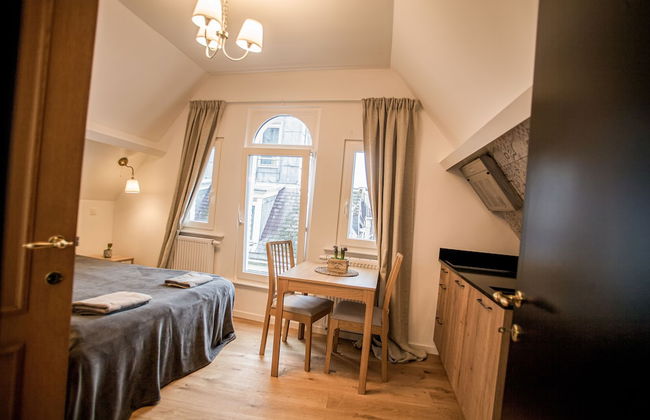
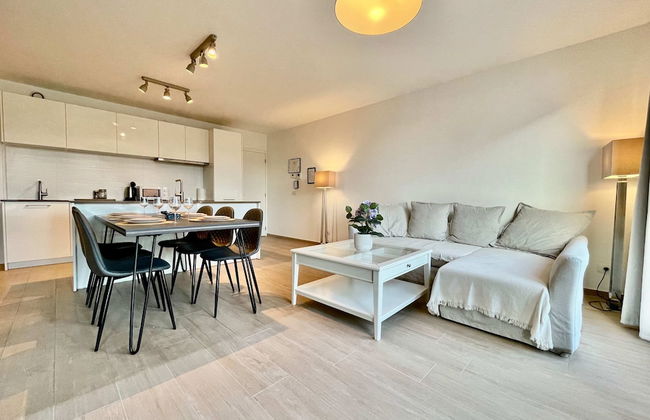
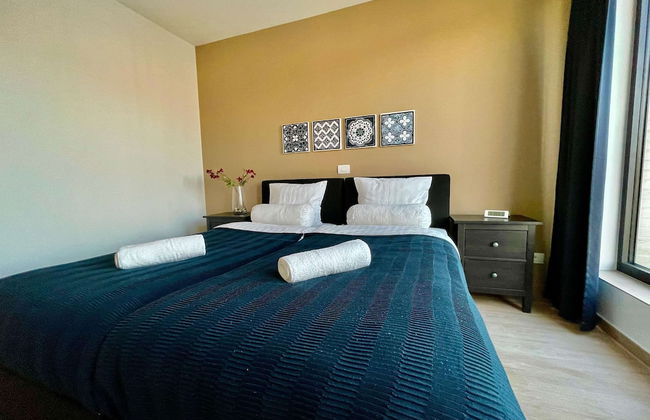
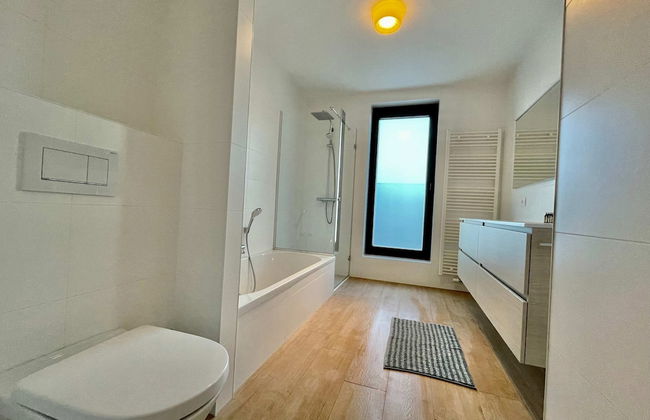
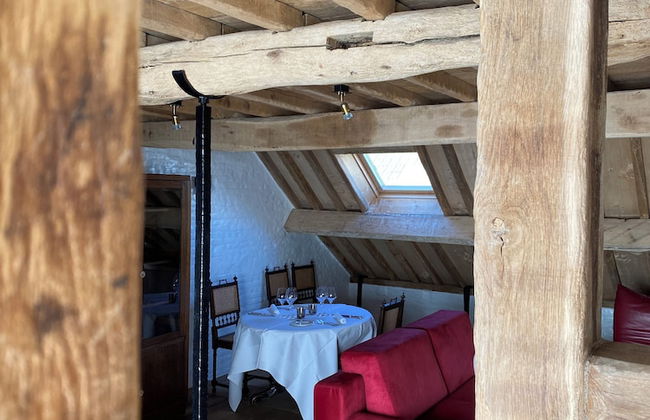
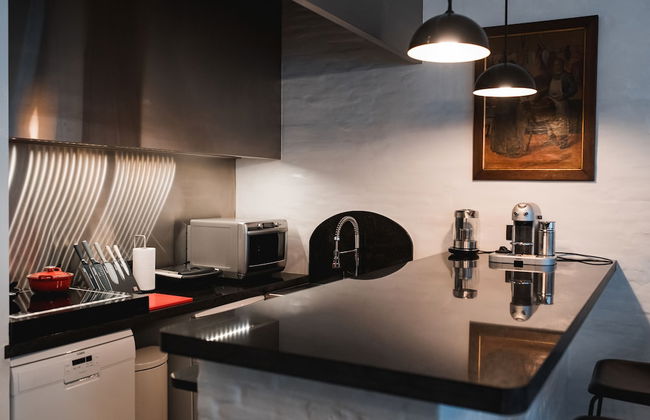
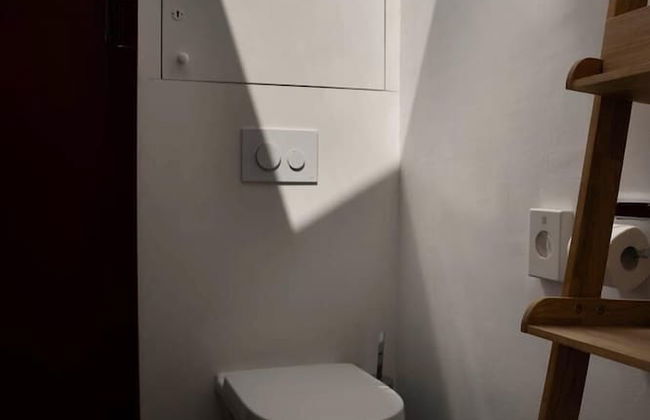
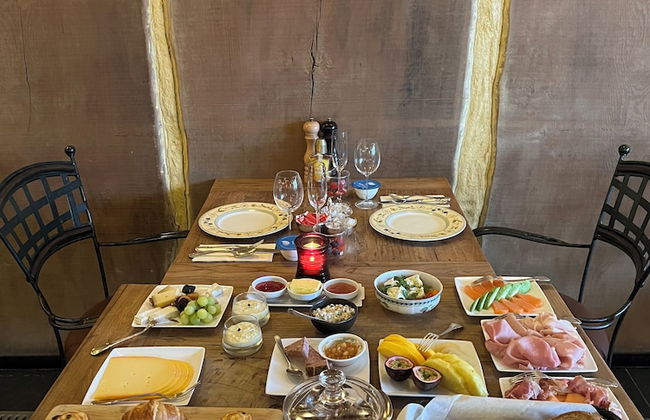
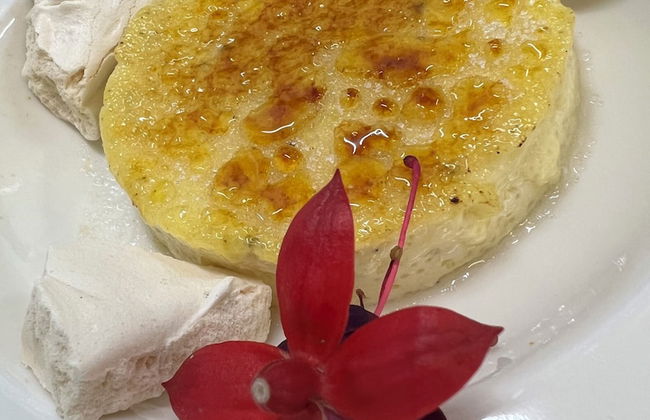
Hotel Colvenier - Foto 2
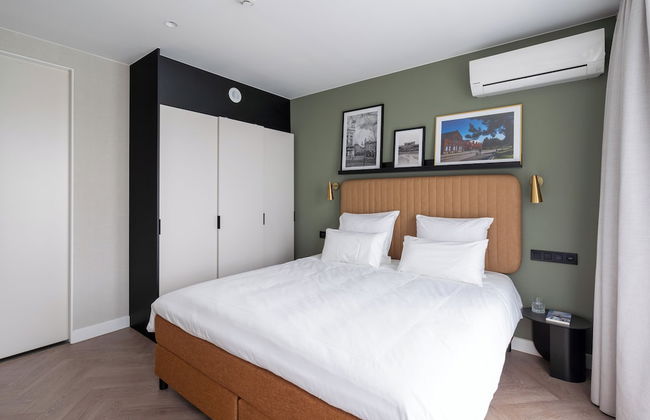
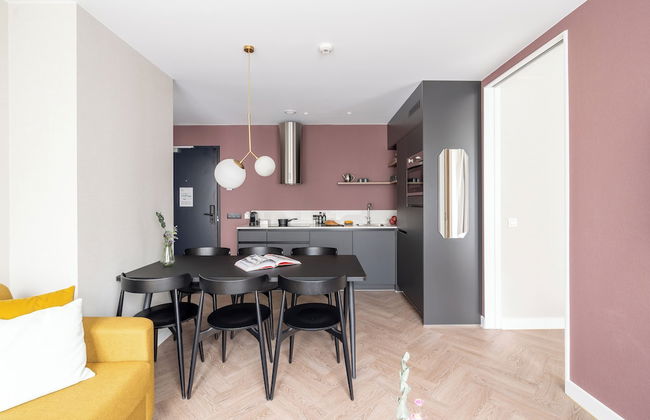
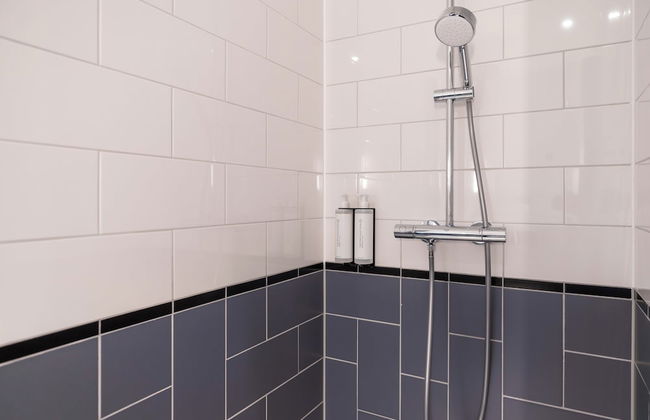
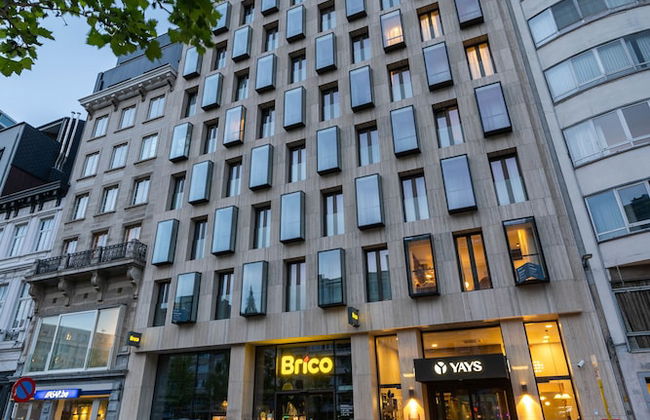
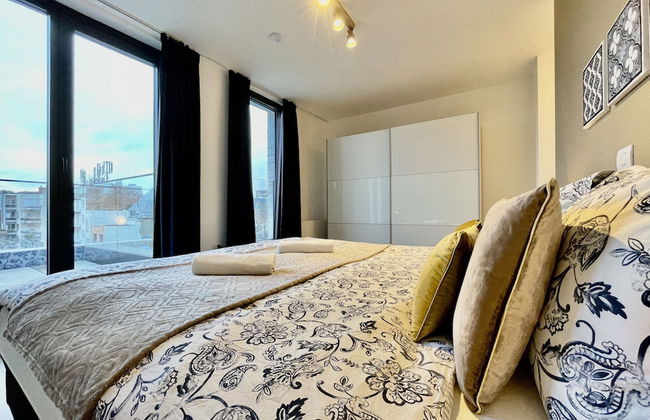
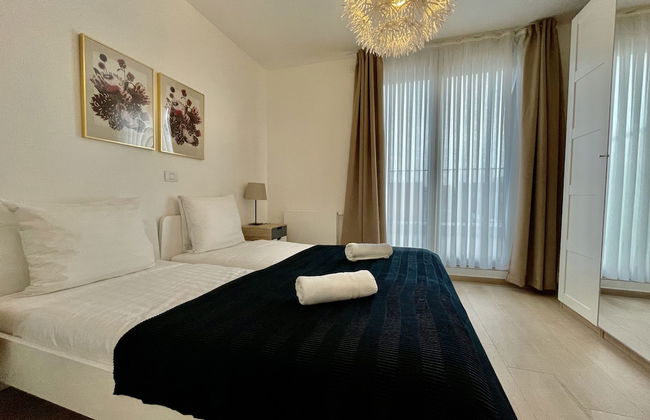
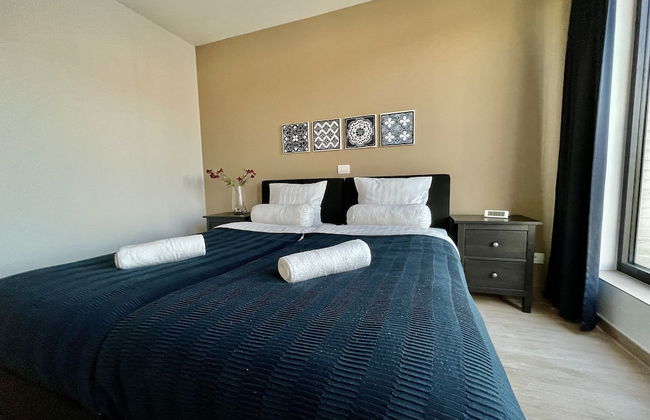
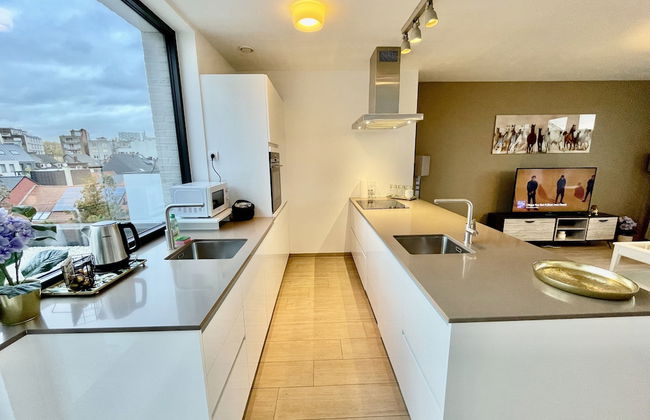
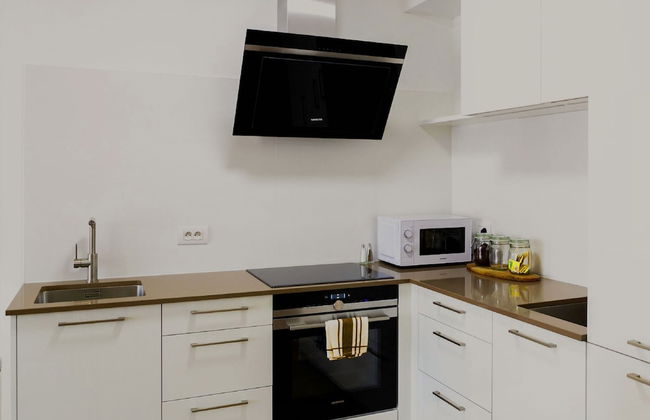
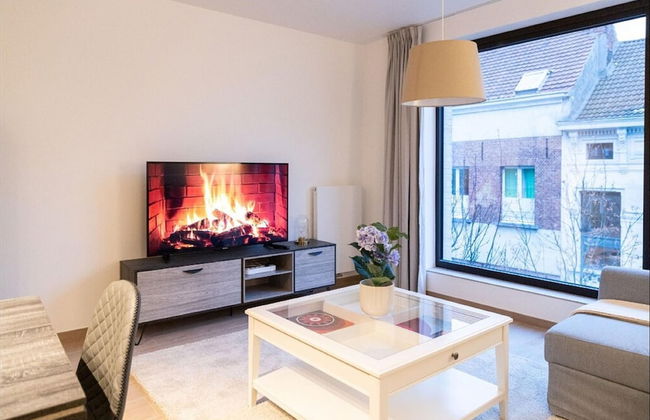
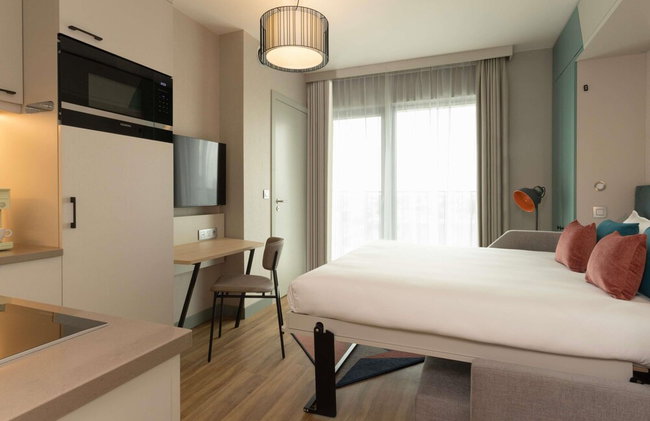
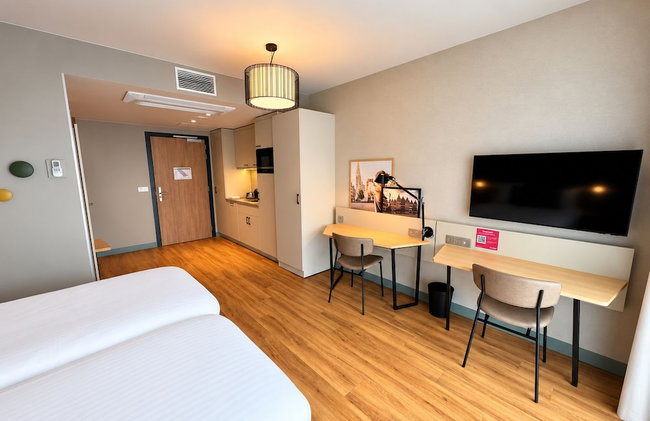
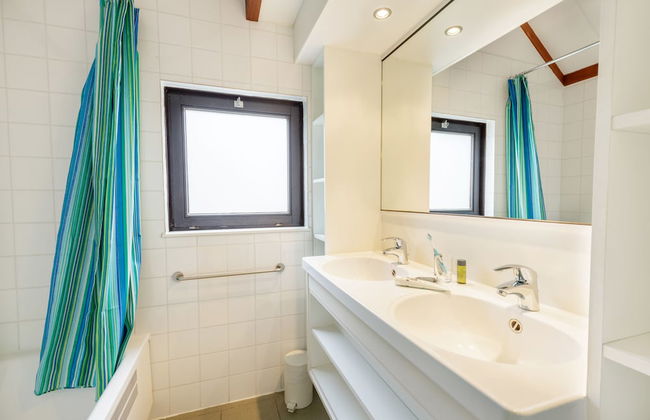
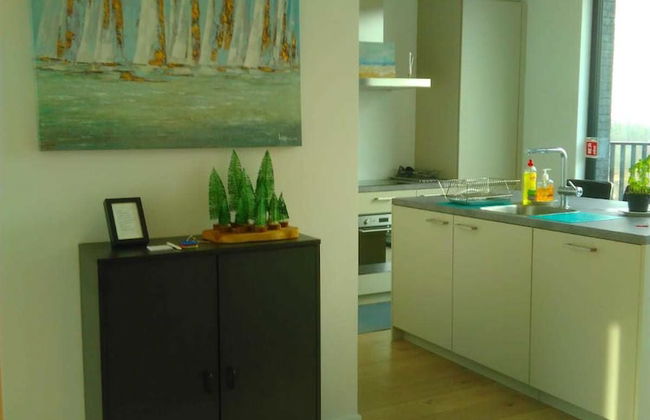
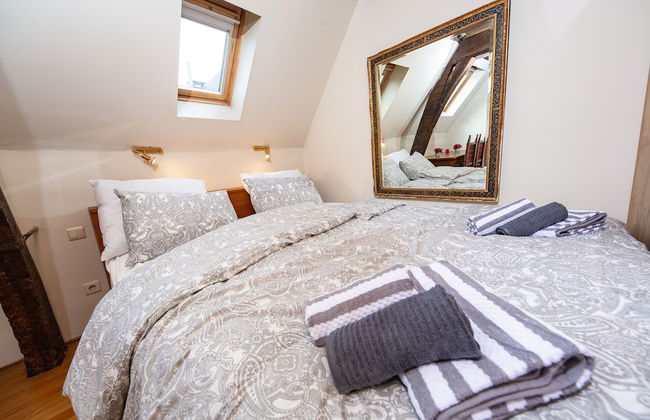
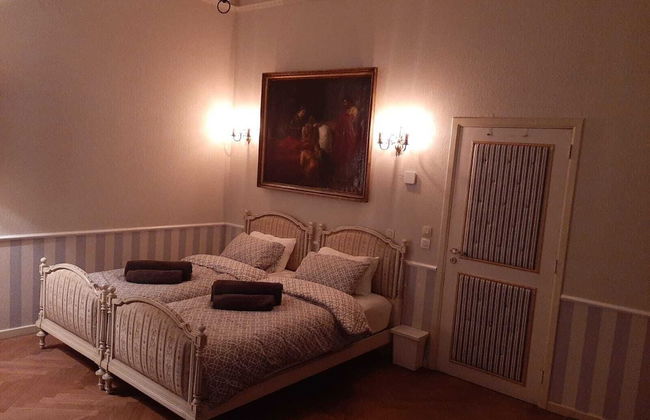
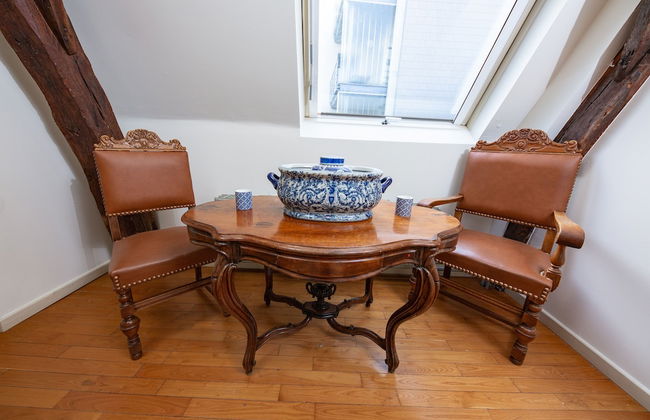
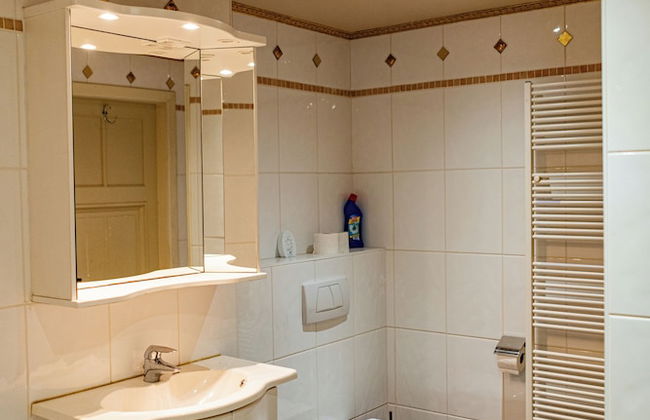
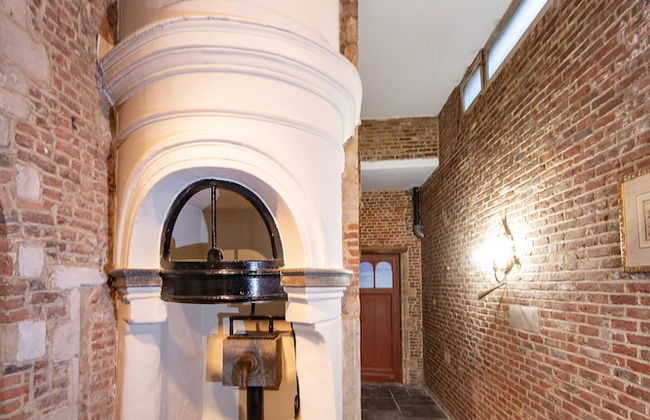
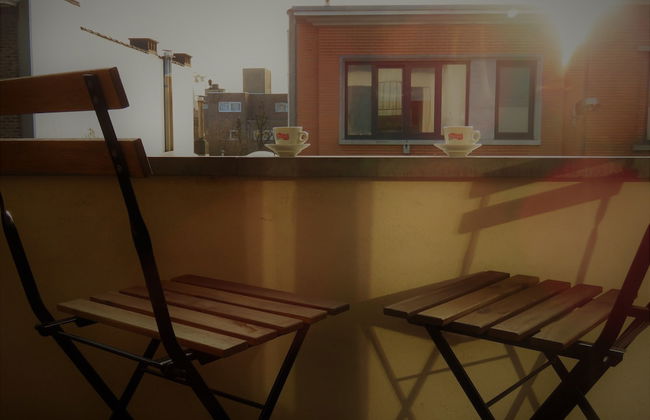
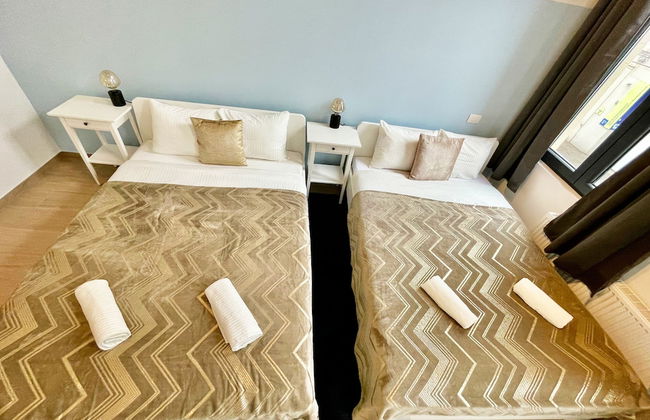
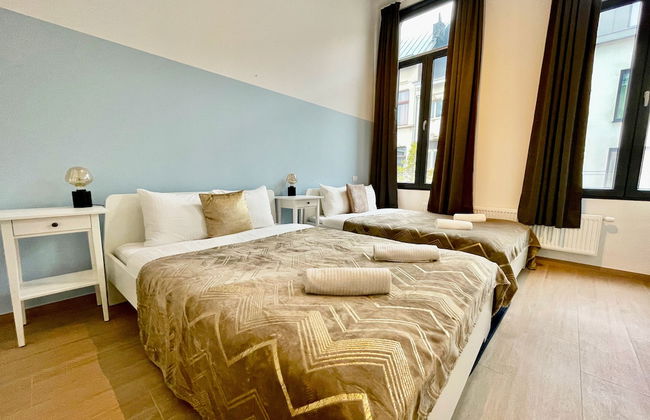
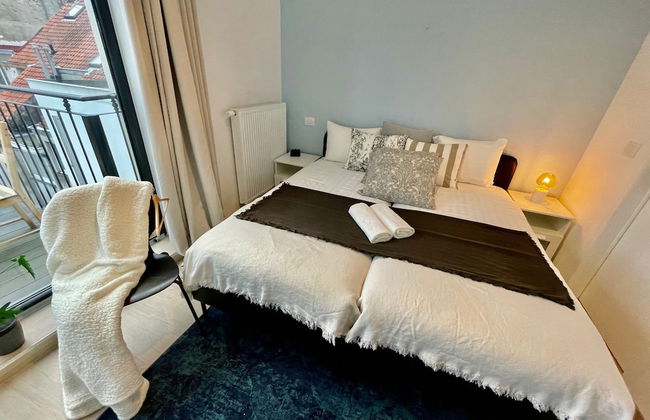
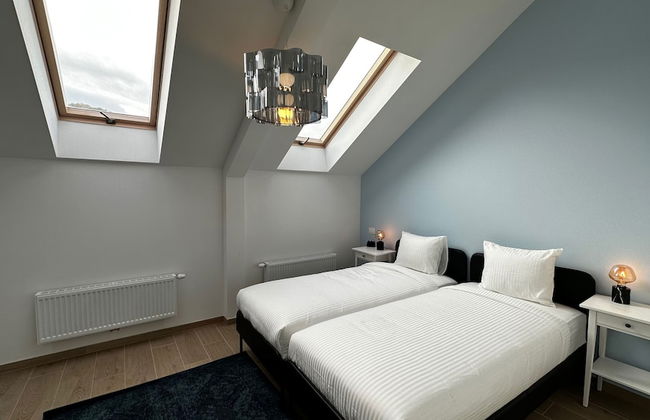
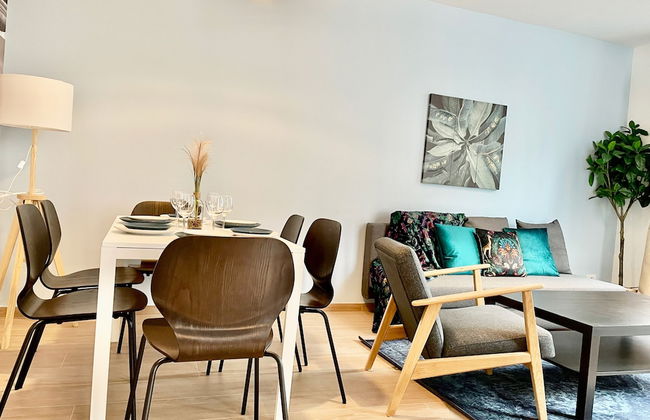
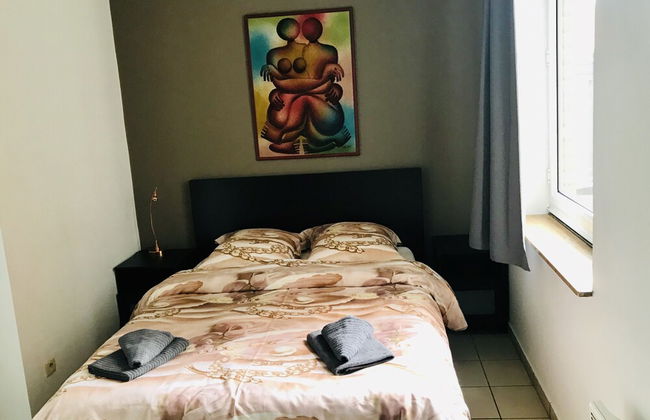
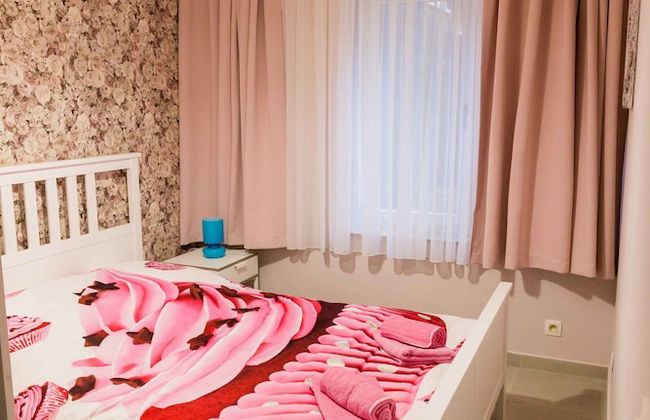
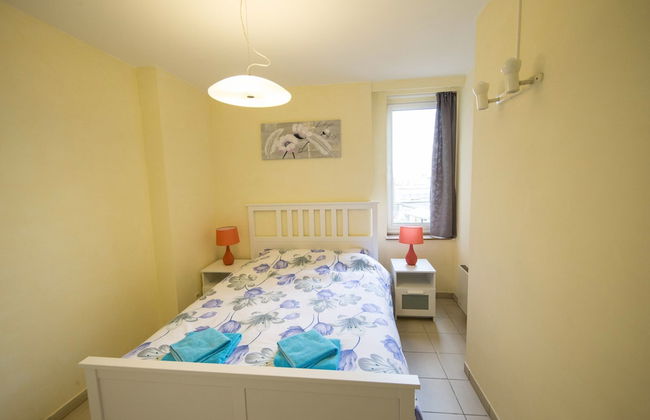
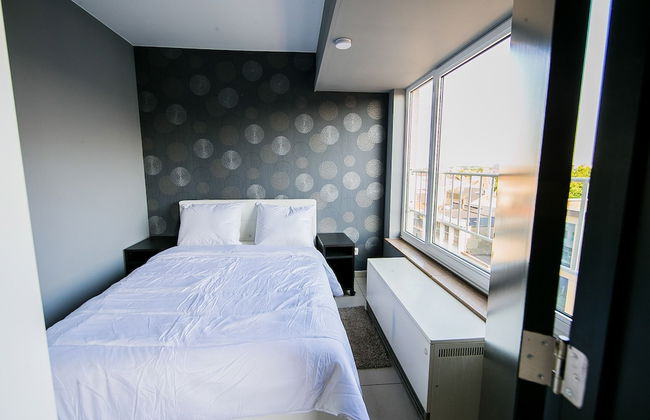
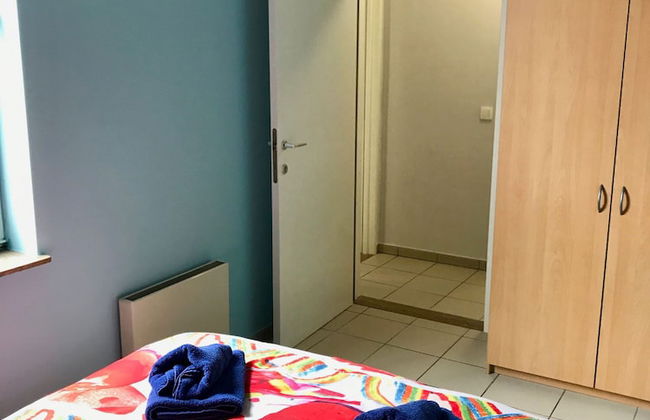
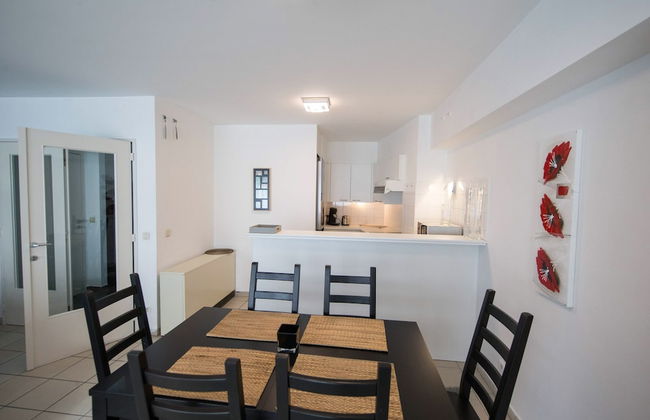
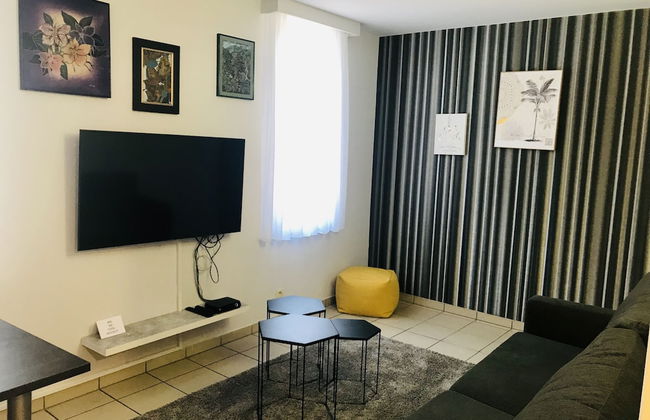
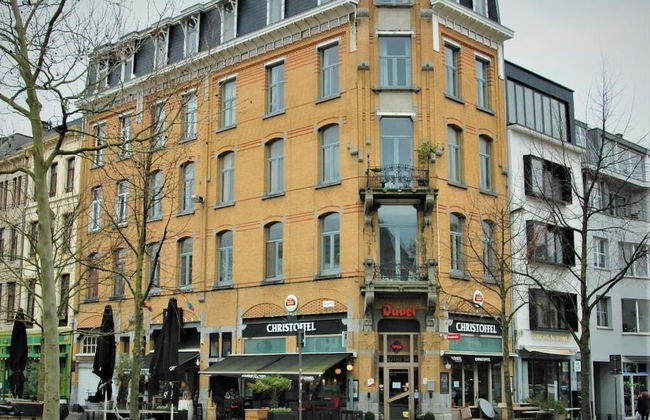
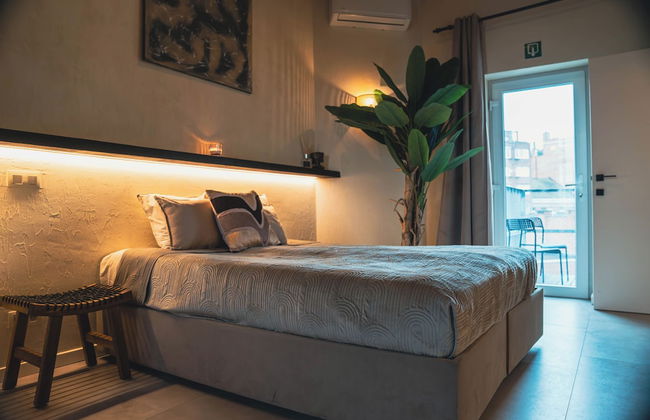
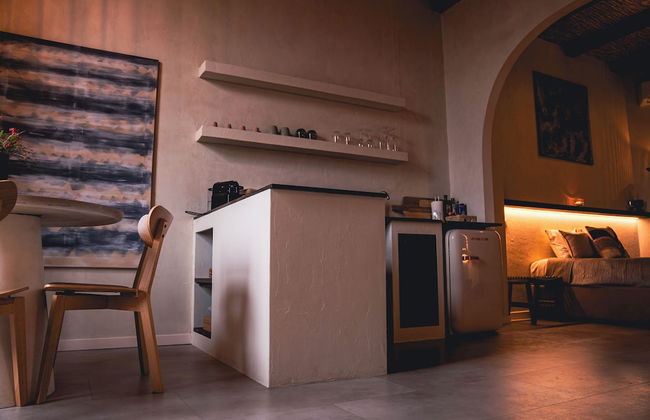
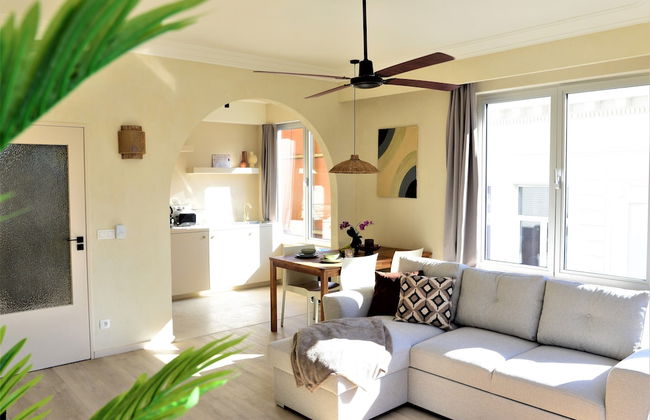
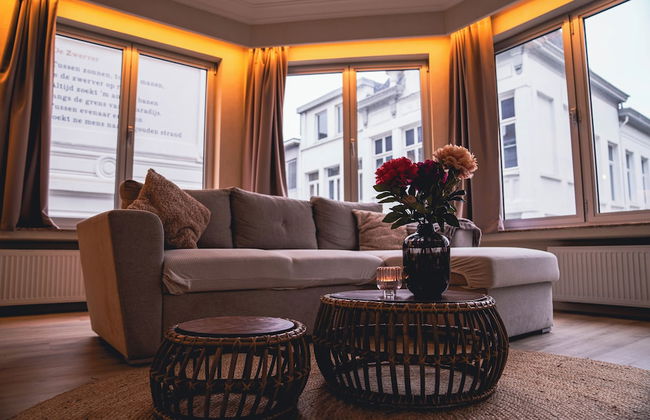
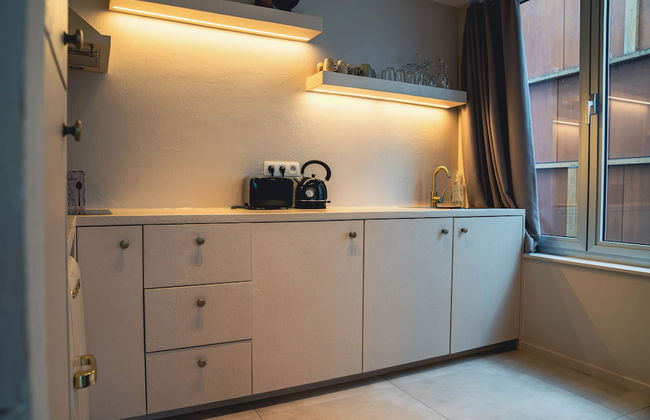
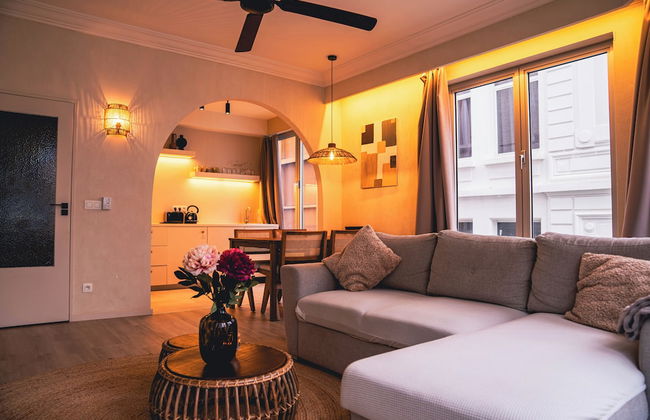
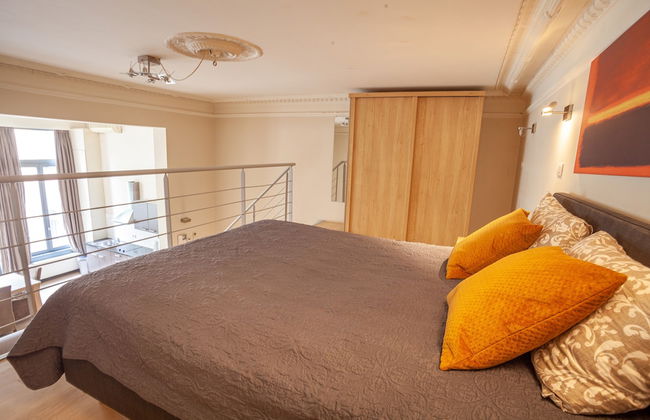
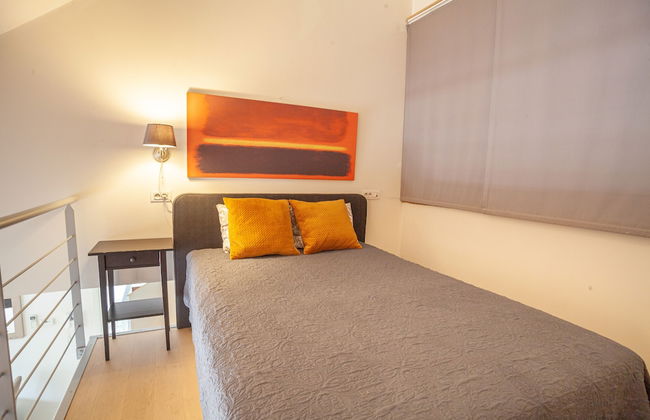
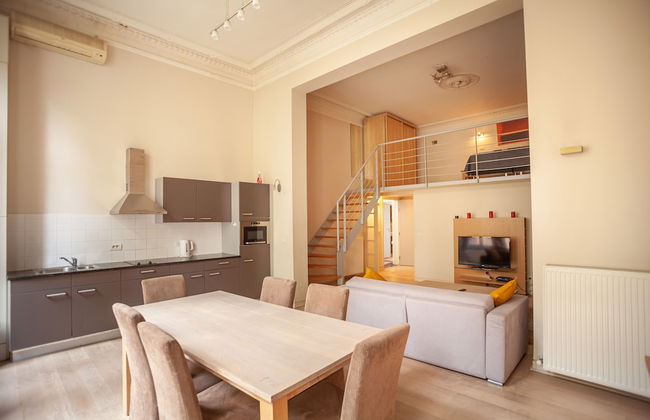
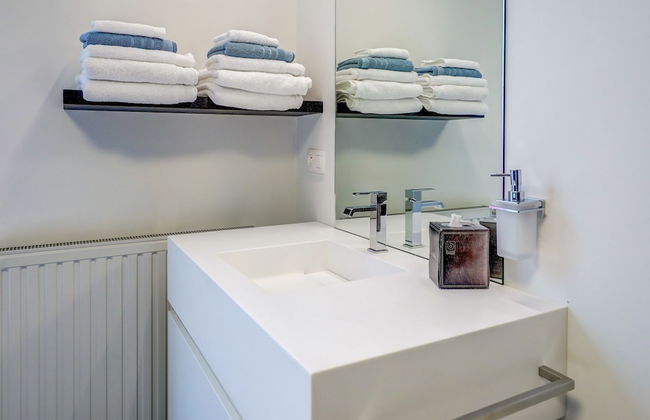
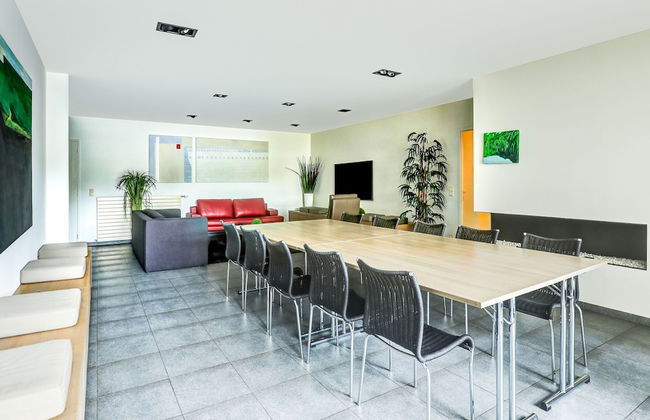
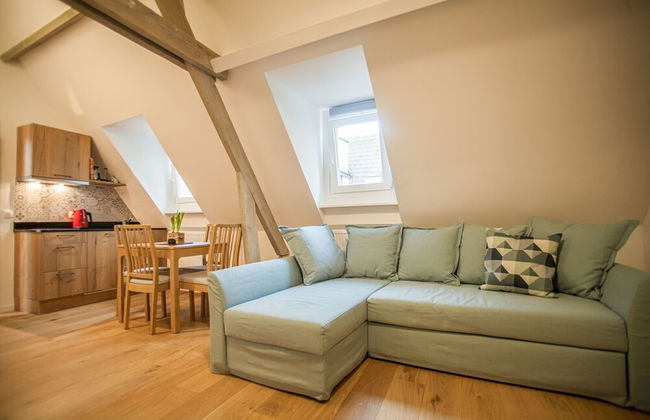
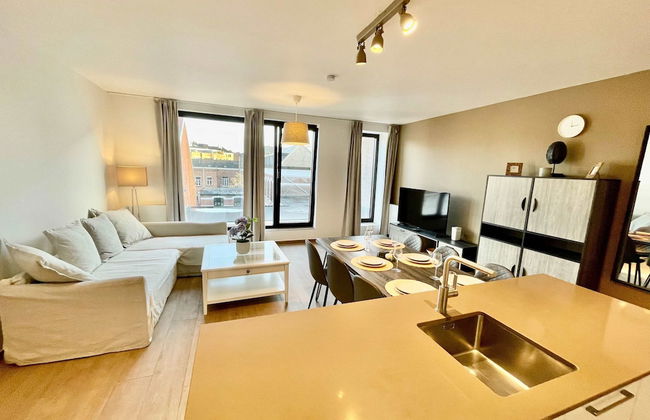
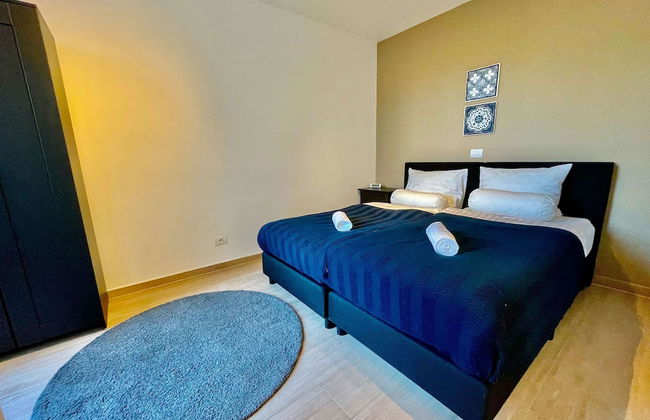
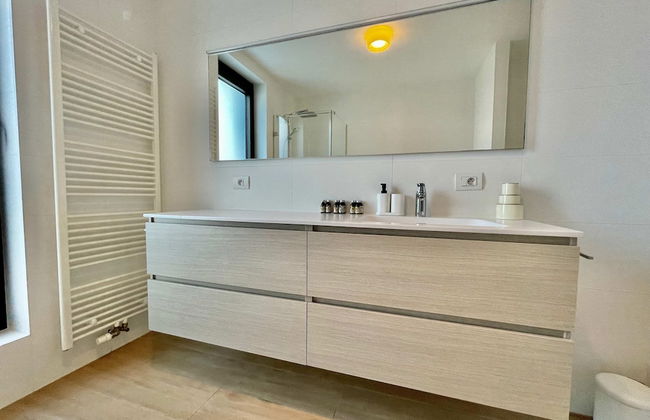
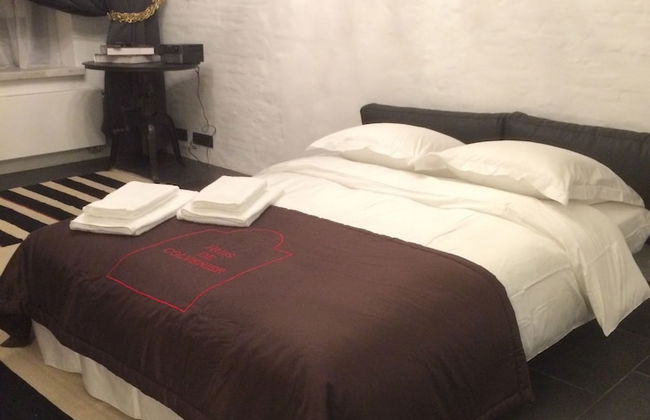
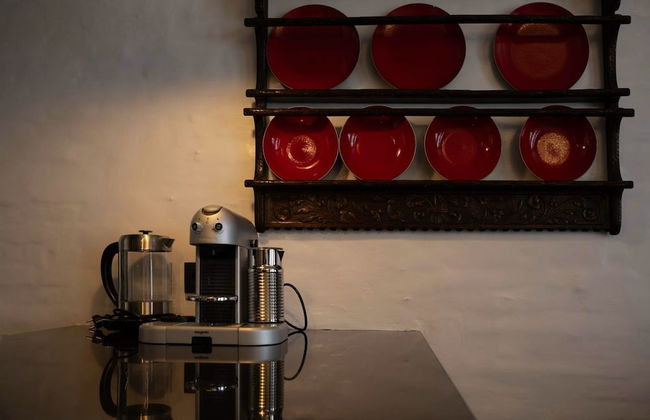
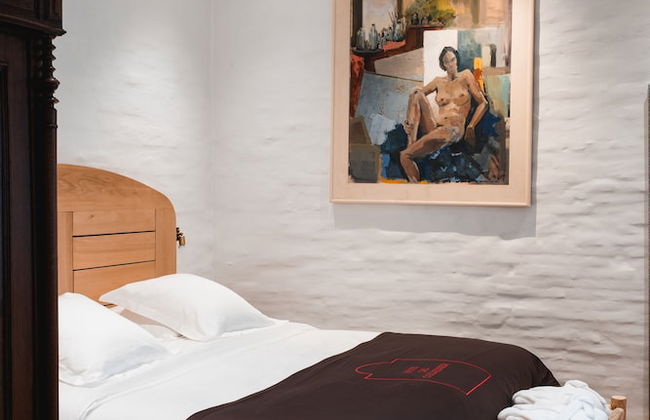
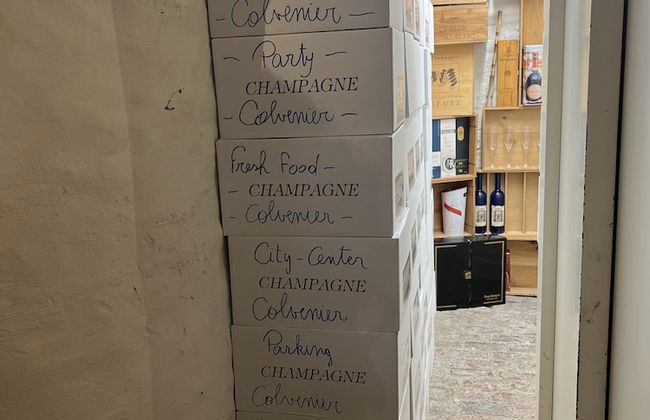
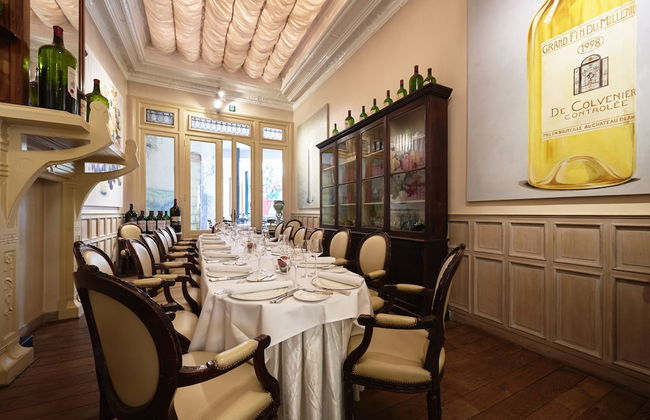
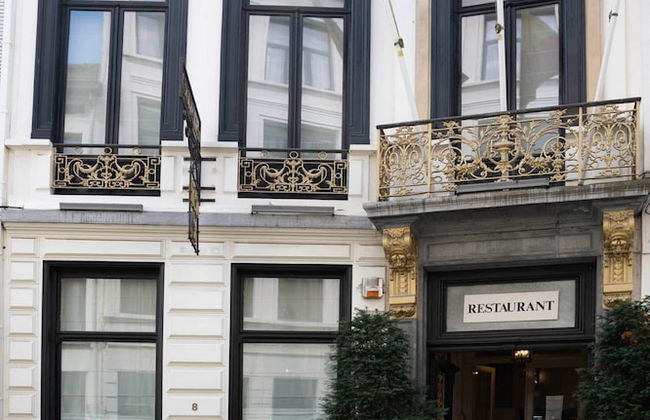
Hotel Colvenier - Foto 3
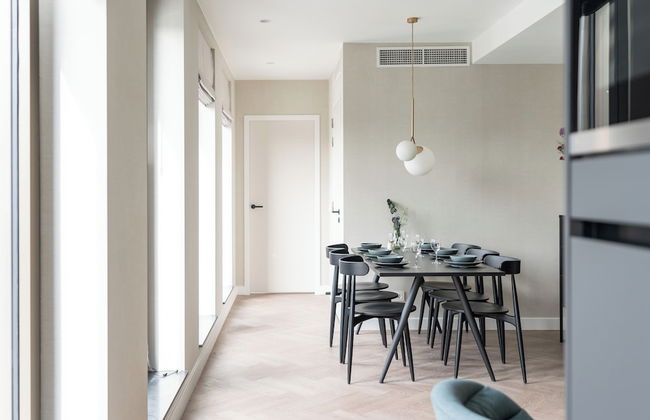
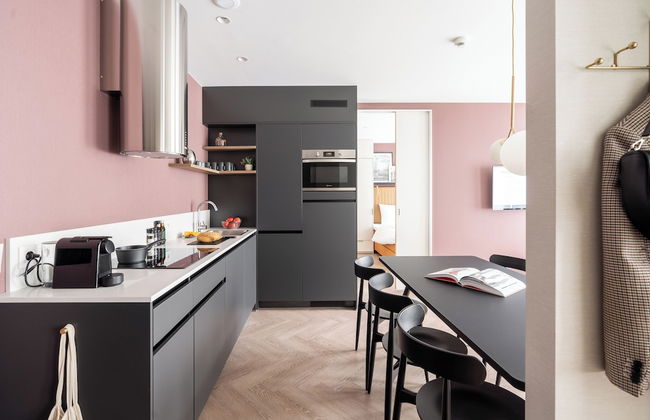
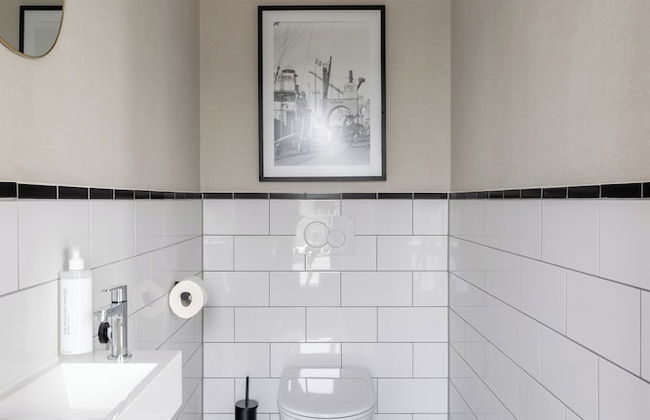
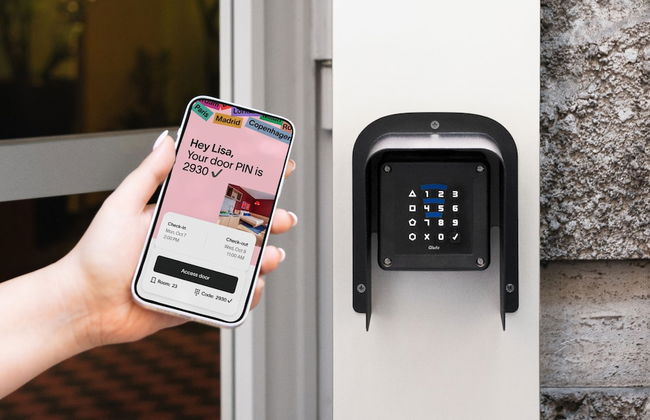
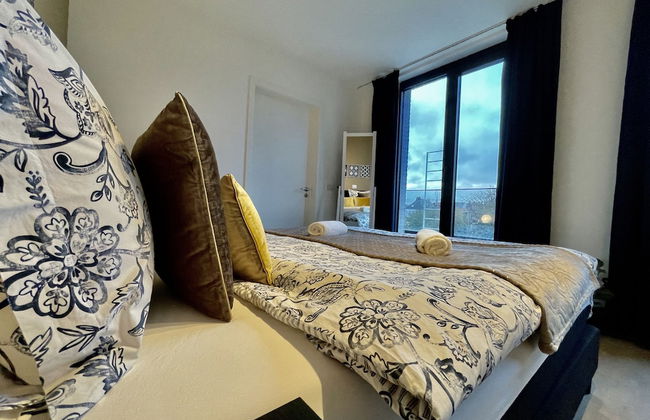
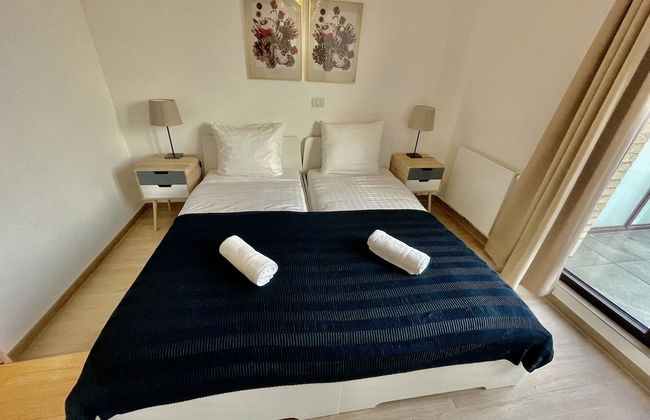
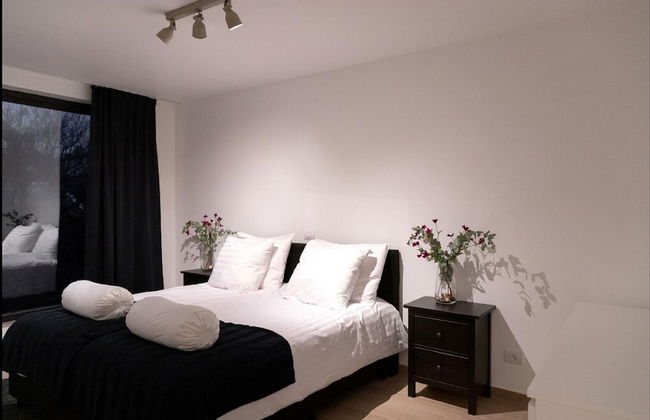
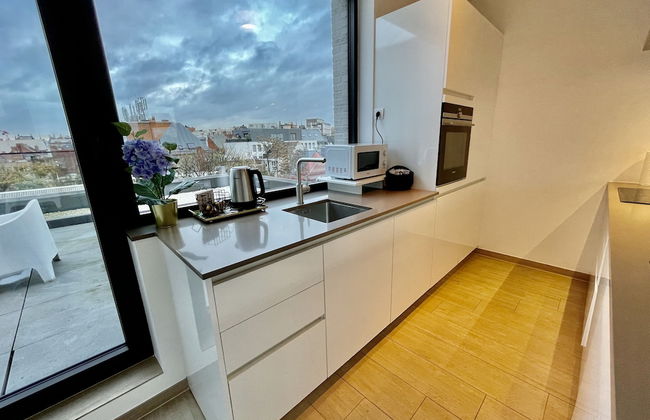
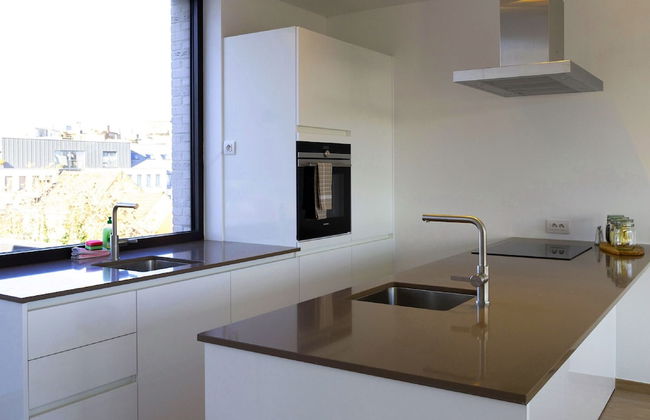
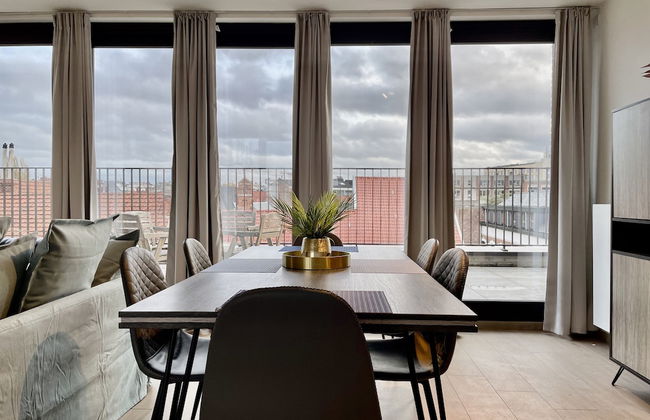
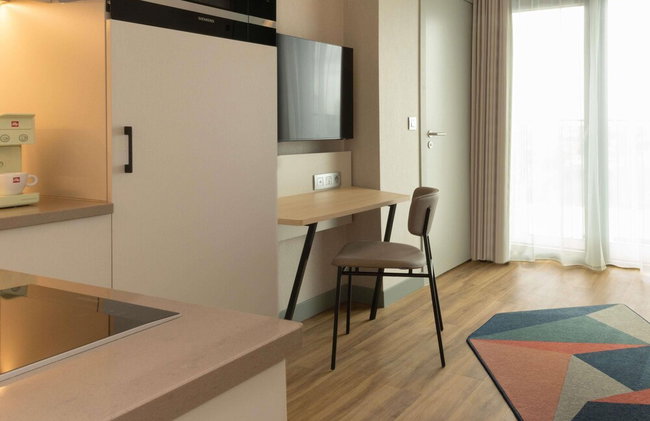
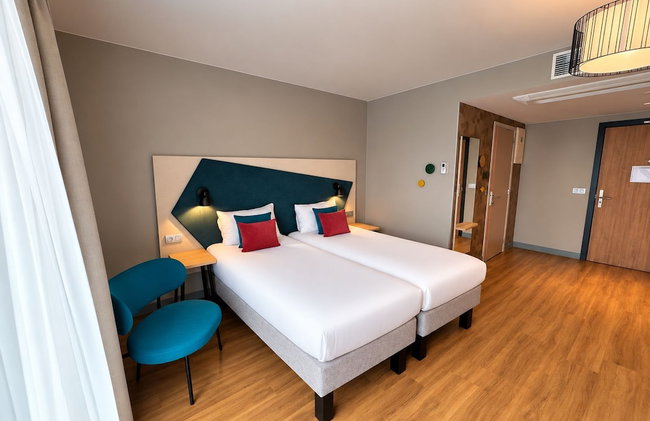
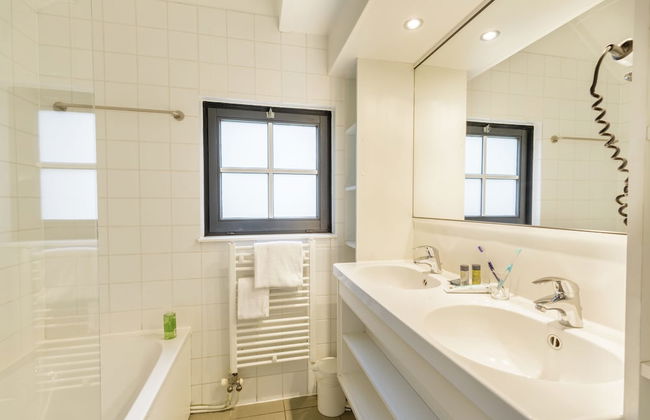
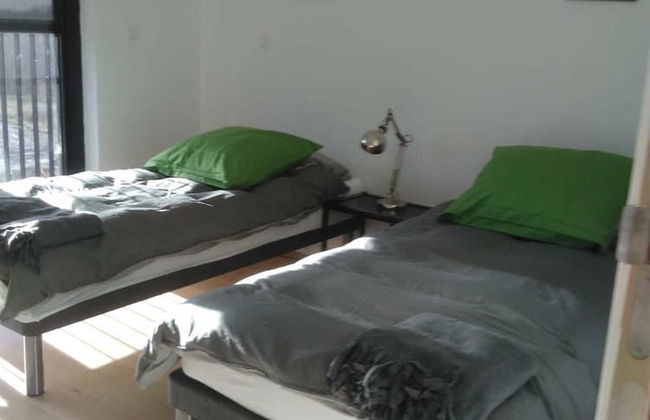
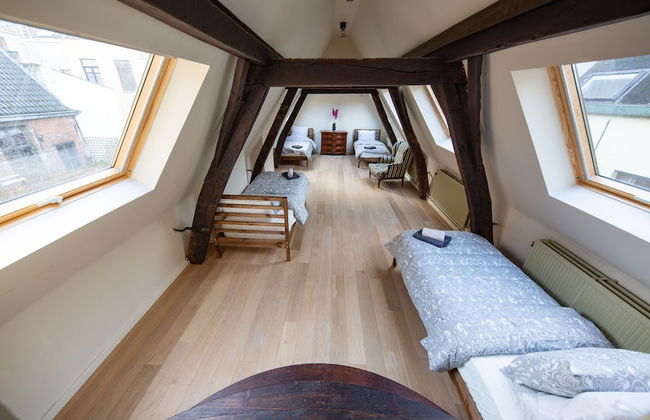
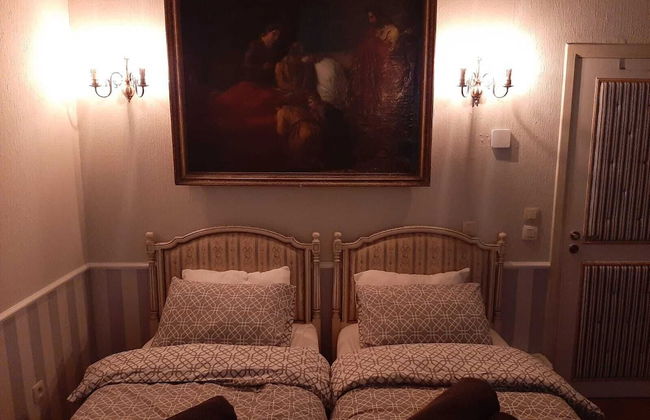
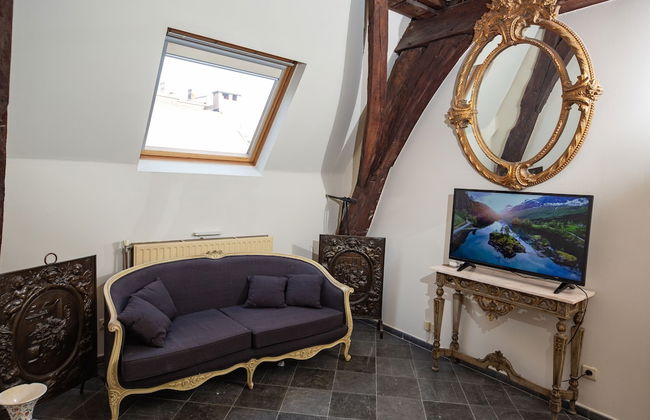
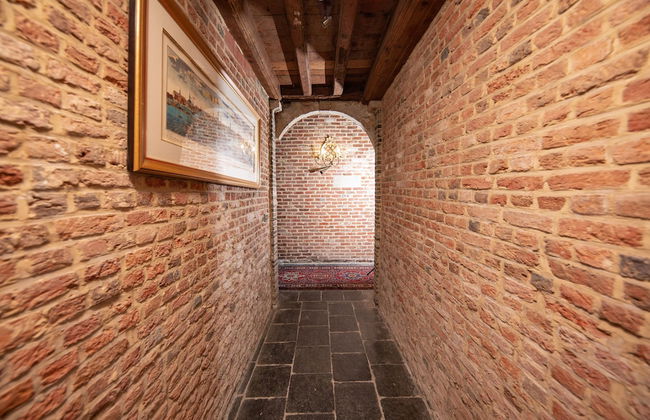
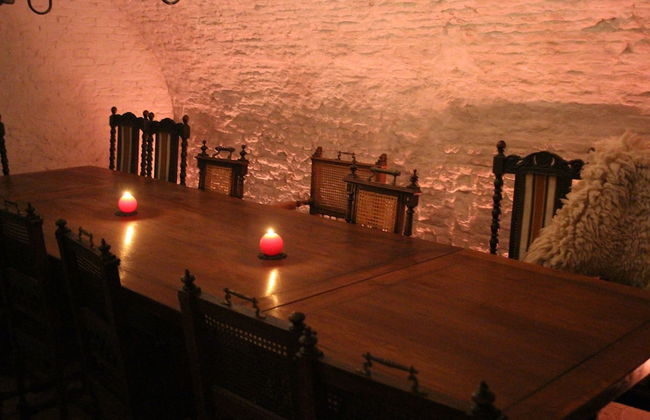
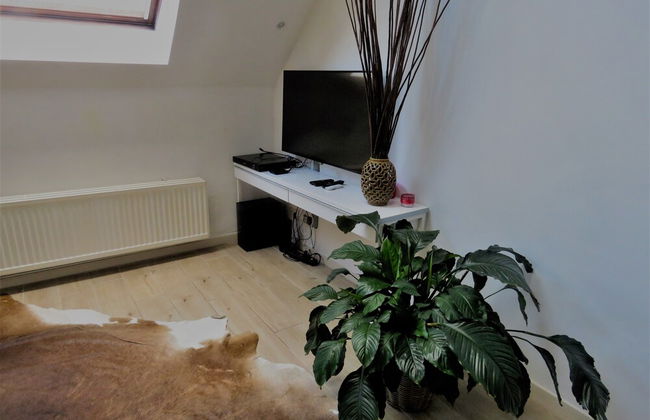
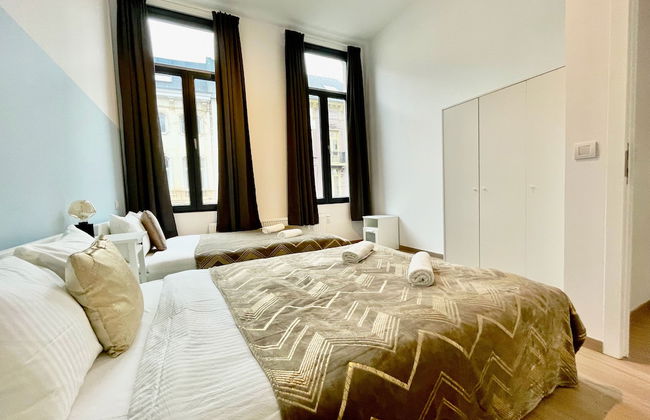
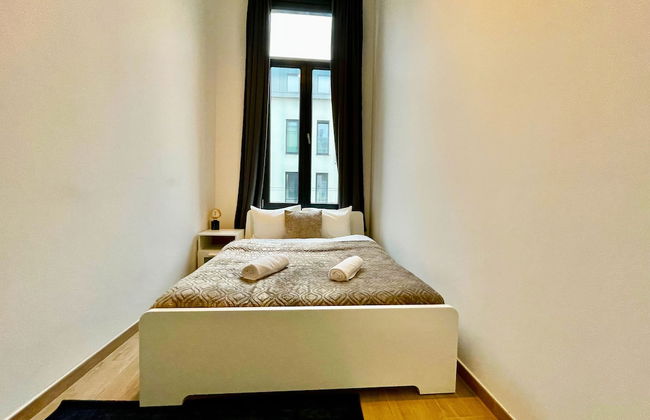
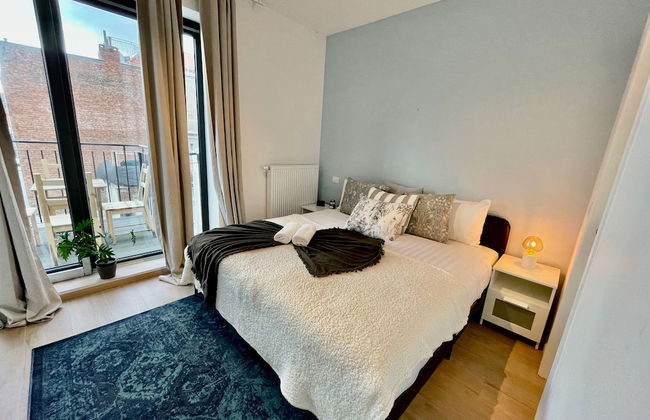
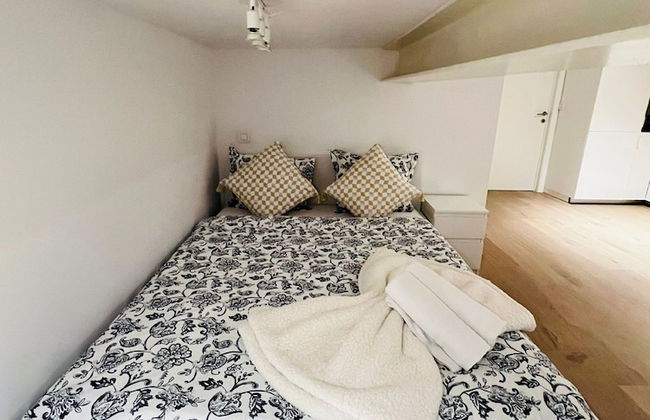
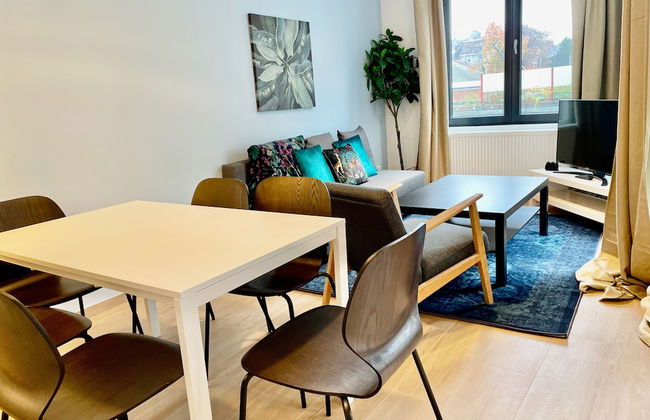
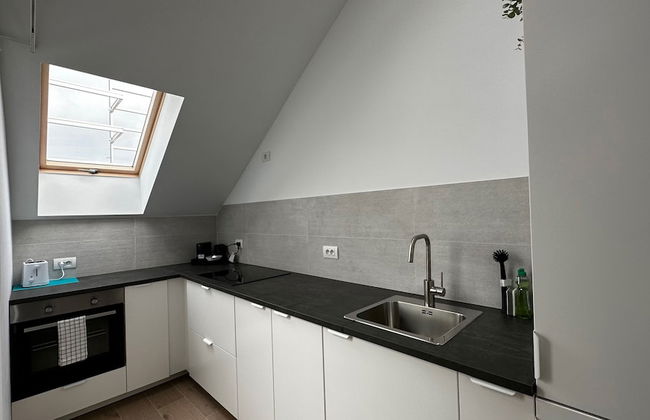
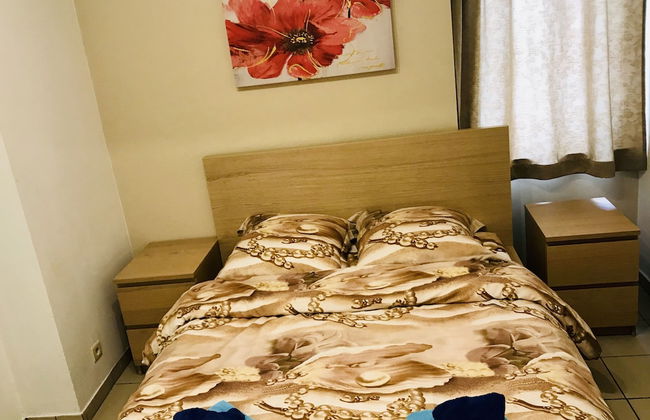
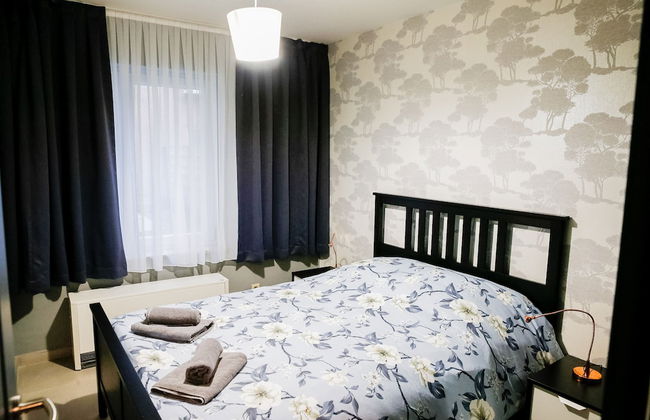
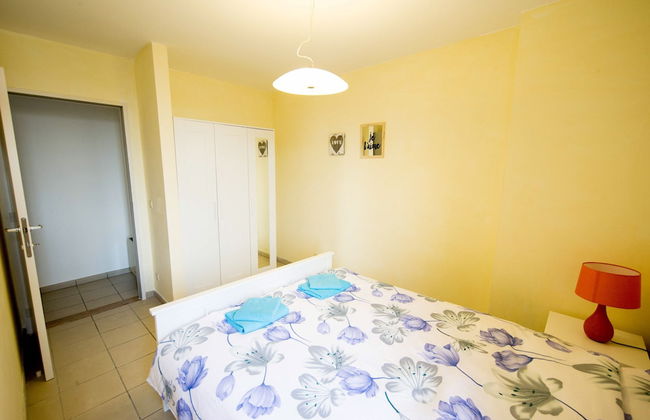
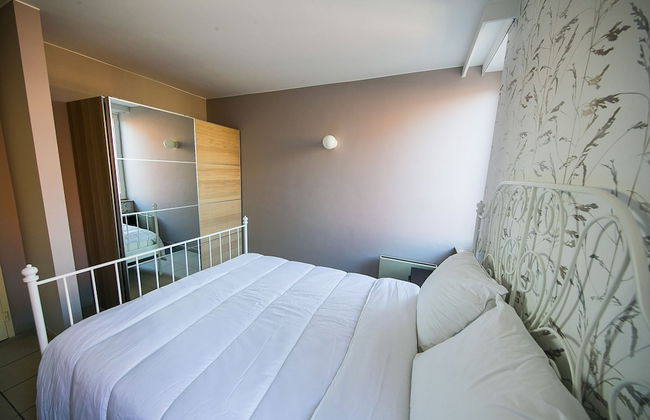
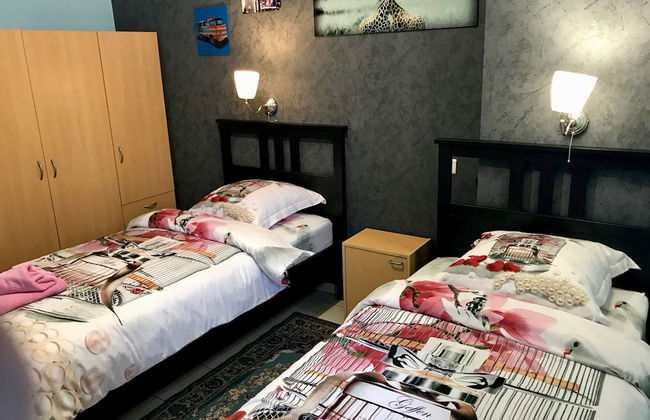
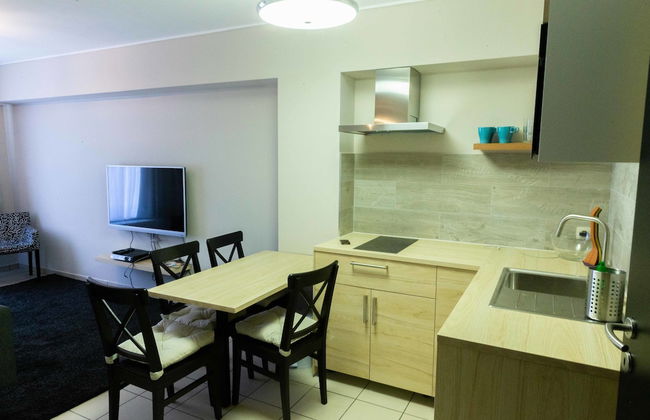
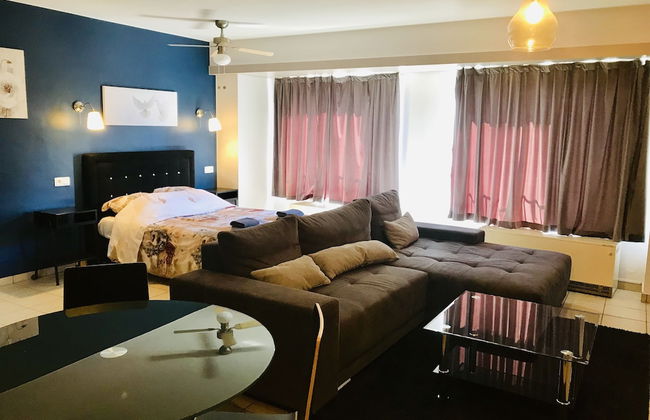
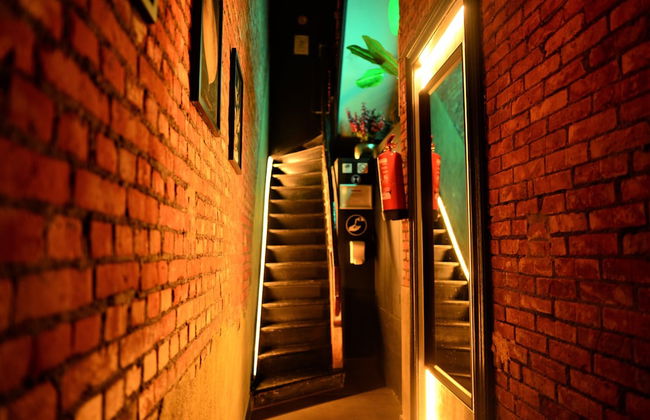
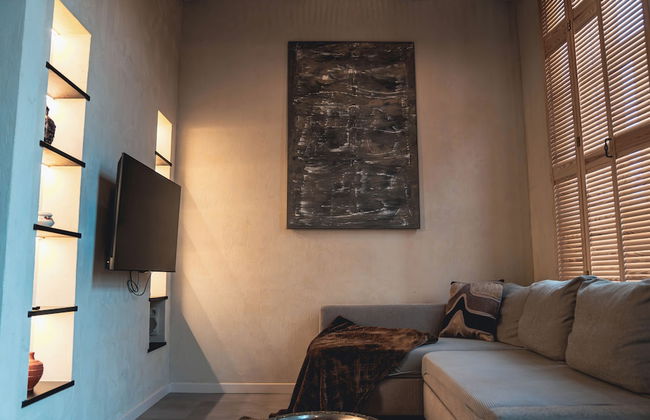
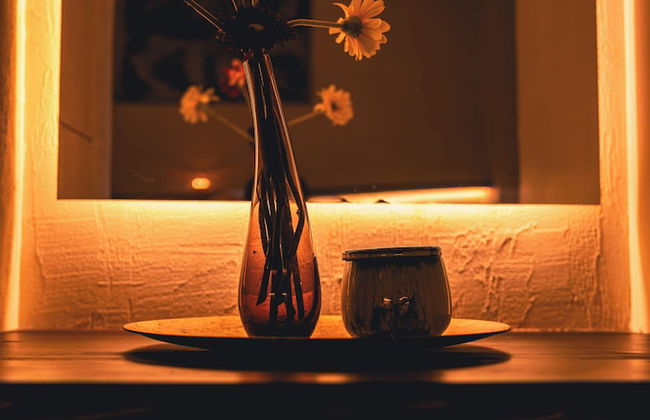
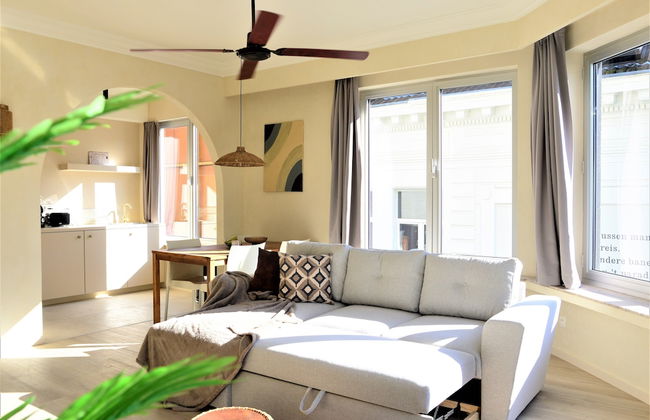
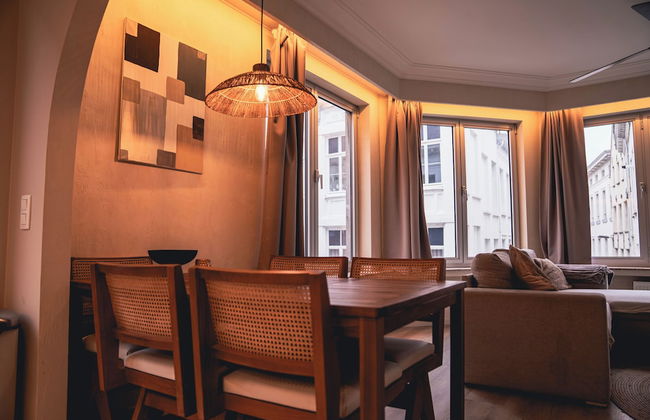
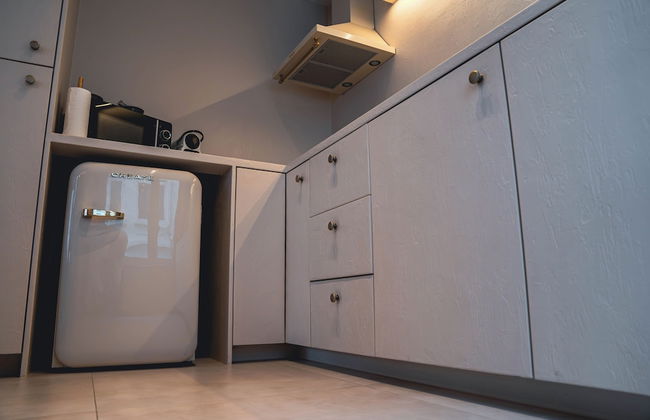
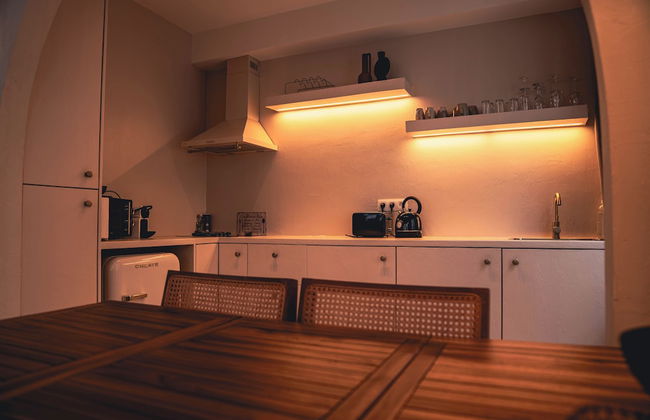
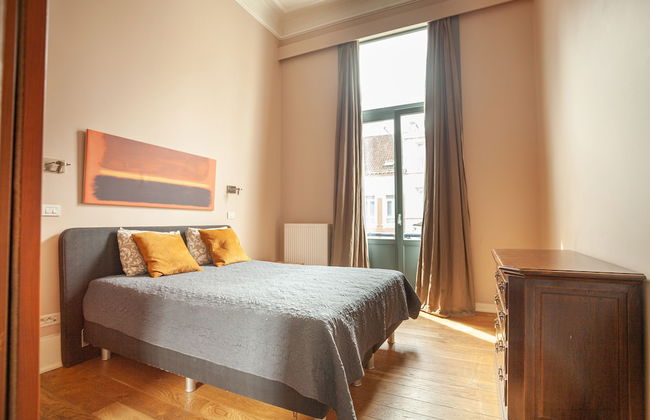
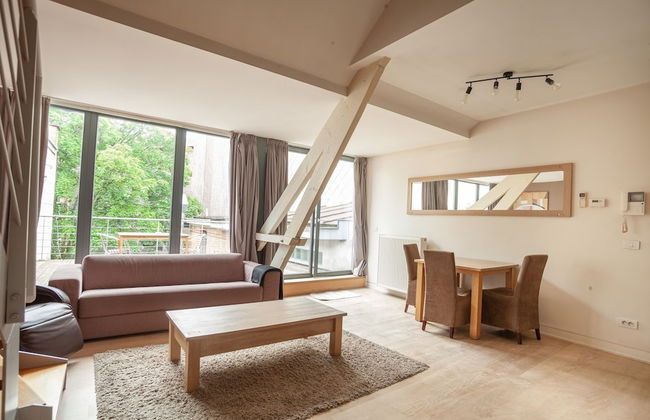
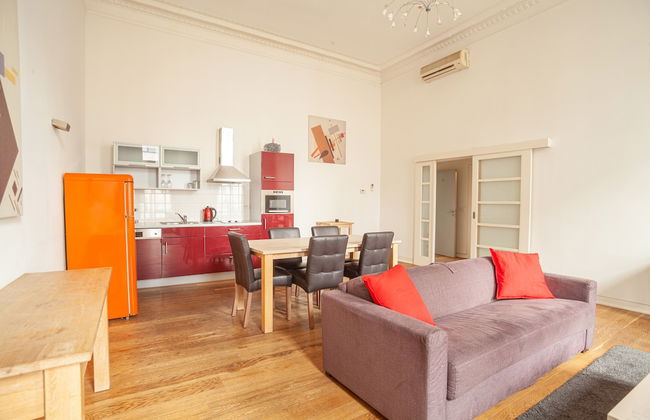
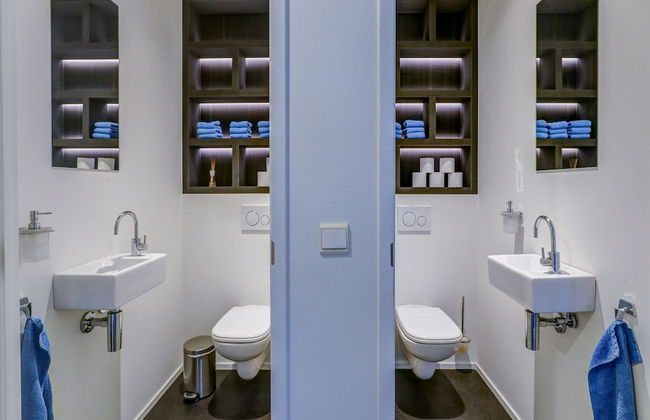
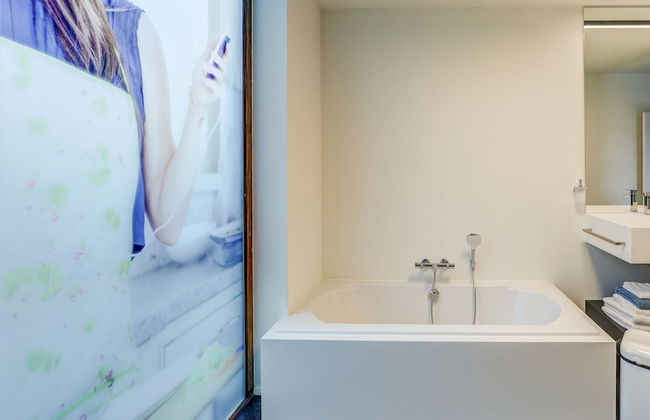
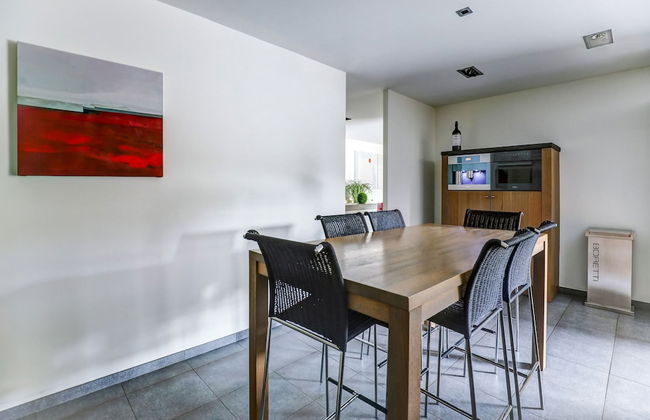
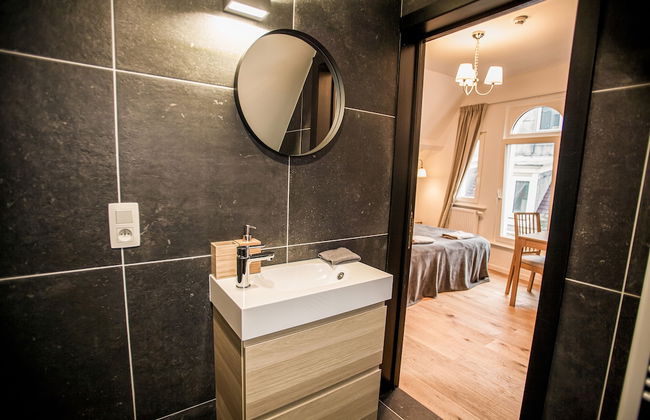
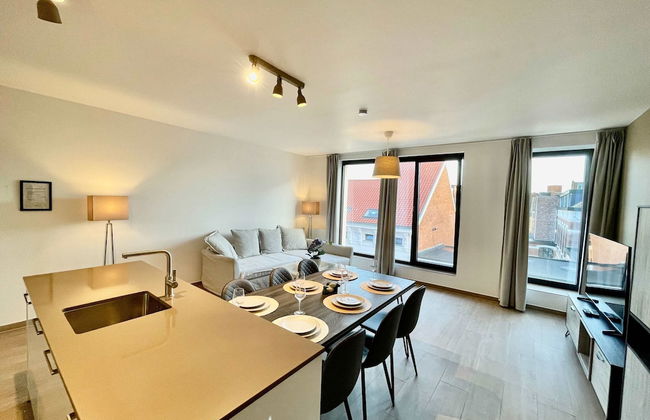
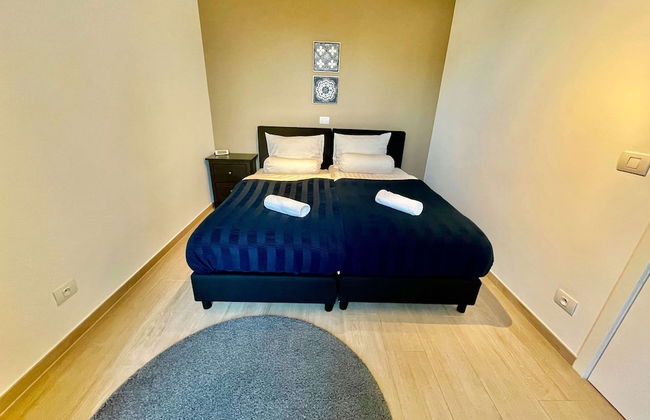
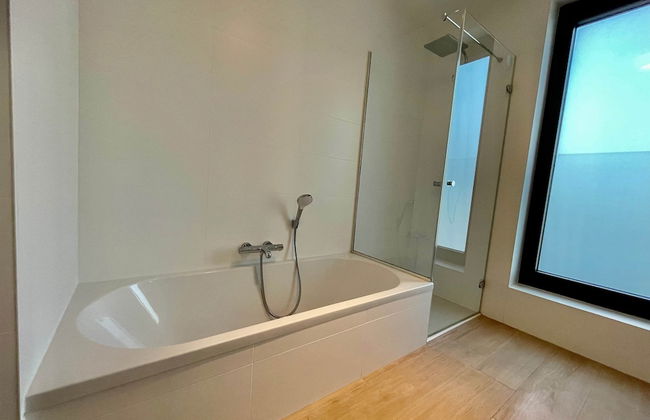
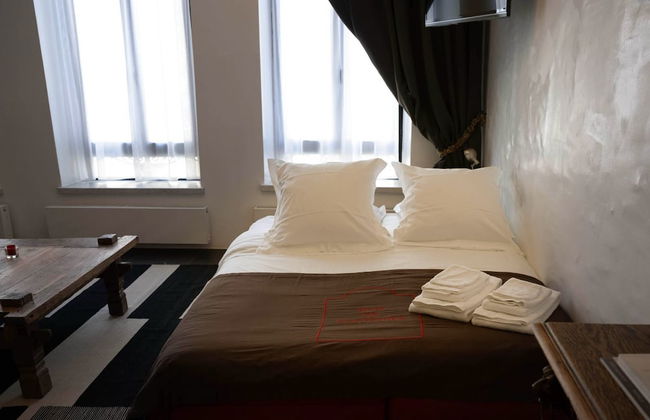
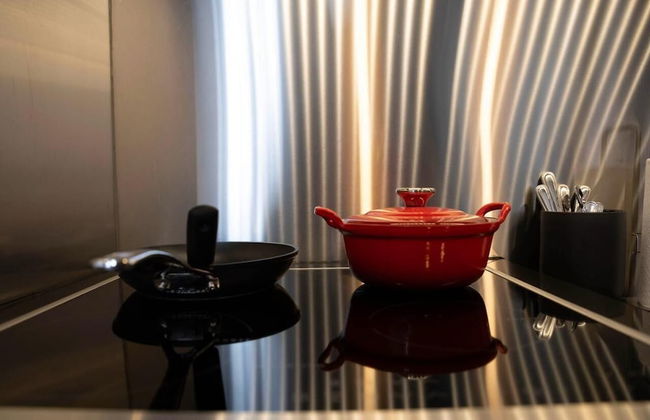
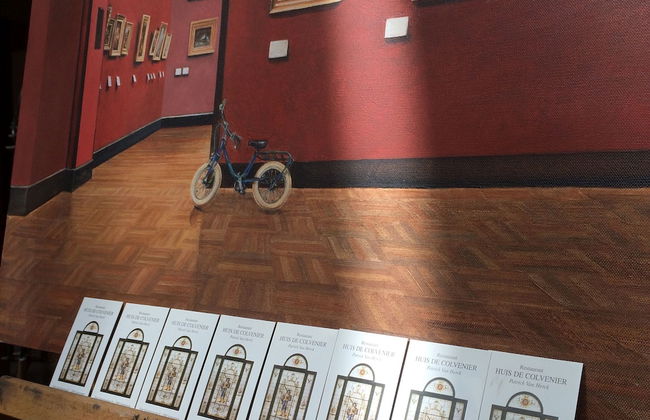
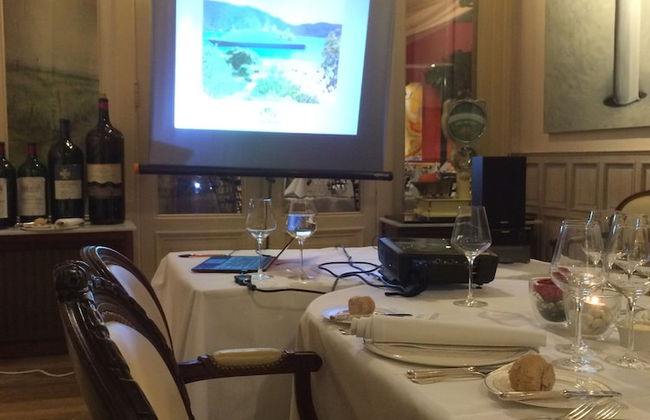
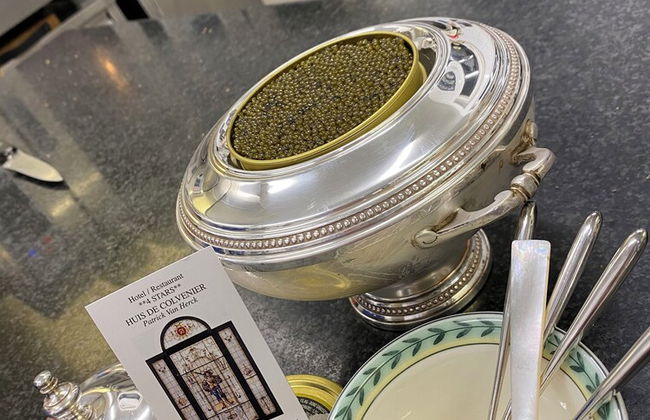
Hotel Colvenier - Foto 4
Hotel Colvenier - Foto 5
Hotel Colvenier - Foto 6
Hotel Colvenier - Foto 7
Hotel Colvenier - Foto 8
Hotel Colvenier - Foto 9
Hotel Colvenier - Foto 10
Hotel Colvenier - Foto 11
Hotel Colvenier - Foto 12
Hotel Colvenier - Foto 13
Hotel Colvenier - Foto 14
Hotel Colvenier - Foto 15
Hotel Colvenier - Foto 16
Hotel Colvenier - Foto 17
Hotel Colvenier - Foto 18
Hotel Colvenier - Foto 19
Hotel Colvenier - Foto 20
Hotel Colvenier - Foto 21
Hotel Colvenier - Foto 22
Hotel Colvenier - Foto 23
Hotel Colvenier - Foto 24
Hotel Colvenier - Foto 25
Hotel Colvenier - Foto 26
Hotel Colvenier - Foto 27
Hotel Colvenier - Foto 28
Hotel Colvenier - Foto 29
Hotel Colvenier - Foto 30
Hotel Colvenier - Foto 31
Hotel Colvenier - Foto 32
Hotel Colvenier - Foto 33
Hotel Colvenier - Foto 34
Hotel Colvenier - Foto 35
Hotel Colvenier - Foto 36
Hotel Colvenier - Foto 37
Hotel Colvenier - Foto 38
Hotel Colvenier - Foto 39
Hotel Colvenier - Foto 40
Hotel Colvenier - Foto 41
Hotel Colvenier - Foto 42
Hotel Colvenier - Foto 43
Hotel Colvenier - Foto 44
Hotel Colvenier - Foto 45
Hotel Colvenier - Foto 46
Hotel Colvenier - Foto 47
Hotel Colvenier - Foto 48
Hotel Colvenier - Foto 49
Hotel Colvenier - Foto 50
Hotel Colvenier - Foto 51
Hotel Colvenier - Foto 52
Hotel Colvenier - Foto 53
Hotel Colvenier - Foto 54
Hotel Colvenier - Foto 55
Hotel Colvenier - Foto 56
Hotel Colvenier - Foto 57
Hotel Colvenier - Foto 58
Hotel Colvenier - Foto 59
Hotel Colvenier - Foto 60
Hotel Colvenier - Foto 61
Hotel Colvenier - Foto 62
Hotel Colvenier - Foto 63
Hotel Colvenier - Foto 64
Hotel Colvenier - Foto 65
Hotel Colvenier - Foto 66
Hotel Colvenier - Foto 67
Hotel Colvenier - Foto 68
Hotel Colvenier - Foto 69
Hotel Colvenier - Foto 70
Hotel Colvenier - Foto 71
Hotel Colvenier - Foto 72
Hotel Colvenier - Foto 73
Hotel Colvenier - Foto 74
Hotel Colvenier - Foto 75
Hotel Colvenier - Foto 76
Hotel Colvenier - Foto 77
Hotel Colvenier - Foto 78
Hotel Colvenier - Foto 79
Hotel Colvenier - Foto 80

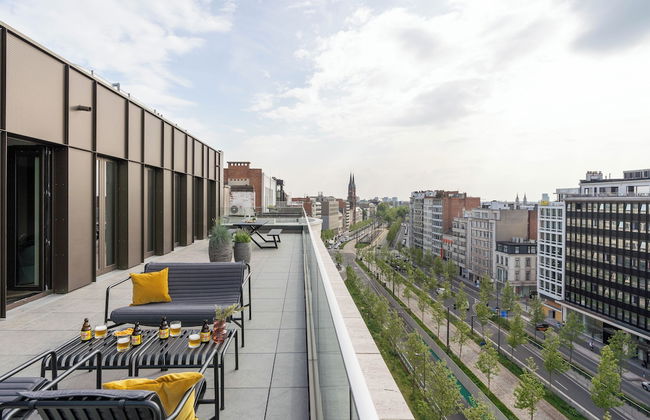
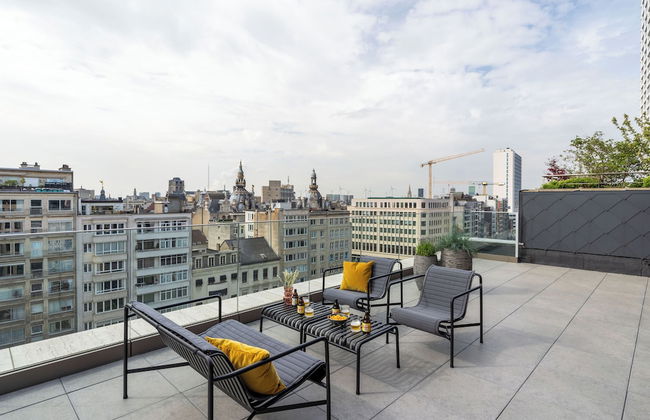
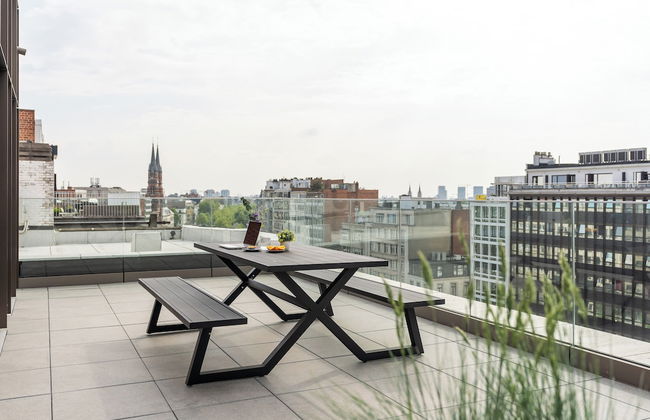
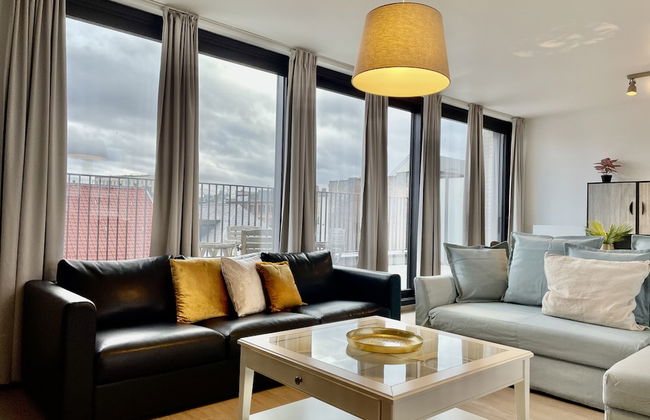
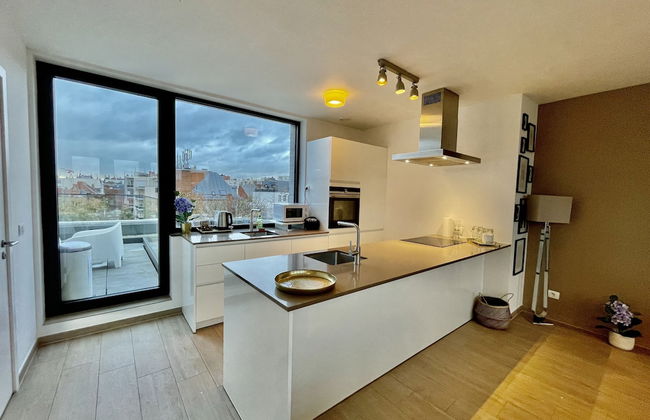
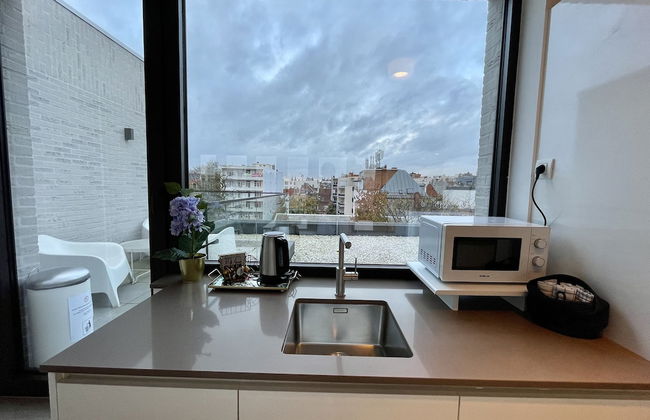
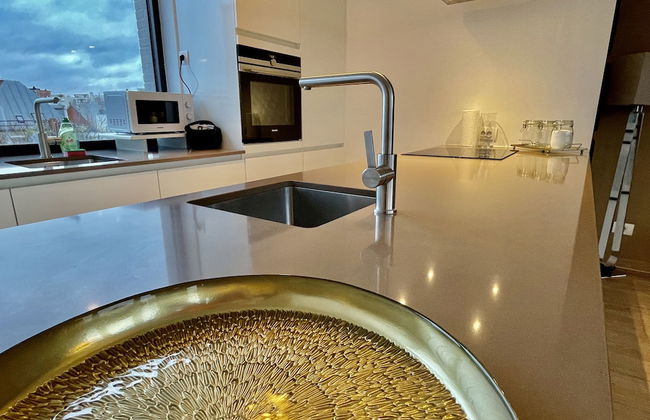
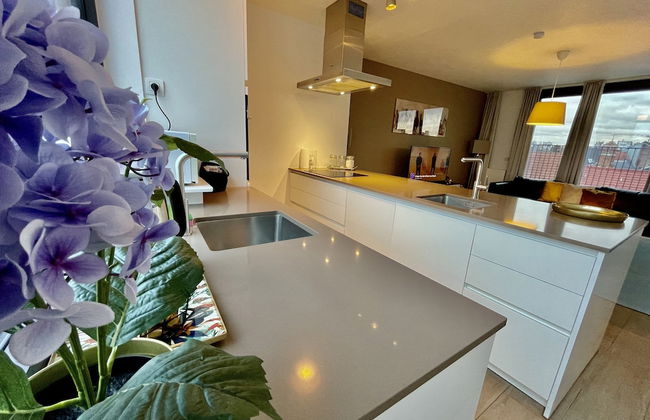
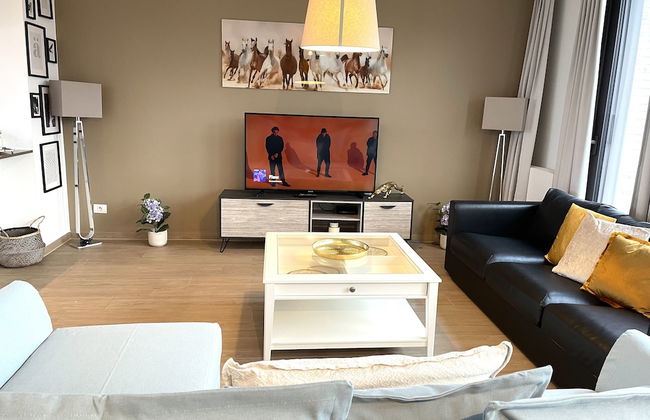
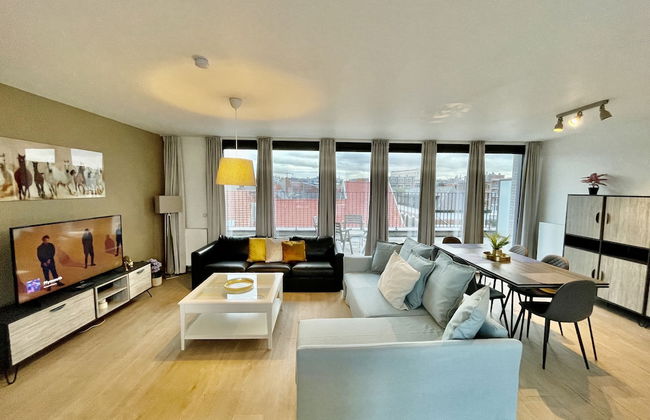
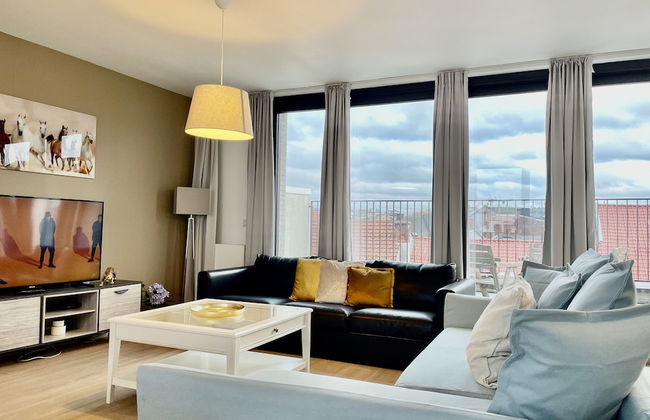
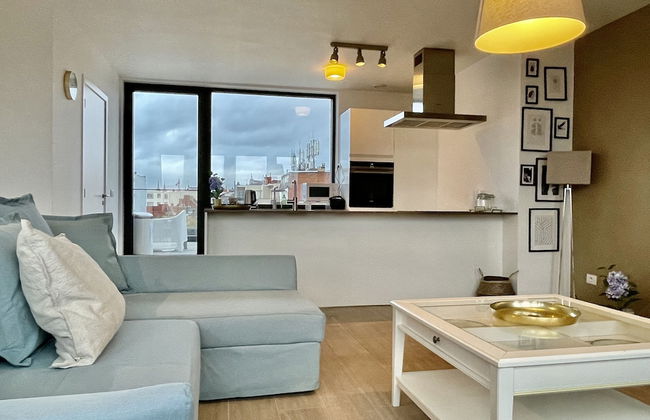
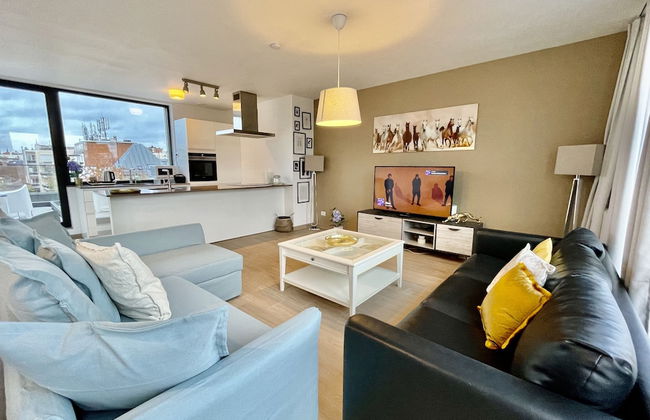
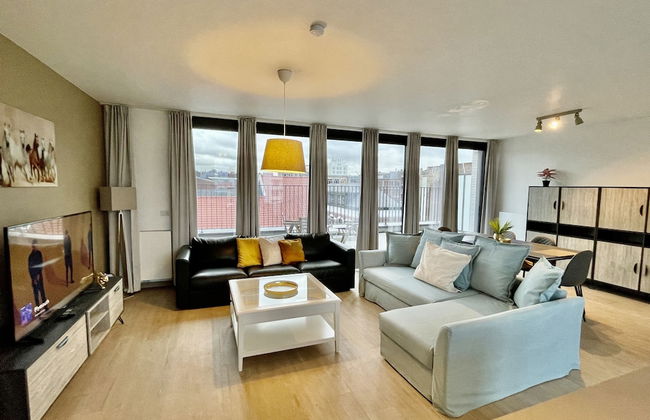
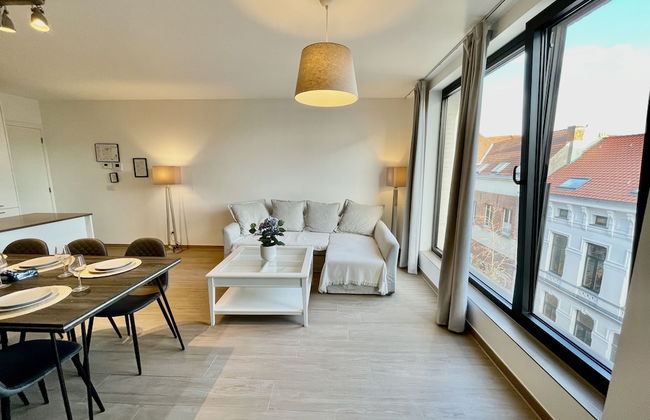
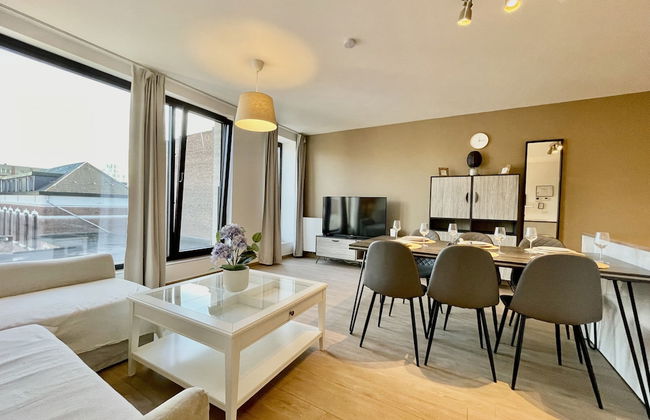
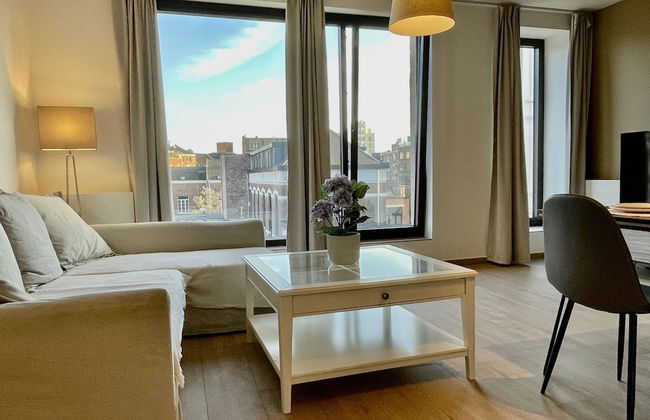
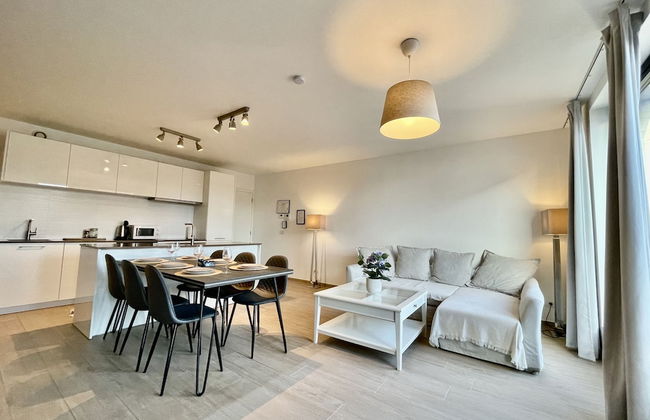
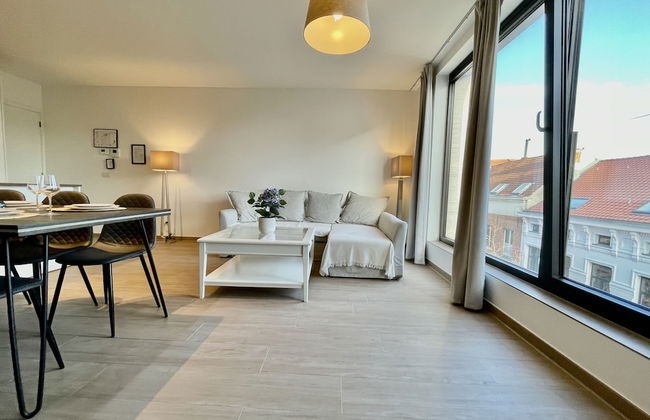
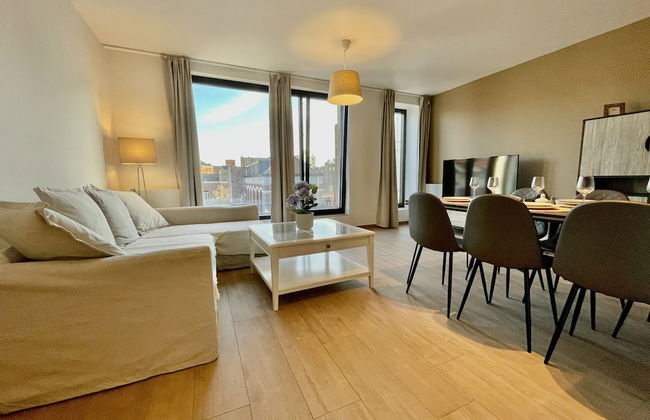
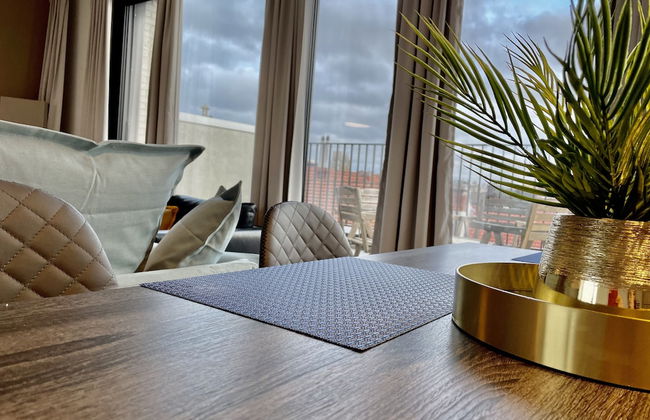
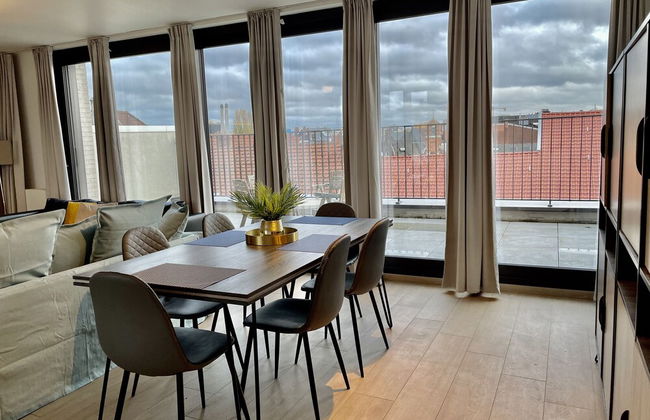
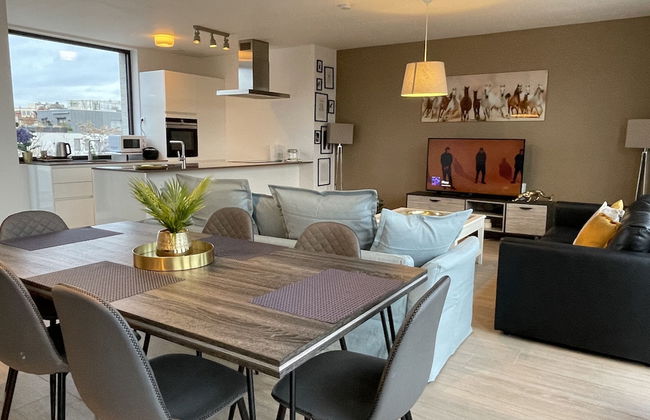
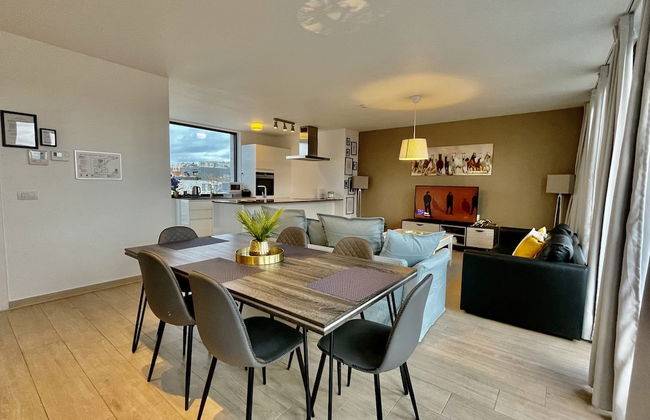
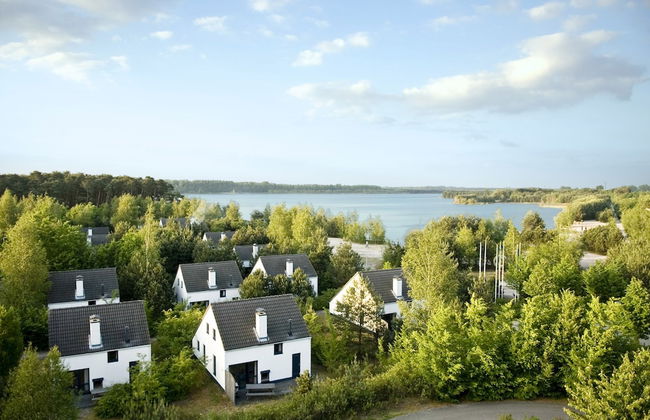
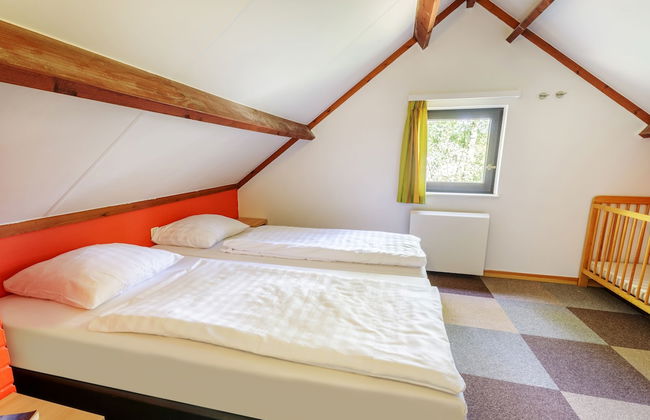
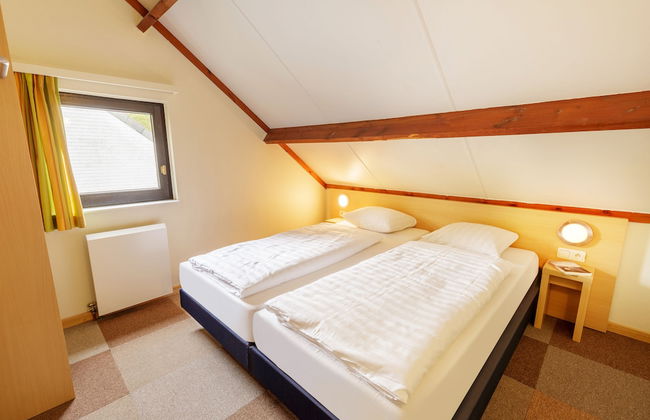
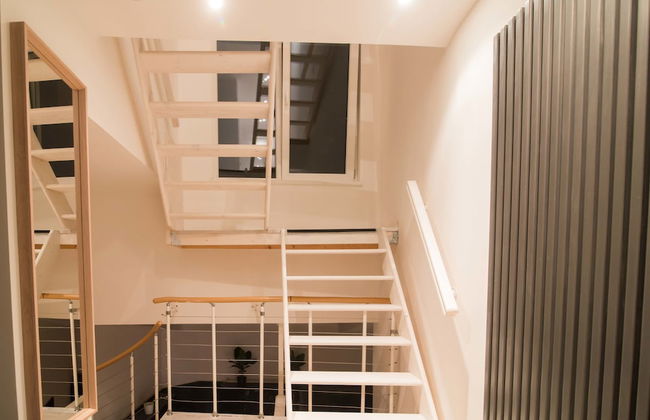
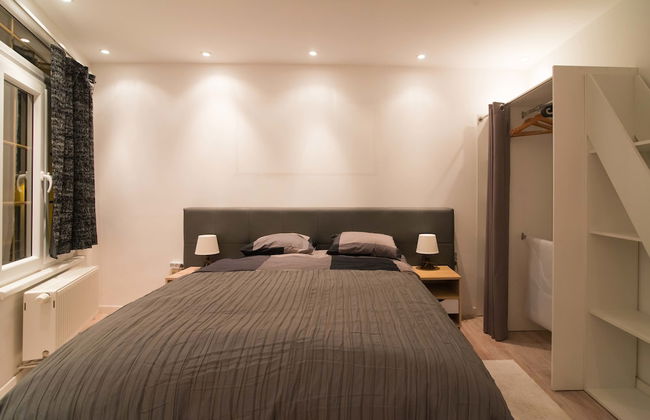
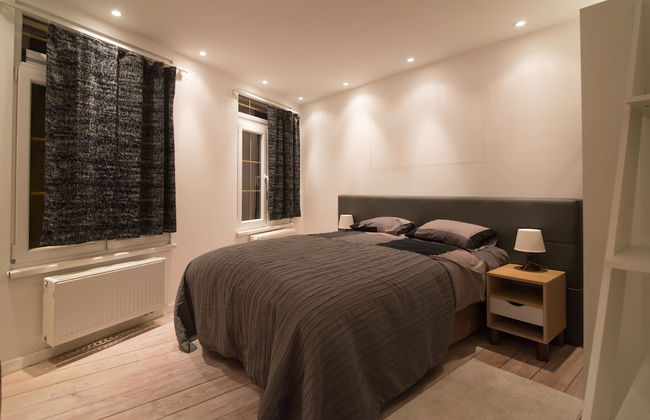
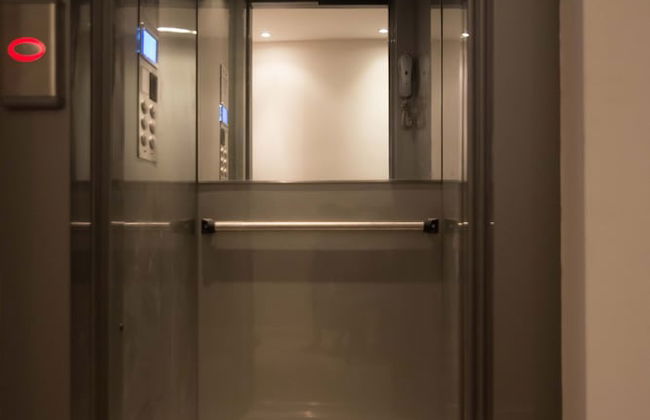
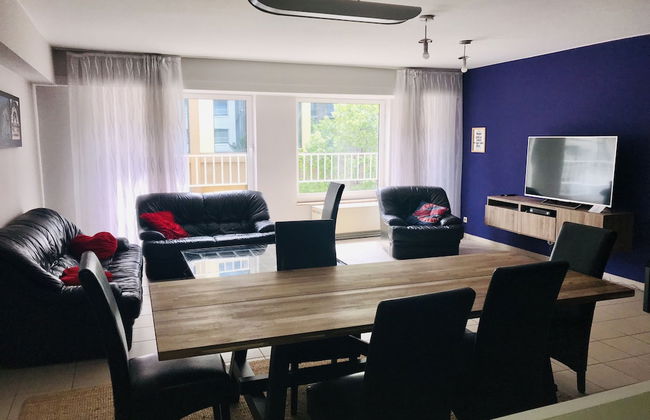
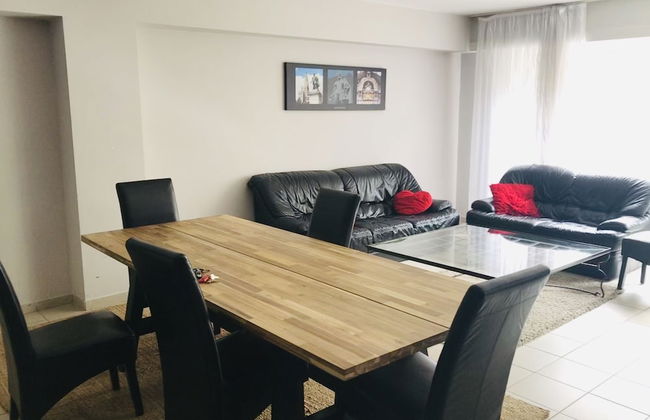
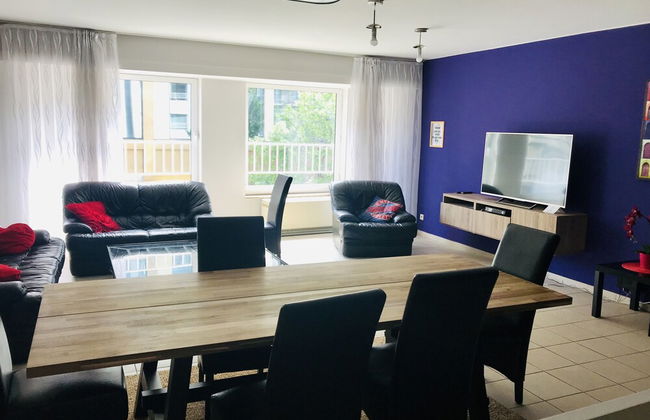
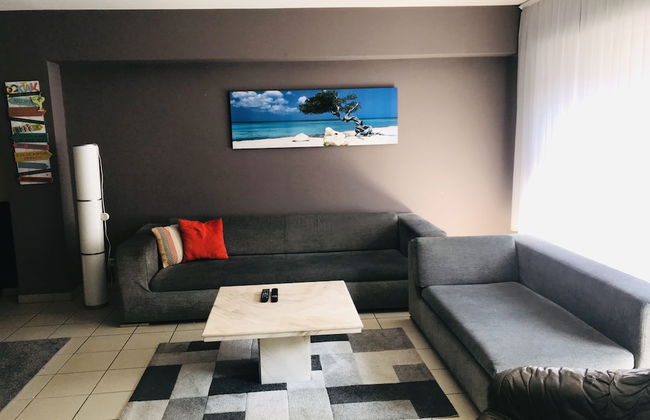
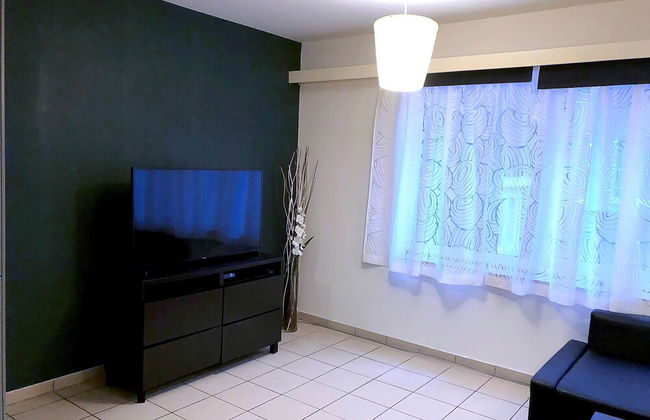
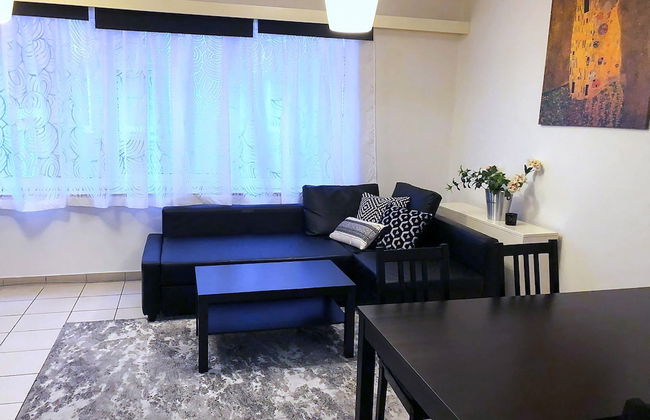
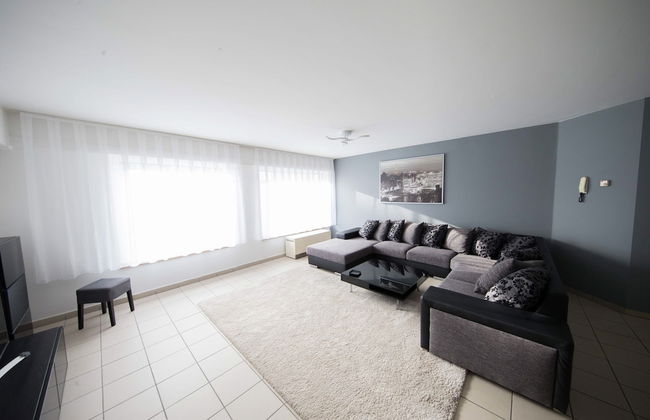
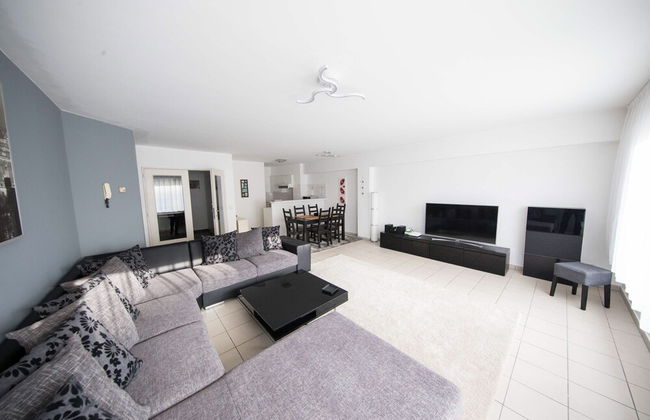
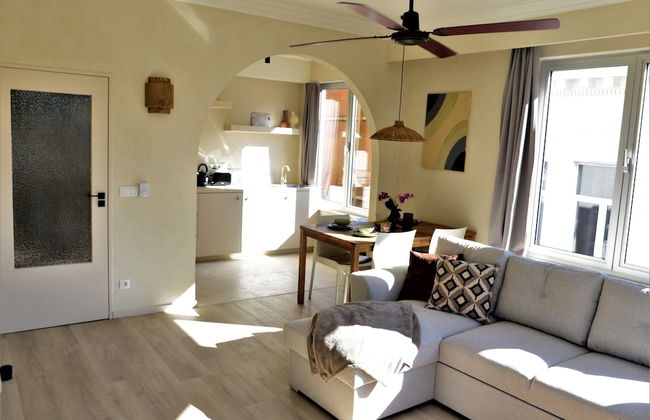
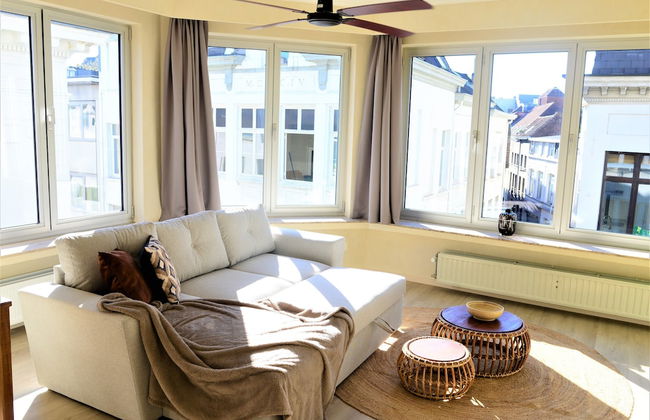
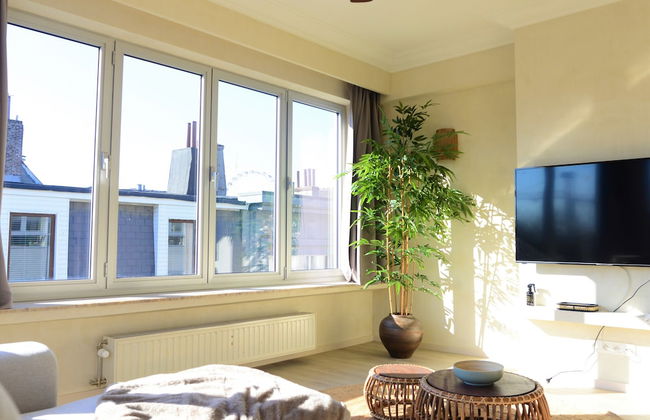
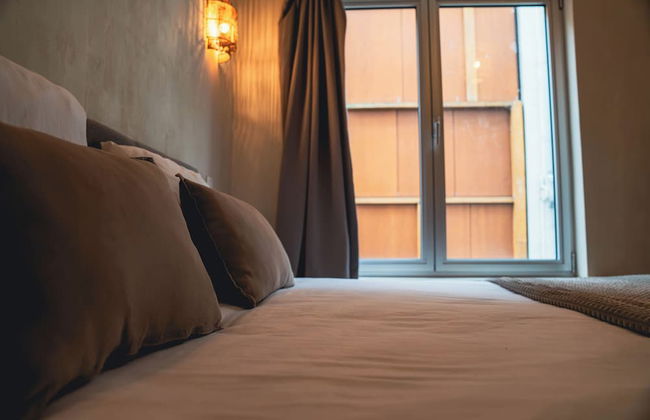
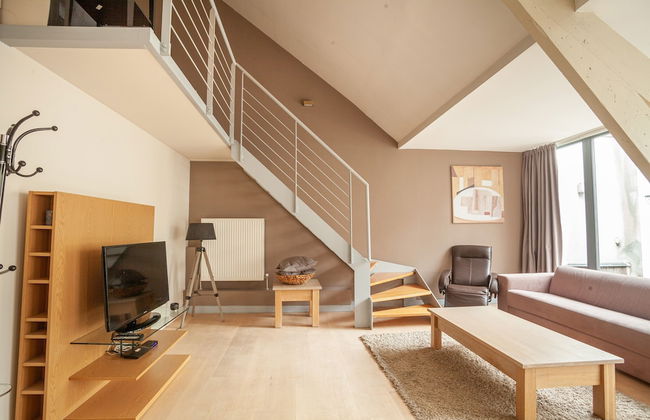
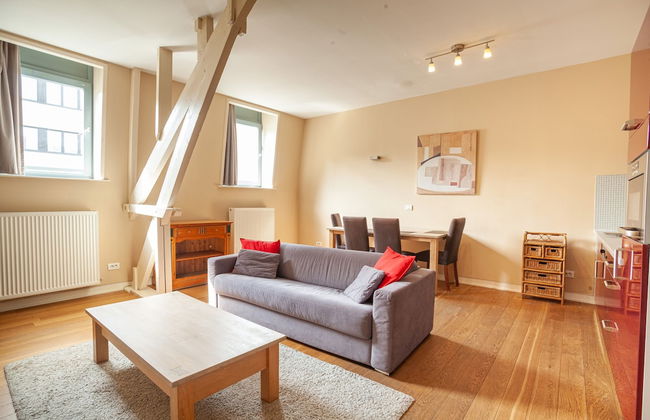
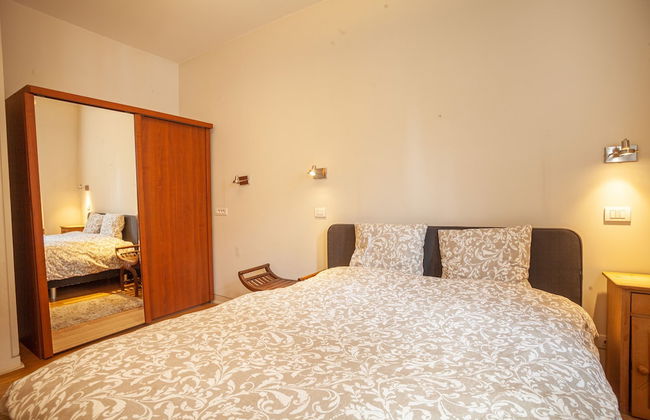
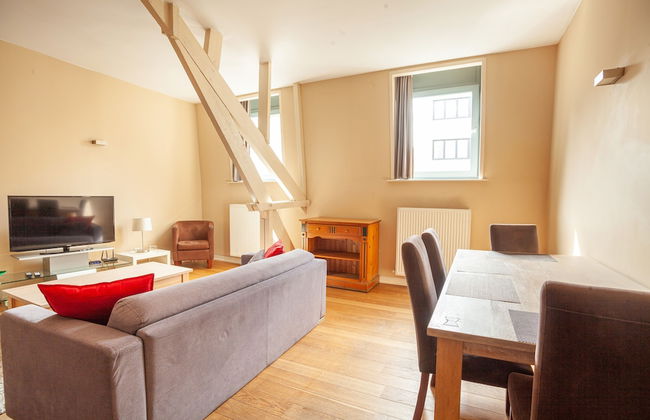
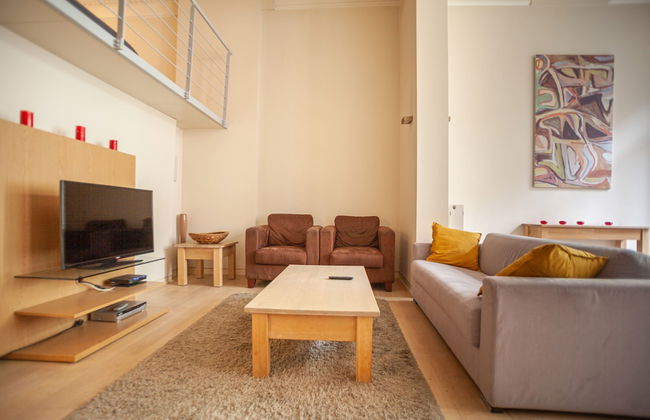
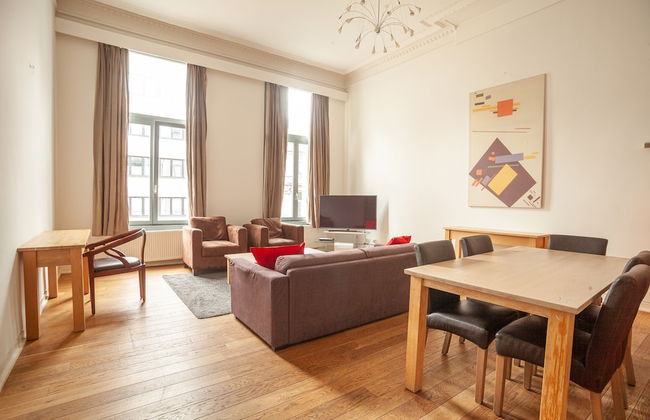
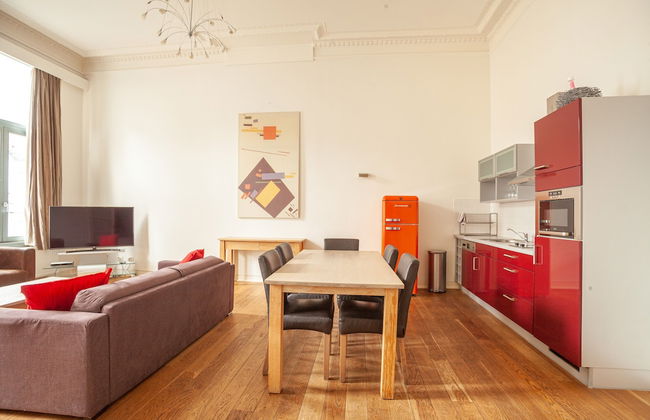
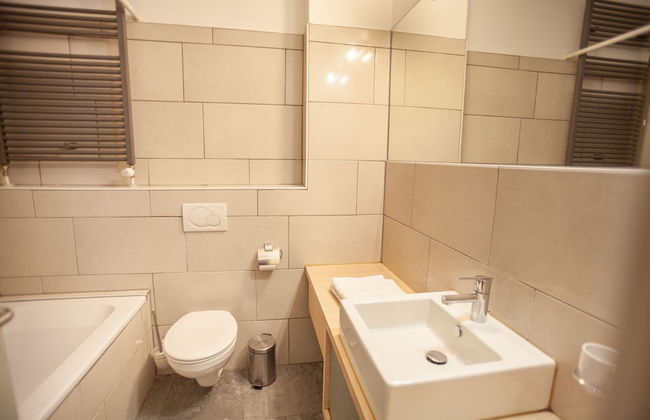
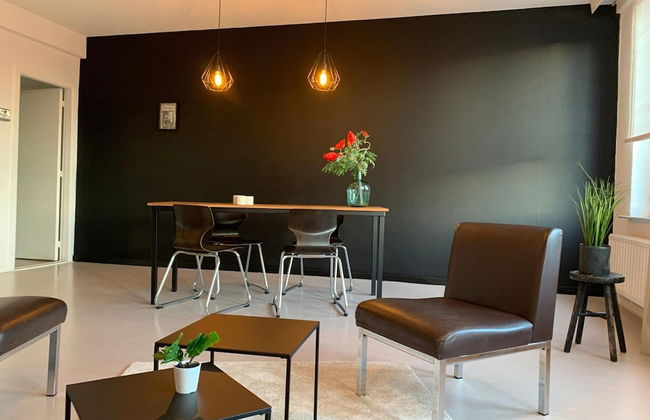
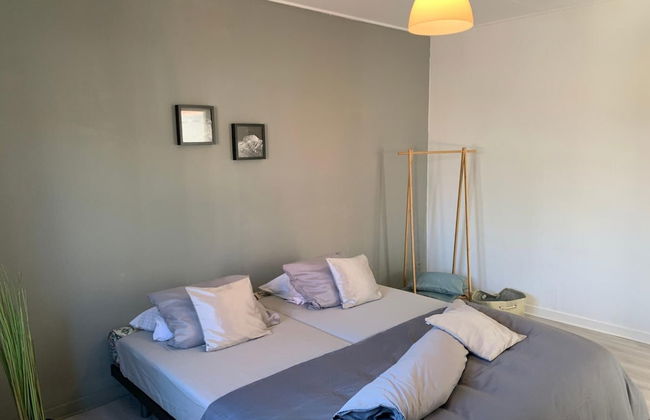
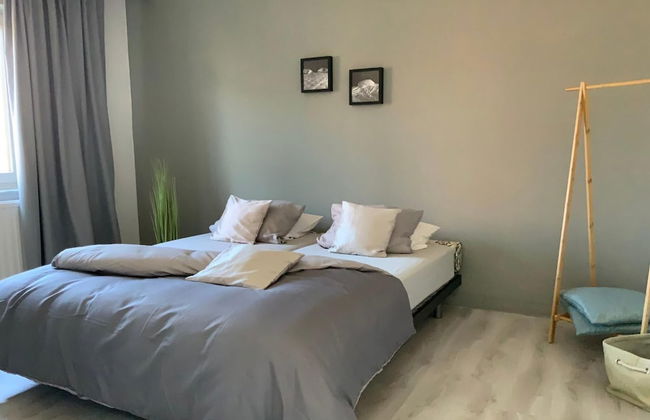
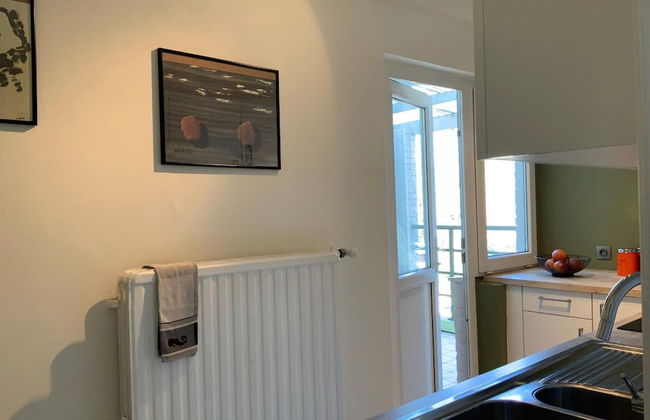
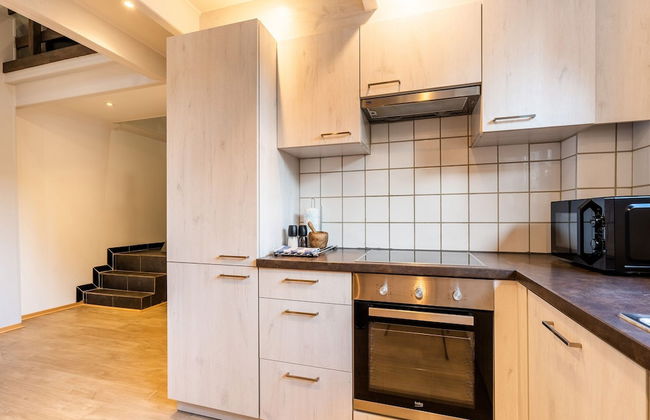
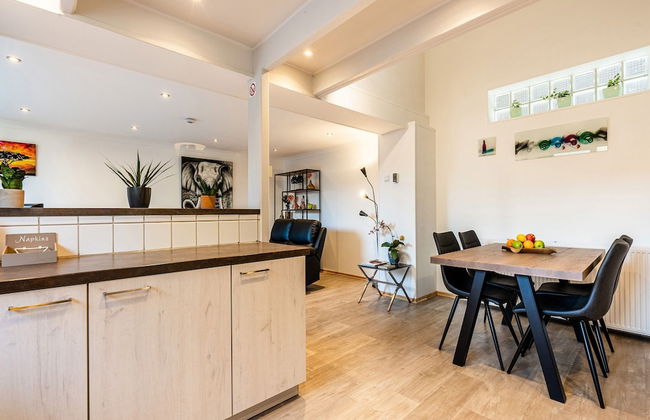
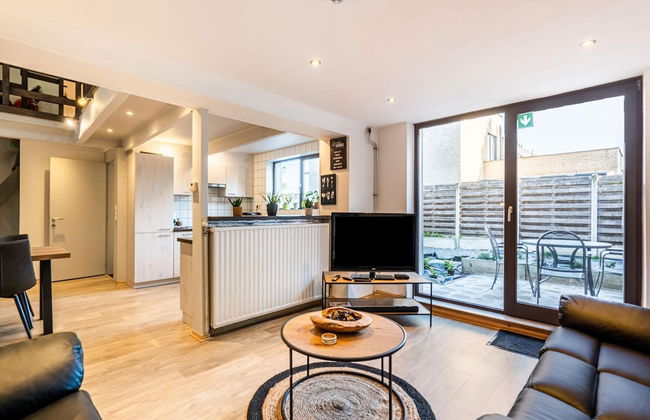
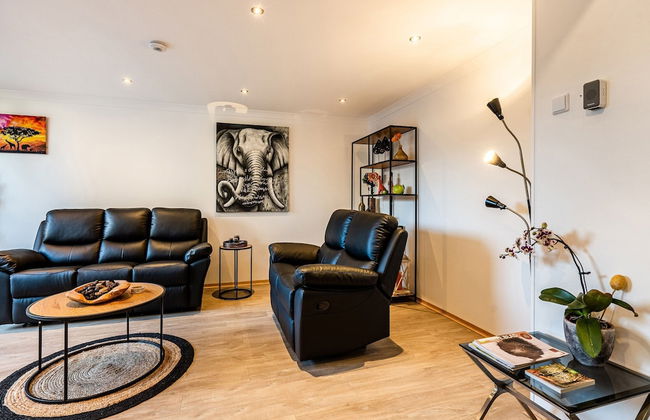
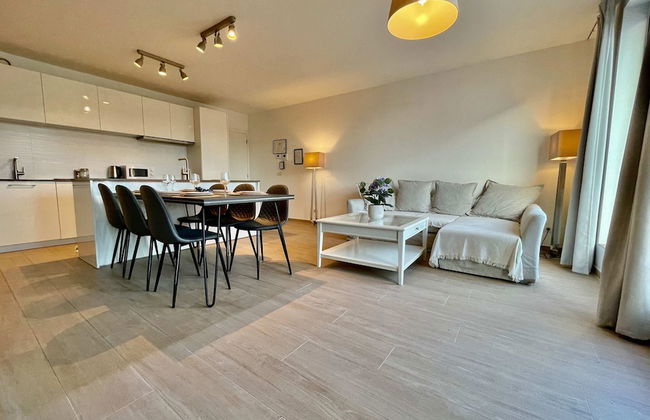
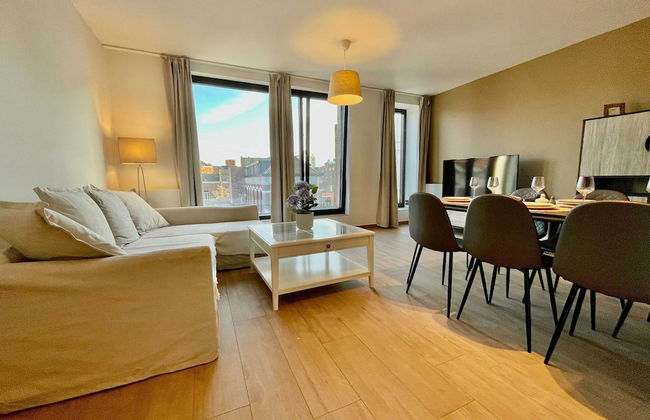
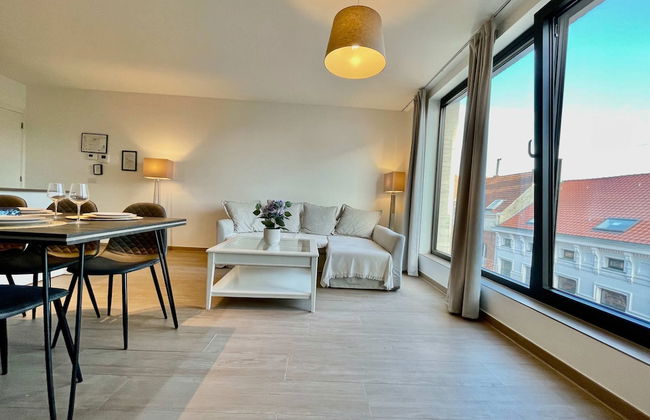
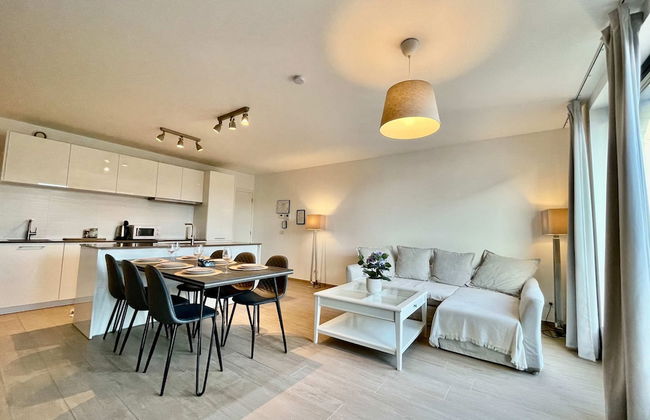
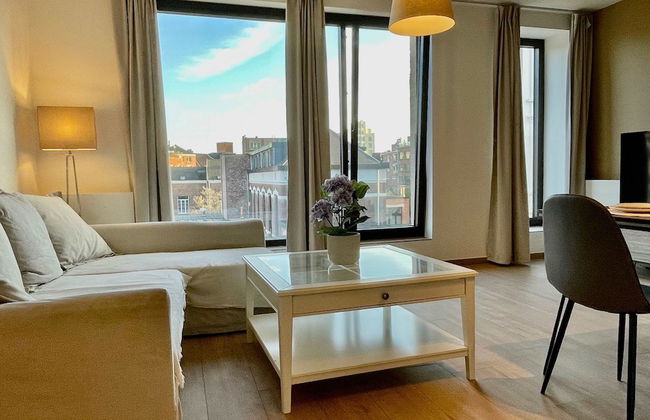
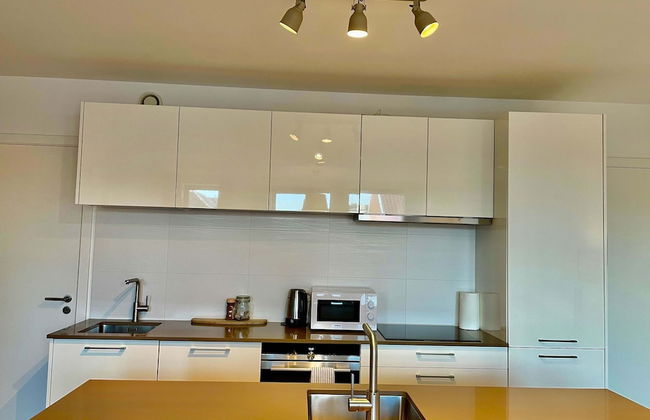
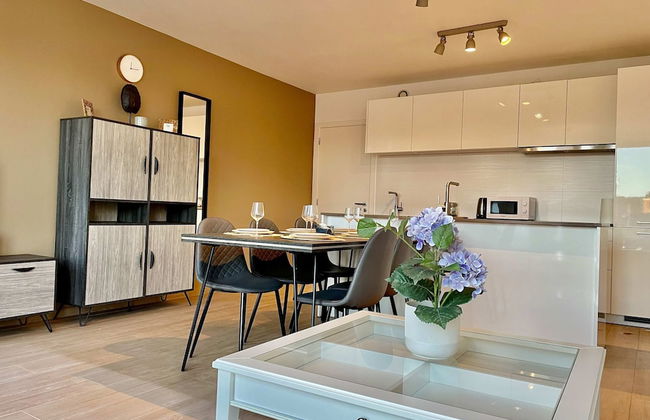
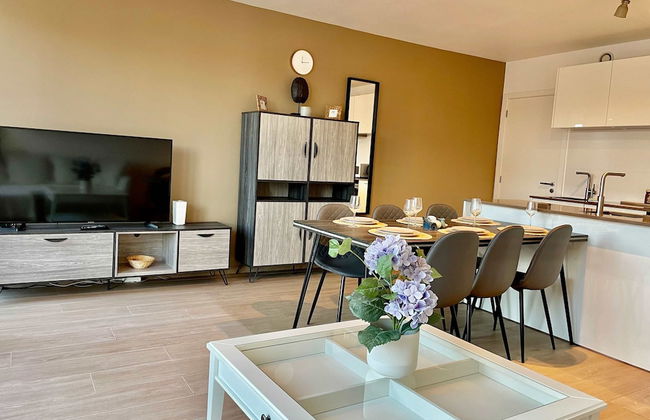
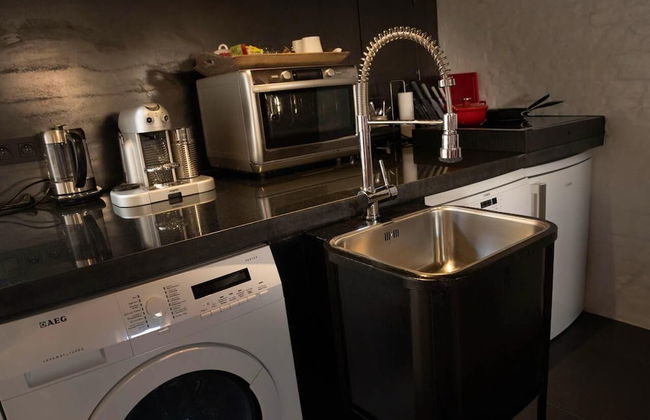
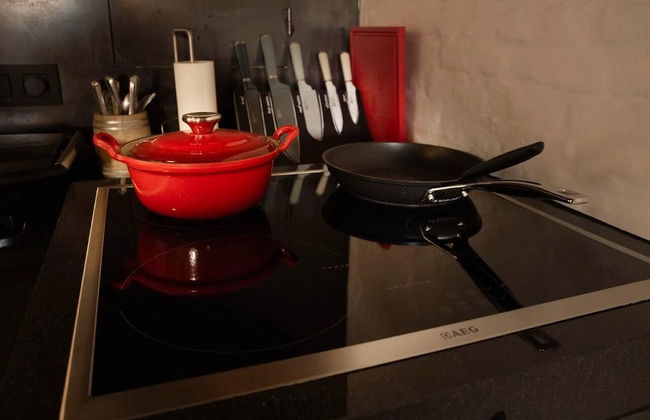
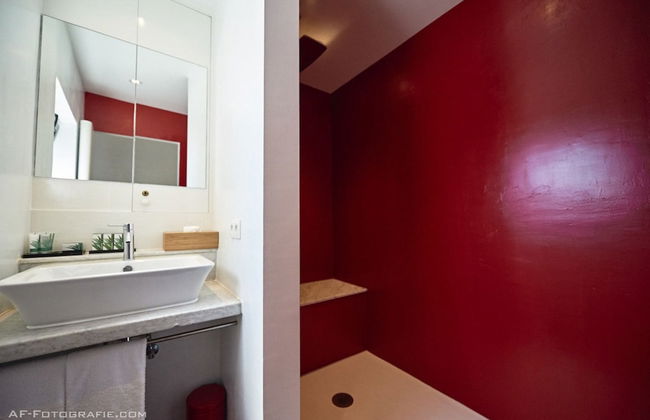
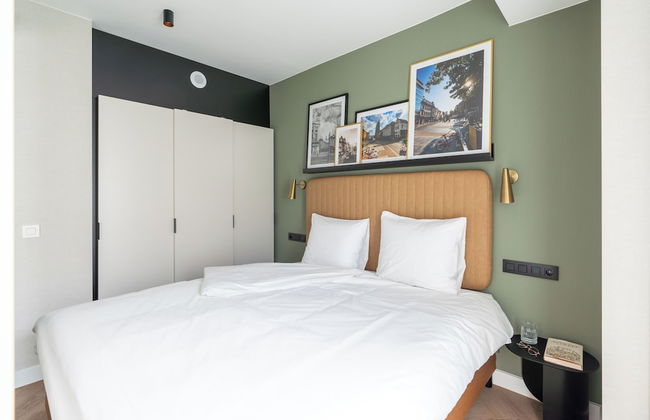
Hotel Colvenier

Anversa - Sint-Andries-Bourla - 230 m dal centro

  • 100 M2
  • 4 persone
  • Aria condizionata
  • Riscaldamento
  • Parcheggio
  • Ascensore
  • Tv
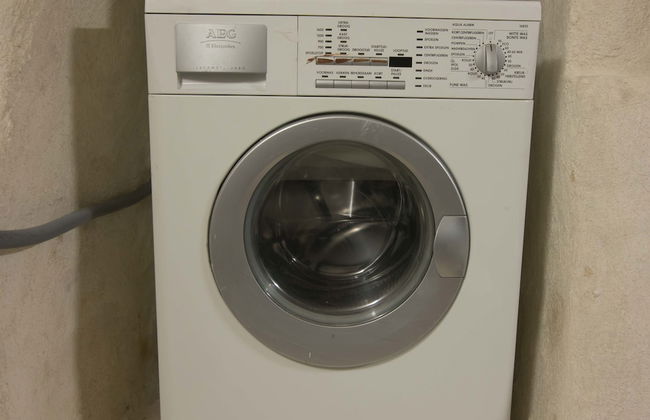
  • Lavatrice
  • Lino da bagno
  • Lino da letto
10Magnifico | 25 recensioni
Numa Antwerp Opera - Foto 1
Numa Antwerp Opera - Foto 2
Numa Antwerp Opera - Foto 3
Numa Antwerp Opera - Foto 4
Numa Antwerp Opera - Foto 5
Numa Antwerp Opera - Foto 6
Numa Antwerp Opera - Foto 7
Numa Antwerp Opera - Foto 8
Numa Antwerp Opera - Foto 9
Numa Antwerp Opera - Foto 10
Numa Antwerp Opera - Foto 11
Numa Antwerp Opera - Foto 12
Numa Antwerp Opera - Foto 13
Numa Antwerp Opera - Foto 14
Numa Antwerp Opera - Foto 15
Numa Antwerp Opera - Foto 16
Numa Antwerp Opera - Foto 17
Numa Antwerp Opera - Foto 18
Numa Antwerp Opera - Foto 19
Numa Antwerp Opera - Foto 20
Numa Antwerp Opera - Foto 21
Numa Antwerp Opera - Foto 22
Numa Antwerp Opera - Foto 23
Numa Antwerp Opera - Foto 24
Numa Antwerp Opera - Foto 25
Numa Antwerp Opera - Foto 26
Numa Antwerp Opera - Foto 27
Numa Antwerp Opera - Foto 28
Numa Antwerp Opera - Foto 29
Numa Antwerp Opera - Foto 30
Numa Antwerp Opera - Foto 31
Numa Antwerp Opera - Foto 32
Numa Antwerp Opera - Foto 33
Numa Antwerp Opera - Foto 34
Numa Antwerp Opera - Foto 35
Numa Antwerp Opera - Foto 36
Numa Antwerp Opera - Foto 37
Numa Antwerp Opera - Foto 38
Numa Antwerp Opera - Foto 39
Numa Antwerp Opera - Foto 40
Numa Antwerp Opera - Foto 41
Numa Antwerp Opera - Foto 42
Numa Antwerp Opera - Foto 43
Numa Antwerp Opera - Foto 44
Numa Antwerp Opera - Foto 45
Numa Antwerp Opera - Foto 46
Numa Antwerp Opera - Foto 47
Numa Antwerp Opera - Foto 48
Numa Antwerp Opera - Foto 49
Numa Antwerp Opera - Foto 50
Numa Antwerp Opera - Foto 51
Numa Antwerp Opera - Foto 52
Numa Antwerp Opera - Foto 53
Numa Antwerp Opera - Foto 54
Numa Antwerp Opera - Foto 55
Numa Antwerp Opera - Foto 56
Numa Antwerp Opera - Foto 57
Numa Antwerp Opera - Foto 58
Numa Antwerp Opera - Foto 59
Numa Antwerp Opera - Foto 60
Numa Antwerp Opera - Foto 61
Numa Antwerp Opera - Foto 62
Numa Antwerp Opera - Foto 63
Numa Antwerp Opera - Foto 64
Numa Antwerp Opera - Foto 65
Numa Antwerp Opera - Foto 66
Numa Antwerp Opera - Foto 67
Numa Antwerp Opera - Foto 68
Numa Antwerp Opera - Foto 69
Numa Antwerp Opera - Foto 70
Numa Antwerp Opera - Foto 71
Numa Antwerp Opera - Foto 72

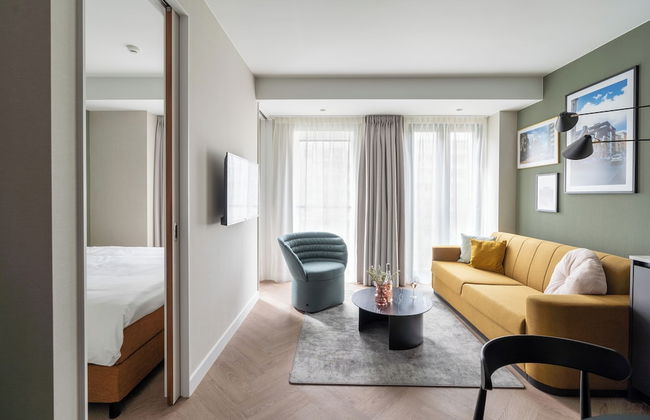
Numa Antwerp Opera

Anversa - Diamant-Stadspark - 860 m dal centro

  • 82 M2
  • 6 persone
  • Aria condizionata
  • Riscaldamento
  • Parcheggio
  • Ascensore
  • Lino da bagno
  • Lino da letto
9.4Eccezionale | 383 recensioni
One Lux Stay near Diamond District - Foto 1
One Lux Stay near Diamond District - Foto 2
One Lux Stay near Diamond District - Foto 3
One Lux Stay near Diamond District - Foto 4
One Lux Stay near Diamond District - Foto 5
One Lux Stay near Diamond District - Foto 6
One Lux Stay near Diamond District - Foto 7
One Lux Stay near Diamond District - Foto 8
One Lux Stay near Diamond District - Foto 9
One Lux Stay near Diamond District - Foto 10
One Lux Stay near Diamond District - Foto 11
One Lux Stay near Diamond District - Foto 12
One Lux Stay near Diamond District - Foto 13
One Lux Stay near Diamond District - Foto 14
One Lux Stay near Diamond District - Foto 15
One Lux Stay near Diamond District - Foto 16
One Lux Stay near Diamond District - Foto 17
One Lux Stay near Diamond District - Foto 18
One Lux Stay near Diamond District - Foto 19
One Lux Stay near Diamond District - Foto 20
One Lux Stay near Diamond District - Foto 21
One Lux Stay near Diamond District - Foto 22
One Lux Stay near Diamond District - Foto 23
One Lux Stay near Diamond District - Foto 24
One Lux Stay near Diamond District - Foto 25
One Lux Stay near Diamond District - Foto 26
One Lux Stay near Diamond District - Foto 27
One Lux Stay near Diamond District - Foto 28
One Lux Stay near Diamond District - Foto 29
One Lux Stay near Diamond District - Foto 30
One Lux Stay near Diamond District - Foto 31
One Lux Stay near Diamond District - Foto 32
One Lux Stay near Diamond District - Foto 33
One Lux Stay near Diamond District - Foto 34
One Lux Stay near Diamond District - Foto 35
One Lux Stay near Diamond District - Foto 36
One Lux Stay near Diamond District - Foto 37
One Lux Stay near Diamond District - Foto 38
One Lux Stay near Diamond District - Foto 39
One Lux Stay near Diamond District - Foto 40
One Lux Stay near Diamond District - Foto 41
One Lux Stay near Diamond District - Foto 42
One Lux Stay near Diamond District - Foto 43
One Lux Stay near Diamond District - Foto 44
One Lux Stay near Diamond District - Foto 45
One Lux Stay near Diamond District - Foto 46
One Lux Stay near Diamond District - Foto 47
One Lux Stay near Diamond District - Foto 48
One Lux Stay near Diamond District - Foto 49
One Lux Stay near Diamond District - Foto 50
One Lux Stay near Diamond District - Foto 51
One Lux Stay near Diamond District - Foto 52
One Lux Stay near Diamond District - Foto 53
One Lux Stay near Diamond District - Foto 54
One Lux Stay near Diamond District - Foto 55
One Lux Stay near Diamond District - Foto 56
One Lux Stay near Diamond District - Foto 57
One Lux Stay near Diamond District - Foto 58
One Lux Stay near Diamond District - Foto 59
One Lux Stay near Diamond District - Foto 60
One Lux Stay near Diamond District - Foto 61
One Lux Stay near Diamond District - Foto 62
One Lux Stay near Diamond District - Foto 63
One Lux Stay near Diamond District - Foto 64
One Lux Stay near Diamond District - Foto 65
One Lux Stay near Diamond District - Foto 66
One Lux Stay near Diamond District - Foto 67
One Lux Stay near Diamond District - Foto 68
One Lux Stay near Diamond District - Foto 69
One Lux Stay near Diamond District - Foto 70
One Lux Stay near Diamond District - Foto 71
One Lux Stay near Diamond District - Foto 72
One Lux Stay near Diamond District - Foto 73
One Lux Stay near Diamond District - Foto 74
One Lux Stay near Diamond District - Foto 75
One Lux Stay near Diamond District - Foto 76
One Lux Stay near Diamond District - Foto 77
One Lux Stay near Diamond District - Foto 78
One Lux Stay near Diamond District - Foto 79
One Lux Stay near Diamond District - Foto 80

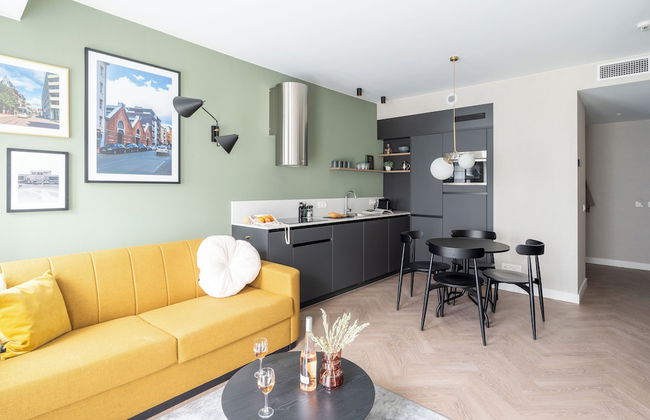
One Lux Stay near Diamond District

Anversa - Diamant-Stadspark - 1.4 km dal centro

  • 6 persone
  • Riscaldamento
  • Balcone
  • Tv
  • Lavatrice
  • Lino da bagno
  • Lino da letto
9.4Eccezionale | 10 recensioni
A-Stay Studios - Foto 1
A-Stay Studios - Foto 2
A-Stay Studios - Foto 3
A-Stay Studios - Foto 4
A-Stay Studios - Foto 5
A-Stay Studios - Foto 6
A-Stay Studios - Foto 7
A-Stay Studios - Foto 8
A-Stay Studios - Foto 9
A-Stay Studios - Foto 10
A-Stay Studios - Foto 11
A-Stay Studios - Foto 12
A-Stay Studios - Foto 13
A-Stay Studios - Foto 14
A-Stay Studios - Foto 15
A-Stay Studios - Foto 16
A-Stay Studios - Foto 17
A-Stay Studios - Foto 18
A-Stay Studios - Foto 19
A-Stay Studios - Foto 20
A-Stay Studios - Foto 21
A-Stay Studios - Foto 22
A-Stay Studios - Foto 23
A-Stay Studios - Foto 24
A-Stay Studios - Foto 25
A-Stay Studios - Foto 26
A-Stay Studios - Foto 27
A-Stay Studios - Foto 28
A-Stay Studios - Foto 29
A-Stay Studios - Foto 30
A-Stay Studios - Foto 31
A-Stay Studios - Foto 32
A-Stay Studios - Foto 33

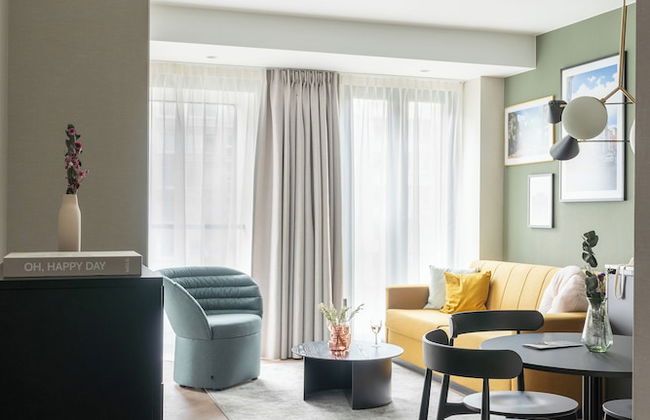
A-Stay Studios

Anversa - Diamant-Stadspark - 1.9 km dal centro

  • 2 persone
  • Aria condizionata
  • Riscaldamento
  • Terrazza
  • Parcheggio
  • Tv
  • Lino da bagno
  • Lino da letto
8.8Molto buono | 119 recensioni
Sunparks Kempense Meren - Foto 1
Sunparks Kempense Meren - Foto 2
Sunparks Kempense Meren - Foto 3
Sunparks Kempense Meren - Foto 4
Sunparks Kempense Meren - Foto 5
Sunparks Kempense Meren - Foto 6
Sunparks Kempense Meren - Foto 7
Sunparks Kempense Meren - Foto 8
Sunparks Kempense Meren - Foto 9
Sunparks Kempense Meren - Foto 10
Sunparks Kempense Meren - Foto 11
Sunparks Kempense Meren - Foto 12
Sunparks Kempense Meren - Foto 13
Sunparks Kempense Meren - Foto 14
Sunparks Kempense Meren - Foto 15
Sunparks Kempense Meren - Foto 16
Sunparks Kempense Meren - Foto 17
Sunparks Kempense Meren - Foto 18
Sunparks Kempense Meren - Foto 19
Sunparks Kempense Meren - Foto 20
Sunparks Kempense Meren - Foto 21
Sunparks Kempense Meren - Foto 22
Sunparks Kempense Meren - Foto 23
Sunparks Kempense Meren - Foto 24
Sunparks Kempense Meren - Foto 25
Sunparks Kempense Meren - Foto 26
Sunparks Kempense Meren - Foto 27
Sunparks Kempense Meren - Foto 28
Sunparks Kempense Meren - Foto 29
Sunparks Kempense Meren - Foto 30
Sunparks Kempense Meren - Foto 31
Sunparks Kempense Meren - Foto 32
Sunparks Kempense Meren - Foto 33
Sunparks Kempense Meren - Foto 34
Sunparks Kempense Meren - Foto 35
Sunparks Kempense Meren - Foto 36
Sunparks Kempense Meren - Foto 37
Sunparks Kempense Meren - Foto 38
Sunparks Kempense Meren - Foto 39
Sunparks Kempense Meren - Foto 40
Sunparks Kempense Meren - Foto 41
Sunparks Kempense Meren - Foto 42
Sunparks Kempense Meren - Foto 43
Sunparks Kempense Meren - Foto 44
Sunparks Kempense Meren - Foto 45
Sunparks Kempense Meren - Foto 46
Sunparks Kempense Meren - Foto 47
Sunparks Kempense Meren - Foto 48
Sunparks Kempense Meren - Foto 49
Sunparks Kempense Meren - Foto 50
Sunparks Kempense Meren - Foto 51

Sunparks Kempense Meren

Mol - 5.7 km dal centro

  • 85 M2
  • 8 persone
  • Riscaldamento
  • Terrazza
  • Piscina
  • Parcheggio
  • Ascensore
  • Giardino
  • Tv
  • Lino da bagno
7.6Buono | 30 recensioni
Fully Equipped Sunny Apartment - Foto 1
Fully Equipped Sunny Apartment - Foto 2
Fully Equipped Sunny Apartment - Foto 3
Fully Equipped Sunny Apartment - Foto 4
Fully Equipped Sunny Apartment - Foto 5
Fully Equipped Sunny Apartment - Foto 6
Fully Equipped Sunny Apartment - Foto 7
Fully Equipped Sunny Apartment - Foto 8
Fully Equipped Sunny Apartment - Foto 9
Fully Equipped Sunny Apartment - Foto 10
Fully Equipped Sunny Apartment - Foto 11
Fully Equipped Sunny Apartment - Foto 12
Fully Equipped Sunny Apartment - Foto 13
Fully Equipped Sunny Apartment - Foto 14
Fully Equipped Sunny Apartment - Foto 15
Fully Equipped Sunny Apartment - Foto 16

Fully Equipped Sunny Apartment

Anversa - Linkeroever - 1.9 km dal centro

  • 80 M2
  • 4 persone
  • Aria condizionata
  • Riscaldamento
  • Terrazza
  • Parcheggio
  • Ascensore
  • Balcone
  • Giardino
  • Tv
  • Lino da bagno
  • Lino da letto
9Eccezionale | 2 recensioni
Unique Apartment In Historic Mansion - Foto 1
Unique Apartment In Historic Mansion - Foto 2
Unique Apartment In Historic Mansion - Foto 3
Unique Apartment In Historic Mansion - Foto 4
Unique Apartment In Historic Mansion - Foto 5
Unique Apartment In Historic Mansion - Foto 6
Unique Apartment In Historic Mansion - Foto 7
Unique Apartment In Historic Mansion - Foto 8
Unique Apartment In Historic Mansion - Foto 9
Unique Apartment In Historic Mansion - Foto 10
Unique Apartment In Historic Mansion - Foto 11
Unique Apartment In Historic Mansion - Foto 12
Unique Apartment In Historic Mansion - Foto 13
Unique Apartment In Historic Mansion - Foto 14
Unique Apartment In Historic Mansion - Foto 15
Unique Apartment In Historic Mansion - Foto 16
Unique Apartment In Historic Mansion - Foto 17
Unique Apartment In Historic Mansion - Foto 18
Unique Apartment In Historic Mansion - Foto 19
Unique Apartment In Historic Mansion - Foto 20
Unique Apartment In Historic Mansion - Foto 21
Unique Apartment In Historic Mansion - Foto 22
Unique Apartment In Historic Mansion - Foto 23
Unique Apartment In Historic Mansion - Foto 24
Unique Apartment In Historic Mansion - Foto 25
Unique Apartment In Historic Mansion - Foto 26
Unique Apartment In Historic Mansion - Foto 27
Unique Apartment In Historic Mansion - Foto 28

Unique Apartment In Historic Mansion

Anversa - Stadhuis-Sint-Jacob-Hessenhuis - 230 m dal centro

  • 160 M2
  • 14 persone
  • Riscaldamento
  • Parcheggio
  • Ascensore
  • Tv
  • Lavatrice
  • Lino da bagno
  • Lino da letto
9.4Eccezionale | 3 recensioni
Villa Einstein Apartments - Foto 1
Villa Einstein Apartments - Foto 2
Villa Einstein Apartments - Foto 3
Villa Einstein Apartments - Foto 4
Villa Einstein Apartments - Foto 5
Villa Einstein Apartments - Foto 6
Villa Einstein Apartments - Foto 7
Villa Einstein Apartments - Foto 8
Villa Einstein Apartments - Foto 9
Villa Einstein Apartments - Foto 10
Villa Einstein Apartments - Foto 11
Villa Einstein Apartments - Foto 12
Villa Einstein Apartments - Foto 13
Villa Einstein Apartments - Foto 14
Villa Einstein Apartments - Foto 15
Villa Einstein Apartments - Foto 16
Villa Einstein Apartments - Foto 17
Villa Einstein Apartments - Foto 18
Villa Einstein Apartments - Foto 19
Villa Einstein Apartments - Foto 20
Villa Einstein Apartments - Foto 21
Villa Einstein Apartments - Foto 22
Villa Einstein Apartments - Foto 23
Villa Einstein Apartments - Foto 24
Villa Einstein Apartments - Foto 25
Villa Einstein Apartments - Foto 26
Villa Einstein Apartments - Foto 27
Villa Einstein Apartments - Foto 28
Villa Einstein Apartments - Foto 29
Villa Einstein Apartments - Foto 30
Villa Einstein Apartments - Foto 31
Villa Einstein Apartments - Foto 32
Villa Einstein Apartments - Foto 33
Villa Einstein Apartments - Foto 34
Villa Einstein Apartments - Foto 35
Villa Einstein Apartments - Foto 36
Villa Einstein Apartments - Foto 37
Villa Einstein Apartments - Foto 38
Villa Einstein Apartments - Foto 39
Villa Einstein Apartments - Foto 40
Villa Einstein Apartments - Foto 41
Villa Einstein Apartments - Foto 42
Villa Einstein Apartments - Foto 43
Villa Einstein Apartments - Foto 44
Villa Einstein Apartments - Foto 45
Villa Einstein Apartments - Foto 46
Villa Einstein Apartments - Foto 47
Villa Einstein Apartments - Foto 48
Villa Einstein Apartments - Foto 49
Villa Einstein Apartments - Foto 50
Villa Einstein Apartments - Foto 51
Villa Einstein Apartments - Foto 52
Villa Einstein Apartments - Foto 53
Villa Einstein Apartments - Foto 54
Villa Einstein Apartments - Foto 55
Villa Einstein Apartments - Foto 56
Villa Einstein Apartments - Foto 57
Villa Einstein Apartments - Foto 58
Villa Einstein Apartments - Foto 59
Villa Einstein Apartments - Foto 60
Villa Einstein Apartments - Foto 61
Villa Einstein Apartments - Foto 62
Villa Einstein Apartments - Foto 63
Villa Einstein Apartments - Foto 64
Villa Einstein Apartments - Foto 65
Villa Einstein Apartments - Foto 66
Villa Einstein Apartments - Foto 67
Villa Einstein Apartments - Foto 68
Villa Einstein Apartments - Foto 69
Villa Einstein Apartments - Foto 70
Villa Einstein Apartments - Foto 71
Villa Einstein Apartments - Foto 72
Villa Einstein Apartments - Foto 73
Villa Einstein Apartments - Foto 74
Villa Einstein Apartments - Foto 75
Villa Einstein Apartments - Foto 76
Villa Einstein Apartments - Foto 77
Villa Einstein Apartments - Foto 78
Villa Einstein Apartments - Foto 79
Villa Einstein Apartments - Foto 80

Villa Einstein Apartments

Anversa - Diamant-Stadspark - 1 km dal centro

  • 4 persone
  • Riscaldamento
  • Tv
  • Lavatrice
  • Lino da bagno
  • Lino da letto
8.2Molto buono | 21 recensioni
Europarcs Zilverstrand - Foto 1
Europarcs Zilverstrand - Foto 2
Europarcs Zilverstrand - Foto 3
Europarcs Zilverstrand - Foto 4
Europarcs Zilverstrand - Foto 5
Europarcs Zilverstrand - Foto 6
Europarcs Zilverstrand - Foto 7
Europarcs Zilverstrand - Foto 8
Europarcs Zilverstrand - Foto 9
Europarcs Zilverstrand - Foto 10
Europarcs Zilverstrand - Foto 11
Europarcs Zilverstrand - Foto 12
Europarcs Zilverstrand - Foto 13
Europarcs Zilverstrand - Foto 14
Europarcs Zilverstrand - Foto 15
Europarcs Zilverstrand - Foto 16
Europarcs Zilverstrand - Foto 17
Europarcs Zilverstrand - Foto 18
Europarcs Zilverstrand - Foto 19
Europarcs Zilverstrand - Foto 20
Europarcs Zilverstrand - Foto 21
Europarcs Zilverstrand - Foto 22
Europarcs Zilverstrand - Foto 23
Europarcs Zilverstrand - Foto 24
Europarcs Zilverstrand - Foto 25
Europarcs Zilverstrand - Foto 26
Europarcs Zilverstrand - Foto 27
Europarcs Zilverstrand - Foto 28
Europarcs Zilverstrand - Foto 29
Europarcs Zilverstrand - Foto 30
Europarcs Zilverstrand - Foto 31
Europarcs Zilverstrand - Foto 32
Europarcs Zilverstrand - Foto 33
Europarcs Zilverstrand - Foto 34
Europarcs Zilverstrand - Foto 35
Europarcs Zilverstrand - Foto 36
Europarcs Zilverstrand - Foto 37
Europarcs Zilverstrand - Foto 38
Europarcs Zilverstrand - Foto 39
Europarcs Zilverstrand - Foto 40
Europarcs Zilverstrand - Foto 41
Europarcs Zilverstrand - Foto 42
Europarcs Zilverstrand - Foto 43
Europarcs Zilverstrand - Foto 44
Europarcs Zilverstrand - Foto 45
Europarcs Zilverstrand - Foto 46
Europarcs Zilverstrand - Foto 47
Europarcs Zilverstrand - Foto 48
Europarcs Zilverstrand - Foto 49
Europarcs Zilverstrand - Foto 50
Europarcs Zilverstrand - Foto 51
Europarcs Zilverstrand - Foto 52
Europarcs Zilverstrand - Foto 53
Europarcs Zilverstrand - Foto 54
Europarcs Zilverstrand - Foto 55
Europarcs Zilverstrand - Foto 56
Europarcs Zilverstrand - Foto 57
Europarcs Zilverstrand - Foto 58
Europarcs Zilverstrand - Foto 59
Europarcs Zilverstrand - Foto 60
Europarcs Zilverstrand - Foto 61
Europarcs Zilverstrand - Foto 62
Europarcs Zilverstrand - Foto 63
Europarcs Zilverstrand - Foto 64
Europarcs Zilverstrand - Foto 65
Europarcs Zilverstrand - Foto 66
Europarcs Zilverstrand - Foto 67
Europarcs Zilverstrand - Foto 68
Europarcs Zilverstrand - Foto 69
Europarcs Zilverstrand - Foto 70
Europarcs Zilverstrand - Foto 71
Europarcs Zilverstrand - Foto 72
Europarcs Zilverstrand - Foto 73
Europarcs Zilverstrand - Foto 74
Europarcs Zilverstrand - Foto 75
Europarcs Zilverstrand - Foto 76
Europarcs Zilverstrand - Foto 77
Europarcs Zilverstrand - Foto 78
Europarcs Zilverstrand - Foto 79
Europarcs Zilverstrand - Foto 80

Europarcs Zilverstrand

Mol - 4.4 km dal centro

  • Piscina
  • Parcheggio
8Molto buono | 52 recensioni
One Lux Stay near Fashion District - Foto 1
One Lux Stay near Fashion District - Foto 2
One Lux Stay near Fashion District - Foto 3
One Lux Stay near Fashion District - Foto 4
One Lux Stay near Fashion District - Foto 5
One Lux Stay near Fashion District - Foto 6
One Lux Stay near Fashion District - Foto 7
One Lux Stay near Fashion District - Foto 8
One Lux Stay near Fashion District - Foto 9
One Lux Stay near Fashion District - Foto 10
One Lux Stay near Fashion District - Foto 11
One Lux Stay near Fashion District - Foto 12
One Lux Stay near Fashion District - Foto 13
One Lux Stay near Fashion District - Foto 14
One Lux Stay near Fashion District - Foto 15
One Lux Stay near Fashion District - Foto 16
One Lux Stay near Fashion District - Foto 17
One Lux Stay near Fashion District - Foto 18
One Lux Stay near Fashion District - Foto 19
One Lux Stay near Fashion District - Foto 20
One Lux Stay near Fashion District - Foto 21
One Lux Stay near Fashion District - Foto 22
One Lux Stay near Fashion District - Foto 23
One Lux Stay near Fashion District - Foto 24
One Lux Stay near Fashion District - Foto 25
One Lux Stay near Fashion District - Foto 26
One Lux Stay near Fashion District - Foto 27
One Lux Stay near Fashion District - Foto 28
One Lux Stay near Fashion District - Foto 29
One Lux Stay near Fashion District - Foto 30
One Lux Stay near Fashion District - Foto 31
One Lux Stay near Fashion District - Foto 32
One Lux Stay near Fashion District - Foto 33
One Lux Stay near Fashion District - Foto 34
One Lux Stay near Fashion District - Foto 35
One Lux Stay near Fashion District - Foto 36
One Lux Stay near Fashion District - Foto 37
One Lux Stay near Fashion District - Foto 38
One Lux Stay near Fashion District - Foto 39
One Lux Stay near Fashion District - Foto 40
One Lux Stay near Fashion District - Foto 41
One Lux Stay near Fashion District - Foto 42
One Lux Stay near Fashion District - Foto 43
One Lux Stay near Fashion District - Foto 44
One Lux Stay near Fashion District - Foto 45
One Lux Stay near Fashion District - Foto 46
One Lux Stay near Fashion District - Foto 47
One Lux Stay near Fashion District - Foto 48
One Lux Stay near Fashion District - Foto 49
One Lux Stay near Fashion District - Foto 50
One Lux Stay near Fashion District - Foto 51
One Lux Stay near Fashion District - Foto 52
One Lux Stay near Fashion District - Foto 53
One Lux Stay near Fashion District - Foto 54
One Lux Stay near Fashion District - Foto 55
One Lux Stay near Fashion District - Foto 56
One Lux Stay near Fashion District - Foto 57
One Lux Stay near Fashion District - Foto 58
One Lux Stay near Fashion District - Foto 59
One Lux Stay near Fashion District - Foto 60
One Lux Stay near Fashion District - Foto 61
One Lux Stay near Fashion District - Foto 62
One Lux Stay near Fashion District - Foto 63
One Lux Stay near Fashion District - Foto 64
One Lux Stay near Fashion District - Foto 65
One Lux Stay near Fashion District - Foto 66
One Lux Stay near Fashion District - Foto 67
One Lux Stay near Fashion District - Foto 68
One Lux Stay near Fashion District - Foto 69
One Lux Stay near Fashion District - Foto 70
One Lux Stay near Fashion District - Foto 71
One Lux Stay near Fashion District - Foto 72
One Lux Stay near Fashion District - Foto 73
One Lux Stay near Fashion District - Foto 74
One Lux Stay near Fashion District - Foto 75
One Lux Stay near Fashion District - Foto 76
One Lux Stay near Fashion District - Foto 77
One Lux Stay near Fashion District - Foto 78
One Lux Stay near Fashion District - Foto 79
One Lux Stay near Fashion District - Foto 80

One Lux Stay near Fashion District

Anversa - Diamant-Stadspark - 1.4 km dal centro

  • 116 M2
  • 4 persone
  • Riscaldamento
  • Tv
  • Lavatrice
  • Lino da bagno
  • Lino da letto
9.6Eccezionale | 4 recensioni
Renovated Apartment in Antwerp - Foto 1
Renovated Apartment in Antwerp - Foto 2
Renovated Apartment in Antwerp - Foto 3
Renovated Apartment in Antwerp - Foto 4
Renovated Apartment in Antwerp - Foto 5
Renovated Apartment in Antwerp - Foto 6
Renovated Apartment in Antwerp - Foto 7
Renovated Apartment in Antwerp - Foto 8
Renovated Apartment in Antwerp - Foto 9
Renovated Apartment in Antwerp - Foto 10
Renovated Apartment in Antwerp - Foto 11
Renovated Apartment in Antwerp - Foto 12
Renovated Apartment in Antwerp - Foto 13
Renovated Apartment in Antwerp - Foto 14
Renovated Apartment in Antwerp - Foto 15
Renovated Apartment in Antwerp - Foto 16
Renovated Apartment in Antwerp - Foto 17
Renovated Apartment in Antwerp - Foto 18
Renovated Apartment in Antwerp - Foto 19
Renovated Apartment in Antwerp - Foto 20
Renovated Apartment in Antwerp - Foto 21
Renovated Apartment in Antwerp - Foto 22
Renovated Apartment in Antwerp - Foto 23
Renovated Apartment in Antwerp - Foto 24
Renovated Apartment in Antwerp - Foto 25
Renovated Apartment in Antwerp - Foto 26
Renovated Apartment in Antwerp - Foto 27
Renovated Apartment in Antwerp - Foto 28
Renovated Apartment in Antwerp - Foto 29
Renovated Apartment in Antwerp - Foto 30
Renovated Apartment in Antwerp - Foto 31
Renovated Apartment in Antwerp - Foto 32
Renovated Apartment in Antwerp - Foto 33
Renovated Apartment in Antwerp - Foto 34
Renovated Apartment in Antwerp - Foto 35
Renovated Apartment in Antwerp - Foto 36
Renovated Apartment in Antwerp - Foto 37
Renovated Apartment in Antwerp - Foto 38
Renovated Apartment in Antwerp - Foto 39
Renovated Apartment in Antwerp - Foto 40
Renovated Apartment in Antwerp - Foto 41
Renovated Apartment in Antwerp - Foto 42
Renovated Apartment in Antwerp - Foto 43
Renovated Apartment in Antwerp - Foto 44
Renovated Apartment in Antwerp - Foto 45
Renovated Apartment in Antwerp - Foto 46
Renovated Apartment in Antwerp - Foto 47
Renovated Apartment in Antwerp - Foto 48
Renovated Apartment in Antwerp - Foto 49
Renovated Apartment in Antwerp - Foto 50
Renovated Apartment in Antwerp - Foto 51
Renovated Apartment in Antwerp - Foto 52
Renovated Apartment in Antwerp - Foto 53
Renovated Apartment in Antwerp - Foto 54
Renovated Apartment in Antwerp - Foto 55
Renovated Apartment in Antwerp - Foto 56
Renovated Apartment in Antwerp - Foto 57
Renovated Apartment in Antwerp - Foto 58
Renovated Apartment in Antwerp - Foto 59
Renovated Apartment in Antwerp - Foto 60
Renovated Apartment in Antwerp - Foto 61
Renovated Apartment in Antwerp - Foto 62
Renovated Apartment in Antwerp - Foto 63
Renovated Apartment in Antwerp - Foto 64
Renovated Apartment in Antwerp - Foto 65
Renovated Apartment in Antwerp - Foto 66
Renovated Apartment in Antwerp - Foto 67
Renovated Apartment in Antwerp - Foto 68
Renovated Apartment in Antwerp - Foto 69
Renovated Apartment in Antwerp - Foto 70
Renovated Apartment in Antwerp - Foto 71
Renovated Apartment in Antwerp - Foto 72
Renovated Apartment in Antwerp - Foto 73
Renovated Apartment in Antwerp - Foto 74
Renovated Apartment in Antwerp - Foto 75
Renovated Apartment in Antwerp - Foto 76
Renovated Apartment in Antwerp - Foto 77
Renovated Apartment in Antwerp - Foto 78
Renovated Apartment in Antwerp - Foto 79
Renovated Apartment in Antwerp - Foto 80

Renovated Apartment in Antwerp

Anversa - Amandus-Atheneum - 1.3 km dal centro

  • 150 M2
  • 5 persone
  • Riscaldamento
  • Tv
  • Lino da bagno
  • Lino da letto
7.6Buono | 28 recensioni
SLEEP INN ANTWERP - Flats & Suites - Foto 1
SLEEP INN ANTWERP - Flats & Suites - Foto 2
SLEEP INN ANTWERP - Flats & Suites - Foto 3
SLEEP INN ANTWERP - Flats & Suites - Foto 4
SLEEP INN ANTWERP - Flats & Suites - Foto 5
SLEEP INN ANTWERP - Flats & Suites - Foto 6
SLEEP INN ANTWERP - Flats & Suites - Foto 7
SLEEP INN ANTWERP - Flats & Suites - Foto 8
SLEEP INN ANTWERP - Flats & Suites - Foto 9
SLEEP INN ANTWERP - Flats & Suites - Foto 10
SLEEP INN ANTWERP - Flats & Suites - Foto 11
SLEEP INN ANTWERP - Flats & Suites - Foto 12
SLEEP INN ANTWERP - Flats & Suites - Foto 13
SLEEP INN ANTWERP - Flats & Suites - Foto 14
SLEEP INN ANTWERP - Flats & Suites - Foto 15
SLEEP INN ANTWERP - Flats & Suites - Foto 16
SLEEP INN ANTWERP - Flats & Suites - Foto 17
SLEEP INN ANTWERP - Flats & Suites - Foto 18
SLEEP INN ANTWERP - Flats & Suites - Foto 19
SLEEP INN ANTWERP - Flats & Suites - Foto 20
SLEEP INN ANTWERP - Flats & Suites - Foto 21
SLEEP INN ANTWERP - Flats & Suites - Foto 22
SLEEP INN ANTWERP - Flats & Suites - Foto 23
SLEEP INN ANTWERP - Flats & Suites - Foto 24
SLEEP INN ANTWERP - Flats & Suites - Foto 25
SLEEP INN ANTWERP - Flats & Suites - Foto 26
SLEEP INN ANTWERP - Flats & Suites - Foto 27
SLEEP INN ANTWERP - Flats & Suites - Foto 28
SLEEP INN ANTWERP - Flats & Suites - Foto 29
SLEEP INN ANTWERP - Flats & Suites - Foto 30
SLEEP INN ANTWERP - Flats & Suites - Foto 31
SLEEP INN ANTWERP - Flats & Suites - Foto 32
SLEEP INN ANTWERP - Flats & Suites - Foto 33
SLEEP INN ANTWERP - Flats & Suites - Foto 34
SLEEP INN ANTWERP - Flats & Suites - Foto 35
SLEEP INN ANTWERP - Flats & Suites - Foto 36
SLEEP INN ANTWERP - Flats & Suites - Foto 37
SLEEP INN ANTWERP - Flats & Suites - Foto 38
SLEEP INN ANTWERP - Flats & Suites - Foto 39
SLEEP INN ANTWERP - Flats & Suites - Foto 40
SLEEP INN ANTWERP - Flats & Suites - Foto 41
SLEEP INN ANTWERP - Flats & Suites - Foto 42
SLEEP INN ANTWERP - Flats & Suites - Foto 43
SLEEP INN ANTWERP - Flats & Suites - Foto 44
SLEEP INN ANTWERP - Flats & Suites - Foto 45
SLEEP INN ANTWERP - Flats & Suites - Foto 46
SLEEP INN ANTWERP - Flats & Suites - Foto 47
SLEEP INN ANTWERP - Flats & Suites - Foto 48
SLEEP INN ANTWERP - Flats & Suites - Foto 49
SLEEP INN ANTWERP - Flats & Suites - Foto 50
SLEEP INN ANTWERP - Flats & Suites - Foto 51
SLEEP INN ANTWERP - Flats & Suites - Foto 52
SLEEP INN ANTWERP - Flats & Suites - Foto 53
SLEEP INN ANTWERP - Flats & Suites - Foto 54
SLEEP INN ANTWERP - Flats & Suites - Foto 55
SLEEP INN ANTWERP - Flats & Suites - Foto 56
SLEEP INN ANTWERP - Flats & Suites - Foto 57
SLEEP INN ANTWERP - Flats & Suites - Foto 58
SLEEP INN ANTWERP - Flats & Suites - Foto 59
SLEEP INN ANTWERP - Flats & Suites - Foto 60
SLEEP INN ANTWERP - Flats & Suites - Foto 61
SLEEP INN ANTWERP - Flats & Suites - Foto 62
SLEEP INN ANTWERP - Flats & Suites - Foto 63
SLEEP INN ANTWERP - Flats & Suites - Foto 64
SLEEP INN ANTWERP - Flats & Suites - Foto 65
SLEEP INN ANTWERP - Flats & Suites - Foto 66
SLEEP INN ANTWERP - Flats & Suites - Foto 67
SLEEP INN ANTWERP - Flats & Suites - Foto 68
SLEEP INN ANTWERP - Flats & Suites - Foto 69
SLEEP INN ANTWERP - Flats & Suites - Foto 70
SLEEP INN ANTWERP - Flats & Suites - Foto 71
SLEEP INN ANTWERP - Flats & Suites - Foto 72
SLEEP INN ANTWERP - Flats & Suites - Foto 73
SLEEP INN ANTWERP - Flats & Suites - Foto 74
SLEEP INN ANTWERP - Flats & Suites - Foto 75
SLEEP INN ANTWERP - Flats & Suites - Foto 76
SLEEP INN ANTWERP - Flats & Suites - Foto 77
SLEEP INN ANTWERP - Flats & Suites - Foto 78
SLEEP INN ANTWERP - Flats & Suites - Foto 79
SLEEP INN ANTWERP - Flats & Suites - Foto 80

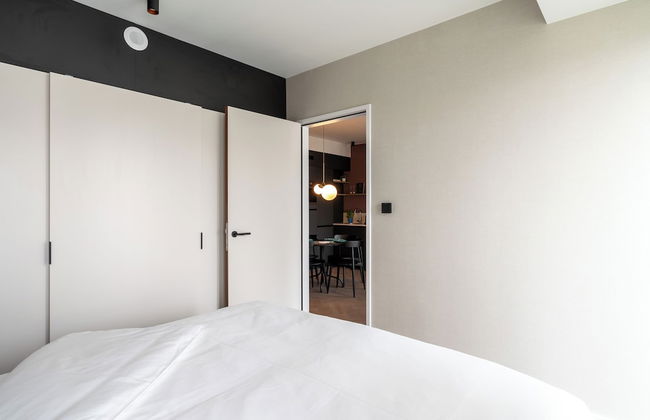
SLEEP INN ANTWERP - Flats & Suites

Anversa - Sint-Andries-Bourla - 720 m dal centro

  • 69 M2
  • 4 persone
  • Aria condizionata
  • Riscaldamento
  • Parcheggio
  • Lino da bagno
  • Lino da letto
6.6Agradable | 12 recensioni
SLEEP INN ANTWERP - Japandi Lofts - Foto 1
SLEEP INN ANTWERP - Japandi Lofts - Foto 2
SLEEP INN ANTWERP - Japandi Lofts - Foto 3
SLEEP INN ANTWERP - Japandi Lofts - Foto 4
SLEEP INN ANTWERP - Japandi Lofts - Foto 5
SLEEP INN ANTWERP - Japandi Lofts - Foto 6
SLEEP INN ANTWERP - Japandi Lofts - Foto 7
SLEEP INN ANTWERP - Japandi Lofts - Foto 8
SLEEP INN ANTWERP - Japandi Lofts - Foto 9
SLEEP INN ANTWERP - Japandi Lofts - Foto 10
SLEEP INN ANTWERP - Japandi Lofts - Foto 11
SLEEP INN ANTWERP - Japandi Lofts - Foto 12
SLEEP INN ANTWERP - Japandi Lofts - Foto 13
SLEEP INN ANTWERP - Japandi Lofts - Foto 14
SLEEP INN ANTWERP - Japandi Lofts - Foto 15
SLEEP INN ANTWERP - Japandi Lofts - Foto 16
SLEEP INN ANTWERP - Japandi Lofts - Foto 17
SLEEP INN ANTWERP - Japandi Lofts - Foto 18
SLEEP INN ANTWERP - Japandi Lofts - Foto 19
SLEEP INN ANTWERP - Japandi Lofts - Foto 20
SLEEP INN ANTWERP - Japandi Lofts - Foto 21
SLEEP INN ANTWERP - Japandi Lofts - Foto 22
SLEEP INN ANTWERP - Japandi Lofts - Foto 23
SLEEP INN ANTWERP - Japandi Lofts - Foto 24
SLEEP INN ANTWERP - Japandi Lofts - Foto 25
SLEEP INN ANTWERP - Japandi Lofts - Foto 26
SLEEP INN ANTWERP - Japandi Lofts - Foto 27
SLEEP INN ANTWERP - Japandi Lofts - Foto 28
SLEEP INN ANTWERP - Japandi Lofts - Foto 29
SLEEP INN ANTWERP - Japandi Lofts - Foto 30
SLEEP INN ANTWERP - Japandi Lofts - Foto 31

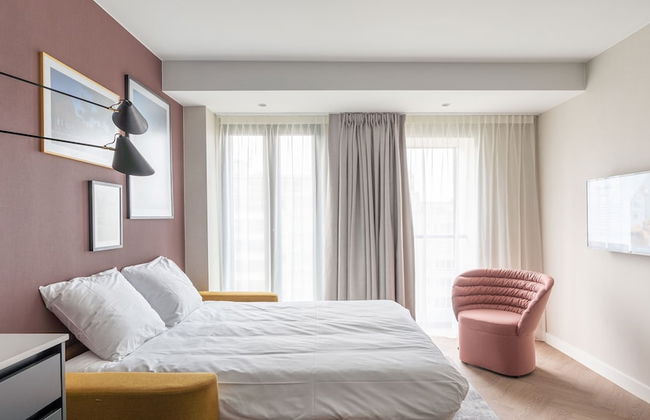
SLEEP INN ANTWERP - Japandi Lofts

Anversa - Stadhuis-Sint-Jacob-Hessenhuis - Al centro

  • 90 M2
  • 6 persone
  • Riscaldamento
  • Tv
  • Lavatrice
  • Lino da bagno
  • Lino da letto
8Molto buono | 4 recensioni
Luxury Suites Castel - Foto 1
Luxury Suites Castel - Foto 2
Luxury Suites Castel - Foto 3
Luxury Suites Castel - Foto 4
Luxury Suites Castel - Foto 5
Luxury Suites Castel - Foto 6
Luxury Suites Castel - Foto 7
Luxury Suites Castel - Foto 8
Luxury Suites Castel - Foto 9
Luxury Suites Castel - Foto 10
Luxury Suites Castel - Foto 11
Luxury Suites Castel - Foto 12
Luxury Suites Castel - Foto 13
Luxury Suites Castel - Foto 14
Luxury Suites Castel - Foto 15
Luxury Suites Castel - Foto 16
Luxury Suites Castel - Foto 17
Luxury Suites Castel - Foto 18
Luxury Suites Castel - Foto 19
Luxury Suites Castel - Foto 20
Luxury Suites Castel - Foto 21
Luxury Suites Castel - Foto 22
Luxury Suites Castel - Foto 23
Luxury Suites Castel - Foto 24
Luxury Suites Castel - Foto 25
Luxury Suites Castel - Foto 26
Luxury Suites Castel - Foto 27
Luxury Suites Castel - Foto 28
Luxury Suites Castel - Foto 29
Luxury Suites Castel - Foto 30
Luxury Suites Castel - Foto 31
Luxury Suites Castel - Foto 32
Luxury Suites Castel - Foto 33
Luxury Suites Castel - Foto 34
Luxury Suites Castel - Foto 35
Luxury Suites Castel - Foto 36
Luxury Suites Castel - Foto 37
Luxury Suites Castel - Foto 38
Luxury Suites Castel - Foto 39
Luxury Suites Castel - Foto 40
Luxury Suites Castel - Foto 41
Luxury Suites Castel - Foto 42
Luxury Suites Castel - Foto 43
Luxury Suites Castel - Foto 44
Luxury Suites Castel - Foto 45
Luxury Suites Castel - Foto 46
Luxury Suites Castel - Foto 47

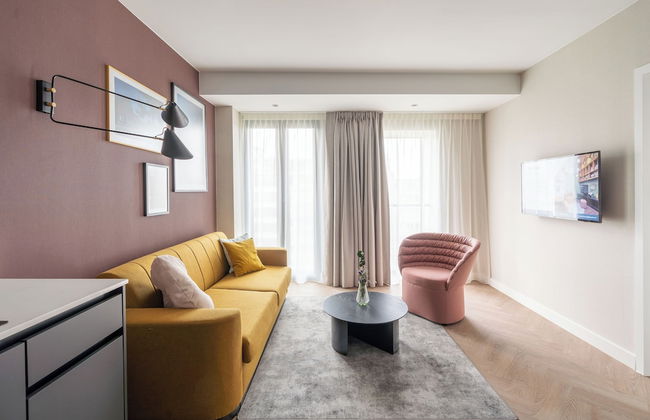
Luxury Suites Castel

Anversa - Diamant-Stadspark - 1 km dal centro

8.4Molto buono | 5 recensioni
Apartment in Weelde With Swimming Pool - Foto 1
Apartment in Weelde With Swimming Pool - Foto 2
Apartment in Weelde With Swimming Pool - Foto 3
Apartment in Weelde With Swimming Pool - Foto 4
Apartment in Weelde With Swimming Pool - Foto 5
Apartment in Weelde With Swimming Pool - Foto 6
Apartment in Weelde With Swimming Pool - Foto 7
Apartment in Weelde With Swimming Pool - Foto 8
Apartment in Weelde With Swimming Pool - Foto 9
Apartment in Weelde With Swimming Pool - Foto 10
Apartment in Weelde With Swimming Pool - Foto 11
Apartment in Weelde With Swimming Pool - Foto 12
Apartment in Weelde With Swimming Pool - Foto 13
Apartment in Weelde With Swimming Pool - Foto 14
Apartment in Weelde With Swimming Pool - Foto 15
Apartment in Weelde With Swimming Pool - Foto 16
Apartment in Weelde With Swimming Pool - Foto 17
Apartment in Weelde With Swimming Pool - Foto 18
Apartment in Weelde With Swimming Pool - Foto 19
Apartment in Weelde With Swimming Pool - Foto 20
Apartment in Weelde With Swimming Pool - Foto 21
Apartment in Weelde With Swimming Pool - Foto 22
Apartment in Weelde With Swimming Pool - Foto 23
Apartment in Weelde With Swimming Pool - Foto 24
Apartment in Weelde With Swimming Pool - Foto 25
Apartment in Weelde With Swimming Pool - Foto 26
Apartment in Weelde With Swimming Pool - Foto 27
Apartment in Weelde With Swimming Pool - Foto 28
Apartment in Weelde With Swimming Pool - Foto 29
Apartment in Weelde With Swimming Pool - Foto 30
Apartment in Weelde With Swimming Pool - Foto 31
Apartment in Weelde With Swimming Pool - Foto 32
Apartment in Weelde With Swimming Pool - Foto 33
Apartment in Weelde With Swimming Pool - Foto 34
Apartment in Weelde With Swimming Pool - Foto 35
Apartment in Weelde With Swimming Pool - Foto 36
Apartment in Weelde With Swimming Pool - Foto 37
Apartment in Weelde With Swimming Pool - Foto 38
Apartment in Weelde With Swimming Pool - Foto 39
Apartment in Weelde With Swimming Pool - Foto 40

Apartment in Weelde With Swimming Pool

Ravels - Weelde-Station - 3.7 km dal centro

  • 425 M2
  • 10 persone
  • Riscaldamento
  • Terrazza
  • Piscina
  • Parcheggio
  • Tv
  • Barbecue
  • Lino da letto
10Magnifico | 1 recensione
Luxury Suites Riverside Residence - Foto 1
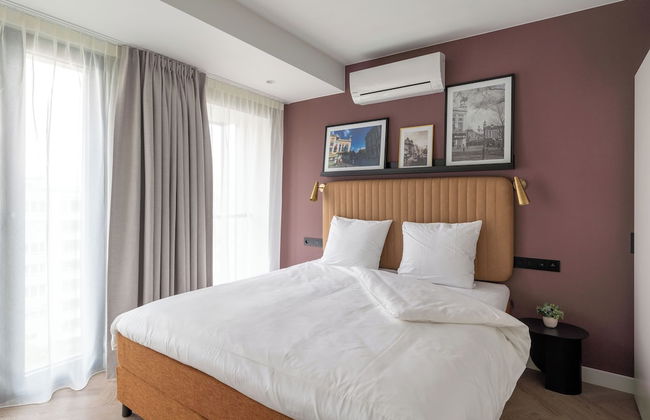
Luxury Suites Riverside Residence - Foto 2
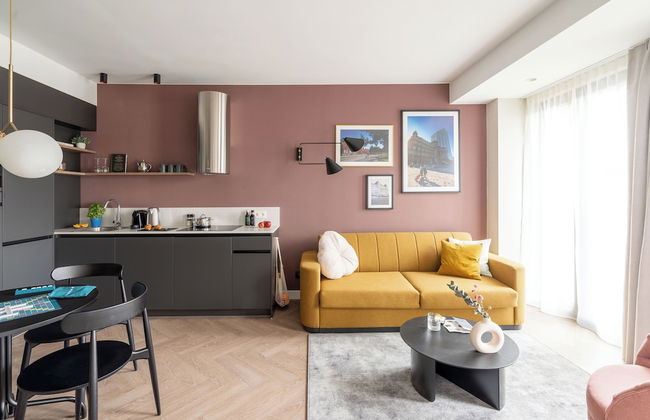
Luxury Suites Riverside Residence - Foto 3
Luxury Suites Riverside Residence - Foto 4
Luxury Suites Riverside Residence - Foto 5
Luxury Suites Riverside Residence - Foto 6
Luxury Suites Riverside Residence - Foto 7
Luxury Suites Riverside Residence - Foto 8
Luxury Suites Riverside Residence - Foto 9
Luxury Suites Riverside Residence - Foto 10
Luxury Suites Riverside Residence - Foto 11
Luxury Suites Riverside Residence - Foto 12
Luxury Suites Riverside Residence - Foto 13
Luxury Suites Riverside Residence - Foto 14
Luxury Suites Riverside Residence - Foto 15

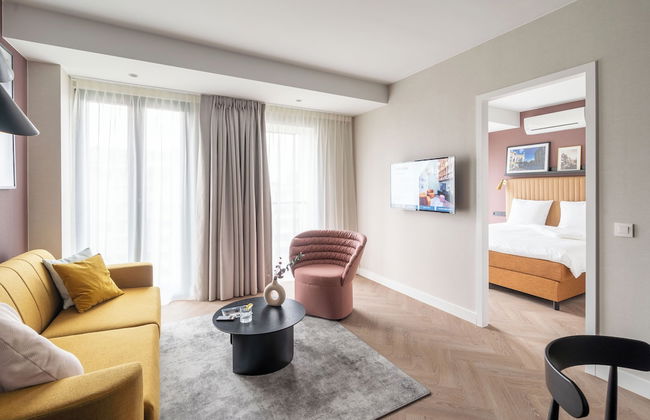
Luxury Suites Riverside Residence

Anversa - Stadhuis-Sint-Jacob-Hessenhuis - Al centro

  • 40 M2
  • 4 persone
  • Riscaldamento
  • Tv
  • Lino da bagno
  • Lino da letto
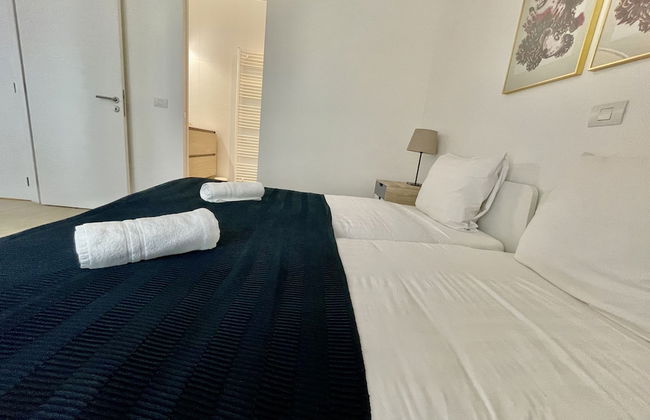
6.6Agradable | 7 recensioni
Herentals Hideaway With Balcony - Foto 1
Herentals Hideaway With Balcony - Foto 2
Herentals Hideaway With Balcony - Foto 3
Herentals Hideaway With Balcony - Foto 4
Herentals Hideaway With Balcony - Foto 5
Herentals Hideaway With Balcony - Foto 6
Herentals Hideaway With Balcony - Foto 7
Herentals Hideaway With Balcony - Foto 8
Herentals Hideaway With Balcony - Foto 9
Herentals Hideaway With Balcony - Foto 10
Herentals Hideaway With Balcony - Foto 11
Herentals Hideaway With Balcony - Foto 12
Herentals Hideaway With Balcony - Foto 13
Herentals Hideaway With Balcony - Foto 14
Herentals Hideaway With Balcony - Foto 15
Herentals Hideaway With Balcony - Foto 16
Herentals Hideaway With Balcony - Foto 17
Herentals Hideaway With Balcony - Foto 18
Herentals Hideaway With Balcony - Foto 19
Herentals Hideaway With Balcony - Foto 20
Herentals Hideaway With Balcony - Foto 21
Herentals Hideaway With Balcony - Foto 22
Herentals Hideaway With Balcony - Foto 23
Herentals Hideaway With Balcony - Foto 24
Herentals Hideaway With Balcony - Foto 25
Herentals Hideaway With Balcony - Foto 26
Herentals Hideaway With Balcony - Foto 27
Herentals Hideaway With Balcony - Foto 28
Herentals Hideaway With Balcony - Foto 29
Herentals Hideaway With Balcony - Foto 30
Herentals Hideaway With Balcony - Foto 31
Herentals Hideaway With Balcony - Foto 32
Herentals Hideaway With Balcony - Foto 33
Herentals Hideaway With Balcony - Foto 34
Herentals Hideaway With Balcony - Foto 35
Herentals Hideaway With Balcony - Foto 36
Herentals Hideaway With Balcony - Foto 37

Herentals Hideaway With Balcony

Herentals - Al centro

  • 80 M2
  • 2 persone
  • Riscaldamento
  • Terrazza
  • Parcheggio
  • Balcone
  • Lino da bagno
  • Lino da letto
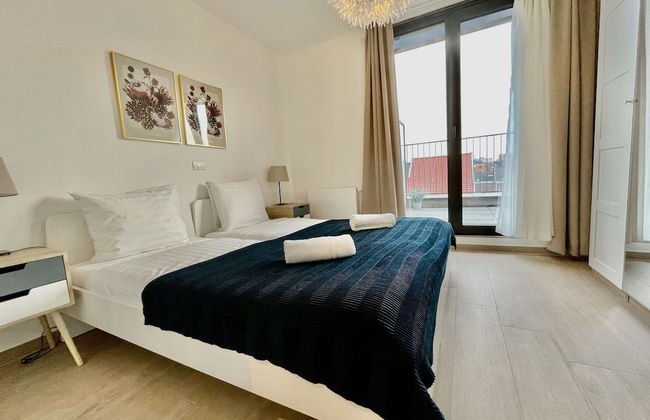
10Magnifico | 1 recensione
Beautiful Romantic Chalet in Geel - Foto 1
Beautiful Romantic Chalet in Geel - Foto 2
Beautiful Romantic Chalet in Geel - Foto 3
Beautiful Romantic Chalet in Geel - Foto 4
Beautiful Romantic Chalet in Geel - Foto 5
Beautiful Romantic Chalet in Geel - Foto 6
Beautiful Romantic Chalet in Geel - Foto 7
Beautiful Romantic Chalet in Geel - Foto 8
Beautiful Romantic Chalet in Geel - Foto 9
Beautiful Romantic Chalet in Geel - Foto 10
Beautiful Romantic Chalet in Geel - Foto 11
Beautiful Romantic Chalet in Geel - Foto 12
Beautiful Romantic Chalet in Geel - Foto 13
Beautiful Romantic Chalet in Geel - Foto 14
Beautiful Romantic Chalet in Geel - Foto 15
Beautiful Romantic Chalet in Geel - Foto 16
Beautiful Romantic Chalet in Geel - Foto 17
Beautiful Romantic Chalet in Geel - Foto 18
Beautiful Romantic Chalet in Geel - Foto 19
Beautiful Romantic Chalet in Geel - Foto 20
Beautiful Romantic Chalet in Geel - Foto 21
Beautiful Romantic Chalet in Geel - Foto 22
Beautiful Romantic Chalet in Geel - Foto 23
Beautiful Romantic Chalet in Geel - Foto 24
Beautiful Romantic Chalet in Geel - Foto 25
Beautiful Romantic Chalet in Geel - Foto 26
Beautiful Romantic Chalet in Geel - Foto 27
Beautiful Romantic Chalet in Geel - Foto 28
Beautiful Romantic Chalet in Geel - Foto 29
Beautiful Romantic Chalet in Geel - Foto 30
Beautiful Romantic Chalet in Geel - Foto 31
Beautiful Romantic Chalet in Geel - Foto 32
Beautiful Romantic Chalet in Geel - Foto 33
Beautiful Romantic Chalet in Geel - Foto 34
Beautiful Romantic Chalet in Geel - Foto 35

Beautiful Romantic Chalet in Geel

Geel - 5.7 km dal centro

  • 45 M2
  • 2 persone
  • Aria condizionata
  • Terrazza
  • Parcheggio
  • Tv
  • Barbecue
  • Lino da letto
10Magnifico | 1 recensione
Herselt Garden Shed Retreat - Foto 1
Herselt Garden Shed Retreat - Foto 2
Herselt Garden Shed Retreat - Foto 3
Herselt Garden Shed Retreat - Foto 4
Herselt Garden Shed Retreat - Foto 5
Herselt Garden Shed Retreat - Foto 6
Herselt Garden Shed Retreat - Foto 7
Herselt Garden Shed Retreat - Foto 8
Herselt Garden Shed Retreat - Foto 9
Herselt Garden Shed Retreat - Foto 10
Herselt Garden Shed Retreat - Foto 11
Herselt Garden Shed Retreat - Foto 12
Herselt Garden Shed Retreat - Foto 13
Herselt Garden Shed Retreat - Foto 14
Herselt Garden Shed Retreat - Foto 15
Herselt Garden Shed Retreat - Foto 16
Herselt Garden Shed Retreat - Foto 17
Herselt Garden Shed Retreat - Foto 18
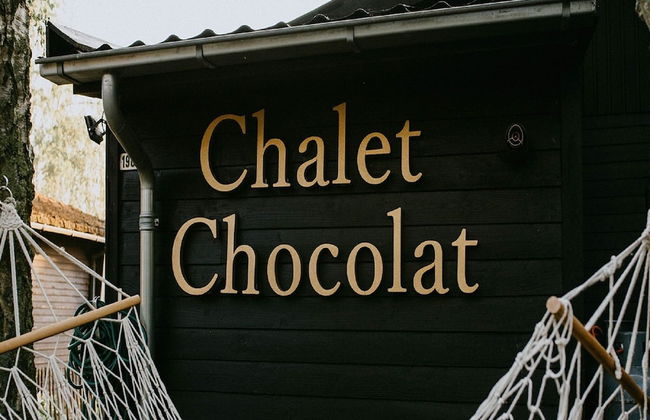
Herselt Garden Shed Retreat - Foto 19
Herselt Garden Shed Retreat - Foto 20
Herselt Garden Shed Retreat - Foto 21
Herselt Garden Shed Retreat - Foto 22
Herselt Garden Shed Retreat - Foto 23
Herselt Garden Shed Retreat - Foto 24
Herselt Garden Shed Retreat - Foto 25
Herselt Garden Shed Retreat - Foto 26
Herselt Garden Shed Retreat - Foto 27
Herselt Garden Shed Retreat - Foto 28
Herselt Garden Shed Retreat - Foto 29
Herselt Garden Shed Retreat - Foto 30
Herselt Garden Shed Retreat - Foto 31
Herselt Garden Shed Retreat - Foto 32
Herselt Garden Shed Retreat - Foto 33
Herselt Garden Shed Retreat - Foto 34
Herselt Garden Shed Retreat - Foto 35
Herselt Garden Shed Retreat - Foto 36
Herselt Garden Shed Retreat - Foto 37
Herselt Garden Shed Retreat - Foto 38
Herselt Garden Shed Retreat - Foto 39
Herselt Garden Shed Retreat - Foto 40
Herselt Garden Shed Retreat - Foto 41
Herselt Garden Shed Retreat - Foto 42
Herselt Garden Shed Retreat - Foto 43

Herselt Garden Shed Retreat

Herselt - 860 m dal centro

  • 105 M2
  • 4 persone
  • Riscaldamento
  • Parcheggio
  • Giardino
  • Tv
  • Barbecue
  • Lino da letto
10Magnifico | 1 recensione
Modern 2BR 1.5 BA Near Diamond District by Oneluxstay - Foto 1
Modern 2BR 1.5 BA Near Diamond District by Oneluxstay - Foto 2
Modern 2BR 1.5 BA Near Diamond District by Oneluxstay - Foto 3
Modern 2BR 1.5 BA Near Diamond District by Oneluxstay - Foto 4
Modern 2BR 1.5 BA Near Diamond District by Oneluxstay - Foto 5
Modern 2BR 1.5 BA Near Diamond District by Oneluxstay - Foto 6
Modern 2BR 1.5 BA Near Diamond District by Oneluxstay - Foto 7
Modern 2BR 1.5 BA Near Diamond District by Oneluxstay - Foto 8
Modern 2BR 1.5 BA Near Diamond District by Oneluxstay - Foto 9
Modern 2BR 1.5 BA Near Diamond District by Oneluxstay - Foto 10
Modern 2BR 1.5 BA Near Diamond District by Oneluxstay - Foto 11
Modern 2BR 1.5 BA Near Diamond District by Oneluxstay - Foto 12
Modern 2BR 1.5 BA Near Diamond District by Oneluxstay - Foto 13
Modern 2BR 1.5 BA Near Diamond District by Oneluxstay - Foto 14
Modern 2BR 1.5 BA Near Diamond District by Oneluxstay - Foto 15
Modern 2BR 1.5 BA Near Diamond District by Oneluxstay - Foto 16
Modern 2BR 1.5 BA Near Diamond District by Oneluxstay - Foto 17
Modern 2BR 1.5 BA Near Diamond District by Oneluxstay - Foto 18
Modern 2BR 1.5 BA Near Diamond District by Oneluxstay - Foto 19
Modern 2BR 1.5 BA Near Diamond District by Oneluxstay - Foto 20
Modern 2BR 1.5 BA Near Diamond District by Oneluxstay - Foto 21
Modern 2BR 1.5 BA Near Diamond District by Oneluxstay - Foto 22
Modern 2BR 1.5 BA Near Diamond District by Oneluxstay - Foto 23
Modern 2BR 1.5 BA Near Diamond District by Oneluxstay - Foto 24
Modern 2BR 1.5 BA Near Diamond District by Oneluxstay - Foto 25
Modern 2BR 1.5 BA Near Diamond District by Oneluxstay - Foto 26
Modern 2BR 1.5 BA Near Diamond District by Oneluxstay - Foto 27
Modern 2BR 1.5 BA Near Diamond District by Oneluxstay - Foto 28
Modern 2BR 1.5 BA Near Diamond District by Oneluxstay - Foto 29
Modern 2BR 1.5 BA Near Diamond District by Oneluxstay - Foto 30
Modern 2BR 1.5 BA Near Diamond District by Oneluxstay - Foto 31
Modern 2BR 1.5 BA Near Diamond District by Oneluxstay - Foto 32
Modern 2BR 1.5 BA Near Diamond District by Oneluxstay - Foto 33
Modern 2BR 1.5 BA Near Diamond District by Oneluxstay - Foto 34
Modern 2BR 1.5 BA Near Diamond District by Oneluxstay - Foto 35

Modern 2BR 1.5 BA Near Diamond District by Oneluxstay

Anversa - Diamant-Stadspark - 1.4 km dal centro

  • 4 persone
  • Riscaldamento
  • Tv
  • Lavatrice
  • Lino da bagno
  • Lino da letto
10Magnifico | 1 recensione
Destinazioni correlate