


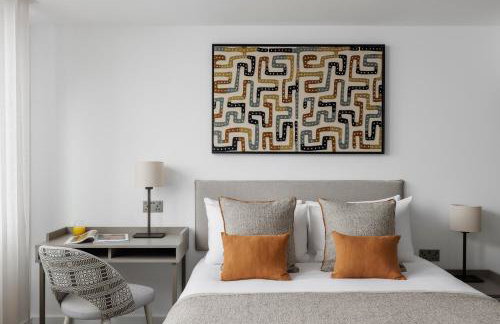
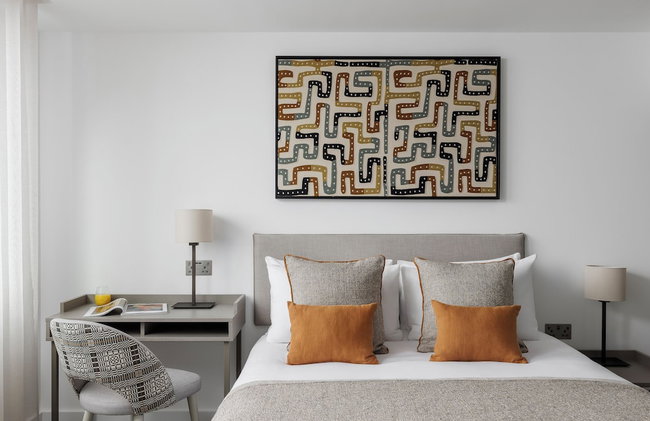
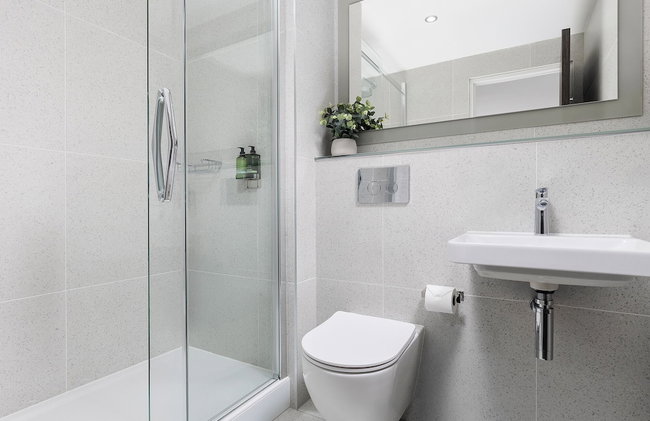
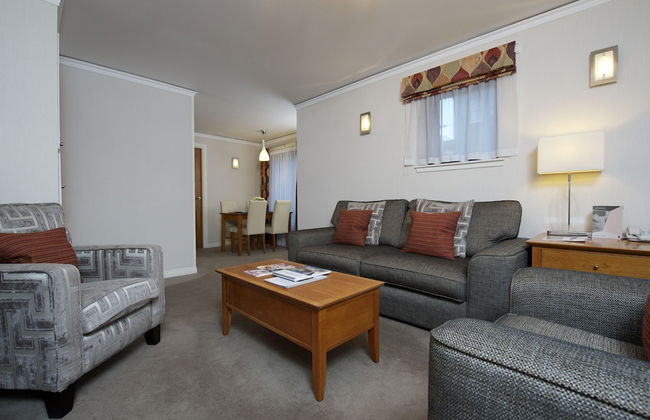
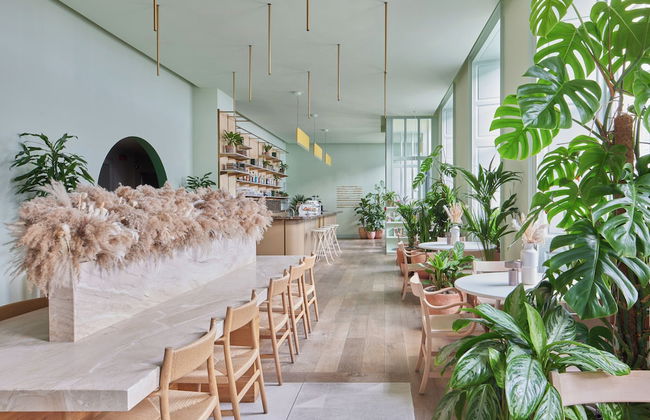
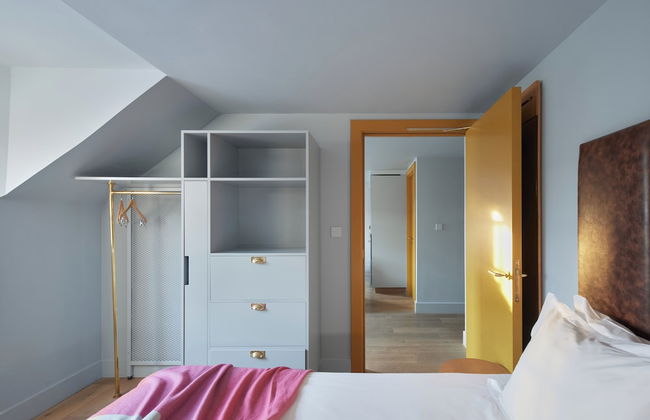
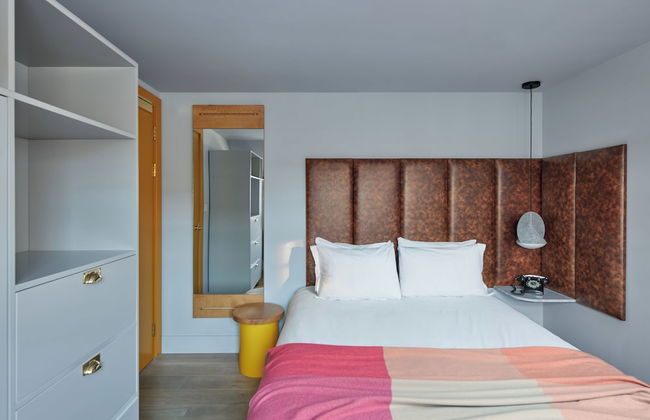
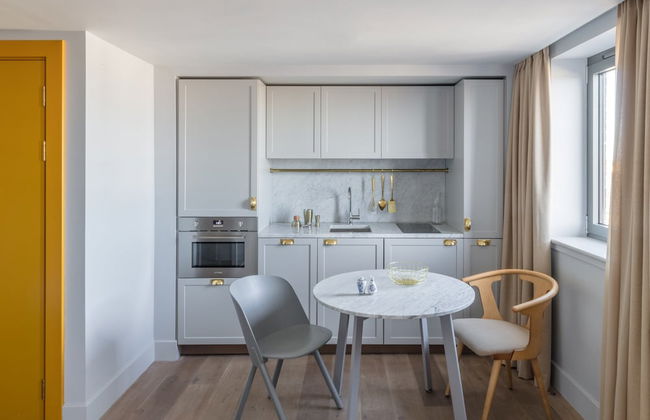
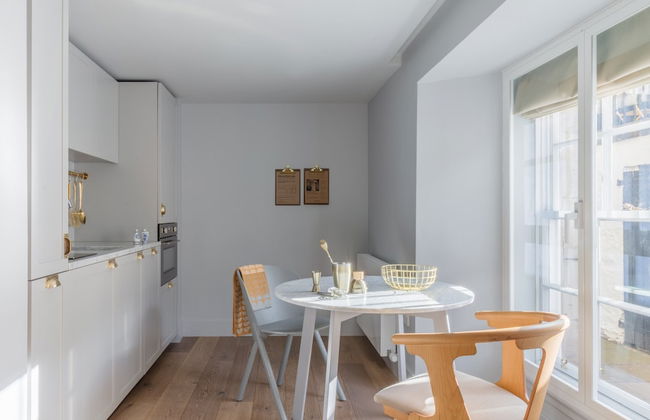
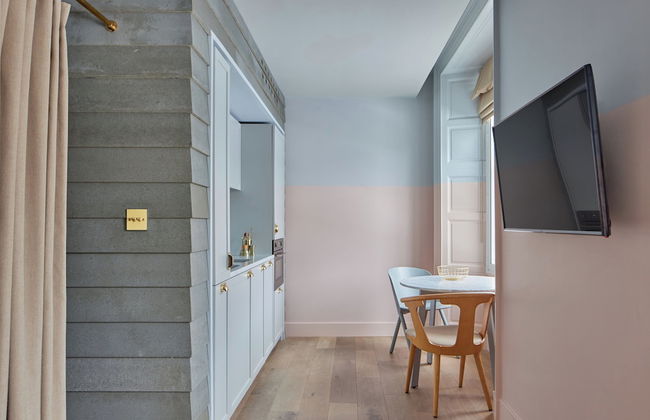
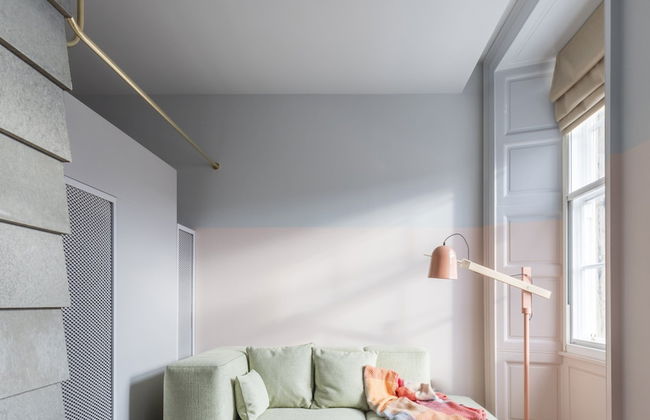
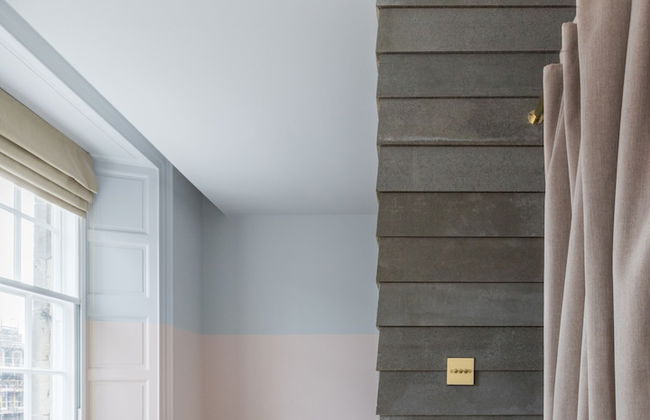
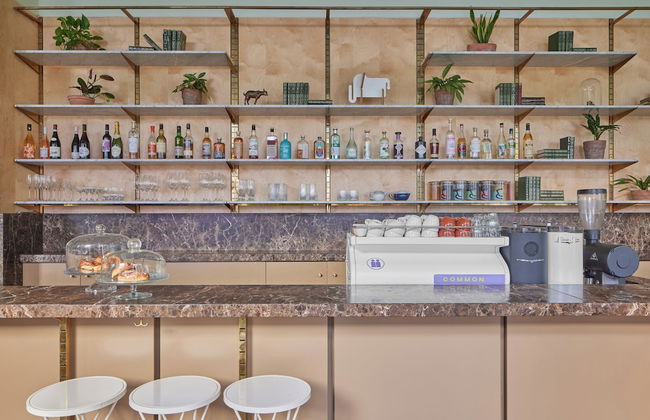
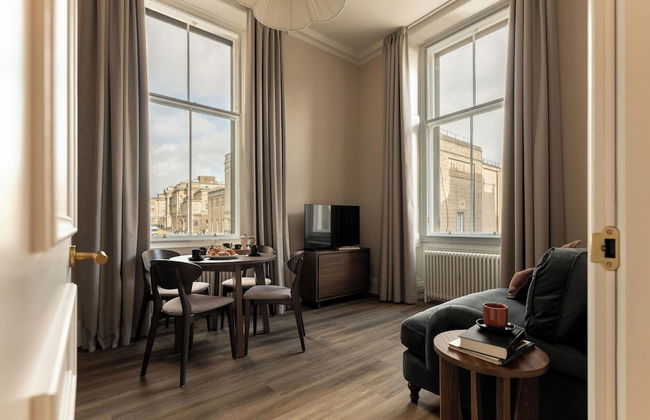
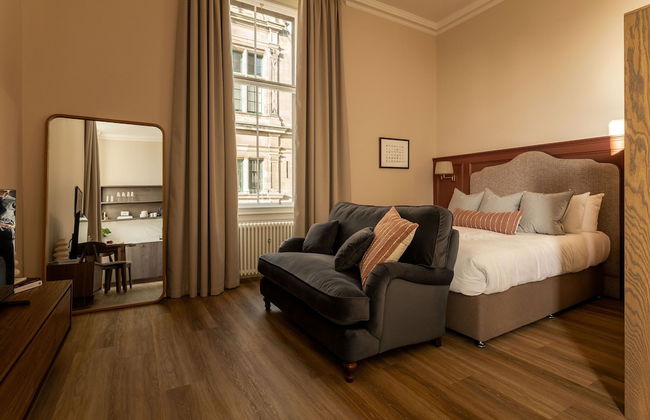
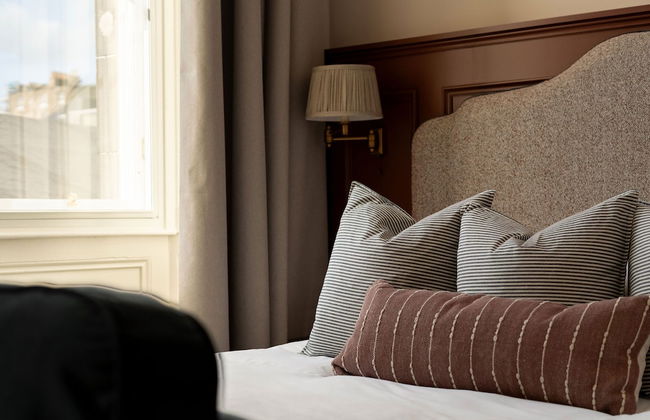
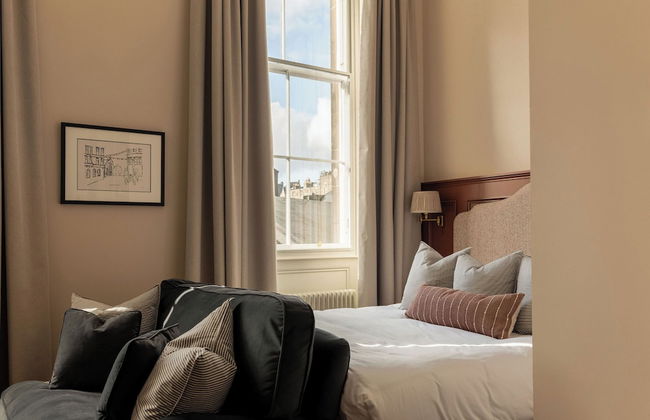
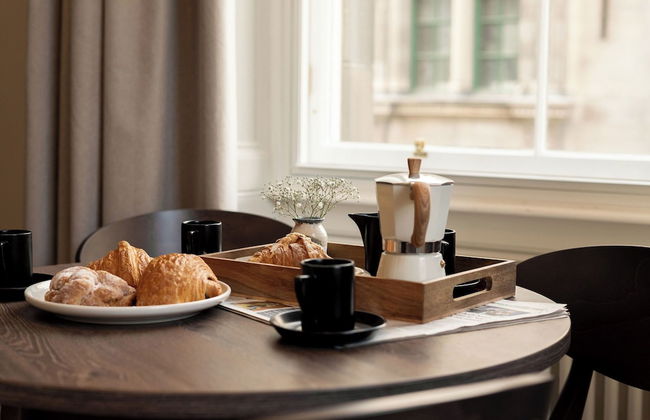
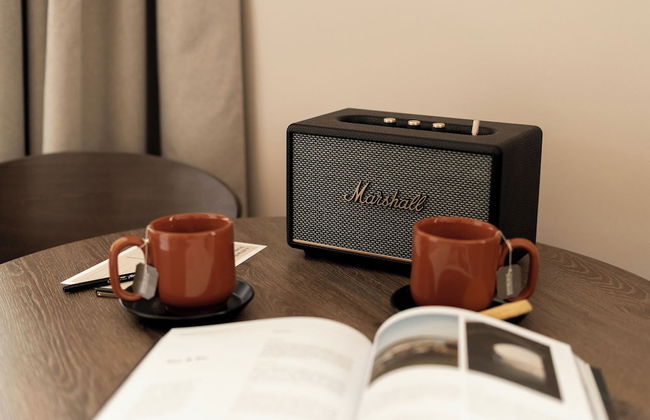
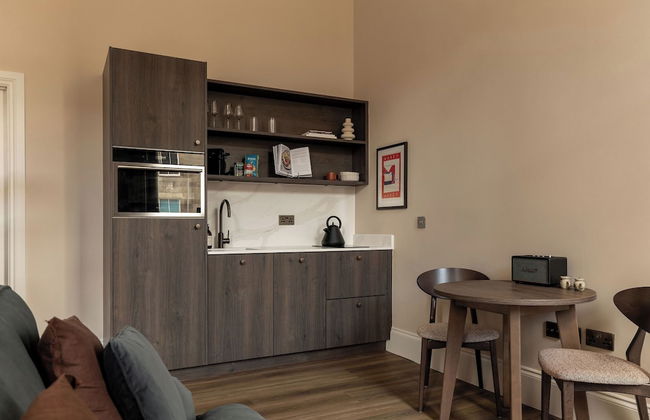
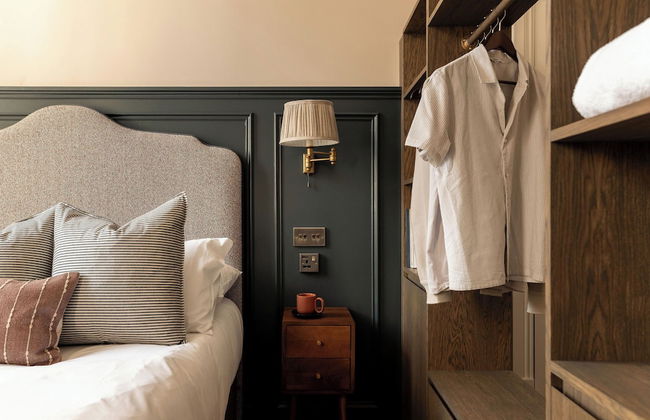
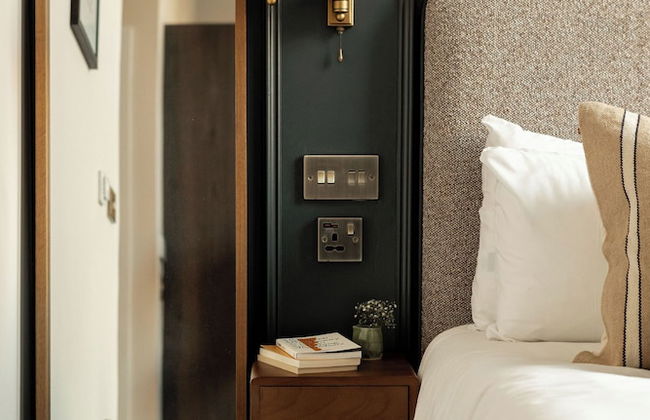
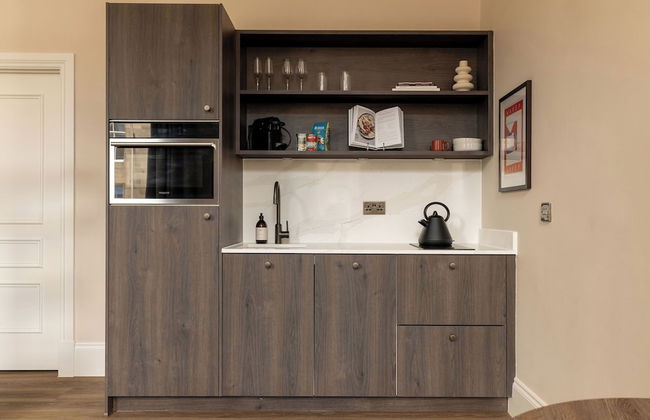
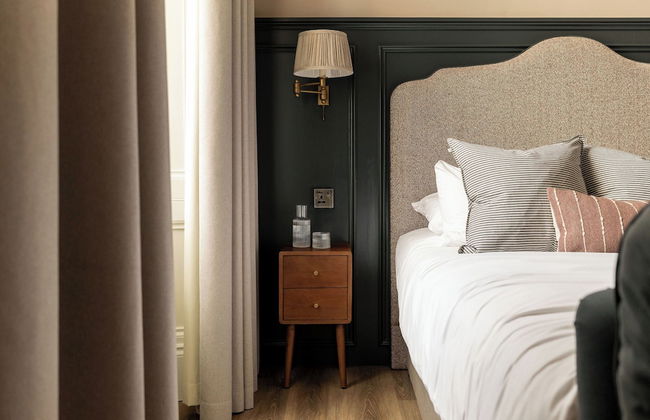
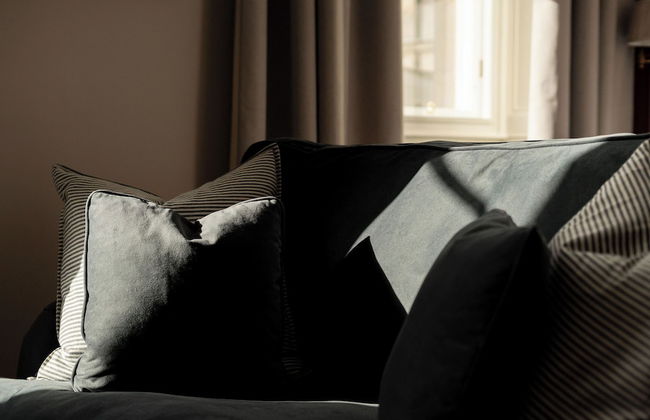
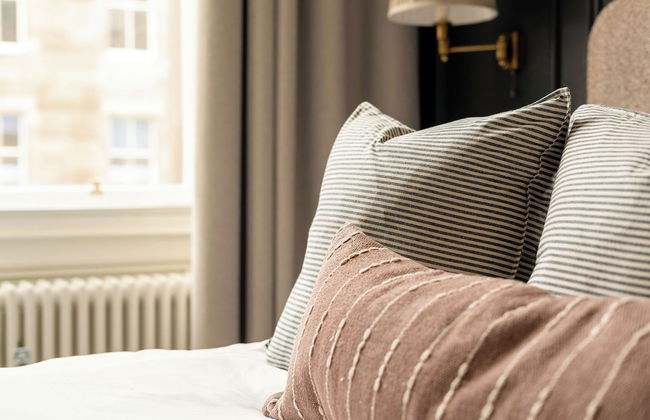
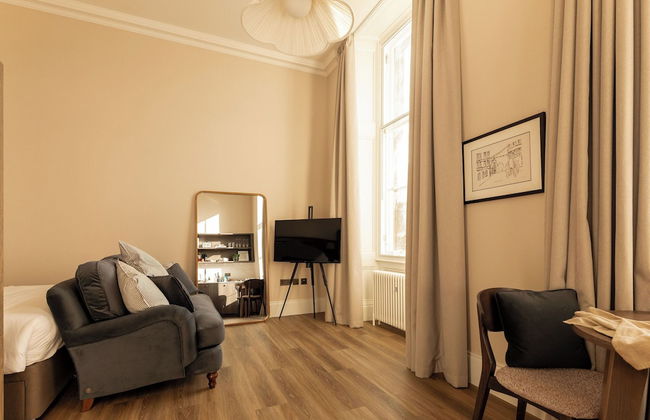
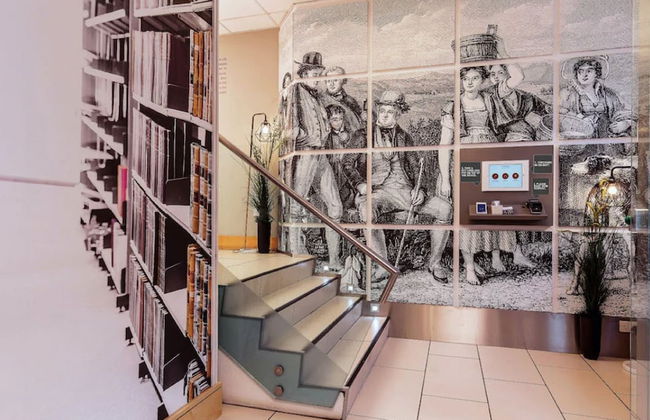
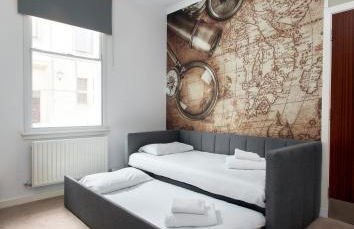
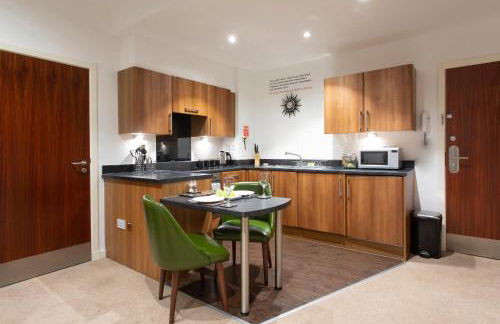
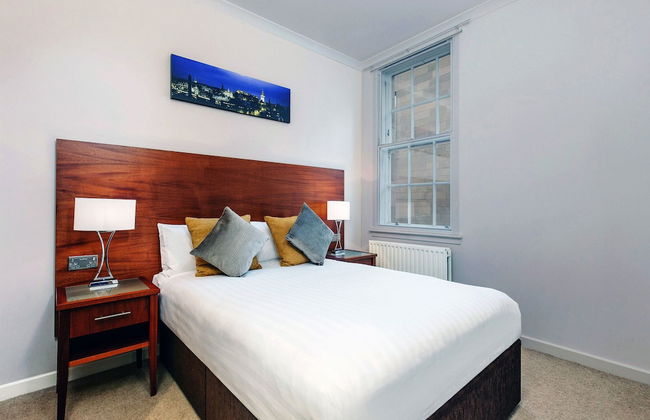
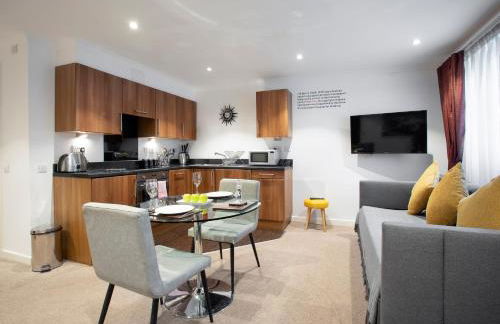
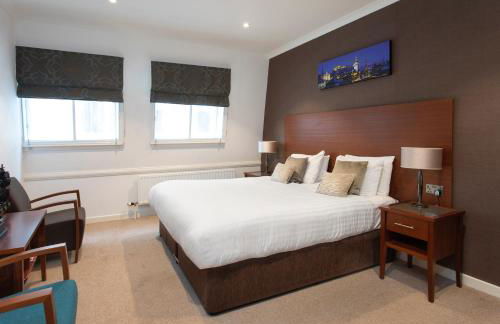
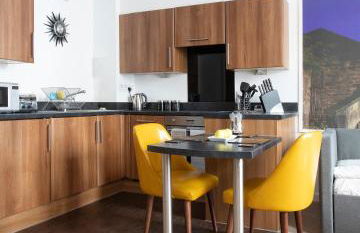
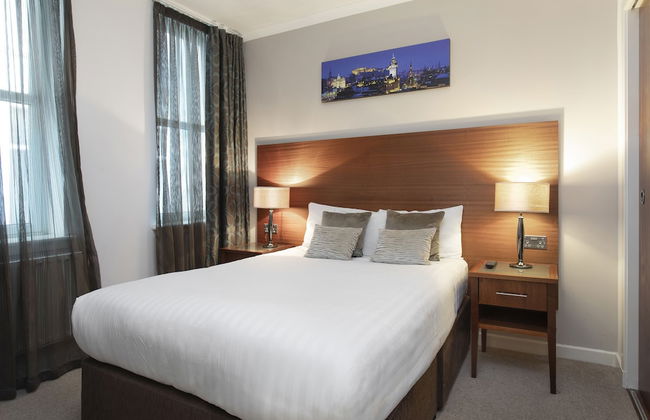
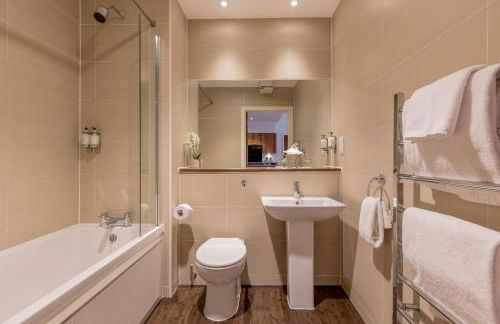
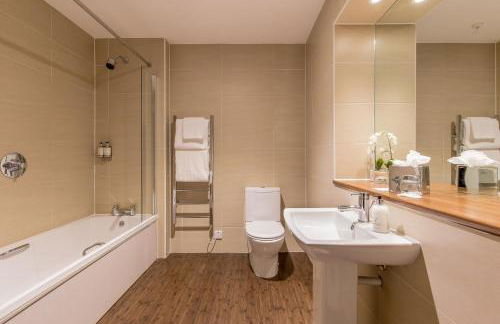
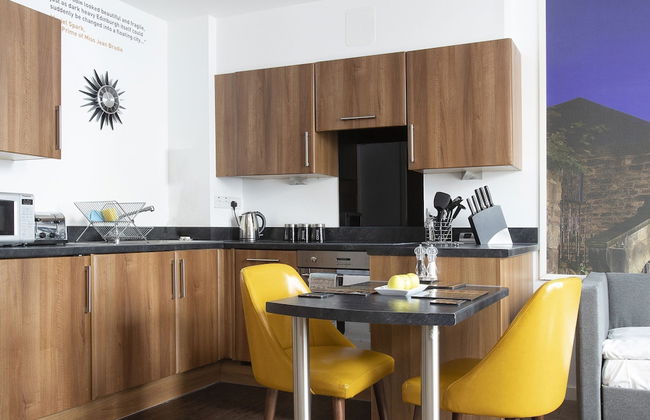
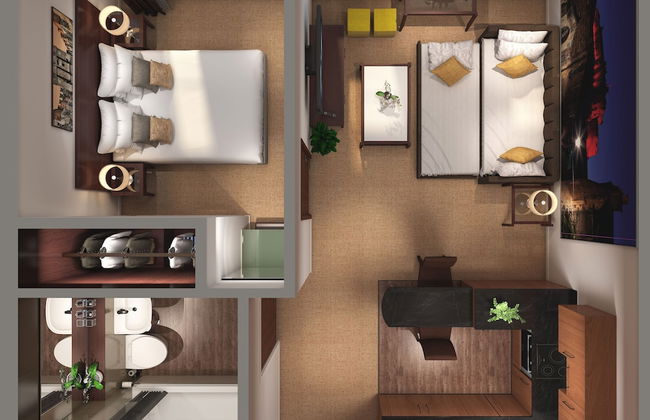
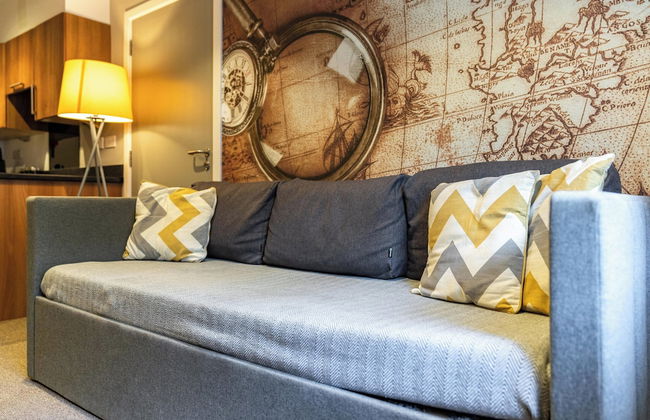
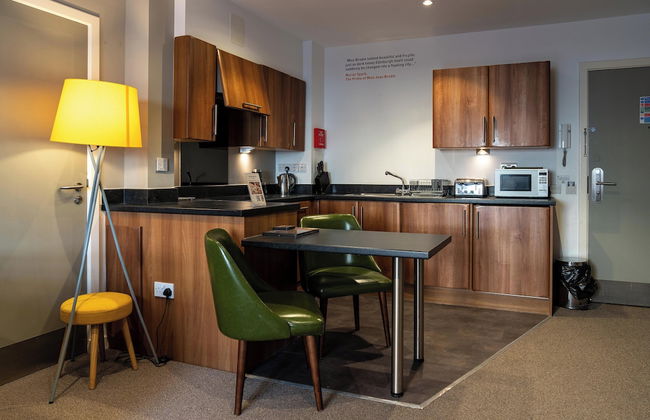
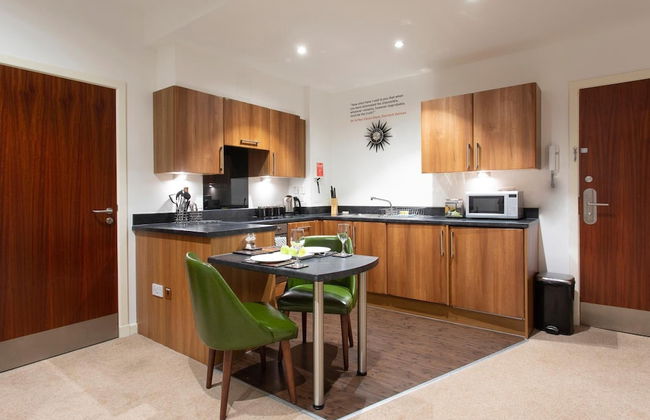
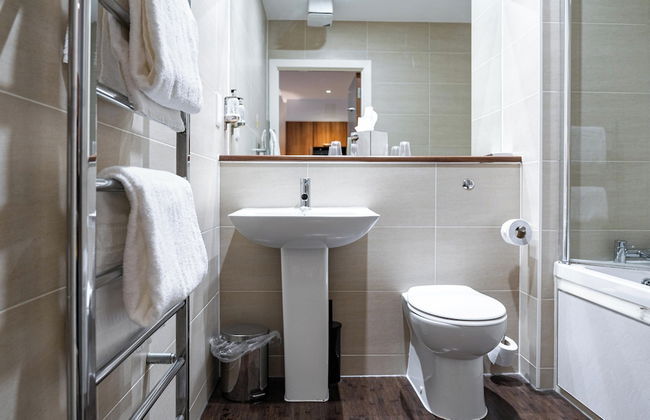
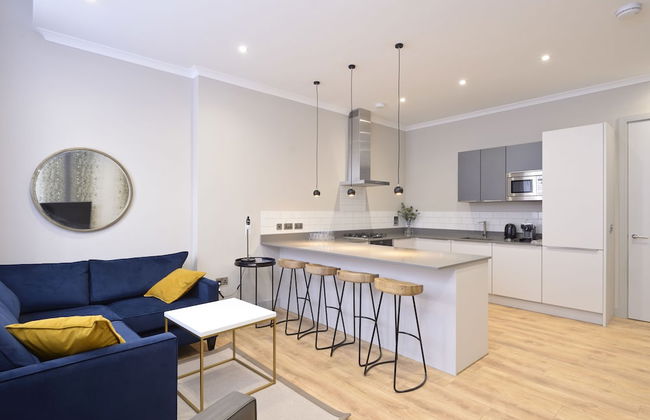
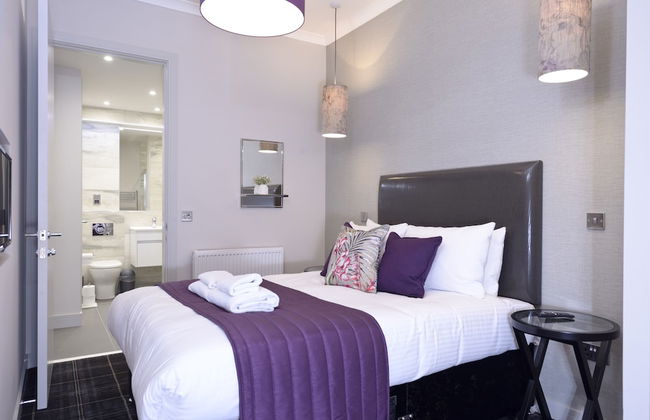
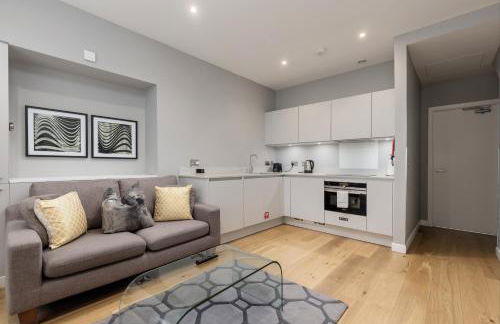
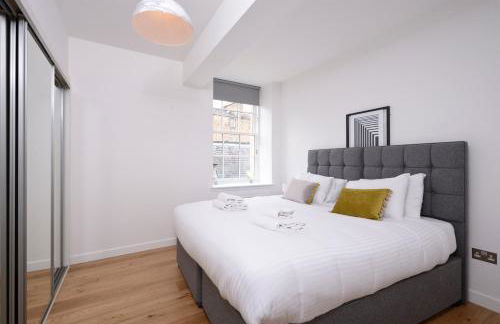
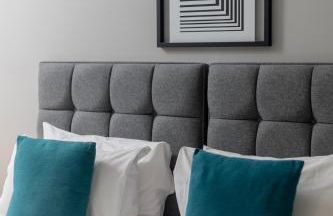
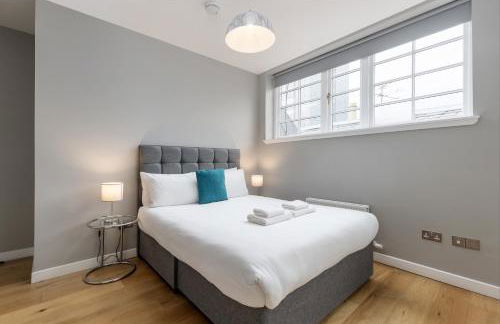
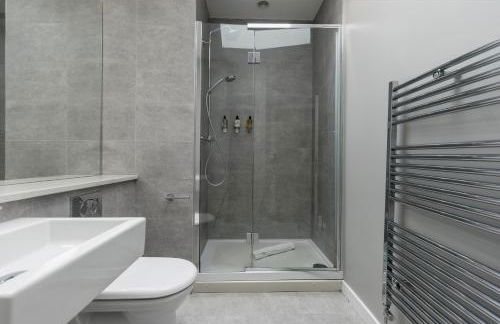
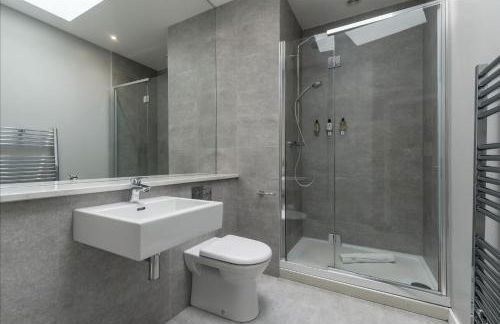
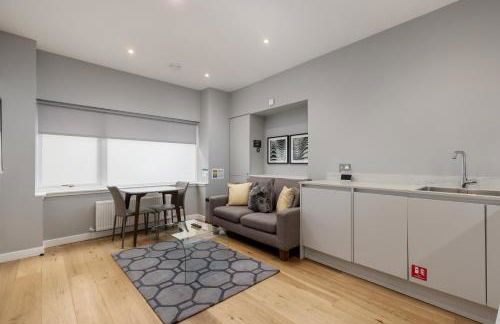
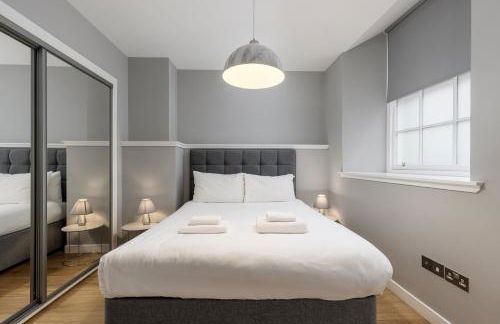
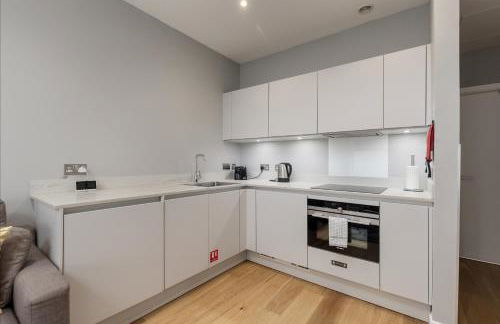
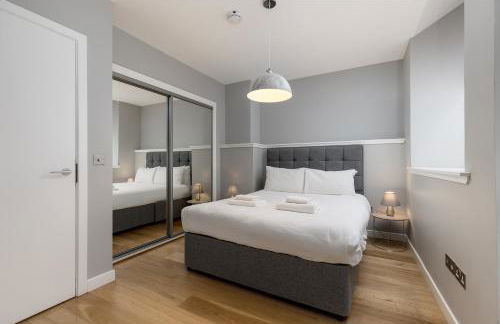
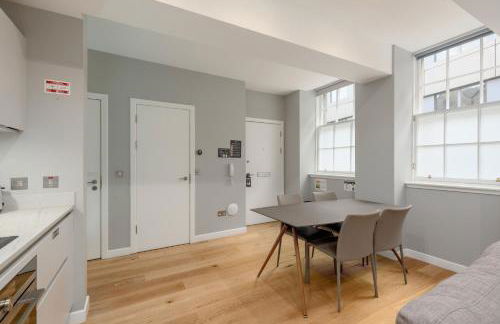
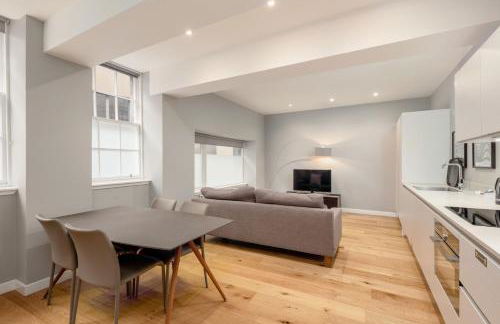
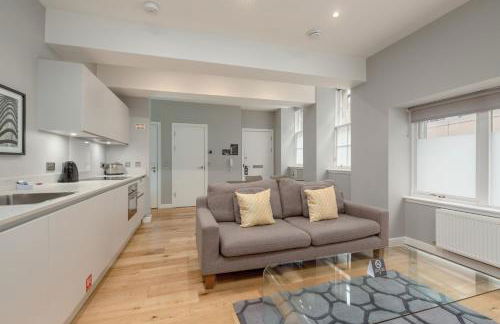
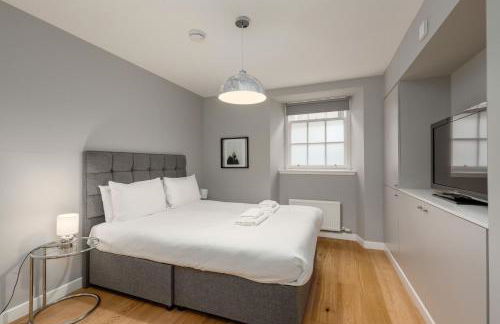
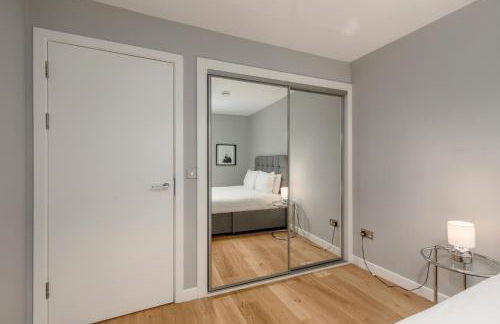
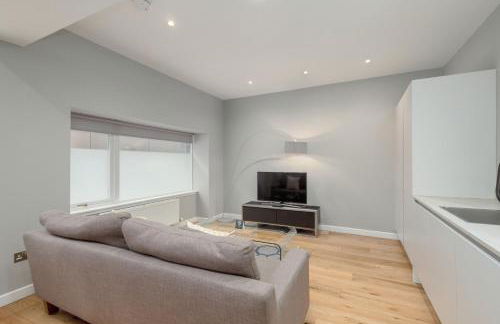
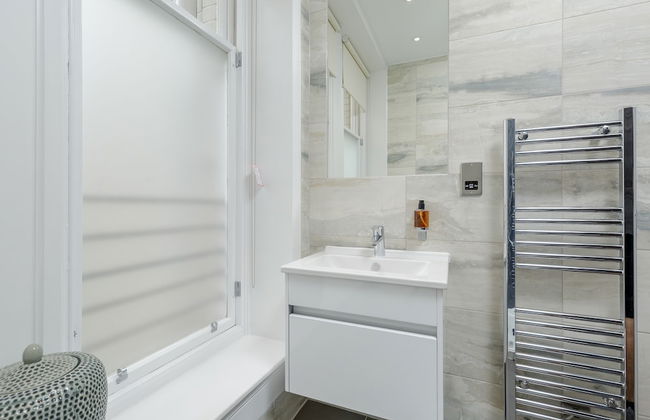
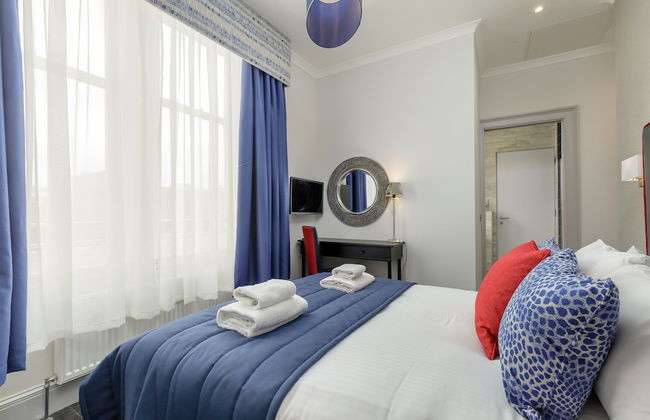
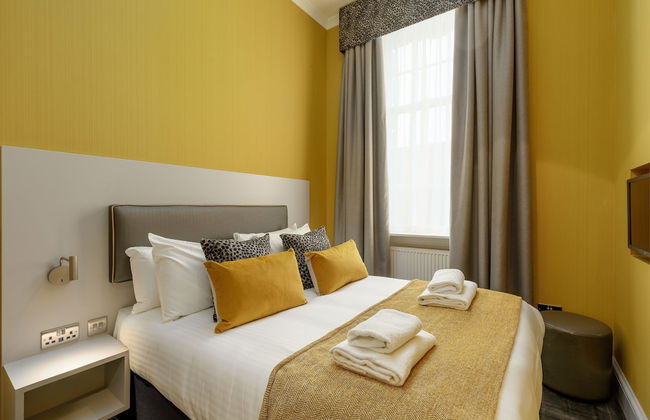
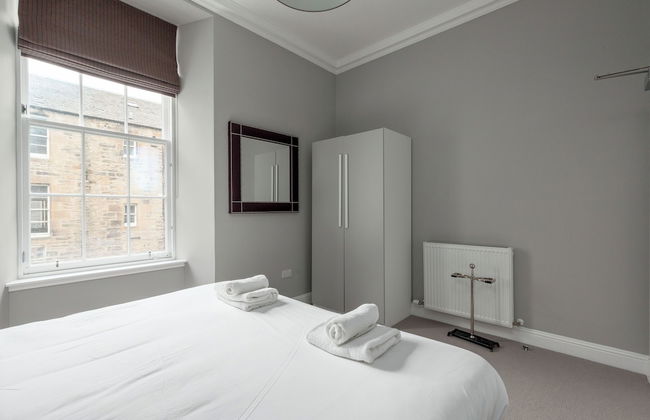
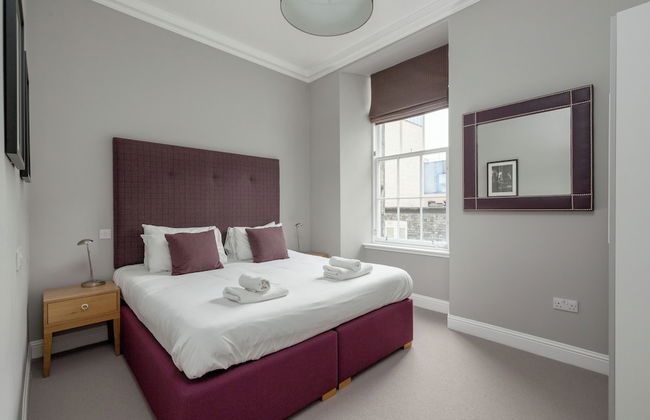
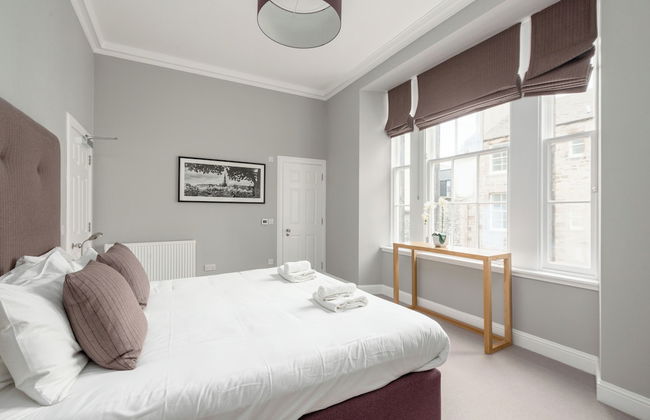
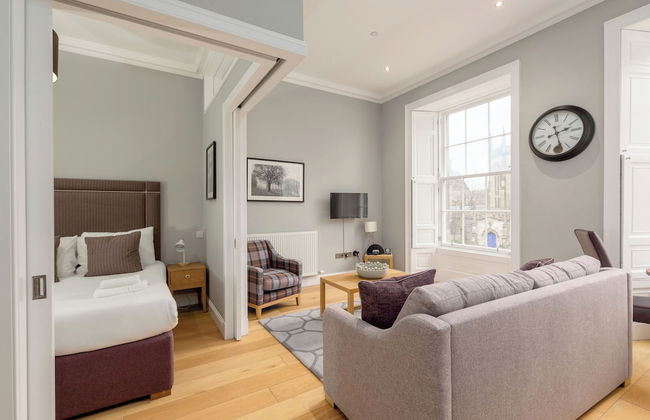
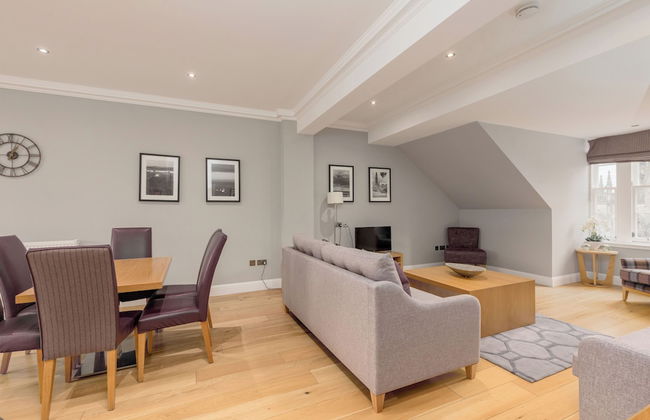
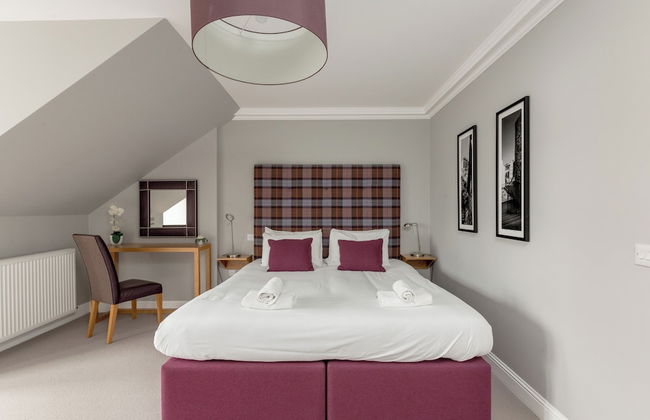
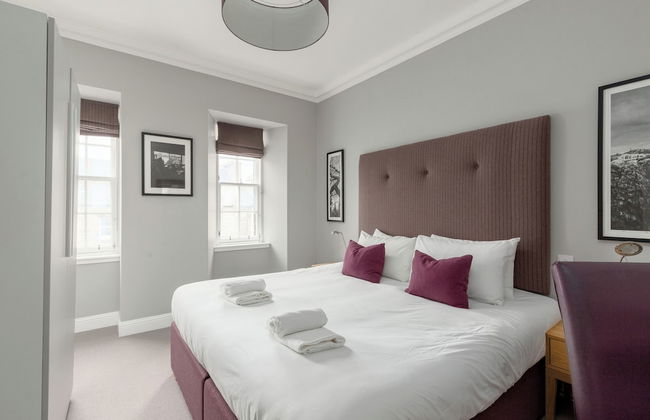
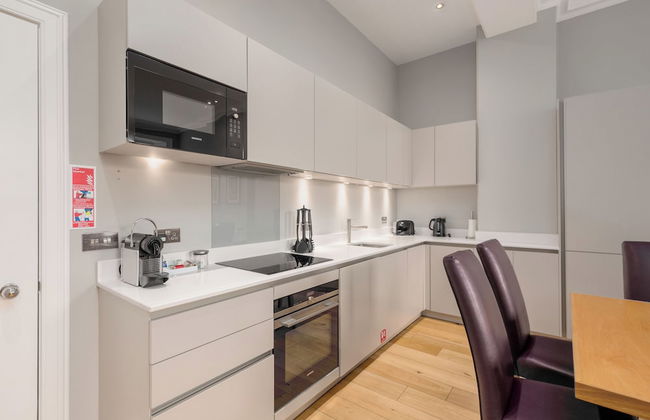
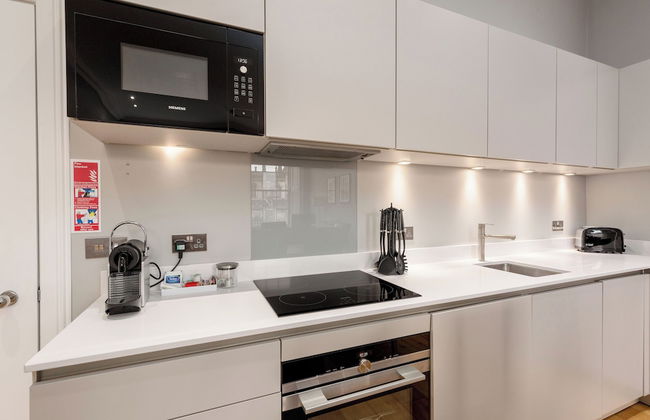
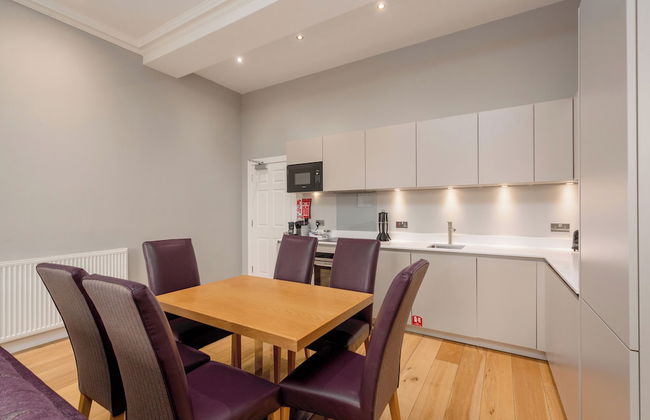
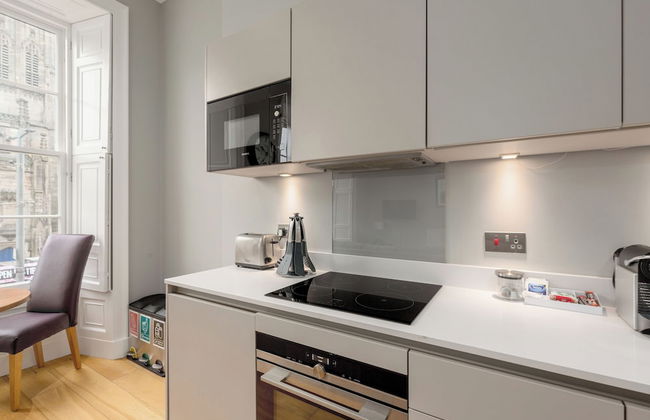
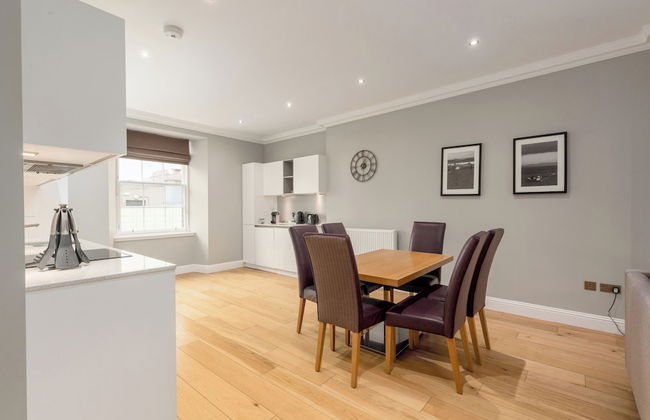
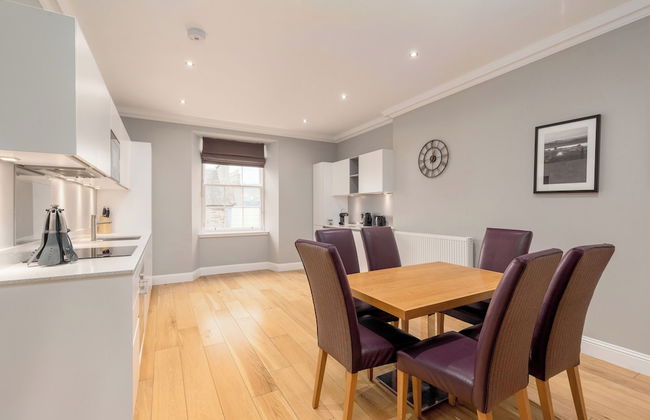
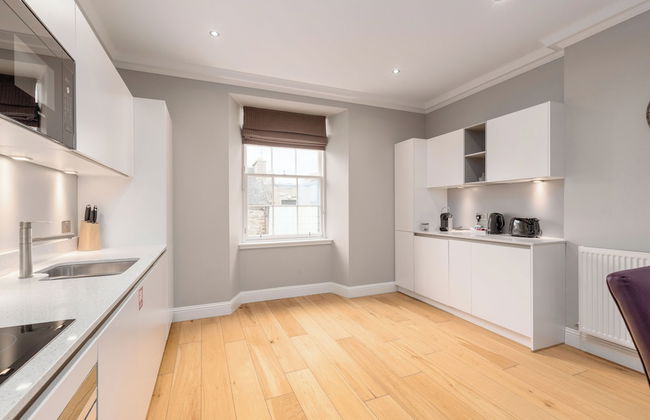
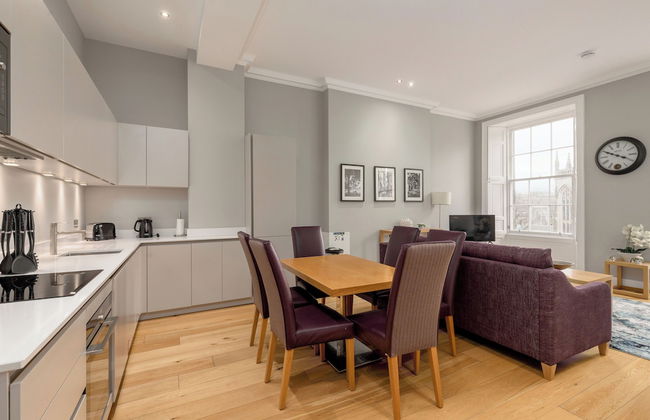
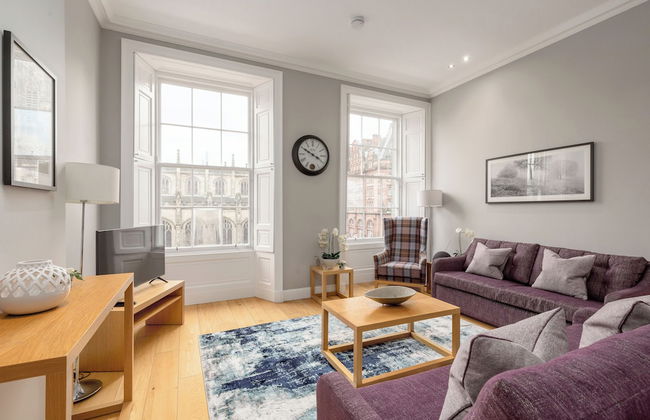
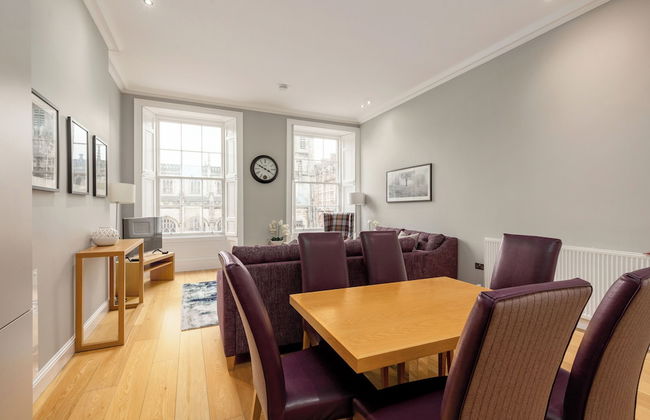
RÌGH Residences - George Street
Edimburgo - EH2 - Al centro
- 72 M2
- 3 camere
- 5 persone
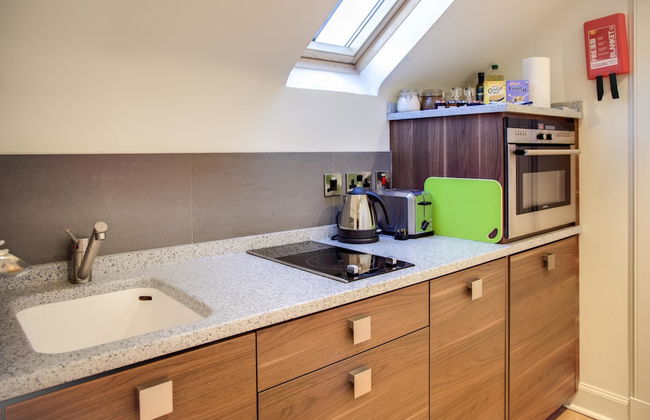
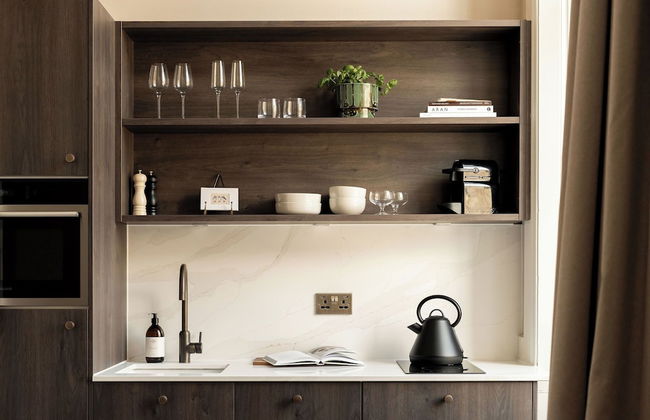
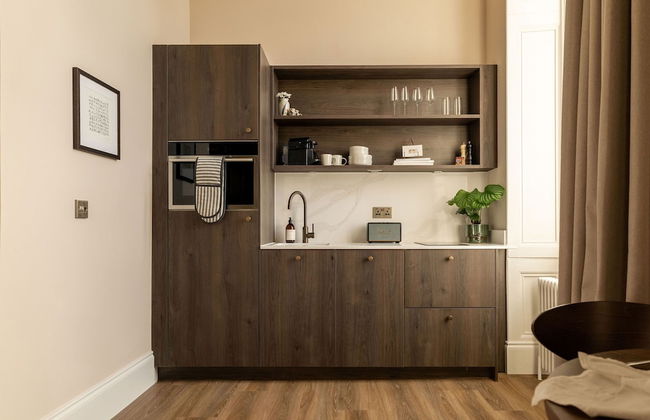
- Cucinino
- Aria condizionata
- Riscaldamento
- Ascensore
- Tv
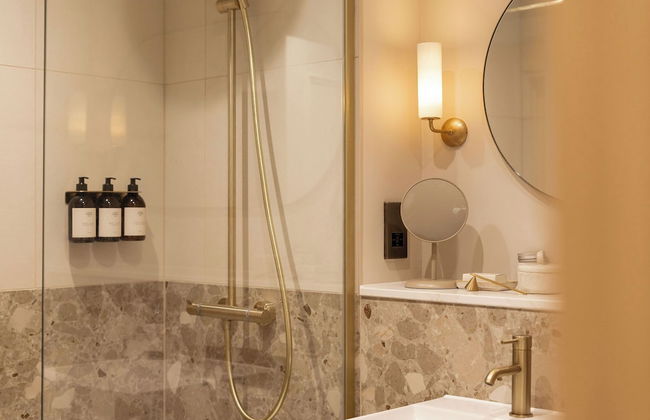
- Lino da bagno
- Lino da letto


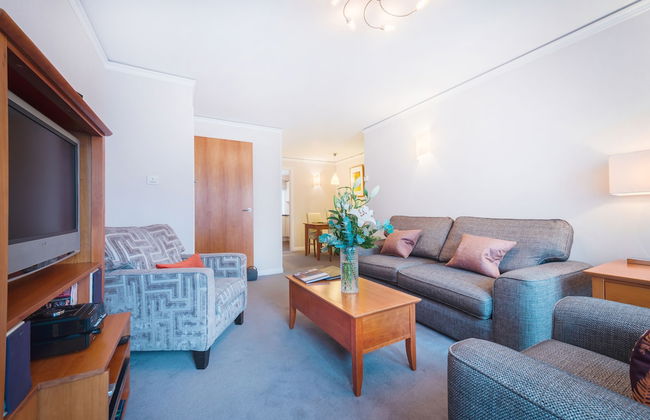
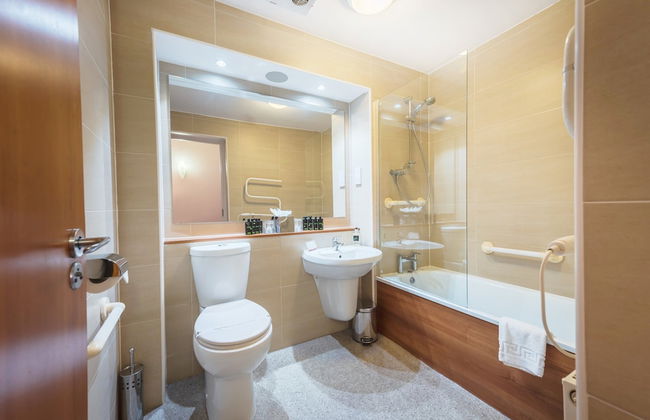
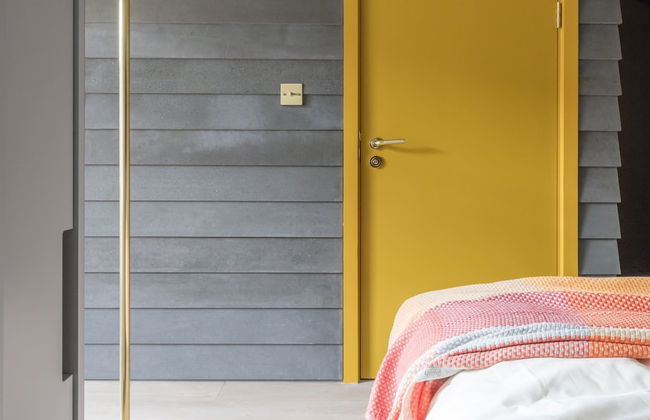
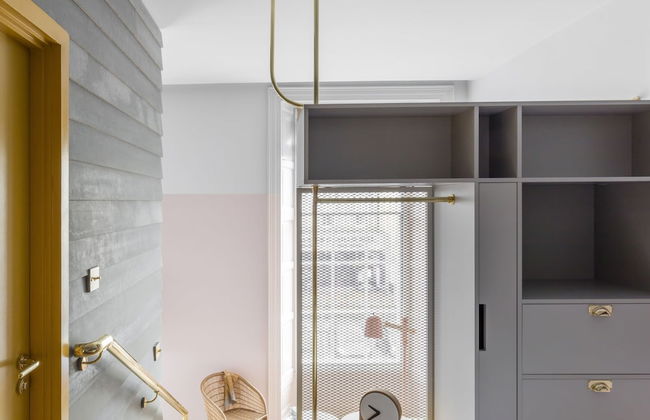
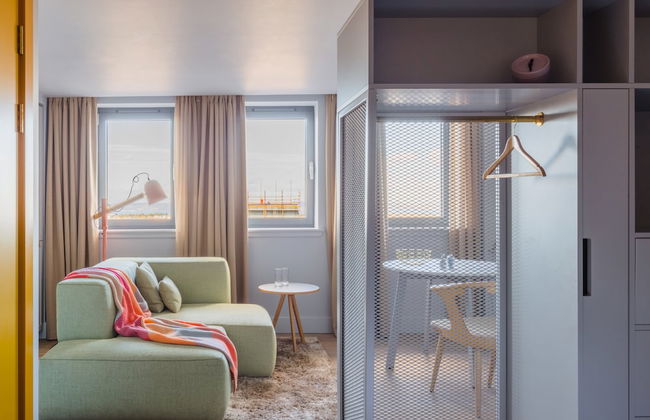
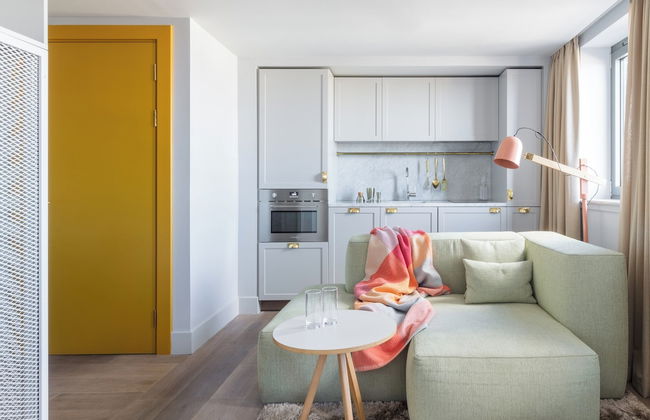
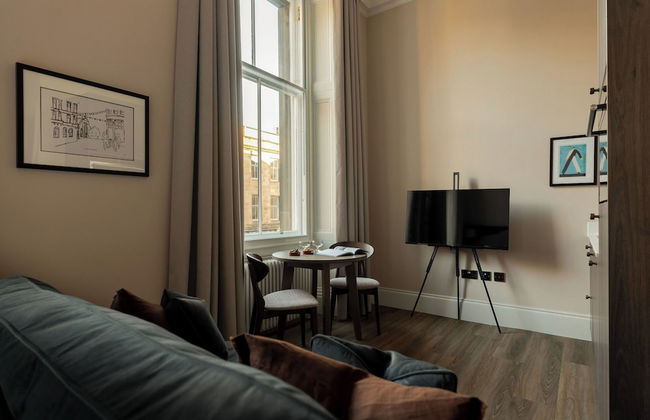
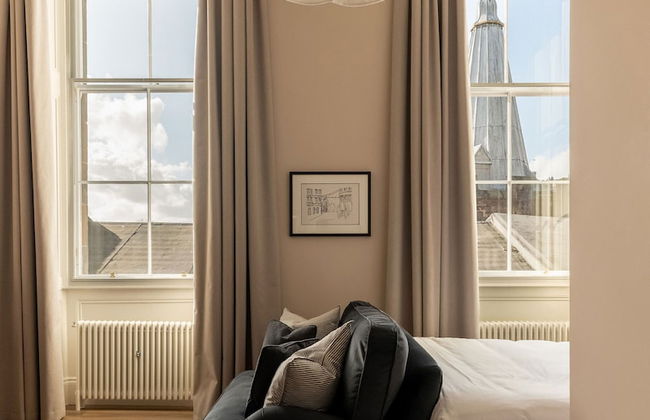
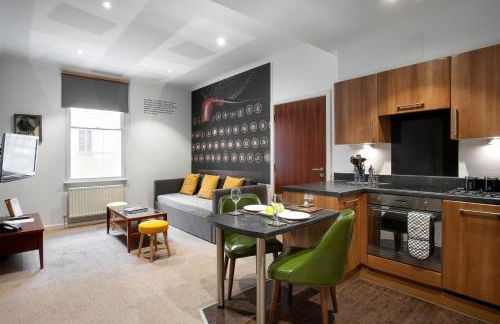
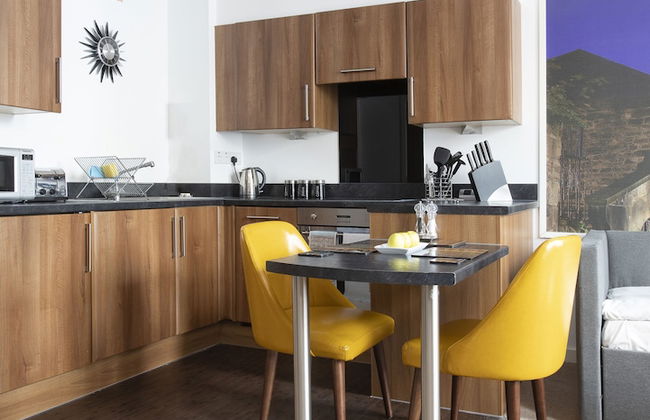
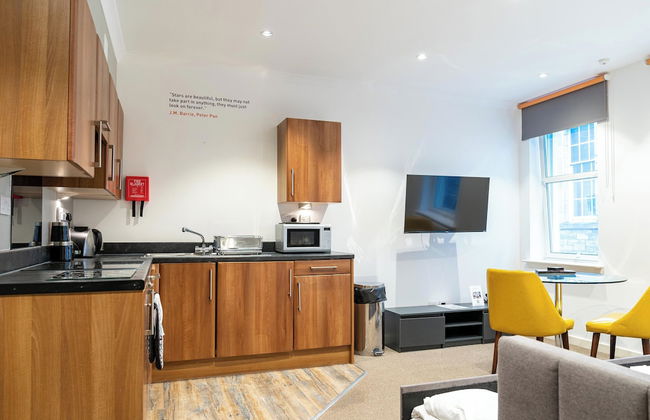
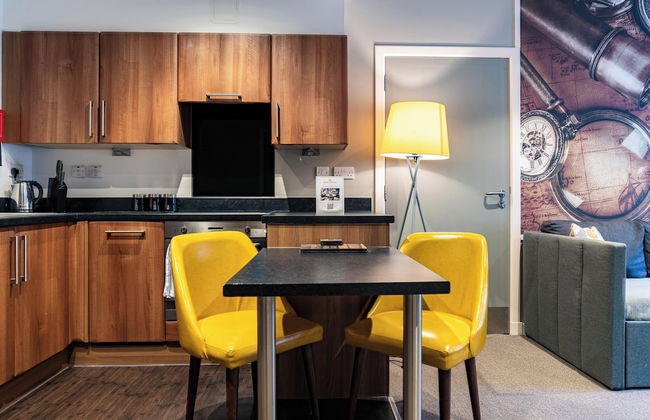
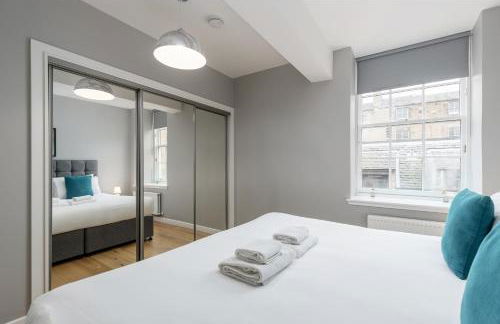
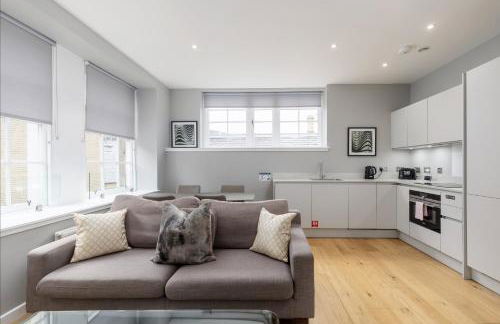
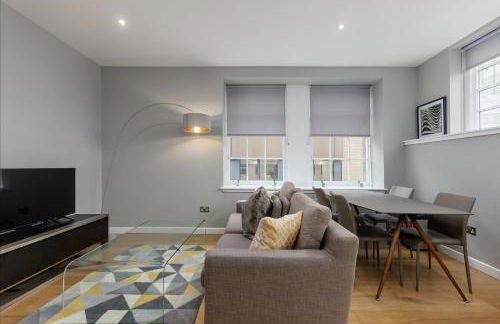
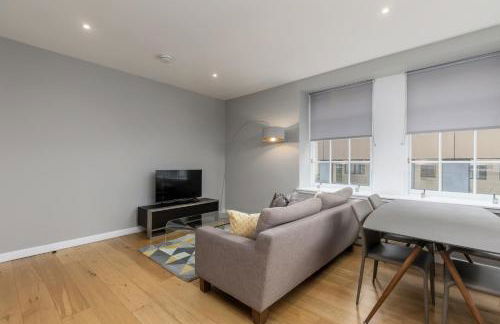
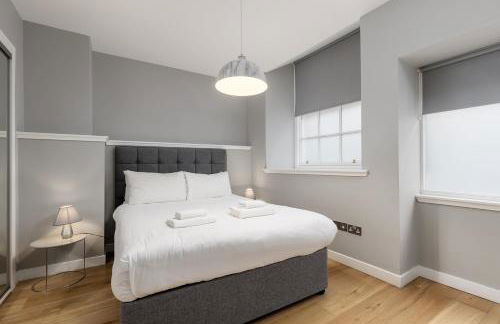
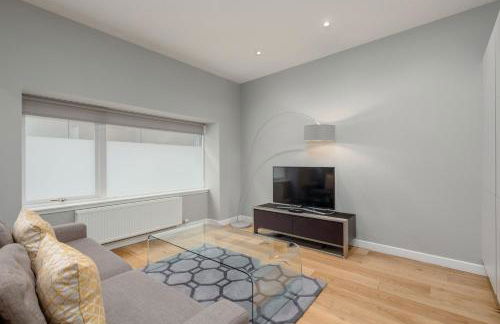
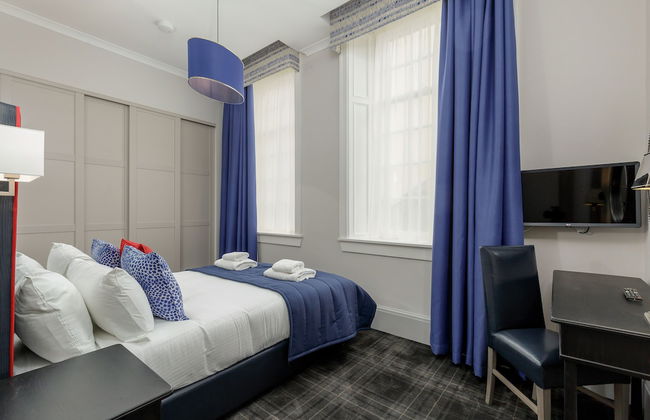
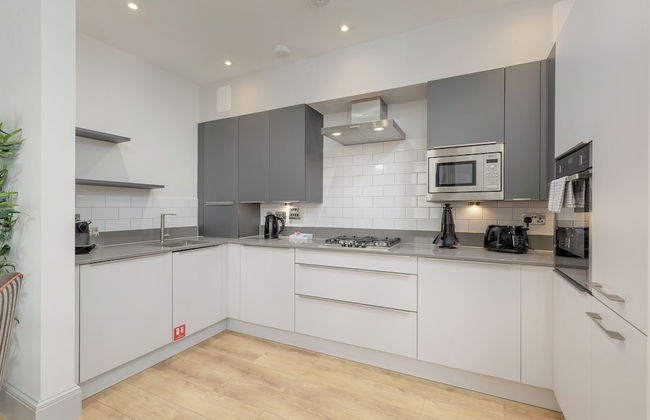
Forth House by Supercity Aparthotels
Edimburgo - Broughton - 460 m dal centro
- 59 M2
- 2 camere
- 4 persone
- Aria condizionata
- Riscaldamento
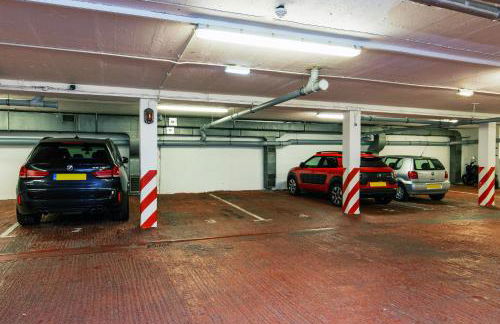
- Parcheggio
- Ascensore
- Tv
- Lavatrice
- Lino da bagno
- Lino da letto


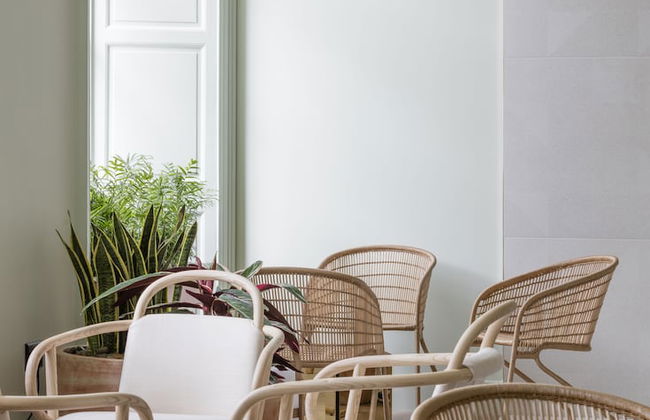
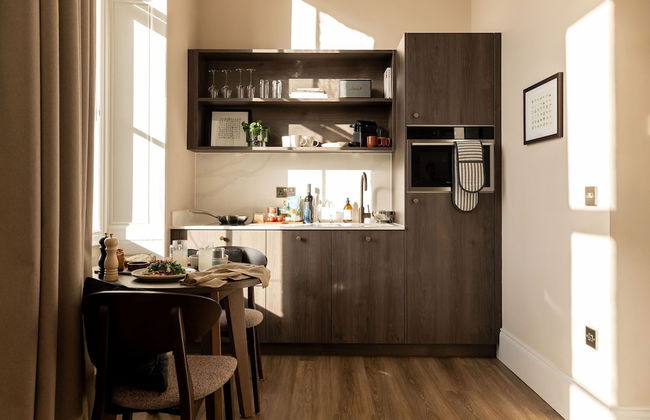
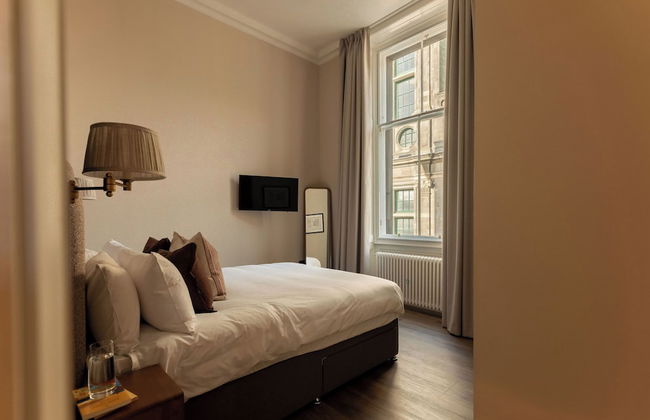
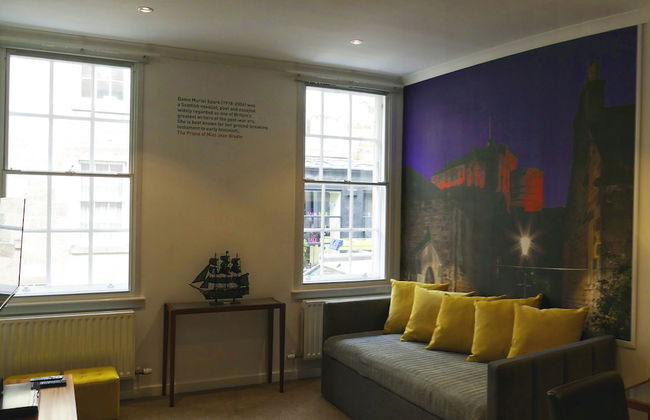
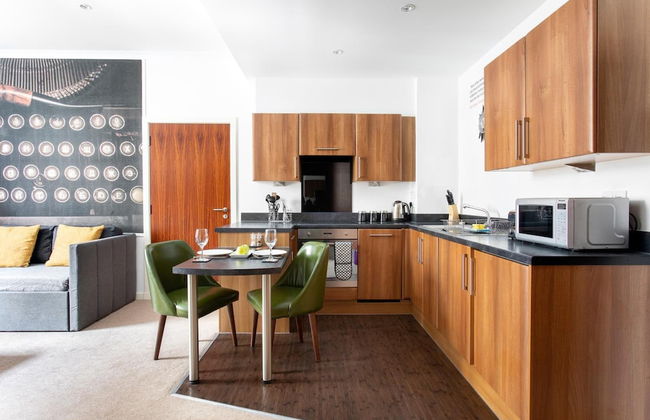
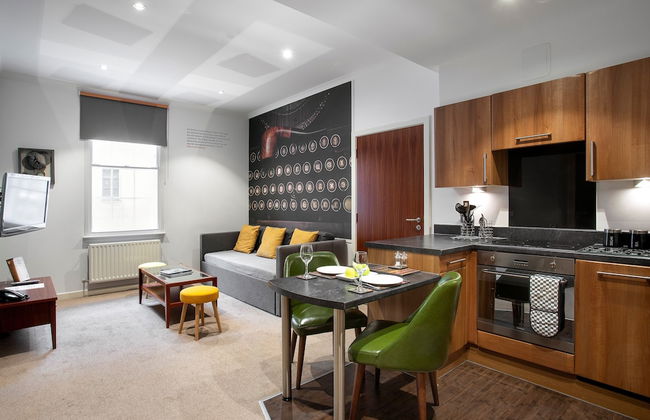
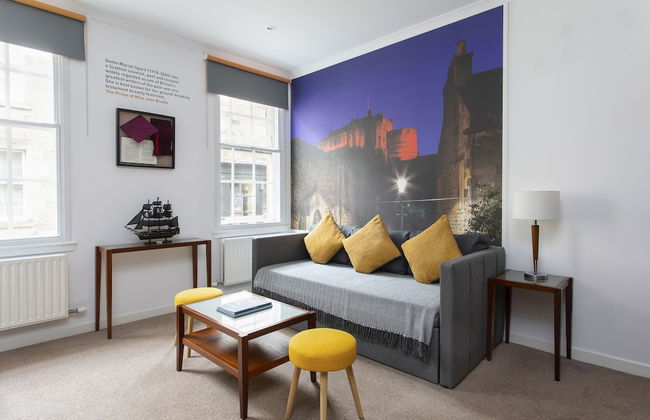
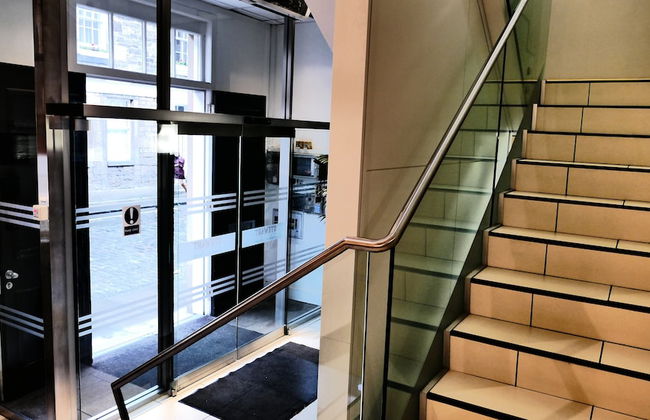
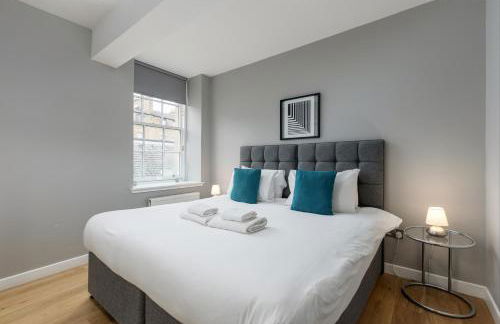
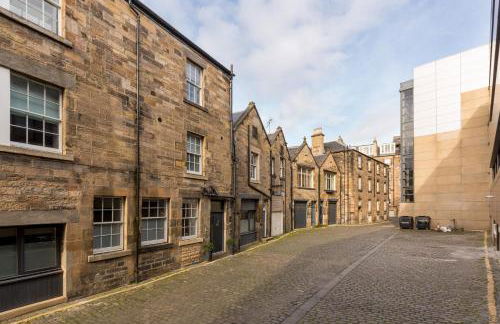
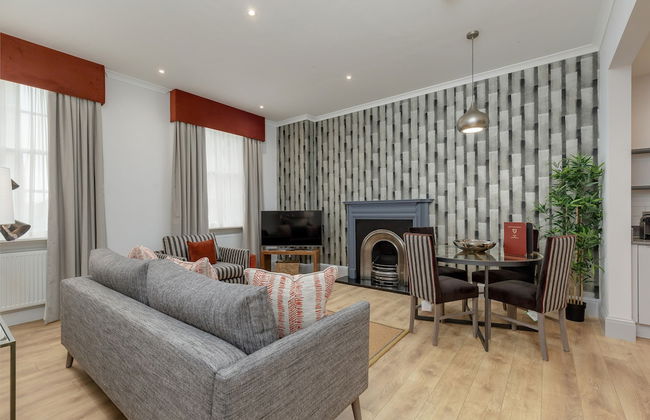
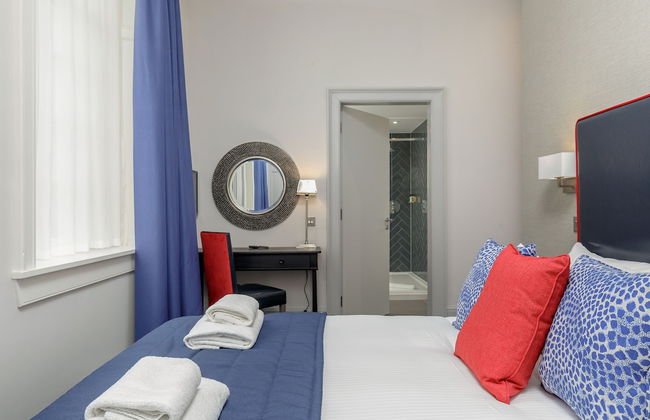
Grassmarket, Below Edinburgh Castle in Old Town
Edimburgo - EH1 - 350 m dal centro
- 76 M2
- 4 persone
- Riscaldamento
- Tv
- Lavatrice
- Focolare
- Lino da bagno
- Lino da letto


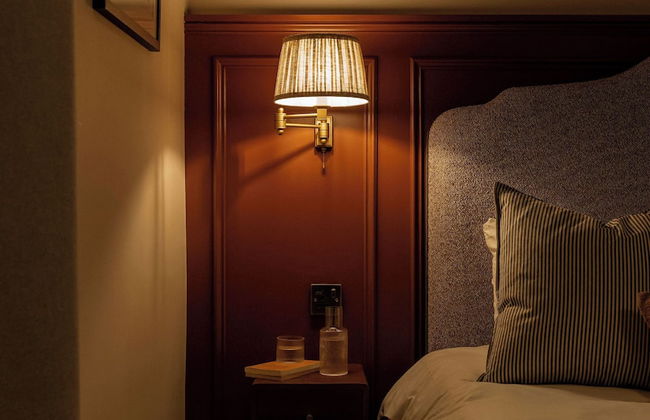
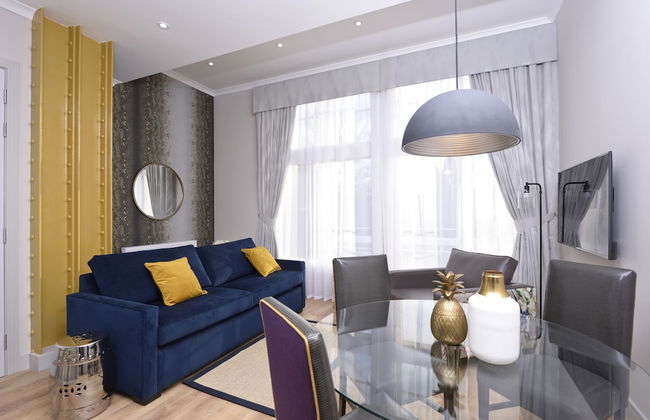
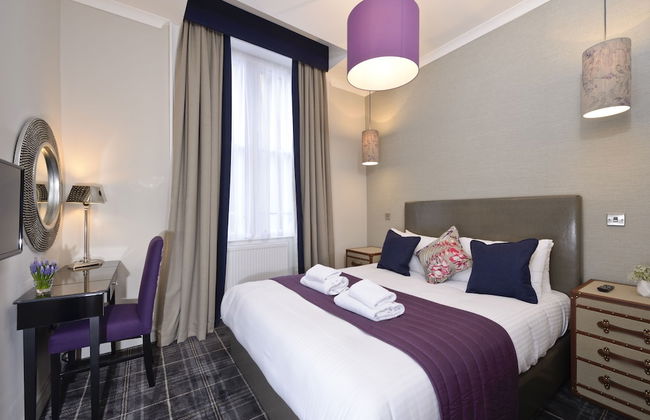
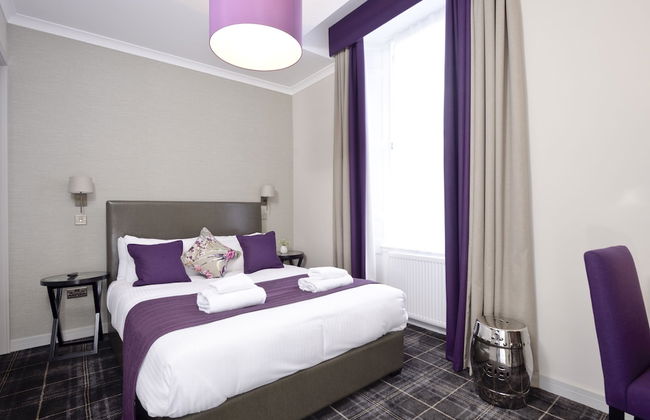
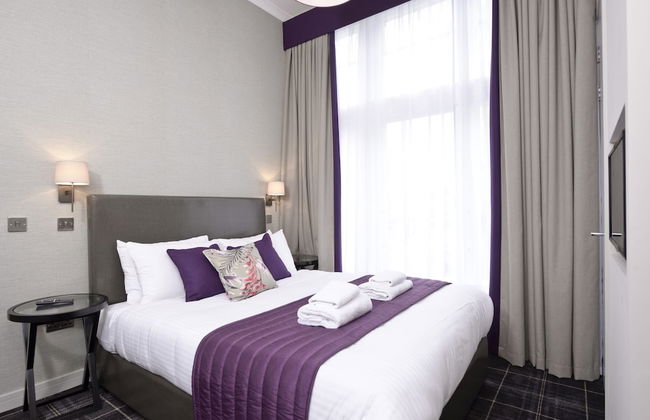
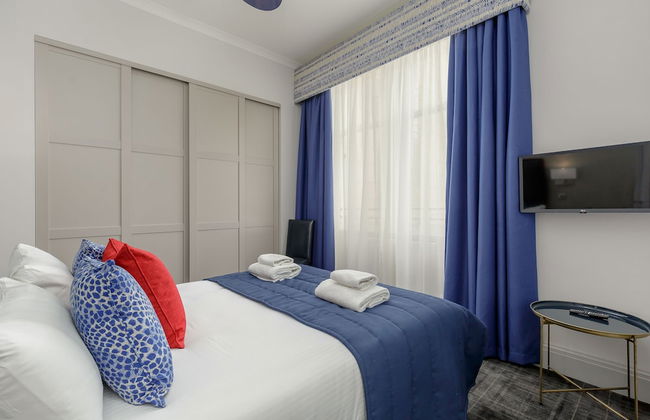
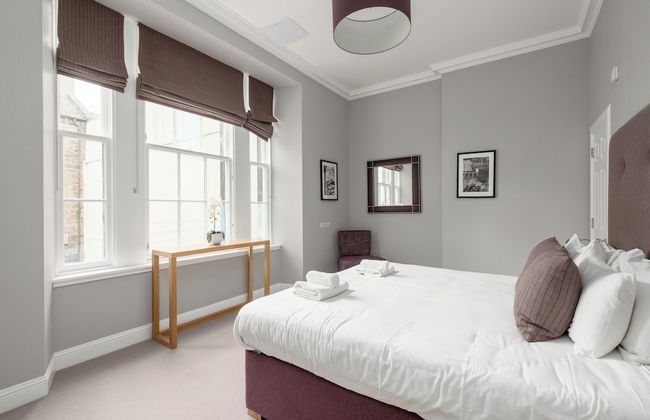
The Knight Residence Apartments by Mansley
Edimburgo - EH3 - 490 m dal centro
- 59 M2
- 3 camere
- 5 persone
- Riscaldamento
- Parcheggio
- Ascensore
- Tv
- Lavatrice
- Lino da bagno
- Lino da letto


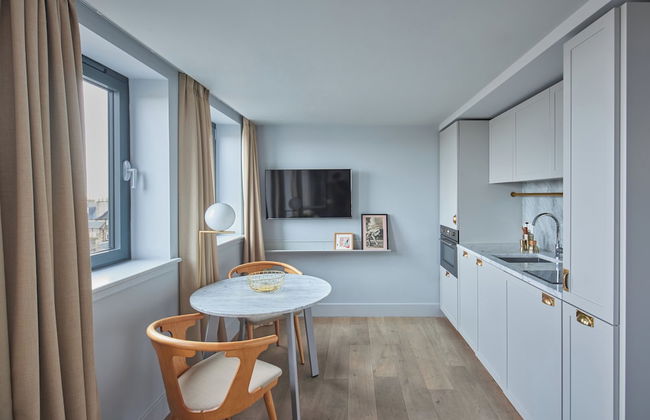
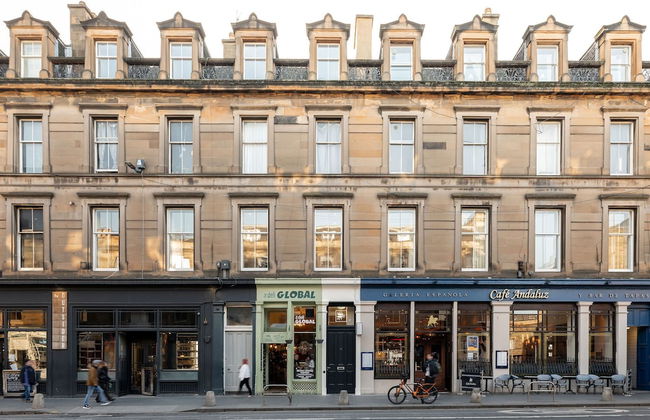
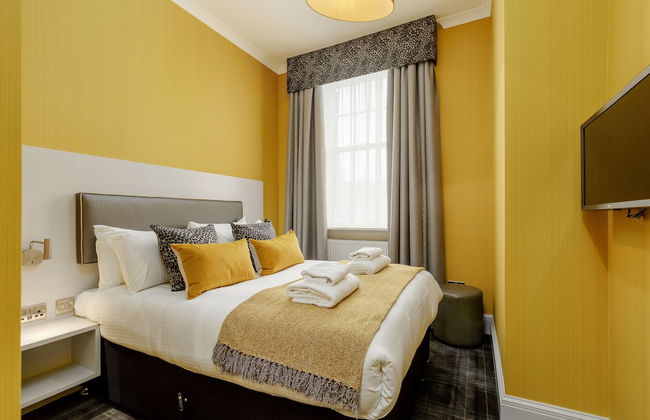
Linton Collection - 28 North Bridge
Edimburgo - EH1 - 420 m dal centro
- 58 M2
- 2 camere
- 4 persone
- Cucinino
- Riscaldamento
- Ascensore
- Tv
- Lavatrice
- Lino da bagno
- Lino da letto


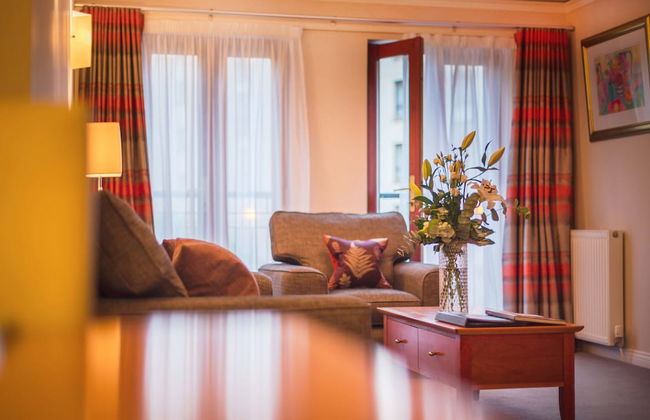
Princes Street Suites
Edimburgo - EH1 - 410 m dal centro
- 120 M2
- 3 camere
- 6 persone
- Riscaldamento
- Terrazza
- Parcheggio
- Ascensore
- Tv
- Lavatrice
- Lino da bagno


Eden Locke
Edimburgo - EH2 - Al centro
- 33 M2
- 3 persone
- Aria condizionata
- Riscaldamento
- Tv
- Lavatrice
- Lino da bagno
- Lino da letto


Sovo - Luxury Romantic WestEnd Apartment With Jacuzzi Spa Bath
Edimburgo - EH2 - 300 m dal centro
- 93 M2
- 1 camera
- 2 persone
- Aria condizionata
- Riscaldamento
- Terrazza
- Parcheggio
- Giardino


Clarendon Luxury Apartments
Edimburgo - EH4 - 340 m dal centro
- 3 persone
- Cucinino
- Tv
- Lino da bagno
- Lino da letto


Destiny Scotland - Broughton St Lofts
Edimburgo - EH1 - 350 m dal centro
- 55 M2
- 2 camere
- 4 persone
- Riscaldamento
- Parcheggio
- Tv
- Lavatrice
- Lino da bagno
- Lino da letto


Edinburgh Nine
Edimburgo - EH1 - 340 m dal centro
- 29 M2
- 2 persone
- Cucinino
- Riscaldamento
- Tv
- Lino da bagno
- Lino da letto


No1. Apartments Edinburgh - New Town
Edimburgo - EH3 - Al centro
- 50 M2
- 4 persone
- Riscaldamento
- Tv
- Lavatrice
- Lino da bagno
- Lino da letto
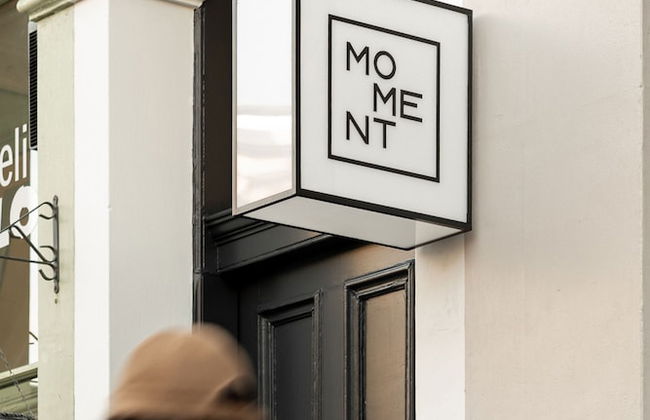


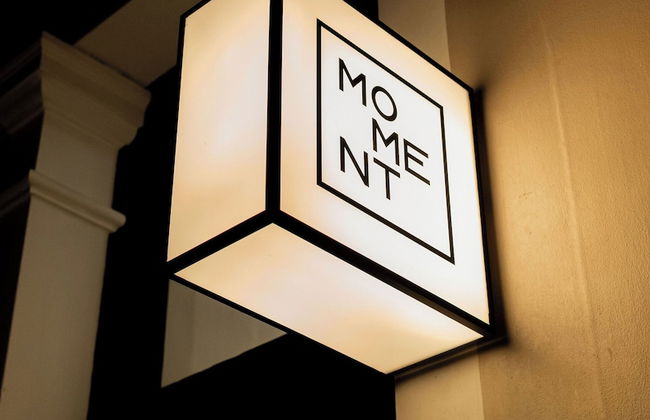
Moment George IV Bridge
Edimburgo - Old - 430 m dal centro
- 4 persone
- Cucinino
- Riscaldamento
- Tv
- Lino da bagno
- Lino da letto


Silver Lining - Penthouse with parking
Edimburgo - EH3 - 940 m dal centro
- 5 persone
- Riscaldamento
- Terrazza
- Parcheggio
- Tv
- Lavatrice
- Lino da bagno
- Lino da letto


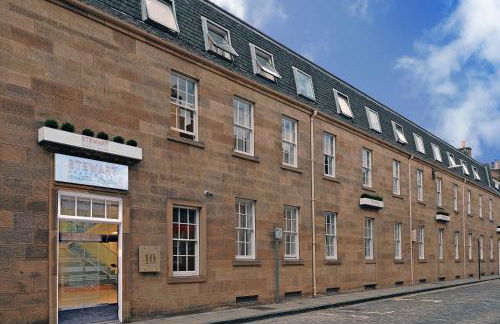


Stewart by Heeton Concept - Aparthotel Edinburgh
Edimburgo - EH2 - Al centro
- 46 M2
- 1 camera
- 7 persone
- Aria condizionata
- Riscaldamento
- Parcheggio
- Ascensore
- Tv
- Lavatrice
- Lino da bagno
- Lino da letto


Destiny Scotland Charlotte Square Apartments
Edimburgo - EH2 - Al centro
- 78 M2
- 2 camere
- 4 persone
- Riscaldamento
- Parcheggio
- Tv
- Lavatrice
- Lino da bagno
- Lino da letto


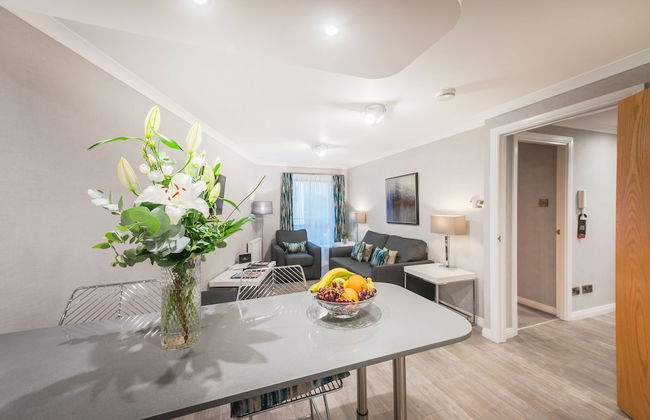
Destiny Scotland Apartments at Canning Street Lane
Edimburgo - EH3 - 370 m dal centro
- 80 M2
- 2 camere
- 4 persone
- Riscaldamento
- Parcheggio
- Tv
- Lavatrice
- Lino da bagno
- Lino da letto


Luxury Georgian City Retreat by Sovo Apartments
Edimburgo - EH6 - 2.7 km dal centro
- 3 camere
- 6 persone
- Riscaldamento
- Parcheggio
- Giardino


Destiny Scotland - Princes Street Residence
Edimburgo - EH2 - Al centro
- 115 M2
- 3 camere
- 6 persone
- Riscaldamento
- Parcheggio
- Tv
- Lavatrice
- Lino da bagno
- Lino da letto


Cadell House Apt - Royal Mile
Edimburgo - EH8 - 970 m dal centro
- 4 persone
- Riscaldamento
- Tv
- Lavatrice
- Lino da bagno
- Lino da letto
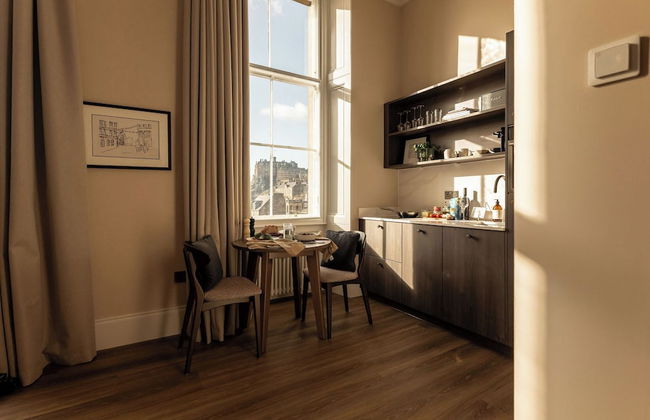
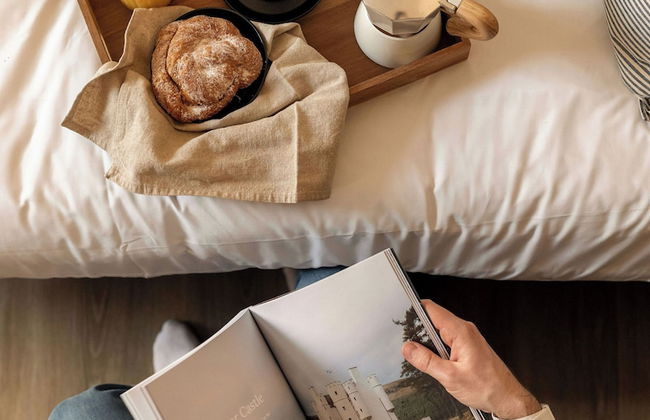
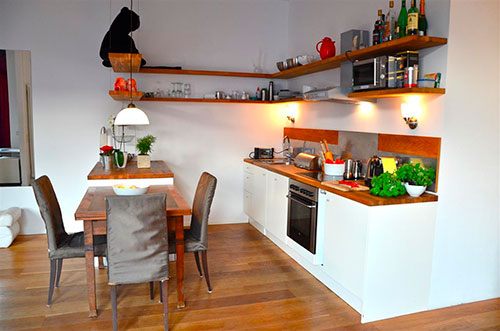
Appartamenti ad Edimburgo -- Case Vacanza Economiche
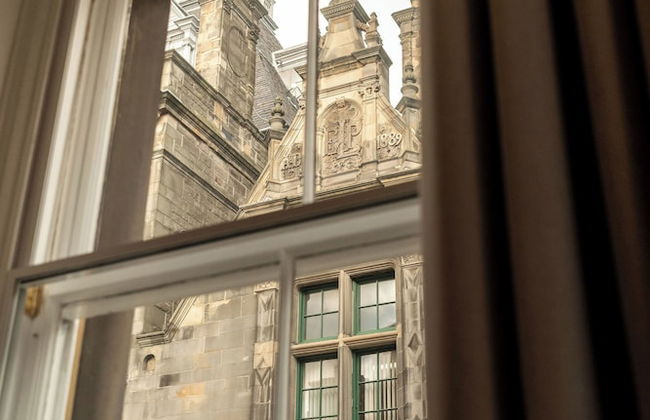
Edimburgo è una roccaforte della storia adornata da incantevoli facciate e da un'incredibile architettura. Gli stretti vicoli, chiamati wynds, si diramano dal centro storico fino ai quartieri più periferici, ricchi di cultura e dotati di un fascino autentico, dove si trovano tantissimi angolini e luoghi nascosti che attendono solo di essere esplorati.
La città riserva sorprese ad ogni angolo, sia che si tratti di un negozio di libri antichi, di una chiesa con guglie finemente elaborate oppure di un castello arroccato sulla collina.
Anche le bellezze naturali di Edimburgo sono spettacolari, come le alte e verdi colline, i dirupi rocciosi color ruggine, e il mare luccicante in lontananza. La tradizione si affianca ai panorami mozzafiato, dando vita ad una città accogliente e culturale. Ai viaggiatori moderni la città offre una serie di pub di tendenza, concerti a sorpresa, party lunghi tutta la notte ed un eclettico mix di boutique di lusso.
Prenotate uno dei nostri appartamenti ad Edimburgo e partite all'esplorazione di questa città dai mille volti.
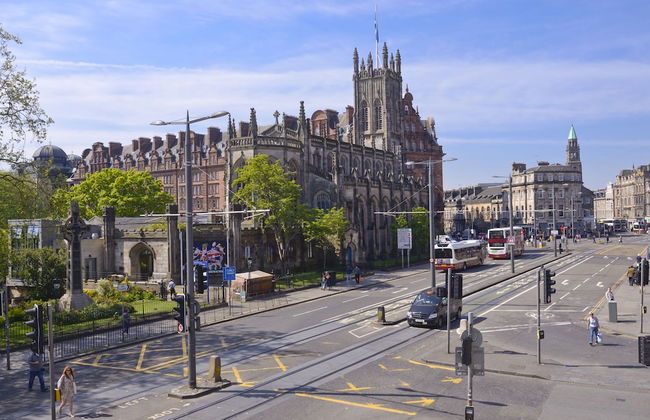
Castelli, Closes e Cattedrali -- Luoghi da visitare ad Edimburgo
Con una storia affascinante ed un suggestivo scenario, Edimburgo è la perfetta destinazione da esplorare. I nostri appartamenti ad Edimburgo sono disseminati in tutta la città, dandovi l'opportunità di scoprire i suoi segreti e le sue curiosità.
- Castello di Edimburgo -- Una fortezza dell'XI secolo che si erge fiera sulla cima di una collina e ospita al suo interno il museo nazionale scozzese delle armi e i gioielli della corona (Crown Jewels and the National War Museum of Scotland).
- Palazzo Holyrood -- La residenza ufficiale scozzese dei reali britannici è un palazzo appartenente al casato degli Stuart e risale al XVI secolo. Vanta sontuosi saloni da ricevimento e una vasta collezione di reperti e oggetti antichi.
- Giardino Botanico Reale di Edimburgo -- Questo centro di ricerca scientifica si dedica allo studio delle piante e si estende su un'area di 70 acri, ricca di lussureggianti giardini.
- HMY Britannia -- L'ex yacht reale della regina Elisabetta II, che lo utilizzò tra il 1954 e il 1997. Oggi i visitatori possono salire a bordo della nave e curiosare all'interno.
- Arthur's Seat -- Una spettacolare collina che domina Edimburgo e si trova all'interno del parco Holyrood.
- Outlook Tower -- Questa torre conosciuta come la Camera Oscura e il Mondo delle Illusioni, è un museo del divertimento che ospita ogni sorta di illusione ottica a grandezza naturale e giochi stravaganti.
- Mary King's Close -- È possibile effettuare un tour con guida in costume medievale che vi narrerà alcune vicende del passato; questo itinerario prende il nome dalla figlia di re Alessandro, vissuta nel XVII secolo.
- Galleria Nazionale Scozzese -- Situata sulla collina artificiale The Mound, nel cuore di Edimburgo, questa galleria neoclassica fu inaugurata attorno alla metà del 1800. Custodisce una vasta collezione di capolavori europei e dipinti di artisti locali.
- I giardini di Princes Street -- Un parco pubblico che offre un'oasi di pace al riparo dal trambusto della città. Ci sono numerosi monumenti e memoriali sparsi all'interno del parco.
- Cattedrale di Sant'Egidio -- Questa struttura gotico-medievale rappresenta il più imponente luogo di culto di Edimburgo.
- Parco Holyrood -- Un incantevole parco reale situato nella zona est del Castello di Edimburgo; è caratterizzato da pendii verdi lussureggianti e dirupi rocciosi color ruggine.
- Our Dynamic Earth -- Questa celebre attrazione permette di trascorrere una giornata con la famiglia all'insegna del divertimento ripercorrendo la storia del mondo, dal Big Bang fino ai giorni nostri.
- Stadio Murrayfield -- Sede della nazionale scozzese di rugby, questo stadio vanta un ricco calendario di eventi sportivi.
Scoprire il volto letterario di Edimburgo
Edimburgo non è rinomata solo per la sua storia antica e i suoi spettacolari panorami, ma anche per il suo ricco patrimonio letterario. Nel corso degli anni i suoi paesaggi hanno ispirato poeti e scrittori e la città presenta numerosi monumenti che rendono omaggio all'arte della parola.
Iniziate bevendo un caffè presso l'Elephant House Café. Questo luogo serve il miglior caffè della città e qui J K Rowling ha scritto il primo volume di Harry Potter. Quindi sedetevi al tavolo, ammirate la miriade di immagini di piccoli elefanti che decorano il locale e lasciatevi ispirare.
A Edimburgo difficilmente percorrerete lunghi tragitti senza imbattervi in una libreria. La città pullula di negozietti di libri e ciò la rende un paradiso per gli amanti della letteratura.
Fate tappa alla Old Town Bookshop, una delle migliori librerie in città insieme ad Analogue Books e Word Power Books. Prendetevi del tempo per curiosare tra gli scaffali impolverati e immergetevi nelle varie storie narrate.
Se volete ripercorrere le orme dei geni letterari, prendete parte al tour Dorothy Wordsworth. Wordsworth viaggiò a Edimburgo insieme alla sorella nel 1803 e dedicò splendidi versi alla bellezza e all'atmosfera unica della città.
Per concludere, recatevi alla Biblioteca Nazionale Scozzese, dove sono custoditi libri antichi, mappe e lettere. Qui potete curiosare tra antichi e rari manoscritti di scrittori come Byron, Austen e Melville.
Addentratevi nel cuore letterario della città grazie ad uno dei nostri splendidi appartamenti ad Edimburgo, situati a pochi passi da questi paradisi dell'arte della parola.
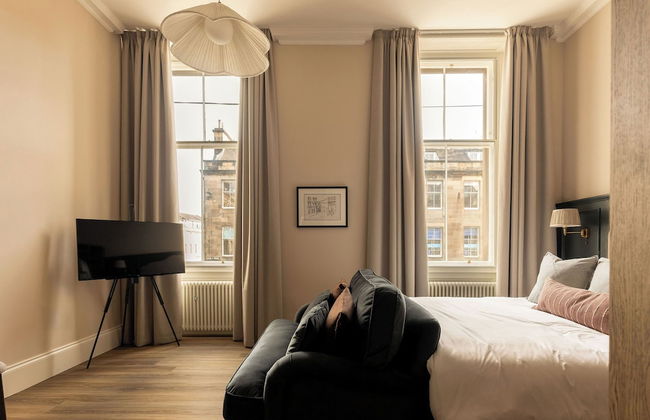
Casa Vacanze ad Edimburgo
La ricca storia della città e la sua grande architettura si riflettono nelle case vacanza di Edimburgo, tra cui ci sono antichi hotel, accoglienti guesthouse e pittoreschi B&B nascosti tra i vicoli tortuosi della città.
In sintonia con il lato più moderno e lussuoso della città, è presente anche una serie di hotel esclusivi e appartamenti di lusso.
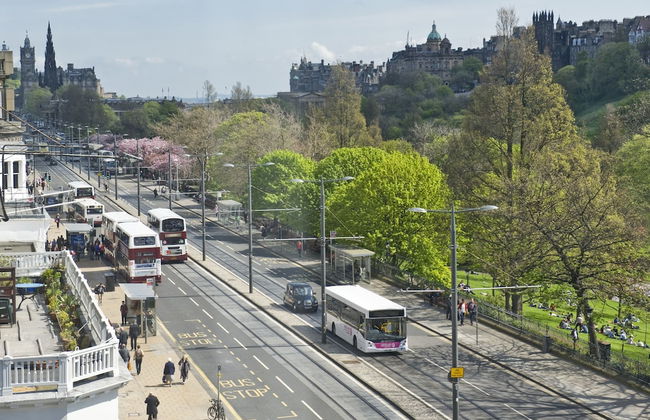
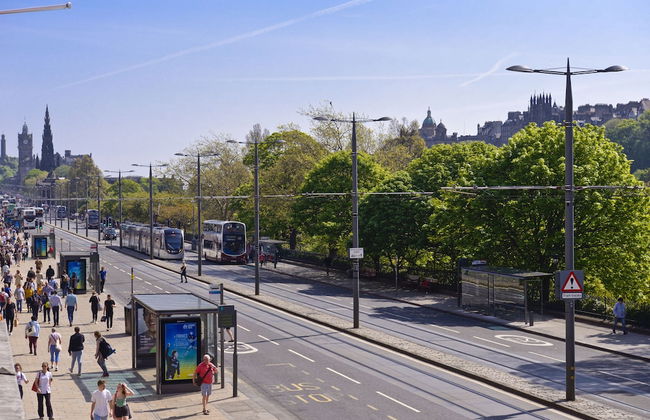
Muoversi facilmente a Edimburgo -- Raggiungere la città
L'aeroporto di Edimburgo si trova solo a 8 km circa dalla capitale della Scozia e sono disponibili vari mezzi di trasporto per raggiungere la città.
Innanzi tutto c'è il servizio navetta Airlink, che effettua corse regolari ogni 10 minuti facendo capolinea al Waverley Bridge, nel centro della città. Fa anche fermate nella zona ovest della città, perciò è l'ideale se dovete recarvi in quest'area.
In alternativa, se preferite una soluzione più economica, potete prendere l'autobus locale. Il viaggio è leggermente più lungo rispetto alla Airlink, ma effettua più fermate nella città e offre un primo scorcio su Edimburgo.
Infine potete prendere un taxi all'esterno del terminal. I prezzi sono abbastanza ragionevoli e, pur non essendo la soluzione più economica, offre una giusta combinazione tra velocità e convenienza.