
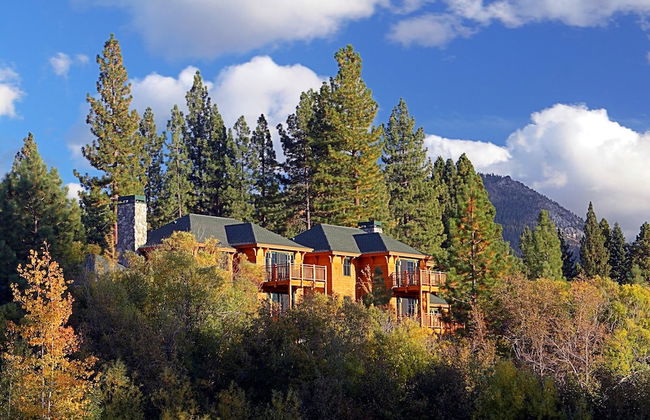
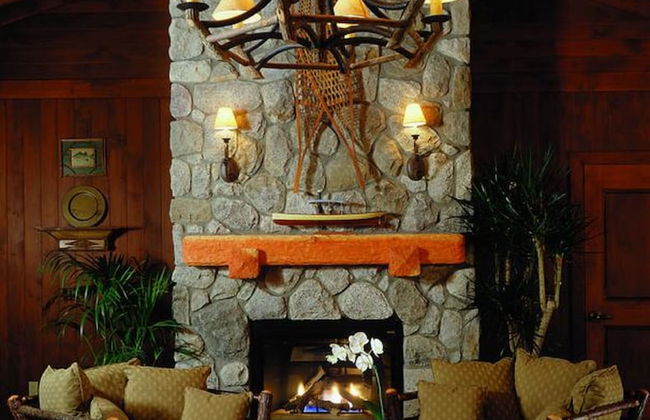

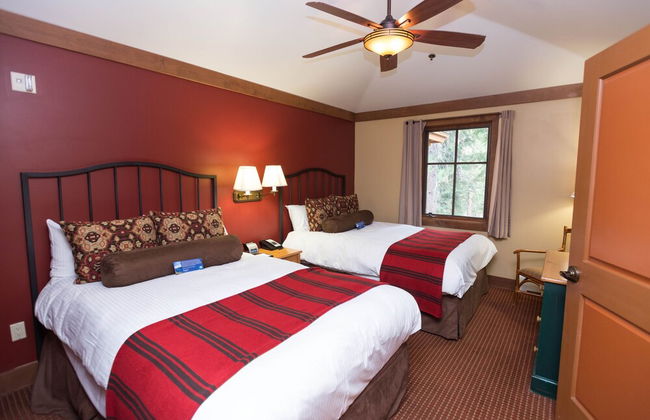
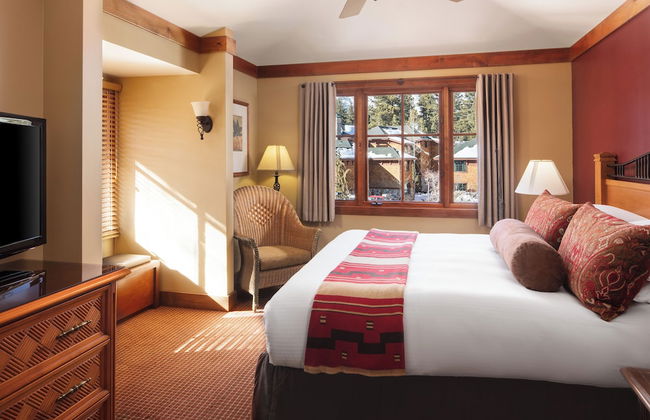
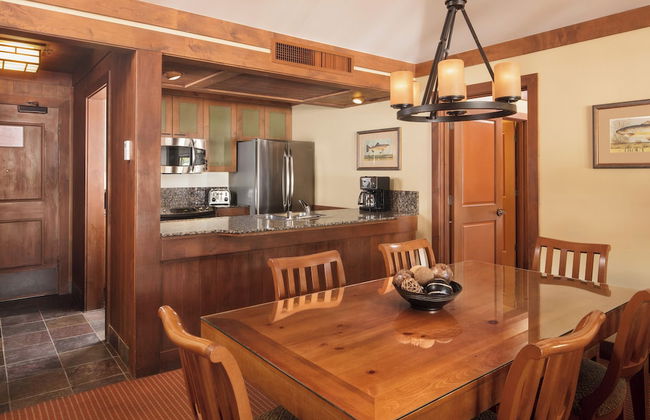

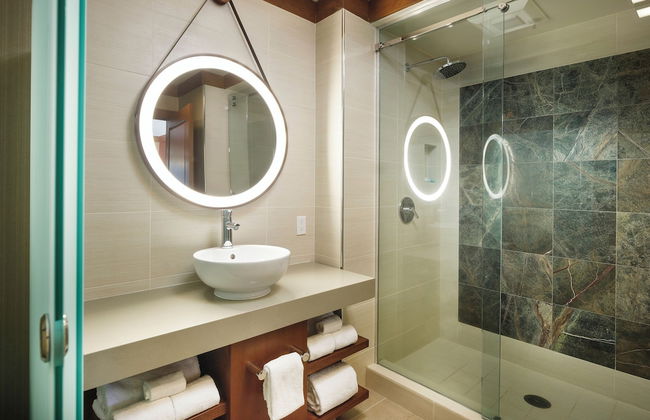
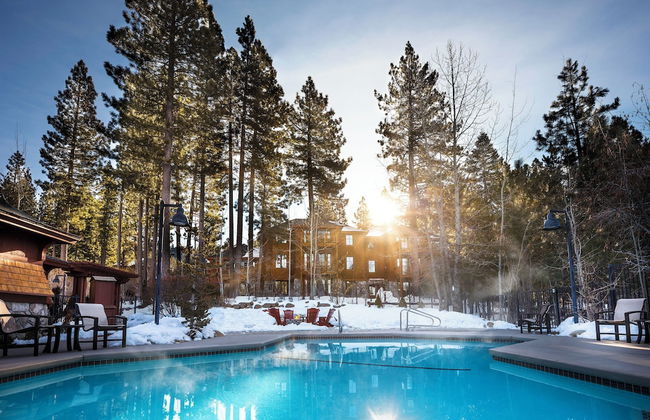
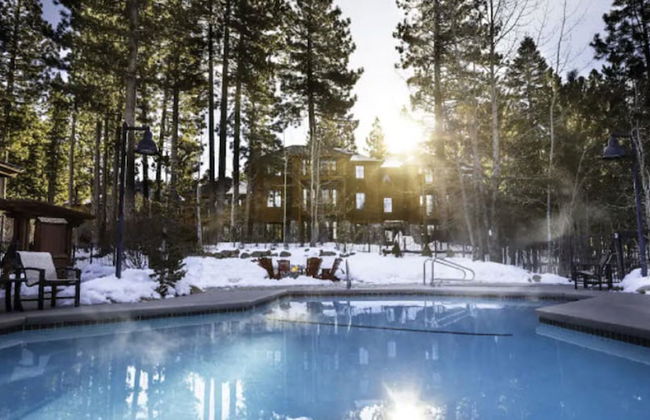
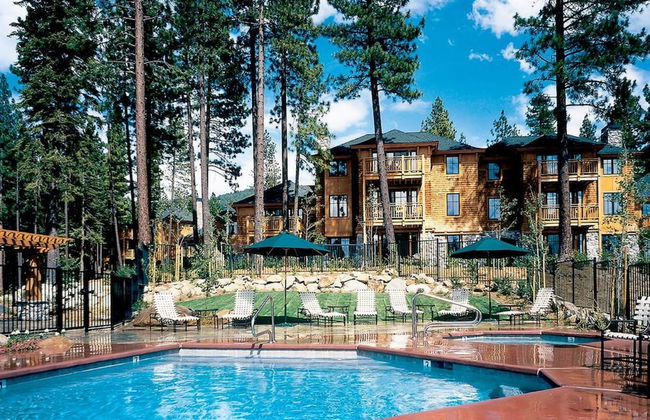
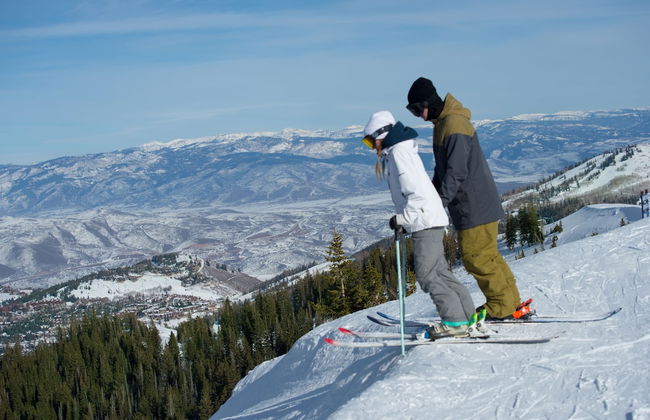


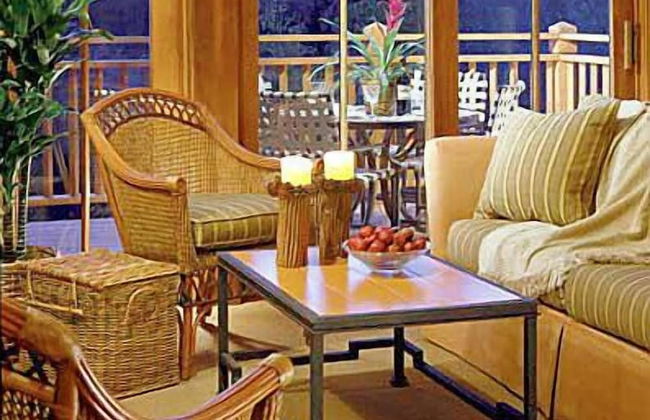
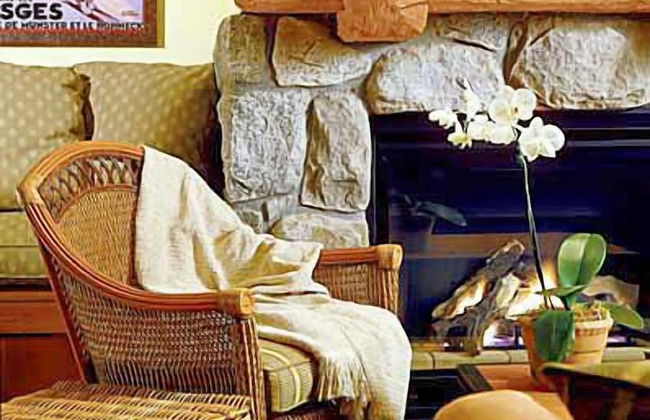
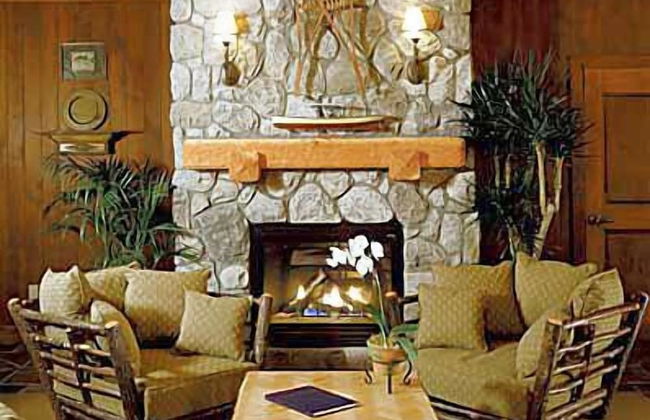
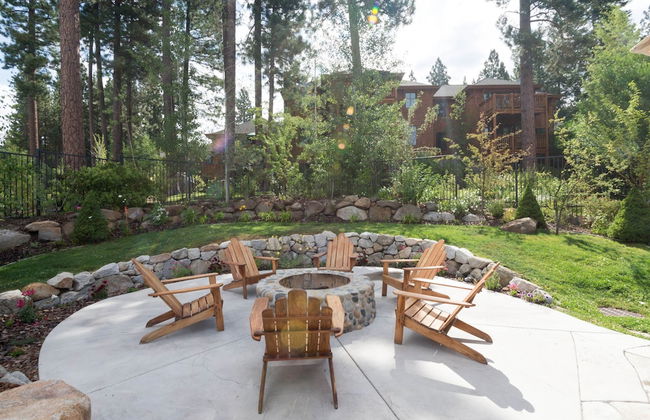
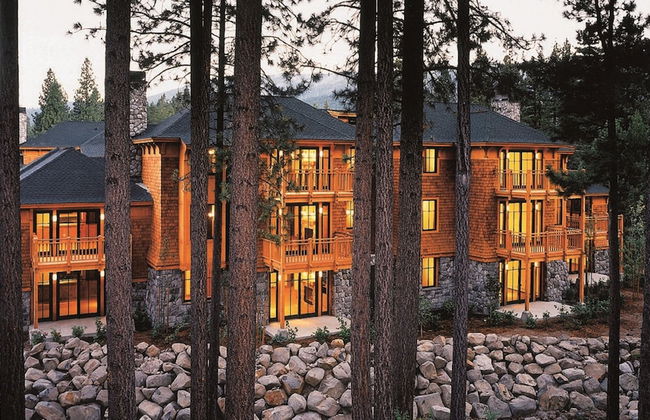

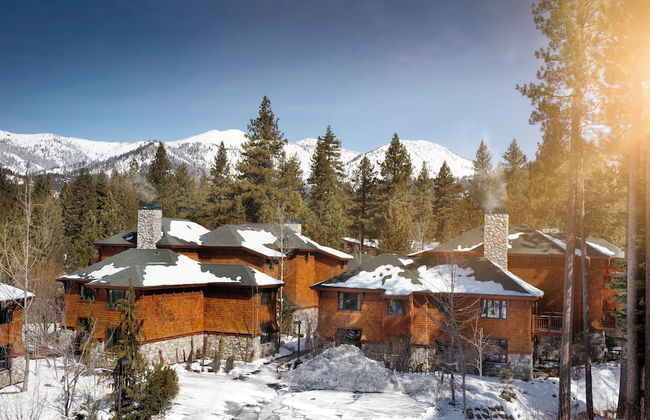


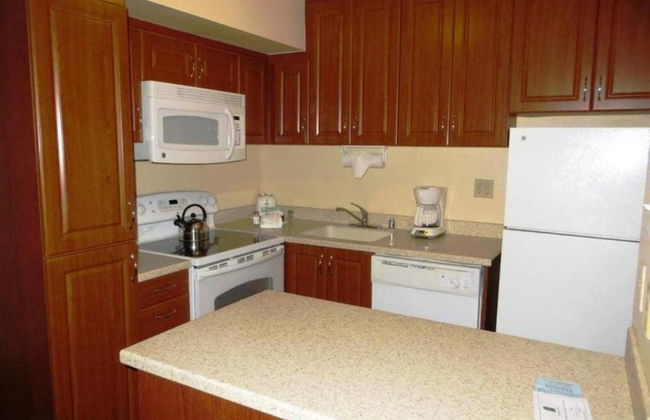
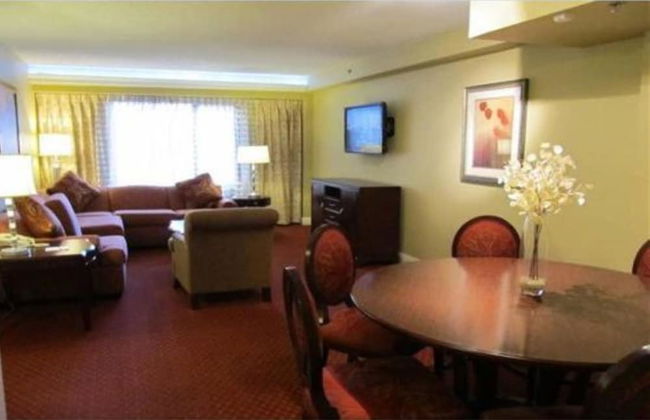
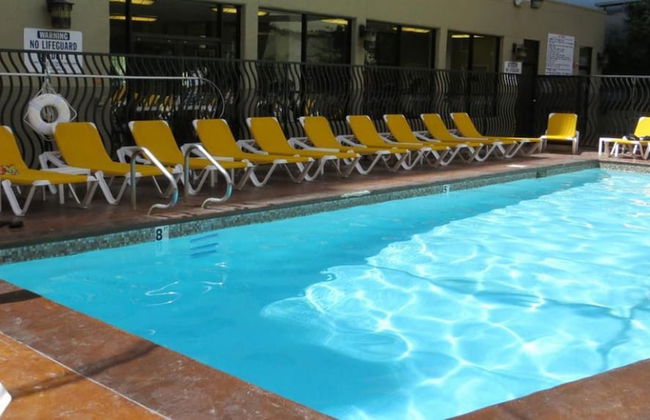
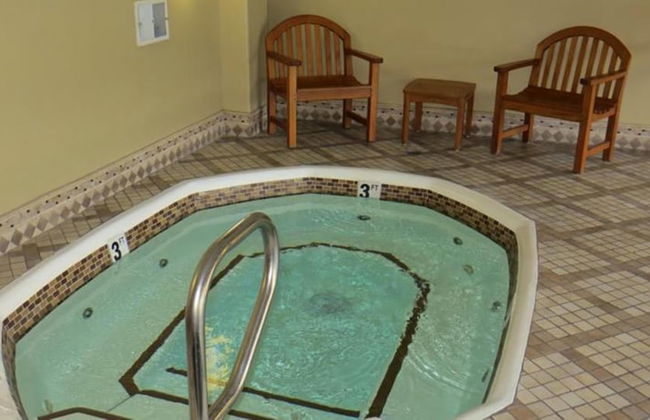
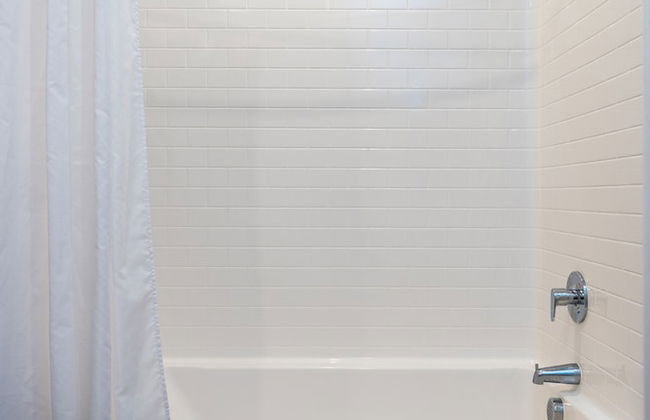
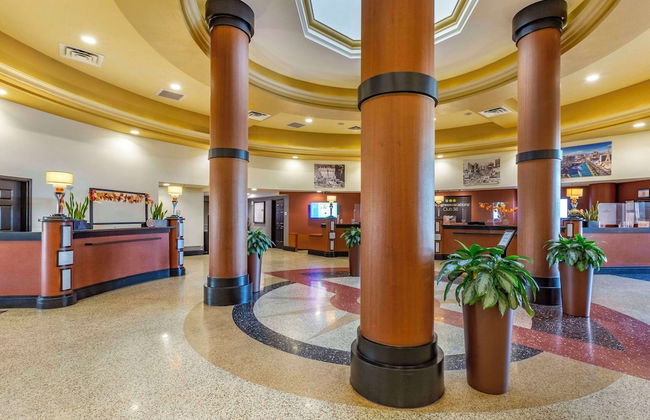
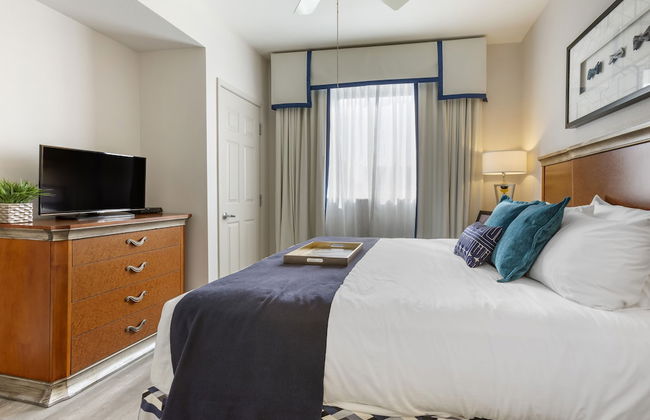
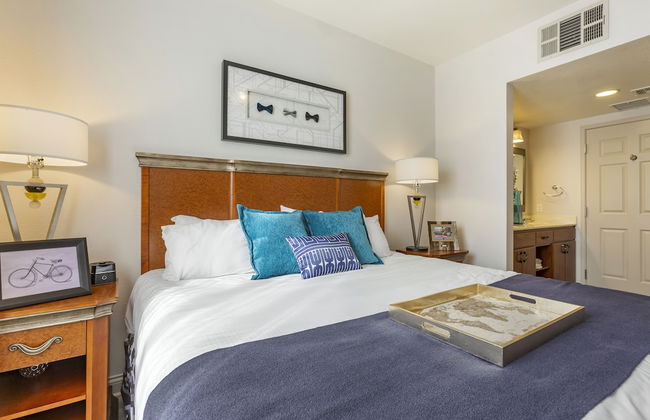
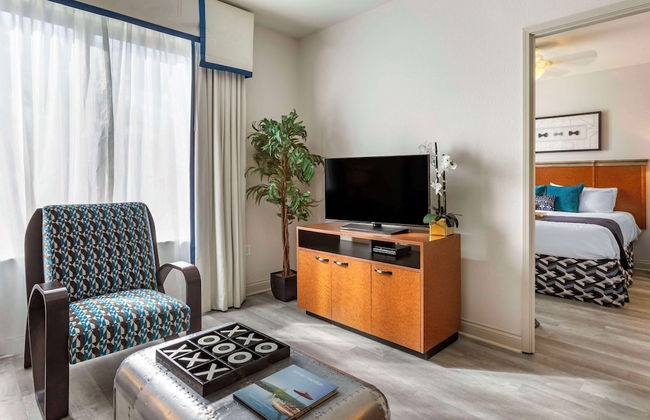
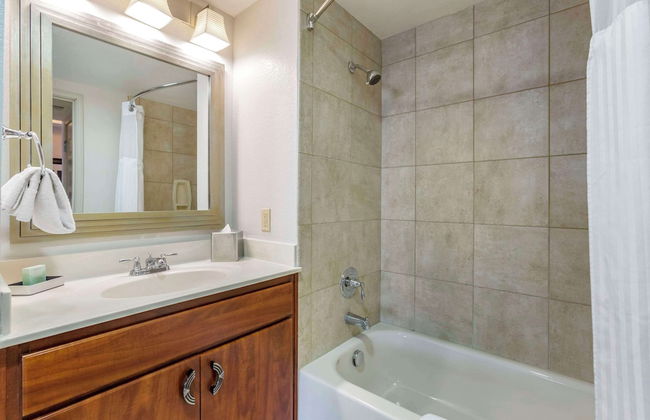
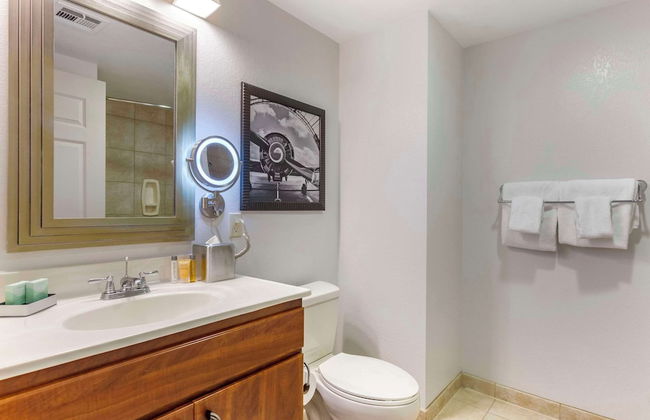
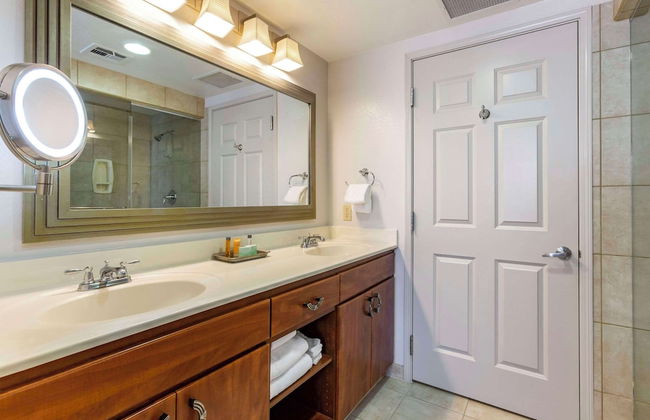
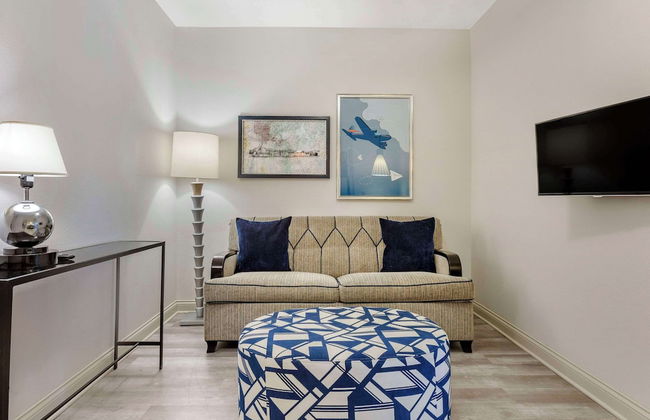
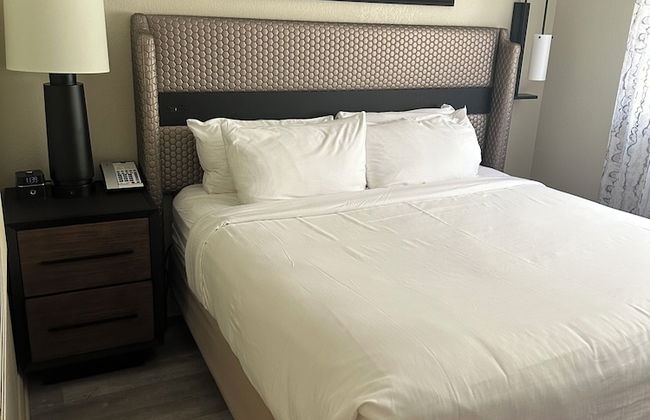
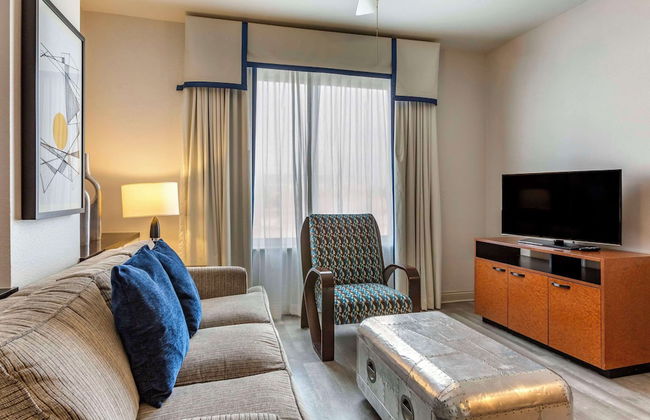
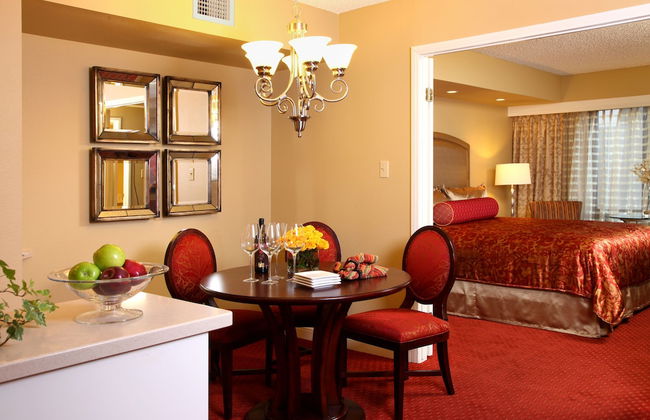
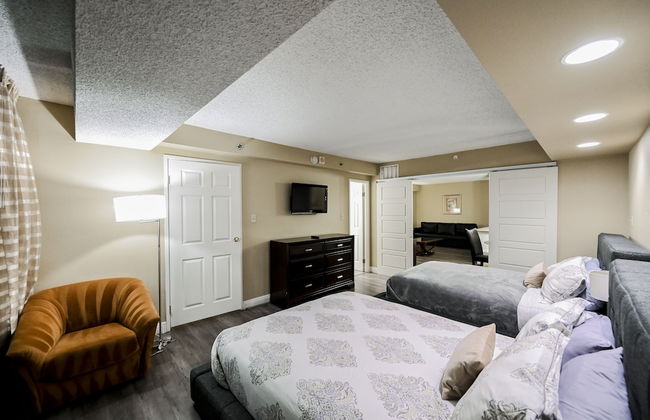
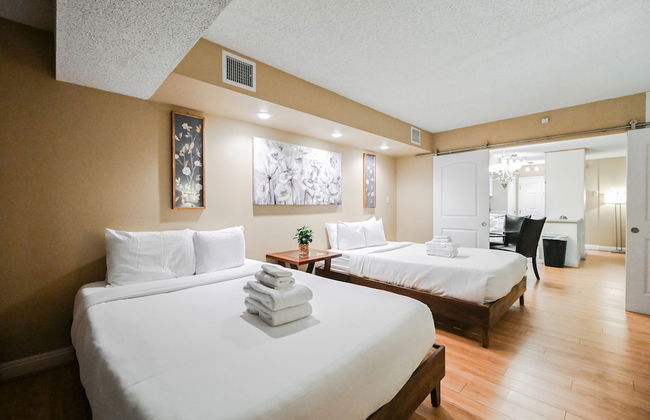
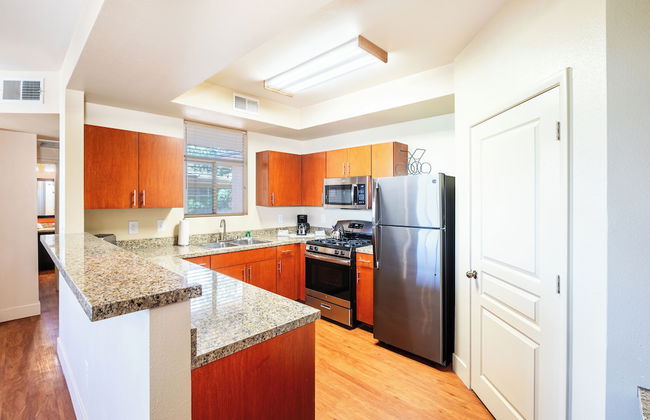
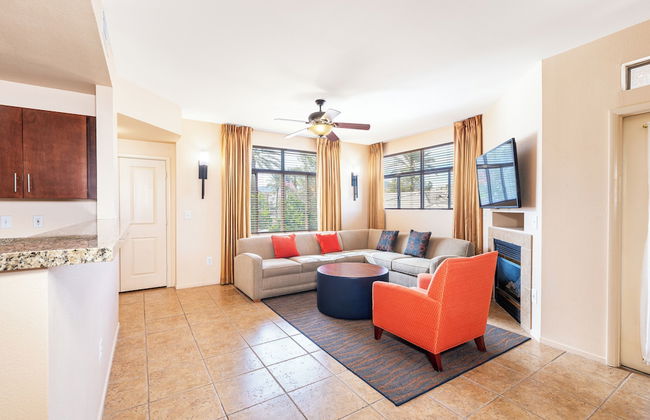
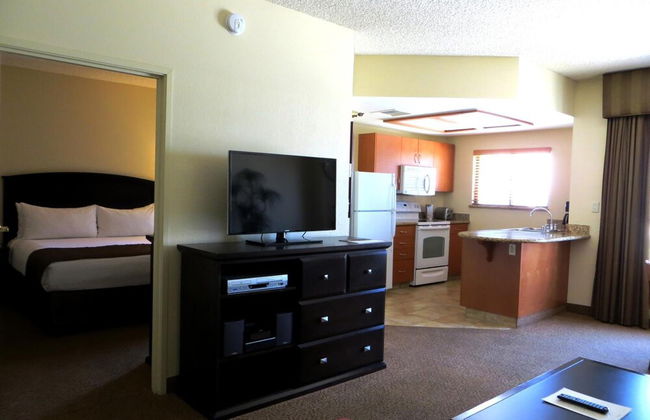
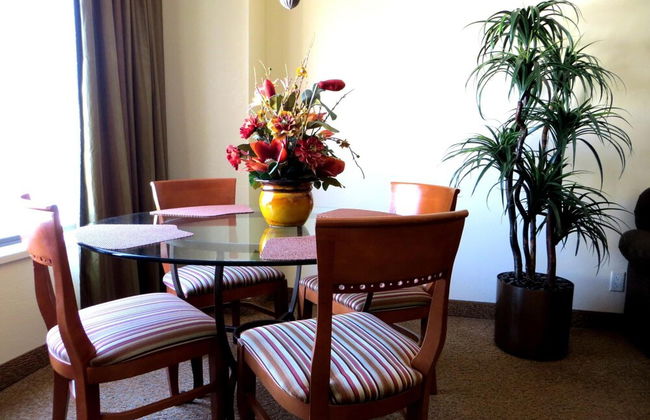
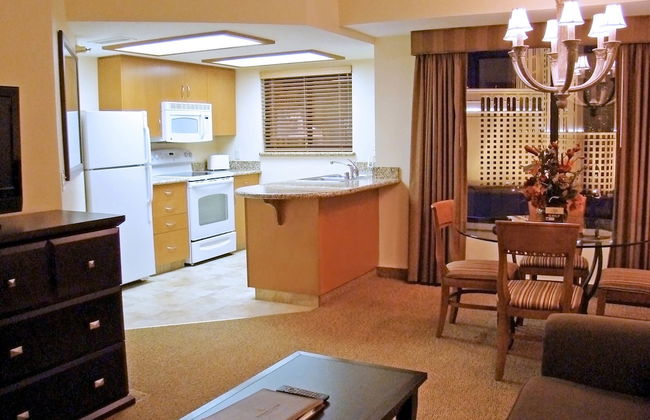
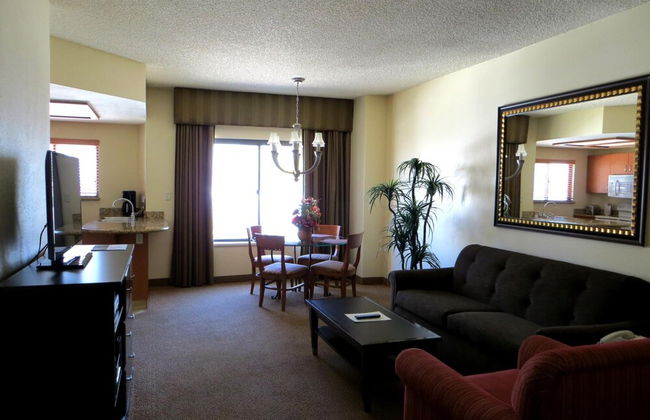
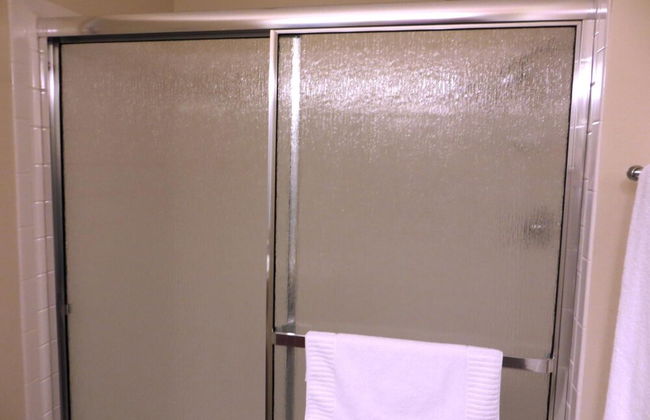
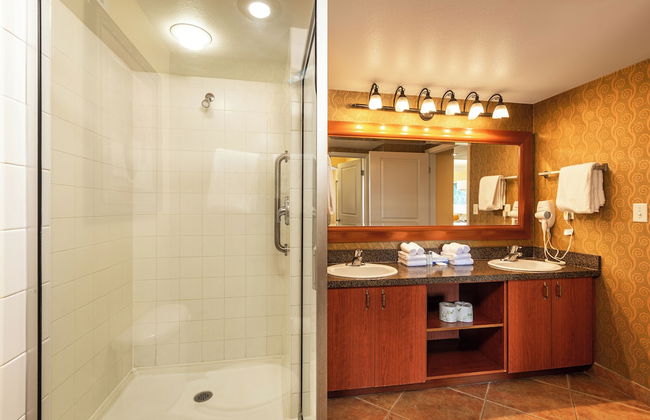
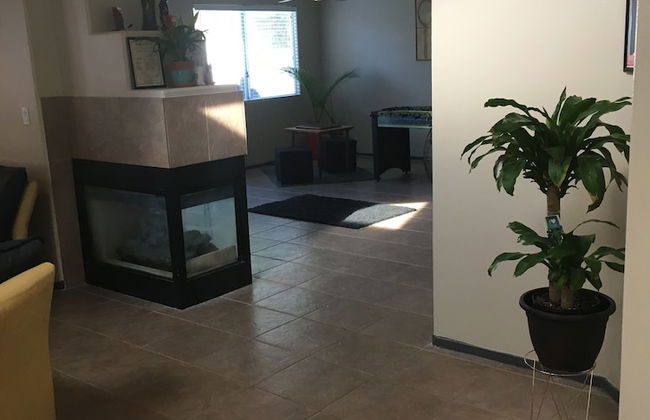
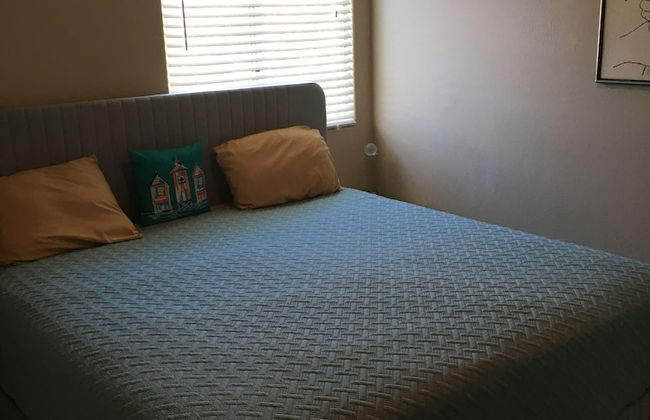
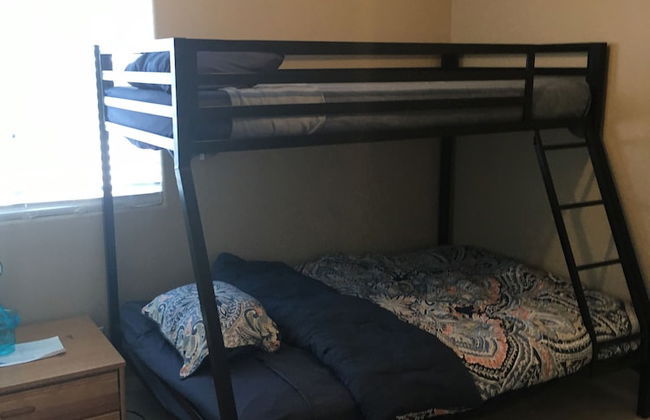
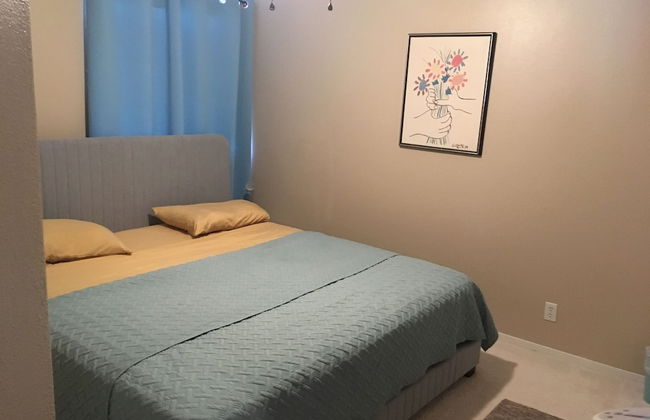
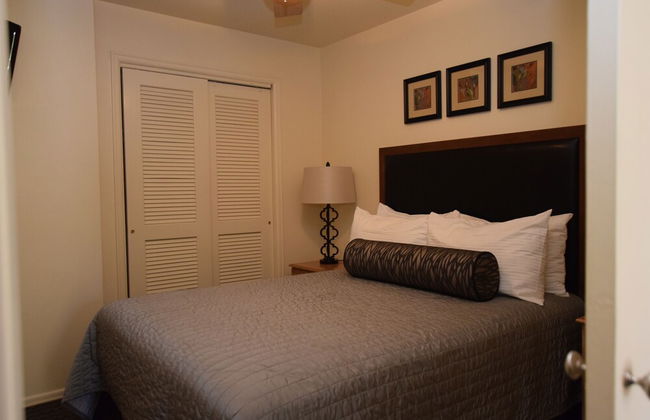
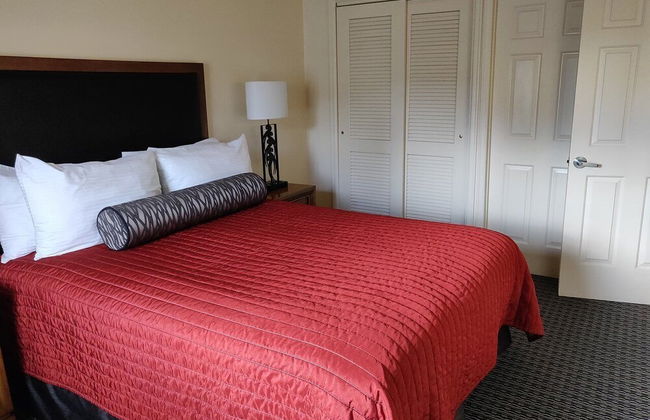
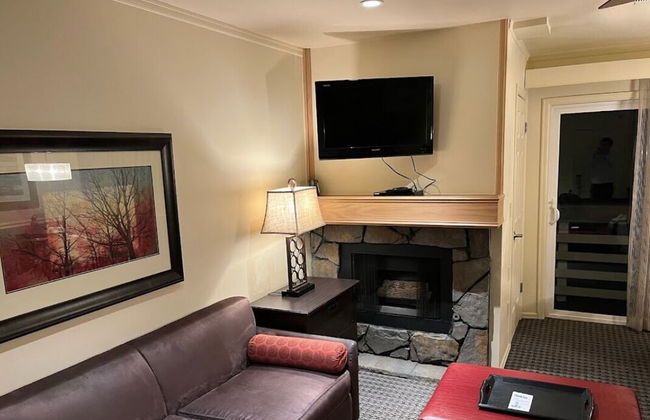
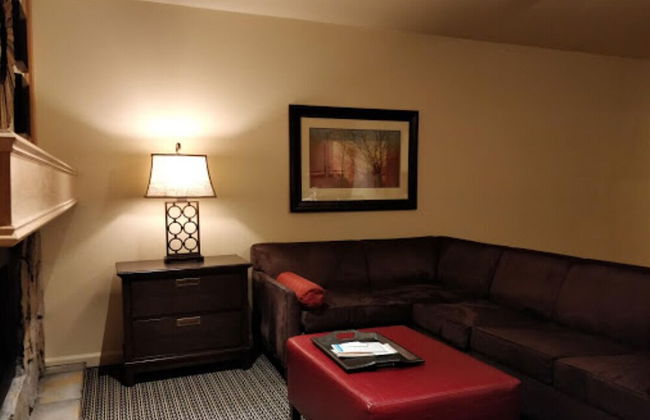
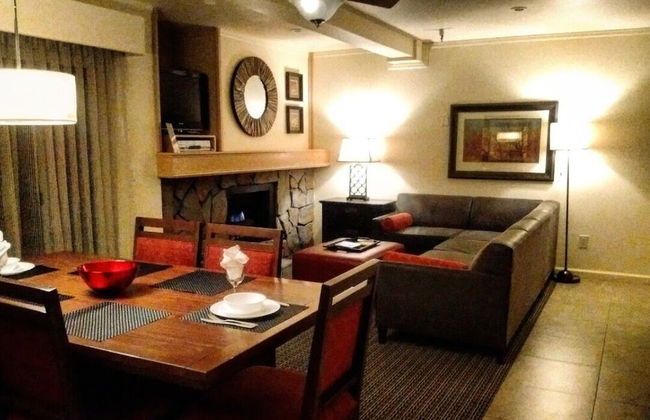
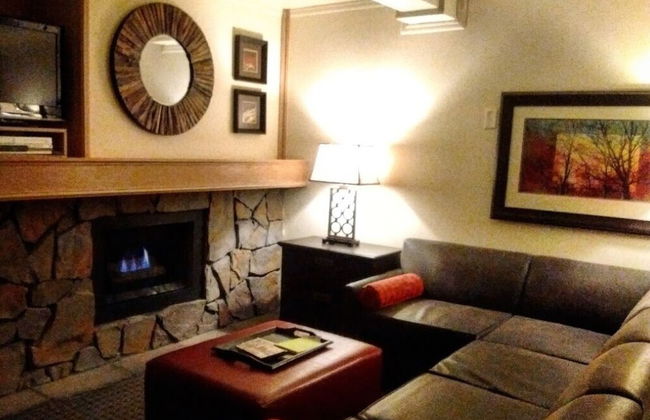
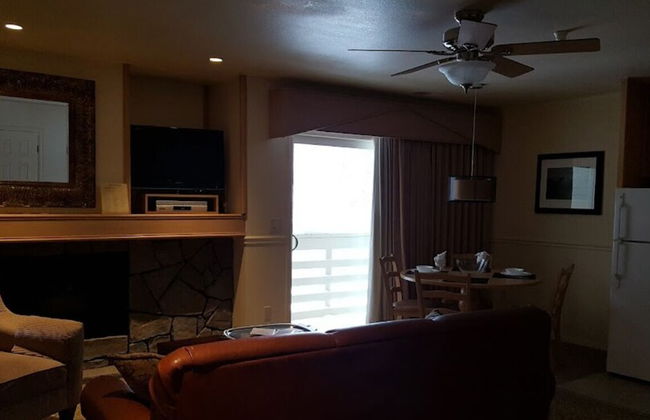
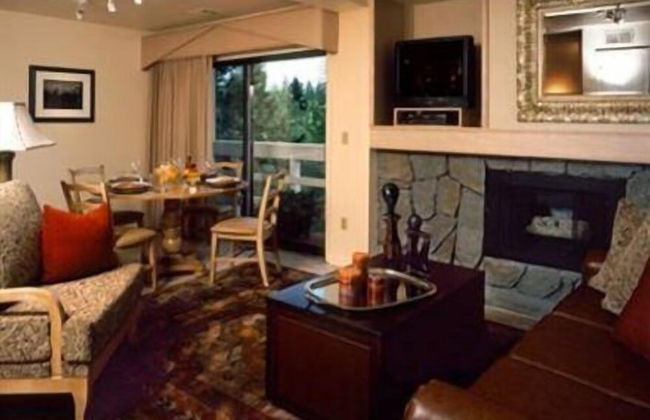
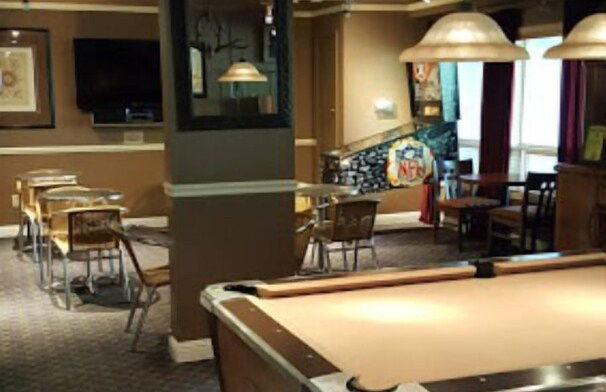
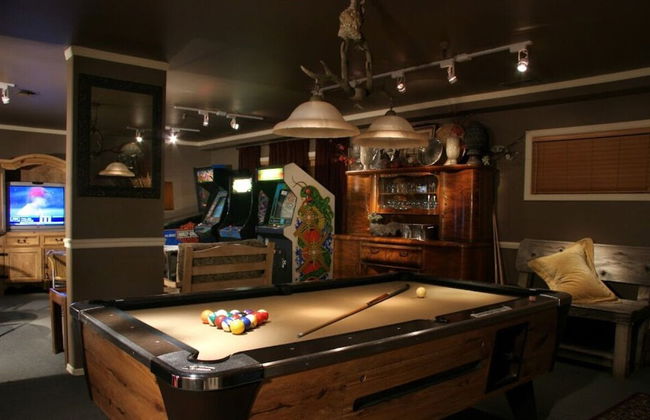
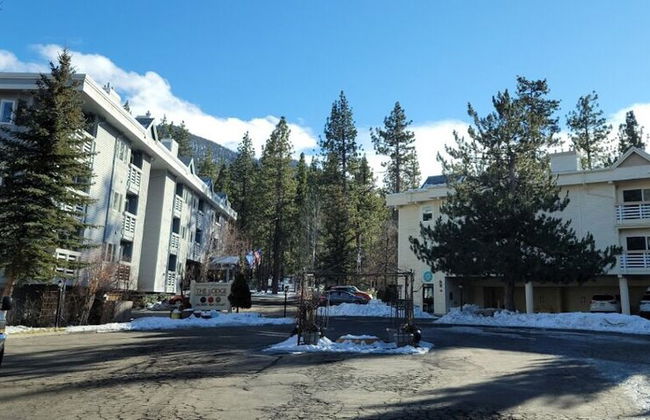
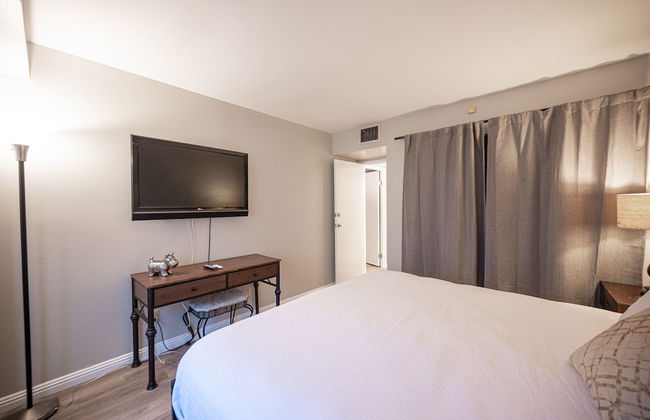
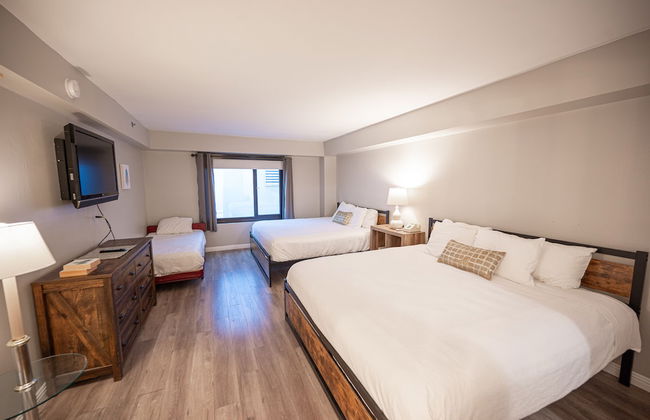
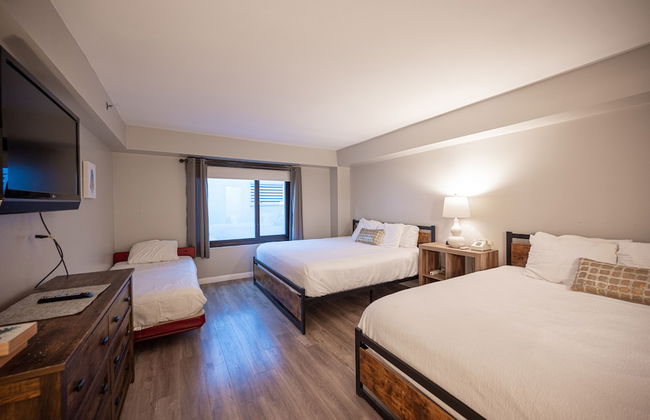
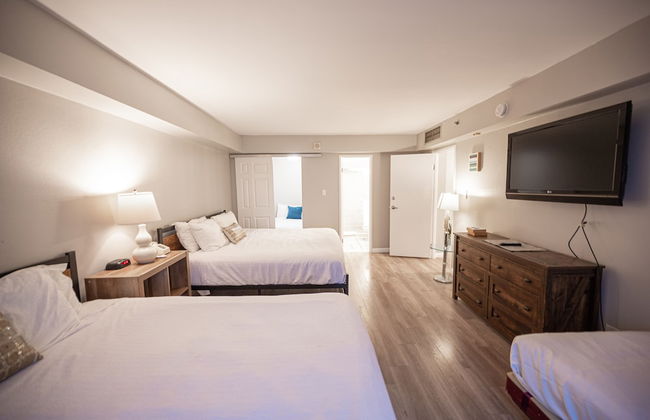
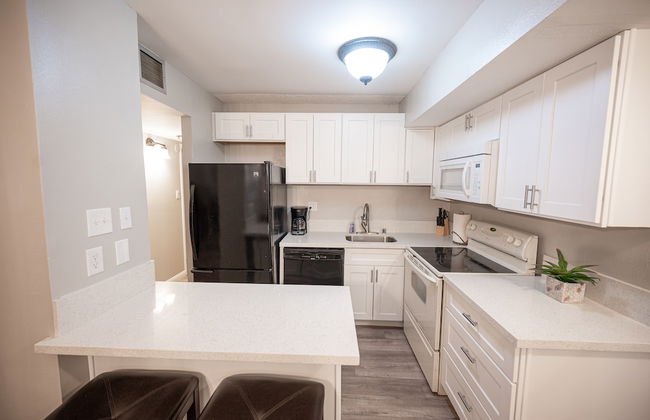
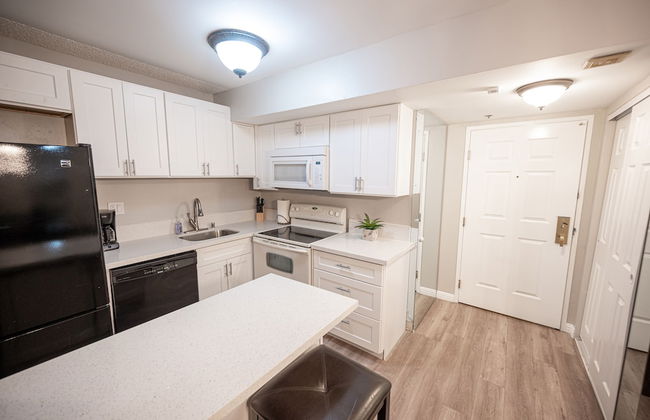
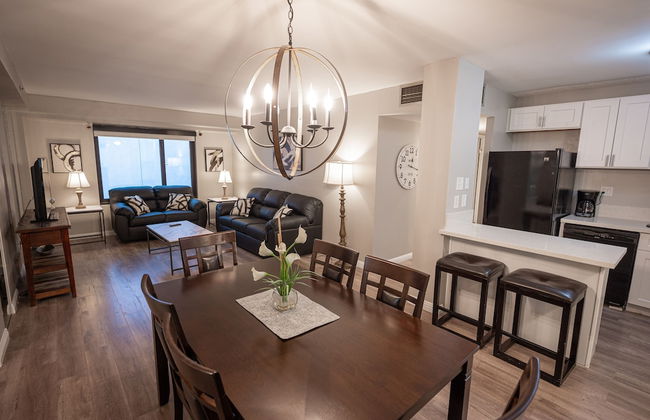
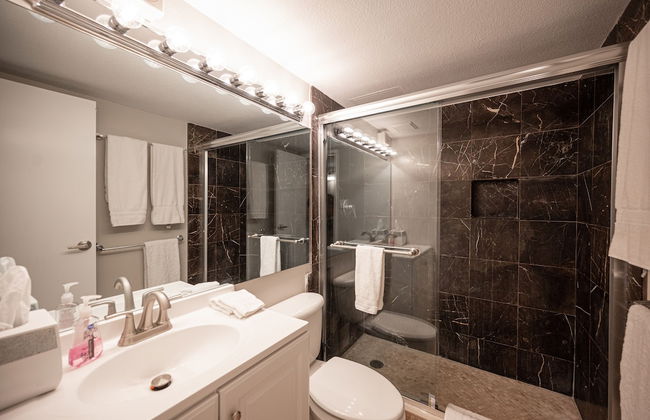
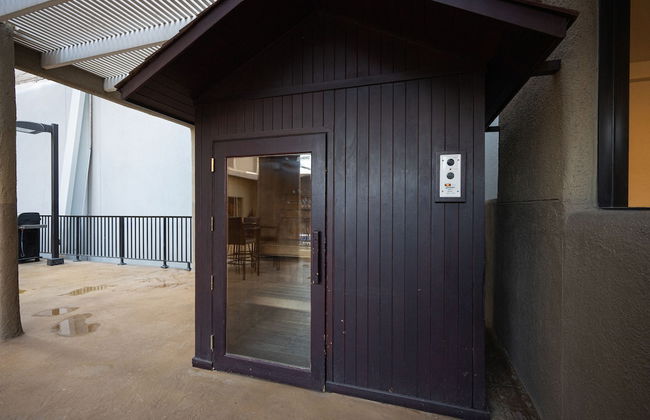
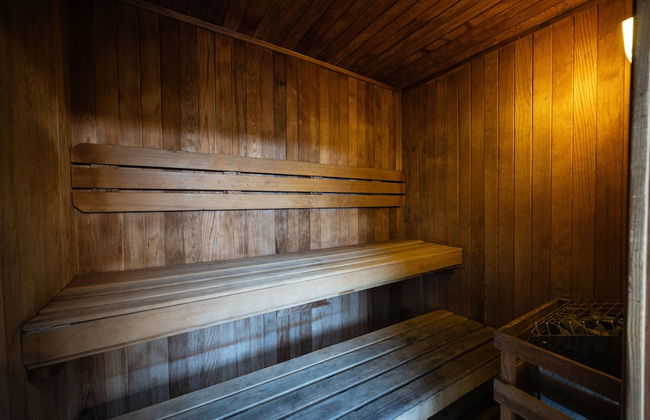
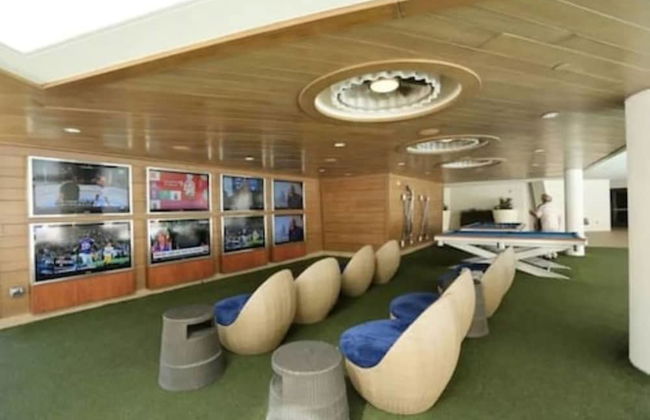
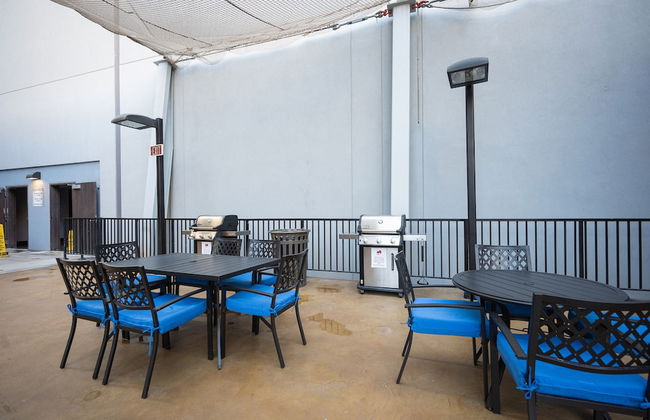
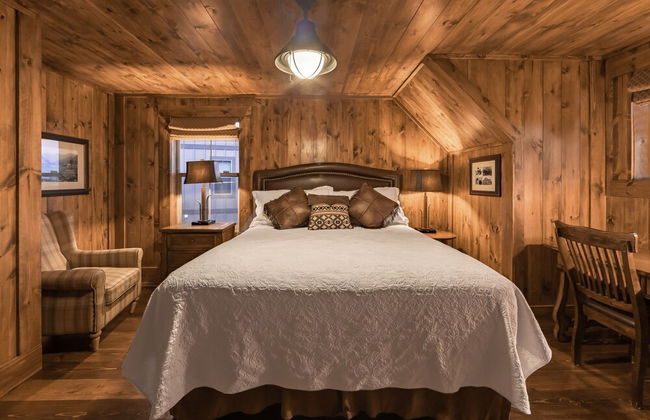
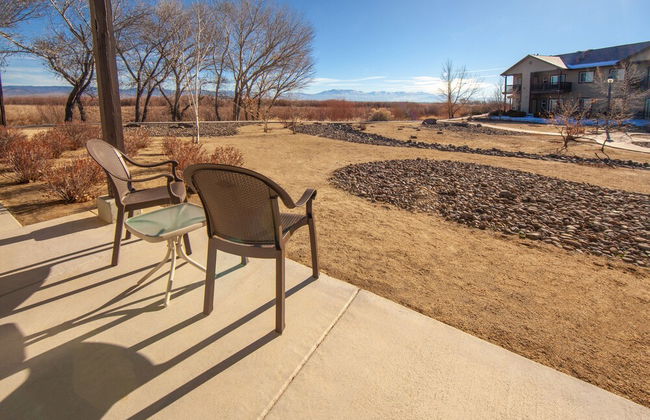
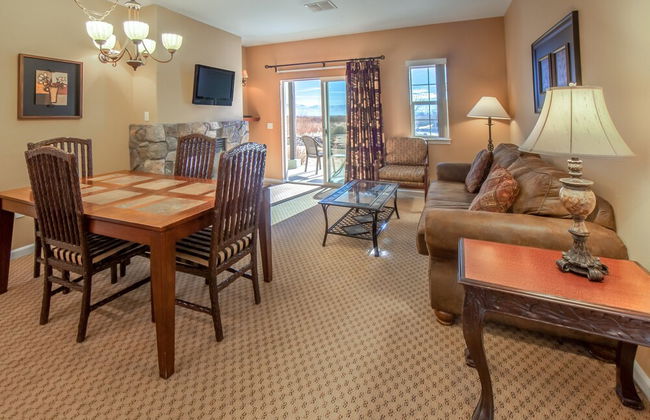
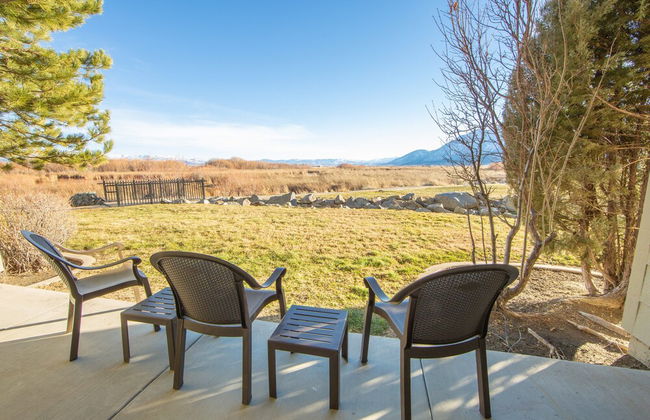
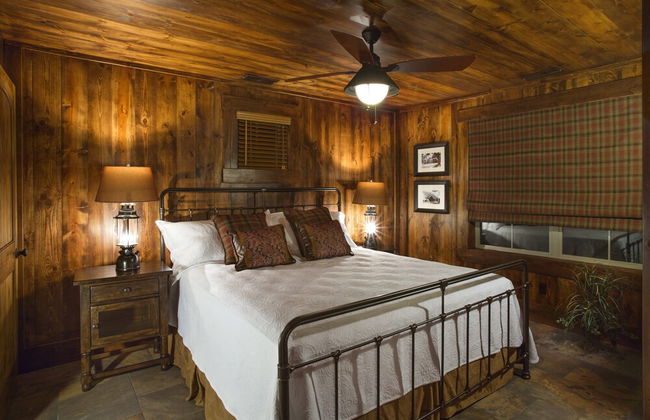
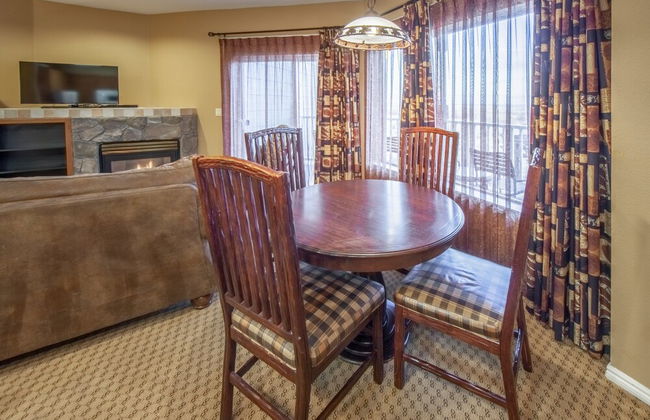
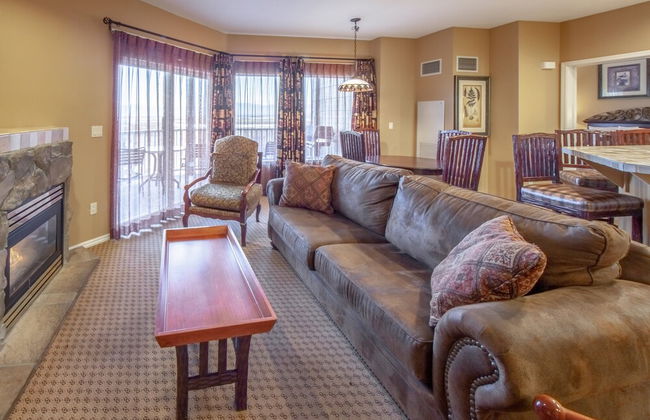
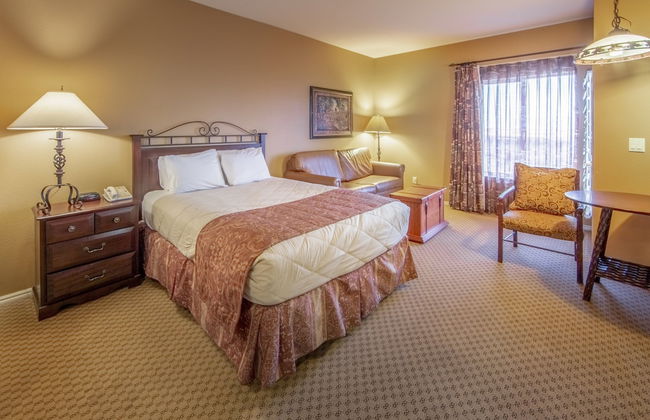
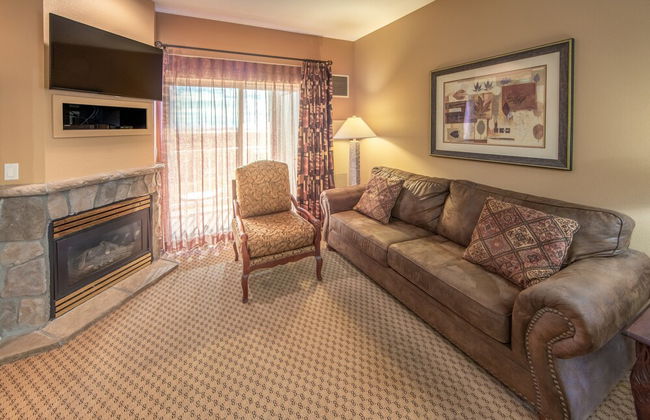
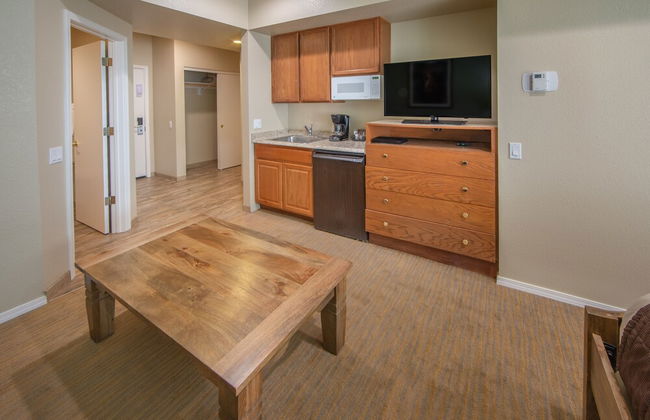
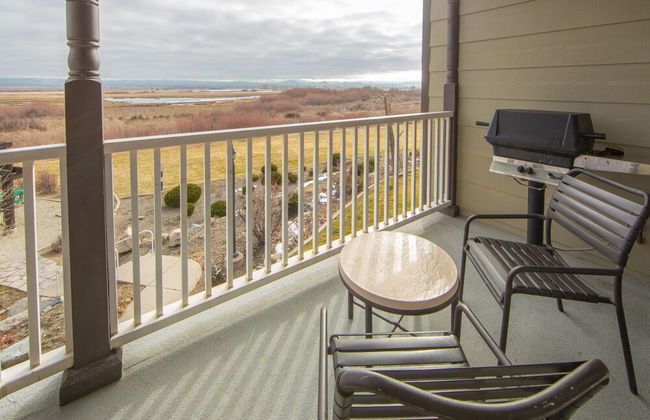
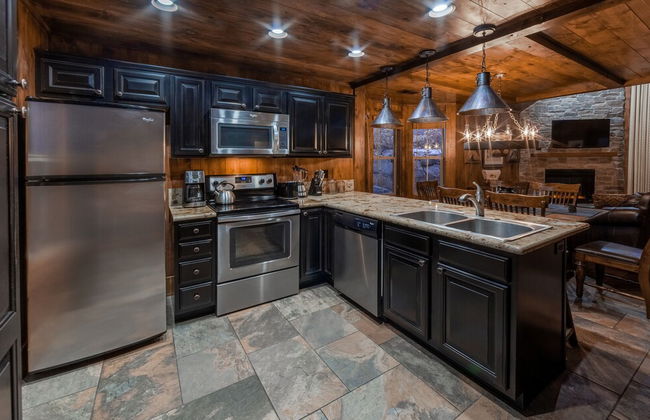
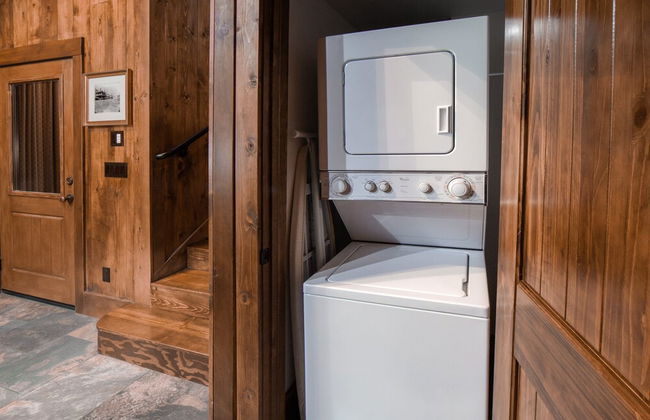
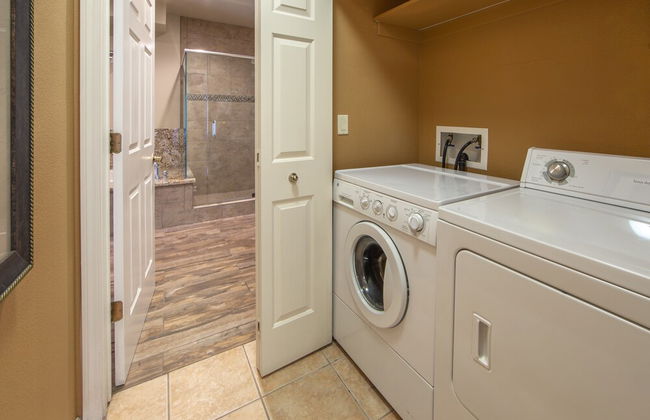
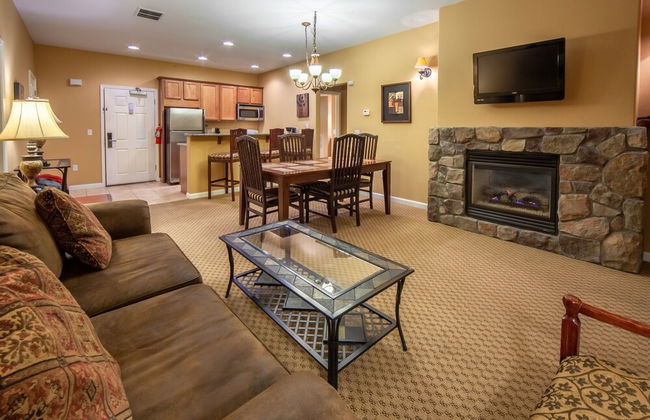
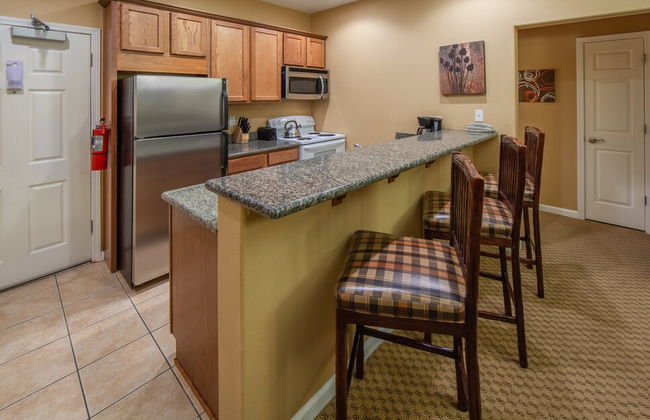
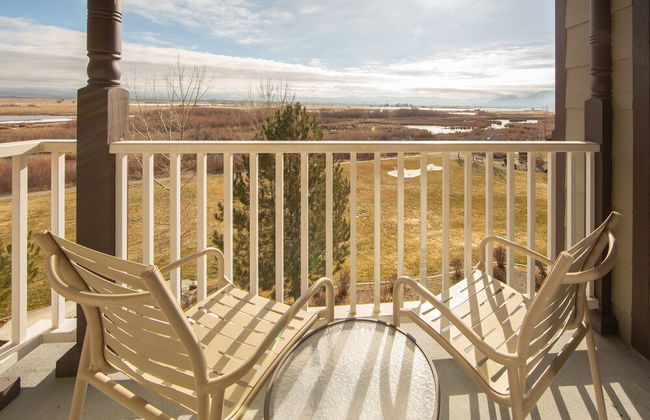
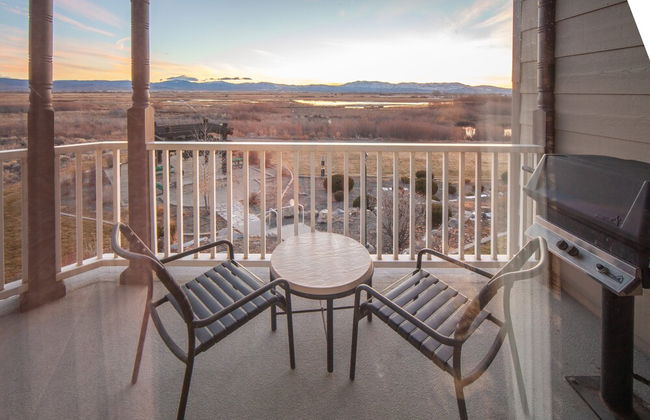
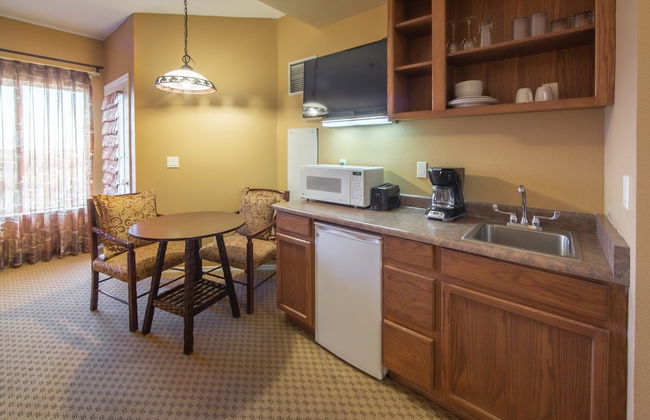
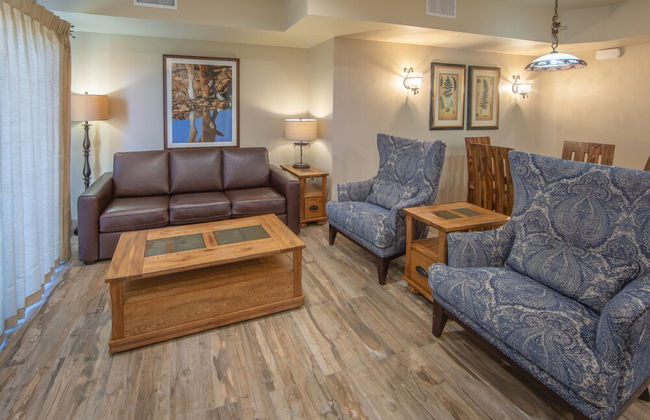
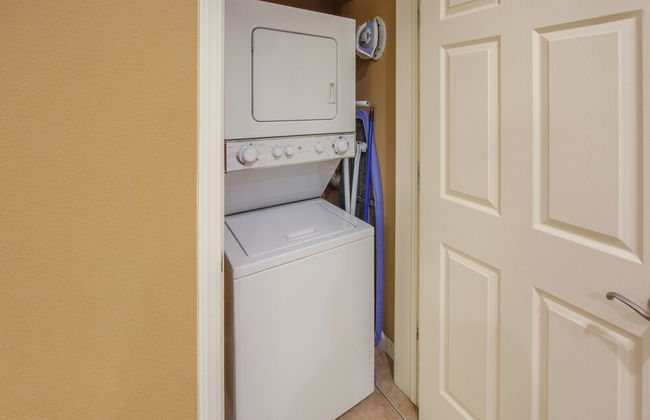
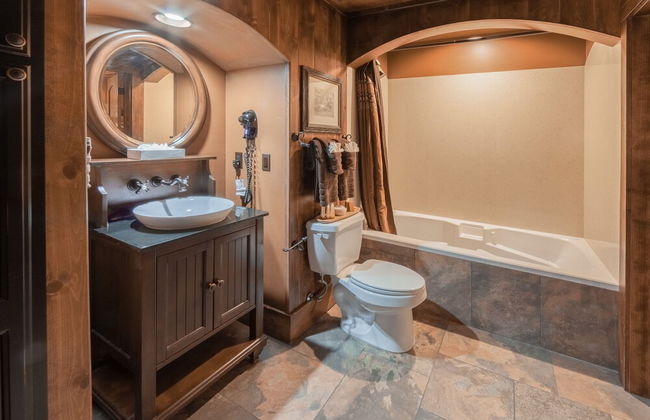
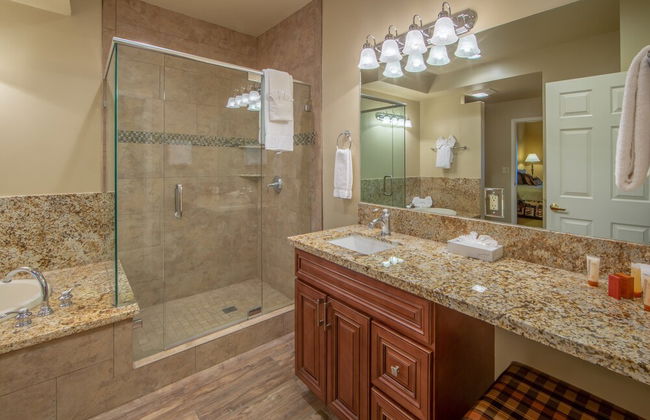
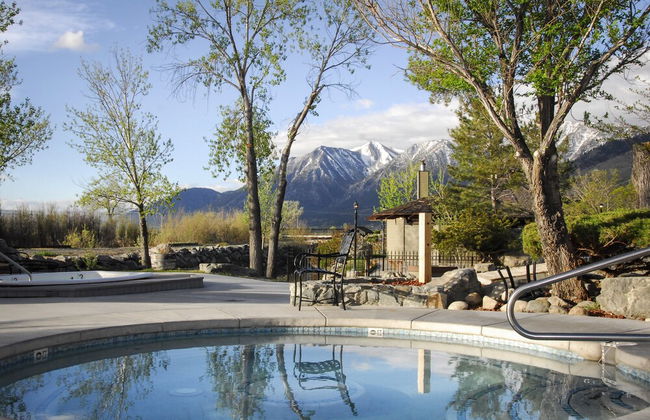
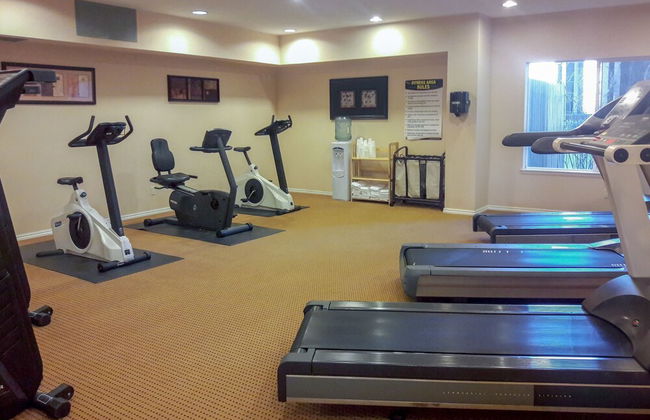
Hyatt Vacation Club at High Sierra Lodge, Lake Tahoe
Incline Village - Incline Village - 2 km da Diamond Peak
- 8 persone
- Aria condizionata
- Riscaldamento
- Piscina
- Parcheggio
- Ascensore
- Balcone
- Tv
- Lavatrice
- Focolare
- Barbecue
- Lino da bagno
- Lino da letto
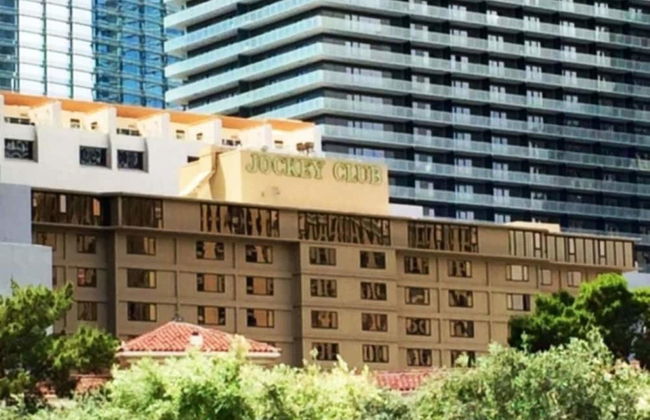

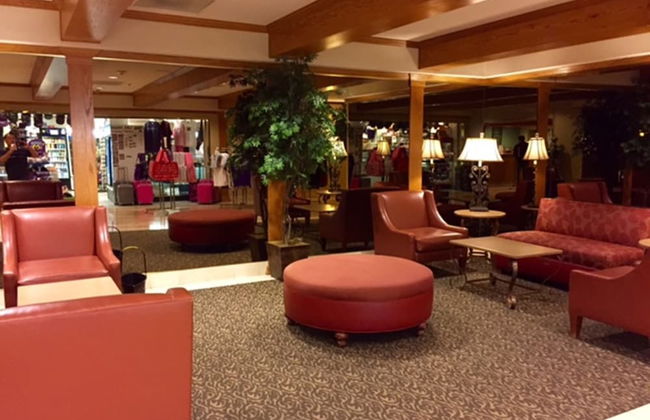
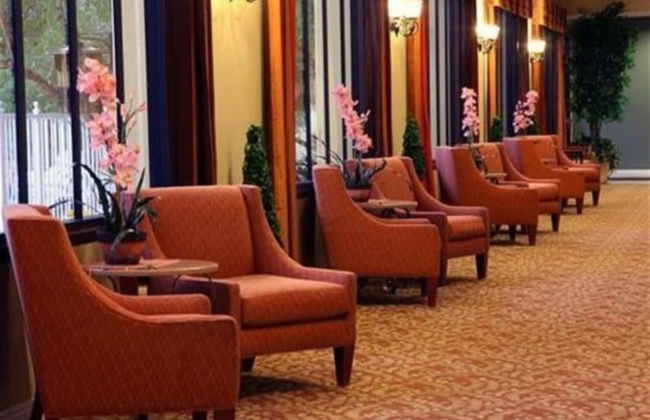
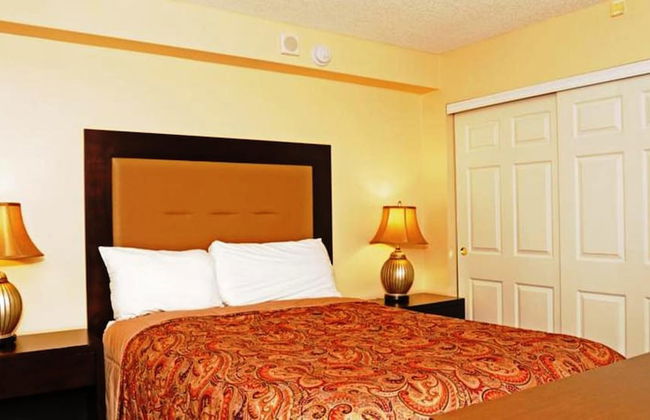


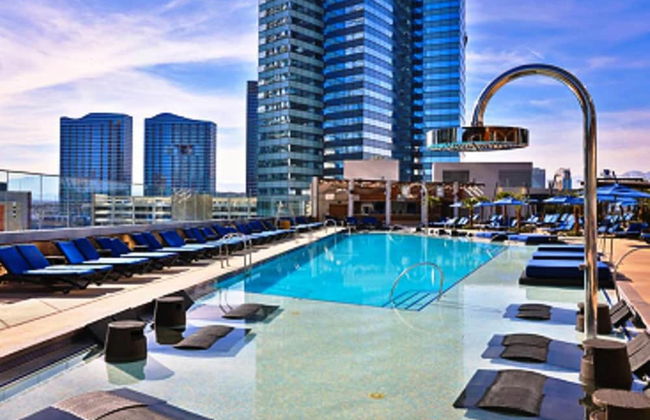
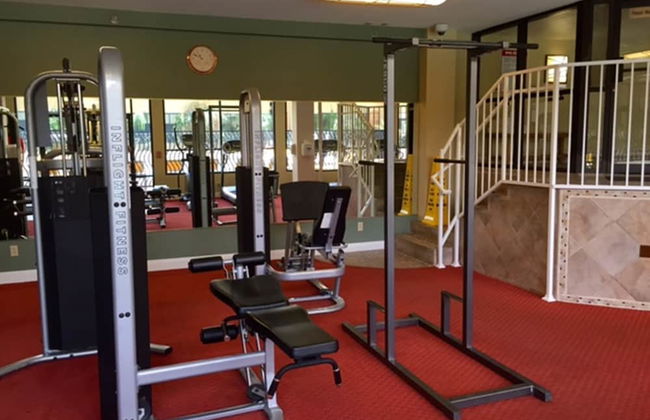


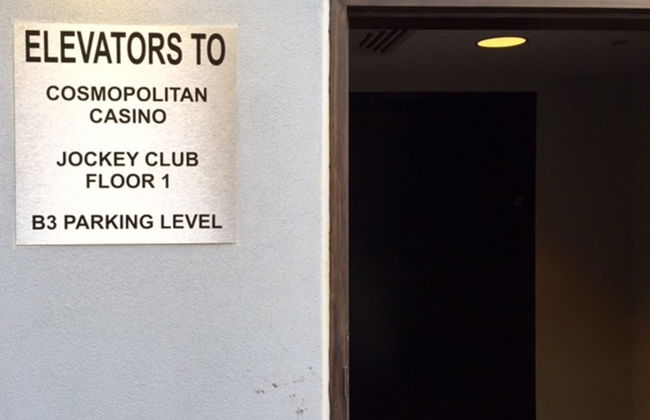
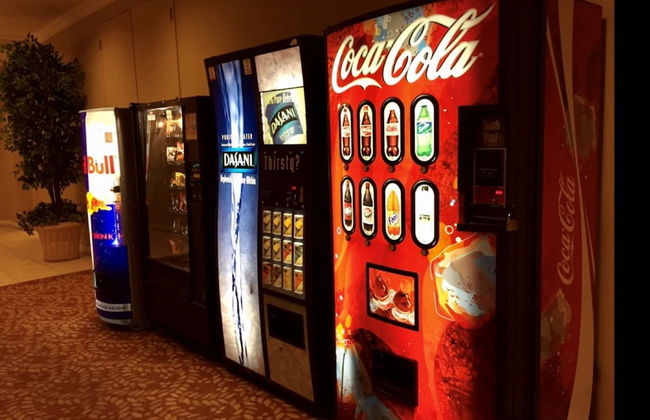

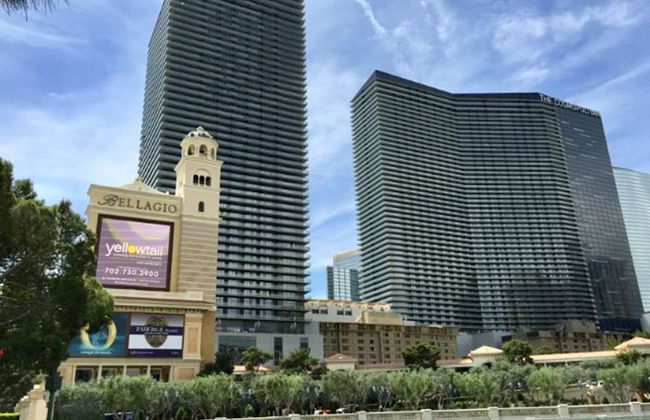
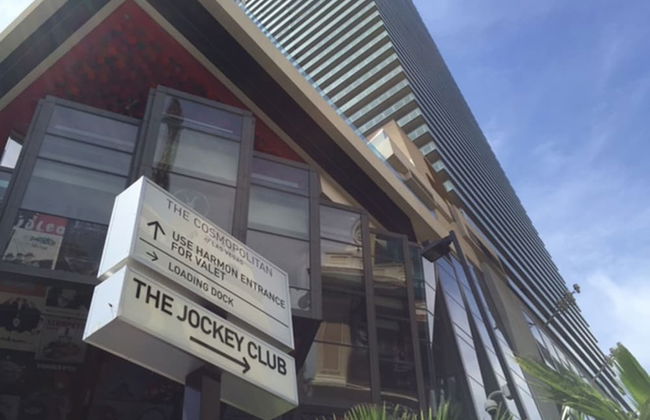
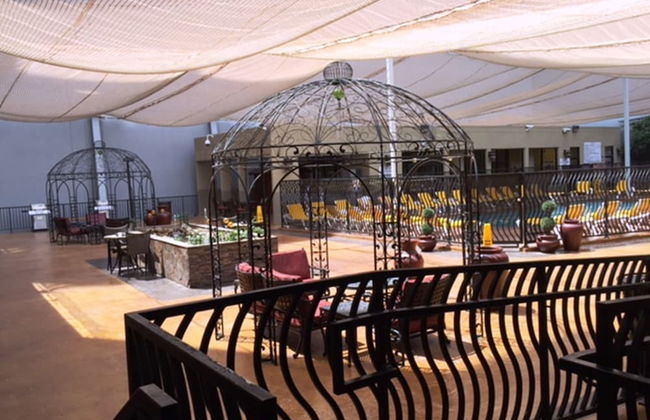

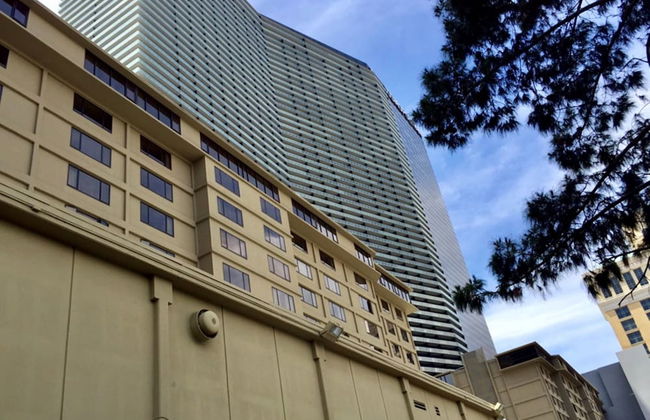
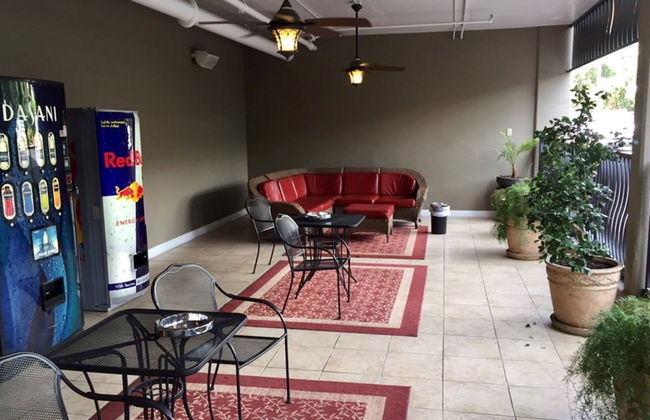
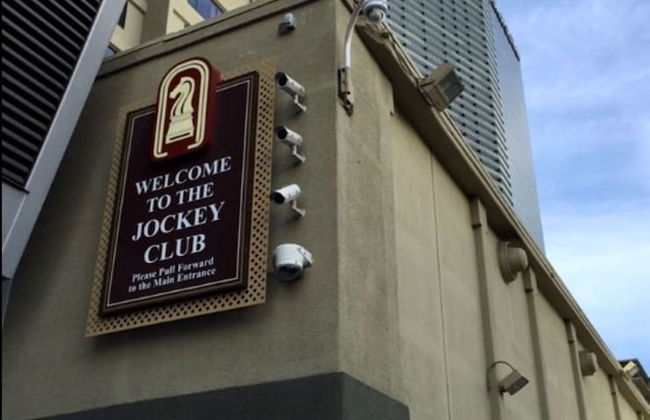
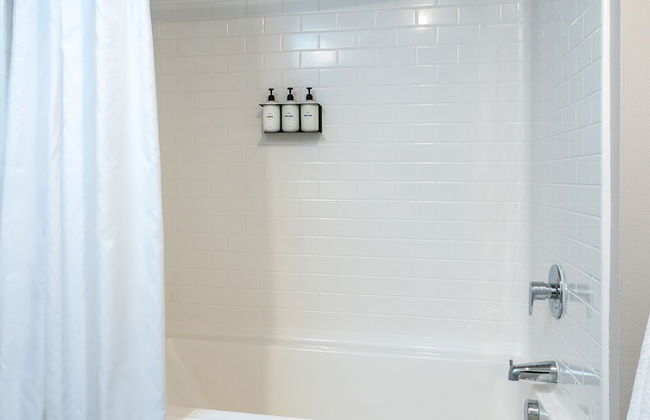
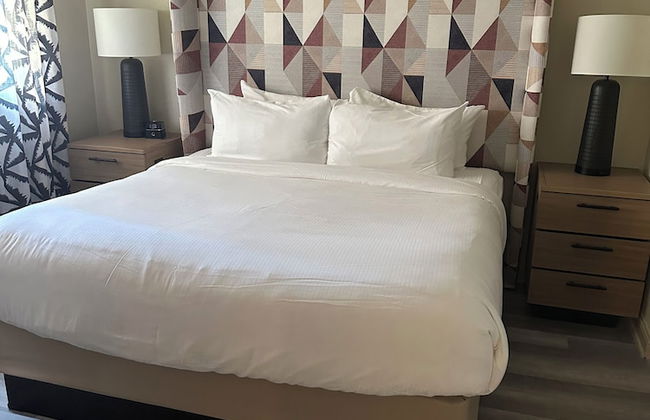
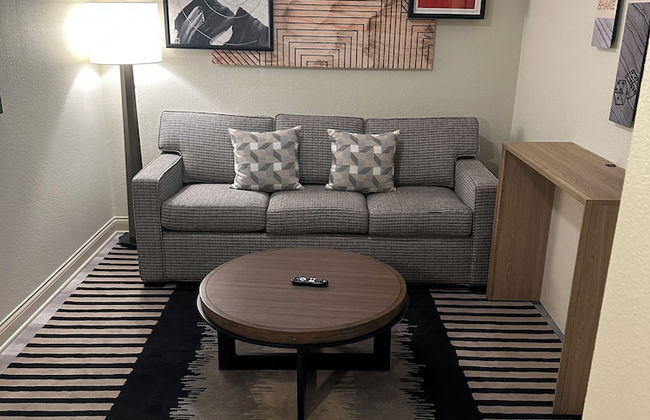
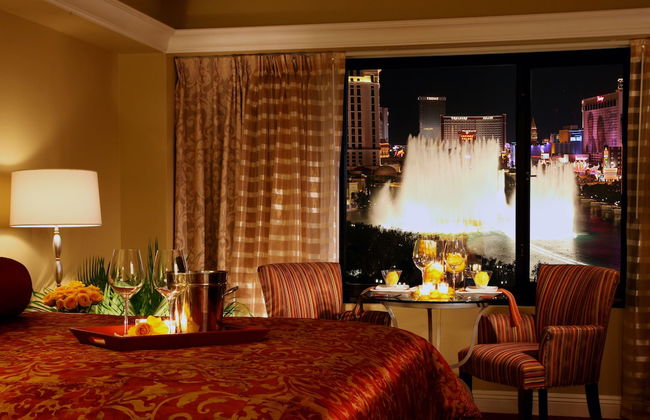
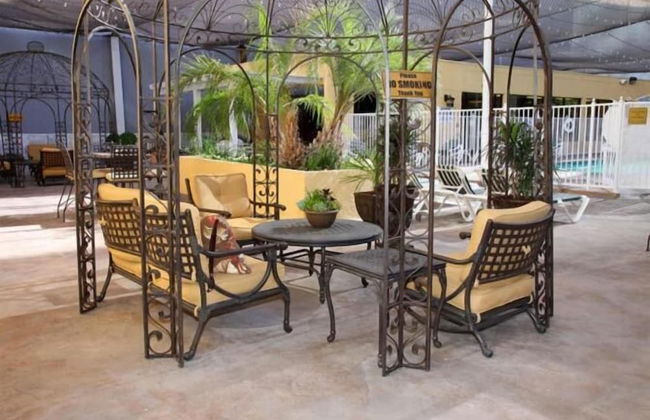
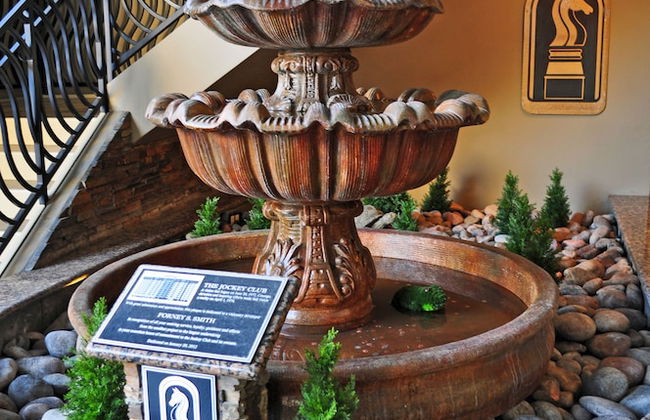
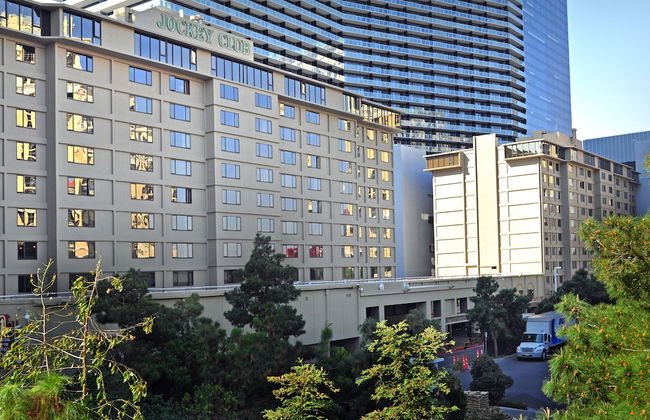
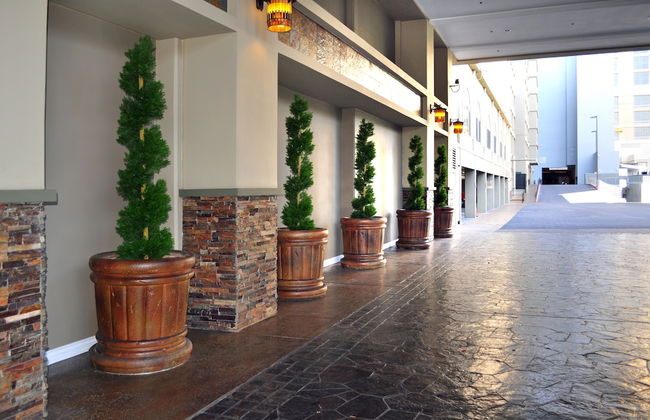
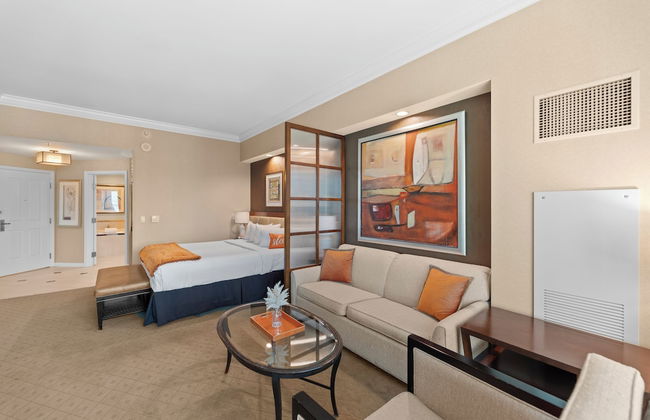
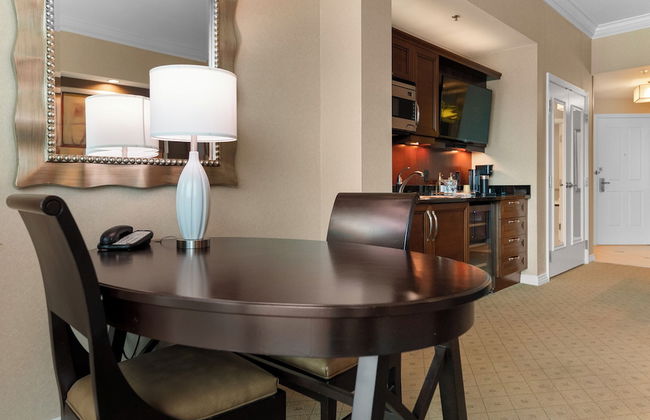
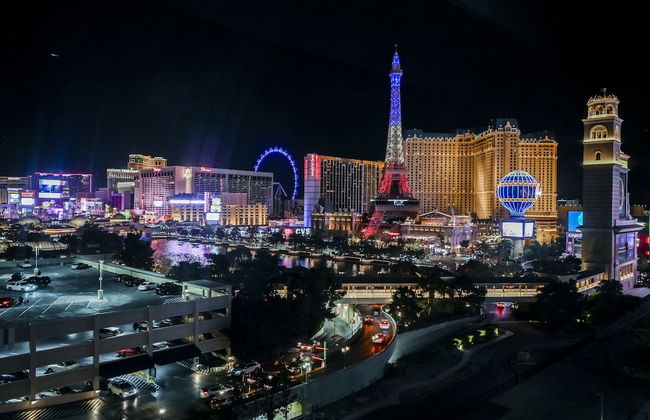
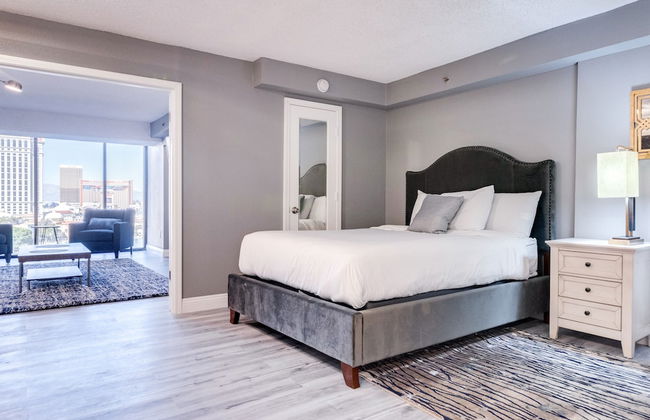
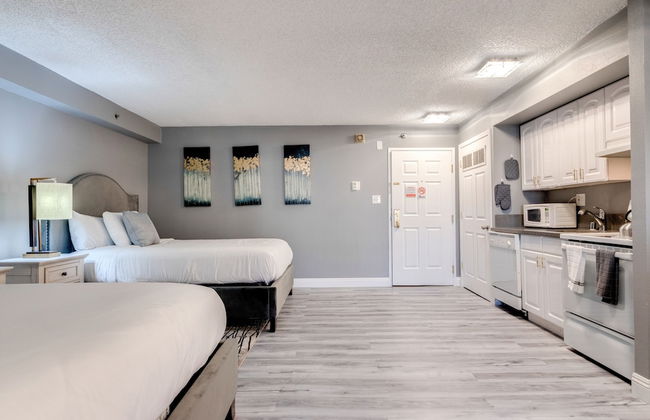
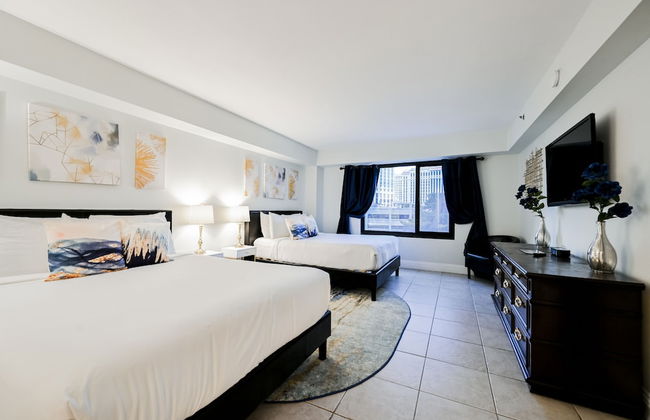
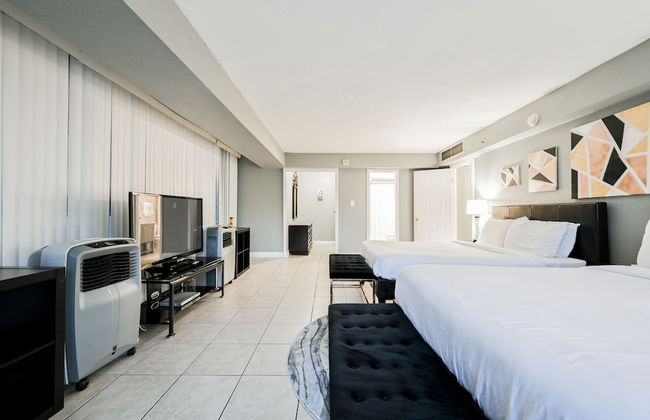
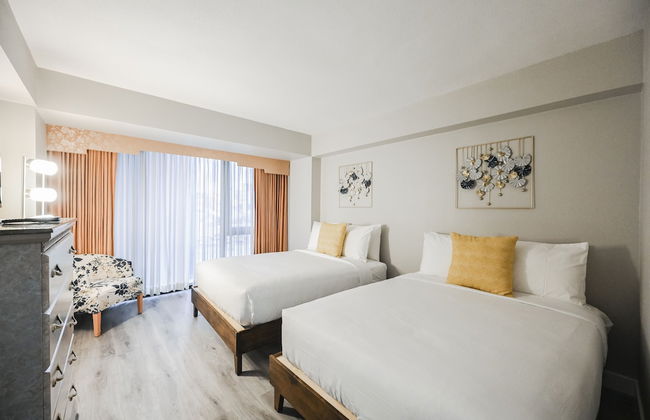
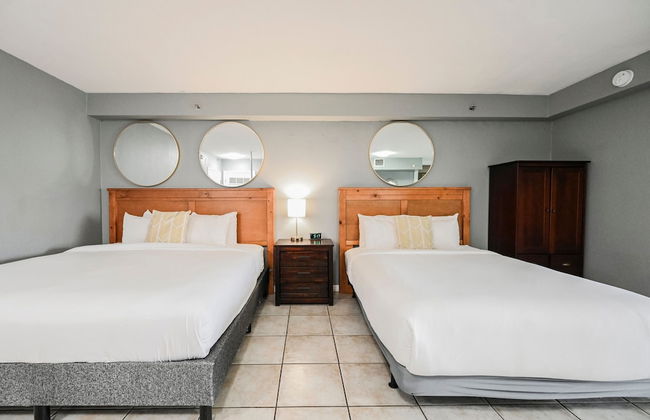
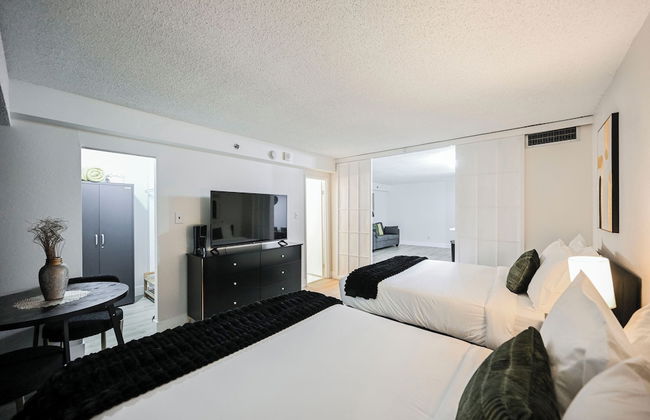
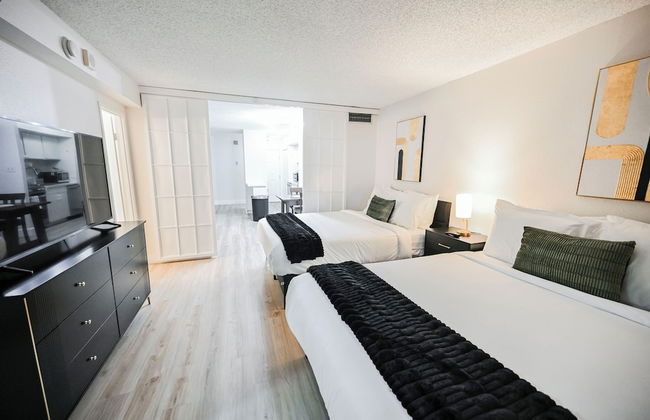
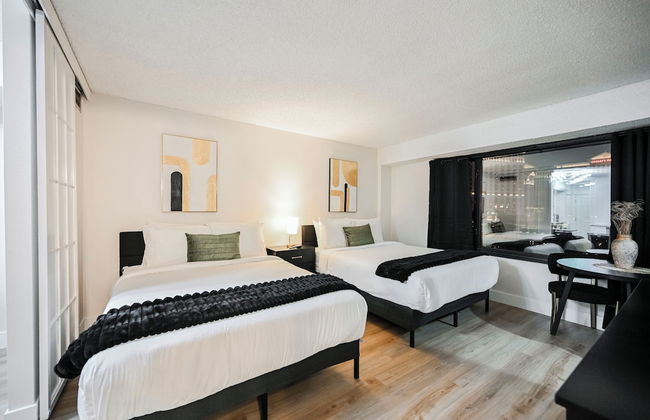
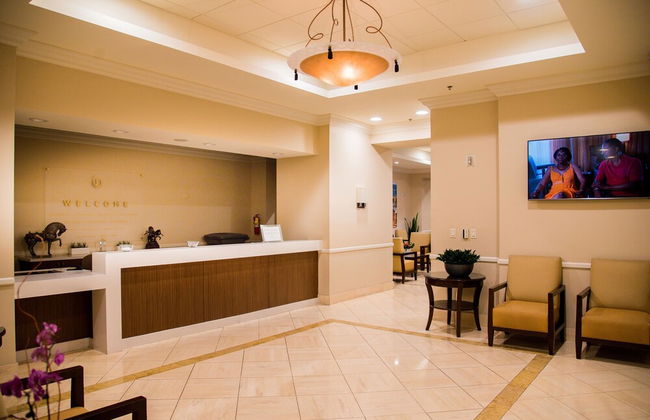
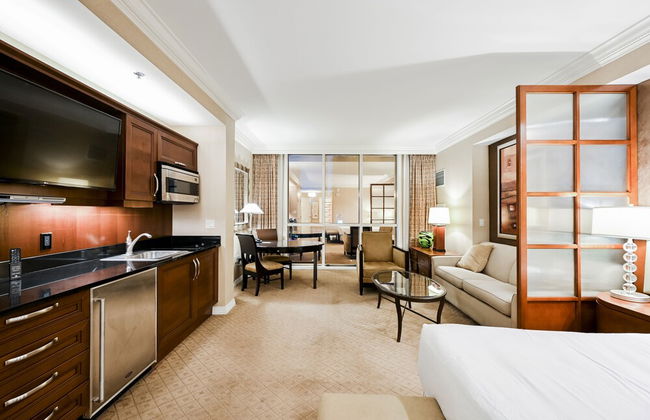
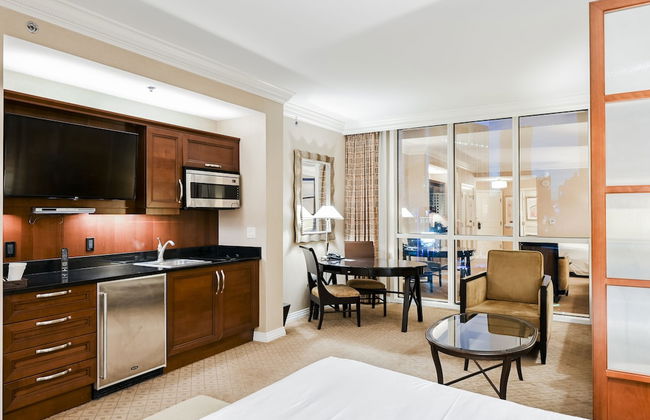
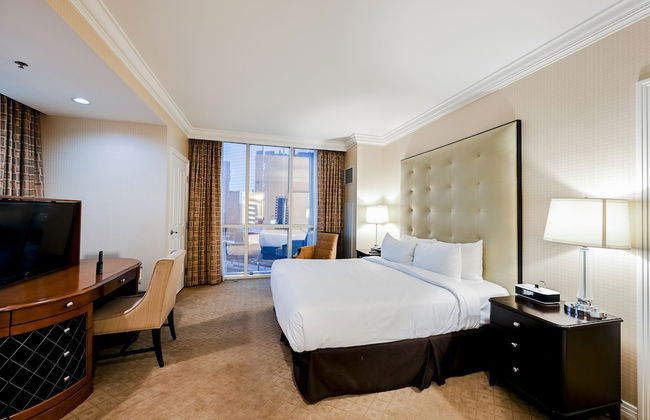
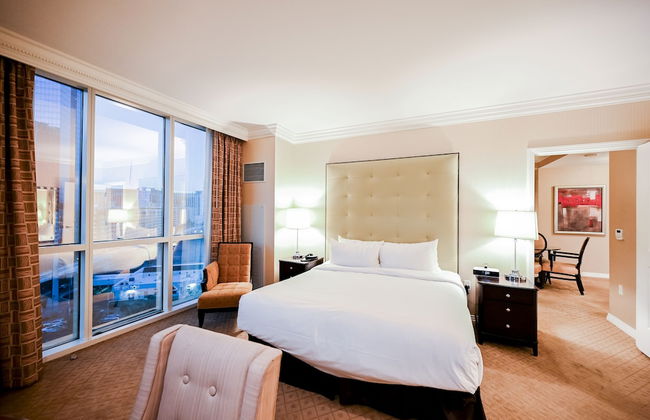
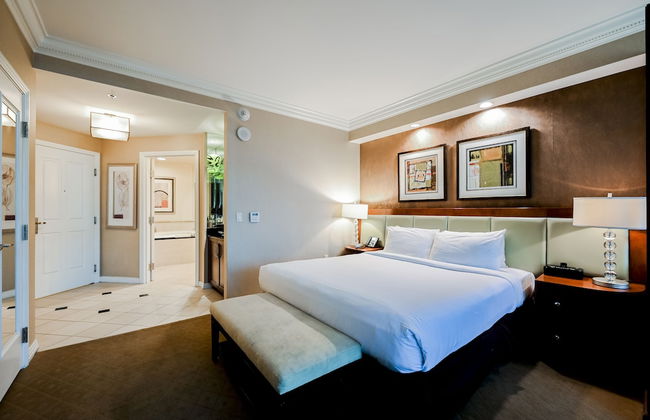
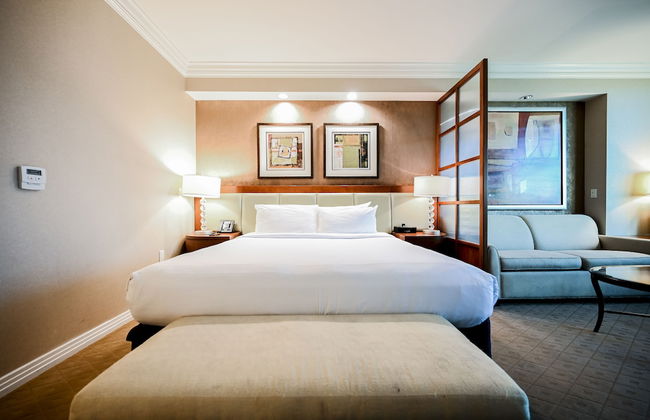
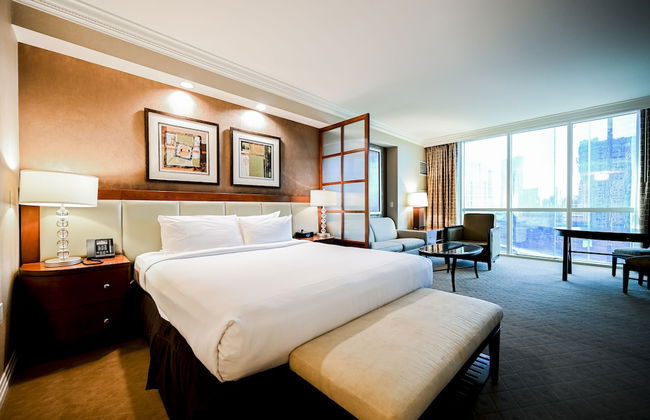
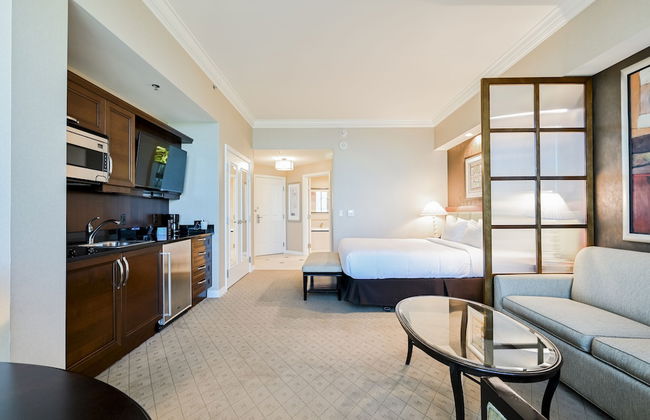
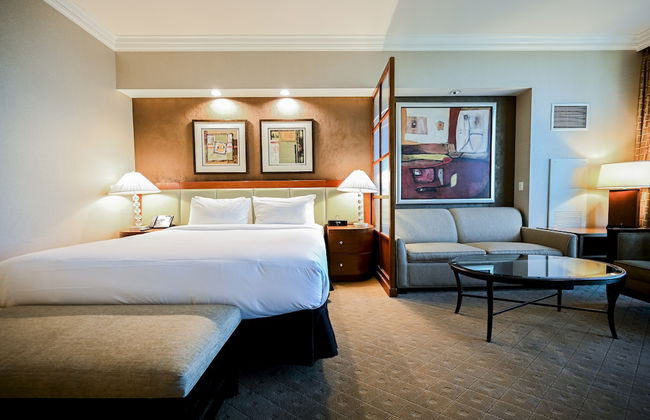
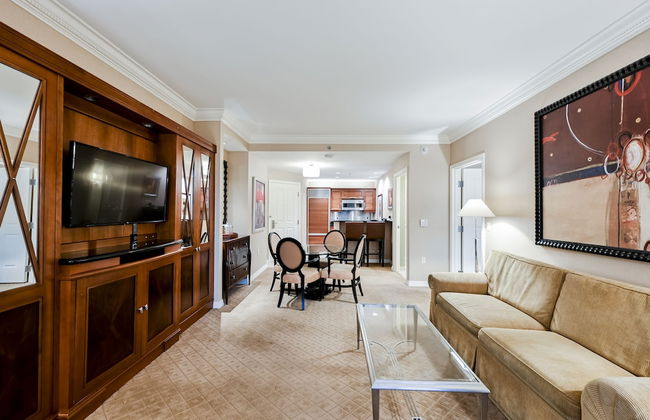
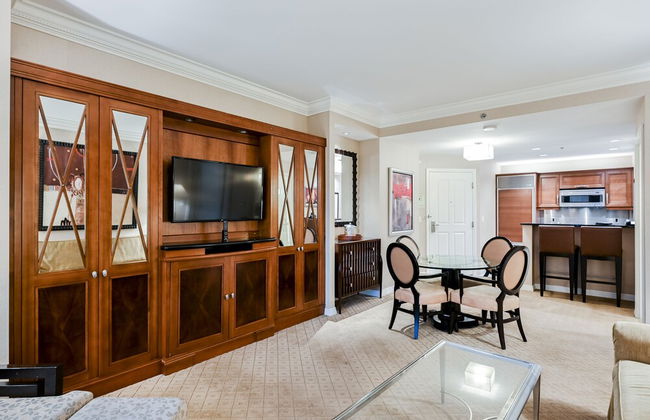
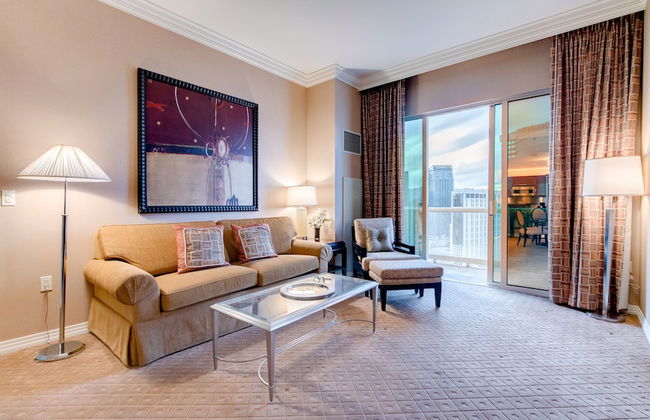
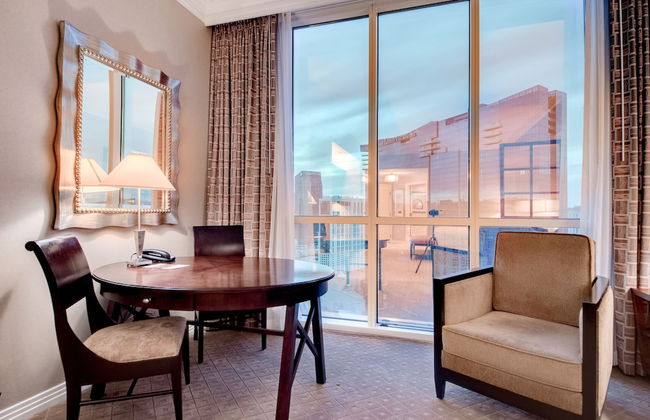
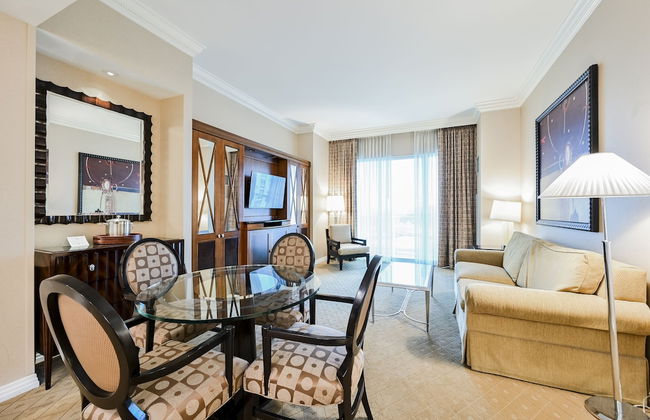
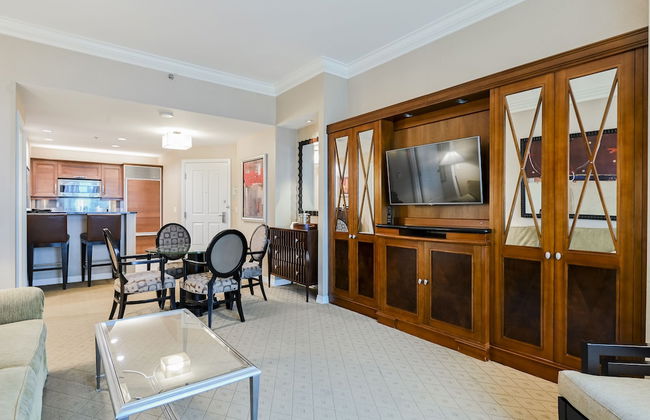
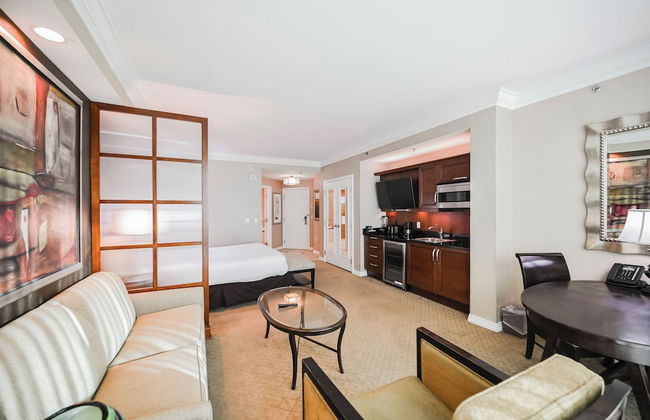
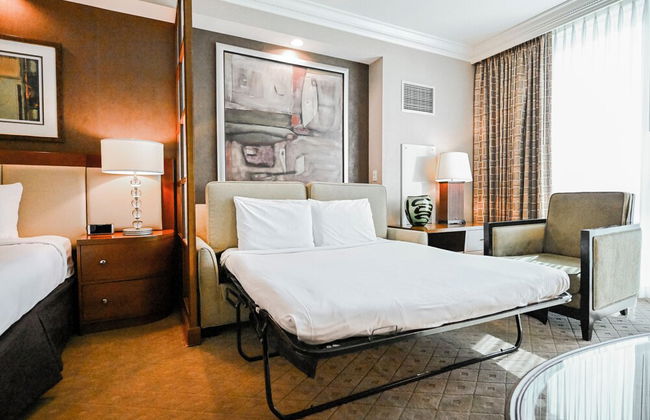
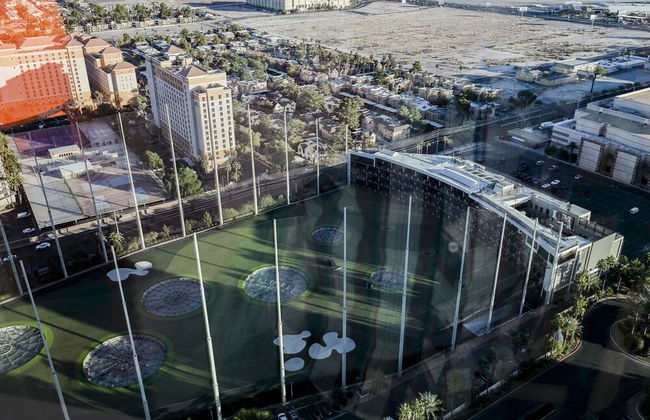
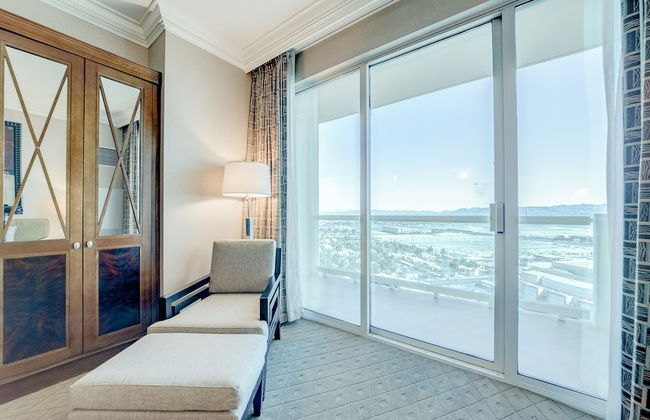
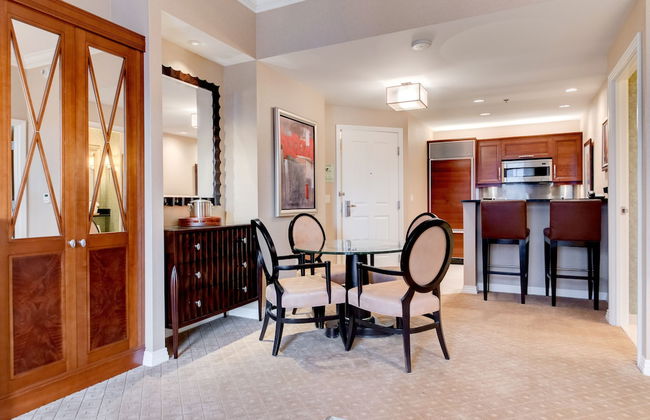
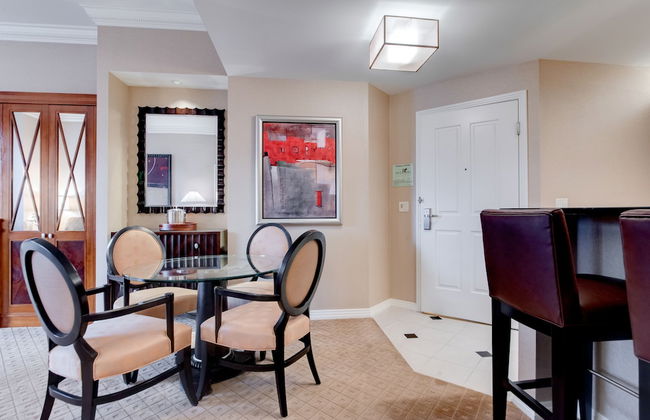
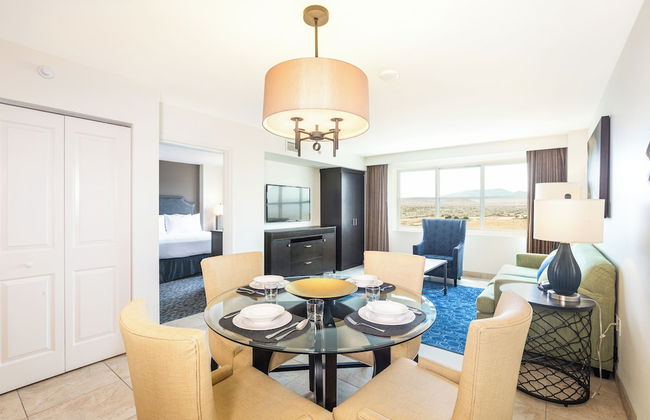
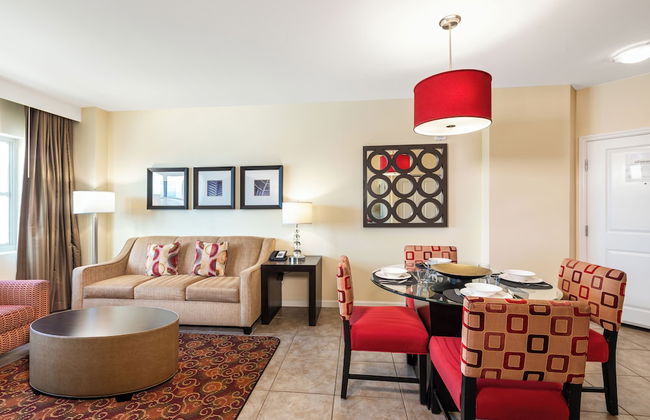
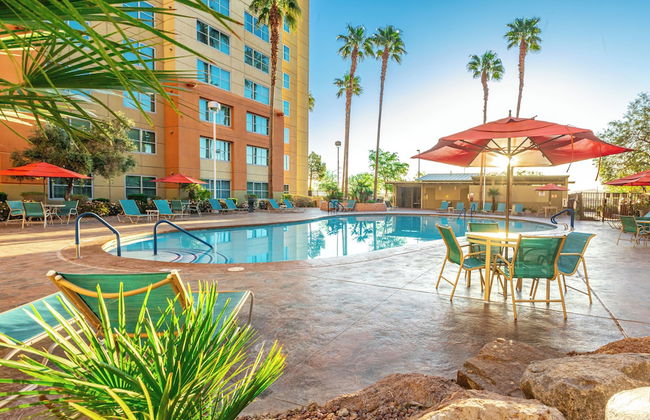
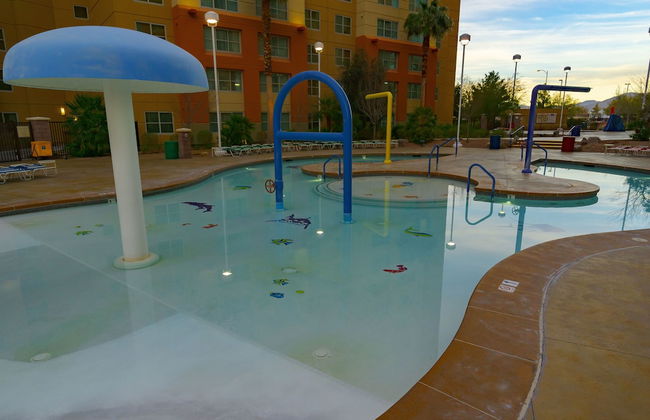
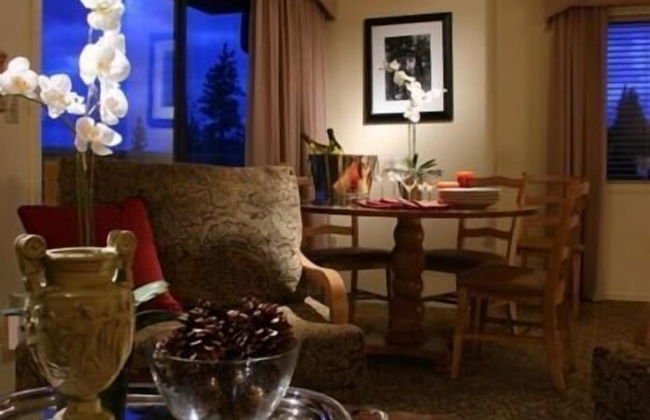
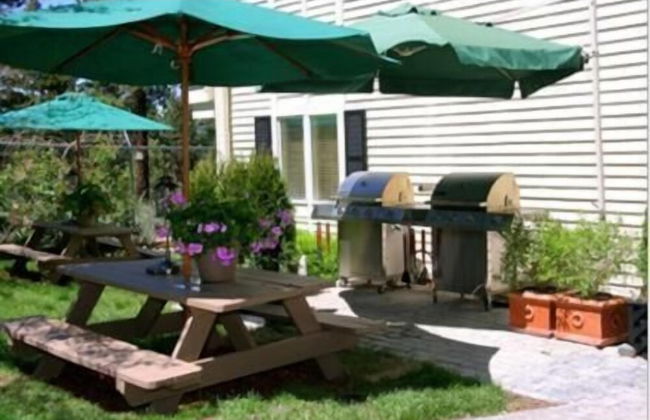
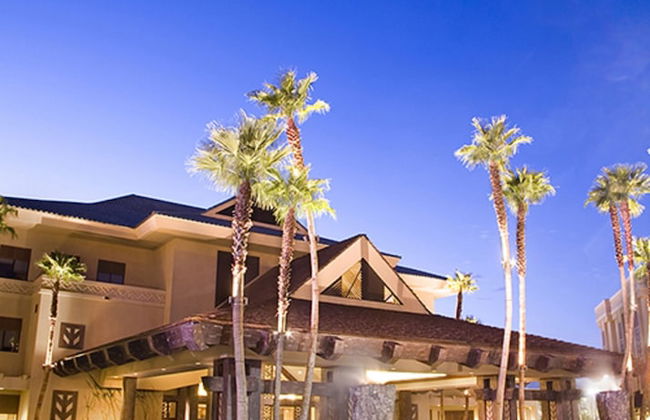
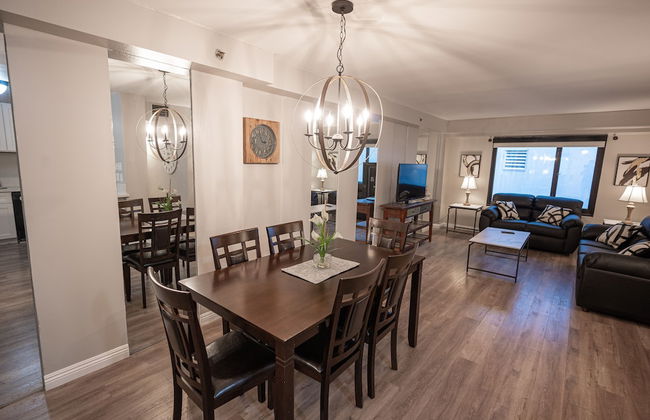
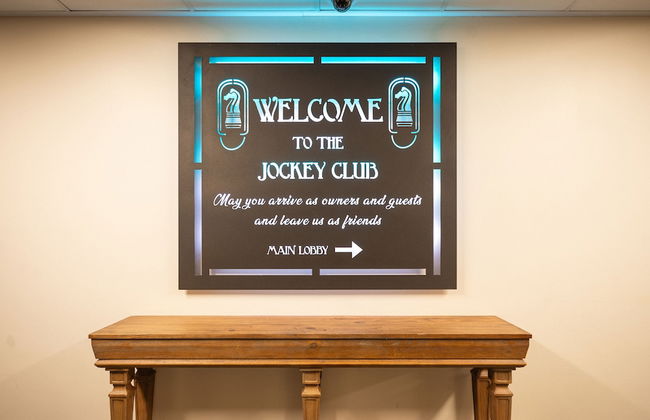
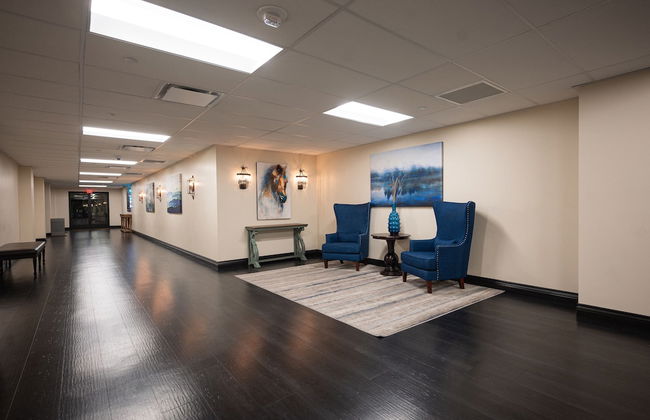
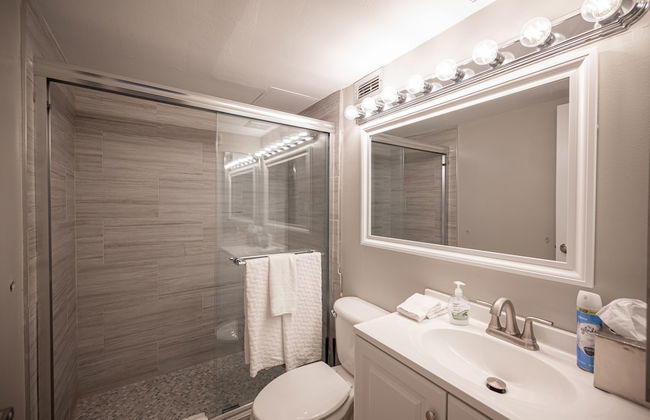
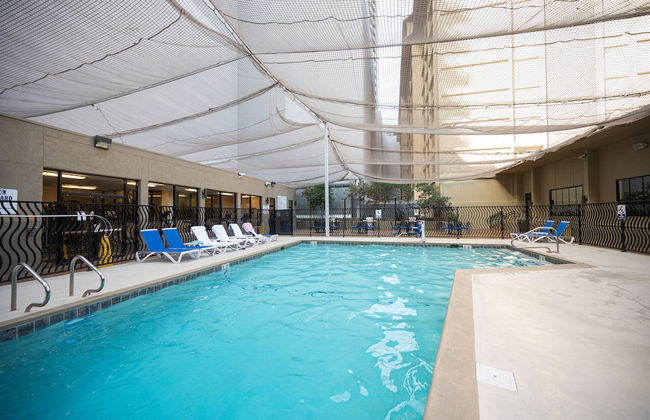
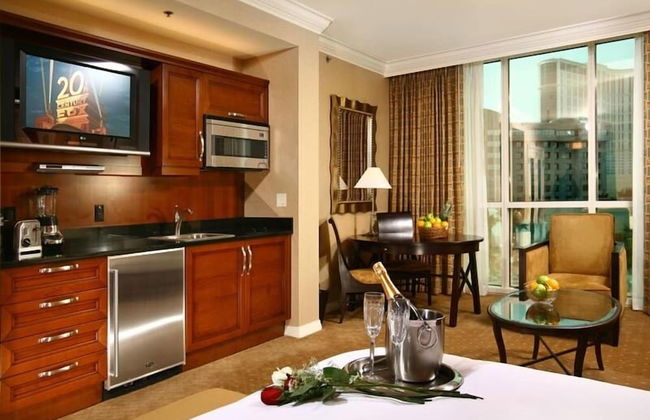
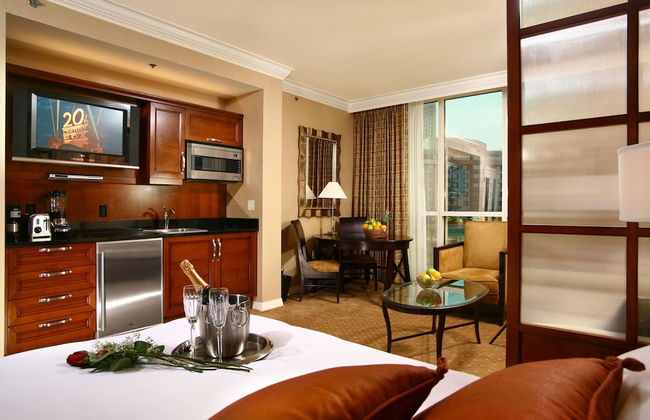
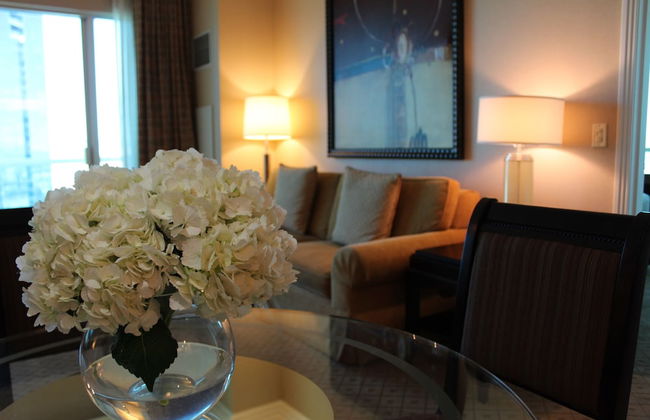
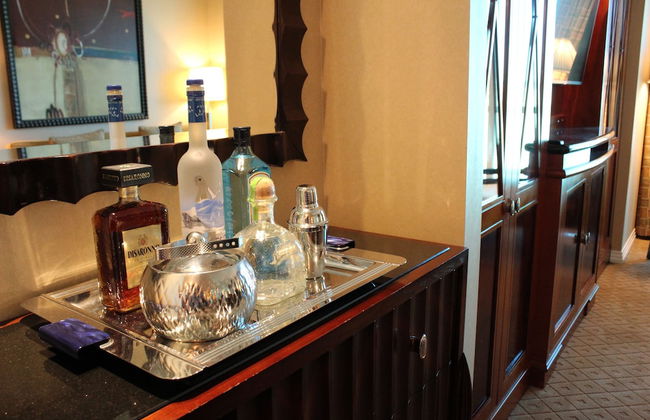
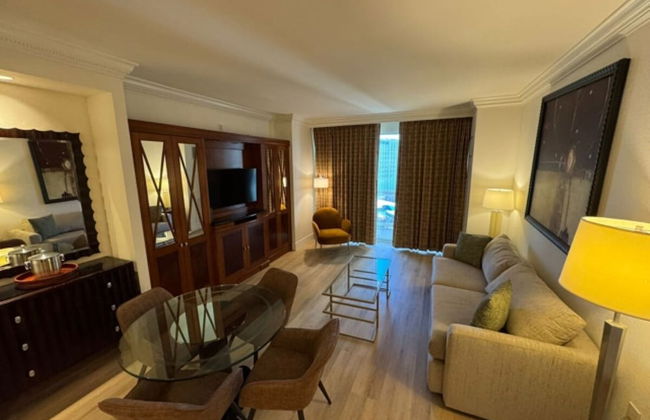
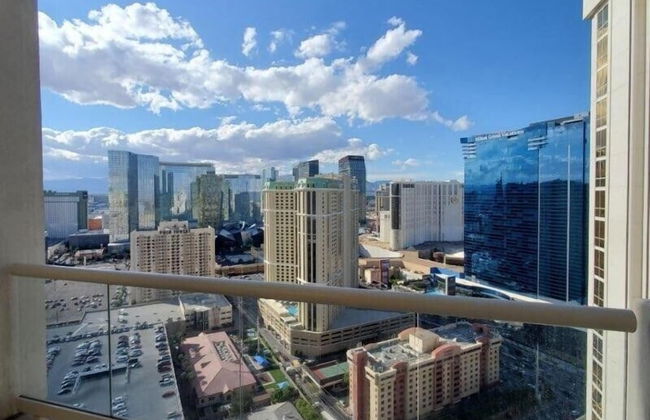
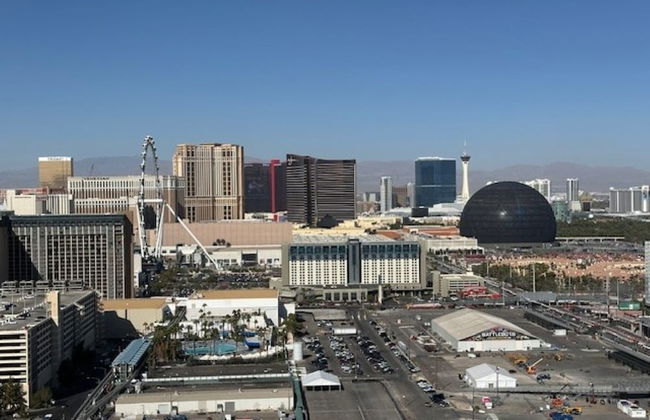
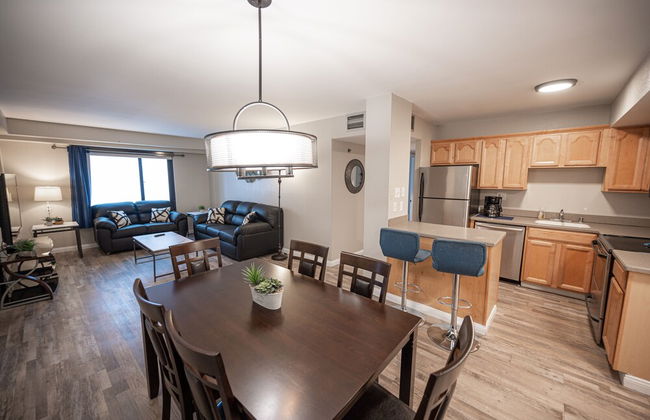
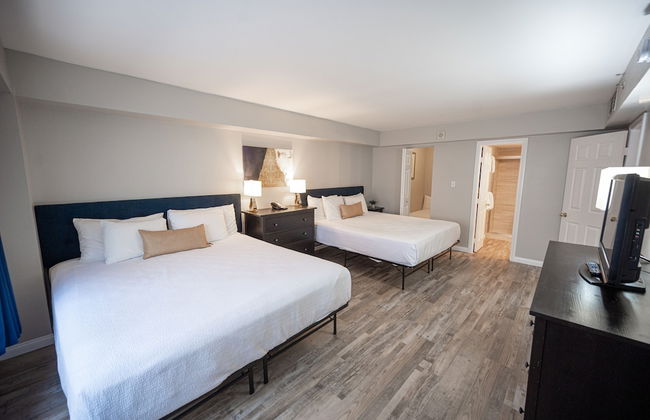
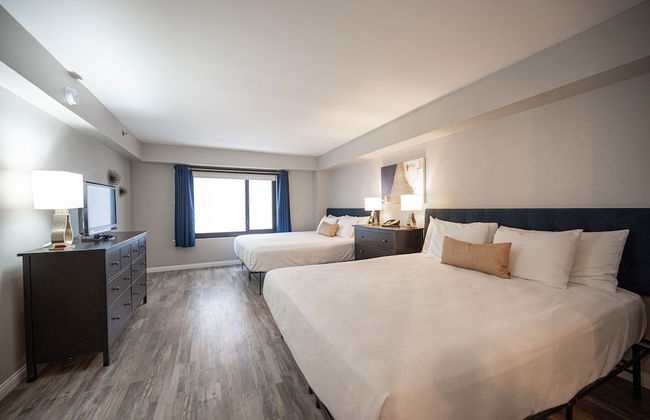
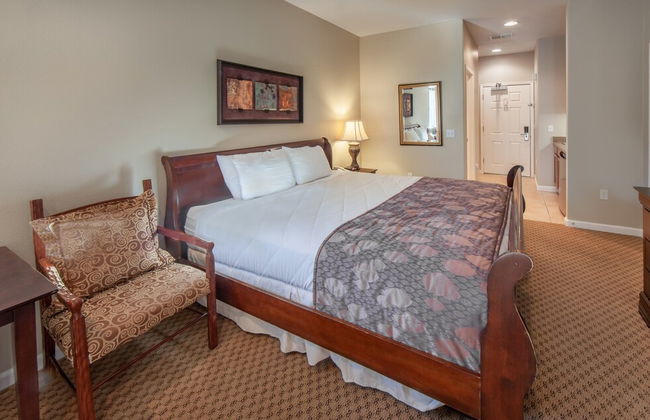
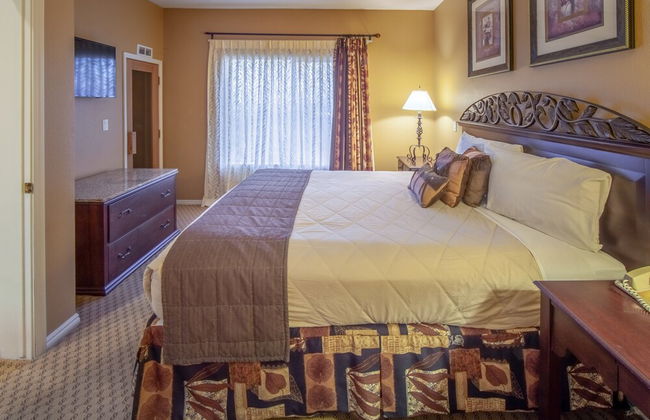
GetAways at Jockey Club
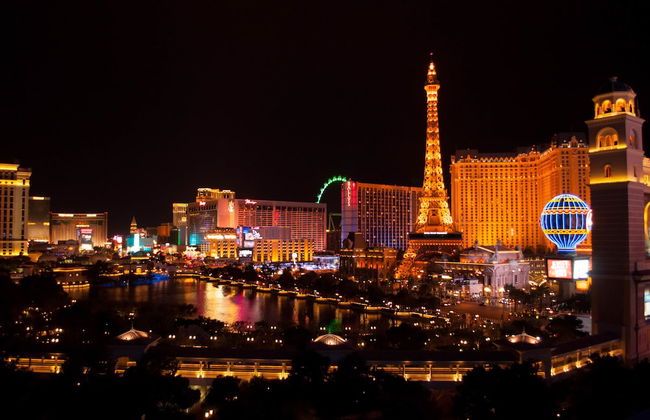
Las Vegas - The Strip - 7 km dal centro
- 84 M2
- 6 persone
- Aria condizionata
- Riscaldamento
- Piscina
- Parcheggio
- Ascensore
- Tv
- Barbecue
- Lino da bagno
- Lino da letto


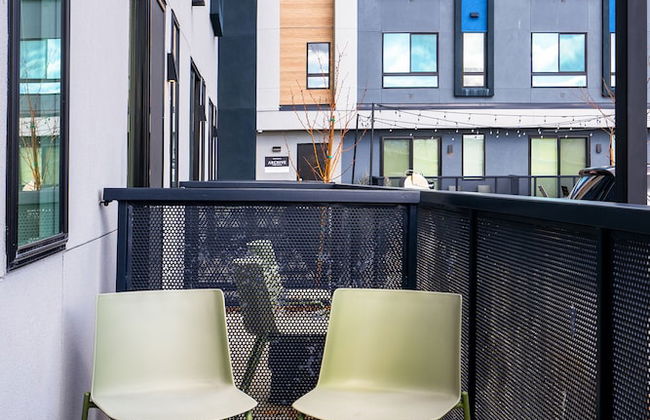

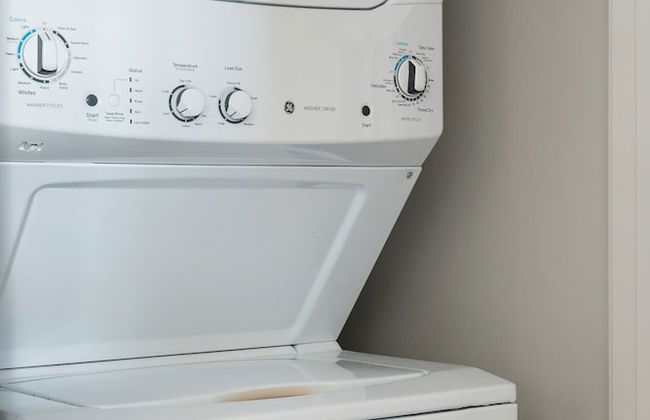


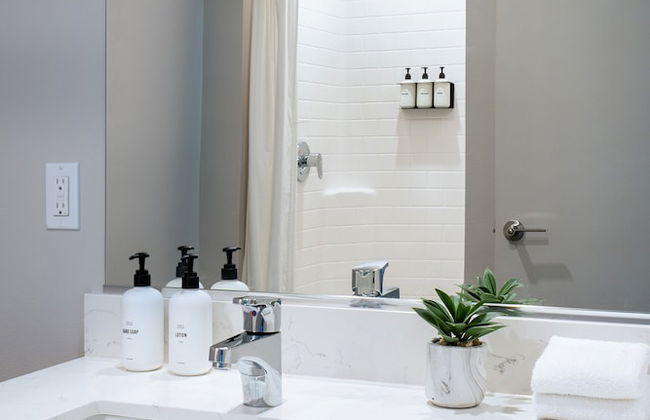
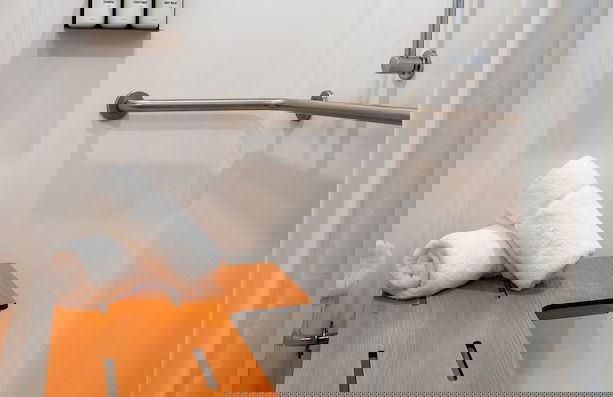


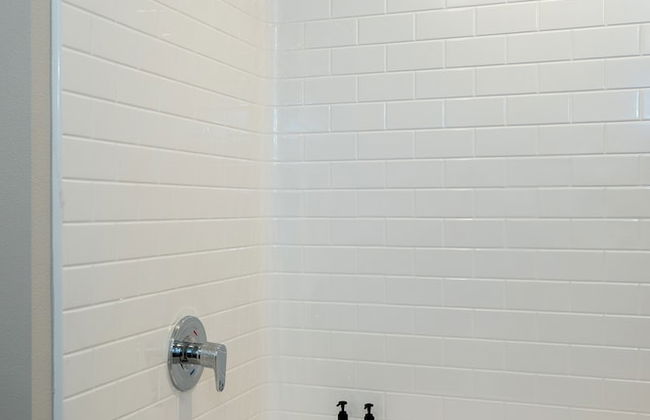


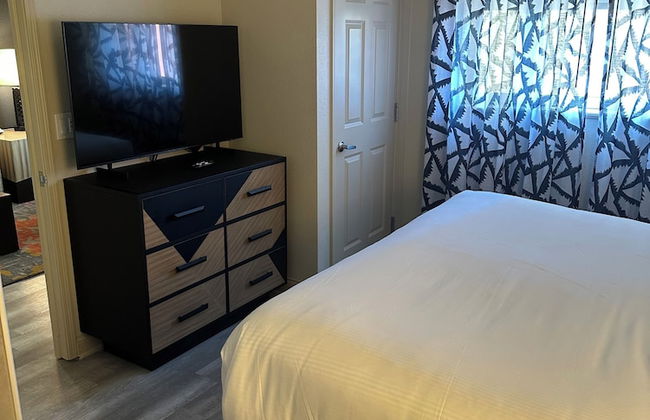
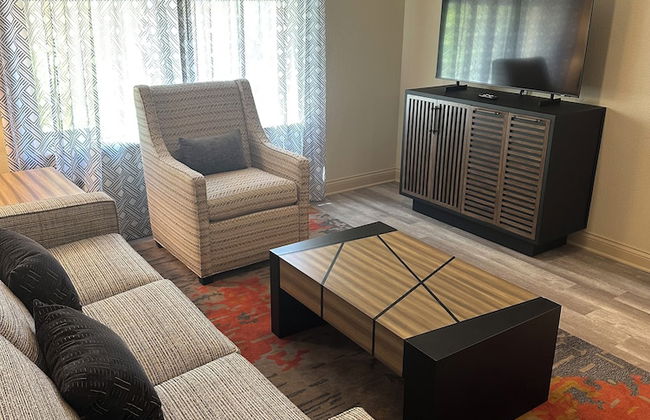
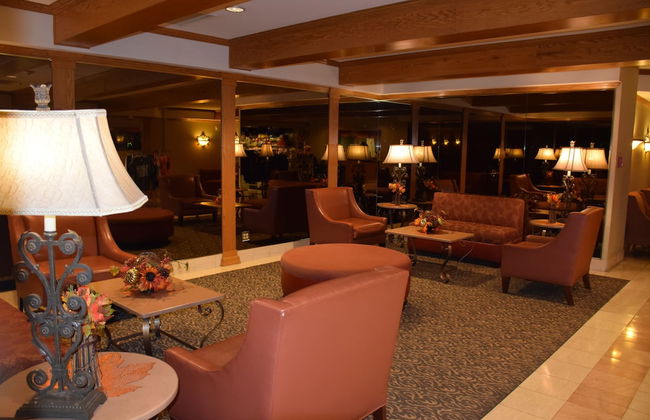
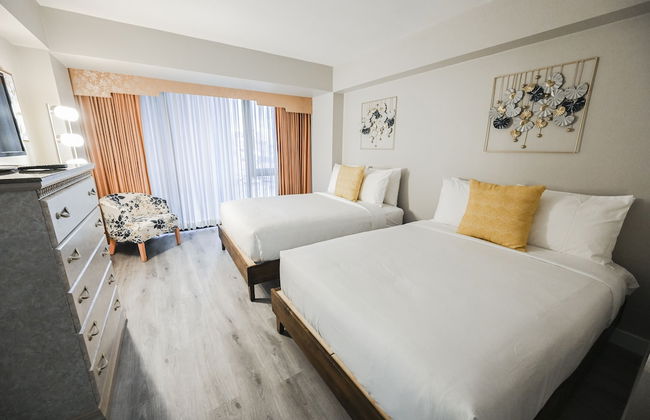
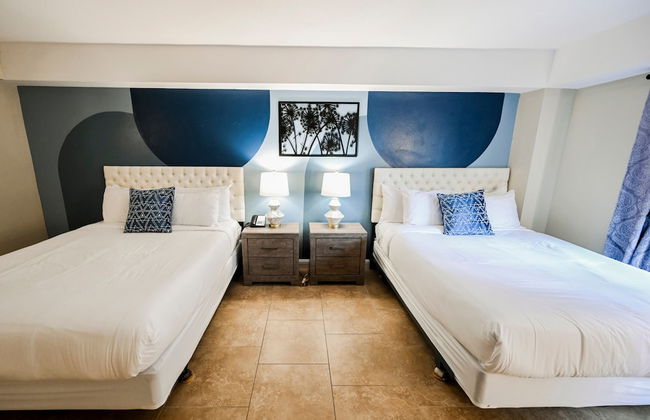
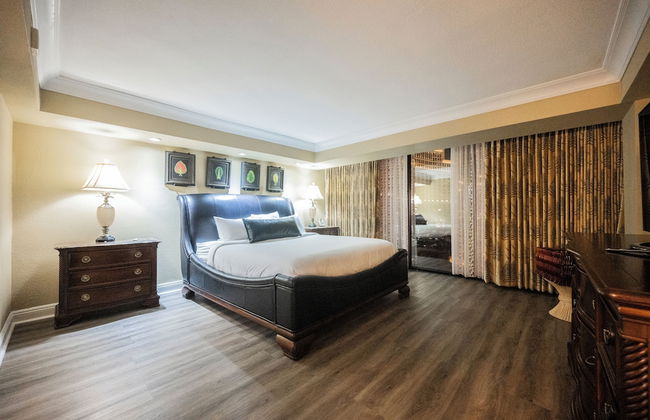
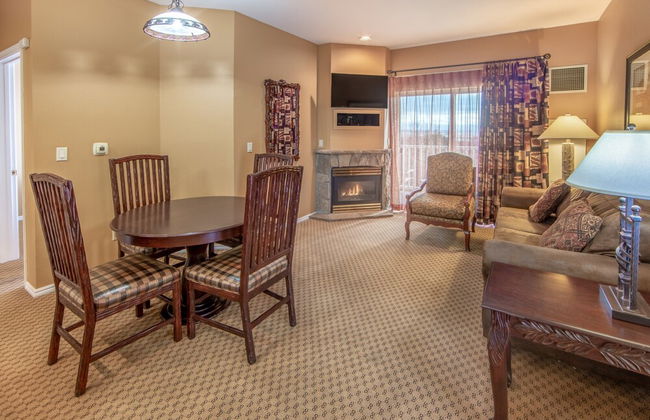
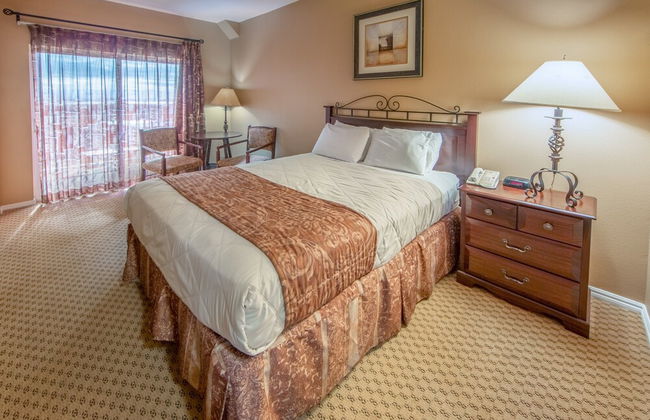
Kasa Archive Reno-Tahoe
Reno - 2.7 km dal centro
- 79 M2
- 4 persone
- Aria condizionata
- Piscina
- Parcheggio
- Ascensore
- Tv
- Lavatrice
- Focolare
- Lino da bagno
- Lino da letto
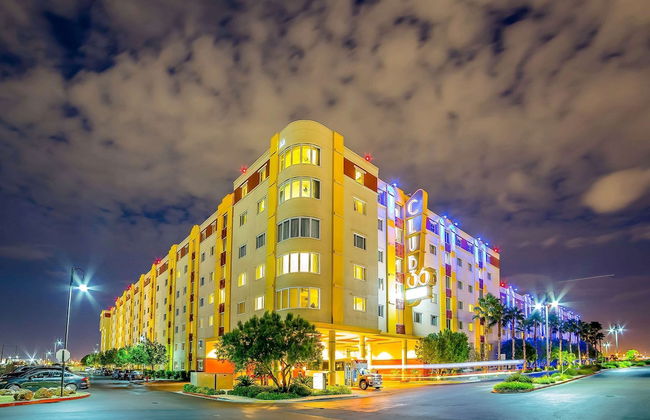

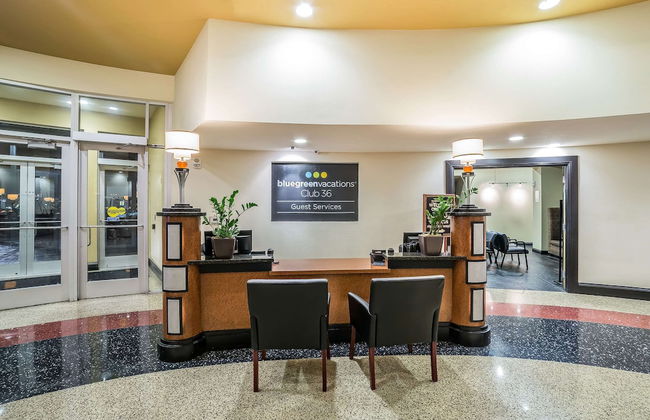

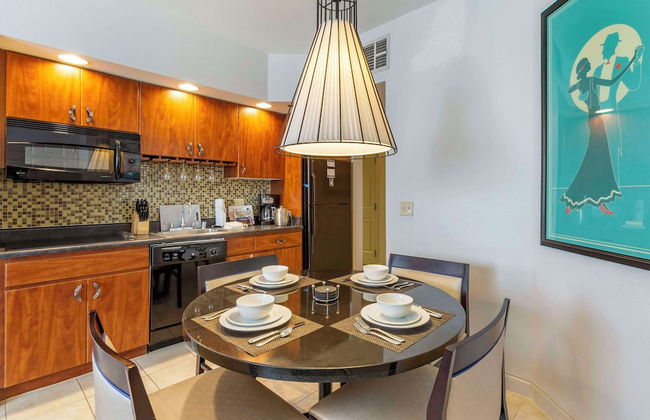


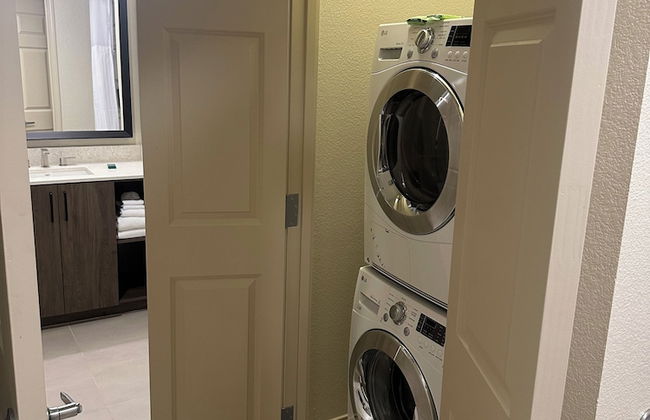


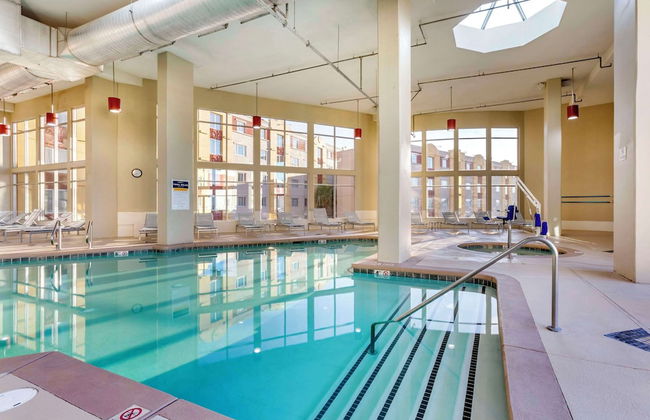

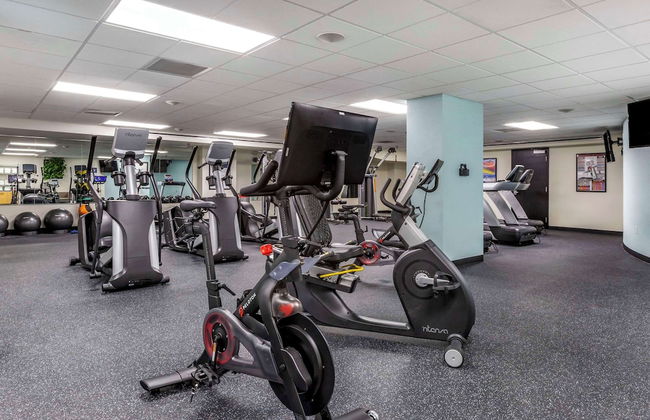

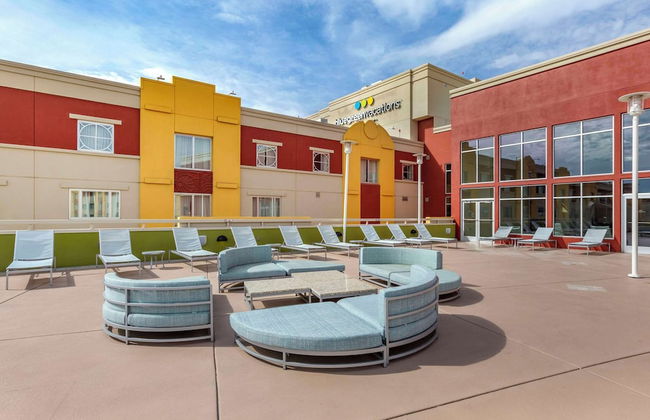

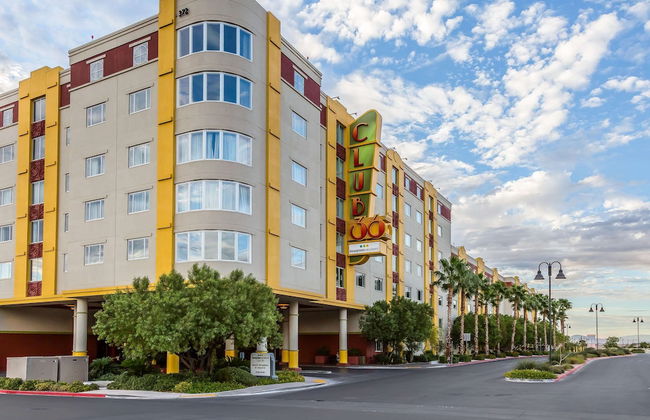
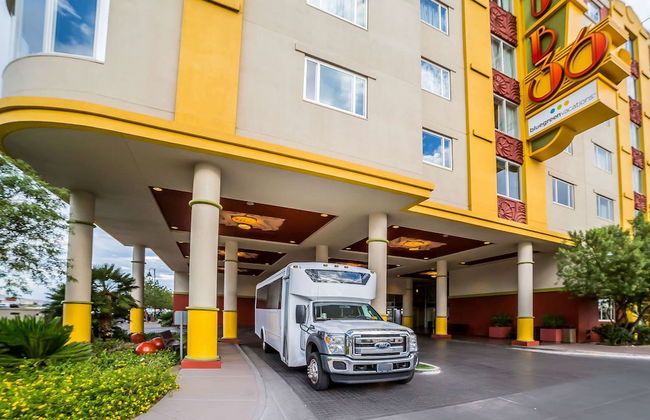


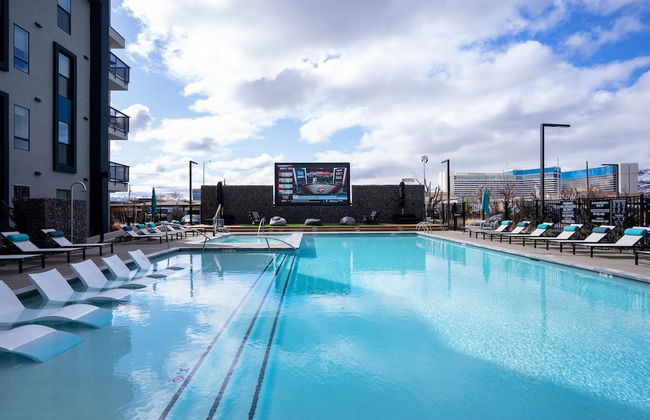
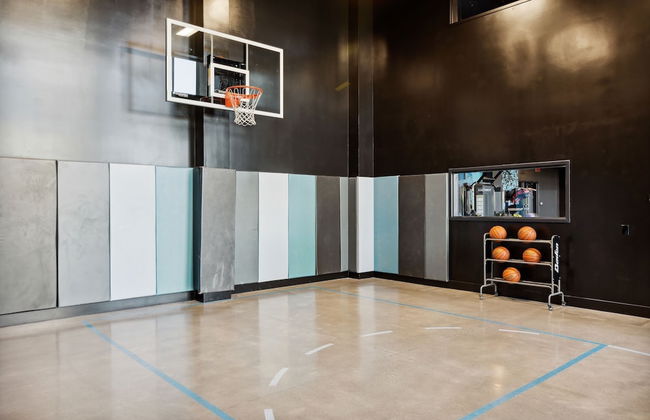
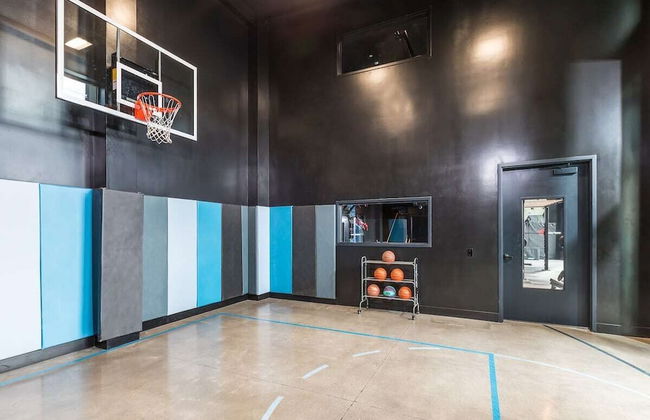
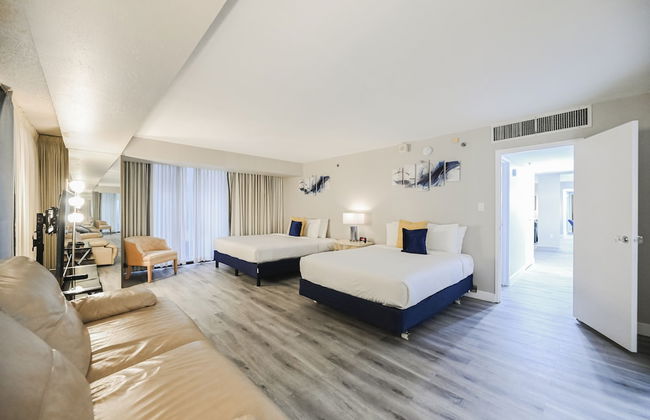
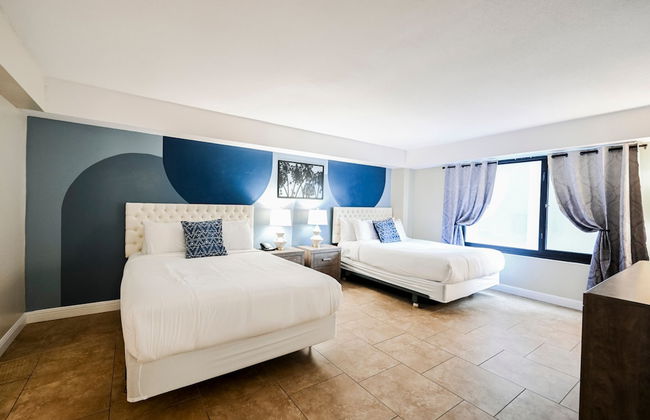
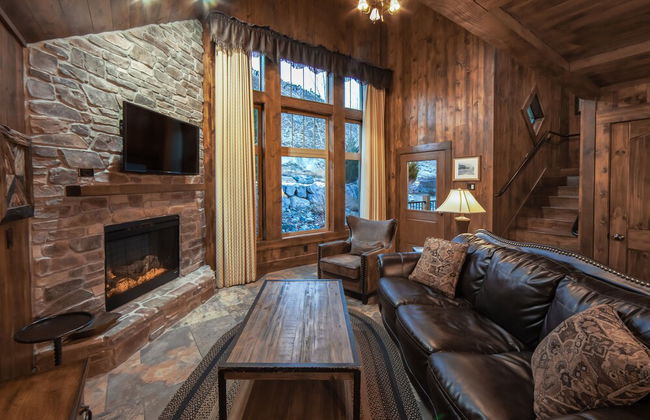
Bluegreen Vacations Club 36, an Ascend Collection Resort
Las Vegas - The Strip - 7.3 km dal centro
- 111 M2
- 6 persone
- Aria condizionata
- Terrazza
- Piscina
- Parcheggio
- Ascensore
- Tv
- Lavatrice
- Lino da bagno
- Lino da letto
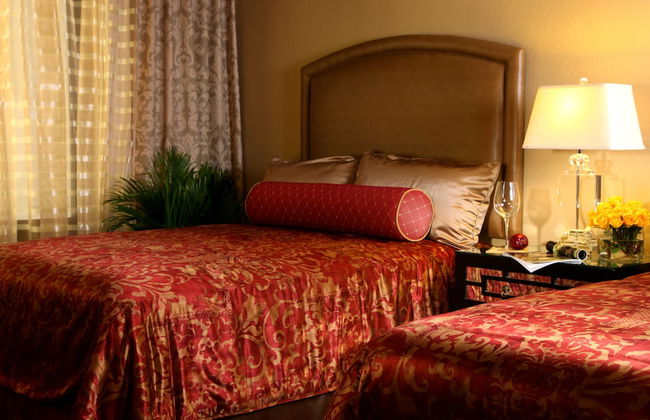


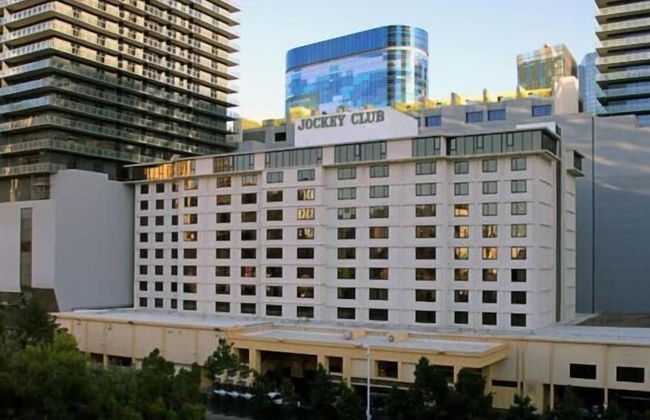
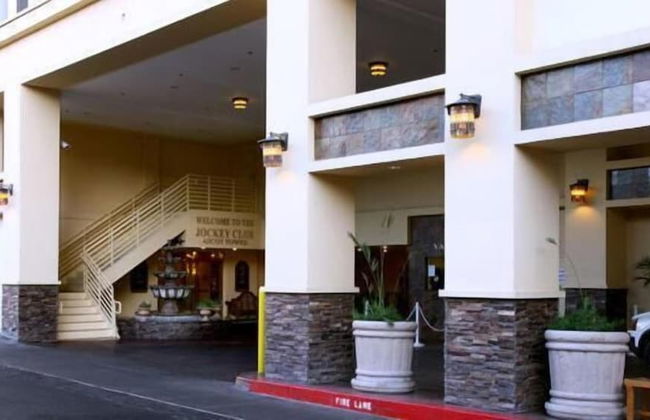

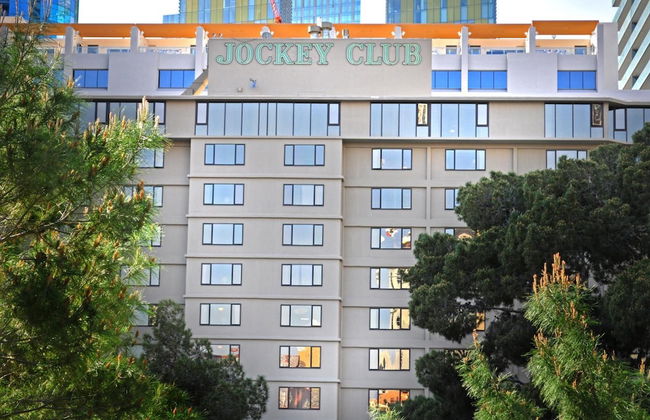
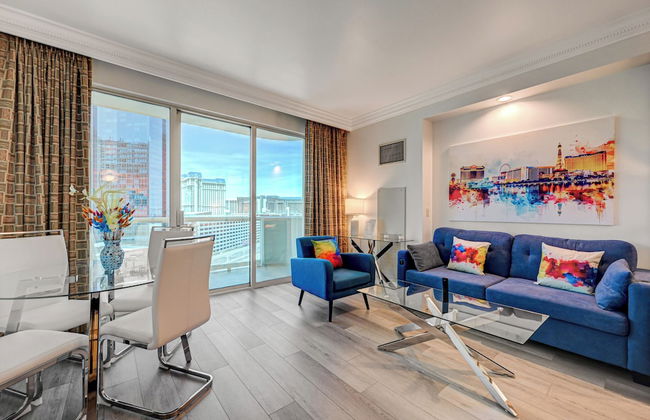
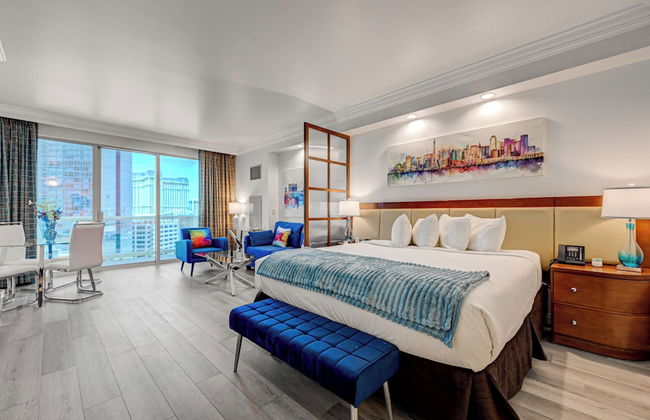
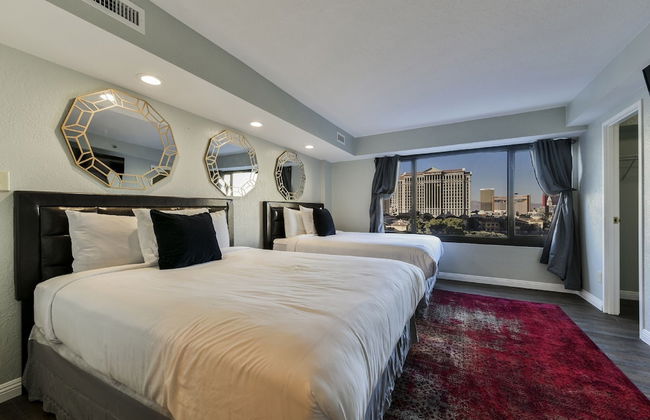
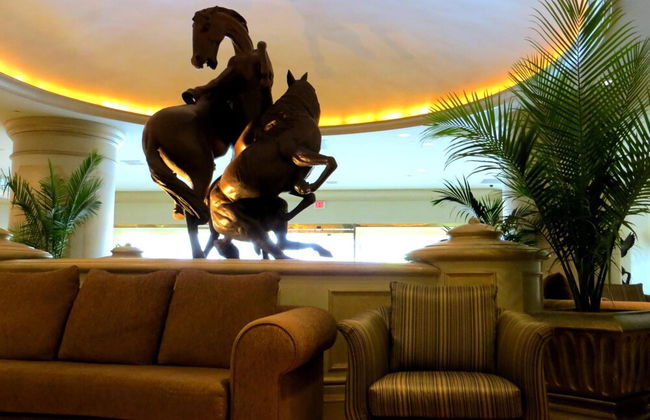
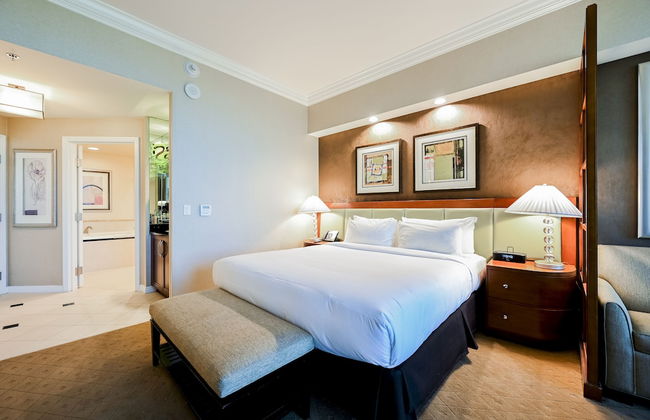
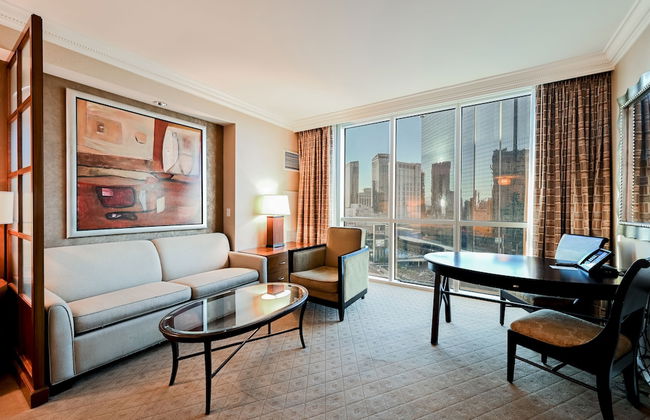
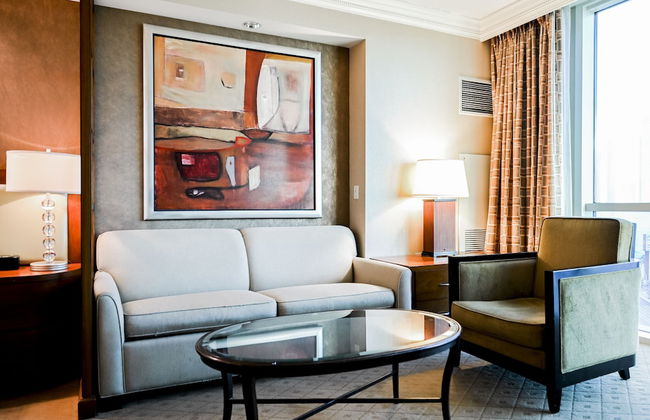
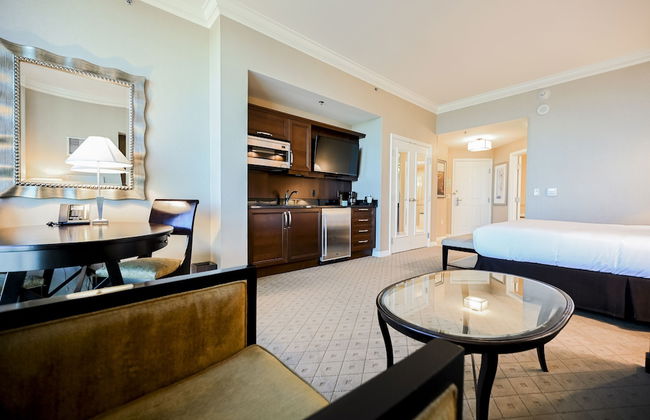
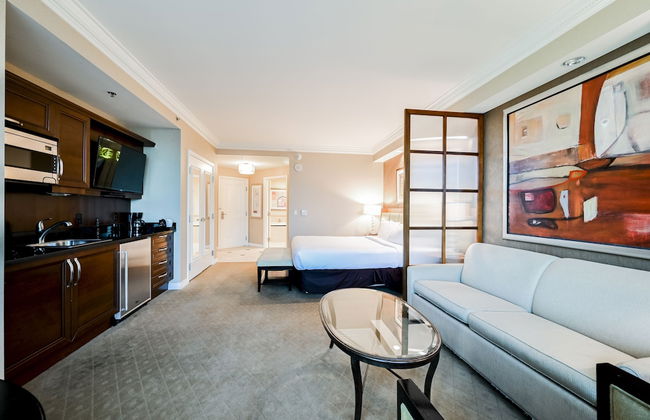
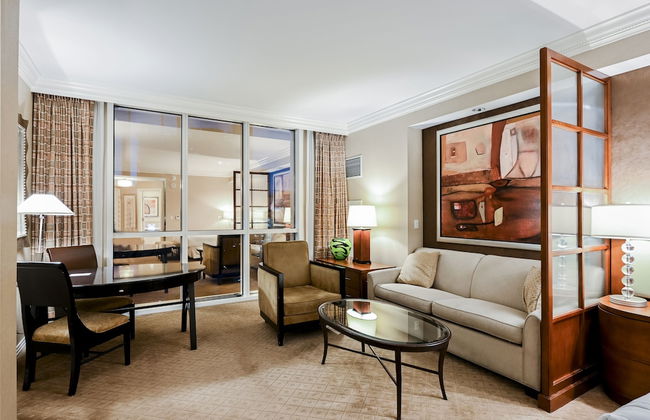
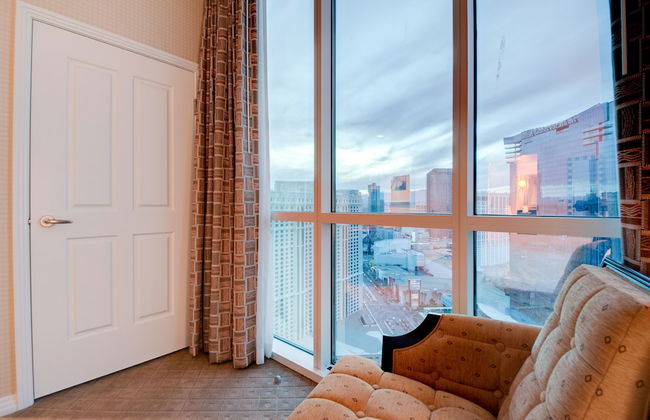
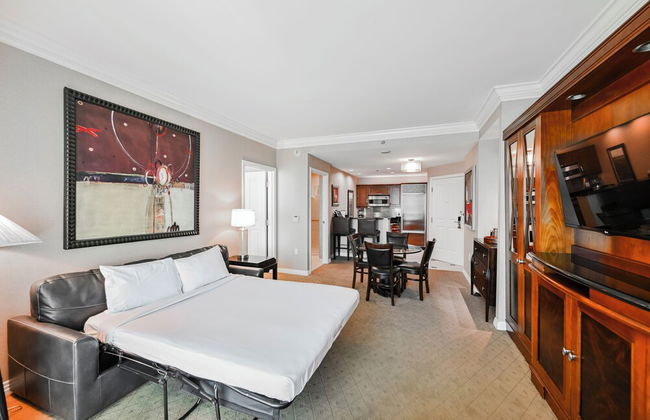
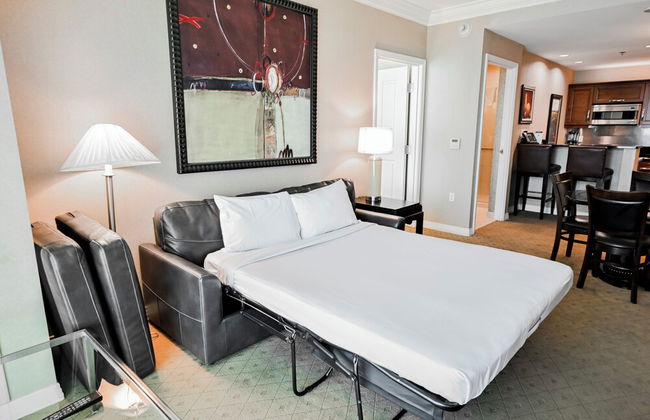
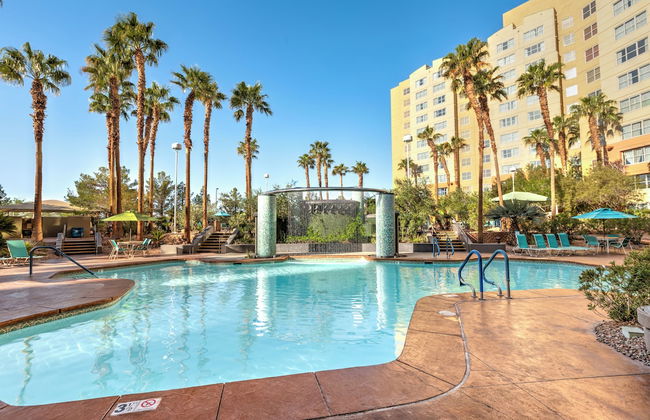
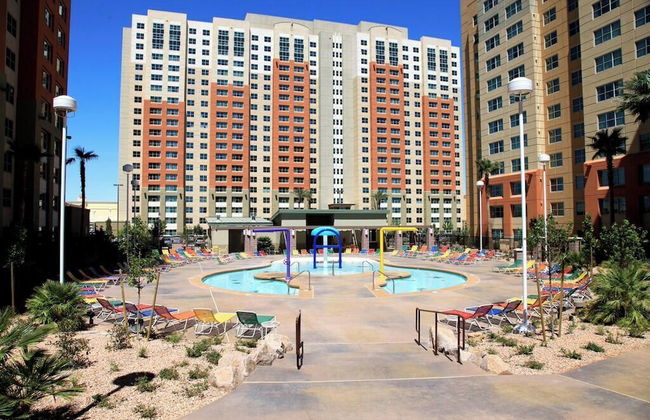
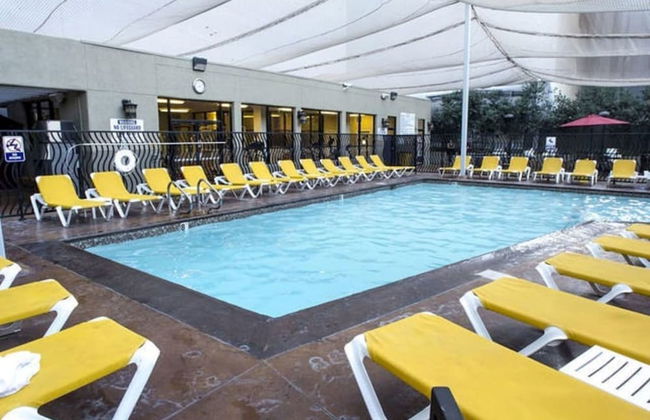
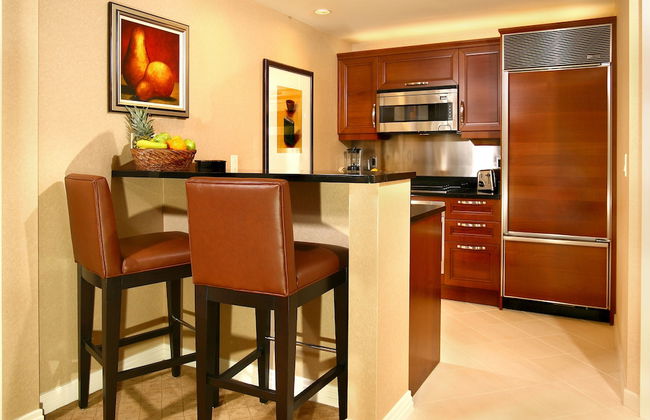
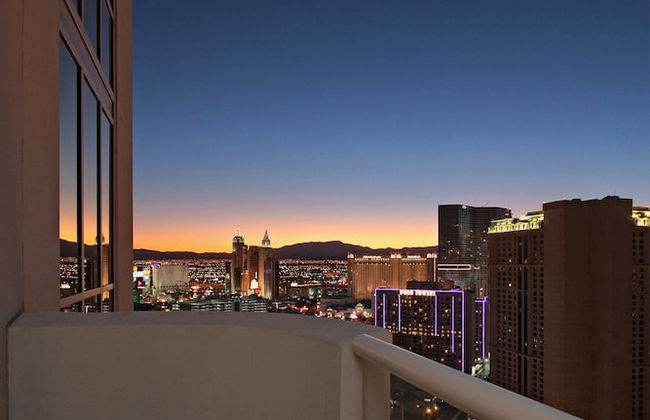
Jockey Club Suites
Las Vegas - The Strip - 7.1 km dal centro
- 84 M2
- 6 persone
- Aria condizionata
- Terrazza
- Piscina
- Parcheggio
- Ascensore
- Tv
- Barbecue
- Lino da bagno
- Lino da letto


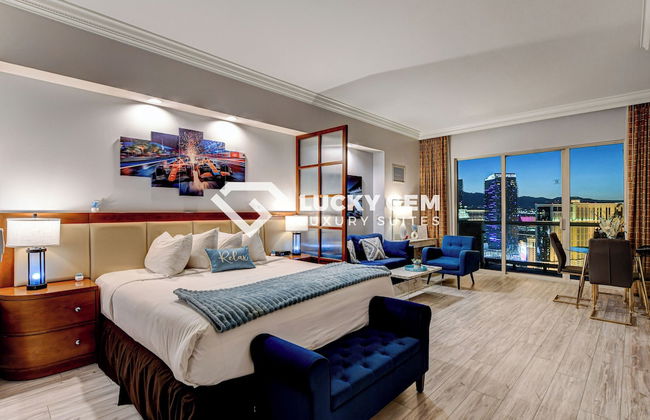

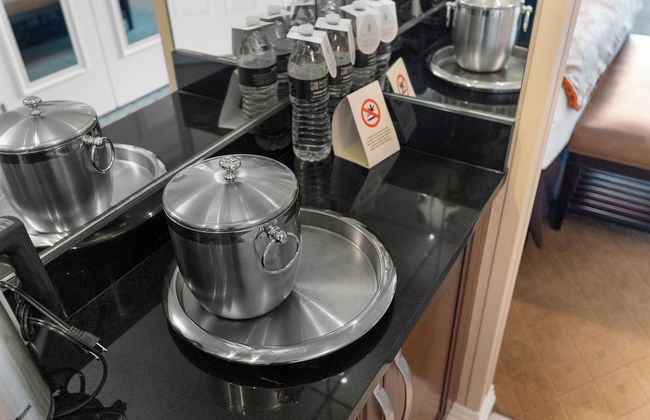
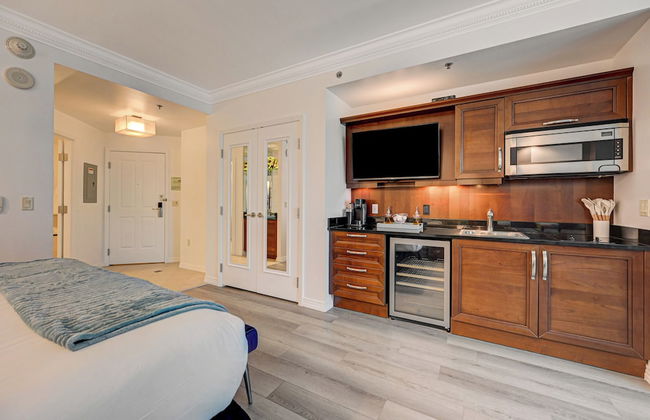
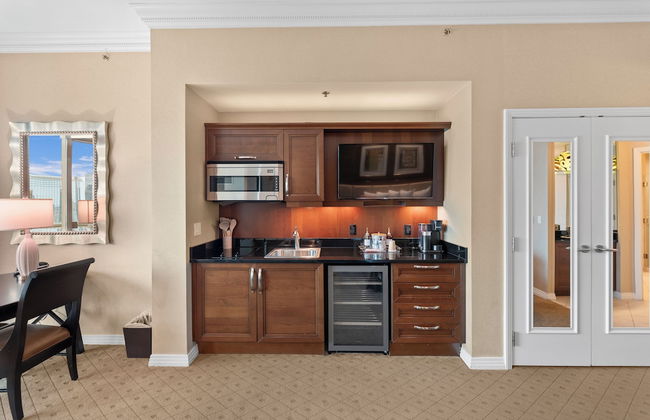

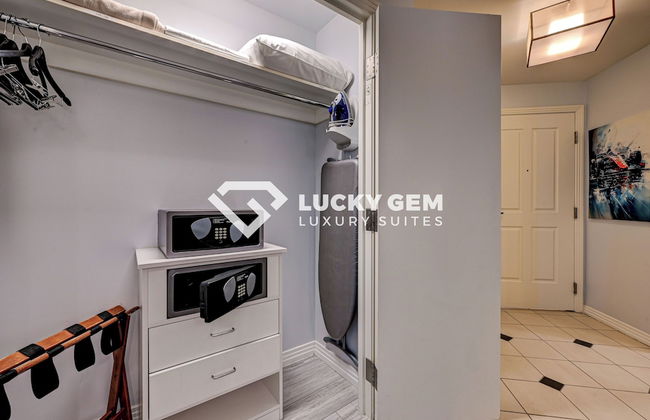
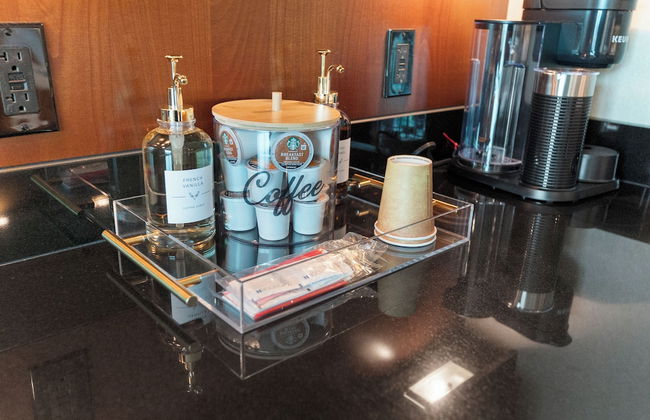
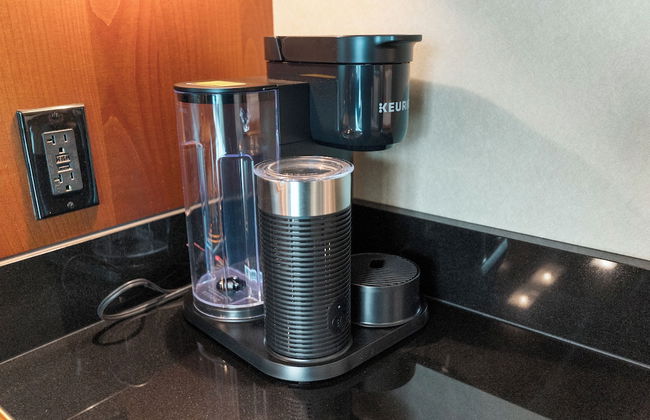
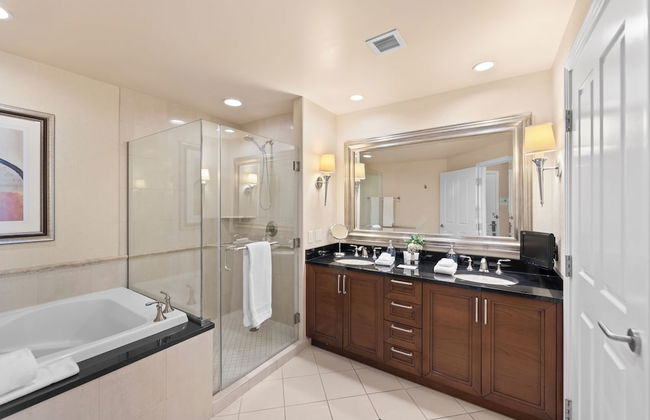


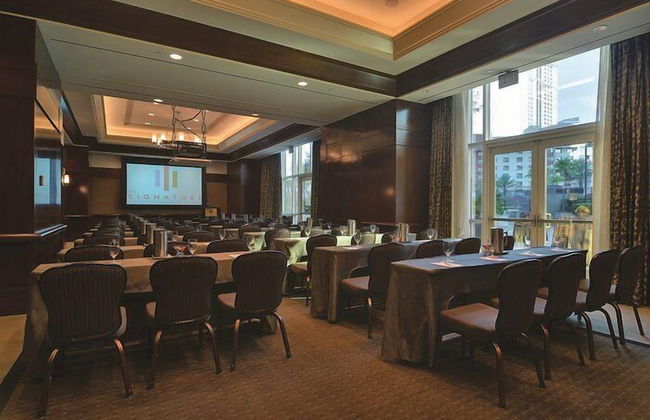
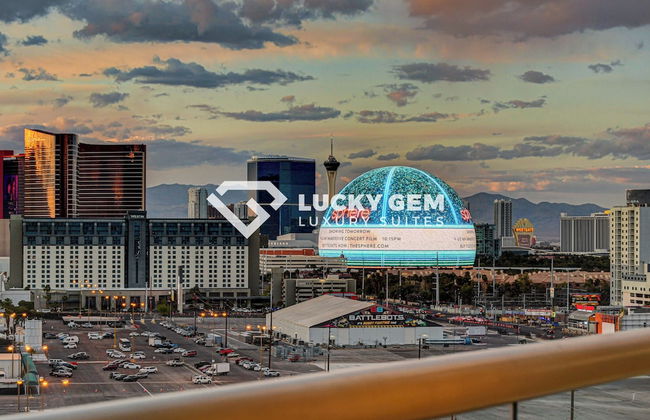
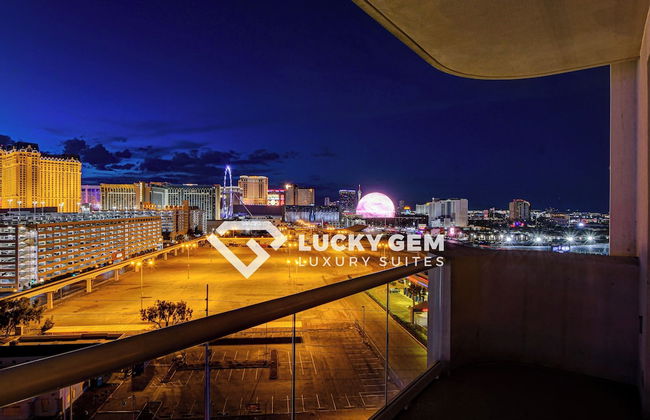
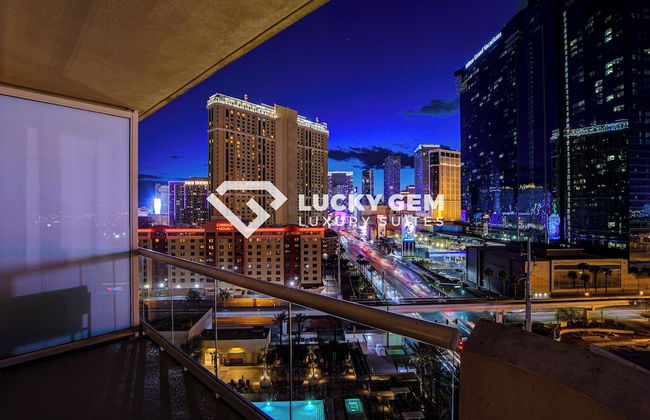

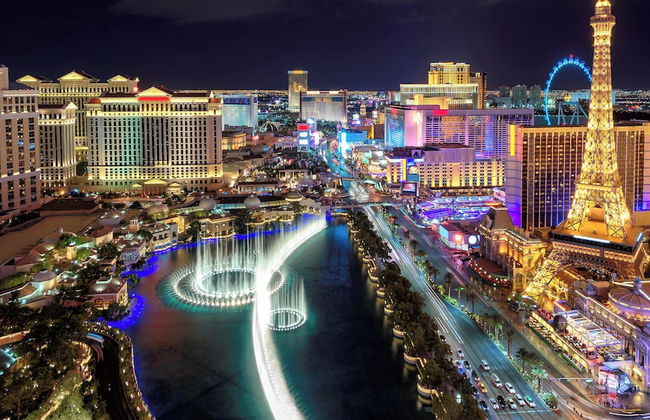


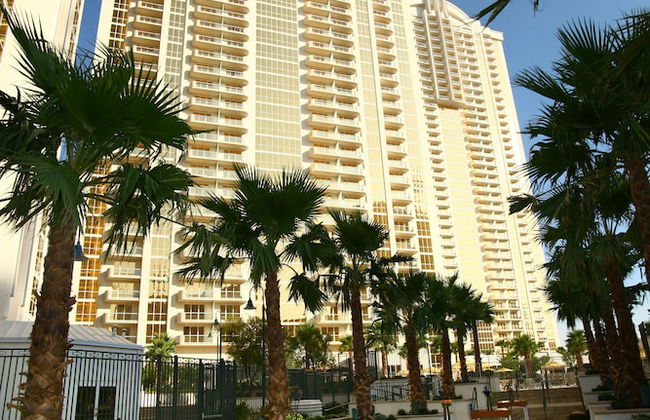
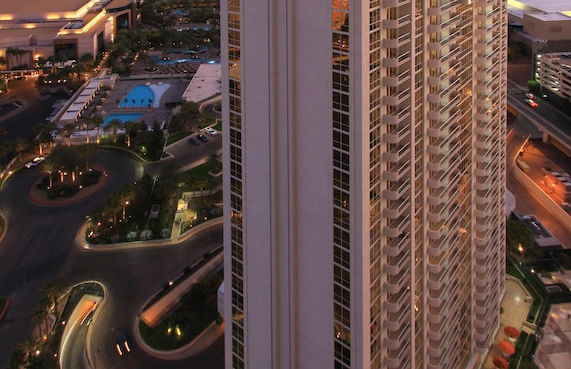
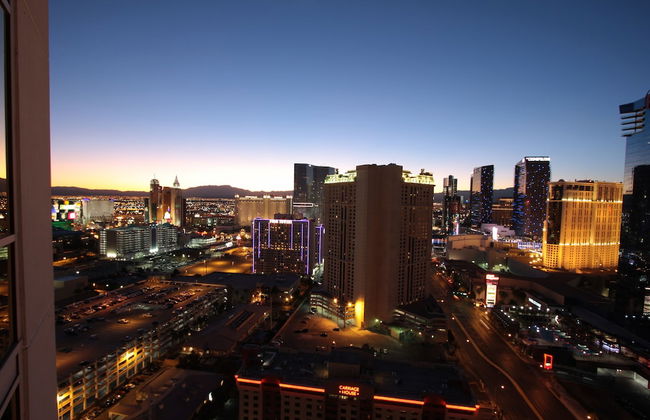
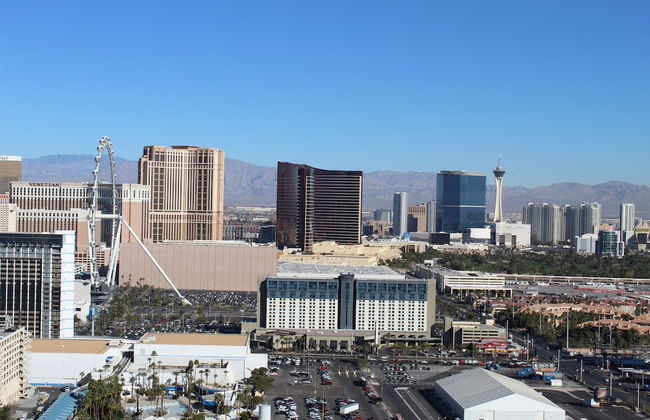
Lucky Gem Penthouse Suites at Signature
Las Vegas - The Strip - 7.1 km dal centro
- 60 M2
- 4 persone
- Cucinino
- Aria condizionata
- Riscaldamento
- Terrazza
- Piscina
- Parcheggio
- Ascensore
- Balcone
- Giardino
- Tv
- Lino da bagno
- Lino da letto

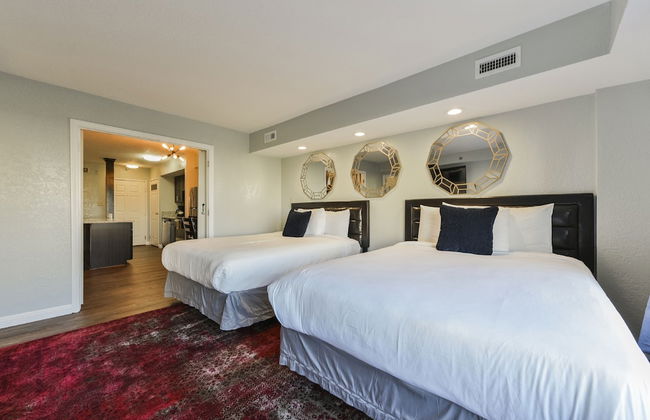


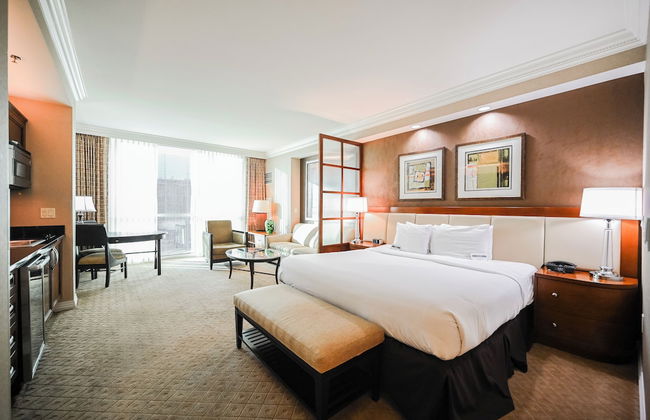
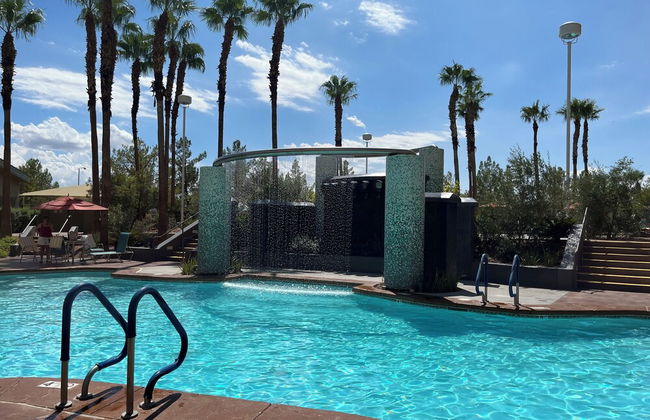
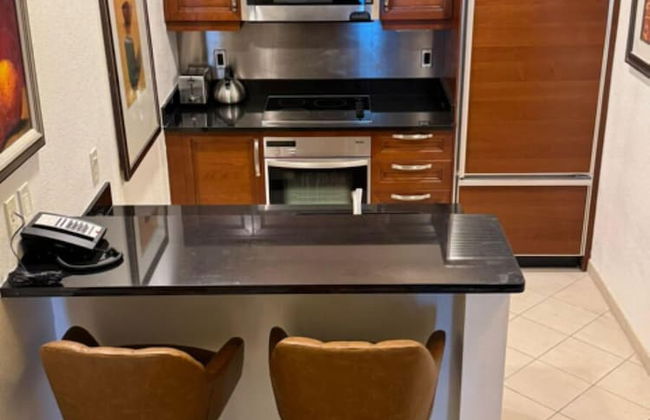
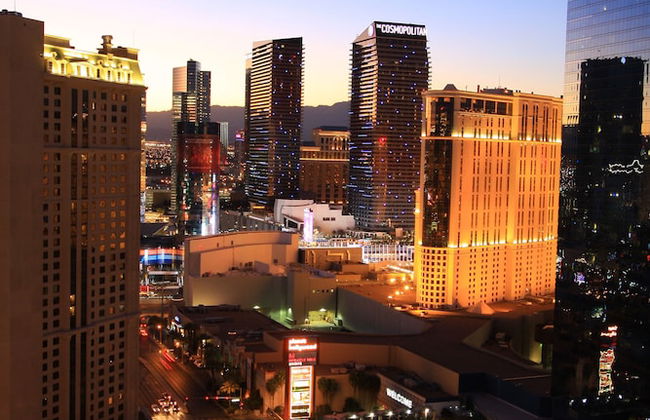
StripViewSuites at Jockey Club
Las Vegas - The Strip - 7.1 km dal centro
- 158 M2
- 16 persone
- Aria condizionata
- Riscaldamento
- Terrazza
- Piscina
- Parcheggio
- Ascensore
- Giardino
- Tv
- Barbecue
- Lino da bagno
- Lino da letto

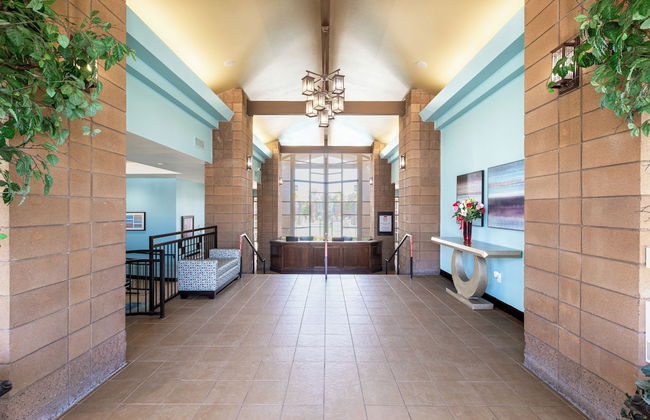
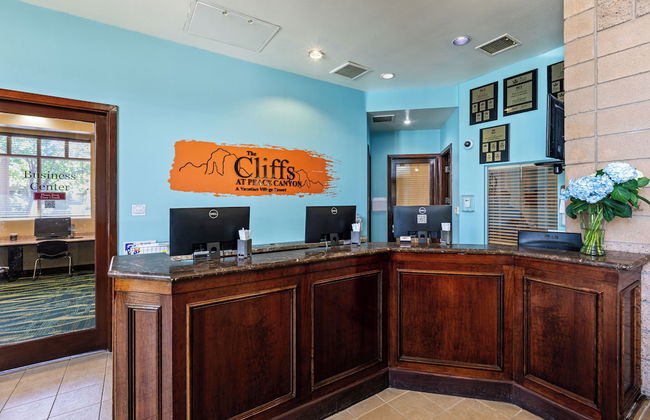

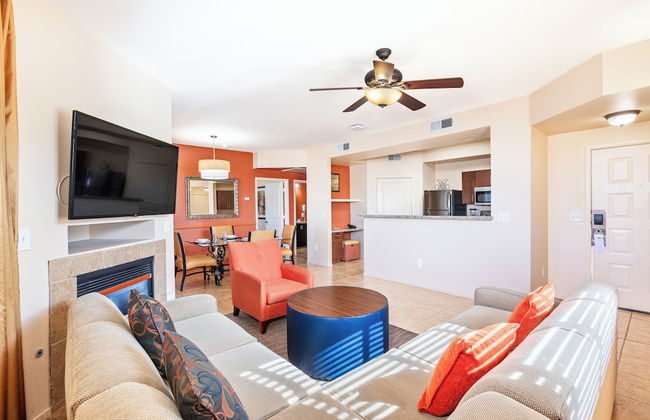


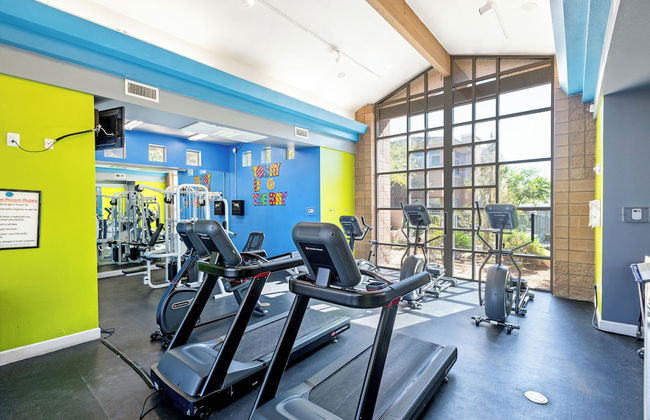
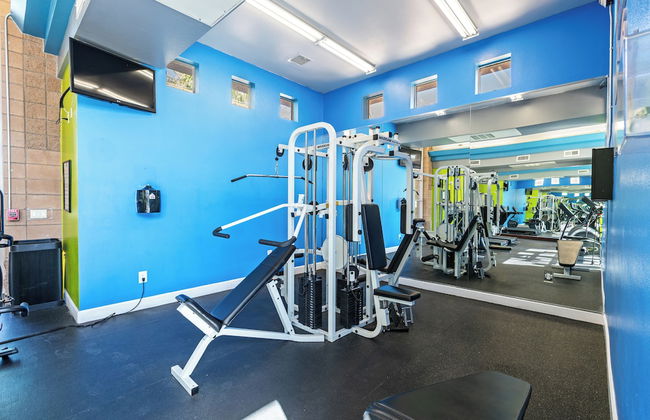
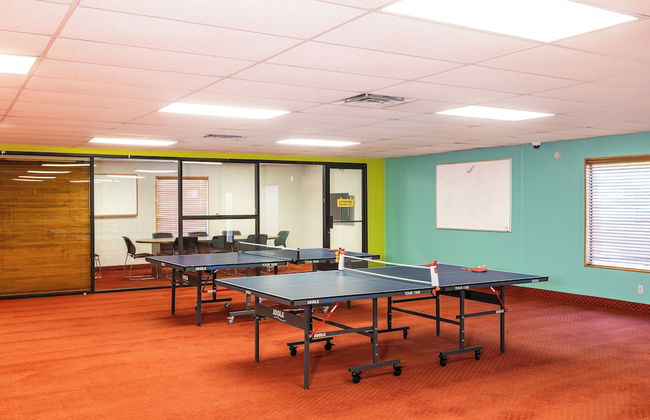


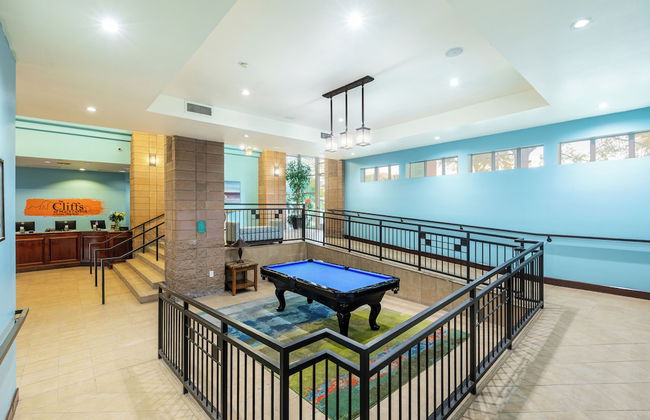


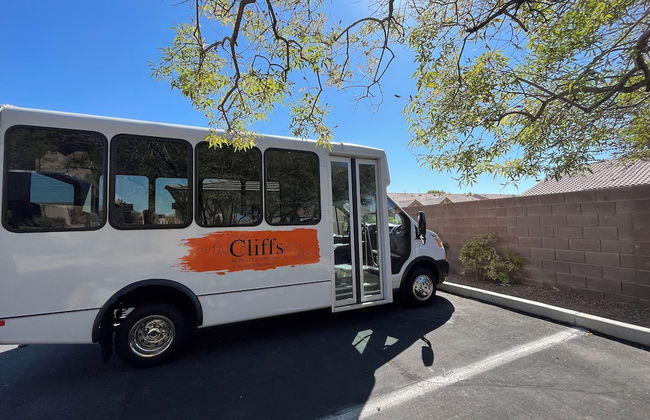
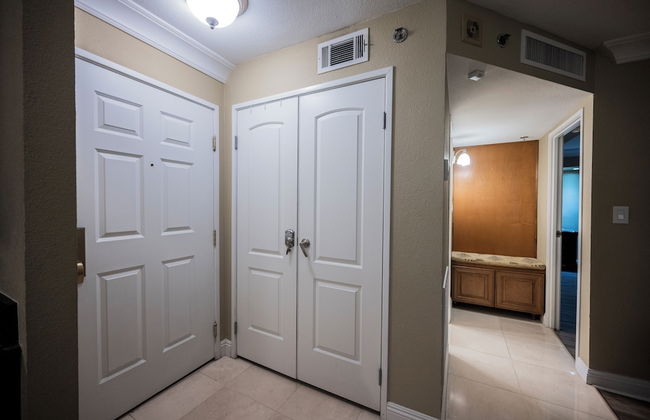
The Cliffs at Peace Canyon
Las Vegas - Spring Valley - 16.1 km dal centro
- 106 M2
- 6 persone
- Aria condizionata
- Riscaldamento
- Piscina
- Parcheggio
- Balcone
- Tv
- Lavatrice
- Focolare
- Barbecue
- Lino da bagno
- Lino da letto
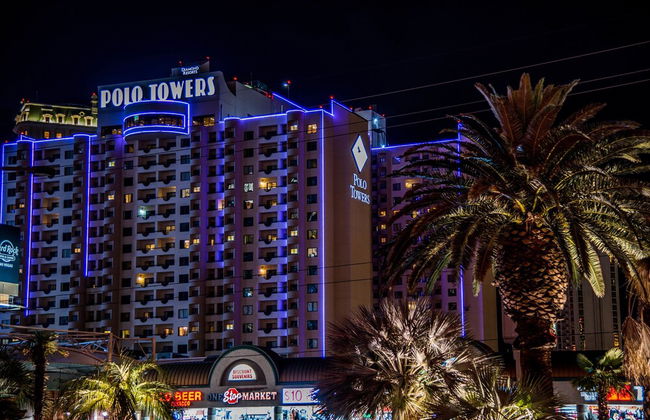


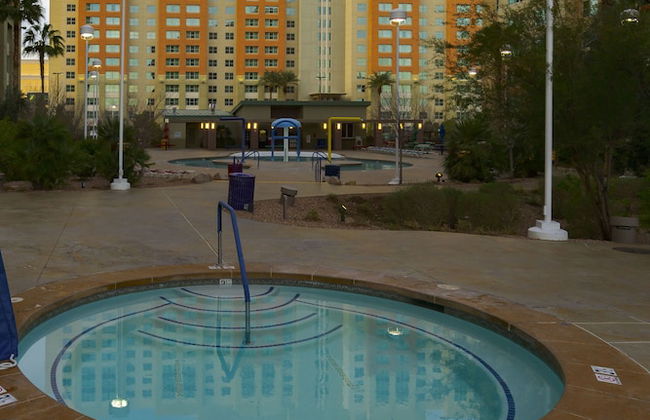
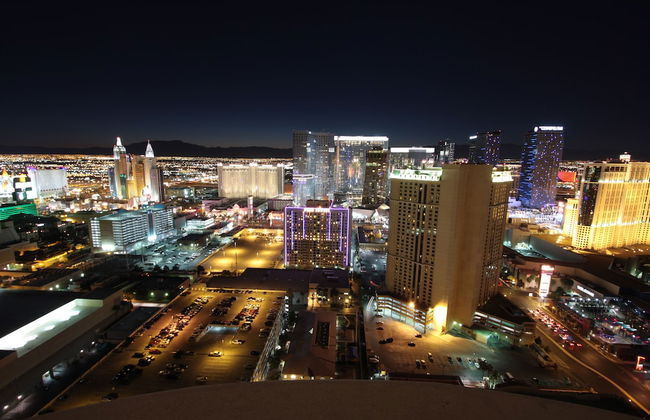
Raintree At Polo Towers, Las Vegas
Las Vegas - The Strip - 7.2 km dal centro
- 6 persone
- Aria condizionata
- Piscina
- Parcheggio
- Ascensore
- Balcone
- Tv
- Lavatrice
- Barbecue
- Lino da bagno
- Lino da letto


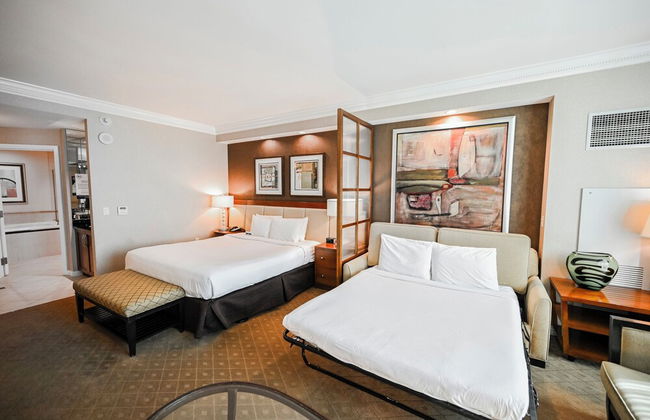


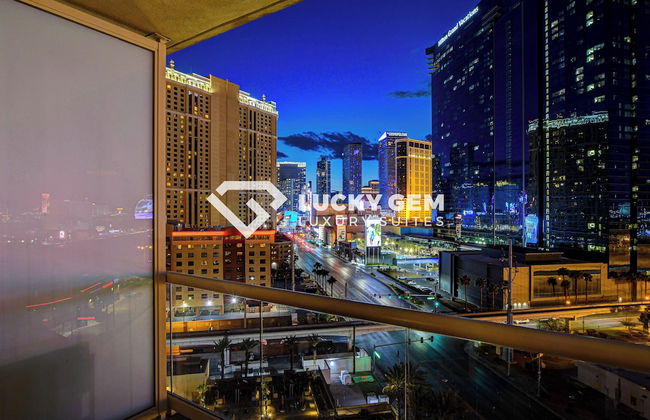
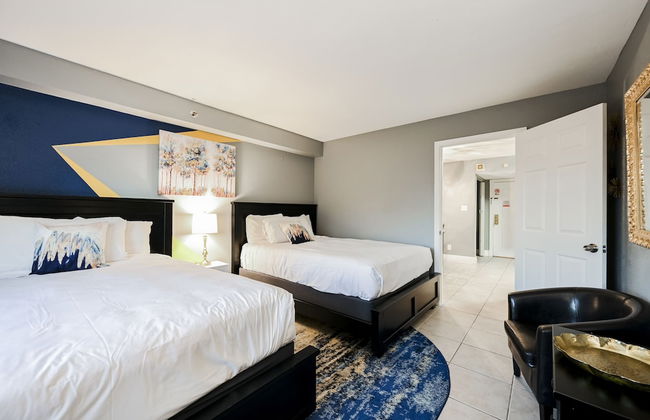
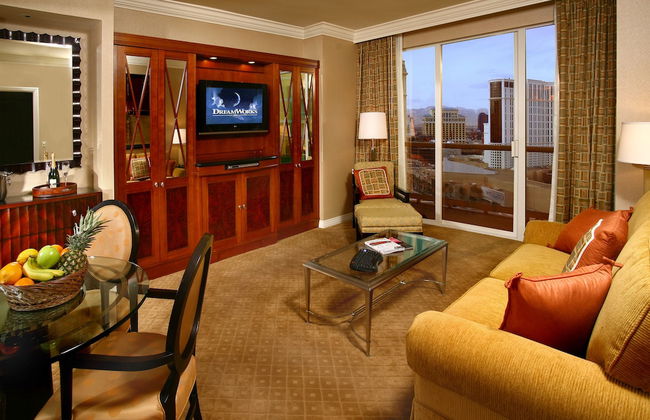
StripViewSuites Two Bedroom at Signature
Las Vegas - The Strip - 7.2 km dal centro
- 135 M2
- 8 persone
- Aria condizionata
- Riscaldamento
- Piscina
- Parcheggio
- Ascensore
- Balcone
- Tv
- Lino da bagno
- Lino da letto
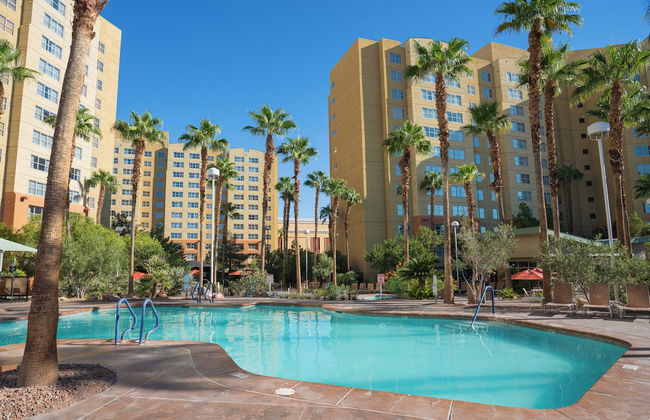
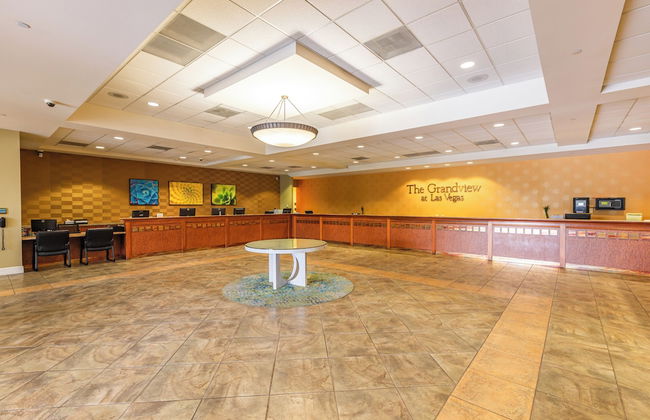


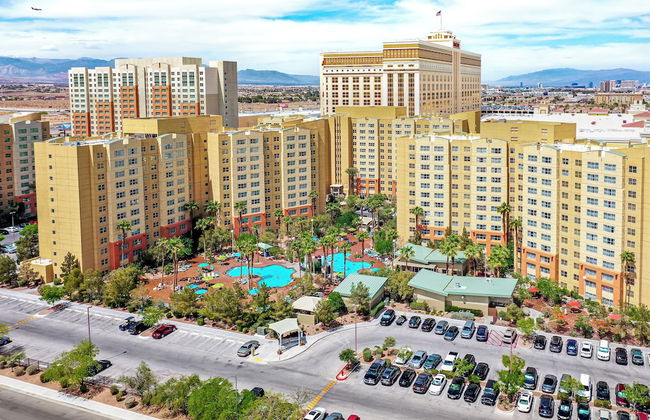
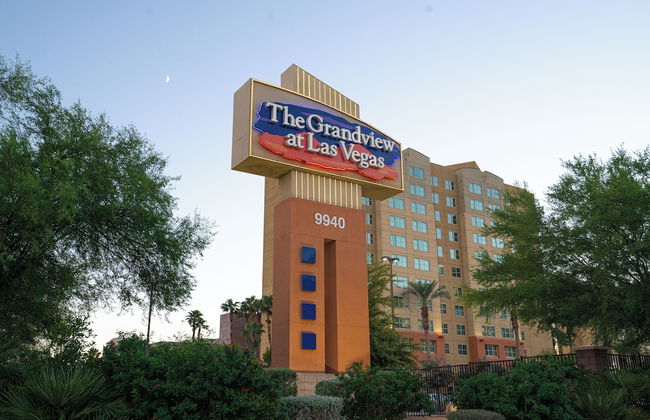
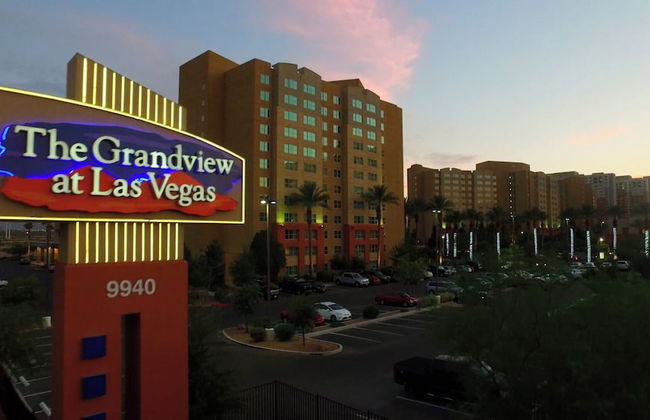
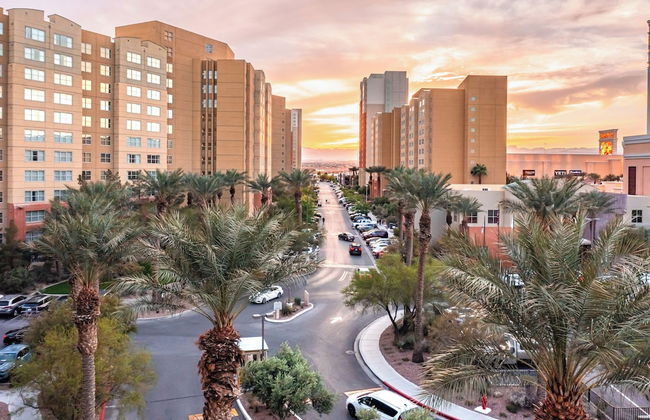
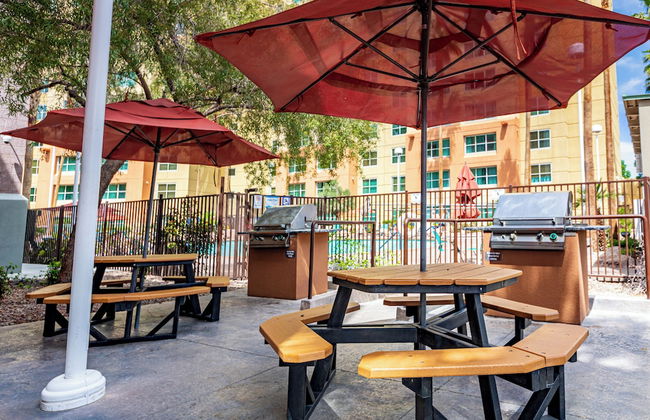
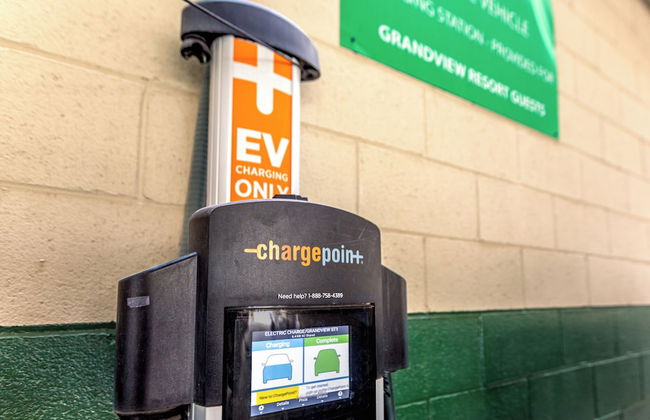
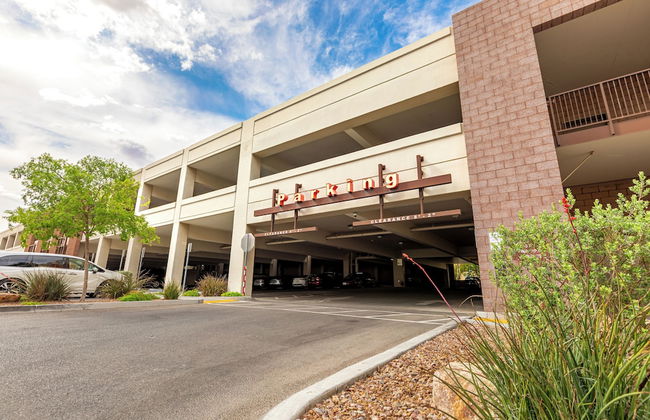
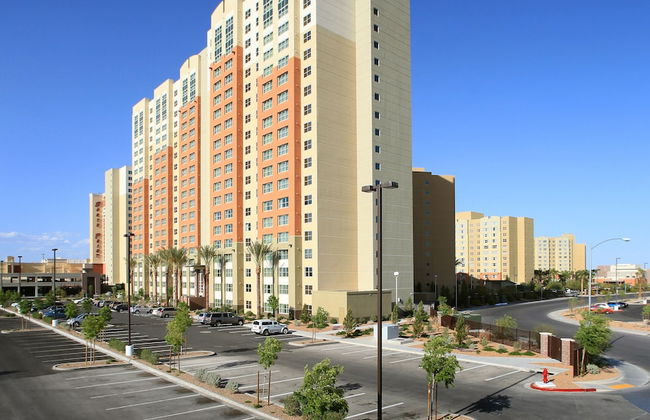
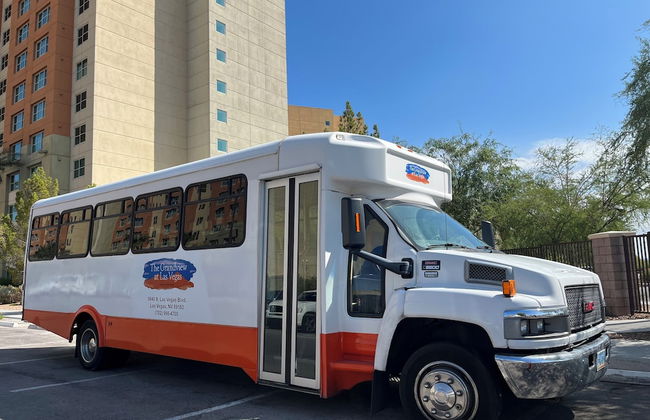
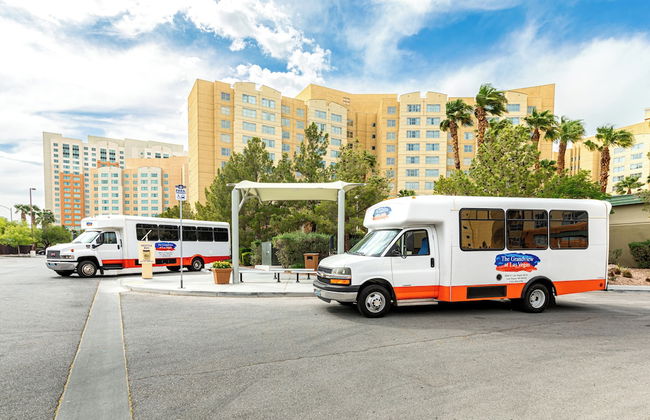
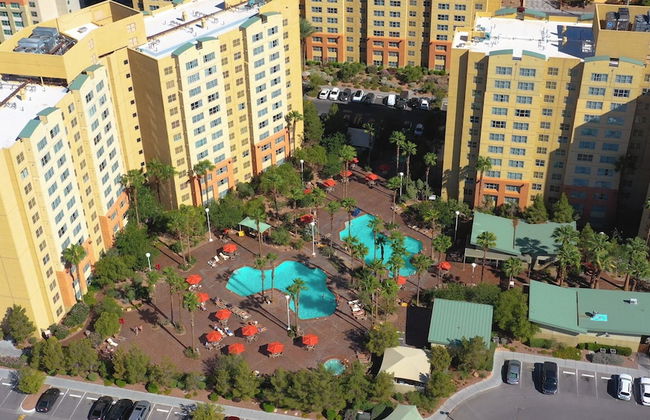


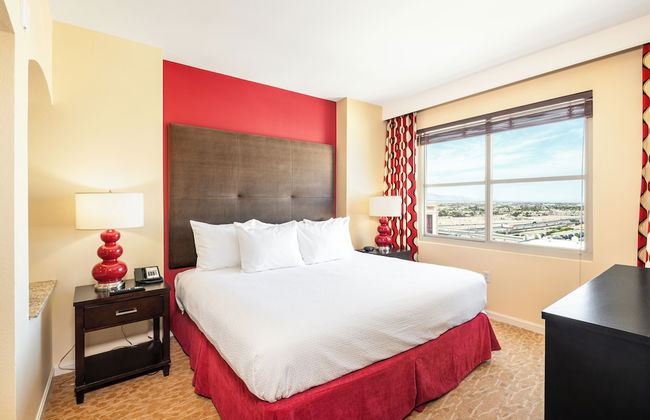
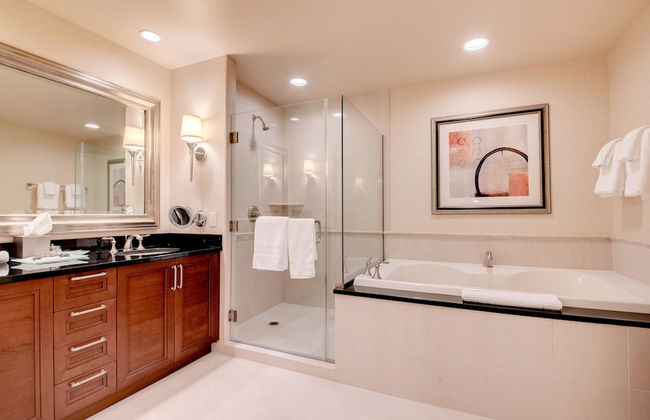
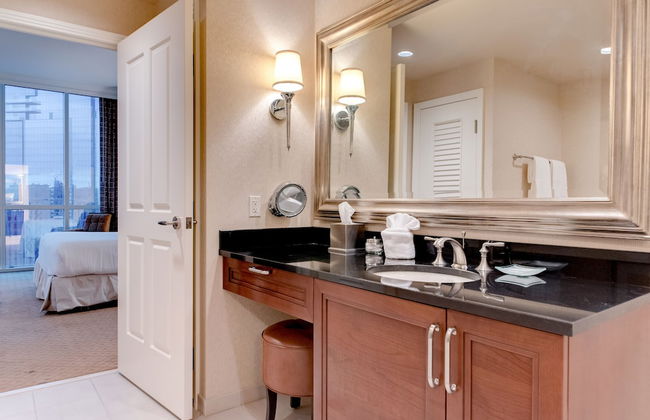
Grandview at Las Vegas
Las Vegas - Enterprise - 17.9 km dal centro
- 149 M2
- 7 persone
- Cucinino
- Aria condizionata
- Riscaldamento
- Piscina
- Ascensore
- Tv
- Lavatrice
- Barbecue
- Lino da bagno
- Lino da letto


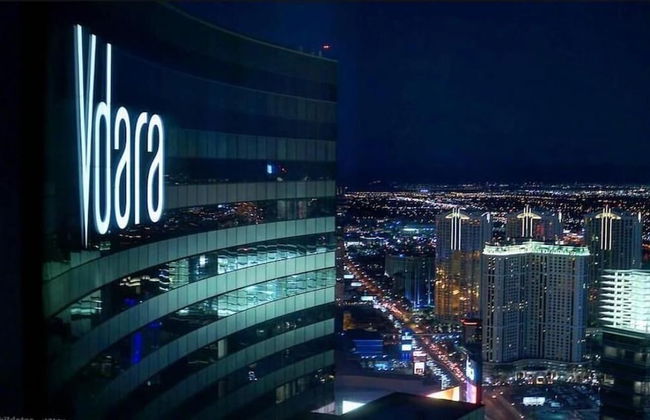


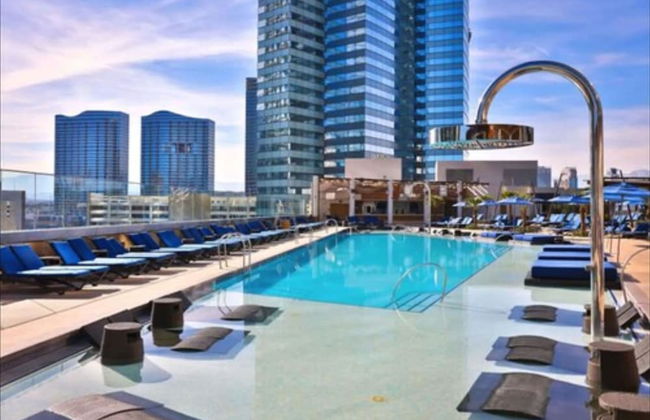
Gorgeous Suites Vdara
Las Vegas - The Strip - 7.2 km dal centro
- 59 M2
- 4 persone
- Aria condizionata
- Riscaldamento
- Piscina
- Parcheggio
- Ascensore
- Tv
- Lino da bagno
- Lino da letto


Welcome House Las Vegas
Las Vegas - Centennial Hills - 17.9 km dal centro
- 3 persone
- Aria condizionata
- Riscaldamento
- Piscina
- Parcheggio
- Giardino
- Tv
- Barbecue
- Lino da bagno
- Lino da letto


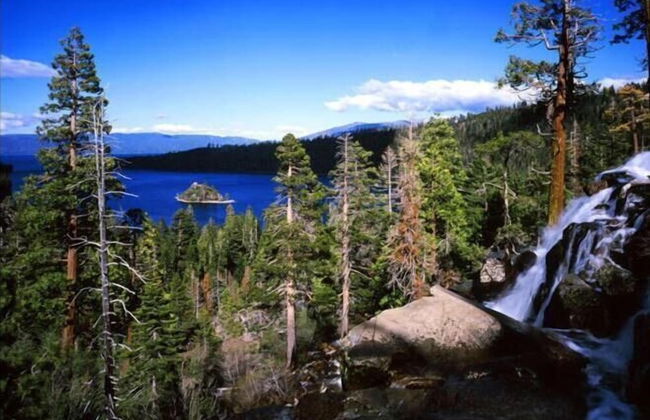
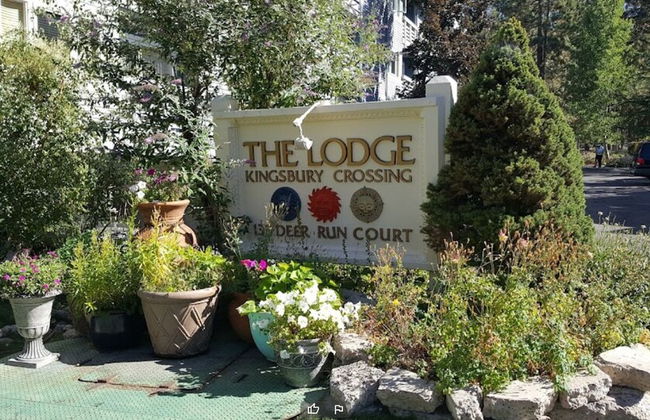
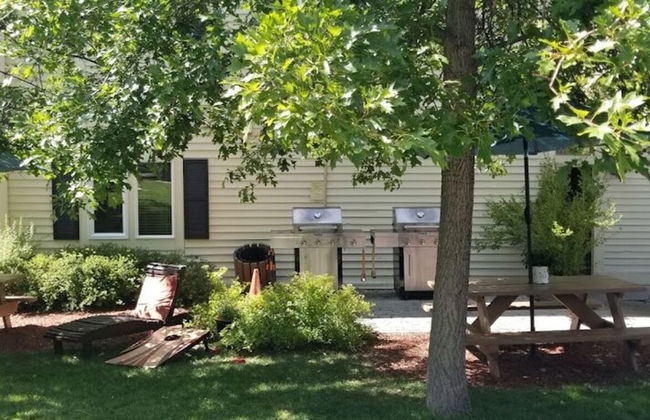


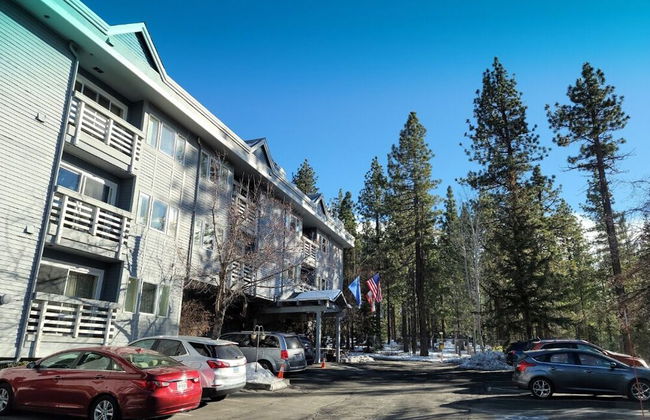

GetAways at the Lodge at Kingsbury Crossing
Stateline
- 14 M2
- 4 persone
- Cucinino
- Riscaldamento
- Parcheggio
- Ascensore
- Balcone
- Tv
- Focolare
- Barbecue
- Lino da bagno
- Lino da letto
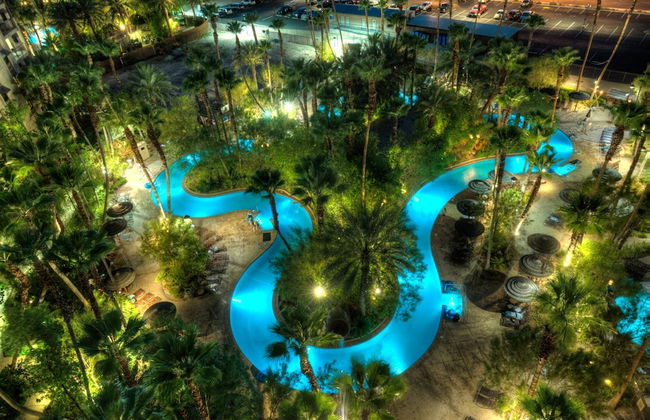


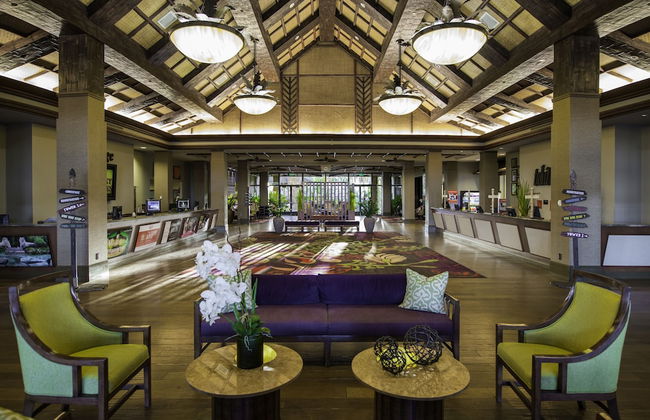
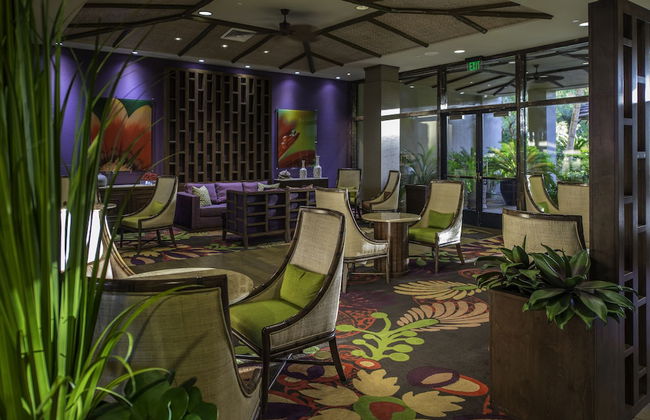


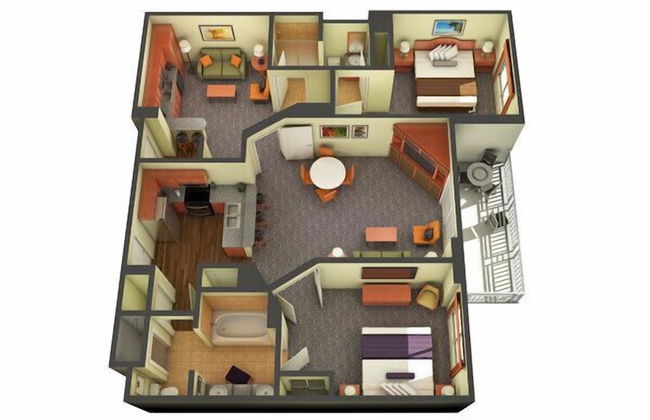


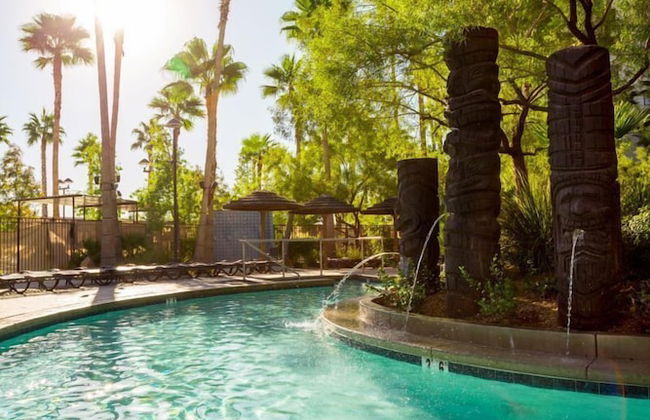
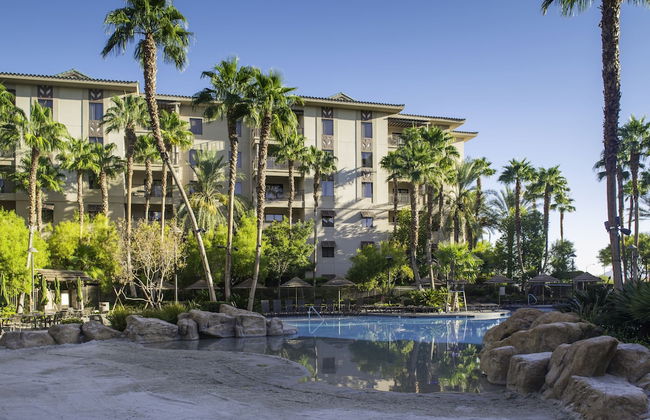
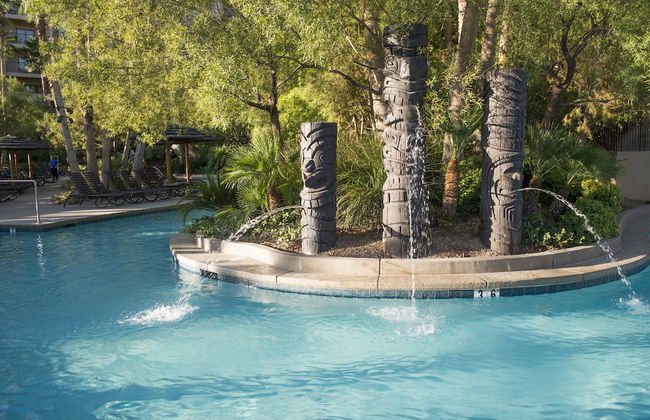


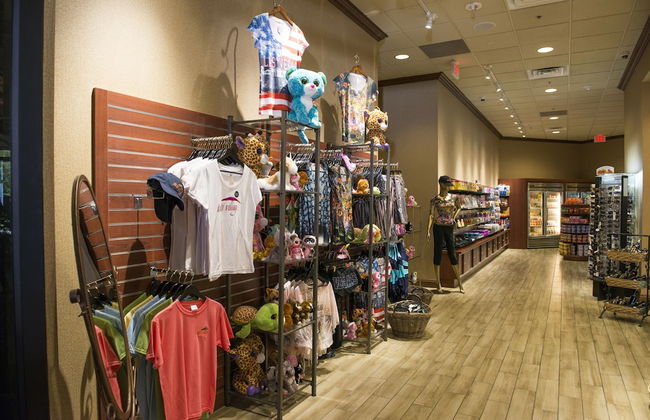

Tahiti Village Resort & Spa
Las Vegas - Enterprise - 12.3 km dal centro
- 144 M2
- 8 persone
- Cucinino
- Aria condizionata
- Piscina
- Parcheggio
- Ascensore
- Balcone
- Tv
- Barbecue
- Lino da bagno
- Lino da letto


Stay Together Suites 2BD2B Apartment
Las Vegas - The Strip - 7.1 km dal centro
- 100 M2
- 16 persone
- Aria condizionata
- Riscaldamento
- Piscina
- Parcheggio
- Ascensore
- Tv
- Barbecue
- Lino da bagno
- Lino da letto


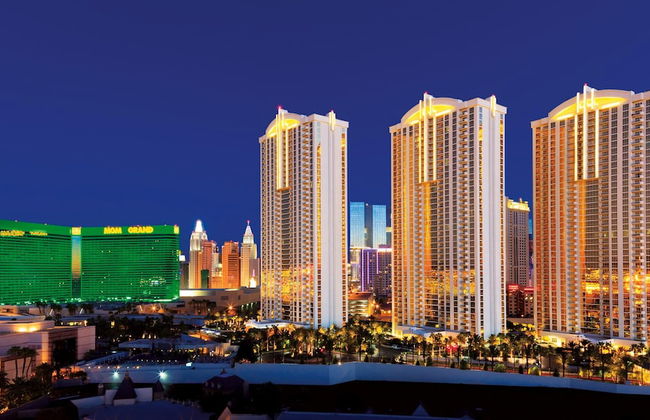
Luxury Suites International At The Signature
Las Vegas - The Strip - 7 km dal centro
- 50 M2
- 4 persone
- Cucinino
- Aria condizionata
- Terrazza
- Piscina
- Parcheggio
- Ascensore
- Balcone
- Tv
- Lino da bagno
- Lino da letto


Stay Together Suites 2BD2BA Apartment
Las Vegas - The Strip - 7.1 km dal centro
- 100 M2
- 16 persone
- Aria condizionata
- Riscaldamento
- Terrazza
- Piscina
- Parcheggio
- Ascensore
- Tv
- Focolare
- Barbecue
- Lino da bagno
- Lino da letto

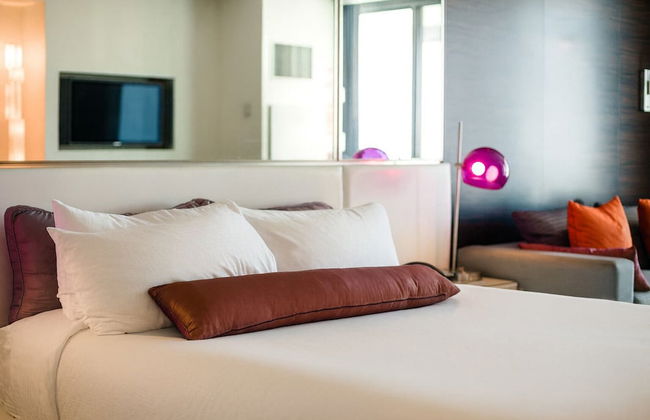
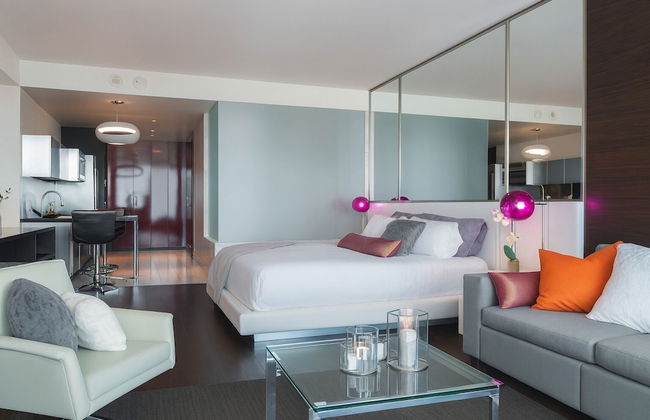

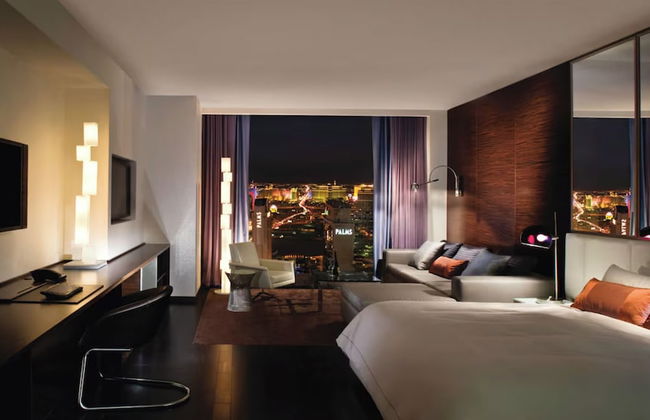

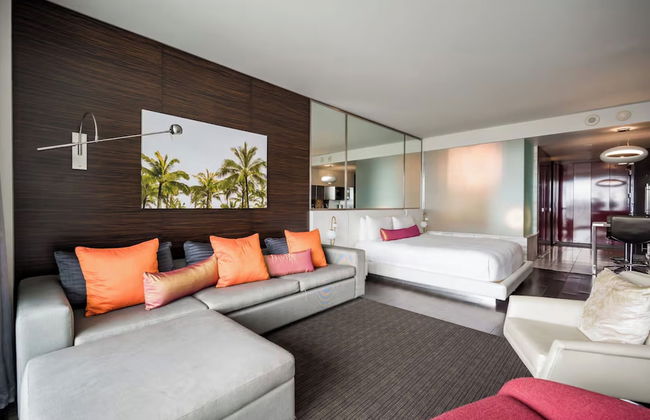
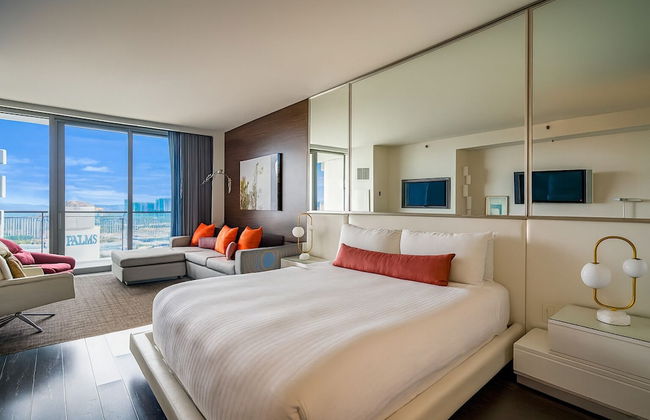

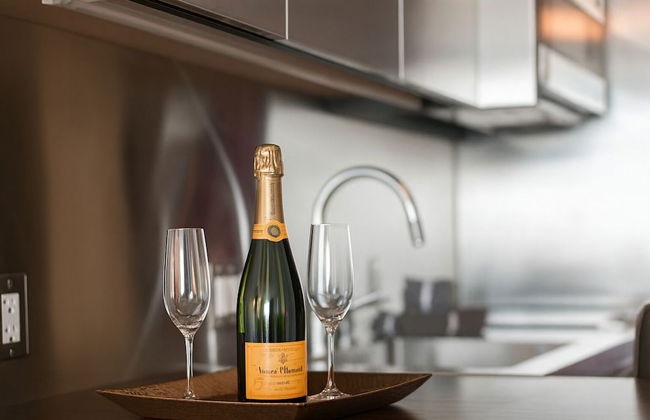
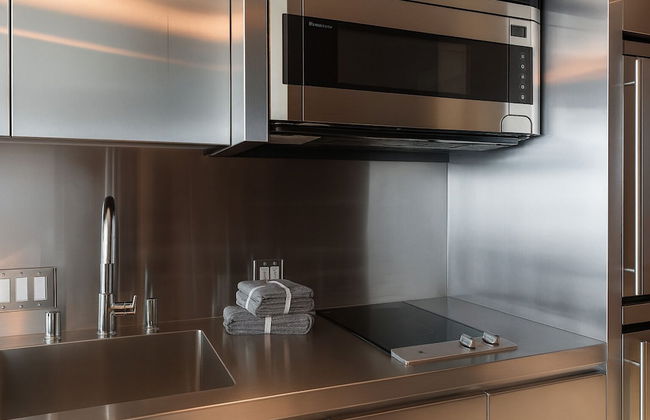
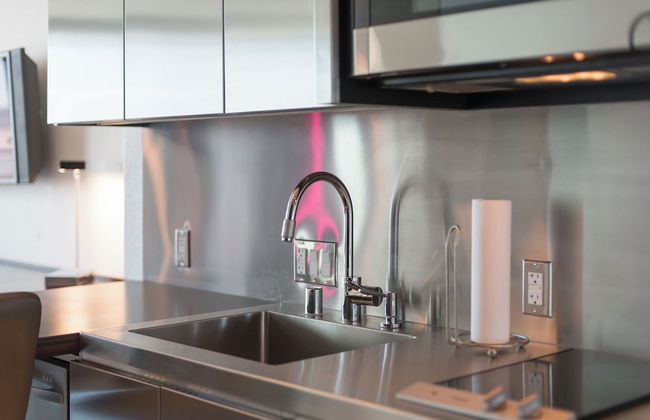


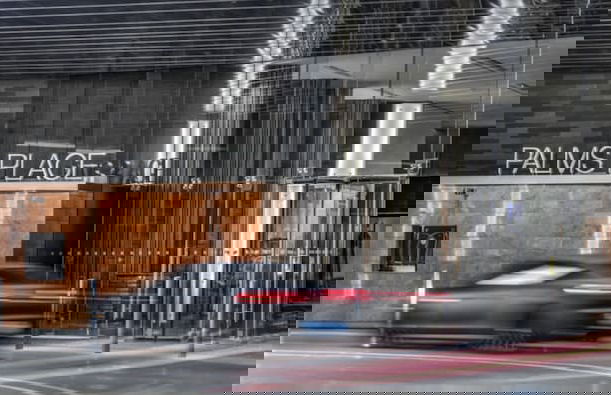
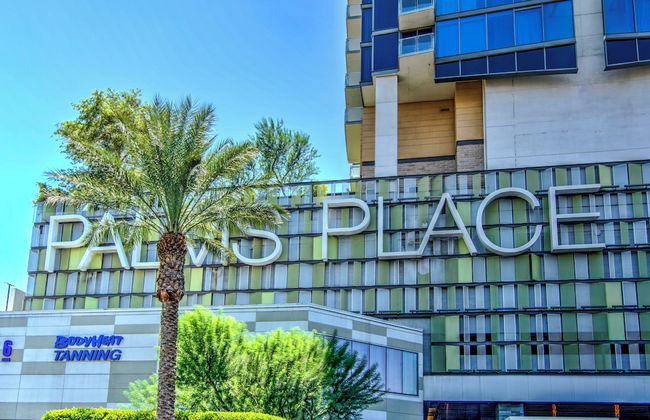
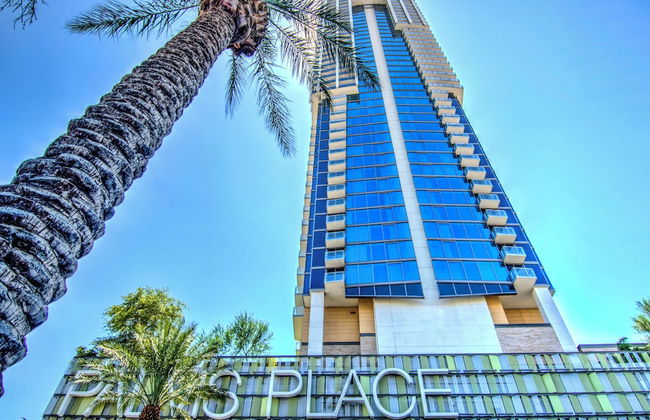
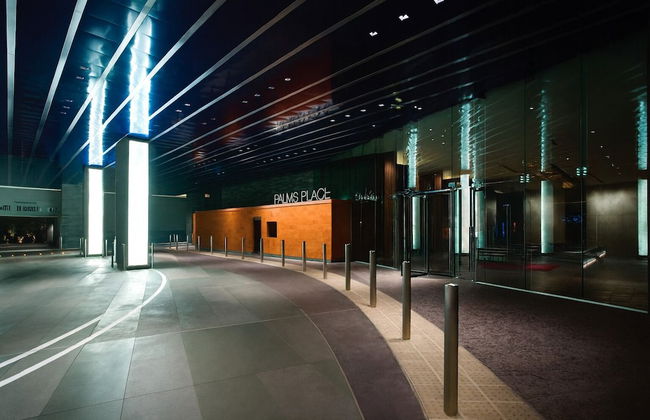
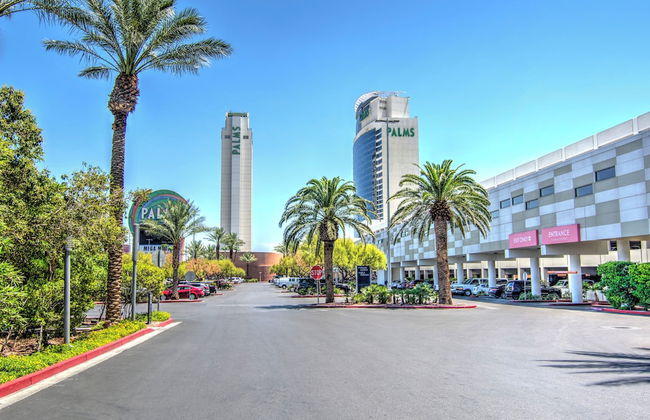
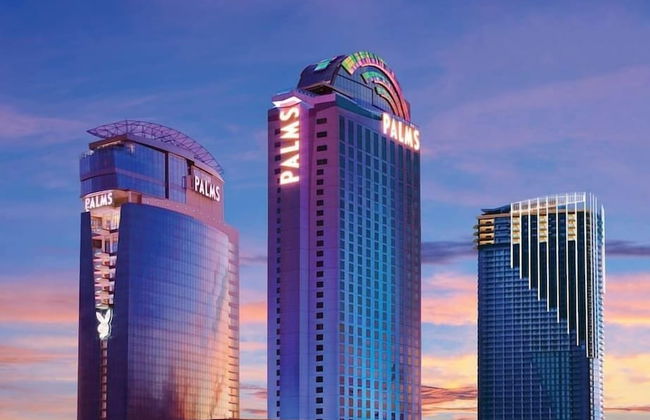
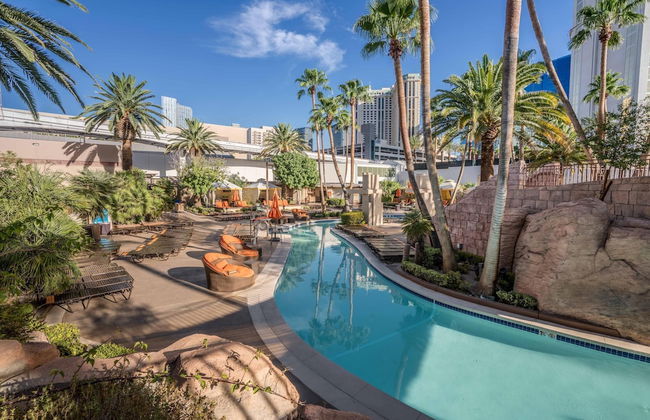
Luxury Suites at the Palms
Las Vegas - 7.5 km dal centro
- 57 M2
- 4 persone
- Aria condizionata
- Terrazza
- Piscina
- Parcheggio
- Ascensore
- Tv
- Lino da bagno
- Lino da letto
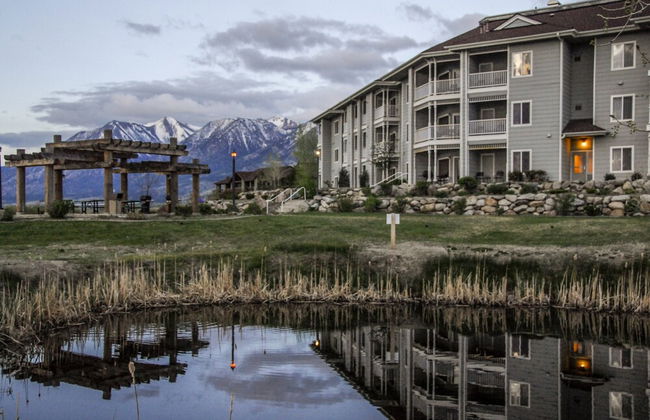


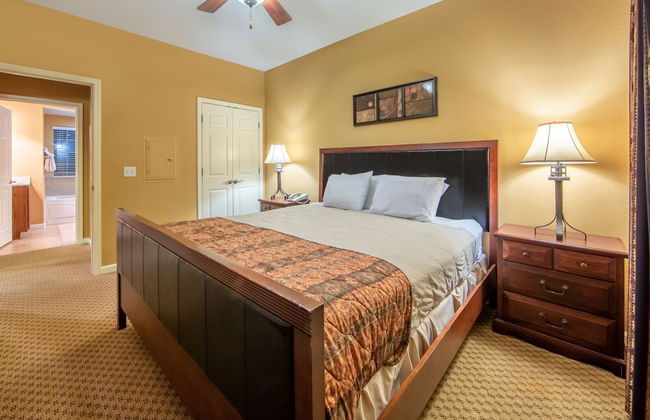


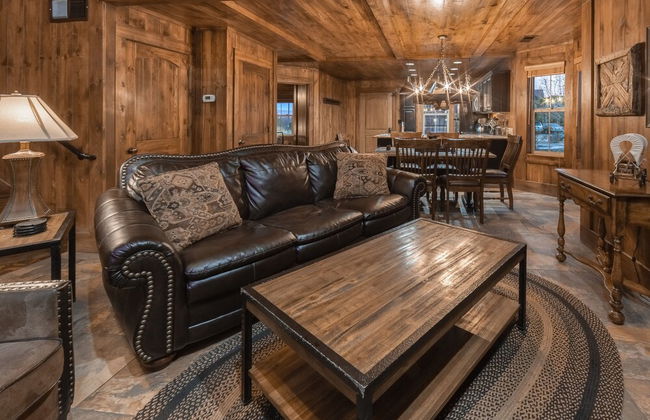


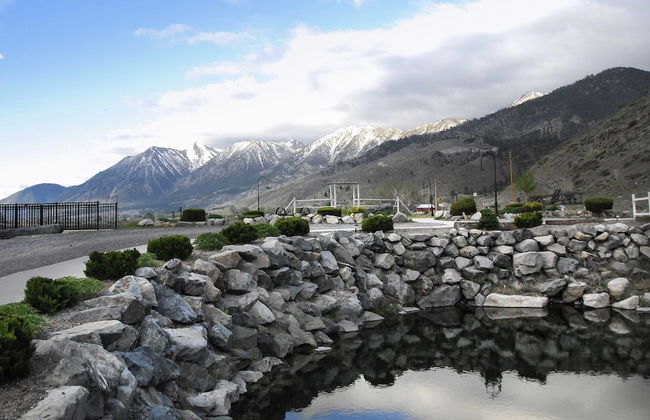

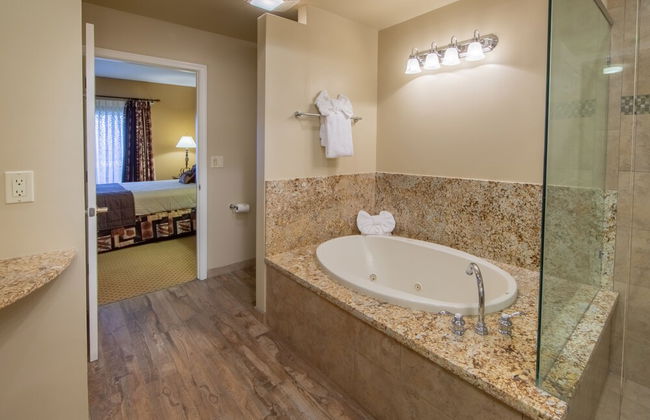


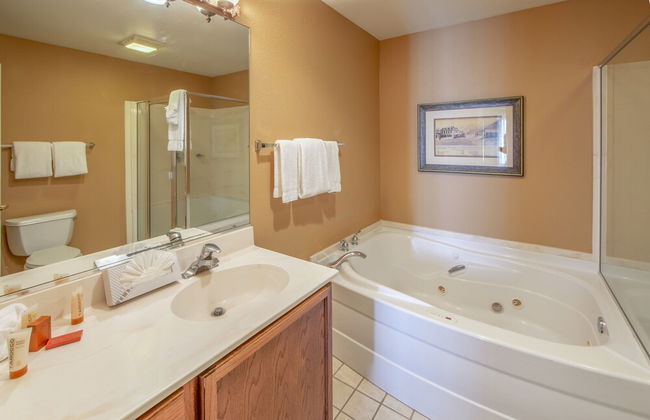
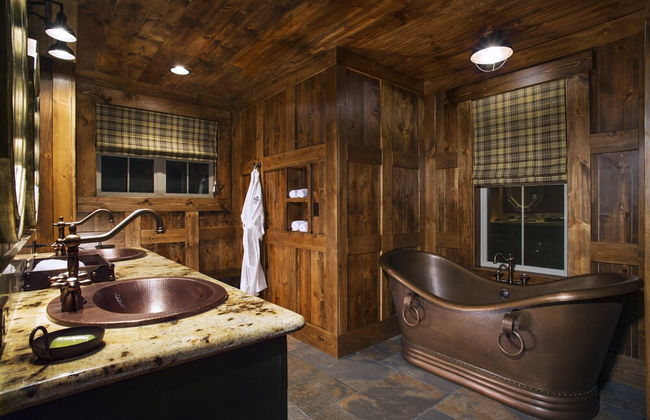


Holiday Inn Club Vacations David Walley's Resort by IHG
Genoa
- 61 M2
- 8 persone
- Cucinino
- Aria condizionata
- Riscaldamento
- Terrazza
- Piscina
- Parcheggio
- Ascensore
- Tv
- Lavatrice
- Focolare
- Barbecue
- Lino da bagno
- Lino da letto