


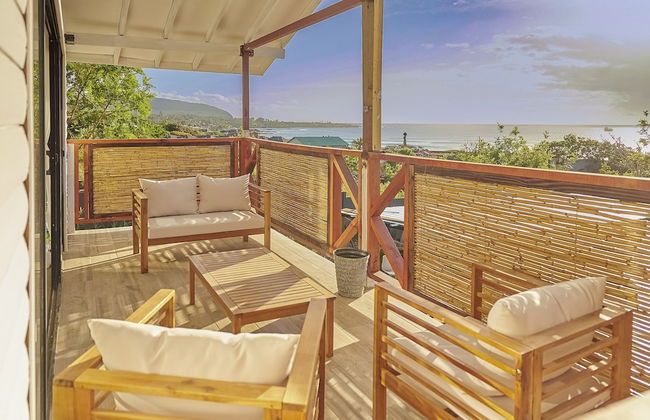
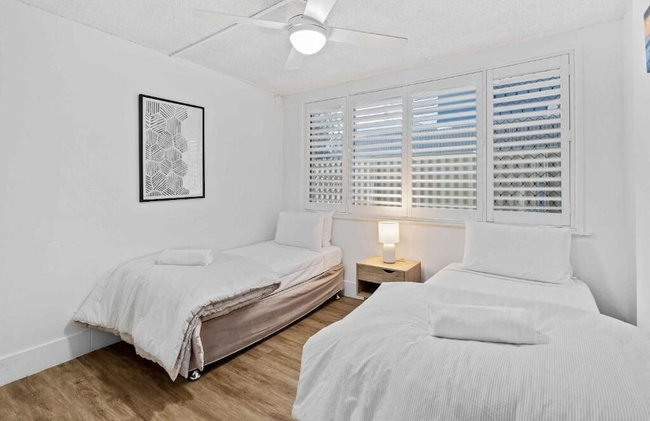
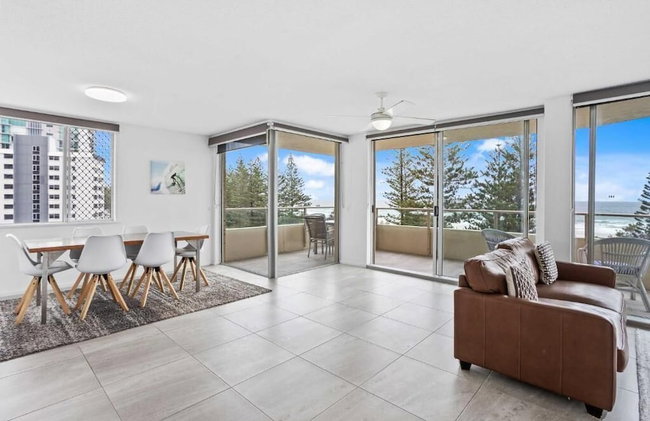
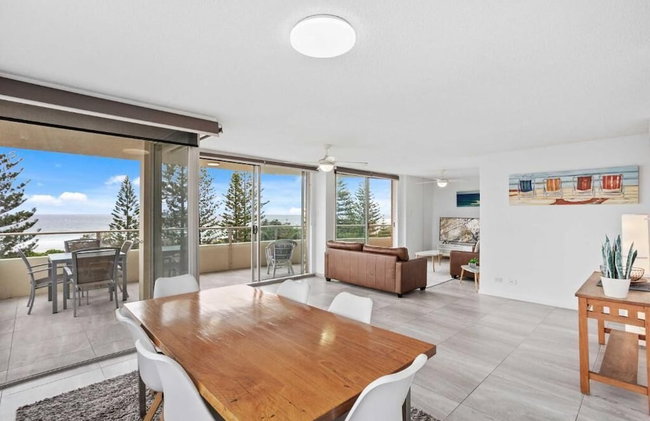
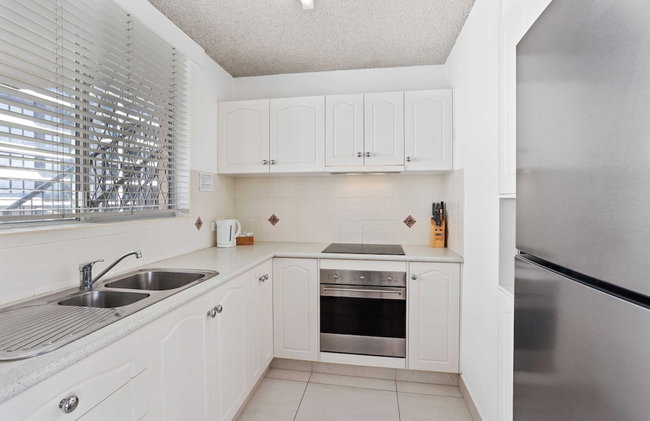
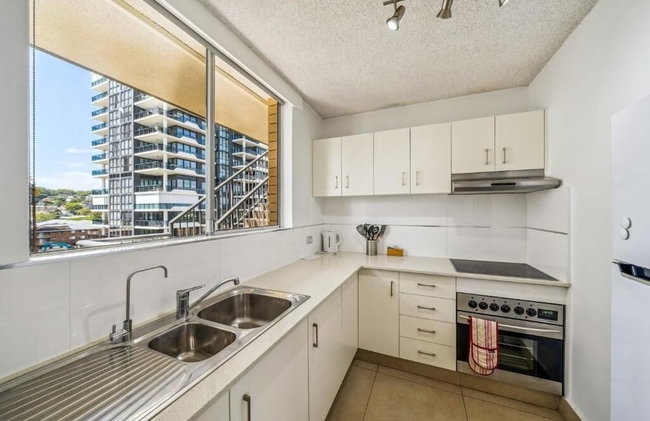
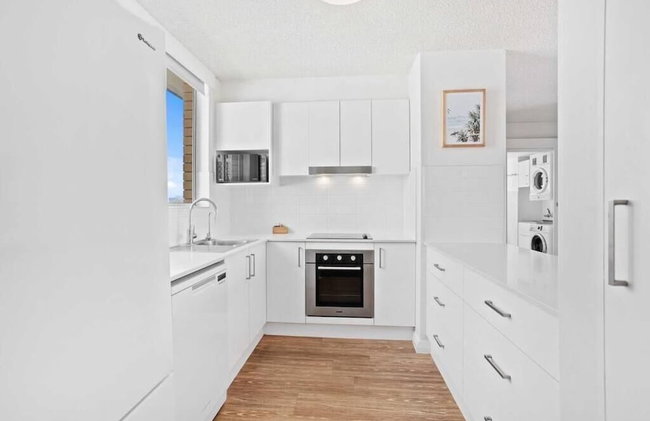
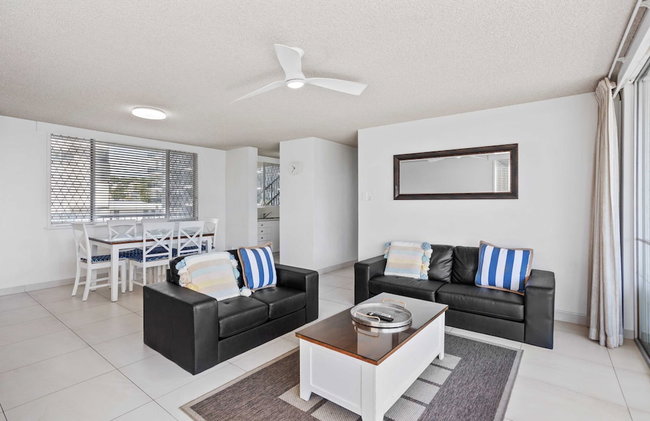
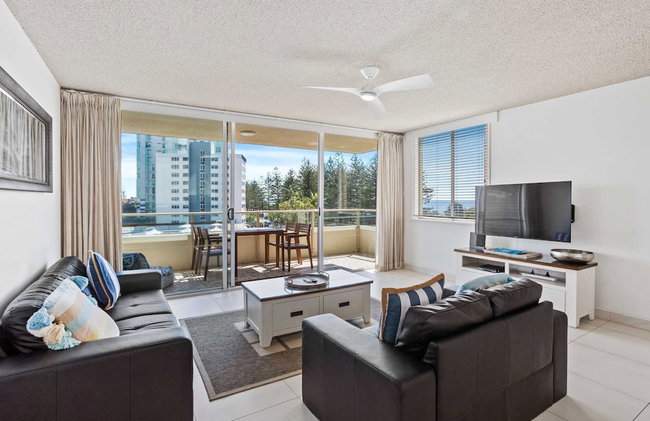
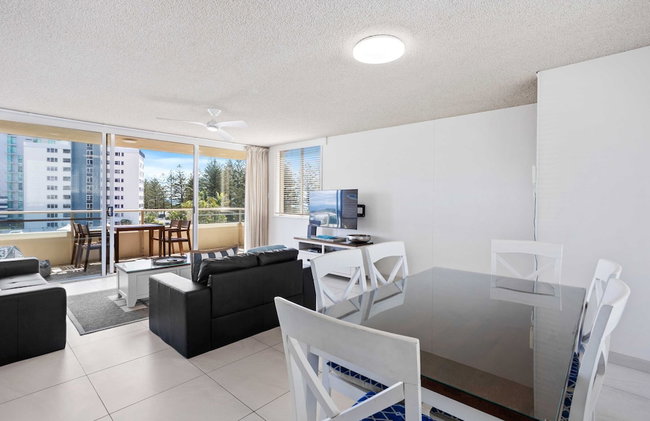
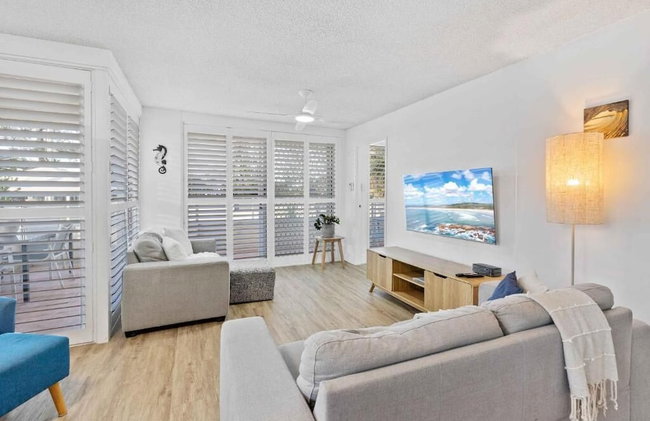
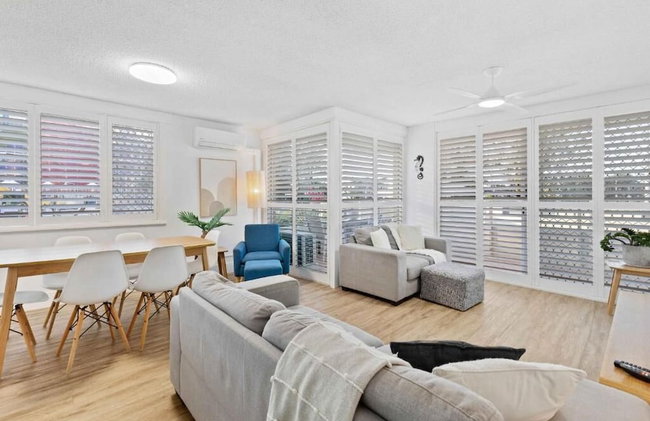
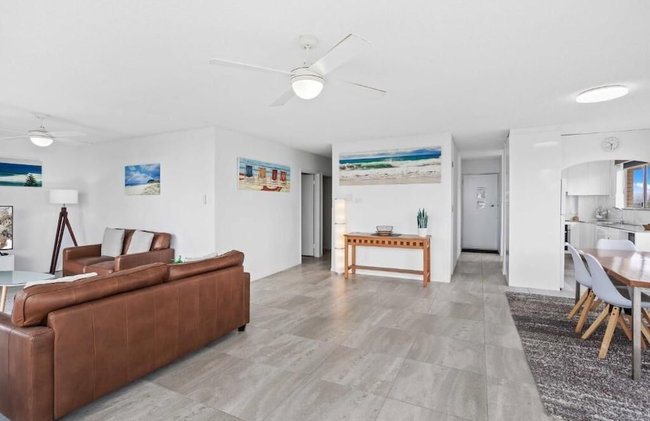
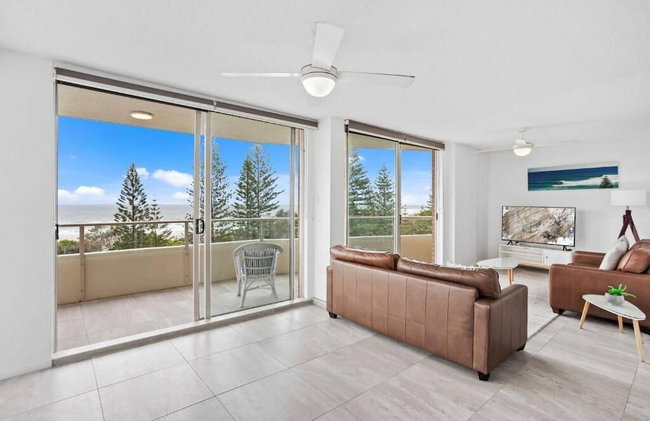
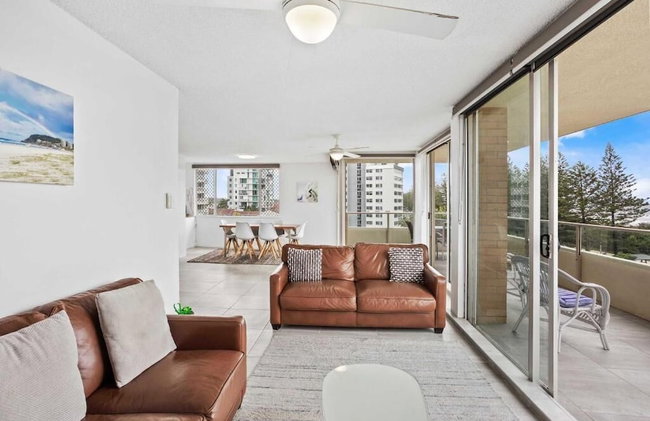
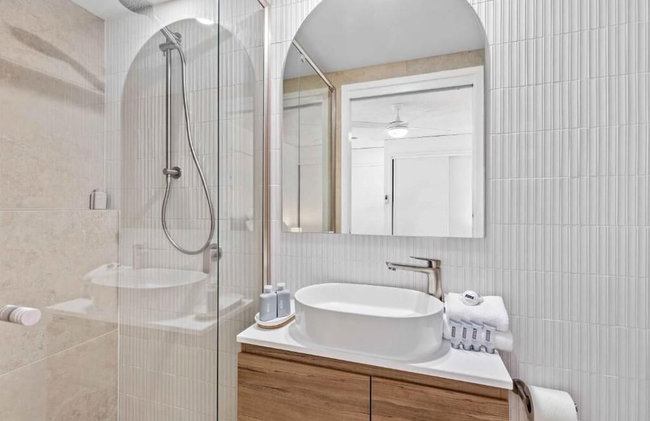
Paihia Beach 3 Bedroom Apartment
Paihia - Paihia - Dans le centre
- 75 M2
- 6 personnes
- Air conditionné
- Le chauffage
- Parking
- Ascenseur
- Balcon
- Serviettes


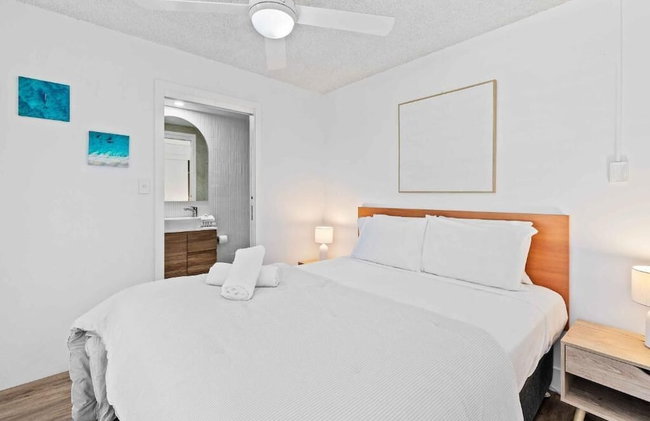
Tahai Loft
Isla de Pascua - À 670 m du centre
- 38 M2
- 4 personnes
- Air conditionné
- Le chauffage
- Terrasse
- Piscine
- Parking
- Balcon
- Jardin
- Tv
- Serviettes
- Feuilles


Jubri's Hideaway
Dalby - Dalby - À 13.8 km du centre
- 32 M2
- 2 personnes
- Cuisinette
- Parking
- Tv
- Barbecue
- Serviettes
- Feuilles


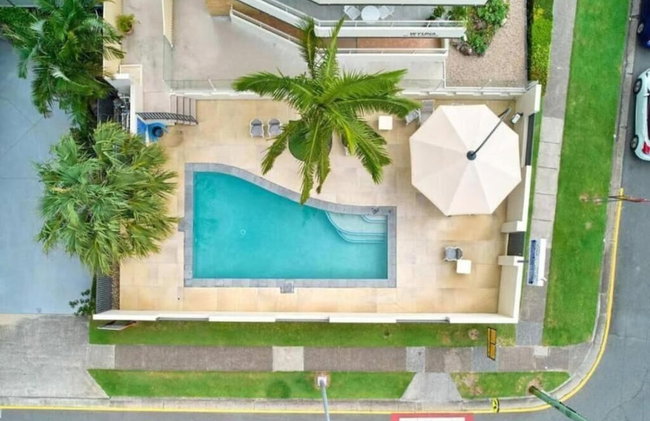
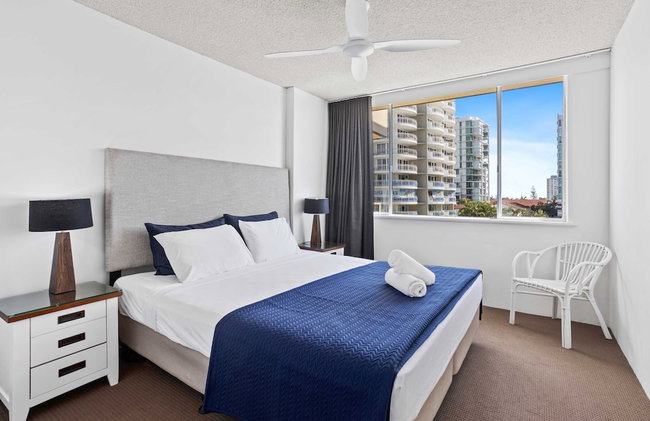
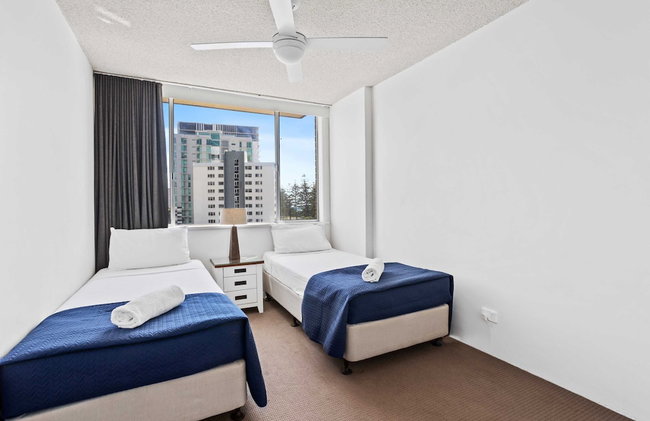
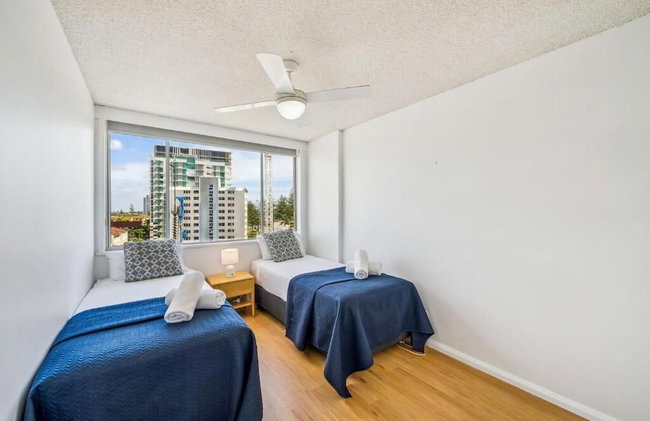
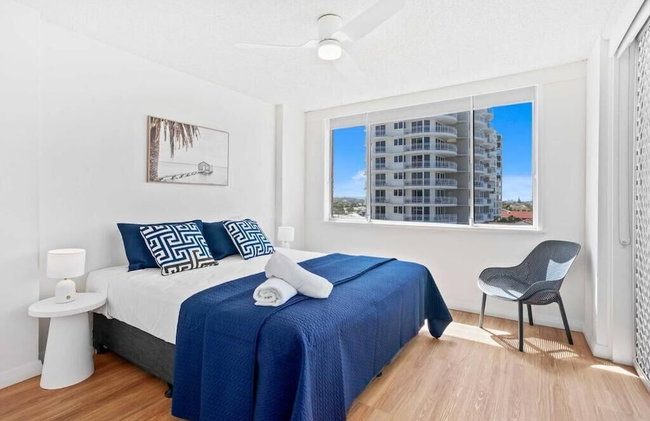
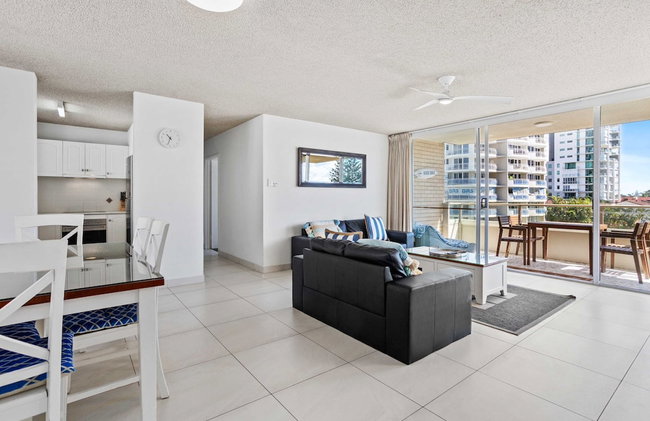
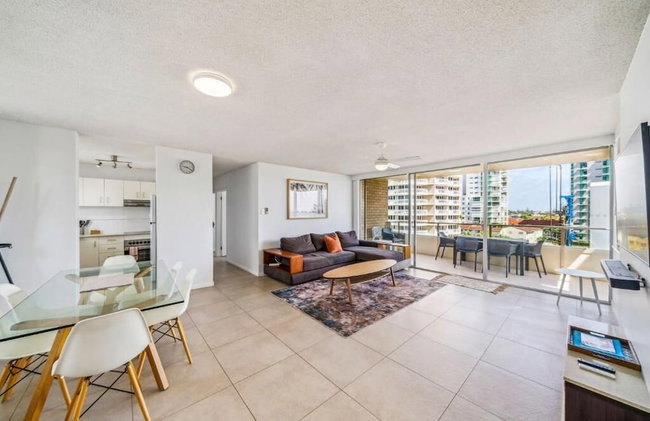
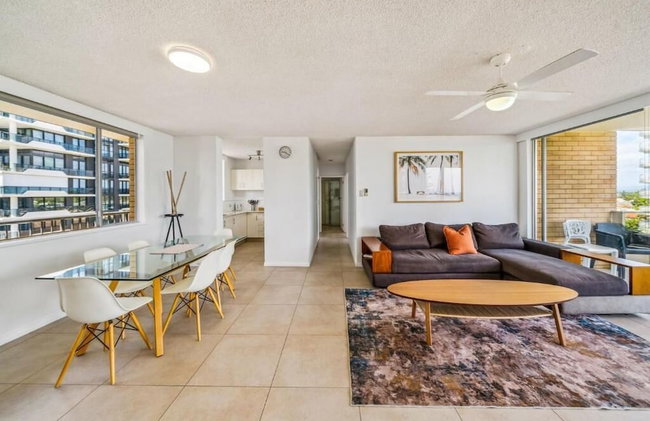
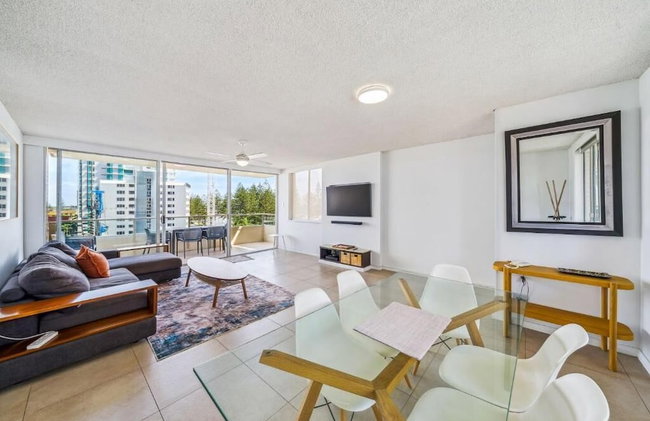
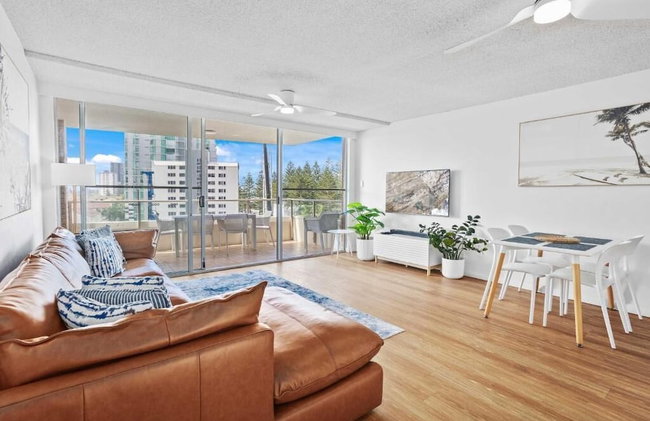
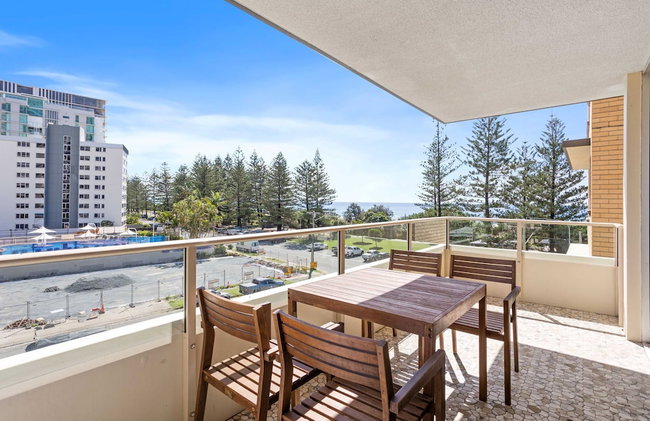
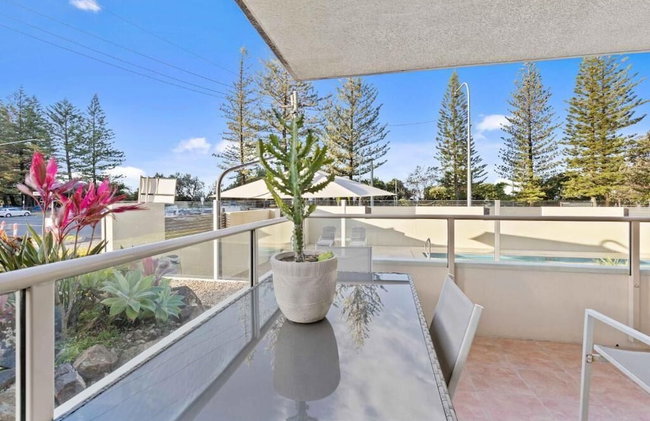
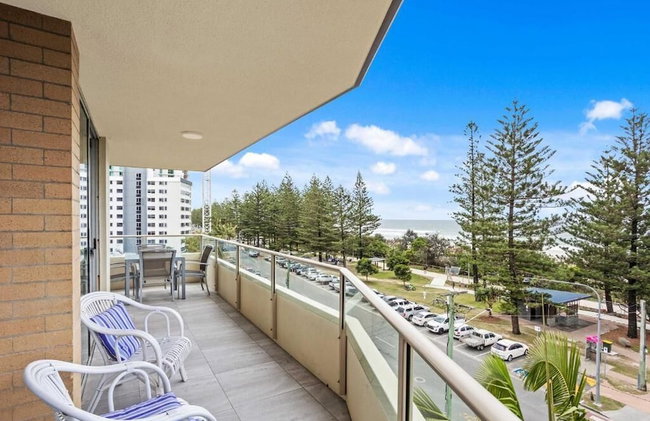
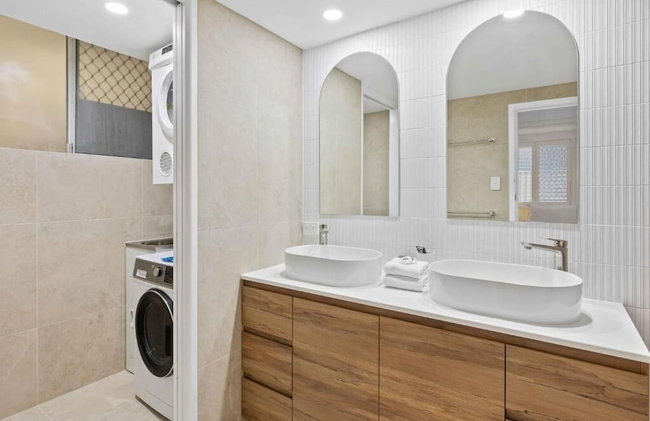
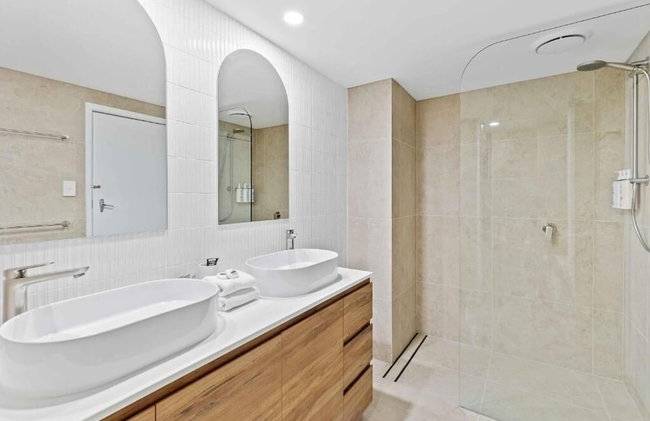
Marine Quarter Apartments by CLLIX
Gold Coast - Southport - À 4.9 km du centre
- 122 M2
- 6 personnes
- Air conditionné
- Piscine
- Parking
- Ascenseur
- Balcon
- Tv
- Machine à laver
- Barbecue
- Serviettes
- Feuilles


QCWA Kissing Point Units
Townsville - North Ward - À 1.8 km du centre
- 7 personnes
- Air conditionné
- Parking
- Balcon
- Jardin
- Tv
- Barbecue
- Serviettes
- Feuilles


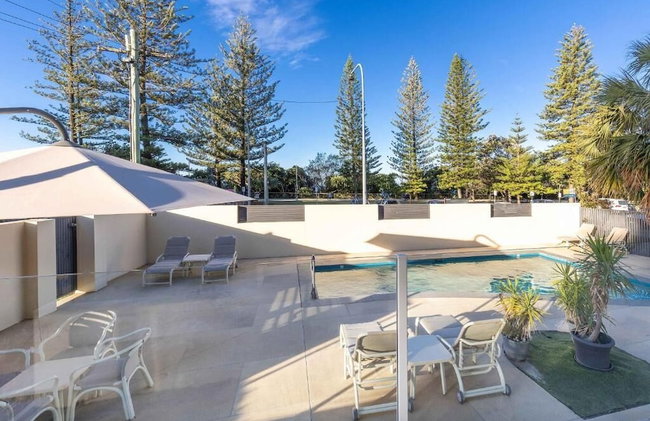
BIG4 Aireys Inlet
Aireys Inlet - Aireys Inlet - Près de Peißen (geolocation.placetype.train_station)
- 85 M2
- 8 personnes
- Air conditionné
- Le chauffage
- Piscine
- Parking
- Balcon
- Tv
- Cheminée
- Barbecue
- Serviettes
- Feuilles


Bond Street Apartment Luxury 3-bedroom
Dunedin - Dunedin Central - Dans le centre
- 12 M2
- 6 personnes
- Le chauffage
- Terrasse
- Piscine
- Balcon
- Tv
- Cheminée
- Serviettes
- Feuilles


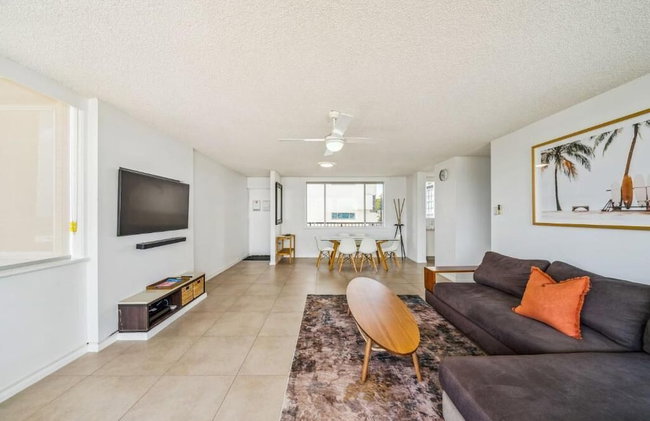
Relax on Marine Parade 2 BDR Apartment
Kingscliff - Kingscliff - Près de Peißen (geolocation.placetype.train_station)
- 5 personnes
- Air conditionné
- Le chauffage
- Balcon
- Tv
- Machine à laver
- Serviettes
- Feuilles


Tukare Lookout
Te Anau - Te Anau - À 4.8 km du centre
- 4 M2
- 2 personnes
- Air conditionné
- Le chauffage
- Parking
- Jardin
- Tv
- Serviettes
- Feuilles


Private Q Tower Apartments - WOWSTAY
Gold Coast - Surfers Paradise - Dans le centre
- 10 personnes
- Air conditionné
- Piscine
- Parking
- Ascenseur
- Balcon
- Tv
- Machine à laver
- Barbecue
- Serviettes
- Feuilles


The Grove Turangi
Turangi - Turangi - À 820 m du centre
- 60 M2
- 4 personnes
- Le chauffage
- Balcon
- Jardin
- Tv
- Machine à laver
- Barbecue
- Serviettes
- Feuilles


Maui Creek Bures
Nadroga-Navosa - À 18.1 km du centre
- 5 personnes
- Cuisinette
- Air conditionné
- Parking
- Jardin
- Tv
- Serviettes
- Feuilles


French Quarter by Stay Noosa
Sunshine Coast - Noosa Heads - À 28.8 km du centre
- 83 M2
- 4 personnes
- Air conditionné
- Le chauffage
- Piscine
- Parking
- Ascenseur
- Balcon
- Jardin
- Tv
- Barbecue
- Serviettes
- Feuilles


Cozy Pet Friendly Beach House
Kingscliff - Kingscliff - Près de Peißen (geolocation.placetype.train_station)
- 148 M2
- 5 personnes
- Parking
- Jardin
- Tv
- Machine à laver
- Barbecue
- Serviettes
- Feuilles


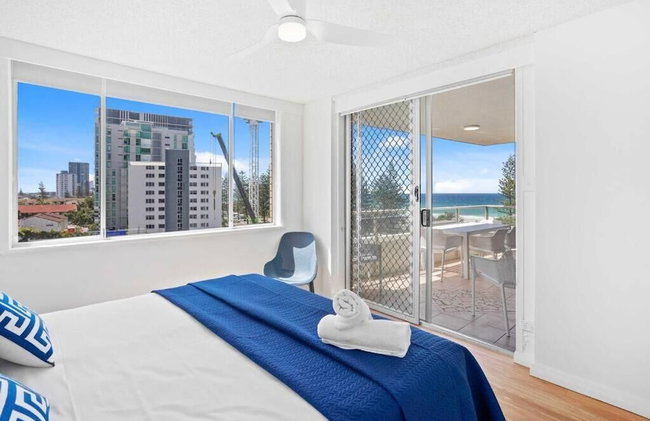
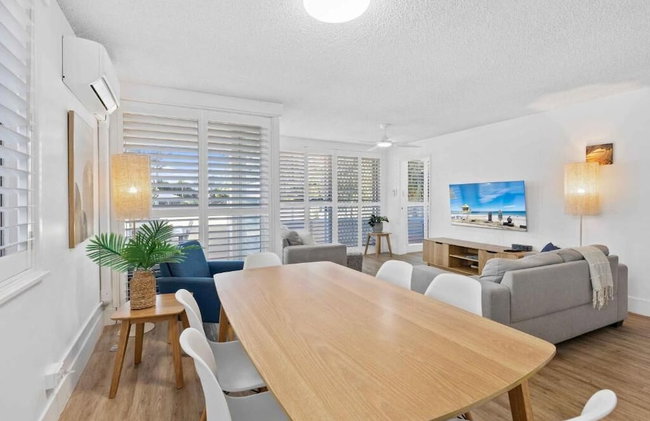
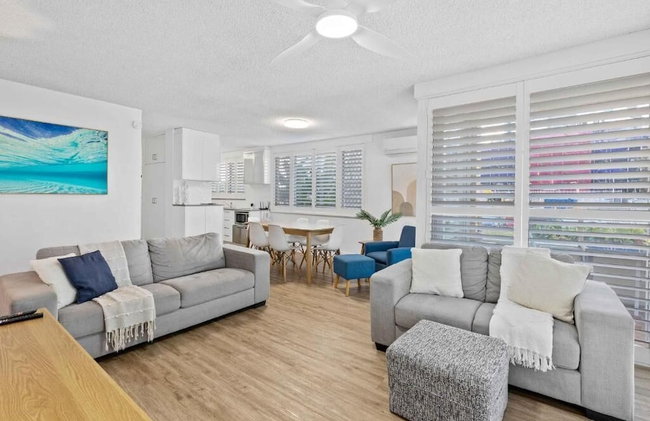
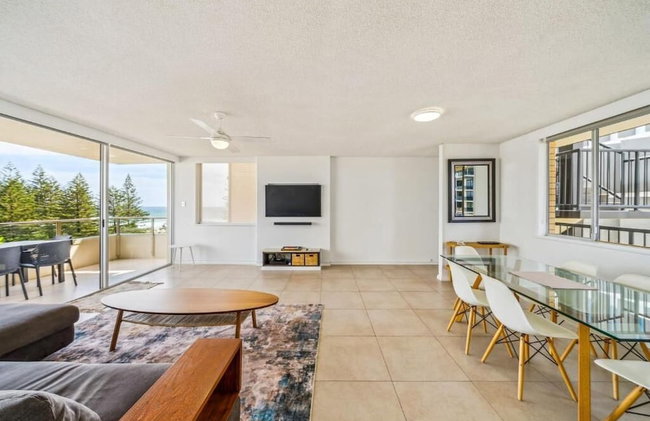
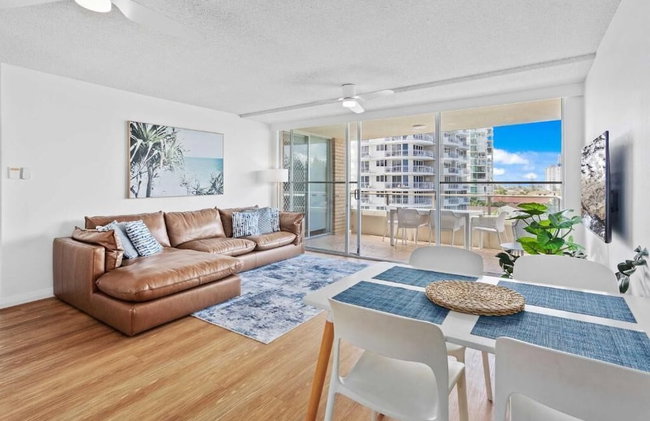
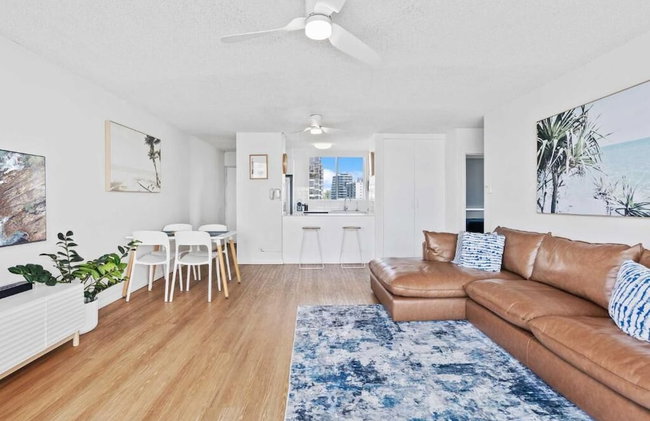
Waterfront Escape at Essentia
Gold Coast - Surfers Paradise - Dans le centre
- 94 M2
- 5 personnes
- Air conditionné
- Le chauffage
- Piscine
- Parking
- Balcon
- Machine à laver
- Serviettes


Aquarius Esplanade Retreat
Cairns - Cairns City - Dans le centre
- 138 M2
- 4 personnes
- Air conditionné
- Piscine
- Parking
- Ascenseur
- Balcon
- Jardin
- Tv
- Machine à laver
- Barbecue
- Serviettes
- Feuilles


23 Studio Apartment in Mount Albert
Auckland - Mount Albert - À 5.5 km du centre
- 2 personnes
- Parking
- Serviettes


11 of 43 woodward road mount albert
Auckland - Mount Albert - À 5.5 km du centre
- 2 personnes
- Parking
- Feuilles


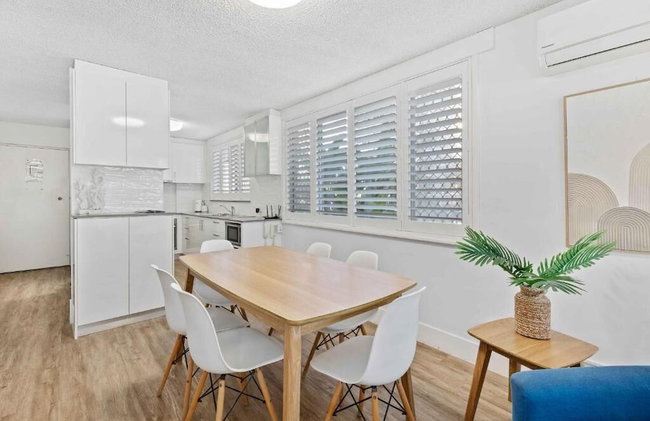
Smart Suites Self Check-in Apartments - 73 Bale
Brisbane - Rocklea - À 8.9 km du centre
- 60 M2
- 4 personnes
- Air conditionné
- Le chauffage
- Parking
- Serviettes


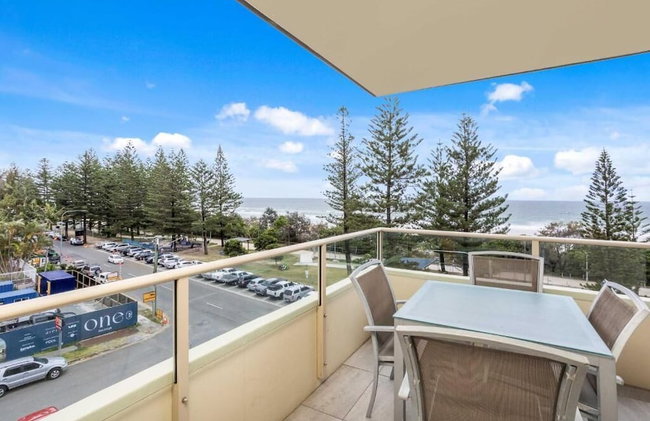
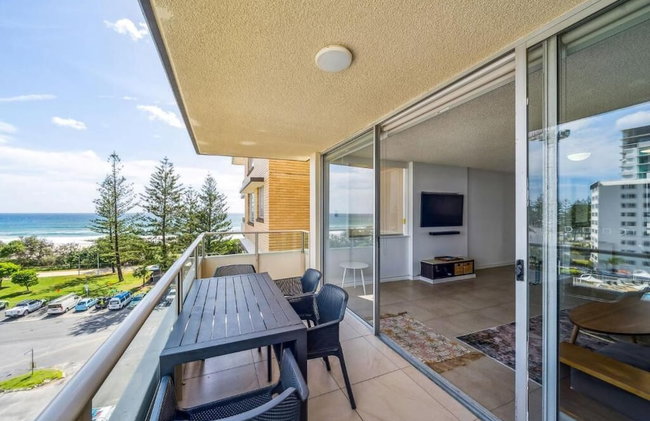
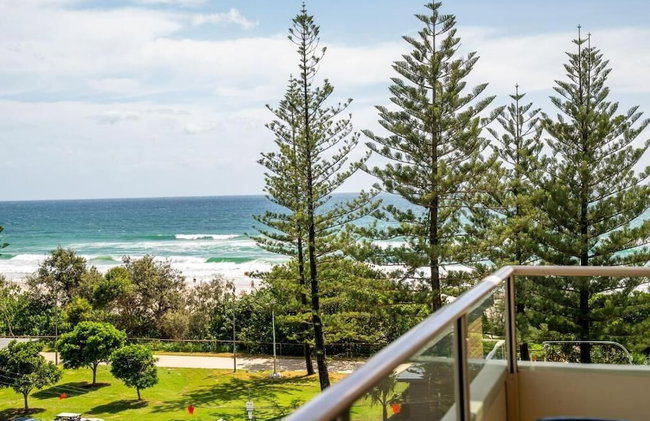

Wyuna Ocean Views in Burleigh
Gold Coast - Burleigh Heads - À 8.9 km du centre
- 6 personnes
- Piscine
- Parking
- Balcon
- Tv
- Machine à laver
- Serviettes
- Feuilles