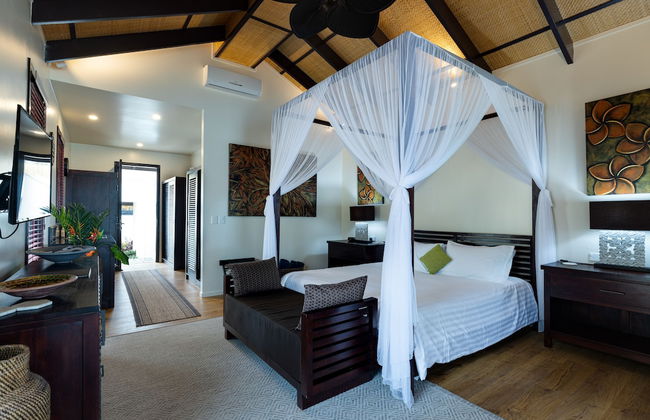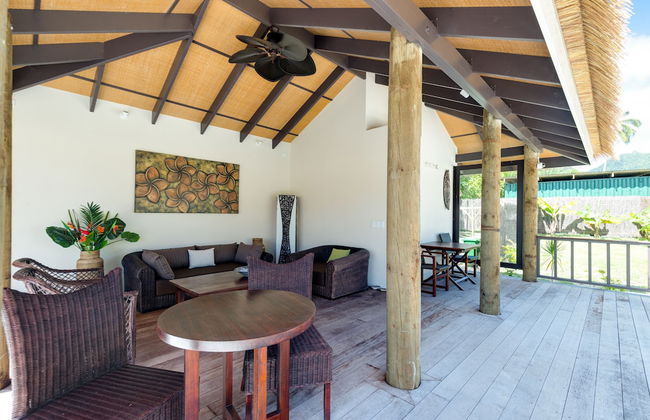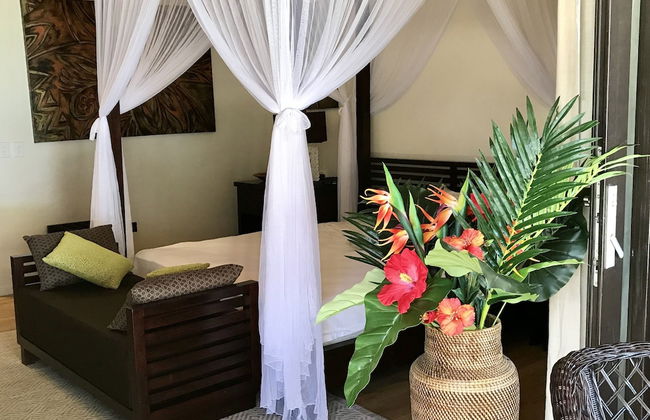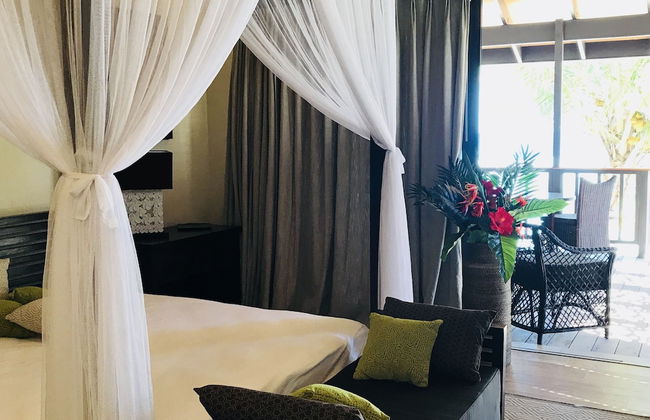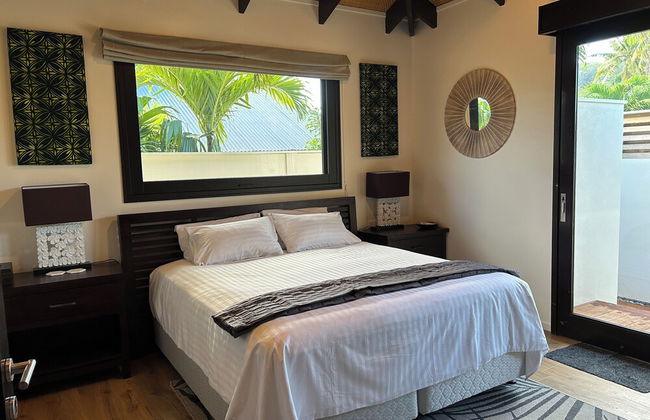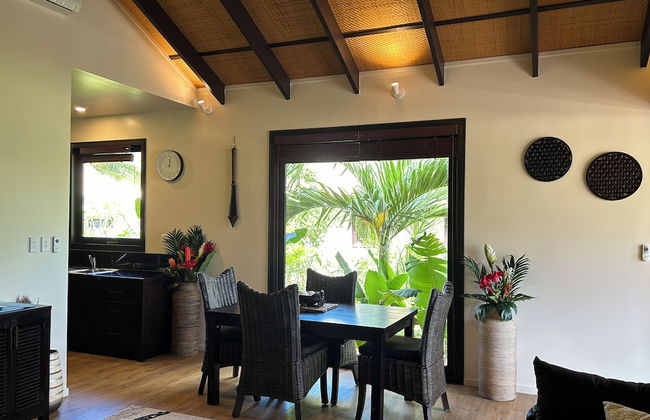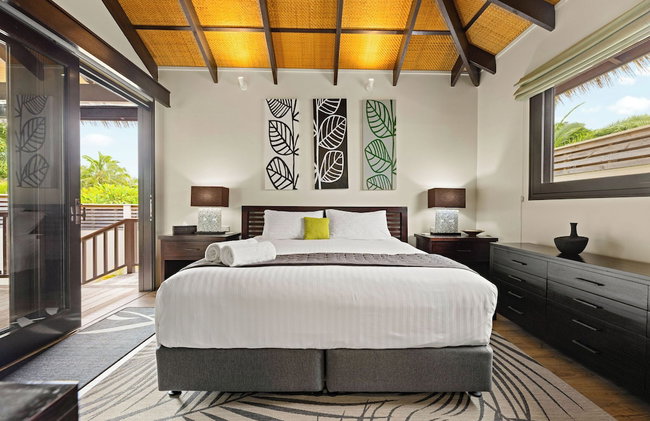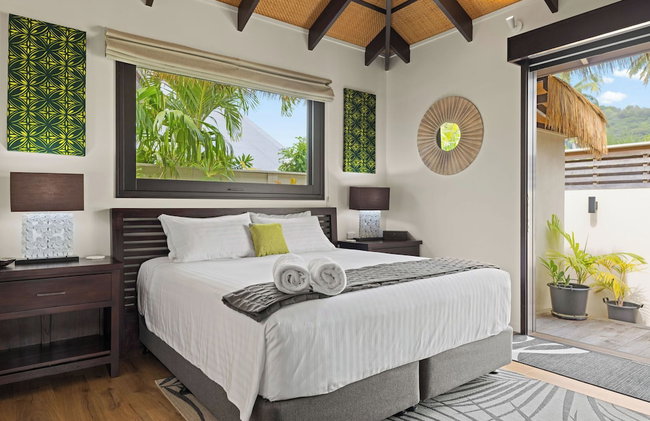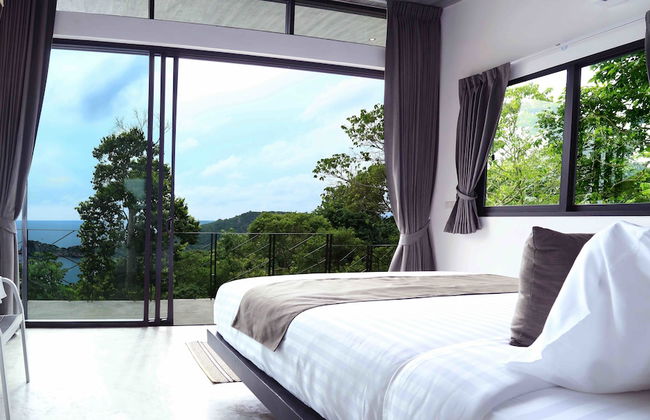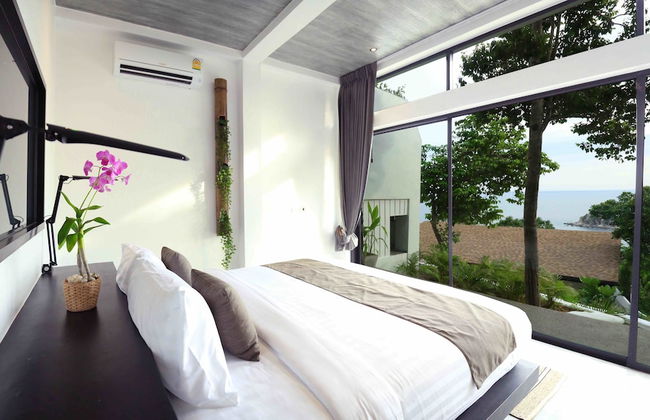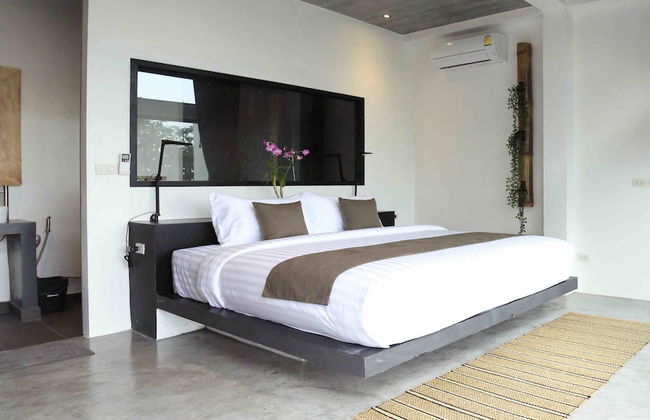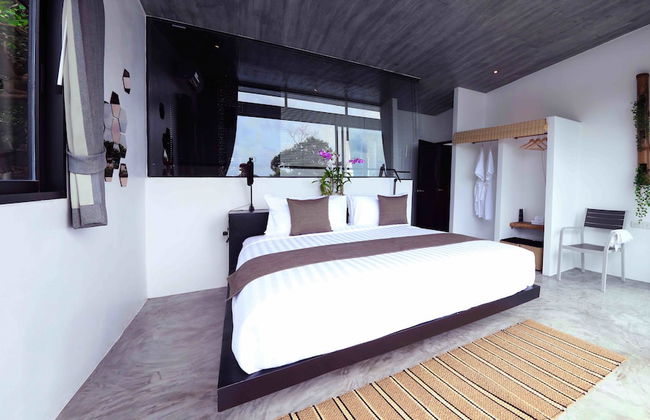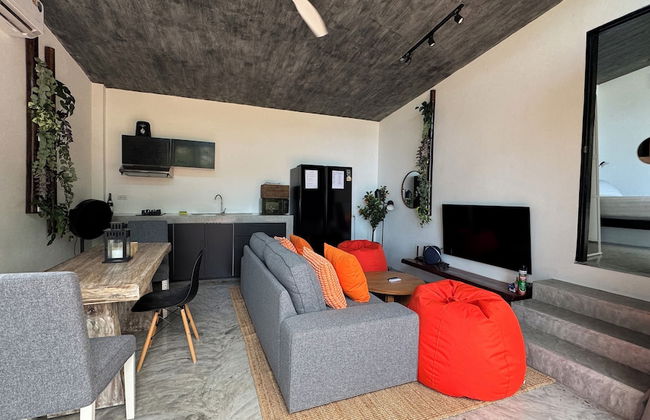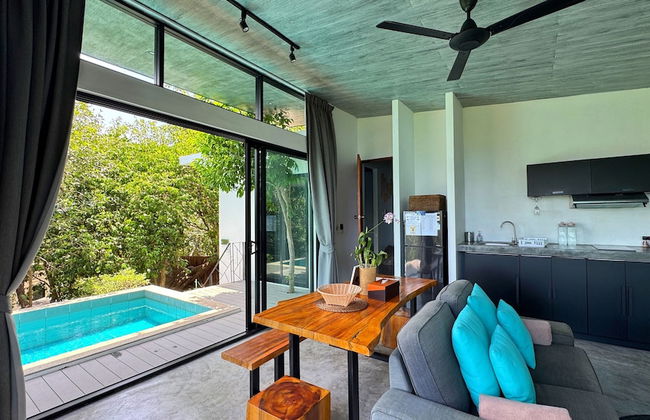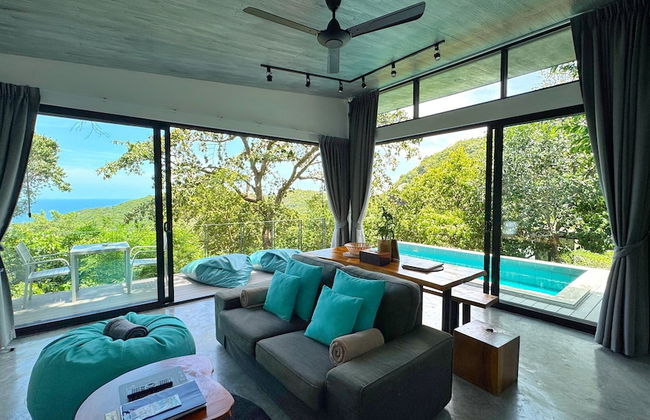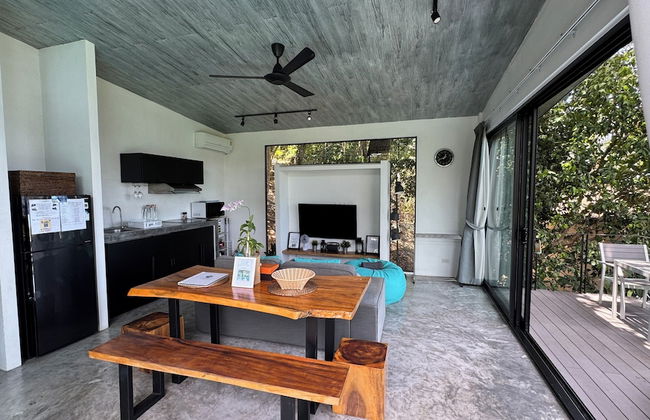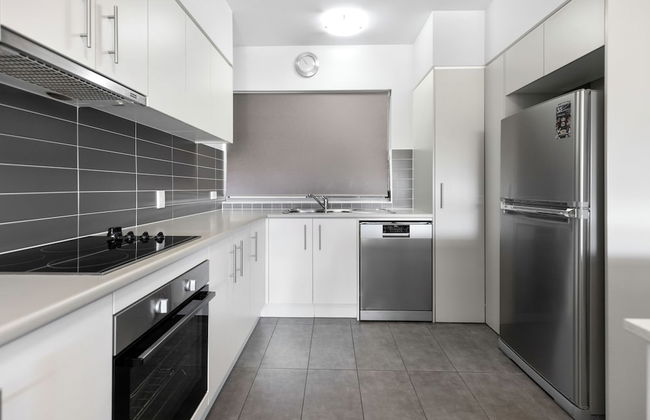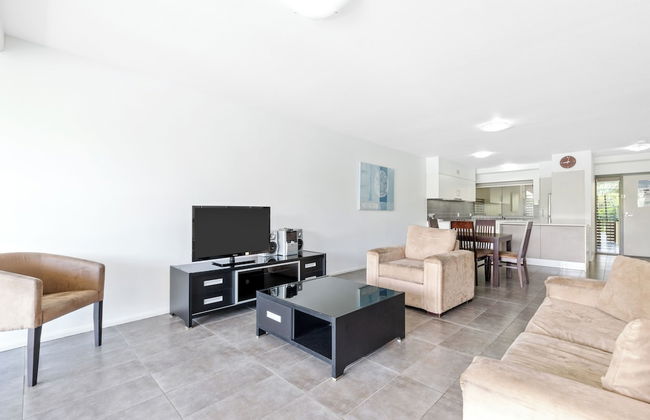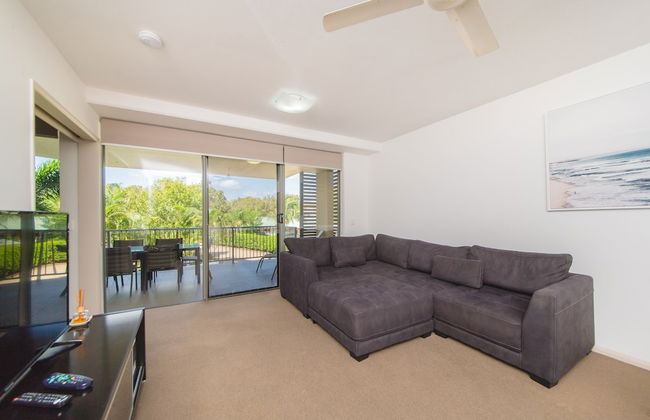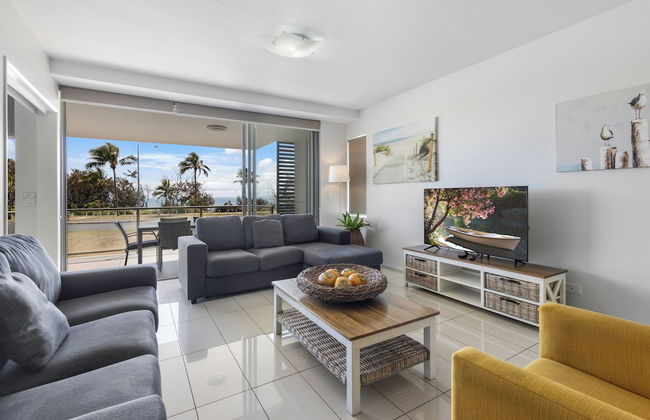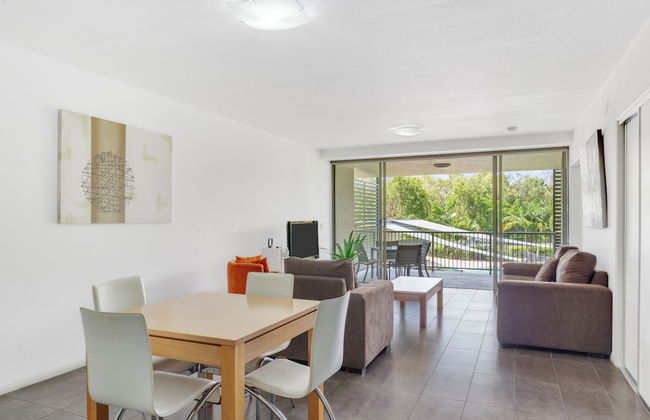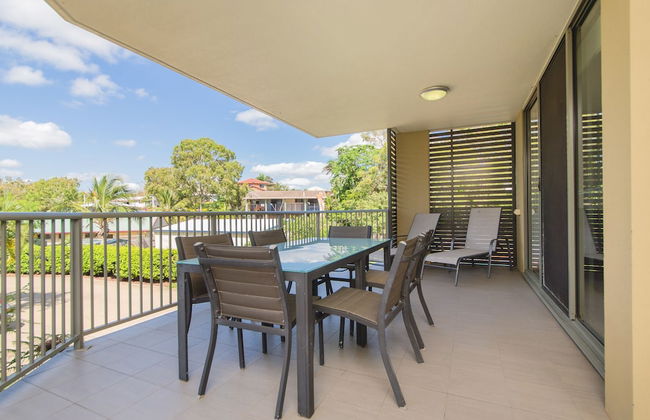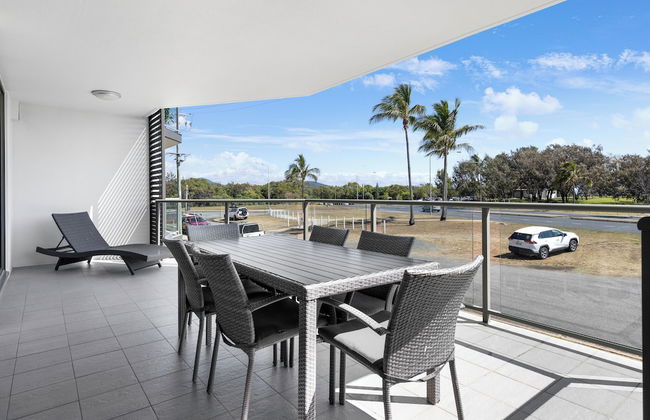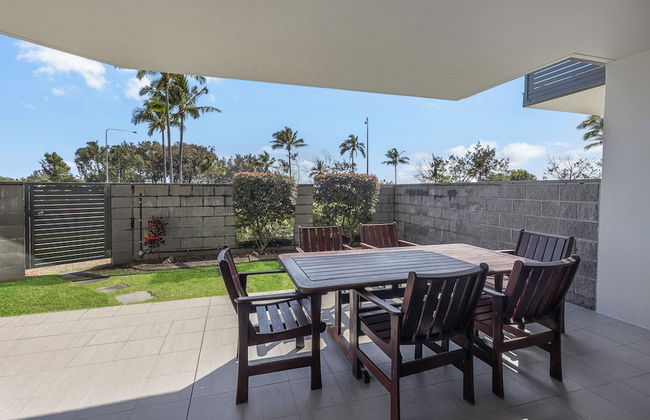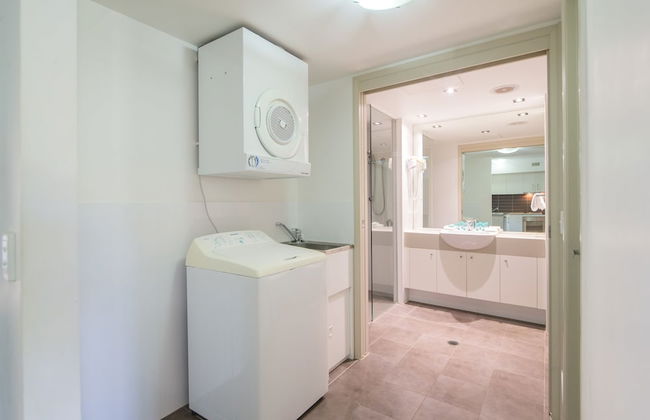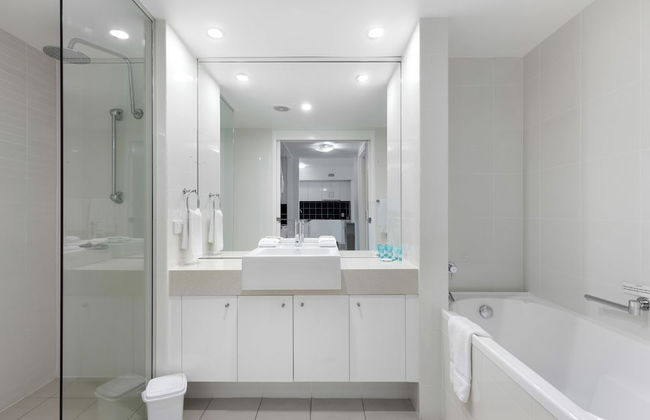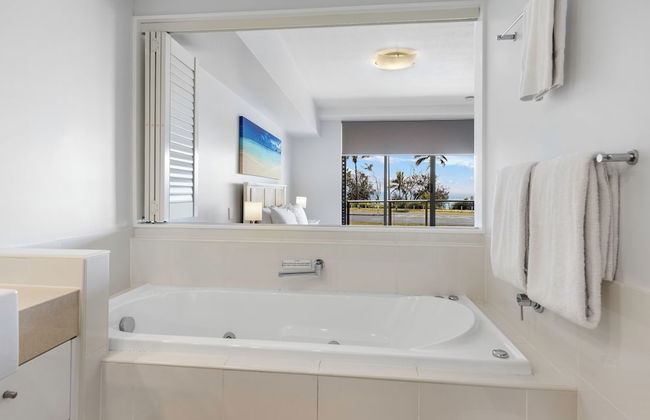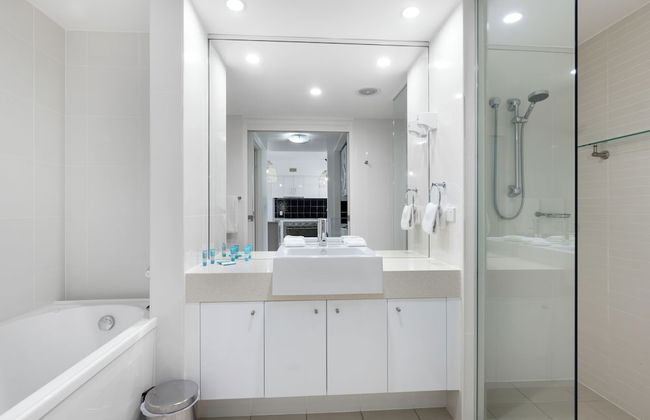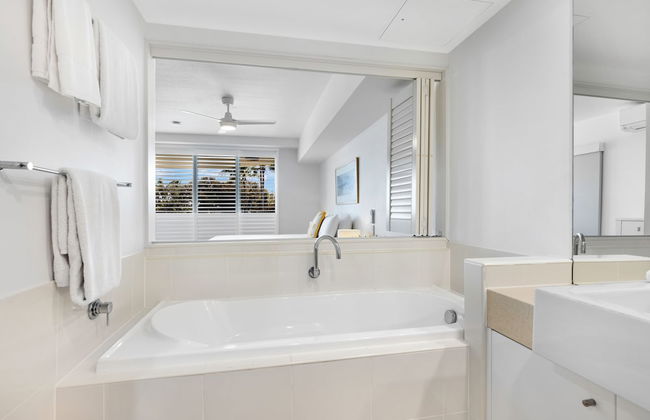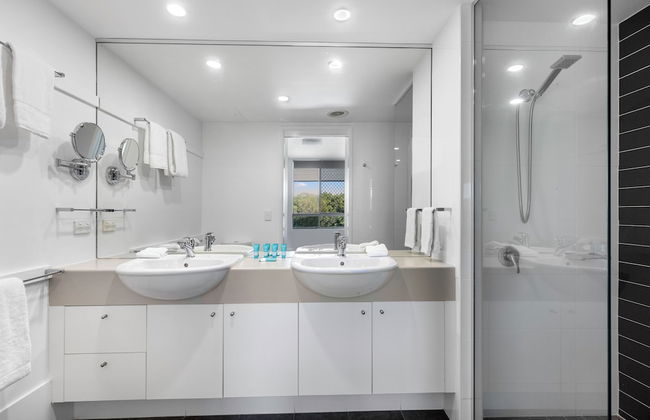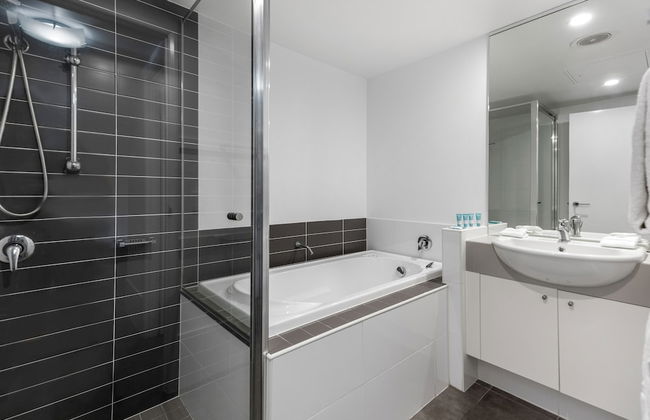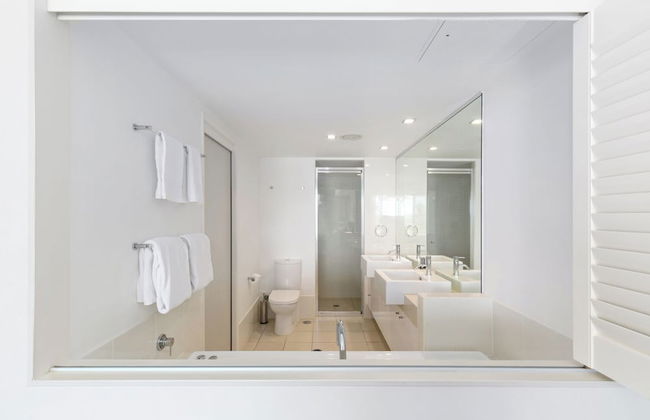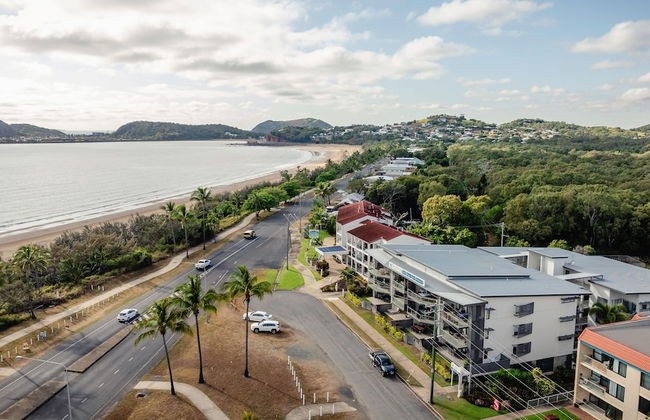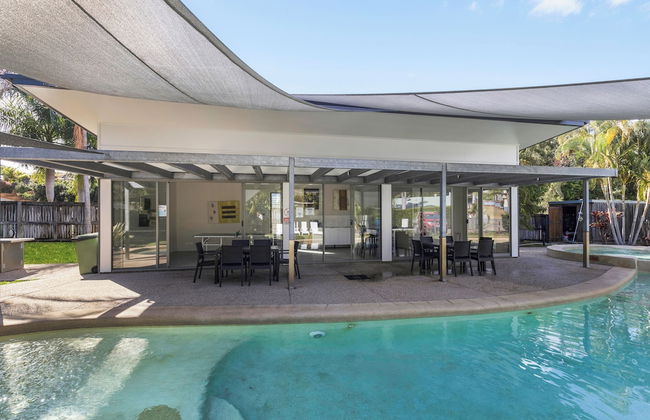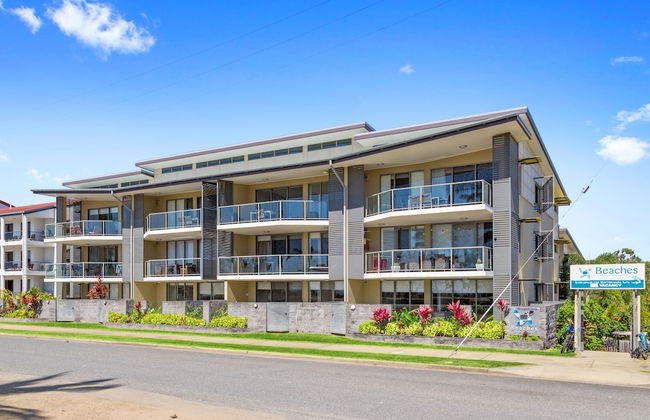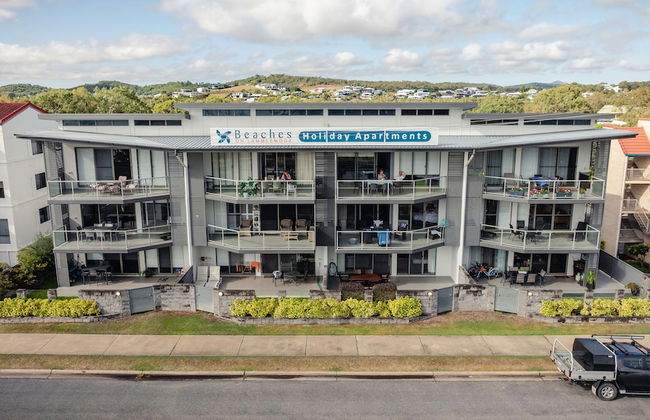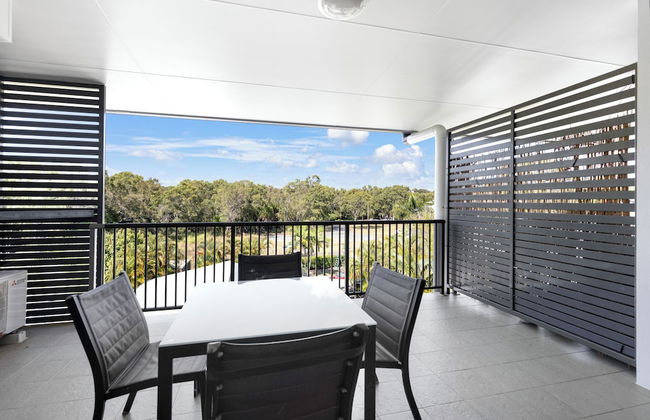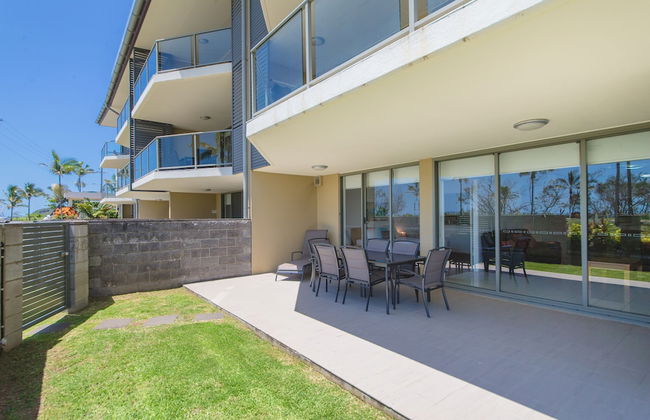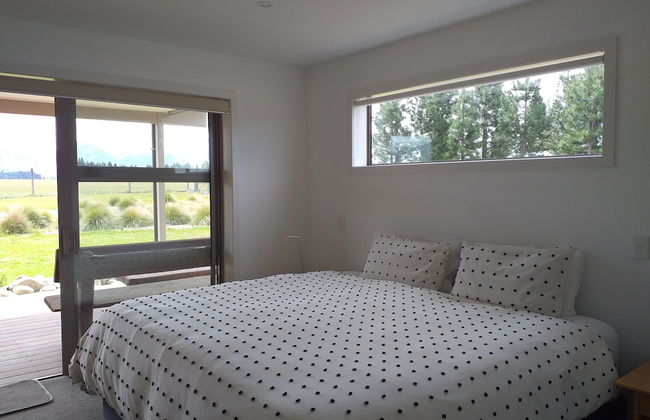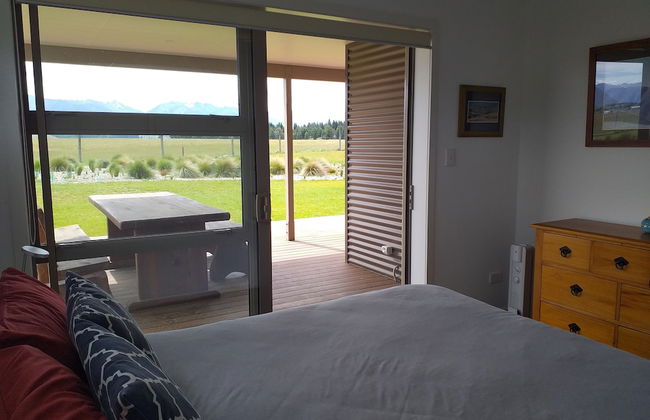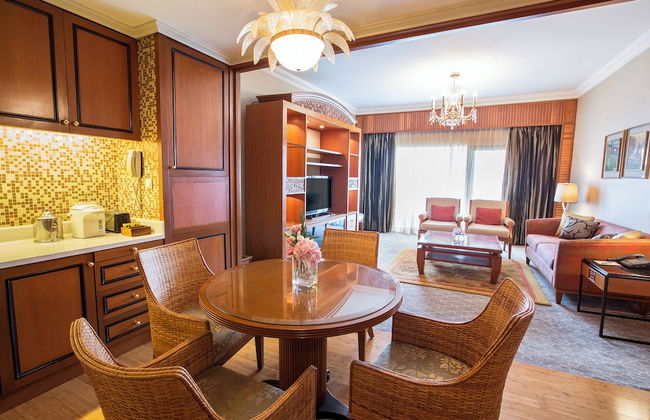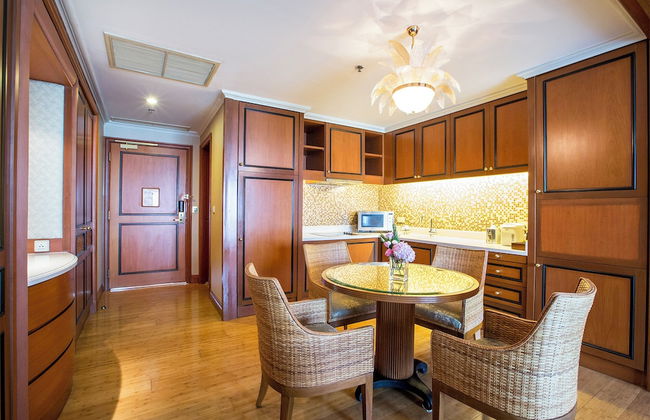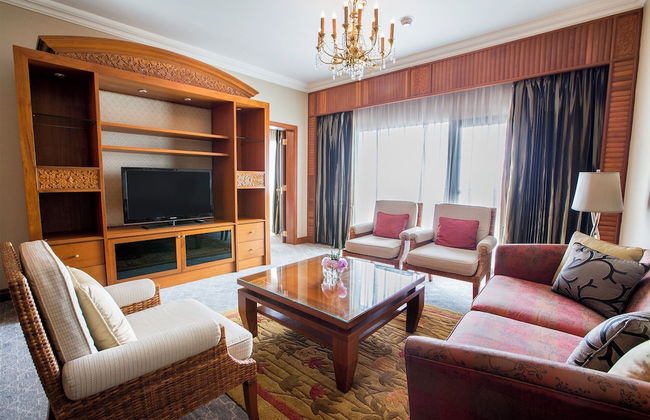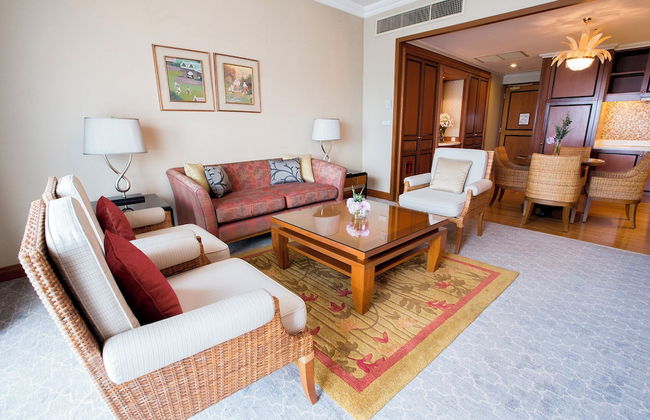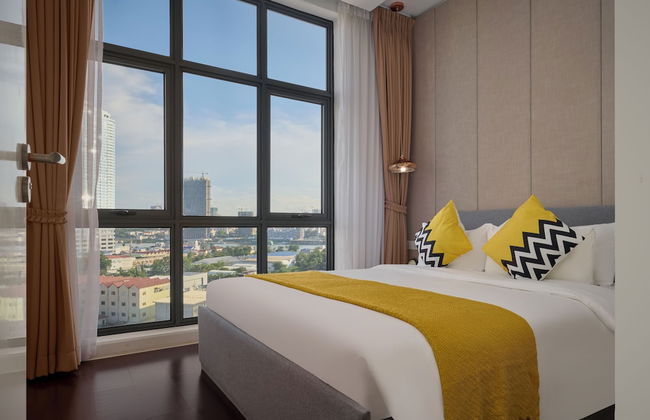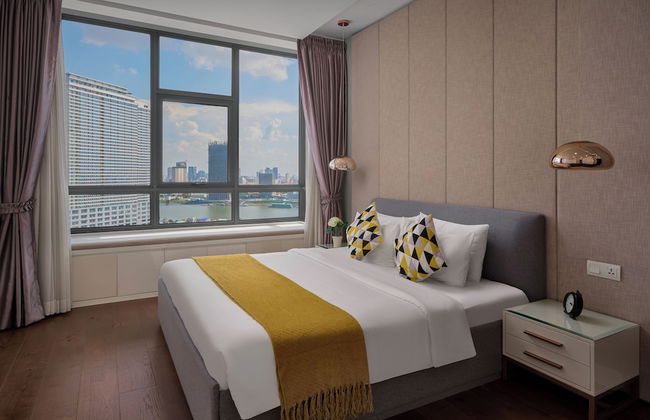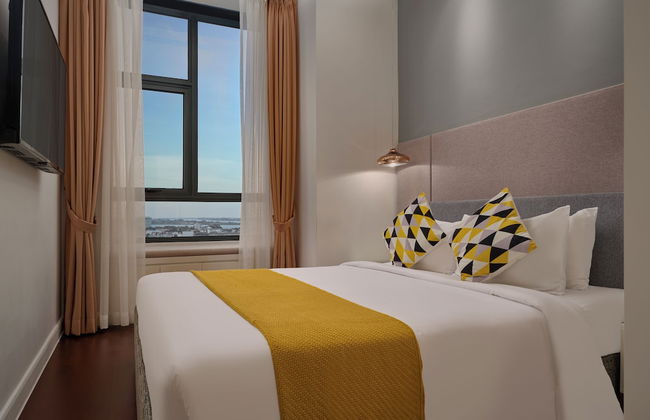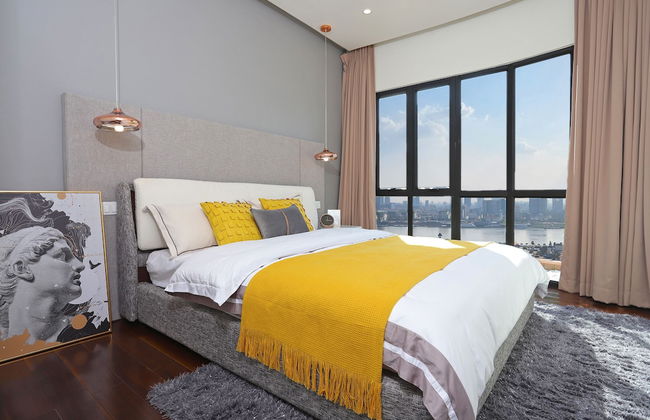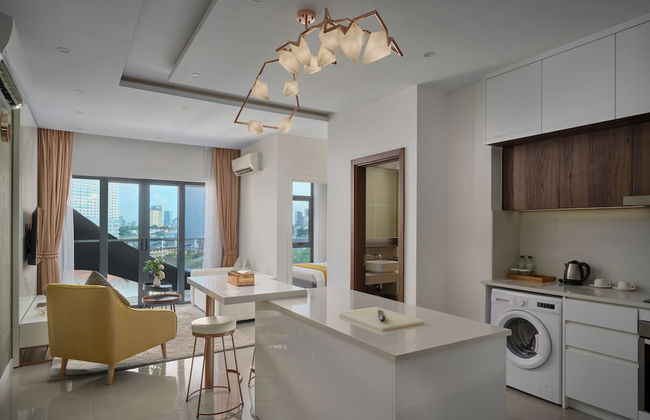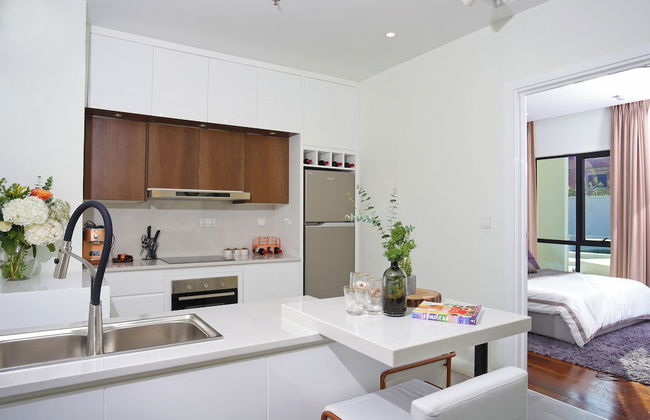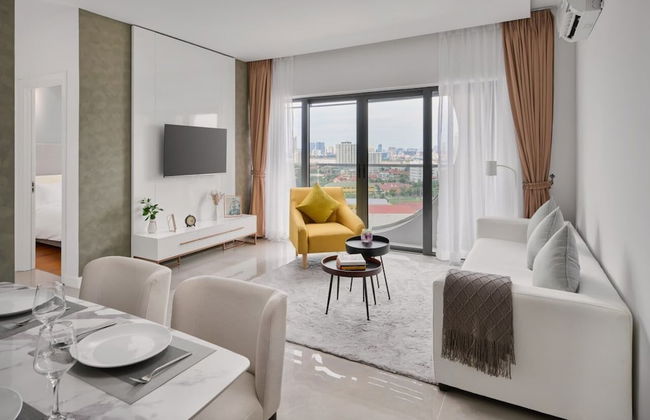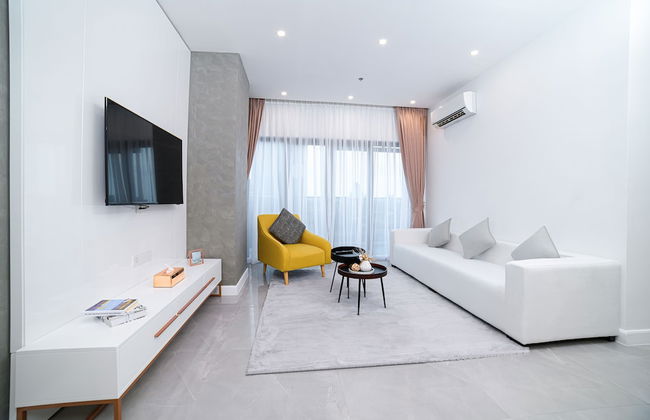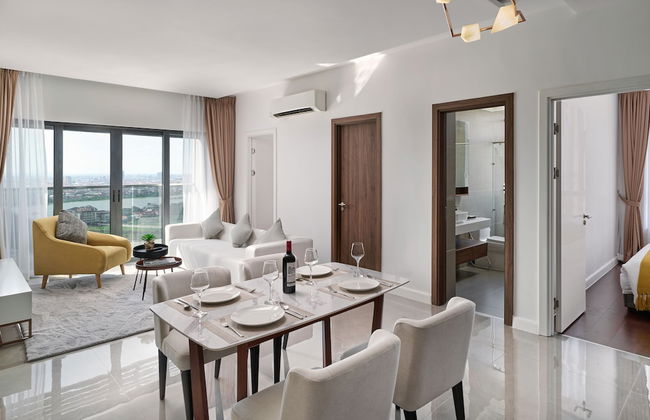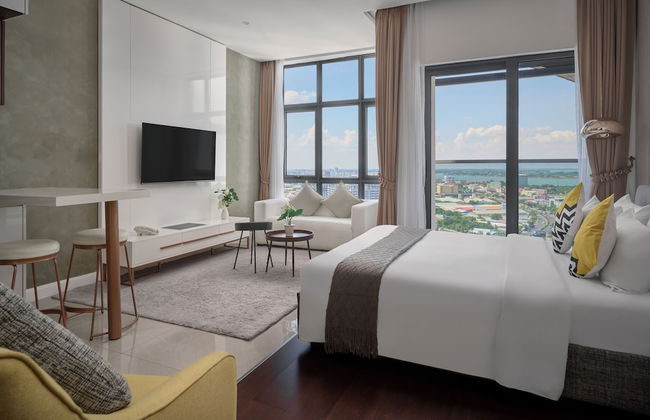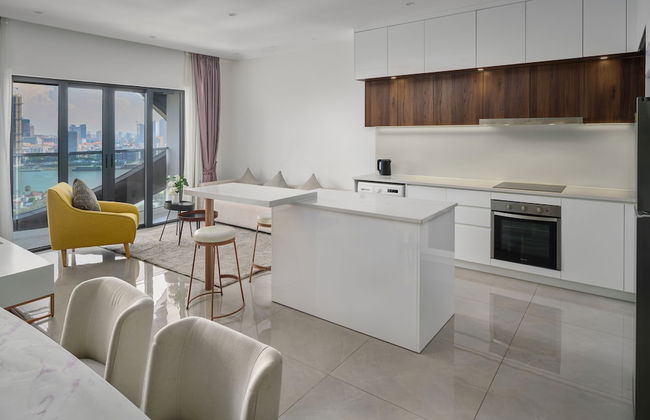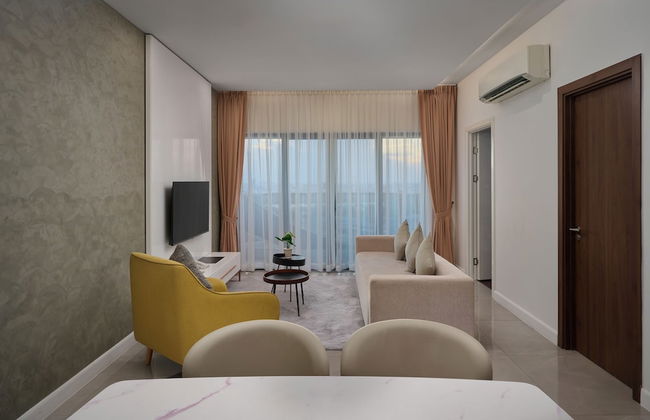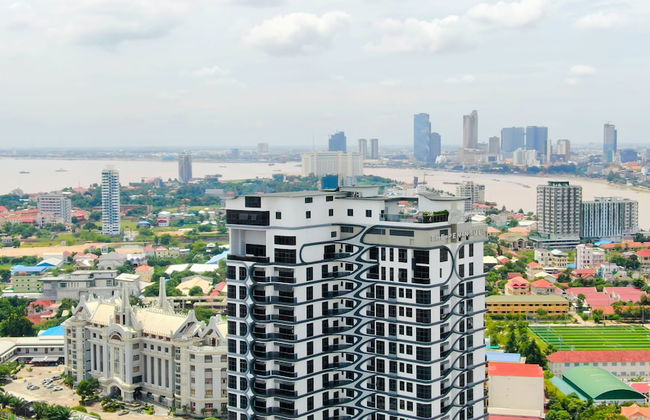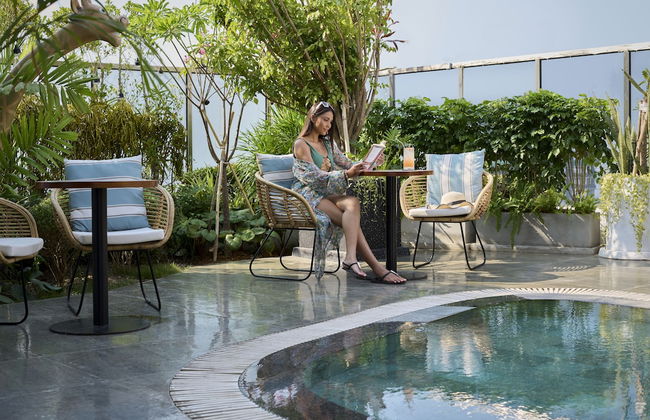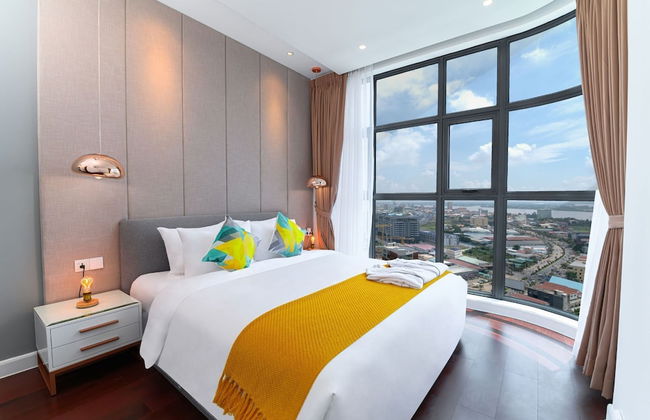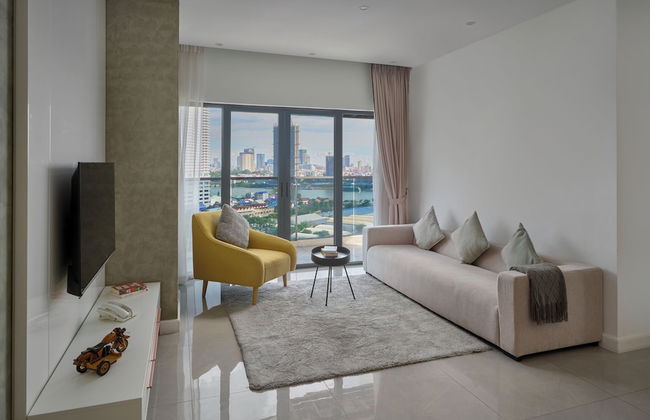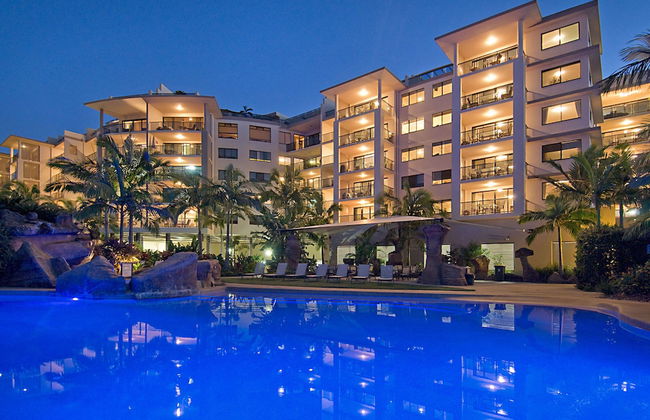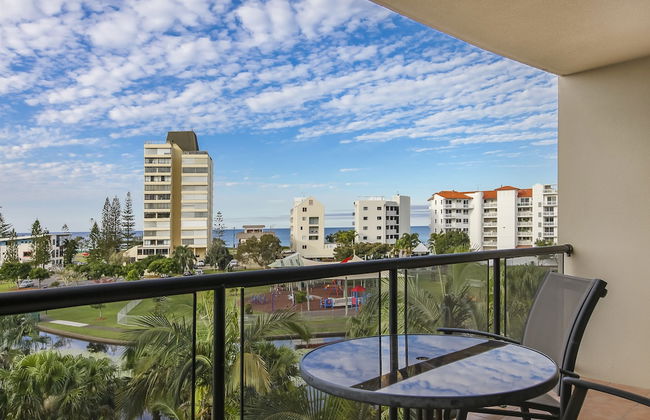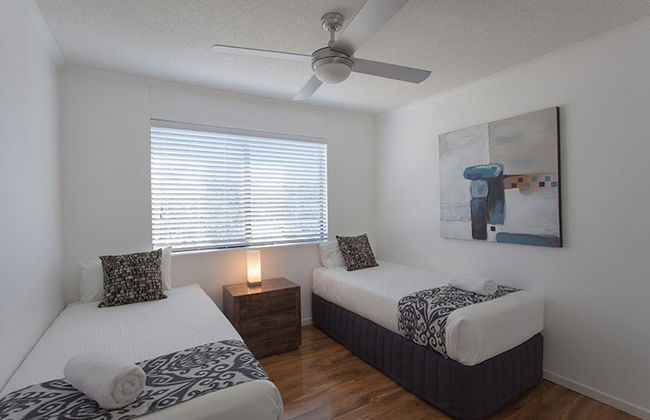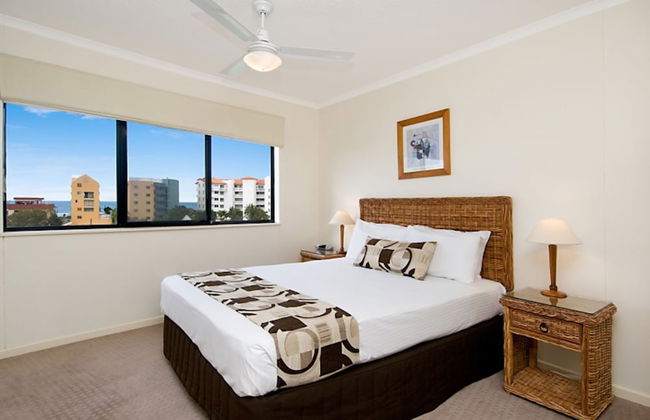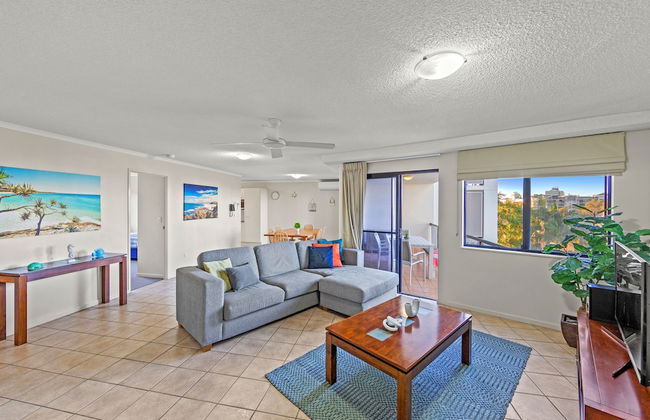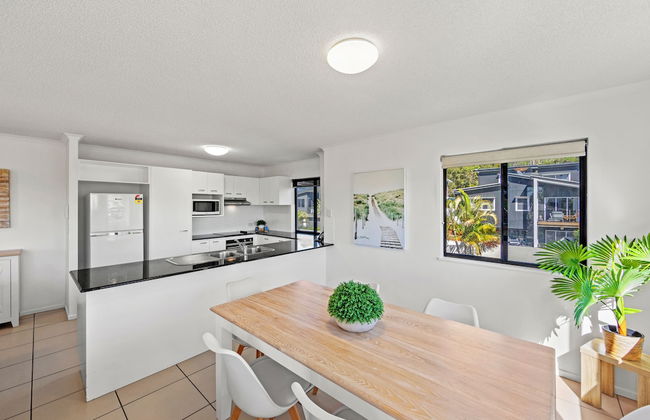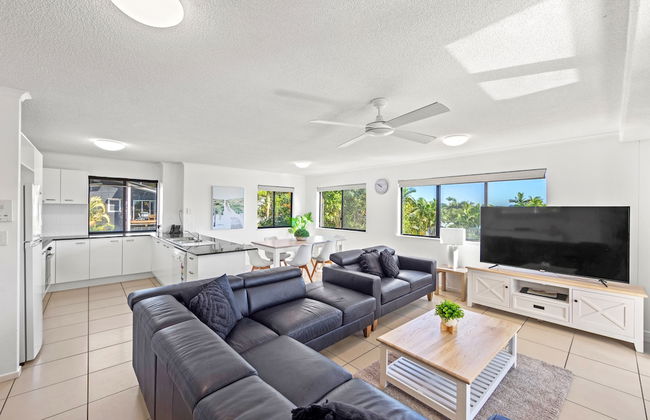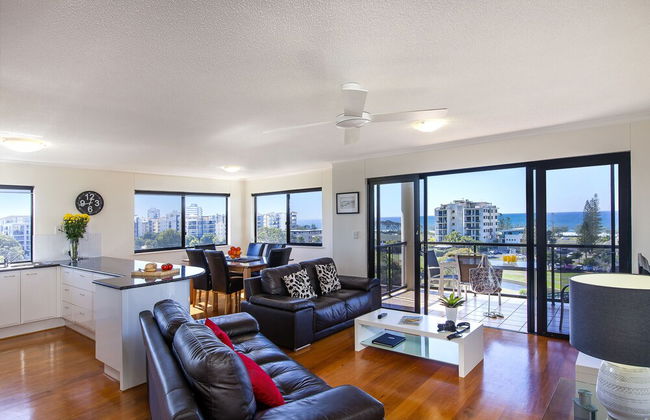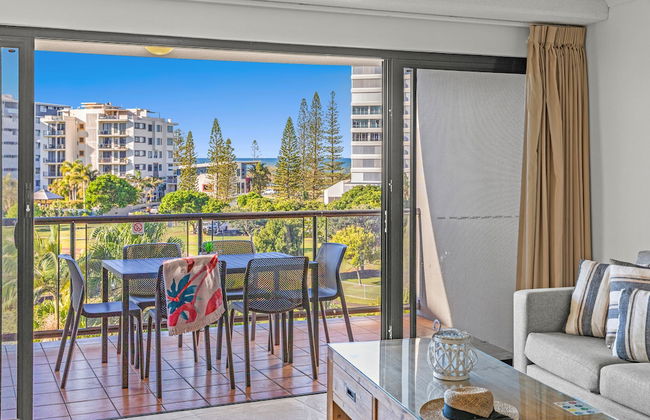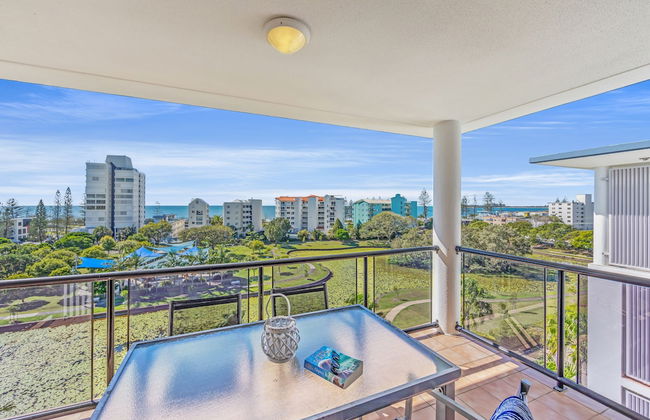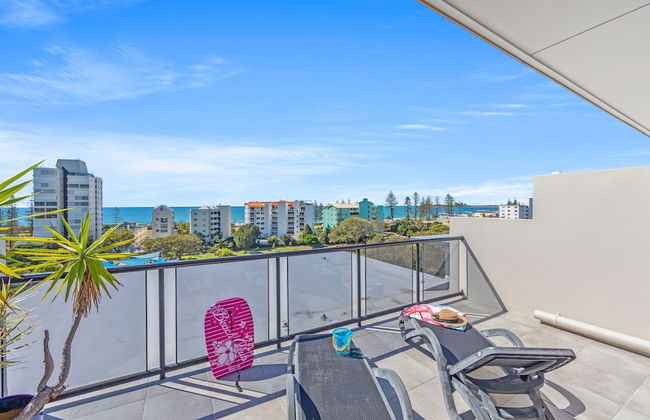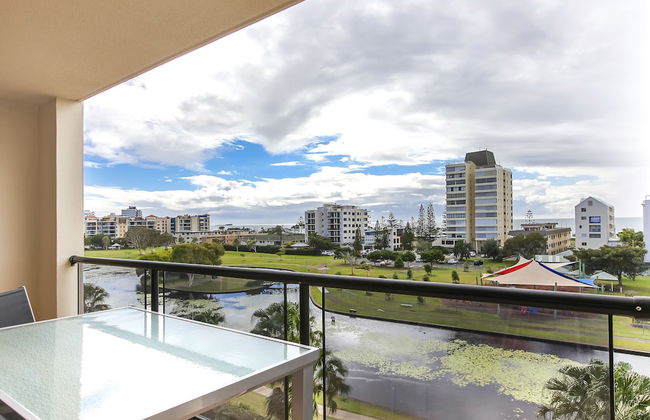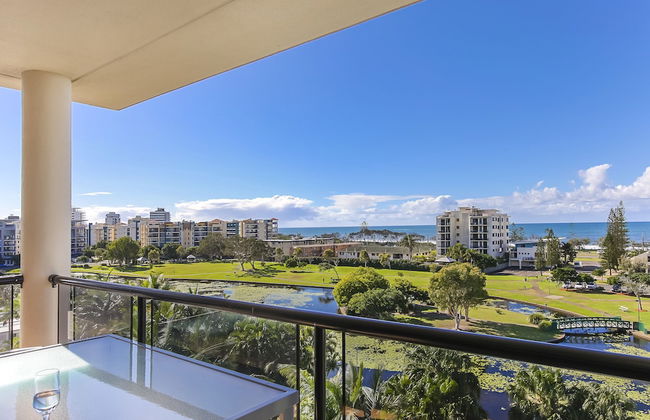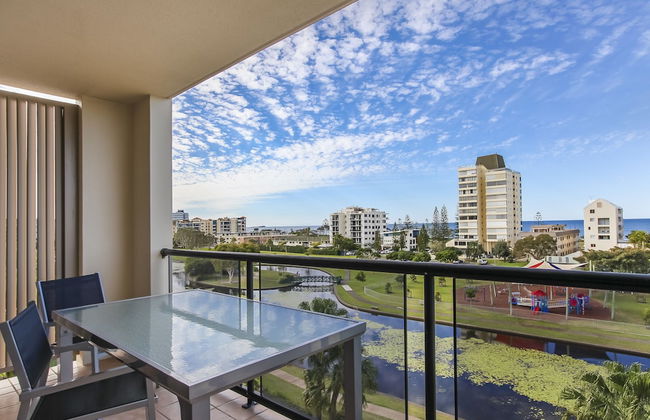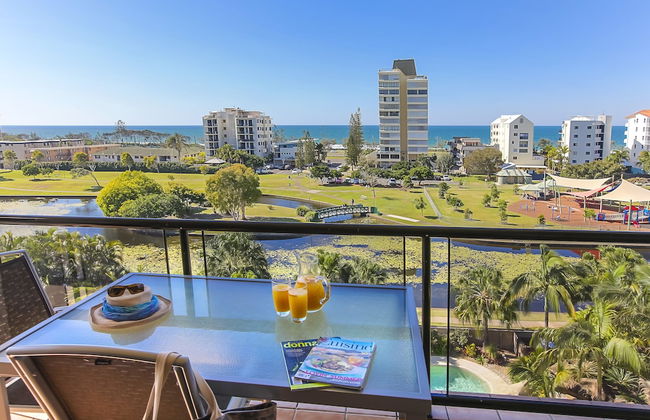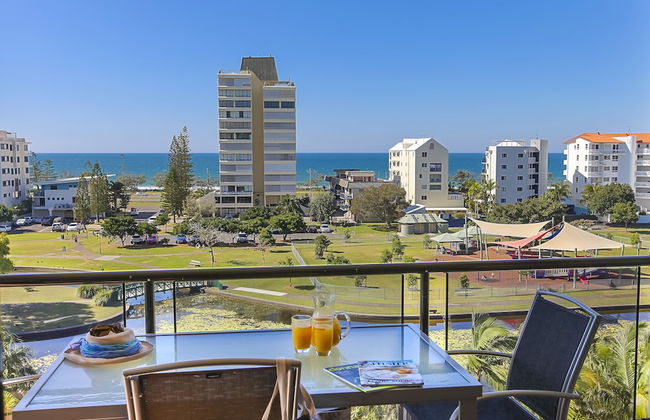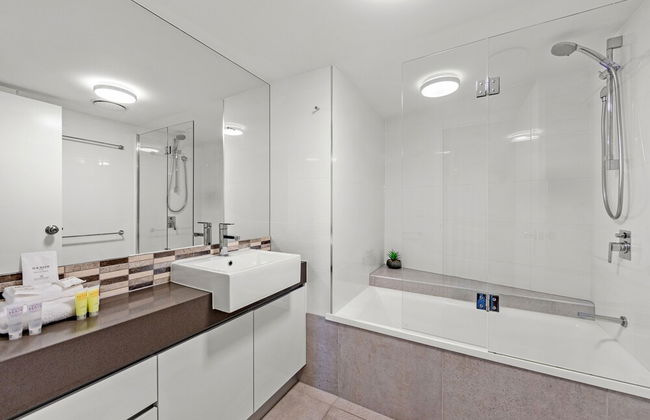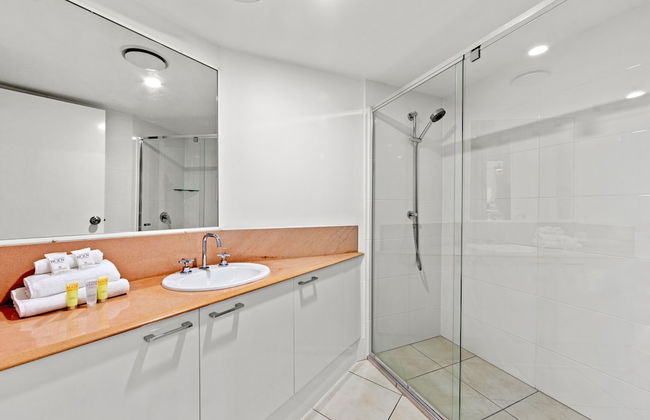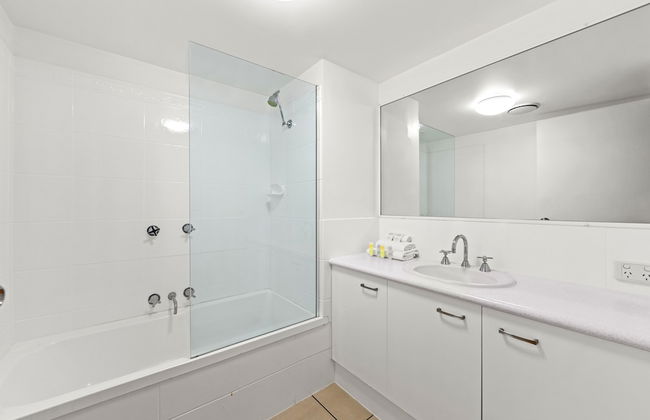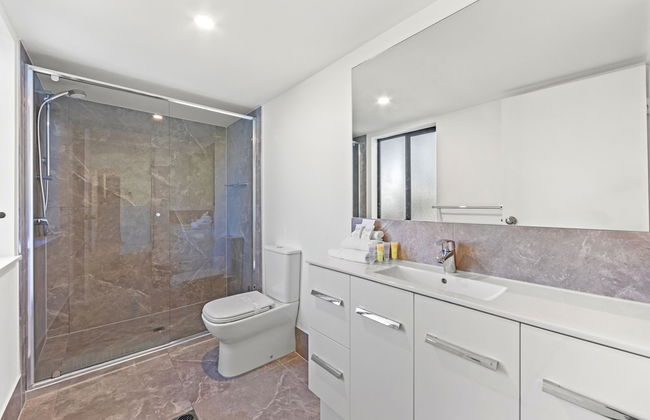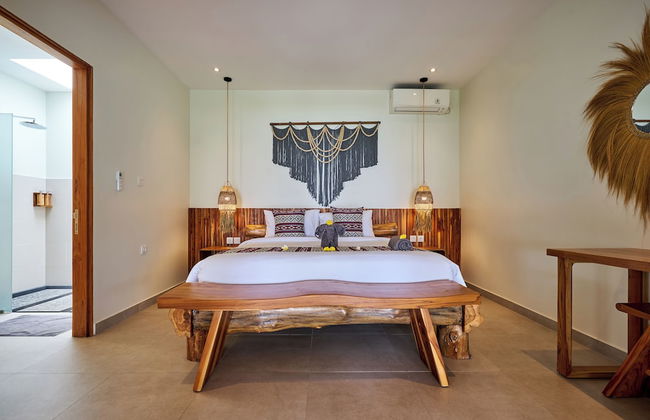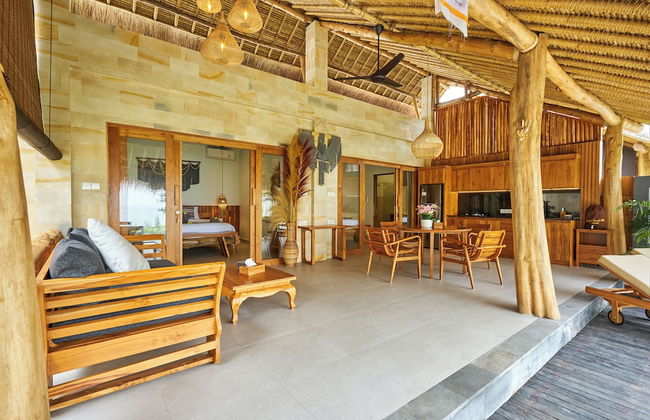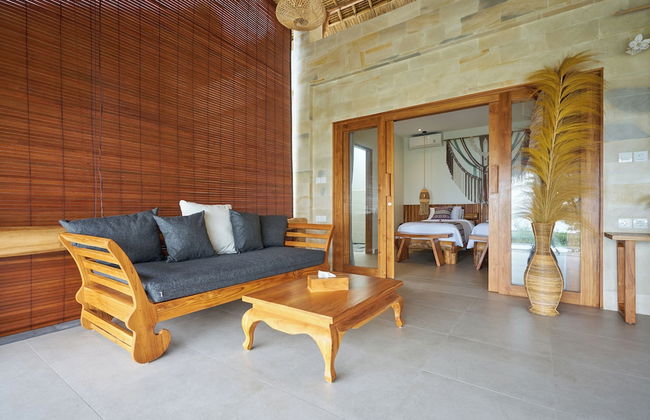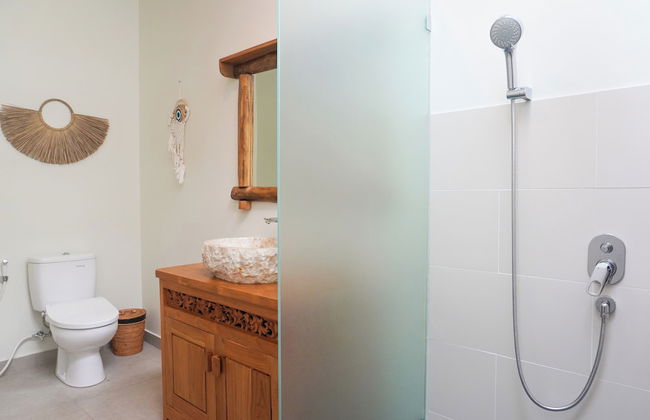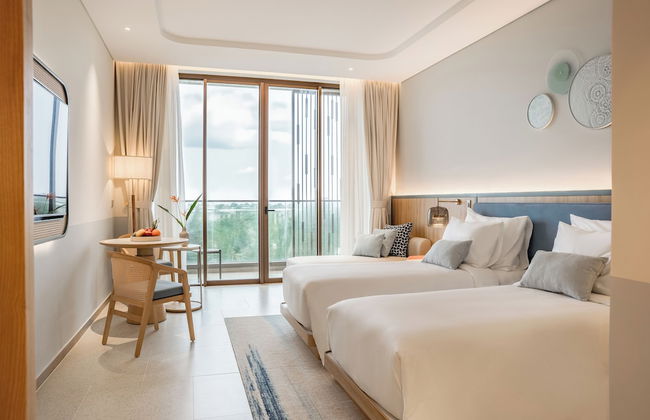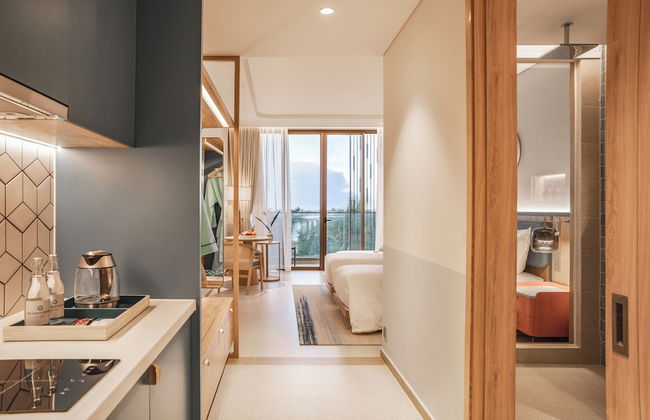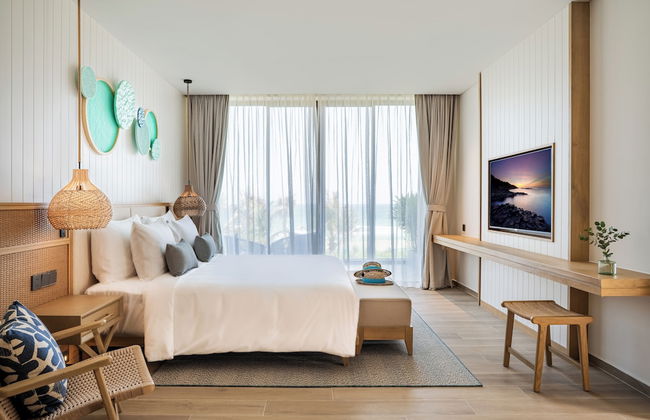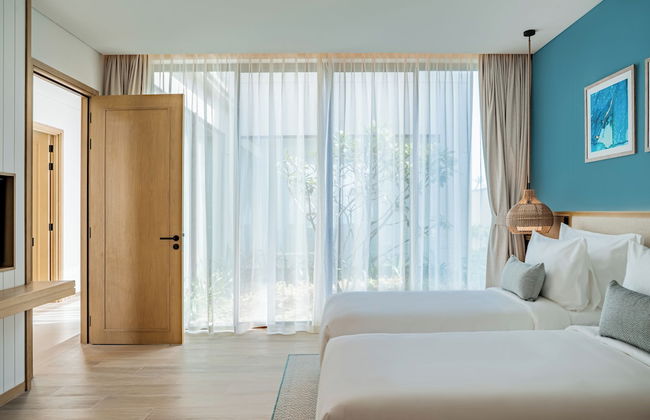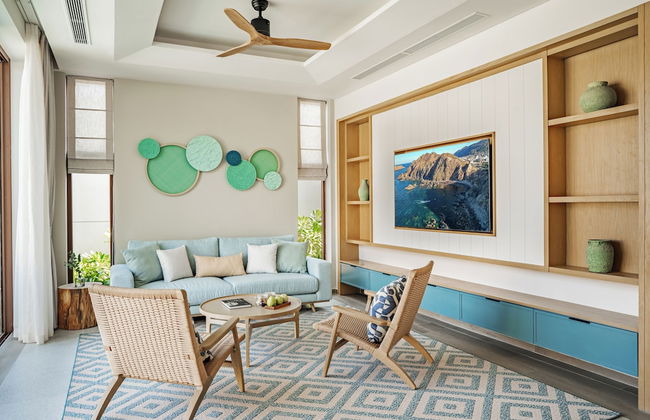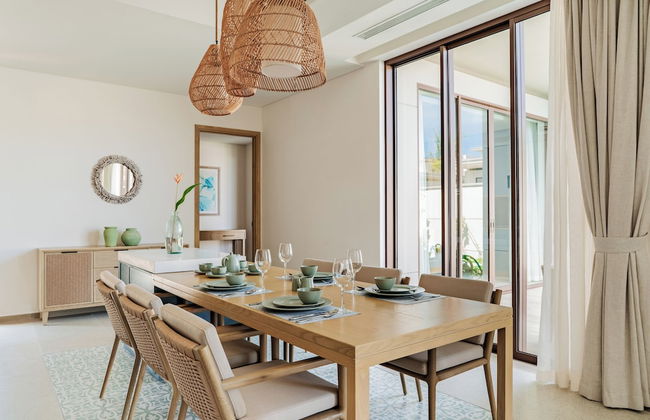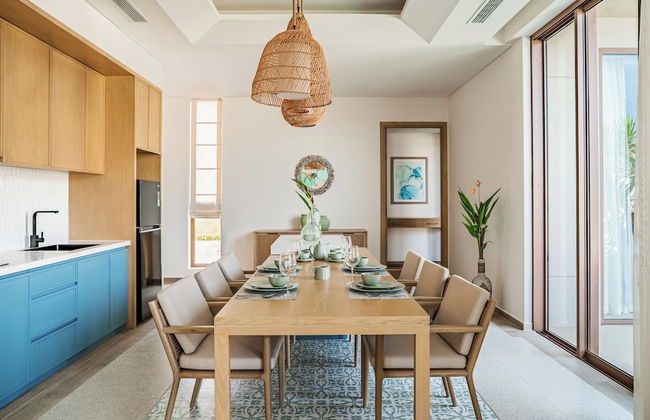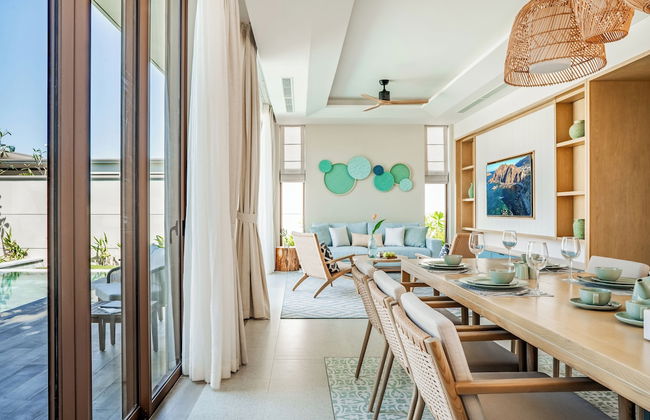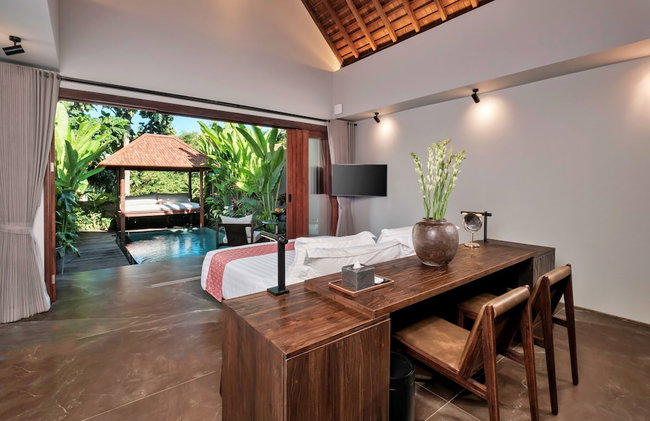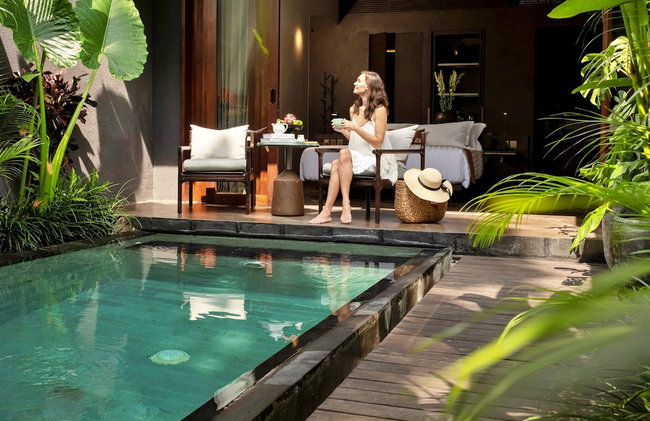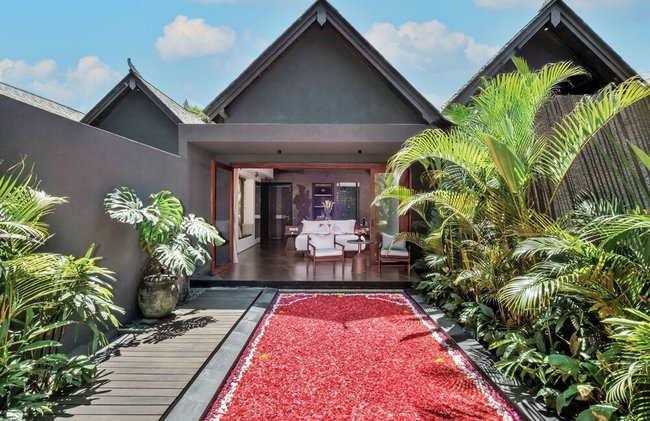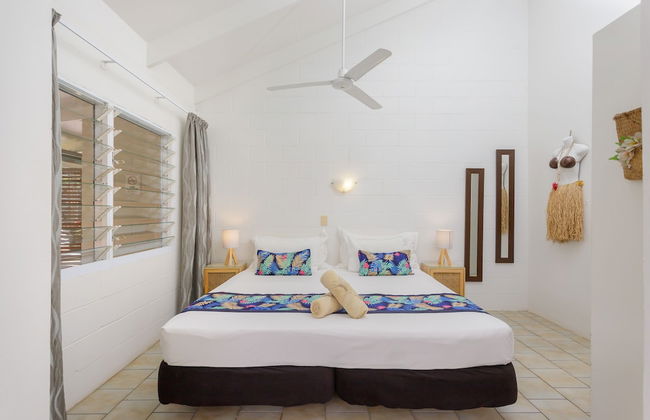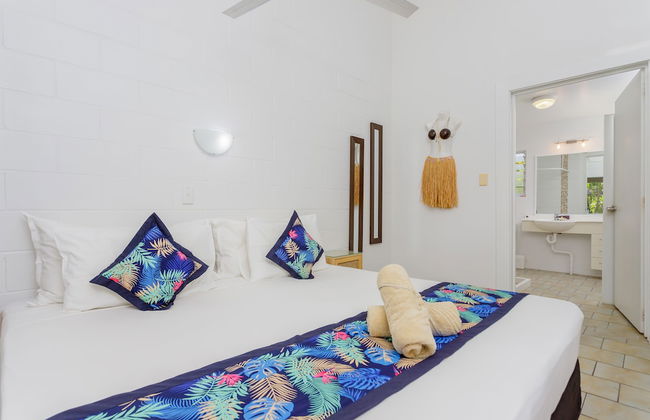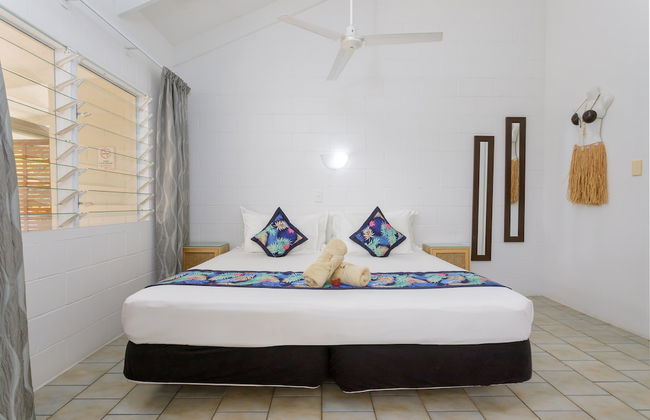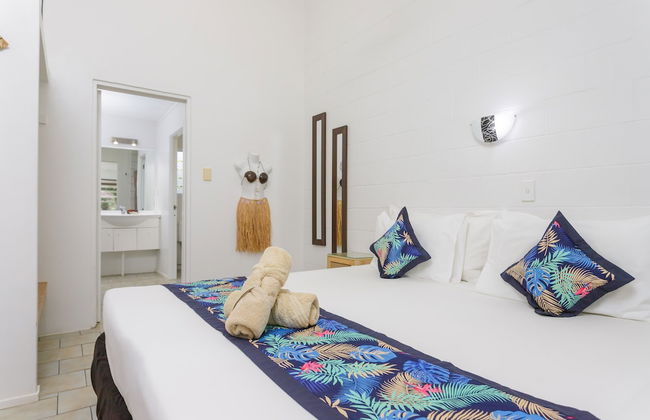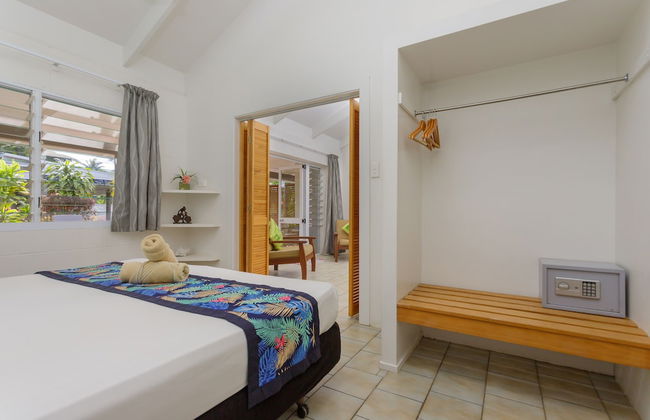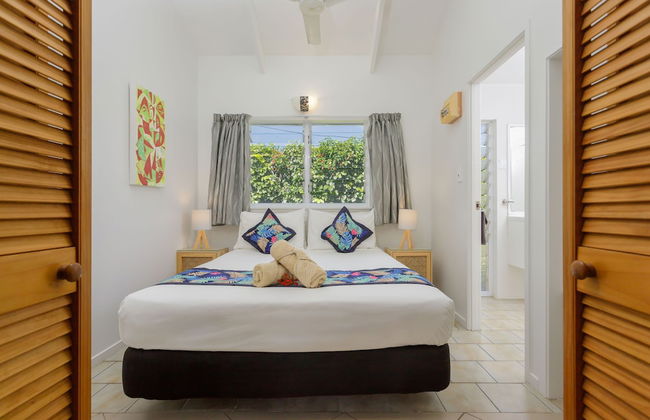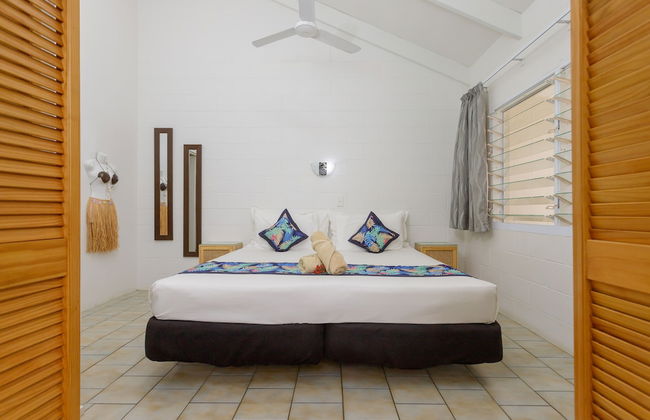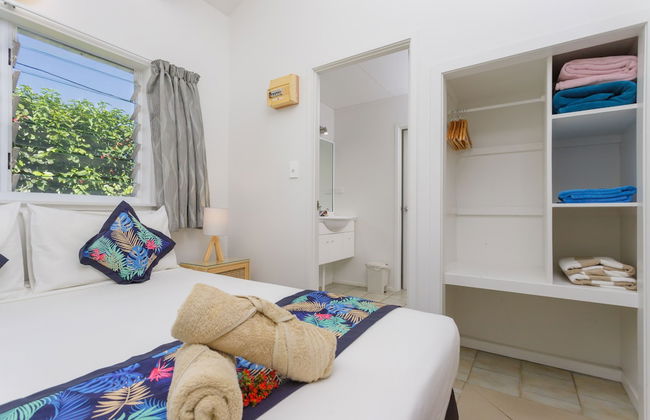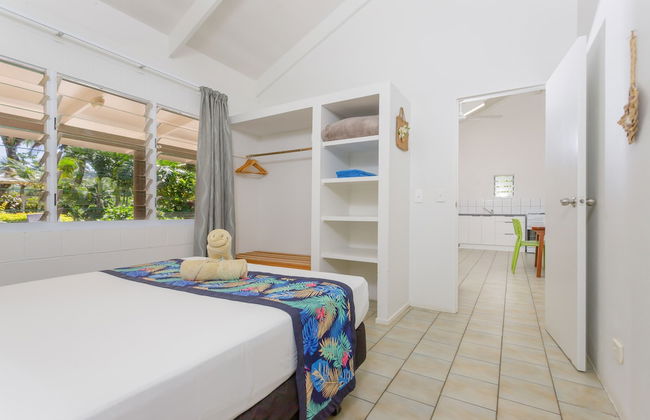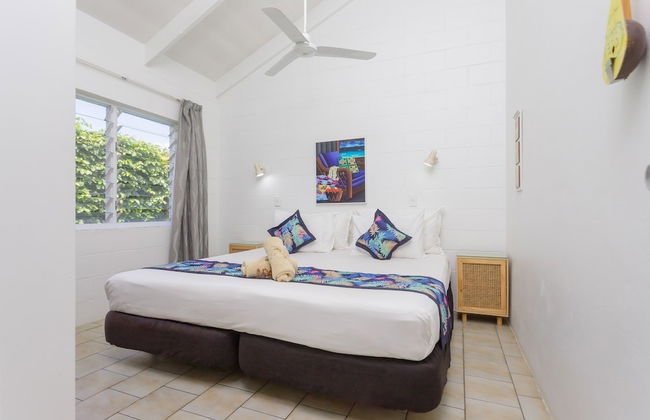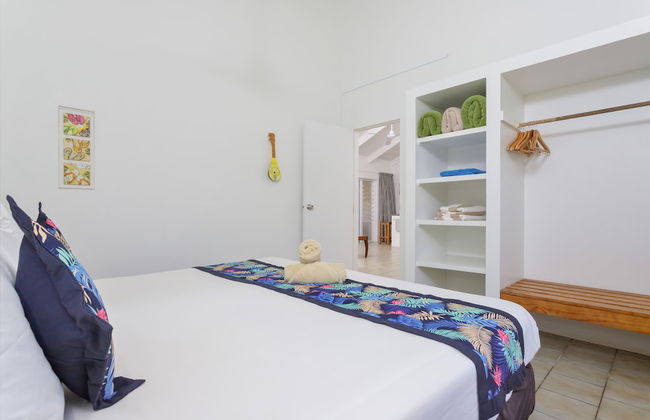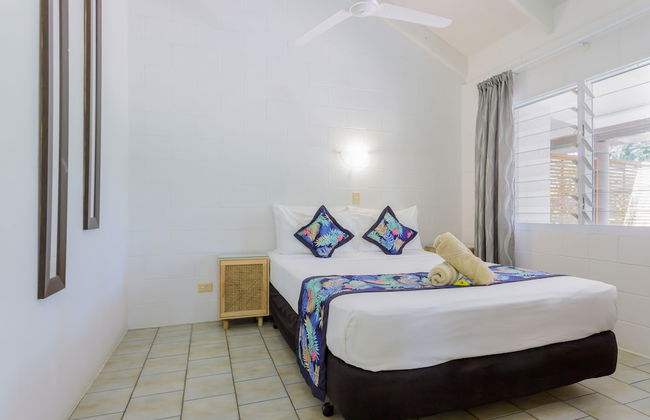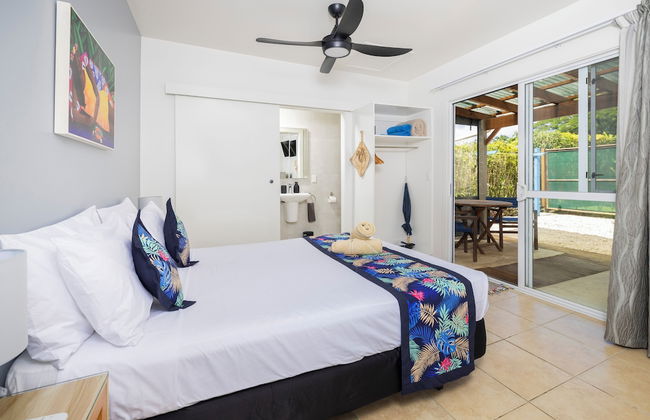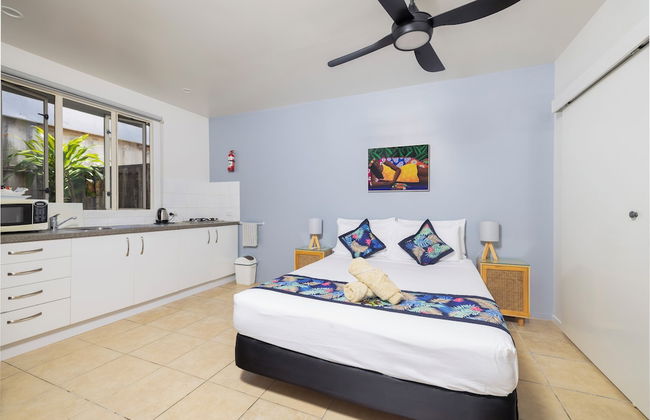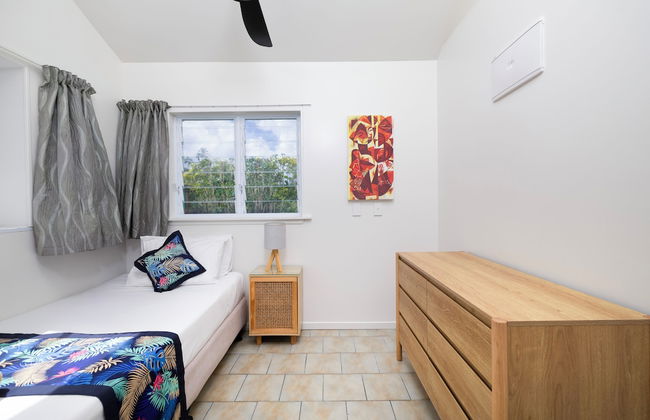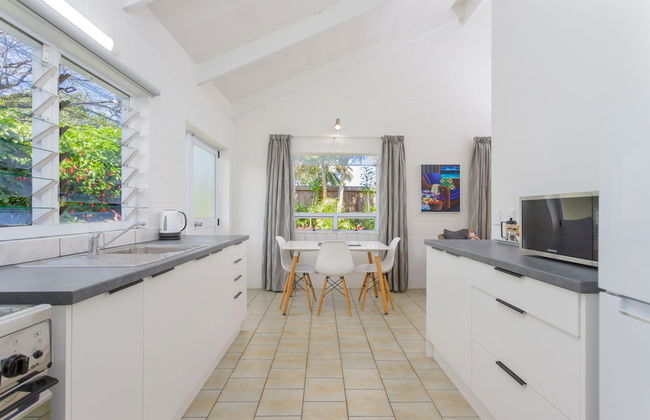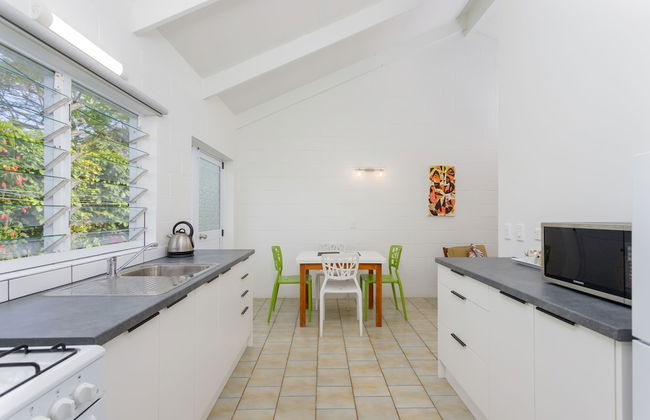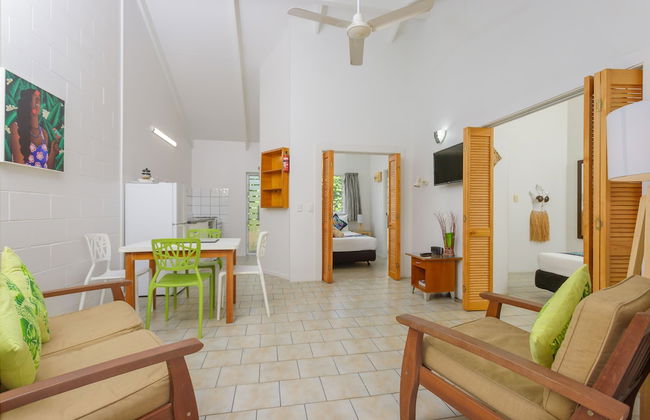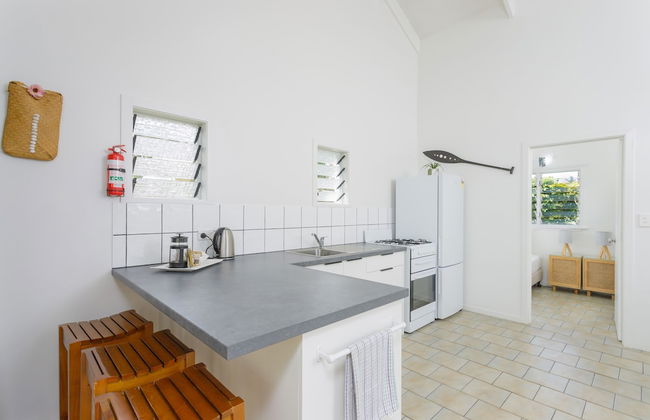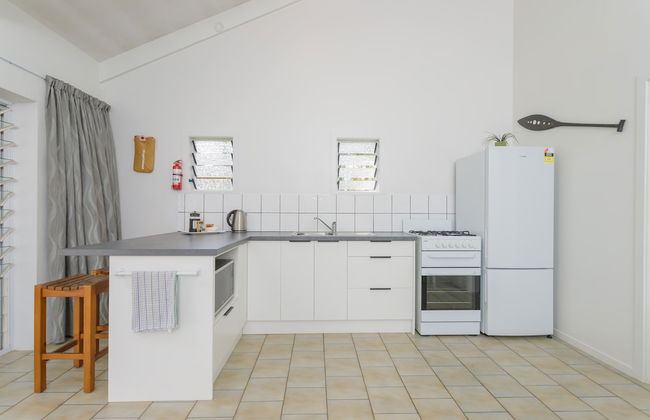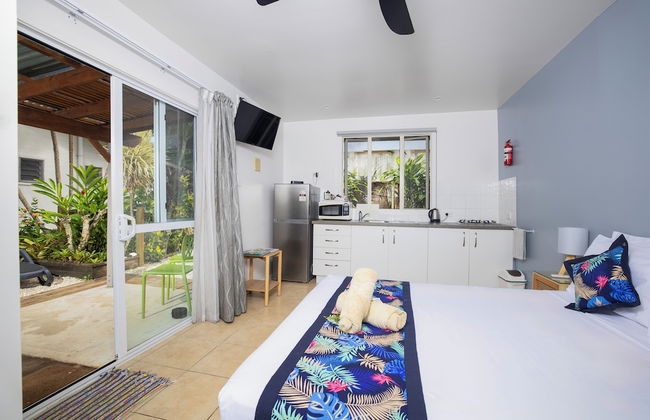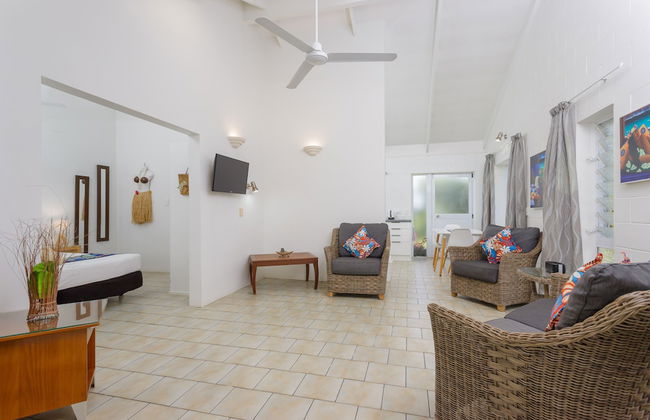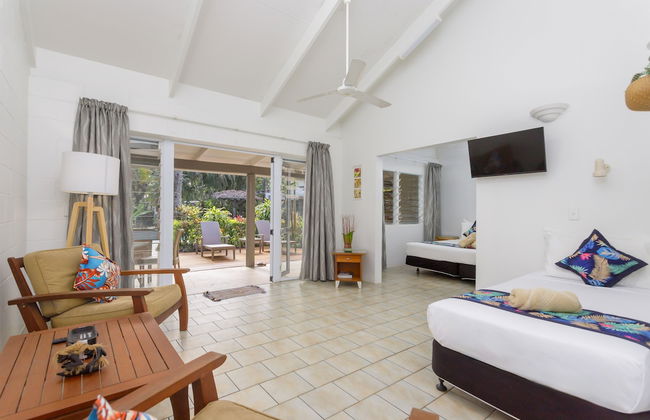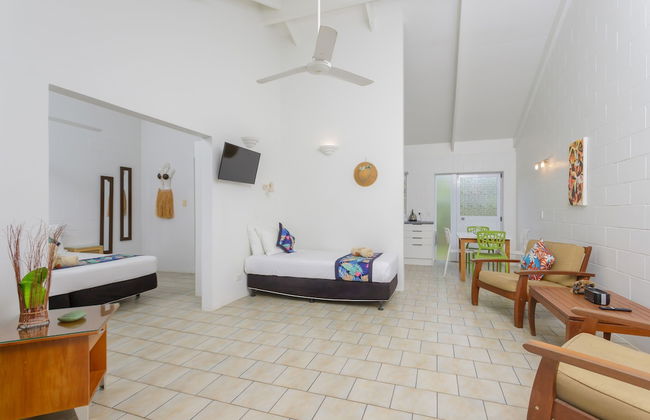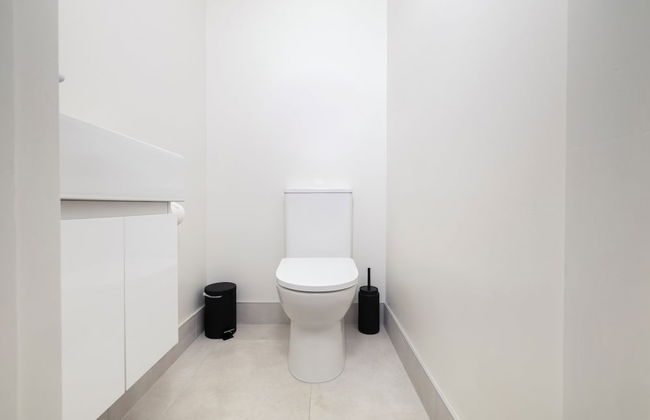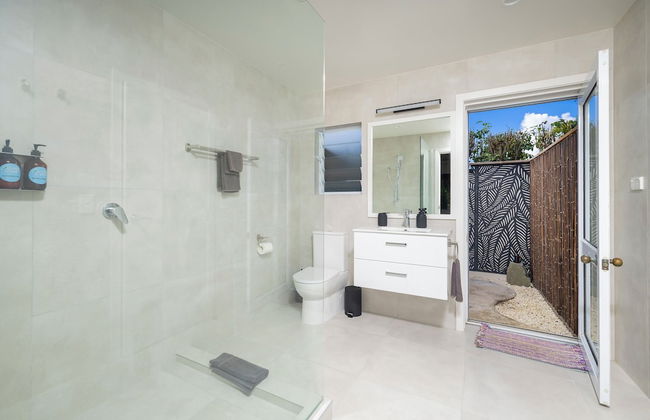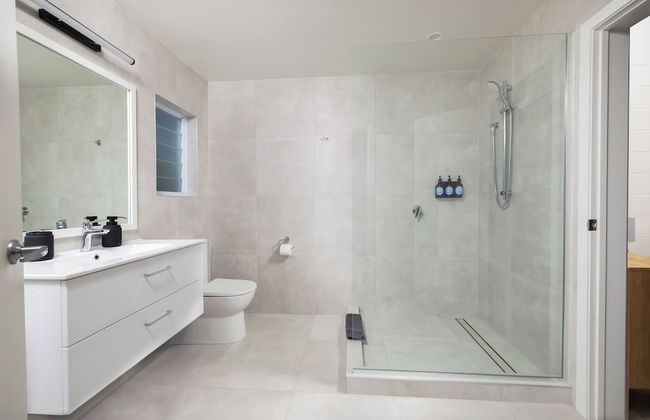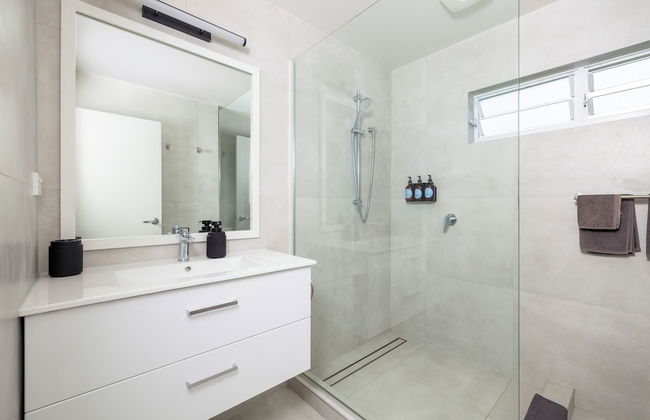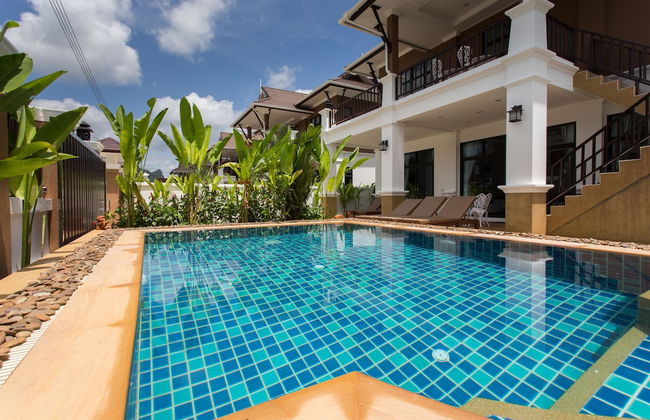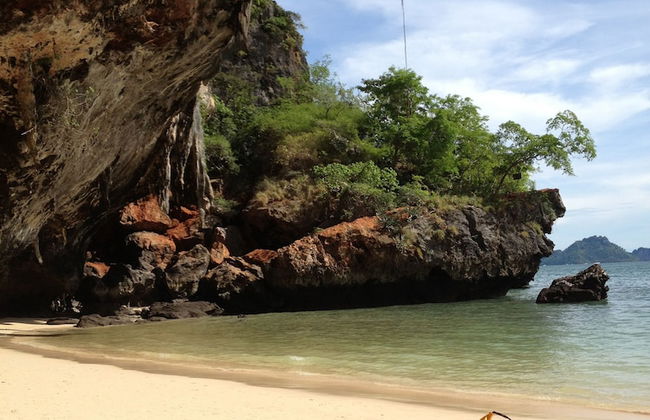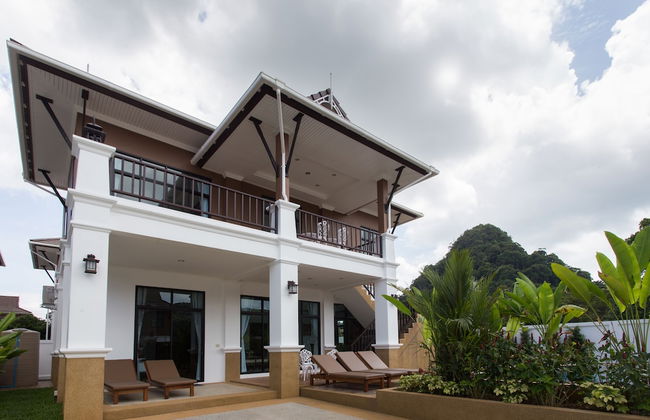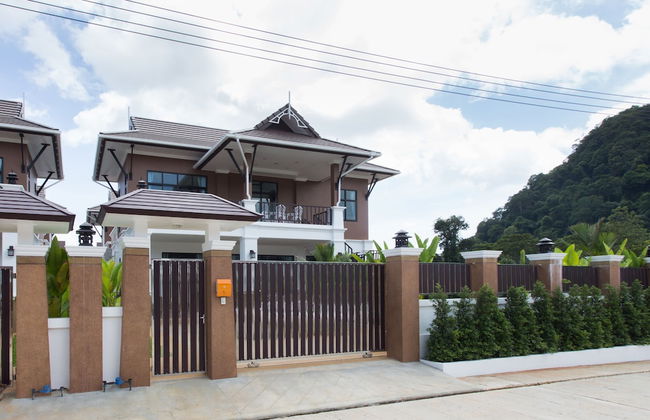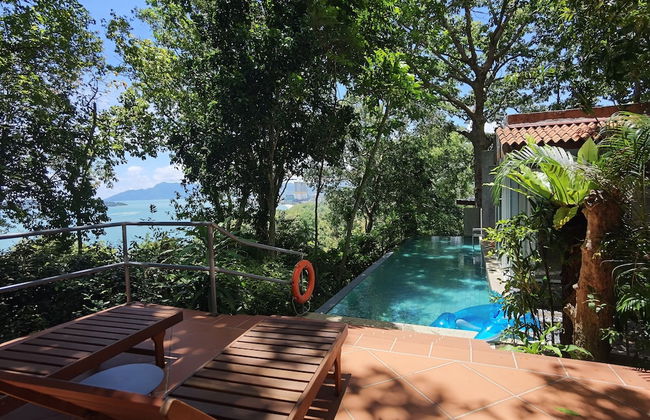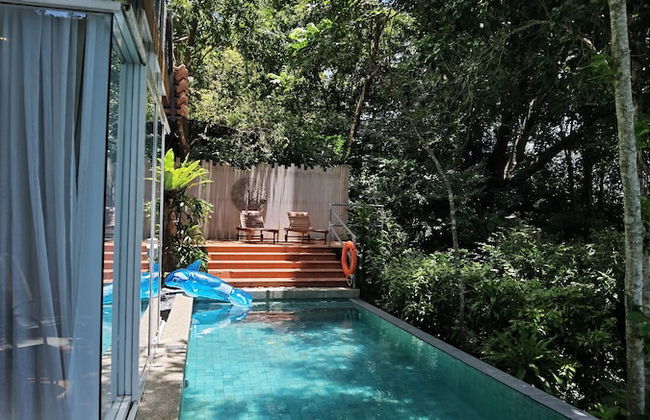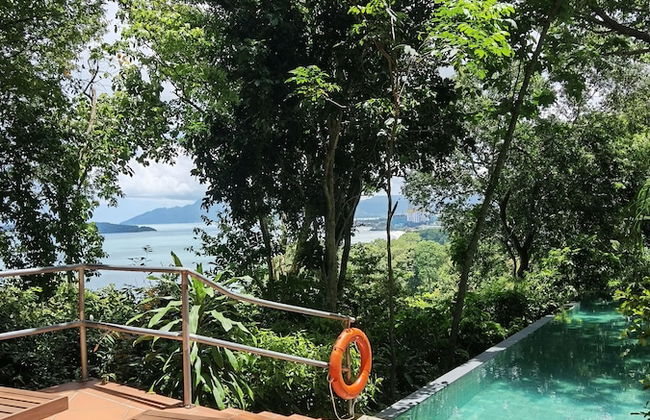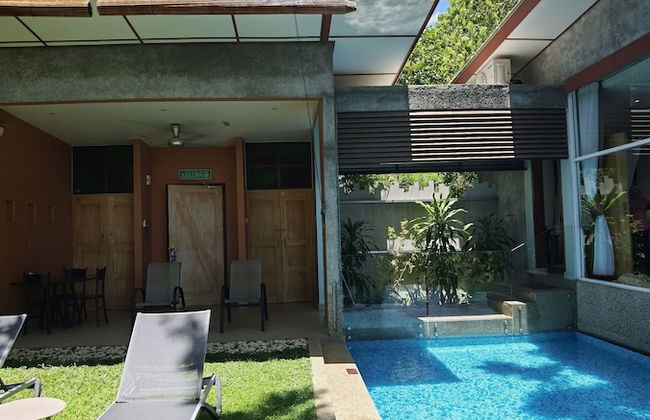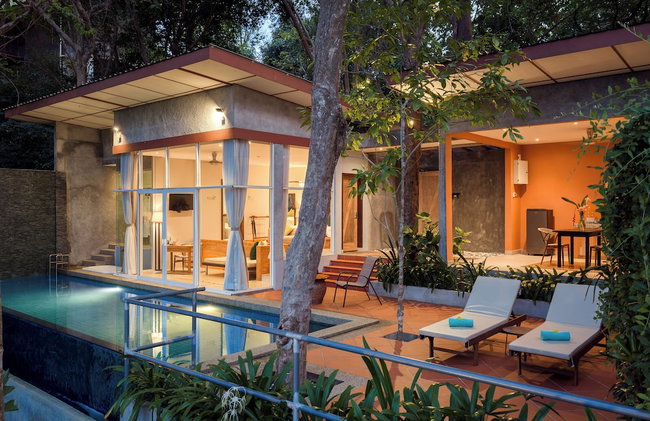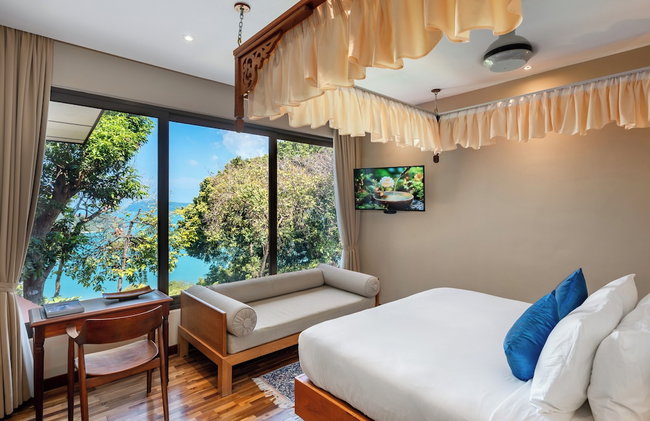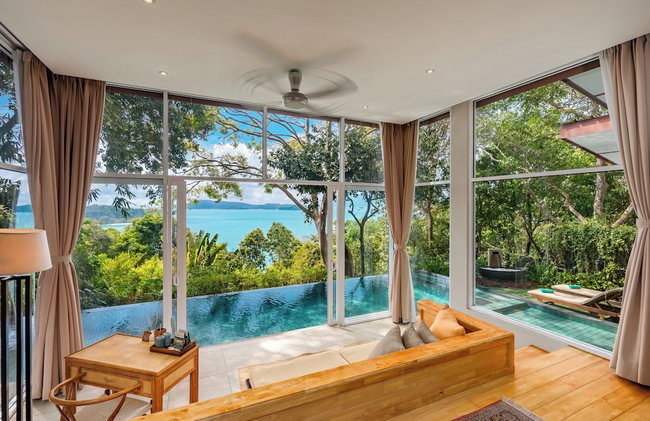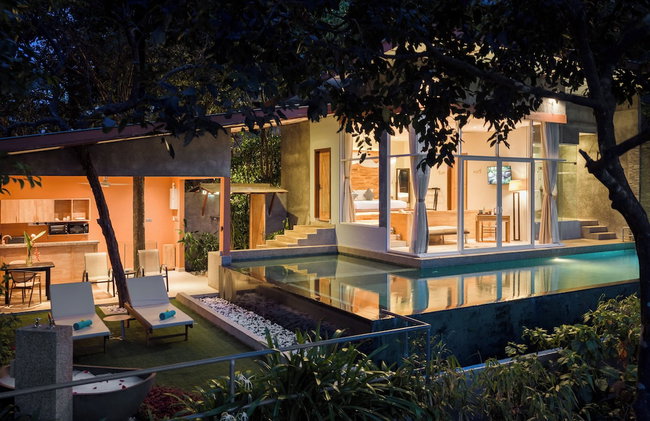

2532 Appartements près de Kitsissuarsuit Heliport
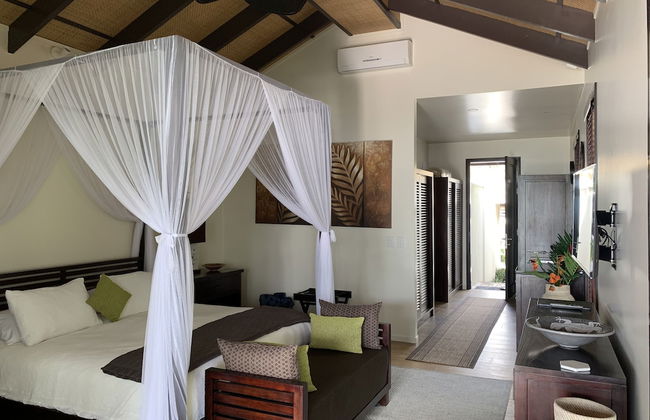
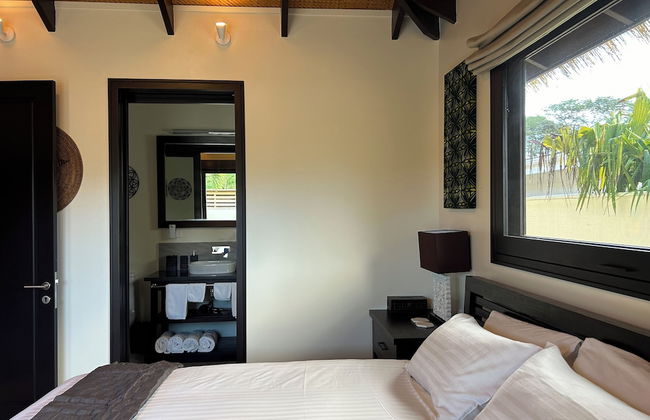
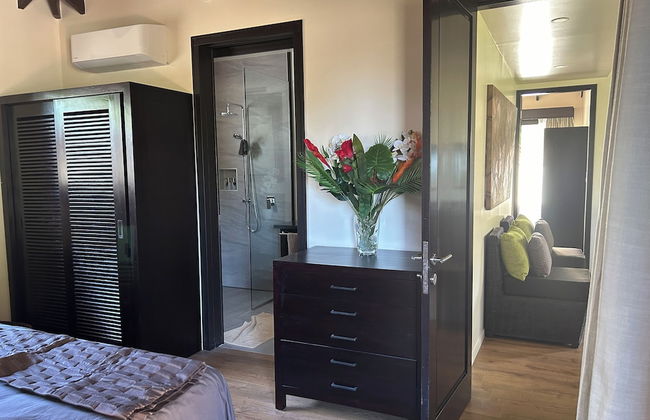
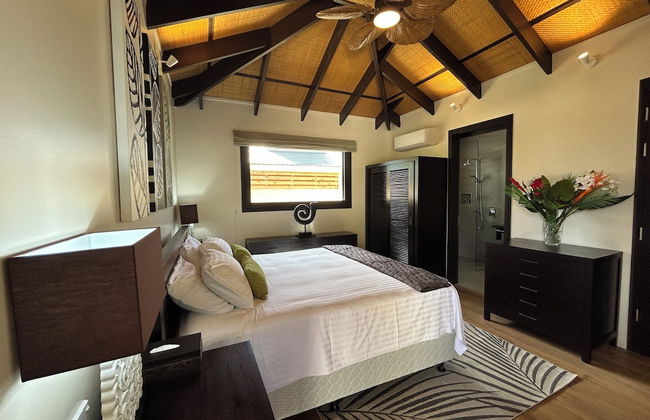
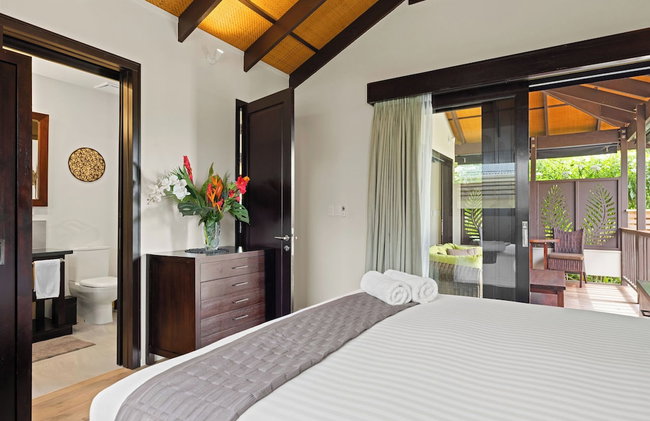
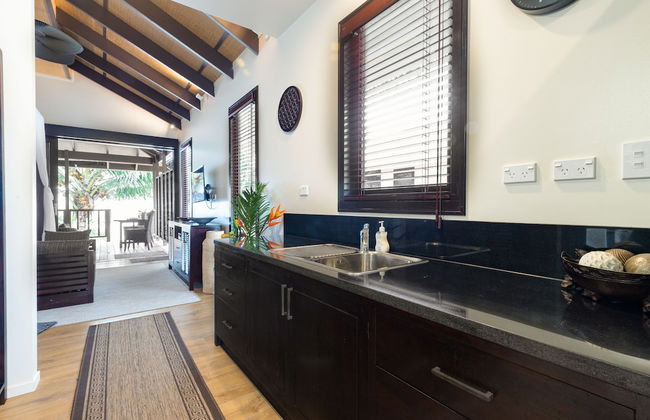
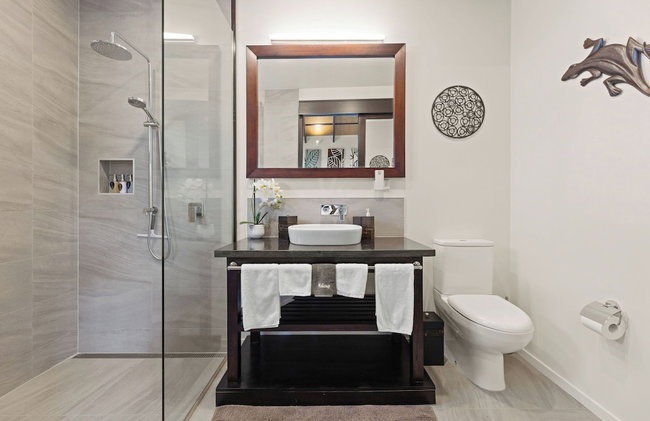
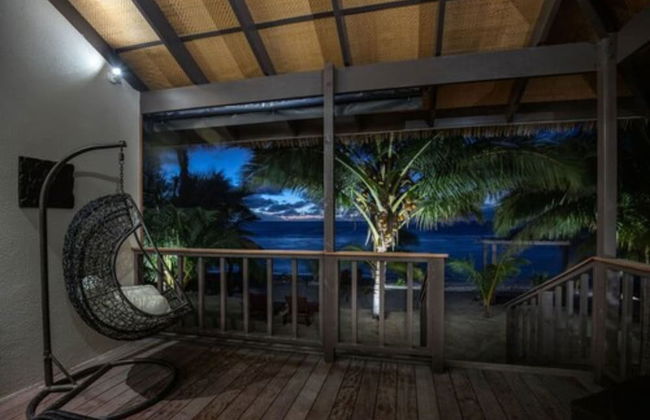
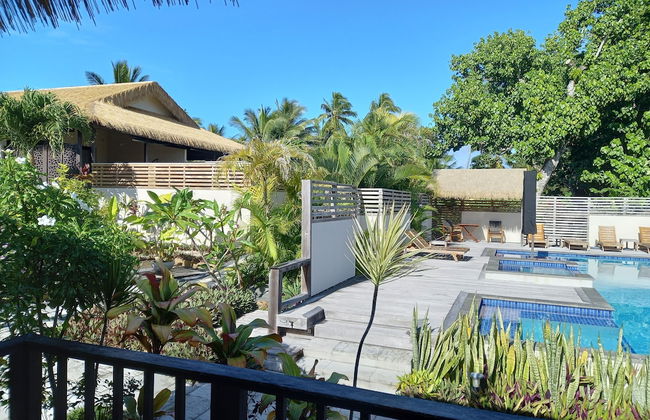
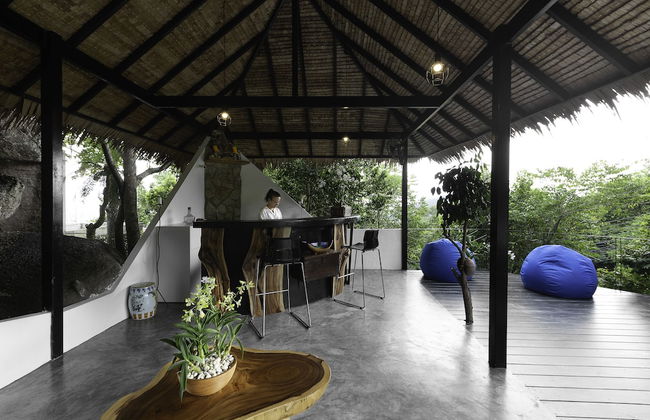
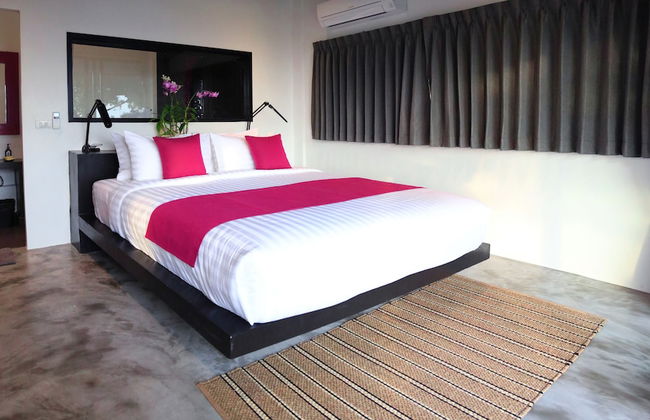
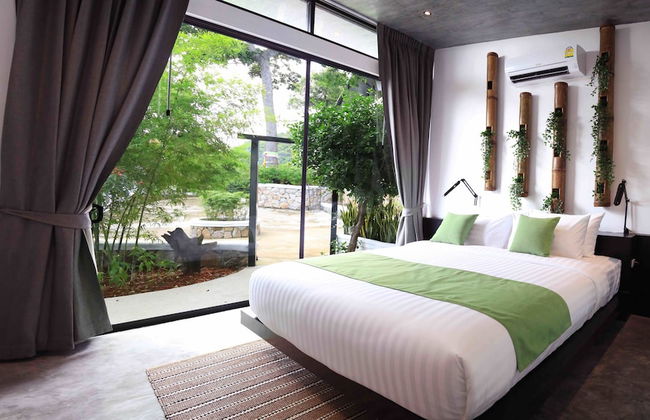
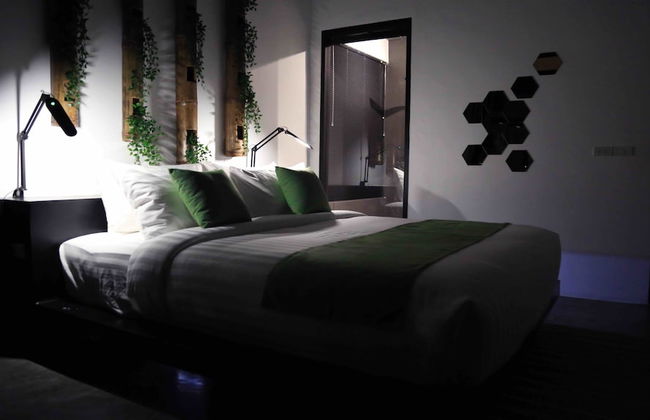
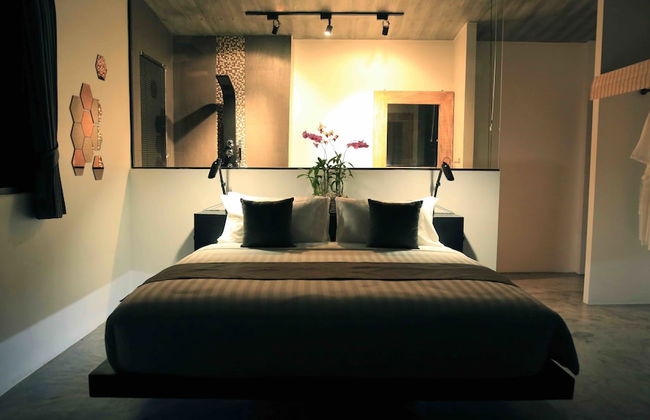
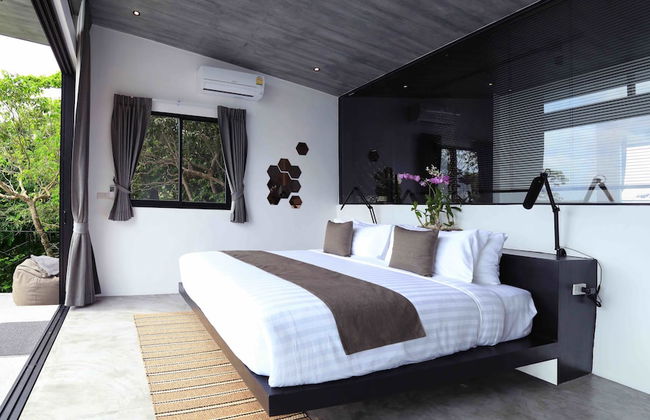
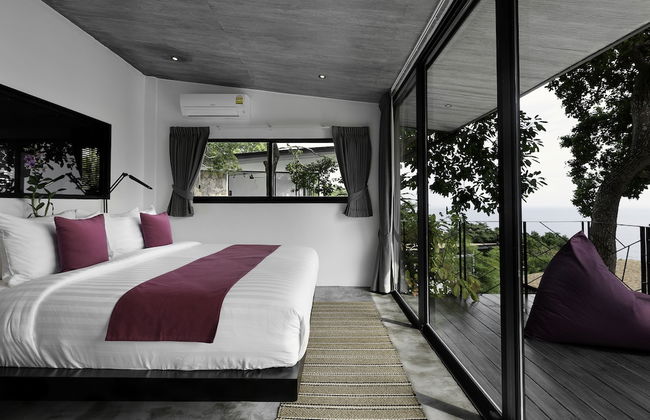
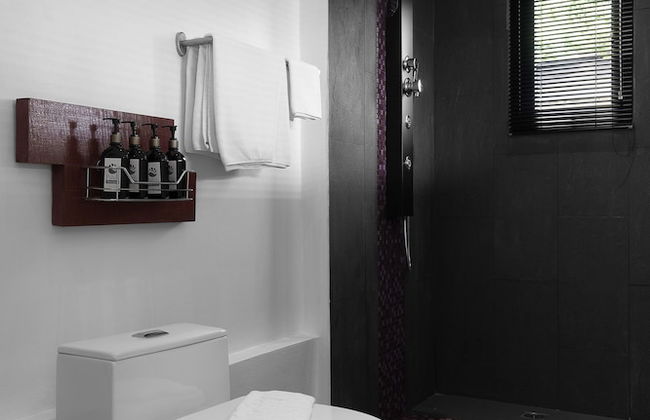
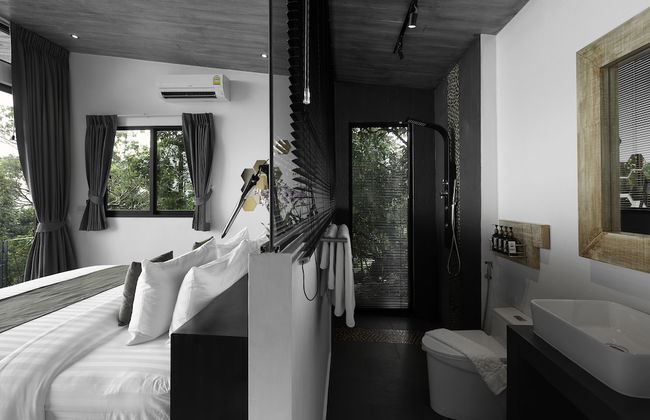
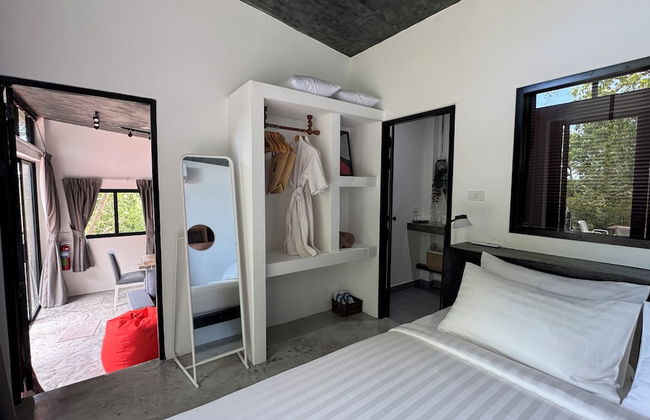
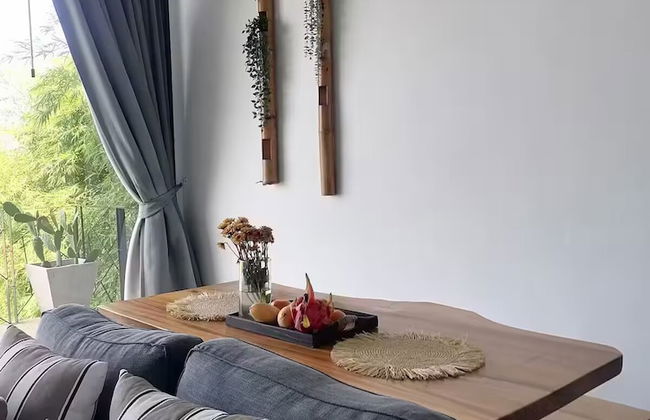
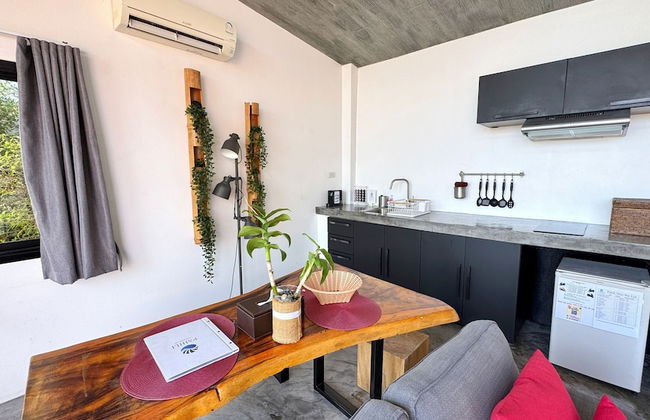
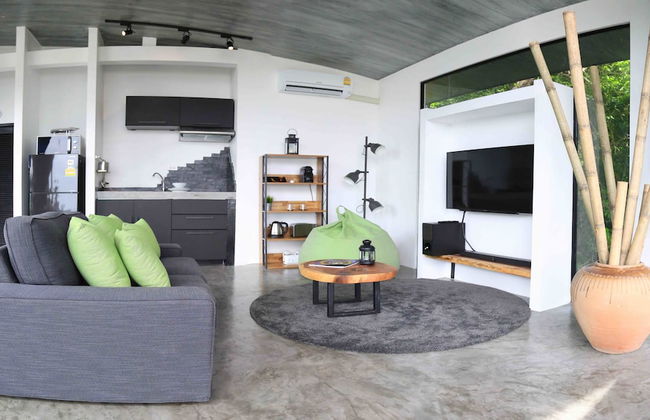
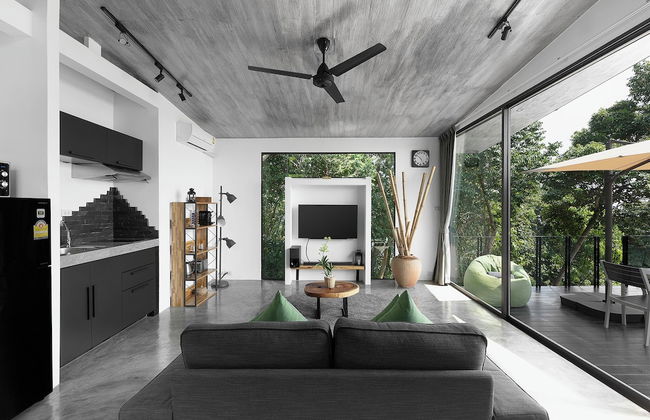
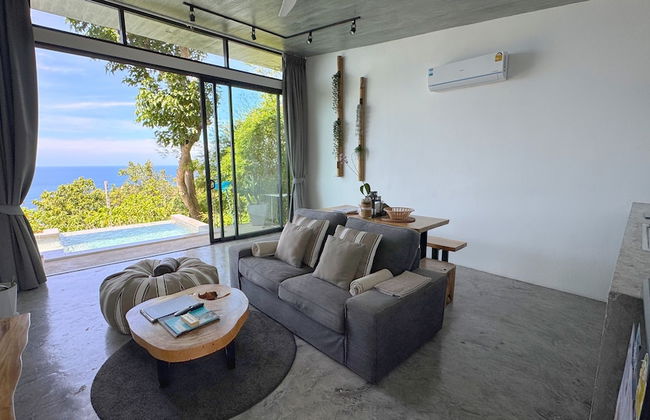
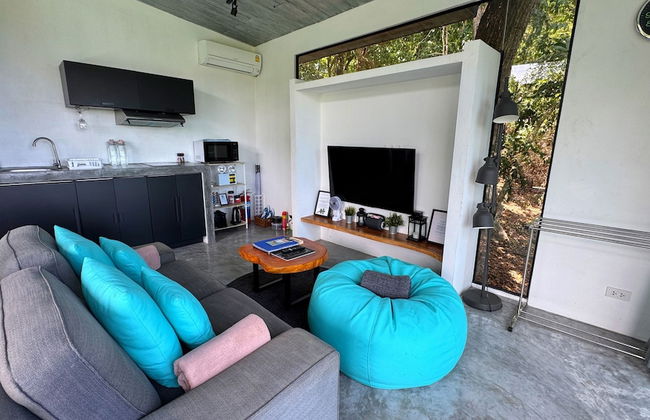
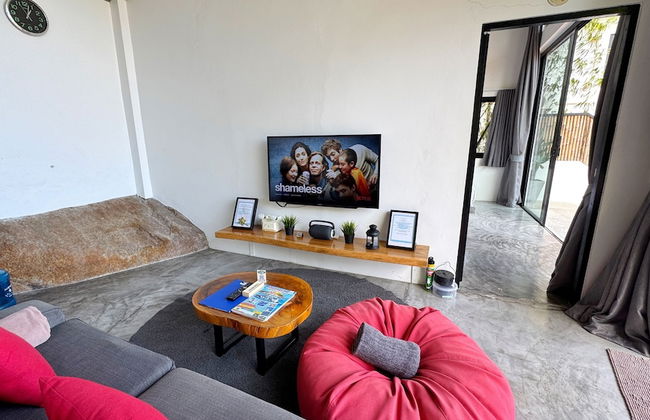
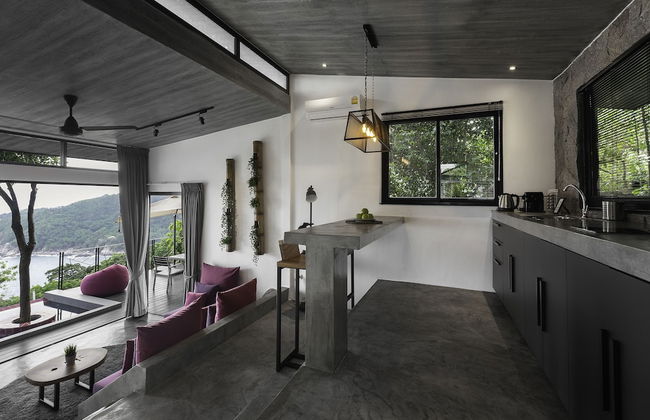
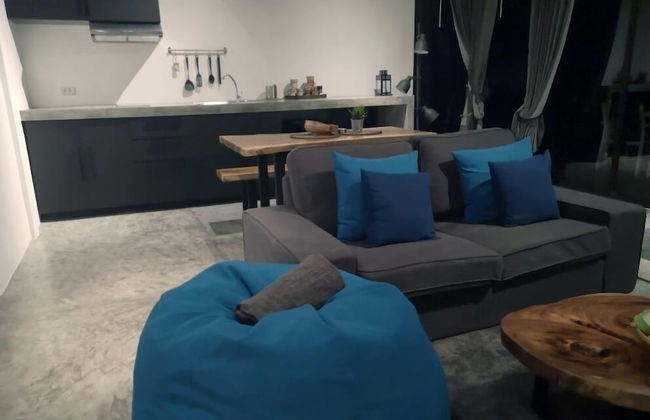
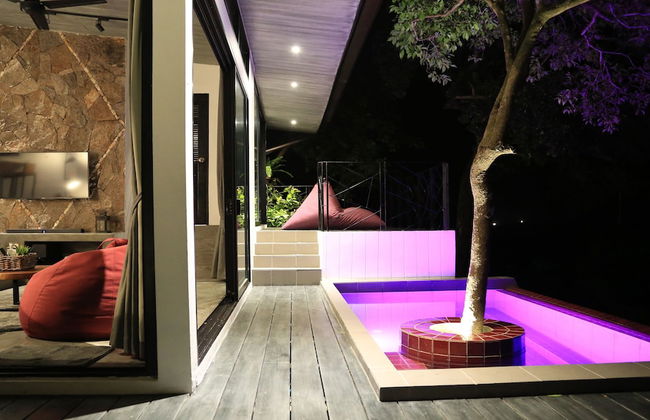
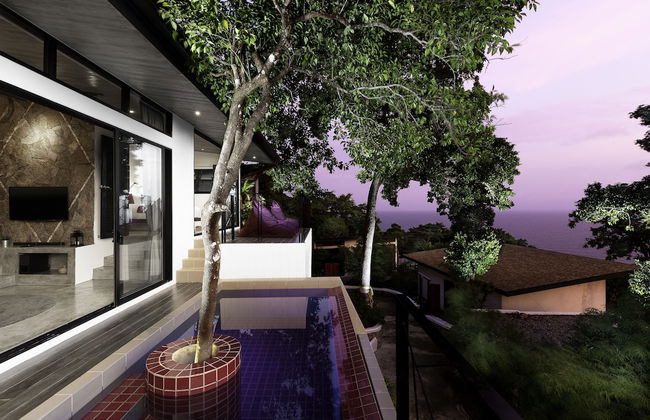
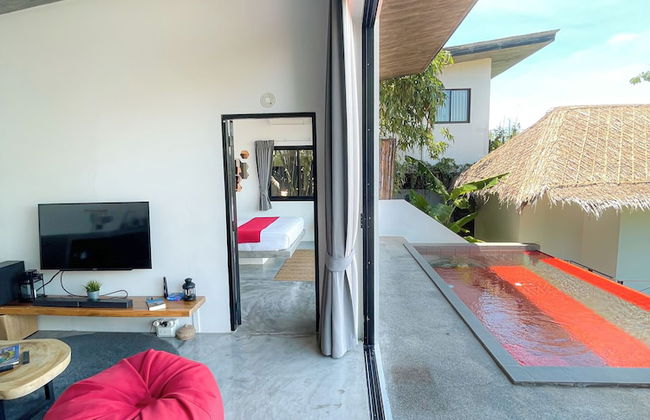
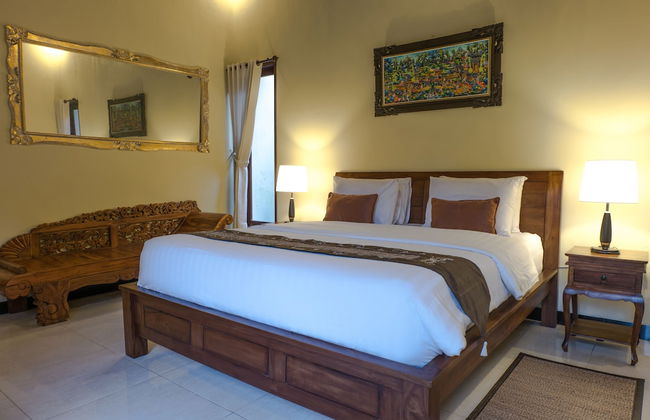
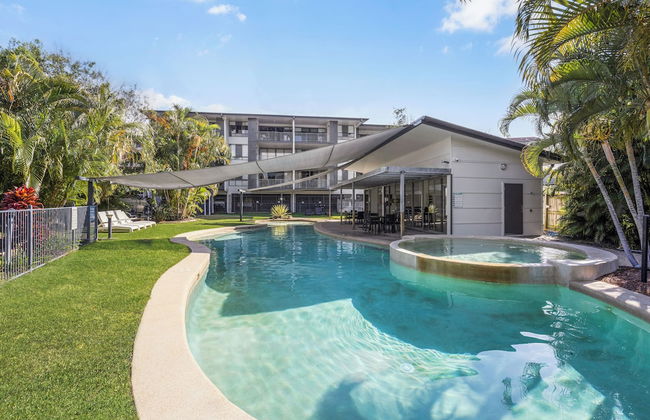
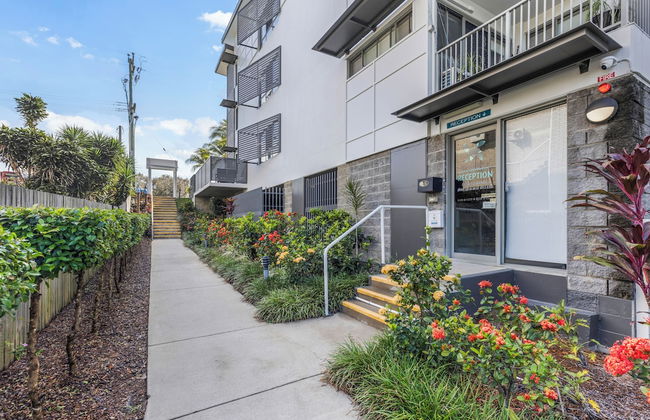
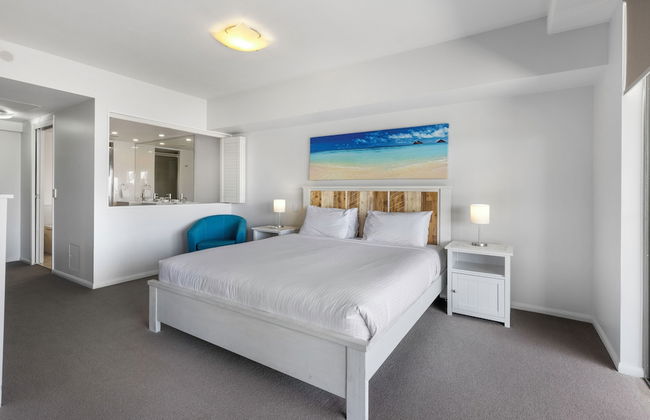
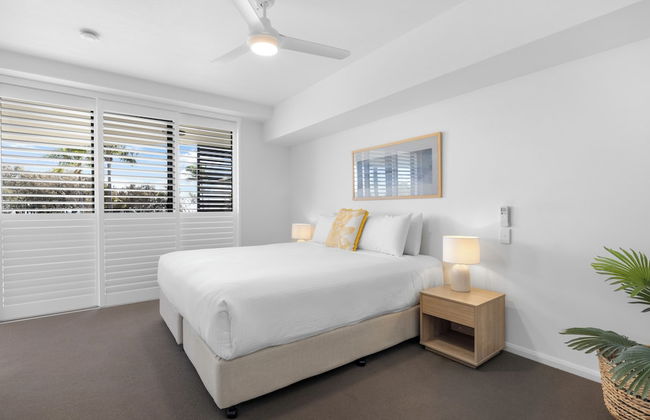
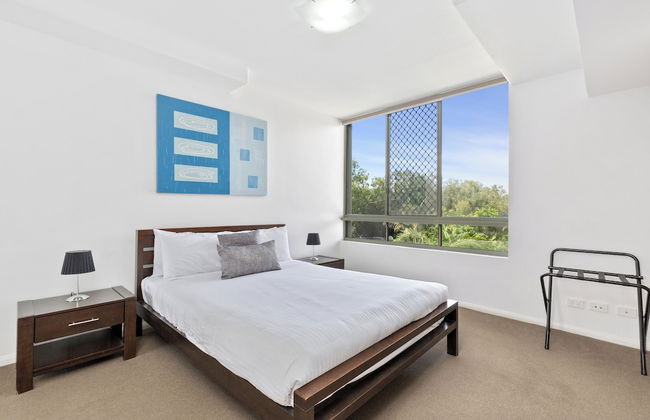
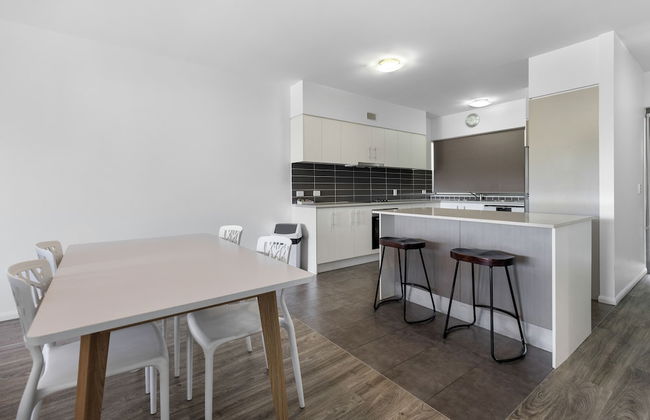
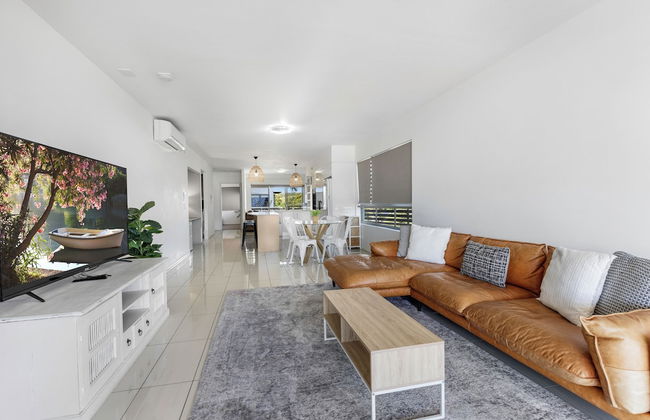
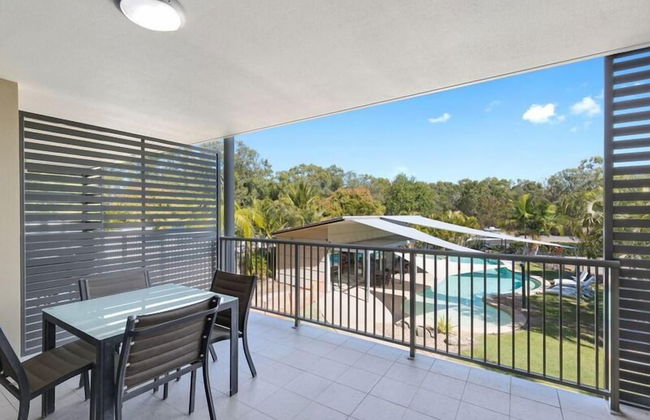
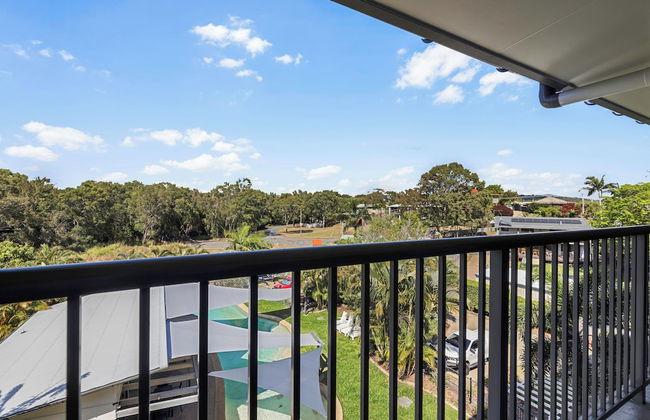
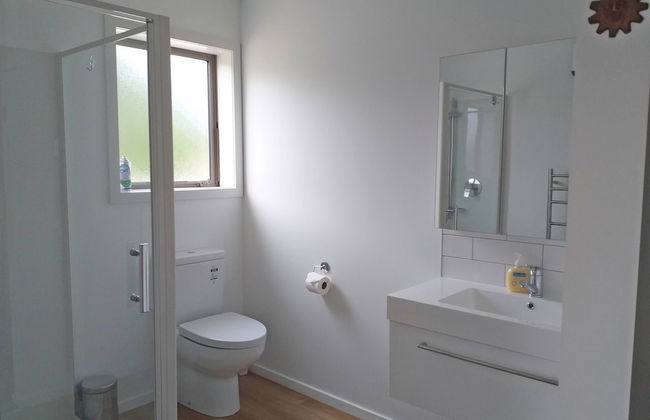
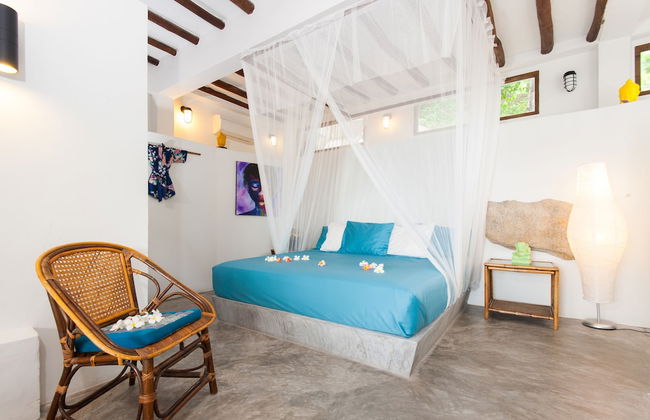
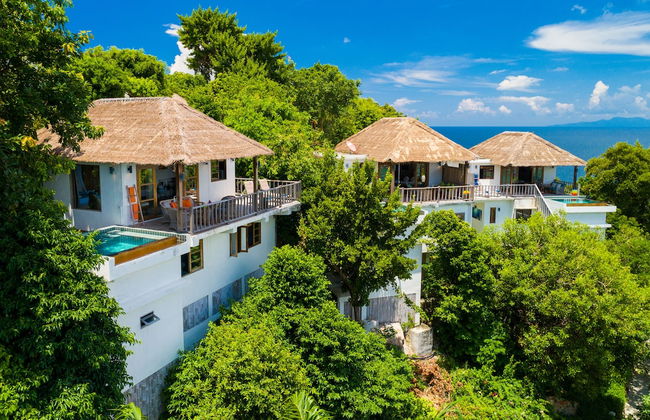
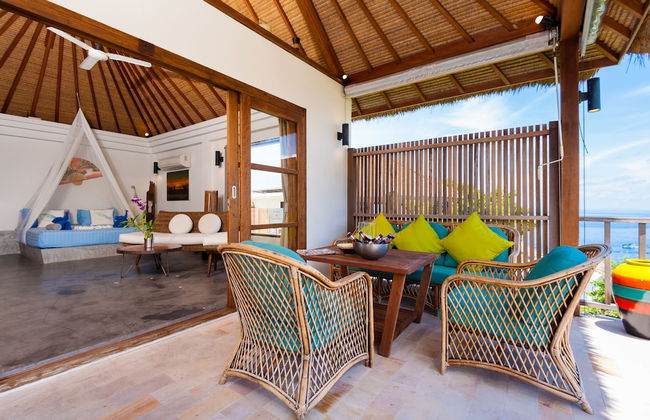
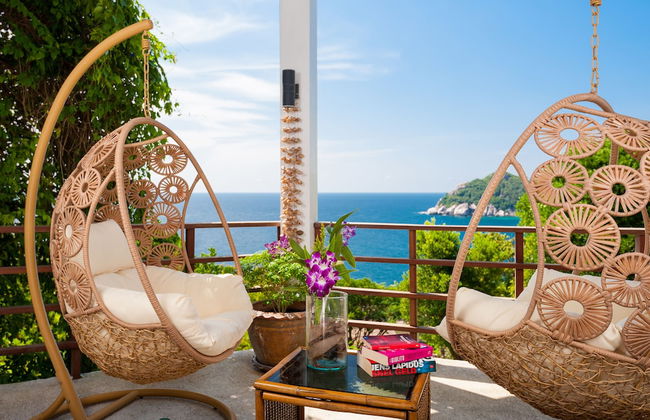
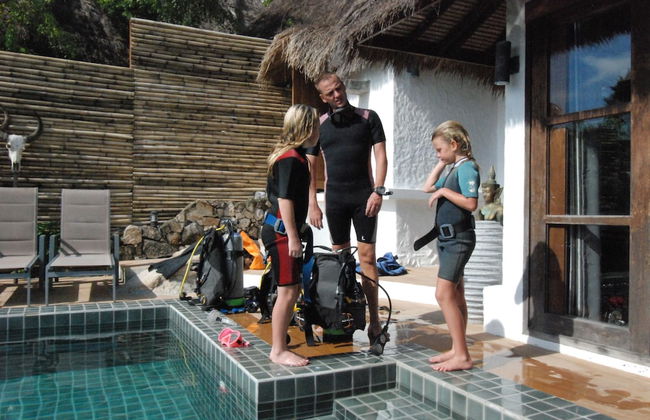
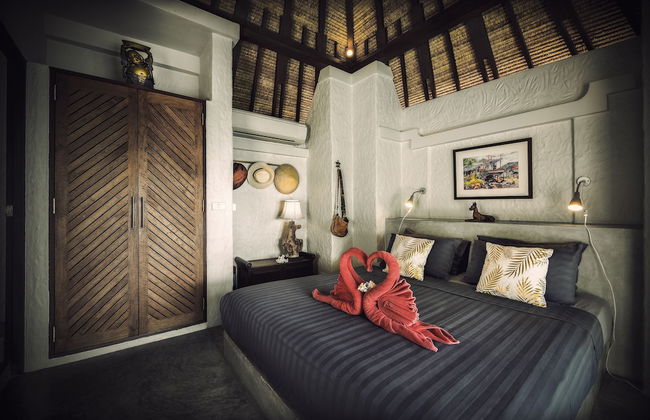
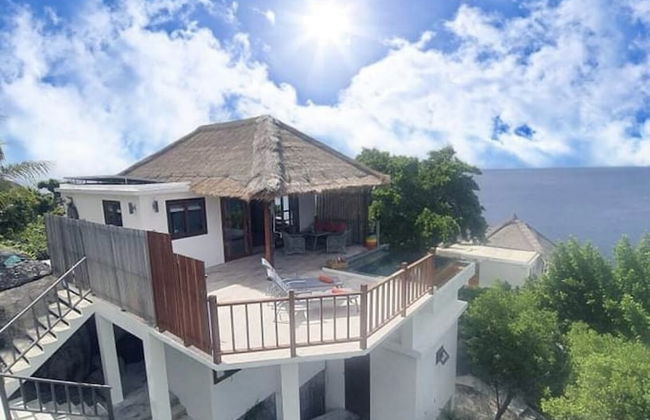
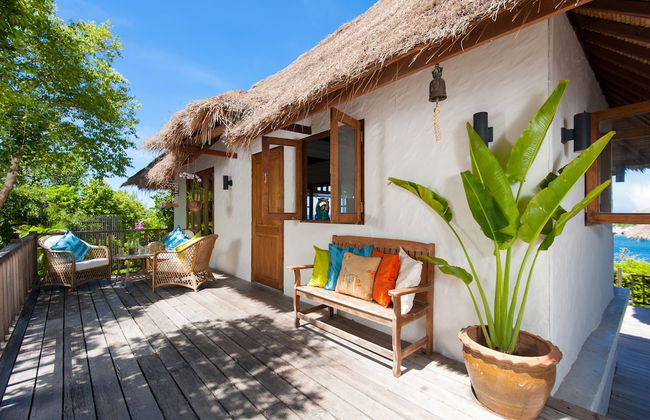
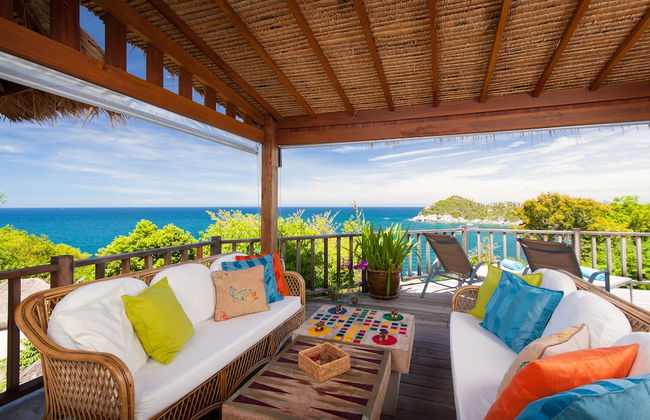
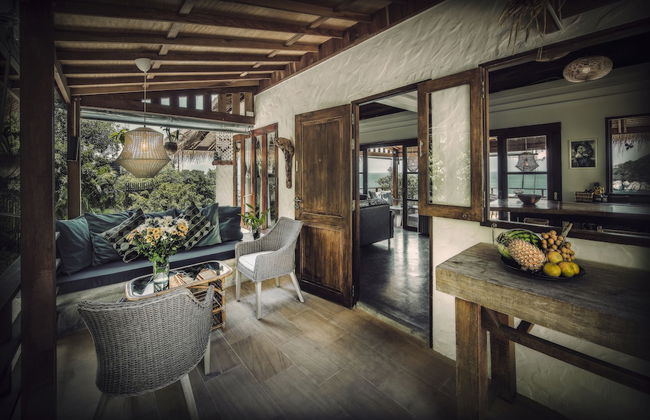
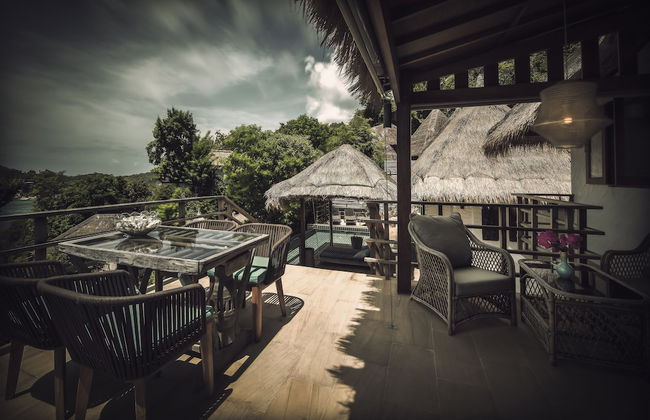
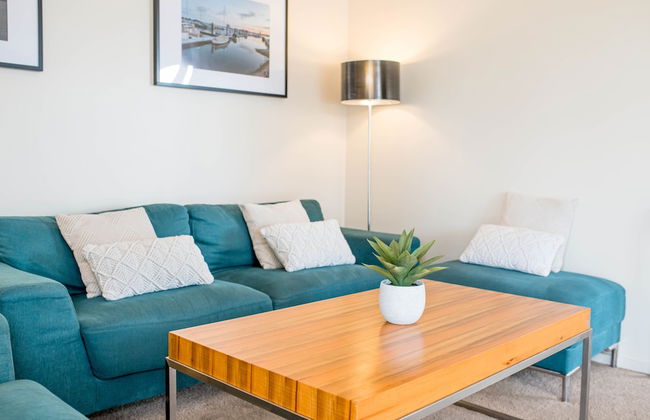
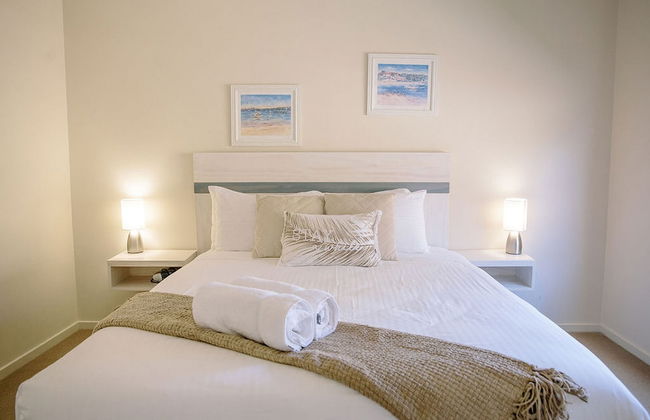
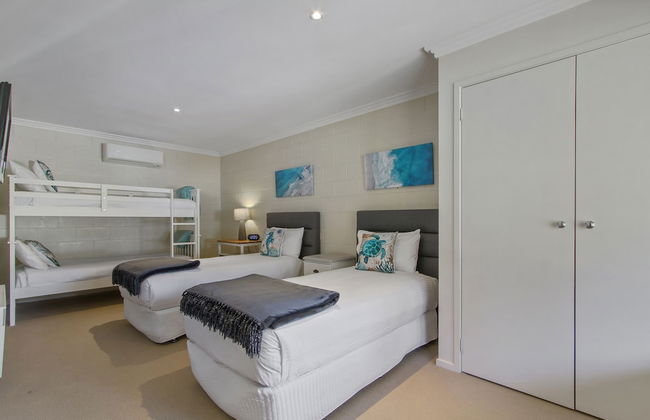
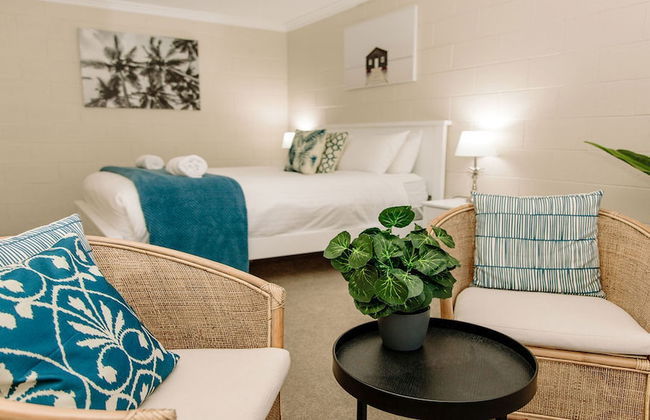
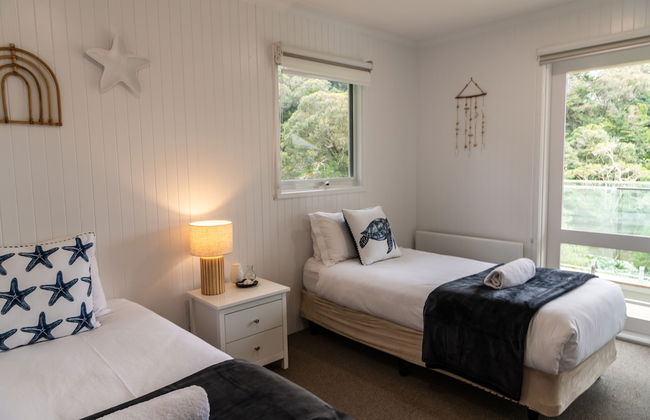
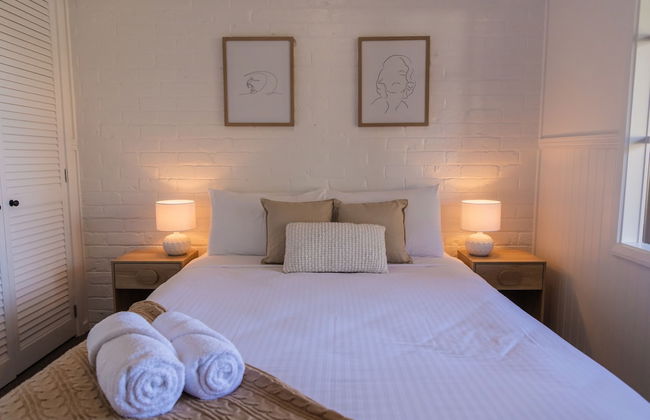
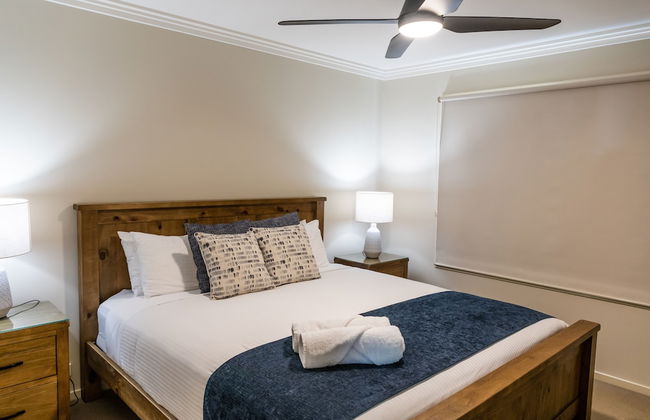
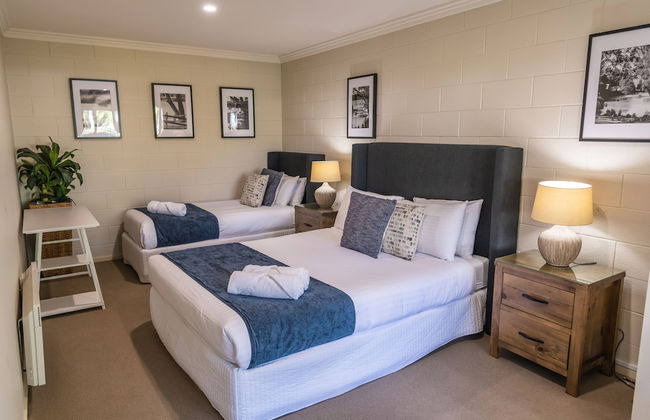
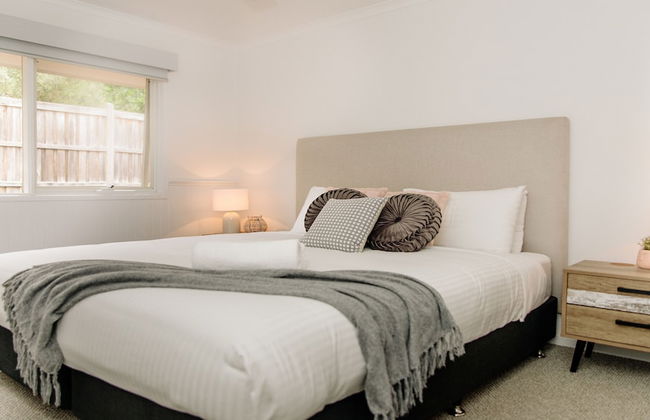
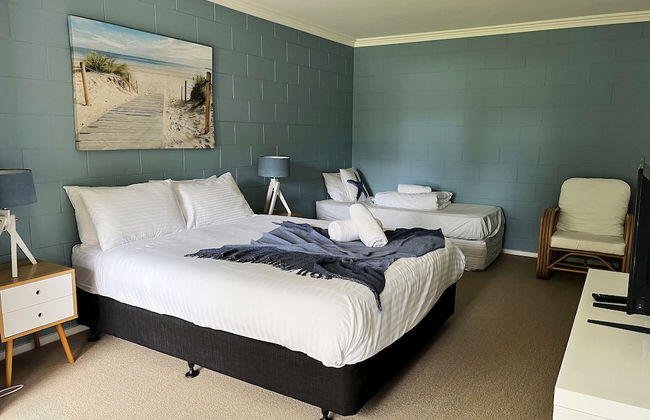
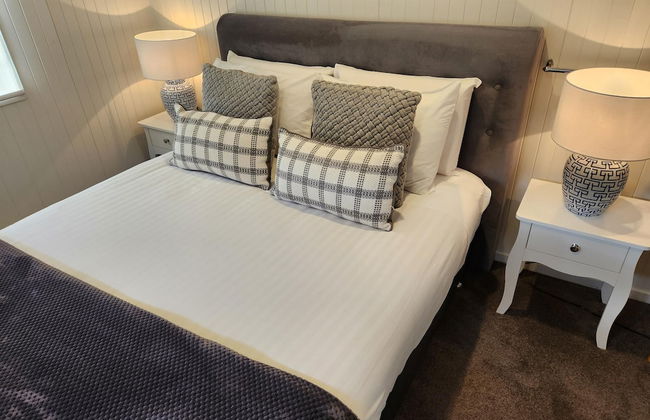
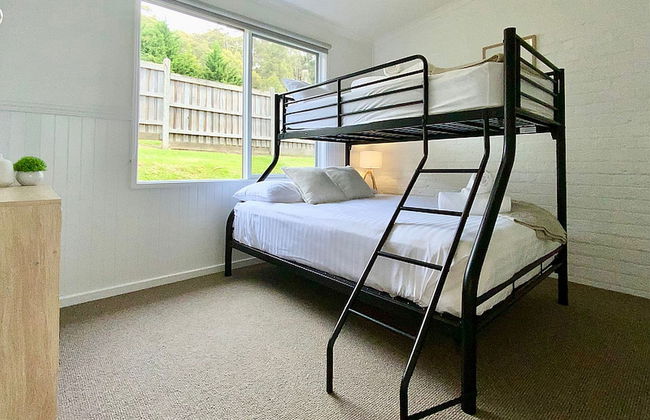
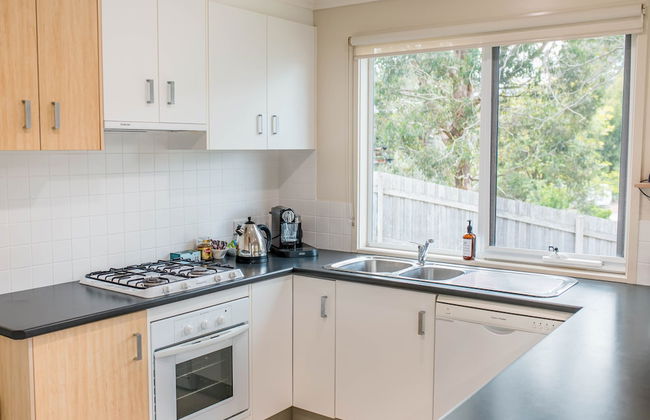
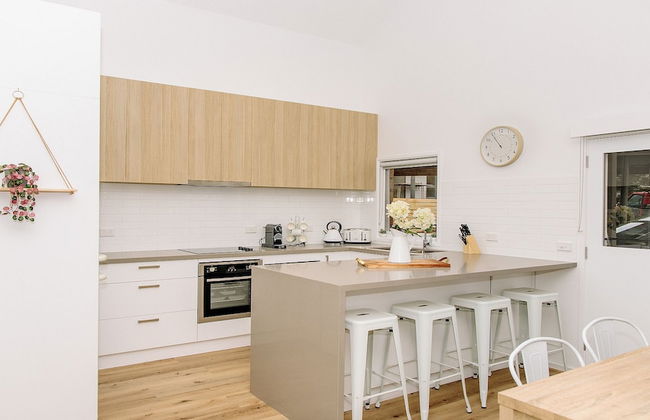
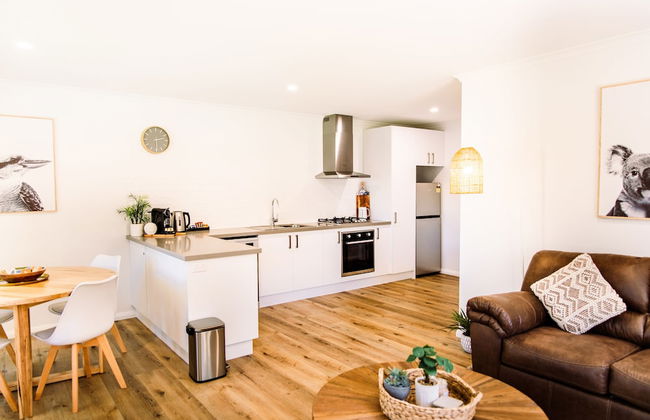
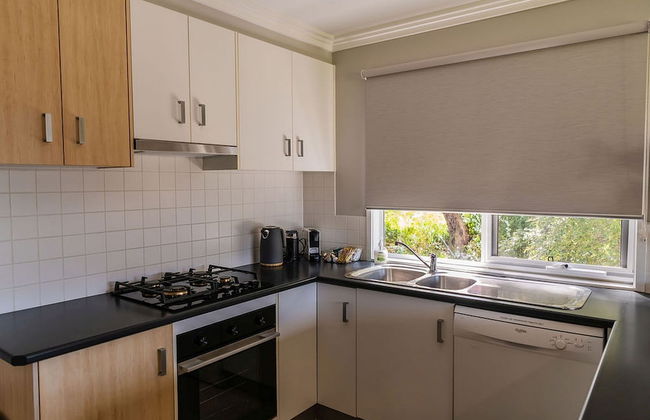
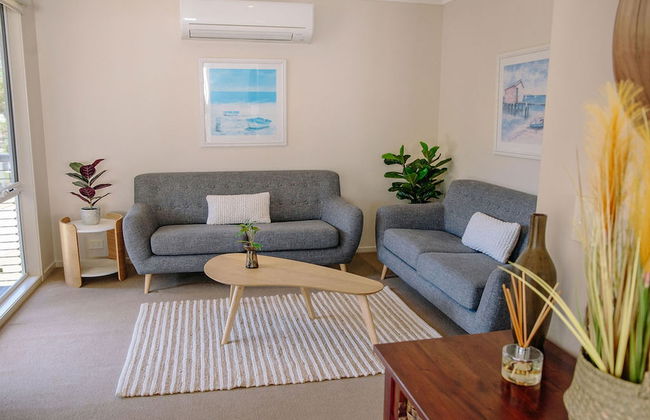
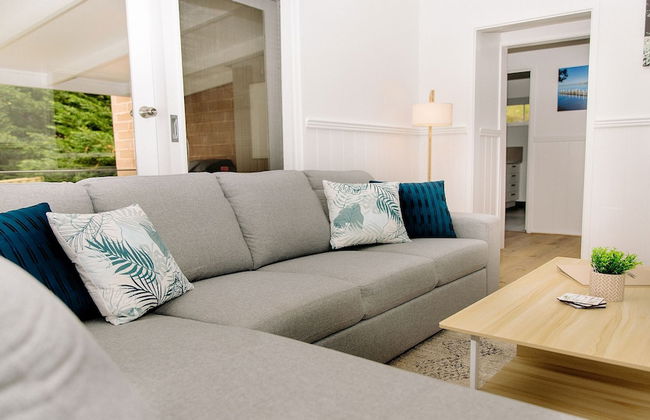
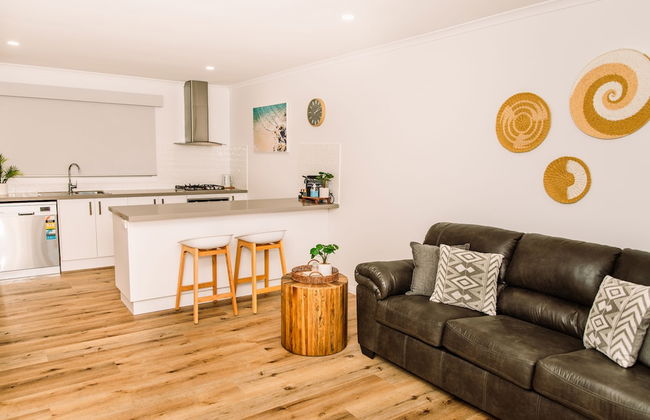
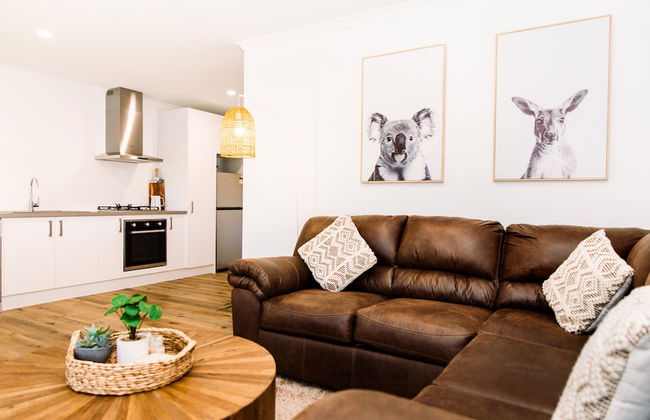
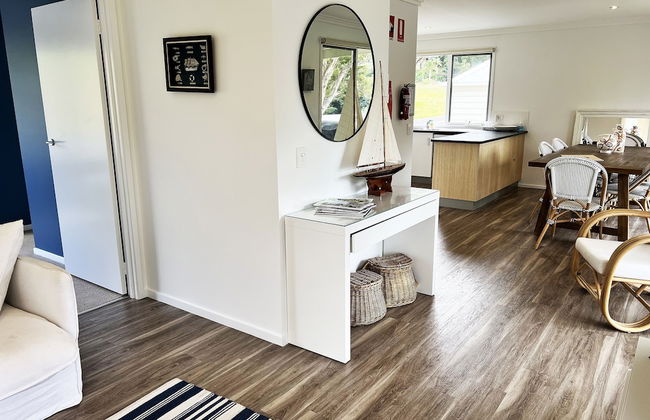
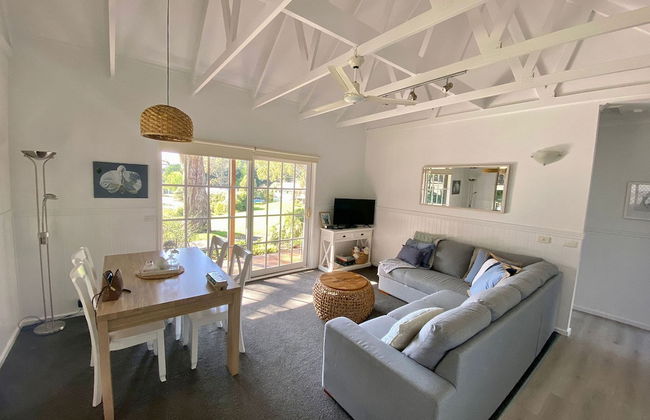
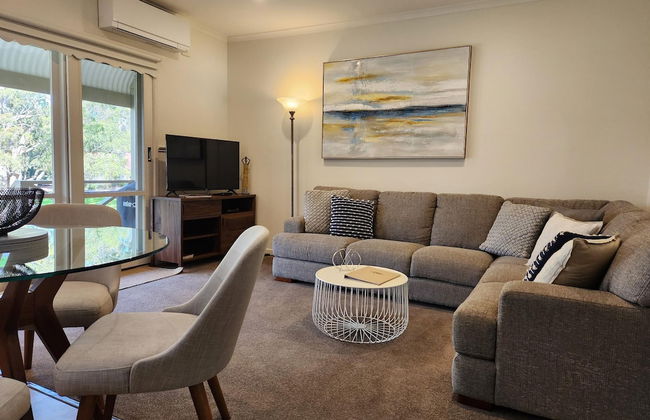
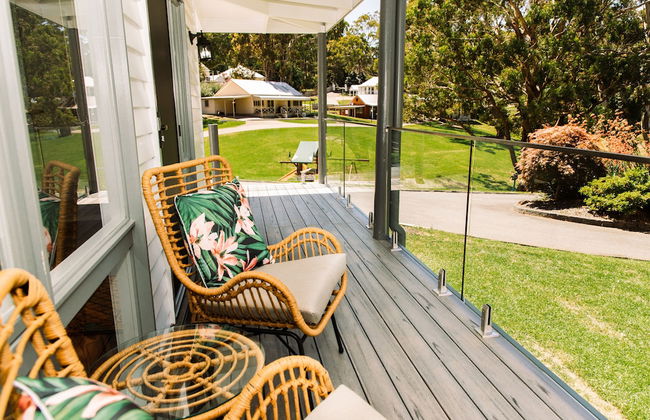
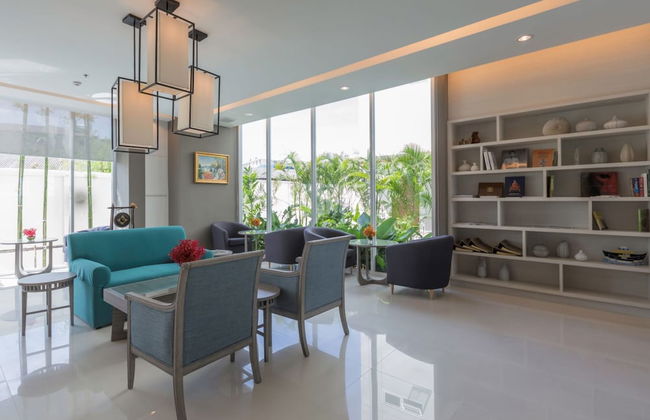
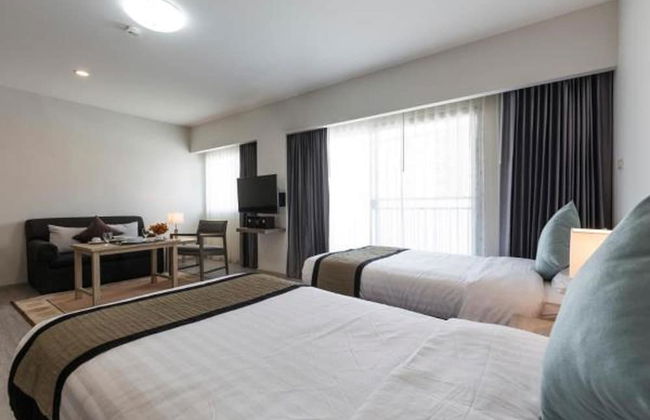
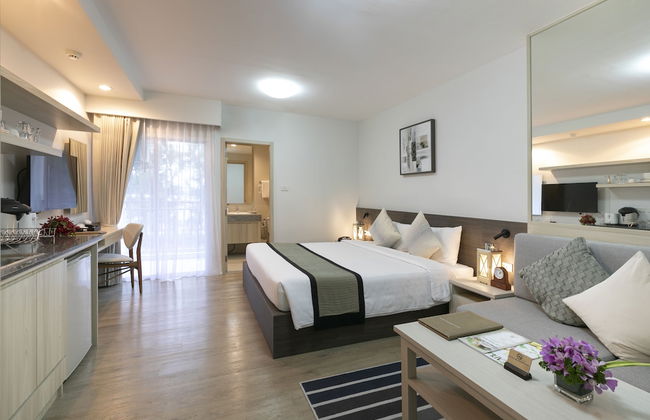
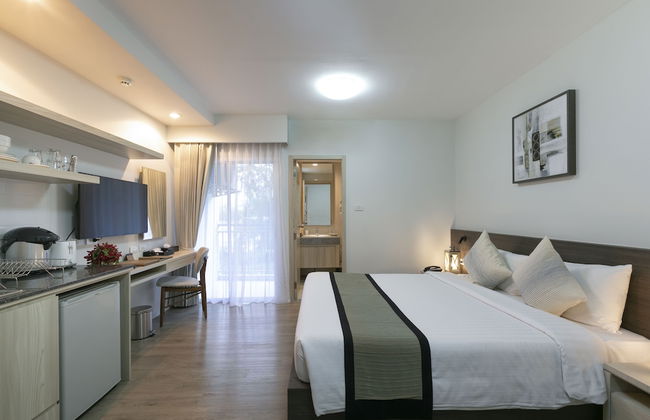
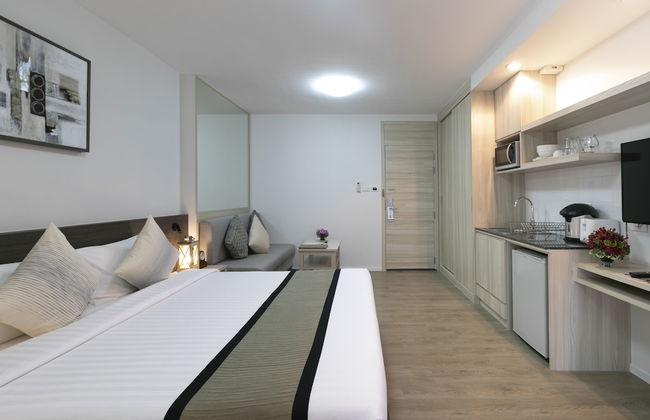
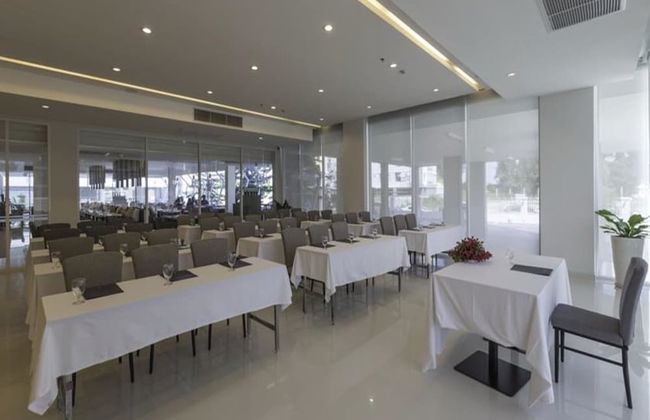
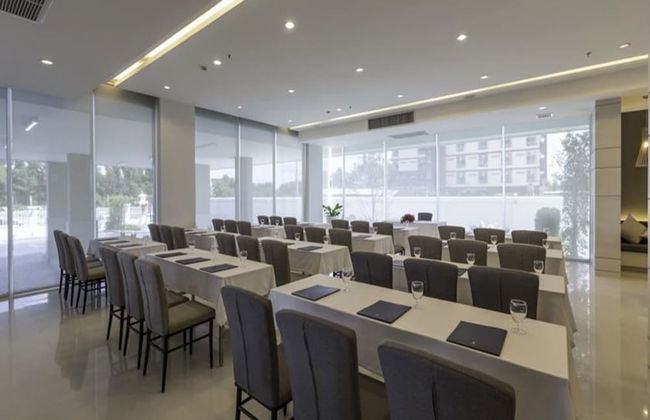
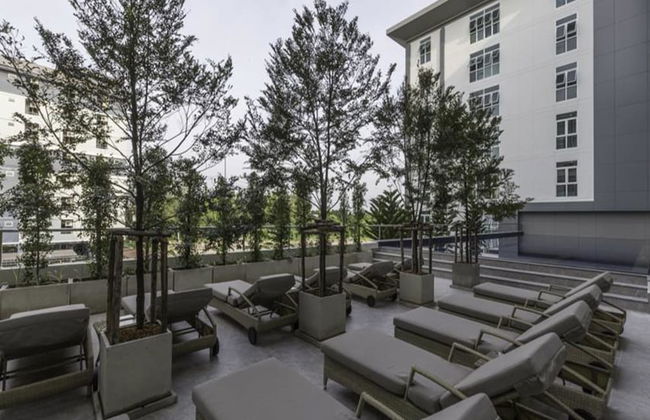
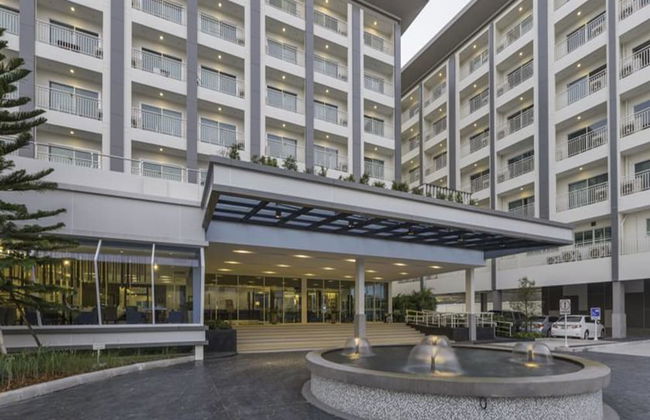
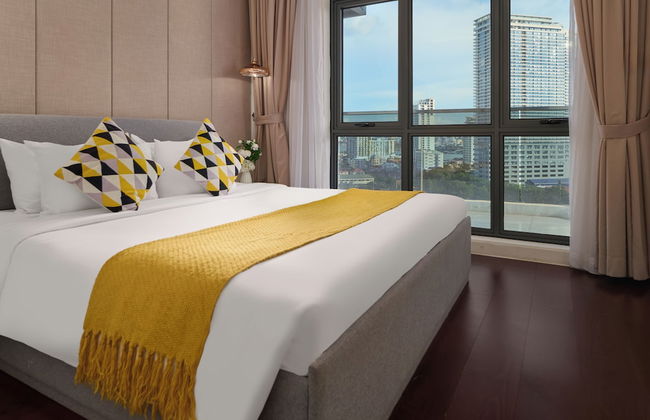
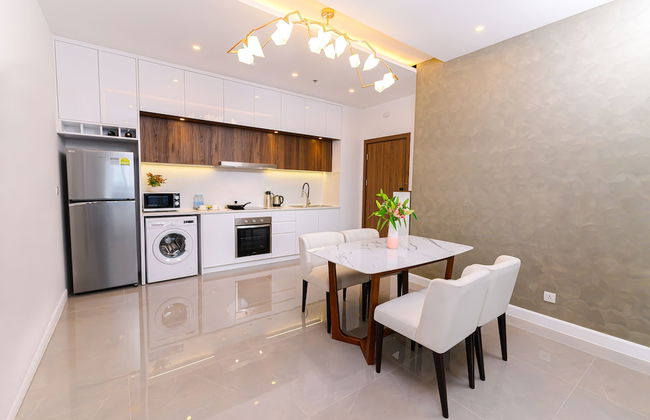
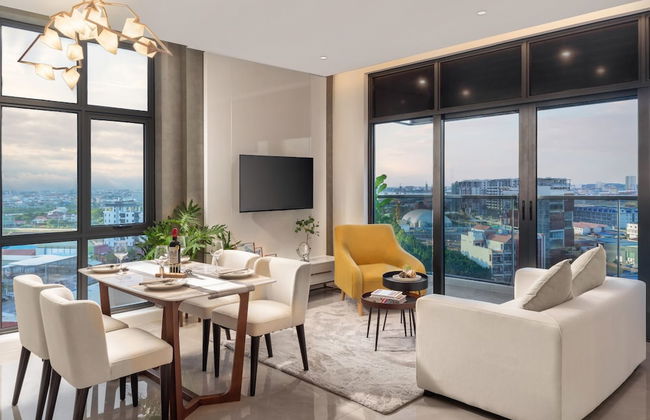
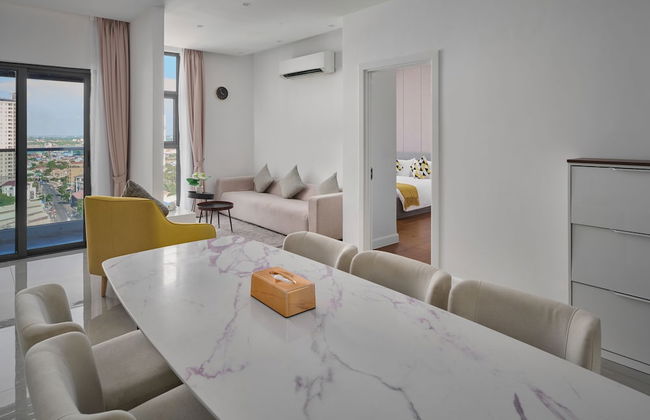
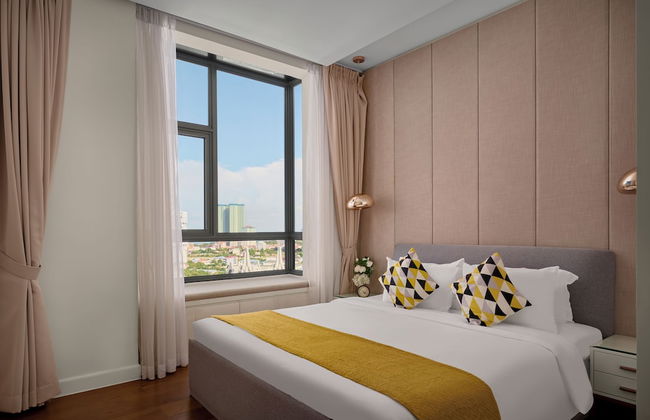
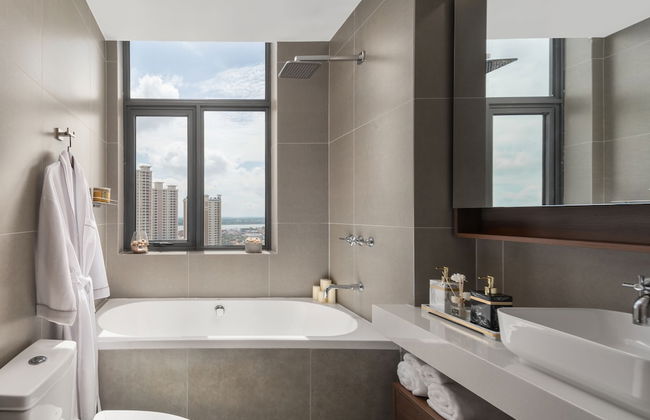
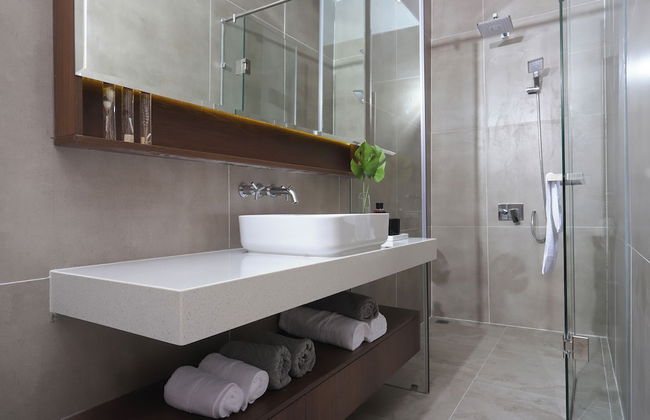
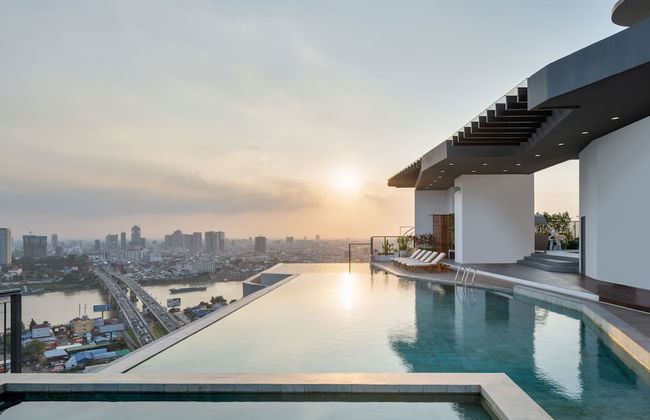
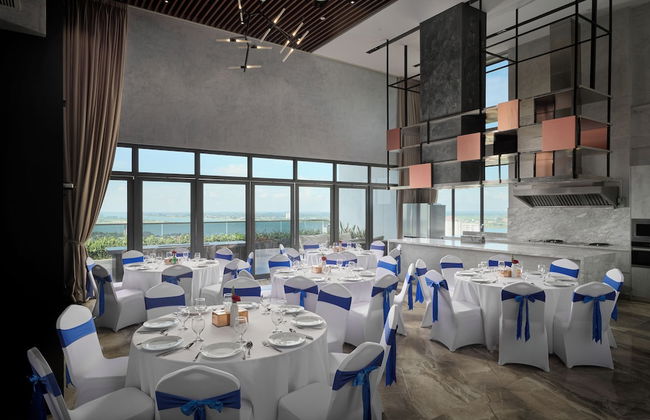
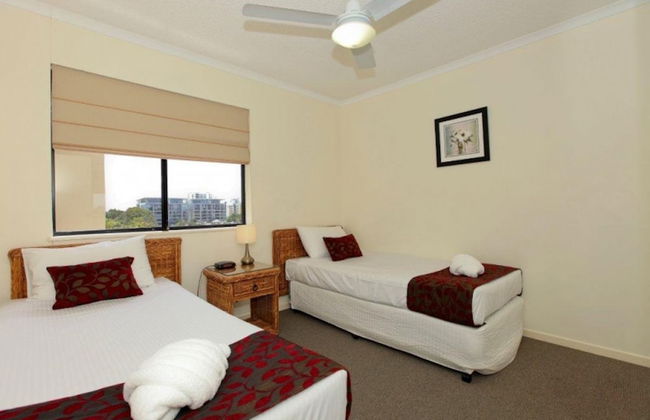
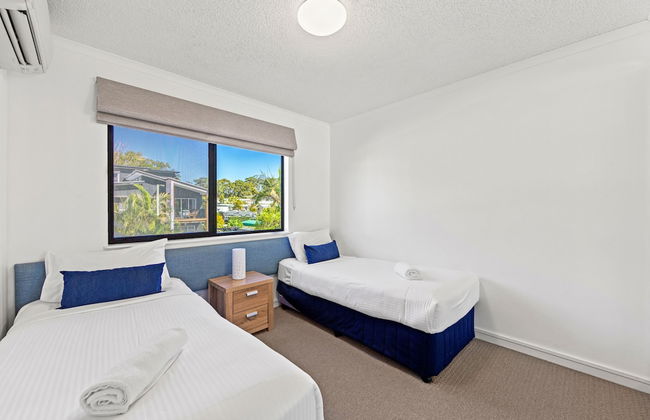
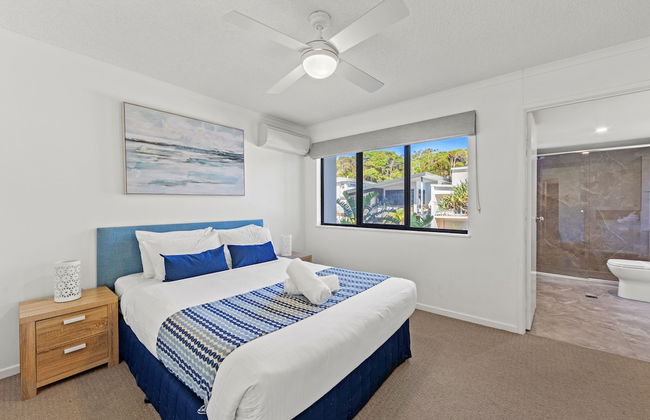
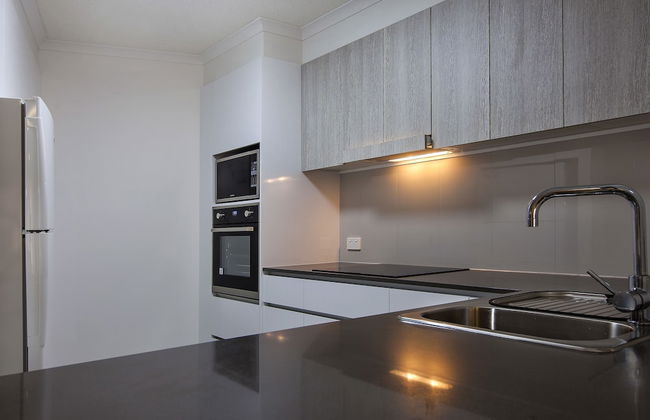
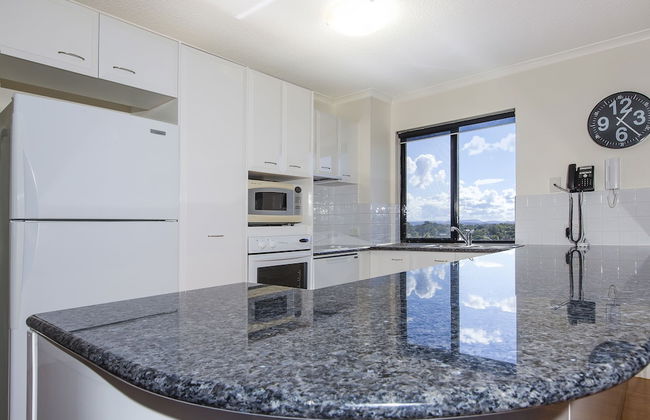
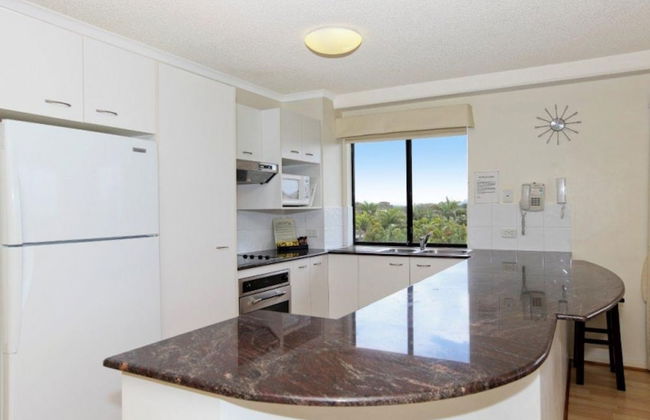
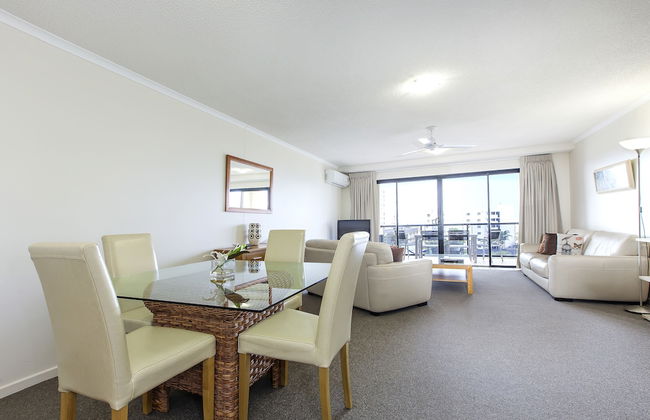
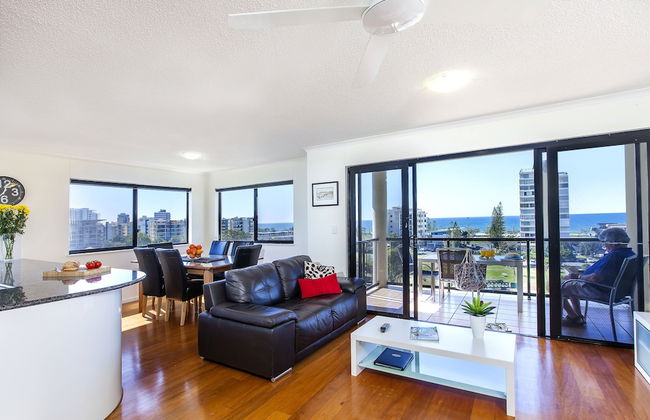
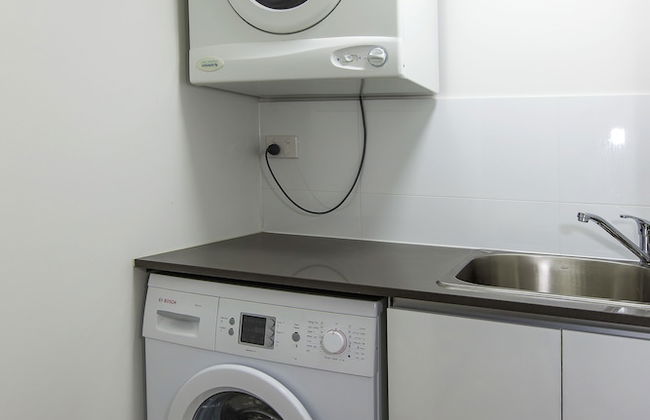
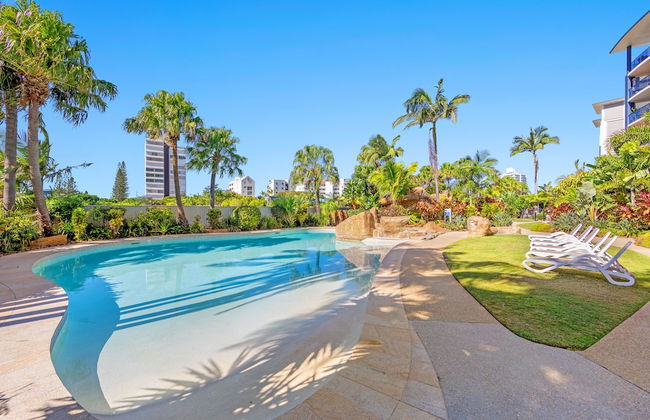
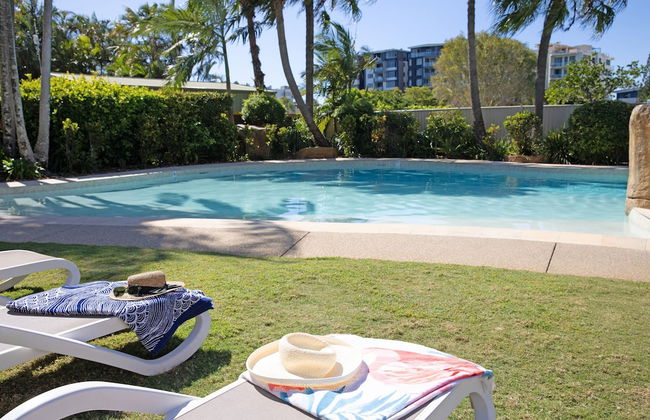
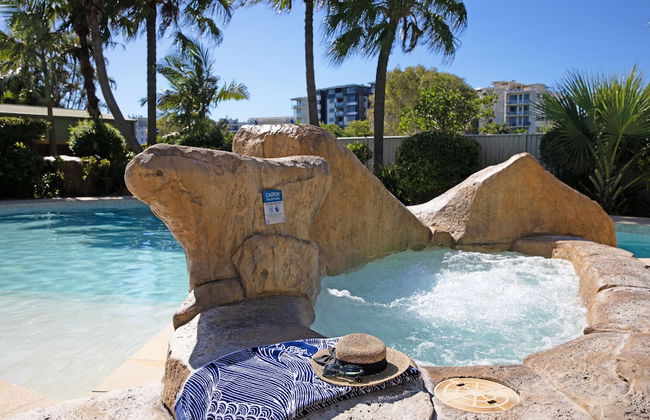
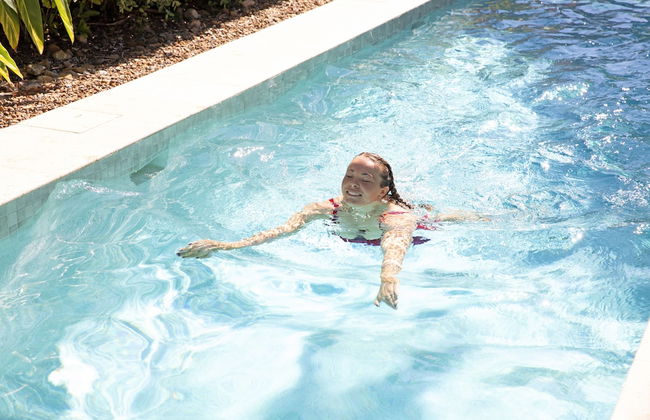
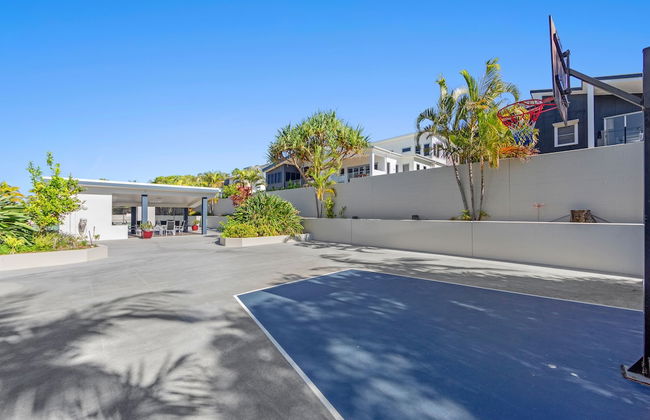
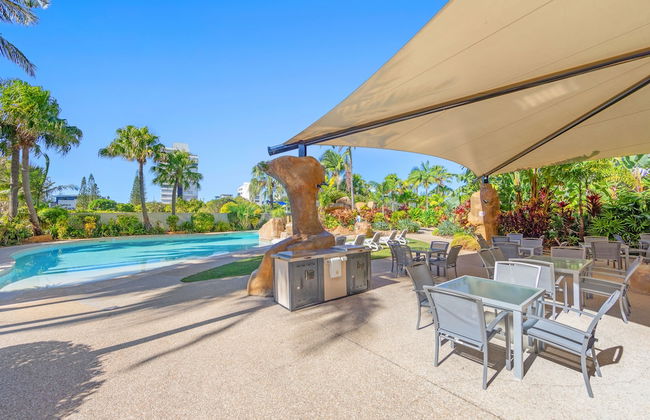
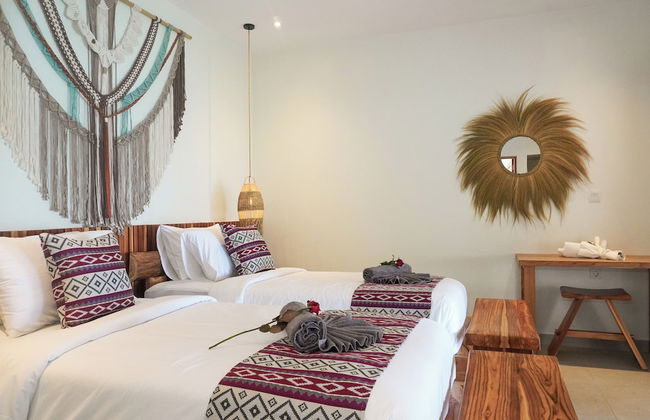
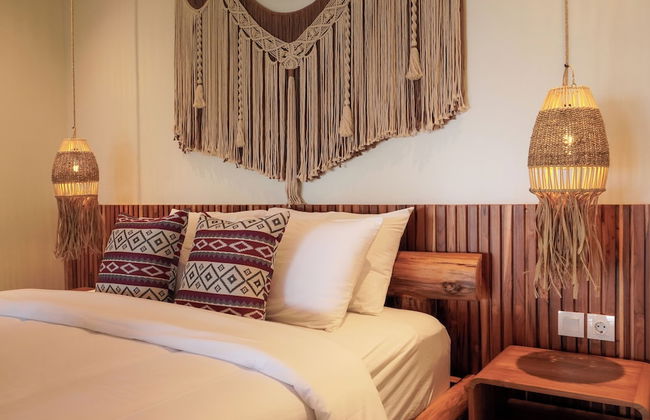
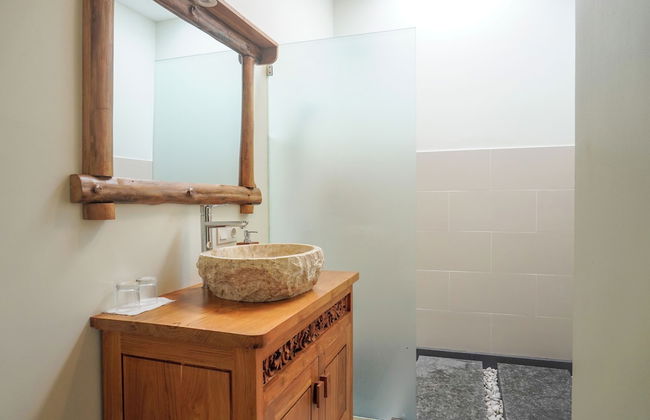
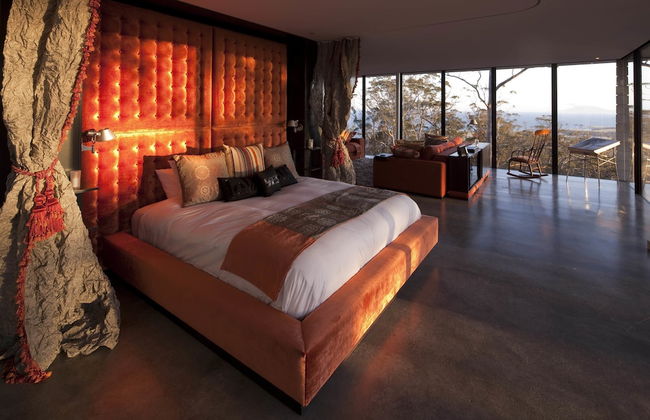
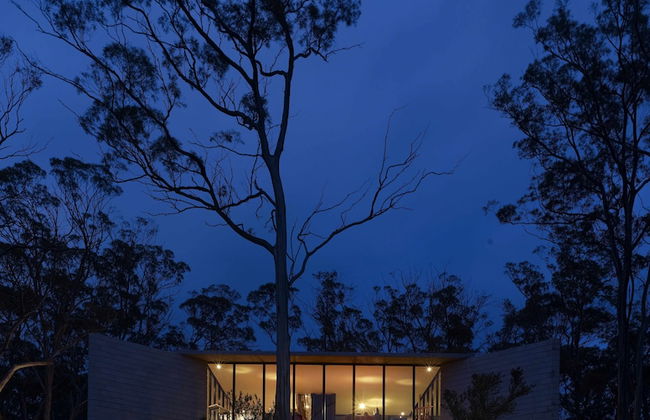
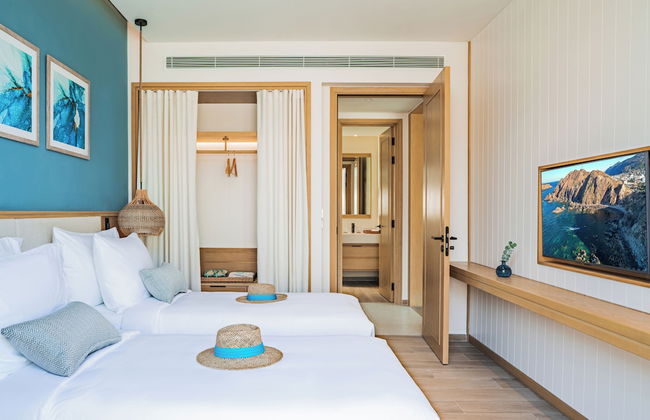
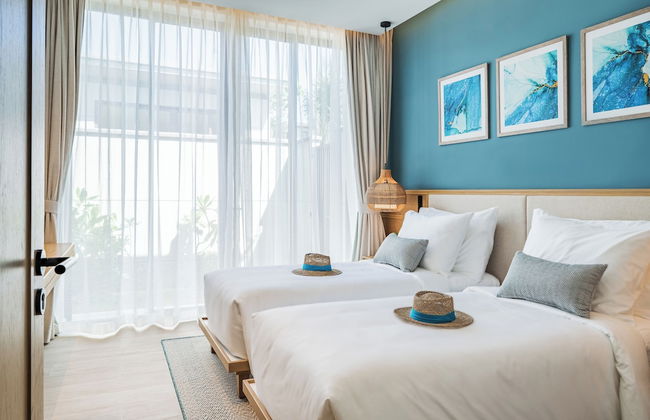
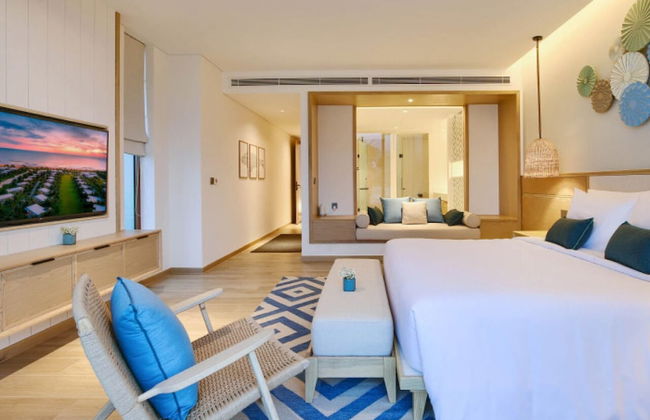
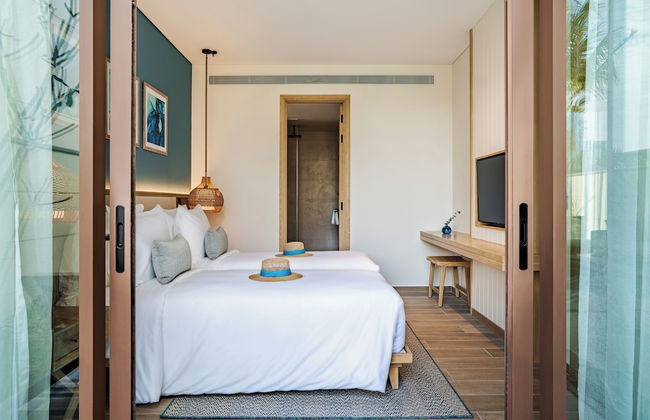
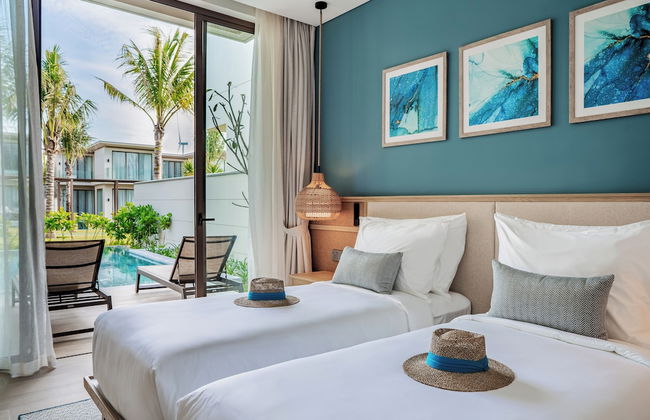
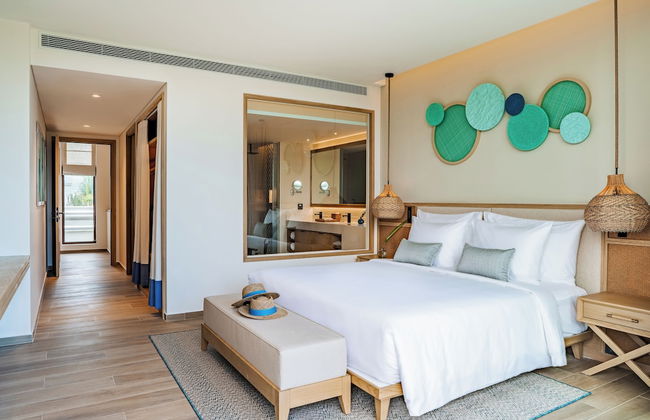
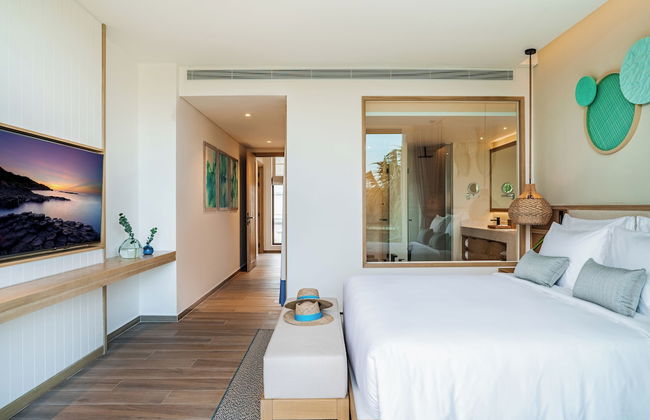
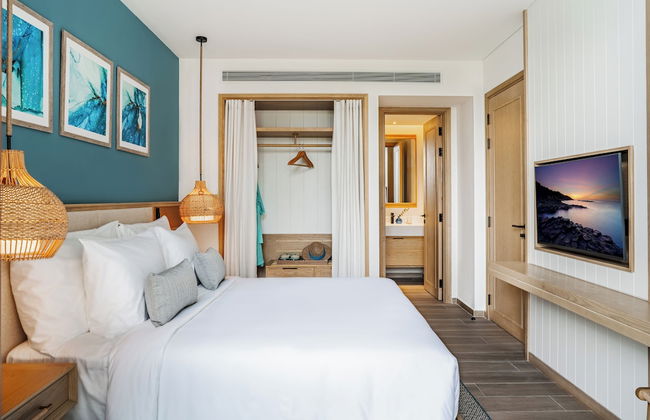
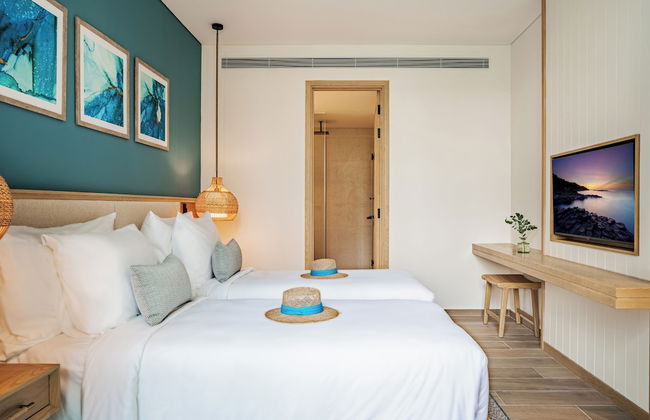
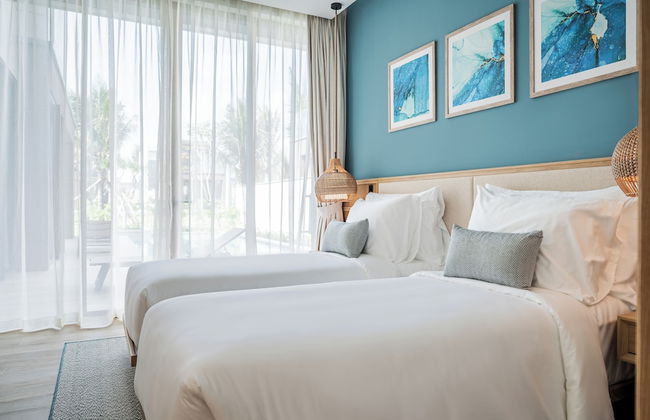
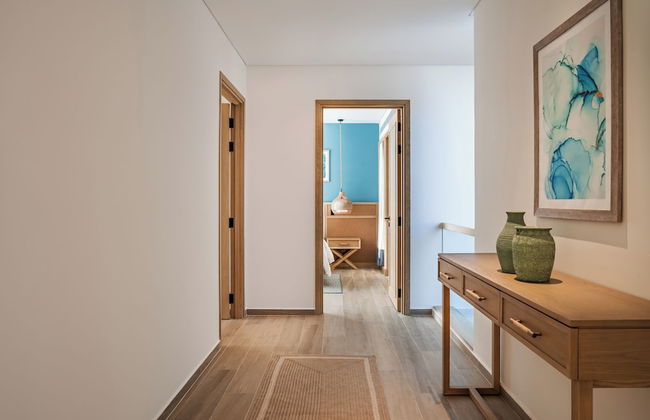
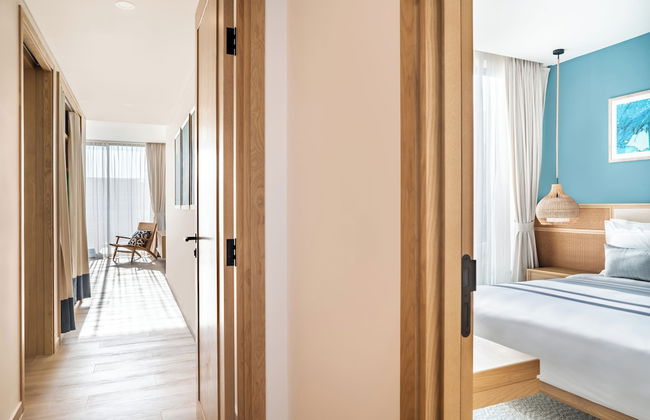
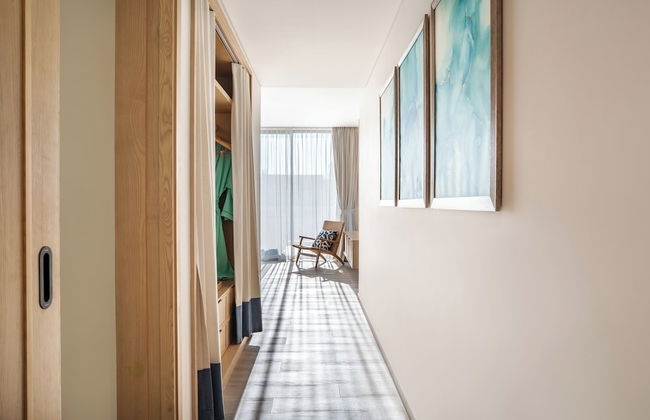
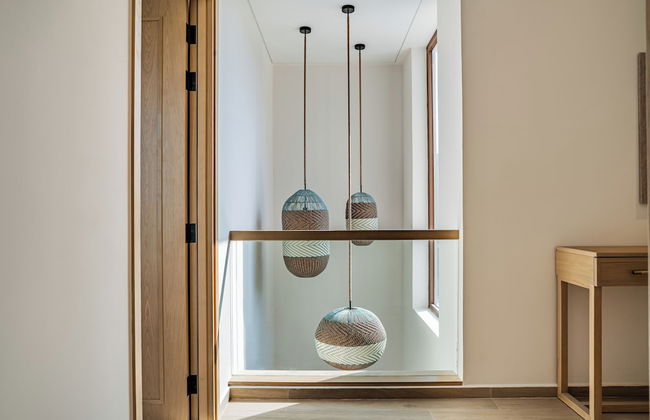
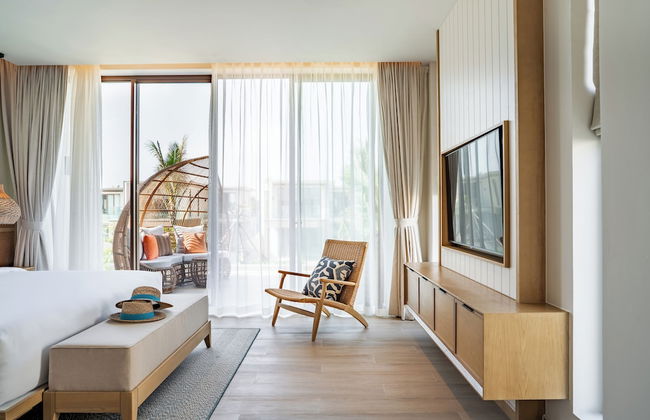
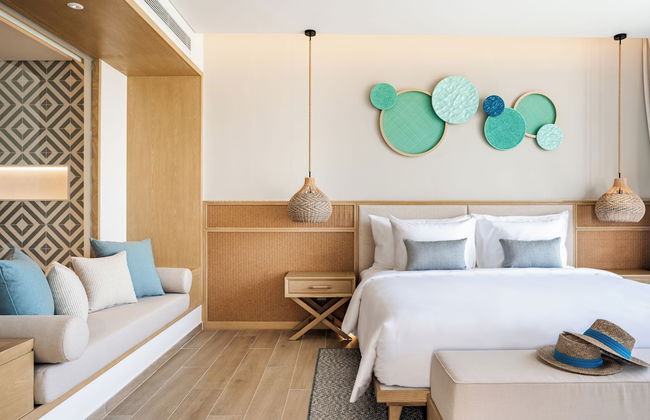
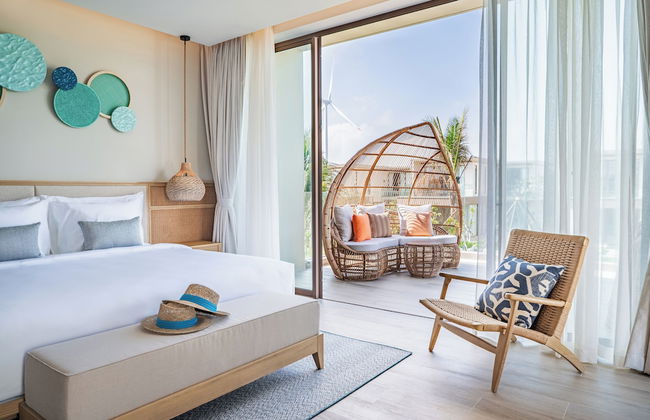
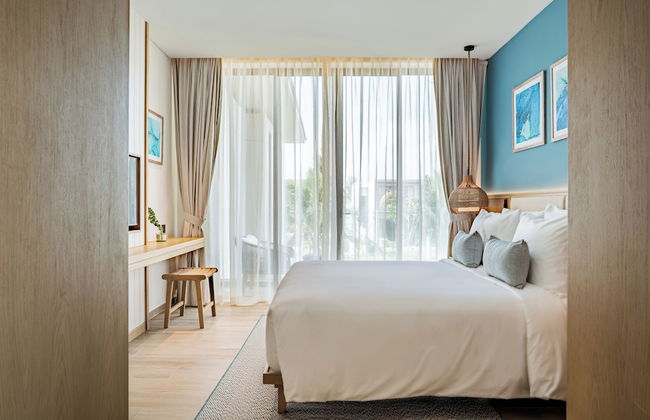
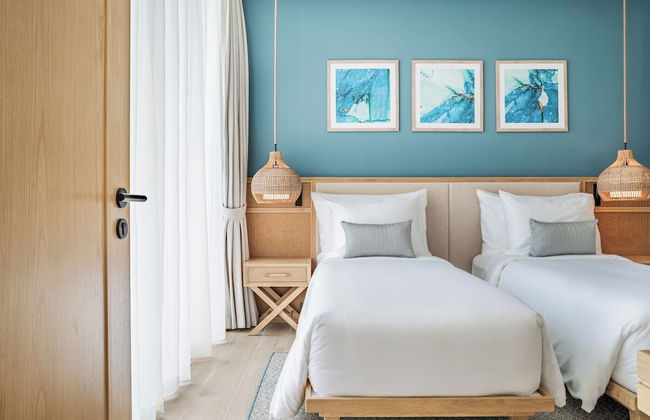
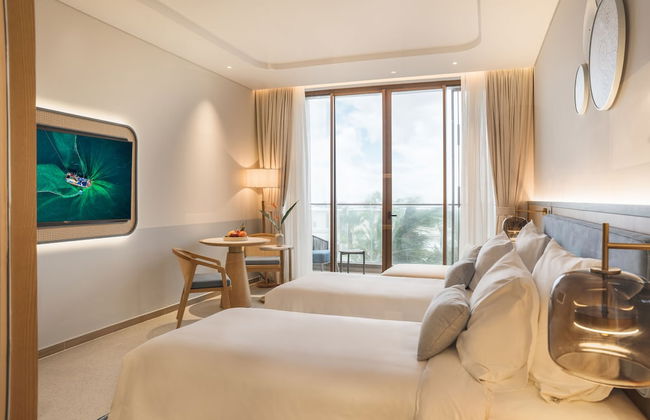
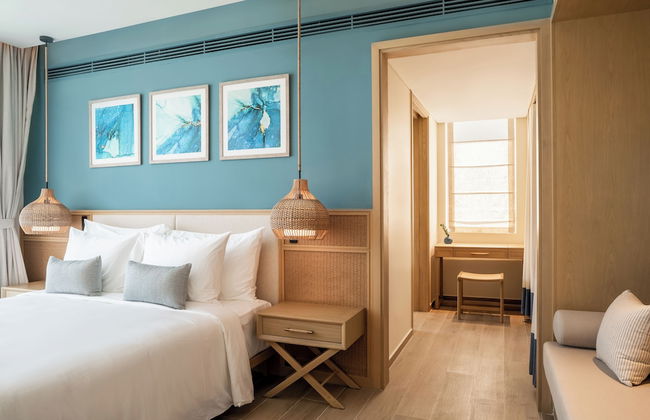
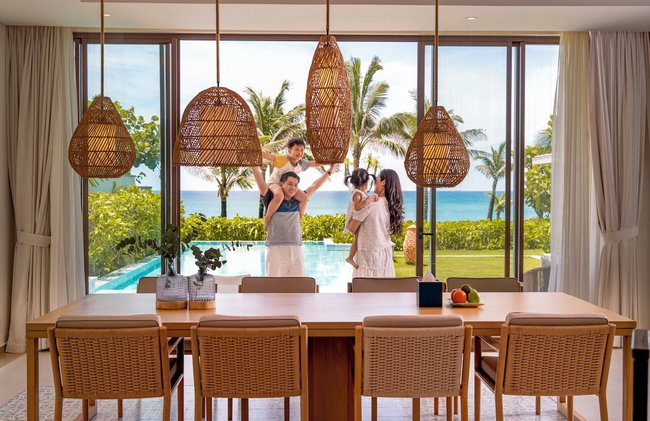
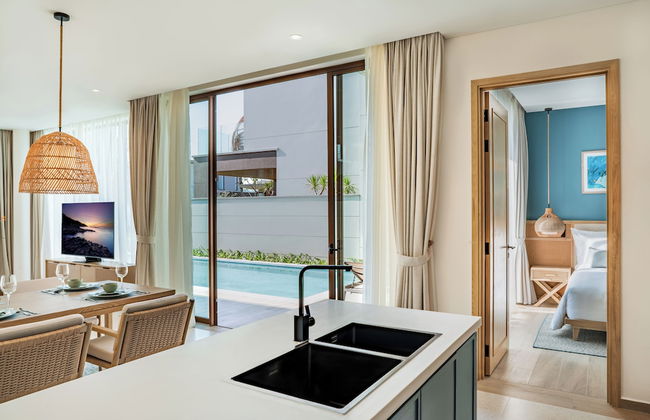
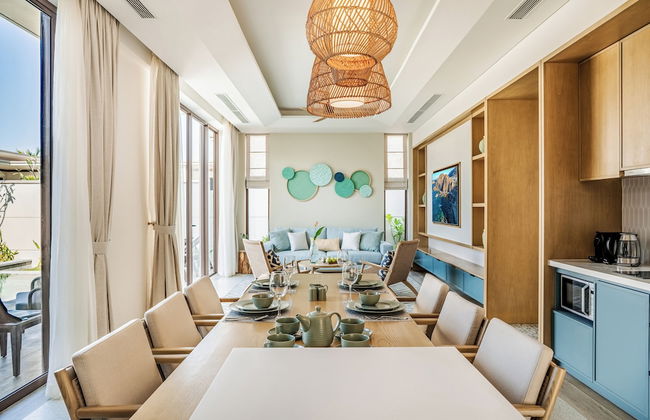
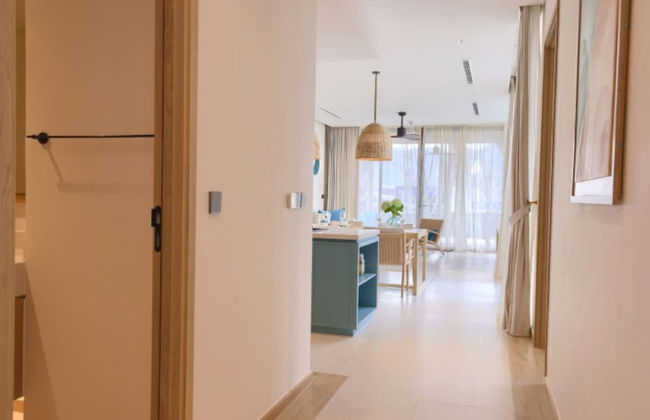
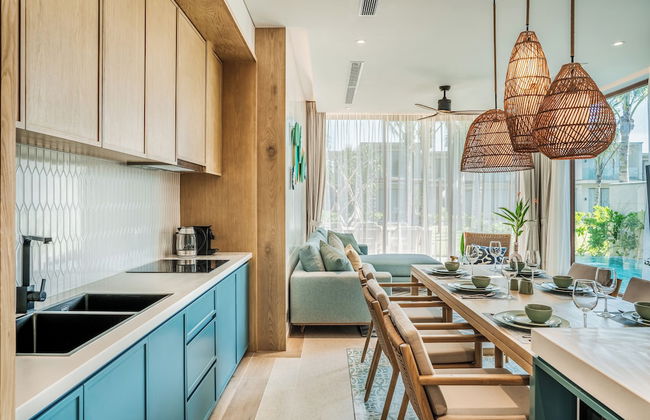
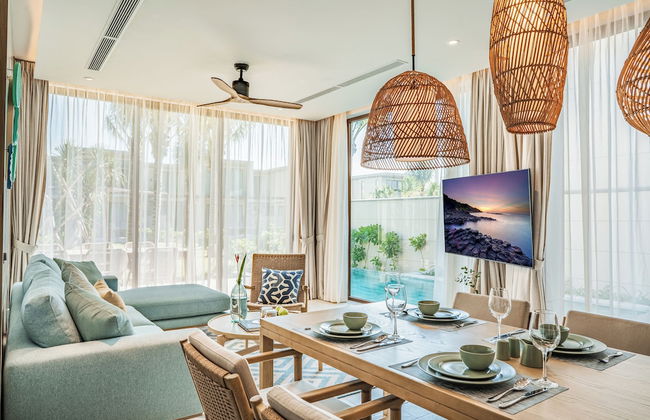
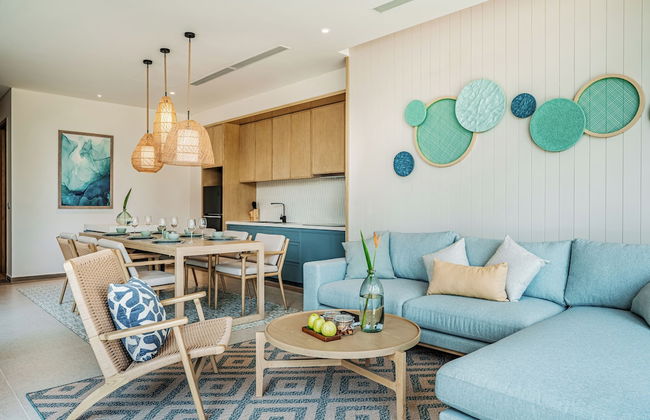
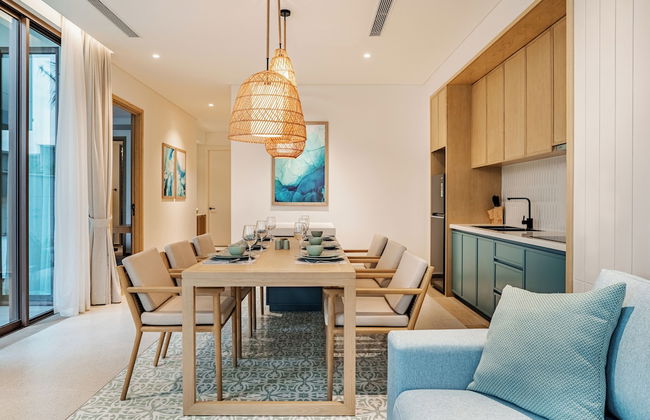
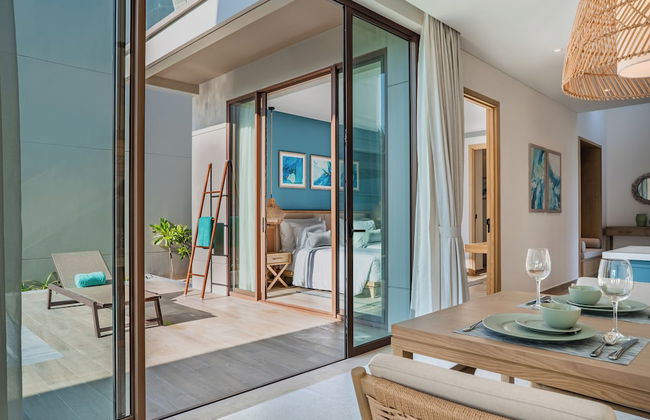
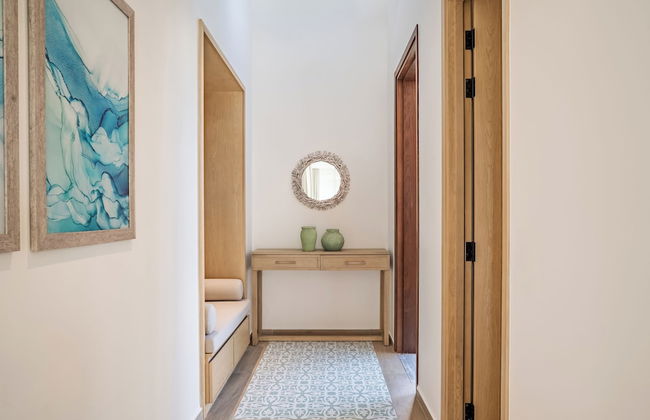
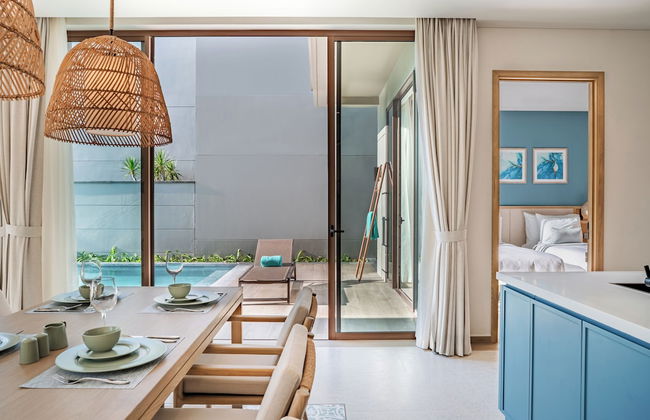
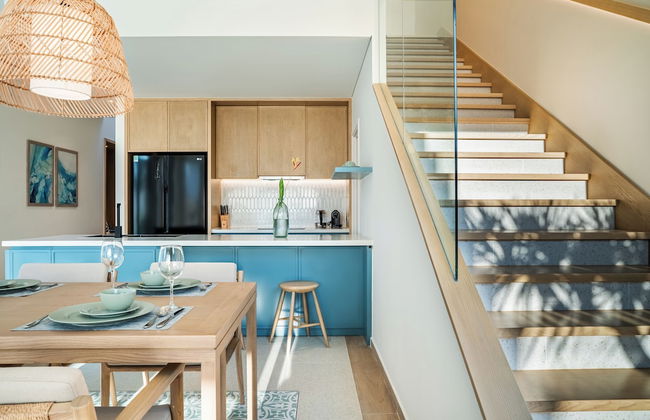
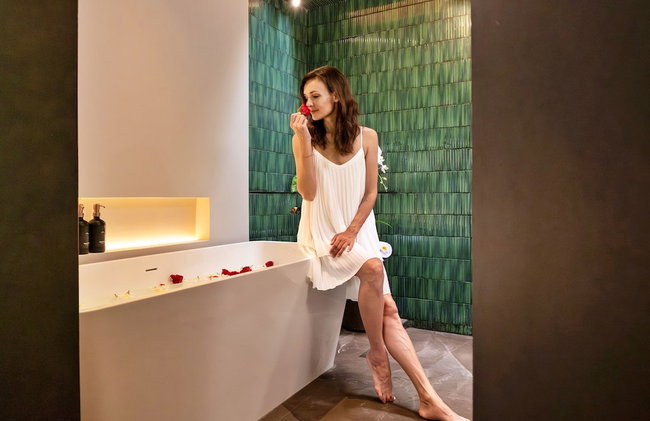
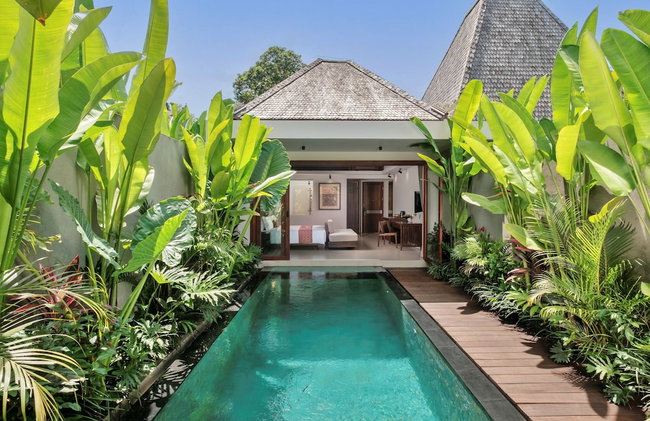
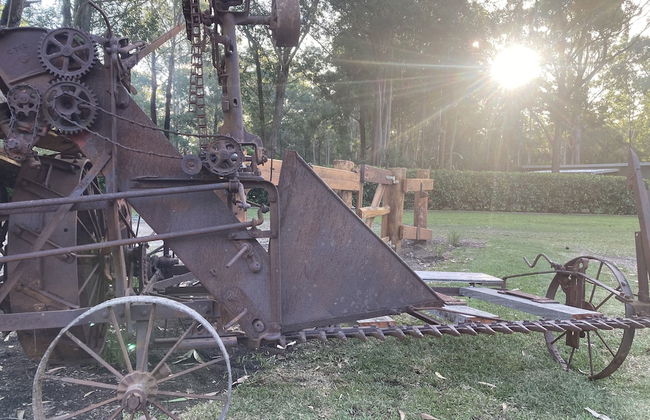
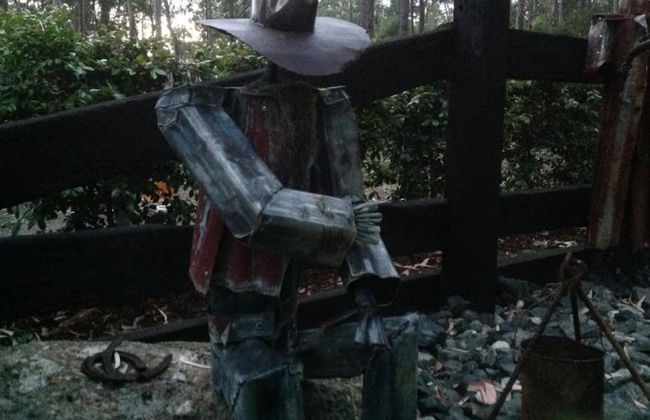
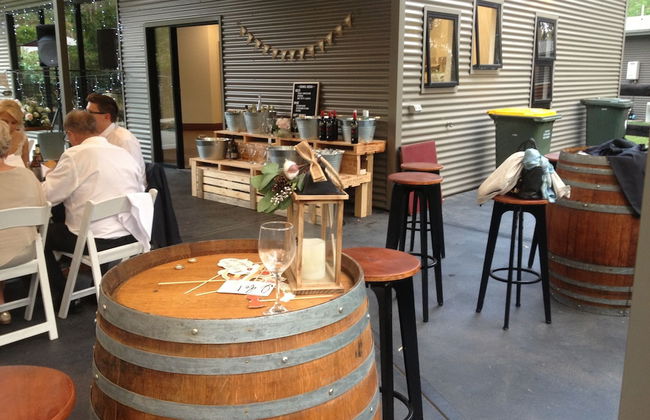
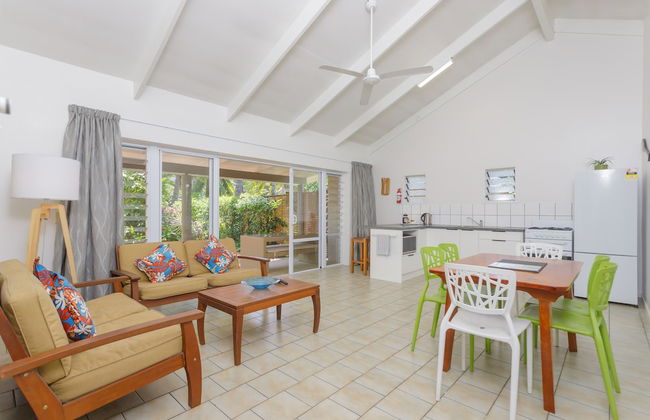
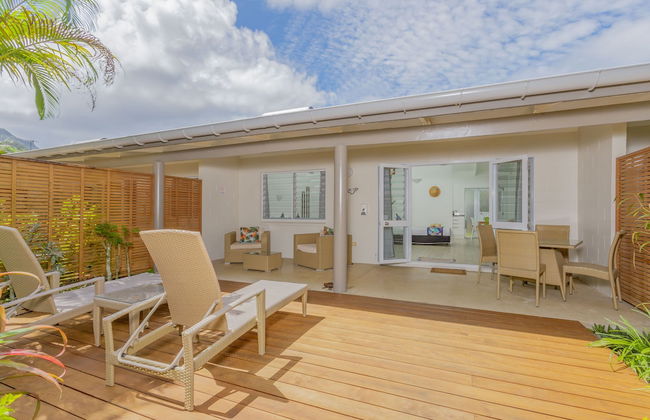
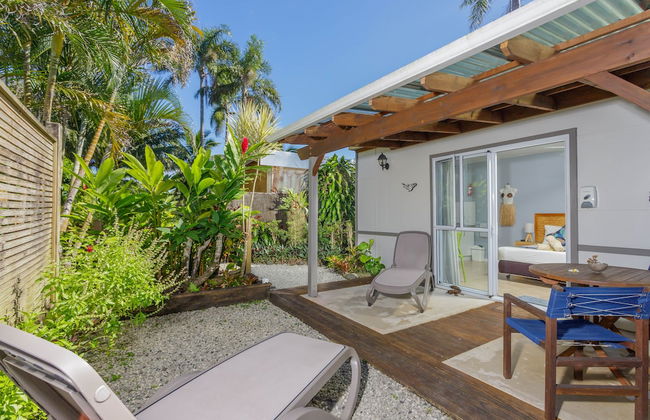
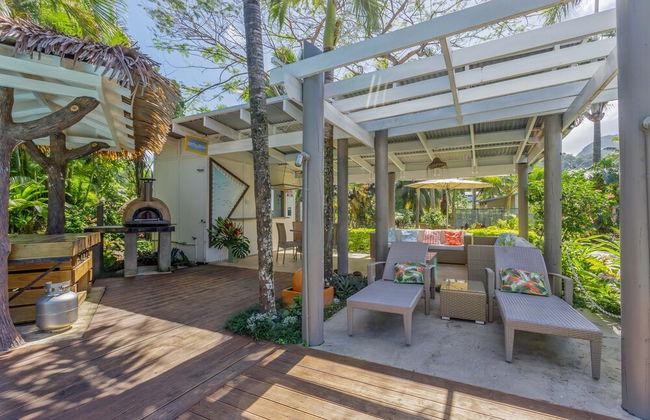
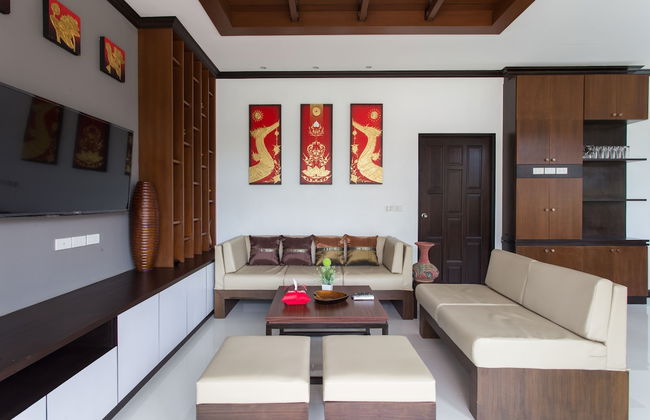
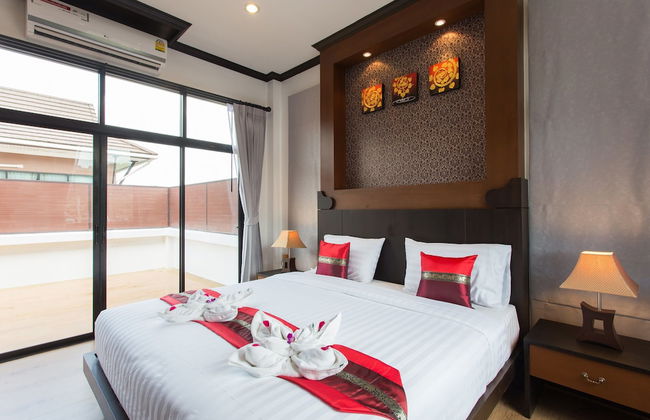
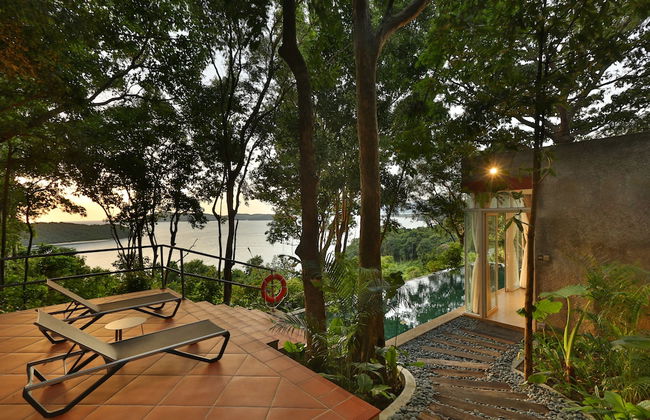
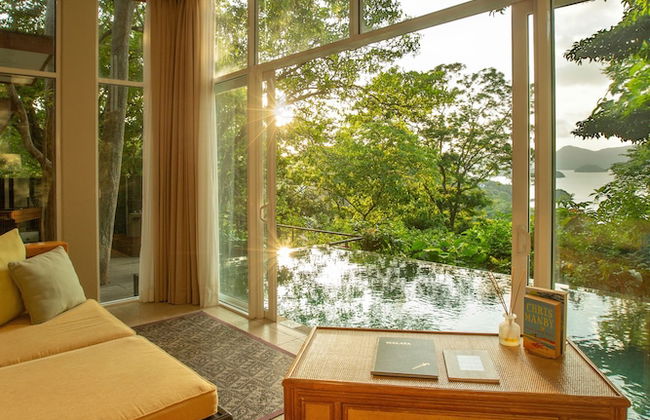
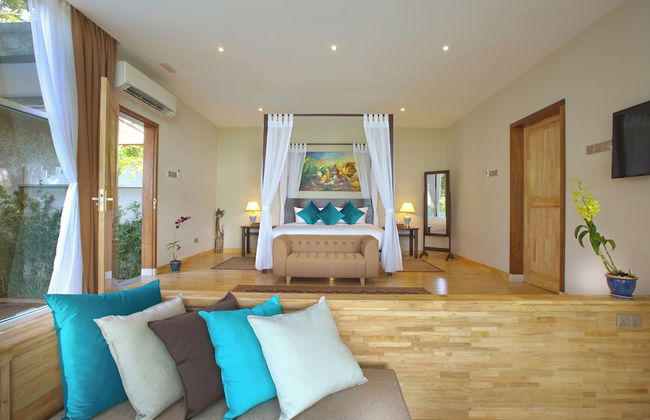
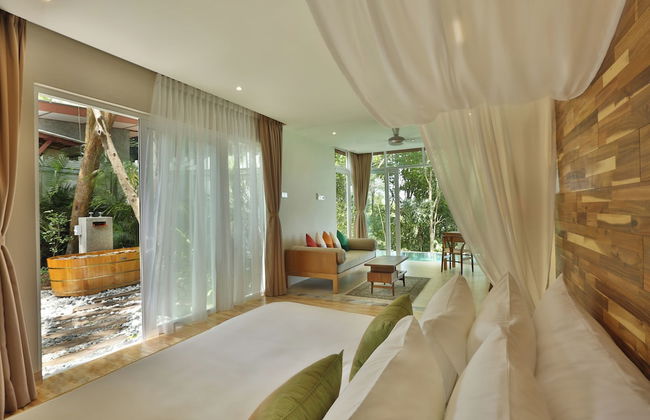
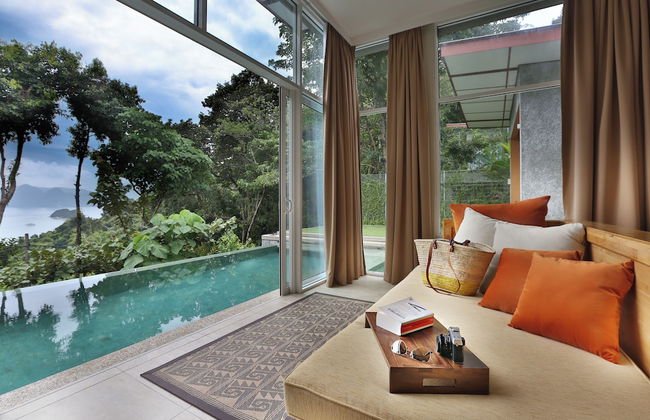
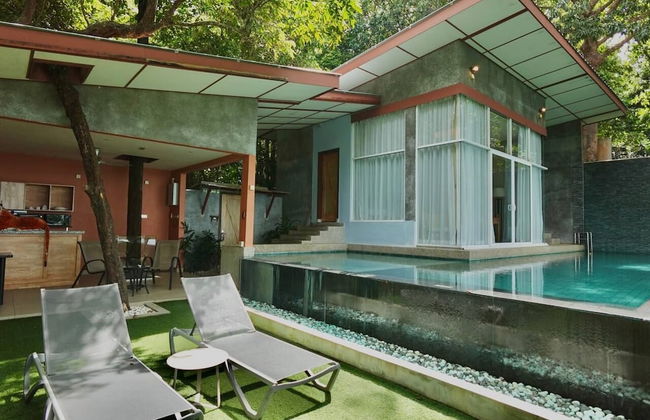
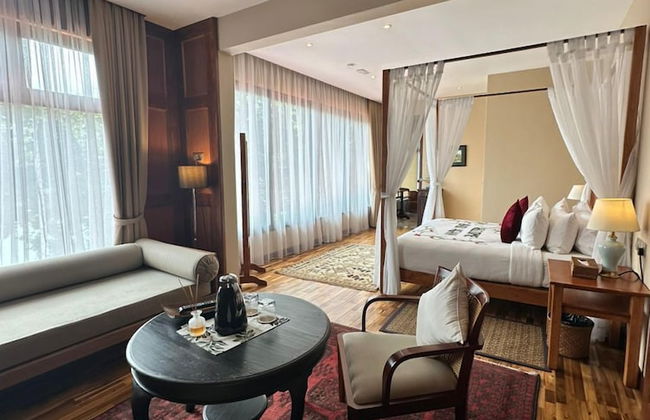
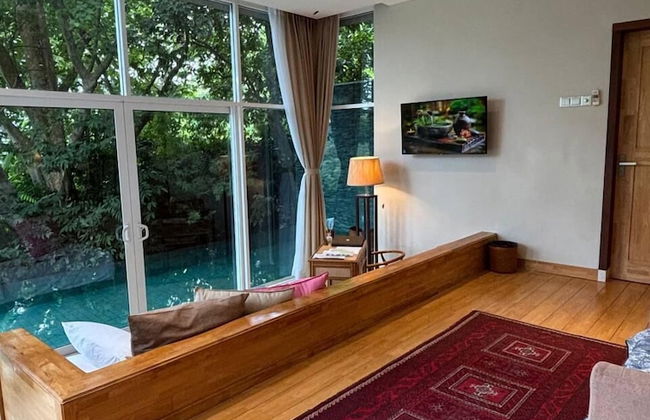
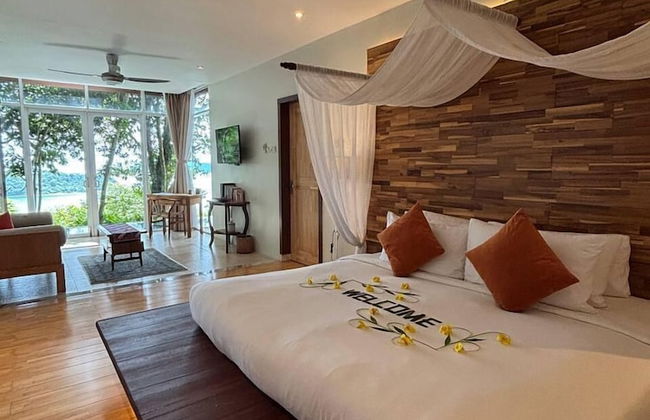
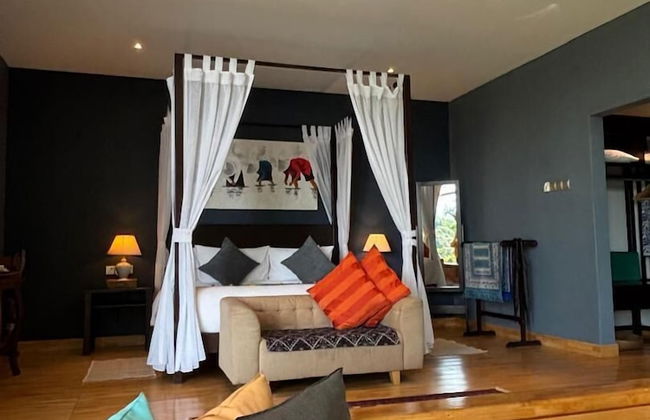
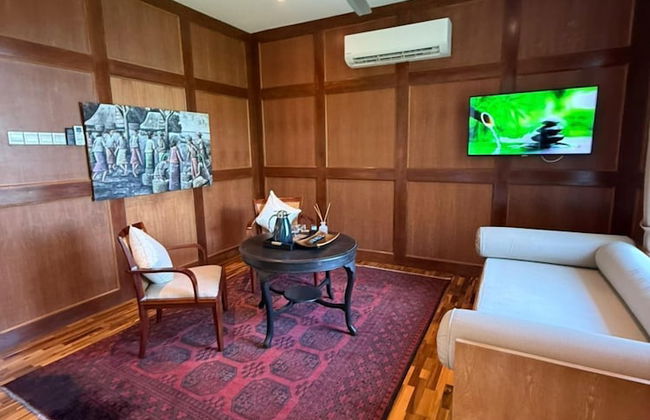
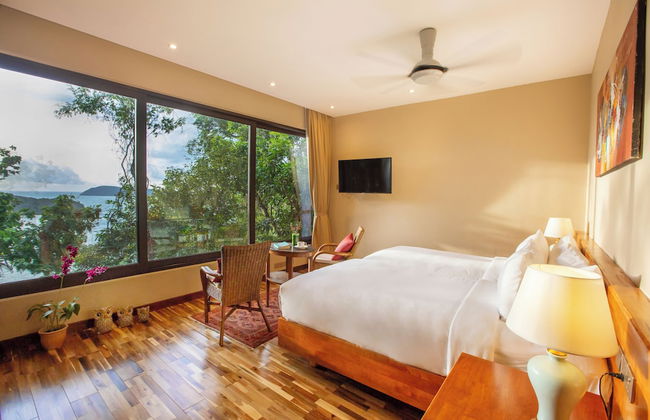
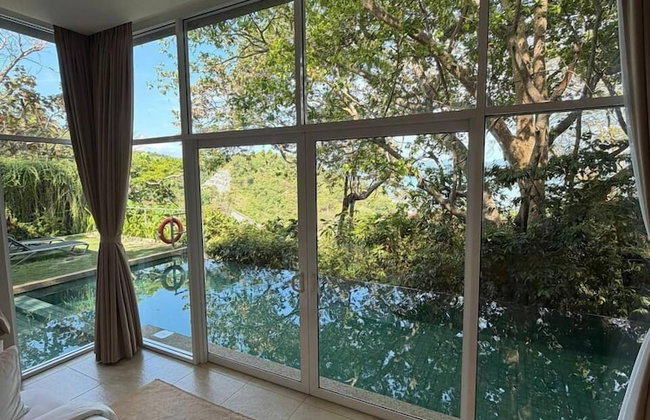
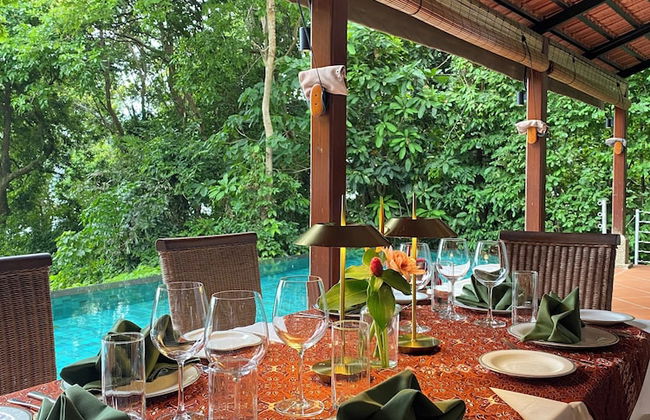
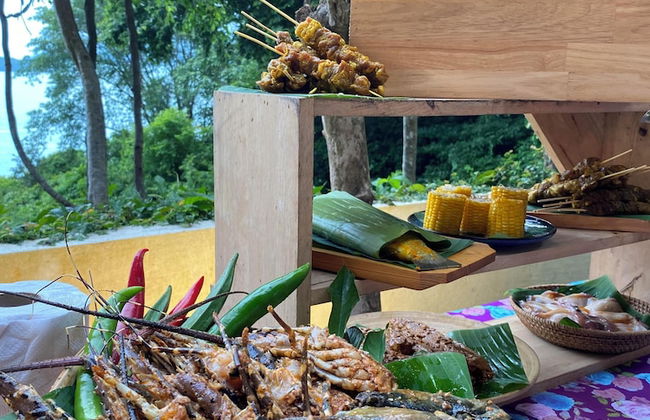
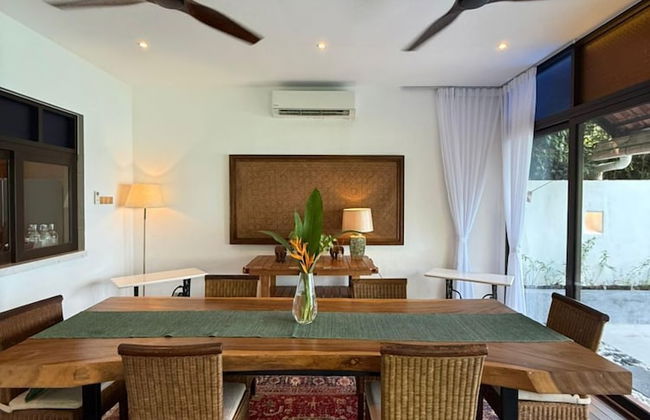
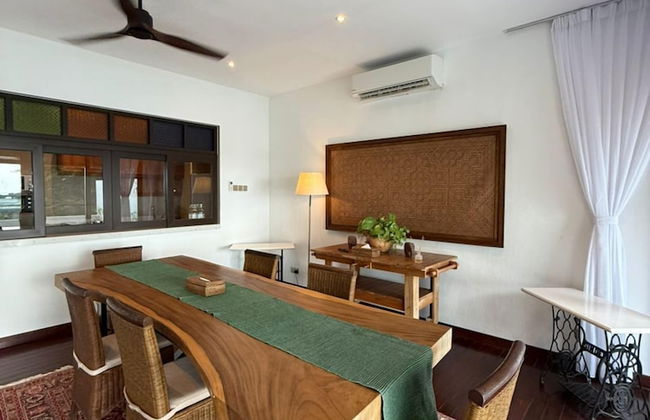
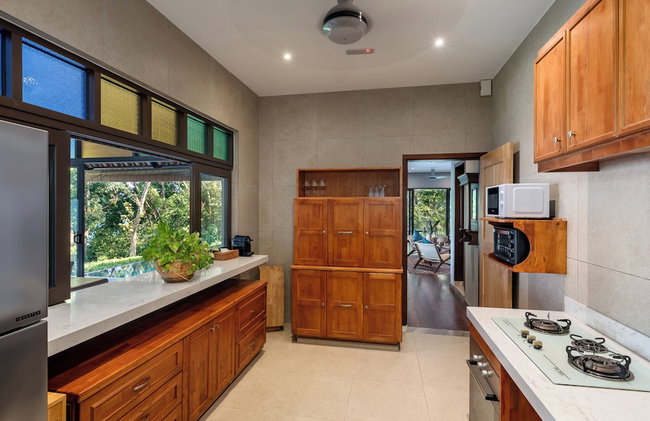
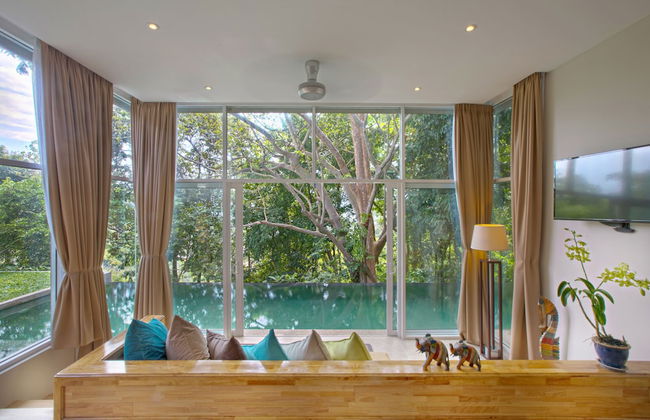
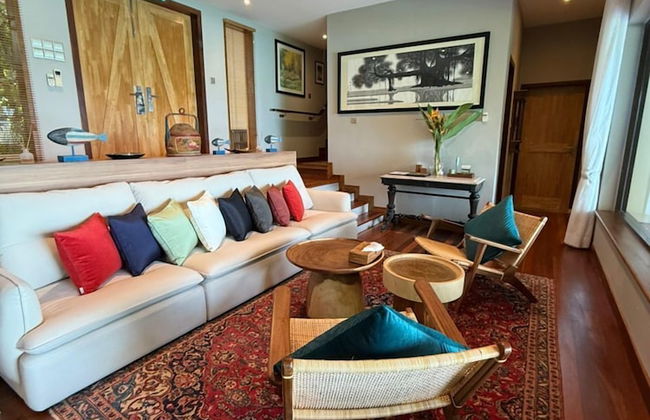
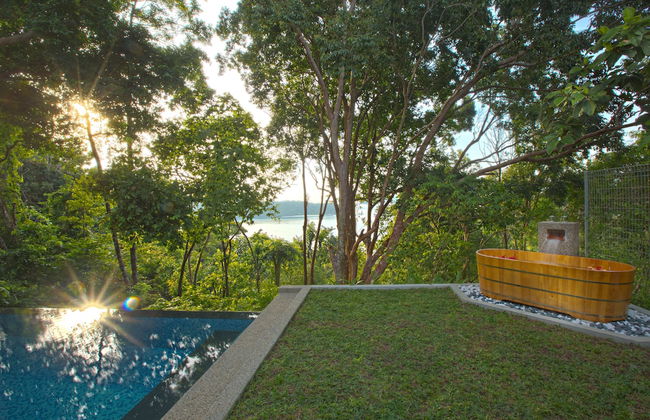
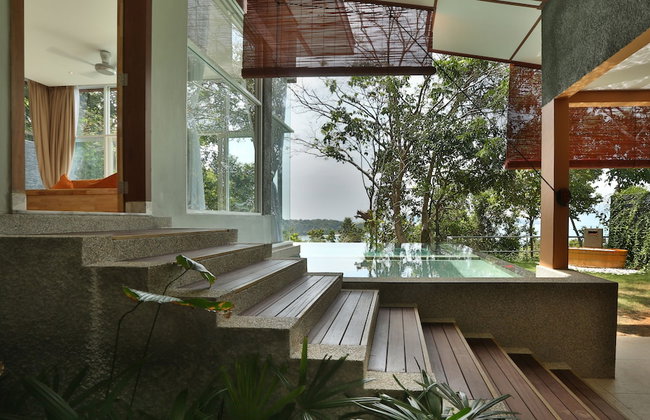
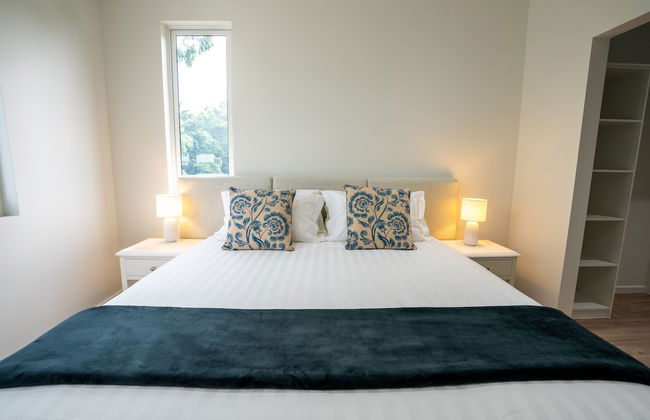
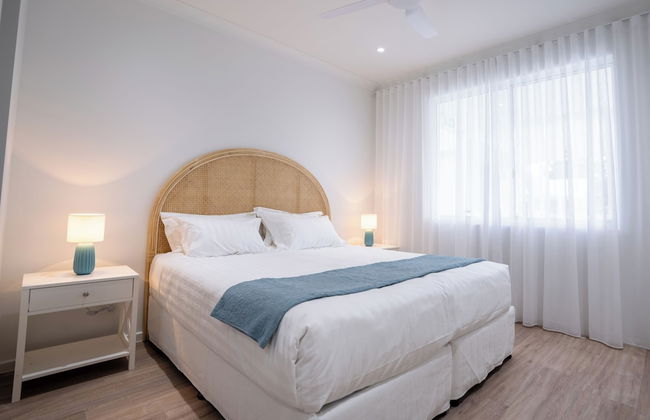
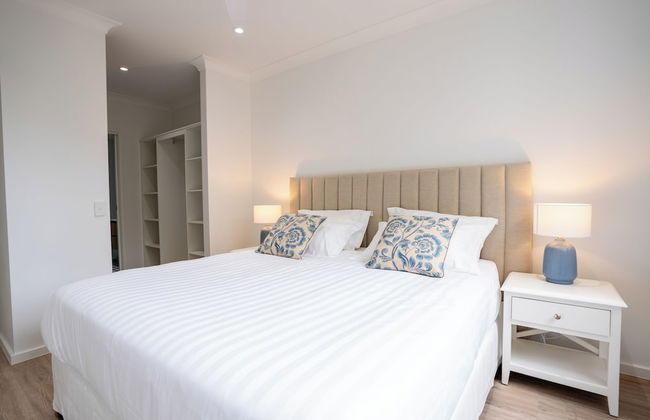
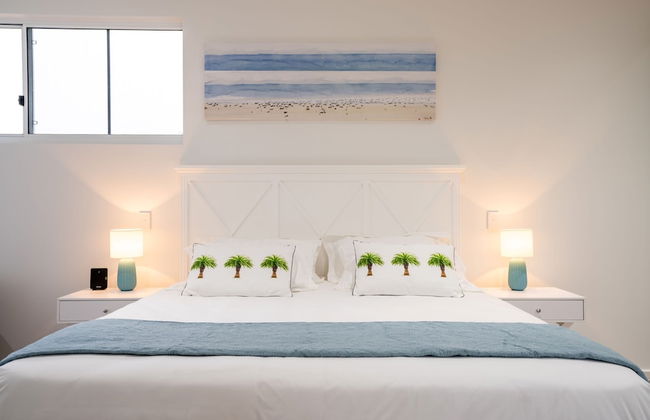
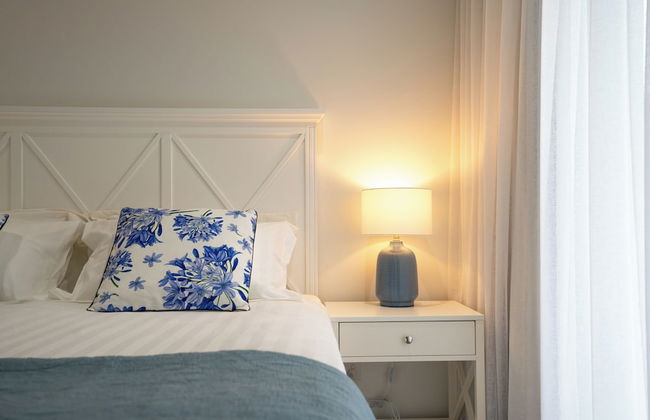
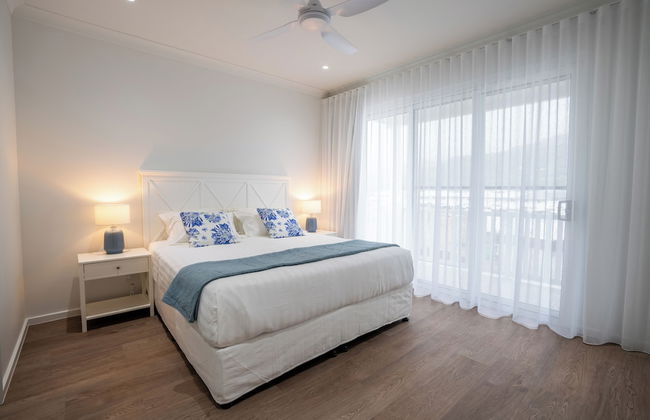
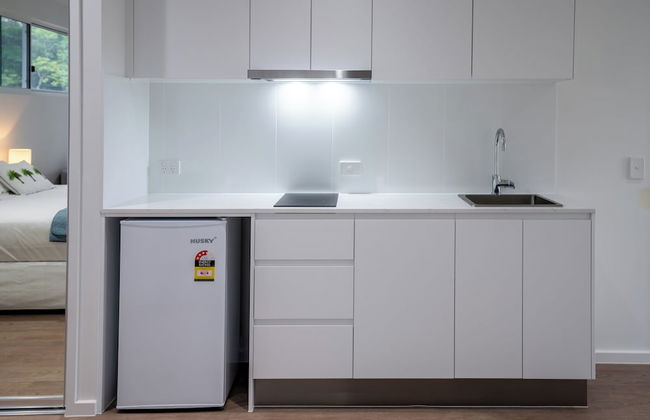
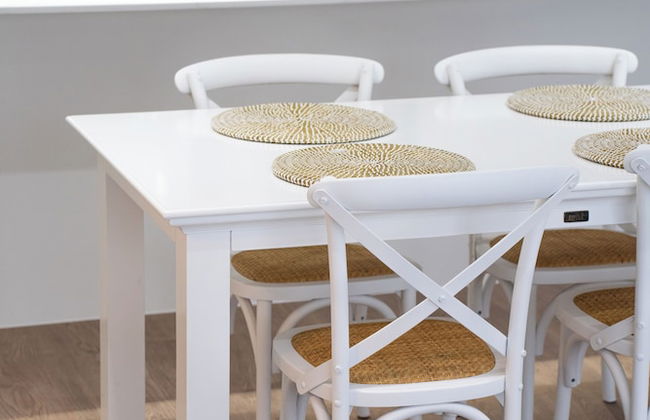
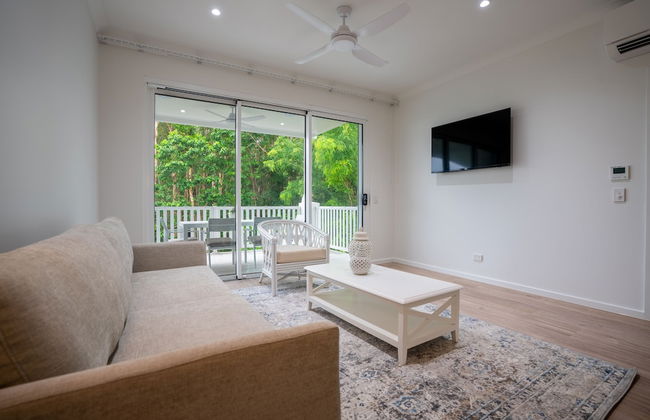
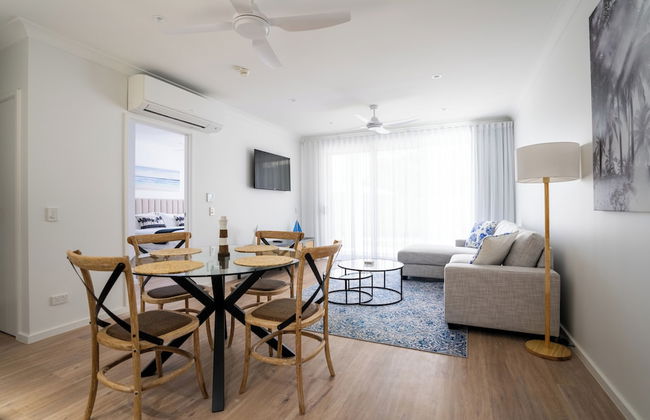
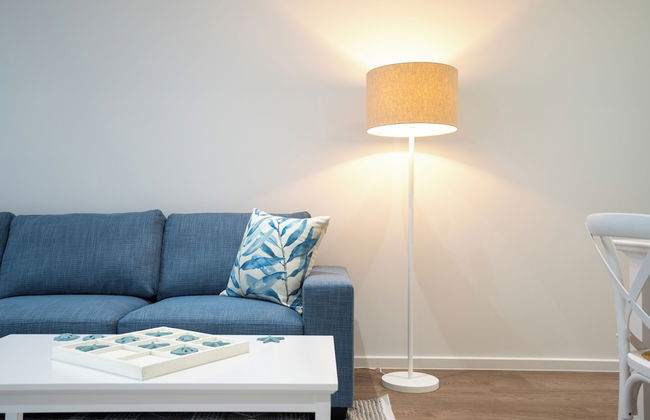
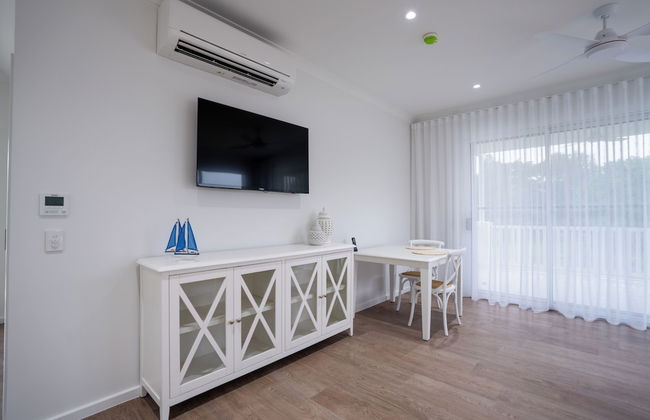
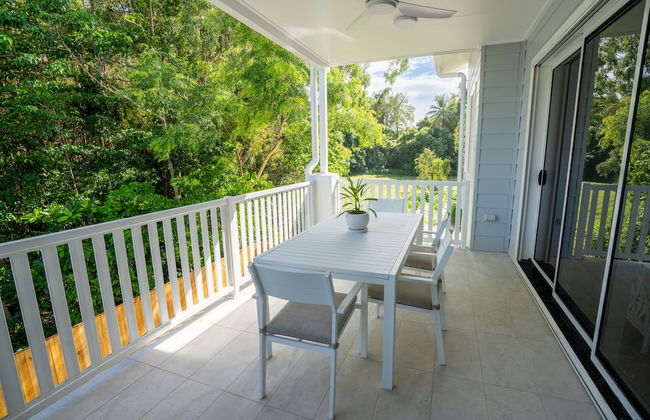
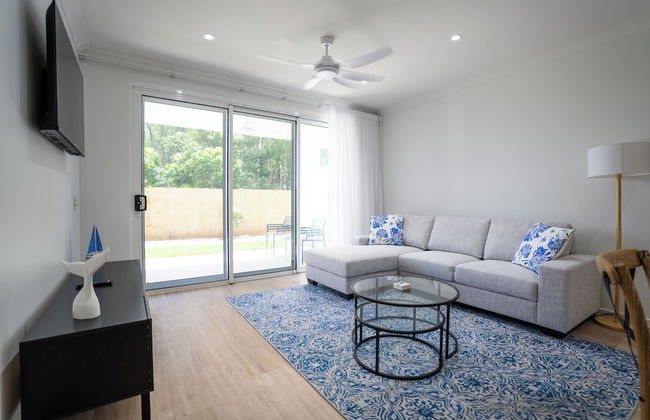
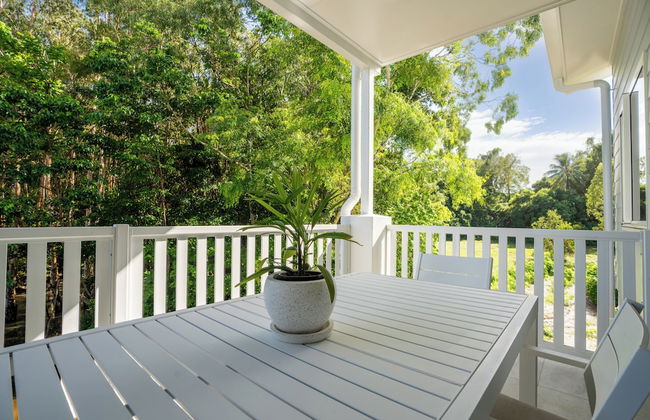
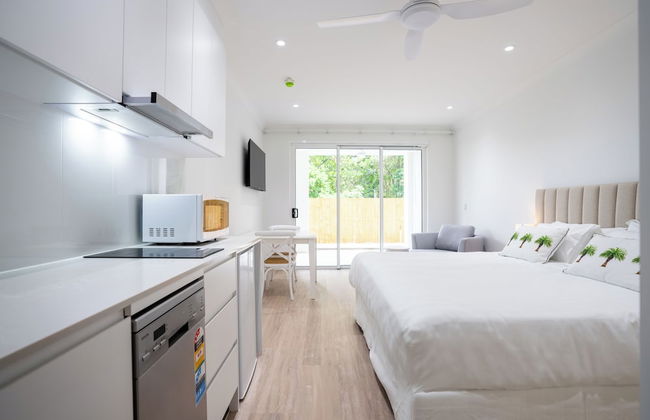
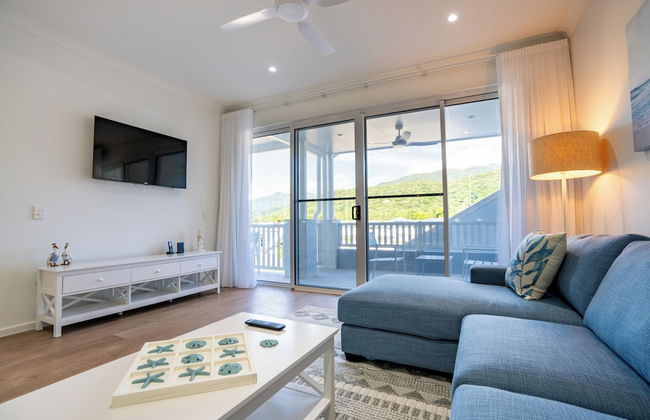
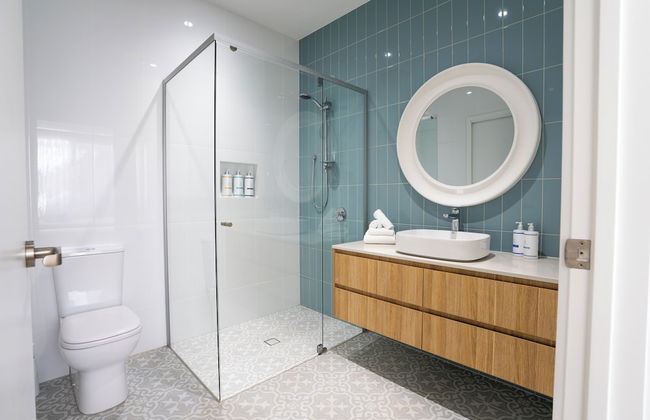
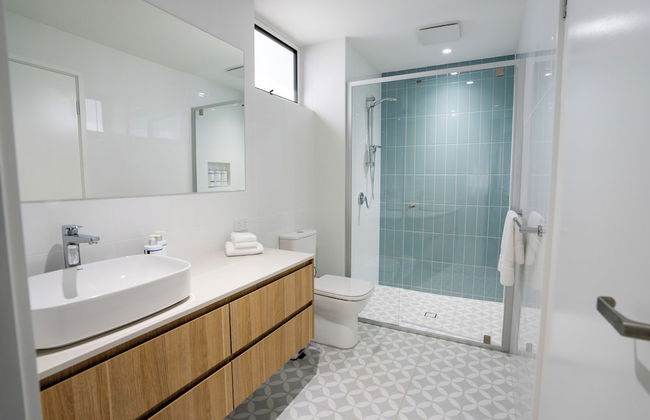
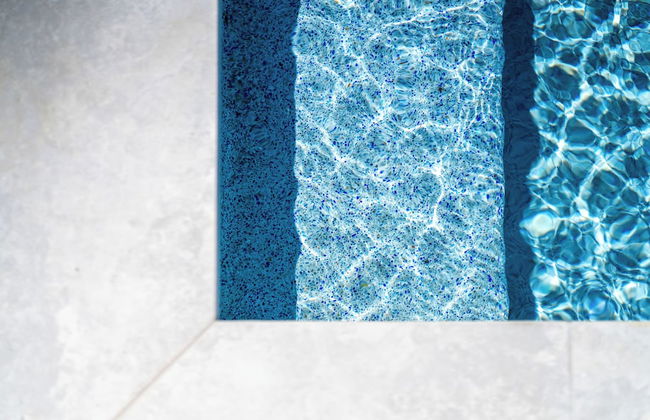
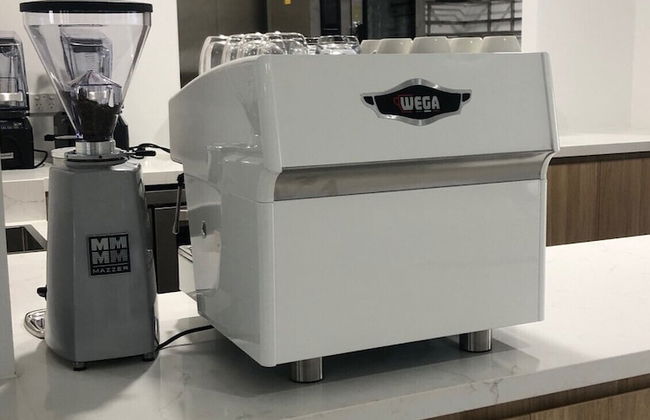
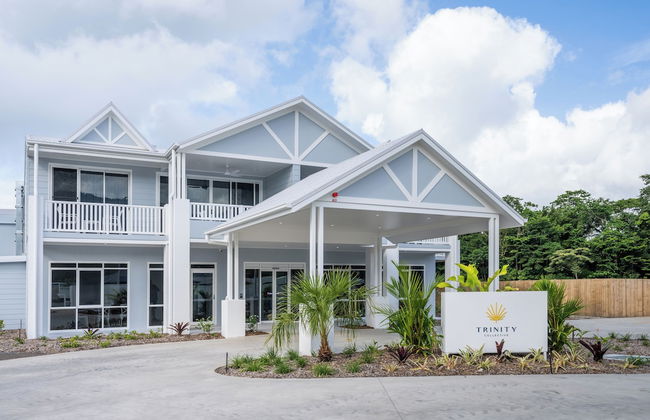
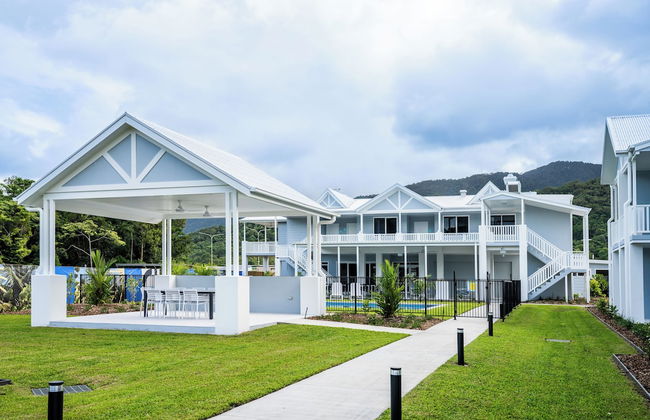
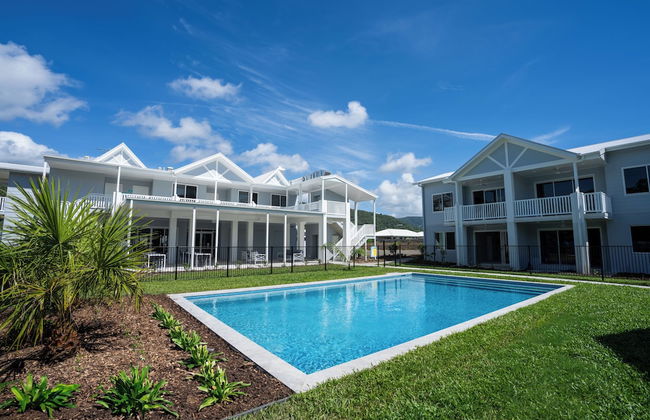
Trinity Collective - Photo 1
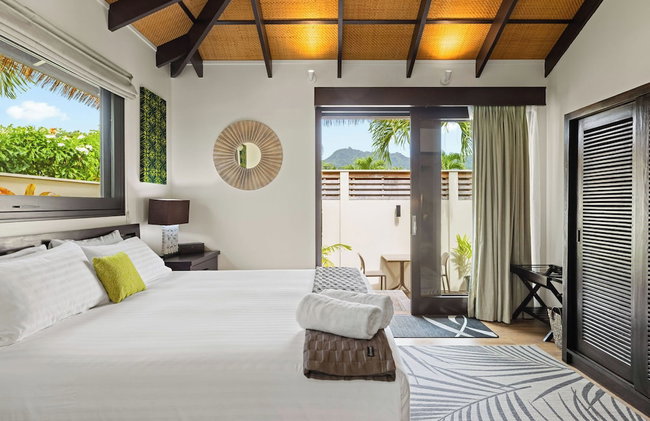
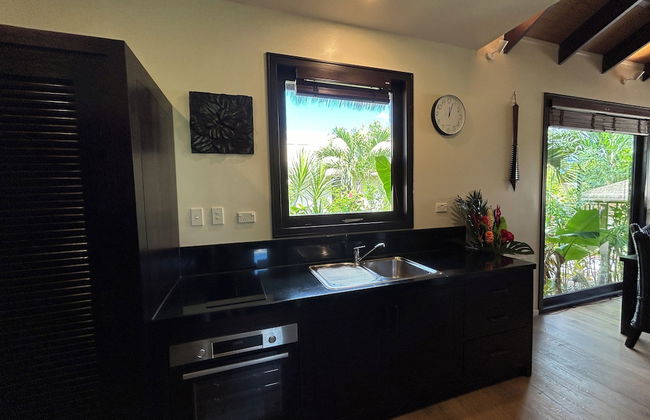
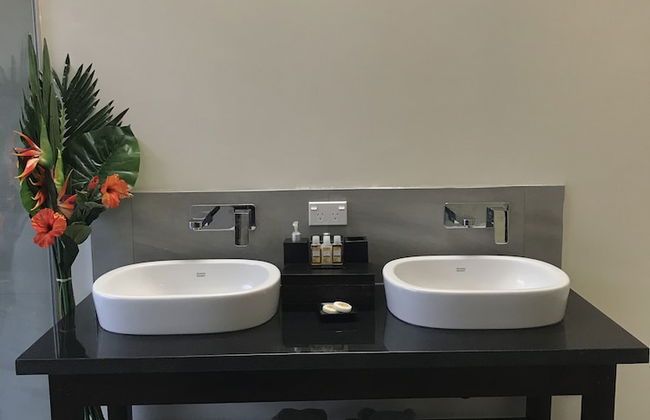
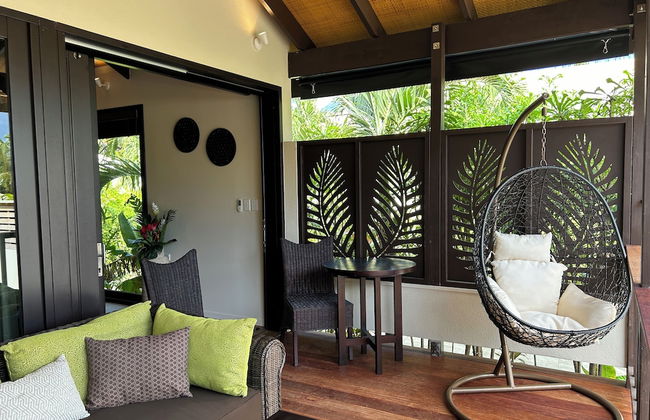
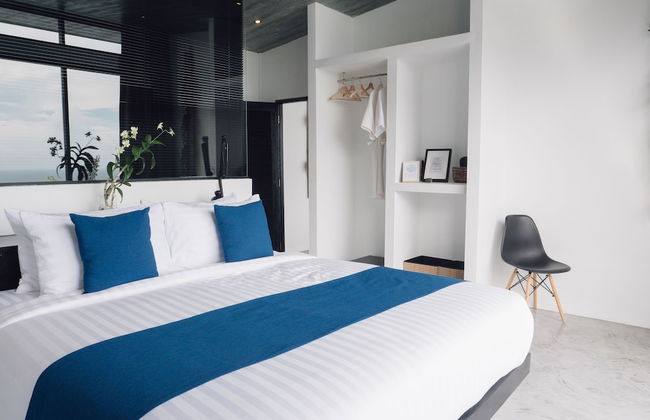
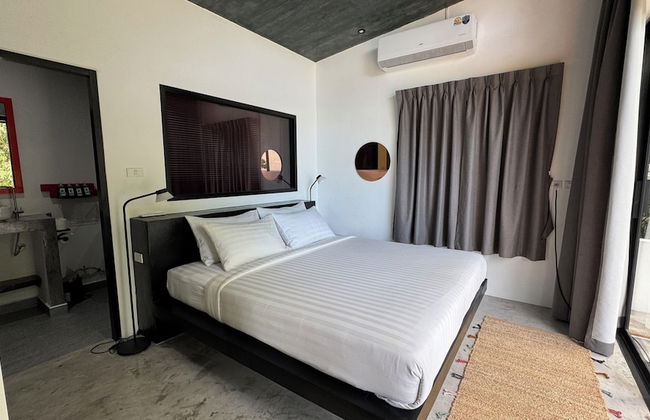
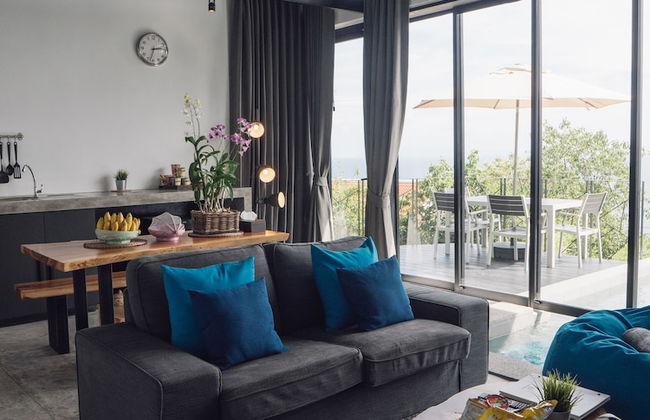
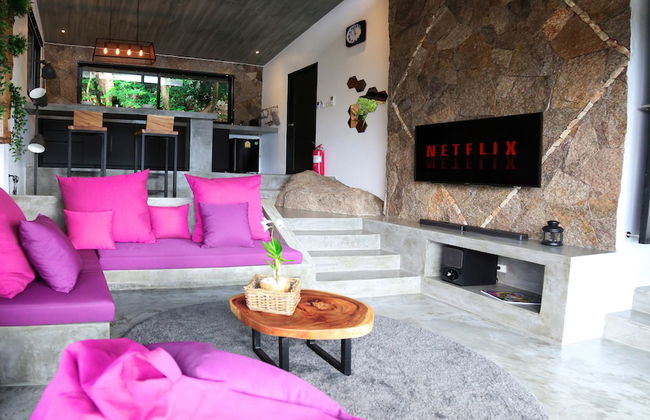
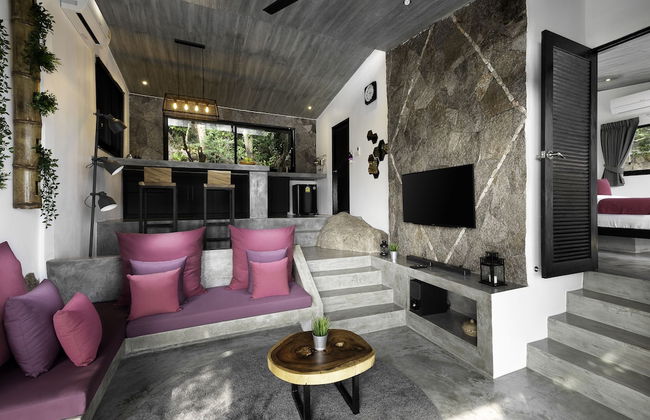
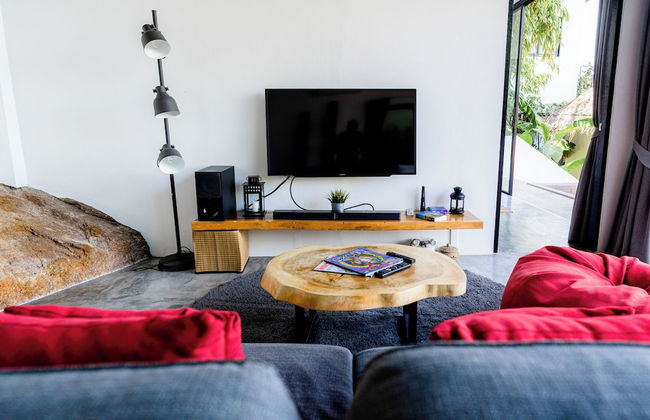
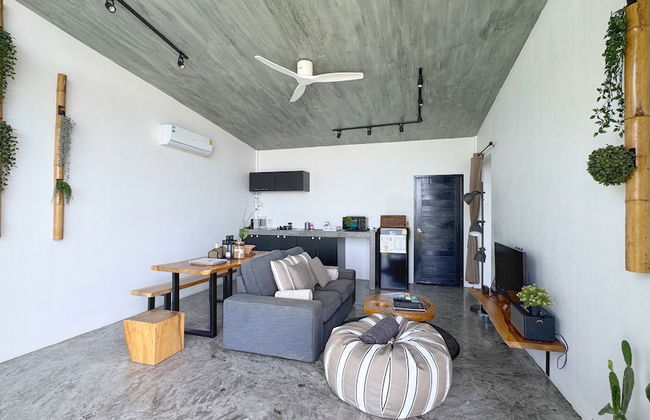
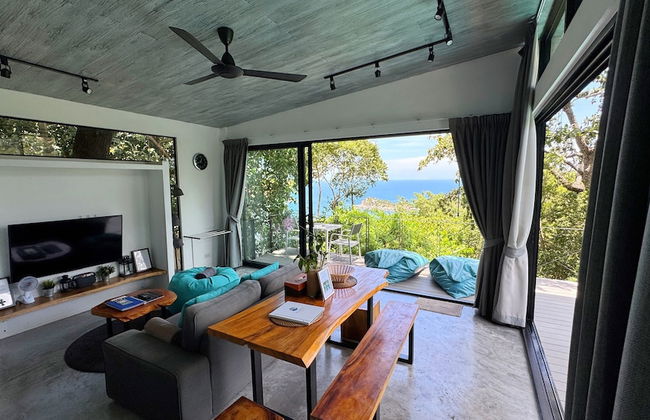
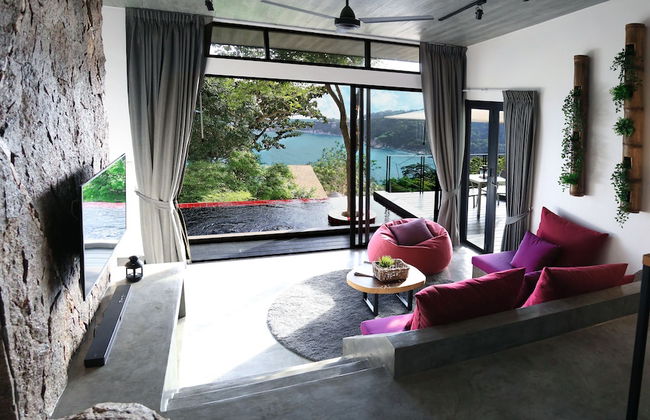
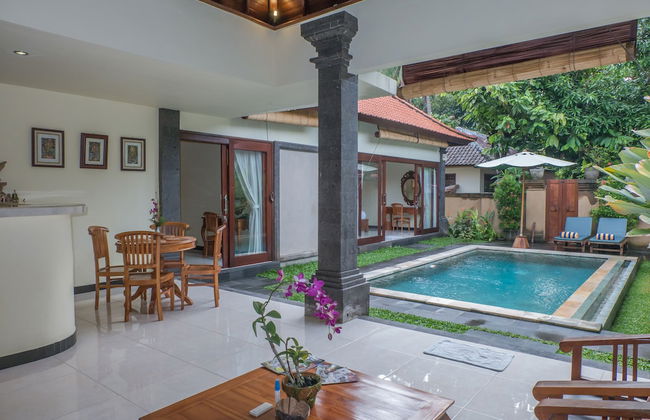
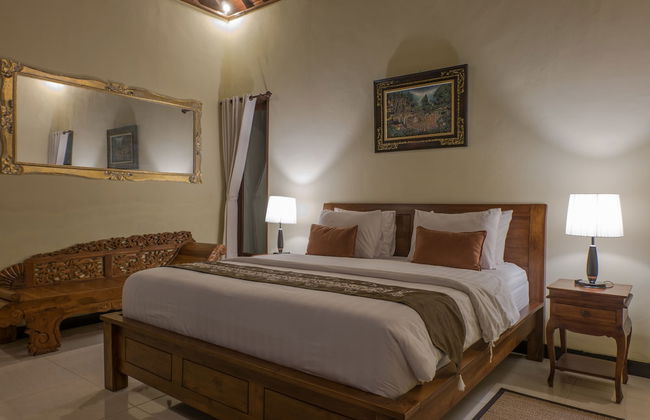
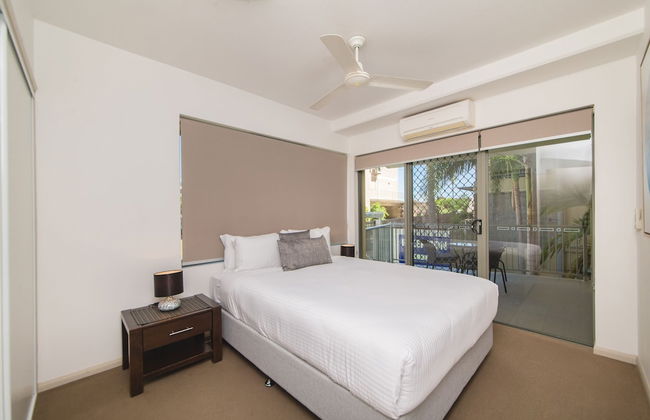
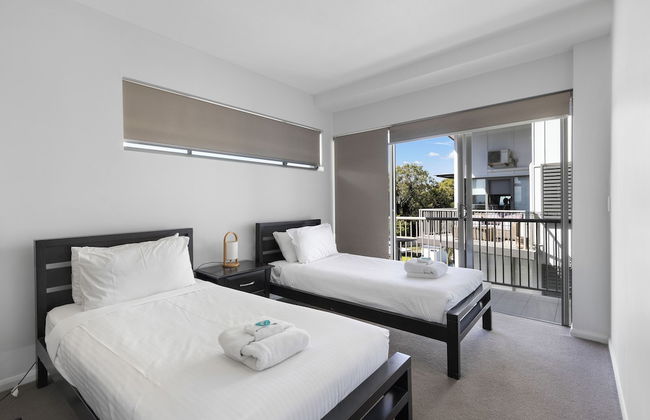
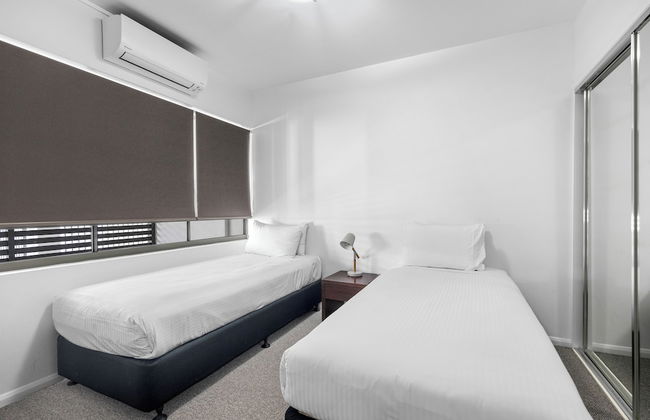
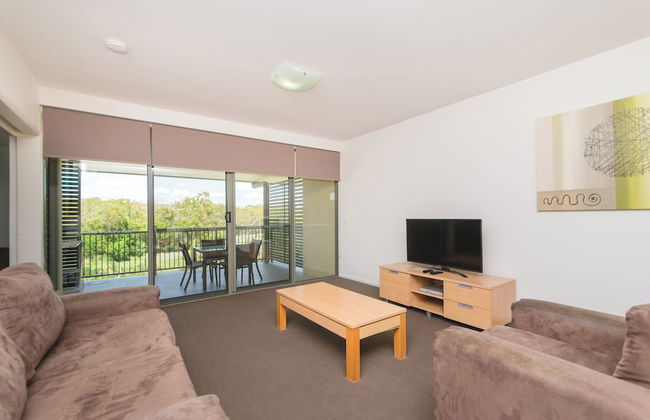
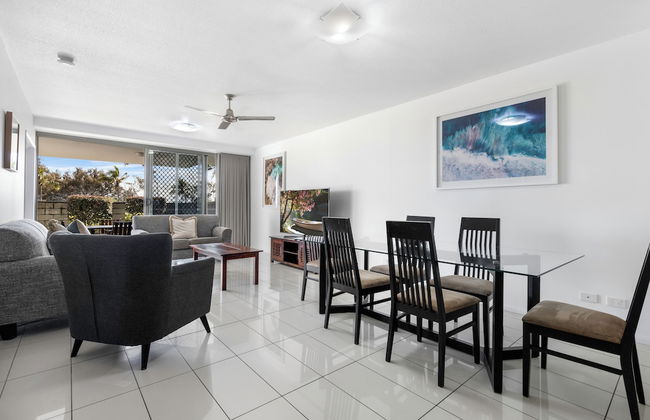
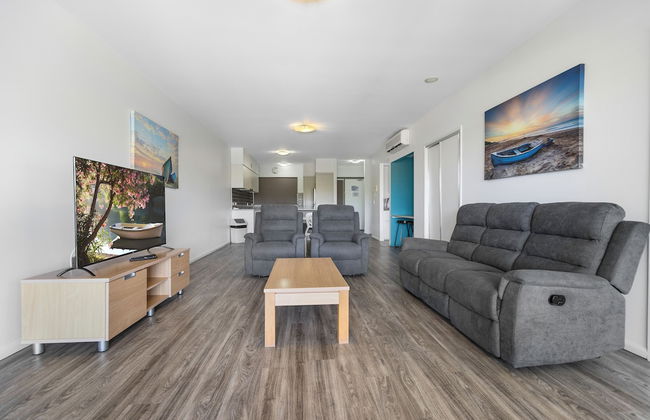
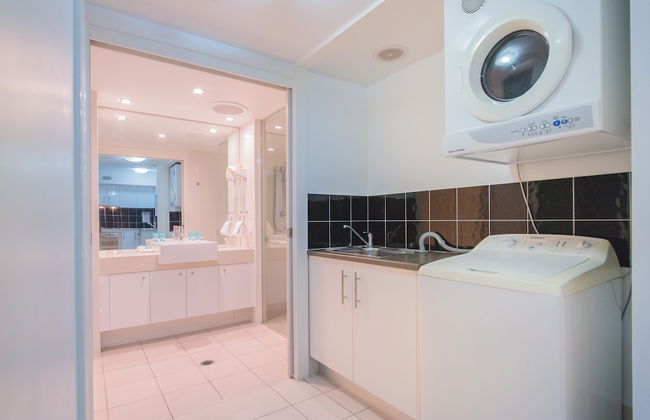
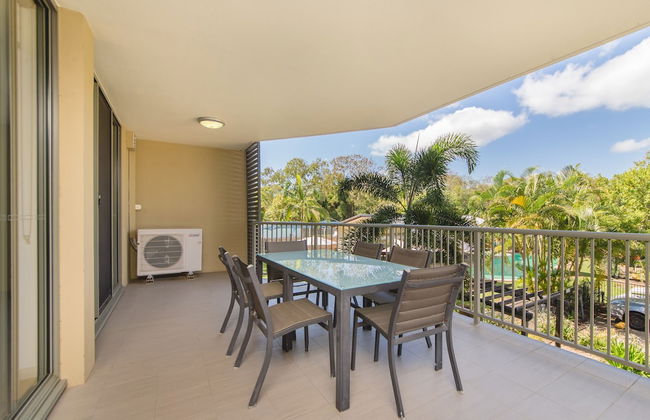
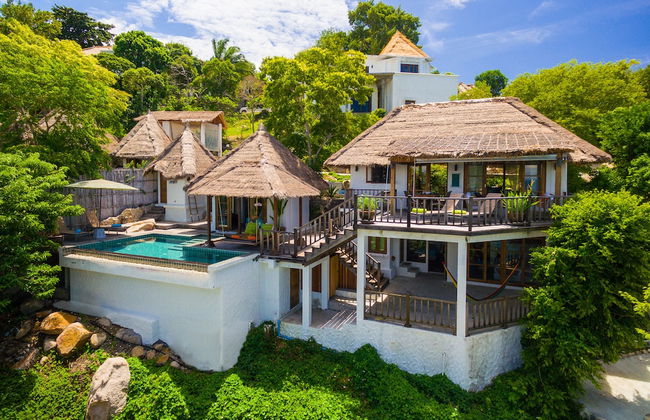
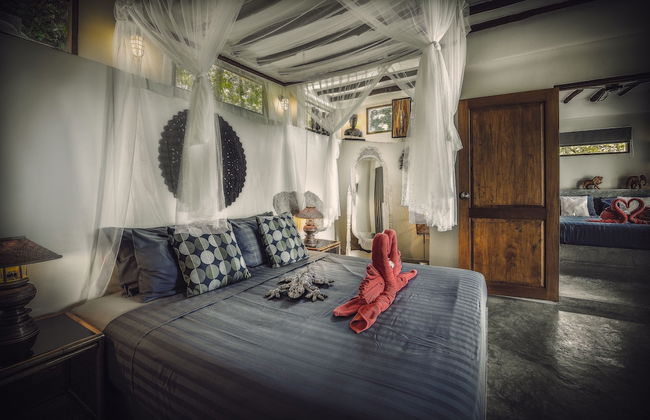
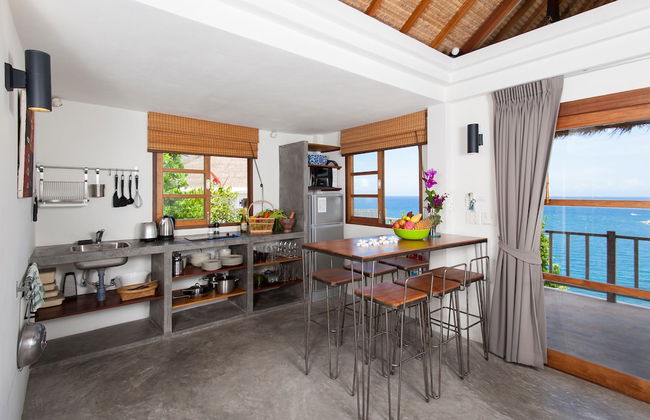
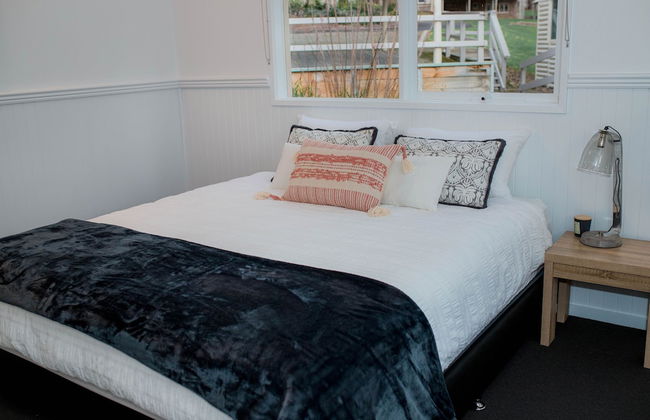
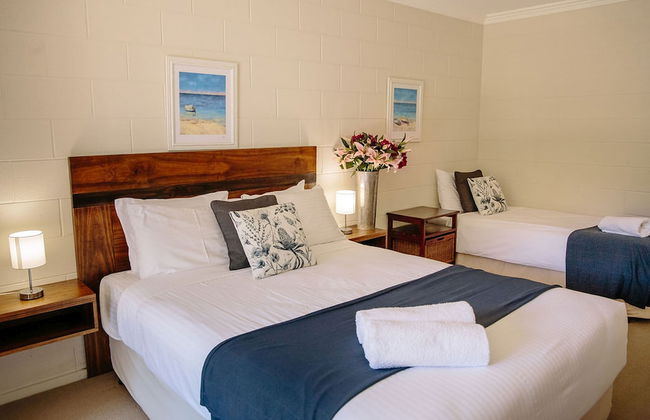
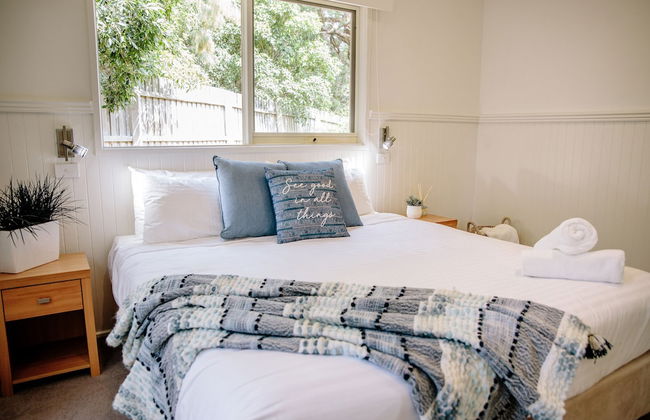
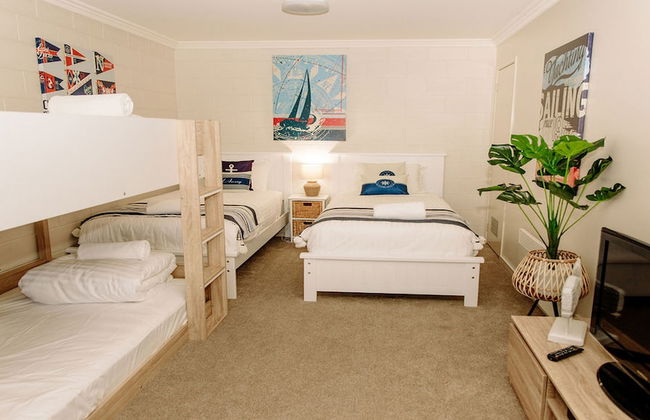
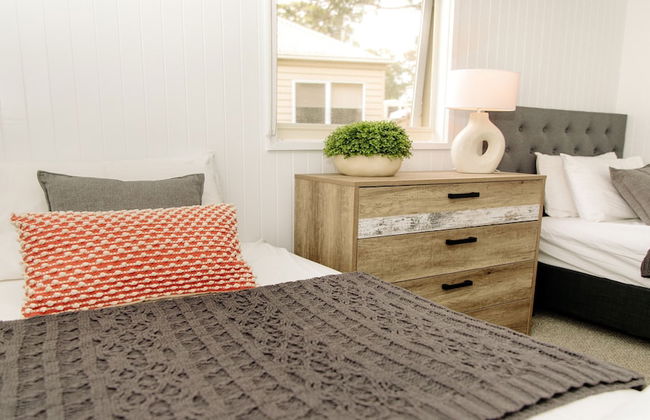
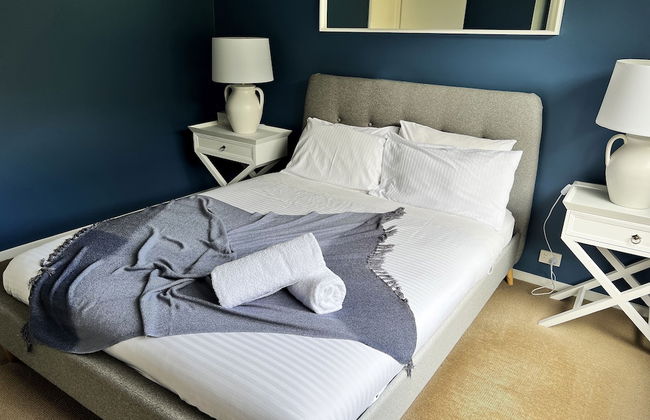
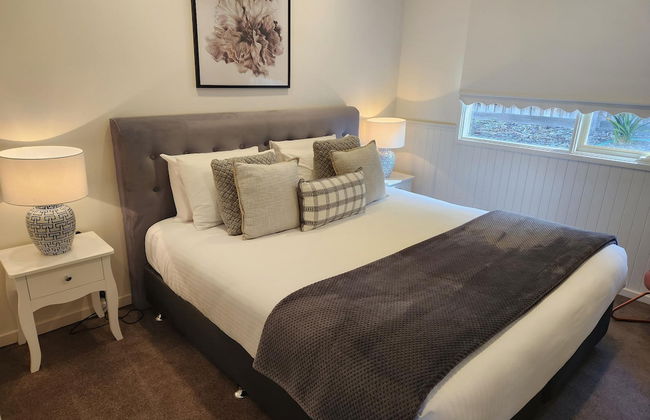
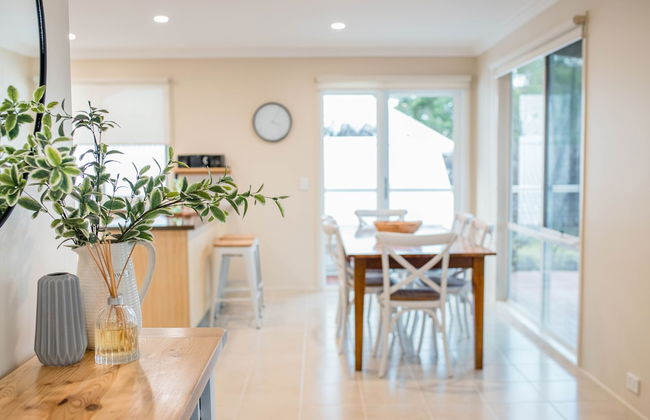
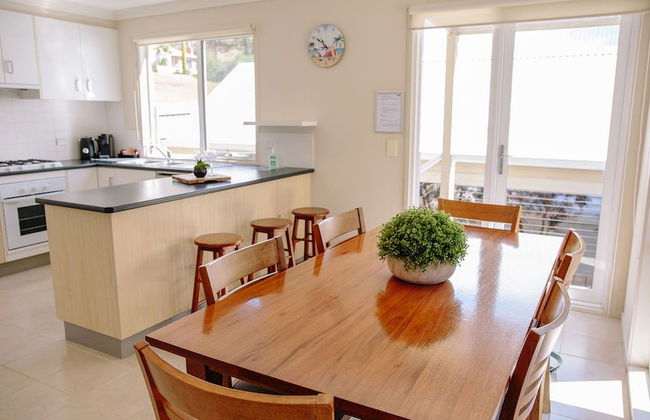
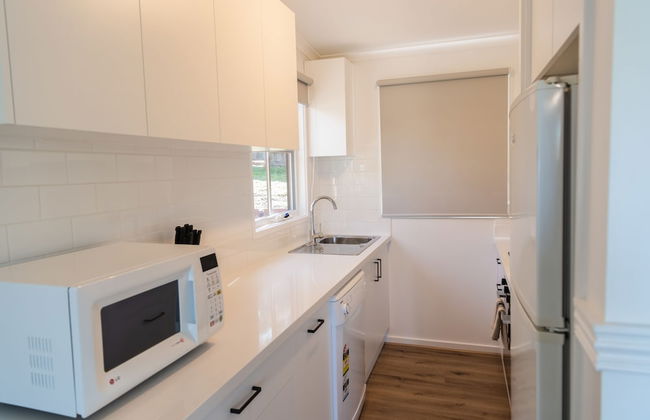
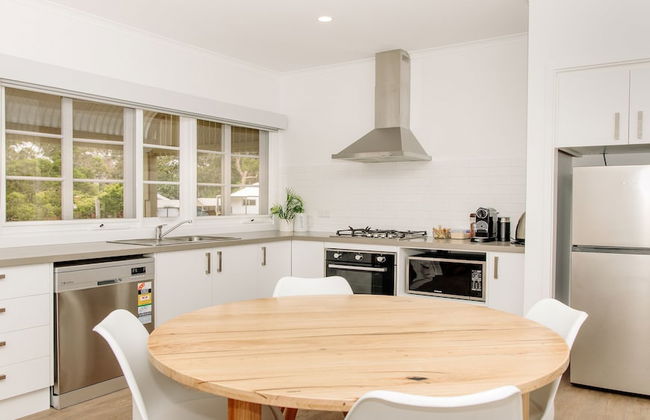
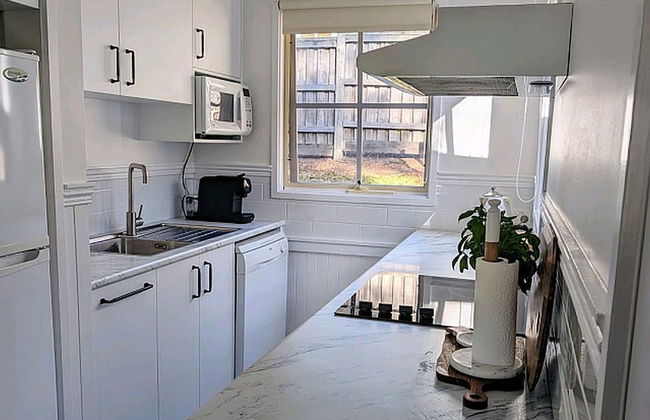
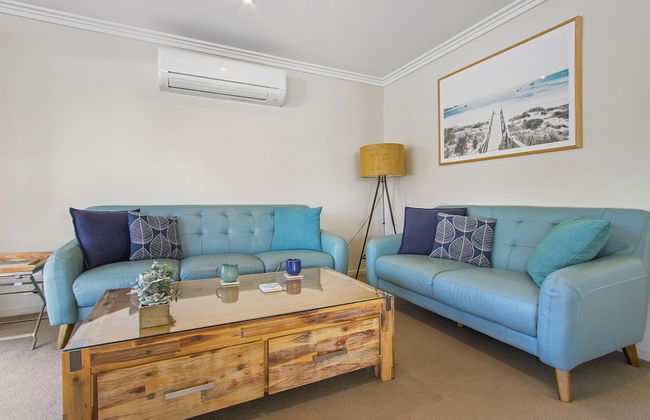
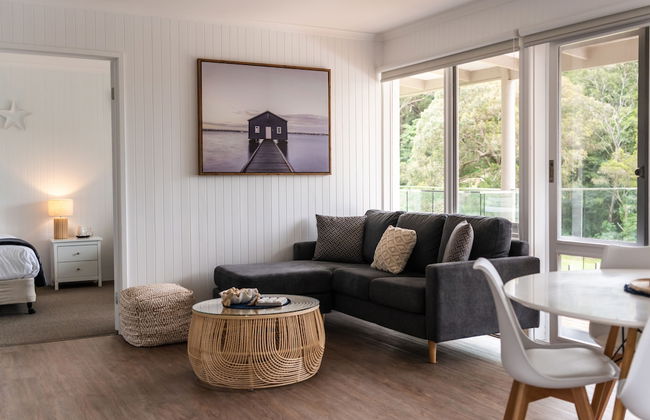
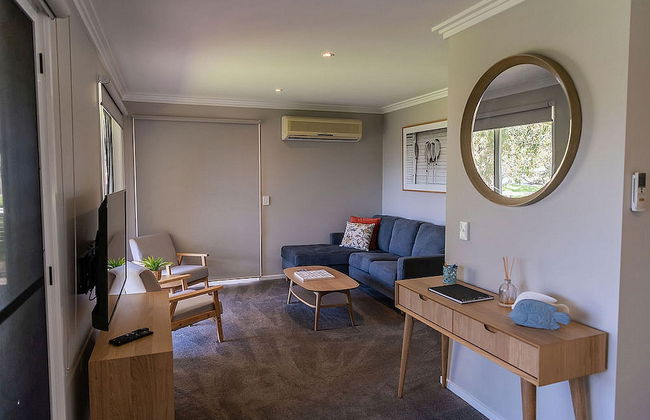
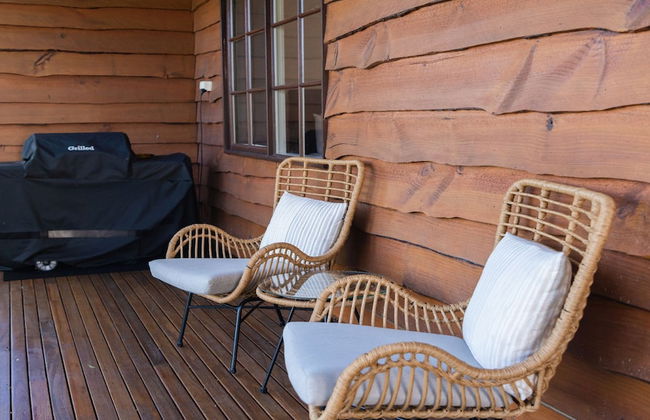
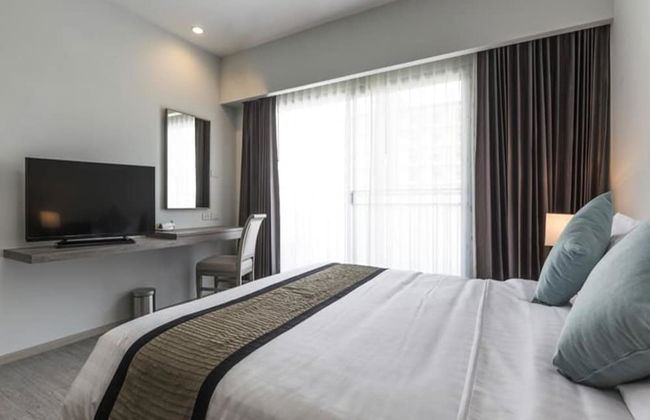
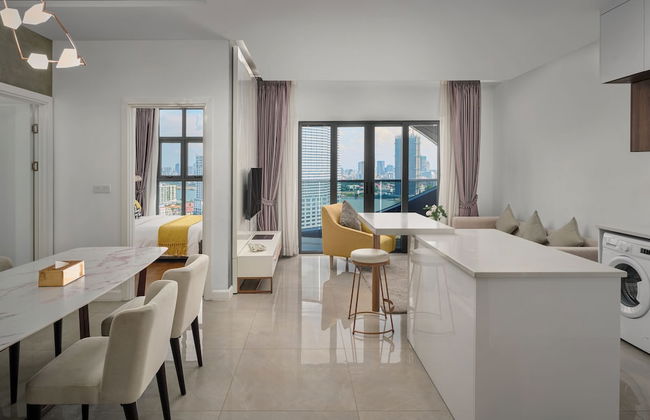
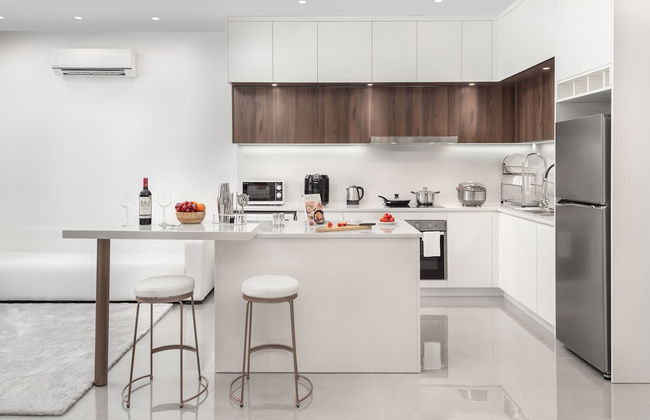
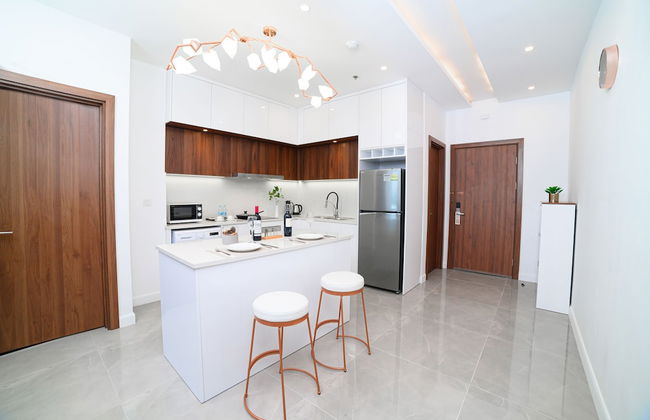
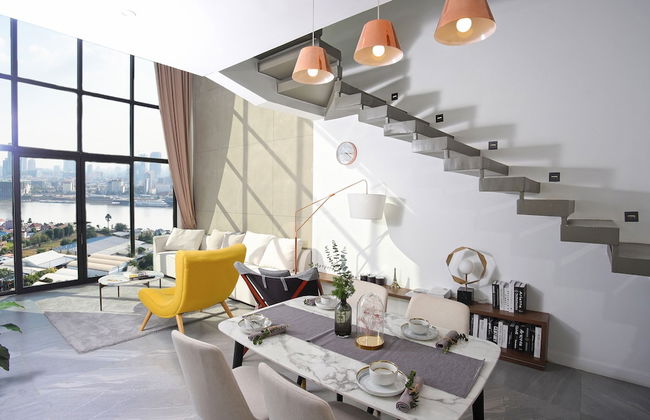
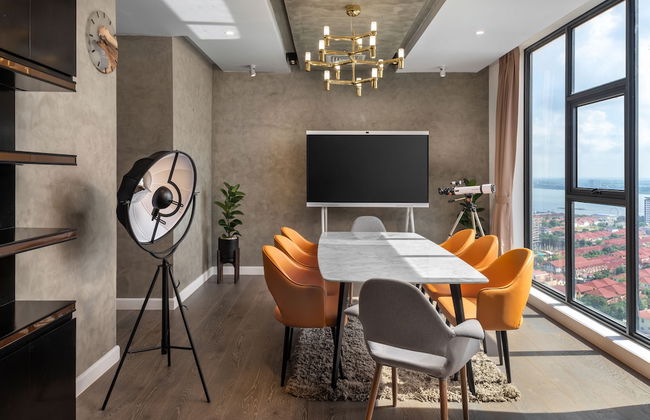
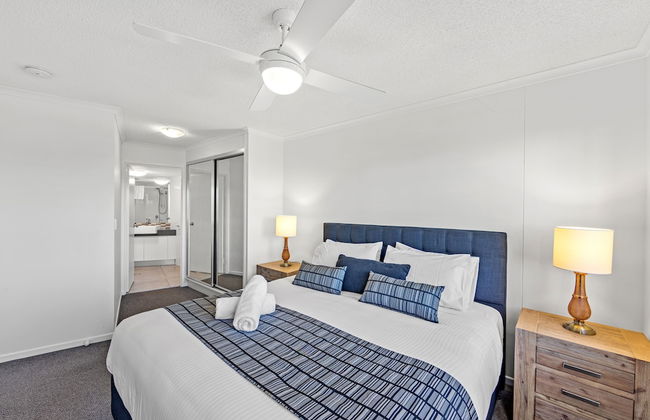
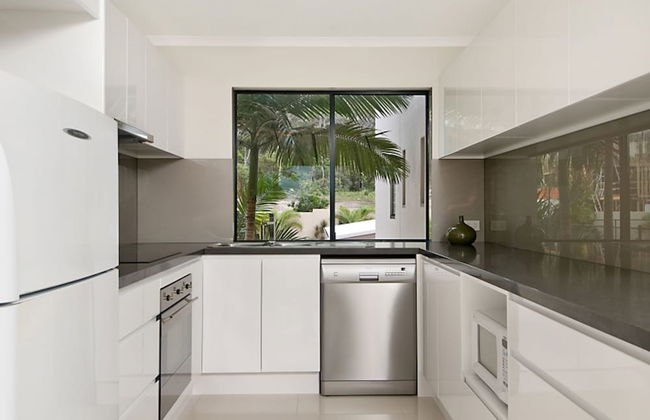
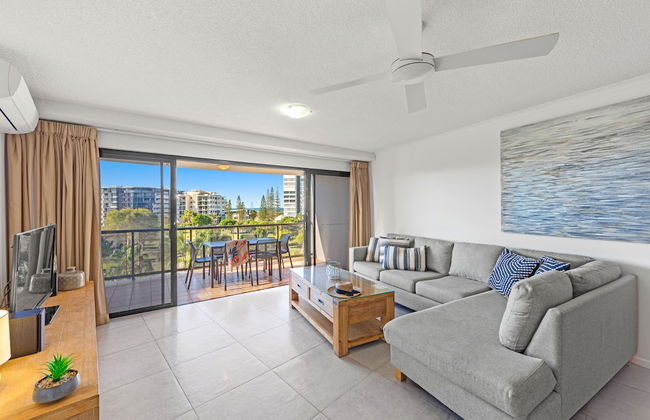
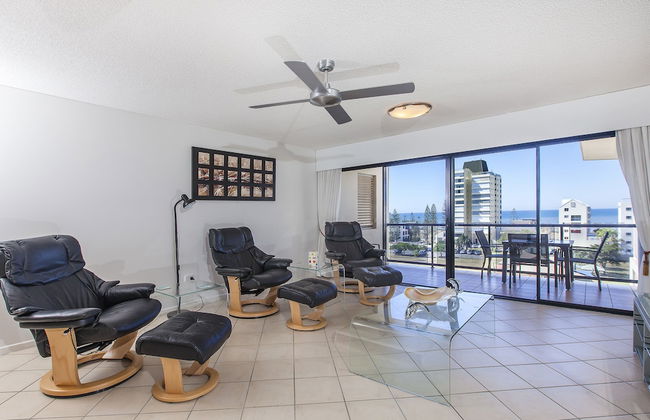
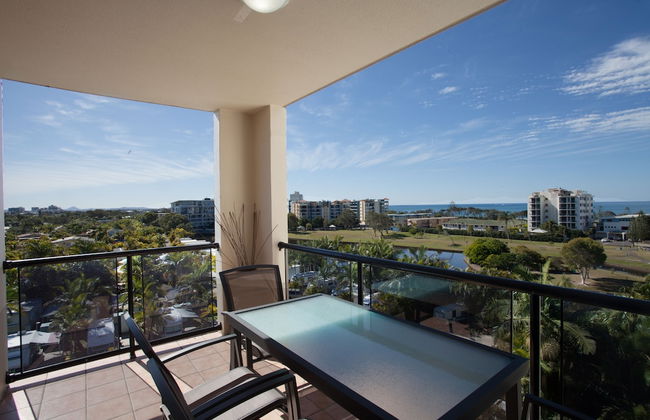
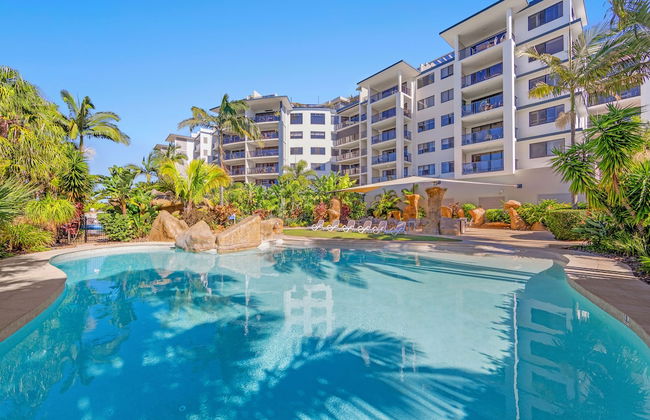
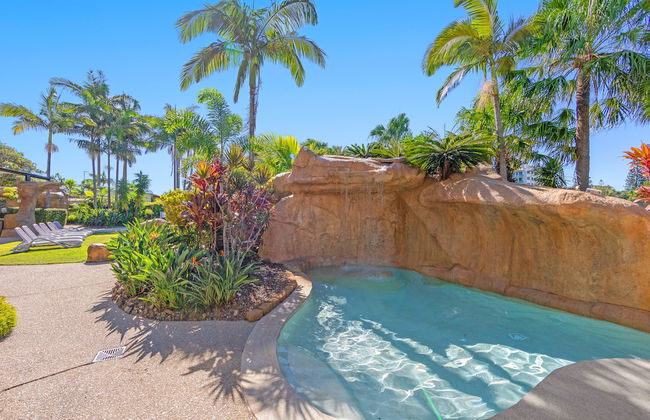
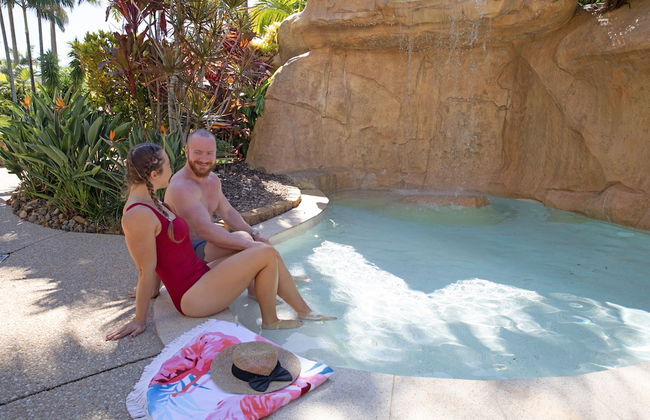
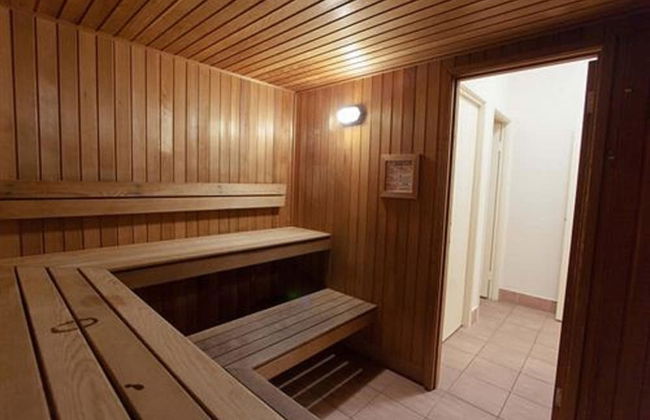
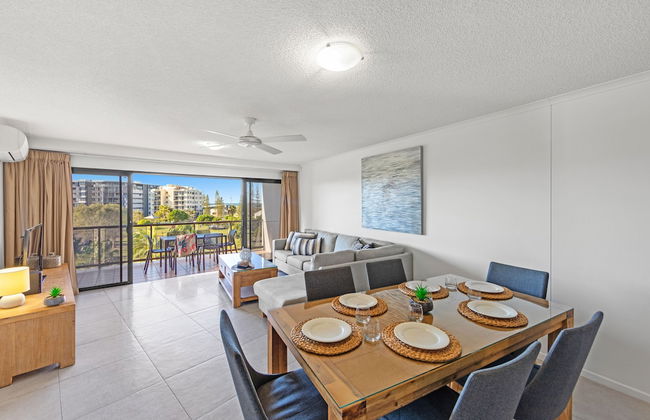
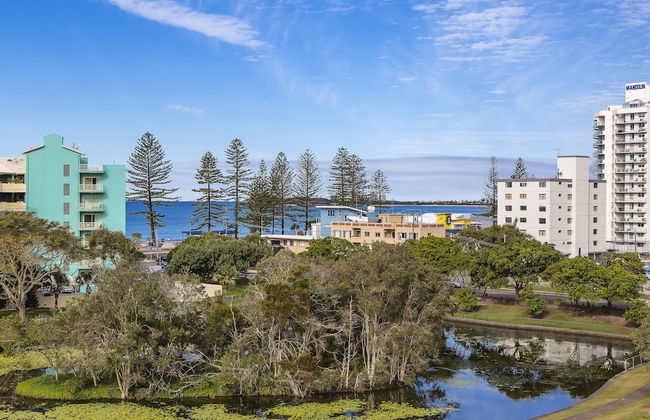
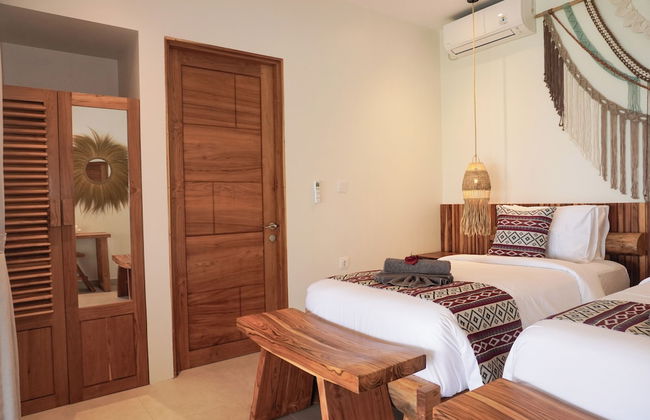
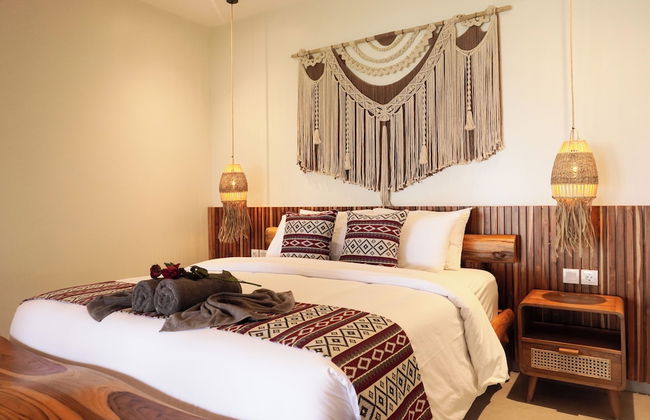
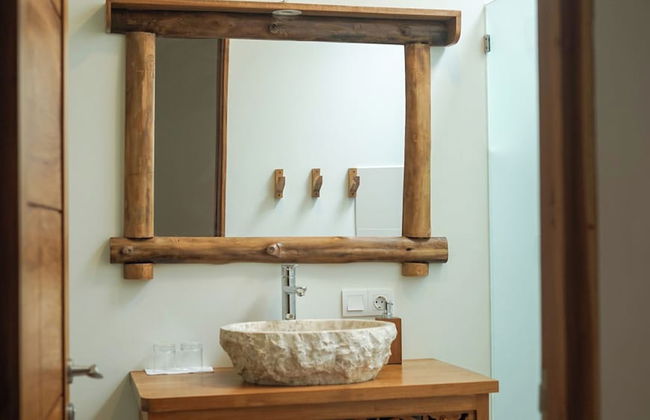
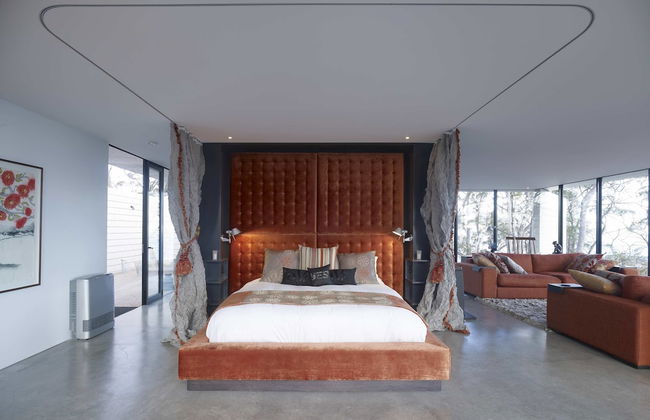
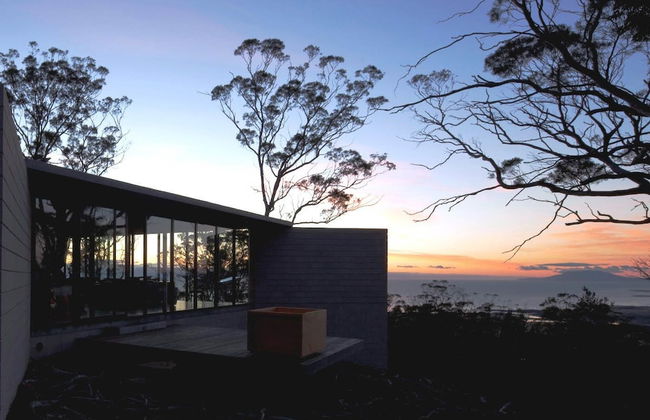
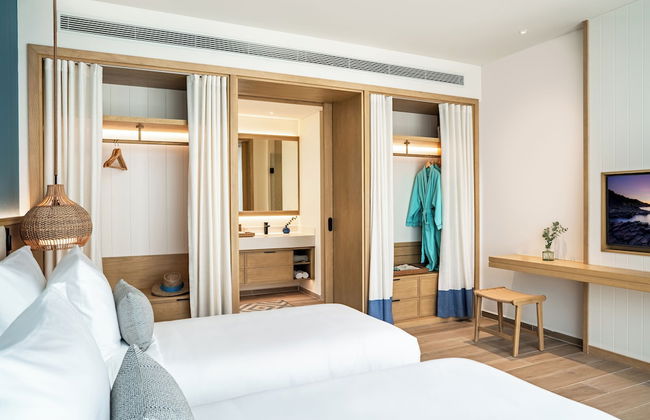
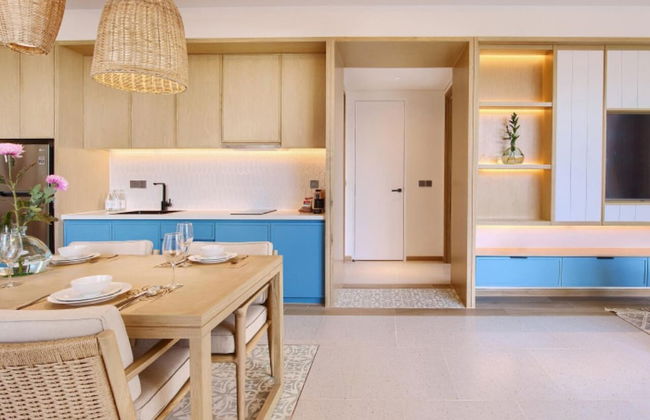
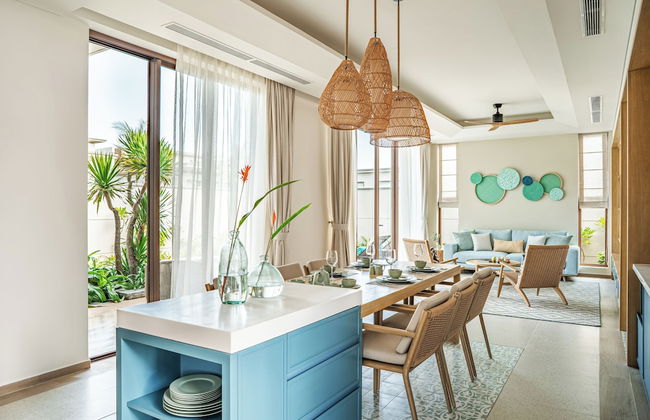
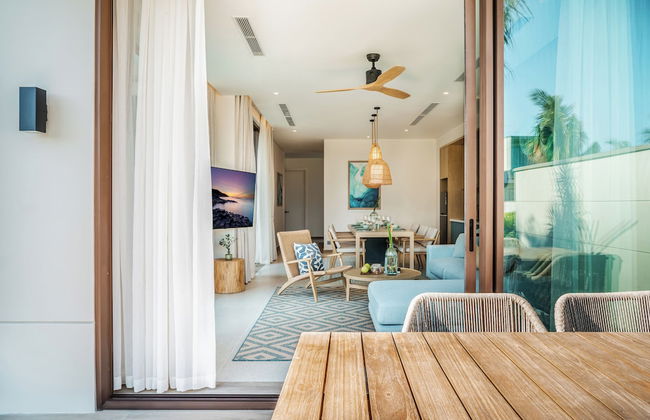
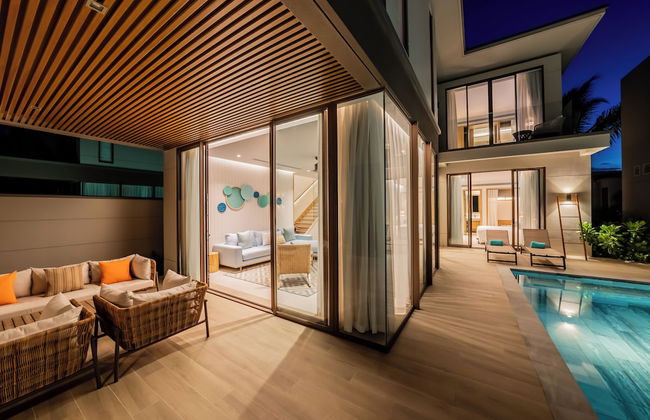
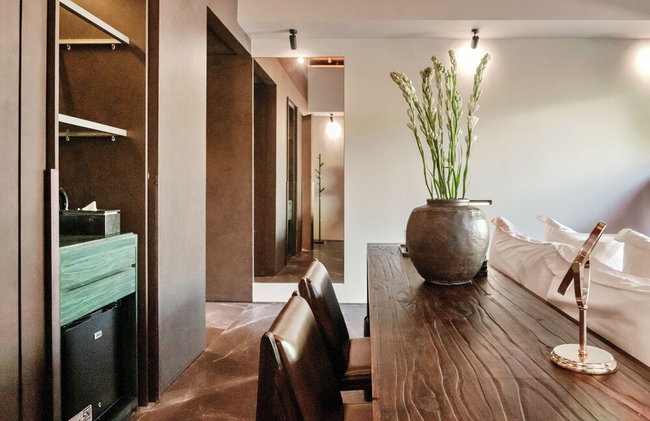
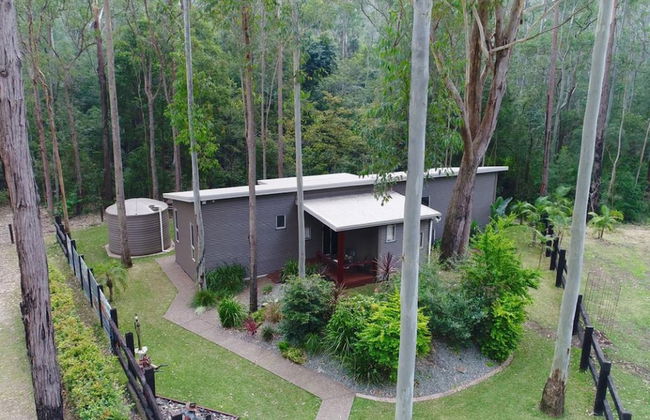
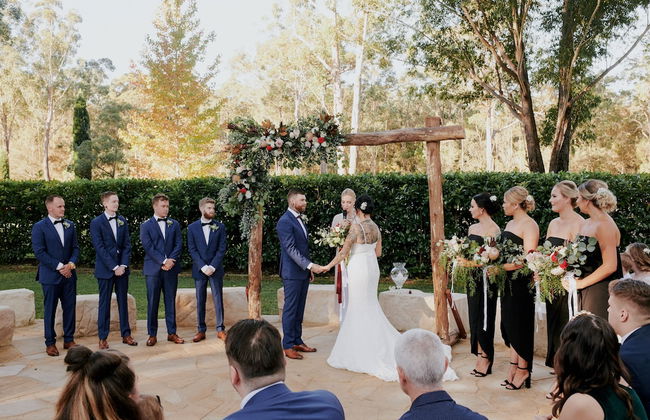
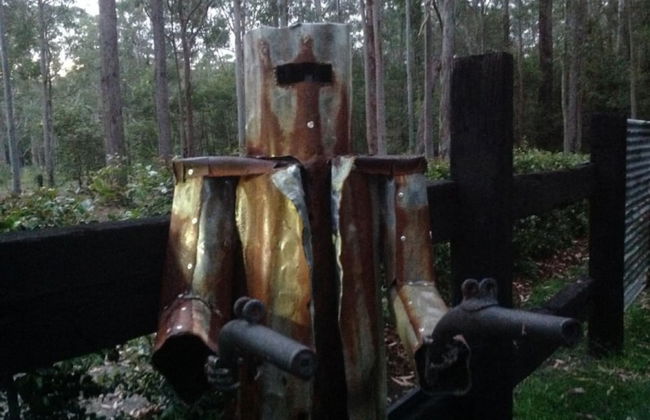
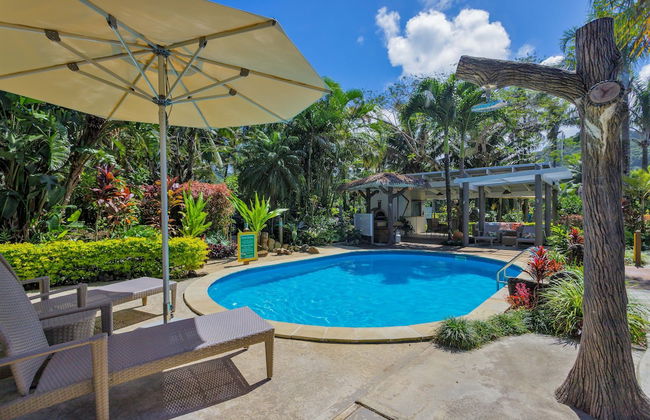
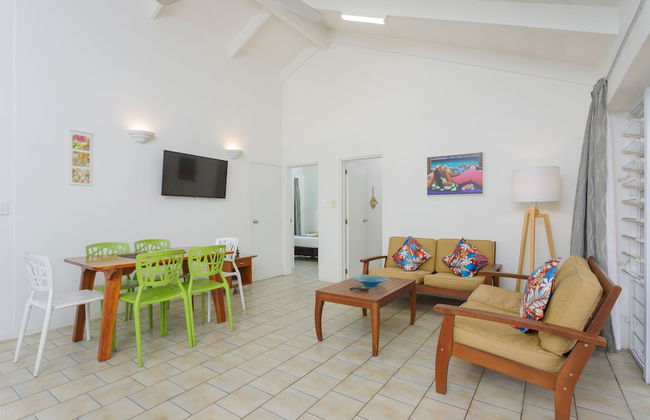
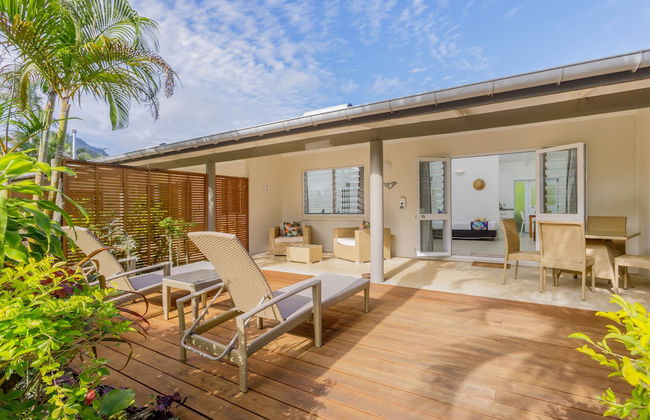
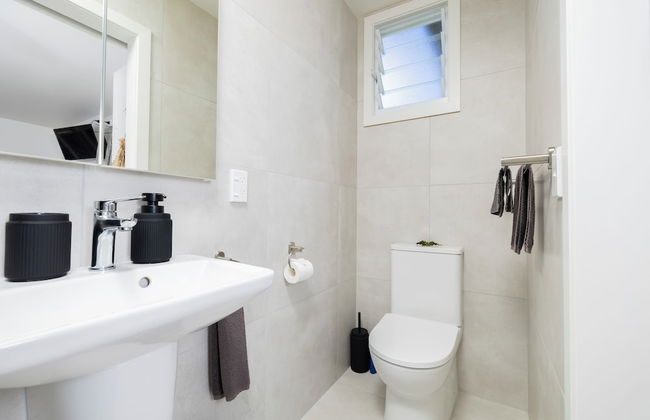
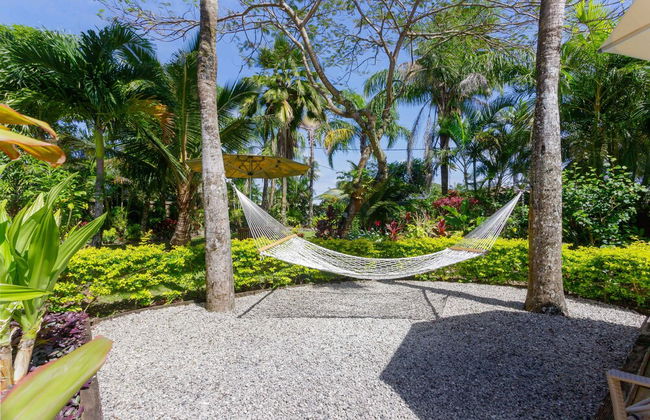
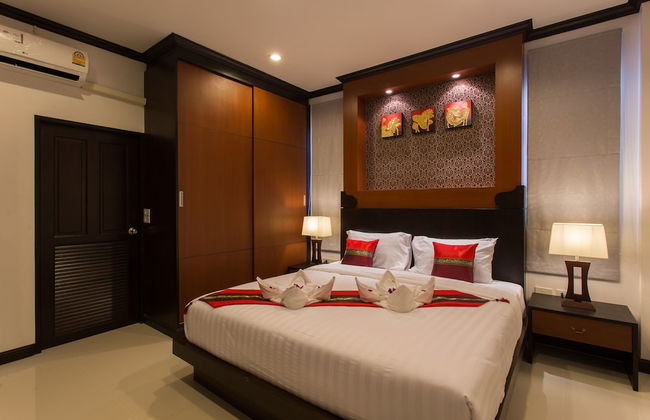
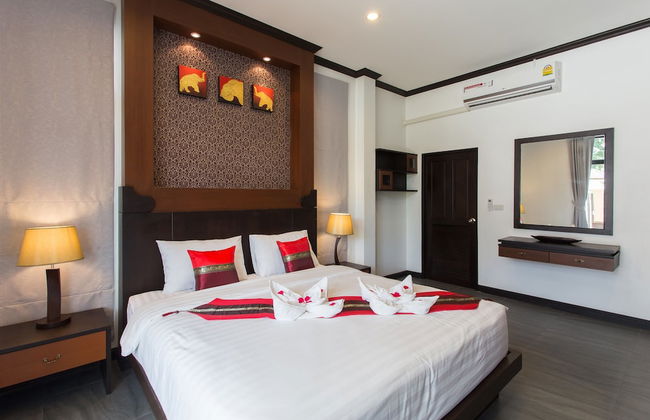
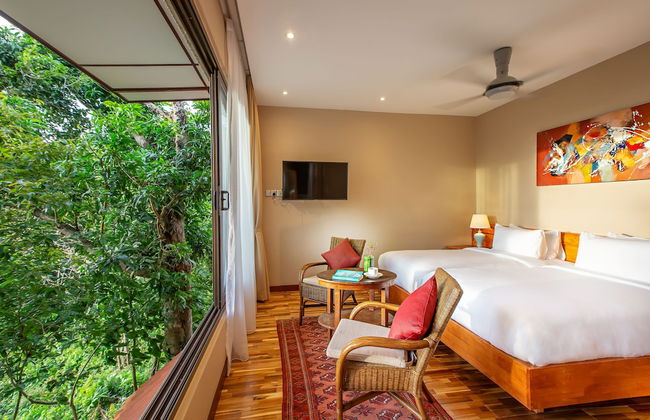
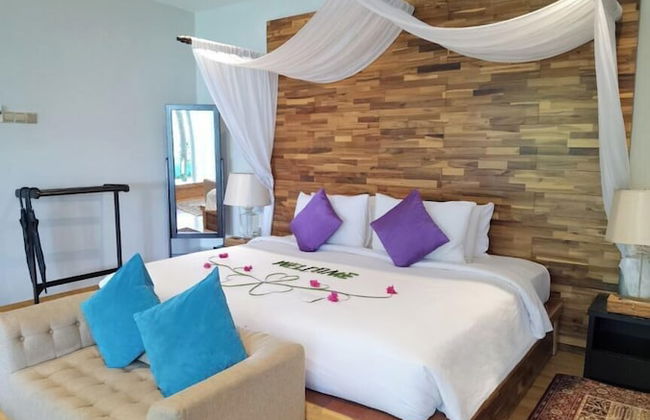
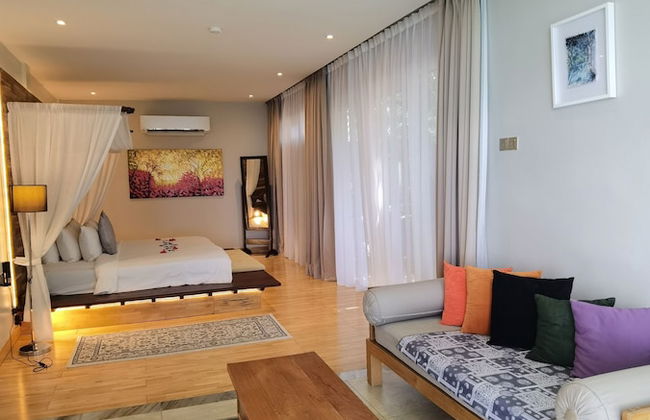
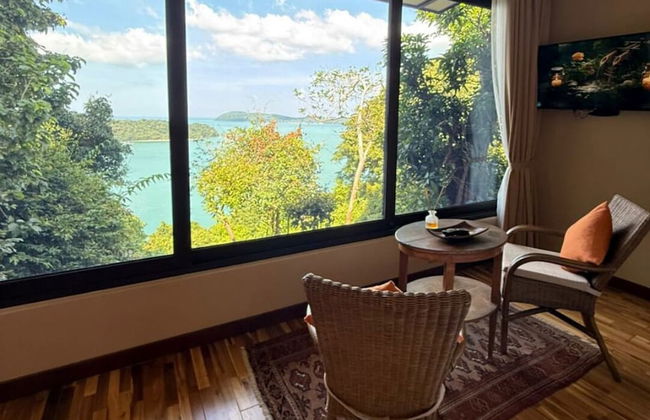
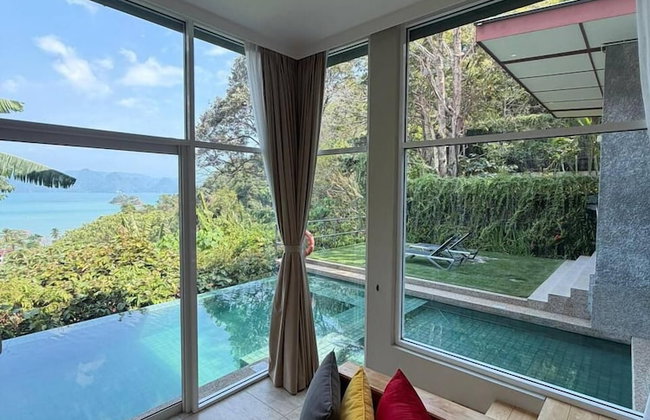
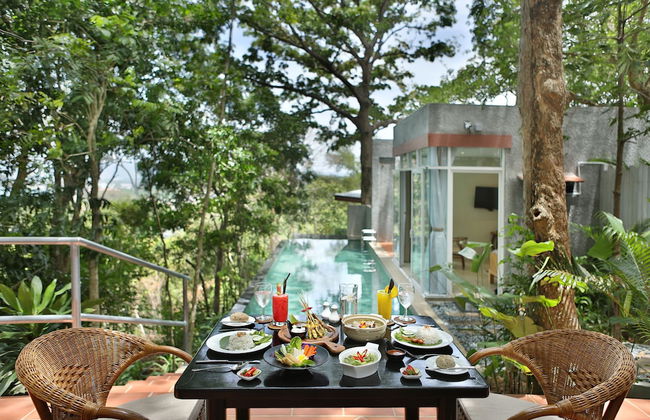
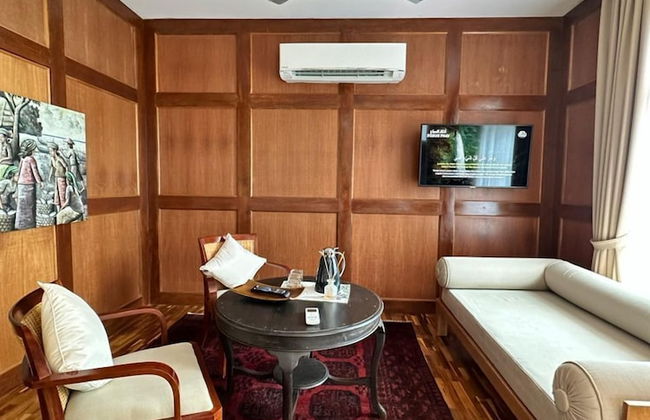
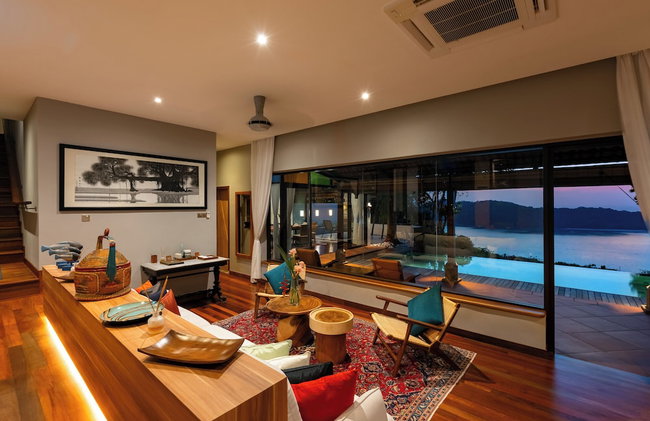
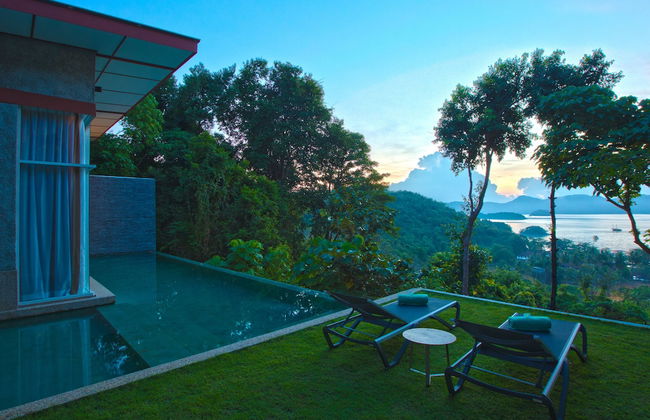
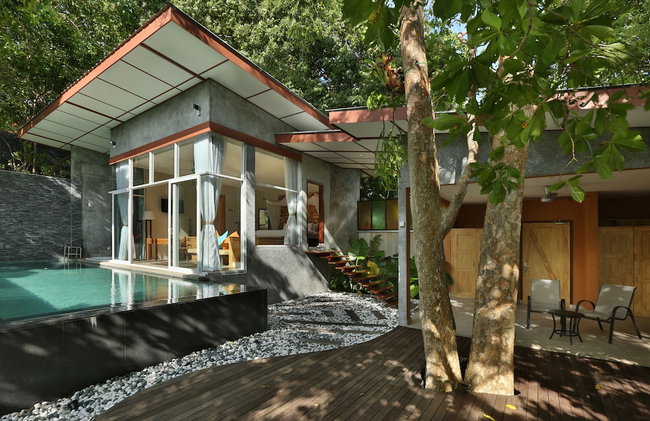
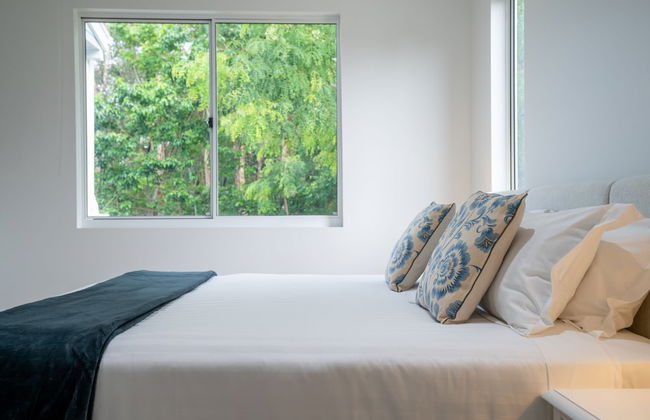
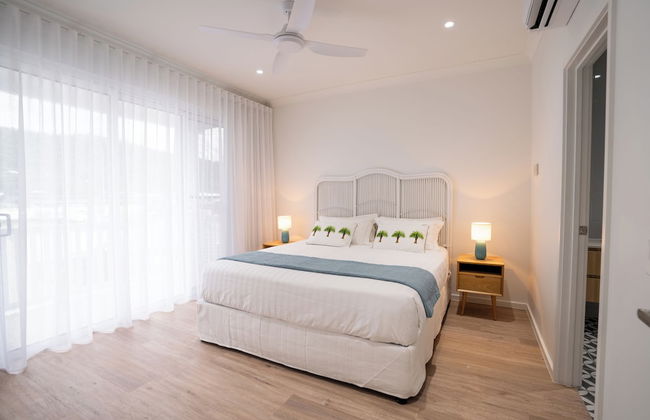
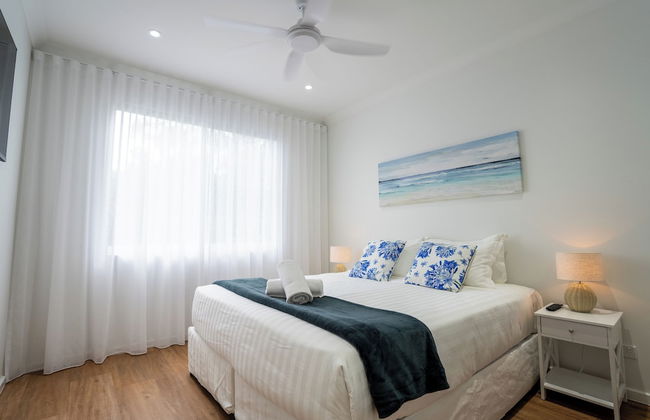
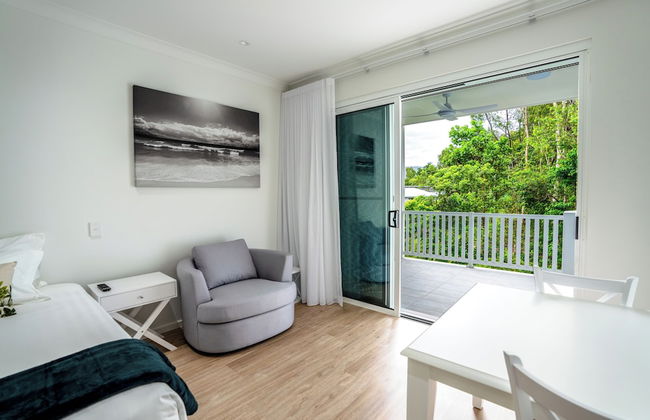
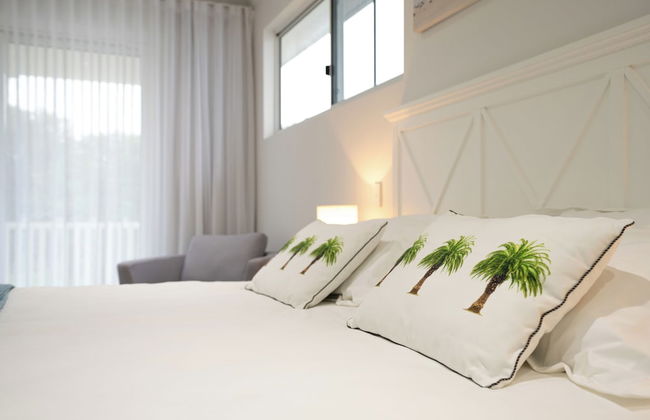
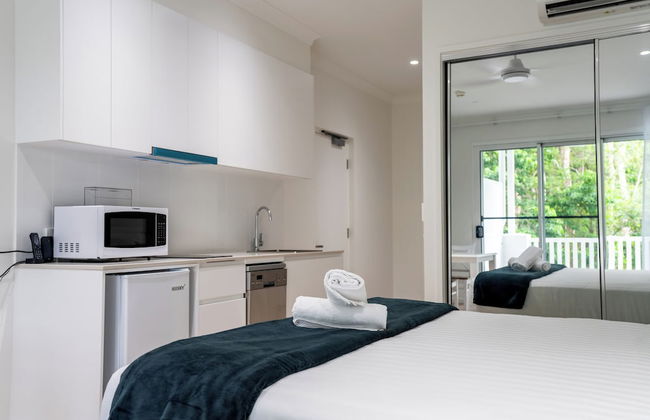
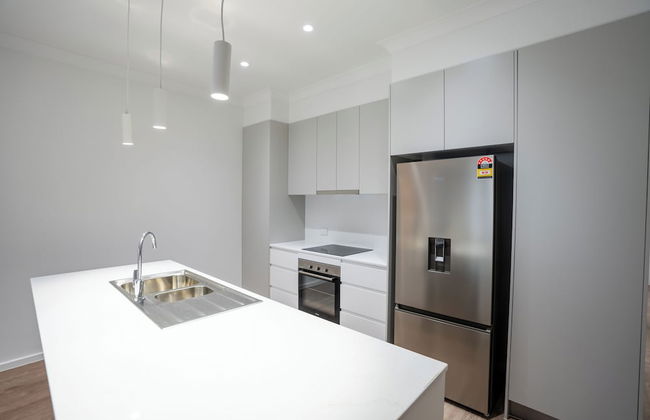
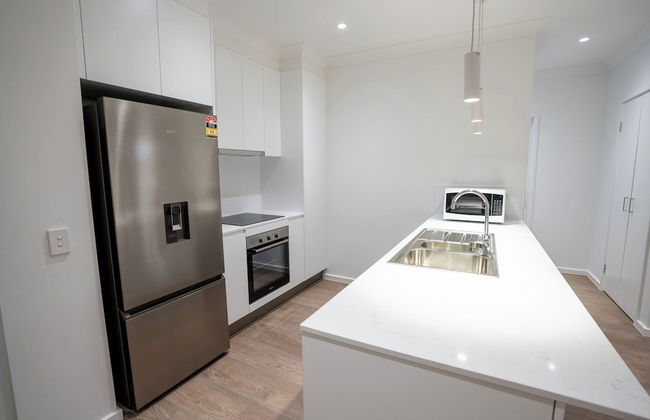
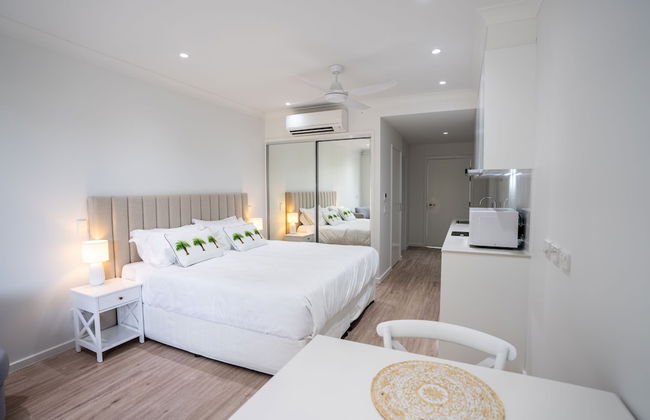
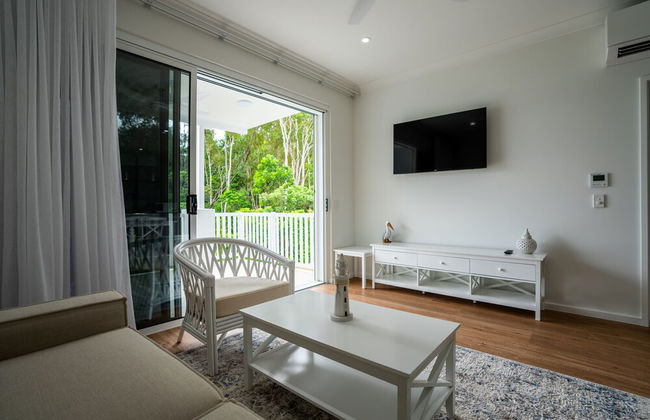
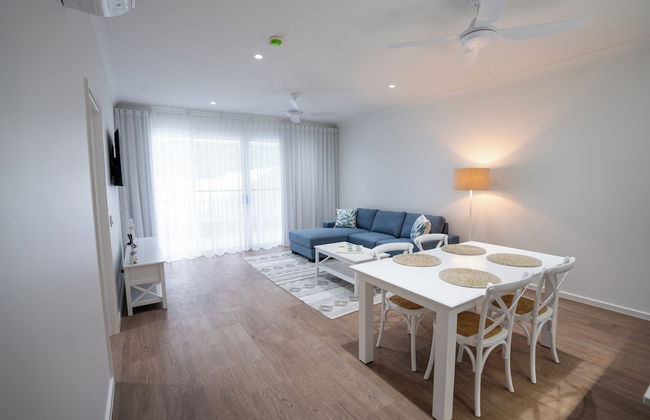
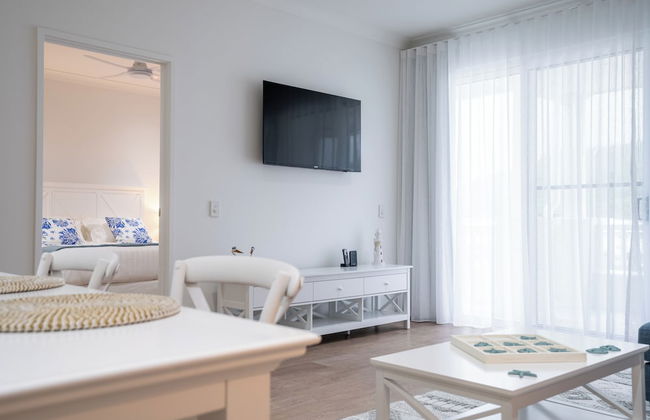
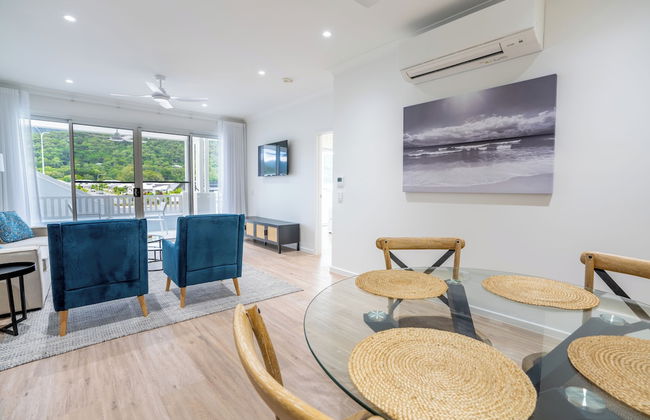
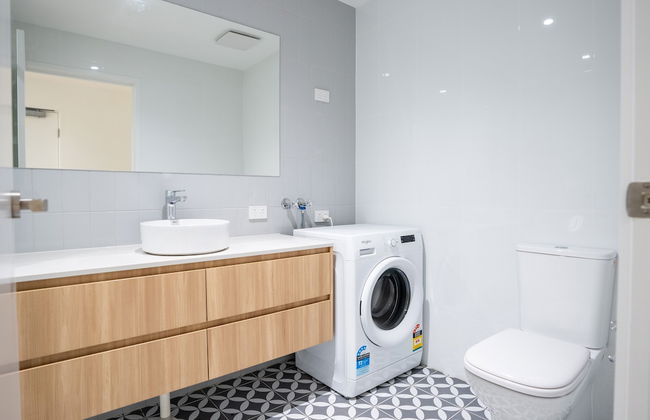
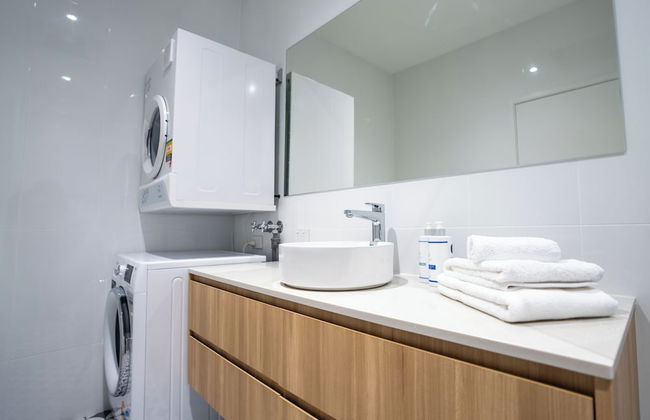
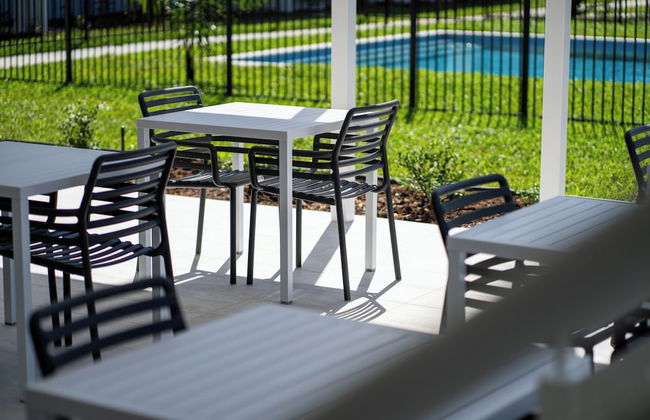
Trinity Collective - Photo 2
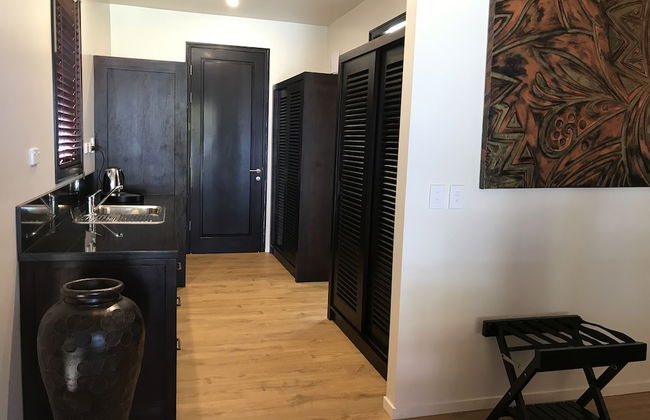
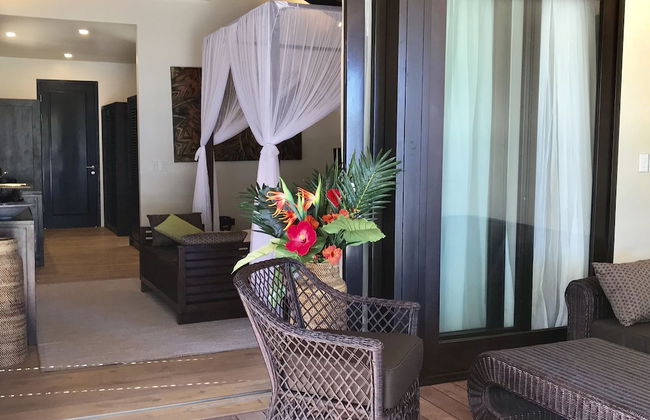
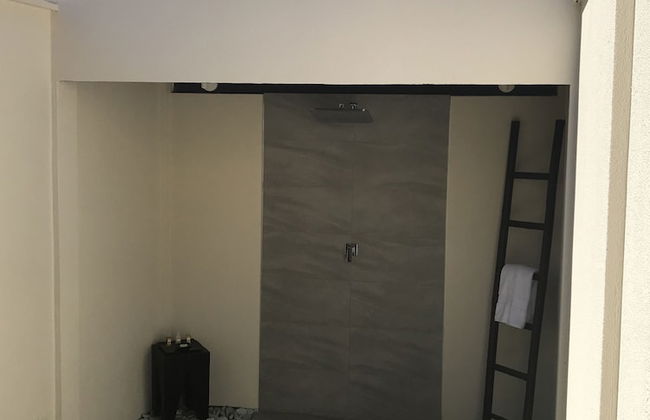
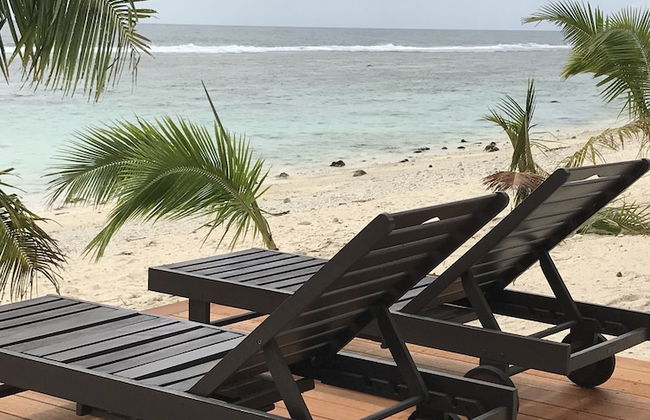
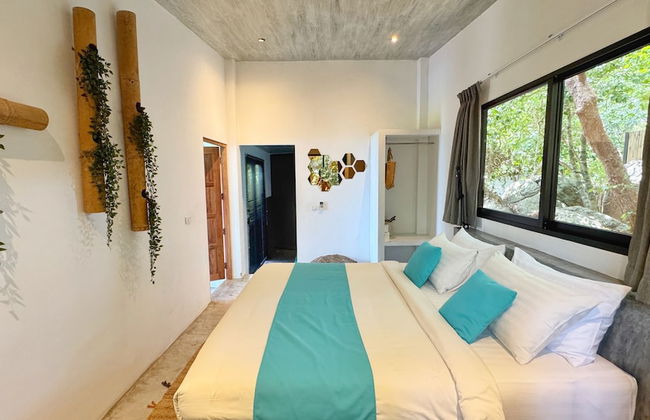
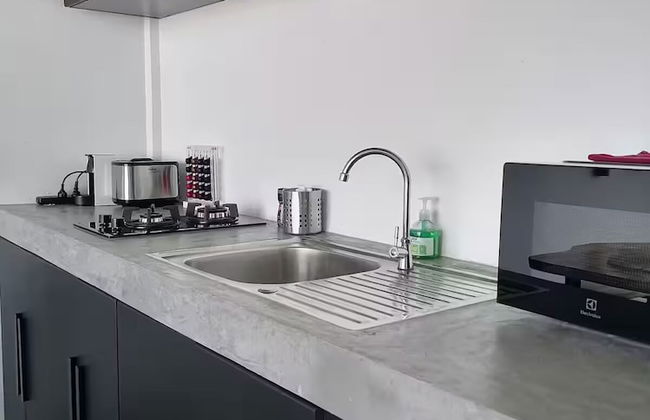
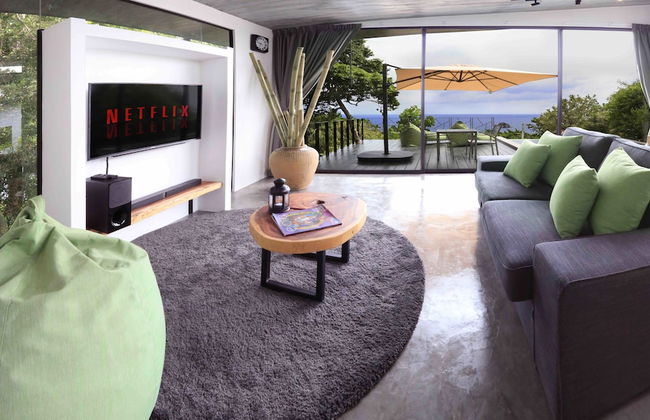
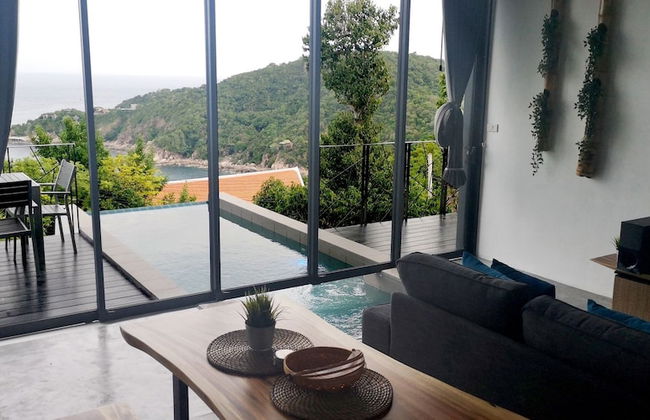
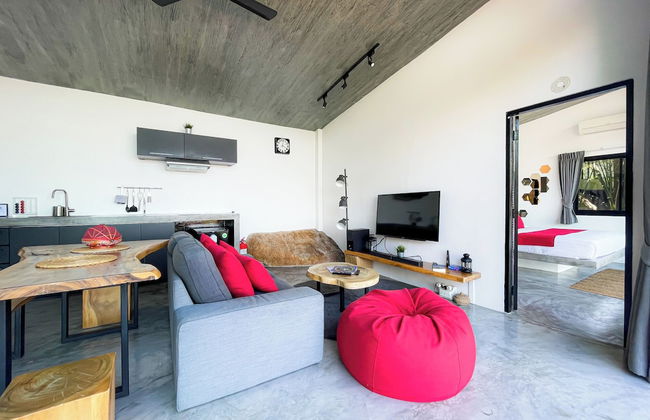
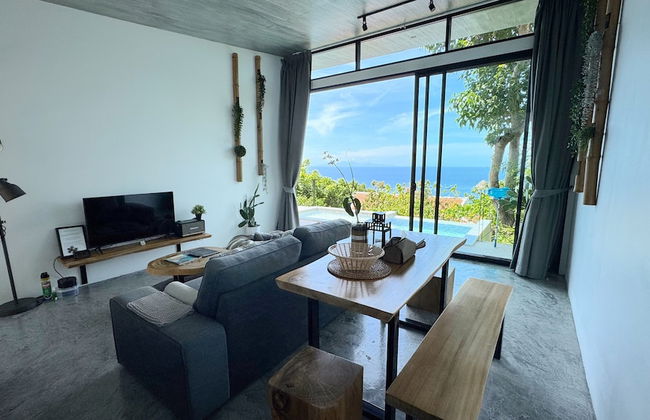
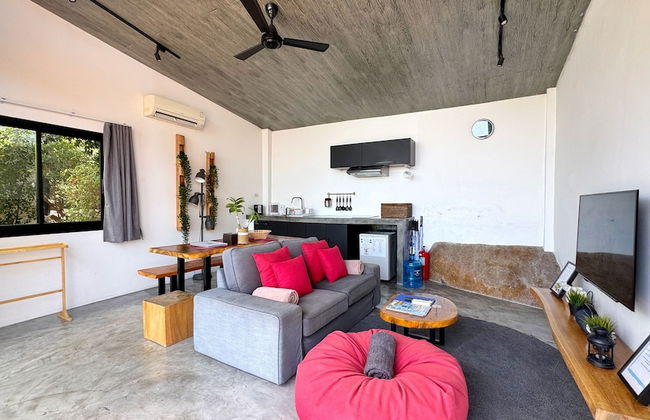
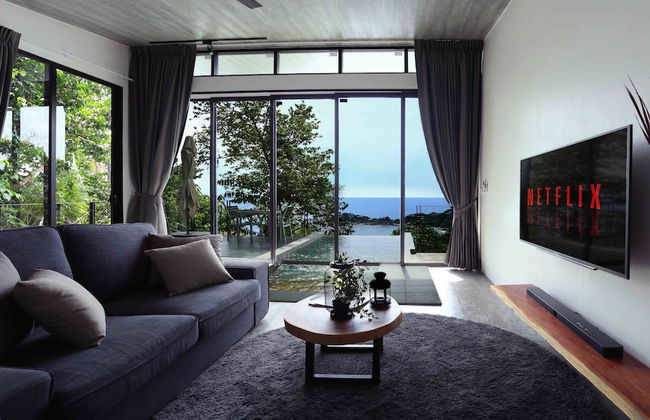
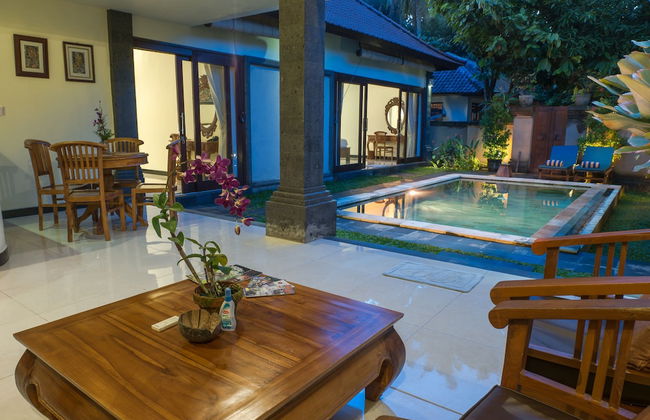
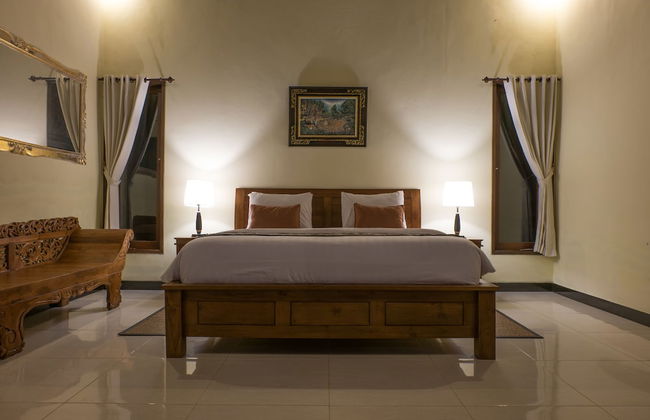
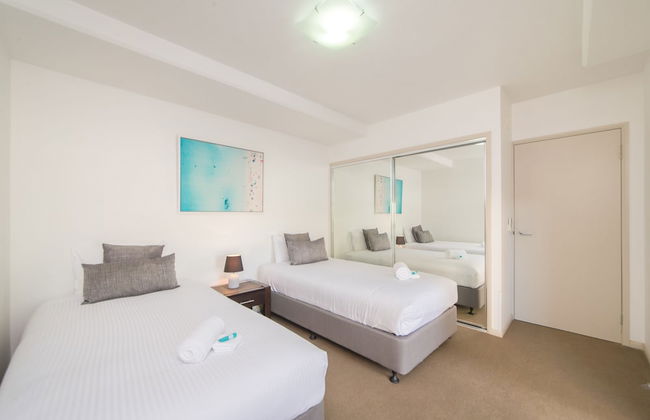
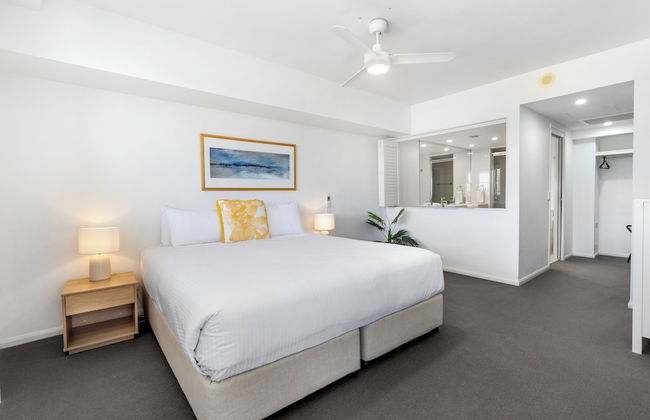
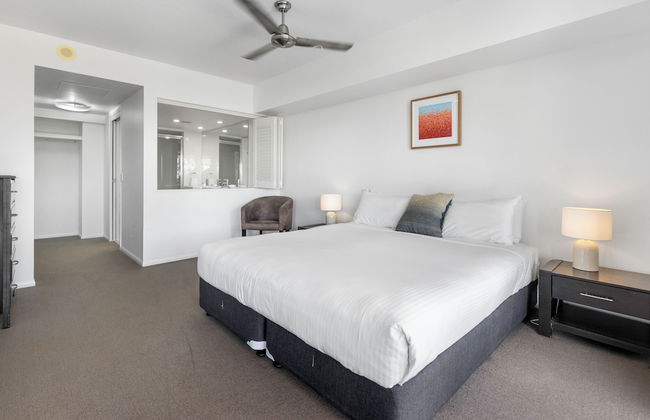
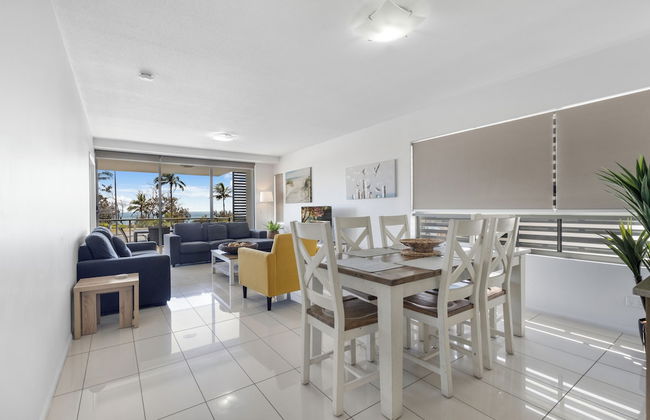
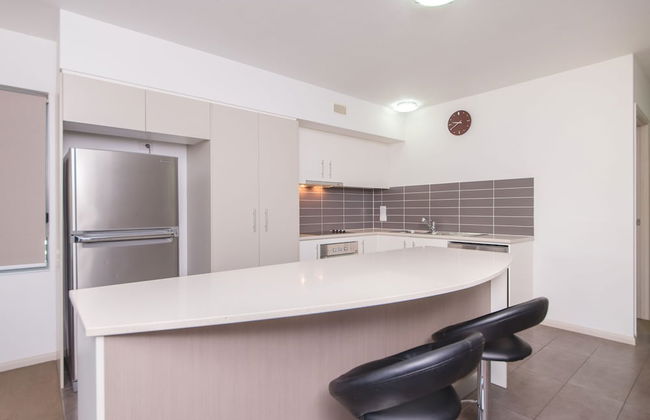
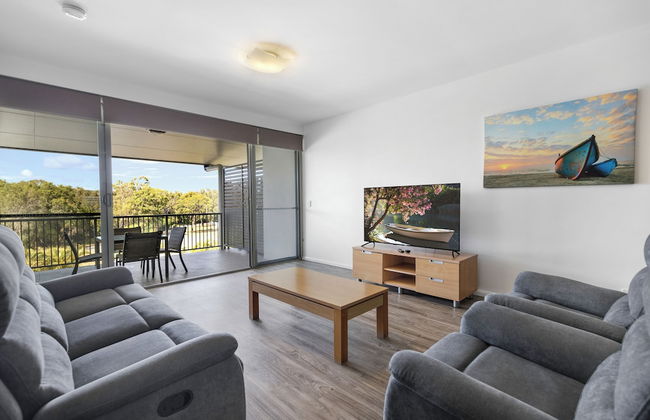
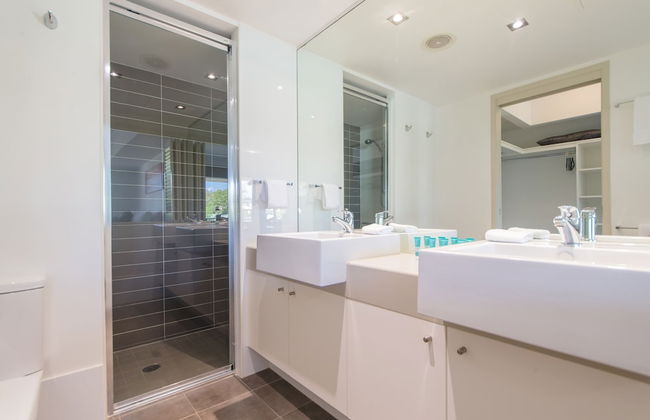
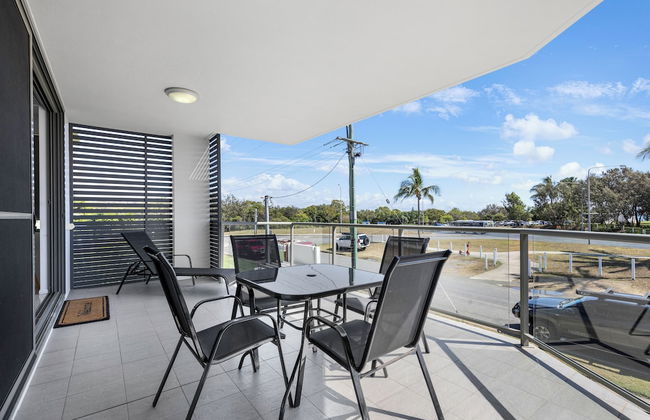
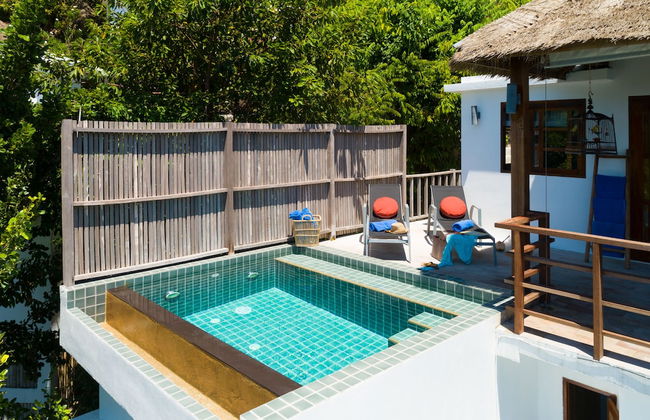
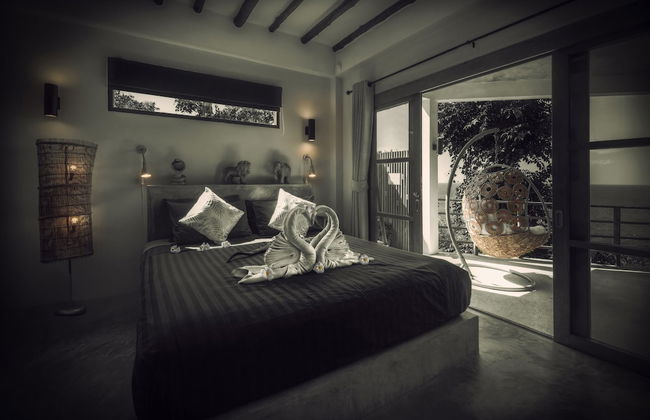
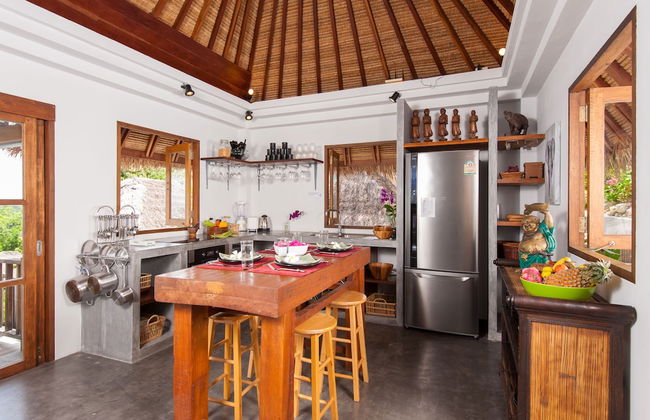
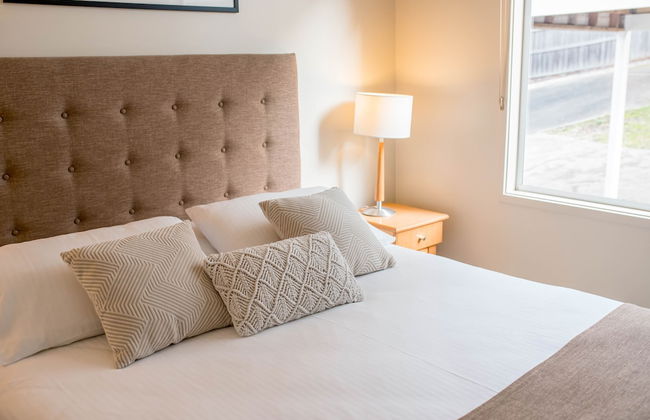
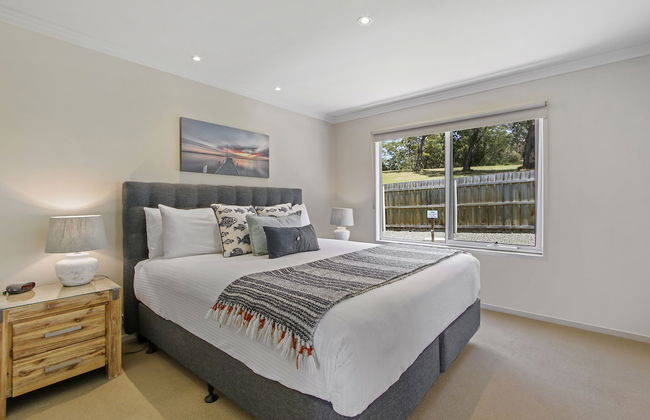
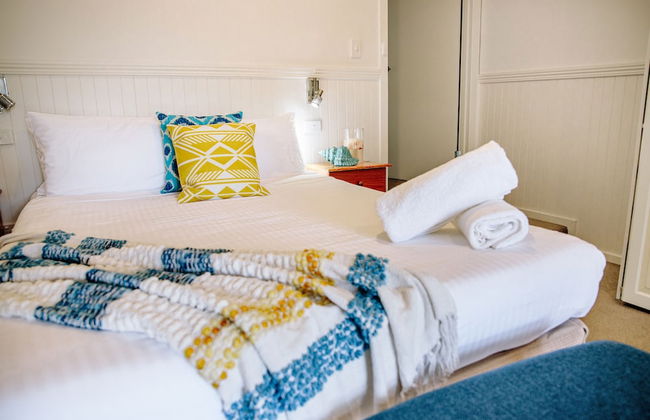
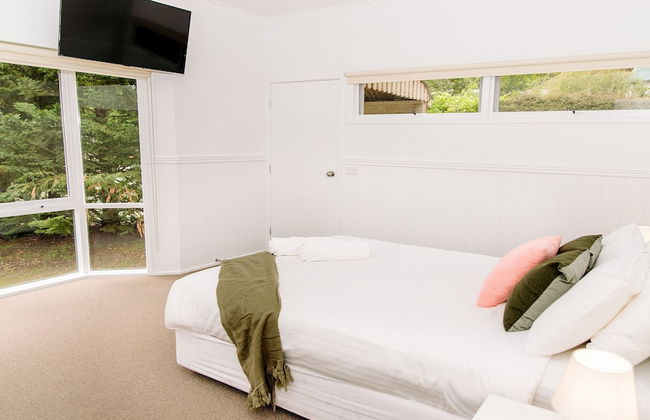
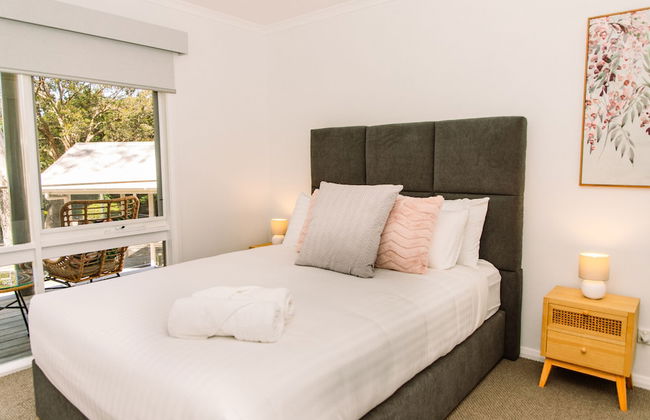
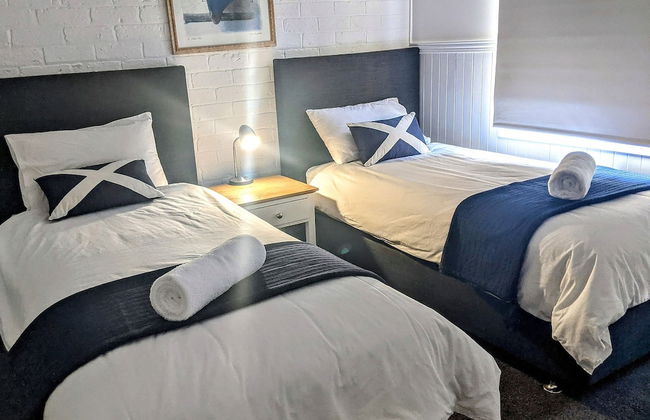
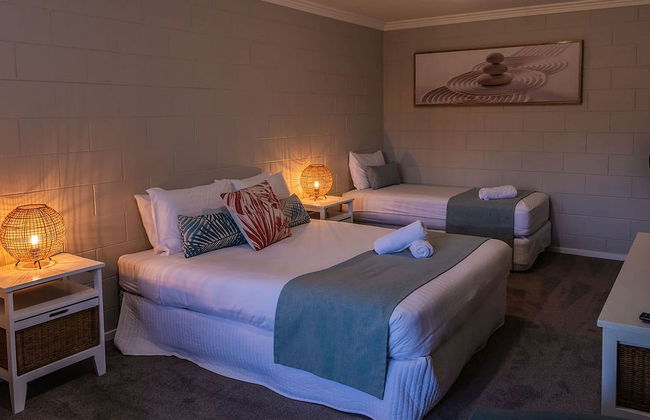
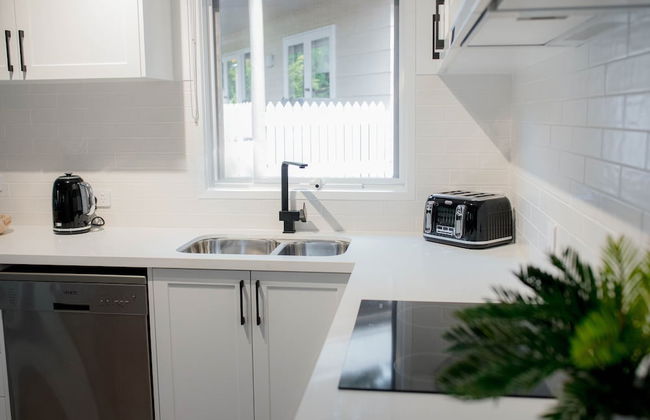
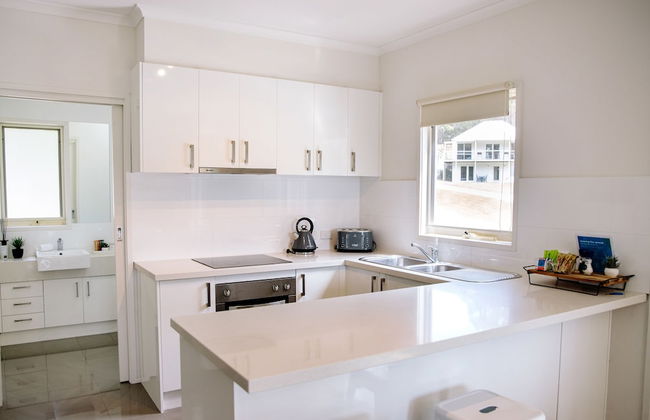
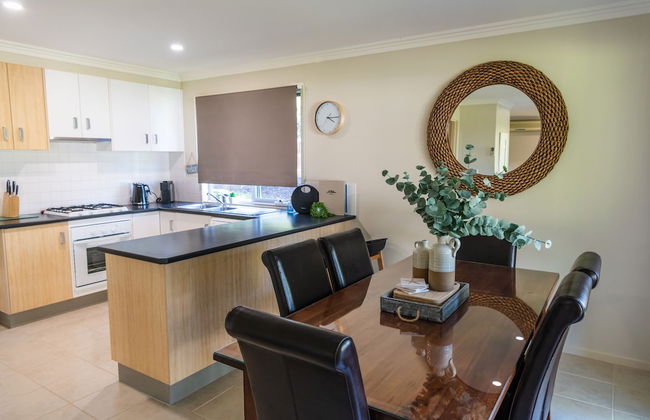
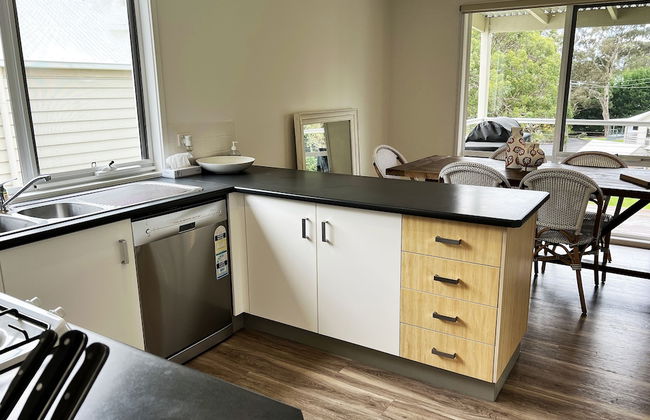
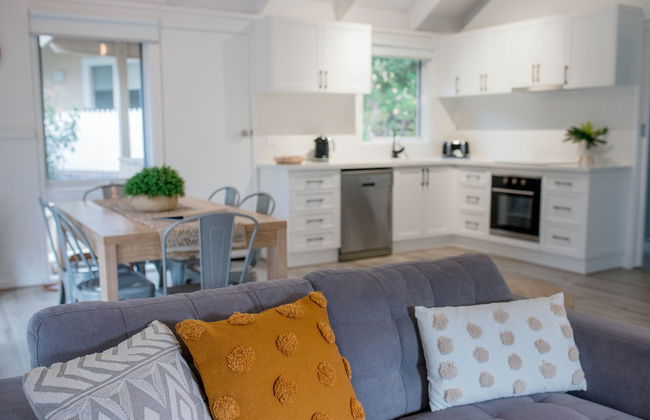
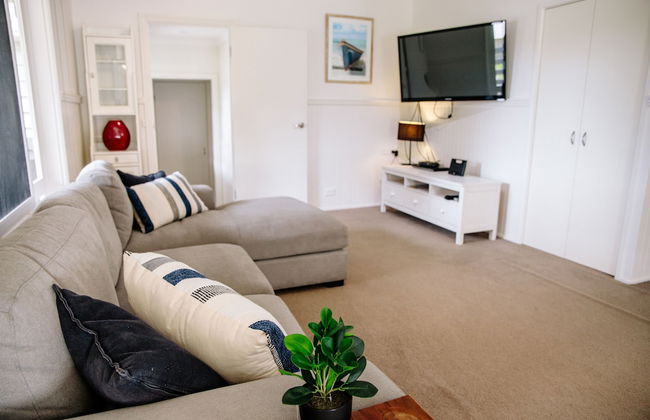
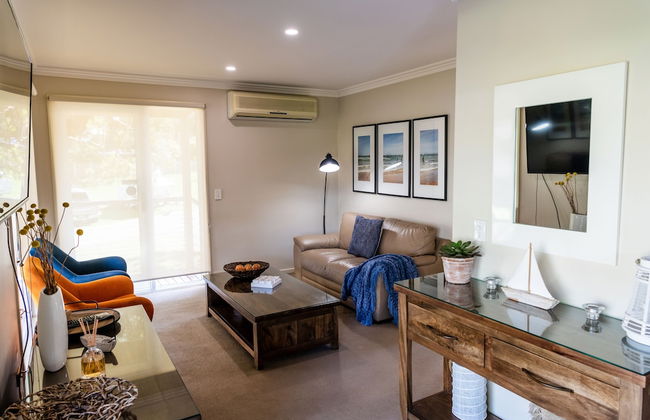
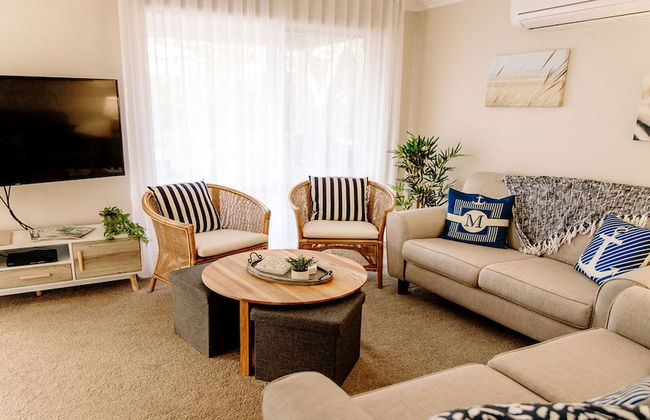
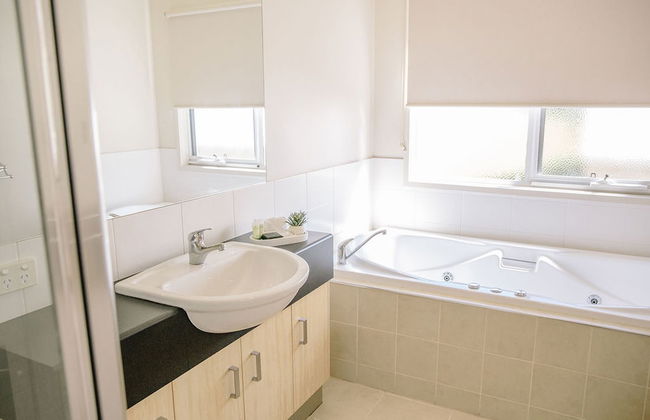
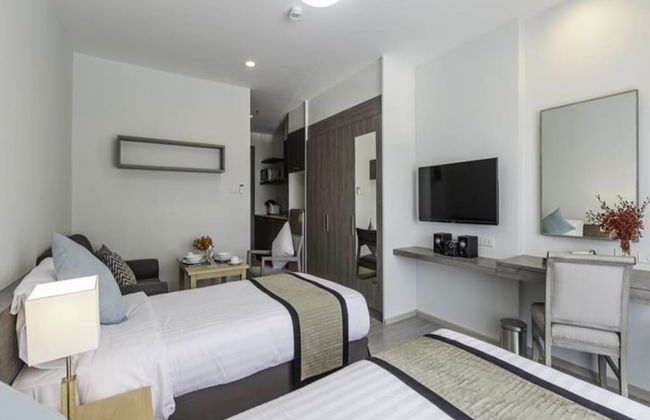
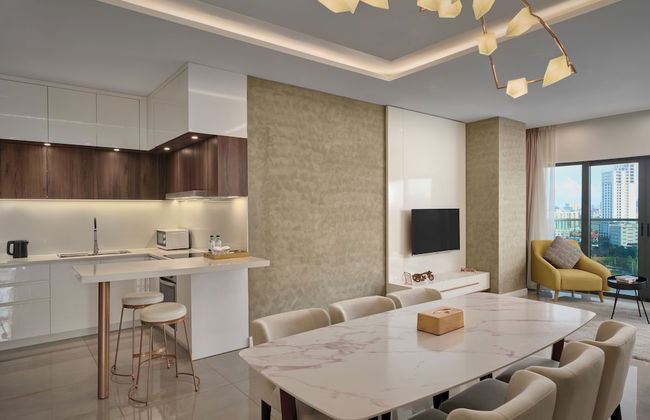
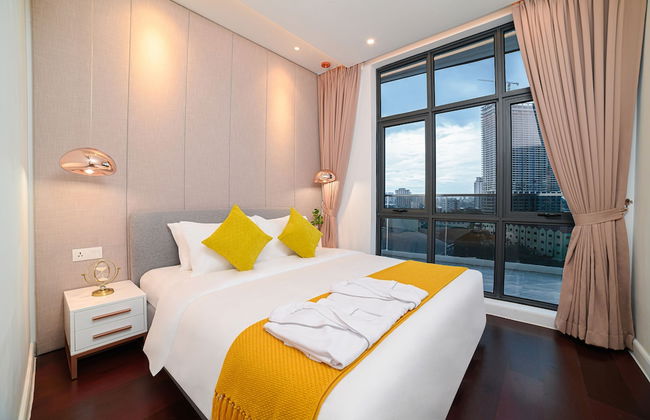
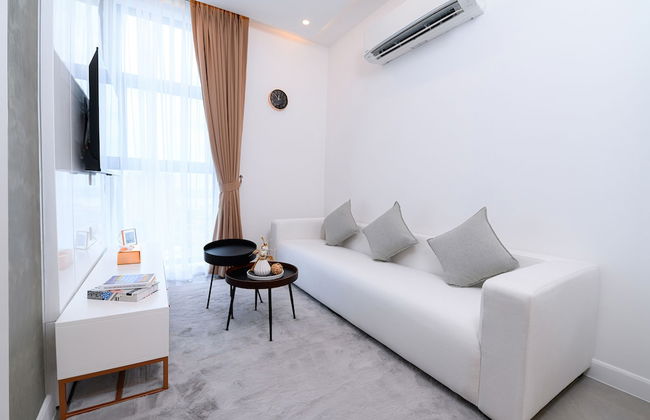
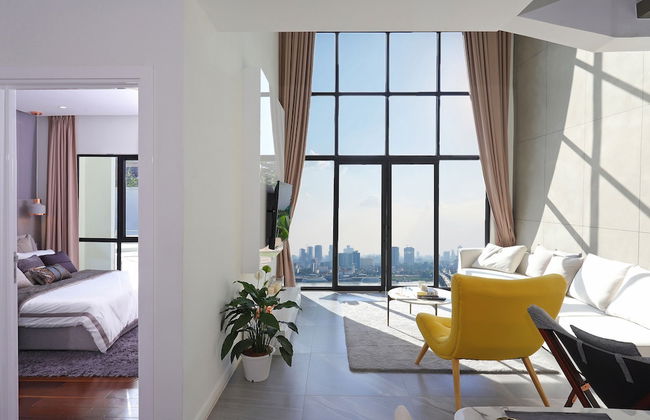
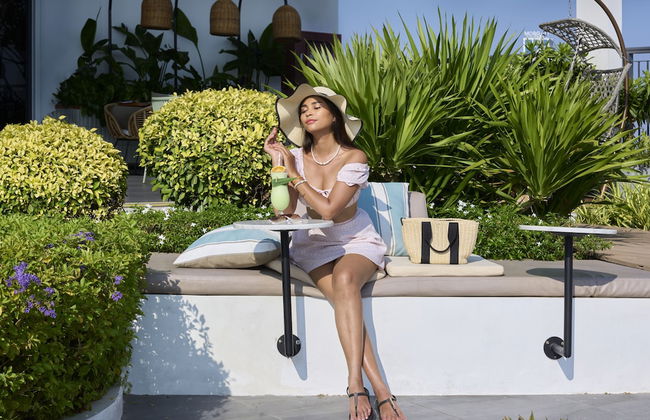
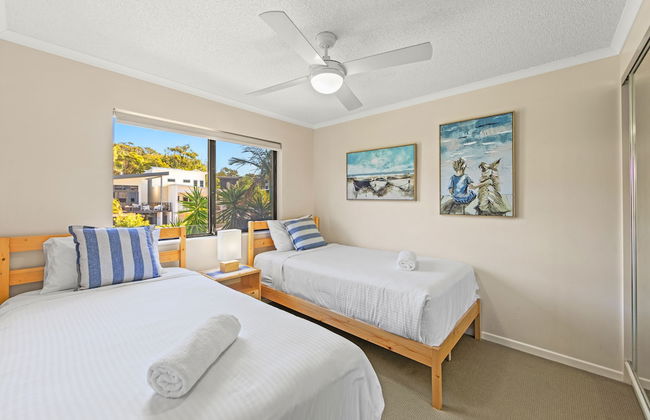
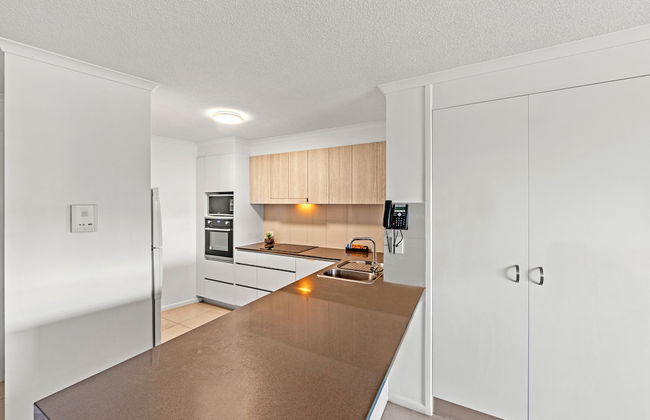
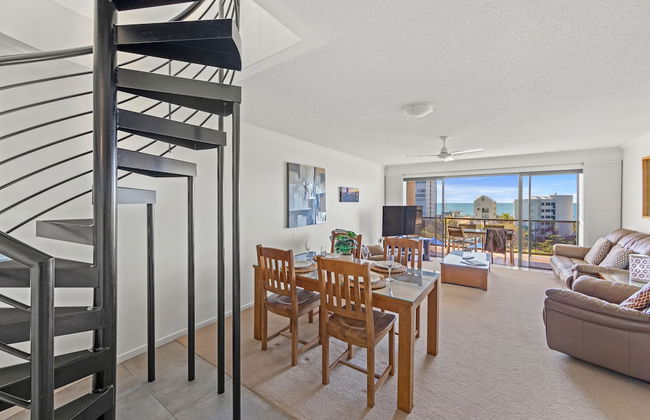
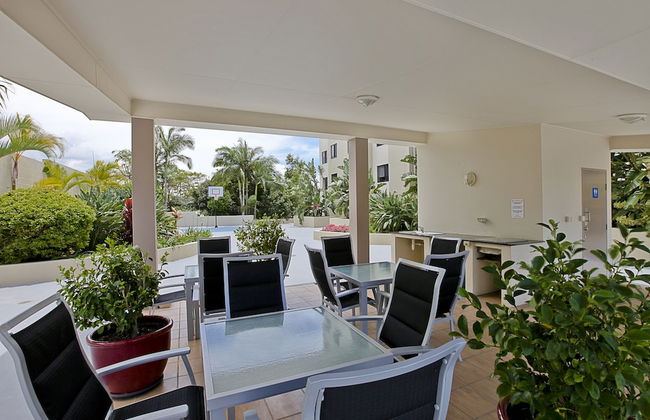
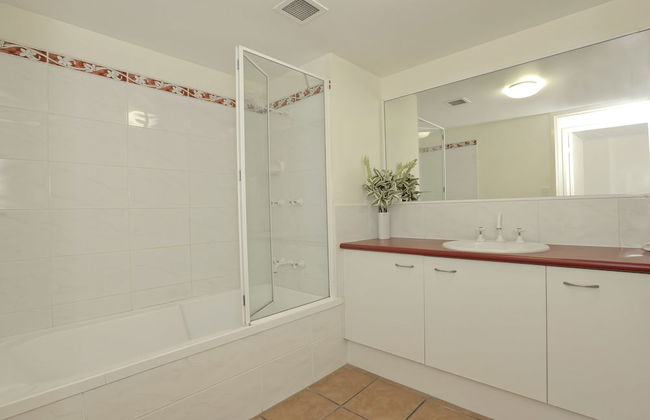
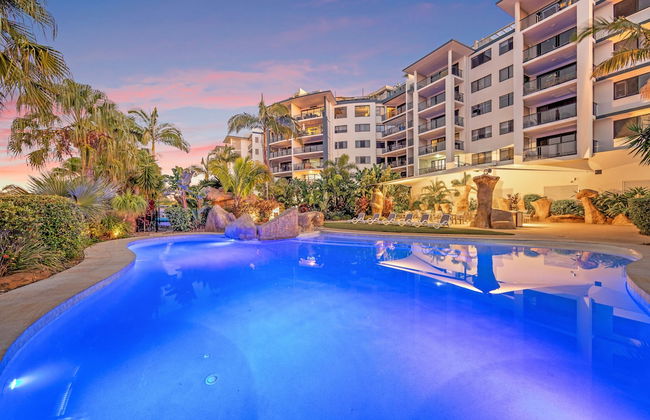
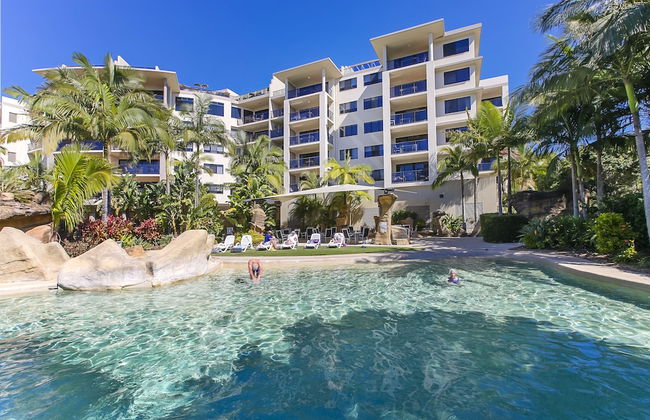
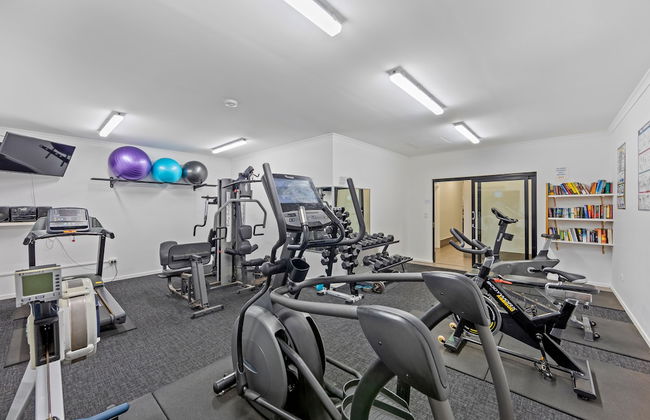
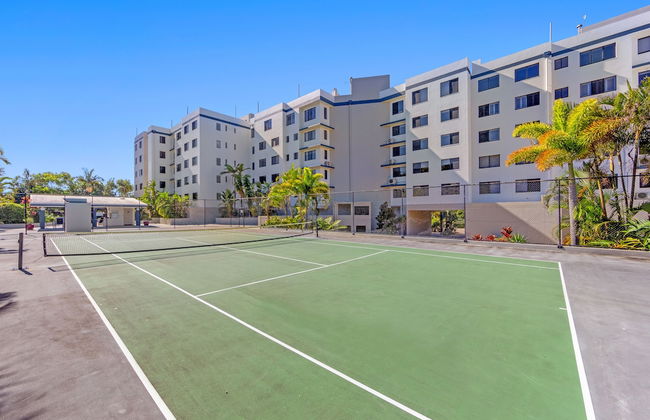
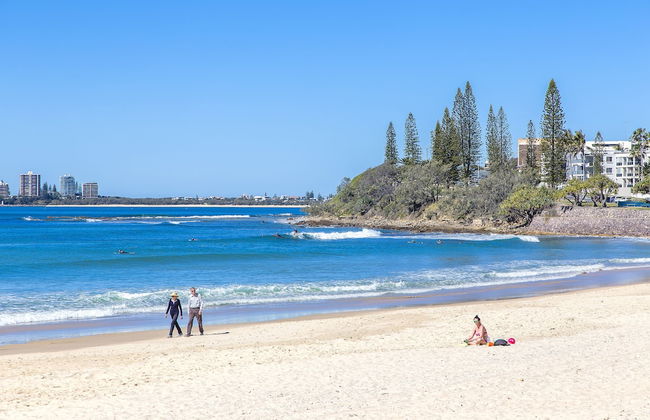
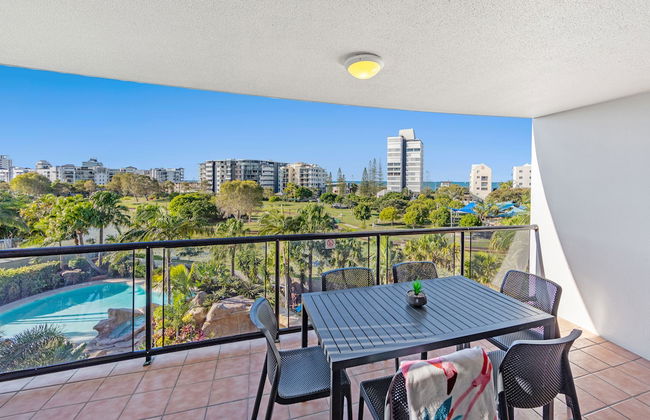
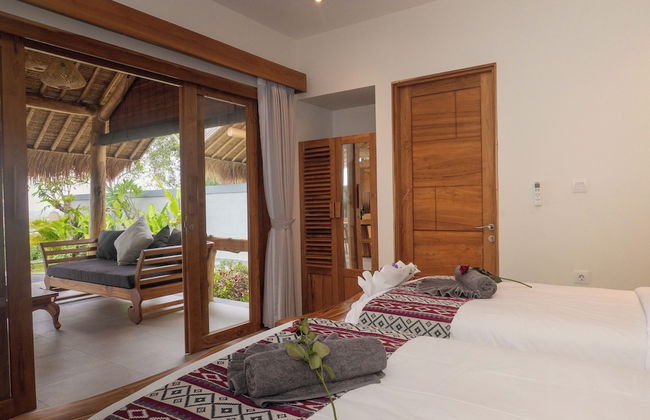
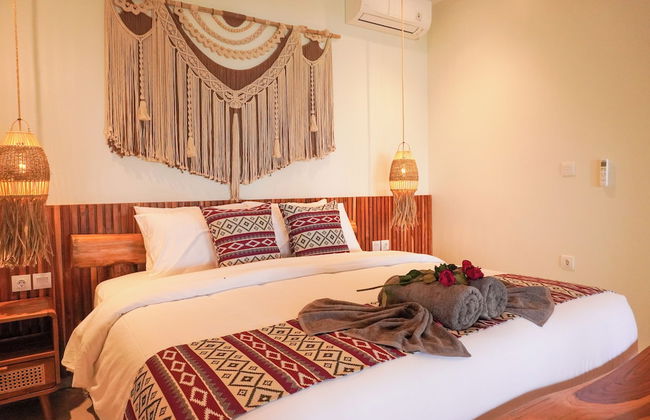
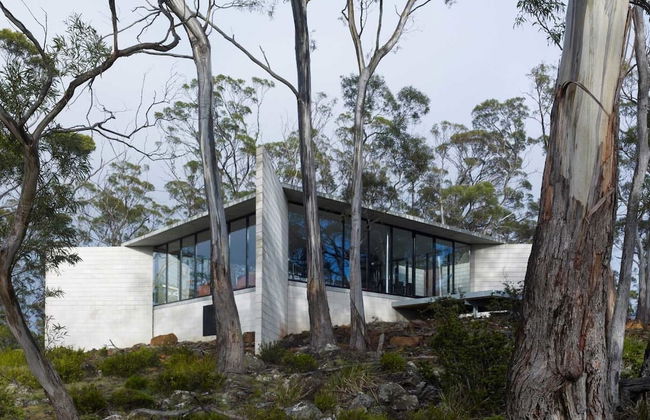
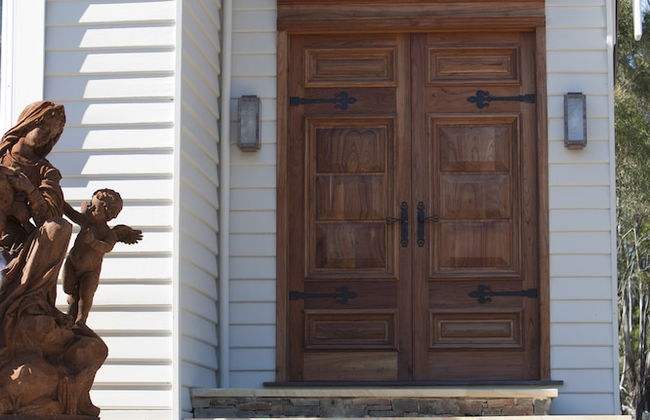
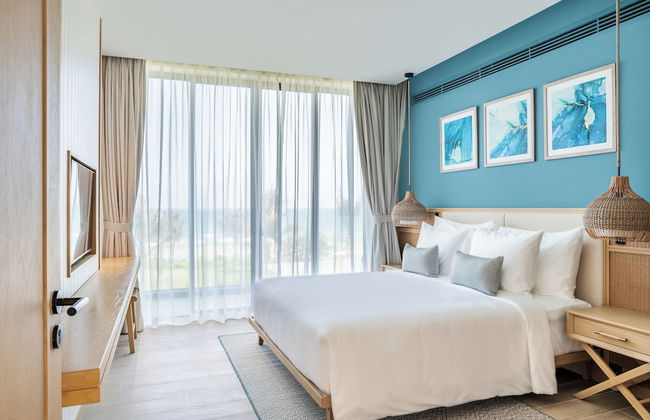
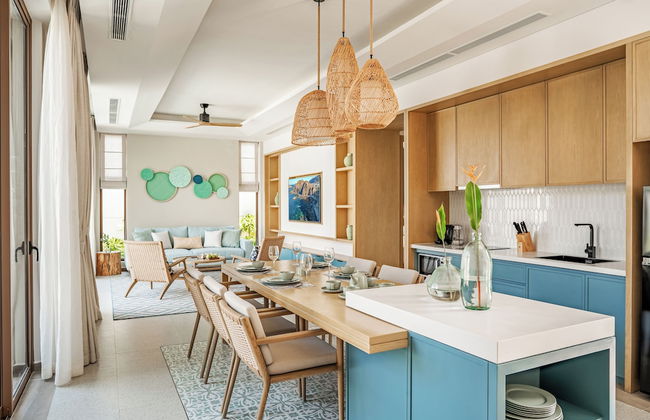
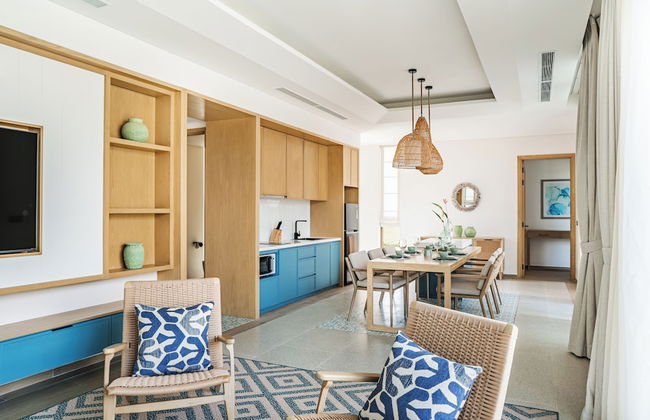
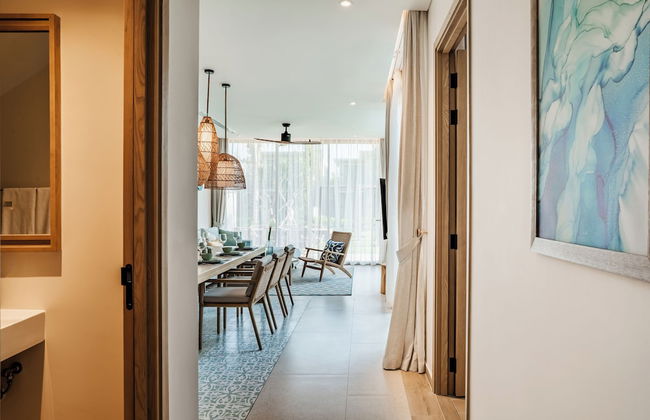
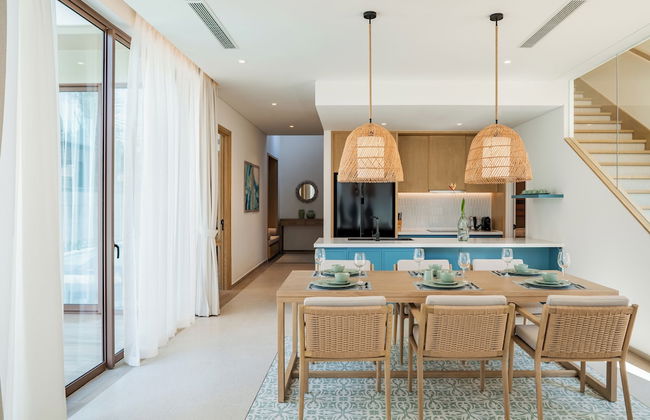
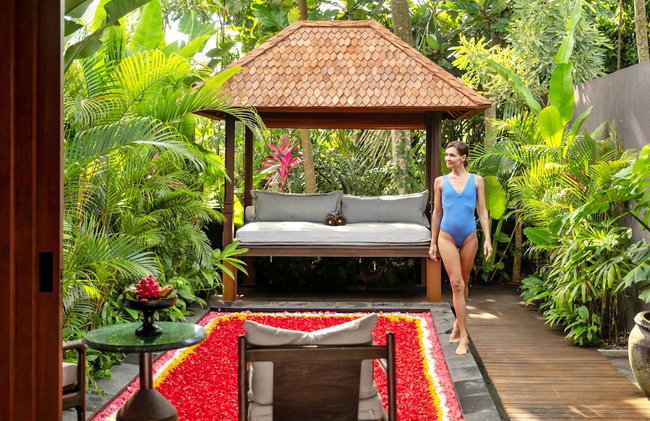
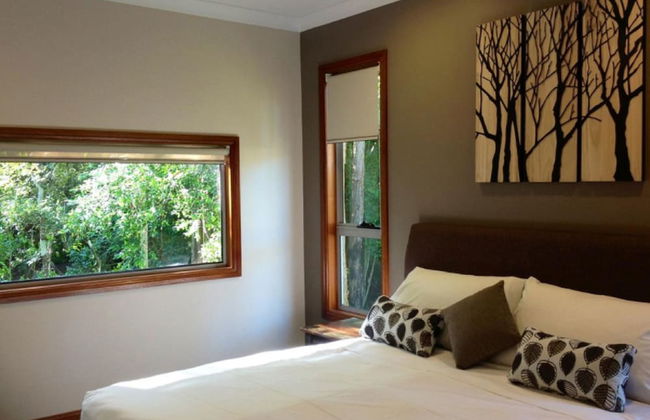
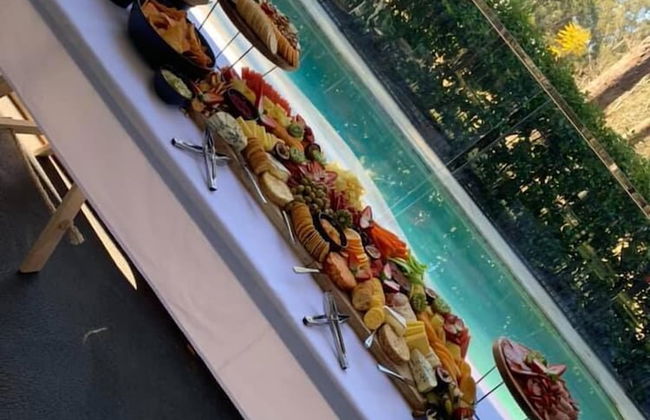
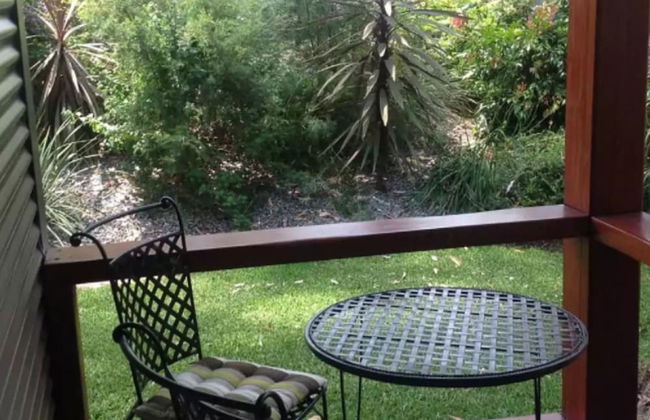
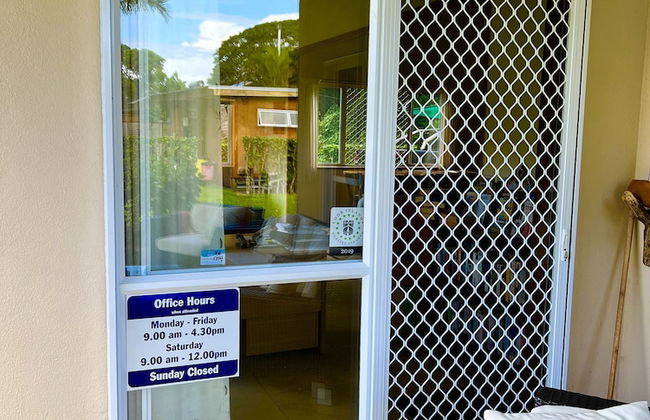
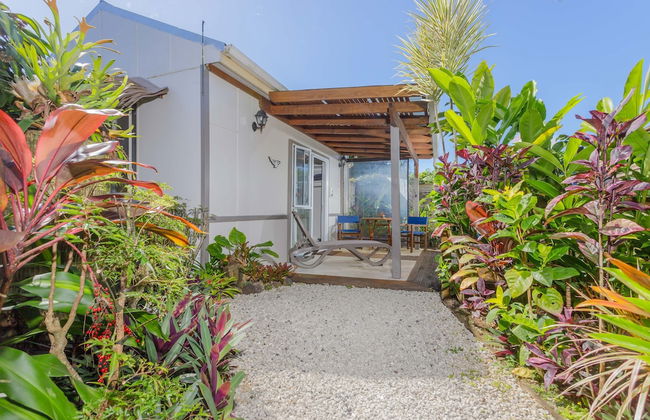
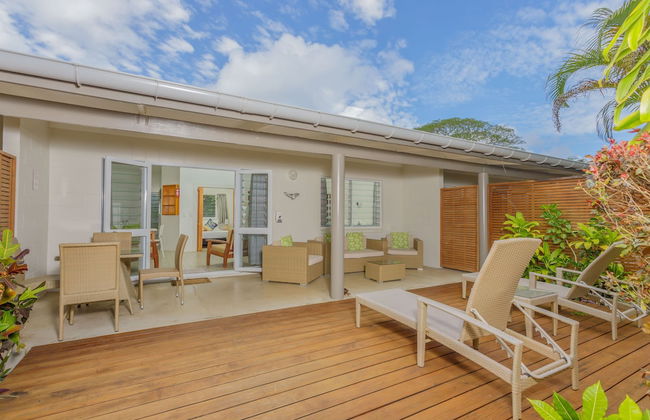
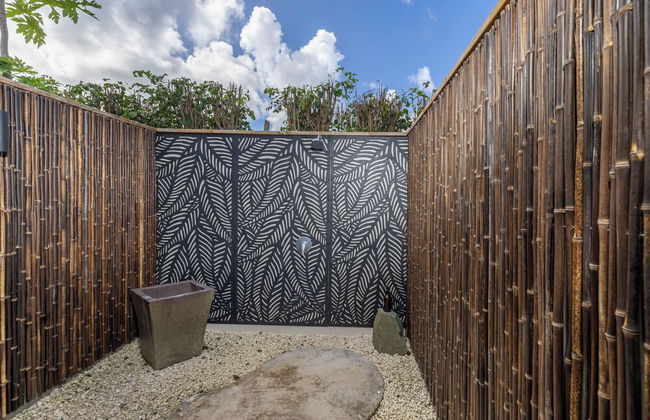
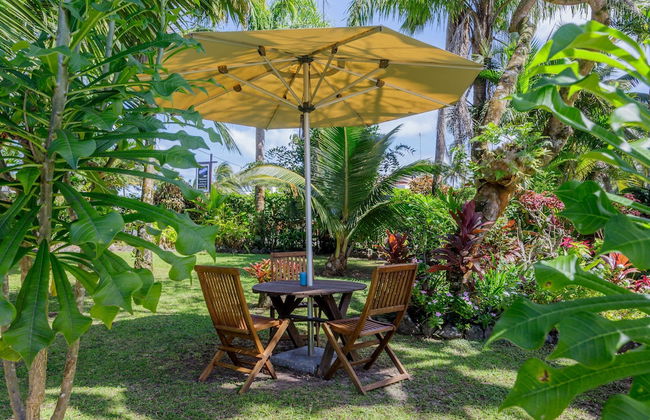
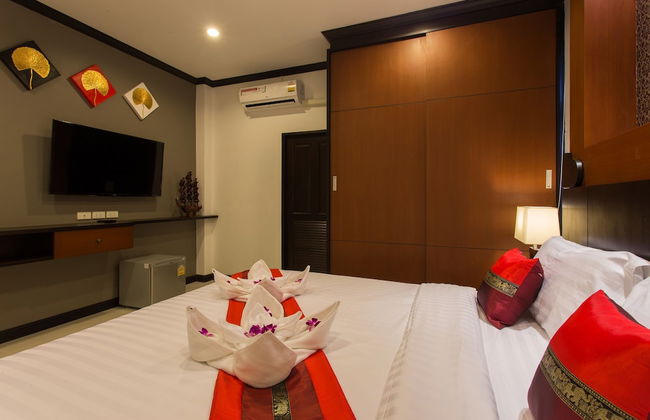
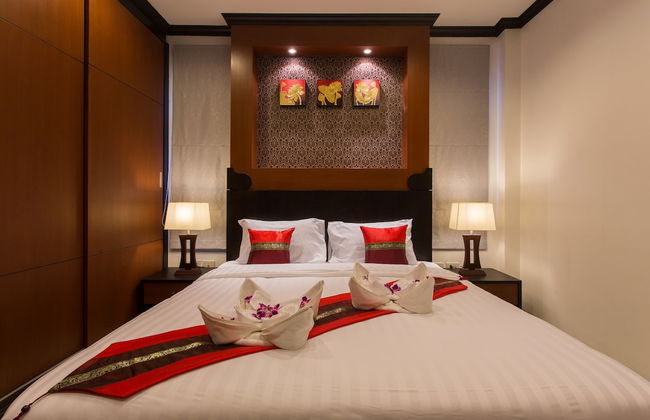
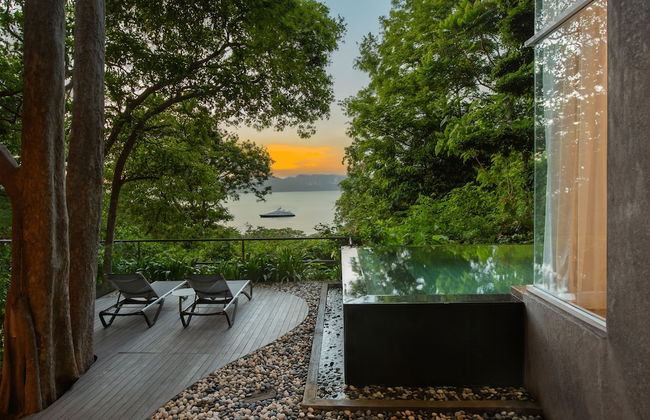
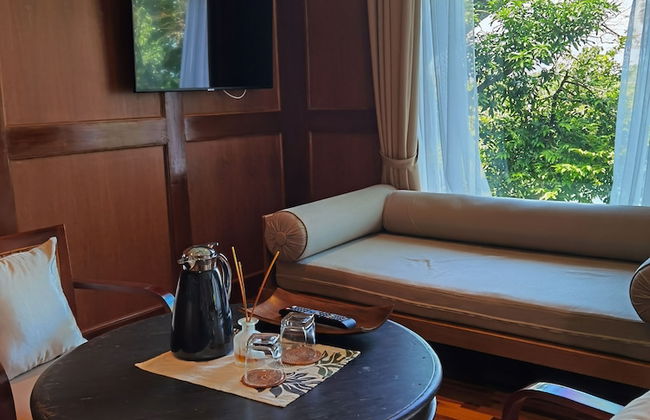
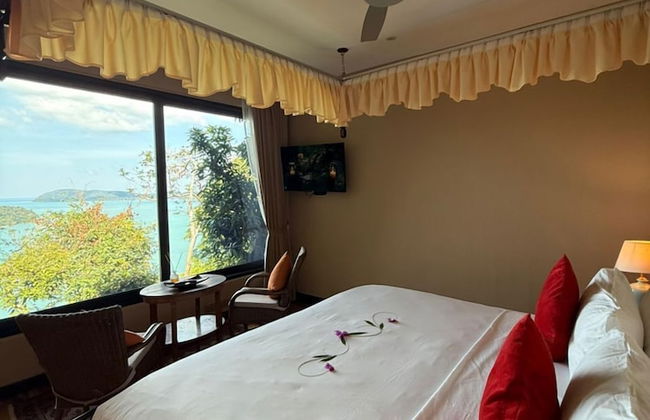
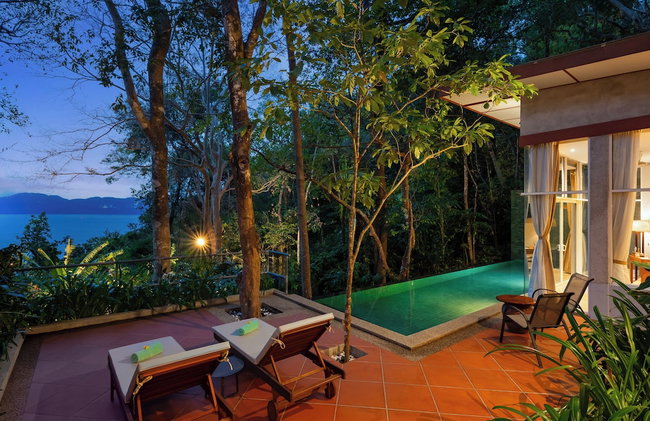
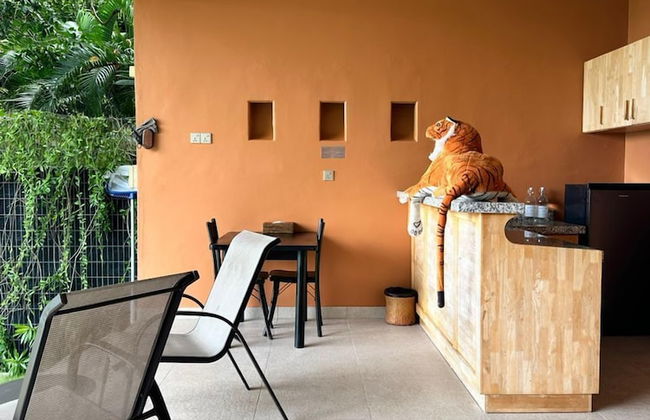
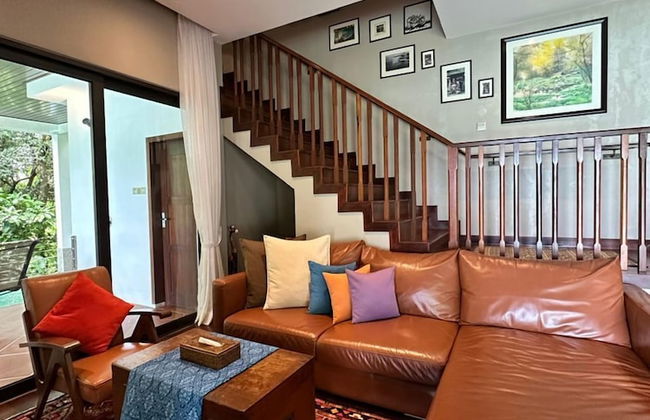
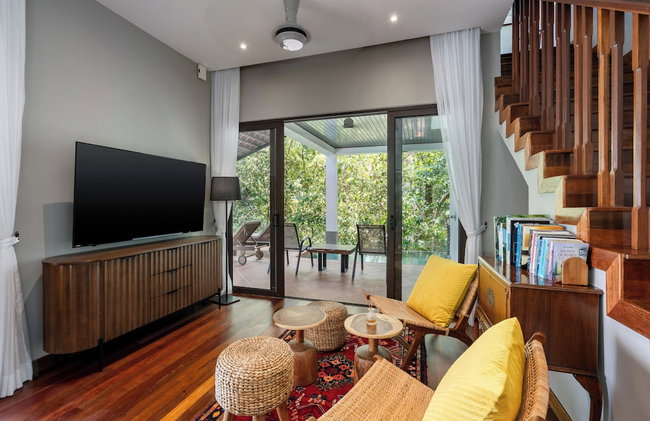
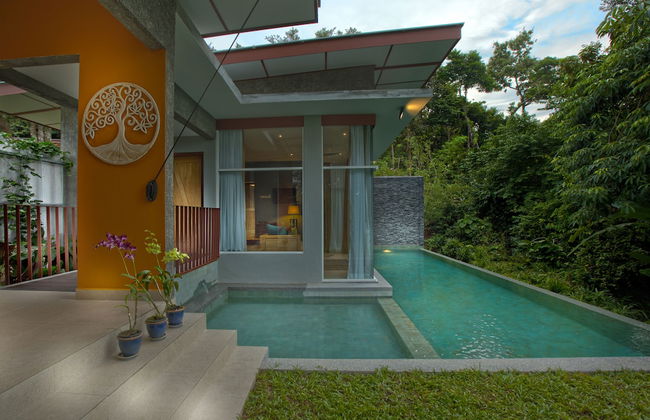
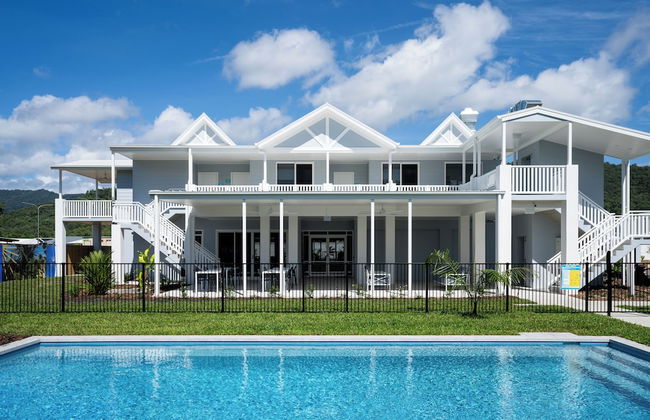
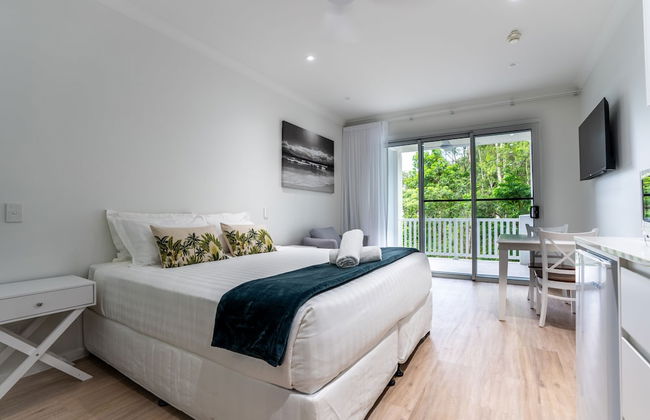
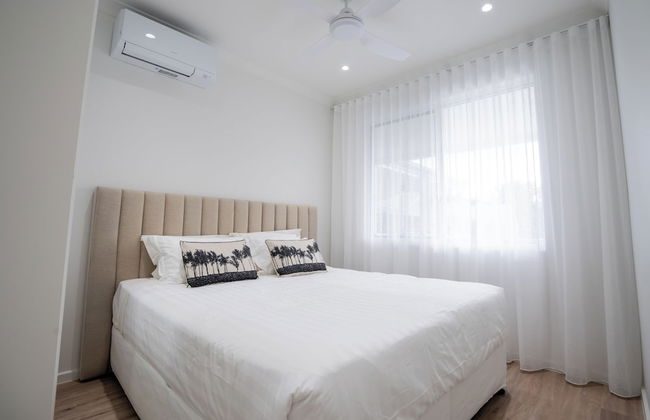
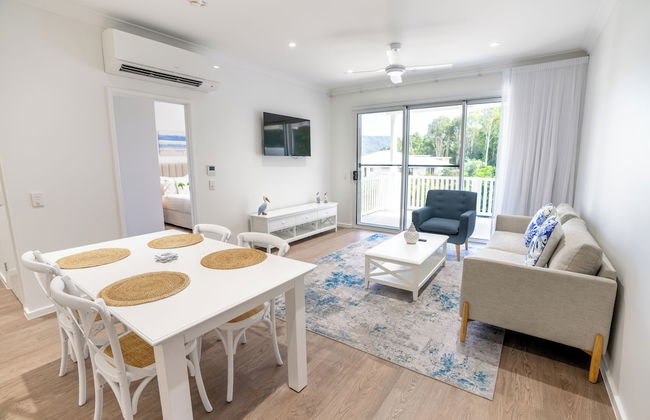
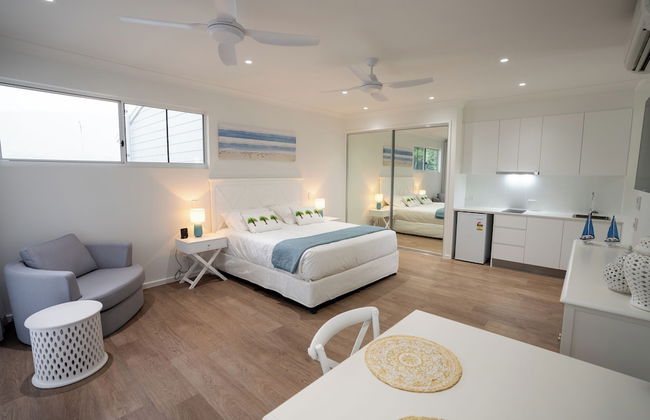
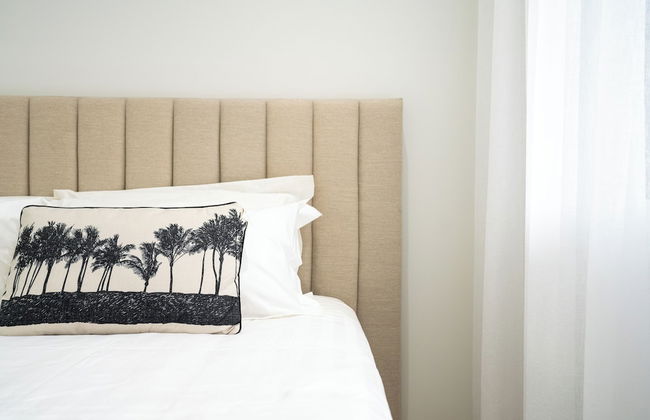
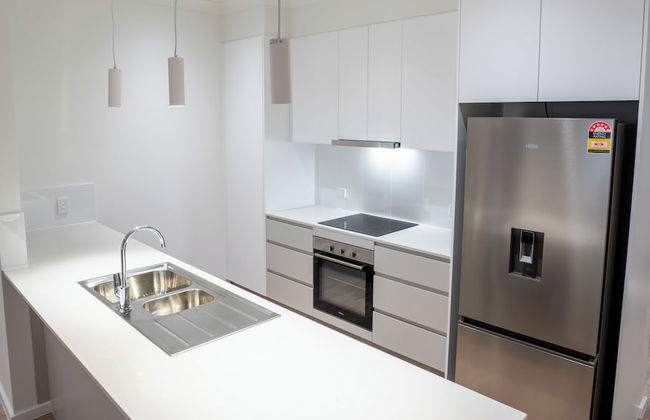
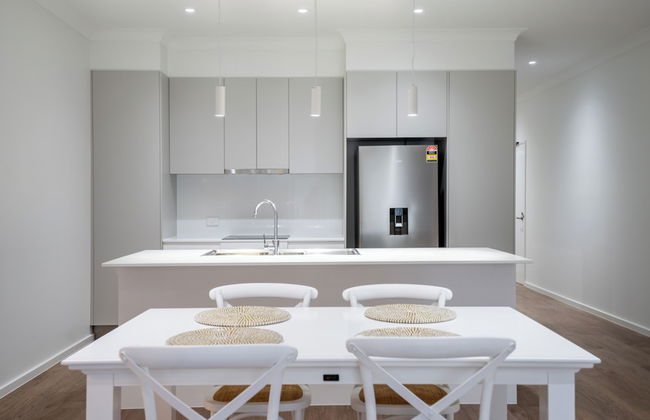
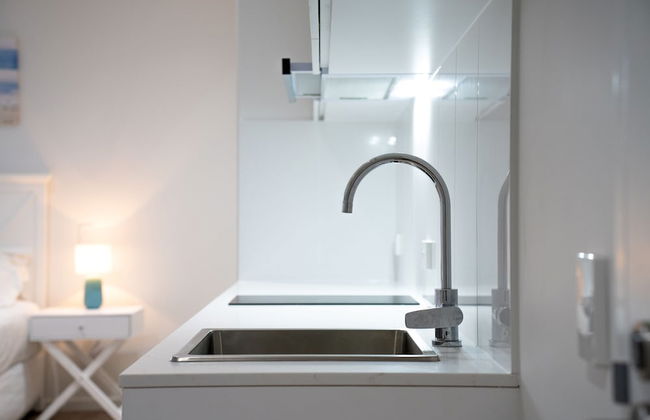
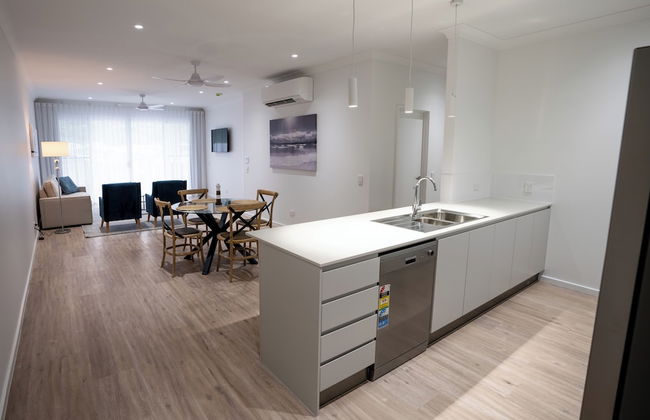
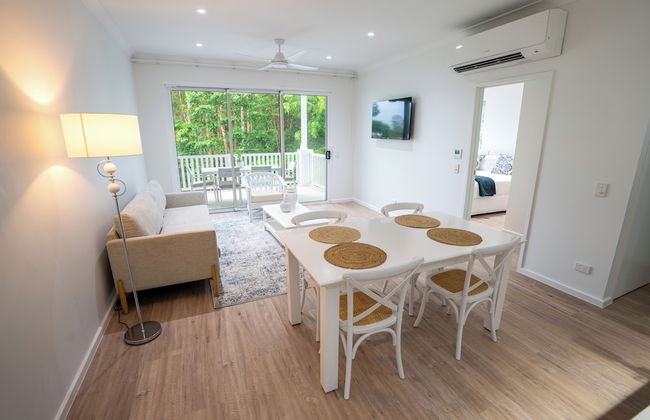
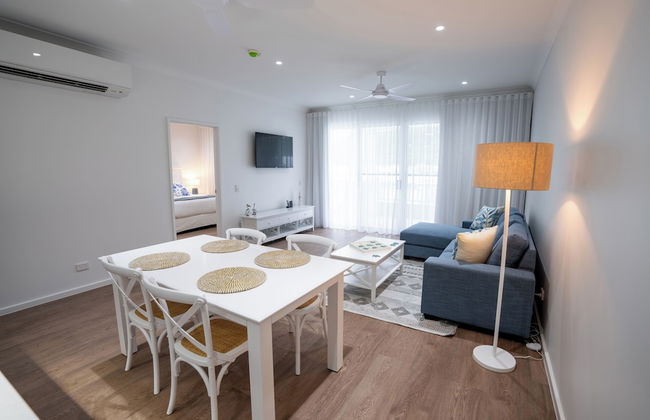
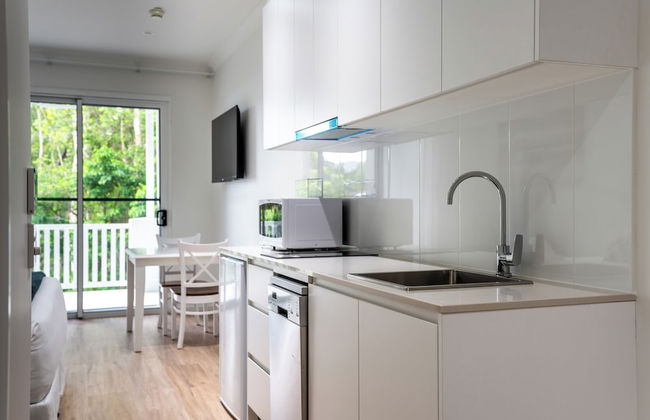
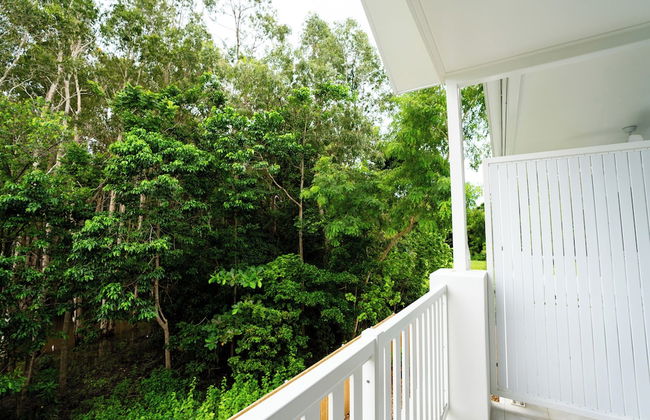
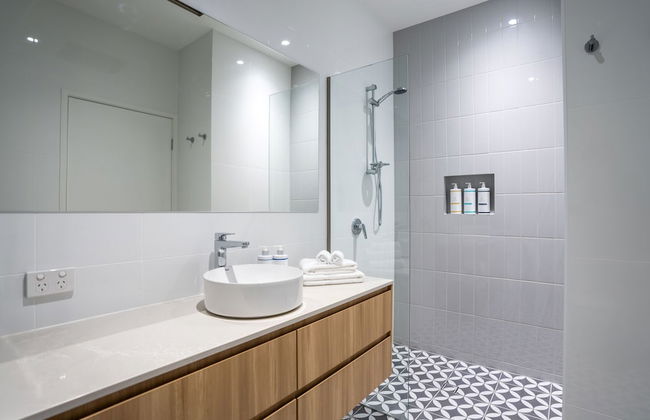
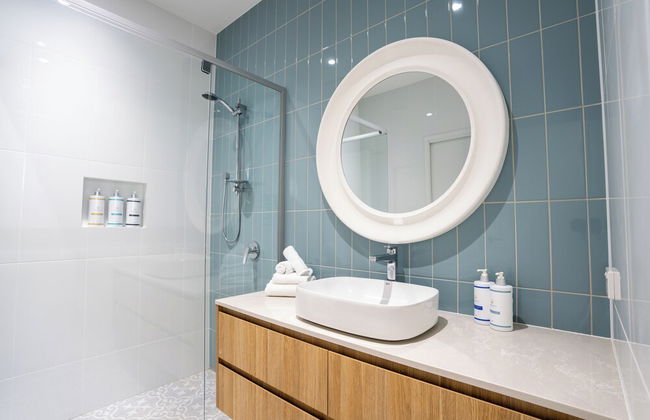
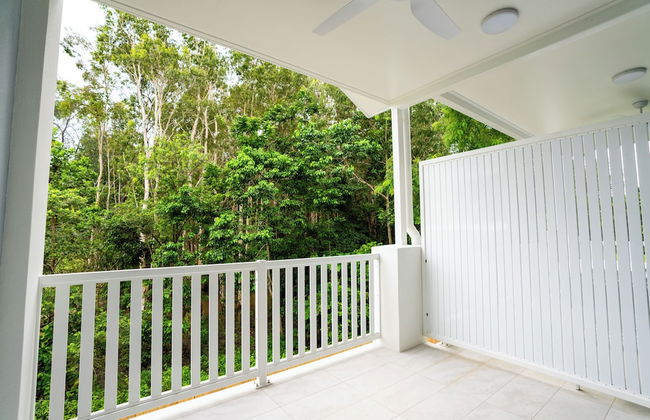
Trinity Collective - Photo 3
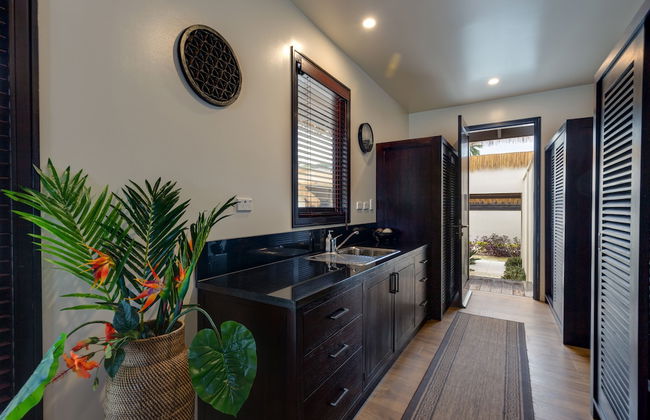
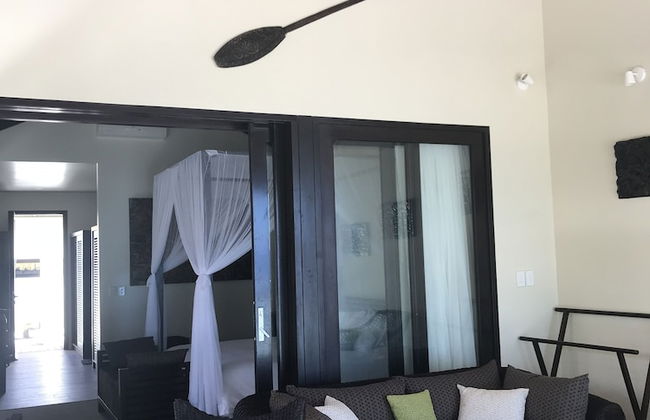
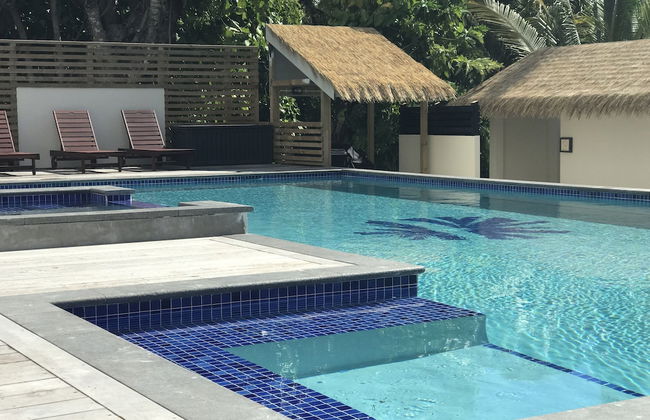
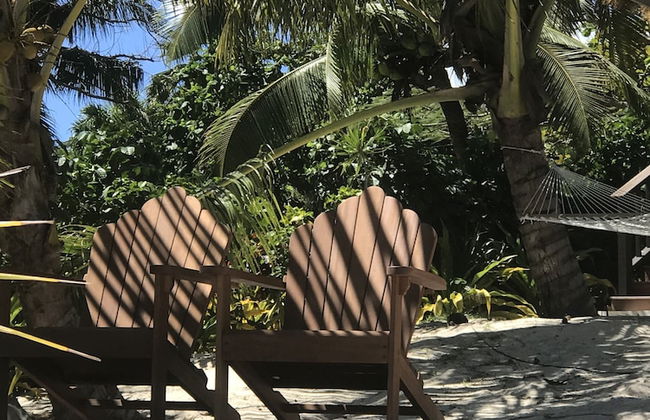
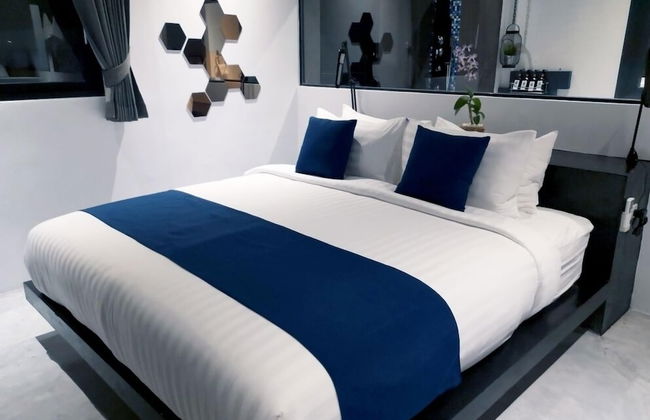
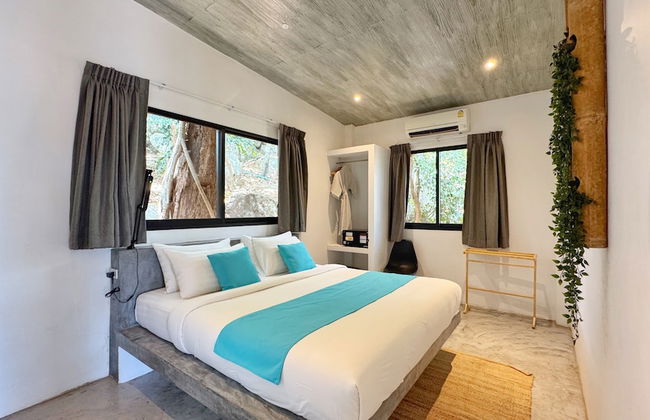
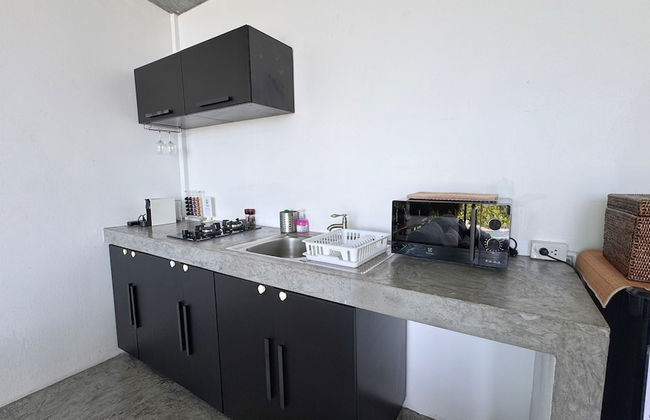
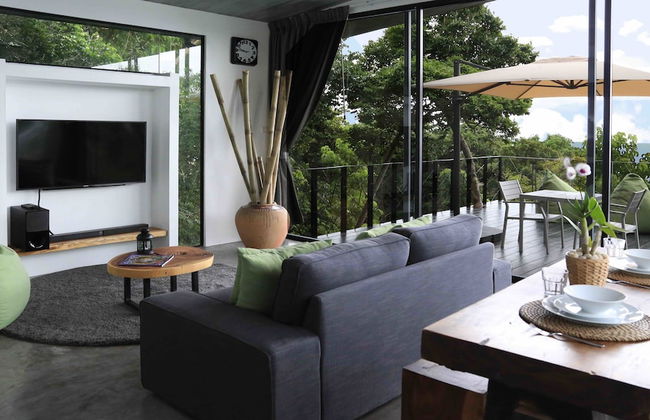
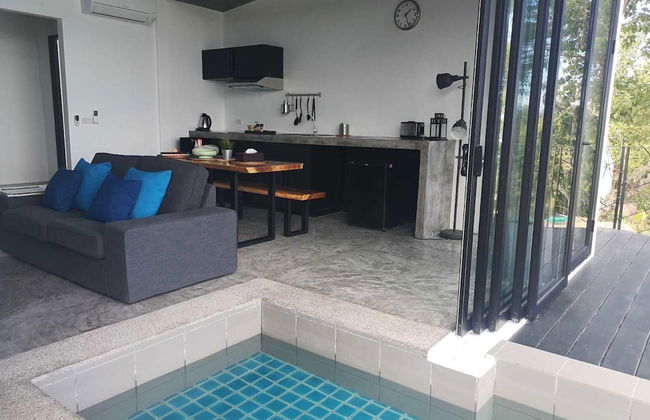
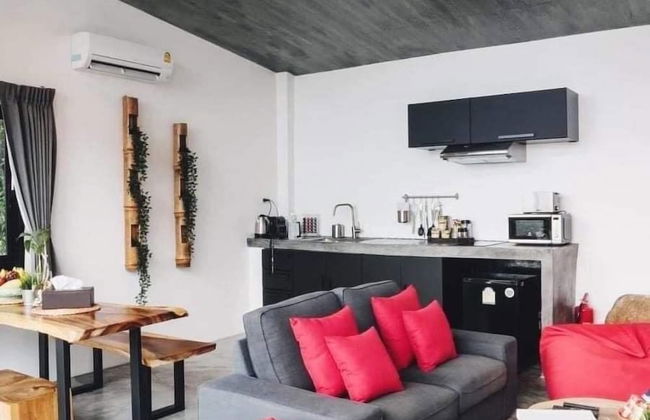
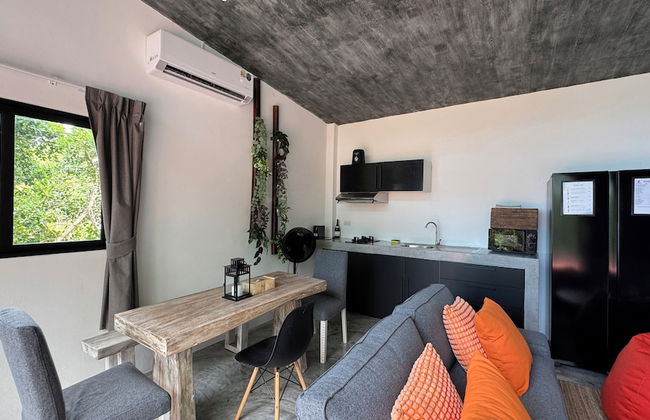
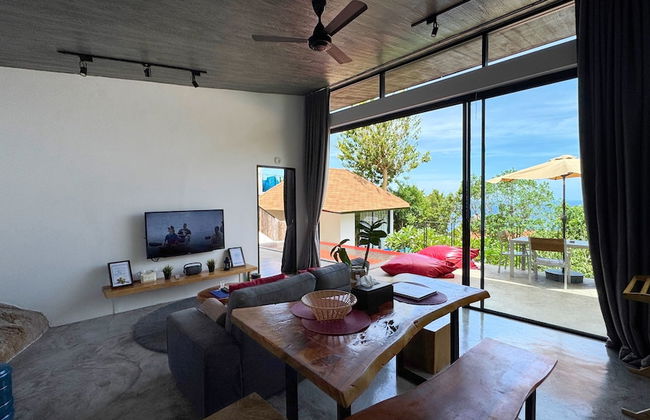
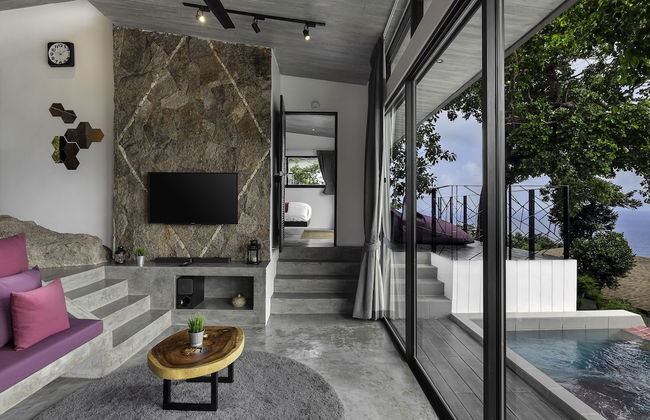
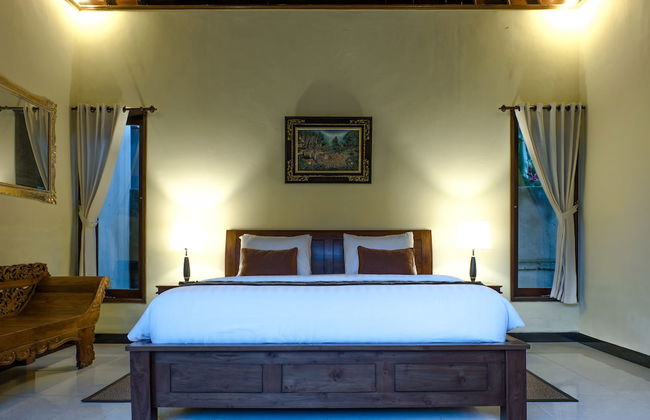
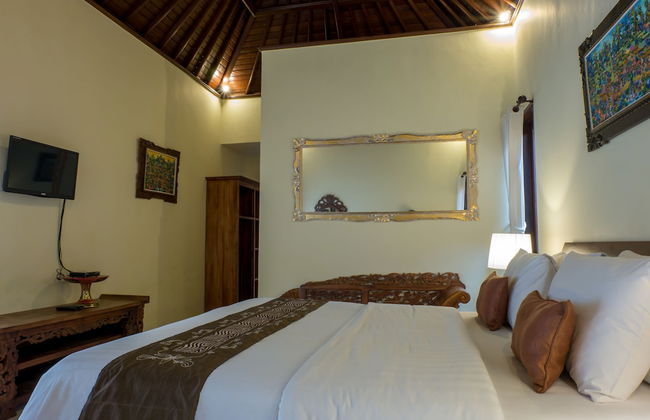
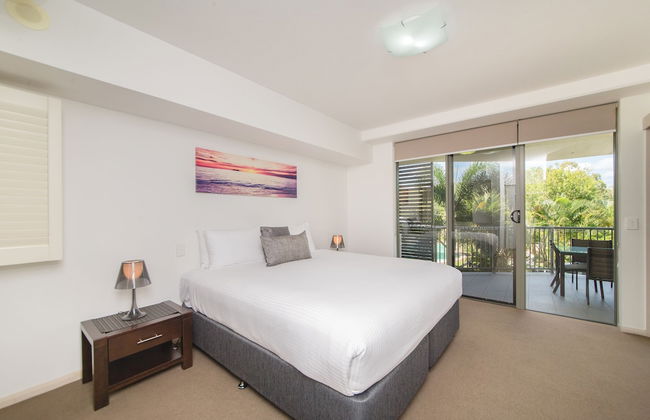
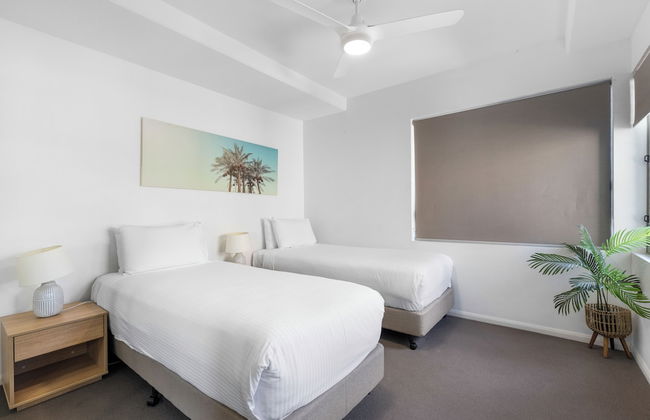
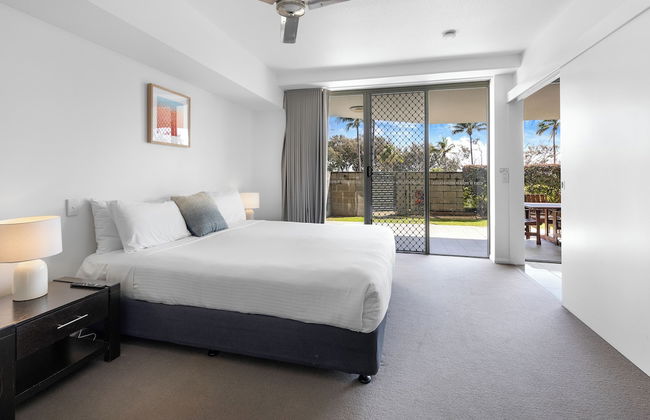
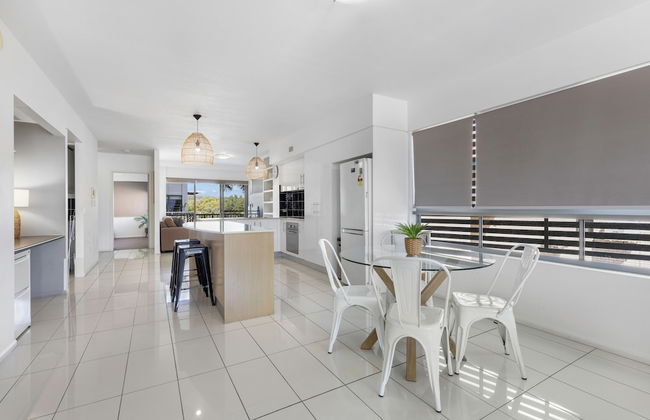
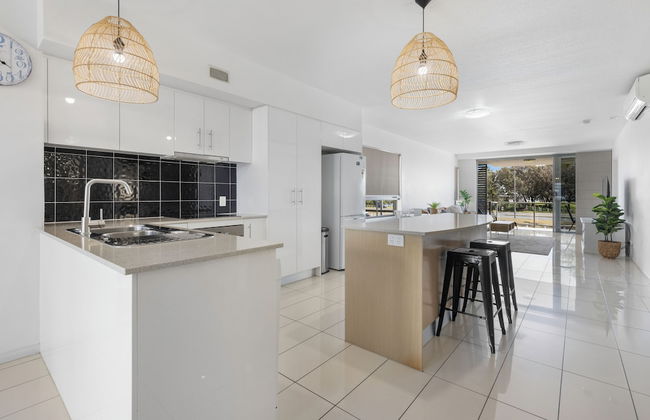
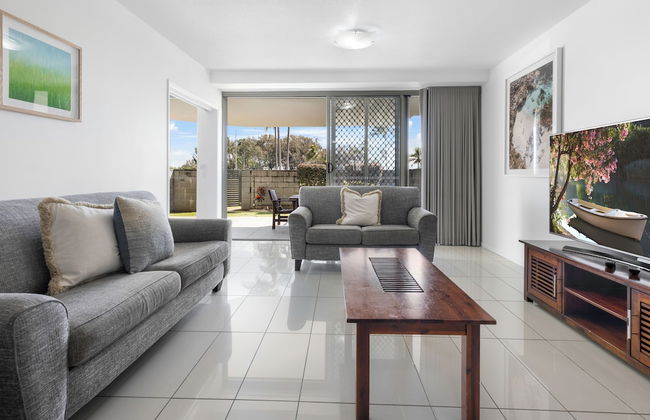
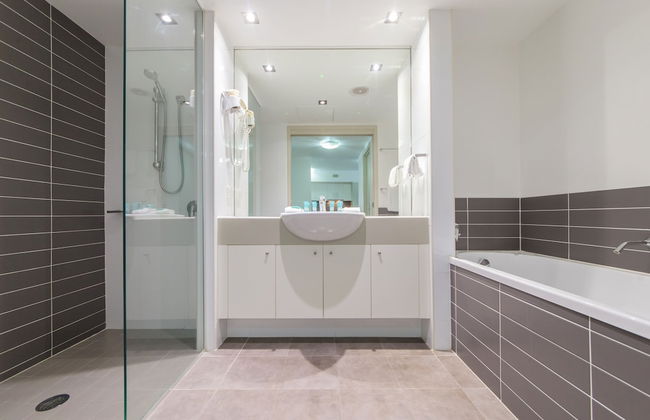
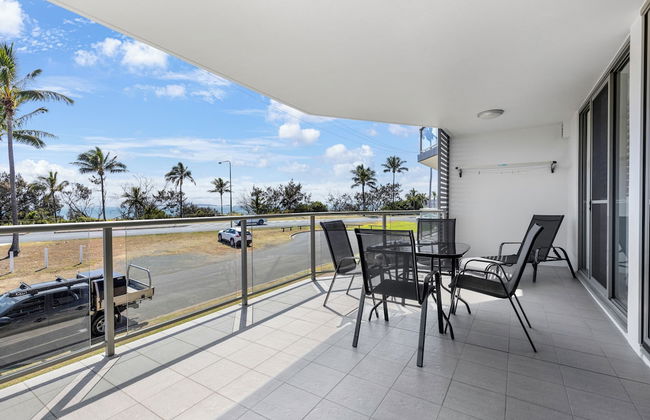
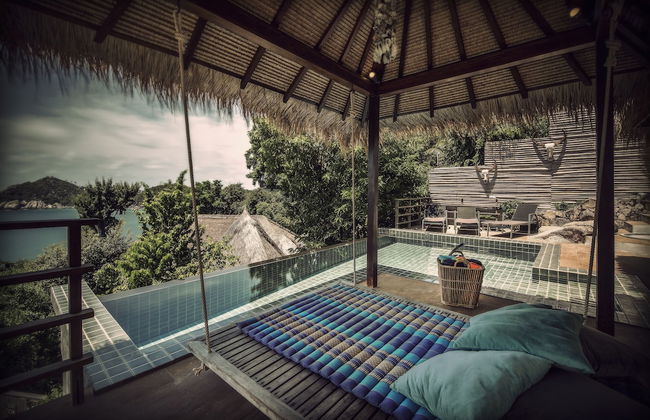
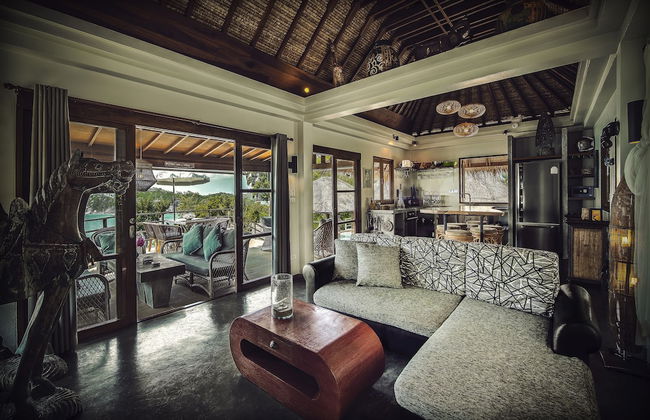
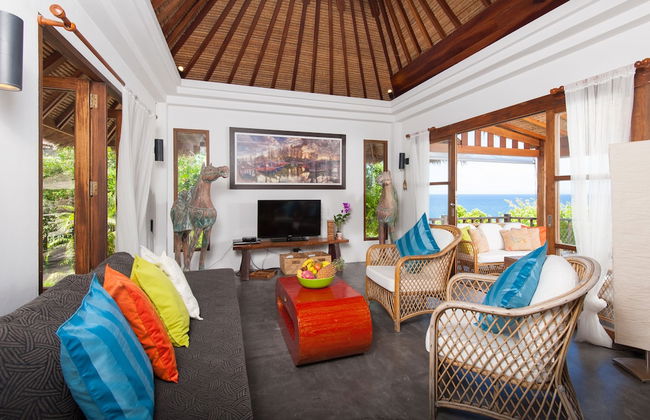
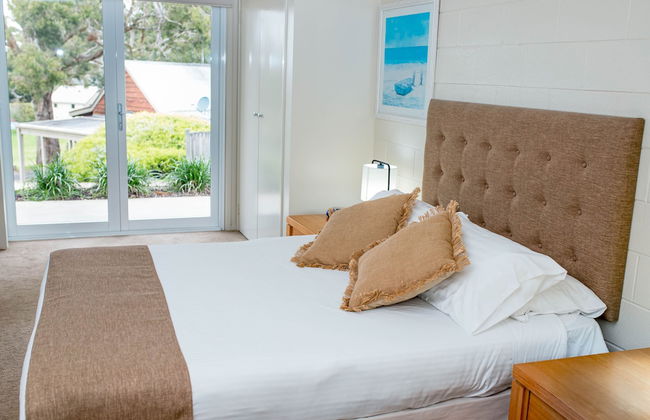
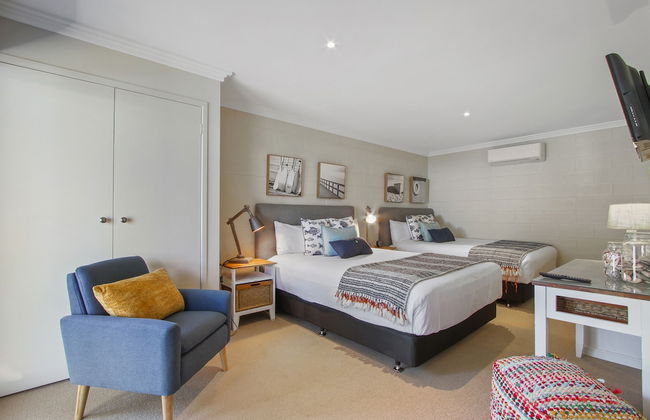
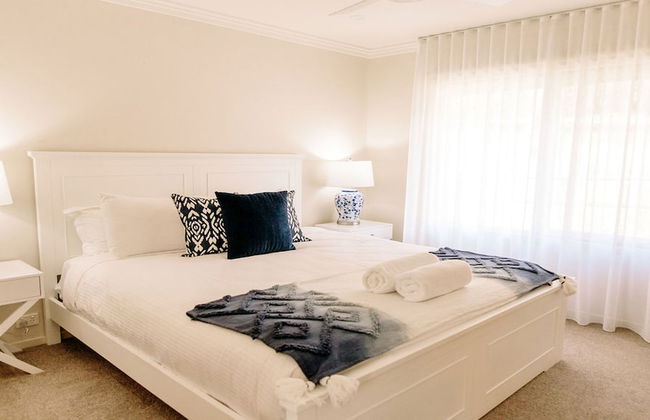
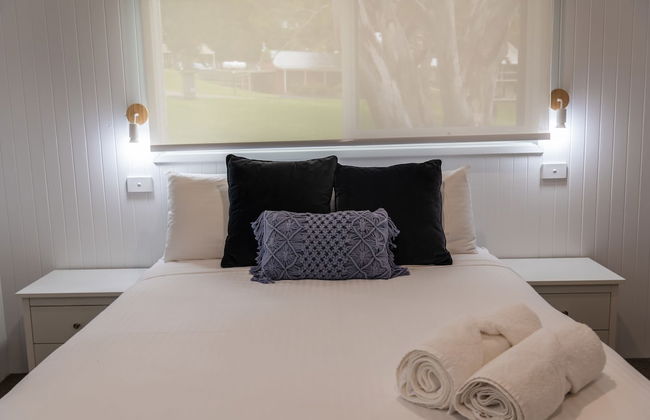
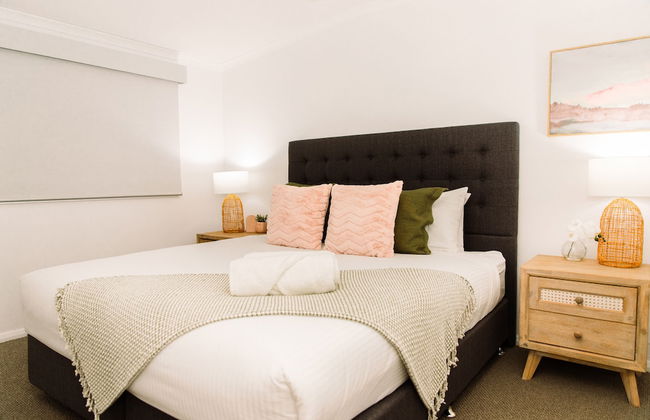
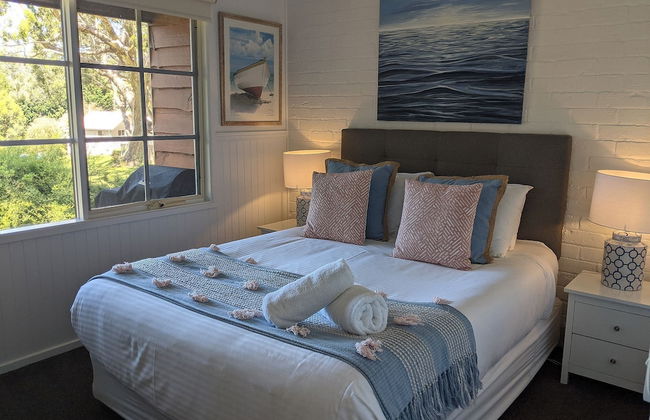
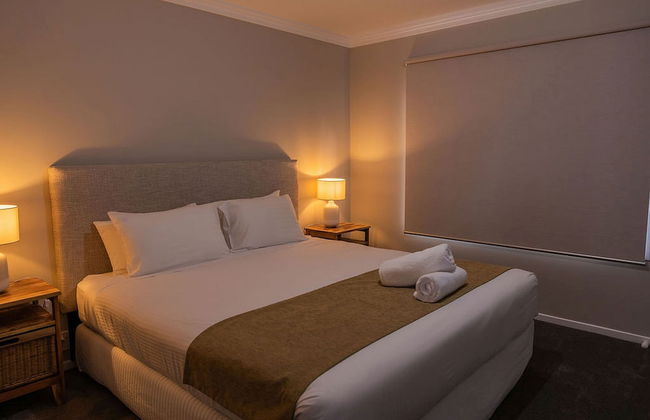
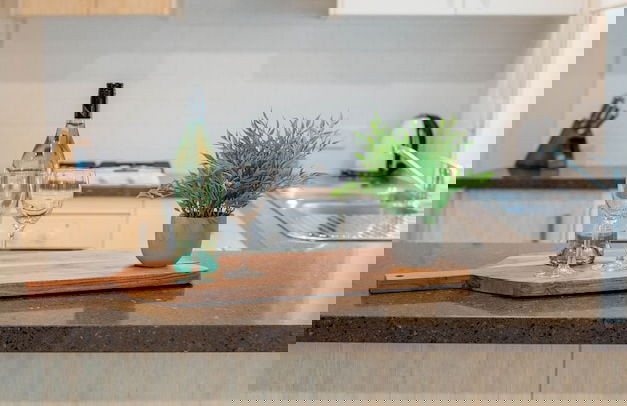
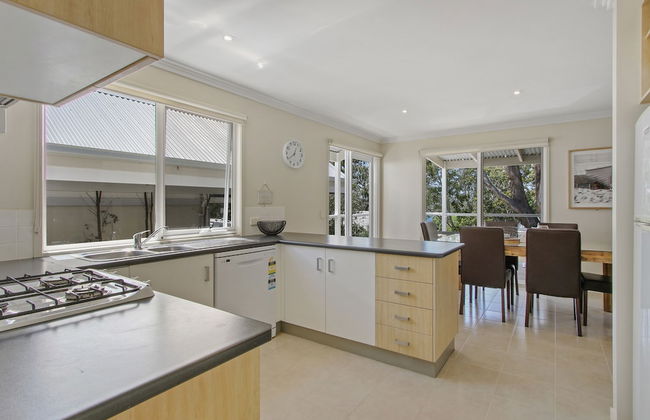
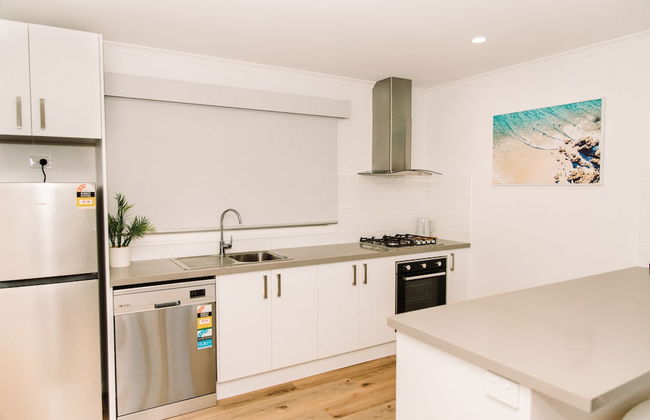
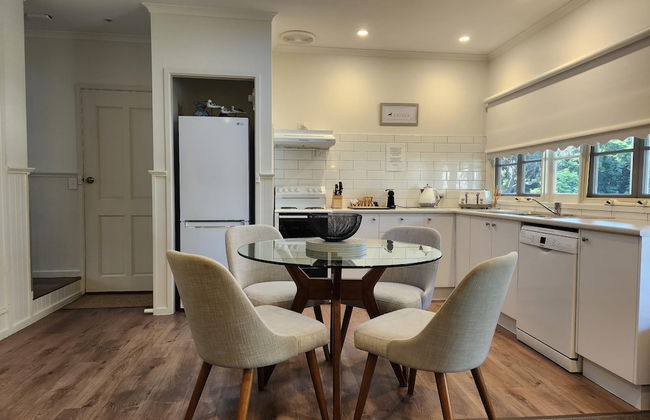
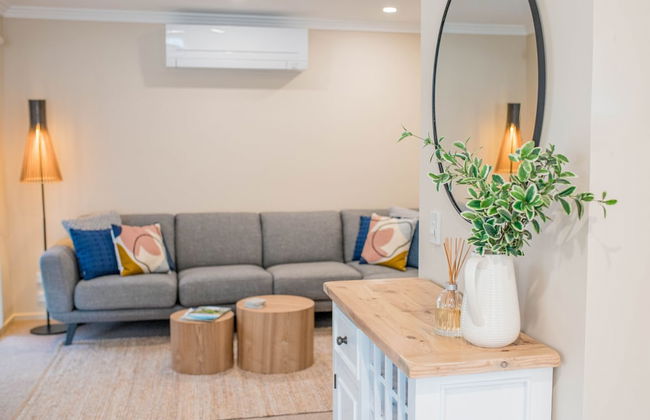
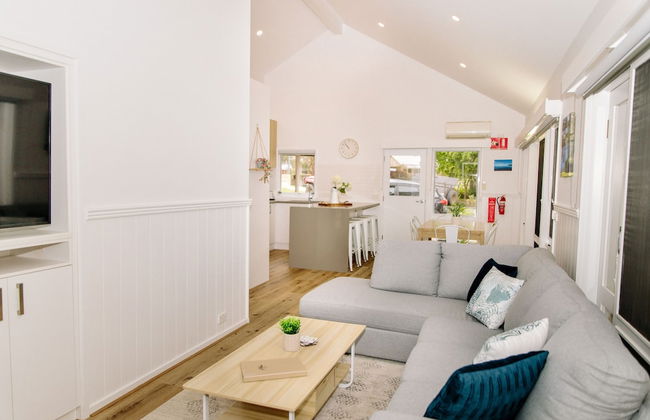
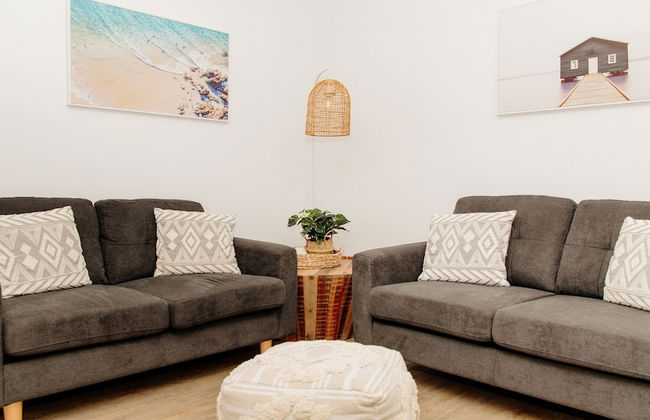
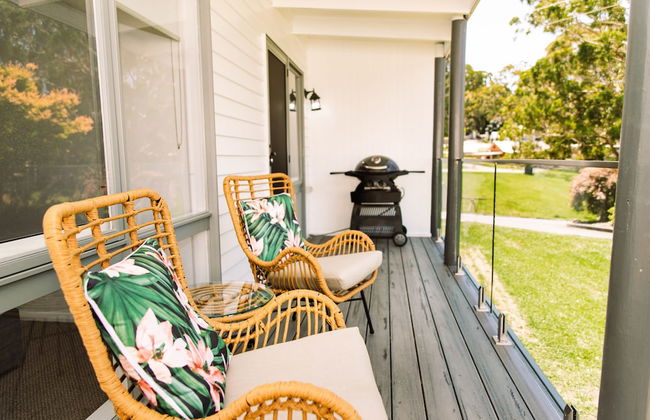
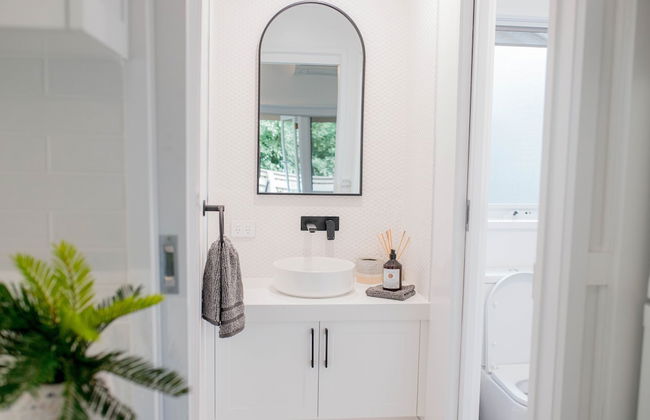
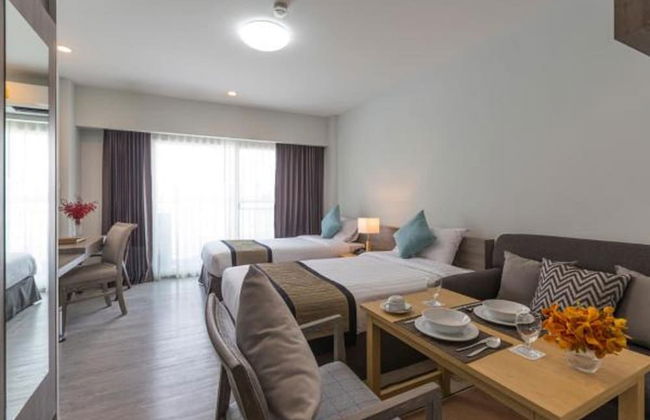
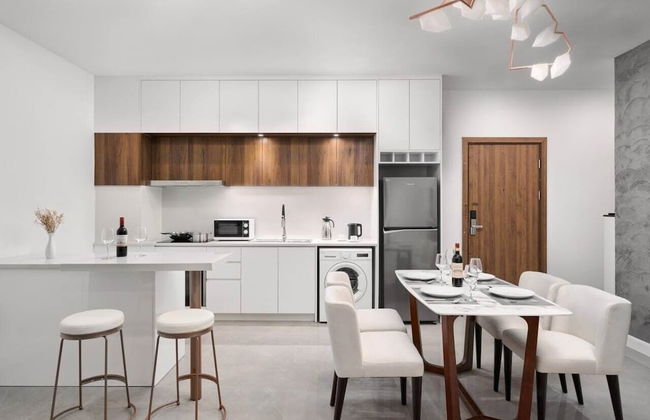
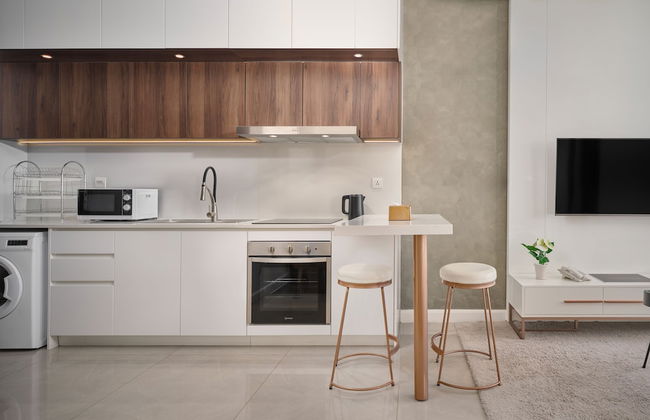
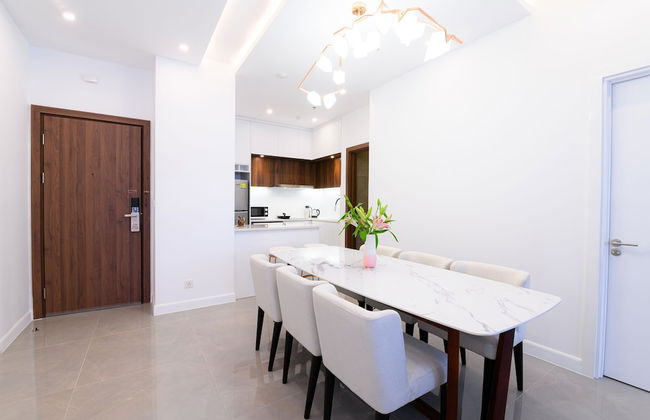
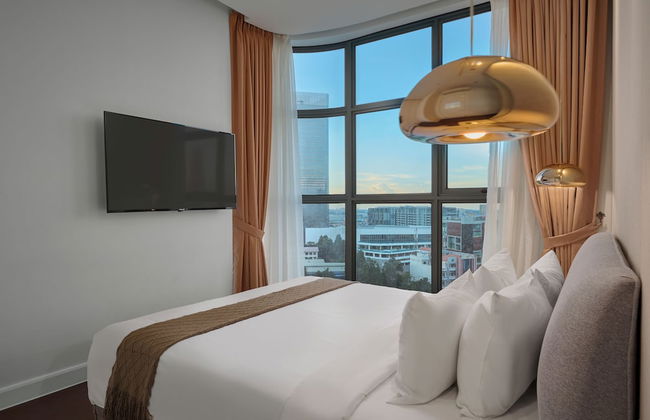
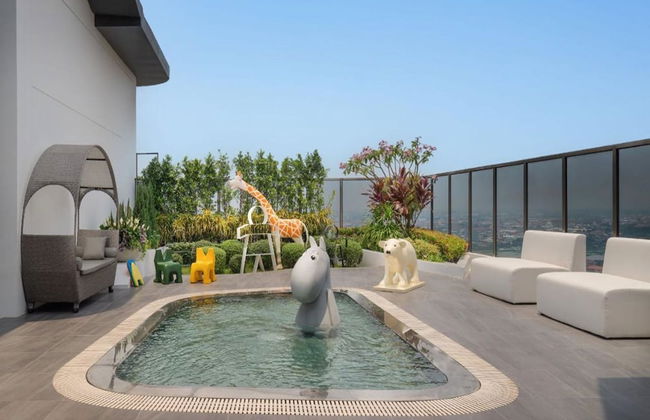
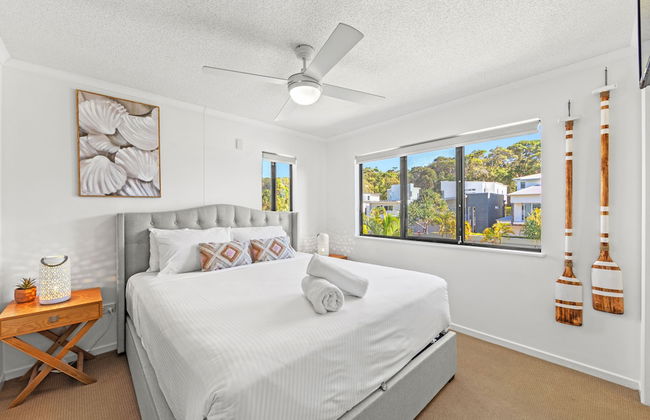
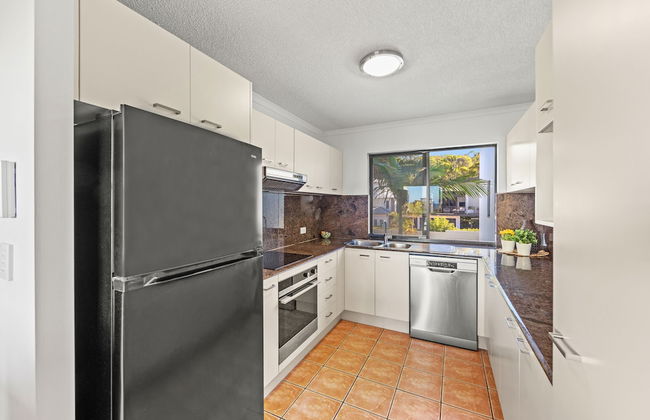
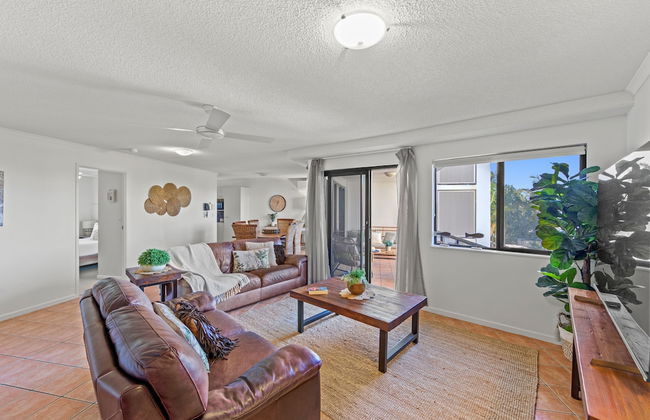
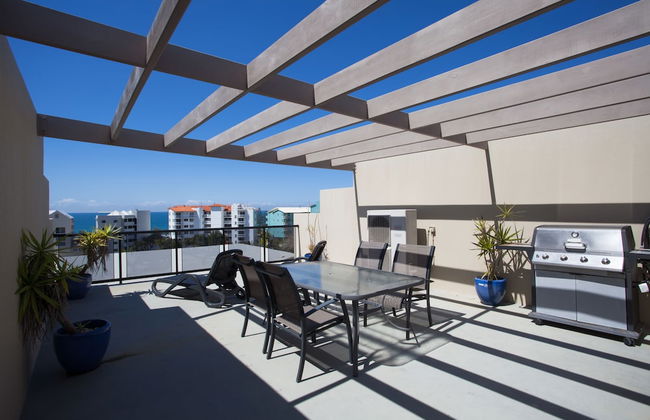
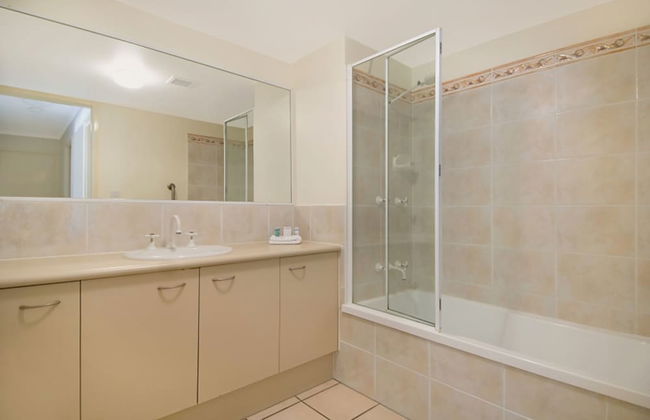
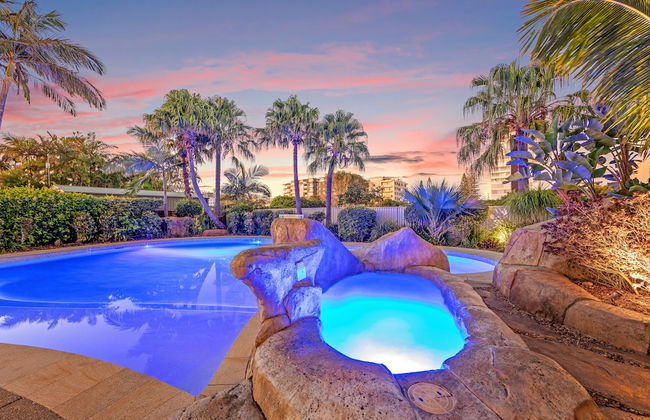
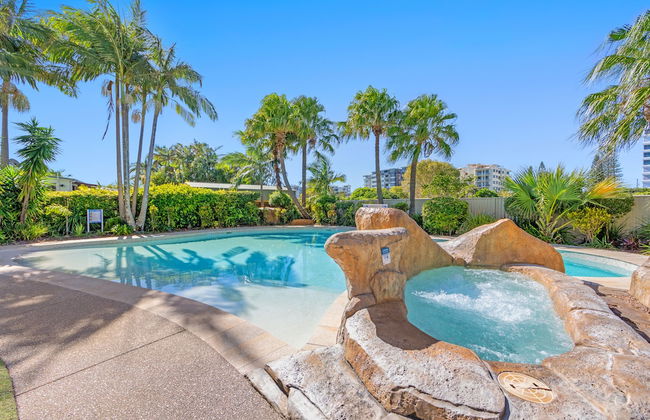
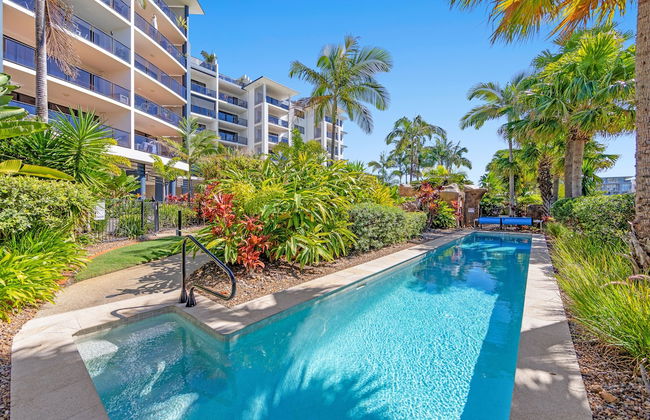
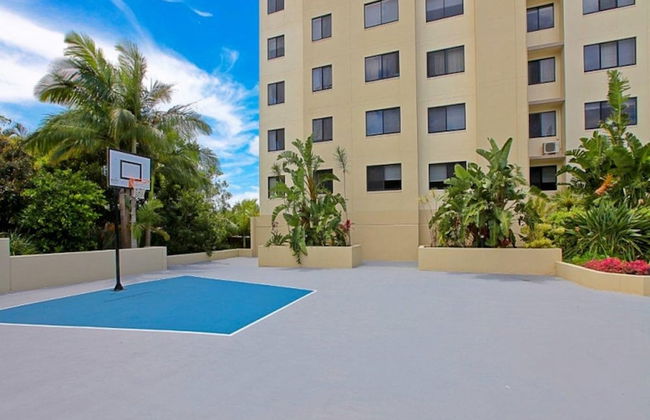
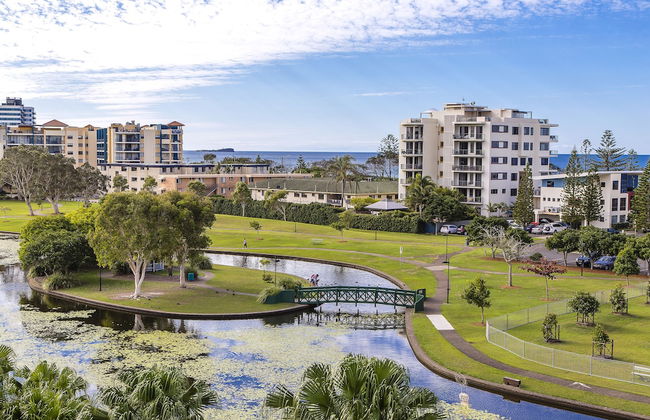
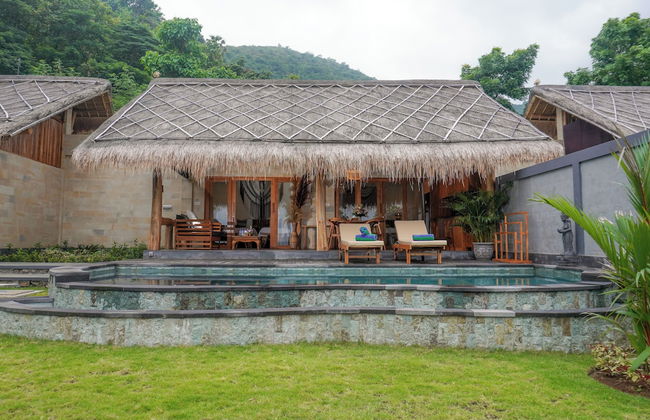
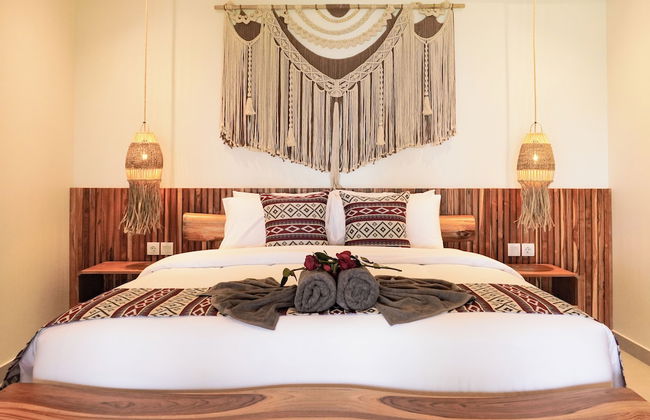
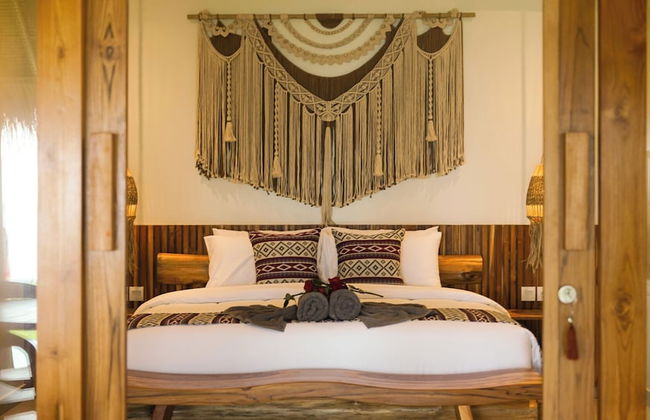
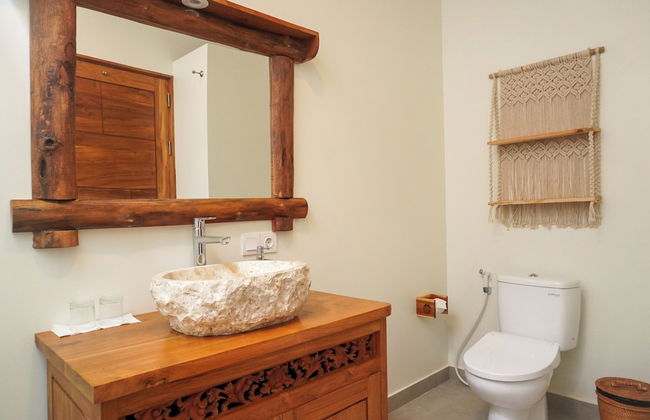
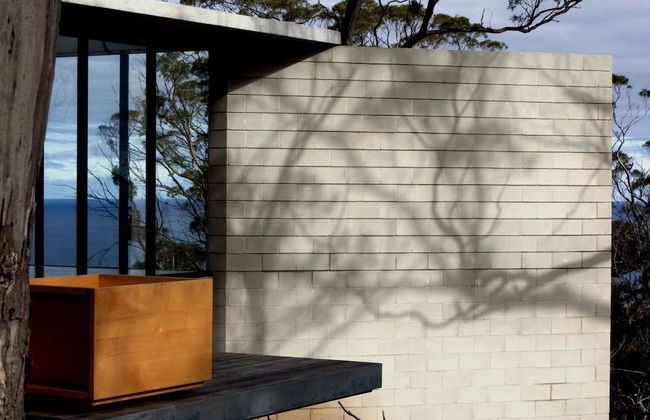
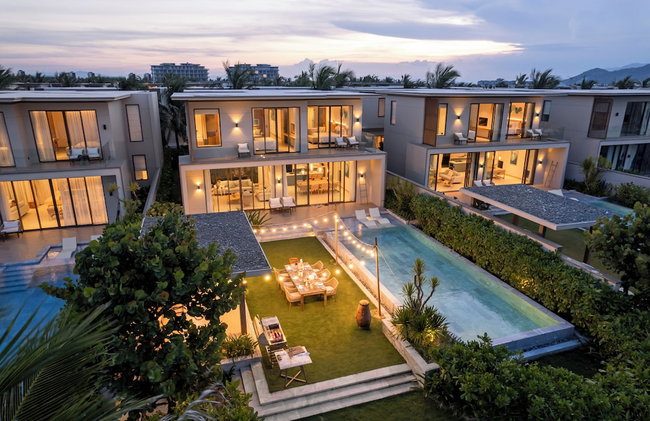
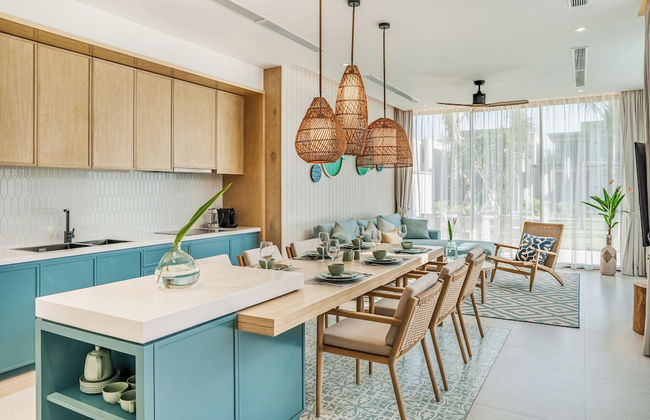
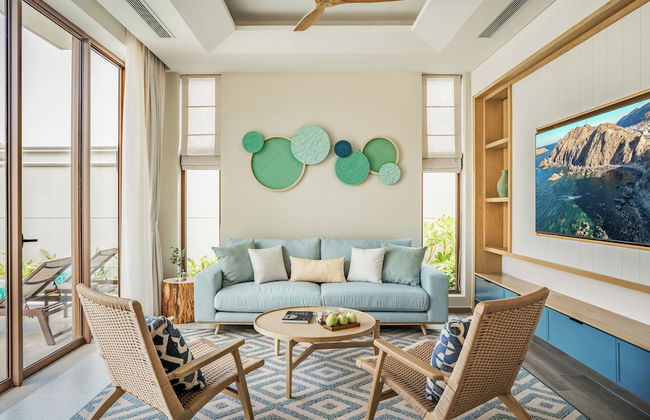
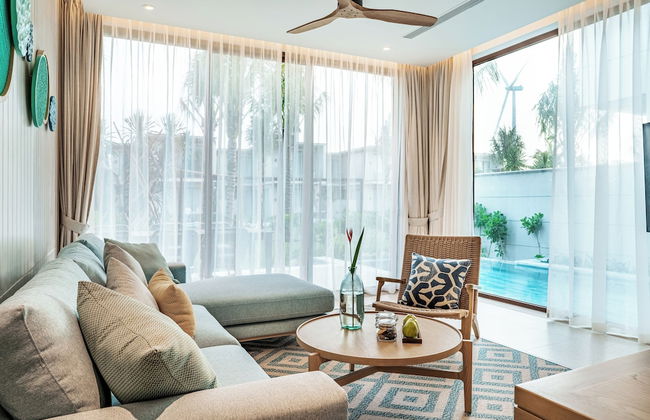
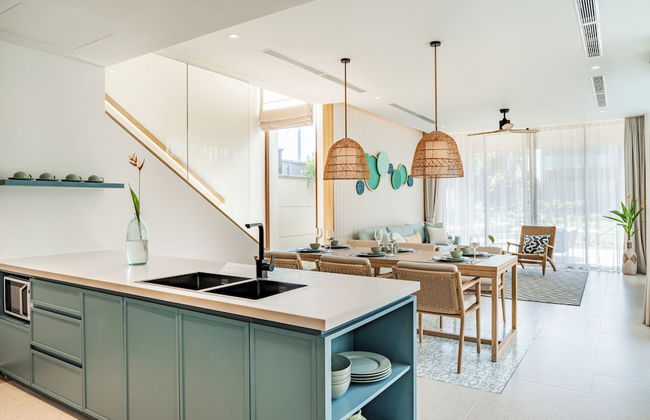
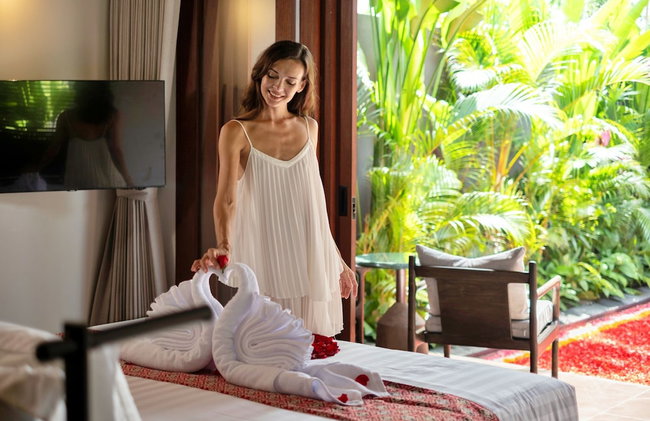
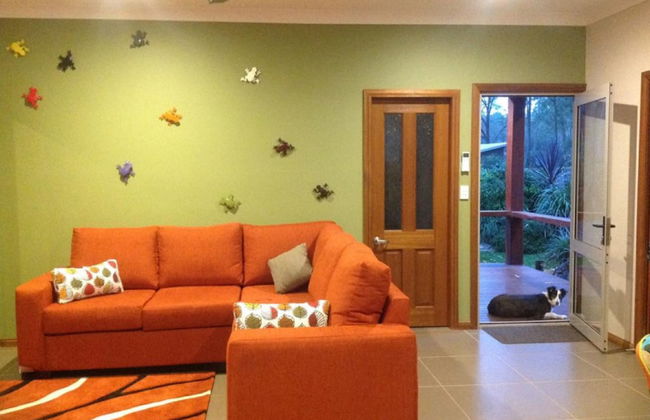
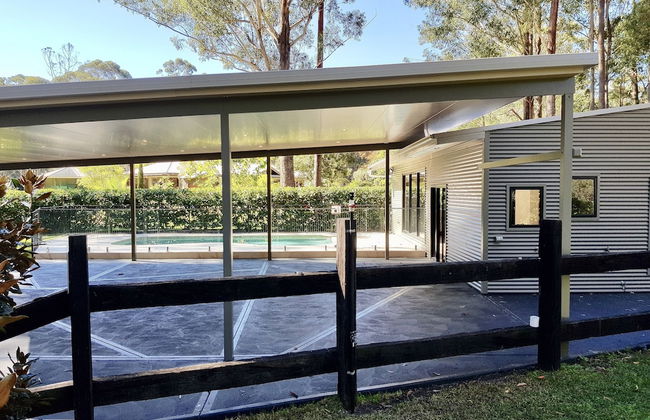
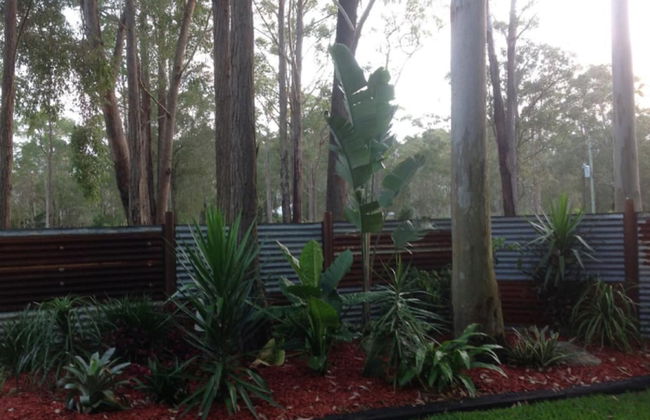
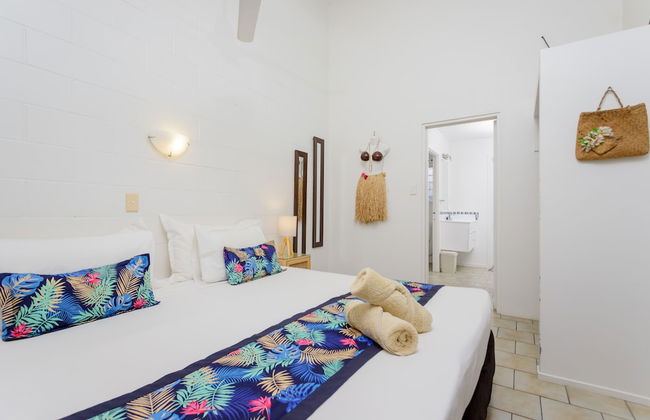
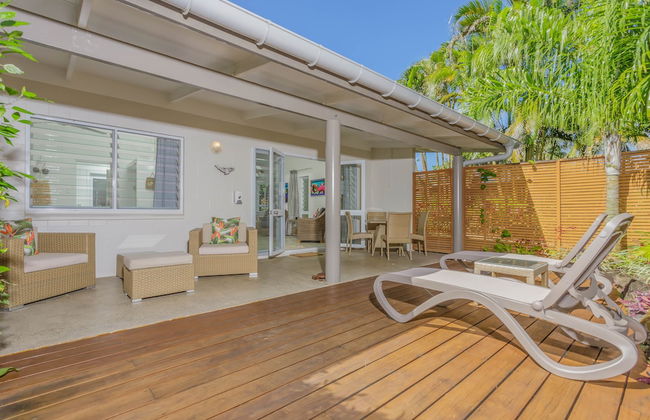
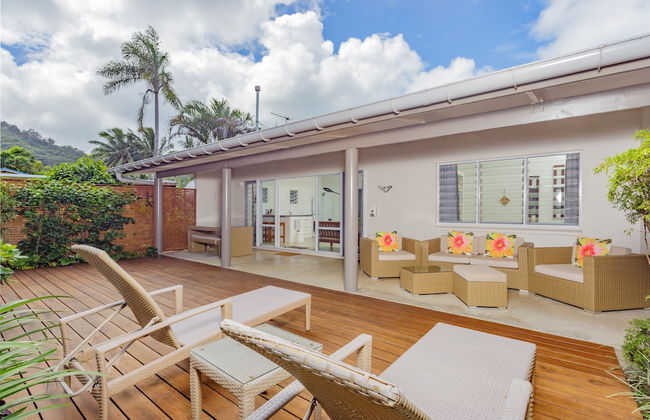
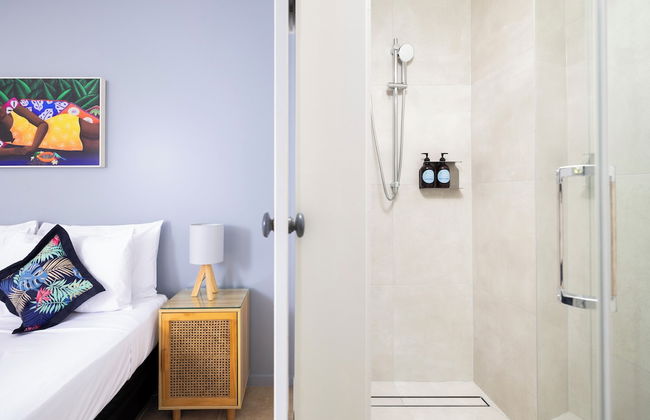
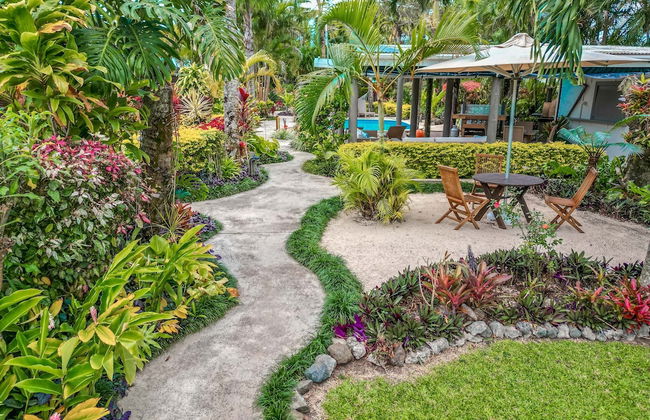
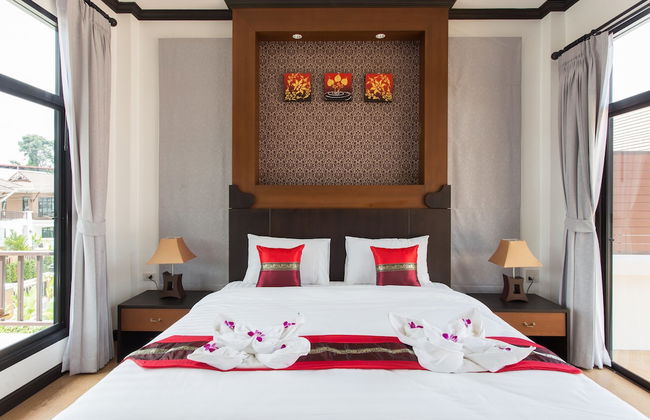
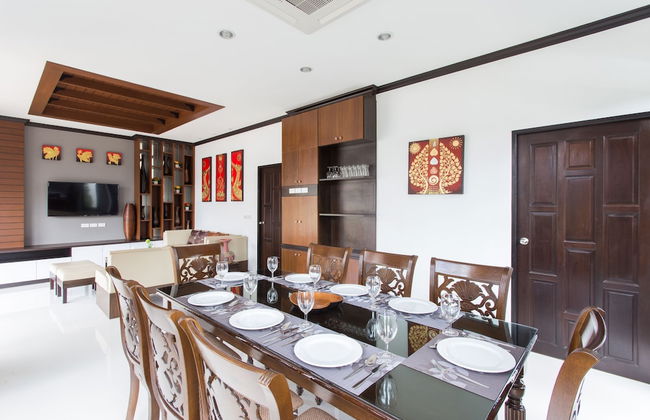
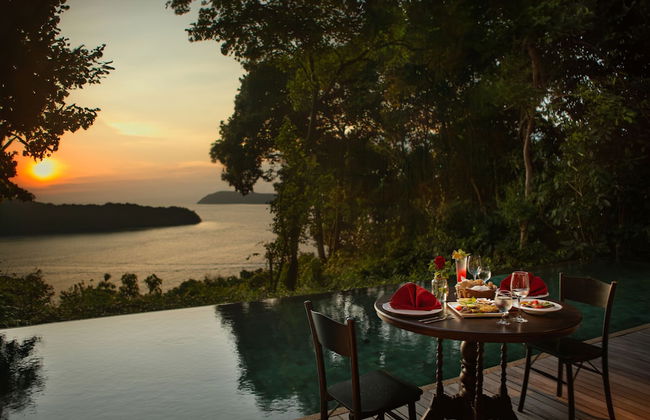
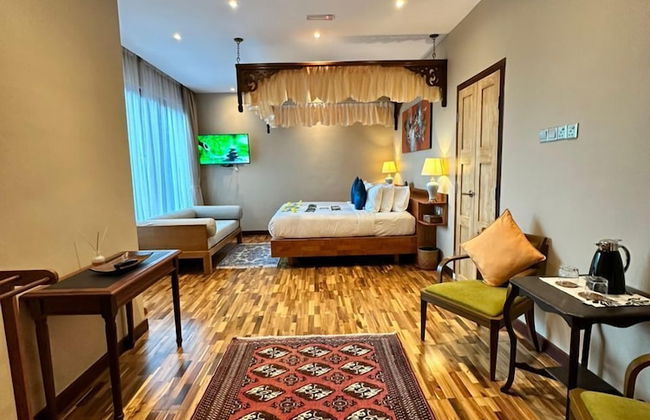
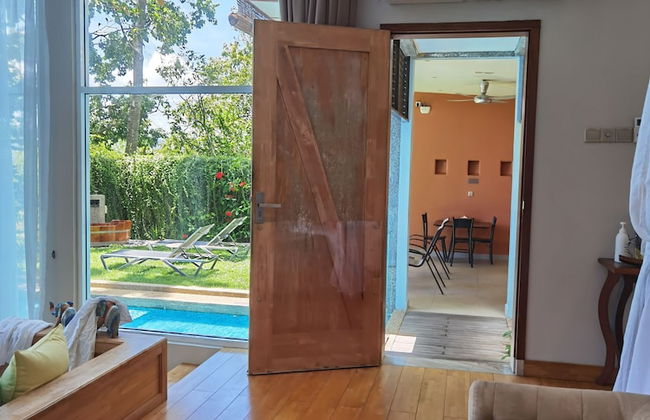
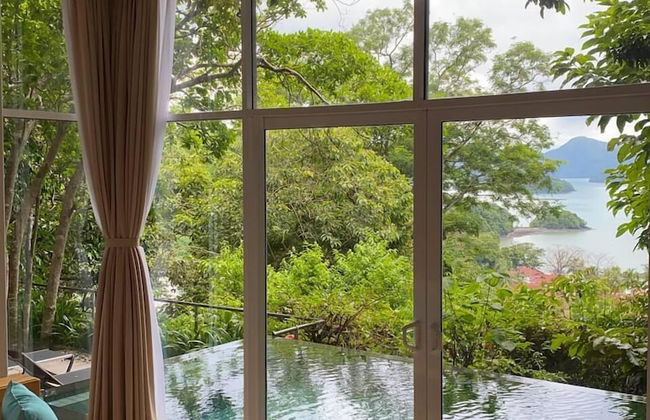
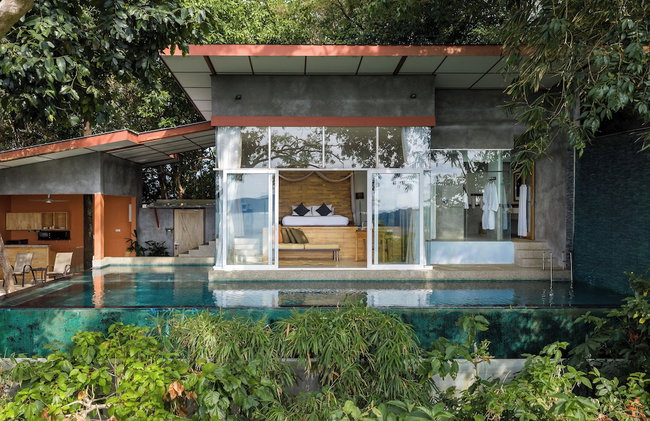
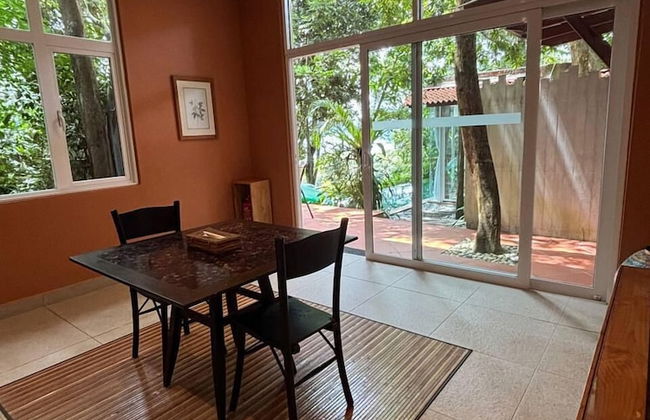
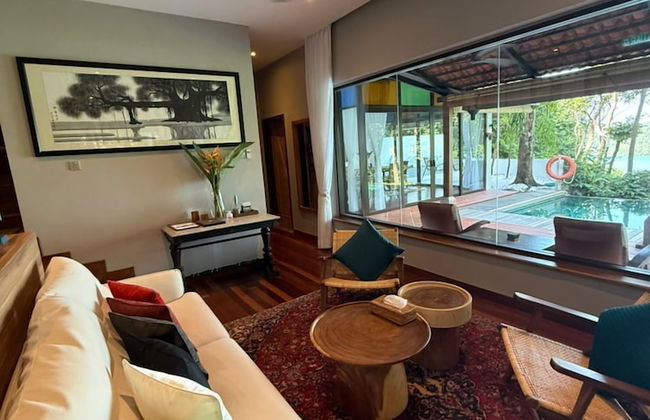
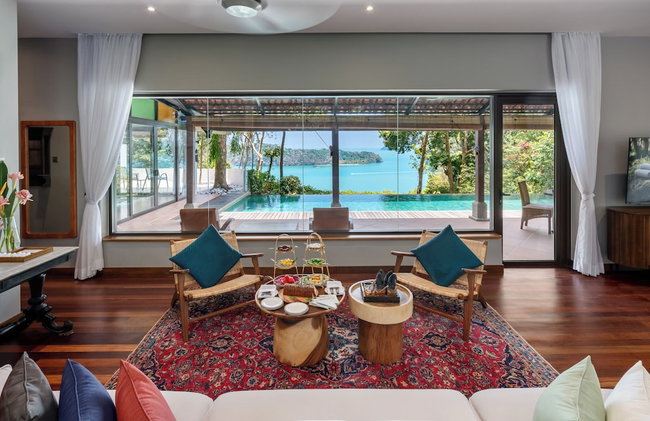
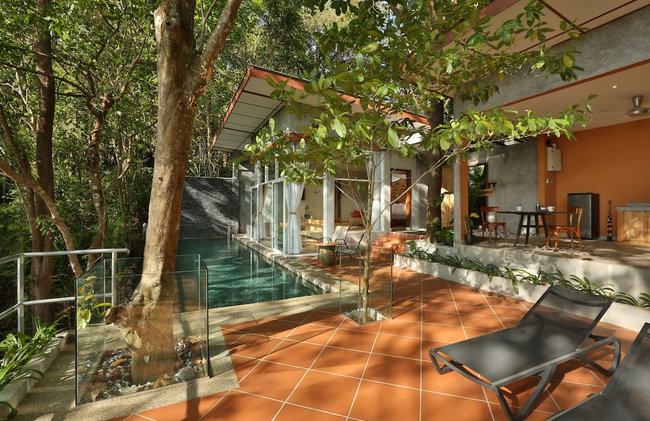
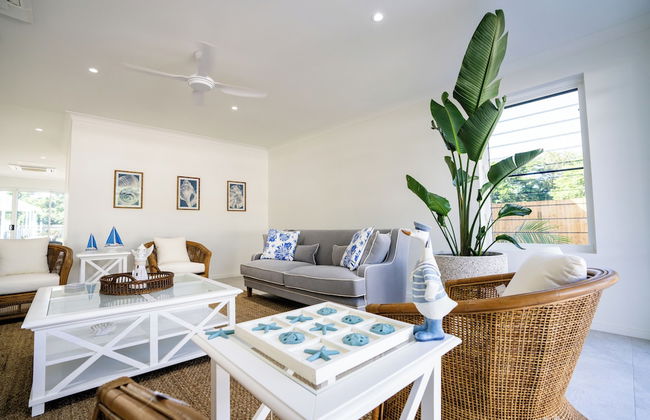
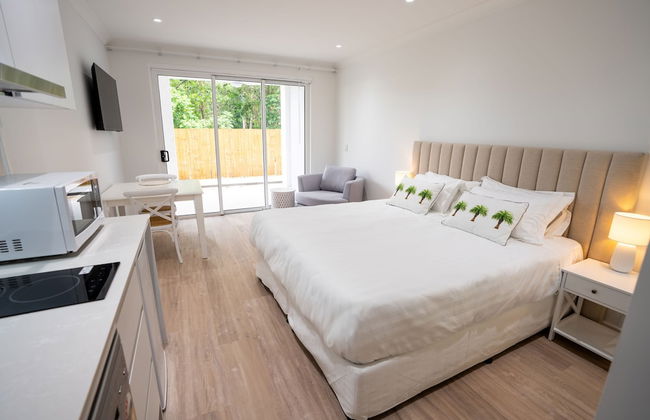
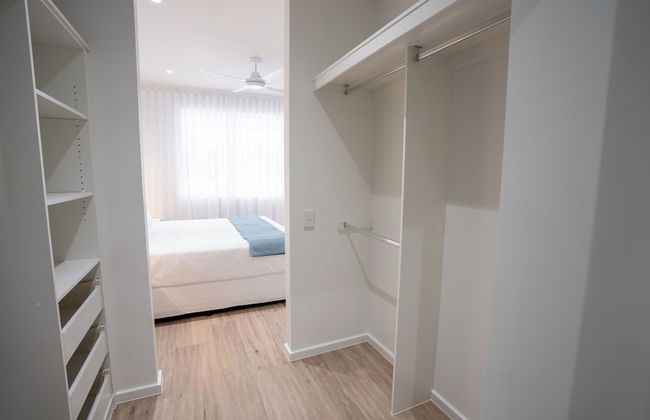
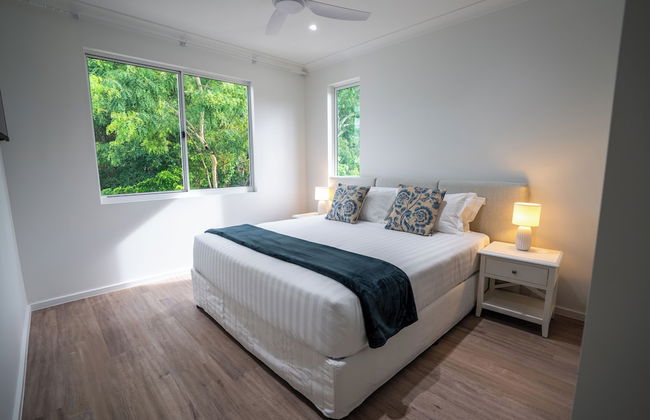
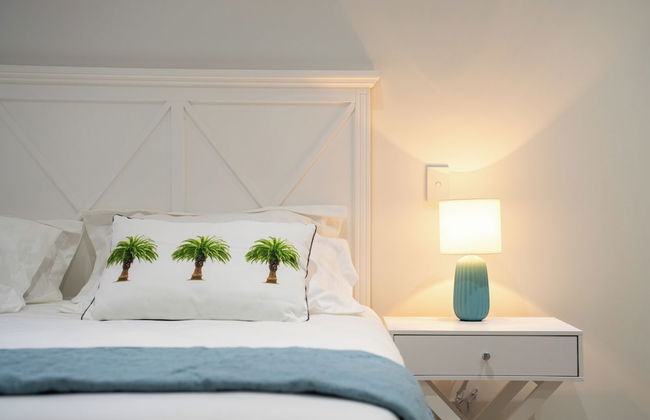
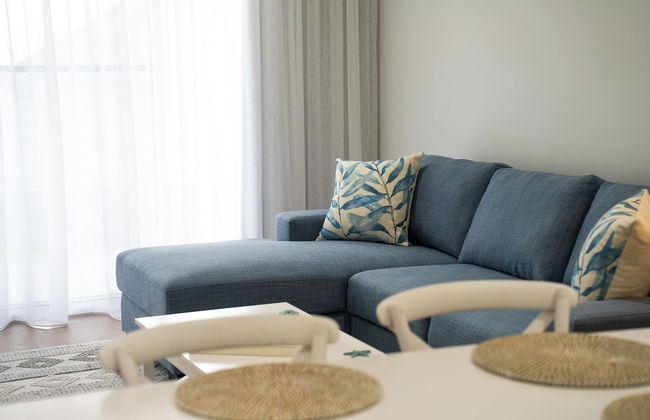
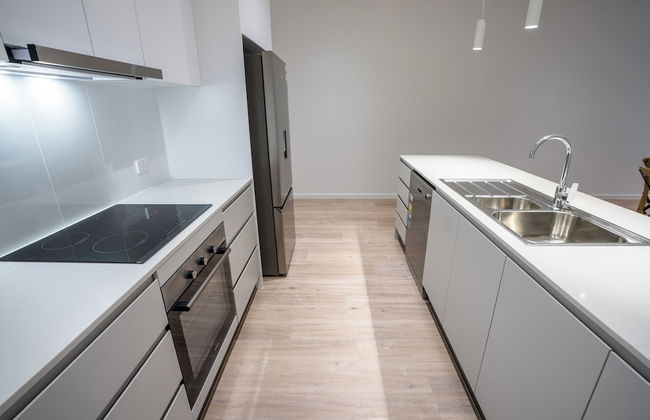
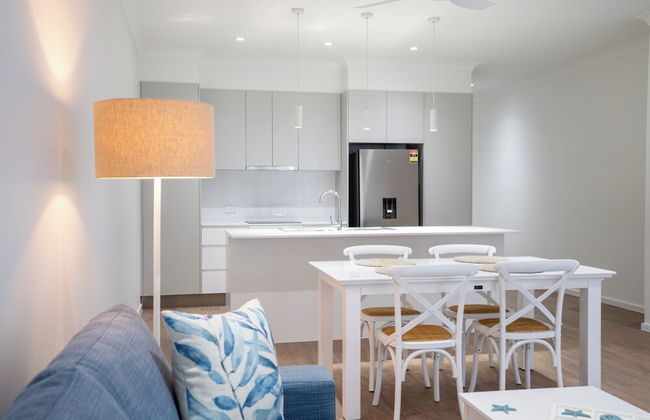
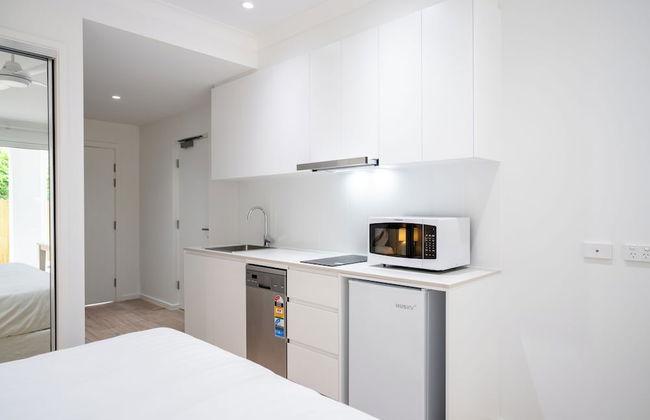
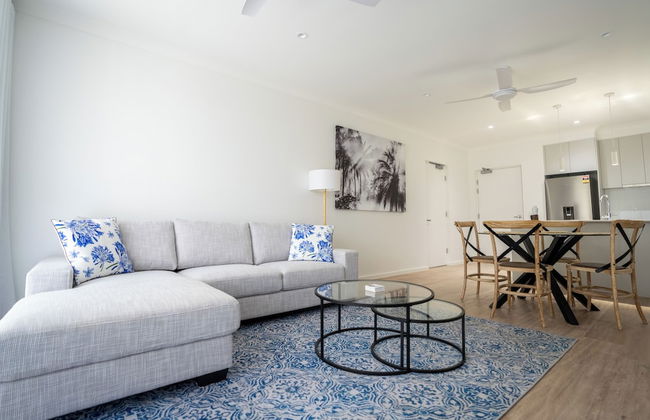
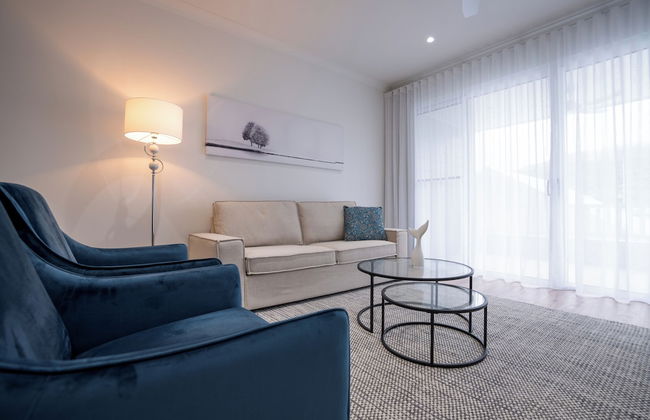
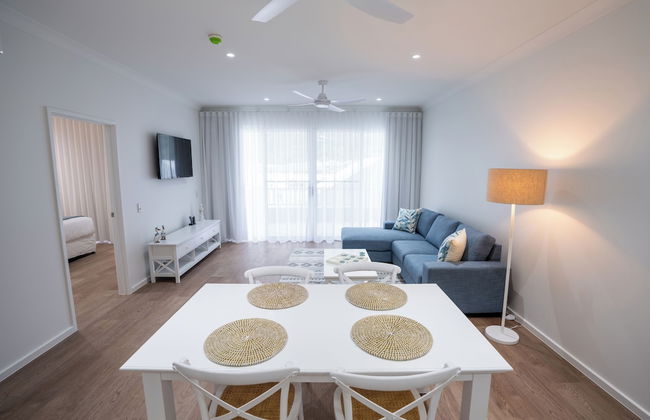
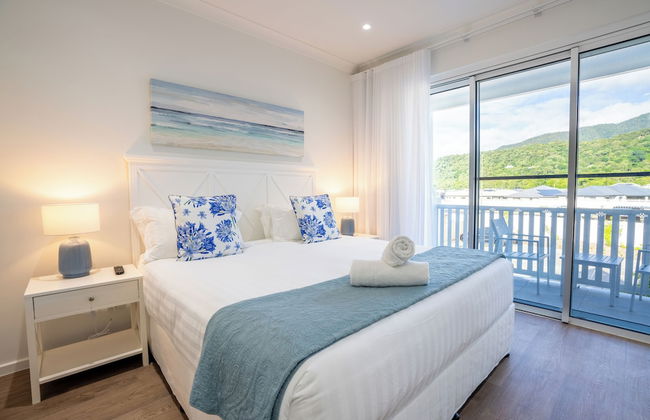
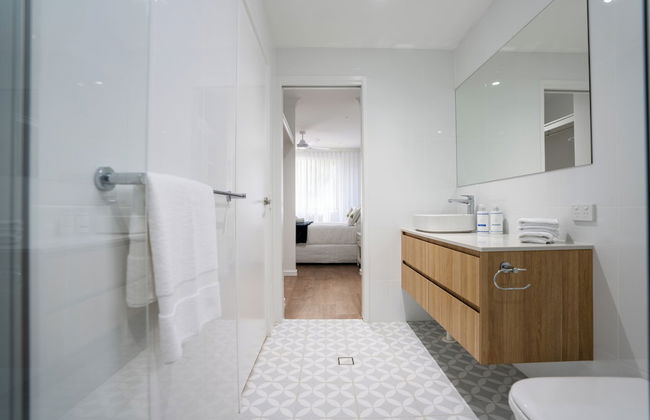
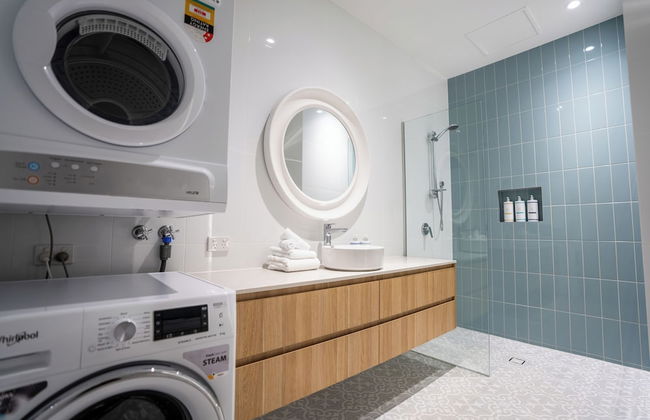
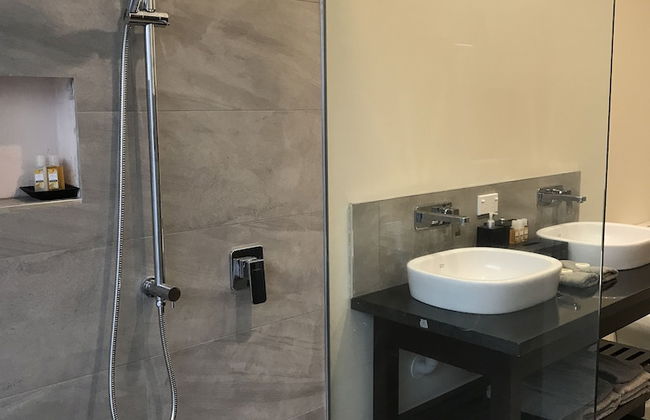
Trinity Collective - Photo 4
Trinity Collective - Photo 5
Trinity Collective - Photo 6
Trinity Collective - Photo 7
Trinity Collective - Photo 8
Trinity Collective - Photo 9
Trinity Collective - Photo 10
Trinity Collective - Photo 11
Trinity Collective - Photo 12
Trinity Collective - Photo 13
Trinity Collective - Photo 14
Trinity Collective - Photo 15
Trinity Collective - Photo 16
Trinity Collective - Photo 17
Trinity Collective - Photo 18
Trinity Collective - Photo 19
Trinity Collective - Photo 20
Trinity Collective - Photo 21
Trinity Collective - Photo 22
Trinity Collective - Photo 23
Trinity Collective - Photo 24
Trinity Collective - Photo 25
Trinity Collective - Photo 26
Trinity Collective - Photo 27
Trinity Collective - Photo 28
Trinity Collective - Photo 29
Trinity Collective - Photo 30
Trinity Collective - Photo 31
Trinity Collective - Photo 32
Trinity Collective - Photo 33
Trinity Collective - Photo 34
Trinity Collective - Photo 35
Trinity Collective - Photo 36
Trinity Collective - Photo 37
Trinity Collective - Photo 38
Trinity Collective - Photo 39
Trinity Collective - Photo 40
Trinity Collective - Photo 41
Trinity Collective - Photo 42
Trinity Collective - Photo 43
Trinity Collective - Photo 44
Trinity Collective - Photo 45
Trinity Collective - Photo 46
Trinity Collective - Photo 47
Trinity Collective - Photo 48
Trinity Collective - Photo 49
Trinity Collective - Photo 50
Trinity Collective - Photo 51
Trinity Collective - Photo 52
Trinity Collective - Photo 53
Trinity Collective - Photo 54
Trinity Collective - Photo 55
Trinity Collective - Photo 56
Trinity Collective - Photo 57
Trinity Collective - Photo 58
Trinity Collective - Photo 59
Trinity Collective - Photo 60
Trinity Collective - Photo 61
Trinity Collective - Photo 62
Trinity Collective - Photo 63
Trinity Collective - Photo 64
Trinity Collective - Photo 65
Trinity Collective - Photo 66
Trinity Collective - Photo 67
Trinity Collective - Photo 68
Trinity Collective - Photo 69
Trinity Collective - Photo 70
Trinity Collective - Photo 71
Trinity Collective - Photo 72
Trinity Collective - Photo 73
Trinity Collective - Photo 74
Trinity Collective - Photo 75

Trinity Collective

Cairns - Trinity Park - À 14.6 km du centre

  • 122 M2
  • 6 personnes
  • Cuisinette
  • Air conditionné
  • Le chauffage
  • Terrasse
  • Piscine
  • Parking
  • Ascenseur
  • Balcon
  • Jardin
  • Tv
  • Machine à laver
  • Barbecue
  • Serviettes
  • Feuilles
10Magnifique | 174 avis
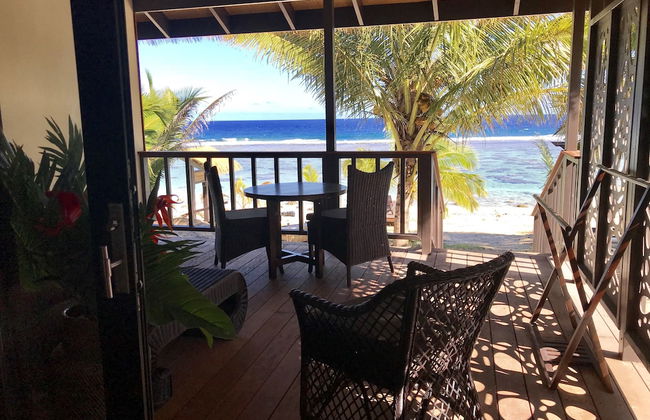
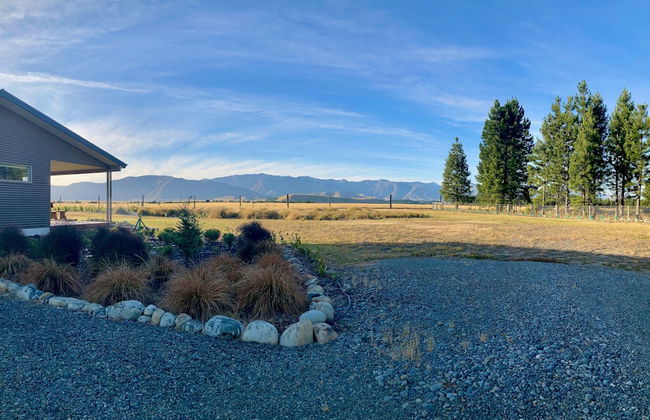
Serenity Villas Rarotonga - Photo 1
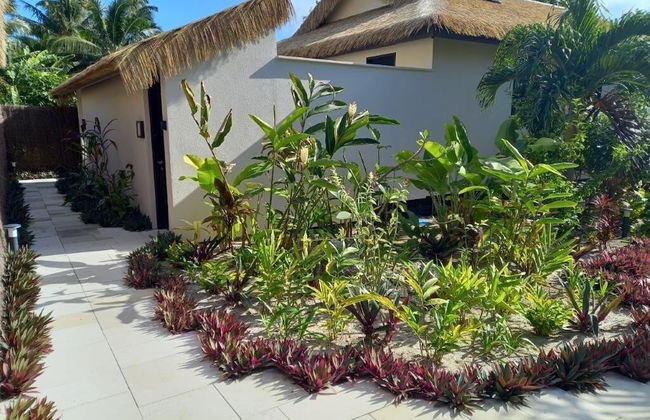
Serenity Villas Rarotonga - Photo 2
Serenity Villas Rarotonga - Photo 3
Serenity Villas Rarotonga - Photo 4
Serenity Villas Rarotonga - Photo 5
Serenity Villas Rarotonga - Photo 6
Serenity Villas Rarotonga - Photo 7
Serenity Villas Rarotonga - Photo 8
Serenity Villas Rarotonga - Photo 9
Serenity Villas Rarotonga - Photo 10
Serenity Villas Rarotonga - Photo 11
Serenity Villas Rarotonga - Photo 12
Serenity Villas Rarotonga - Photo 13
Serenity Villas Rarotonga - Photo 14
Serenity Villas Rarotonga - Photo 15
Serenity Villas Rarotonga - Photo 16
Serenity Villas Rarotonga - Photo 17
Serenity Villas Rarotonga - Photo 18
Serenity Villas Rarotonga - Photo 19
Serenity Villas Rarotonga - Photo 20
Serenity Villas Rarotonga - Photo 21
Serenity Villas Rarotonga - Photo 22
Serenity Villas Rarotonga - Photo 23
Serenity Villas Rarotonga - Photo 24
Serenity Villas Rarotonga - Photo 25
Serenity Villas Rarotonga - Photo 26
Serenity Villas Rarotonga - Photo 27
Serenity Villas Rarotonga - Photo 28
Serenity Villas Rarotonga - Photo 29
Serenity Villas Rarotonga - Photo 30
Serenity Villas Rarotonga - Photo 31
Serenity Villas Rarotonga - Photo 32
Serenity Villas Rarotonga - Photo 33
Serenity Villas Rarotonga - Photo 34
Serenity Villas Rarotonga - Photo 35
Serenity Villas Rarotonga - Photo 36
Serenity Villas Rarotonga - Photo 37
Serenity Villas Rarotonga - Photo 38
Serenity Villas Rarotonga - Photo 39
Serenity Villas Rarotonga - Photo 40
Serenity Villas Rarotonga - Photo 41
Serenity Villas Rarotonga - Photo 42
Serenity Villas Rarotonga - Photo 43
Serenity Villas Rarotonga - Photo 44
Serenity Villas Rarotonga - Photo 45
Serenity Villas Rarotonga - Photo 46
Serenity Villas Rarotonga - Photo 47
Serenity Villas Rarotonga - Photo 48
Serenity Villas Rarotonga - Photo 49
Serenity Villas Rarotonga - Photo 50
Serenity Villas Rarotonga - Photo 51
Serenity Villas Rarotonga - Photo 52
Serenity Villas Rarotonga - Photo 53
Serenity Villas Rarotonga - Photo 54
Serenity Villas Rarotonga - Photo 55
Serenity Villas Rarotonga - Photo 56
Serenity Villas Rarotonga - Photo 57
Serenity Villas Rarotonga - Photo 58
Serenity Villas Rarotonga - Photo 59
Serenity Villas Rarotonga - Photo 60
Serenity Villas Rarotonga - Photo 61
Serenity Villas Rarotonga - Photo 62
Serenity Villas Rarotonga - Photo 63
Serenity Villas Rarotonga - Photo 64
Serenity Villas Rarotonga - Photo 65
Serenity Villas Rarotonga - Photo 66
Serenity Villas Rarotonga - Photo 67
Serenity Villas Rarotonga - Photo 68
Serenity Villas Rarotonga - Photo 69
Serenity Villas Rarotonga - Photo 70
Serenity Villas Rarotonga - Photo 71

Serenity Villas Rarotonga

Avarua - Près de Oudna Terminal (geolocation.placetype.port)

  • 156 M2
  • 4 personnes
  • Air conditionné
  • Le chauffage
  • Terrasse
  • Piscine
  • Parking
  • Jardin
  • Tv
  • Barbecue
  • Serviettes
  • Feuilles
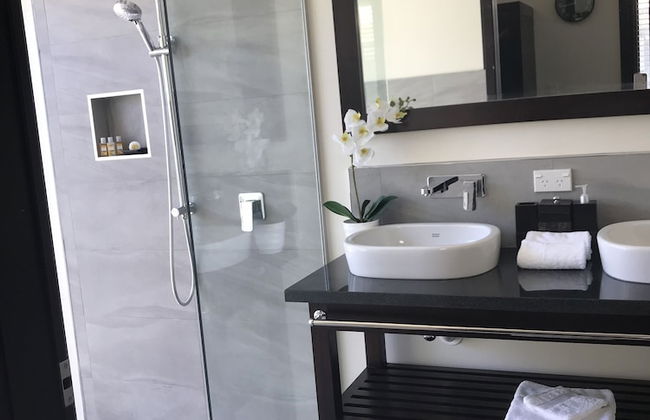
10Magnifique | 35 avis
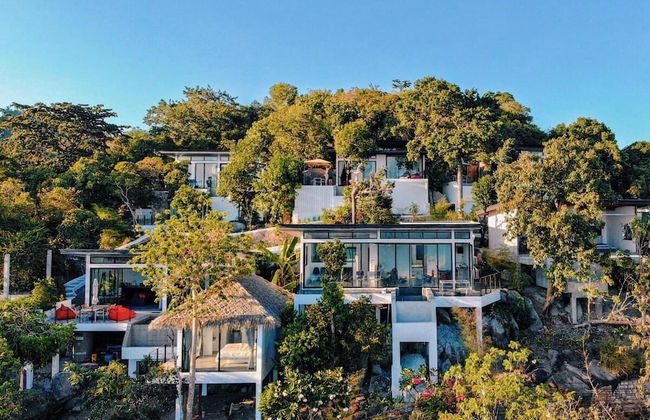
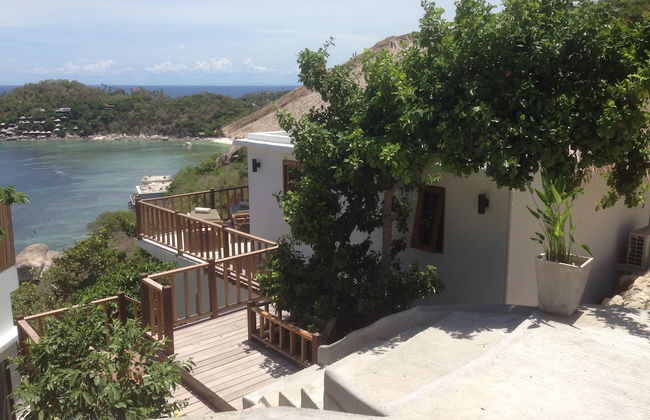
Pahili Pool Villas Koh Tao - Photo 1
Pahili Pool Villas Koh Tao - Photo 2
Pahili Pool Villas Koh Tao - Photo 3
Pahili Pool Villas Koh Tao - Photo 4
Pahili Pool Villas Koh Tao - Photo 5
Pahili Pool Villas Koh Tao - Photo 6
Pahili Pool Villas Koh Tao - Photo 7
Pahili Pool Villas Koh Tao - Photo 8
Pahili Pool Villas Koh Tao - Photo 9
Pahili Pool Villas Koh Tao - Photo 10
Pahili Pool Villas Koh Tao - Photo 11
Pahili Pool Villas Koh Tao - Photo 12
Pahili Pool Villas Koh Tao - Photo 13
Pahili Pool Villas Koh Tao - Photo 14
Pahili Pool Villas Koh Tao - Photo 15
Pahili Pool Villas Koh Tao - Photo 16
Pahili Pool Villas Koh Tao - Photo 17
Pahili Pool Villas Koh Tao - Photo 18
Pahili Pool Villas Koh Tao - Photo 19
Pahili Pool Villas Koh Tao - Photo 20
Pahili Pool Villas Koh Tao - Photo 21
Pahili Pool Villas Koh Tao - Photo 22
Pahili Pool Villas Koh Tao - Photo 23
Pahili Pool Villas Koh Tao - Photo 24
Pahili Pool Villas Koh Tao - Photo 25
Pahili Pool Villas Koh Tao - Photo 26
Pahili Pool Villas Koh Tao - Photo 27
Pahili Pool Villas Koh Tao - Photo 28
Pahili Pool Villas Koh Tao - Photo 29
Pahili Pool Villas Koh Tao - Photo 30
Pahili Pool Villas Koh Tao - Photo 31
Pahili Pool Villas Koh Tao - Photo 32
Pahili Pool Villas Koh Tao - Photo 33
Pahili Pool Villas Koh Tao - Photo 34
Pahili Pool Villas Koh Tao - Photo 35
Pahili Pool Villas Koh Tao - Photo 36
Pahili Pool Villas Koh Tao - Photo 37
Pahili Pool Villas Koh Tao - Photo 38
Pahili Pool Villas Koh Tao - Photo 39
Pahili Pool Villas Koh Tao - Photo 40
Pahili Pool Villas Koh Tao - Photo 41
Pahili Pool Villas Koh Tao - Photo 42
Pahili Pool Villas Koh Tao - Photo 43
Pahili Pool Villas Koh Tao - Photo 44
Pahili Pool Villas Koh Tao - Photo 45
Pahili Pool Villas Koh Tao - Photo 46
Pahili Pool Villas Koh Tao - Photo 47
Pahili Pool Villas Koh Tao - Photo 48
Pahili Pool Villas Koh Tao - Photo 49
Pahili Pool Villas Koh Tao - Photo 50
Pahili Pool Villas Koh Tao - Photo 51
Pahili Pool Villas Koh Tao - Photo 52
Pahili Pool Villas Koh Tao - Photo 53
Pahili Pool Villas Koh Tao - Photo 54
Pahili Pool Villas Koh Tao - Photo 55
Pahili Pool Villas Koh Tao - Photo 56
Pahili Pool Villas Koh Tao - Photo 57
Pahili Pool Villas Koh Tao - Photo 58
Pahili Pool Villas Koh Tao - Photo 59
Pahili Pool Villas Koh Tao - Photo 60
Pahili Pool Villas Koh Tao - Photo 61
Pahili Pool Villas Koh Tao - Photo 62
Pahili Pool Villas Koh Tao - Photo 63
Pahili Pool Villas Koh Tao - Photo 64
Pahili Pool Villas Koh Tao - Photo 65
Pahili Pool Villas Koh Tao - Photo 66
Pahili Pool Villas Koh Tao - Photo 67
Pahili Pool Villas Koh Tao - Photo 68
Pahili Pool Villas Koh Tao - Photo 69
Pahili Pool Villas Koh Tao - Photo 70
Pahili Pool Villas Koh Tao - Photo 71
Pahili Pool Villas Koh Tao - Photo 72
Pahili Pool Villas Koh Tao - Photo 73
Pahili Pool Villas Koh Tao - Photo 74
Pahili Pool Villas Koh Tao - Photo 75
Pahili Pool Villas Koh Tao - Photo 76
Pahili Pool Villas Koh Tao - Photo 77
Pahili Pool Villas Koh Tao - Photo 78
Pahili Pool Villas Koh Tao - Photo 79
Pahili Pool Villas Koh Tao - Photo 80

Pahili Pool Villas Koh Tao

  • 6 personnes
  • Air conditionné
  • Terrasse
  • Piscine
  • Parking
  • Balcon
  • Jardin
  • Tv
  • Barbecue
  • Serviettes
  • Feuilles
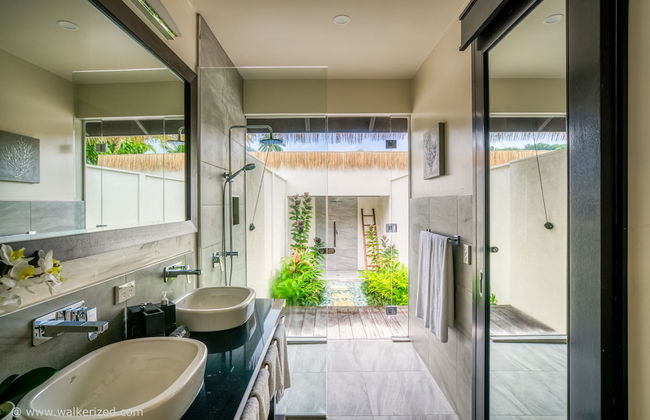
10Magnifique | 28 avis
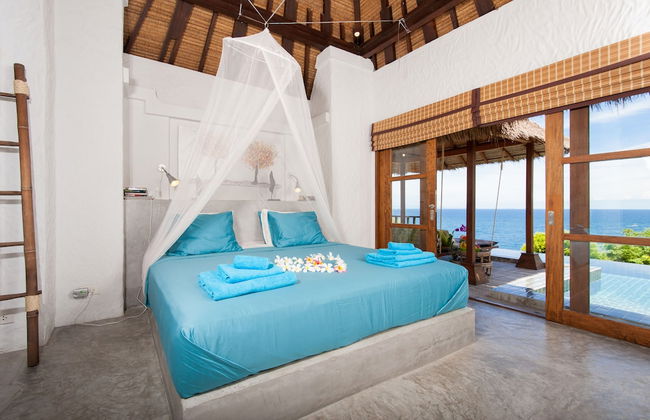
Dana's Place Private Villa - Photo 1
Dana's Place Private Villa - Photo 2
Dana's Place Private Villa - Photo 3
Dana's Place Private Villa - Photo 4
Dana's Place Private Villa - Photo 5
Dana's Place Private Villa - Photo 6
Dana's Place Private Villa - Photo 7
Dana's Place Private Villa - Photo 8
Dana's Place Private Villa - Photo 9
Dana's Place Private Villa - Photo 10
Dana's Place Private Villa - Photo 11
Dana's Place Private Villa - Photo 12
Dana's Place Private Villa - Photo 13
Dana's Place Private Villa - Photo 14
Dana's Place Private Villa - Photo 15
Dana's Place Private Villa - Photo 16
Dana's Place Private Villa - Photo 17
Dana's Place Private Villa - Photo 18
Dana's Place Private Villa - Photo 19
Dana's Place Private Villa - Photo 20
Dana's Place Private Villa - Photo 21
Dana's Place Private Villa - Photo 22
Dana's Place Private Villa - Photo 23
Dana's Place Private Villa - Photo 24
Dana's Place Private Villa - Photo 25
Dana's Place Private Villa - Photo 26
Dana's Place Private Villa - Photo 27
Dana's Place Private Villa - Photo 28
Dana's Place Private Villa - Photo 29
Dana's Place Private Villa - Photo 30
Dana's Place Private Villa - Photo 31
Dana's Place Private Villa - Photo 32
Dana's Place Private Villa - Photo 33
Dana's Place Private Villa - Photo 34
Dana's Place Private Villa - Photo 35
Dana's Place Private Villa - Photo 36
Dana's Place Private Villa - Photo 37
Dana's Place Private Villa - Photo 38
Dana's Place Private Villa - Photo 39
Dana's Place Private Villa - Photo 40
Dana's Place Private Villa - Photo 41
Dana's Place Private Villa - Photo 42
Dana's Place Private Villa - Photo 43
Dana's Place Private Villa - Photo 44
Dana's Place Private Villa - Photo 45
Dana's Place Private Villa - Photo 46
Dana's Place Private Villa - Photo 47
Dana's Place Private Villa - Photo 48
Dana's Place Private Villa - Photo 49
Dana's Place Private Villa - Photo 50
Dana's Place Private Villa - Photo 51
Dana's Place Private Villa - Photo 52
Dana's Place Private Villa - Photo 53
Dana's Place Private Villa - Photo 54
Dana's Place Private Villa - Photo 55
Dana's Place Private Villa - Photo 56
Dana's Place Private Villa - Photo 57

Dana's Place Private Villa

Gianyar - Ubud - À 8.9 km du centre

  • 20 M2
  • 4 personnes
  • Cuisinette
  • Air conditionné
  • Terrasse
  • Piscine
  • Parking
  • Ascenseur
  • Balcon
  • Jardin
  • Tv
9.6Exceptionnel | 14 avis
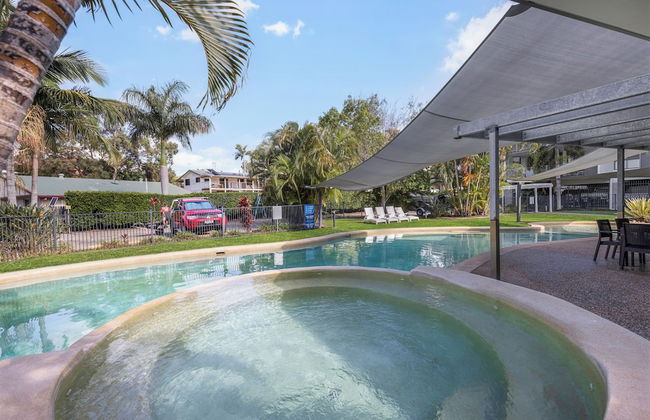
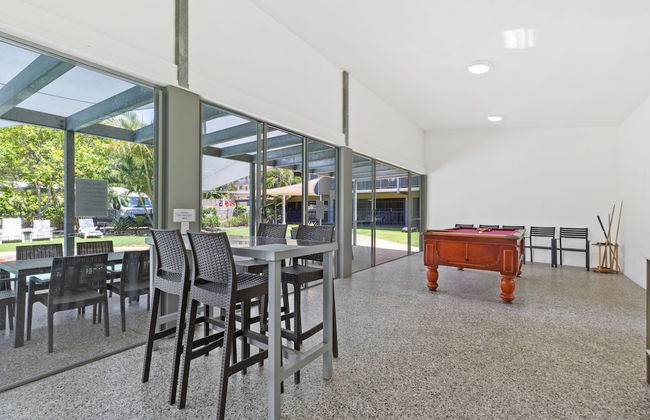
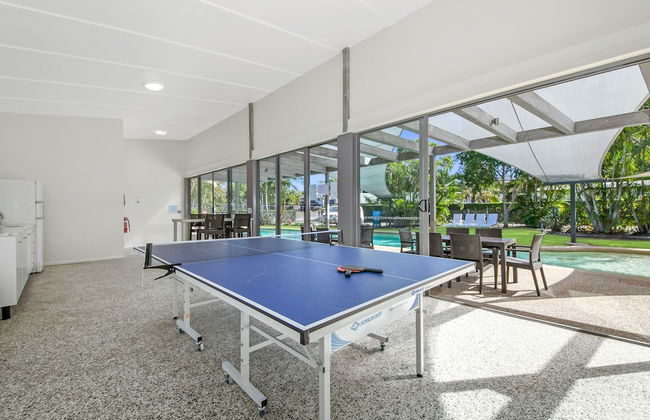
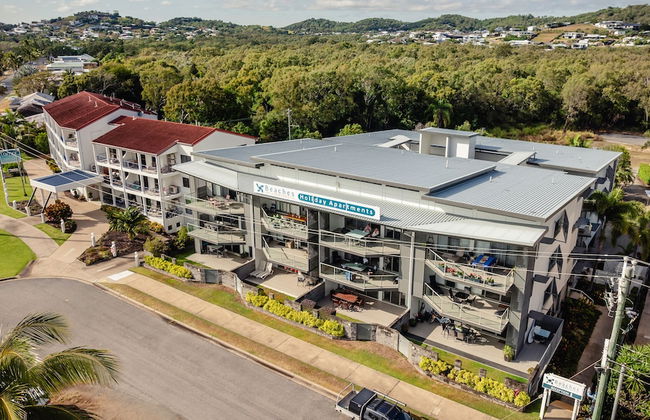
Beaches on Lammermoor Apartments - Photo 1
Beaches on Lammermoor Apartments - Photo 2
Beaches on Lammermoor Apartments - Photo 3
Beaches on Lammermoor Apartments - Photo 4
Beaches on Lammermoor Apartments - Photo 5
Beaches on Lammermoor Apartments - Photo 6
Beaches on Lammermoor Apartments - Photo 7
Beaches on Lammermoor Apartments - Photo 8
Beaches on Lammermoor Apartments - Photo 9
Beaches on Lammermoor Apartments - Photo 10
Beaches on Lammermoor Apartments - Photo 11
Beaches on Lammermoor Apartments - Photo 12
Beaches on Lammermoor Apartments - Photo 13
Beaches on Lammermoor Apartments - Photo 14
Beaches on Lammermoor Apartments - Photo 15
Beaches on Lammermoor Apartments - Photo 16
Beaches on Lammermoor Apartments - Photo 17
Beaches on Lammermoor Apartments - Photo 18
Beaches on Lammermoor Apartments - Photo 19
Beaches on Lammermoor Apartments - Photo 20
Beaches on Lammermoor Apartments - Photo 21
Beaches on Lammermoor Apartments - Photo 22
Beaches on Lammermoor Apartments - Photo 23
Beaches on Lammermoor Apartments - Photo 24
Beaches on Lammermoor Apartments - Photo 25
Beaches on Lammermoor Apartments - Photo 26
Beaches on Lammermoor Apartments - Photo 27
Beaches on Lammermoor Apartments - Photo 28
Beaches on Lammermoor Apartments - Photo 29
Beaches on Lammermoor Apartments - Photo 30
Beaches on Lammermoor Apartments - Photo 31
Beaches on Lammermoor Apartments - Photo 32
Beaches on Lammermoor Apartments - Photo 33
Beaches on Lammermoor Apartments - Photo 34
Beaches on Lammermoor Apartments - Photo 35
Beaches on Lammermoor Apartments - Photo 36
Beaches on Lammermoor Apartments - Photo 37
Beaches on Lammermoor Apartments - Photo 38
Beaches on Lammermoor Apartments - Photo 39
Beaches on Lammermoor Apartments - Photo 40
Beaches on Lammermoor Apartments - Photo 41
Beaches on Lammermoor Apartments - Photo 42
Beaches on Lammermoor Apartments - Photo 43
Beaches on Lammermoor Apartments - Photo 44
Beaches on Lammermoor Apartments - Photo 45
Beaches on Lammermoor Apartments - Photo 46
Beaches on Lammermoor Apartments - Photo 47
Beaches on Lammermoor Apartments - Photo 48
Beaches on Lammermoor Apartments - Photo 49
Beaches on Lammermoor Apartments - Photo 50
Beaches on Lammermoor Apartments - Photo 51
Beaches on Lammermoor Apartments - Photo 52
Beaches on Lammermoor Apartments - Photo 53
Beaches on Lammermoor Apartments - Photo 54
Beaches on Lammermoor Apartments - Photo 55
Beaches on Lammermoor Apartments - Photo 56
Beaches on Lammermoor Apartments - Photo 57
Beaches on Lammermoor Apartments - Photo 58
Beaches on Lammermoor Apartments - Photo 59
Beaches on Lammermoor Apartments - Photo 60
Beaches on Lammermoor Apartments - Photo 61
Beaches on Lammermoor Apartments - Photo 62
Beaches on Lammermoor Apartments - Photo 63
Beaches on Lammermoor Apartments - Photo 64
Beaches on Lammermoor Apartments - Photo 65
Beaches on Lammermoor Apartments - Photo 66
Beaches on Lammermoor Apartments - Photo 67
Beaches on Lammermoor Apartments - Photo 68
Beaches on Lammermoor Apartments - Photo 69

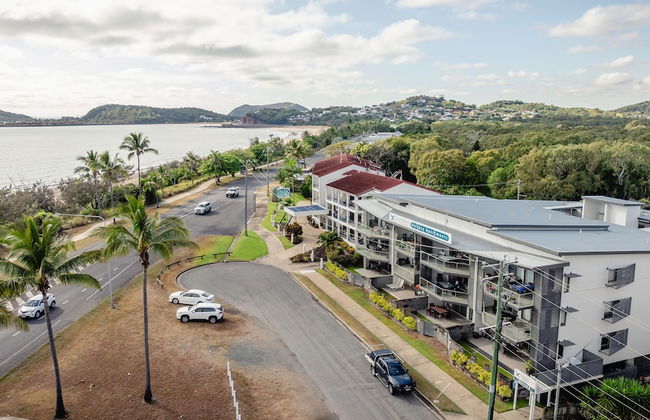
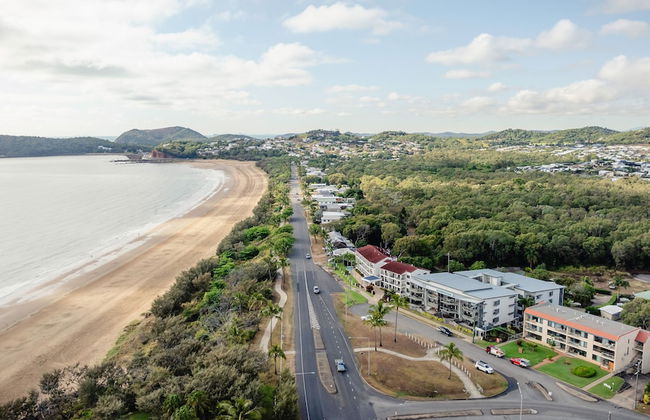
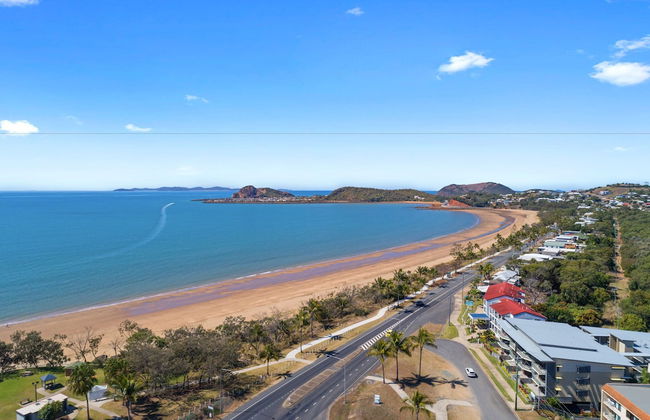
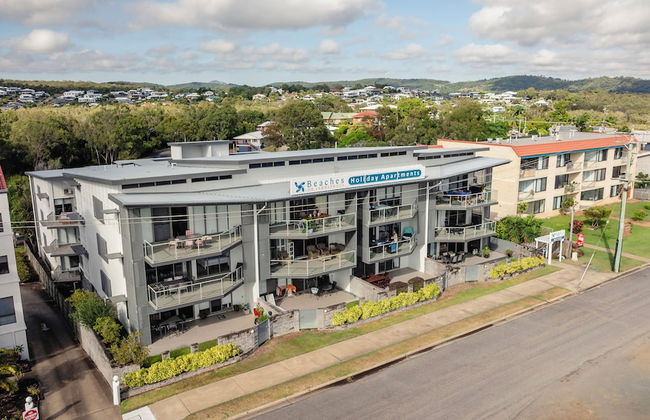
Beaches on Lammermoor Apartments

Yeppoon - Lammermoor - À 3.6 km du centre

  • 7 personnes
  • Air conditionné
  • Le chauffage
  • Terrasse
  • Piscine
  • Parking
  • Ascenseur
  • Balcon
  • Jardin
  • Tv
  • Machine à laver
  • Barbecue
  • Serviettes
  • Feuilles
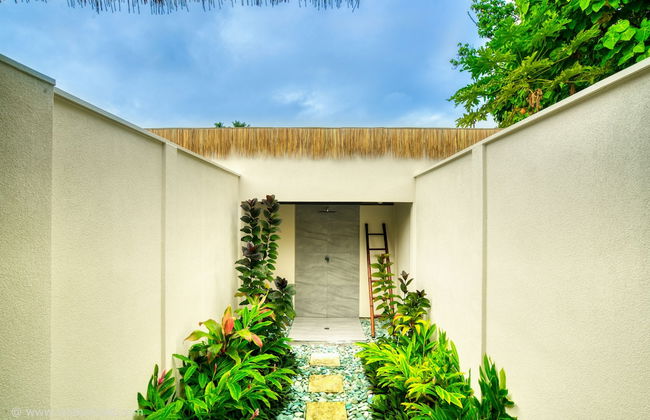
9.4Exceptionnel | 138 avis
Ben Ohau Vista - Photo 1
Ben Ohau Vista - Photo 2
Ben Ohau Vista - Photo 3
Ben Ohau Vista - Photo 4
Ben Ohau Vista - Photo 5
Ben Ohau Vista - Photo 6
Ben Ohau Vista - Photo 7
Ben Ohau Vista - Photo 8

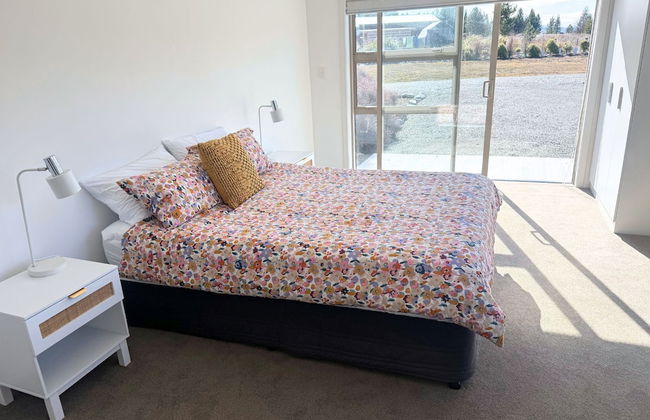
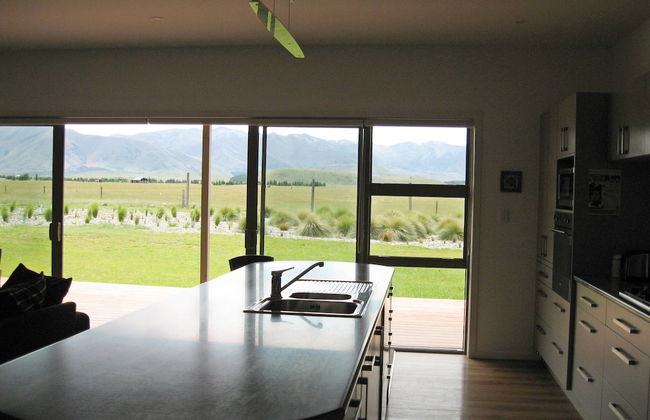
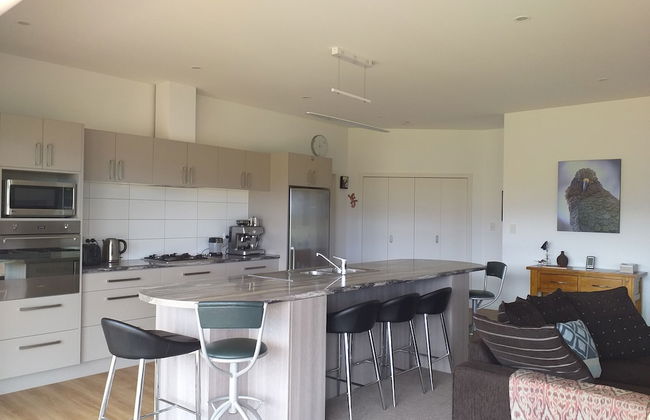
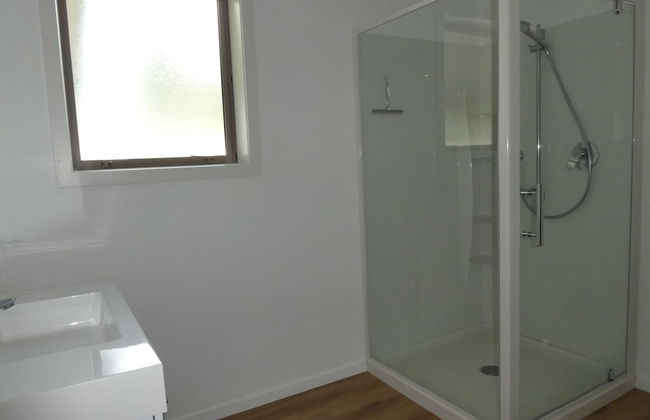
Ben Ohau Vista

Twizel - Twizel - À 1000 m du centre

  • 220 M2
  • 6 personnes
  • Air conditionné
  • Le chauffage
  • Terrasse
  • Parking
  • Jardin
  • Tv
  • Machine à laver
  • Cheminée
  • Barbecue
  • Serviettes
  • Feuilles
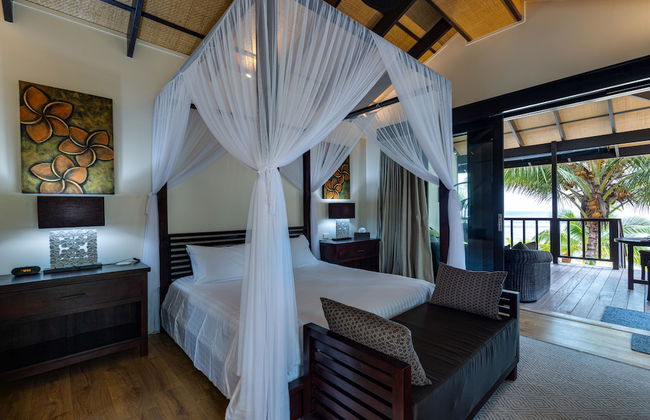
10Magnifique | 12 avis
The Fisherman's Villas - Photo 1
The Fisherman's Villas - Photo 2
The Fisherman's Villas - Photo 3
The Fisherman's Villas - Photo 4
The Fisherman's Villas - Photo 5
The Fisherman's Villas - Photo 6
The Fisherman's Villas - Photo 7
The Fisherman's Villas - Photo 8
The Fisherman's Villas - Photo 9
The Fisherman's Villas - Photo 10
The Fisherman's Villas - Photo 11
The Fisherman's Villas - Photo 12
The Fisherman's Villas - Photo 13
The Fisherman's Villas - Photo 14
The Fisherman's Villas - Photo 15
The Fisherman's Villas - Photo 16
The Fisherman's Villas - Photo 17
The Fisherman's Villas - Photo 18
The Fisherman's Villas - Photo 19
The Fisherman's Villas - Photo 20
The Fisherman's Villas - Photo 21
The Fisherman's Villas - Photo 22
The Fisherman's Villas - Photo 23
The Fisherman's Villas - Photo 24
The Fisherman's Villas - Photo 25
The Fisherman's Villas - Photo 26
The Fisherman's Villas - Photo 27
The Fisherman's Villas - Photo 28
The Fisherman's Villas - Photo 29
The Fisherman's Villas - Photo 30
The Fisherman's Villas - Photo 31
The Fisherman's Villas - Photo 32
The Fisherman's Villas - Photo 33
The Fisherman's Villas - Photo 34
The Fisherman's Villas - Photo 35
The Fisherman's Villas - Photo 36
The Fisherman's Villas - Photo 37
The Fisherman's Villas - Photo 38

The Fisherman's Villas

Ko Pha-Ngan - Ko Tao - À 40.5 km du centre

  • 6 personnes
  • Air conditionné
  • Terrasse
  • Piscine
  • Parking
  • Balcon
  • Tv
  • Barbecue
  • Serviettes
  • Feuilles
9.8Exceptionnel | 11 avis
Krungthep Wing Apartment - Photo 1
Krungthep Wing Apartment - Photo 2
Krungthep Wing Apartment - Photo 3
Krungthep Wing Apartment - Photo 4
Krungthep Wing Apartment - Photo 5
Krungthep Wing Apartment - Photo 6
Krungthep Wing Apartment - Photo 7
Krungthep Wing Apartment - Photo 8
Krungthep Wing Apartment - Photo 9
Krungthep Wing Apartment - Photo 10
Krungthep Wing Apartment - Photo 11
Krungthep Wing Apartment - Photo 12
Krungthep Wing Apartment - Photo 13
Krungthep Wing Apartment - Photo 14
Krungthep Wing Apartment - Photo 15
Krungthep Wing Apartment - Photo 16
Krungthep Wing Apartment - Photo 17
Krungthep Wing Apartment - Photo 18
Krungthep Wing Apartment - Photo 19

Krungthep Wing Apartment

Bang Rak - Bang Rak

  • 82 M2
  • 2 personnes
  • Cuisinette
  • Air conditionné
  • Piscine
  • Parking
  • Ascenseur
  • Balcon
  • Tv
  • Serviettes
  • Feuilles
9.8Exceptionnel | 11 avis
McMillans of Metung Coastal Resort - Photo 1
McMillans of Metung Coastal Resort - Photo 2
McMillans of Metung Coastal Resort - Photo 3
McMillans of Metung Coastal Resort - Photo 4
McMillans of Metung Coastal Resort - Photo 5
McMillans of Metung Coastal Resort - Photo 6
McMillans of Metung Coastal Resort - Photo 7
McMillans of Metung Coastal Resort - Photo 8
McMillans of Metung Coastal Resort - Photo 9
McMillans of Metung Coastal Resort - Photo 10
McMillans of Metung Coastal Resort - Photo 11
McMillans of Metung Coastal Resort - Photo 12
McMillans of Metung Coastal Resort - Photo 13
McMillans of Metung Coastal Resort - Photo 14
McMillans of Metung Coastal Resort - Photo 15
McMillans of Metung Coastal Resort - Photo 16
McMillans of Metung Coastal Resort - Photo 17
McMillans of Metung Coastal Resort - Photo 18
McMillans of Metung Coastal Resort - Photo 19
McMillans of Metung Coastal Resort - Photo 20
McMillans of Metung Coastal Resort - Photo 21
McMillans of Metung Coastal Resort - Photo 22
McMillans of Metung Coastal Resort - Photo 23
McMillans of Metung Coastal Resort - Photo 24
McMillans of Metung Coastal Resort - Photo 25
McMillans of Metung Coastal Resort - Photo 26
McMillans of Metung Coastal Resort - Photo 27
McMillans of Metung Coastal Resort - Photo 28
McMillans of Metung Coastal Resort - Photo 29
McMillans of Metung Coastal Resort - Photo 30
McMillans of Metung Coastal Resort - Photo 31
McMillans of Metung Coastal Resort - Photo 32
McMillans of Metung Coastal Resort - Photo 33
McMillans of Metung Coastal Resort - Photo 34
McMillans of Metung Coastal Resort - Photo 35
McMillans of Metung Coastal Resort - Photo 36
McMillans of Metung Coastal Resort - Photo 37
McMillans of Metung Coastal Resort - Photo 38
McMillans of Metung Coastal Resort - Photo 39
McMillans of Metung Coastal Resort - Photo 40
McMillans of Metung Coastal Resort - Photo 41
McMillans of Metung Coastal Resort - Photo 42
McMillans of Metung Coastal Resort - Photo 43
McMillans of Metung Coastal Resort - Photo 44
McMillans of Metung Coastal Resort - Photo 45
McMillans of Metung Coastal Resort - Photo 46
McMillans of Metung Coastal Resort - Photo 47
McMillans of Metung Coastal Resort - Photo 48
McMillans of Metung Coastal Resort - Photo 49
McMillans of Metung Coastal Resort - Photo 50
McMillans of Metung Coastal Resort - Photo 51
McMillans of Metung Coastal Resort - Photo 52
McMillans of Metung Coastal Resort - Photo 53
McMillans of Metung Coastal Resort - Photo 54
McMillans of Metung Coastal Resort - Photo 55
McMillans of Metung Coastal Resort - Photo 56
McMillans of Metung Coastal Resort - Photo 57
McMillans of Metung Coastal Resort - Photo 58
McMillans of Metung Coastal Resort - Photo 59
McMillans of Metung Coastal Resort - Photo 60
McMillans of Metung Coastal Resort - Photo 61
McMillans of Metung Coastal Resort - Photo 62
McMillans of Metung Coastal Resort - Photo 63
McMillans of Metung Coastal Resort - Photo 64
McMillans of Metung Coastal Resort - Photo 65
McMillans of Metung Coastal Resort - Photo 66
McMillans of Metung Coastal Resort - Photo 67
McMillans of Metung Coastal Resort - Photo 68
McMillans of Metung Coastal Resort - Photo 69
McMillans of Metung Coastal Resort - Photo 70
McMillans of Metung Coastal Resort - Photo 71
McMillans of Metung Coastal Resort - Photo 72
McMillans of Metung Coastal Resort - Photo 73
McMillans of Metung Coastal Resort - Photo 74
McMillans of Metung Coastal Resort - Photo 75
McMillans of Metung Coastal Resort - Photo 76
McMillans of Metung Coastal Resort - Photo 77
McMillans of Metung Coastal Resort - Photo 78
McMillans of Metung Coastal Resort - Photo 79
McMillans of Metung Coastal Resort - Photo 80

McMillans of Metung Coastal Resort

Metung - Metung - À 610 m du centre

  • 139 M2
  • 10 personnes
  • Air conditionné
  • Le chauffage
  • Terrasse
  • Piscine
  • Parking
  • Jardin
  • Tv
  • Machine à laver
  • Barbecue
  • Serviettes
  • Feuilles
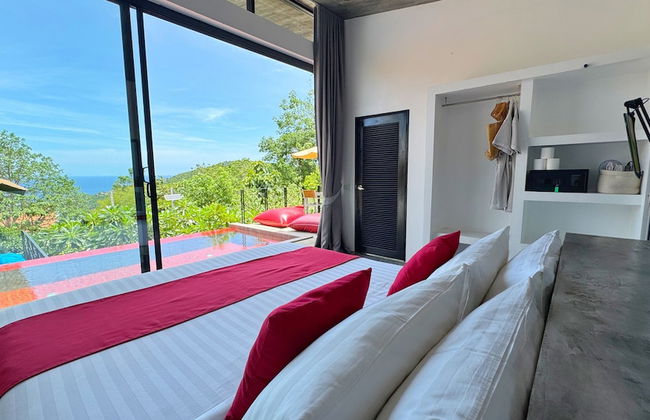
9.6Exceptionnel | 50 avis
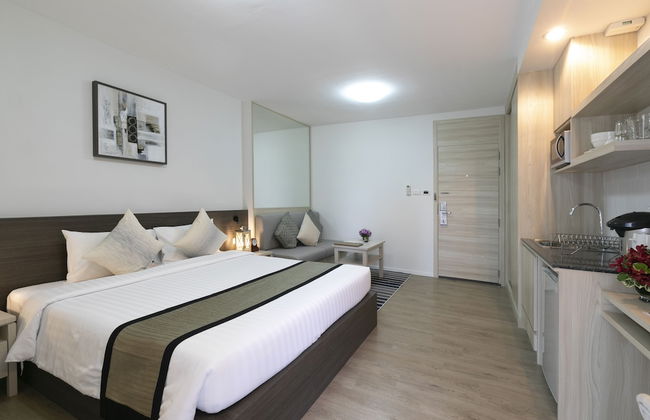
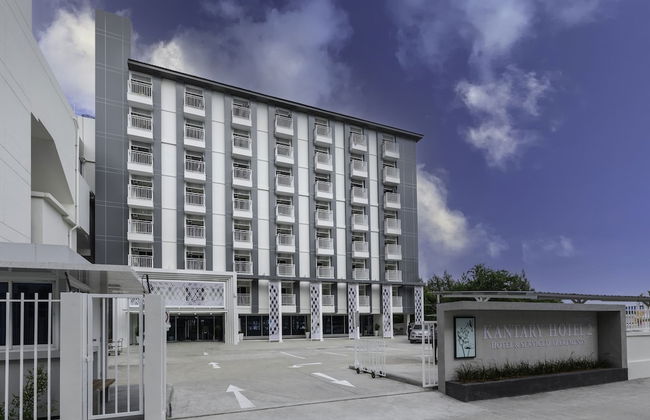
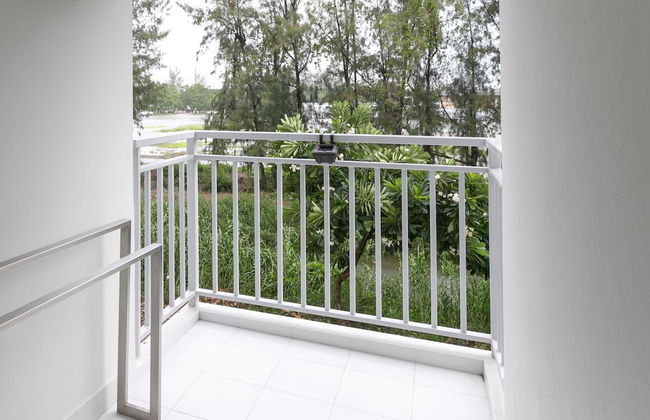
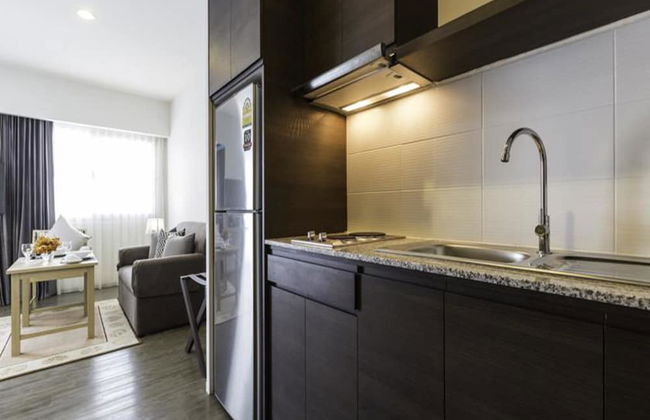
Kantary Hotel & Serviced Apartments Amata, Bangpakong - Photo 1
Kantary Hotel & Serviced Apartments Amata, Bangpakong - Photo 2
Kantary Hotel & Serviced Apartments Amata, Bangpakong - Photo 3
Kantary Hotel & Serviced Apartments Amata, Bangpakong - Photo 4
Kantary Hotel & Serviced Apartments Amata, Bangpakong - Photo 5
Kantary Hotel & Serviced Apartments Amata, Bangpakong - Photo 6
Kantary Hotel & Serviced Apartments Amata, Bangpakong - Photo 7
Kantary Hotel & Serviced Apartments Amata, Bangpakong - Photo 8
Kantary Hotel & Serviced Apartments Amata, Bangpakong - Photo 9
Kantary Hotel & Serviced Apartments Amata, Bangpakong - Photo 10
Kantary Hotel & Serviced Apartments Amata, Bangpakong - Photo 11
Kantary Hotel & Serviced Apartments Amata, Bangpakong - Photo 12
Kantary Hotel & Serviced Apartments Amata, Bangpakong - Photo 13
Kantary Hotel & Serviced Apartments Amata, Bangpakong - Photo 14
Kantary Hotel & Serviced Apartments Amata, Bangpakong - Photo 15
Kantary Hotel & Serviced Apartments Amata, Bangpakong - Photo 16
Kantary Hotel & Serviced Apartments Amata, Bangpakong - Photo 17
Kantary Hotel & Serviced Apartments Amata, Bangpakong - Photo 18
Kantary Hotel & Serviced Apartments Amata, Bangpakong - Photo 19
Kantary Hotel & Serviced Apartments Amata, Bangpakong - Photo 20
Kantary Hotel & Serviced Apartments Amata, Bangpakong - Photo 21
Kantary Hotel & Serviced Apartments Amata, Bangpakong - Photo 22
Kantary Hotel & Serviced Apartments Amata, Bangpakong - Photo 23
Kantary Hotel & Serviced Apartments Amata, Bangpakong - Photo 24
Kantary Hotel & Serviced Apartments Amata, Bangpakong - Photo 25
Kantary Hotel & Serviced Apartments Amata, Bangpakong - Photo 26
Kantary Hotel & Serviced Apartments Amata, Bangpakong - Photo 27
Kantary Hotel & Serviced Apartments Amata, Bangpakong - Photo 28
Kantary Hotel & Serviced Apartments Amata, Bangpakong - Photo 29
Kantary Hotel & Serviced Apartments Amata, Bangpakong - Photo 30
Kantary Hotel & Serviced Apartments Amata, Bangpakong - Photo 31
Kantary Hotel & Serviced Apartments Amata, Bangpakong - Photo 32
Kantary Hotel & Serviced Apartments Amata, Bangpakong - Photo 33
Kantary Hotel & Serviced Apartments Amata, Bangpakong - Photo 34
Kantary Hotel & Serviced Apartments Amata, Bangpakong - Photo 35
Kantary Hotel & Serviced Apartments Amata, Bangpakong - Photo 36
Kantary Hotel & Serviced Apartments Amata, Bangpakong - Photo 37
Kantary Hotel & Serviced Apartments Amata, Bangpakong - Photo 38
Kantary Hotel & Serviced Apartments Amata, Bangpakong - Photo 39
Kantary Hotel & Serviced Apartments Amata, Bangpakong - Photo 40

Kantary Hotel & Serviced Apartments Amata, Bangpakong

Chon Buri - Khlong Tamru - À 8.1 km du centre

  • 42 M2
  • 3 personnes
  • Cuisinette
  • Air conditionné
  • Terrasse
  • Piscine
  • Parking
  • Ascenseur
  • Balcon
  • Jardin
  • Tv
  • Serviettes
9.4Exceptionnel | 99 avis
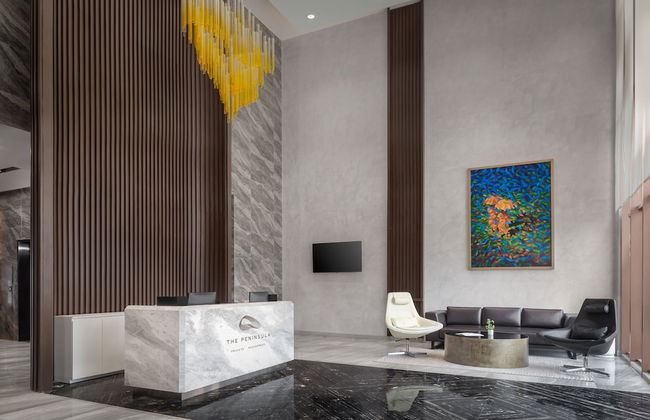
THE PENINSULA PHNOM PENH - Photo 1
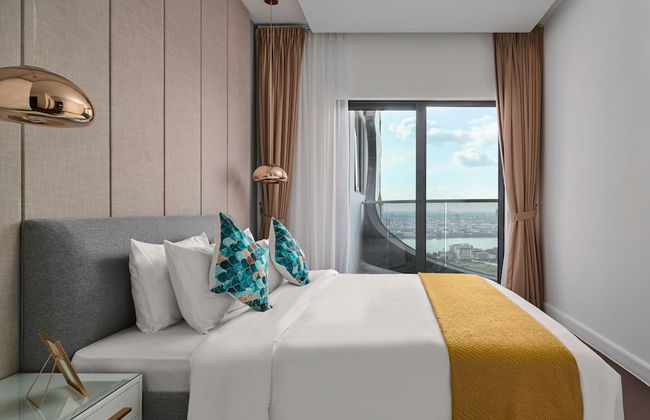
THE PENINSULA PHNOM PENH - Photo 2
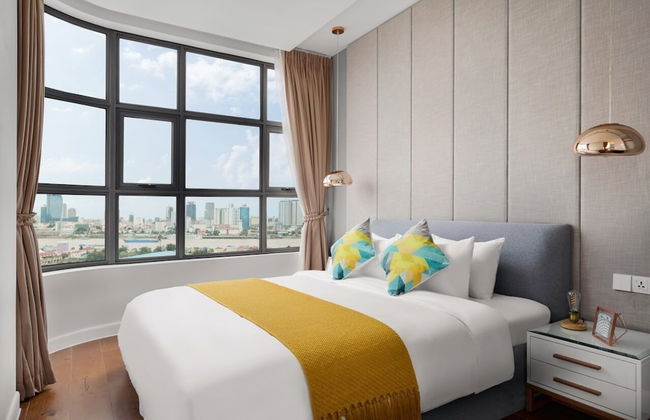
THE PENINSULA PHNOM PENH - Photo 3
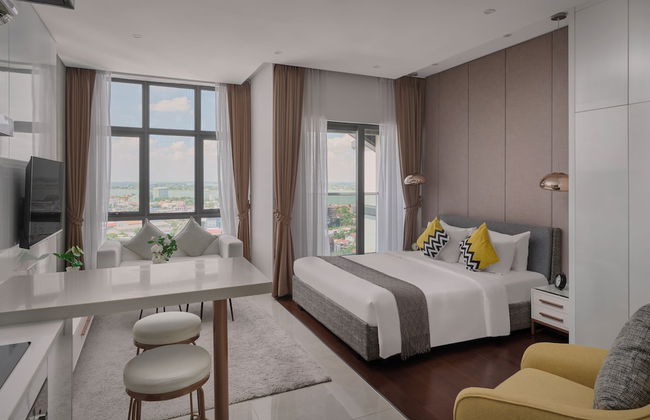
THE PENINSULA PHNOM PENH - Photo 4
THE PENINSULA PHNOM PENH - Photo 5
THE PENINSULA PHNOM PENH - Photo 6
THE PENINSULA PHNOM PENH - Photo 7
THE PENINSULA PHNOM PENH - Photo 8
THE PENINSULA PHNOM PENH - Photo 9
THE PENINSULA PHNOM PENH - Photo 10
THE PENINSULA PHNOM PENH - Photo 11
THE PENINSULA PHNOM PENH - Photo 12
THE PENINSULA PHNOM PENH - Photo 13
THE PENINSULA PHNOM PENH - Photo 14
THE PENINSULA PHNOM PENH - Photo 15
THE PENINSULA PHNOM PENH - Photo 16
THE PENINSULA PHNOM PENH - Photo 17
THE PENINSULA PHNOM PENH - Photo 18
THE PENINSULA PHNOM PENH - Photo 19
THE PENINSULA PHNOM PENH - Photo 20
THE PENINSULA PHNOM PENH - Photo 21
THE PENINSULA PHNOM PENH - Photo 22
THE PENINSULA PHNOM PENH - Photo 23
THE PENINSULA PHNOM PENH - Photo 24
THE PENINSULA PHNOM PENH - Photo 25
THE PENINSULA PHNOM PENH - Photo 26
THE PENINSULA PHNOM PENH - Photo 27
THE PENINSULA PHNOM PENH - Photo 28
THE PENINSULA PHNOM PENH - Photo 29
THE PENINSULA PHNOM PENH - Photo 30
THE PENINSULA PHNOM PENH - Photo 31
THE PENINSULA PHNOM PENH - Photo 32
THE PENINSULA PHNOM PENH - Photo 33
THE PENINSULA PHNOM PENH - Photo 34
THE PENINSULA PHNOM PENH - Photo 35
THE PENINSULA PHNOM PENH - Photo 36
THE PENINSULA PHNOM PENH - Photo 37
THE PENINSULA PHNOM PENH - Photo 38
THE PENINSULA PHNOM PENH - Photo 39
THE PENINSULA PHNOM PENH - Photo 40
THE PENINSULA PHNOM PENH - Photo 41
THE PENINSULA PHNOM PENH - Photo 42
THE PENINSULA PHNOM PENH - Photo 43
THE PENINSULA PHNOM PENH - Photo 44
THE PENINSULA PHNOM PENH - Photo 45
THE PENINSULA PHNOM PENH - Photo 46
THE PENINSULA PHNOM PENH - Photo 47
THE PENINSULA PHNOM PENH - Photo 48
THE PENINSULA PHNOM PENH - Photo 49
THE PENINSULA PHNOM PENH - Photo 50
THE PENINSULA PHNOM PENH - Photo 51
THE PENINSULA PHNOM PENH - Photo 52
THE PENINSULA PHNOM PENH - Photo 53
THE PENINSULA PHNOM PENH - Photo 54
THE PENINSULA PHNOM PENH - Photo 55
THE PENINSULA PHNOM PENH - Photo 56
THE PENINSULA PHNOM PENH - Photo 57
THE PENINSULA PHNOM PENH - Photo 58
THE PENINSULA PHNOM PENH - Photo 59
THE PENINSULA PHNOM PENH - Photo 60
THE PENINSULA PHNOM PENH - Photo 61
THE PENINSULA PHNOM PENH - Photo 62
THE PENINSULA PHNOM PENH - Photo 63
THE PENINSULA PHNOM PENH - Photo 64
THE PENINSULA PHNOM PENH - Photo 65
THE PENINSULA PHNOM PENH - Photo 66
THE PENINSULA PHNOM PENH - Photo 67

THE PENINSULA PHNOM PENH

Phnom Penh - Chraoy Chongvar - À 6.5 km du centre

  • 92 M2
  • 9 personnes
  • Cuisinette
  • Air conditionné
  • Terrasse
  • Piscine
  • Parking
  • Ascenseur
  • Jardin
  • Tv
  • Machine à laver
  • Serviettes
  • Feuilles
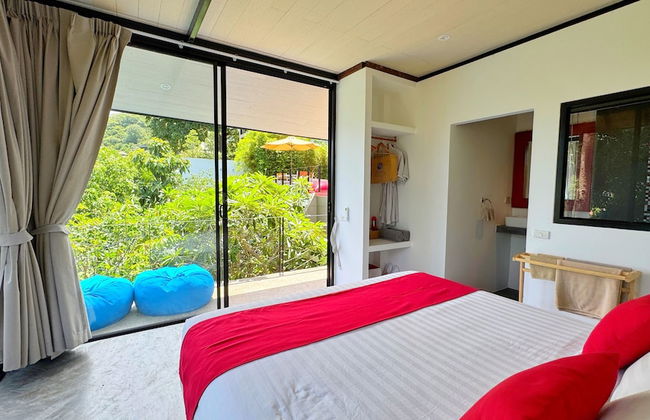
9.4Exceptionnel | 103 avis
The Mirage Alexandra Headland - Photo 1
The Mirage Alexandra Headland - Photo 2
The Mirage Alexandra Headland - Photo 3
The Mirage Alexandra Headland - Photo 4
The Mirage Alexandra Headland - Photo 5
The Mirage Alexandra Headland - Photo 6
The Mirage Alexandra Headland - Photo 7
The Mirage Alexandra Headland - Photo 8
The Mirage Alexandra Headland - Photo 9
The Mirage Alexandra Headland - Photo 10
The Mirage Alexandra Headland - Photo 11
The Mirage Alexandra Headland - Photo 12
The Mirage Alexandra Headland - Photo 13
The Mirage Alexandra Headland - Photo 14
The Mirage Alexandra Headland - Photo 15
The Mirage Alexandra Headland - Photo 16
The Mirage Alexandra Headland - Photo 17
The Mirage Alexandra Headland - Photo 18
The Mirage Alexandra Headland - Photo 19
The Mirage Alexandra Headland - Photo 20
The Mirage Alexandra Headland - Photo 21
The Mirage Alexandra Headland - Photo 22
The Mirage Alexandra Headland - Photo 23
The Mirage Alexandra Headland - Photo 24
The Mirage Alexandra Headland - Photo 25
The Mirage Alexandra Headland - Photo 26
The Mirage Alexandra Headland - Photo 27
The Mirage Alexandra Headland - Photo 28
The Mirage Alexandra Headland - Photo 29
The Mirage Alexandra Headland - Photo 30
The Mirage Alexandra Headland - Photo 31
The Mirage Alexandra Headland - Photo 32
The Mirage Alexandra Headland - Photo 33
The Mirage Alexandra Headland - Photo 34
The Mirage Alexandra Headland - Photo 35
The Mirage Alexandra Headland - Photo 36
The Mirage Alexandra Headland - Photo 37
The Mirage Alexandra Headland - Photo 38
The Mirage Alexandra Headland - Photo 39
The Mirage Alexandra Headland - Photo 40
The Mirage Alexandra Headland - Photo 41
The Mirage Alexandra Headland - Photo 42
The Mirage Alexandra Headland - Photo 43
The Mirage Alexandra Headland - Photo 44
The Mirage Alexandra Headland - Photo 45
The Mirage Alexandra Headland - Photo 46
The Mirage Alexandra Headland - Photo 47
The Mirage Alexandra Headland - Photo 48
The Mirage Alexandra Headland - Photo 49
The Mirage Alexandra Headland - Photo 50
The Mirage Alexandra Headland - Photo 51
The Mirage Alexandra Headland - Photo 52
The Mirage Alexandra Headland - Photo 53
The Mirage Alexandra Headland - Photo 54
The Mirage Alexandra Headland - Photo 55
The Mirage Alexandra Headland - Photo 56
The Mirage Alexandra Headland - Photo 57
The Mirage Alexandra Headland - Photo 58
The Mirage Alexandra Headland - Photo 59
The Mirage Alexandra Headland - Photo 60
The Mirage Alexandra Headland - Photo 61
The Mirage Alexandra Headland - Photo 62
The Mirage Alexandra Headland - Photo 63
The Mirage Alexandra Headland - Photo 64
The Mirage Alexandra Headland - Photo 65
The Mirage Alexandra Headland - Photo 66
The Mirage Alexandra Headland - Photo 67
The Mirage Alexandra Headland - Photo 68
The Mirage Alexandra Headland - Photo 69
The Mirage Alexandra Headland - Photo 70
The Mirage Alexandra Headland - Photo 71

The Mirage Alexandra Headland

Sunshine Coast - Alexandra Headland - À 3.7 km du centre

  • 170 M2
  • 7 personnes
  • Air conditionné
  • Le chauffage
  • Terrasse
  • Piscine
  • Parking
  • Ascenseur
  • Balcon
  • Jardin
  • Tv
  • Machine à laver
  • Barbecue
  • Serviettes
  • Feuilles
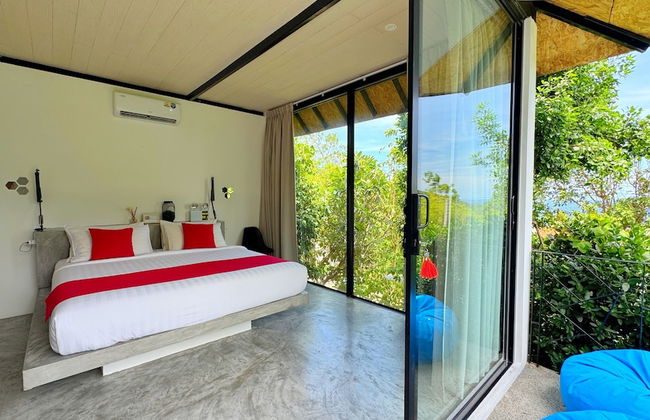
9.2Exceptionnel | 514 avis
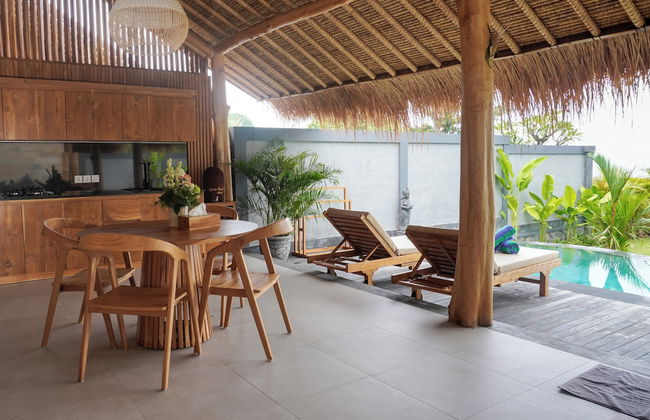
Ayunan Beach Villas Amed - Photo 1
Ayunan Beach Villas Amed - Photo 2
Ayunan Beach Villas Amed - Photo 3
Ayunan Beach Villas Amed - Photo 4
Ayunan Beach Villas Amed - Photo 5
Ayunan Beach Villas Amed - Photo 6
Ayunan Beach Villas Amed - Photo 7
Ayunan Beach Villas Amed - Photo 8
Ayunan Beach Villas Amed - Photo 9
Ayunan Beach Villas Amed - Photo 10
Ayunan Beach Villas Amed - Photo 11
Ayunan Beach Villas Amed - Photo 12
Ayunan Beach Villas Amed - Photo 13
Ayunan Beach Villas Amed - Photo 14
Ayunan Beach Villas Amed - Photo 15
Ayunan Beach Villas Amed - Photo 16
Ayunan Beach Villas Amed - Photo 17
Ayunan Beach Villas Amed - Photo 18
Ayunan Beach Villas Amed - Photo 19
Ayunan Beach Villas Amed - Photo 20
Ayunan Beach Villas Amed - Photo 21
Ayunan Beach Villas Amed - Photo 22
Ayunan Beach Villas Amed - Photo 23
Ayunan Beach Villas Amed - Photo 24
Ayunan Beach Villas Amed - Photo 25
Ayunan Beach Villas Amed - Photo 26
Ayunan Beach Villas Amed - Photo 27
Ayunan Beach Villas Amed - Photo 28
Ayunan Beach Villas Amed - Photo 29
Ayunan Beach Villas Amed - Photo 30
Ayunan Beach Villas Amed - Photo 31
Ayunan Beach Villas Amed - Photo 32
Ayunan Beach Villas Amed - Photo 33
Ayunan Beach Villas Amed - Photo 34
Ayunan Beach Villas Amed - Photo 35
Ayunan Beach Villas Amed - Photo 36
Ayunan Beach Villas Amed - Photo 37
Ayunan Beach Villas Amed - Photo 38
Ayunan Beach Villas Amed - Photo 39
Ayunan Beach Villas Amed - Photo 40
Ayunan Beach Villas Amed - Photo 41
Ayunan Beach Villas Amed - Photo 42
Ayunan Beach Villas Amed - Photo 43
Ayunan Beach Villas Amed - Photo 44
Ayunan Beach Villas Amed - Photo 45
Ayunan Beach Villas Amed - Photo 46
Ayunan Beach Villas Amed - Photo 47

Ayunan Beach Villas Amed

Karangasem - Abang - À 13.1 km du centre

  • 39 M2
  • 4 personnes
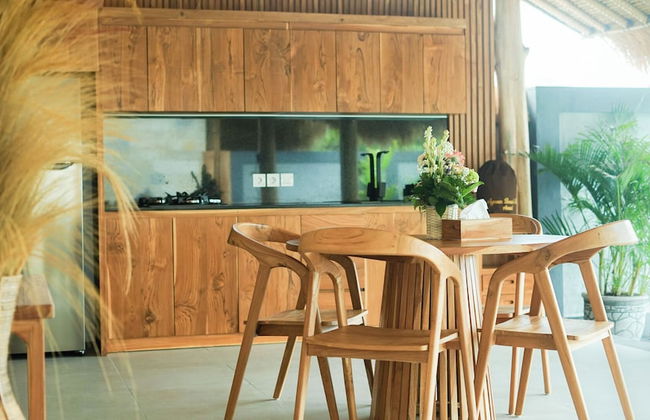
  • Cuisinette
  • Air conditionné
  • Piscine
  • Parking
  • Serviettes
  • Feuilles
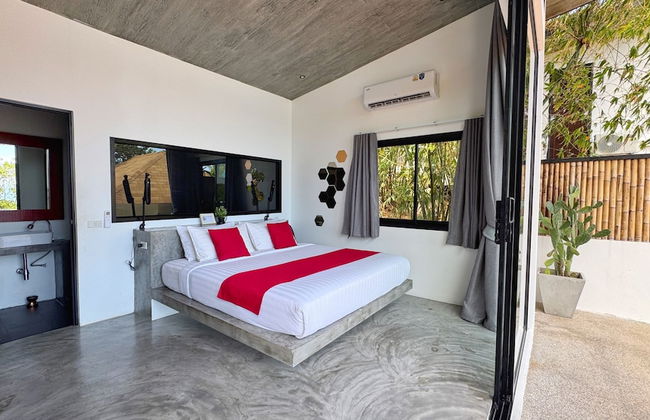
10Magnifique | 14 avis
Rocky Hills Retreat - Photo 1
Rocky Hills Retreat - Photo 2
Rocky Hills Retreat - Photo 3
Rocky Hills Retreat - Photo 4
Rocky Hills Retreat - Photo 5
Rocky Hills Retreat - Photo 6
Rocky Hills Retreat - Photo 7
Rocky Hills Retreat - Photo 8
Rocky Hills Retreat - Photo 9
Rocky Hills Retreat - Photo 10
Rocky Hills Retreat - Photo 11
Rocky Hills Retreat - Photo 12
Rocky Hills Retreat - Photo 13
Rocky Hills Retreat - Photo 14

Rocky Hills Retreat

Rocky Hills - Rocky Hills

  • 15 M2
  • 2 personnes
  • Le chauffage
  • Terrasse
  • Balcon
  • Jardin
  • Tv
  • Cheminée
  • Barbecue
  • Serviettes
10Magnifique | 25 avis
The Ocean Resort by Fusion Quy Nhon - Photo 1
The Ocean Resort by Fusion Quy Nhon - Photo 2
The Ocean Resort by Fusion Quy Nhon - Photo 3
The Ocean Resort by Fusion Quy Nhon - Photo 4
The Ocean Resort by Fusion Quy Nhon - Photo 5
The Ocean Resort by Fusion Quy Nhon - Photo 6
The Ocean Resort by Fusion Quy Nhon - Photo 7
The Ocean Resort by Fusion Quy Nhon - Photo 8
The Ocean Resort by Fusion Quy Nhon - Photo 9
The Ocean Resort by Fusion Quy Nhon - Photo 10
The Ocean Resort by Fusion Quy Nhon - Photo 11
The Ocean Resort by Fusion Quy Nhon - Photo 12
The Ocean Resort by Fusion Quy Nhon - Photo 13
The Ocean Resort by Fusion Quy Nhon - Photo 14
The Ocean Resort by Fusion Quy Nhon - Photo 15
The Ocean Resort by Fusion Quy Nhon - Photo 16
The Ocean Resort by Fusion Quy Nhon - Photo 17
The Ocean Resort by Fusion Quy Nhon - Photo 18
The Ocean Resort by Fusion Quy Nhon - Photo 19
The Ocean Resort by Fusion Quy Nhon - Photo 20
The Ocean Resort by Fusion Quy Nhon - Photo 21
The Ocean Resort by Fusion Quy Nhon - Photo 22
The Ocean Resort by Fusion Quy Nhon - Photo 23
The Ocean Resort by Fusion Quy Nhon - Photo 24
The Ocean Resort by Fusion Quy Nhon - Photo 25
The Ocean Resort by Fusion Quy Nhon - Photo 26
The Ocean Resort by Fusion Quy Nhon - Photo 27
The Ocean Resort by Fusion Quy Nhon - Photo 28
The Ocean Resort by Fusion Quy Nhon - Photo 29
The Ocean Resort by Fusion Quy Nhon - Photo 30
The Ocean Resort by Fusion Quy Nhon - Photo 31
The Ocean Resort by Fusion Quy Nhon - Photo 32
The Ocean Resort by Fusion Quy Nhon - Photo 33
The Ocean Resort by Fusion Quy Nhon - Photo 34
The Ocean Resort by Fusion Quy Nhon - Photo 35
The Ocean Resort by Fusion Quy Nhon - Photo 36
The Ocean Resort by Fusion Quy Nhon - Photo 37
The Ocean Resort by Fusion Quy Nhon - Photo 38
The Ocean Resort by Fusion Quy Nhon - Photo 39
The Ocean Resort by Fusion Quy Nhon - Photo 40
The Ocean Resort by Fusion Quy Nhon - Photo 41
The Ocean Resort by Fusion Quy Nhon - Photo 42
The Ocean Resort by Fusion Quy Nhon - Photo 43
The Ocean Resort by Fusion Quy Nhon - Photo 44
The Ocean Resort by Fusion Quy Nhon - Photo 45
The Ocean Resort by Fusion Quy Nhon - Photo 46
The Ocean Resort by Fusion Quy Nhon - Photo 47
The Ocean Resort by Fusion Quy Nhon - Photo 48
The Ocean Resort by Fusion Quy Nhon - Photo 49
The Ocean Resort by Fusion Quy Nhon - Photo 50
The Ocean Resort by Fusion Quy Nhon - Photo 51
The Ocean Resort by Fusion Quy Nhon - Photo 52
The Ocean Resort by Fusion Quy Nhon - Photo 53
The Ocean Resort by Fusion Quy Nhon - Photo 54
The Ocean Resort by Fusion Quy Nhon - Photo 55
The Ocean Resort by Fusion Quy Nhon - Photo 56
The Ocean Resort by Fusion Quy Nhon - Photo 57
The Ocean Resort by Fusion Quy Nhon - Photo 58
The Ocean Resort by Fusion Quy Nhon - Photo 59
The Ocean Resort by Fusion Quy Nhon - Photo 60
The Ocean Resort by Fusion Quy Nhon - Photo 61
The Ocean Resort by Fusion Quy Nhon - Photo 62
The Ocean Resort by Fusion Quy Nhon - Photo 63
The Ocean Resort by Fusion Quy Nhon - Photo 64
The Ocean Resort by Fusion Quy Nhon - Photo 65
The Ocean Resort by Fusion Quy Nhon - Photo 66
The Ocean Resort by Fusion Quy Nhon - Photo 67
The Ocean Resort by Fusion Quy Nhon - Photo 68
The Ocean Resort by Fusion Quy Nhon - Photo 69
The Ocean Resort by Fusion Quy Nhon - Photo 70
The Ocean Resort by Fusion Quy Nhon - Photo 71
The Ocean Resort by Fusion Quy Nhon - Photo 72
The Ocean Resort by Fusion Quy Nhon - Photo 73
The Ocean Resort by Fusion Quy Nhon - Photo 74
The Ocean Resort by Fusion Quy Nhon - Photo 75
The Ocean Resort by Fusion Quy Nhon - Photo 76
The Ocean Resort by Fusion Quy Nhon - Photo 77
The Ocean Resort by Fusion Quy Nhon - Photo 78
The Ocean Resort by Fusion Quy Nhon - Photo 79
The Ocean Resort by Fusion Quy Nhon - Photo 80

The Ocean Resort by Fusion Quy Nhon

Huyen Phu Cat - Xa Cat Chanh - À 23.1 km du centre

  • 336 M2
  • 12 personnes
  • Air conditionné
  • Piscine
  • Parking
  • Tv
  • Machine à laver
  • Cheminée
  • Serviettes
  • Feuilles
10Magnifique | 12 avis
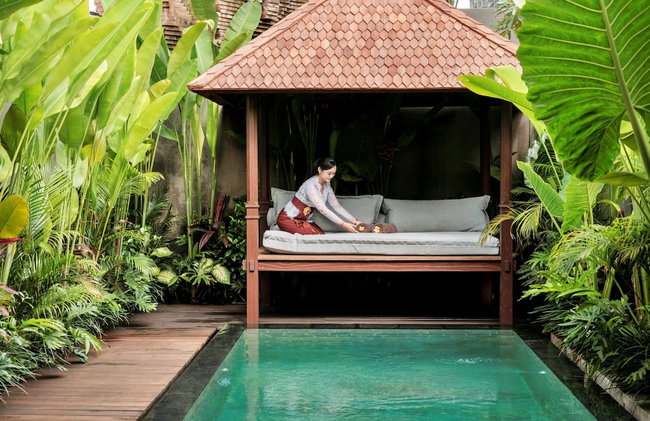
Mayaloka Villas Ubud - Photo 1
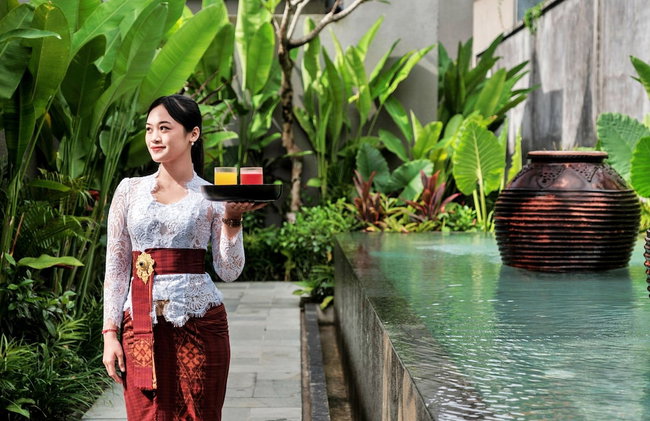
Mayaloka Villas Ubud - Photo 2
Mayaloka Villas Ubud - Photo 3
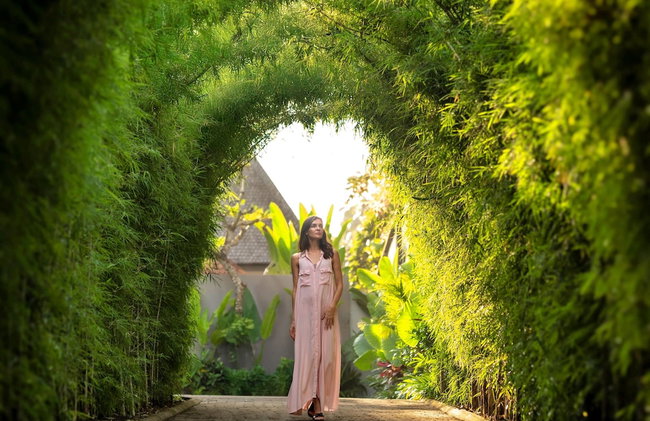
Mayaloka Villas Ubud - Photo 4
Mayaloka Villas Ubud - Photo 5
Mayaloka Villas Ubud - Photo 6
Mayaloka Villas Ubud - Photo 7
Mayaloka Villas Ubud - Photo 8
Mayaloka Villas Ubud - Photo 9
Mayaloka Villas Ubud - Photo 10
Mayaloka Villas Ubud - Photo 11
Mayaloka Villas Ubud - Photo 12
Mayaloka Villas Ubud - Photo 13
Mayaloka Villas Ubud - Photo 14
Mayaloka Villas Ubud - Photo 15
Mayaloka Villas Ubud - Photo 16
Mayaloka Villas Ubud - Photo 17
Mayaloka Villas Ubud - Photo 18
Mayaloka Villas Ubud - Photo 19
Mayaloka Villas Ubud - Photo 20
Mayaloka Villas Ubud - Photo 21
Mayaloka Villas Ubud - Photo 22
Mayaloka Villas Ubud - Photo 23
Mayaloka Villas Ubud - Photo 24
Mayaloka Villas Ubud - Photo 25
Mayaloka Villas Ubud - Photo 26
Mayaloka Villas Ubud - Photo 27
Mayaloka Villas Ubud - Photo 28
Mayaloka Villas Ubud - Photo 29
Mayaloka Villas Ubud - Photo 30
Mayaloka Villas Ubud - Photo 31
Mayaloka Villas Ubud - Photo 32
Mayaloka Villas Ubud - Photo 33
Mayaloka Villas Ubud - Photo 34
Mayaloka Villas Ubud - Photo 35
Mayaloka Villas Ubud - Photo 36
Mayaloka Villas Ubud - Photo 37
Mayaloka Villas Ubud - Photo 38
Mayaloka Villas Ubud - Photo 39
Mayaloka Villas Ubud - Photo 40
Mayaloka Villas Ubud - Photo 41
Mayaloka Villas Ubud - Photo 42
Mayaloka Villas Ubud - Photo 43
Mayaloka Villas Ubud - Photo 44
Mayaloka Villas Ubud - Photo 45
Mayaloka Villas Ubud - Photo 46
Mayaloka Villas Ubud - Photo 47
Mayaloka Villas Ubud - Photo 48
Mayaloka Villas Ubud - Photo 49

Mayaloka Villas Ubud

Gianyar - Ubud - À 7.6 km du centre

  • 100 M2
  • 2 personnes
  • Air conditionné
  • Piscine
  • Parking
  • Jardin
  • Tv
  • Serviettes
  • Feuilles
10Magnifique | 12 avis
Mistinthegumtrees Eco Luxury Cabins - Photo 1
Mistinthegumtrees Eco Luxury Cabins - Photo 2
Mistinthegumtrees Eco Luxury Cabins - Photo 3
Mistinthegumtrees Eco Luxury Cabins - Photo 4
Mistinthegumtrees Eco Luxury Cabins - Photo 5
Mistinthegumtrees Eco Luxury Cabins - Photo 6
Mistinthegumtrees Eco Luxury Cabins - Photo 7
Mistinthegumtrees Eco Luxury Cabins - Photo 8
Mistinthegumtrees Eco Luxury Cabins - Photo 9
Mistinthegumtrees Eco Luxury Cabins - Photo 10
Mistinthegumtrees Eco Luxury Cabins - Photo 11
Mistinthegumtrees Eco Luxury Cabins - Photo 12
Mistinthegumtrees Eco Luxury Cabins - Photo 13
Mistinthegumtrees Eco Luxury Cabins - Photo 14
Mistinthegumtrees Eco Luxury Cabins - Photo 15
Mistinthegumtrees Eco Luxury Cabins - Photo 16
Mistinthegumtrees Eco Luxury Cabins - Photo 17

Mistinthegumtrees Eco Luxury Cabins

Cooranbong - Cooranbong - À 4.2 km du centre

  • 100 M2
  • 11 personnes
  • Air conditionné
  • Le chauffage
  • Terrasse
  • Piscine
  • Parking
  • Jardin
  • Tv
  • Machine à laver
  • Barbecue
  • Serviettes
  • Feuilles
9.8Exceptionnel | 18 avis
Rarotonga Daydreamer Escape - Photo 1
Rarotonga Daydreamer Escape - Photo 2
Rarotonga Daydreamer Escape - Photo 3
Rarotonga Daydreamer Escape - Photo 4
Rarotonga Daydreamer Escape - Photo 5
Rarotonga Daydreamer Escape - Photo 6
Rarotonga Daydreamer Escape - Photo 7
Rarotonga Daydreamer Escape - Photo 8
Rarotonga Daydreamer Escape - Photo 9
Rarotonga Daydreamer Escape - Photo 10
Rarotonga Daydreamer Escape - Photo 11
Rarotonga Daydreamer Escape - Photo 12
Rarotonga Daydreamer Escape - Photo 13
Rarotonga Daydreamer Escape - Photo 14
Rarotonga Daydreamer Escape - Photo 15
Rarotonga Daydreamer Escape - Photo 16
Rarotonga Daydreamer Escape - Photo 17
Rarotonga Daydreamer Escape - Photo 18
Rarotonga Daydreamer Escape - Photo 19
Rarotonga Daydreamer Escape - Photo 20
Rarotonga Daydreamer Escape - Photo 21
Rarotonga Daydreamer Escape - Photo 22
Rarotonga Daydreamer Escape - Photo 23
Rarotonga Daydreamer Escape - Photo 24
Rarotonga Daydreamer Escape - Photo 25
Rarotonga Daydreamer Escape - Photo 26
Rarotonga Daydreamer Escape - Photo 27
Rarotonga Daydreamer Escape - Photo 28
Rarotonga Daydreamer Escape - Photo 29
Rarotonga Daydreamer Escape - Photo 30
Rarotonga Daydreamer Escape - Photo 31
Rarotonga Daydreamer Escape - Photo 32
Rarotonga Daydreamer Escape - Photo 33
Rarotonga Daydreamer Escape - Photo 34
Rarotonga Daydreamer Escape - Photo 35
Rarotonga Daydreamer Escape - Photo 36
Rarotonga Daydreamer Escape - Photo 37
Rarotonga Daydreamer Escape - Photo 38
Rarotonga Daydreamer Escape - Photo 39
Rarotonga Daydreamer Escape - Photo 40
Rarotonga Daydreamer Escape - Photo 41
Rarotonga Daydreamer Escape - Photo 42
Rarotonga Daydreamer Escape - Photo 43
Rarotonga Daydreamer Escape - Photo 44
Rarotonga Daydreamer Escape - Photo 45
Rarotonga Daydreamer Escape - Photo 46
Rarotonga Daydreamer Escape - Photo 47
Rarotonga Daydreamer Escape - Photo 48
Rarotonga Daydreamer Escape - Photo 49
Rarotonga Daydreamer Escape - Photo 50
Rarotonga Daydreamer Escape - Photo 51
Rarotonga Daydreamer Escape - Photo 52
Rarotonga Daydreamer Escape - Photo 53
Rarotonga Daydreamer Escape - Photo 54
Rarotonga Daydreamer Escape - Photo 55
Rarotonga Daydreamer Escape - Photo 56
Rarotonga Daydreamer Escape - Photo 57
Rarotonga Daydreamer Escape - Photo 58
Rarotonga Daydreamer Escape - Photo 59
Rarotonga Daydreamer Escape - Photo 60
Rarotonga Daydreamer Escape - Photo 61

Rarotonga Daydreamer Escape

Avarua - Près de Oudna Terminal (geolocation.placetype.port)

  • 60 M2
  • 5 personnes
  • Cuisinette
  • Terrasse
  • Piscine
  • Parking
  • Jardin
  • Tv
  • Machine à laver
  • Barbecue
  • Serviettes
  • Feuilles
9.8Exceptionnel | 90 avis
The Best Aonang Villas - Photo 1
The Best Aonang Villas - Photo 2
The Best Aonang Villas - Photo 3
The Best Aonang Villas - Photo 4
The Best Aonang Villas - Photo 5
The Best Aonang Villas - Photo 6
The Best Aonang Villas - Photo 7
The Best Aonang Villas - Photo 8
The Best Aonang Villas - Photo 9
The Best Aonang Villas - Photo 10
The Best Aonang Villas - Photo 11
The Best Aonang Villas - Photo 12
The Best Aonang Villas - Photo 13
The Best Aonang Villas - Photo 14
The Best Aonang Villas - Photo 15
The Best Aonang Villas - Photo 16
The Best Aonang Villas - Photo 17
The Best Aonang Villas - Photo 18
The Best Aonang Villas - Photo 19
The Best Aonang Villas - Photo 20
The Best Aonang Villas - Photo 21
The Best Aonang Villas - Photo 22
The Best Aonang Villas - Photo 23
The Best Aonang Villas - Photo 24
The Best Aonang Villas - Photo 25
The Best Aonang Villas - Photo 26
The Best Aonang Villas - Photo 27
The Best Aonang Villas - Photo 28
The Best Aonang Villas - Photo 29
The Best Aonang Villas - Photo 30
The Best Aonang Villas - Photo 31
The Best Aonang Villas - Photo 32
The Best Aonang Villas - Photo 33
The Best Aonang Villas - Photo 34

The Best Aonang Villas

Krabi - Ao Nang - À 8.5 km du centre

  • 320 M2
  • 9 personnes
  • Air conditionné
  • Terrasse
  • Piscine
  • Parking
  • Jardin
  • Tv
  • Machine à laver
  • Barbecue
  • Serviettes
9.6Exceptionnel | 14 avis
Ambong Pool Villas - Photo 1
Ambong Pool Villas - Photo 2
Ambong Pool Villas - Photo 3
Ambong Pool Villas - Photo 4
Ambong Pool Villas - Photo 5
Ambong Pool Villas - Photo 6
Ambong Pool Villas - Photo 7
Ambong Pool Villas - Photo 8
Ambong Pool Villas - Photo 9
Ambong Pool Villas - Photo 10
Ambong Pool Villas - Photo 11
Ambong Pool Villas - Photo 12
Ambong Pool Villas - Photo 13
Ambong Pool Villas - Photo 14
Ambong Pool Villas - Photo 15
Ambong Pool Villas - Photo 16
Ambong Pool Villas - Photo 17
Ambong Pool Villas - Photo 18
Ambong Pool Villas - Photo 19
Ambong Pool Villas - Photo 20
Ambong Pool Villas - Photo 21
Ambong Pool Villas - Photo 22
Ambong Pool Villas - Photo 23
Ambong Pool Villas - Photo 24
Ambong Pool Villas - Photo 25
Ambong Pool Villas - Photo 26
Ambong Pool Villas - Photo 27
Ambong Pool Villas - Photo 28
Ambong Pool Villas - Photo 29
Ambong Pool Villas - Photo 30
Ambong Pool Villas - Photo 31
Ambong Pool Villas - Photo 32
Ambong Pool Villas - Photo 33
Ambong Pool Villas - Photo 34
Ambong Pool Villas - Photo 35
Ambong Pool Villas - Photo 36
Ambong Pool Villas - Photo 37
Ambong Pool Villas - Photo 38
Ambong Pool Villas - Photo 39
Ambong Pool Villas - Photo 40
Ambong Pool Villas - Photo 41
Ambong Pool Villas - Photo 42
Ambong Pool Villas - Photo 43
Ambong Pool Villas - Photo 44
Ambong Pool Villas - Photo 45
Ambong Pool Villas - Photo 46
Ambong Pool Villas - Photo 47
Ambong Pool Villas - Photo 48
Ambong Pool Villas - Photo 49
Ambong Pool Villas - Photo 50
Ambong Pool Villas - Photo 51
Ambong Pool Villas - Photo 52
Ambong Pool Villas - Photo 53
Ambong Pool Villas - Photo 54
Ambong Pool Villas - Photo 55
Ambong Pool Villas - Photo 56
Ambong Pool Villas - Photo 57
Ambong Pool Villas - Photo 58
Ambong Pool Villas - Photo 59
Ambong Pool Villas - Photo 60
Ambong Pool Villas - Photo 61
Ambong Pool Villas - Photo 62
Ambong Pool Villas - Photo 63
Ambong Pool Villas - Photo 64
Ambong Pool Villas - Photo 65
Ambong Pool Villas - Photo 66
Ambong Pool Villas - Photo 67
Ambong Pool Villas - Photo 68
Ambong Pool Villas - Photo 69
Ambong Pool Villas - Photo 70
Ambong Pool Villas - Photo 71
Ambong Pool Villas - Photo 72
Ambong Pool Villas - Photo 73
Ambong Pool Villas - Photo 74
Ambong Pool Villas - Photo 75
Ambong Pool Villas - Photo 76
Ambong Pool Villas - Photo 77
Ambong Pool Villas - Photo 78
Ambong Pool Villas - Photo 79
Ambong Pool Villas - Photo 80

Ambong Pool Villas

Langkawi - Langkawi

  • 380 M2
  • 8 personnes
  • Air conditionné
  • Terrasse
  • Piscine
  • Parking
  • Balcon
  • Jardin
  • Tv
  • Machine à laver
  • Serviettes
  • Feuilles
9.6Exceptionnel | 33 avis

Destinations associées