859 Appartements à Windermere


Lindeth Fell Country House
Windermere - Storrs
- 8 M2
- 2 personnes
- Le chauffage
- Terrasse
- Parking
- Jardin
- Tv
- Serviettes
- Feuilles
73 avis


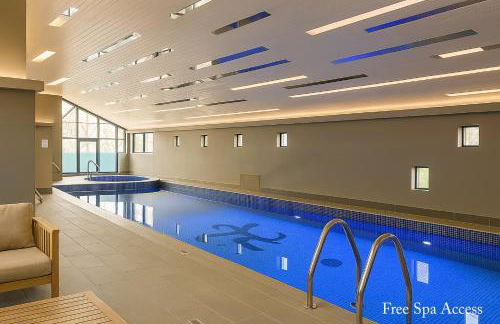
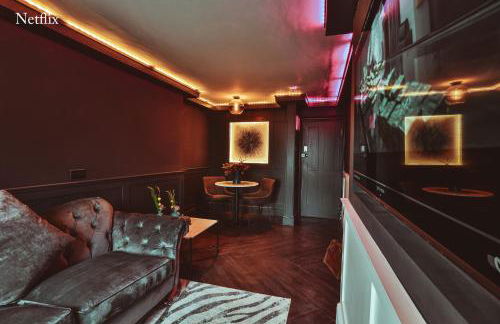
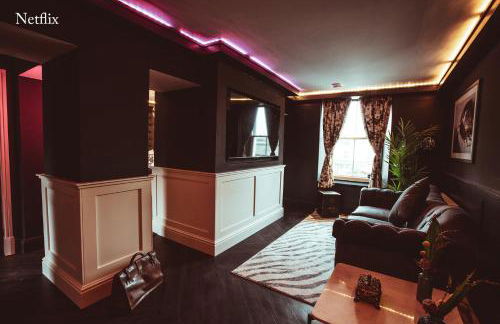
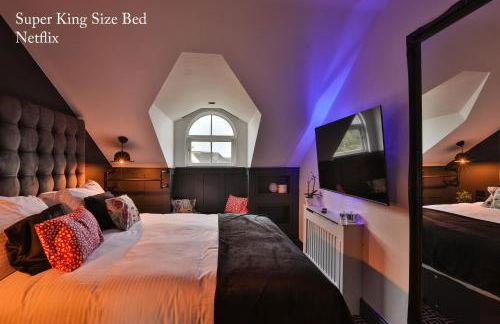
Windermere Hillthwaite Hotel
Windermere - Windermere
- 12 M2
- 2 personnes
- Le chauffage
- Terrasse
- Piscine
- Parking
- Jardin
- Tv
- Serviettes
- Feuilles
306 avis


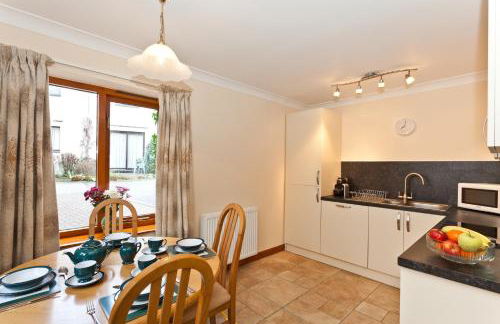
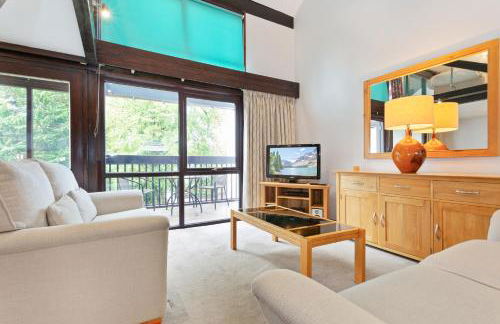
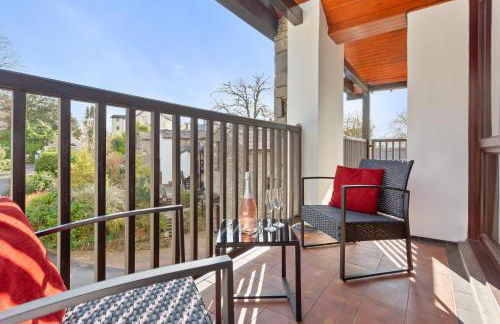
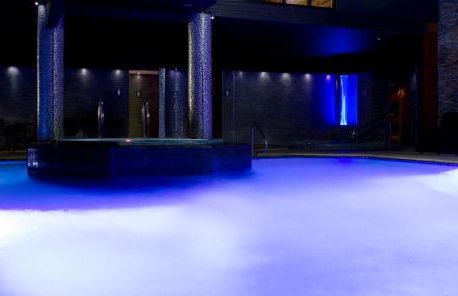
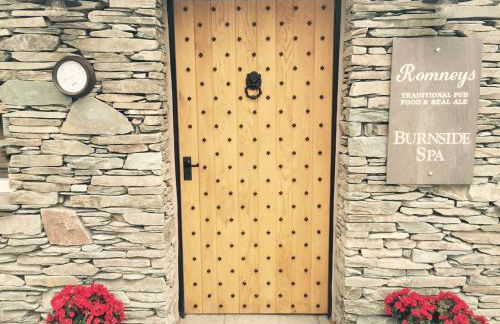
Hapimag Burnside Park Apartments
Windermere - Bowness on Windermere
- 6 personnes
- Le chauffage
- Terrasse
- Parking
- Jardin
- Tv
- Barbecue
- Serviettes
- Feuilles
66 avis


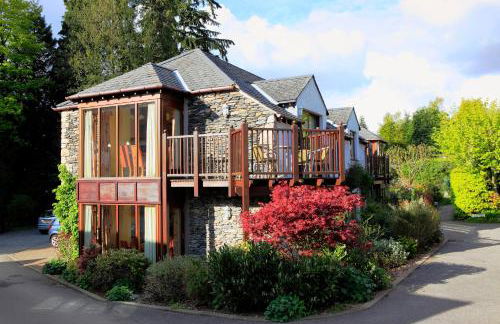

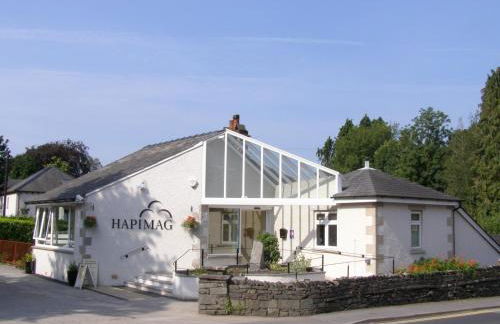


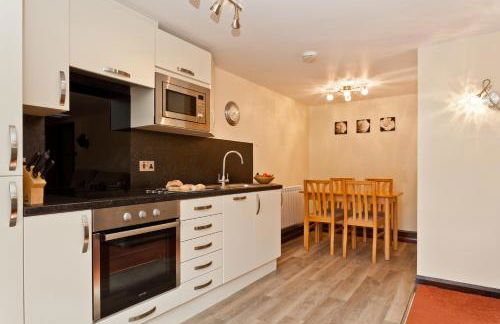

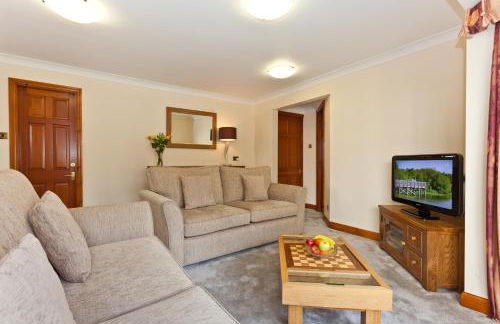


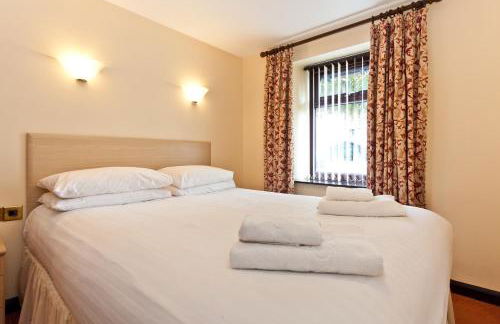


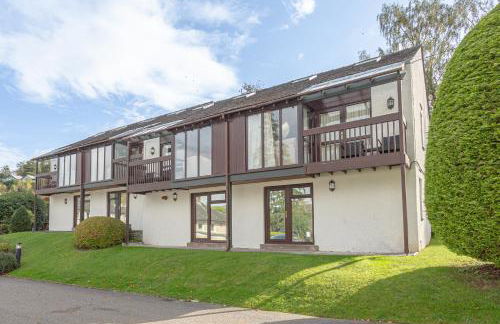


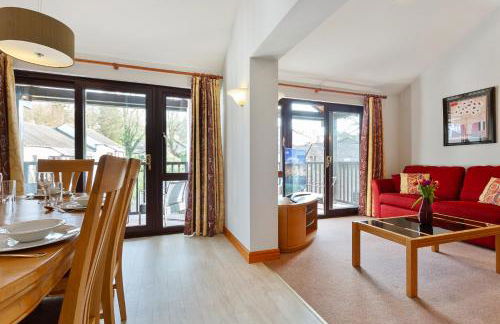


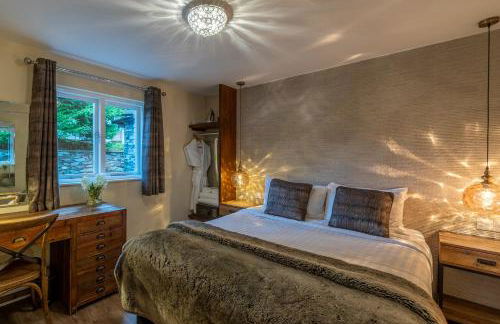
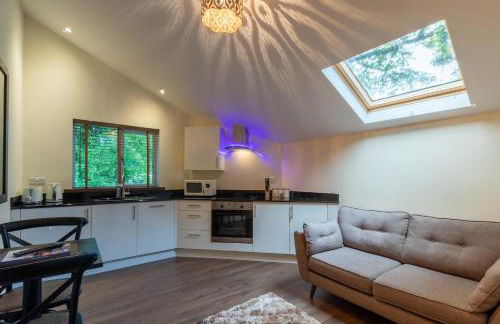
Hapimag Burnside Park Apartments
Windermere - Bowness on Windermere
- 102 M2
- 2 chambres
- 10 personnes
- Le chauffage
- Piscine
- Parking
- Jardin
- Barbecue
764 avis


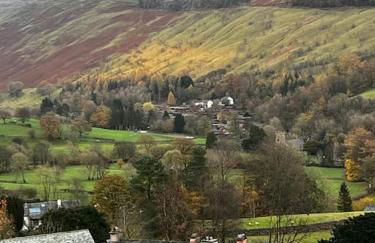


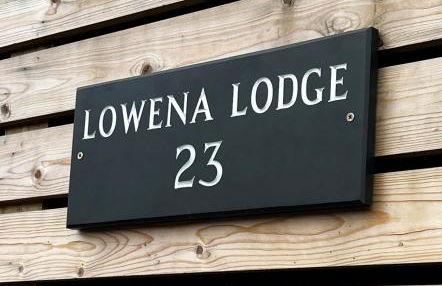
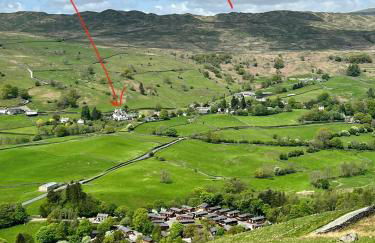

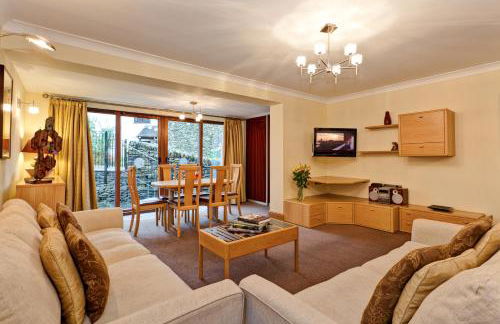
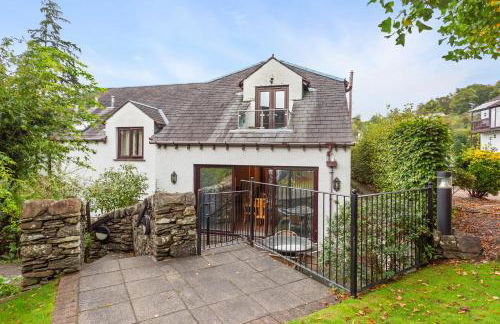
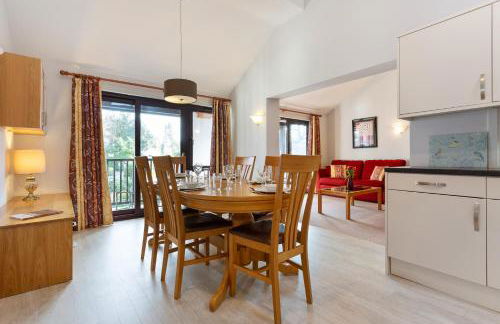
Lowena Lodge
Windermere - Troutbeck
- 280 M2
- 2 chambres
- 4 personnes
- Le chauffage
- Terrasse
- Parking
- Jardin
- Barbecue
47 avis


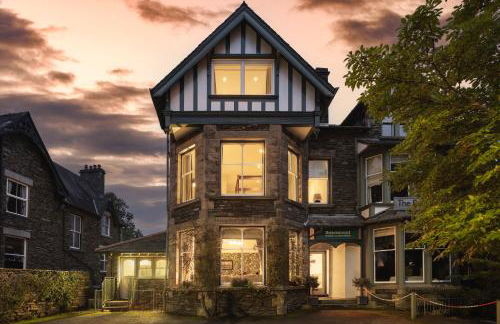


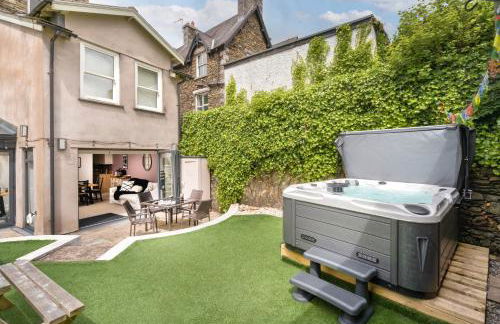

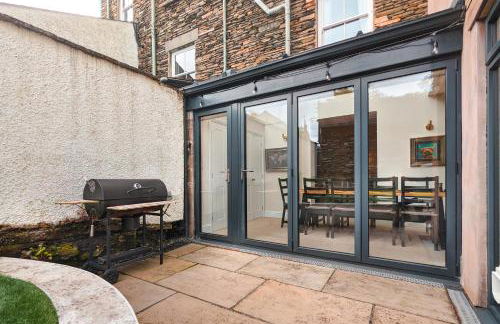


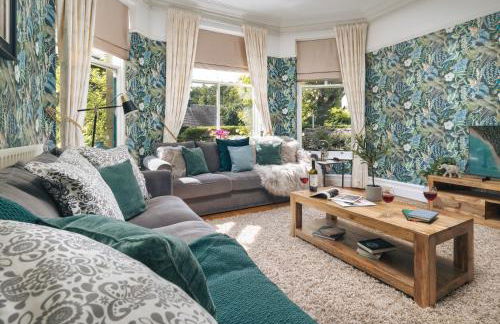


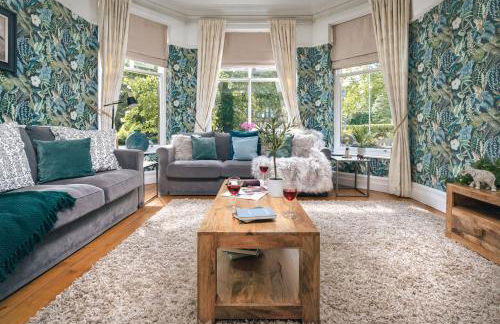


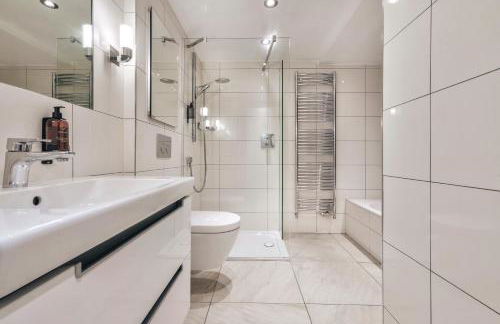

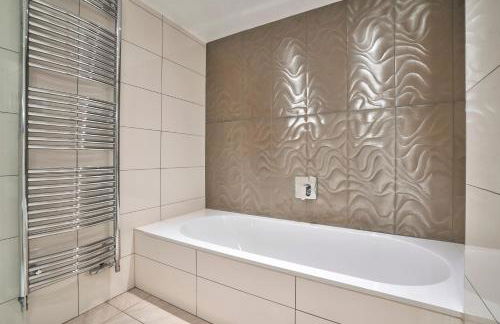


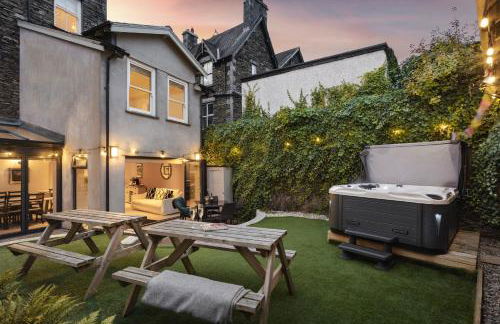

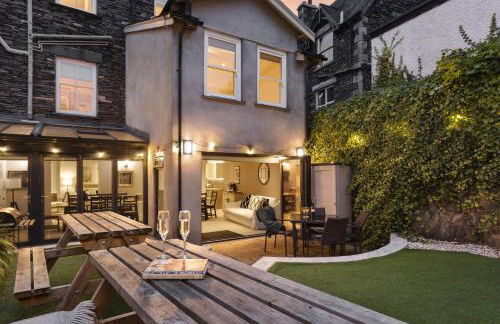
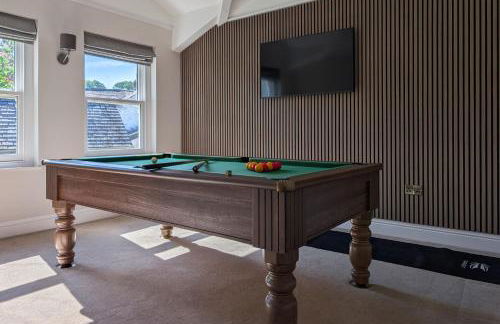
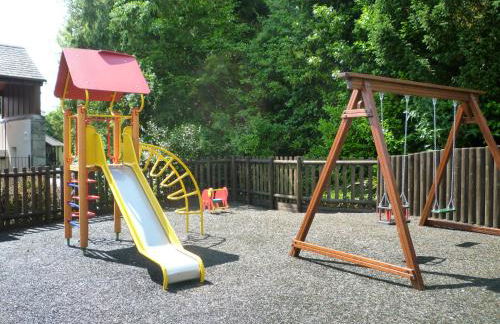
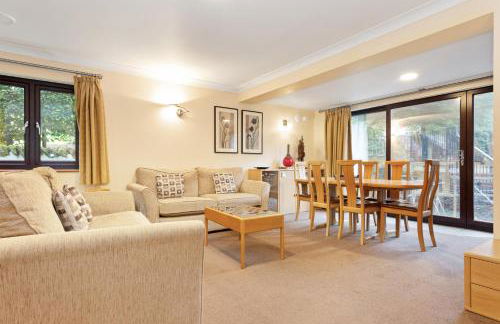
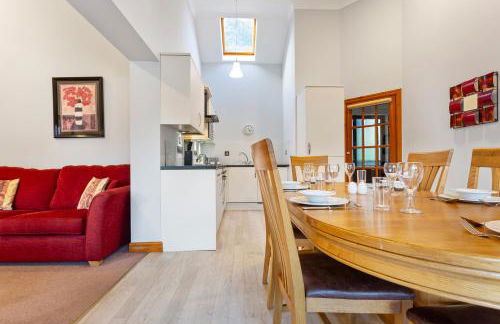
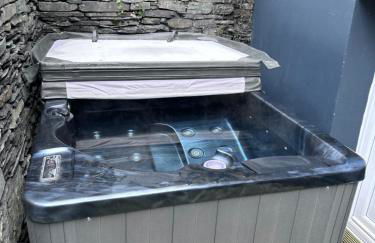
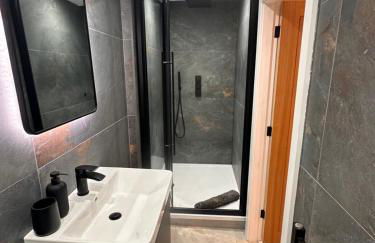
Rosemount Lake District Townhouse with Hot Tub - Ridgestone
Windermere - Windermere
- 355 M2
- 8 chambres
- 16 personnes
- Le chauffage
- Parking
- Jardin
- Tv
- Machine à laver
- Serviettes
- Feuilles
24 avis


Abbys Cottage
Windermere - Windermere - À 140 m de gare de Windermere (geolocation.placetype.train_station)
- 121 M2
- 3 chambres
- 6 personnes
- Air conditionné
- Le chauffage
- Parking
- Jardin
86 avis
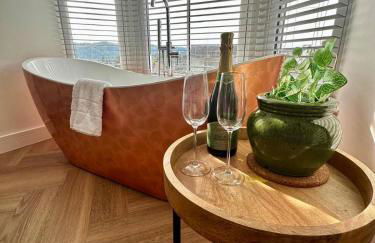
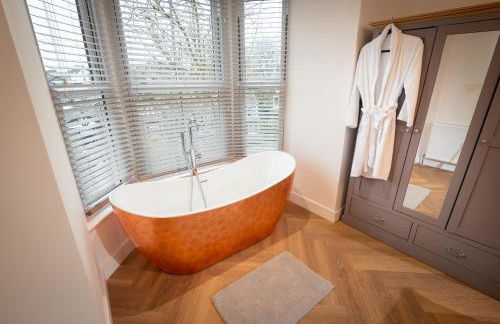


Luxury Pet-Friendly 2 Bed Retreat in Central Bowness with Copper Roll-Top Bath & Sun Terrace
Windermere - Bowness on Windermere
- 110 M2
- 2 chambres
- 4 personnes
- Air conditionné
- Le chauffage
- Terrasse
- Parking
- Jardin
19 avis


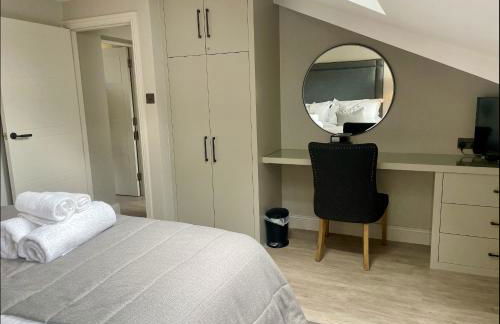


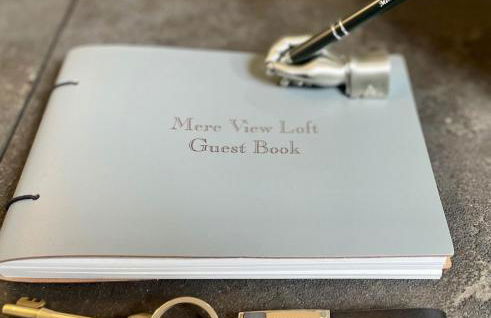

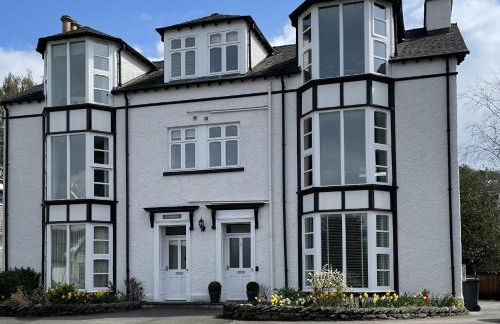
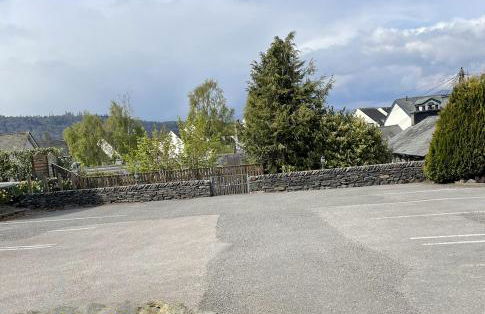


Mere View Loft, Bowness-on-Windermere
Windermere - Bowness on Windermere
- 81 M2
- 2 chambres
- 4 personnes
- Le chauffage
- Parking
- Jardin
53 avis


Penthouse - Duplex Flat - Central Location
Windermere - Bowness on Windermere
- 70 M2
- 2 chambres
- 4 personnes
- Terrasse
- Parking
- Jardin
44 avis
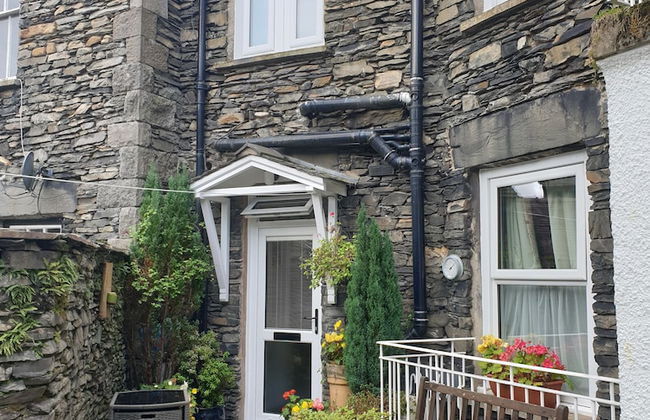
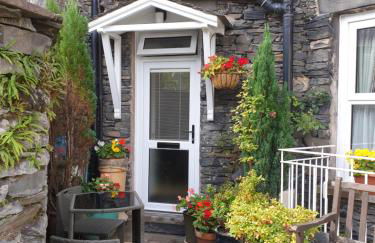

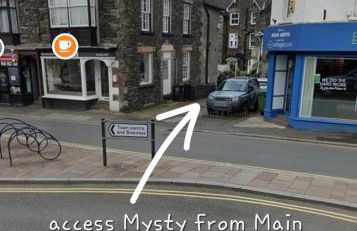


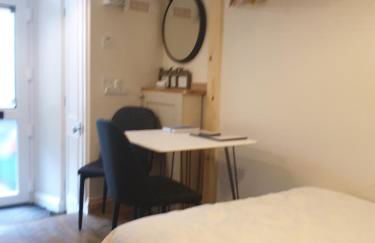
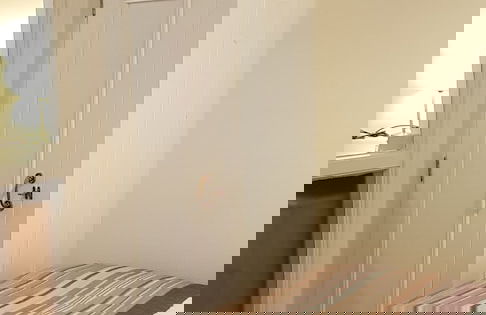

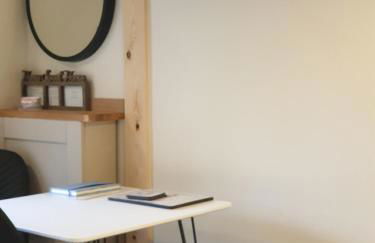


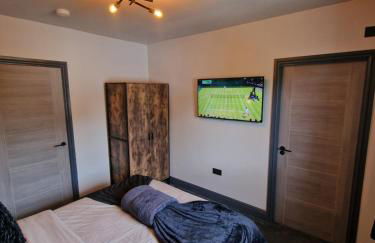
'Mysty' Studio style Winter deal on 3 nights or more Nov to Mar
Windermere - Windermere
- 12 M2
- 2 personnes
- Le chauffage
- Parking
77 avis


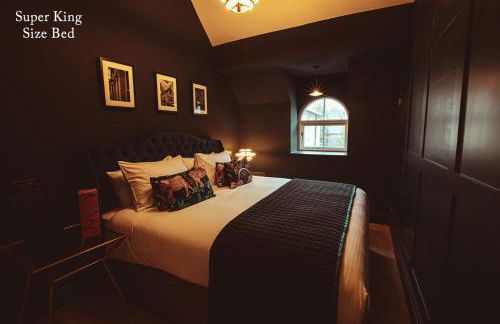


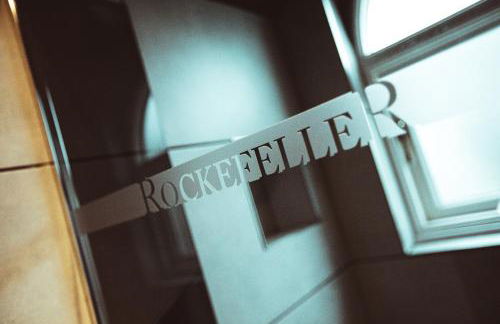


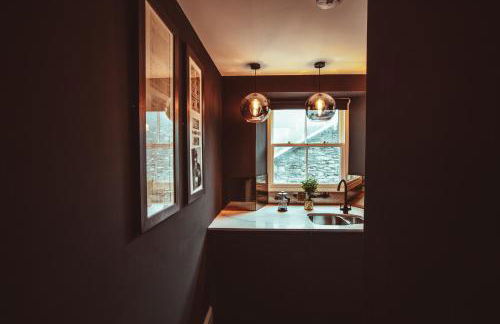

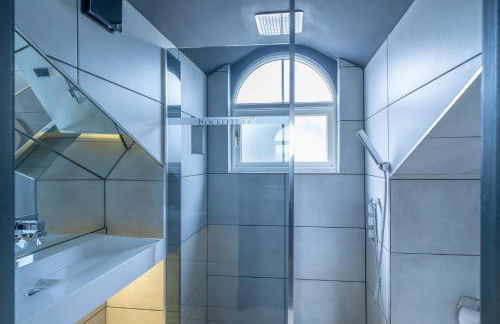


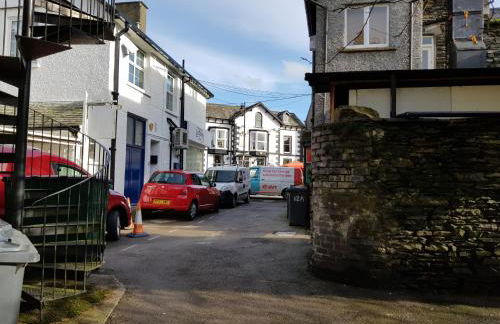
The Rockefeller Apartments
Windermere - Bowness on Windermere
- 105 M2
- 2 chambres
- 4 personnes
- Le chauffage
- Parking
- Tv
- Serviettes
- Feuilles
442 avis


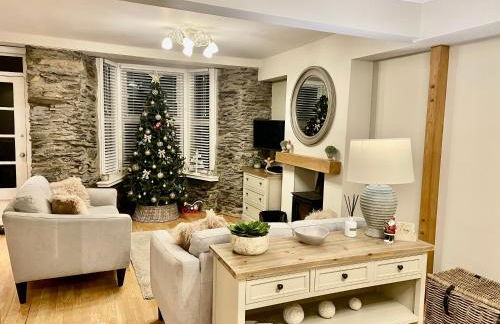
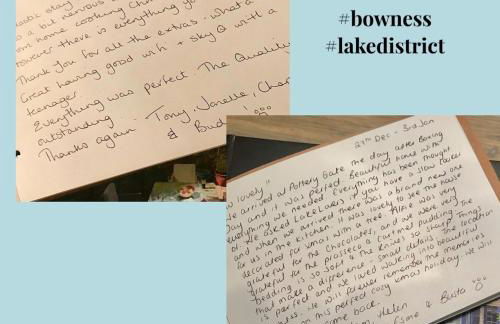

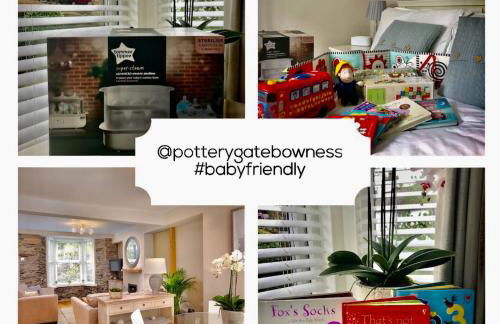

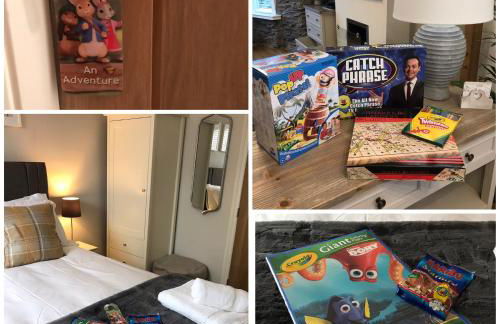

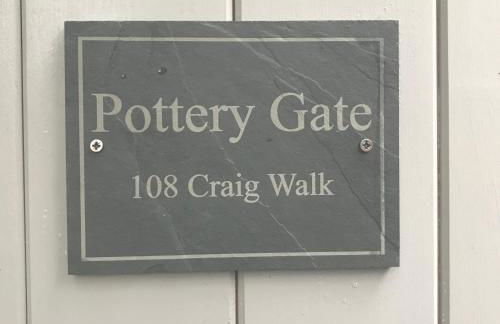

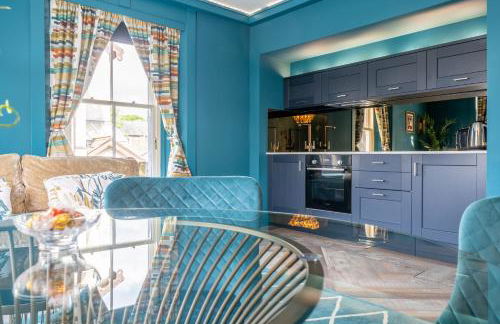
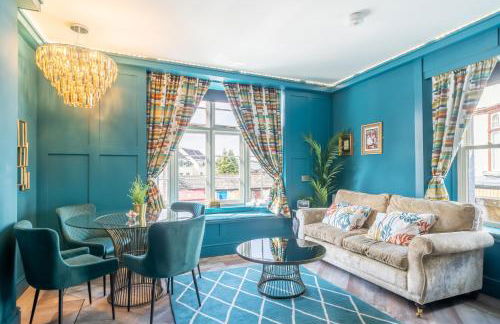
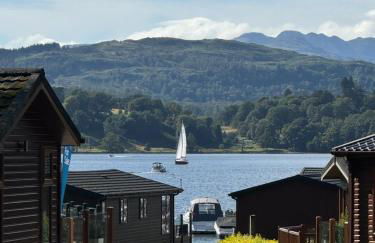
Pottery Gate, Bowness-on-Windermere
Windermere - Windermere
- 12 M2
- 2 chambres
- 4 personnes
- Le chauffage
- Parking
- Jardin
149 avis


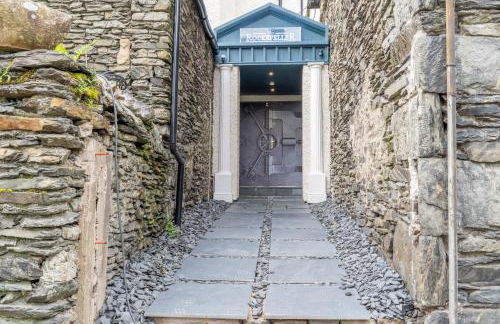
V+B Hygge
Windermere - Troutbeck
- 52 M2
- 2 chambres
- 4 personnes
- Le chauffage
- Terrasse
- Piscine
- Parking
- Jardin
68 avis


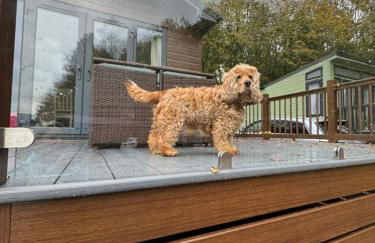
Hartland Lodge - White Cross Bay Holiday Park
Windermere - Troutbeck
- 110 M2
- 2 chambres
- 4 personnes
- Terrasse
- Piscine
- Parking
16 avis


Lakes Hotel & Spa Apartments
Windermere - Bowness on Windermere
- 2 chambres
- 4 personnes
- Le chauffage
- Terrasse
- Piscine
- Parking
- Ascenseur
- Jardin
42 avis


BRANTLEA Detached 4 Bed Home, Hot Tub, Lake View, Parking, Pet Friendly
Windermere - Bowness on Windermere
- 242 M2
- 4 chambres
- 8 personnes
- Le chauffage
- Terrasse
- Parking
- Jardin
- Barbecue
20 avis


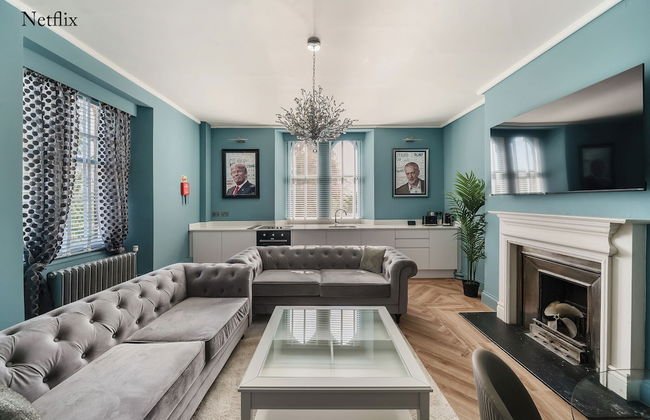
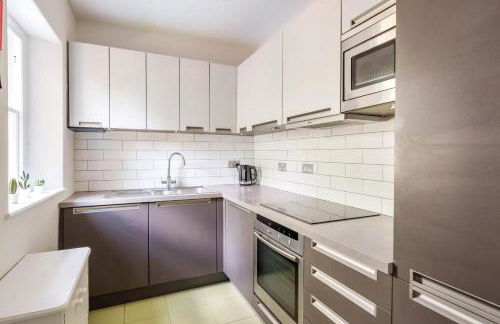

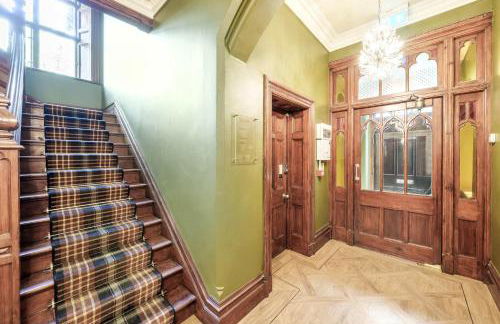
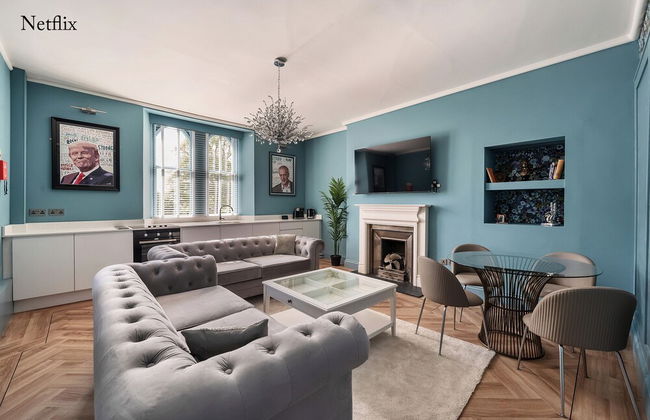


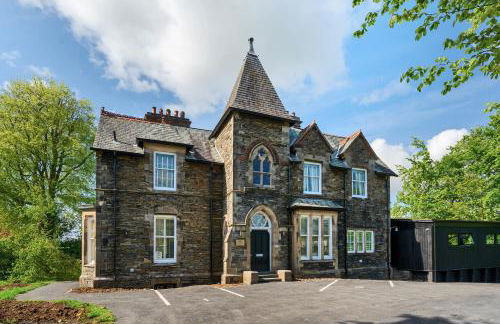


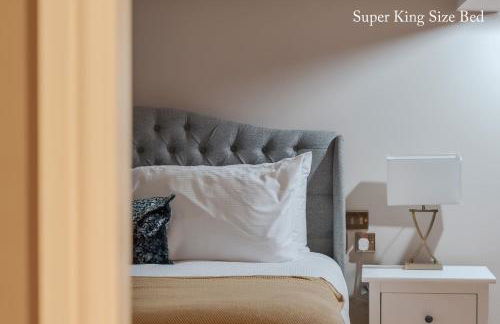


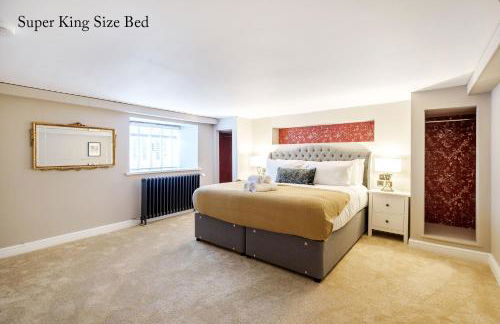
The Governance Apartments
Windermere - Windermere
- 68 M2
- 3 chambres
- 6 personnes
- Le chauffage
- Parking
- Jardin
- Tv
- Serviettes
- Feuilles
337 avis