
678 Appartements à Vicence


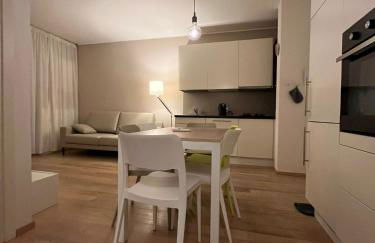
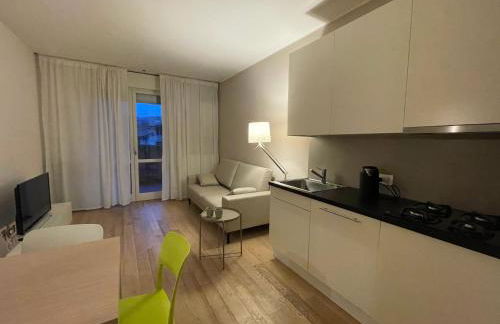
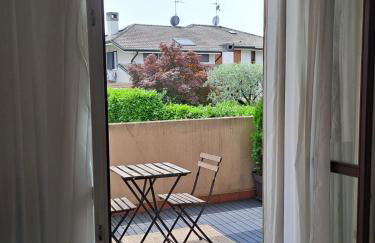
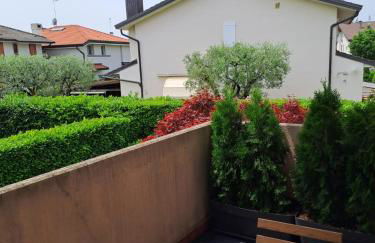
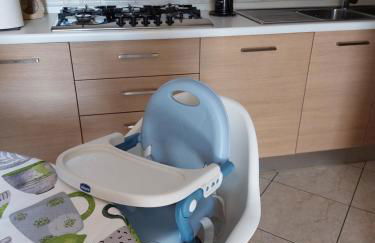
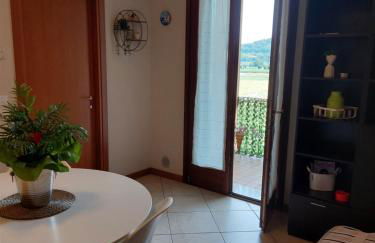
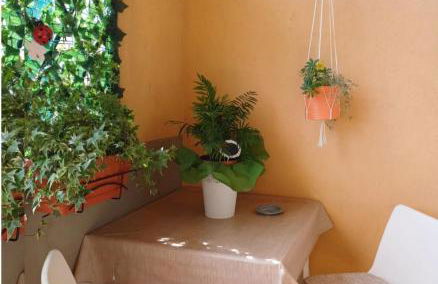
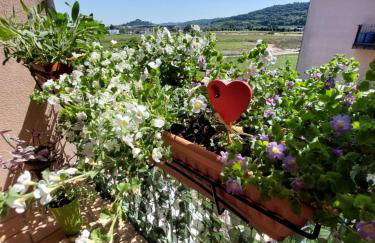
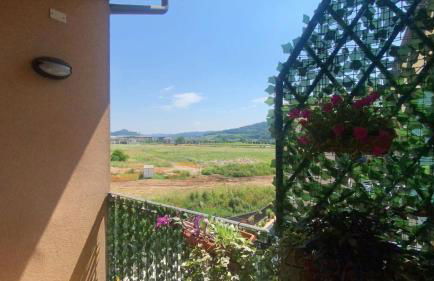
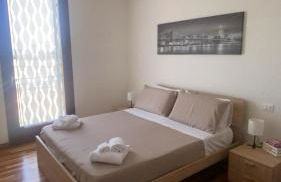
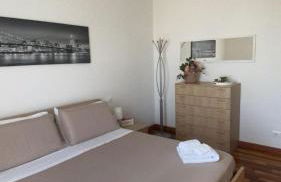
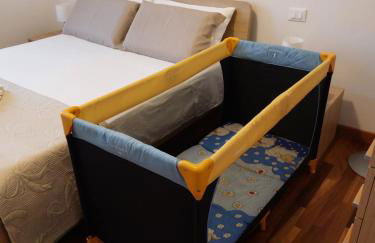
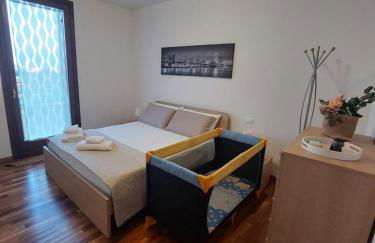
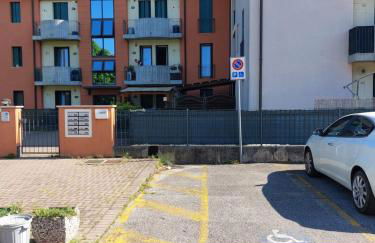
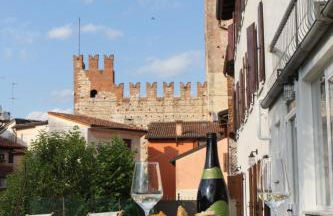
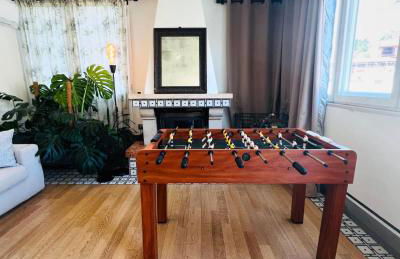
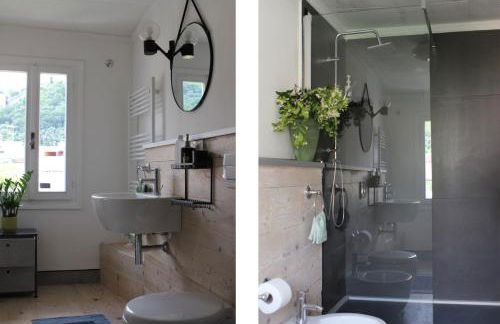
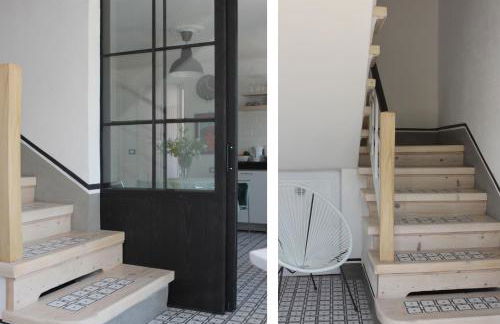
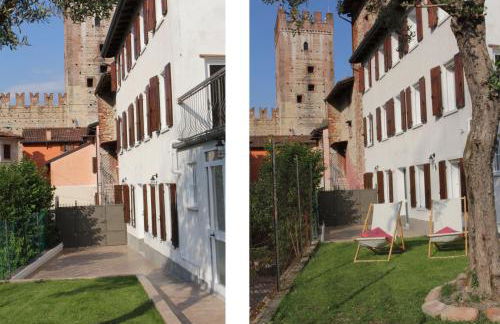
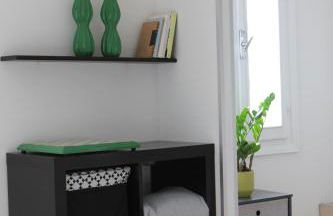
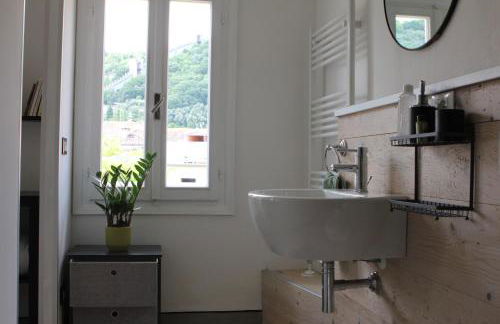
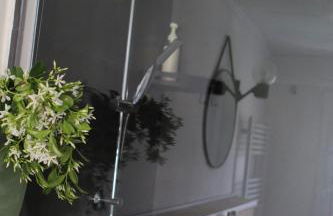
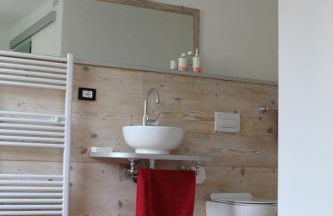
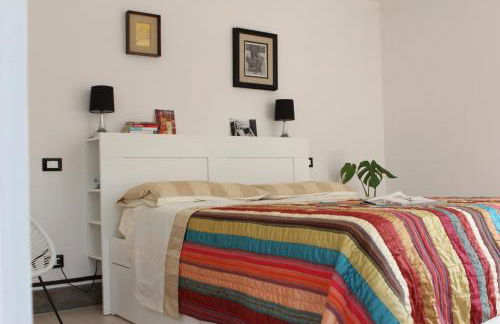
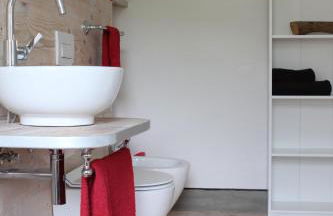
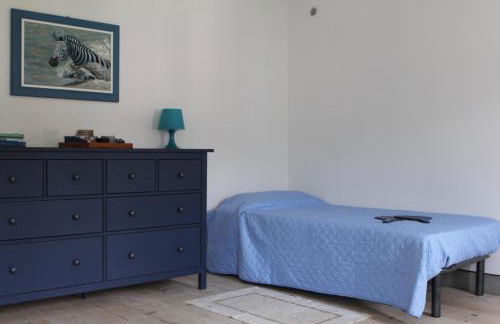
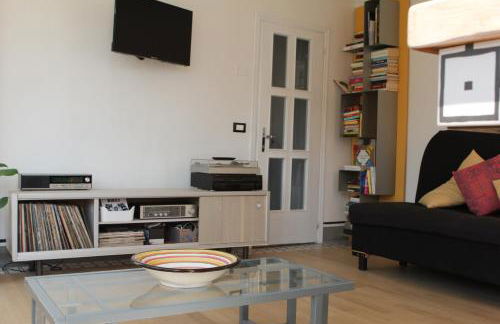
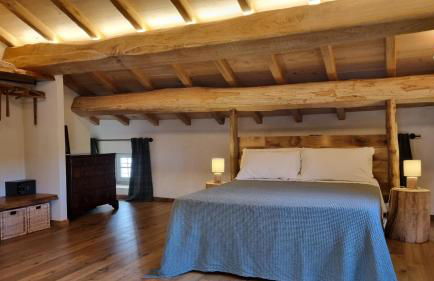
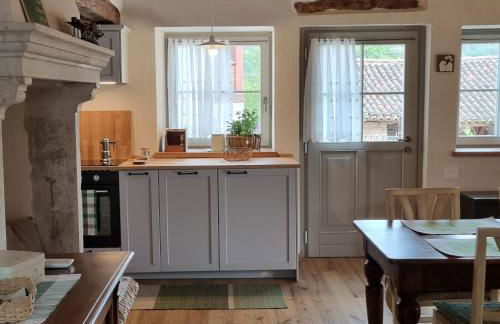
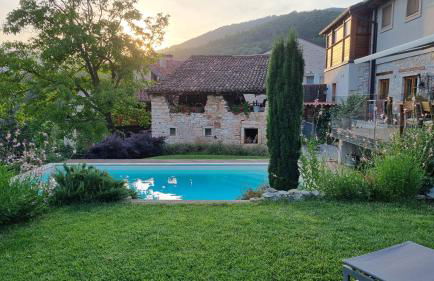
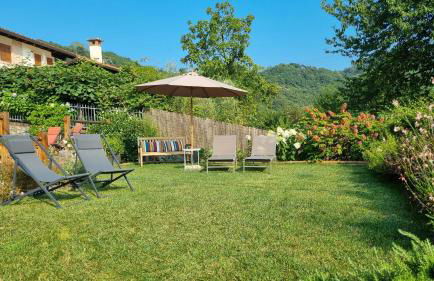
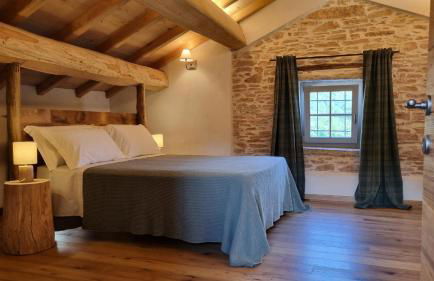
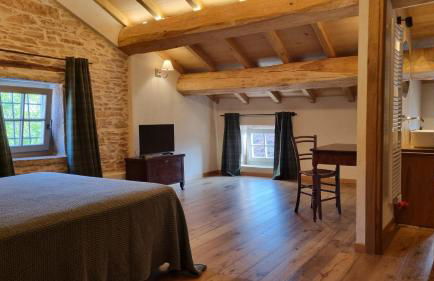
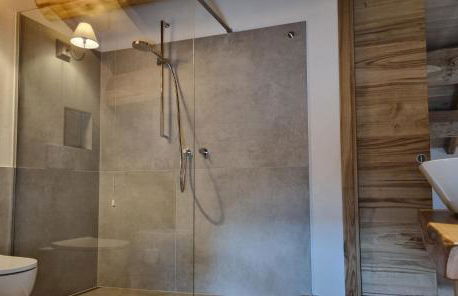
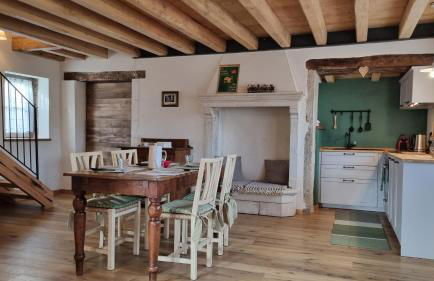
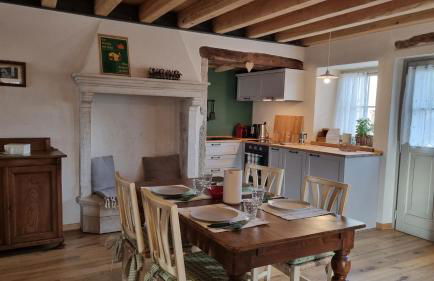
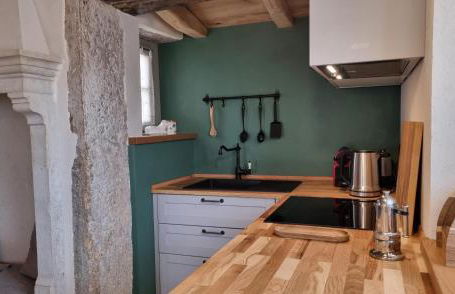
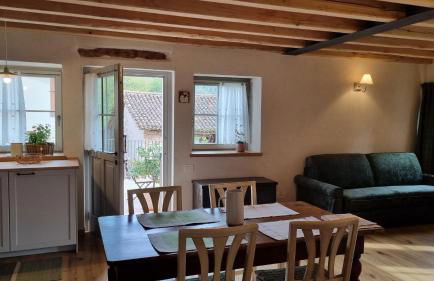
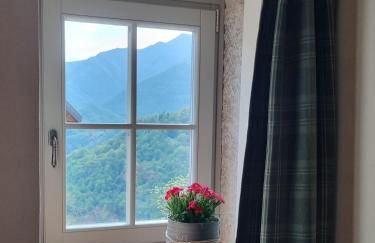
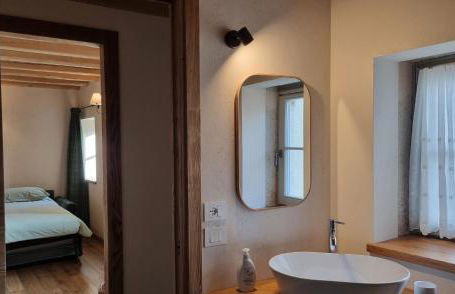
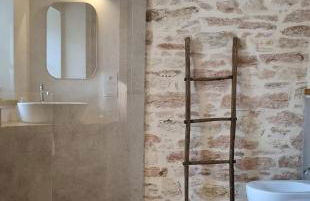
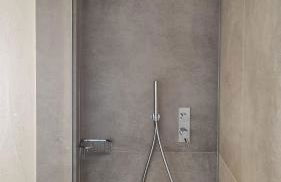
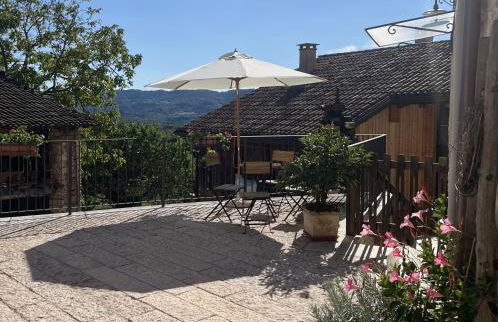
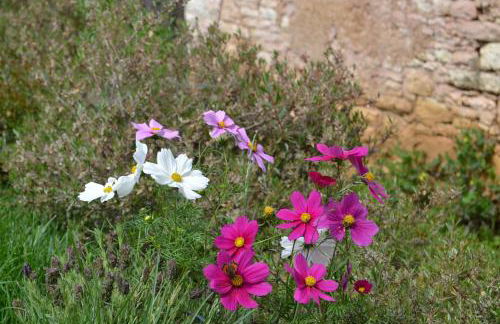
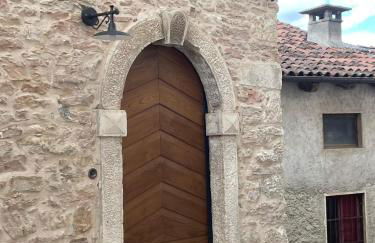
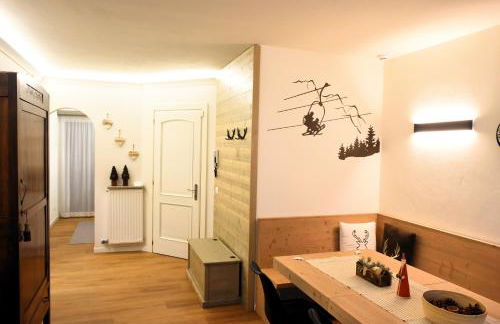
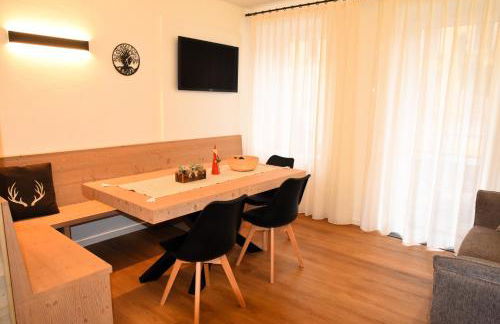
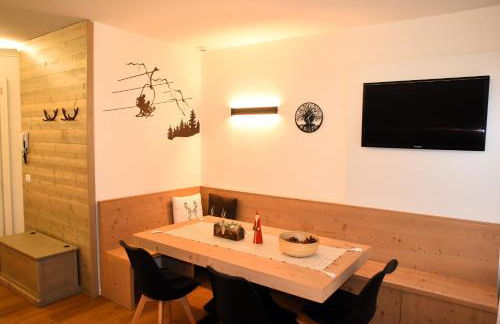
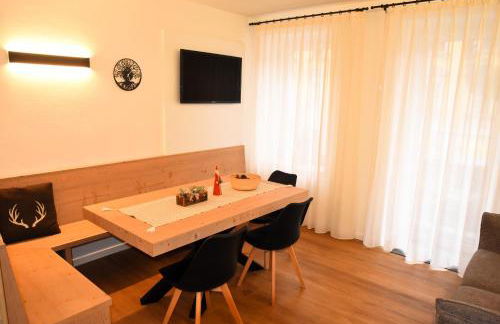
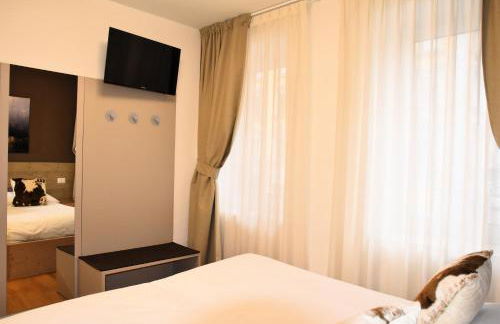
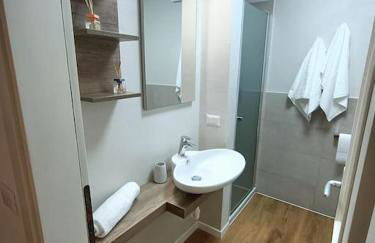
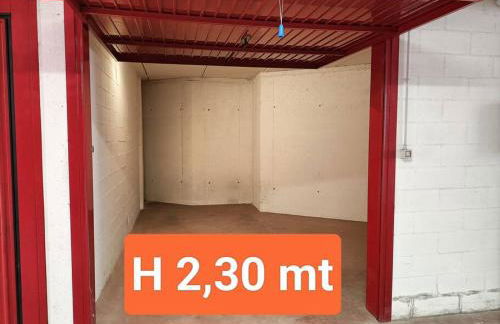
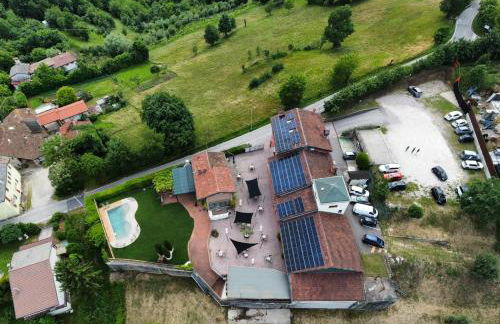
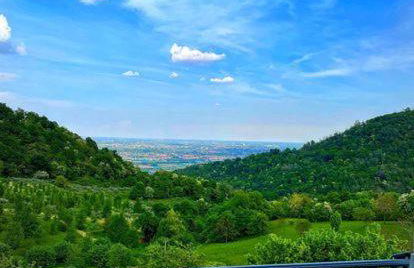
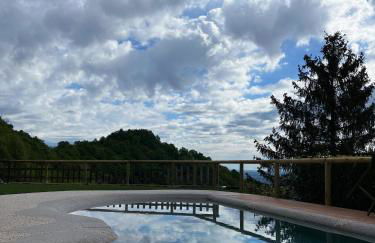
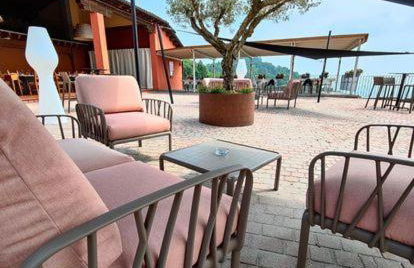
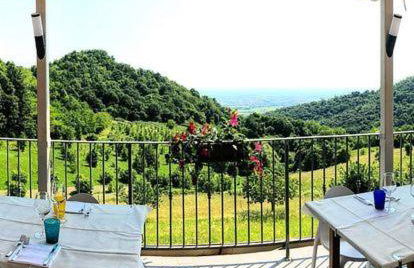
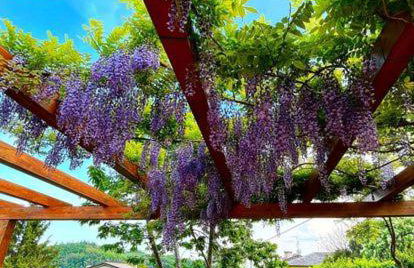
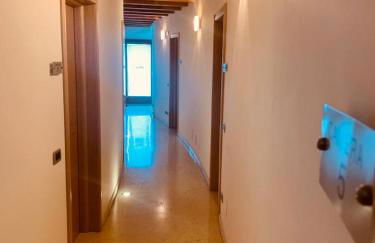
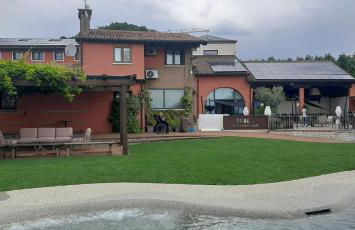
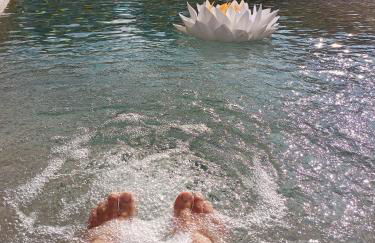
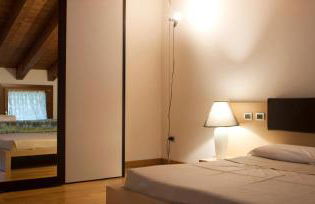
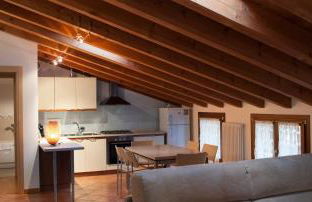
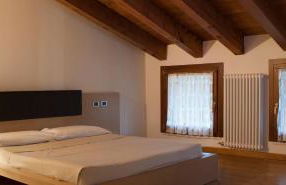
Agriturismo Relais Maddalene101
Vicence - À 3.5 km du centre
- 35 M2
- 4 personnes
- Air conditionné
- Le chauffage
- Terrasse
- Parking
- Jardin
- Tv
- Serviettes
- Feuilles
13 avis


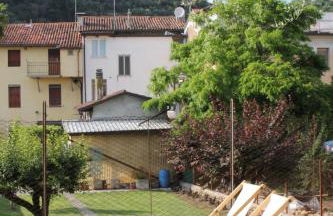
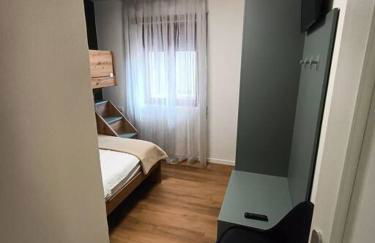
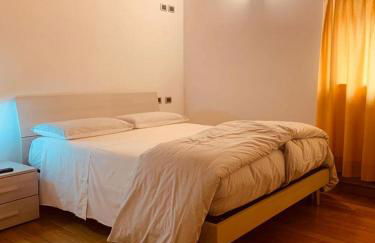
la promenade
Vicence - Dans le centre
- 7 M2
- 2 chambres
- 6 personnes
- Air conditionné
- Le chauffage
- Terrasse
- Ascenseur
16 avis


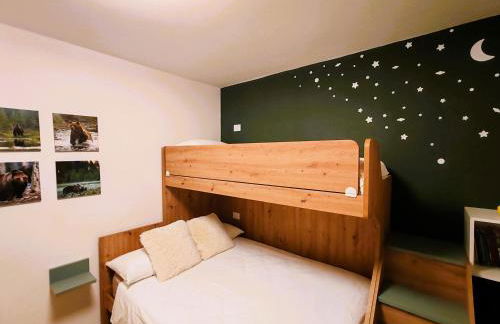
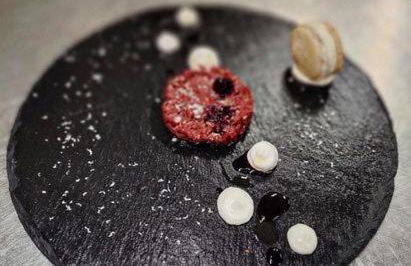
Vicenza Charm Apartment
Vicence - À 1.5 km du centre
- 70 M2
- 1 chambre
- 3 personnes
- Air conditionné
- Le chauffage
- Terrasse
- Parking
- Ascenseur
- Jardin
12 avis


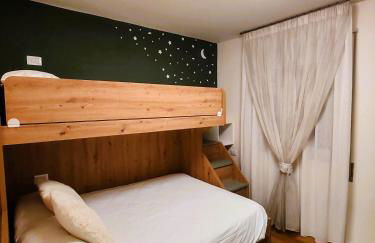
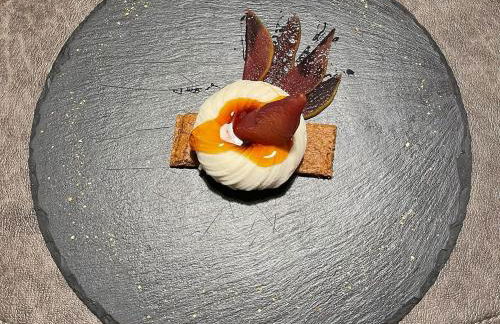
Da Gió
Altavilla Vicentina
- 40 M2
- 1 chambre
- 3 personnes
- Air conditionné
- Le chauffage
- Terrasse
- Parking
- Jardin
29 avis


ELEGANCE ROOM - Aparta & Suite - Automatized Apartment
Bassano del Grappa - Dans le centre
- 45 M2
- 1 chambre
- 2 personnes
- Air conditionné
- Le chauffage
- Terrasse
51 avis


MASARI ALLA CASA ROSSA Vineyard guest house
Brogliano
- 23 M2
- 3 personnes
- Air conditionné
- Terrasse
- Parking
- Jardin
10 avis


Gelsy House
Montecchio Maggiore - Alte Ceccato - À 1.5 km du centre
- 50 M2
- 1 chambre
- 5 personnes
- Air conditionné
- Le chauffage
- Terrasse
- Parking
- Ascenseur
29 avis


Favolosa Suite con Terrazzo
Vicence - À 740 m du centre
- 40 M2
- 2 personnes
- Air conditionné
- Le chauffage
- Terrasse
- Ascenseur
99 avis


Residence La Pace
Vicence - À 1.6 km du centre
- 70 M2
- 1 chambre
- 4 personnes
- Air conditionné
- Le chauffage
- Terrasse
- Parking
- Jardin
35 avis


Casa Clarita - in centro storico
Marostica - Dans le centre
- 190 M2
- 4 chambres
- 8 personnes
- Air conditionné
- Terrasse
- Parking
- Jardin
- Barbecue
44 avis


Rubin Stay-Karabas Apartments
Vicence - À 1.6 km du centre
- 45 M2
- 1 chambre
- 4 personnes
- Air conditionné
- Le chauffage
- Parking
- Ascenseur
11 avis
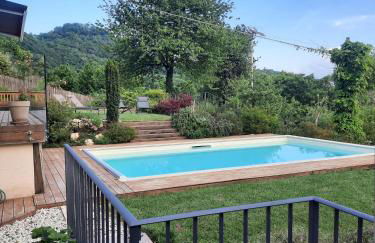


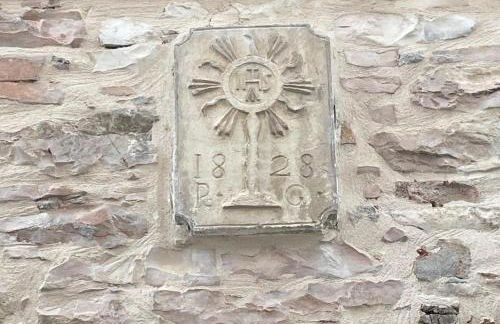

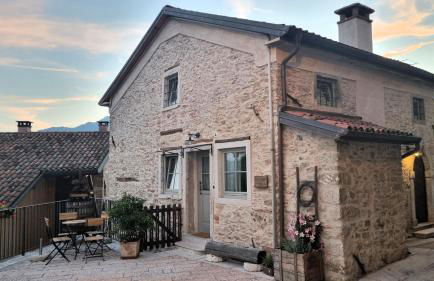

Casa Gildo 1828
Valdagno - À 2.5 km du centre
- 90 M2
- 1 chambre
- 4 personnes
- Air conditionné
- Le chauffage
- Piscine
- Parking
- Jardin
10 avis


Alloggio Asiago Centro (appartamento nuovo)
Asiago - Dans le centre
- 65 M2
- 2 chambres
- 5 personnes
- Le chauffage
- Terrasse
- Parking
- Ascenseur
14 avis


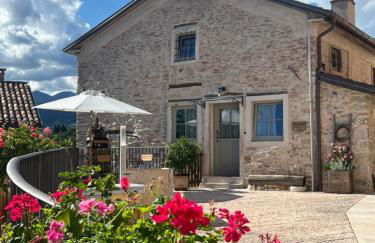
Casa Franci
Romano d'Ezzelino - À 810 m du centre
- 80 M2
- 3 chambres
- 7 personnes
- Le chauffage
- Terrasse
- Parking
- Jardin
44 avis

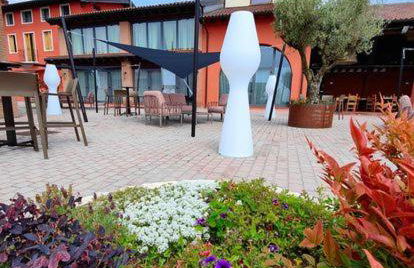


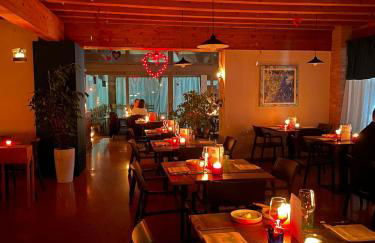

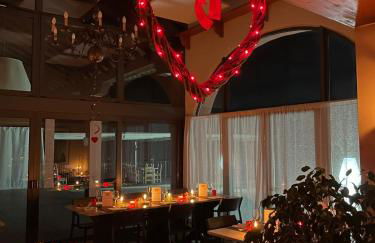
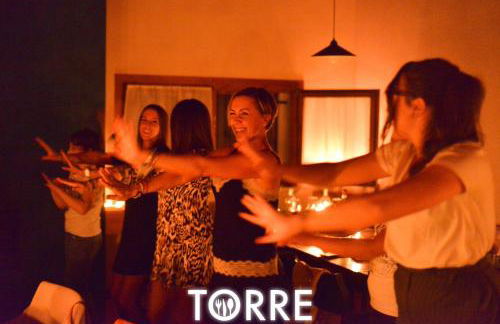


Albergo Torre
Isola Vicentina - À 2.8 km du centre
- 90 M2
- 1 chambre
- 4 personnes
- Air conditionné
- Le chauffage
- Terrasse
- Piscine
- Parking
- Jardin
- Barbecue
220 avis


Residenza San Pietro
Vicence - Dans le centre
- 80 M2
- 2 chambres
- 4 personnes
- Air conditionné
- Le chauffage
- Terrasse
- Parking
- Ascenseur
- Jardin
83 avis


Lucia home Vicenza
Vicence - À 3.1 km du centre
- 40 M2
- 2 personnes
- Air conditionné
- Le chauffage
- Terrasse
- Parking
- Ascenseur
21 avis


BRE Apartments - Pax
Vicence - Dans le centre
- 40 M2
- 1 chambre
- 3 personnes
- Air conditionné
- Le chauffage
- Terrasse
- Jardin
10 avis


Casa Viola Vicenza - Free Parking & Comfort
Vicence - À 2.1 km du centre
- 45 M2
- 1 chambre
- 2 personnes
- Air conditionné
- Le chauffage
- Terrasse
- Parking
- Jardin
61 avis


Blu Petrolio Stay-Karabas Apartments
Vicence - Capitello - À 2.9 km du centre
- 80 M2
- 2 chambres
- 4 personnes
- Air conditionné
- Le chauffage
- Terrasse
- Parking
- Ascenseur
9 avis