
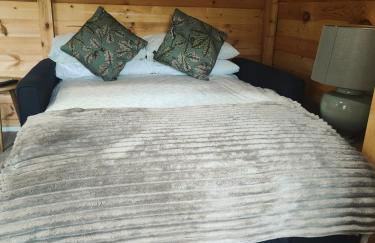
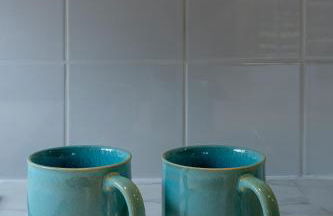
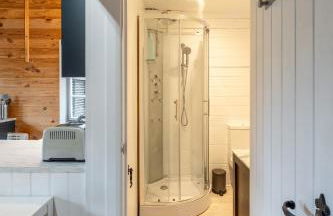
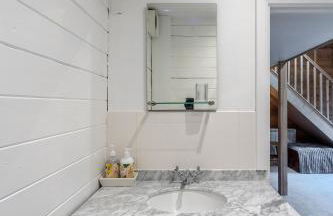
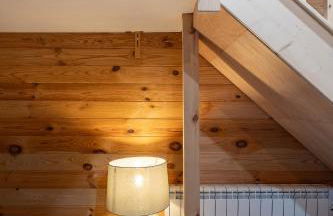
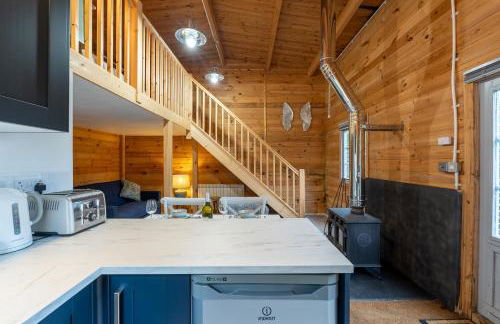
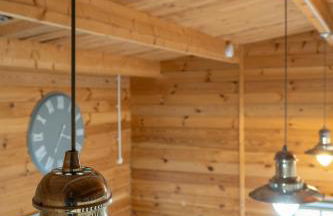
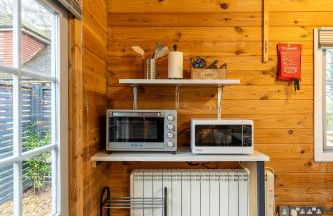
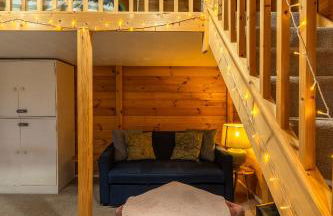
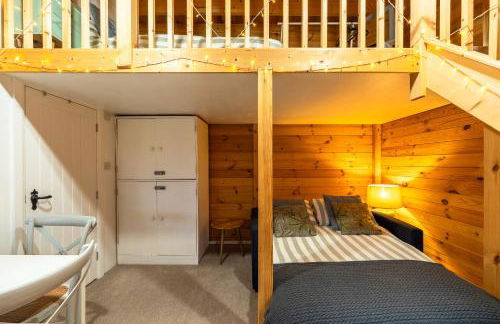
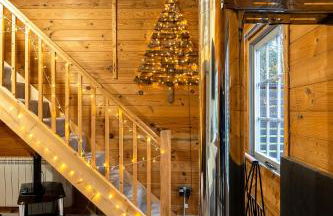
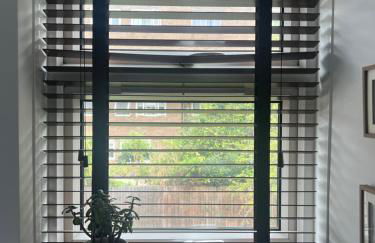
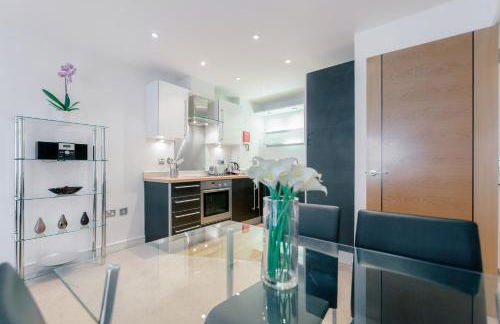
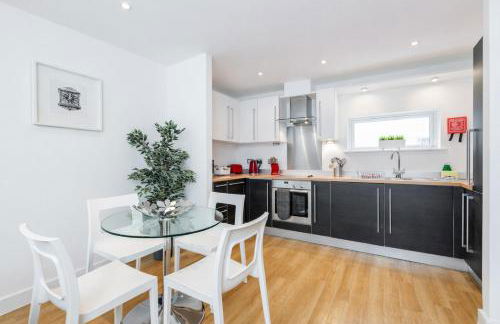
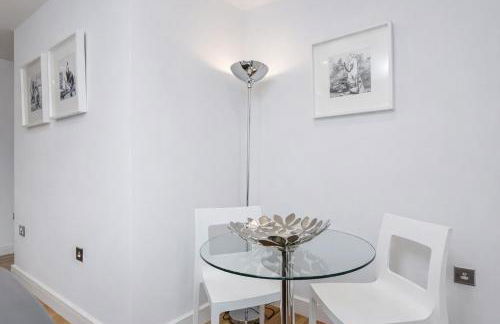
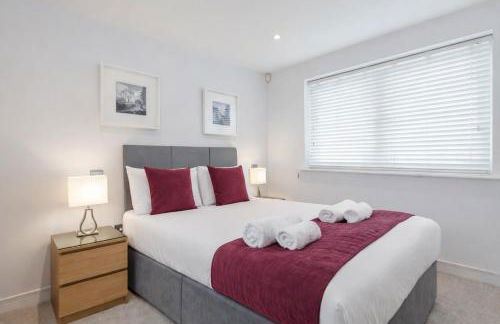
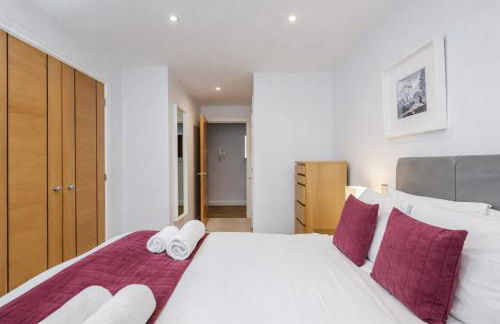
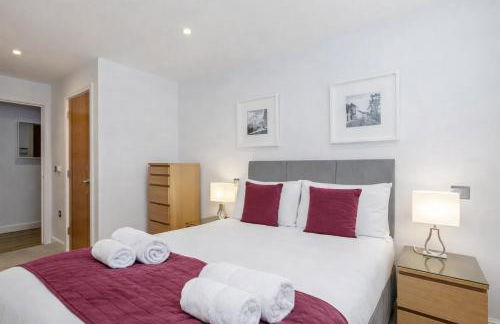
1189 Appartements à Surrey


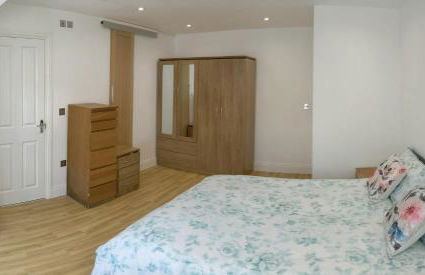
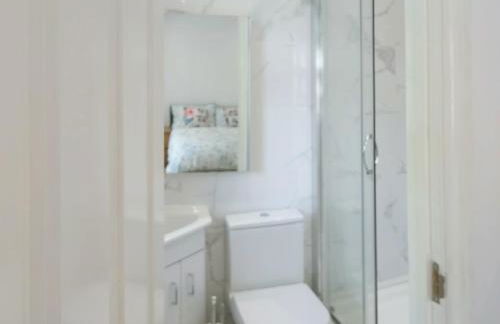
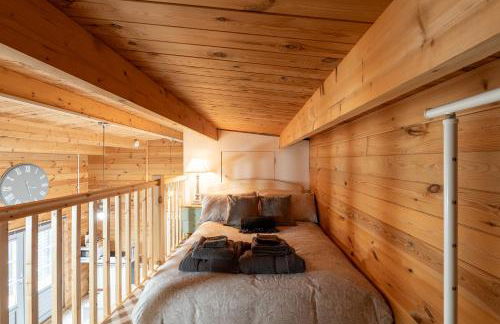
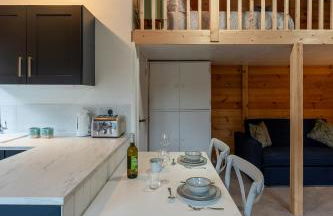
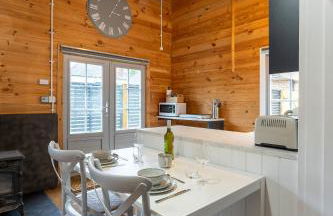
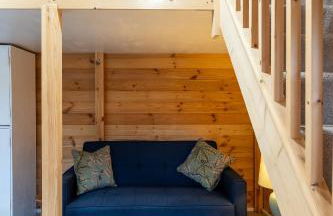
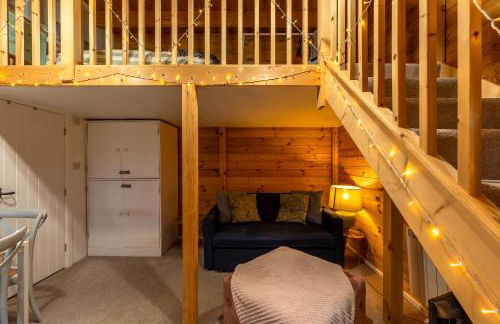
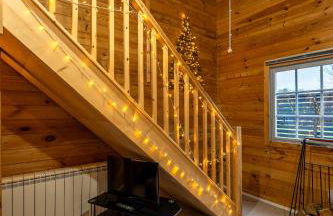
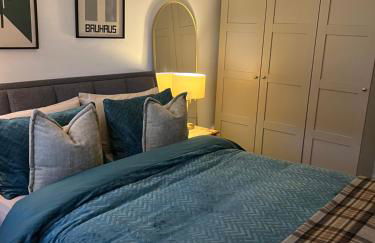
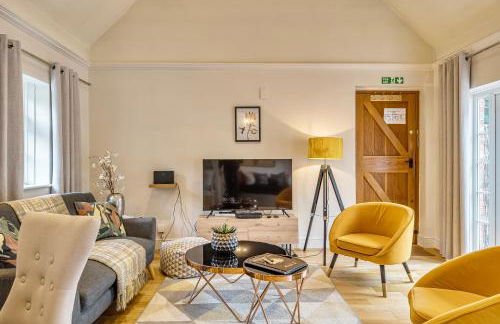
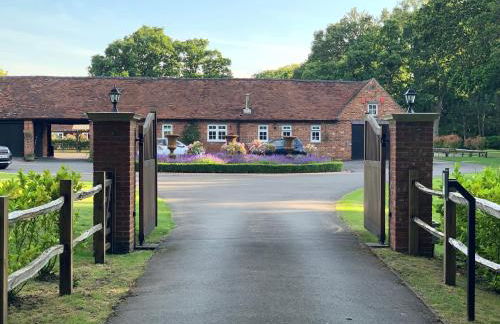
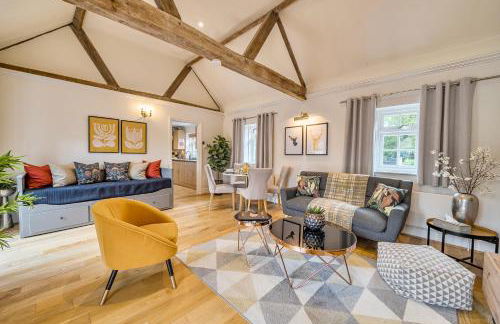
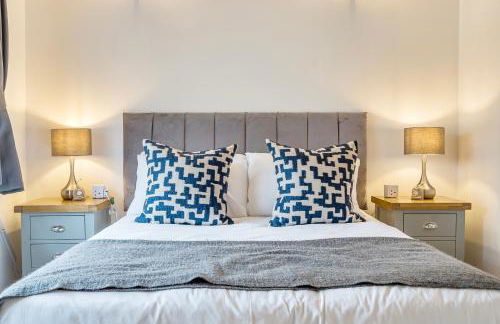
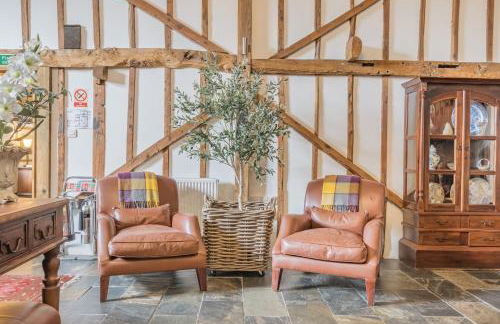
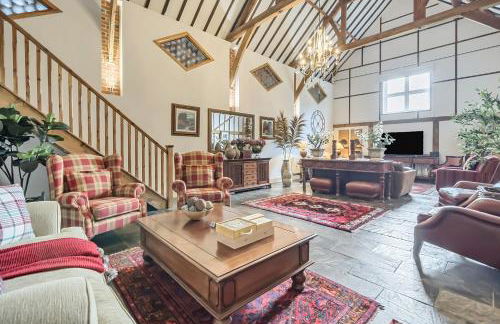
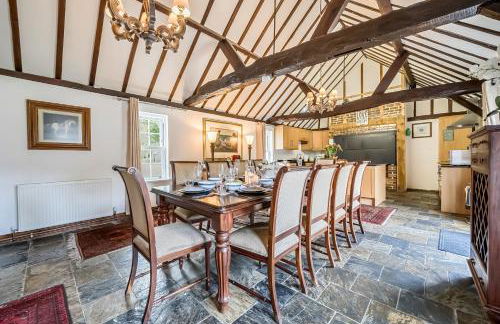
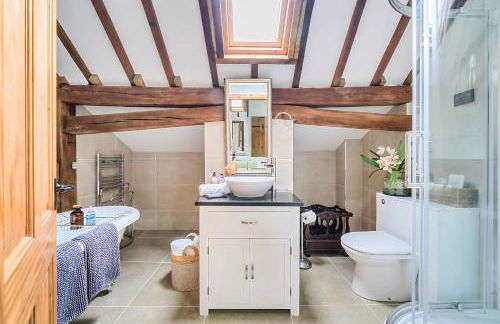
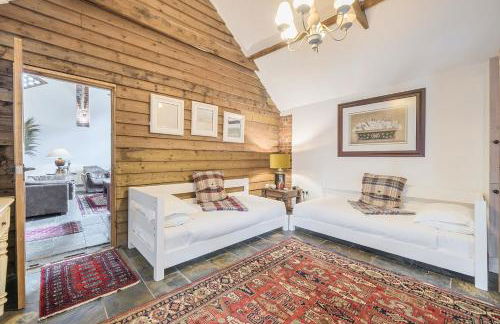
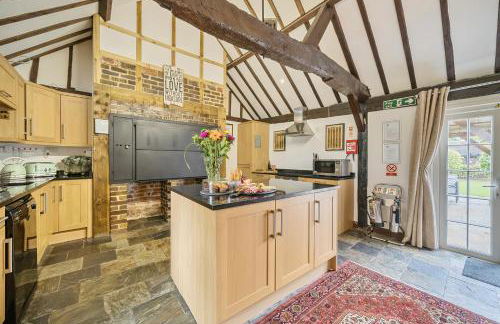
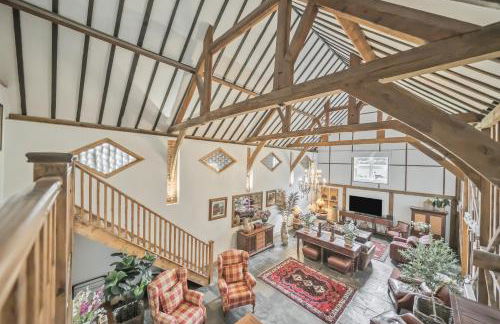
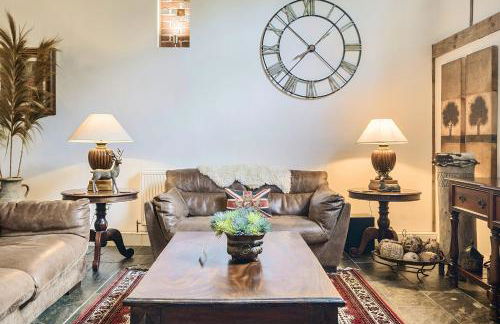
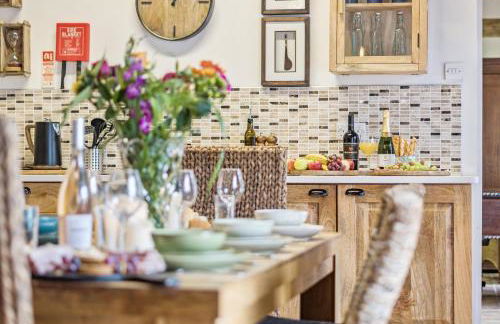
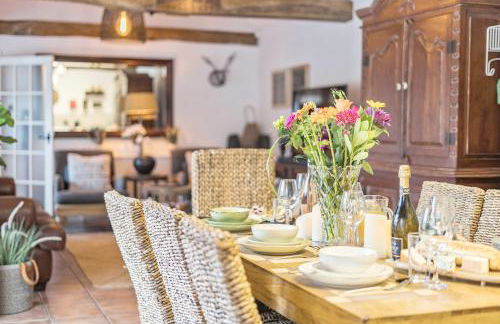
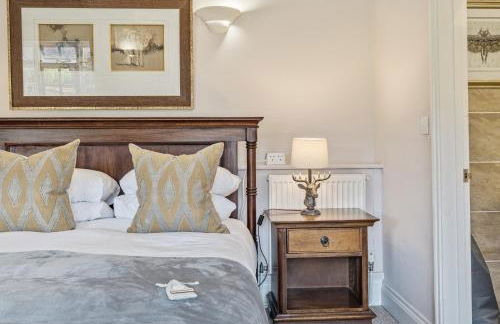
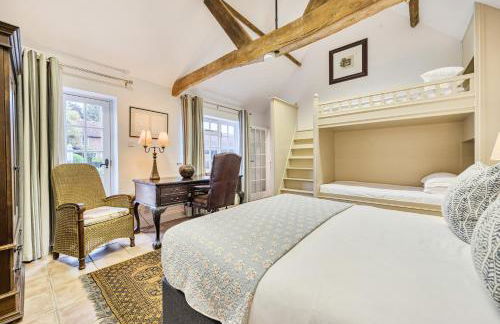
Hillside Farm Barn Apartments
Woking - Send - À 3.6 km du centre
- 23 M2
- 2 personnes
- Cuisinette
- Air conditionné
- Le chauffage
- Parking
- Jardin
- Tv
- Serviettes
- Feuilles
22 avis


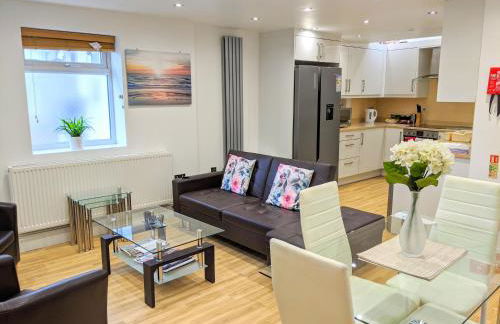
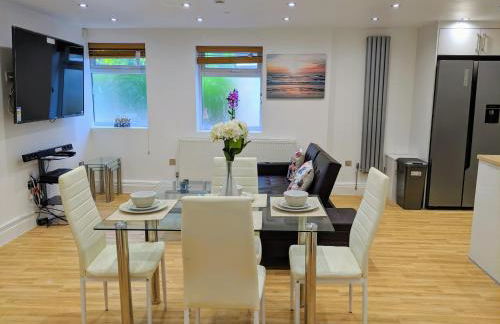
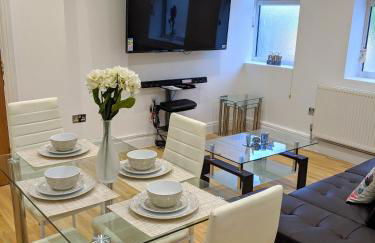
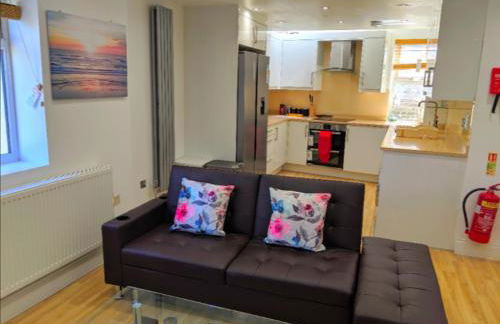
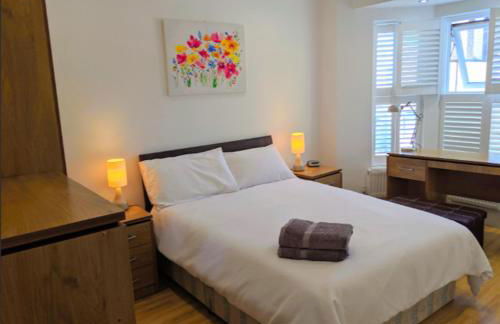
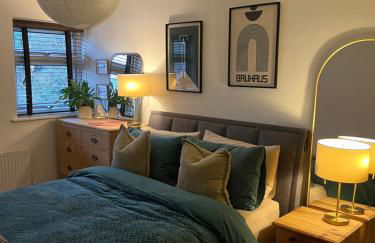
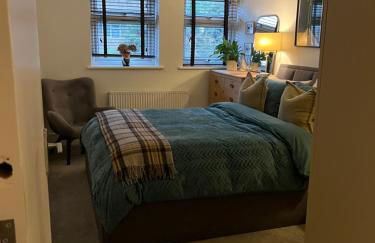
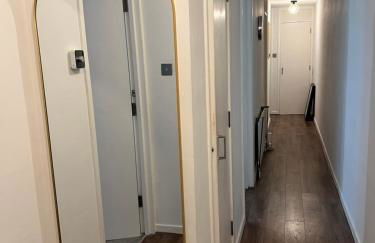
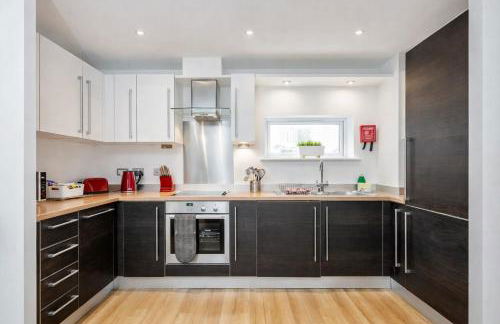
New Central Woking 1 and 2 Bedroom Apartments with Free Gym, close to Train Station
Woking - Woking - Dans le centre
- 58 M2
- 2 chambres
- 4 personnes
- Le chauffage
- Terrasse
- Parking
- Ascenseur
- Jardin
29 avis


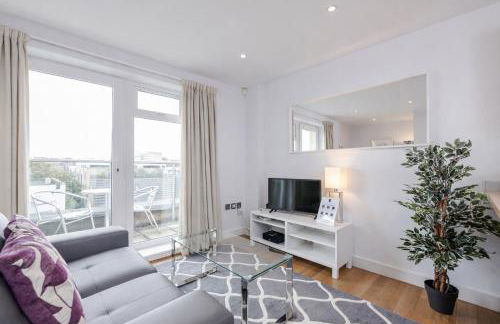
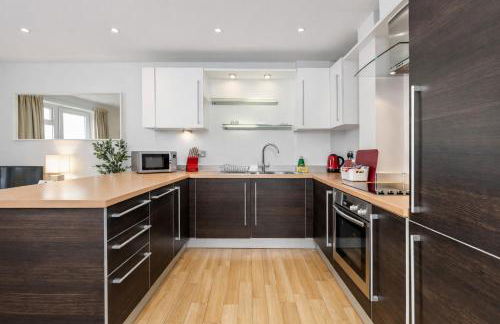
Stunning Flat with Parking Free near Sutton Station
Sutton - Cheam - À 670 m du centre
- 100 M2
- 3 personnes
- Le chauffage
- Parking
17 avis


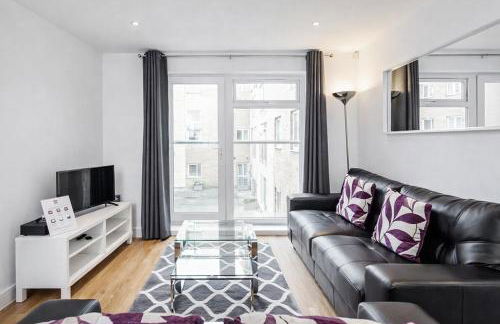
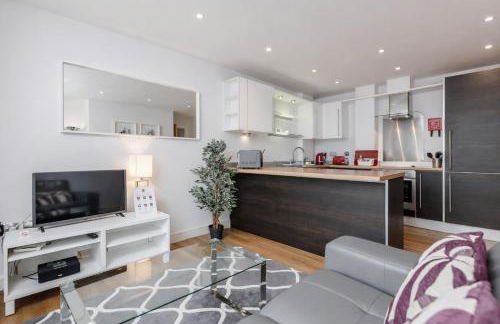
Spacious 2-bed apartment in central Kingston near Richmond Park
Kingston - Kingston - À 370 m du centre
- 65 M2
- 2 chambres
- 5 personnes
- Le chauffage
- Parking
60 avis

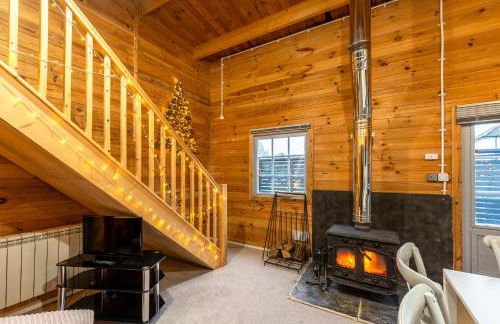
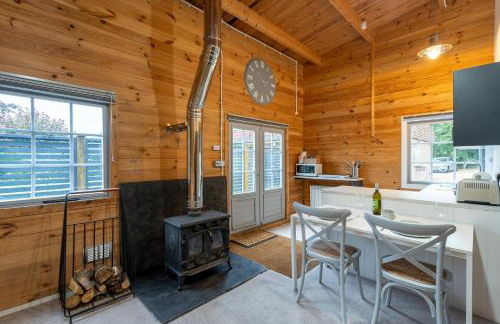


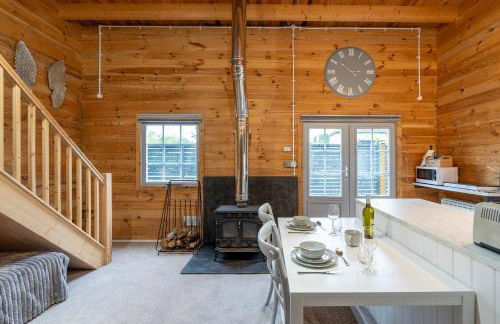
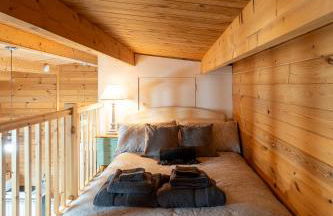
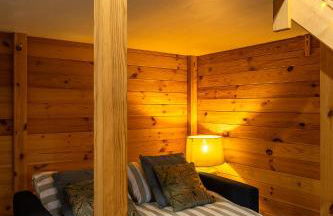
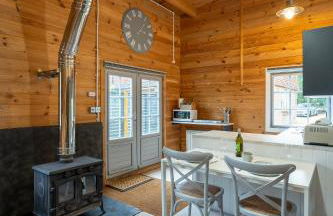


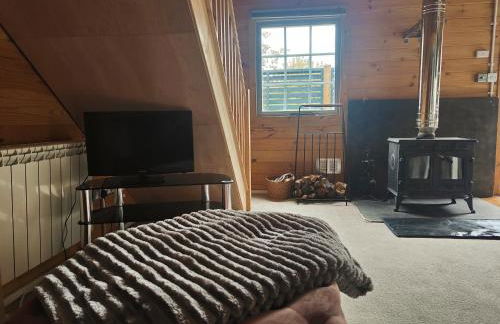


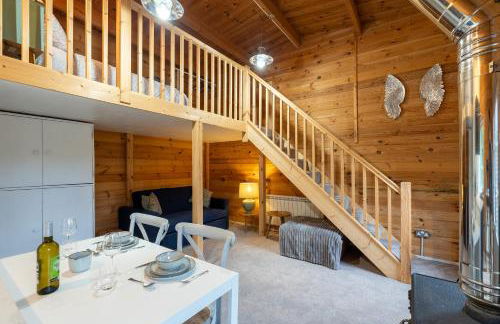
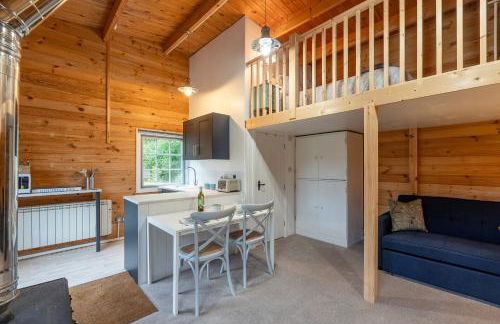

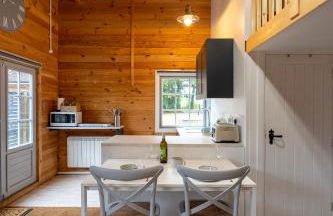
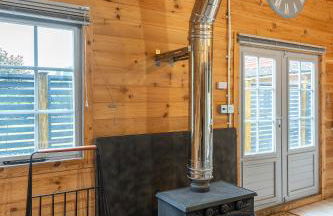

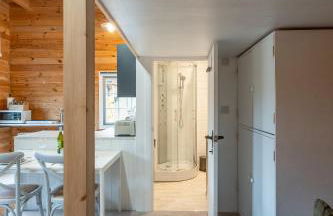
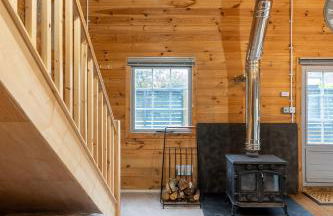

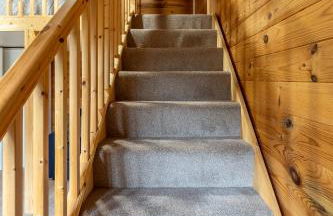
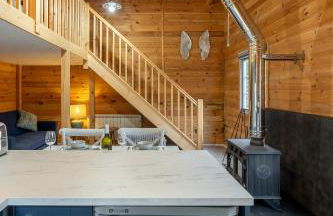
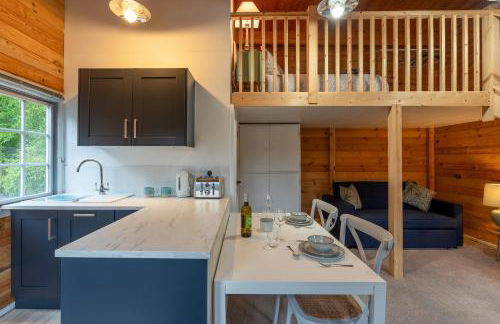
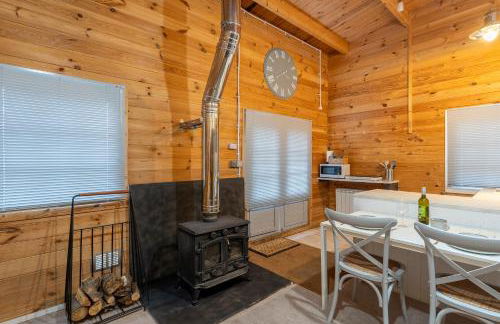
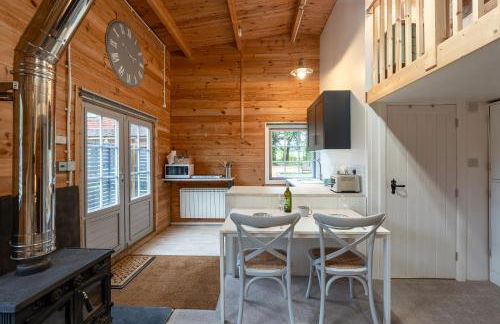
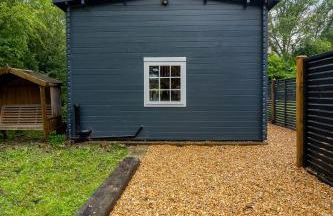
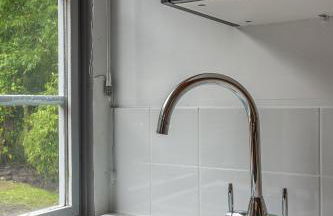
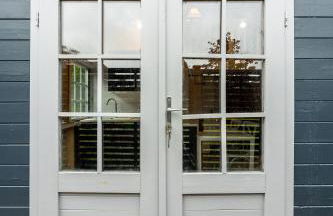
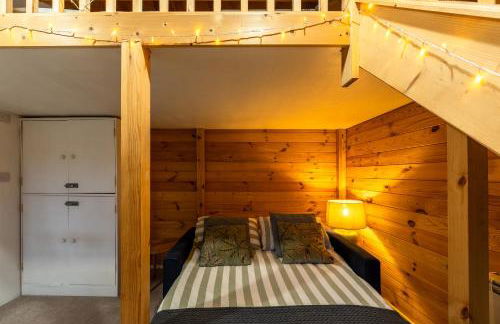


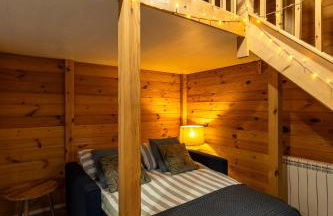
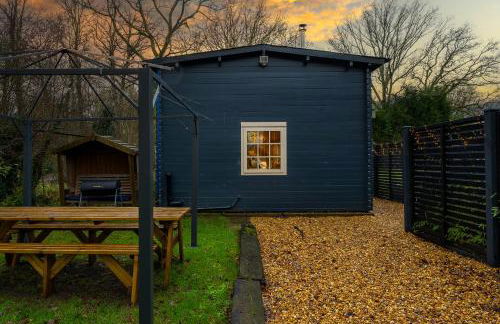

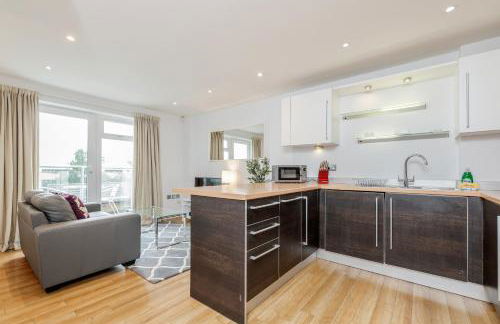
Walliswood Lodge - Wood Burner, Air Con & Wi-fi, Rural Retreat
Dorking - Wallis Wood
- 42 M2
- 1 chambre
- 4 personnes
- Air conditionné
- Terrasse
- Parking
- Jardin
46 avis


Santina Apartments
Croydon - Croydon - À 210 m du centre
- 68 M2
- 2 chambres
- 4 personnes
- Air conditionné
- Le chauffage
- Terrasse
- Parking
- Ascenseur
81 avis


Stylish 1 Bedroom Apartment in Purley, Croydon
Purley - Purley
- 9 M2
- 2 personnes
- Le chauffage
- Parking
- Ascenseur
- Jardin
15 avis


Room at Wallington Green room for professionals, near station, 30 min to London Bridge, 27 min to LDN Victoria
Wallington - Wallington
- 23 M2
- 2 personnes
- Le chauffage
- Parking
18 avis


Premium Apartment in Redhill Town Centre
Redhill - Redhill
- 70 M2
- 1 chambre
- 4 personnes
- Le chauffage
- Parking
19 avis


Cosy, self-contained guest house
Thornton - Thornton
- 16 M2
- 2 personnes
- Air conditionné
- Le chauffage
- Terrasse
- Parking
- Jardin
- Barbecue
55 avis


Gorgeous Modern Apartment near Redhill Station inc Private Garden & Parking
Redhill - Redhill
- 52 M2
- 2 chambres
- 4 personnes
- Le chauffage
- Terrasse
- Parking
- Jardin
28 avis


Roomspace Serviced Apartments - Swan House
Leatherhead - Leatherhead
- 78 M2
- 5 personnes
- Le chauffage
- Ascenseur
- Tv
- Machine à laver
- Serviettes
- Feuilles
6 avis


Roomspace Serviced Apartments - Abbot's Yard
Guildford - Guildford - À 290 m du centre
- 80 M2
- 5 personnes
- Le chauffage
- Ascenseur
- Tv
- Machine à laver
- Serviettes
- Feuilles
6 avis


Central Camberley Apartment - Parking - Garden
Camberley - Camberley
- 1 chambre
- 4 personnes
- Parking
55 avis


Large Luxury appartment
Cobham - Cobham
- 90 M2
- 3 chambres
- 5 personnes
- Le chauffage
- Terrasse
- Parking
- Jardin
70 avis


Stunning Studio1, Banstead with free off st parking
Banstead - Banstead
- 16 M2
- 2 personnes
- Le chauffage
- Terrasse
- Parking
- Jardin
11 avis


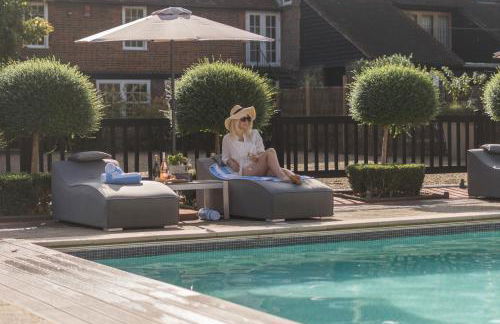
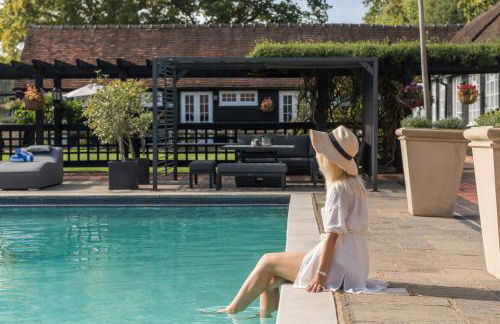
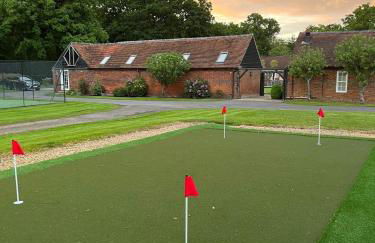


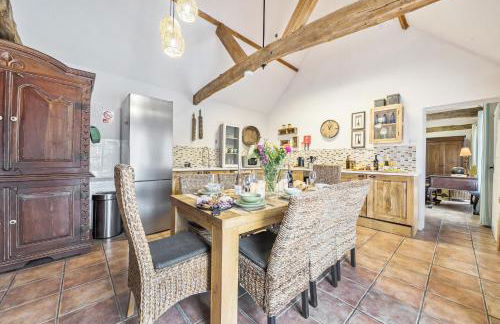
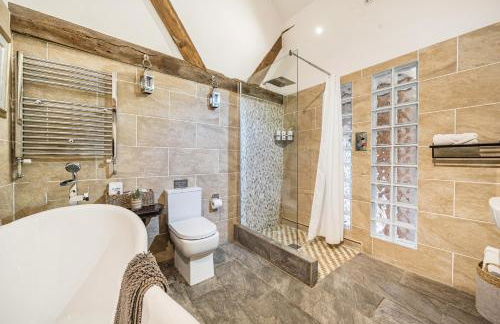
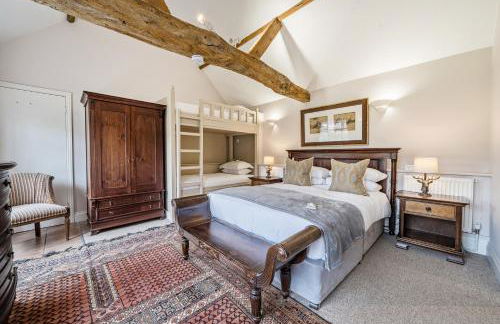

Whitmoor Farm
Guildford - Jacobs Well - À 4.1 km du centre
- 116 M2
- 2 chambres
- 8 personnes
- Terrasse
- Piscine
- Parking
- Jardin
- Barbecue
73 avis