
5 Appartements à Spercheiada
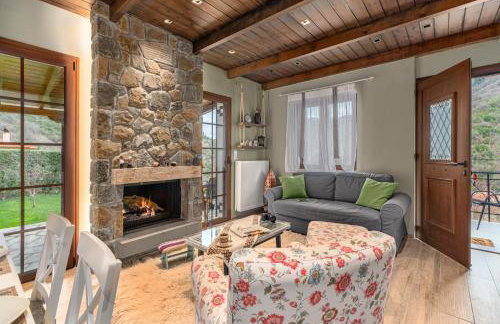
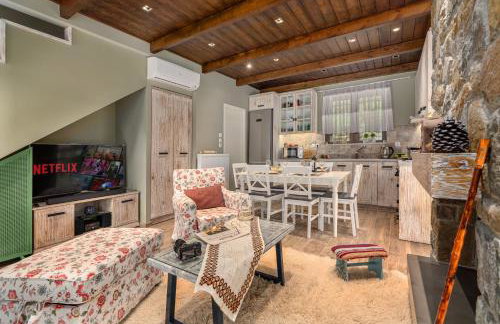
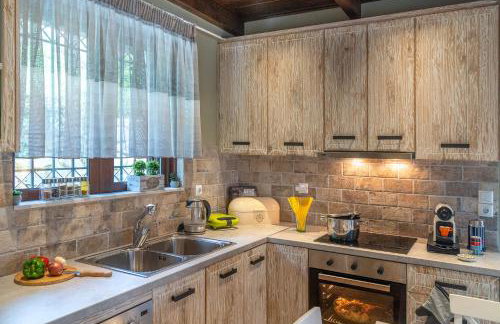
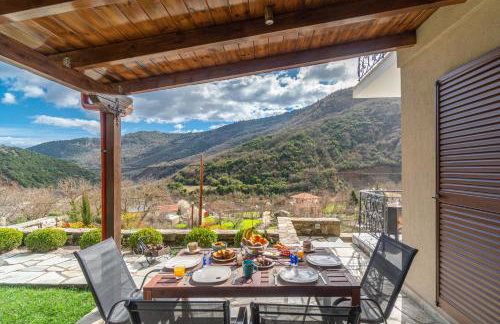

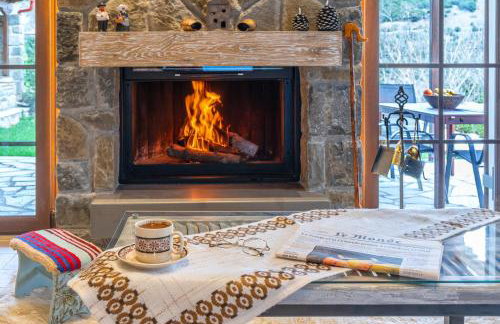
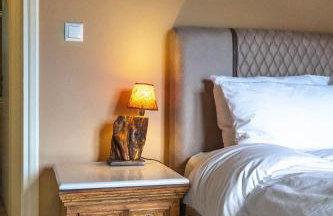
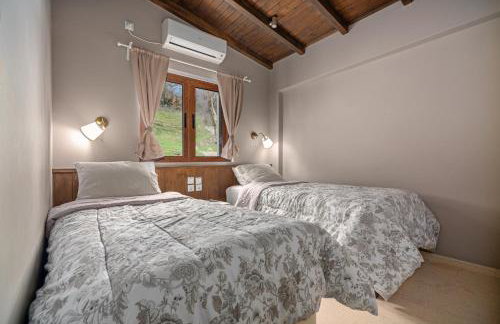
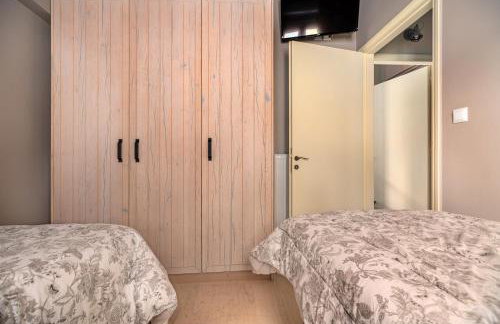
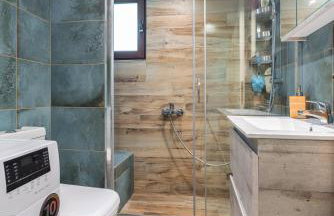
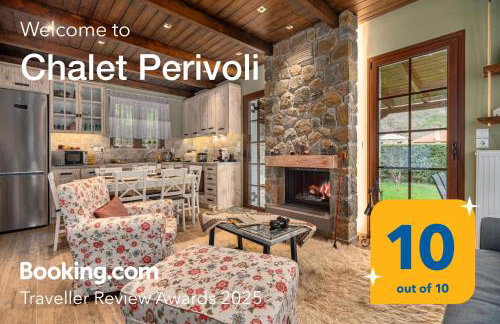
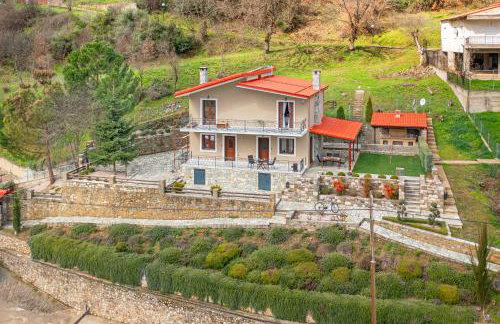
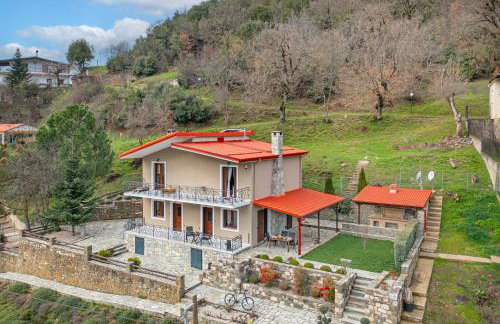
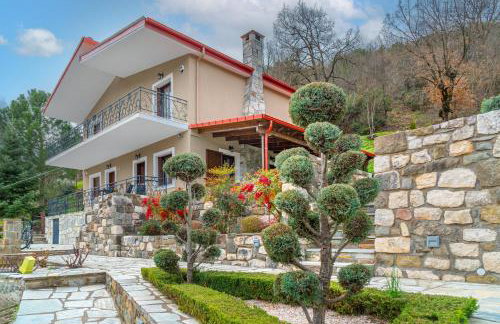
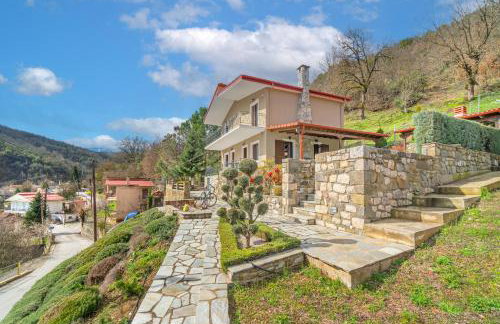
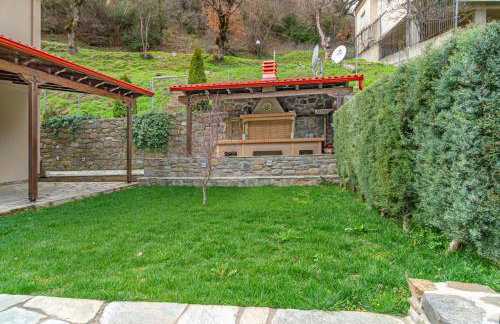
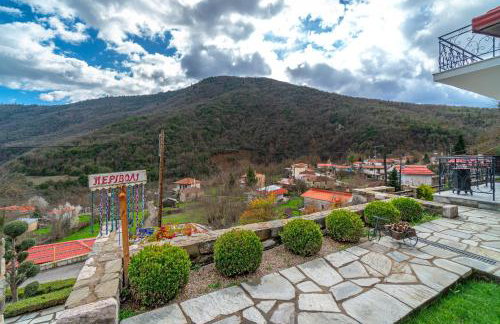
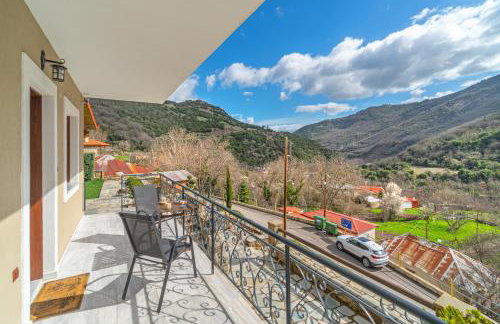
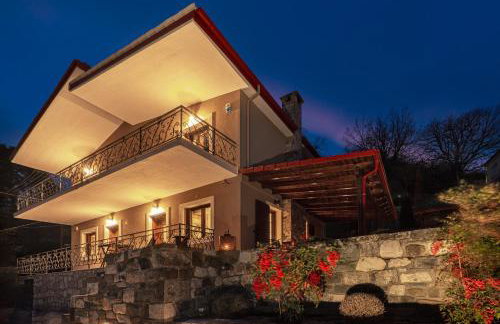
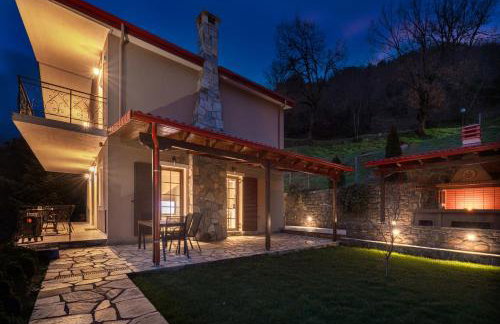
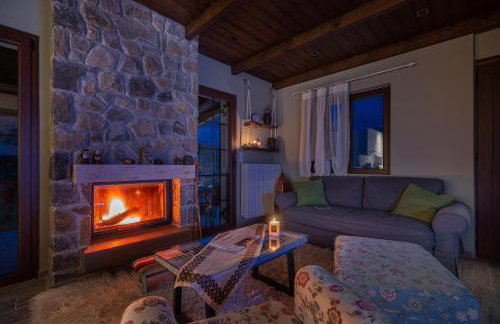
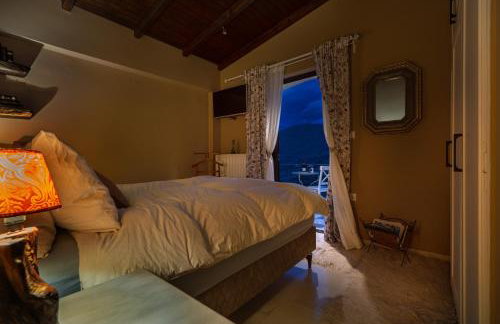
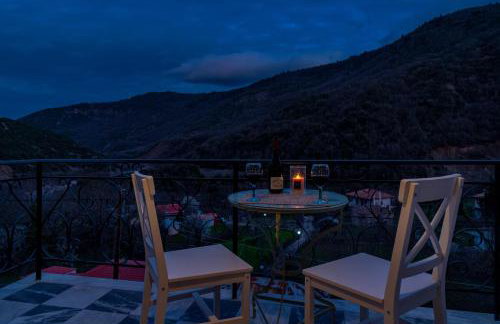
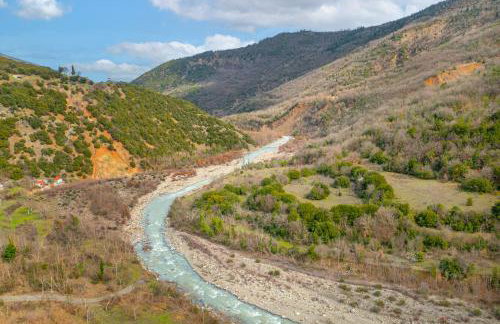

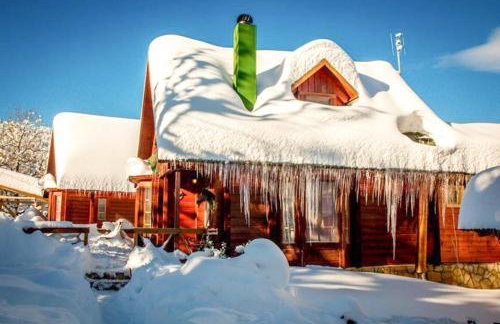
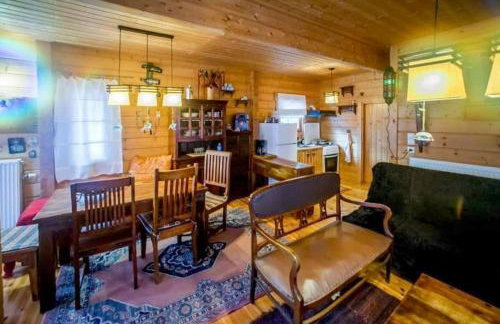
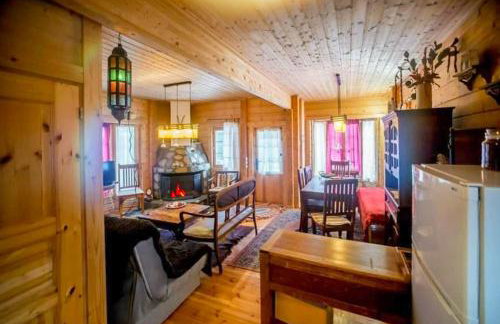
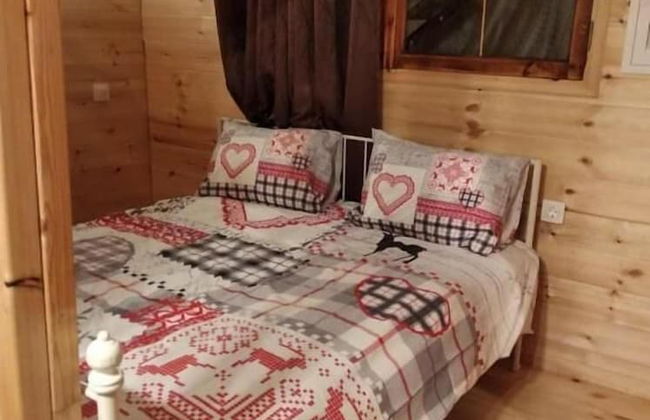
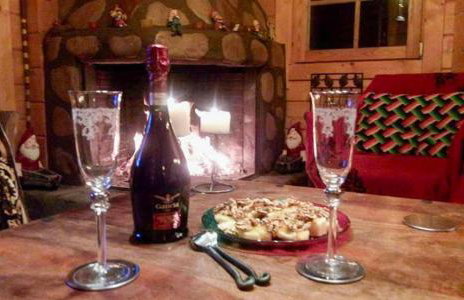
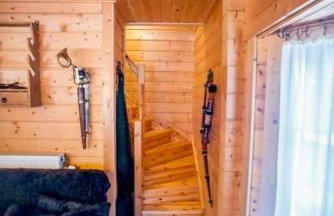
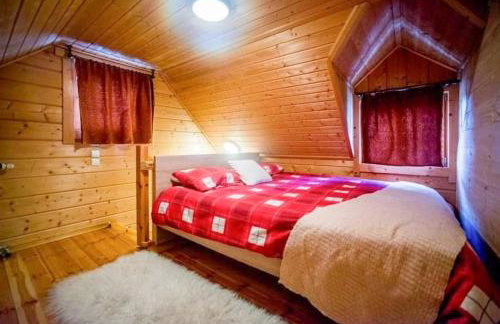
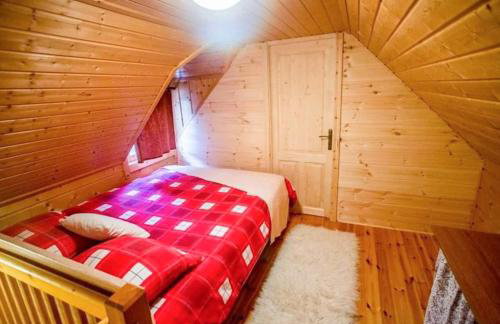
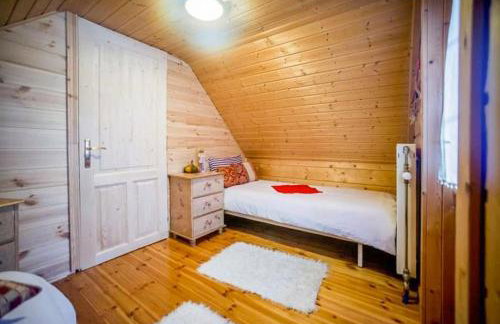
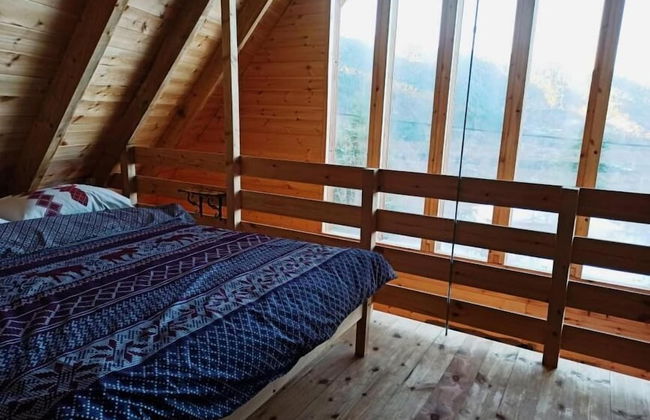
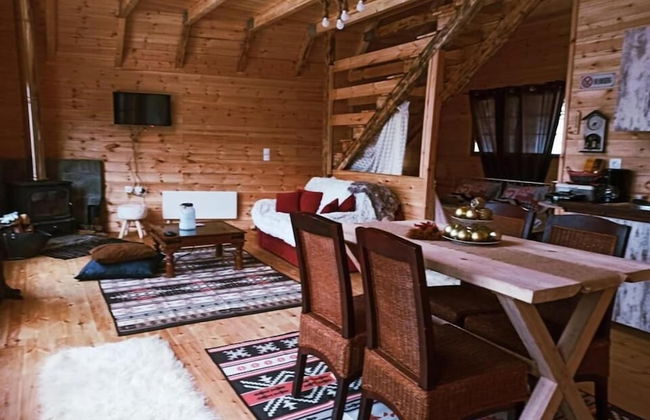
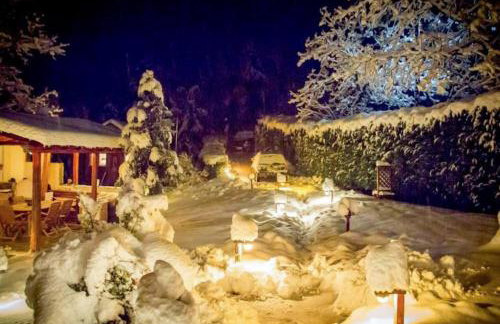
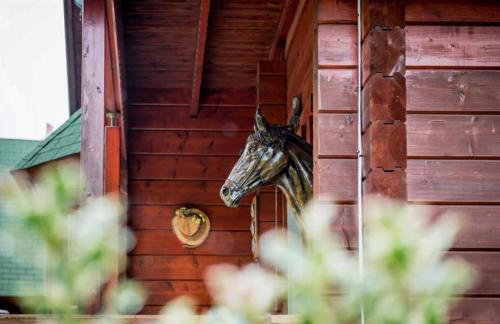
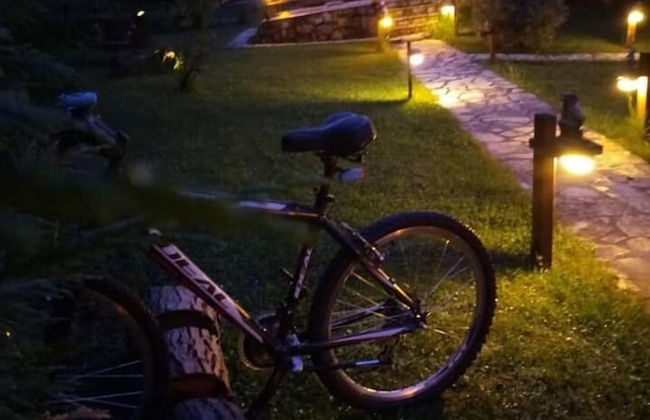
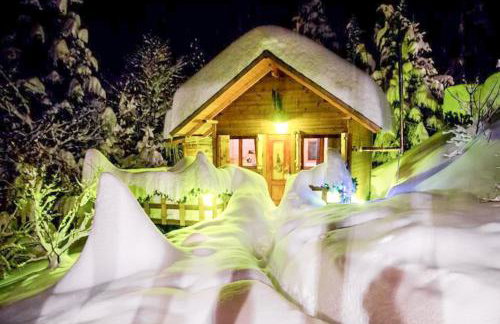
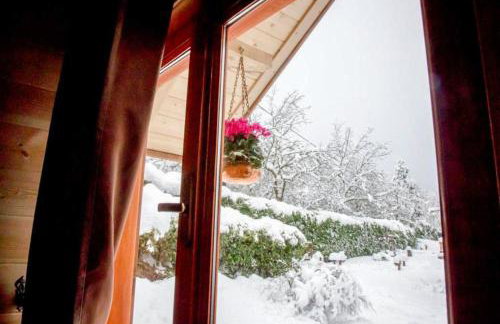
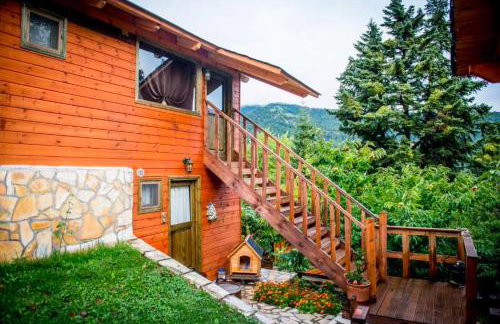
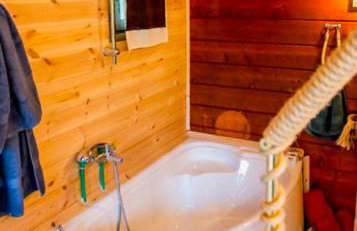
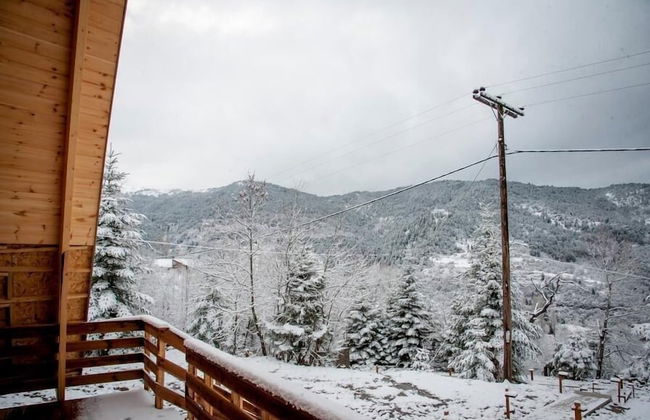
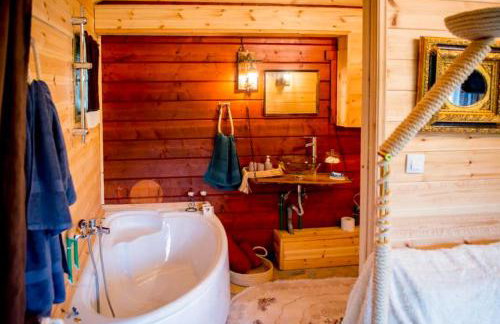
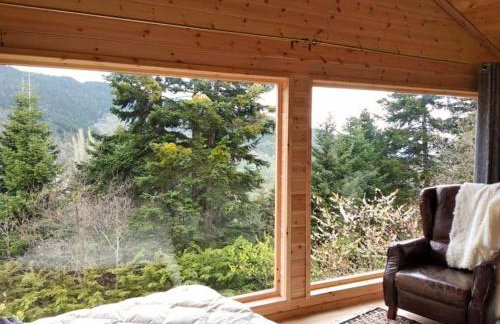
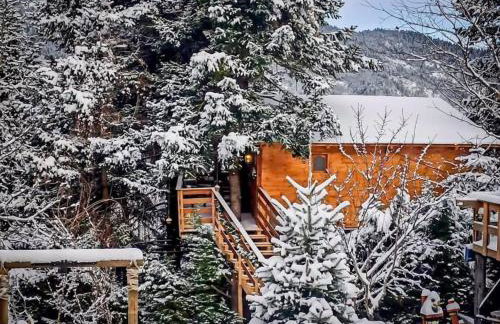
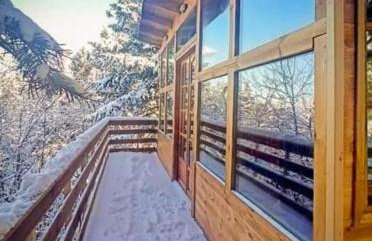
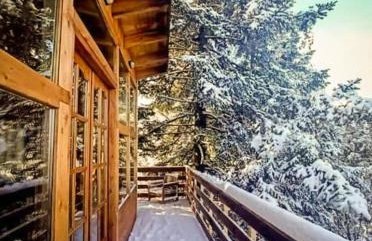
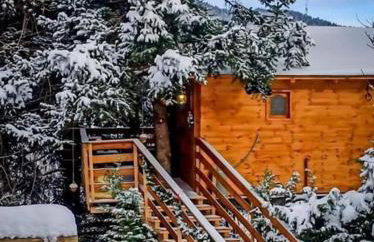
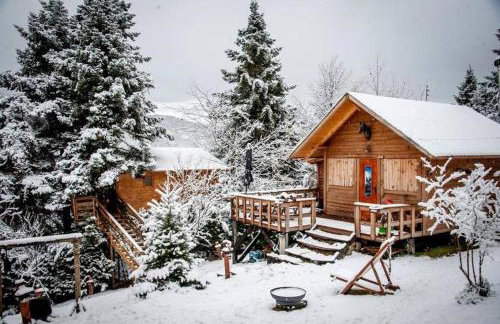
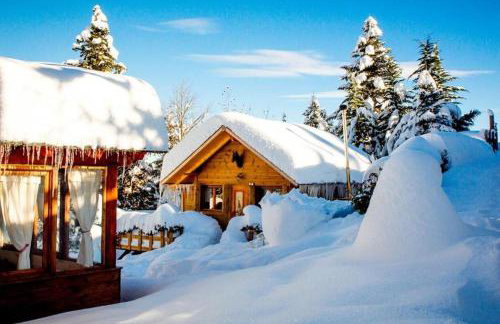
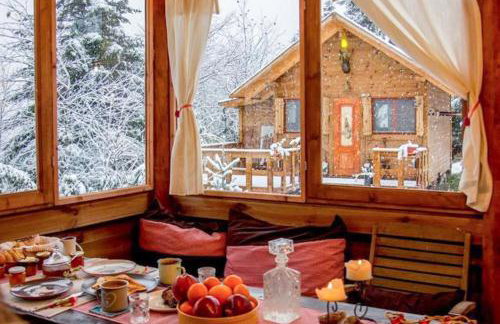
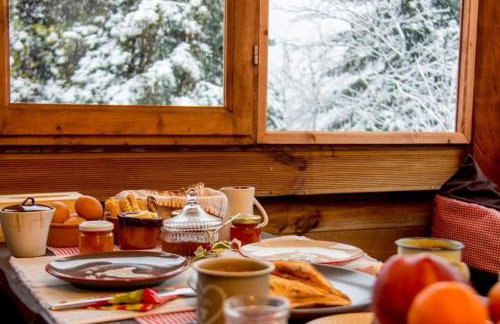
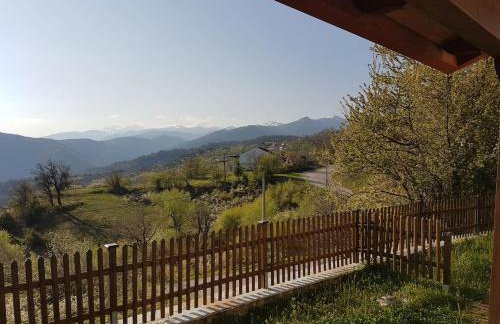
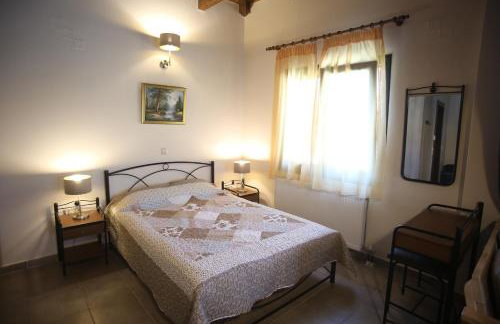
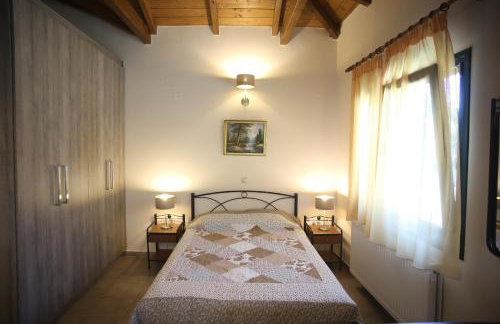
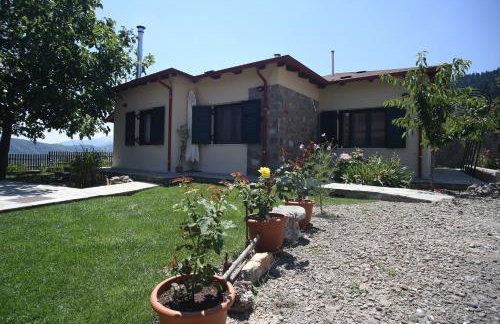
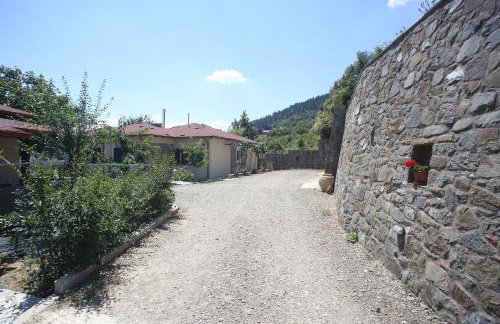
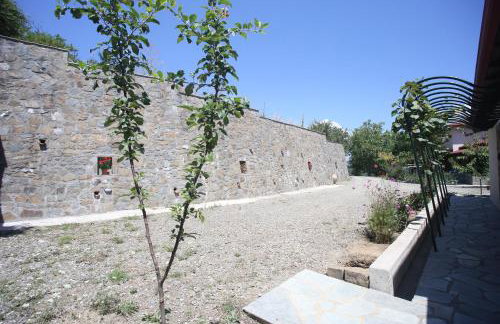
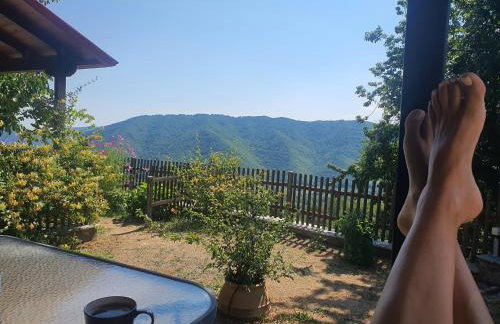
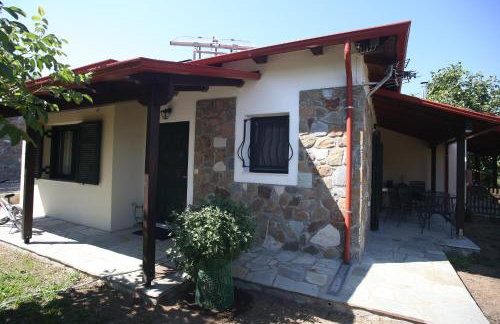
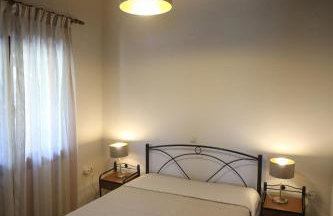
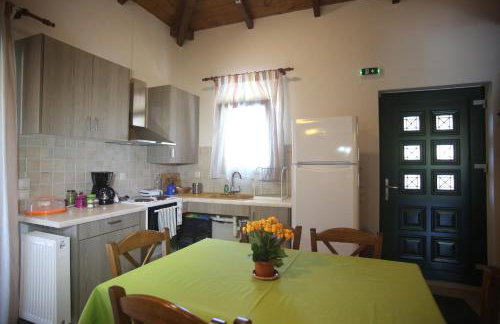
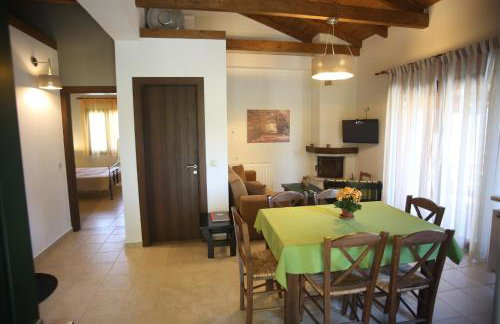
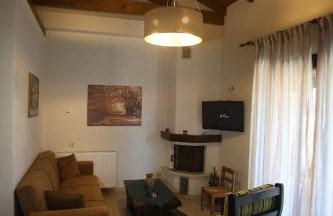
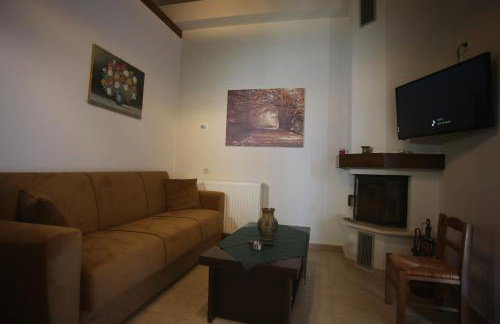
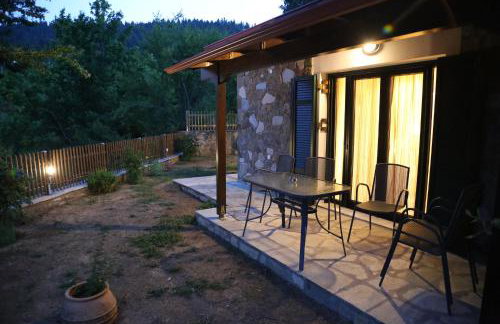
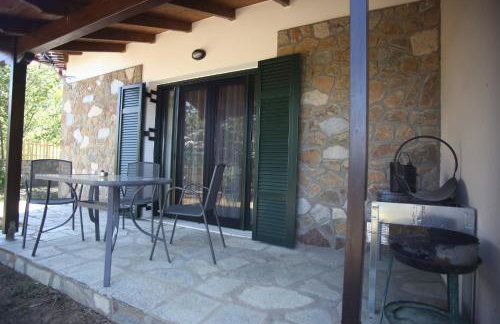
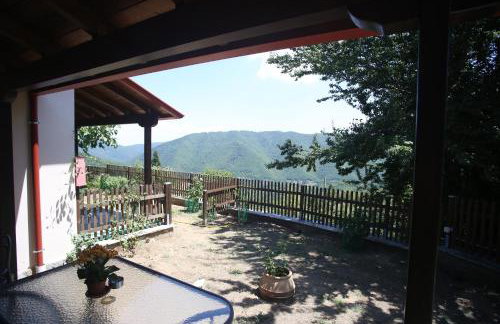
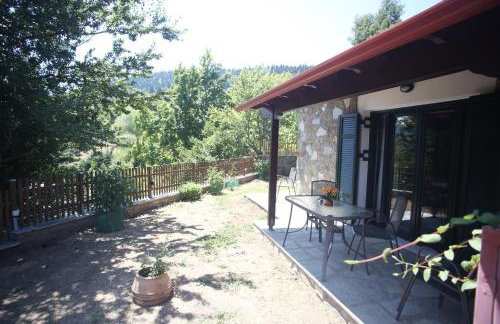
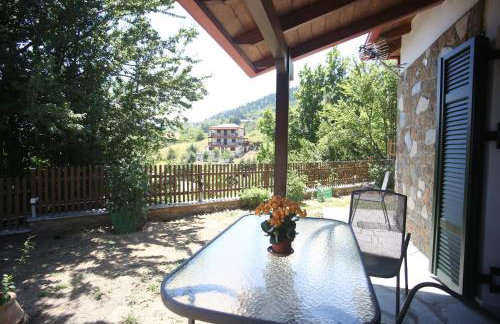
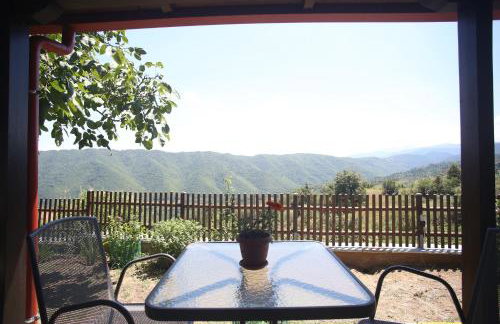
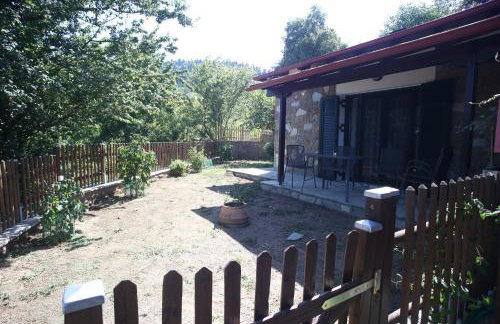
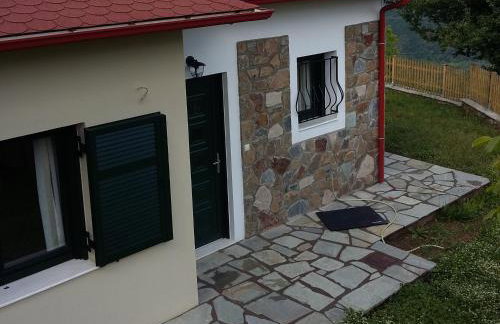
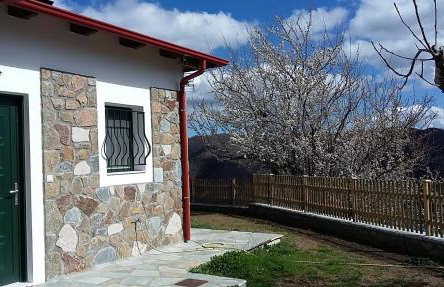
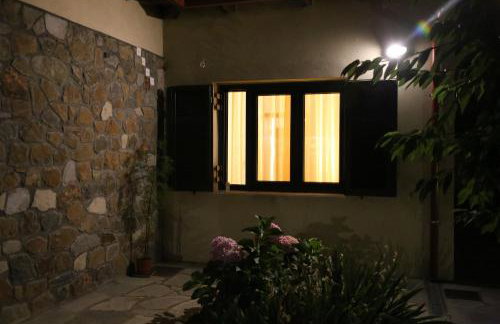
Chalet Perivoli
Spercheiada - Makrakomi - À 8.6 km du centre
- 70 M2
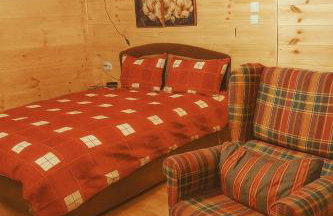
- 2 chambres
- 4 personnes
- Air conditionné
- Le chauffage
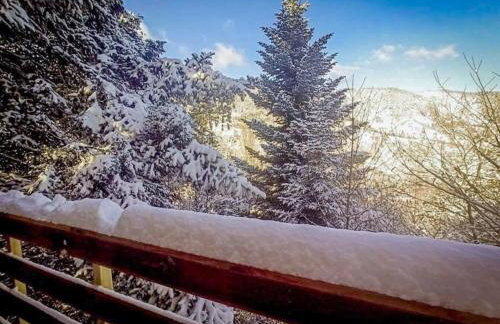
- Terrasse
- Parking
- Jardin
- Barbecue
8 avis


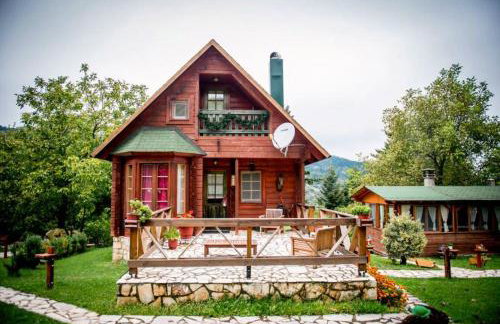


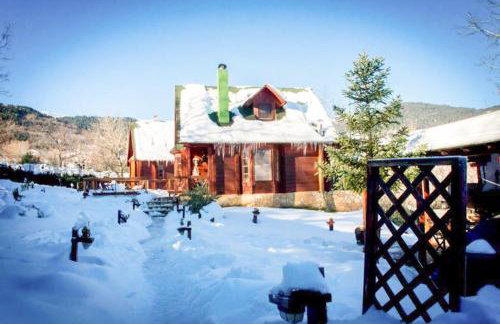


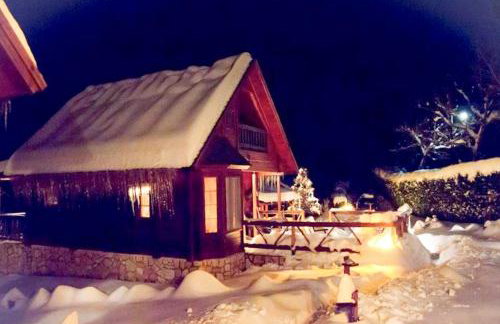


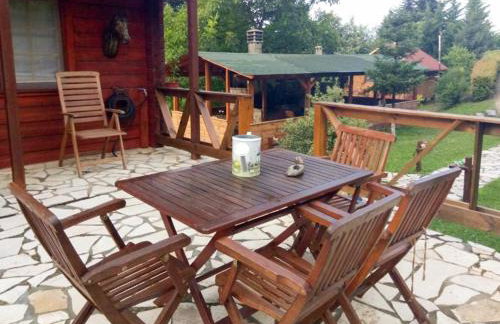


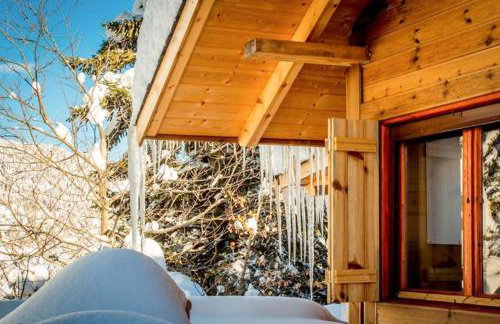

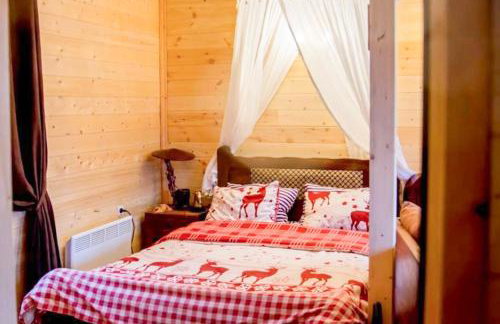
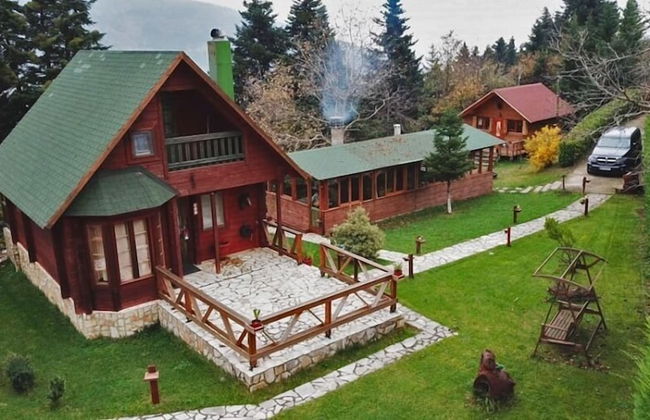


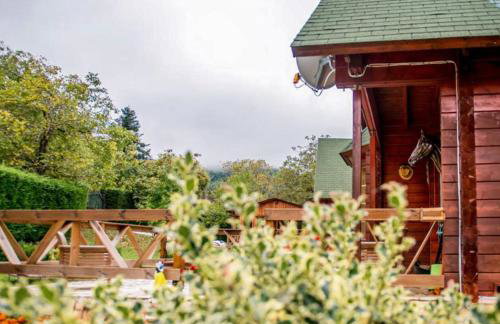


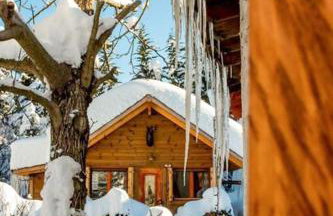


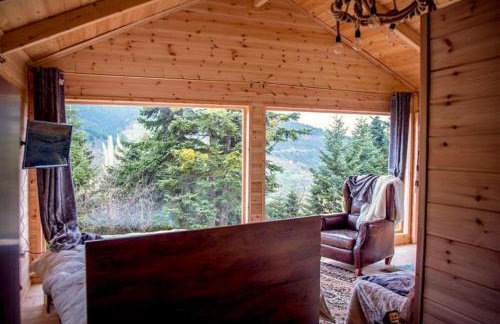


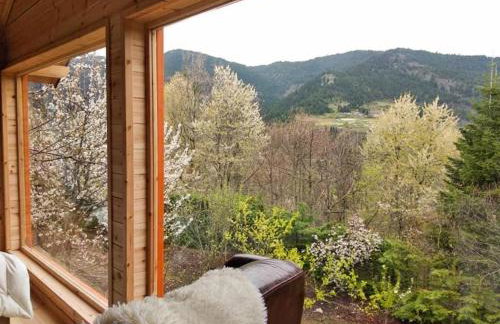
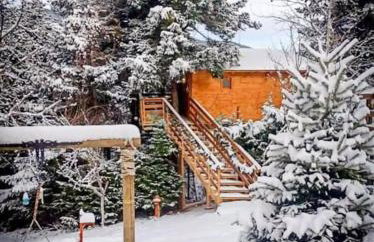
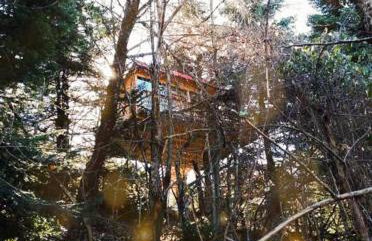
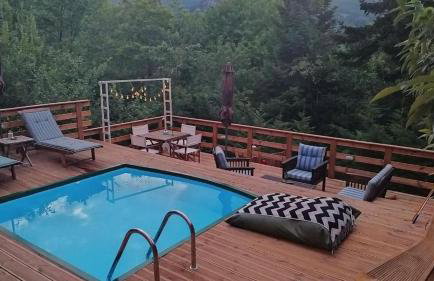
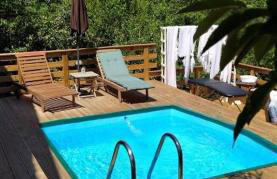
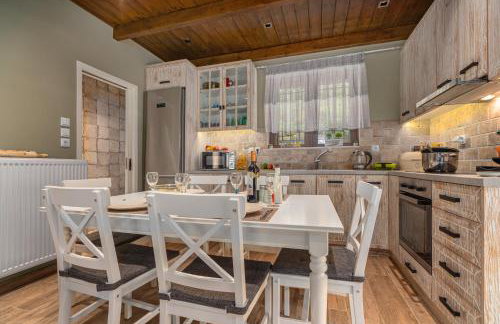
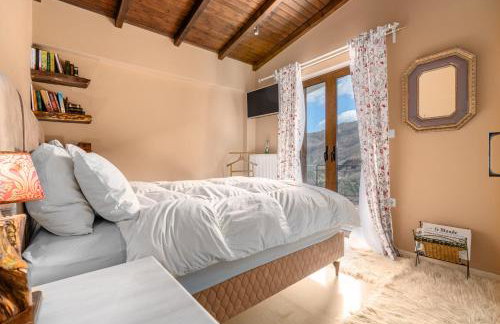
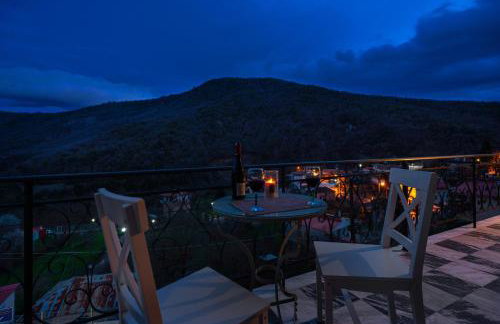
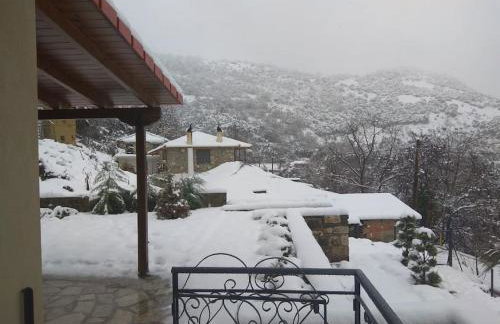
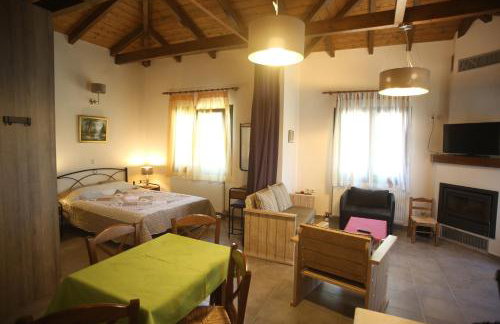
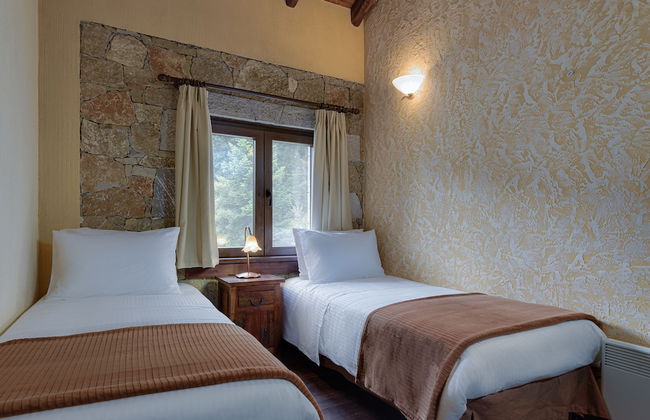
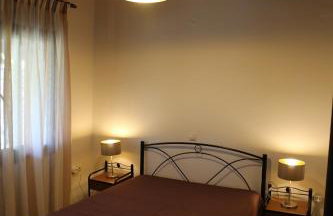
Kedra Village Retreats - Mountain Escape
Spercheiada - Kedra - À 16.9 km du centre
- 100 M2
- 3 chambres
- 10 personnes
- Air conditionné
- Le chauffage
- Terrasse
- Piscine
- Parking
- Jardin
- Tv
- Cheminée
- Barbecue
- Serviettes
- Feuilles
7 avis
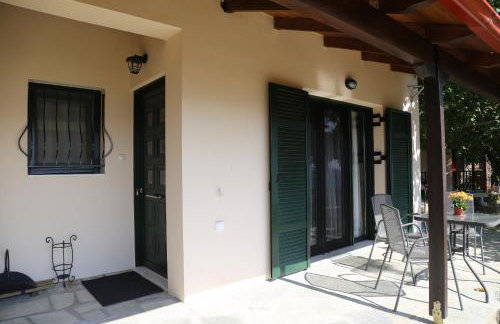
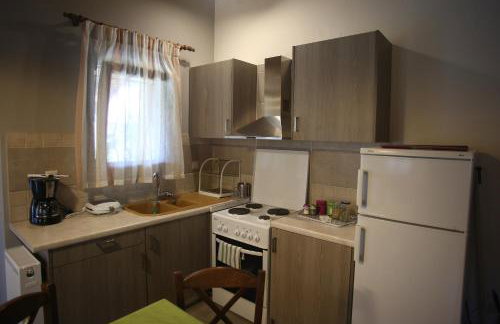
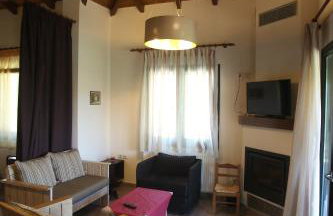
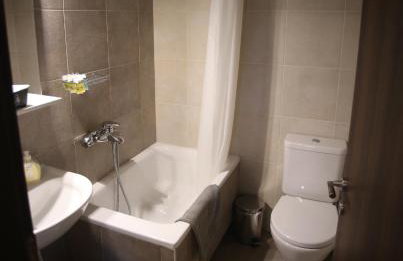

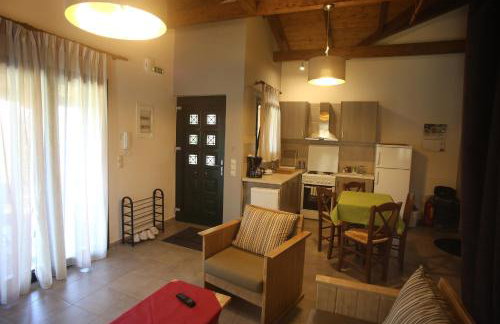
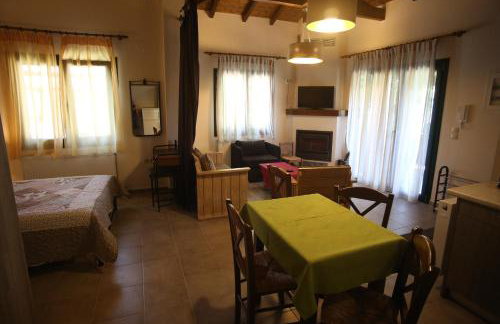

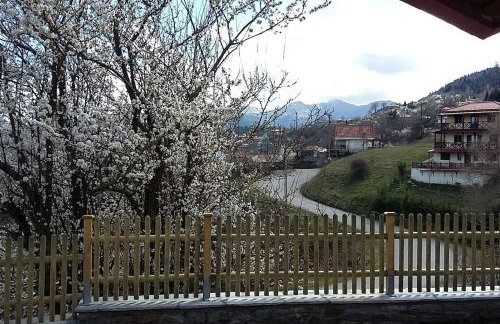
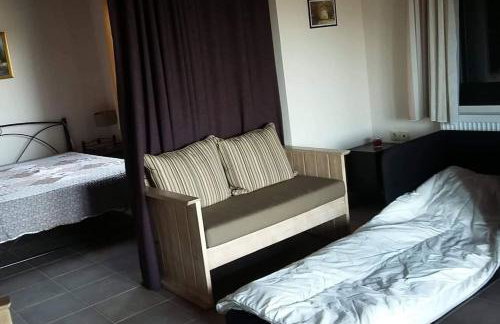
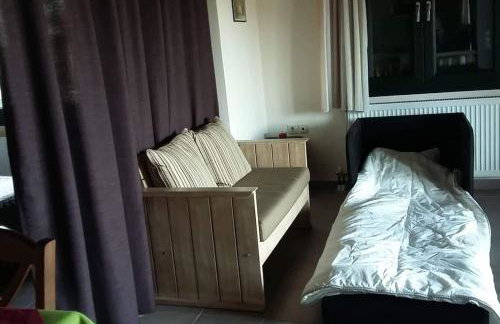
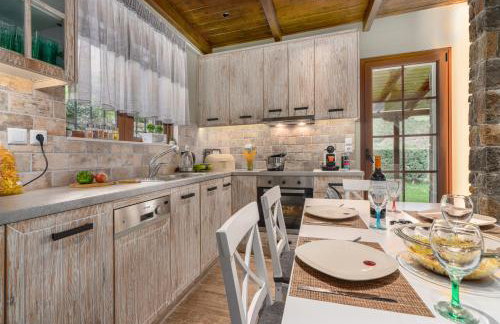
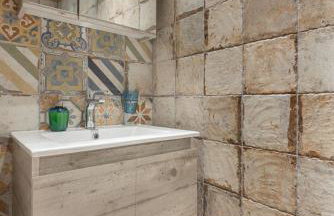
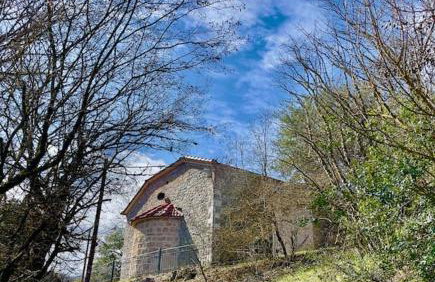
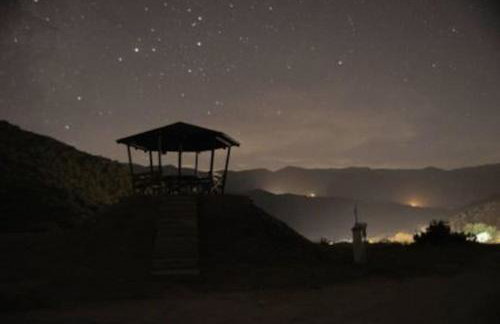
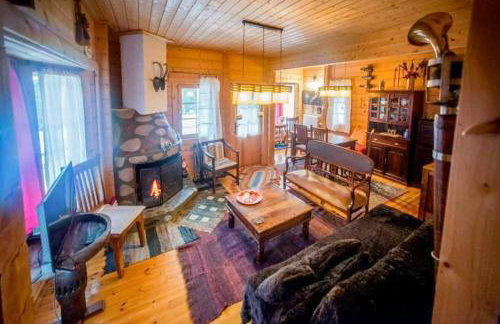
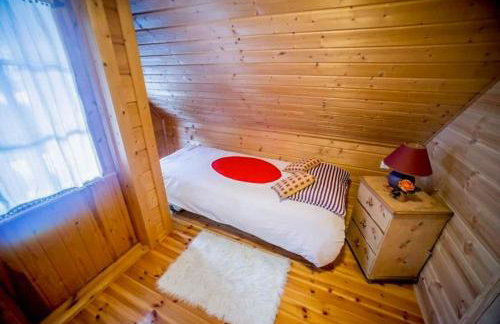
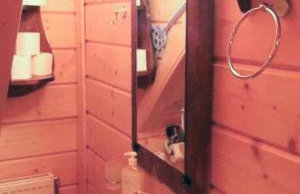
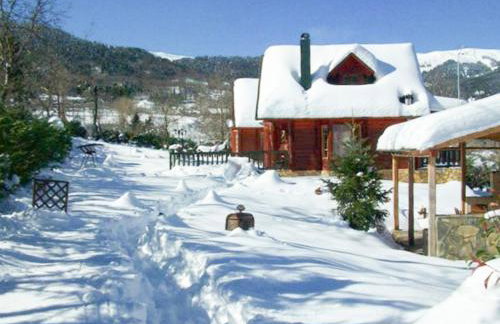
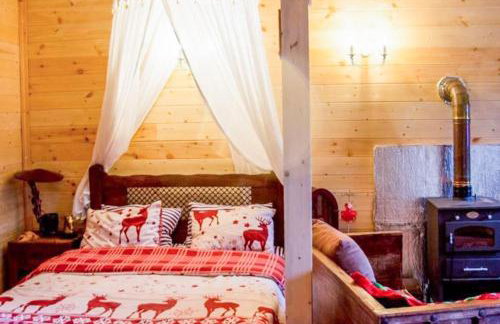
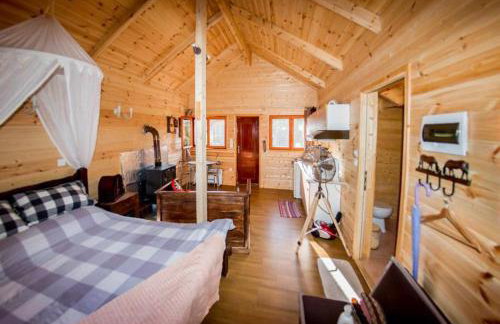
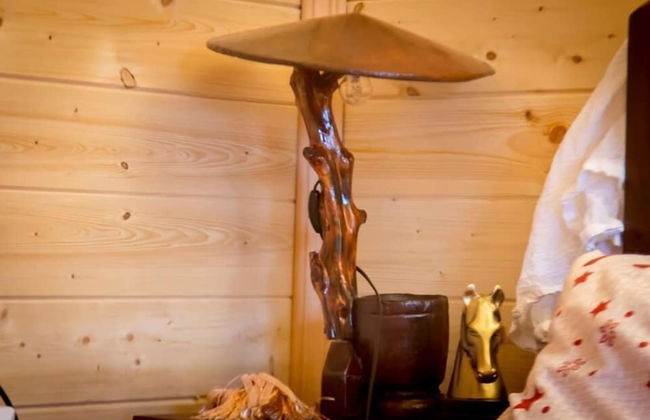
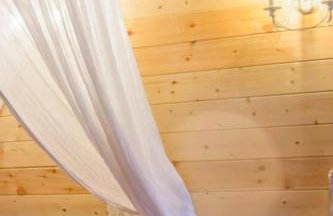
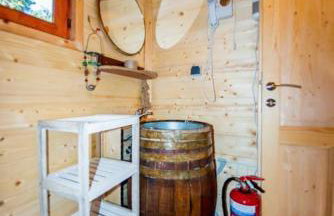
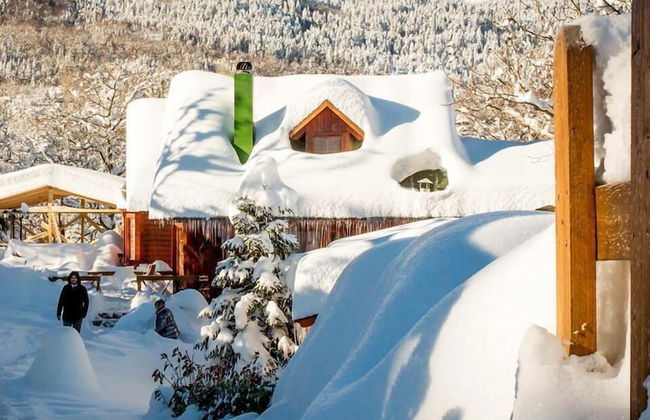
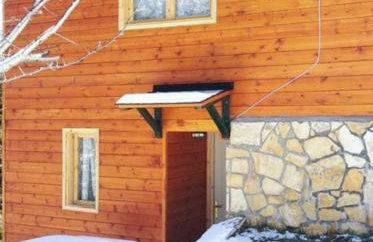
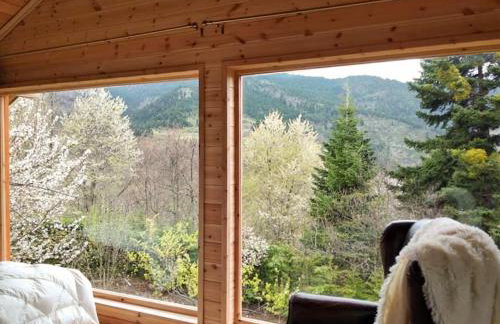
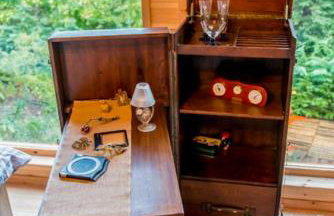
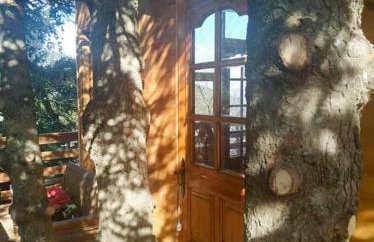
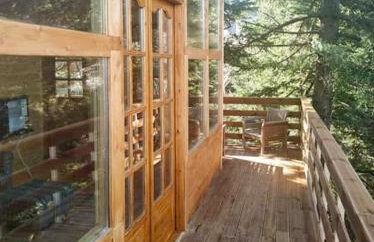
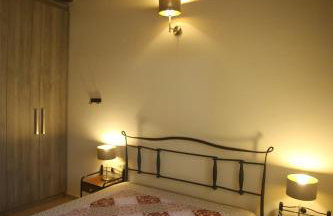
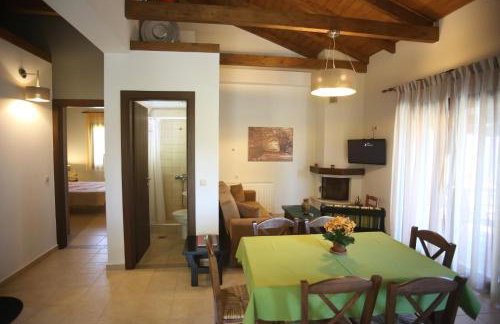
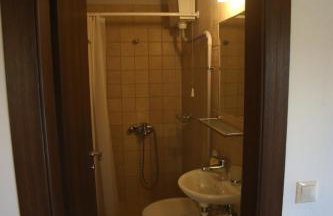
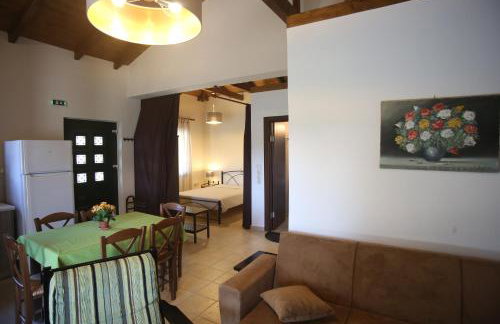
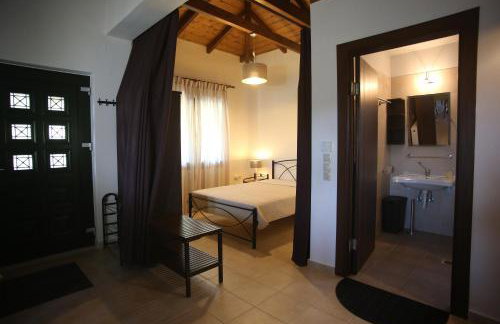
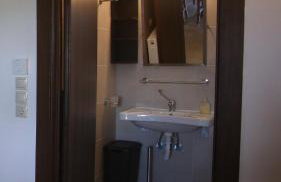
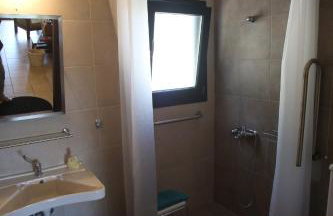
Morchella MushROOM
Spercheiada - Makrakomi - À 14.8 km du centre
- 40 M2
- 1 chambre
- 3 personnes
- Le chauffage
- Terrasse
- Parking
- Jardin
- Barbecue
3 avis


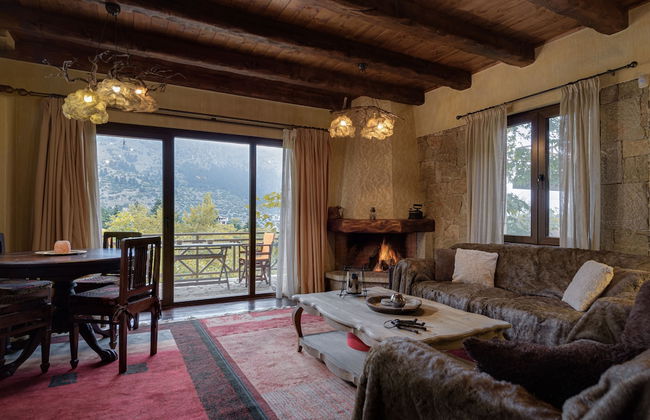


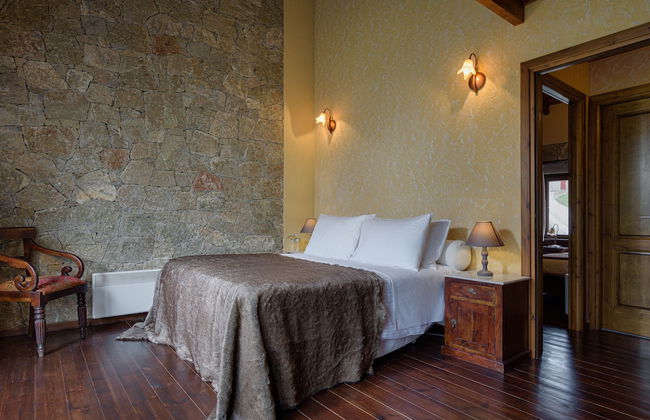


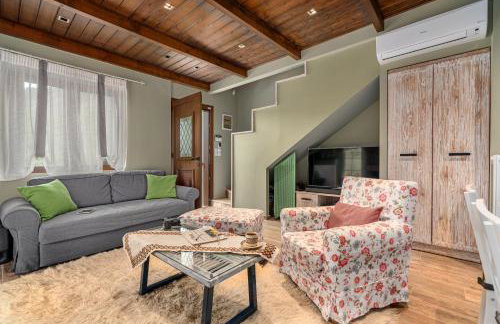
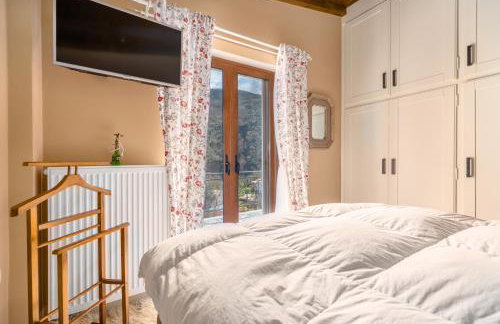
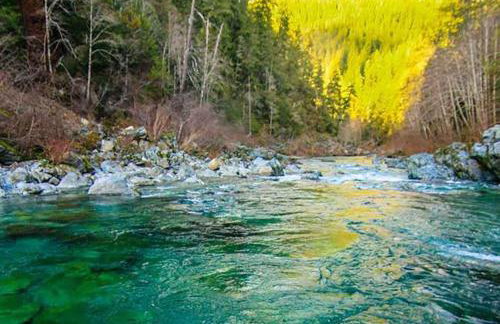
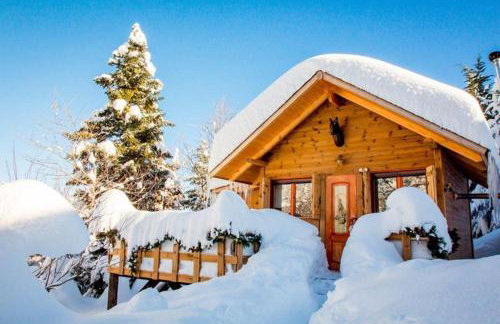
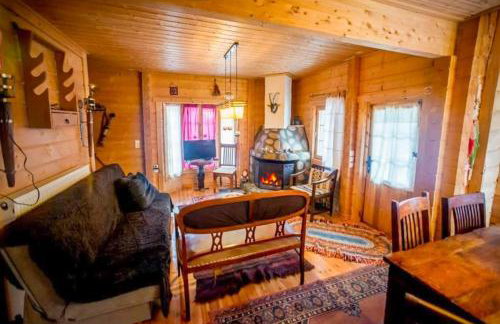
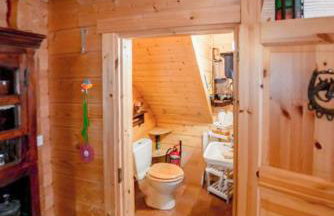
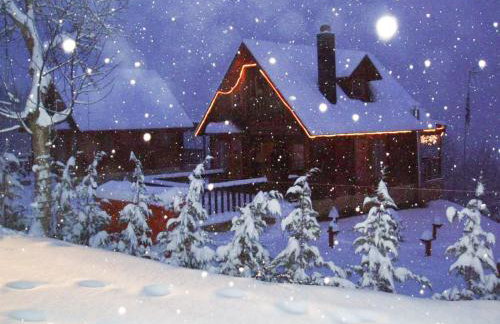
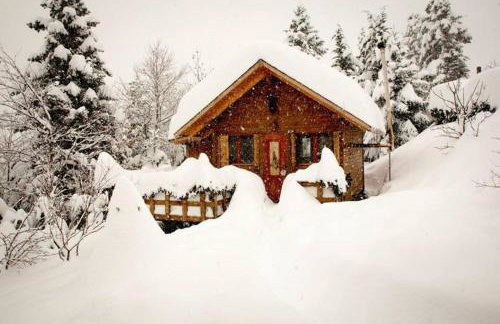
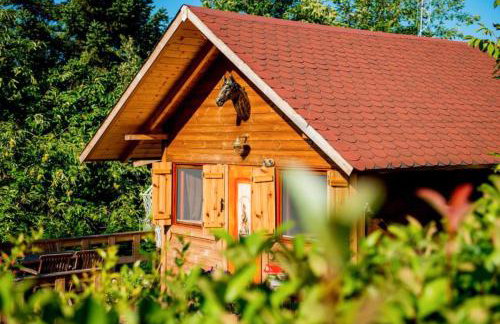
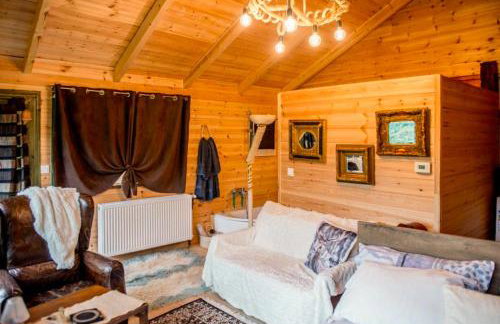
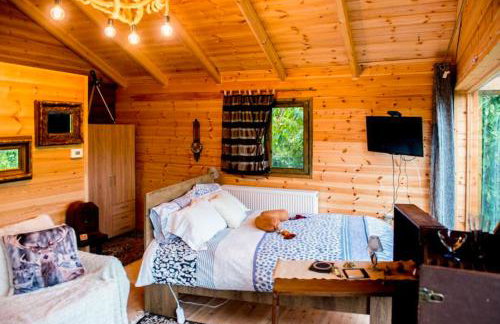
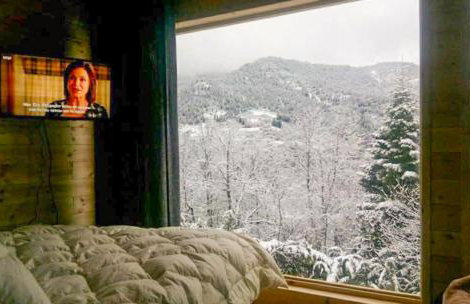
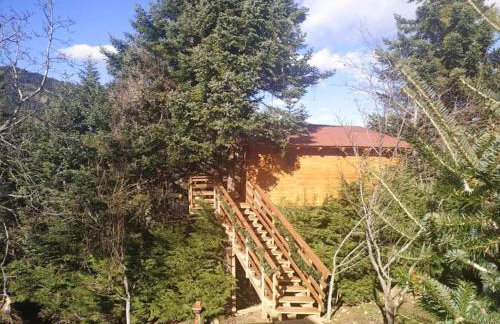
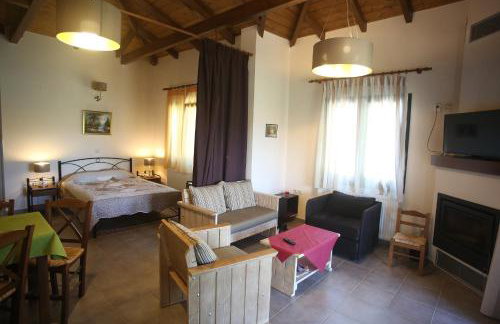
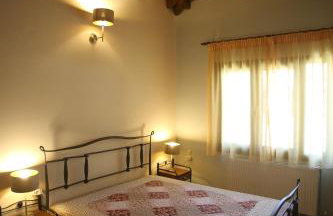
Parnassus Dreamwood Chalet
Spercheiada - Makrakomi - À 2.2 km du centre
- 150 M2
- 10 personnes
- Le chauffage
- Parking
- Balcon
- Tv
- Machine à laver
- Cheminée
- Serviettes
- Feuilles
1 avis


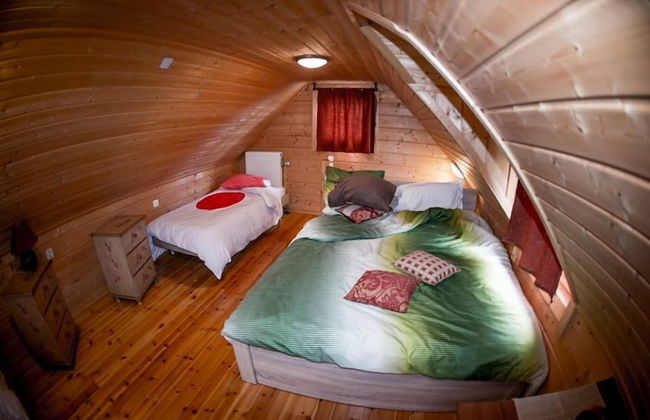
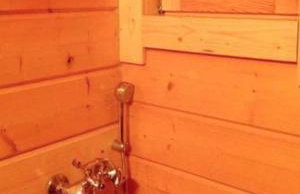
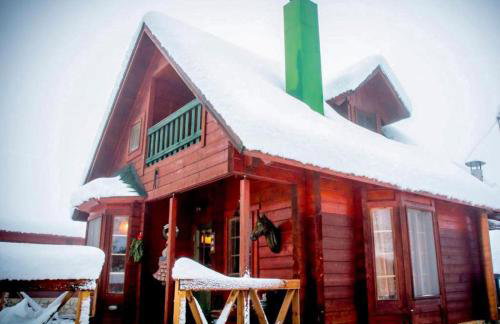
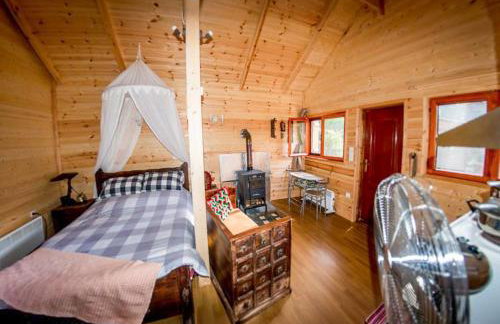
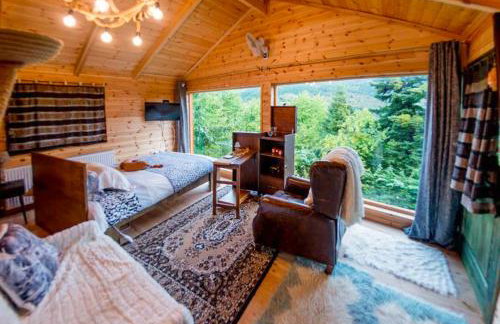
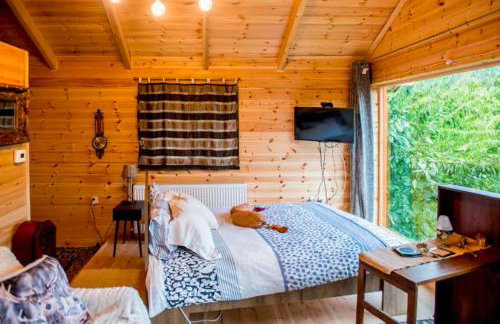
Boletus MushROOM
Spercheiada - Makrakomi - À 14.9 km du centre
- 60 M2
- 2 chambres
- 5 personnes
- Le chauffage
- Terrasse
- Jardin
- Barbecue
2 avis