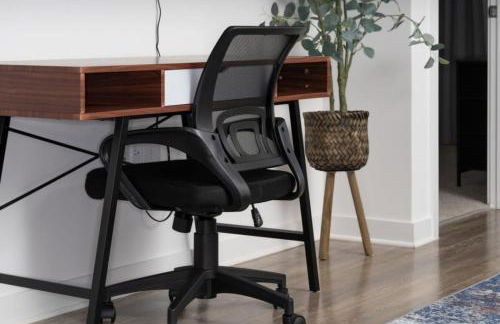
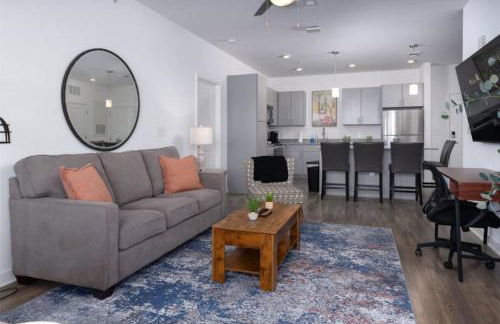
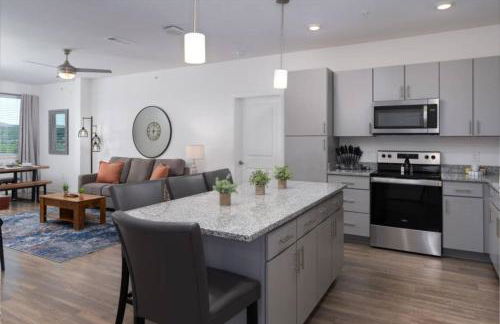
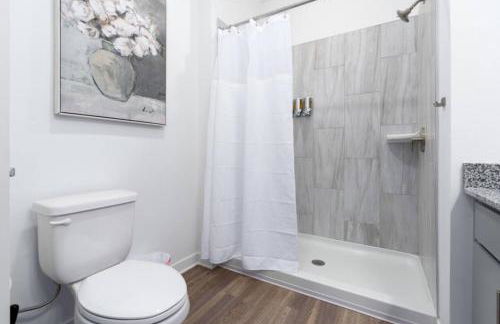
16 Appartements à Shelby
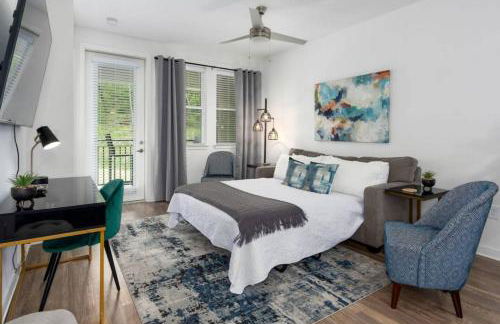
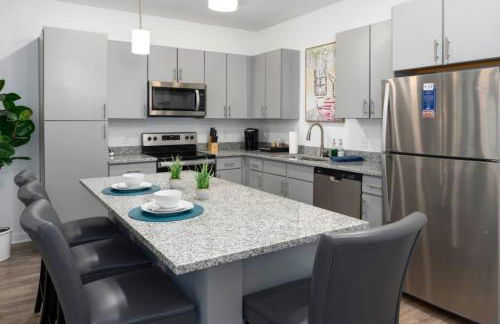
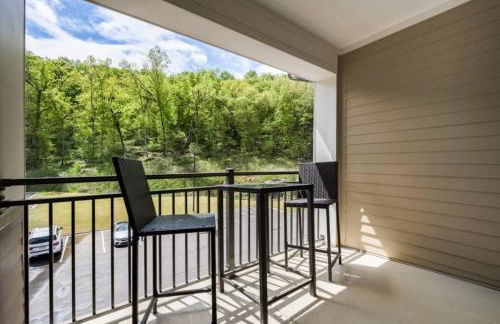
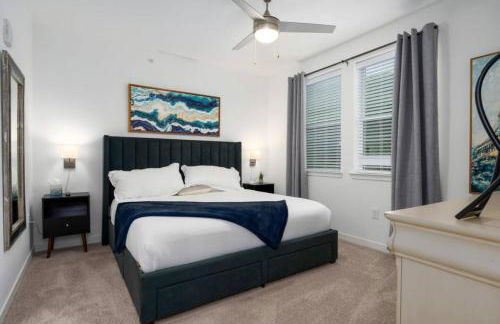
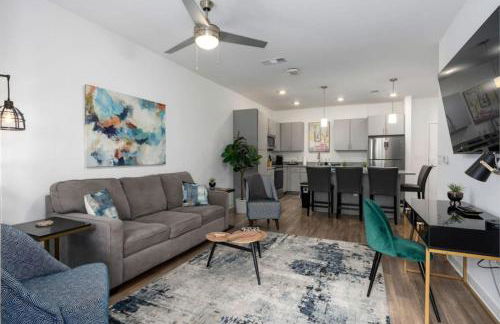
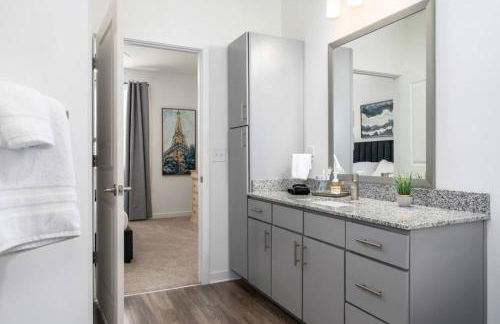
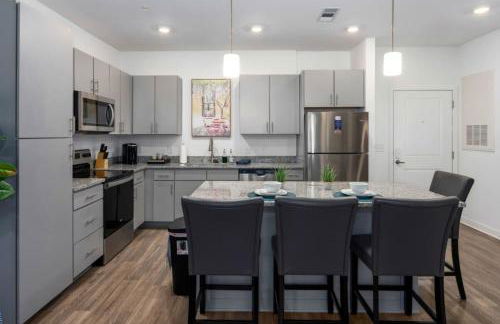
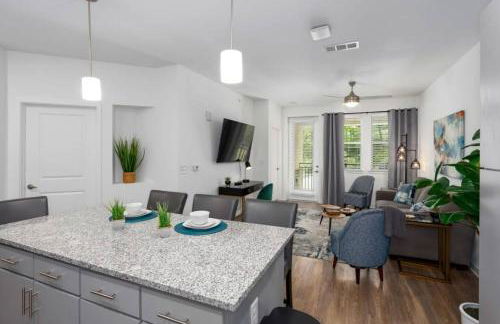
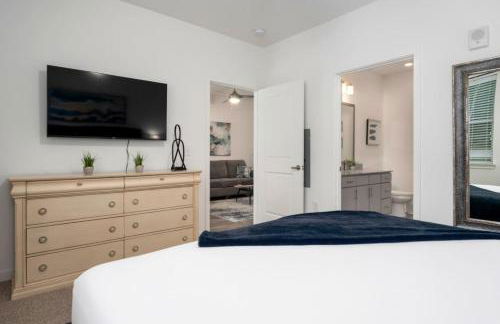
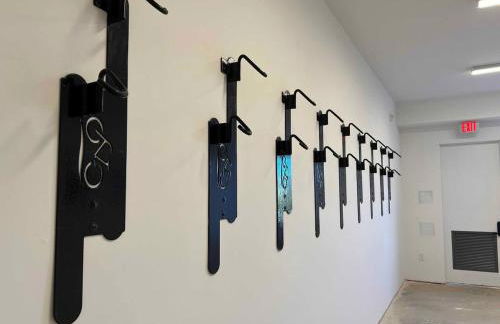
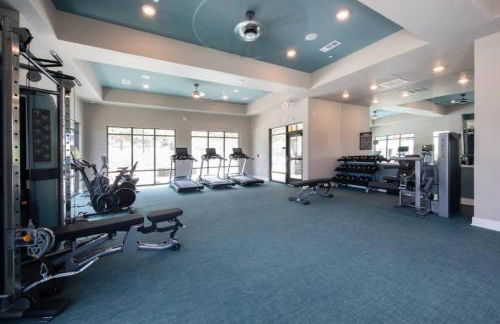
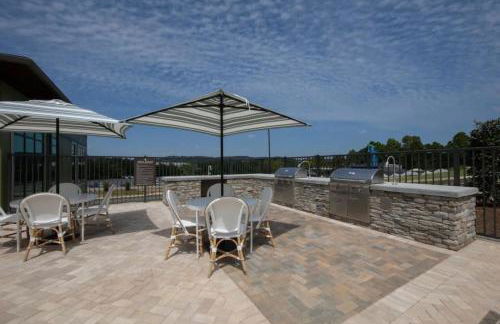
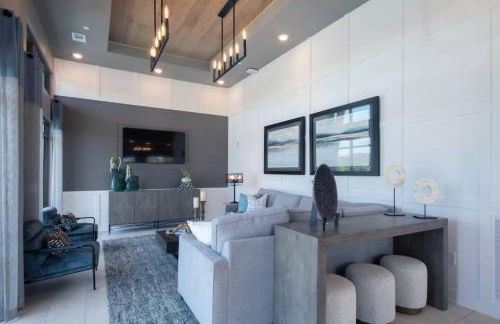
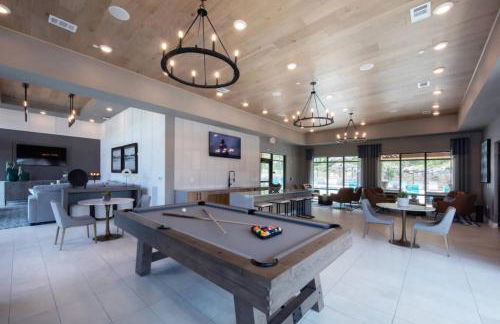
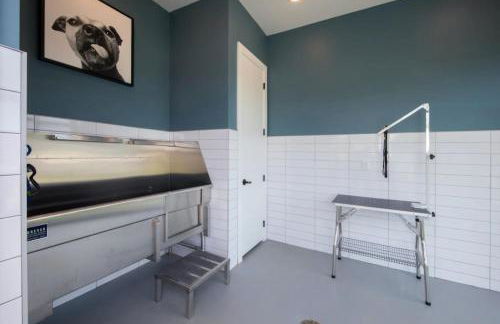
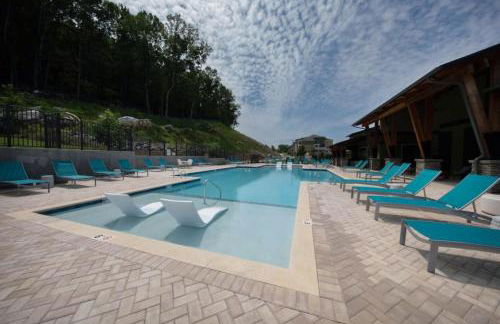
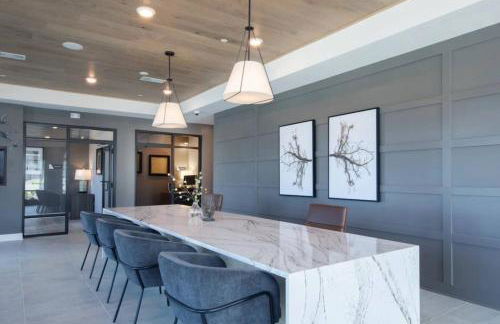
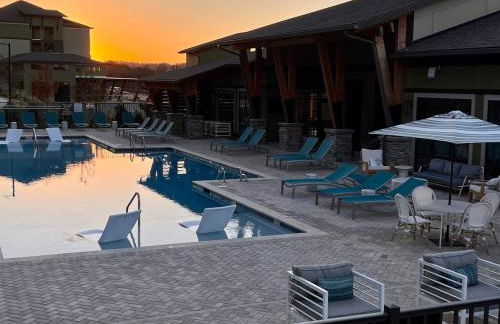
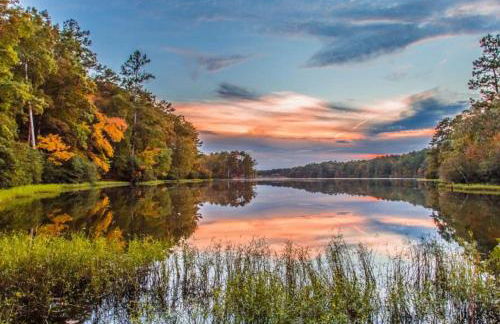
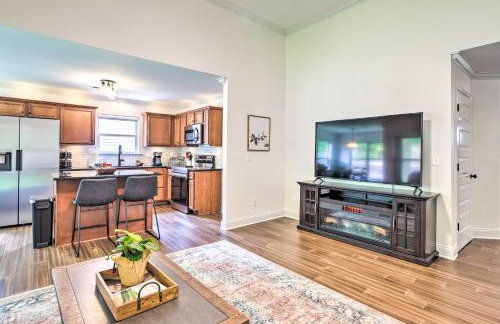
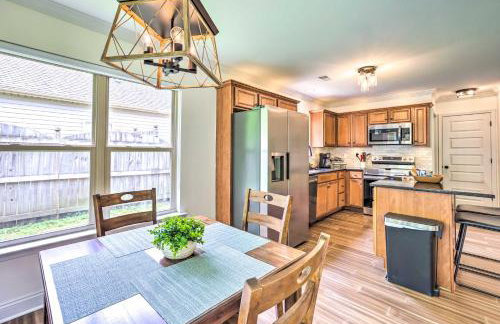
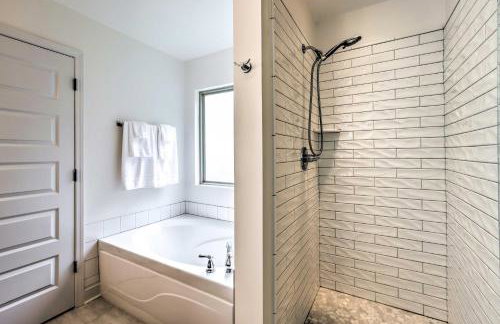
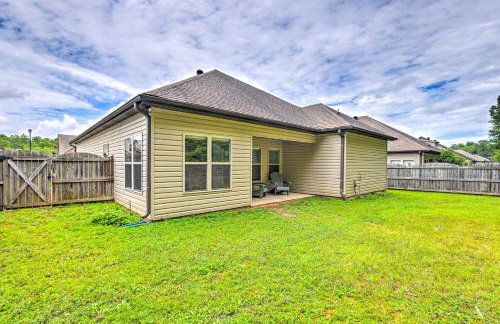
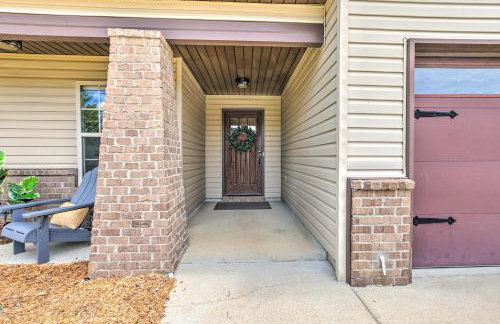
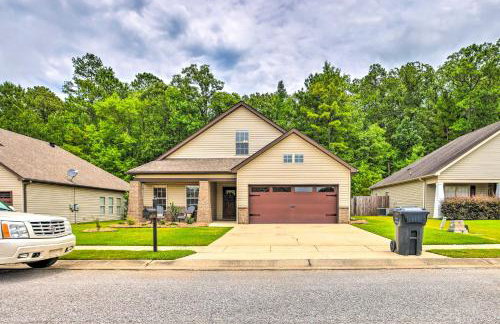
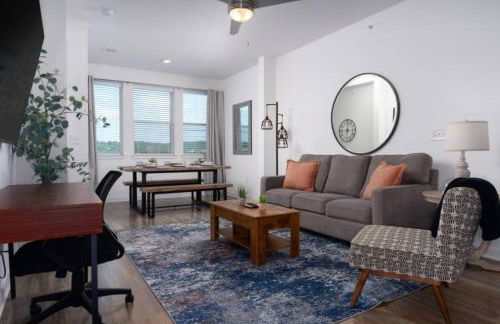
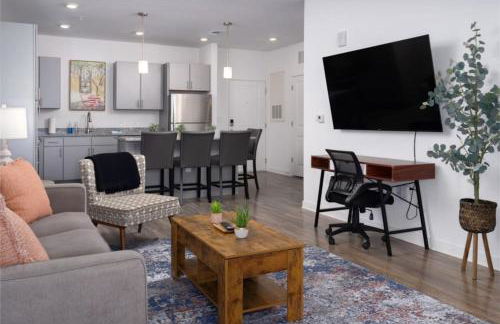
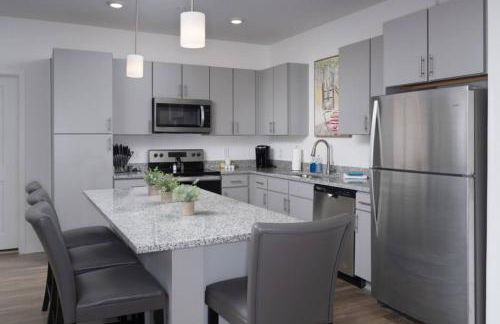
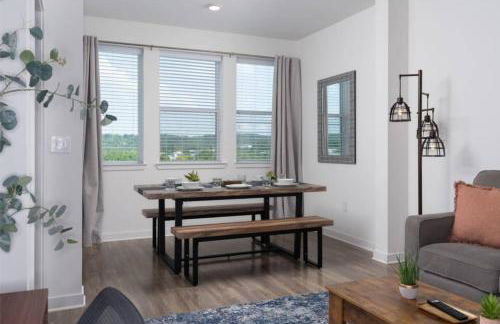
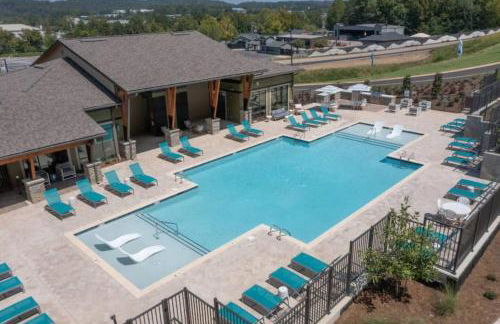
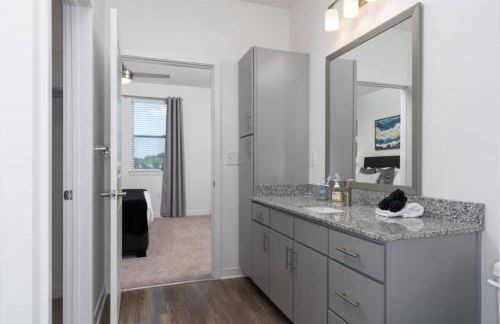
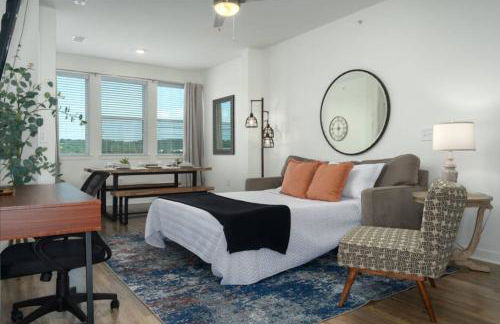
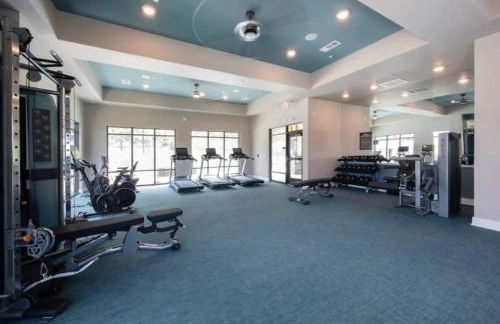
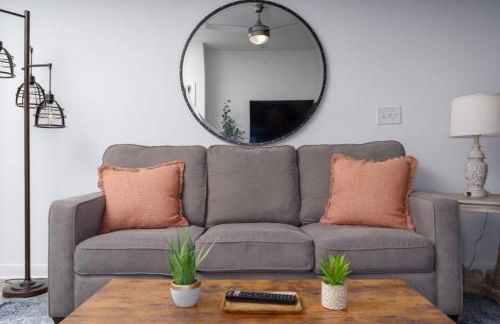
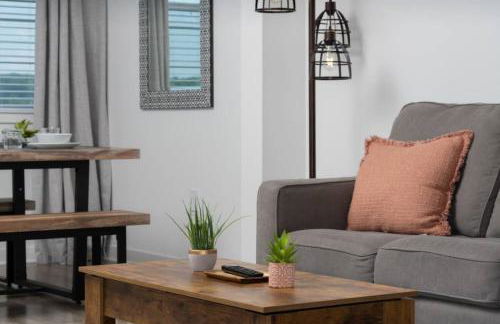
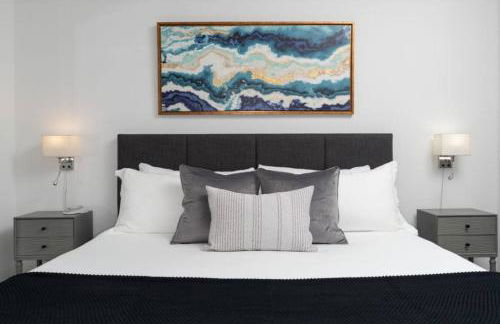
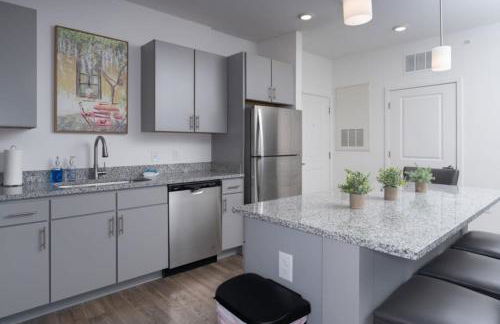
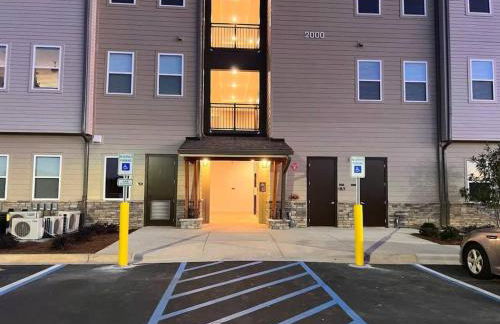
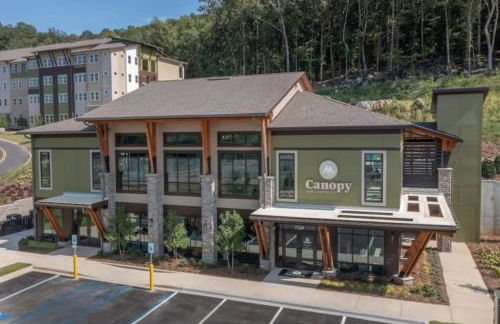
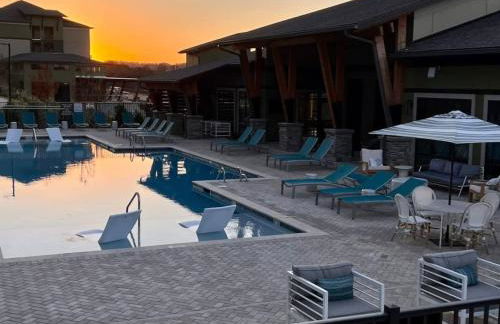
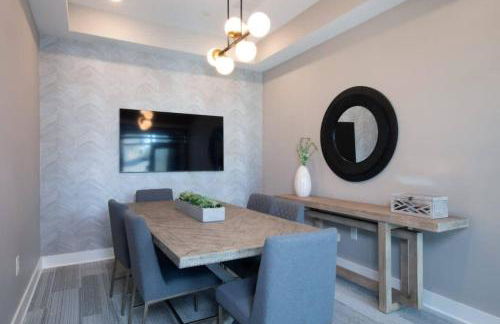
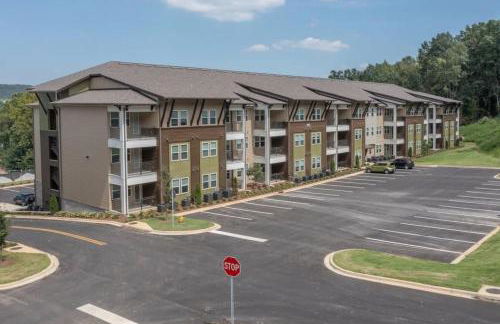
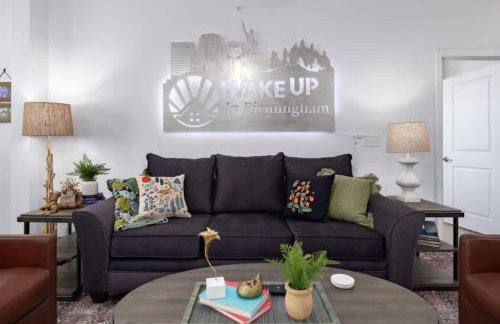
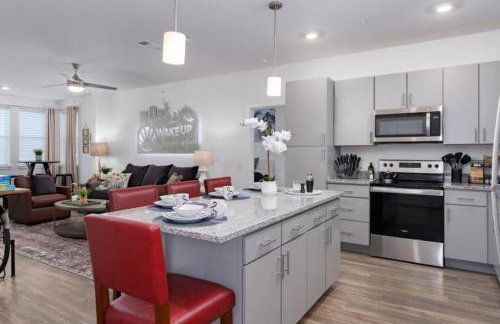
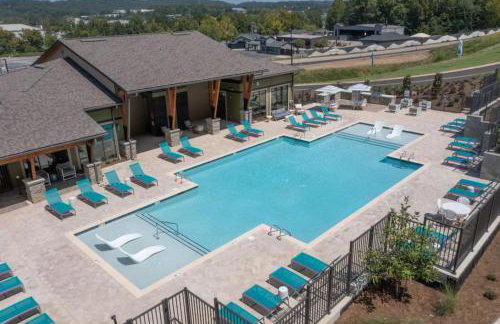
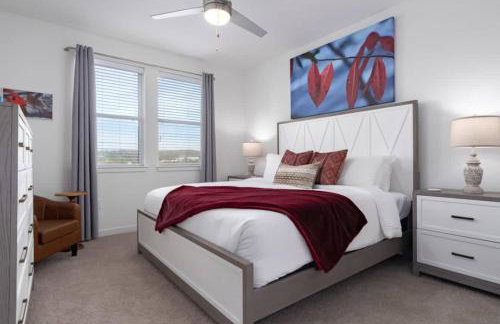
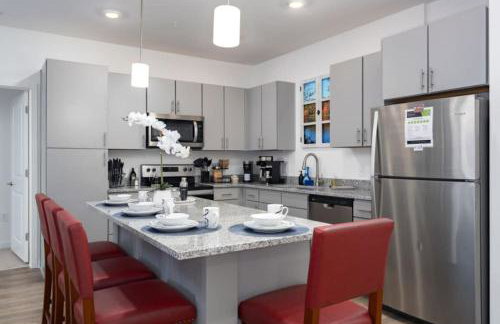
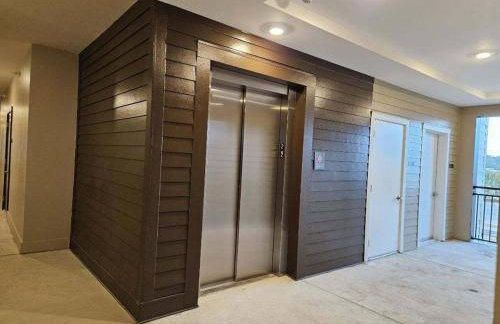
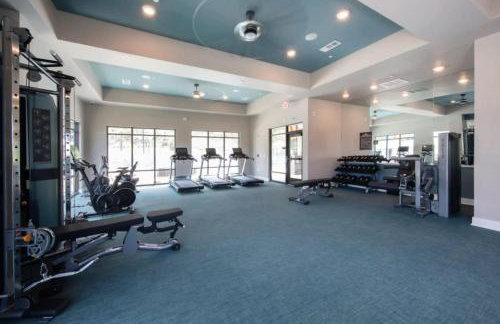
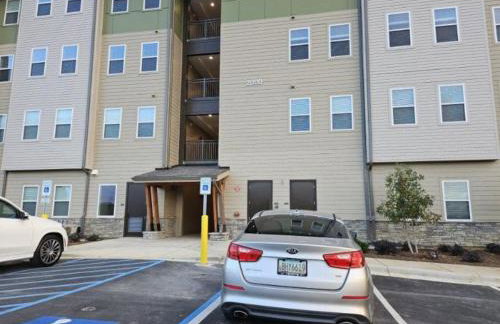
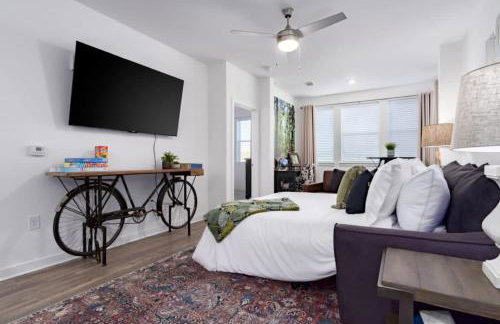
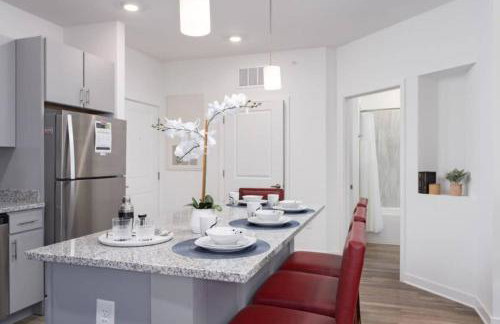
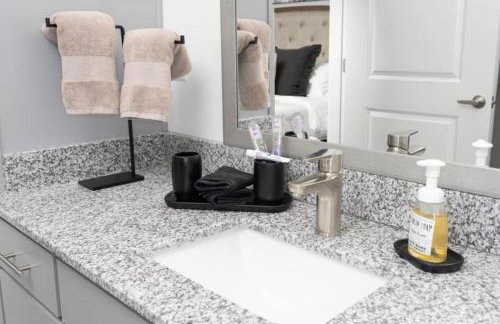
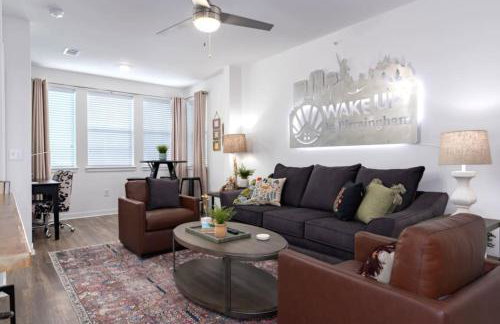
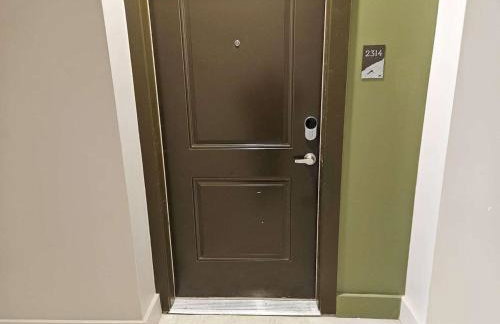
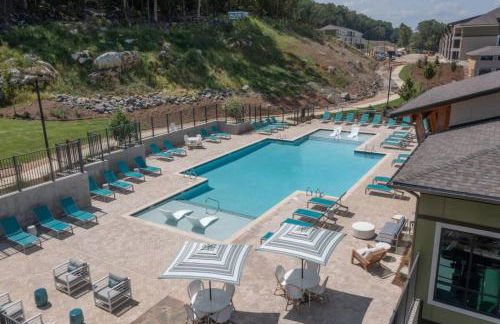
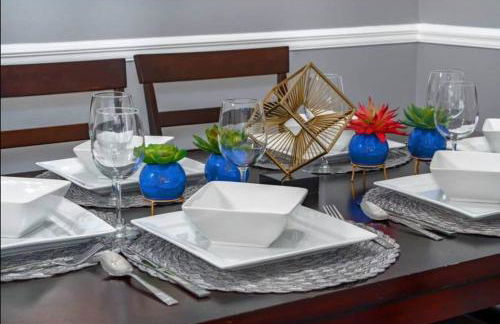
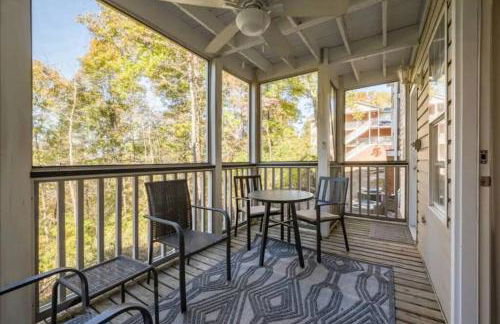
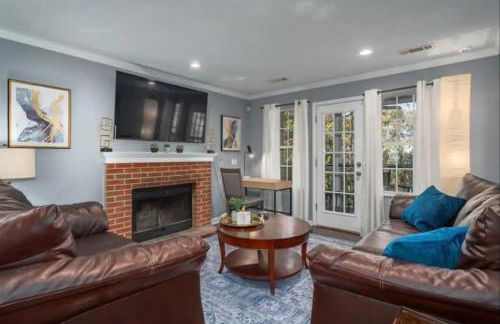
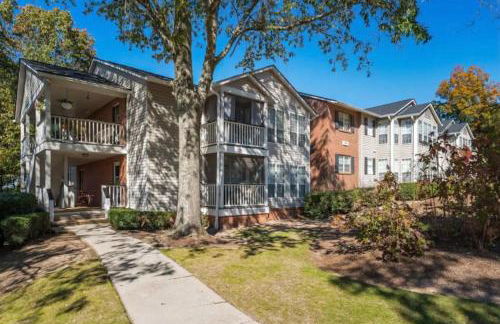
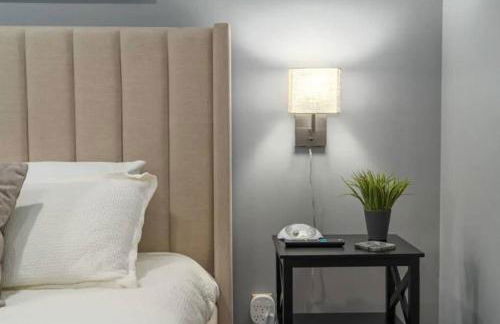
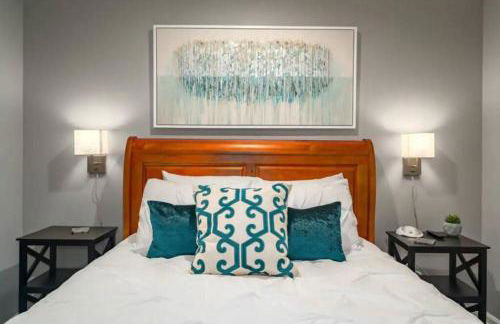
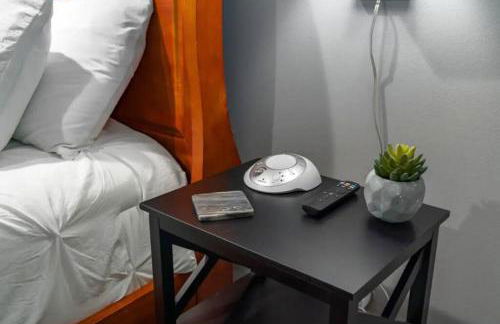
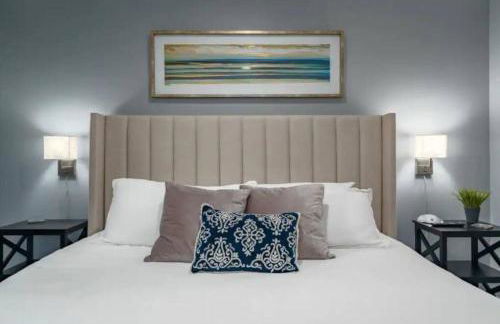
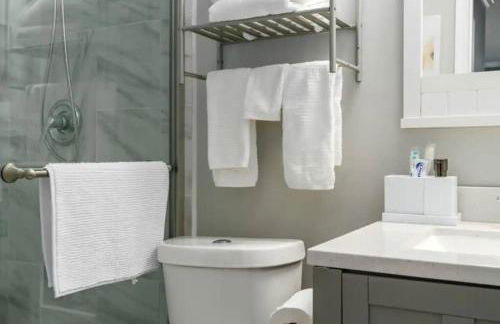
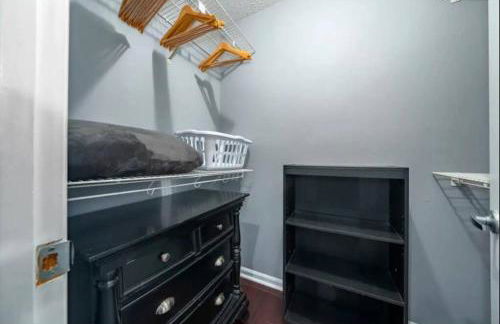
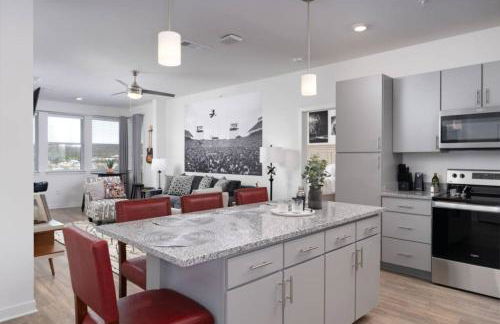
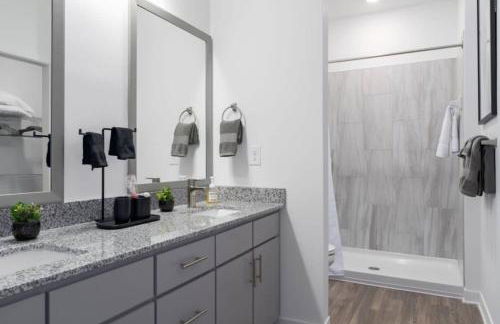
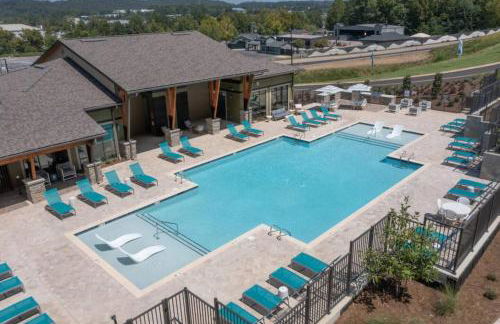
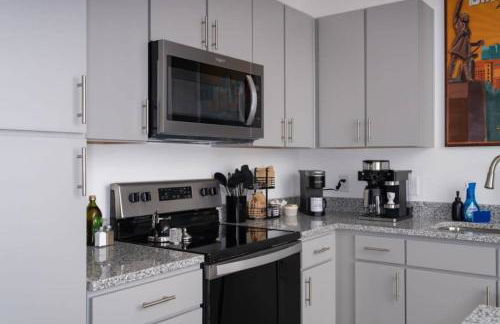
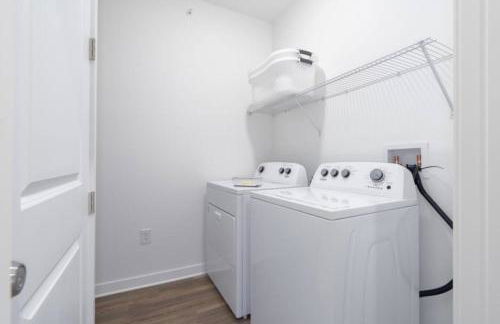
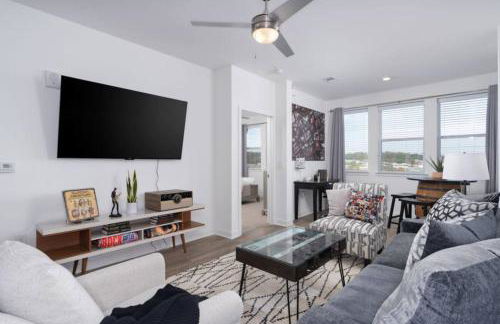
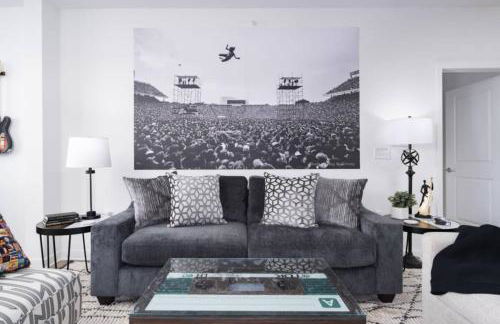
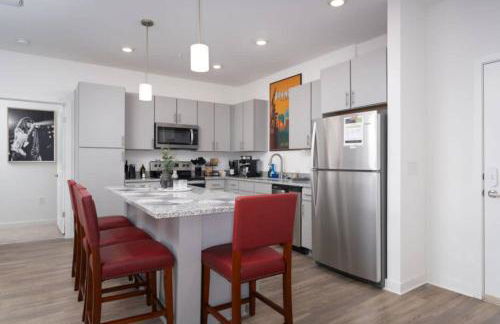
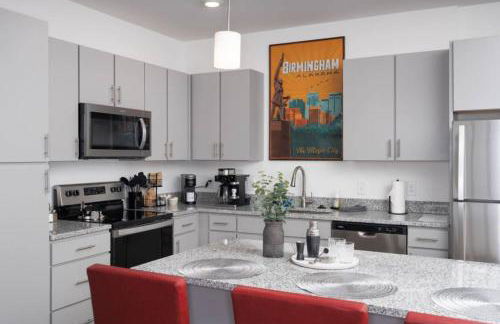
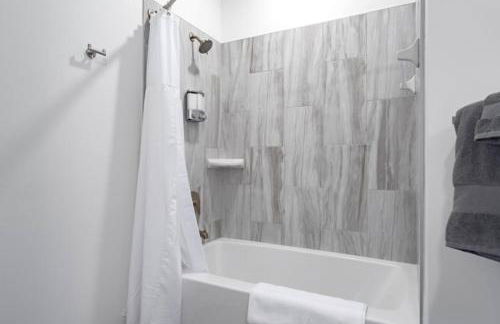
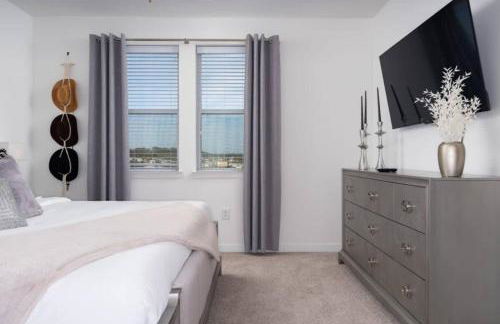
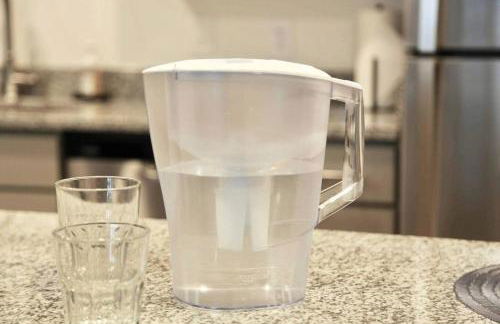
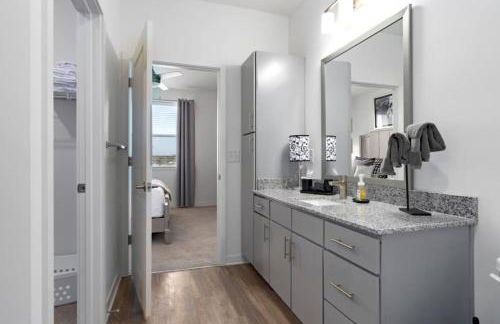
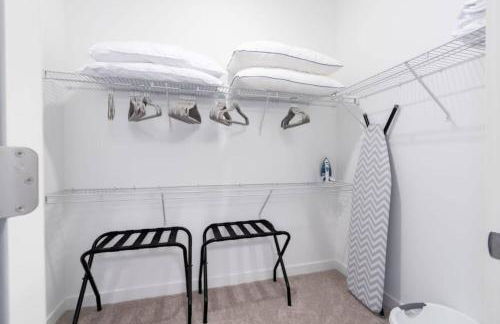
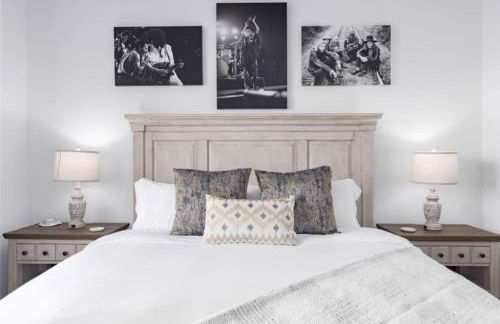
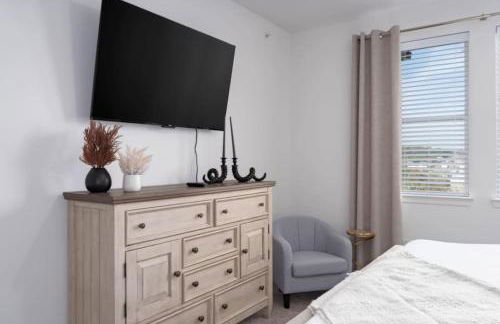
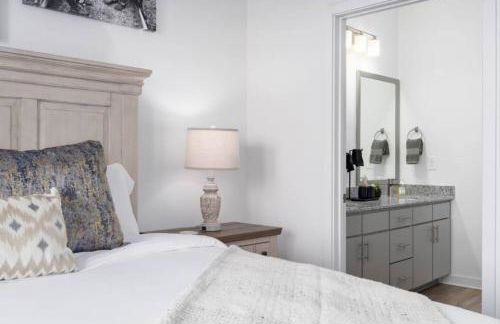
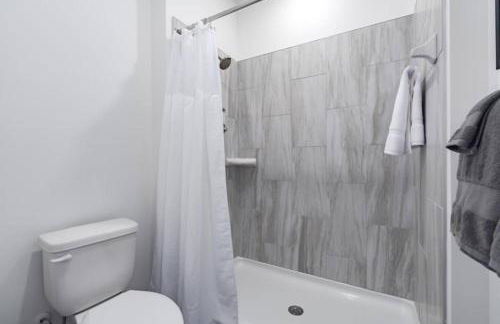
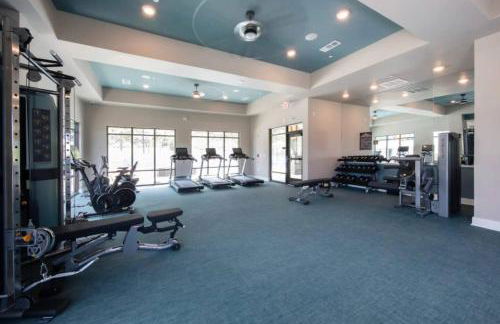
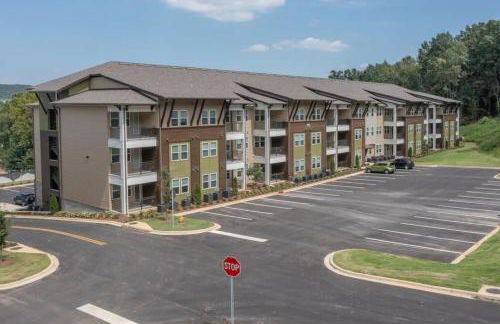
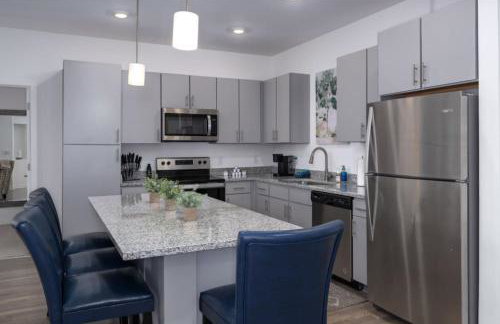
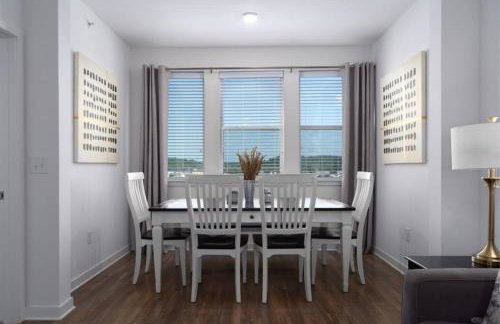
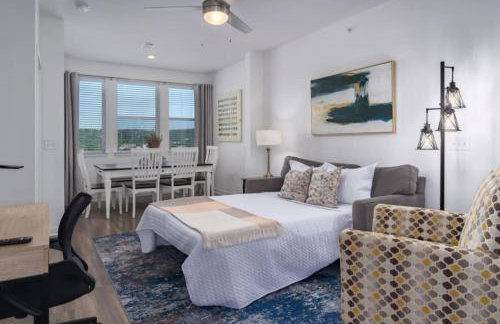
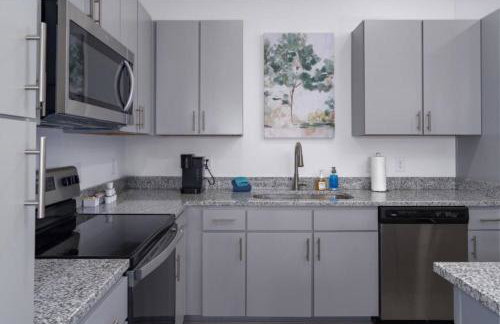
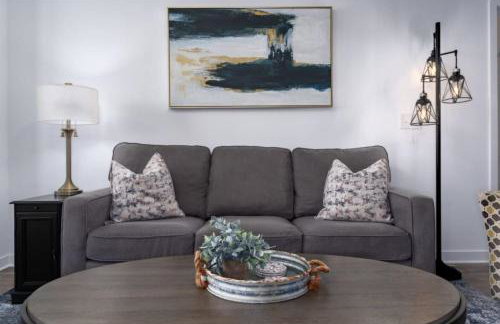
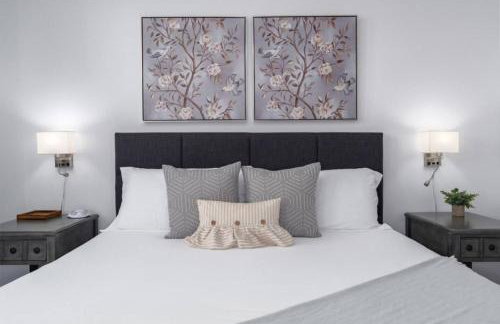
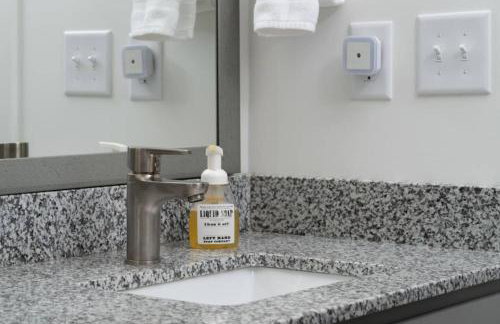
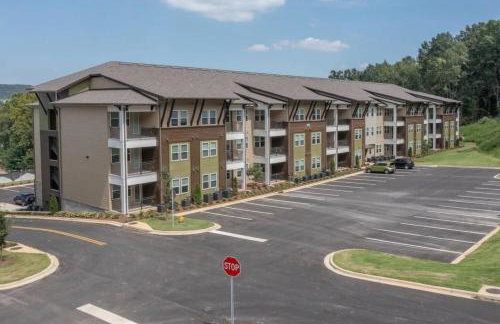
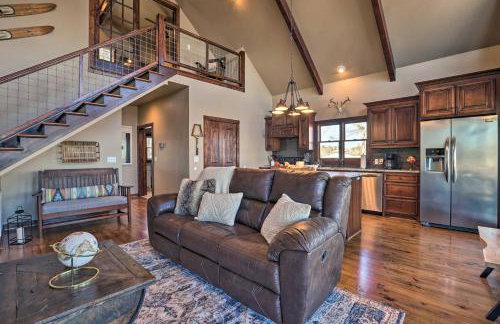
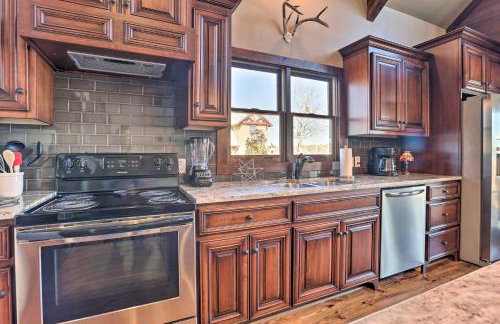
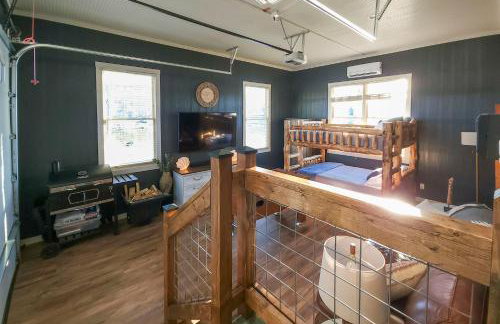
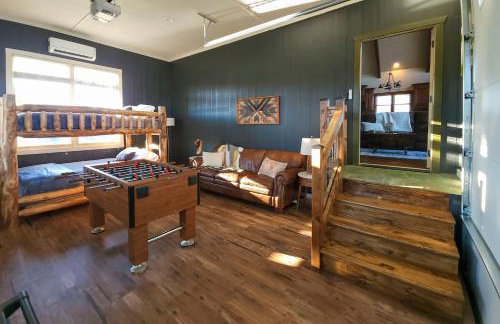
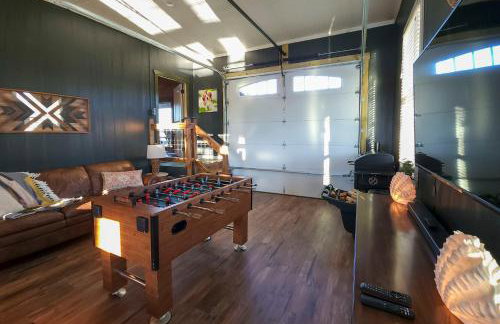
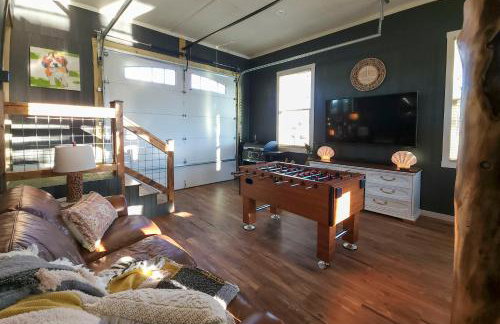
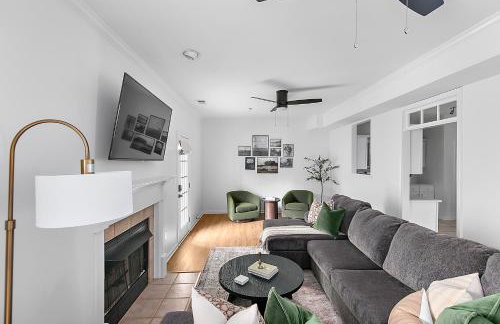
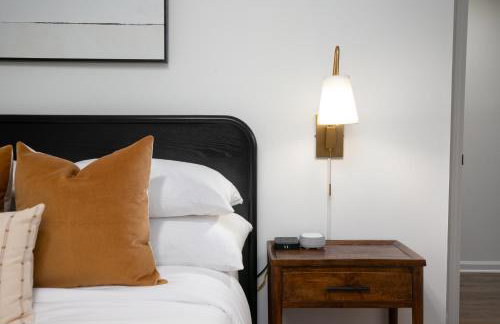
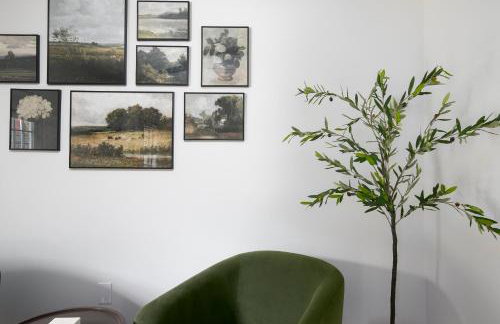
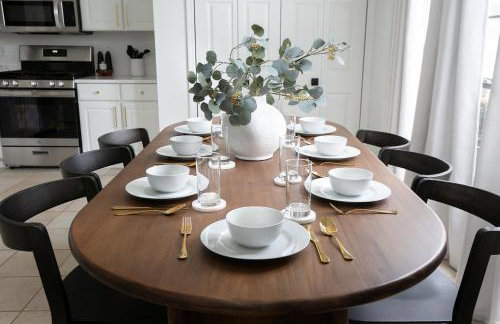
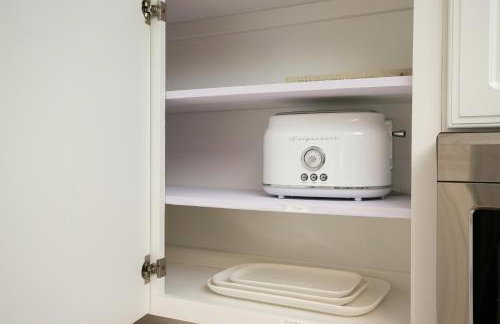
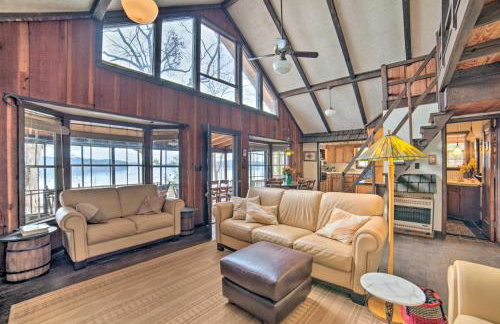
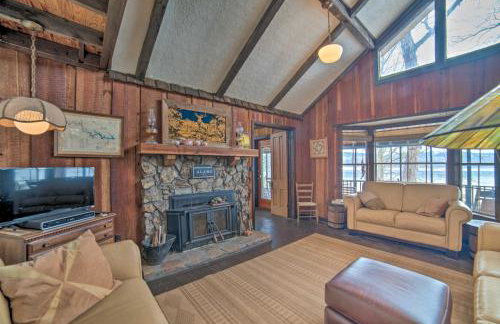
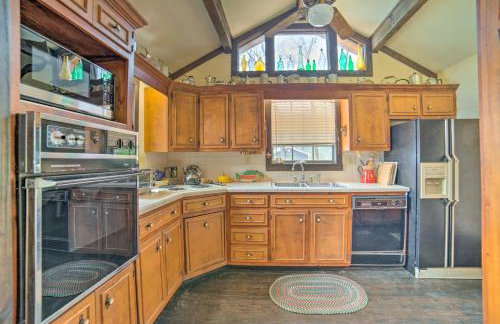
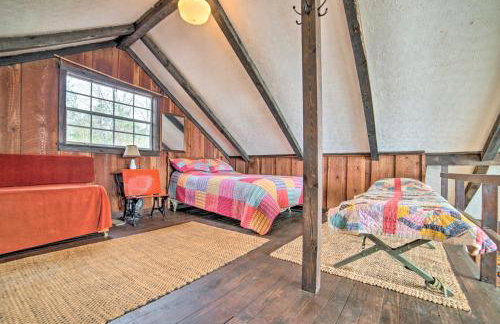
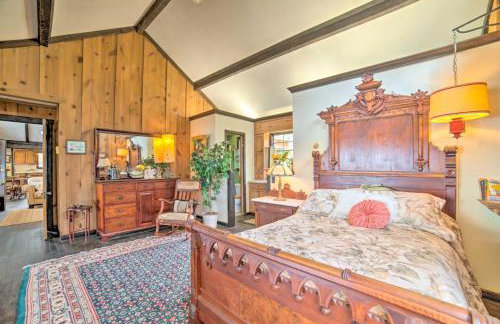
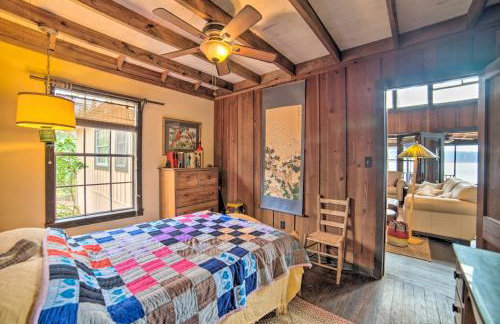
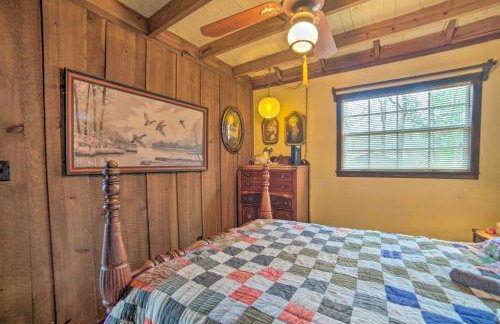
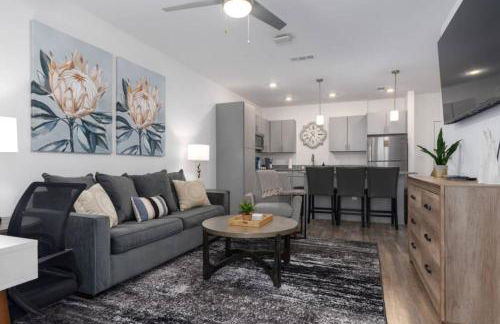
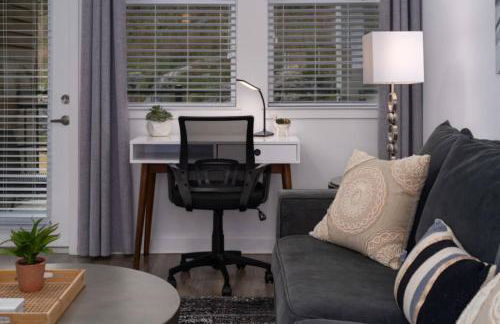
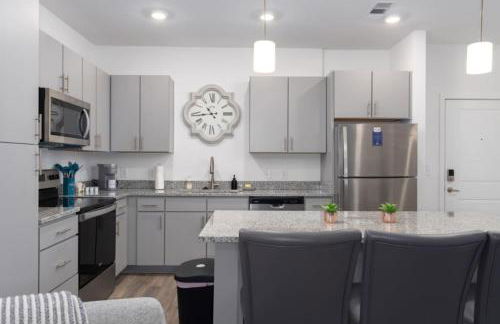
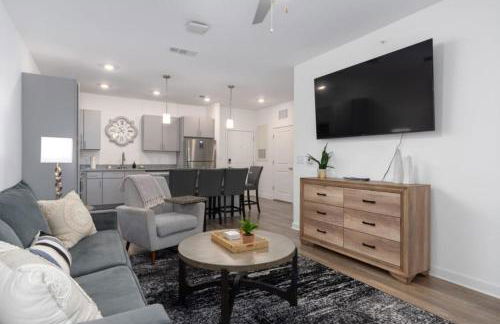
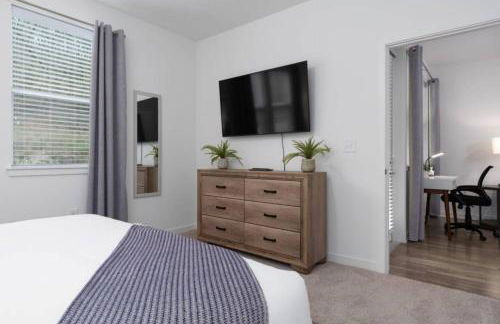
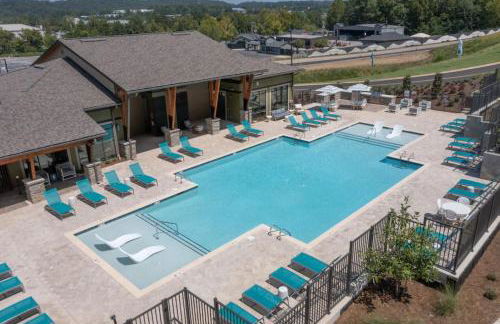
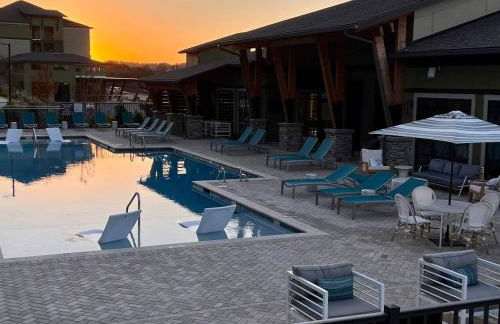
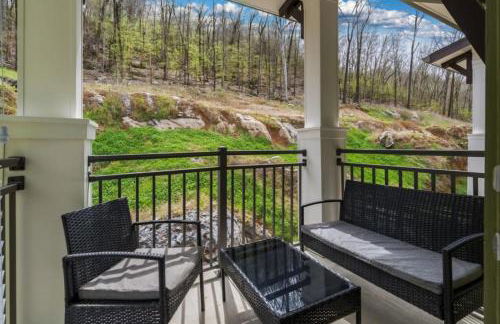
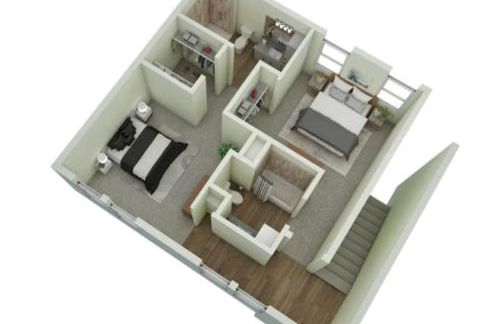
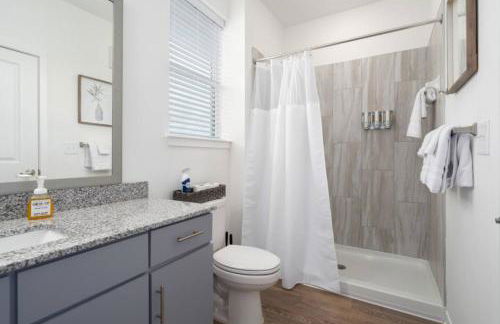
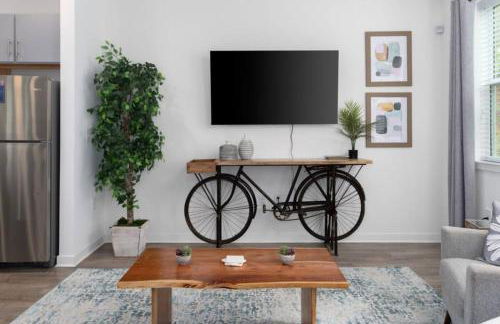
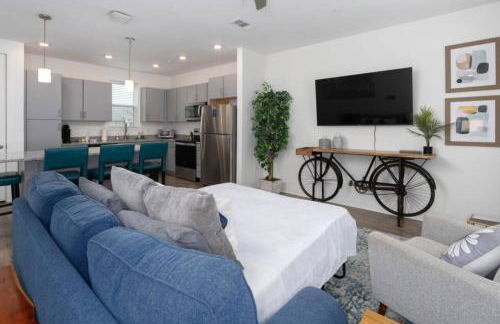
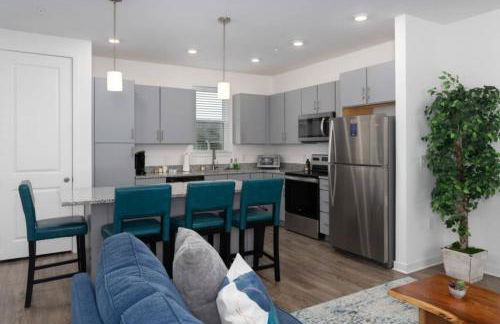
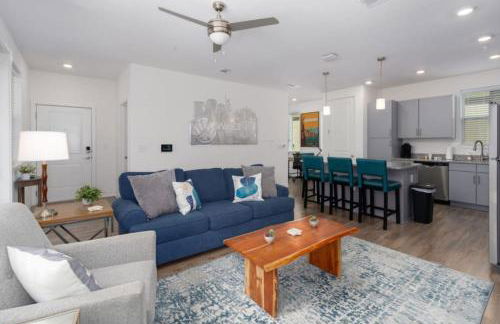
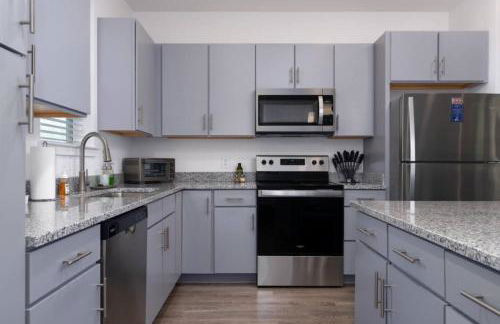
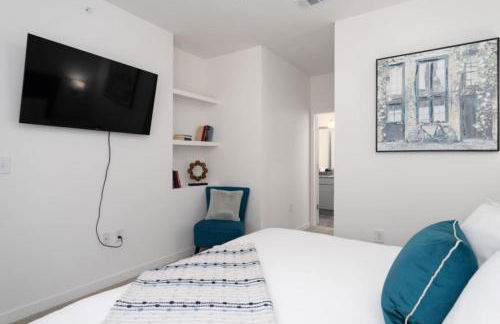
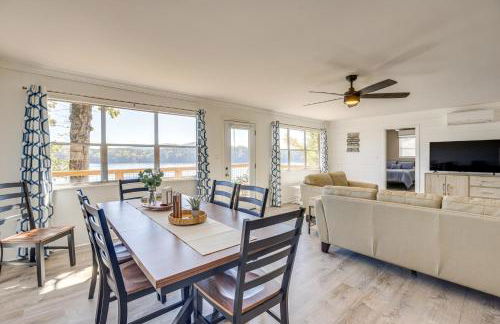
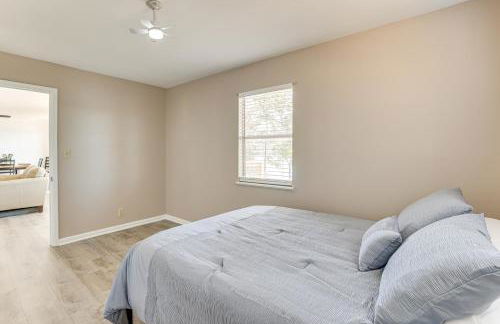
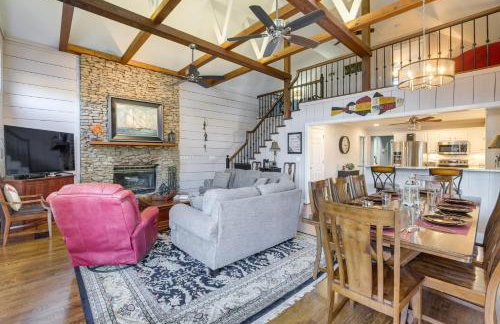
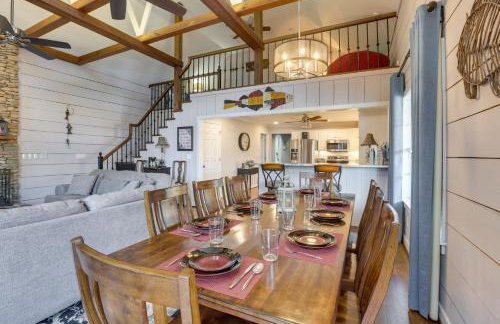
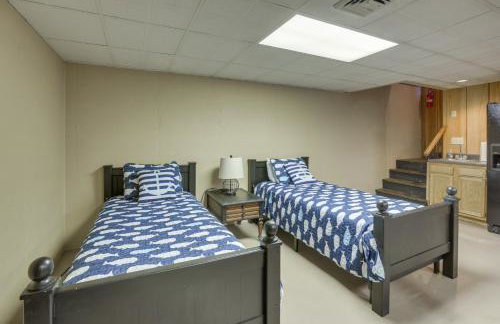
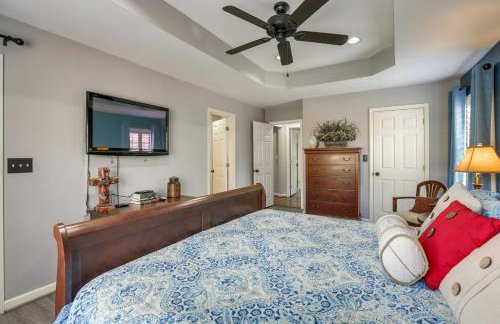
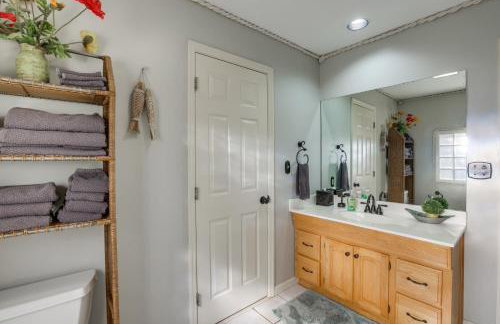
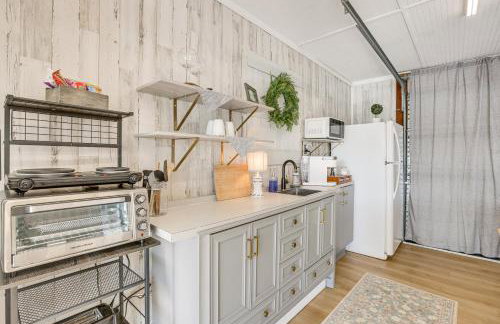
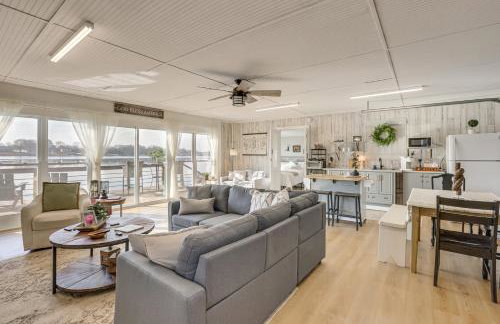
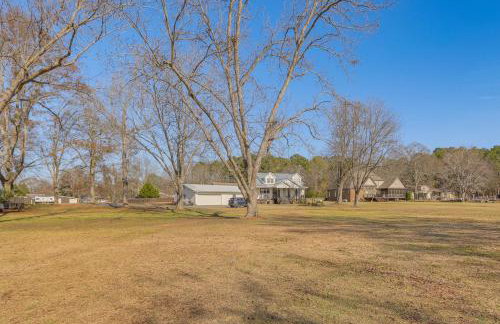
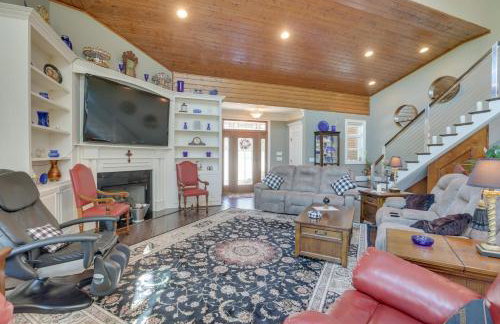
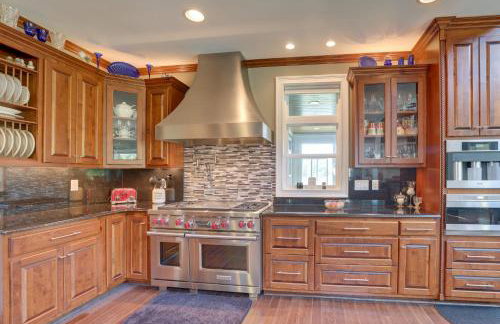
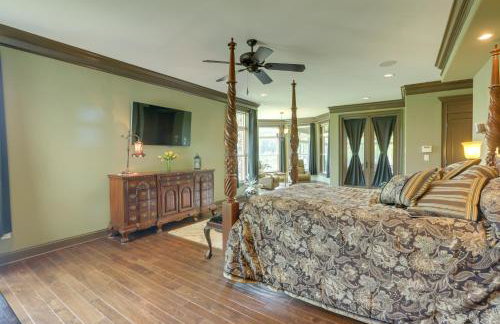
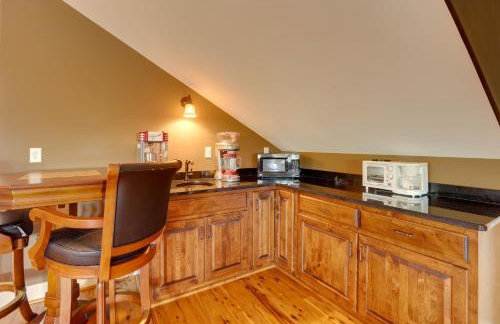
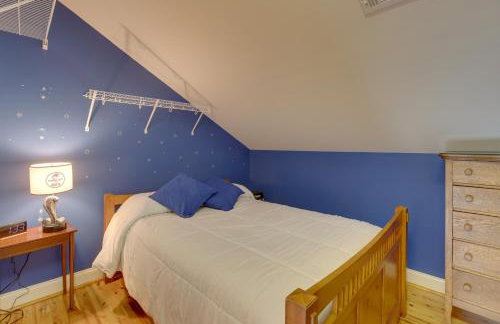
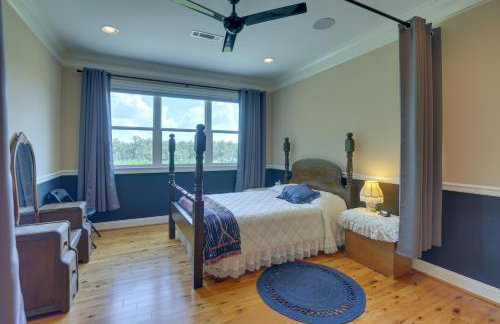
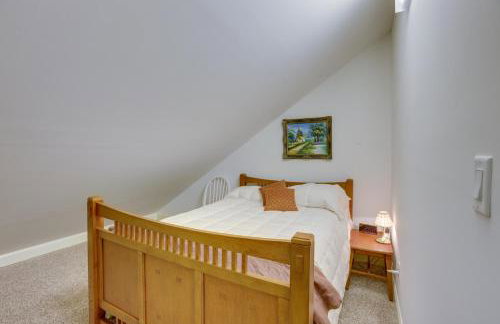
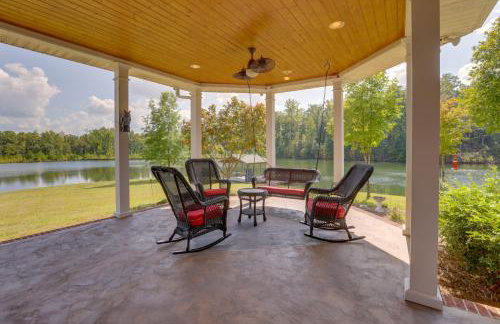
Oak Mountain Retreat with Fitness Center - Photo 1
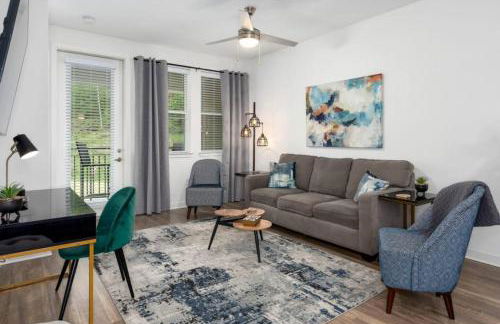
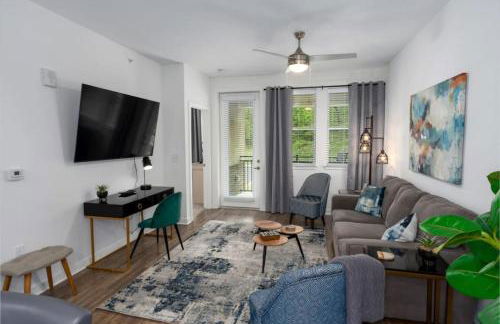
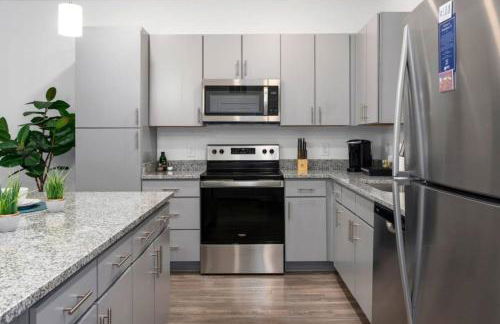
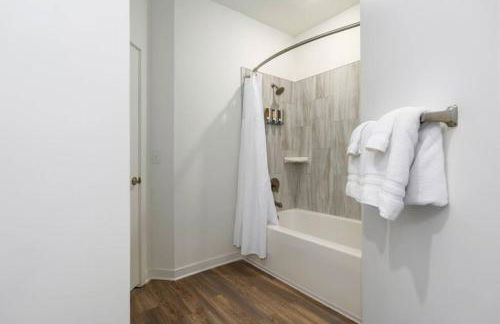
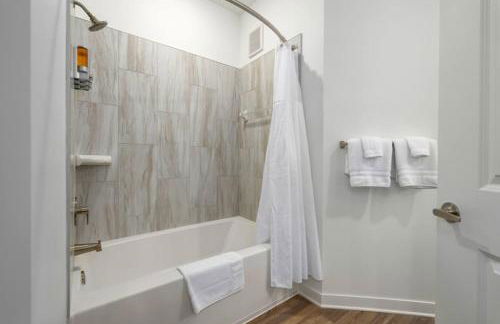
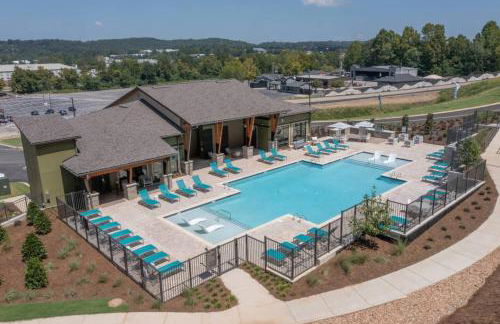
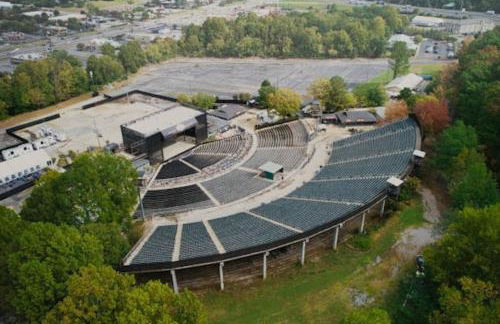
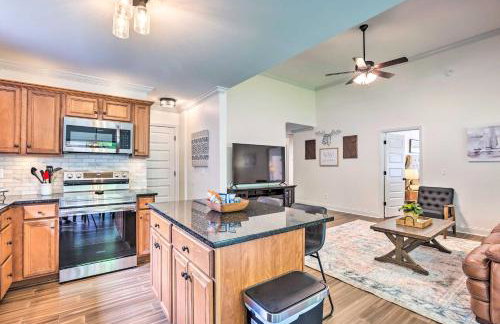
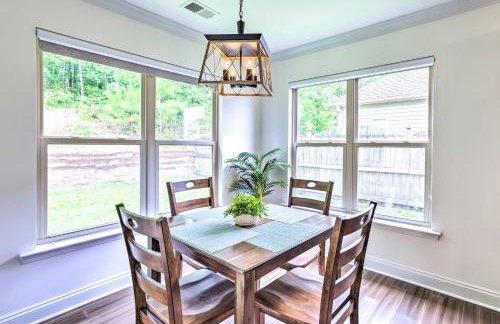
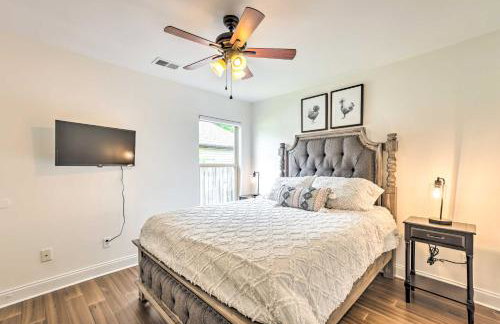
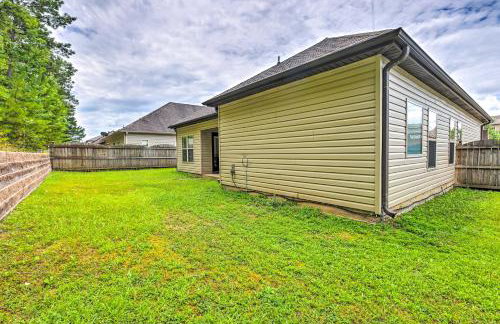
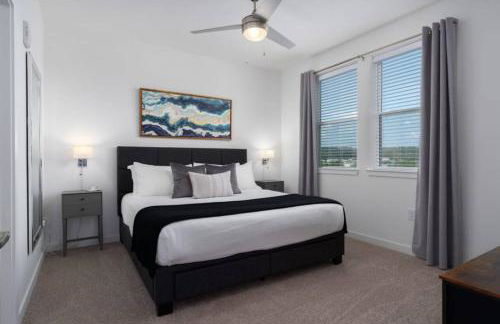
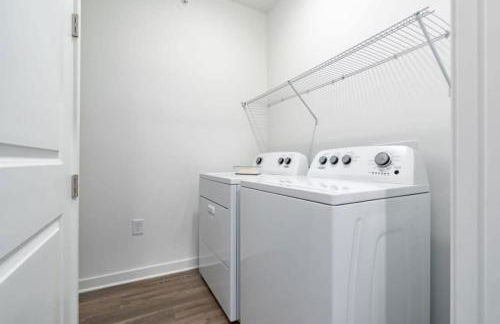
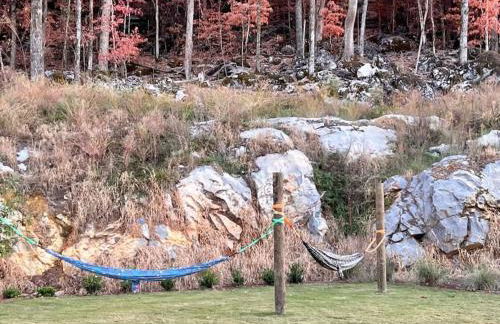
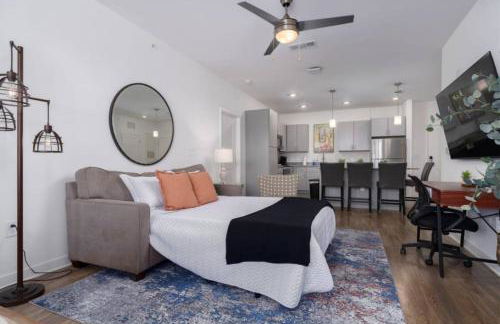
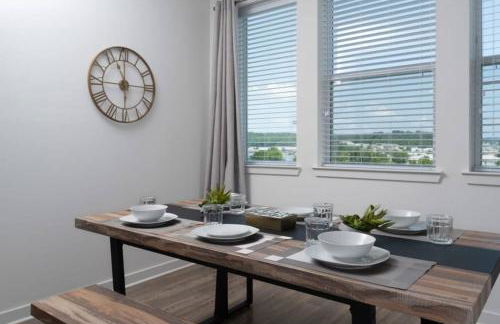
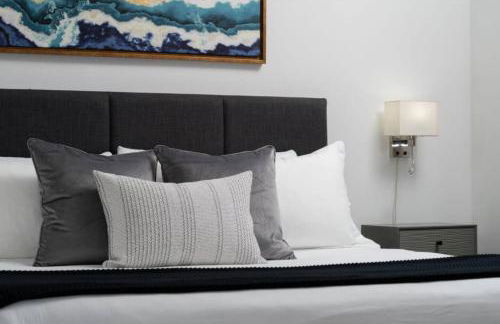
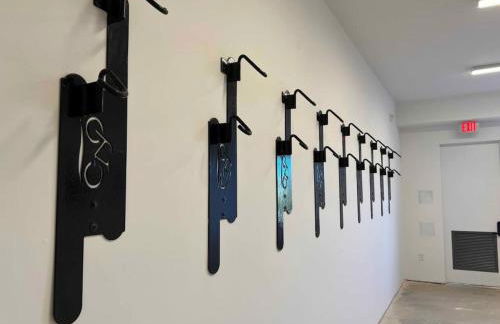
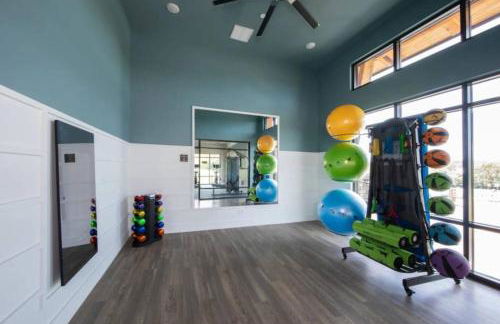
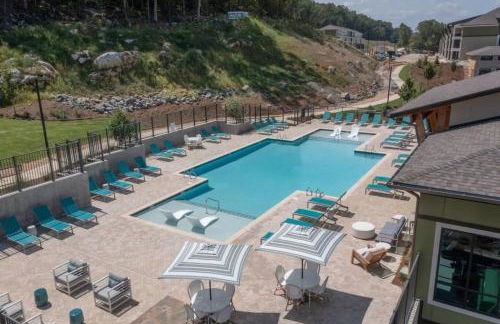
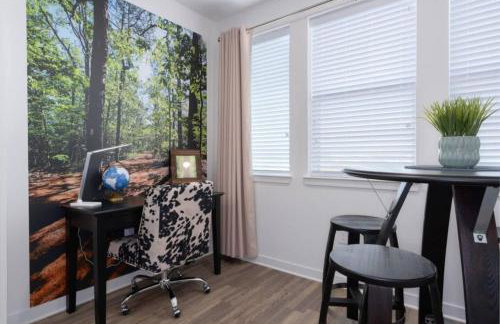
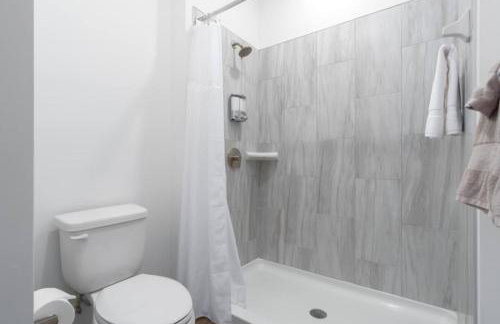
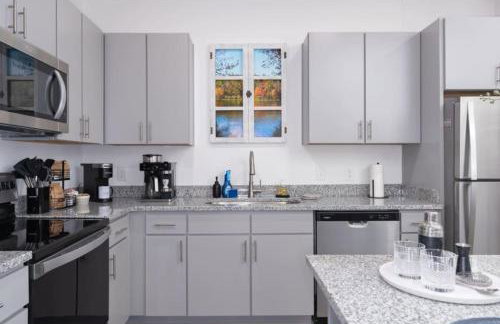
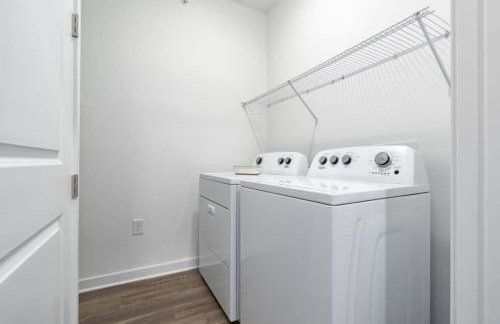
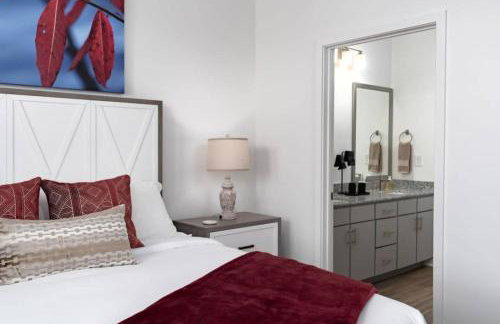
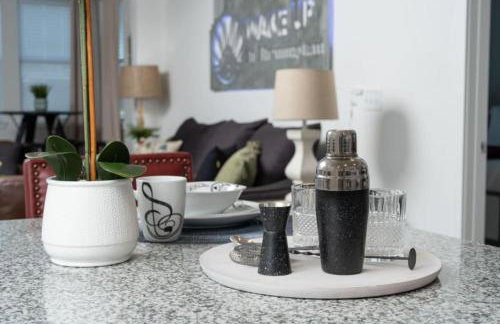
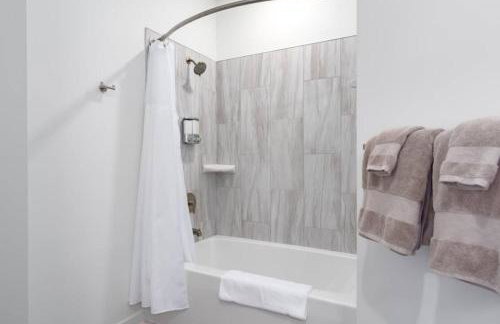
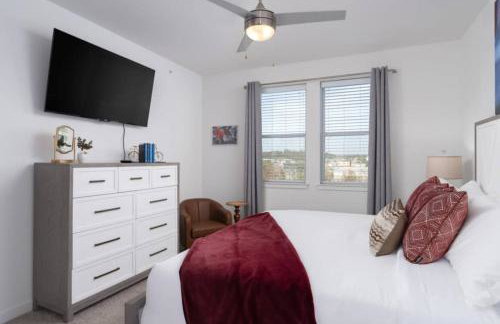
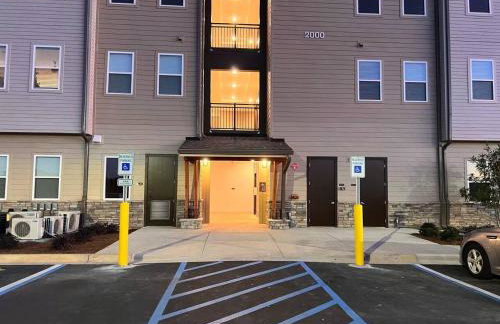
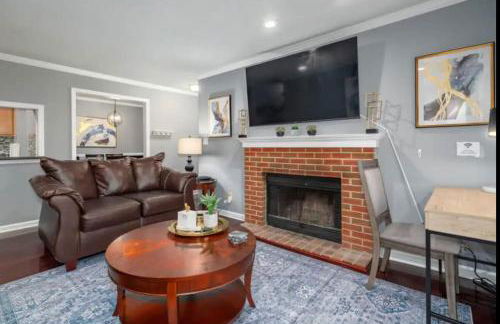
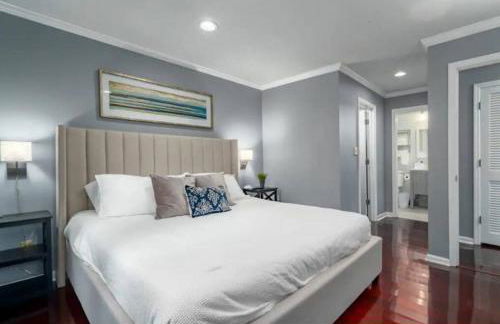
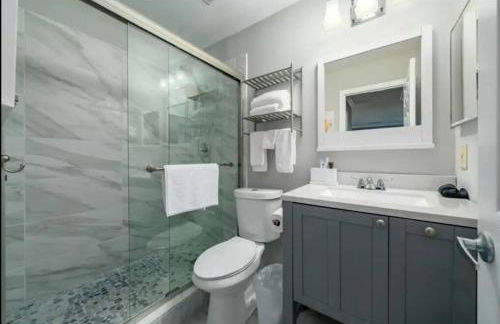
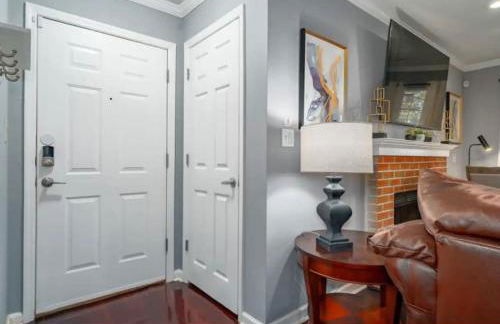
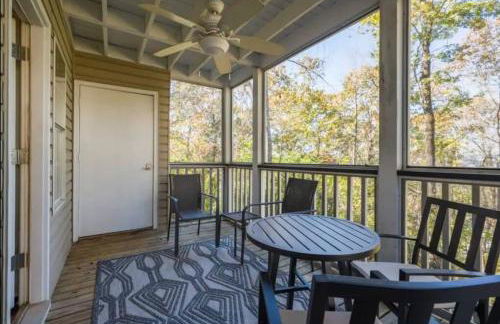
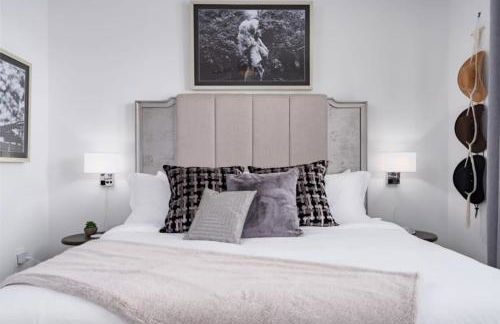
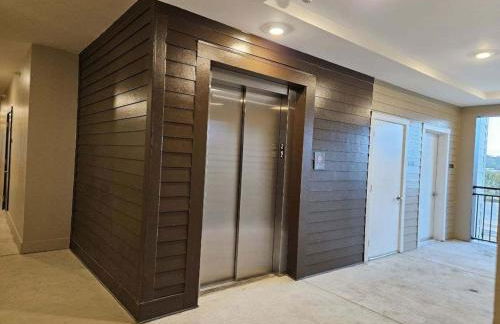
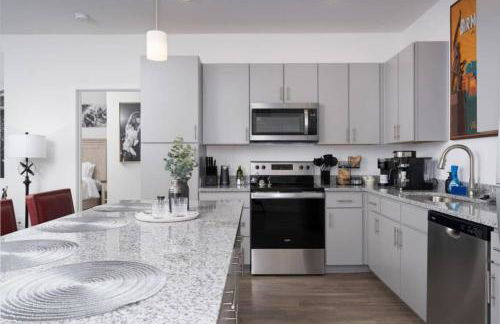
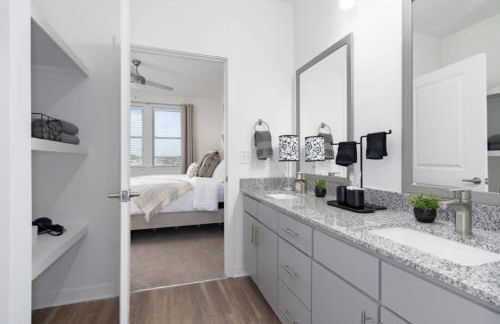
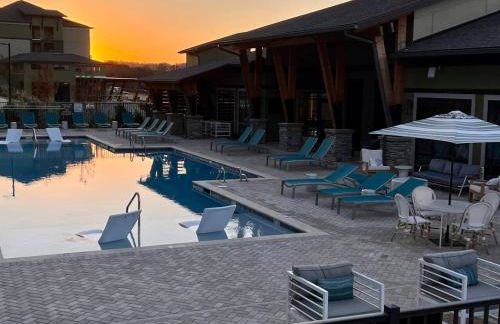
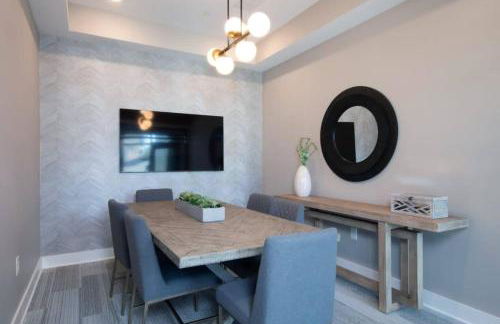
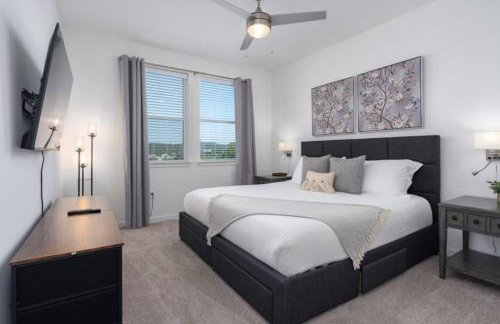
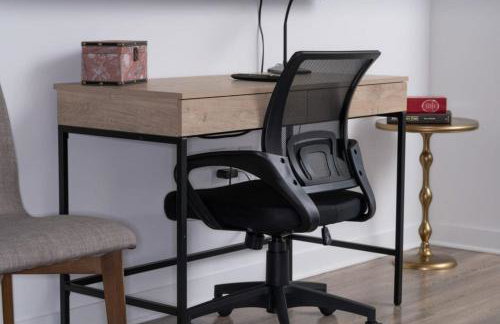
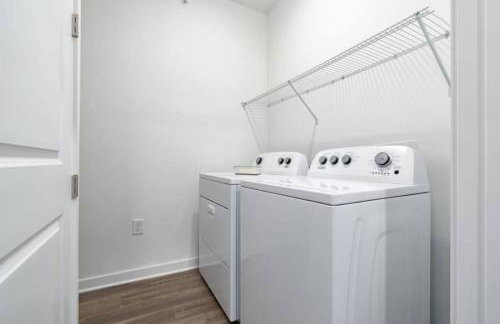
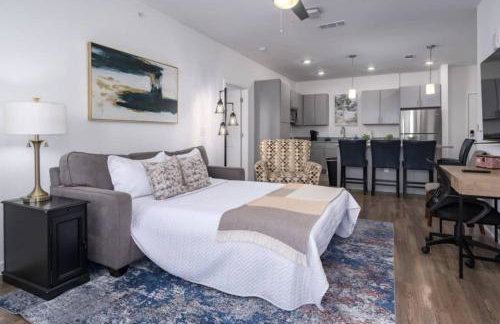
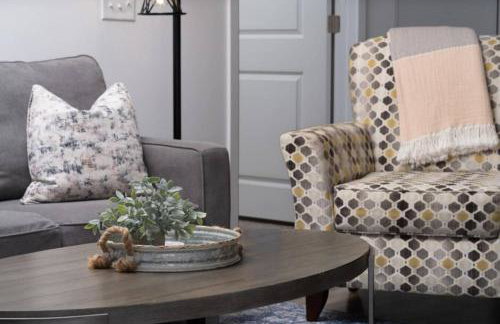
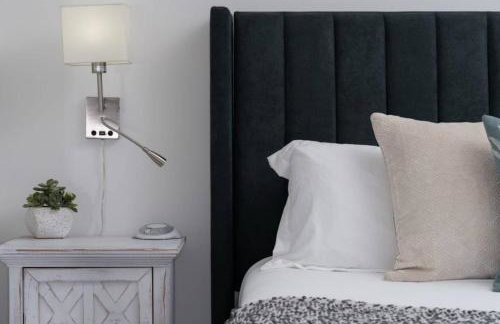
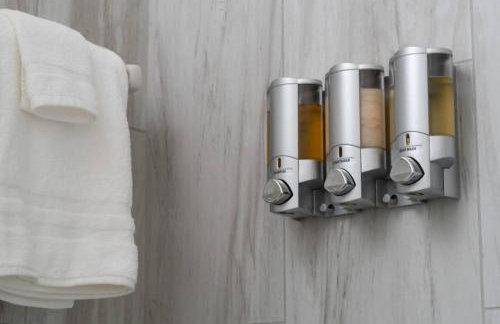
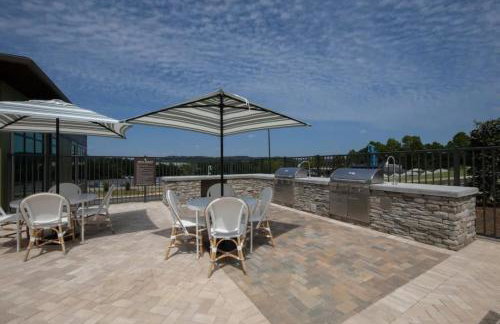
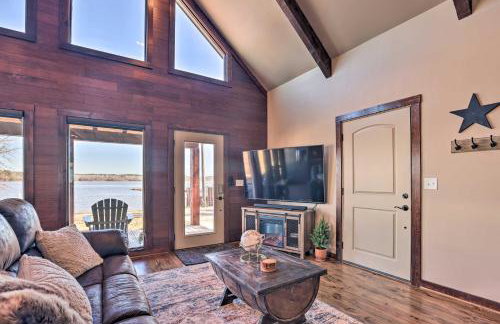
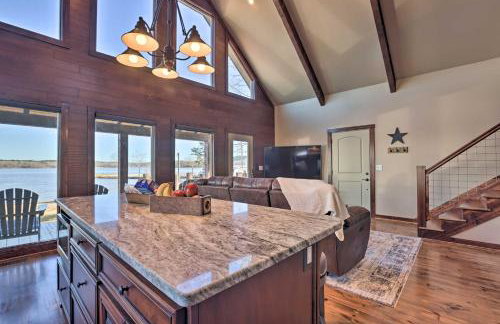
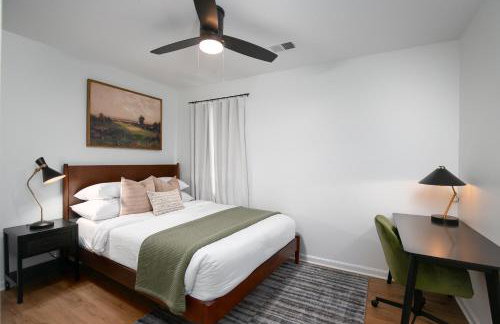
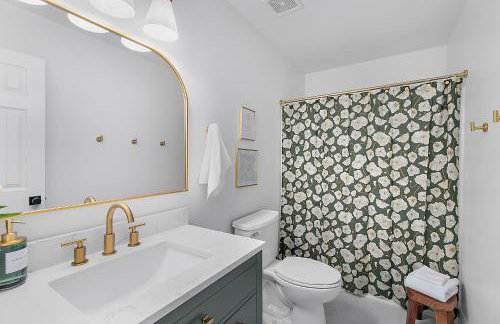
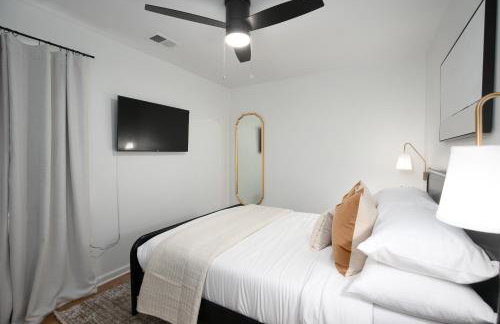
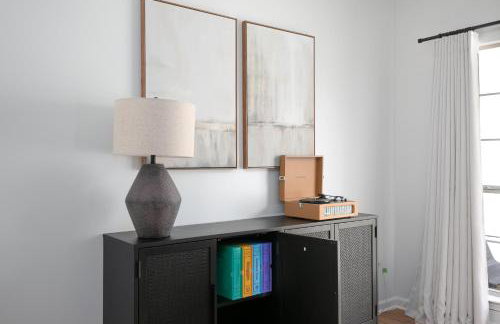
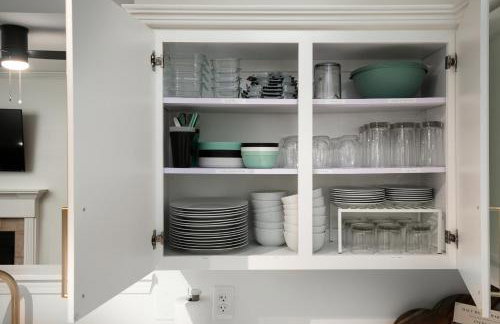
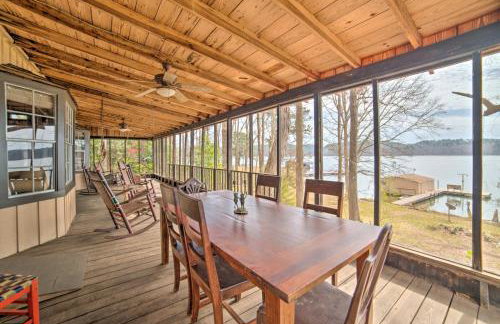
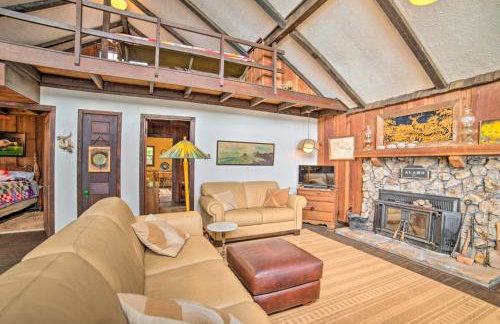
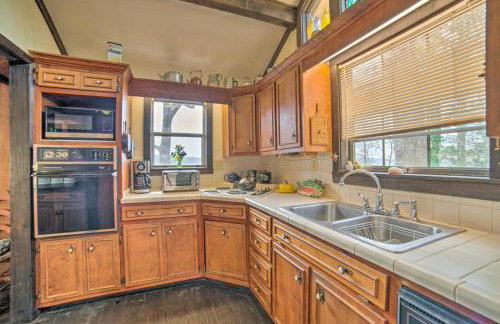
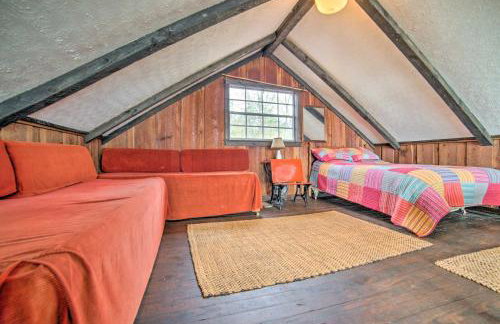
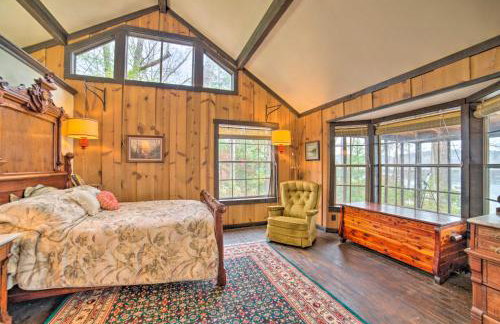
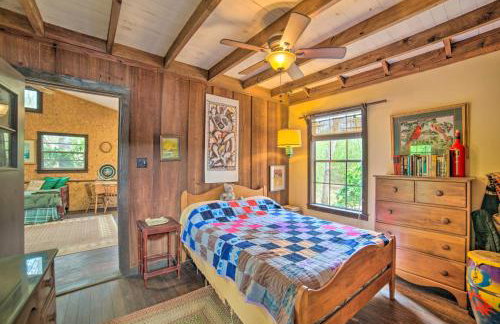
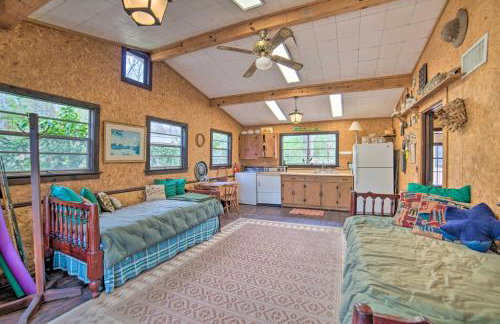
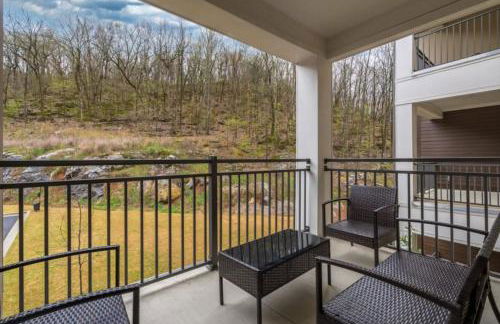
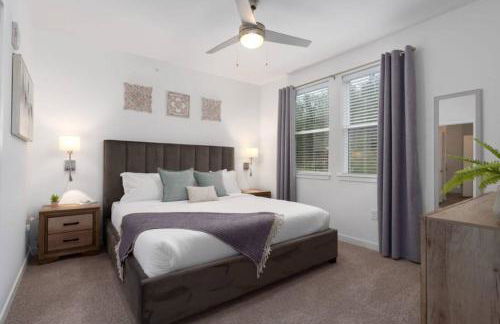
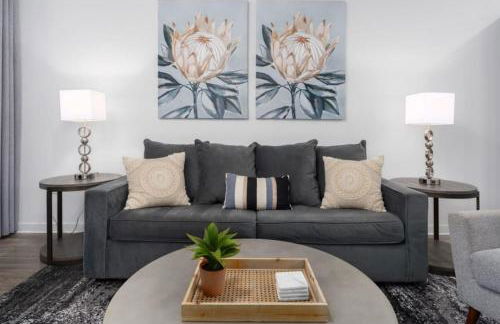
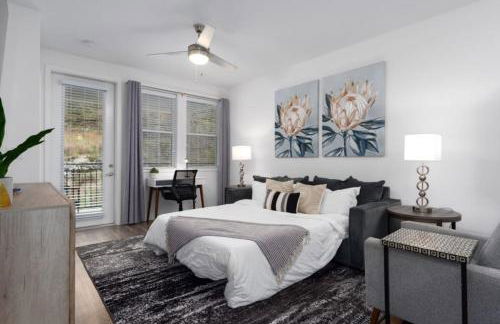
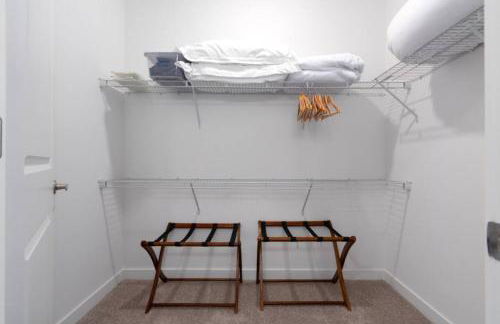
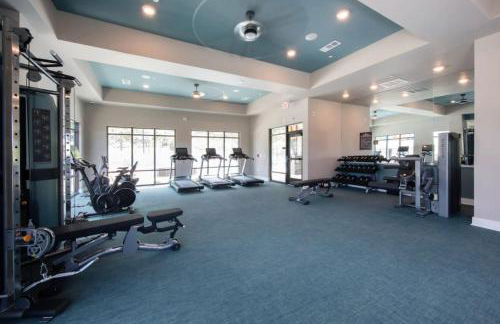
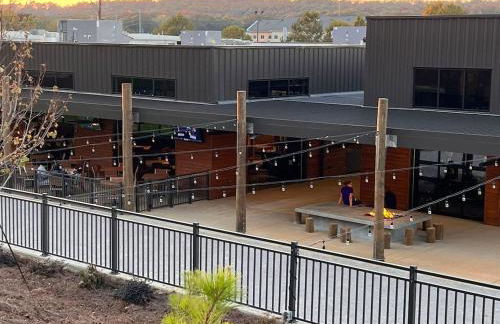
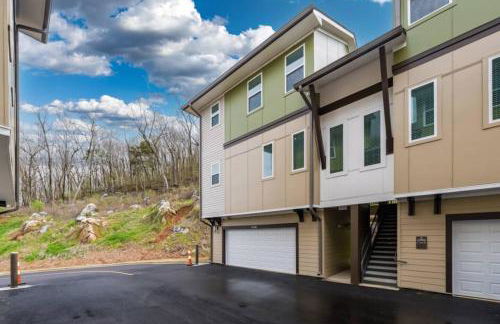
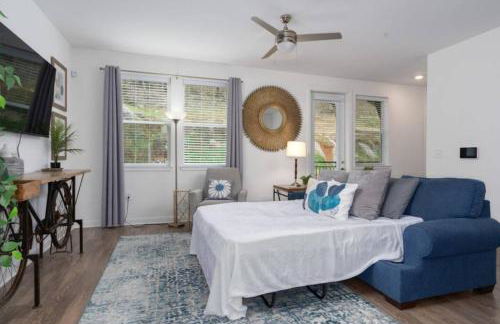
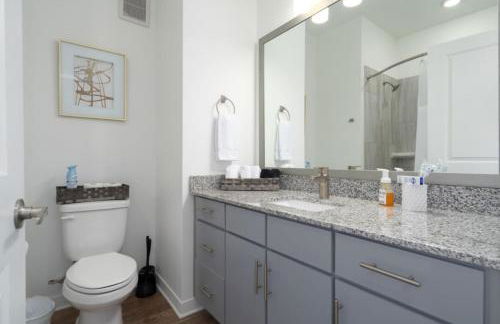
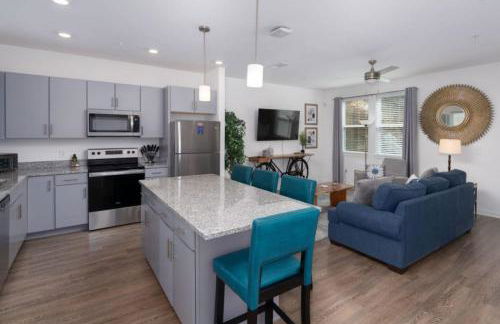
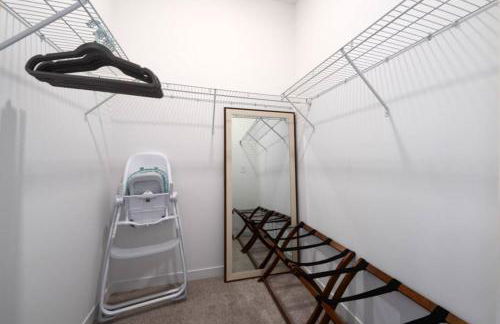
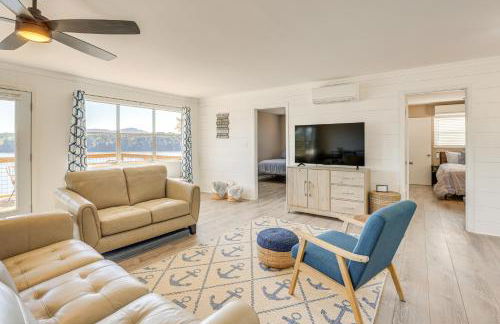
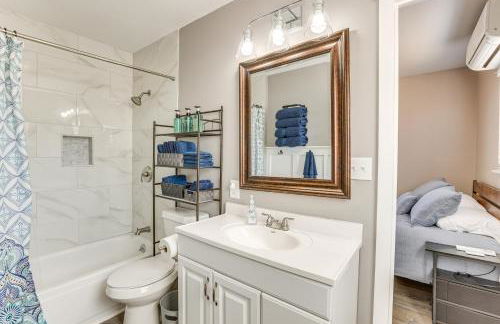
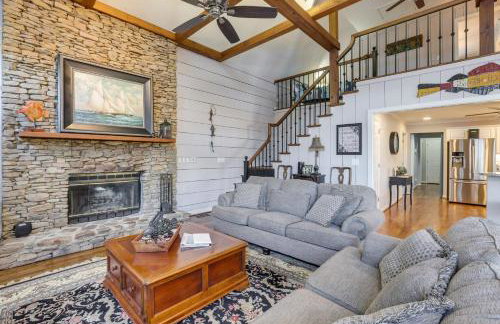
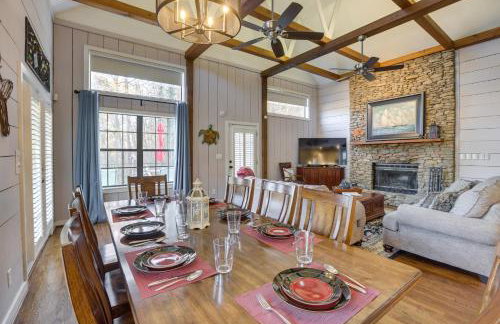
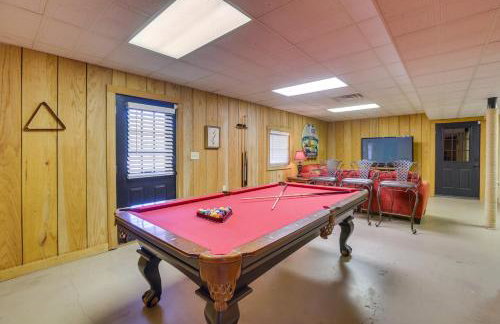
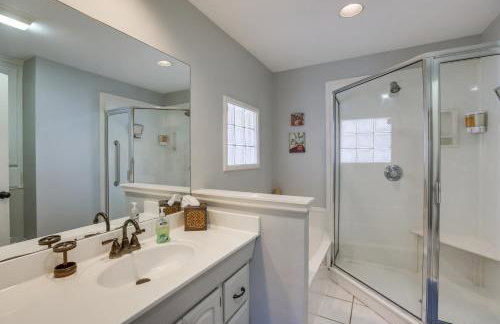
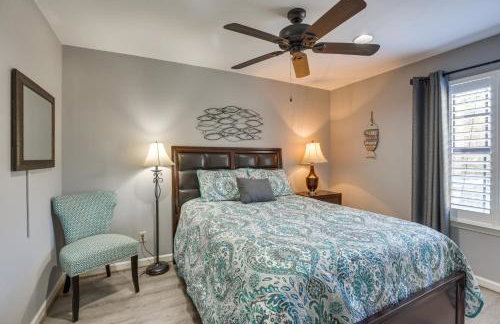
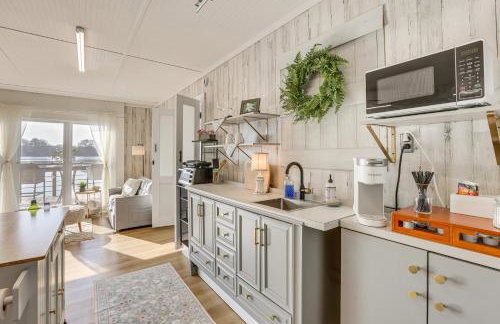
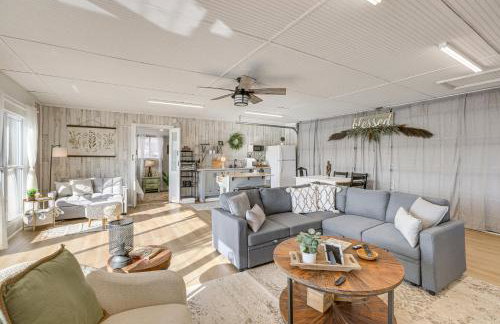
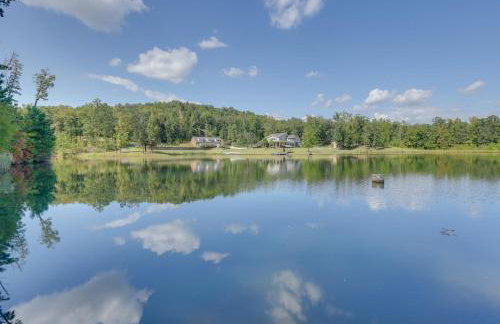
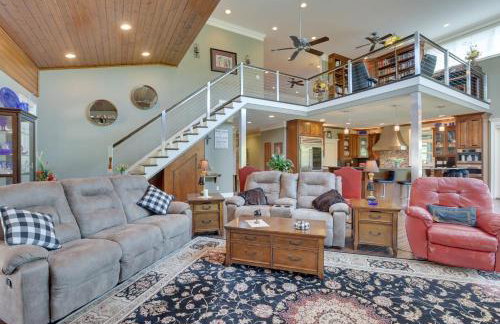
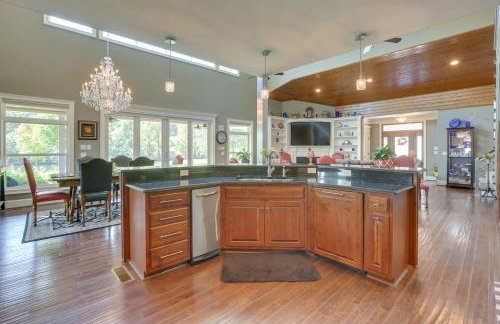
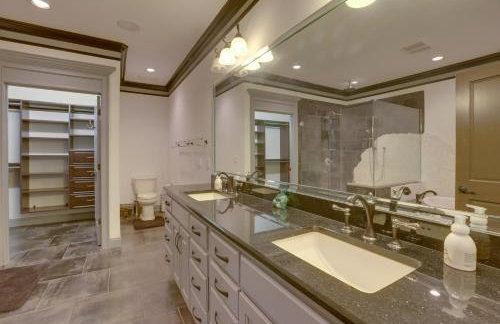
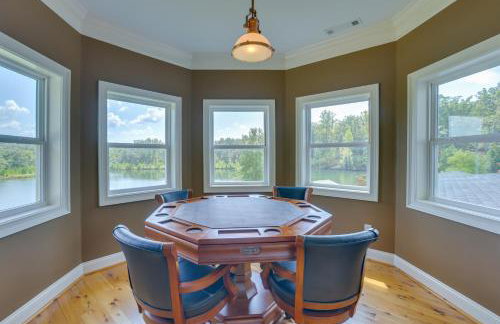
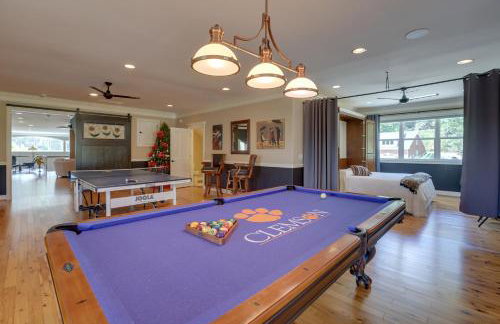
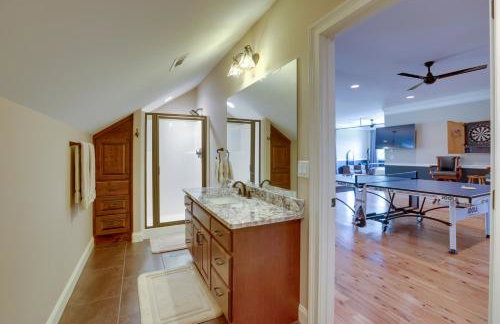
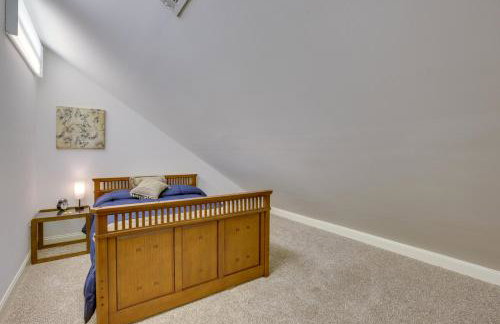
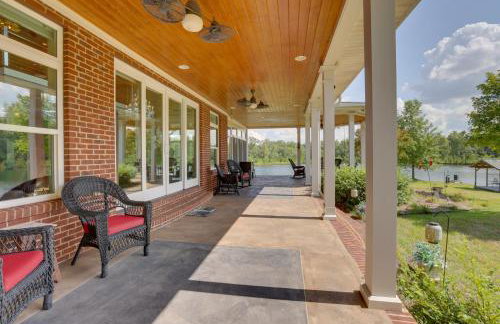
Oak Mountain Retreat with Fitness Center - Photo 2
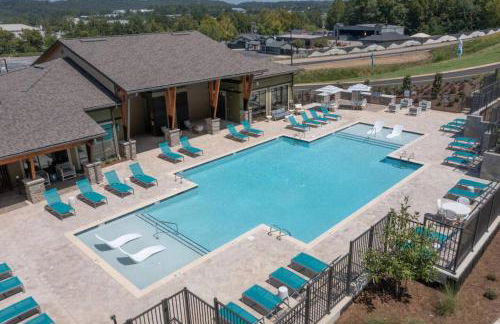
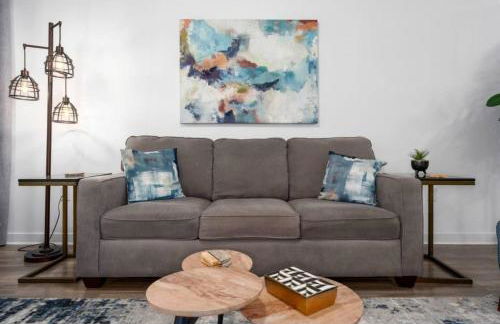
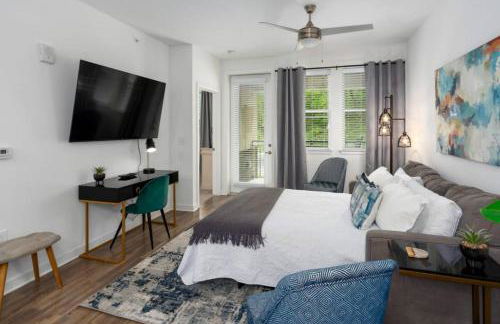
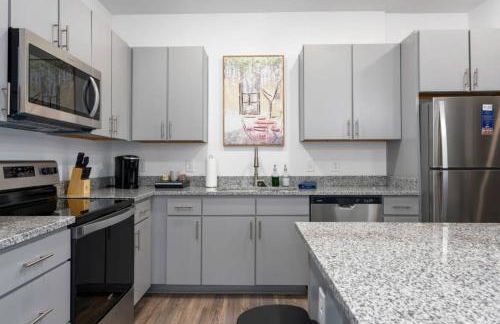
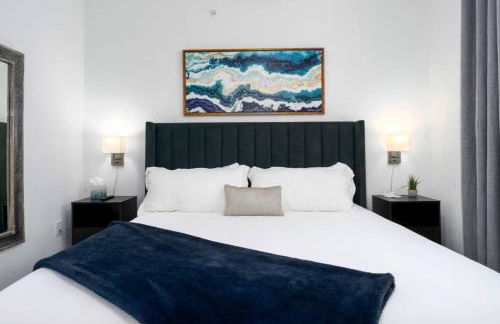
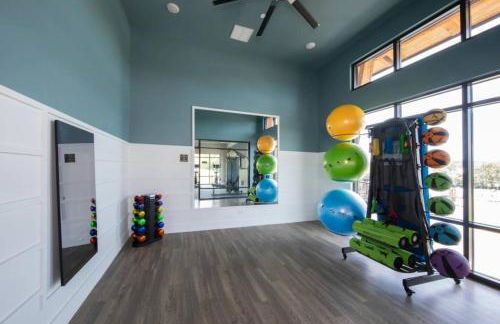
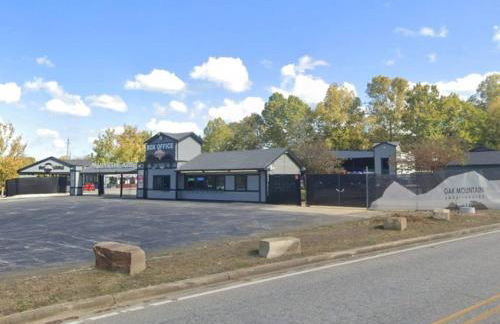
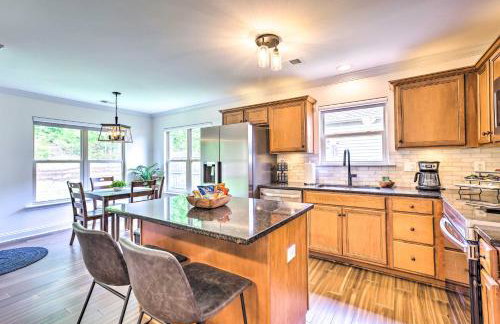
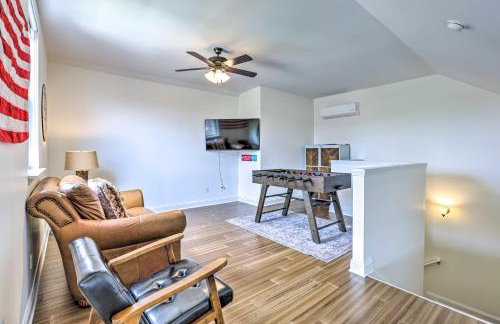
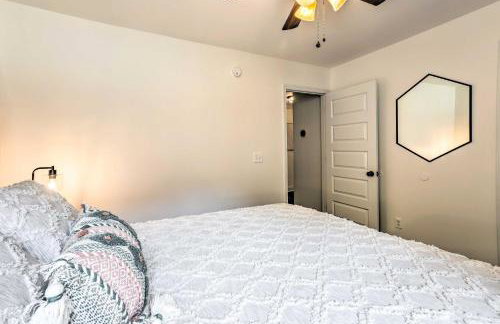
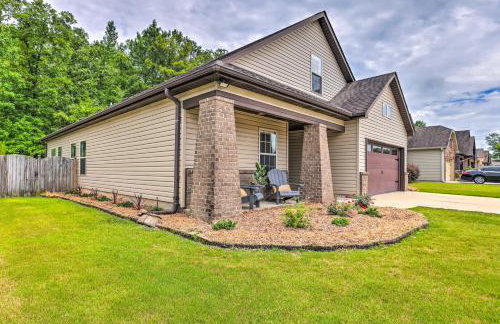
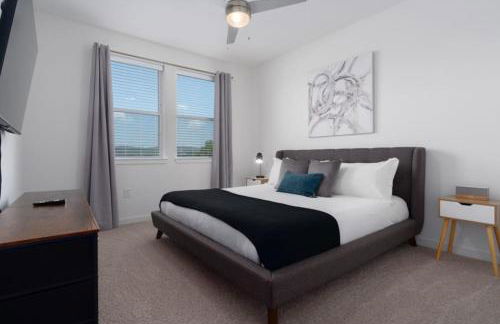
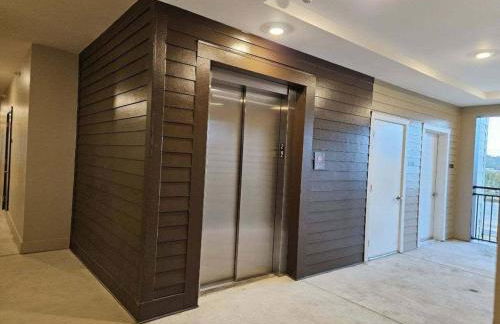
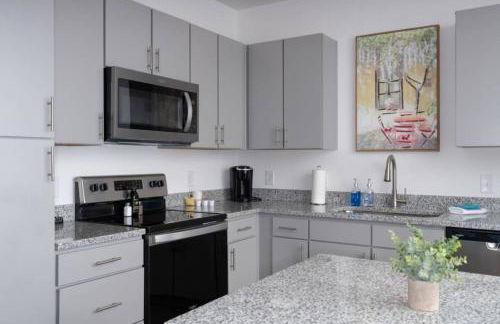
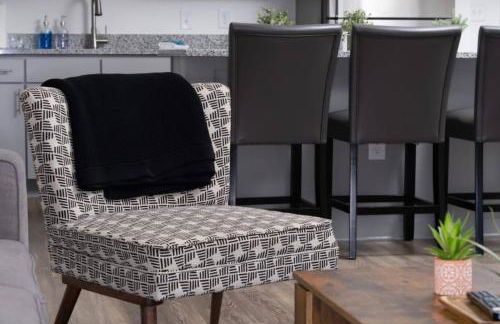
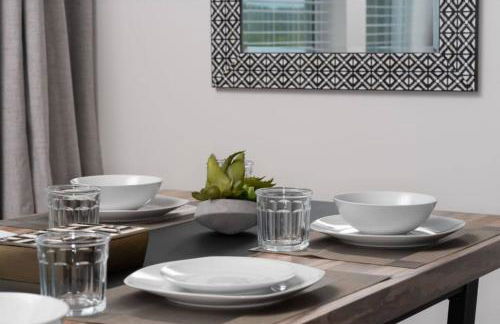
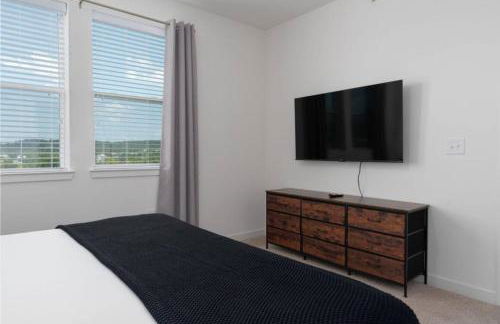
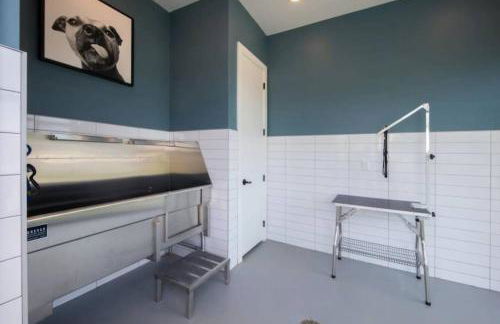
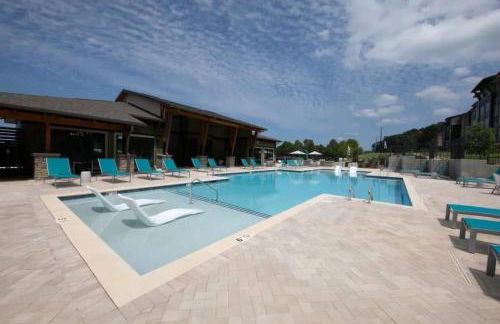
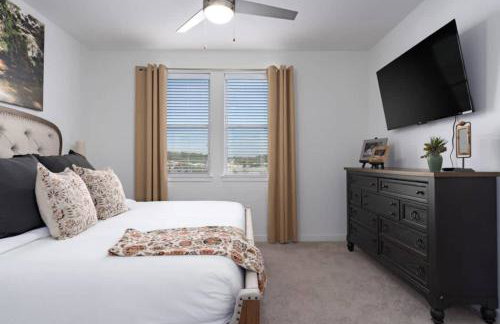
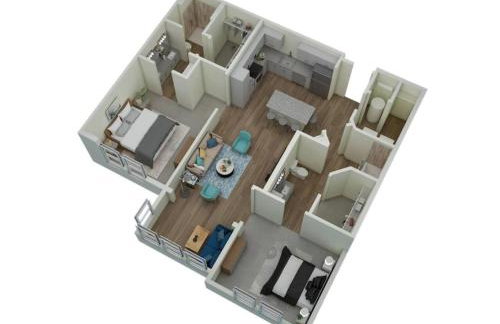
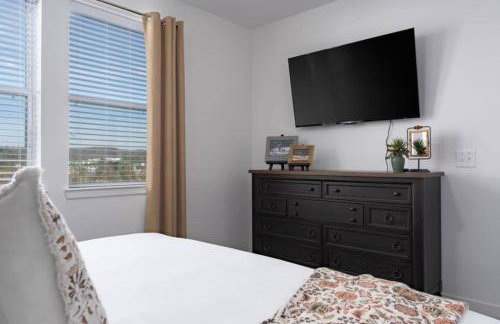
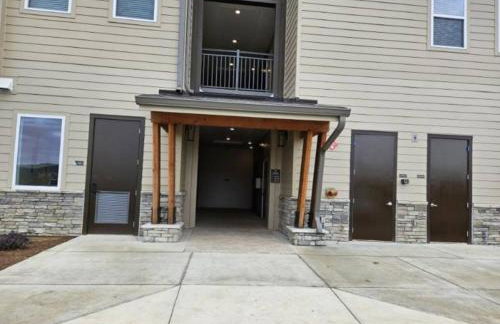
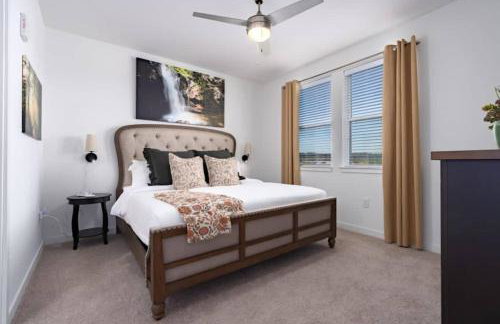
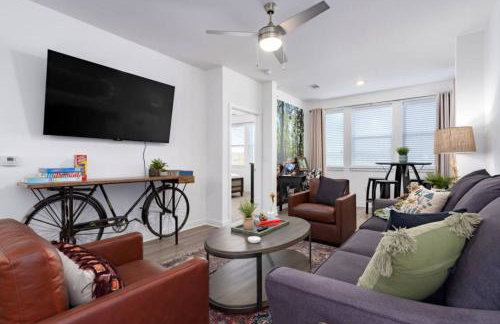
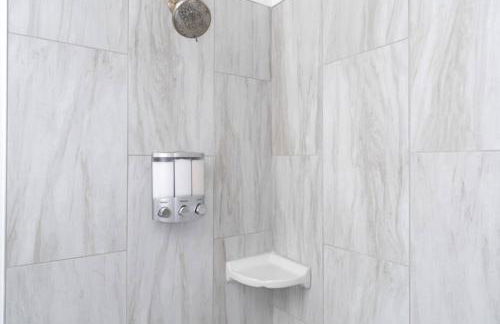
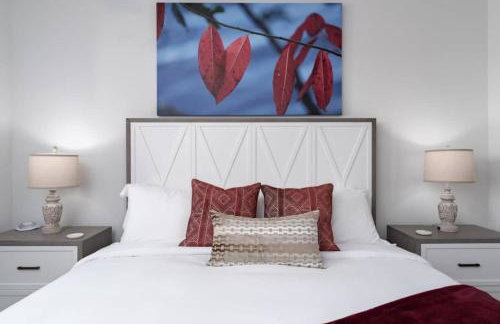
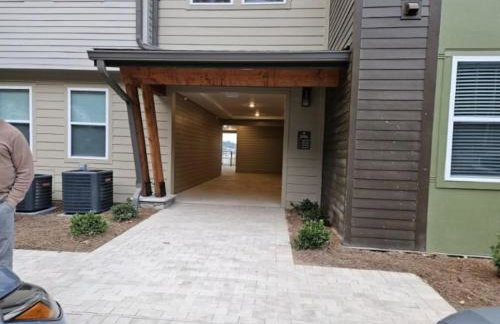
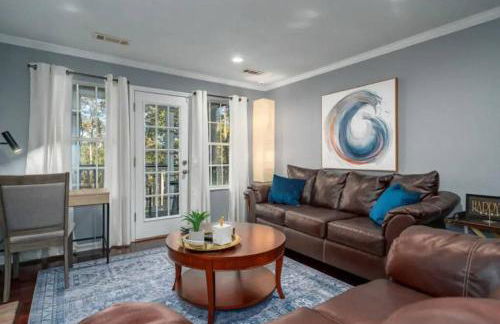
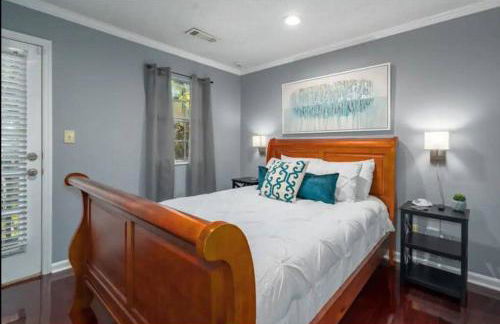
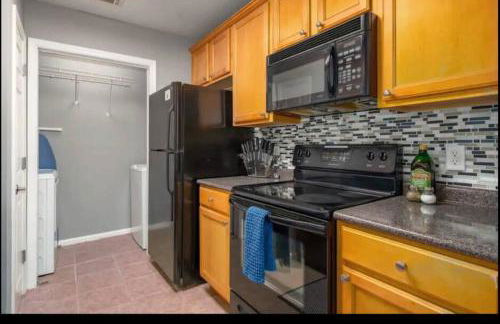
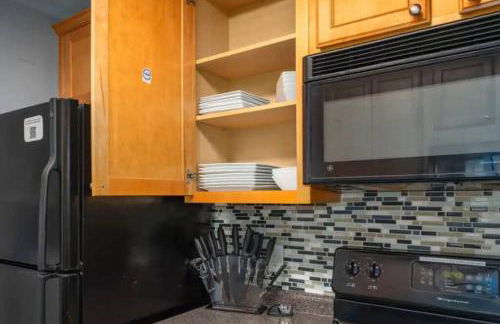
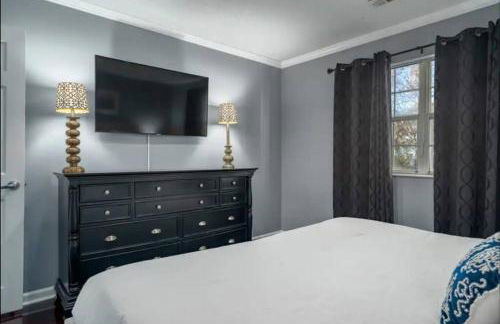
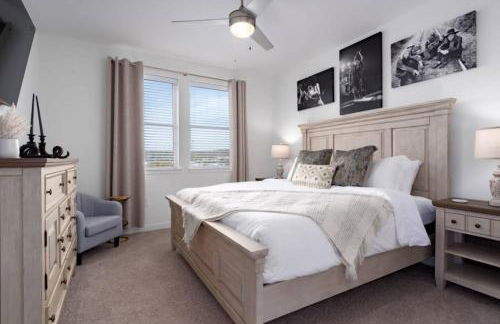
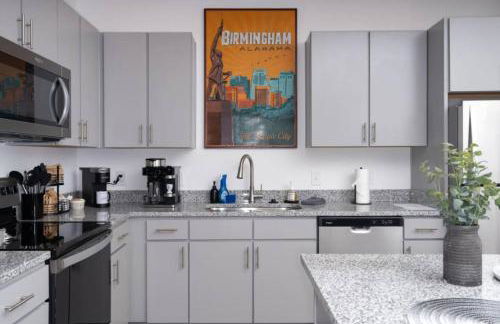
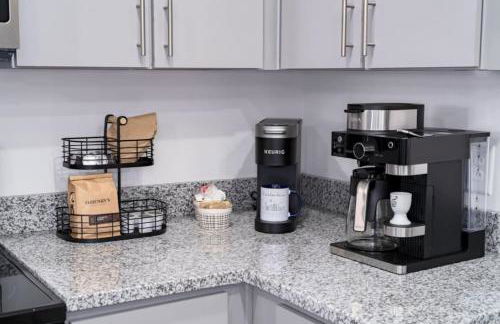
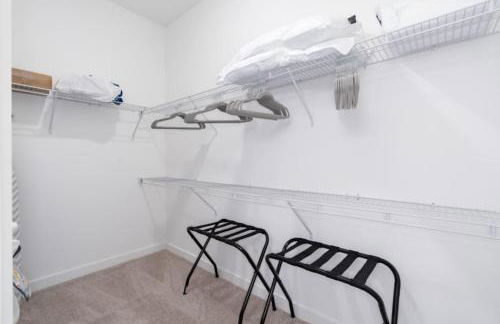
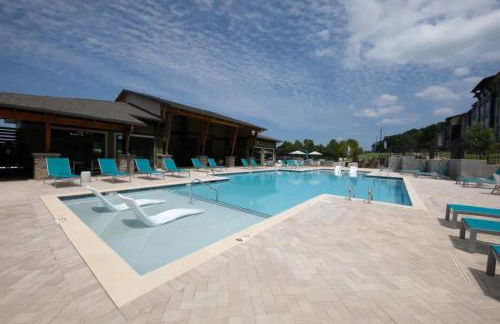
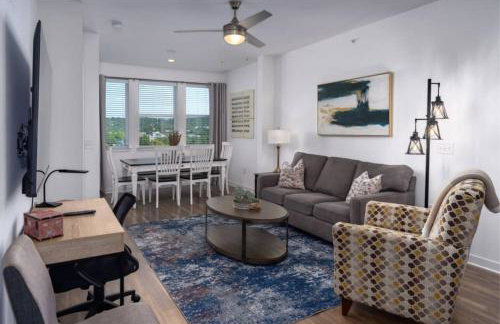
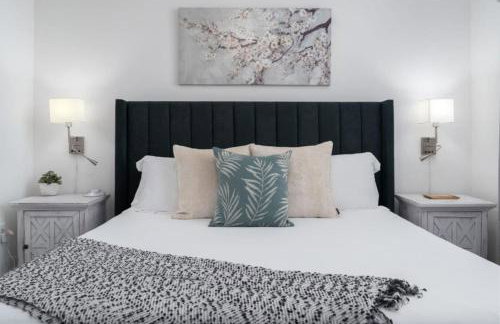
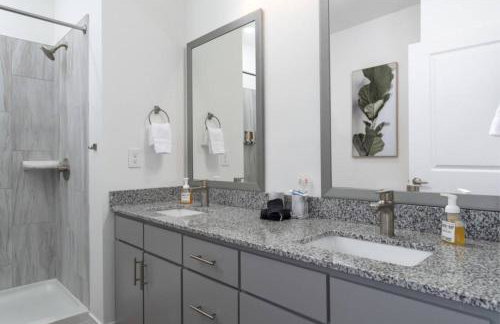
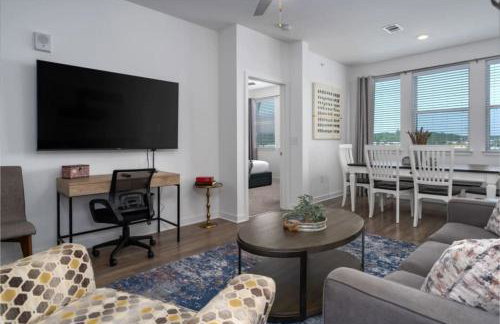
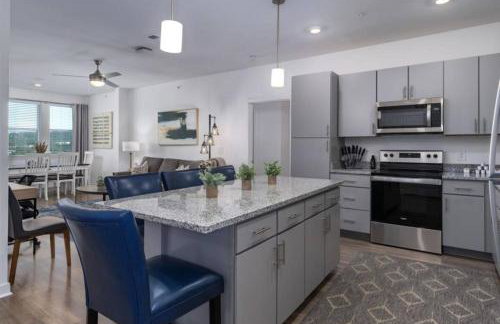
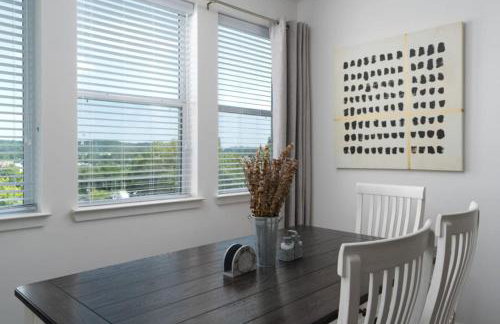
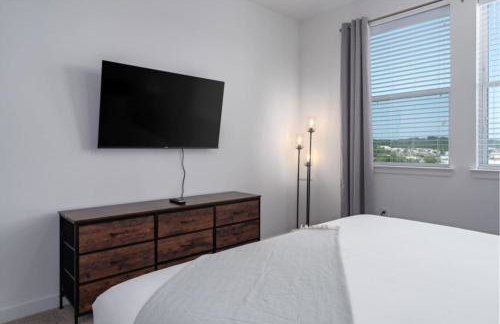
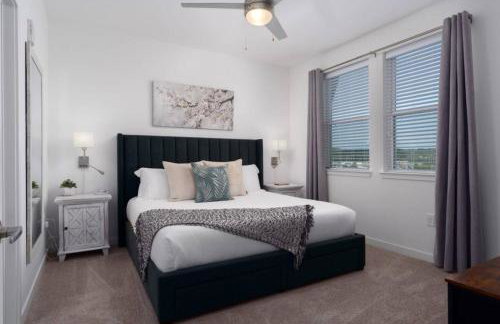
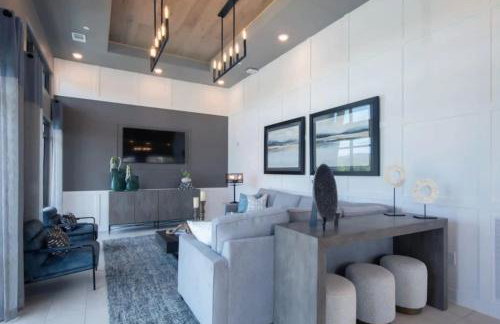
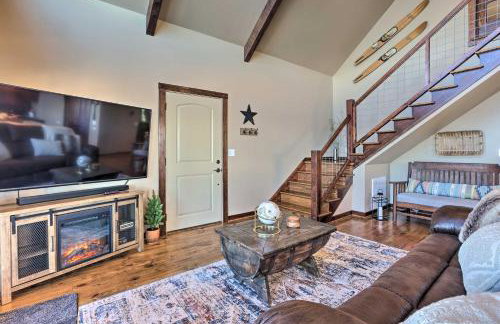
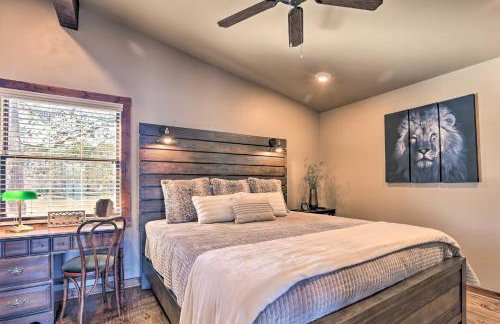
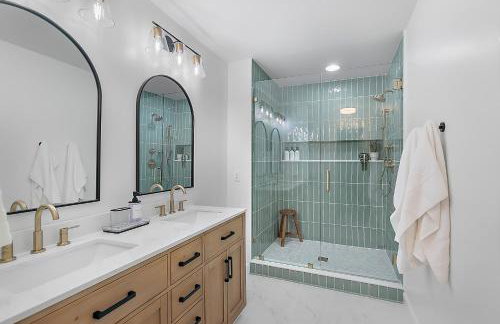
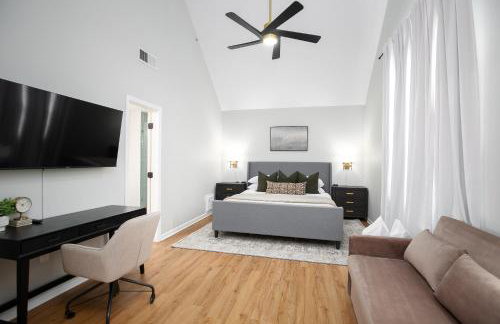
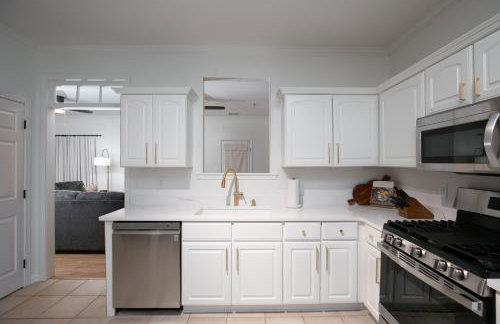
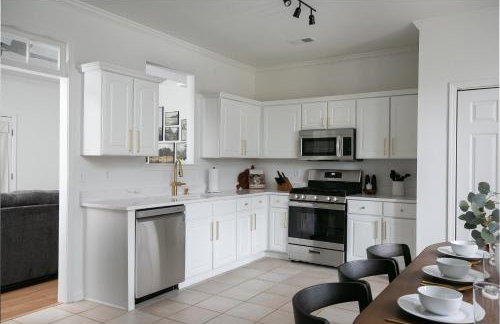
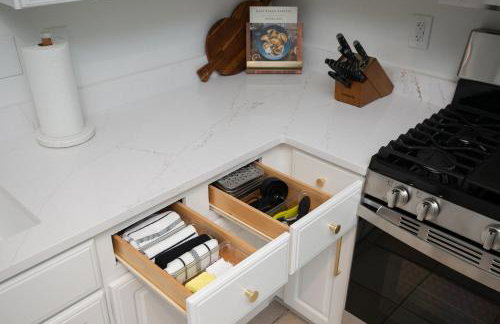
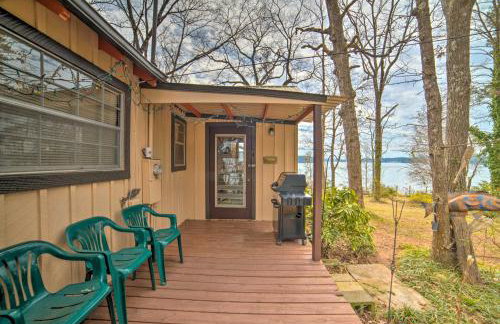
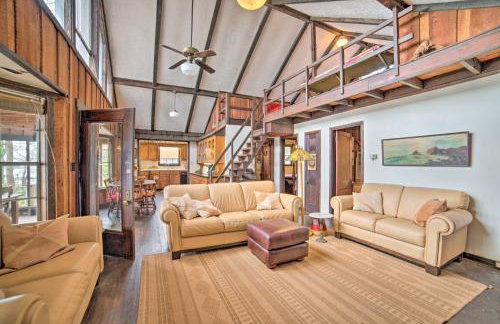
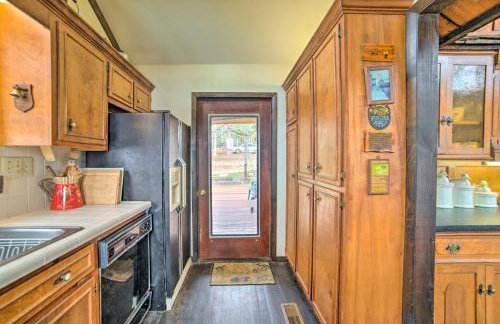
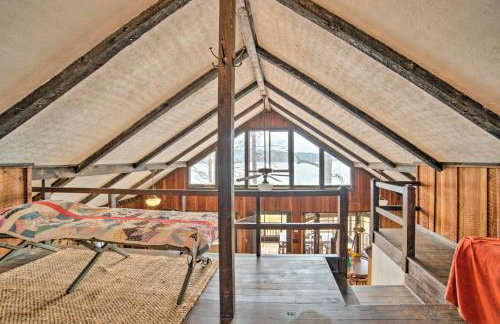
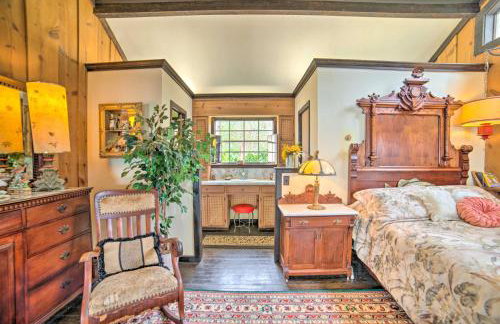
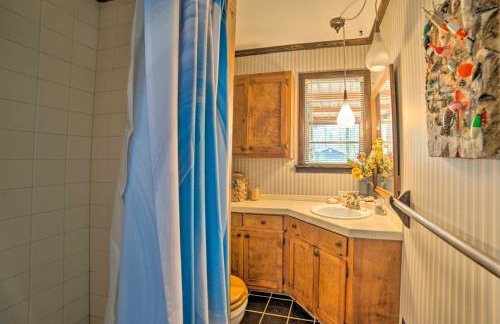
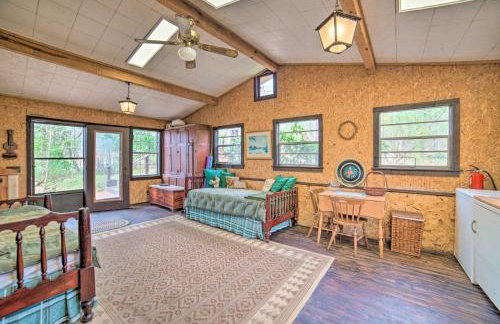
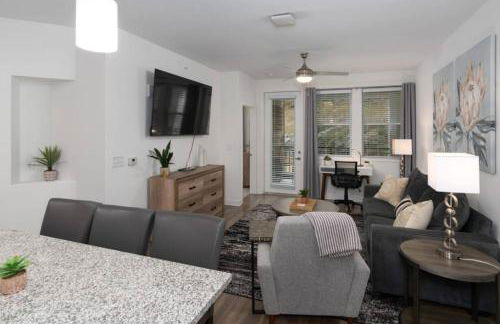
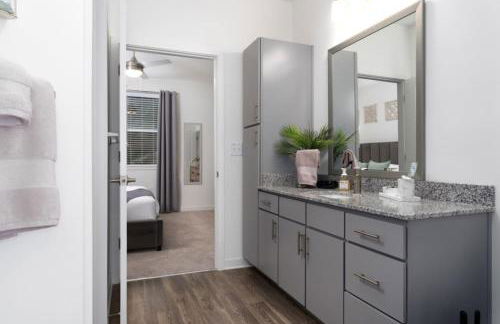
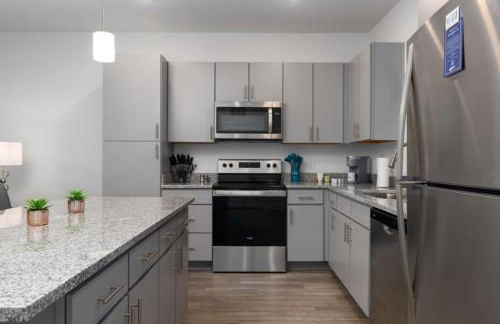
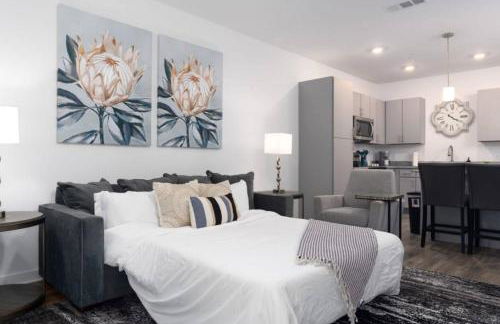
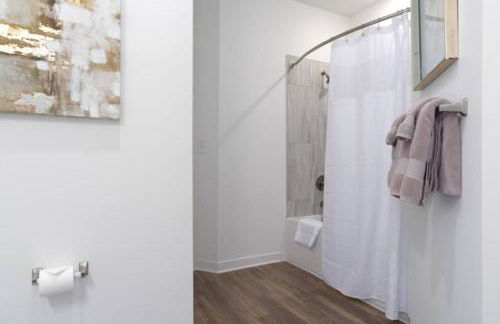
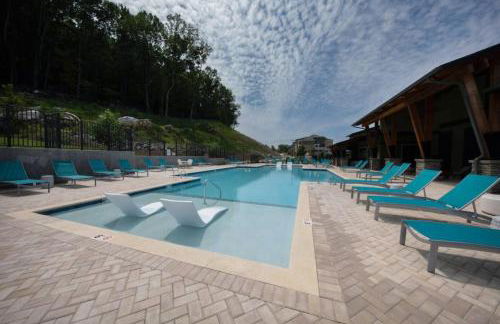
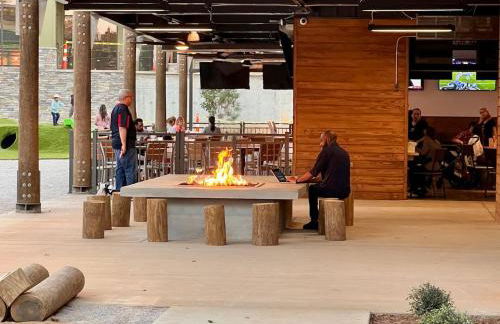
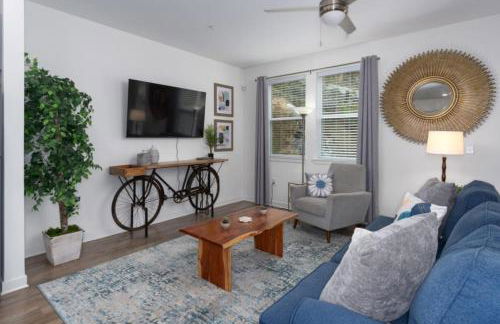
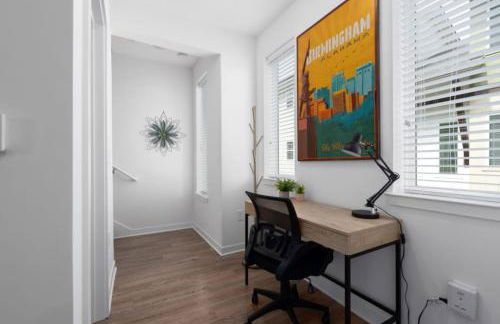
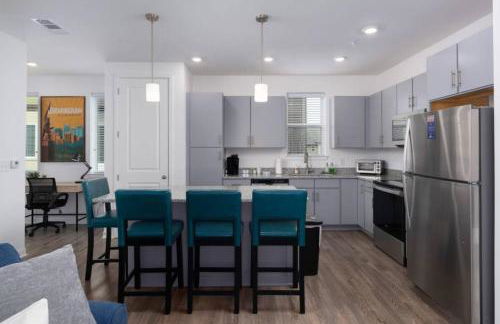
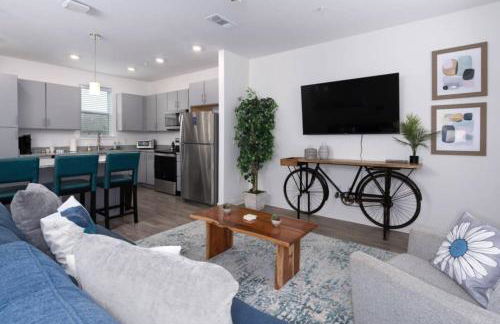
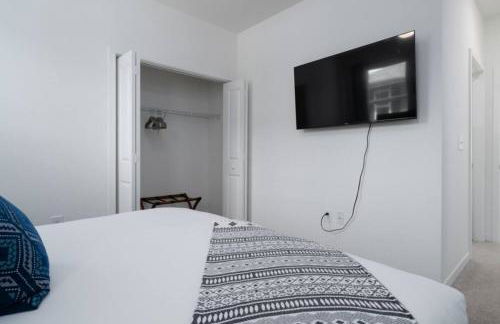
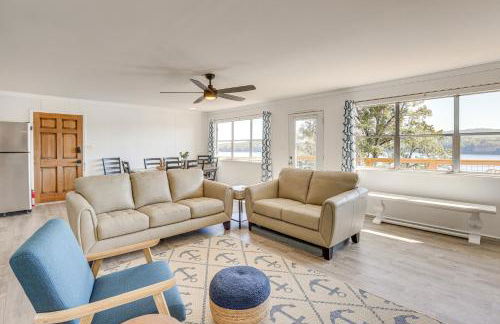
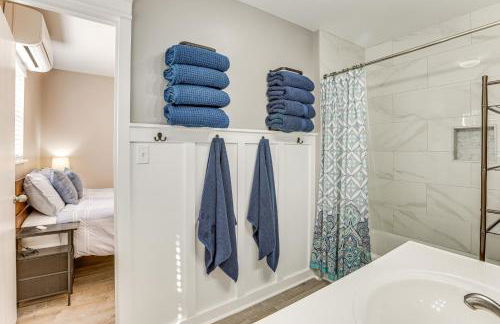
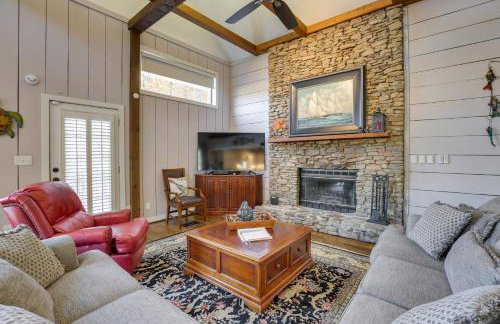
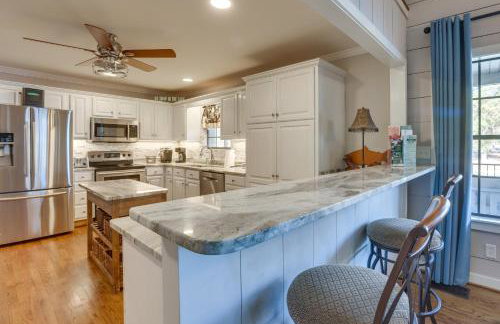
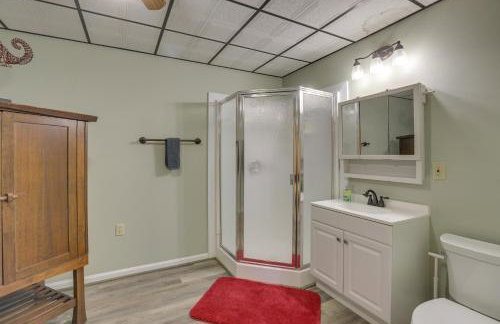
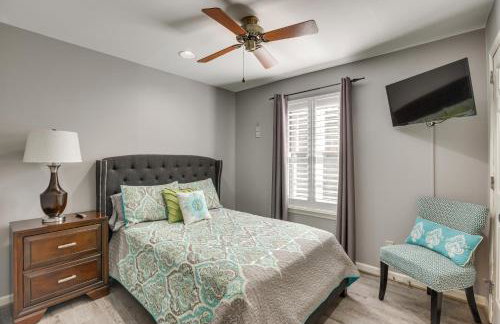
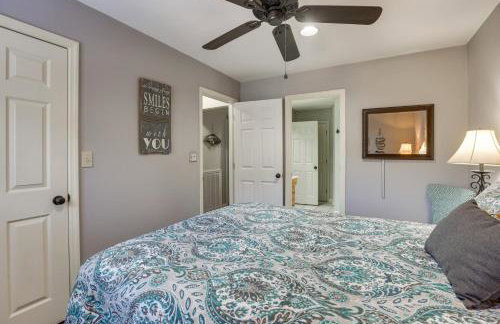
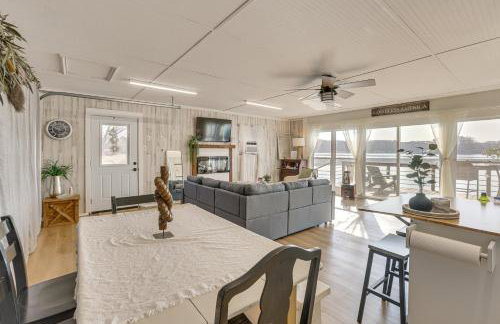
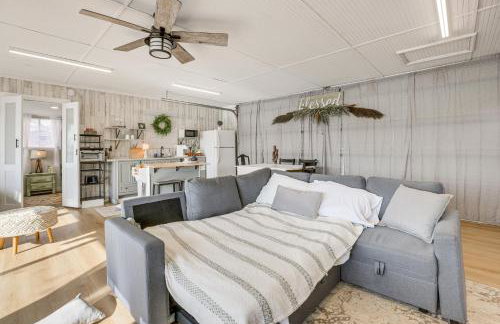
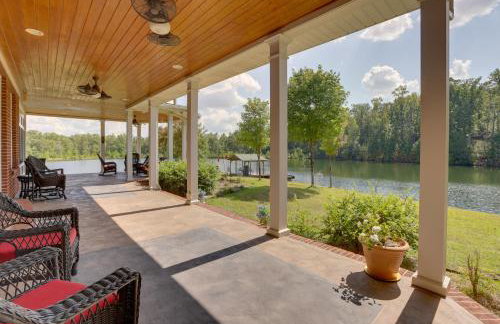
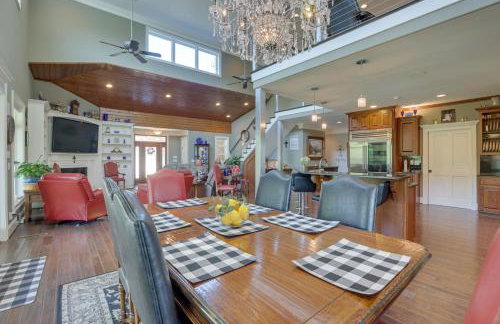
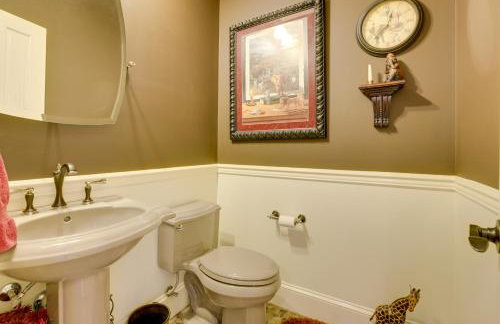
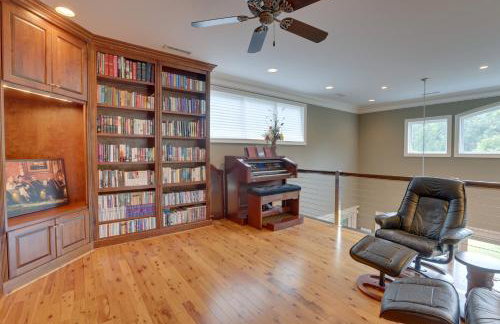
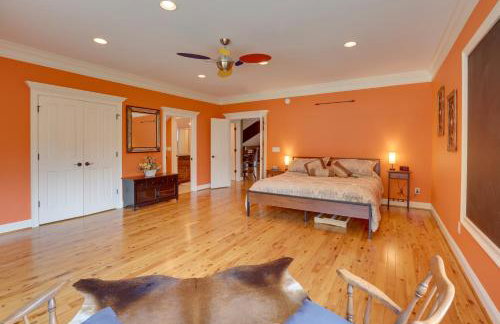
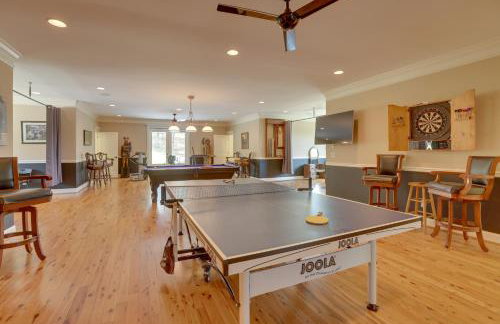
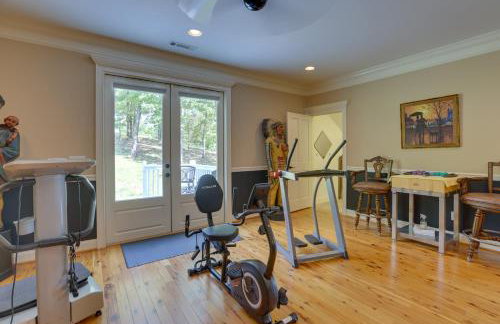
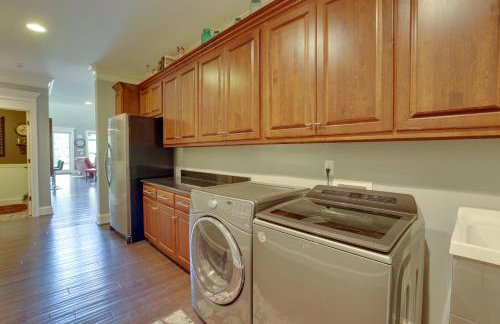
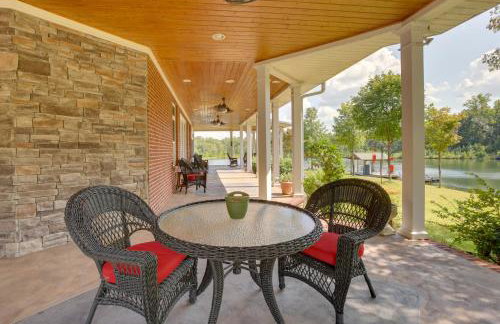
Oak Mountain Retreat with Fitness Center - Photo 3
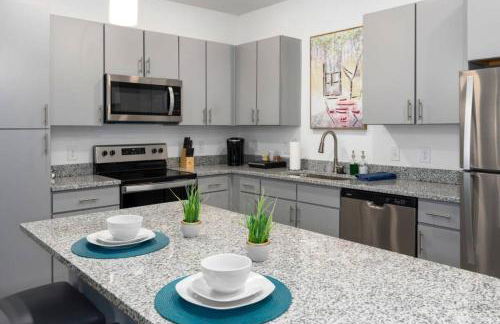
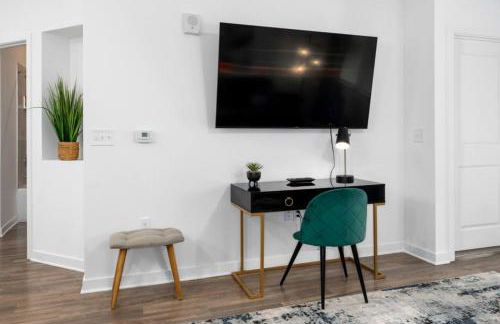
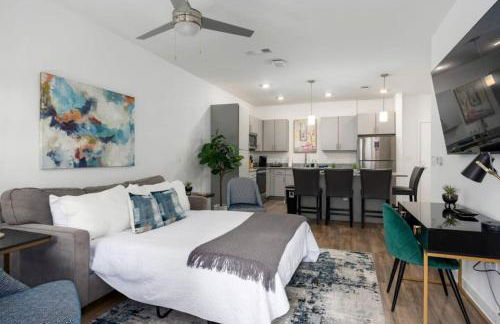
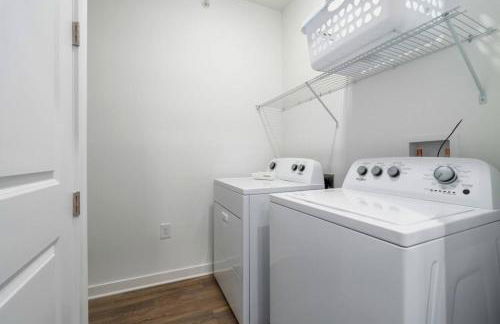
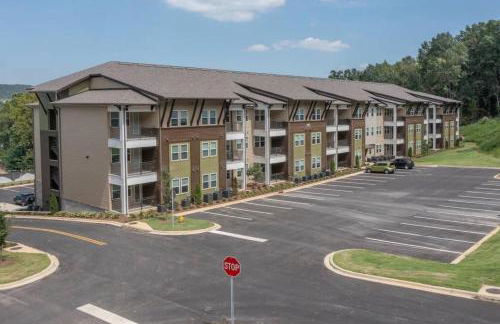
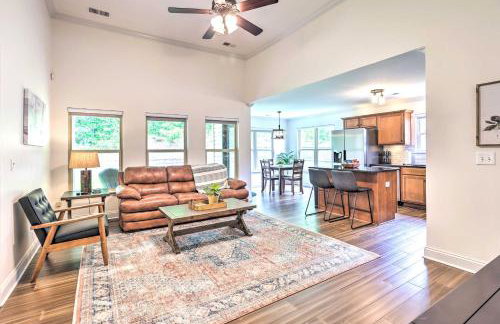
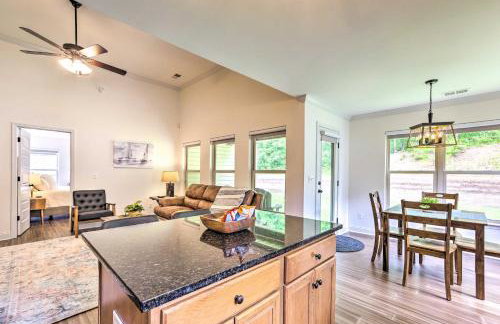
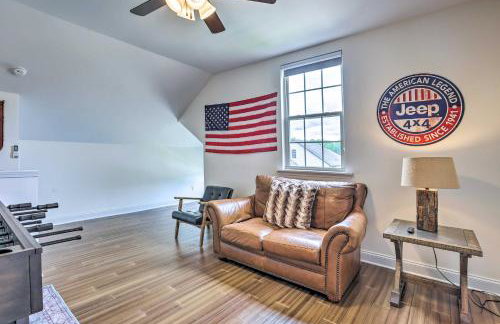
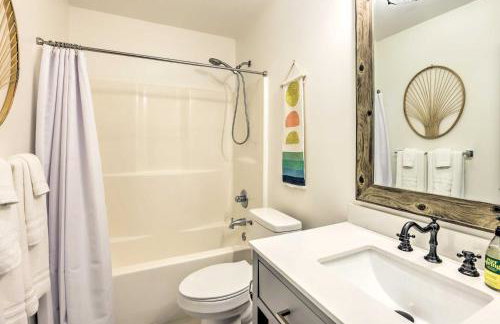
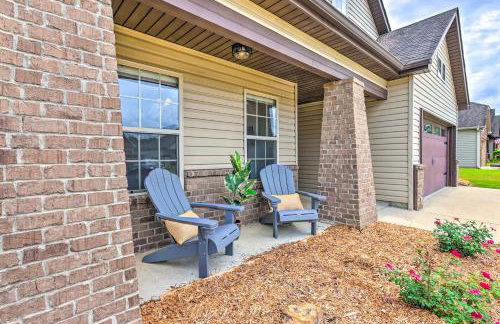
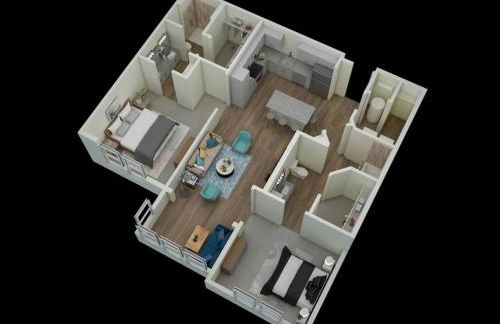
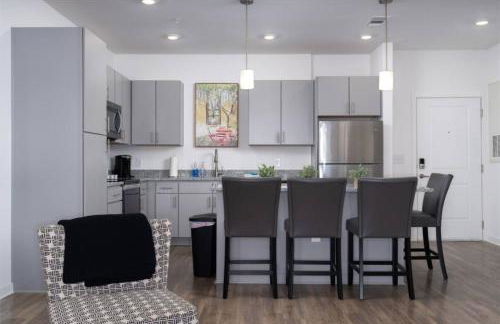
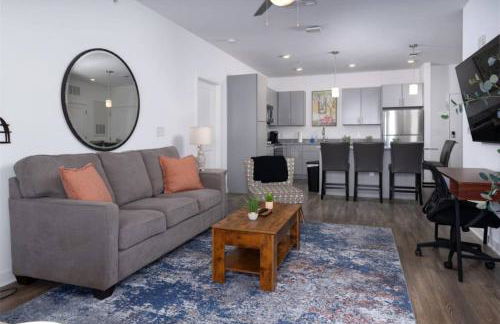
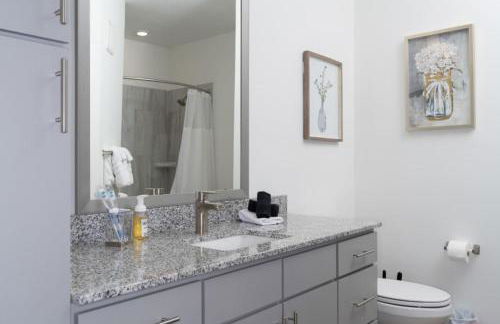
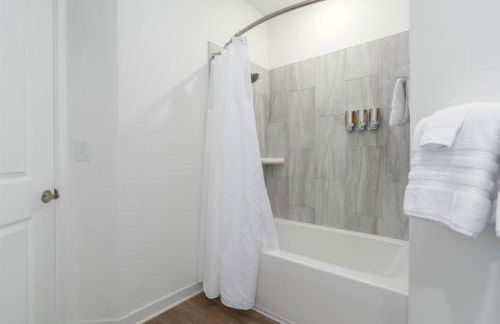
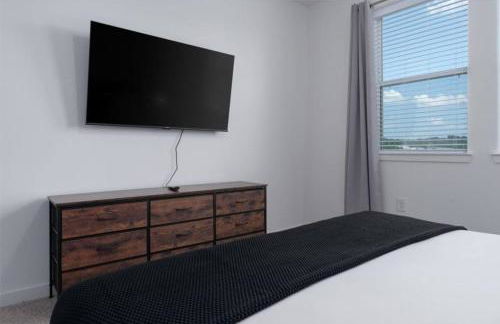
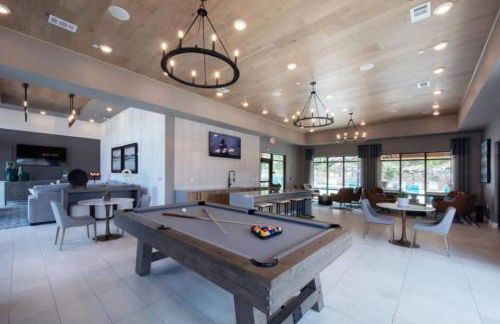
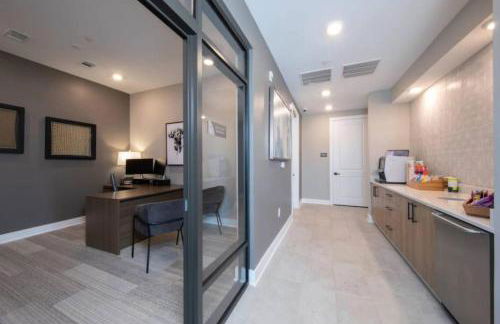
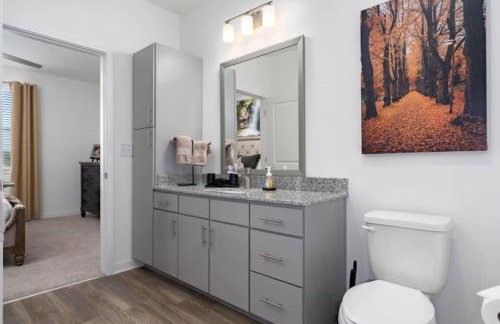
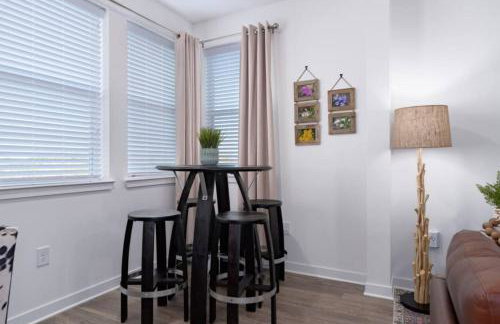
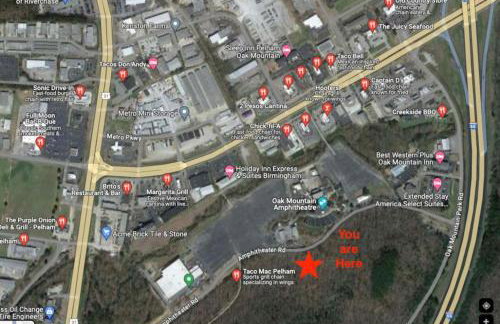
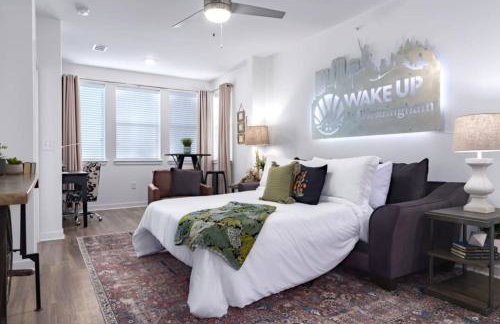
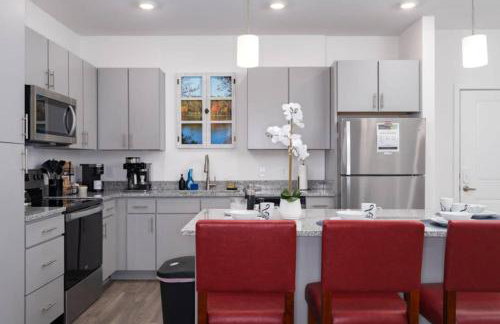
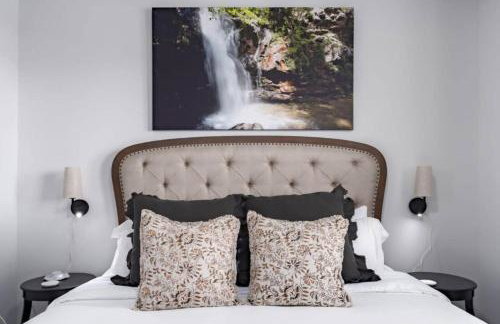
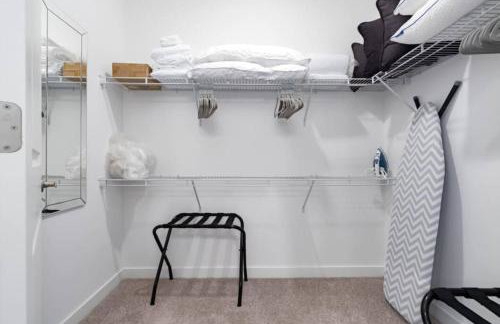
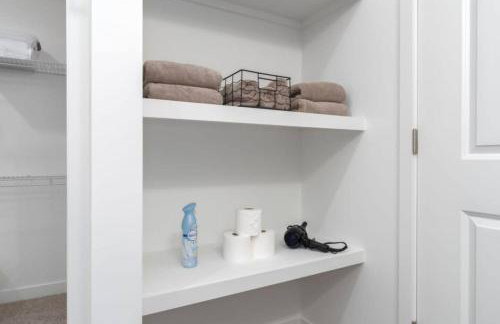
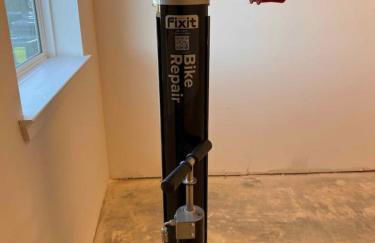
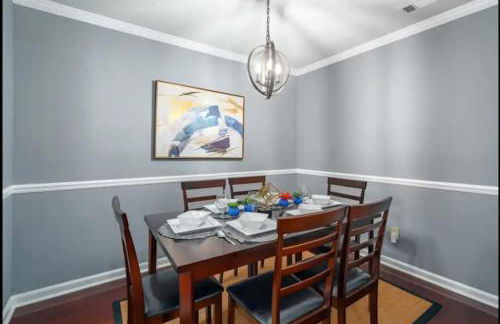
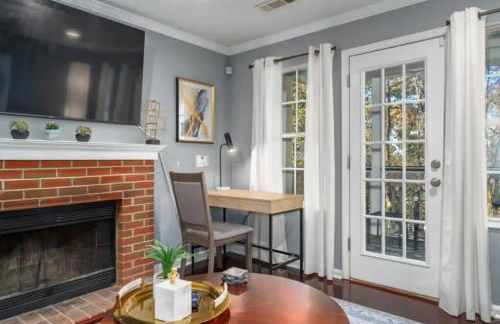
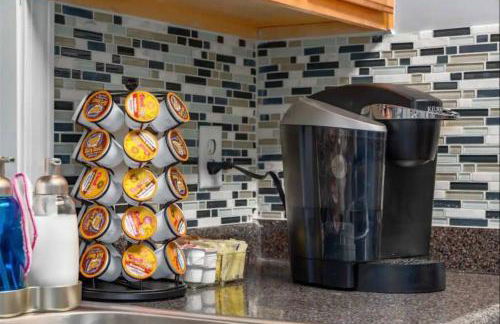
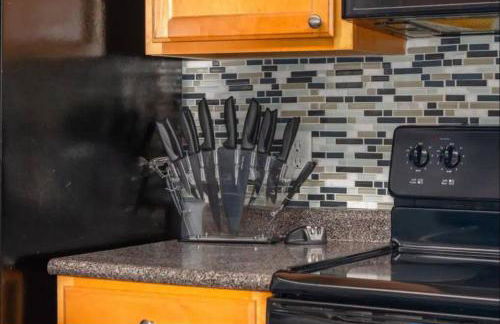
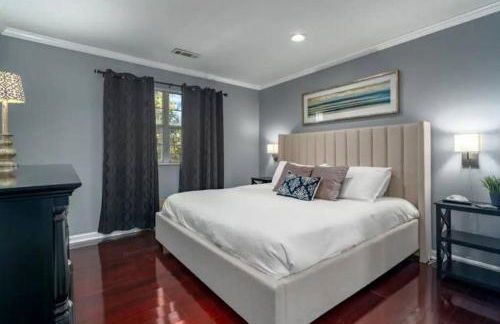
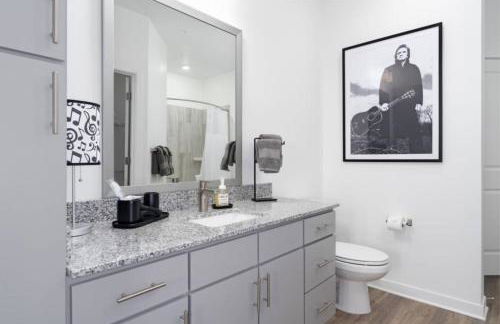
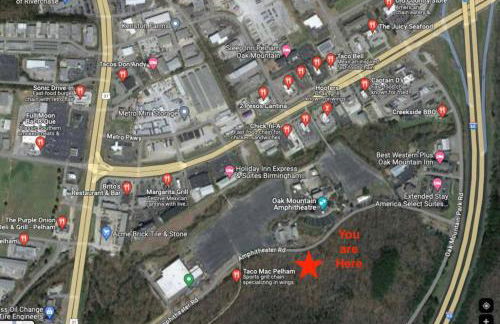
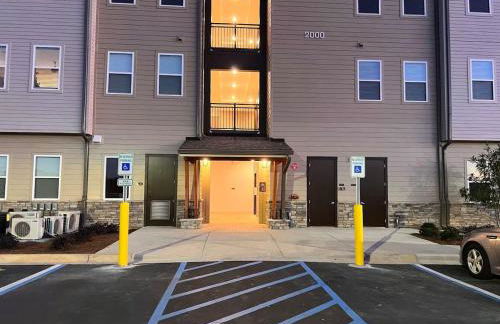
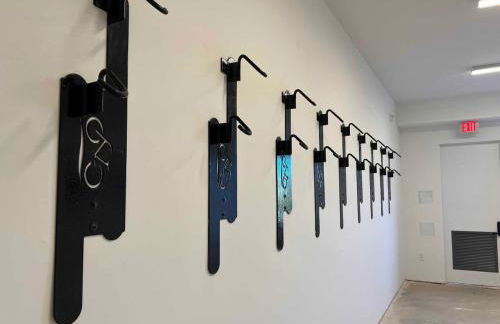
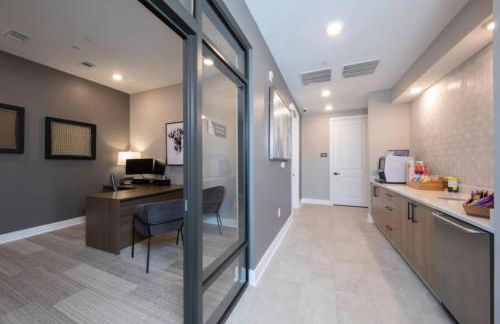
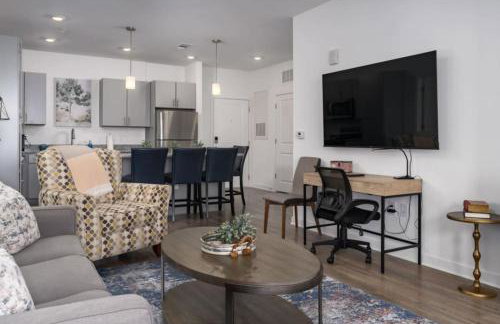
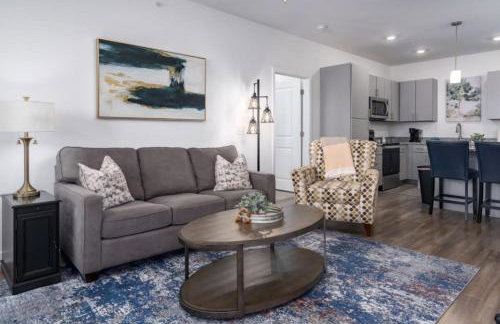
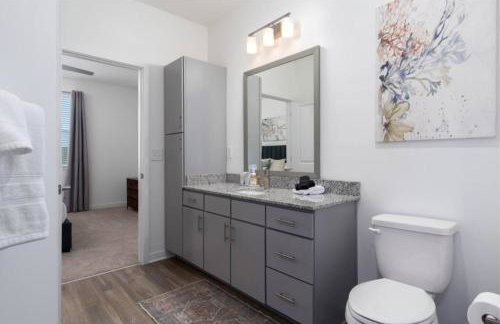
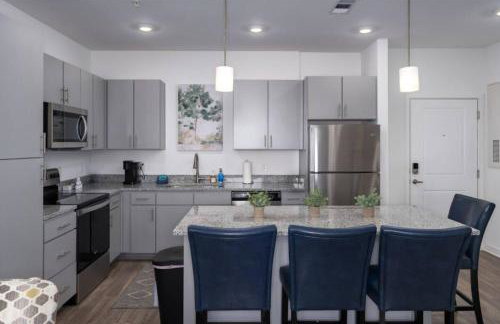
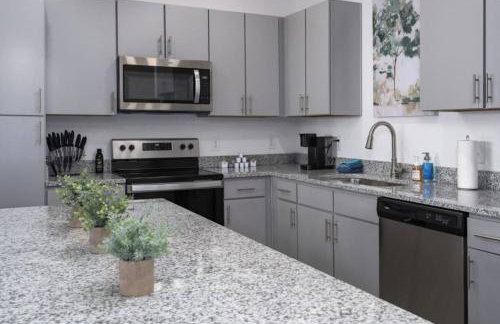
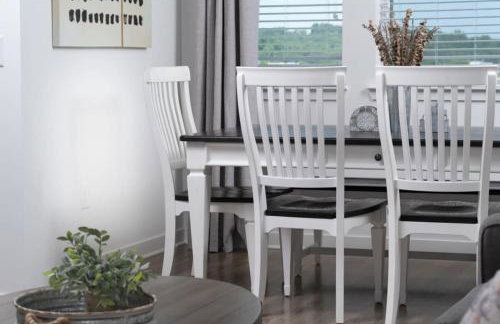
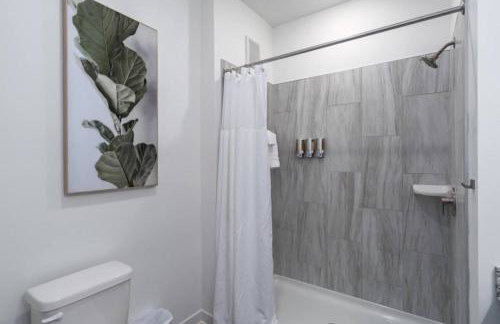
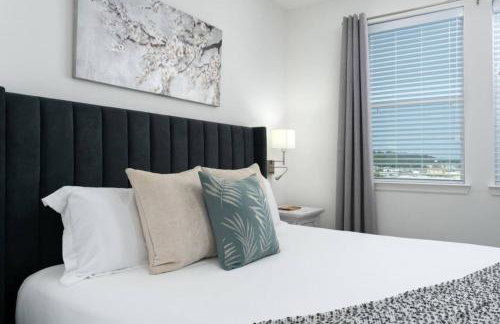
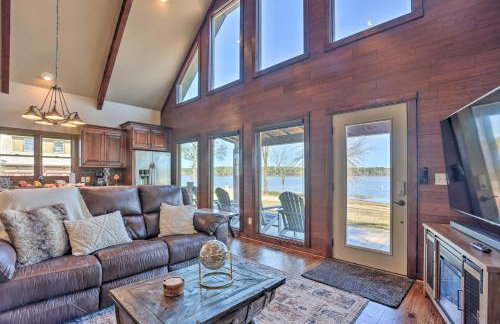
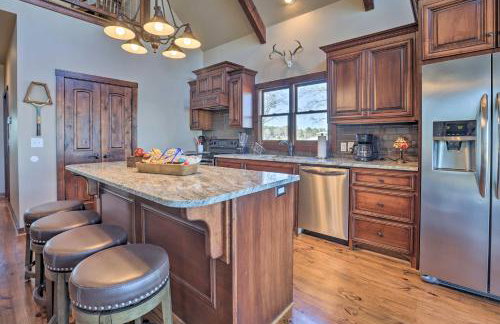
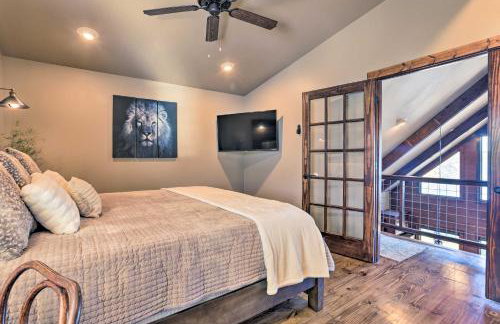
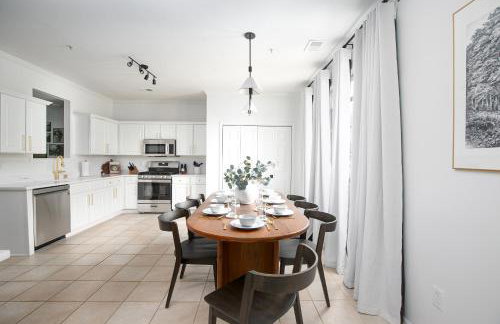
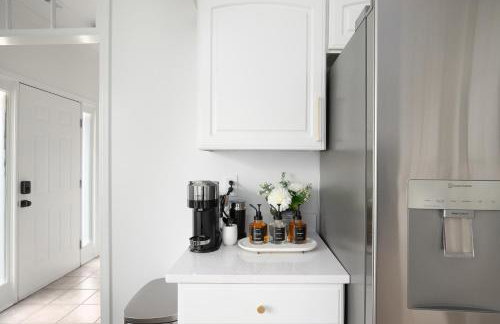
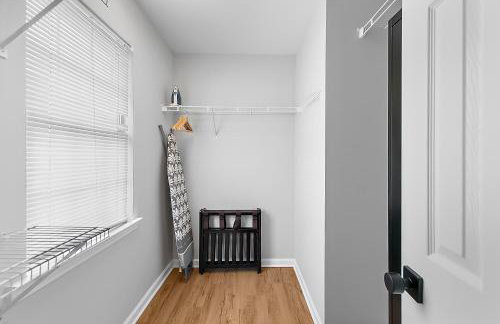
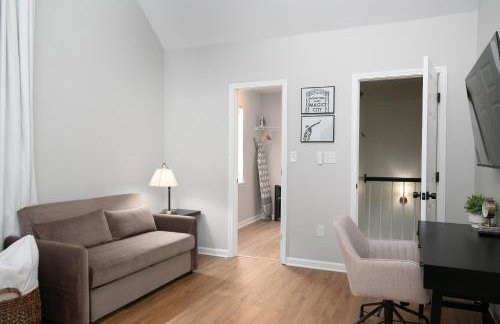
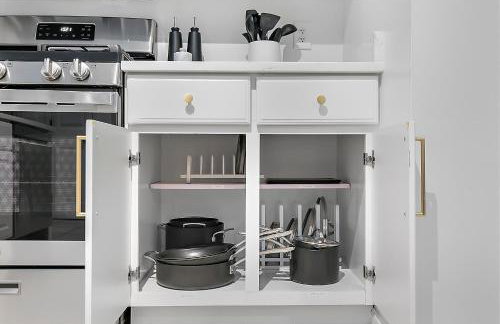
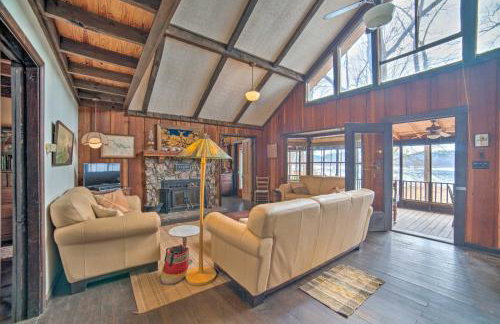
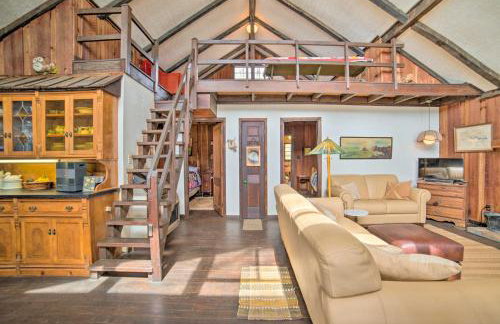
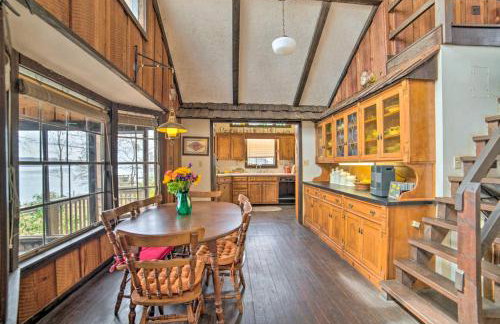
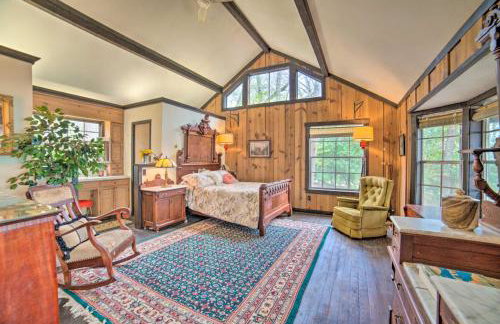
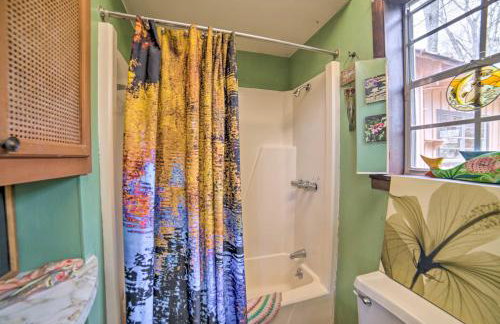
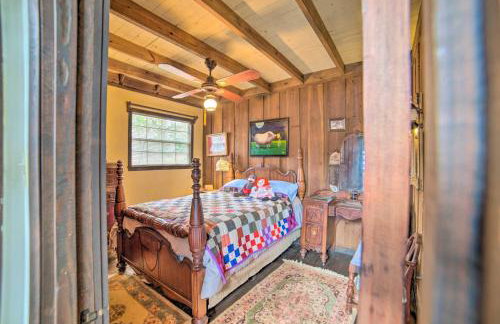
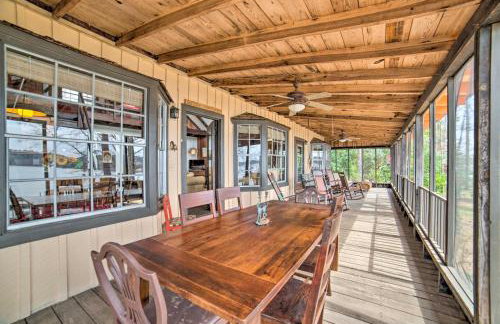
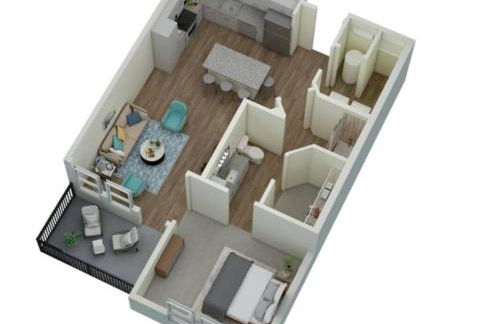
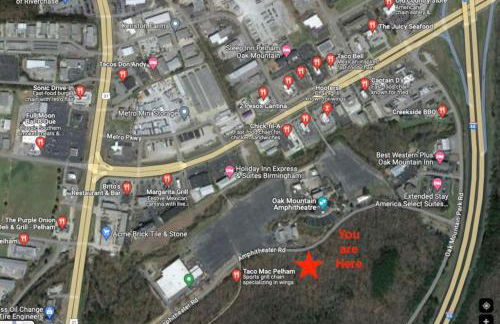
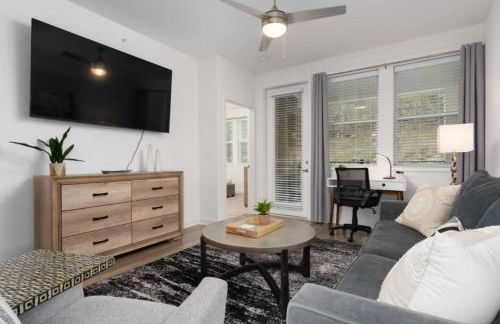
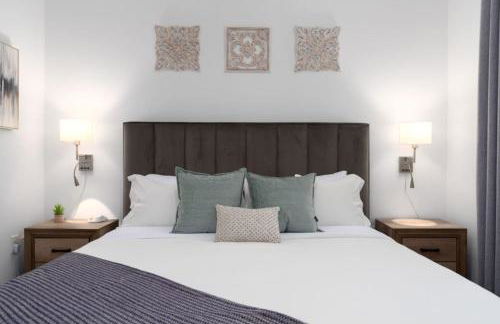
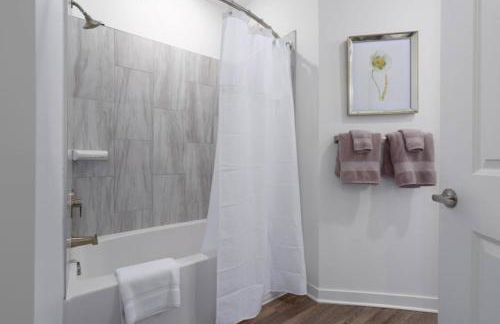
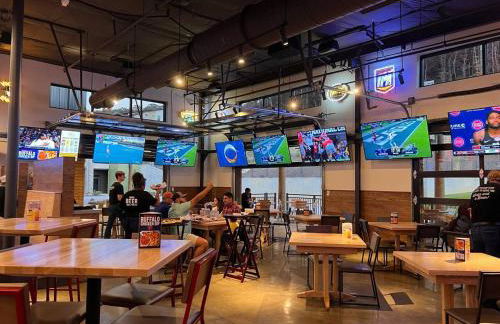
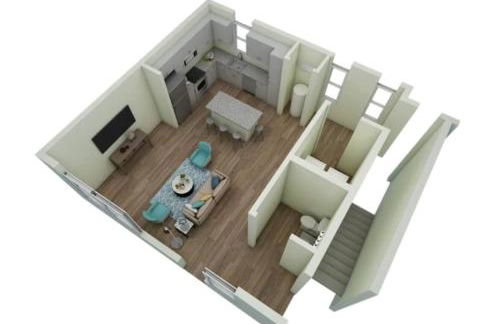
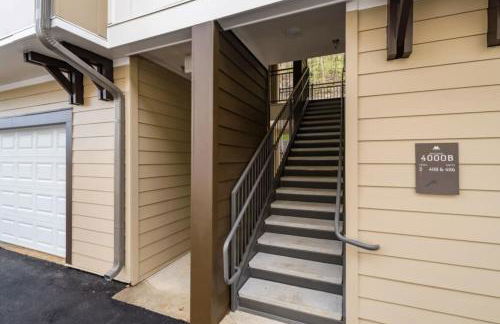
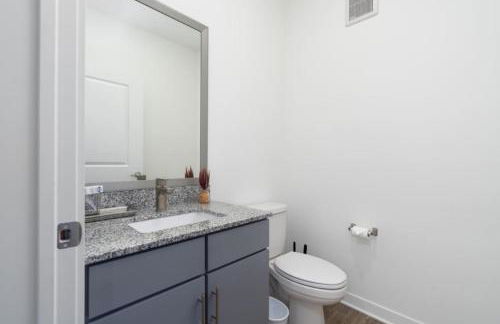
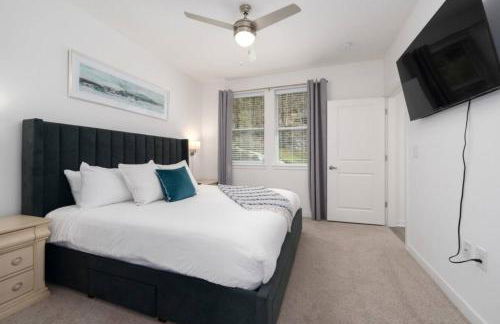
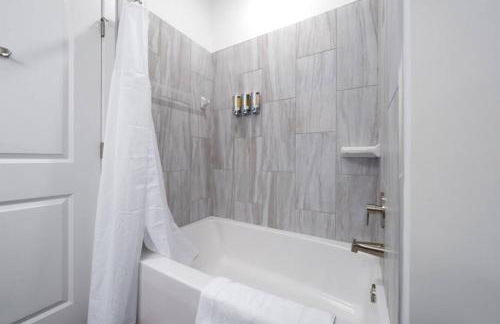
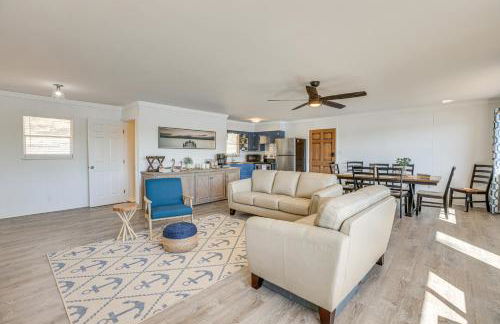
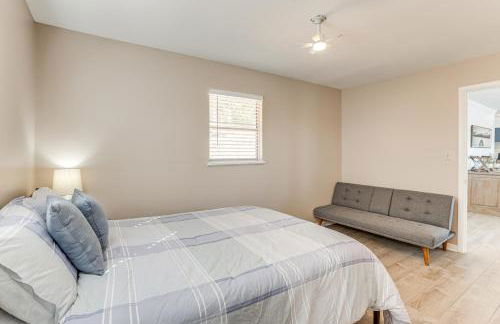
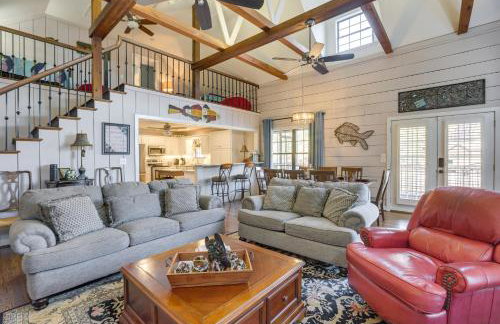
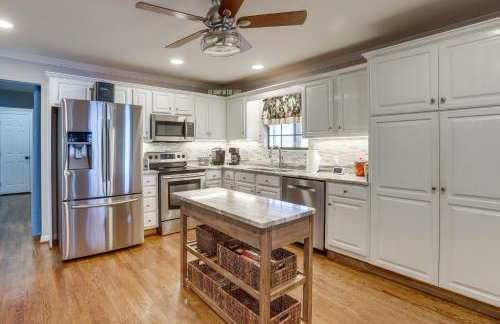
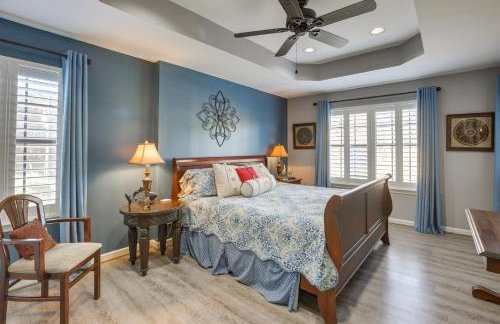
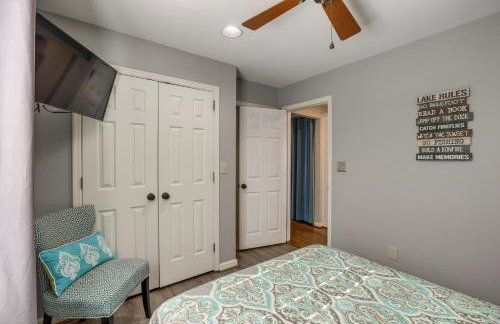
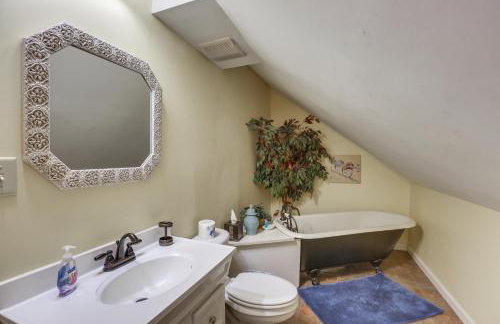
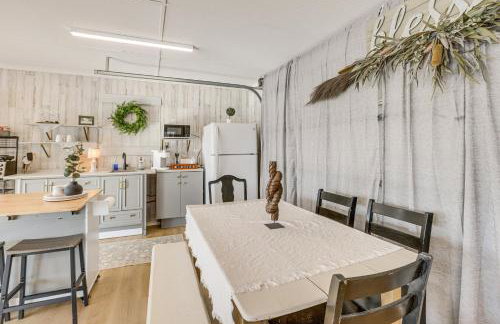
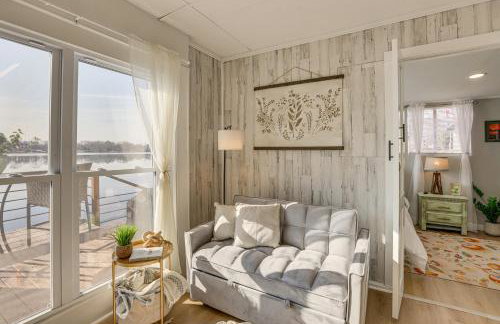
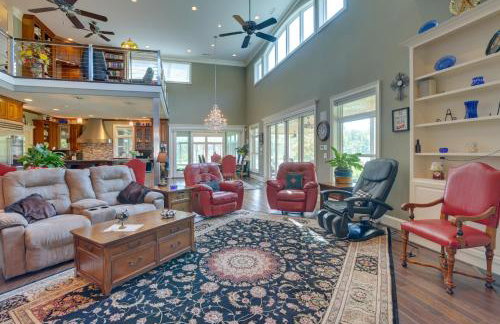
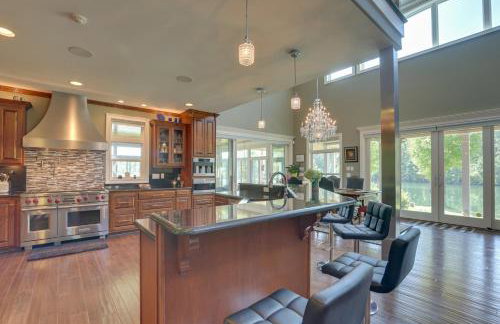
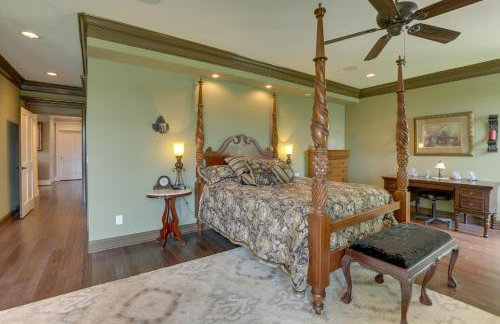
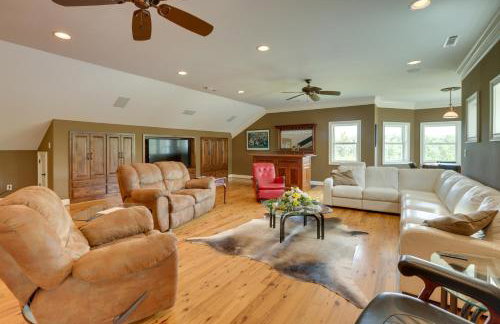
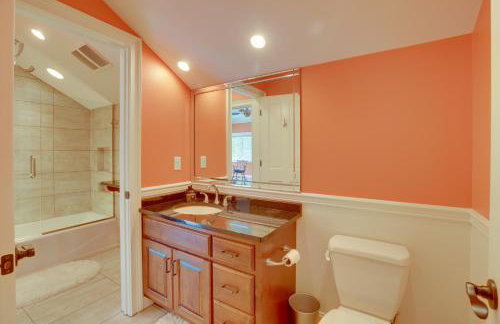
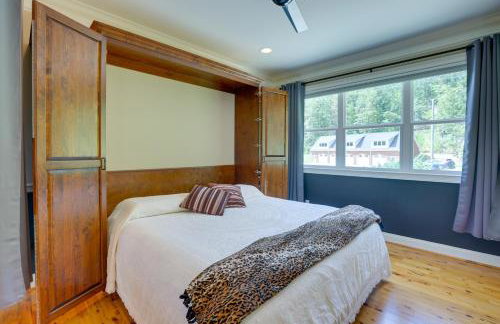
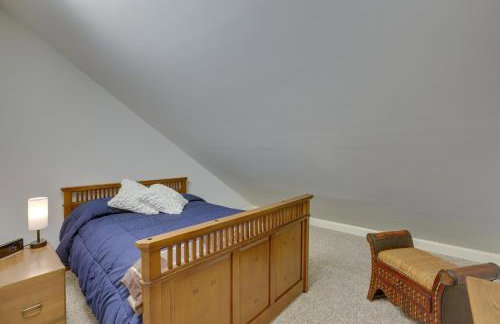
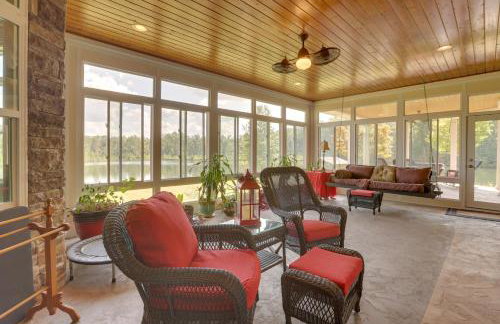
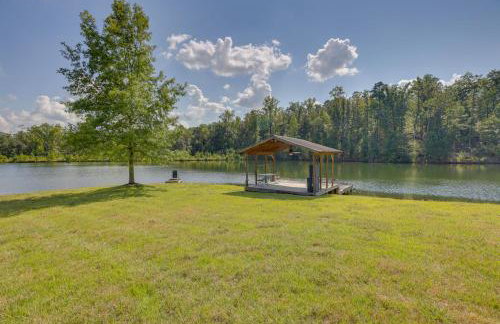
Oak Mountain Retreat with Fitness Center - Photo 4
Oak Mountain Retreat with Fitness Center - Photo 5
Oak Mountain Retreat with Fitness Center - Photo 6
Oak Mountain Retreat with Fitness Center - Photo 7
Oak Mountain Retreat with Fitness Center - Photo 8
Oak Mountain Retreat with Fitness Center - Photo 9
Oak Mountain Retreat with Fitness Center - Photo 10
Oak Mountain Retreat with Fitness Center - Photo 11
Oak Mountain Retreat with Fitness Center - Photo 12
Oak Mountain Retreat with Fitness Center - Photo 13
Oak Mountain Retreat with Fitness Center - Photo 14
Oak Mountain Retreat with Fitness Center - Photo 15
Oak Mountain Retreat with Fitness Center - Photo 16
Oak Mountain Retreat with Fitness Center - Photo 17
Oak Mountain Retreat with Fitness Center - Photo 18
Oak Mountain Retreat with Fitness Center - Photo 19
Oak Mountain Retreat with Fitness Center - Photo 20
Oak Mountain Retreat with Fitness Center - Photo 21
Oak Mountain Retreat with Fitness Center - Photo 22
Oak Mountain Retreat with Fitness Center - Photo 23
Oak Mountain Retreat with Fitness Center - Photo 24
Oak Mountain Retreat with Fitness Center - Photo 25
Oak Mountain Retreat with Fitness Center - Photo 26
Oak Mountain Retreat with Fitness Center - Photo 27
Oak Mountain Retreat with Fitness Center - Photo 28
Oak Mountain Retreat with Fitness Center - Photo 29
Oak Mountain Retreat with Fitness Center - Photo 30
Oak Mountain Retreat with Fitness Center - Photo 31
Oak Mountain Retreat with Fitness Center - Photo 32
Oak Mountain Retreat with Fitness Center - Photo 33
Oak Mountain Retreat with Fitness Center - Photo 34
Oak Mountain Retreat with Fitness Center - Photo 35
Oak Mountain Retreat with Fitness Center - Photo 36
Oak Mountain Retreat with Fitness Center - Photo 37
Oak Mountain Retreat with Fitness Center - Photo 38
Oak Mountain Retreat with Fitness Center - Photo 39
Oak Mountain Retreat with Fitness Center - Photo 40
Oak Mountain Retreat with Fitness Center - Photo 41
Oak Mountain Retreat with Fitness Center - Photo 42
Oak Mountain Retreat with Fitness Center - Photo 43
Oak Mountain Retreat with Fitness Center - Photo 44
Oak Mountain Retreat with Fitness Center - Photo 45
Oak Mountain Retreat with Fitness Center - Photo 46
Oak Mountain Retreat with Fitness Center - Photo 47
Oak Mountain Retreat with Fitness Center - Photo 48
Oak Mountain Retreat with Fitness Center - Photo 49
Oak Mountain Retreat with Fitness Center - Photo 50
Oak Mountain Retreat with Fitness Center - Photo 51
Oak Mountain Retreat with Fitness Center - Photo 52
Oak Mountain Retreat with Fitness Center - Photo 53
Oak Mountain Retreat with Fitness Center - Photo 54
Oak Mountain Retreat with Fitness Center - Photo 55
Oak Mountain Retreat with Fitness Center - Photo 56
Oak Mountain Retreat with Fitness Center - Photo 57
Oak Mountain Retreat with Fitness Center - Photo 58
Oak Mountain Retreat with Fitness Center - Photo 59
Oak Mountain Retreat with Fitness Center - Photo 60
Oak Mountain Retreat with Fitness Center - Photo 61
Oak Mountain Retreat with Fitness Center - Photo 62
Oak Mountain Retreat with Fitness Center - Photo 63
Oak Mountain Retreat with Fitness Center - Photo 64
Oak Mountain Retreat with Fitness Center - Photo 65
Oak Mountain Retreat with Fitness Center - Photo 66

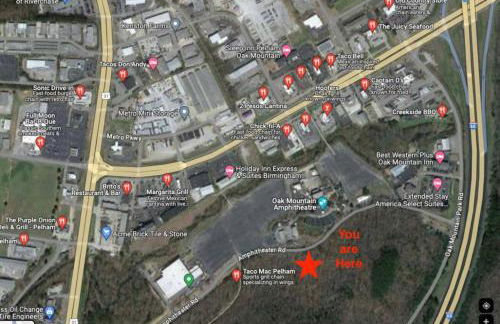
Oak Mountain Retreat with Fitness Center

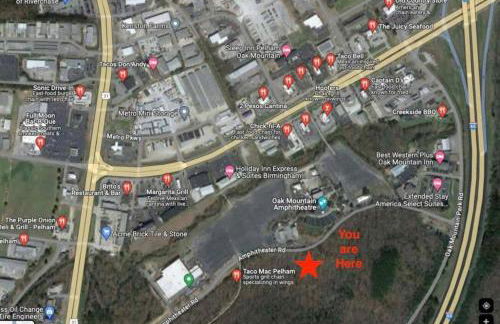
Pelham - À 4.9 km du centre

  • 1000 M2
  • 1 chambre
  • 4 personnes
  • Air conditionné
  • Le chauffage
  • Ascenseur
  • Jardin
10Magnifique | 3 avis
Family-Friendly Calera Getaway w/ Game Room! - Photo 1
Family-Friendly Calera Getaway w/ Game Room! - Photo 2
Family-Friendly Calera Getaway w/ Game Room! - Photo 3
Family-Friendly Calera Getaway w/ Game Room! - Photo 4
Family-Friendly Calera Getaway w/ Game Room! - Photo 5
Family-Friendly Calera Getaway w/ Game Room! - Photo 6
Family-Friendly Calera Getaway w/ Game Room! - Photo 7
Family-Friendly Calera Getaway w/ Game Room! - Photo 8
Family-Friendly Calera Getaway w/ Game Room! - Photo 9
Family-Friendly Calera Getaway w/ Game Room! - Photo 10
Family-Friendly Calera Getaway w/ Game Room! - Photo 11
Family-Friendly Calera Getaway w/ Game Room! - Photo 12
Family-Friendly Calera Getaway w/ Game Room! - Photo 13
Family-Friendly Calera Getaway w/ Game Room! - Photo 14
Family-Friendly Calera Getaway w/ Game Room! - Photo 15
Family-Friendly Calera Getaway w/ Game Room! - Photo 16
Family-Friendly Calera Getaway w/ Game Room! - Photo 17
Family-Friendly Calera Getaway w/ Game Room! - Photo 18
Family-Friendly Calera Getaway w/ Game Room! - Photo 19
Family-Friendly Calera Getaway w/ Game Room! - Photo 20
Family-Friendly Calera Getaway w/ Game Room! - Photo 21
Family-Friendly Calera Getaway w/ Game Room! - Photo 22
Family-Friendly Calera Getaway w/ Game Room! - Photo 23
Family-Friendly Calera Getaway w/ Game Room! - Photo 24
Family-Friendly Calera Getaway w/ Game Room! - Photo 25
Family-Friendly Calera Getaway w/ Game Room! - Photo 26
Family-Friendly Calera Getaway w/ Game Room! - Photo 27
Family-Friendly Calera Getaway w/ Game Room! - Photo 28
Family-Friendly Calera Getaway w/ Game Room! - Photo 29
Family-Friendly Calera Getaway w/ Game Room! - Photo 30
Family-Friendly Calera Getaway w/ Game Room! - Photo 31

Family-Friendly Calera Getaway w/ Game Room!

Calera - À 2.7 km du centre

  • 157 M2
  • 3 chambres
  • 8 personnes
  • Le chauffage
  • Terrasse
  • Parking
10Magnifique | 2 avis
2 King Suites, Pool Near Oak Mountain - Photo 1
2 King Suites, Pool Near Oak Mountain - Photo 2
2 King Suites, Pool Near Oak Mountain - Photo 3
2 King Suites, Pool Near Oak Mountain - Photo 4
2 King Suites, Pool Near Oak Mountain - Photo 5
2 King Suites, Pool Near Oak Mountain - Photo 6
2 King Suites, Pool Near Oak Mountain - Photo 7
2 King Suites, Pool Near Oak Mountain - Photo 8
2 King Suites, Pool Near Oak Mountain - Photo 9
2 King Suites, Pool Near Oak Mountain - Photo 10
2 King Suites, Pool Near Oak Mountain - Photo 11
2 King Suites, Pool Near Oak Mountain - Photo 12
2 King Suites, Pool Near Oak Mountain - Photo 13
2 King Suites, Pool Near Oak Mountain - Photo 14
2 King Suites, Pool Near Oak Mountain - Photo 15
2 King Suites, Pool Near Oak Mountain - Photo 16
2 King Suites, Pool Near Oak Mountain - Photo 17
2 King Suites, Pool Near Oak Mountain - Photo 18
2 King Suites, Pool Near Oak Mountain - Photo 19
2 King Suites, Pool Near Oak Mountain - Photo 20
2 King Suites, Pool Near Oak Mountain - Photo 21
2 King Suites, Pool Near Oak Mountain - Photo 22
2 King Suites, Pool Near Oak Mountain - Photo 23
2 King Suites, Pool Near Oak Mountain - Photo 24
2 King Suites, Pool Near Oak Mountain - Photo 25
2 King Suites, Pool Near Oak Mountain - Photo 26
2 King Suites, Pool Near Oak Mountain - Photo 27
2 King Suites, Pool Near Oak Mountain - Photo 28
2 King Suites, Pool Near Oak Mountain - Photo 29
2 King Suites, Pool Near Oak Mountain - Photo 30
2 King Suites, Pool Near Oak Mountain - Photo 31
2 King Suites, Pool Near Oak Mountain - Photo 32
2 King Suites, Pool Near Oak Mountain - Photo 33
2 King Suites, Pool Near Oak Mountain - Photo 34
2 King Suites, Pool Near Oak Mountain - Photo 35
2 King Suites, Pool Near Oak Mountain - Photo 36
2 King Suites, Pool Near Oak Mountain - Photo 37
2 King Suites, Pool Near Oak Mountain - Photo 38
2 King Suites, Pool Near Oak Mountain - Photo 39
2 King Suites, Pool Near Oak Mountain - Photo 40
2 King Suites, Pool Near Oak Mountain - Photo 41
2 King Suites, Pool Near Oak Mountain - Photo 42
2 King Suites, Pool Near Oak Mountain - Photo 43
2 King Suites, Pool Near Oak Mountain - Photo 44
2 King Suites, Pool Near Oak Mountain - Photo 45
2 King Suites, Pool Near Oak Mountain - Photo 46
2 King Suites, Pool Near Oak Mountain - Photo 47
2 King Suites, Pool Near Oak Mountain - Photo 48
2 King Suites, Pool Near Oak Mountain - Photo 49
2 King Suites, Pool Near Oak Mountain - Photo 50
2 King Suites, Pool Near Oak Mountain - Photo 51
2 King Suites, Pool Near Oak Mountain - Photo 52
2 King Suites, Pool Near Oak Mountain - Photo 53
2 King Suites, Pool Near Oak Mountain - Photo 54
2 King Suites, Pool Near Oak Mountain - Photo 55
2 King Suites, Pool Near Oak Mountain - Photo 56
2 King Suites, Pool Near Oak Mountain - Photo 57
2 King Suites, Pool Near Oak Mountain - Photo 58
2 King Suites, Pool Near Oak Mountain - Photo 59
2 King Suites, Pool Near Oak Mountain - Photo 60
2 King Suites, Pool Near Oak Mountain - Photo 61
2 King Suites, Pool Near Oak Mountain - Photo 62
2 King Suites, Pool Near Oak Mountain - Photo 63
2 King Suites, Pool Near Oak Mountain - Photo 64
2 King Suites, Pool Near Oak Mountain - Photo 65
2 King Suites, Pool Near Oak Mountain - Photo 66
2 King Suites, Pool Near Oak Mountain - Photo 67
2 King Suites, Pool Near Oak Mountain - Photo 68
2 King Suites, Pool Near Oak Mountain - Photo 69
2 King Suites, Pool Near Oak Mountain - Photo 70
2 King Suites, Pool Near Oak Mountain - Photo 71
2 King Suites, Pool Near Oak Mountain - Photo 72
2 King Suites, Pool Near Oak Mountain - Photo 73
2 King Suites, Pool Near Oak Mountain - Photo 74
2 King Suites, Pool Near Oak Mountain - Photo 75
2 King Suites, Pool Near Oak Mountain - Photo 76
2 King Suites, Pool Near Oak Mountain - Photo 77
2 King Suites, Pool Near Oak Mountain - Photo 78
2 King Suites, Pool Near Oak Mountain - Photo 79
2 King Suites, Pool Near Oak Mountain - Photo 80

2 King Suites, Pool Near Oak Mountain

Pelham - À 4.9 km du centre

  • 1000 M2
  • 2 chambres
  • 6 personnes
  • Air conditionné
  • Le chauffage
  • Ascenseur
  • Jardin
9.5Exceptionnel | 2 avis
Lux 2 BR with private 2 bath Mins to Oak Mtn St Park) - Photo 1
Lux 2 BR with private 2 bath Mins to Oak Mtn St Park) - Photo 2
Lux 2 BR with private 2 bath Mins to Oak Mtn St Park) - Photo 3
Lux 2 BR with private 2 bath Mins to Oak Mtn St Park) - Photo 4
Lux 2 BR with private 2 bath Mins to Oak Mtn St Park) - Photo 5
Lux 2 BR with private 2 bath Mins to Oak Mtn St Park) - Photo 6
Lux 2 BR with private 2 bath Mins to Oak Mtn St Park) - Photo 7
Lux 2 BR with private 2 bath Mins to Oak Mtn St Park) - Photo 8
Lux 2 BR with private 2 bath Mins to Oak Mtn St Park) - Photo 9
Lux 2 BR with private 2 bath Mins to Oak Mtn St Park) - Photo 10
Lux 2 BR with private 2 bath Mins to Oak Mtn St Park) - Photo 11
Lux 2 BR with private 2 bath Mins to Oak Mtn St Park) - Photo 12
Lux 2 BR with private 2 bath Mins to Oak Mtn St Park) - Photo 13
Lux 2 BR with private 2 bath Mins to Oak Mtn St Park) - Photo 14
Lux 2 BR with private 2 bath Mins to Oak Mtn St Park) - Photo 15
Lux 2 BR with private 2 bath Mins to Oak Mtn St Park) - Photo 16
Lux 2 BR with private 2 bath Mins to Oak Mtn St Park) - Photo 17
Lux 2 BR with private 2 bath Mins to Oak Mtn St Park) - Photo 18
Lux 2 BR with private 2 bath Mins to Oak Mtn St Park) - Photo 19
Lux 2 BR with private 2 bath Mins to Oak Mtn St Park) - Photo 20
Lux 2 BR with private 2 bath Mins to Oak Mtn St Park) - Photo 21
Lux 2 BR with private 2 bath Mins to Oak Mtn St Park) - Photo 22
Lux 2 BR with private 2 bath Mins to Oak Mtn St Park) - Photo 23
Lux 2 BR with private 2 bath Mins to Oak Mtn St Park) - Photo 24
Lux 2 BR with private 2 bath Mins to Oak Mtn St Park) - Photo 25
Lux 2 BR with private 2 bath Mins to Oak Mtn St Park) - Photo 26
Lux 2 BR with private 2 bath Mins to Oak Mtn St Park) - Photo 27
Lux 2 BR with private 2 bath Mins to Oak Mtn St Park) - Photo 28
Lux 2 BR with private 2 bath Mins to Oak Mtn St Park) - Photo 29
Lux 2 BR with private 2 bath Mins to Oak Mtn St Park) - Photo 30
Lux 2 BR with private 2 bath Mins to Oak Mtn St Park) - Photo 31
Lux 2 BR with private 2 bath Mins to Oak Mtn St Park) - Photo 32
Lux 2 BR with private 2 bath Mins to Oak Mtn St Park) - Photo 33
Lux 2 BR with private 2 bath Mins to Oak Mtn St Park) - Photo 34
Lux 2 BR with private 2 bath Mins to Oak Mtn St Park) - Photo 35
Lux 2 BR with private 2 bath Mins to Oak Mtn St Park) - Photo 36
Lux 2 BR with private 2 bath Mins to Oak Mtn St Park) - Photo 37
Lux 2 BR with private 2 bath Mins to Oak Mtn St Park) - Photo 38
Lux 2 BR with private 2 bath Mins to Oak Mtn St Park) - Photo 39
Lux 2 BR with private 2 bath Mins to Oak Mtn St Park) - Photo 40
Lux 2 BR with private 2 bath Mins to Oak Mtn St Park) - Photo 41
Lux 2 BR with private 2 bath Mins to Oak Mtn St Park) - Photo 42
Lux 2 BR with private 2 bath Mins to Oak Mtn St Park) - Photo 43
Lux 2 BR with private 2 bath Mins to Oak Mtn St Park) - Photo 44
Lux 2 BR with private 2 bath Mins to Oak Mtn St Park) - Photo 45
Lux 2 BR with private 2 bath Mins to Oak Mtn St Park) - Photo 46
Lux 2 BR with private 2 bath Mins to Oak Mtn St Park) - Photo 47
Lux 2 BR with private 2 bath Mins to Oak Mtn St Park) - Photo 48
Lux 2 BR with private 2 bath Mins to Oak Mtn St Park) - Photo 49
Lux 2 BR with private 2 bath Mins to Oak Mtn St Park) - Photo 50
Lux 2 BR with private 2 bath Mins to Oak Mtn St Park) - Photo 51
Lux 2 BR with private 2 bath Mins to Oak Mtn St Park) - Photo 52
Lux 2 BR with private 2 bath Mins to Oak Mtn St Park) - Photo 53
Lux 2 BR with private 2 bath Mins to Oak Mtn St Park) - Photo 54
Lux 2 BR with private 2 bath Mins to Oak Mtn St Park) - Photo 55
Lux 2 BR with private 2 bath Mins to Oak Mtn St Park) - Photo 56
Lux 2 BR with private 2 bath Mins to Oak Mtn St Park) - Photo 57
Lux 2 BR with private 2 bath Mins to Oak Mtn St Park) - Photo 58
Lux 2 BR with private 2 bath Mins to Oak Mtn St Park) - Photo 59
Lux 2 BR with private 2 bath Mins to Oak Mtn St Park) - Photo 60
Lux 2 BR with private 2 bath Mins to Oak Mtn St Park) - Photo 61
Lux 2 BR with private 2 bath Mins to Oak Mtn St Park) - Photo 62
Lux 2 BR with private 2 bath Mins to Oak Mtn St Park) - Photo 63
Lux 2 BR with private 2 bath Mins to Oak Mtn St Park) - Photo 64
Lux 2 BR with private 2 bath Mins to Oak Mtn St Park) - Photo 65
Lux 2 BR with private 2 bath Mins to Oak Mtn St Park) - Photo 66
Lux 2 BR with private 2 bath Mins to Oak Mtn St Park) - Photo 67
Lux 2 BR with private 2 bath Mins to Oak Mtn St Park) - Photo 68
Lux 2 BR with private 2 bath Mins to Oak Mtn St Park) - Photo 69
Lux 2 BR with private 2 bath Mins to Oak Mtn St Park) - Photo 70
Lux 2 BR with private 2 bath Mins to Oak Mtn St Park) - Photo 71
Lux 2 BR with private 2 bath Mins to Oak Mtn St Park) - Photo 72
Lux 2 BR with private 2 bath Mins to Oak Mtn St Park) - Photo 73
Lux 2 BR with private 2 bath Mins to Oak Mtn St Park) - Photo 74
Lux 2 BR with private 2 bath Mins to Oak Mtn St Park) - Photo 75
Lux 2 BR with private 2 bath Mins to Oak Mtn St Park) - Photo 76
Lux 2 BR with private 2 bath Mins to Oak Mtn St Park) - Photo 77
Lux 2 BR with private 2 bath Mins to Oak Mtn St Park) - Photo 78
Lux 2 BR with private 2 bath Mins to Oak Mtn St Park) - Photo 79
Lux 2 BR with private 2 bath Mins to Oak Mtn St Park) - Photo 80

Lux 2 BR with private 2 bath Mins to Oak Mtn St Park)

Pelham - À 4.9 km du centre

  • 1000 M2
  • 2 chambres
  • 6 personnes
  • Air conditionné
  • Le chauffage
  • Ascenseur
  • Jardin
9Exceptionnel | 2 avis
Chic Condo Retreat Private Bliss n Birmingham - Photo 1
Chic Condo Retreat Private Bliss n Birmingham - Photo 2
Chic Condo Retreat Private Bliss n Birmingham - Photo 3
Chic Condo Retreat Private Bliss n Birmingham - Photo 4
Chic Condo Retreat Private Bliss n Birmingham - Photo 5
Chic Condo Retreat Private Bliss n Birmingham - Photo 6
Chic Condo Retreat Private Bliss n Birmingham - Photo 7
Chic Condo Retreat Private Bliss n Birmingham - Photo 8
Chic Condo Retreat Private Bliss n Birmingham - Photo 9
Chic Condo Retreat Private Bliss n Birmingham - Photo 10
Chic Condo Retreat Private Bliss n Birmingham - Photo 11
Chic Condo Retreat Private Bliss n Birmingham - Photo 12
Chic Condo Retreat Private Bliss n Birmingham - Photo 13
Chic Condo Retreat Private Bliss n Birmingham - Photo 14
Chic Condo Retreat Private Bliss n Birmingham - Photo 15
Chic Condo Retreat Private Bliss n Birmingham - Photo 16
Chic Condo Retreat Private Bliss n Birmingham - Photo 17
Chic Condo Retreat Private Bliss n Birmingham - Photo 18
Chic Condo Retreat Private Bliss n Birmingham - Photo 19
Chic Condo Retreat Private Bliss n Birmingham - Photo 20
Chic Condo Retreat Private Bliss n Birmingham - Photo 21
Chic Condo Retreat Private Bliss n Birmingham - Photo 22
Chic Condo Retreat Private Bliss n Birmingham - Photo 23
Chic Condo Retreat Private Bliss n Birmingham - Photo 24
Chic Condo Retreat Private Bliss n Birmingham - Photo 25
Chic Condo Retreat Private Bliss n Birmingham - Photo 26
Chic Condo Retreat Private Bliss n Birmingham - Photo 27
Chic Condo Retreat Private Bliss n Birmingham - Photo 28
Chic Condo Retreat Private Bliss n Birmingham - Photo 29
Chic Condo Retreat Private Bliss n Birmingham - Photo 30
Chic Condo Retreat Private Bliss n Birmingham - Photo 31
Chic Condo Retreat Private Bliss n Birmingham - Photo 32
Chic Condo Retreat Private Bliss n Birmingham - Photo 33
Chic Condo Retreat Private Bliss n Birmingham - Photo 34
Chic Condo Retreat Private Bliss n Birmingham - Photo 35
Chic Condo Retreat Private Bliss n Birmingham - Photo 36
Chic Condo Retreat Private Bliss n Birmingham - Photo 37
Chic Condo Retreat Private Bliss n Birmingham - Photo 38
Chic Condo Retreat Private Bliss n Birmingham - Photo 39
Chic Condo Retreat Private Bliss n Birmingham - Photo 40
Chic Condo Retreat Private Bliss n Birmingham - Photo 41
Chic Condo Retreat Private Bliss n Birmingham - Photo 42
Chic Condo Retreat Private Bliss n Birmingham - Photo 43
Chic Condo Retreat Private Bliss n Birmingham - Photo 44
Chic Condo Retreat Private Bliss n Birmingham - Photo 45
Chic Condo Retreat Private Bliss n Birmingham - Photo 46
Chic Condo Retreat Private Bliss n Birmingham - Photo 47
Chic Condo Retreat Private Bliss n Birmingham - Photo 48
Chic Condo Retreat Private Bliss n Birmingham - Photo 49
Chic Condo Retreat Private Bliss n Birmingham - Photo 50
Chic Condo Retreat Private Bliss n Birmingham - Photo 51
Chic Condo Retreat Private Bliss n Birmingham - Photo 52

Chic Condo Retreat Private Bliss n Birmingham

Birmingham - Meadow Brook - À 15.6 km du centre

  • 116 M2
  • 2 chambres
  • 6 personnes
  • Air conditionné
  • Le chauffage
  • Parking
  • Jardin
9Exceptionnel | 3 avis
Luxury 2 BR Getaway Near Oak Mountain Park - Photo 1
Luxury 2 BR Getaway Near Oak Mountain Park - Photo 2
Luxury 2 BR Getaway Near Oak Mountain Park - Photo 3
Luxury 2 BR Getaway Near Oak Mountain Park - Photo 4
Luxury 2 BR Getaway Near Oak Mountain Park - Photo 5
Luxury 2 BR Getaway Near Oak Mountain Park - Photo 6
Luxury 2 BR Getaway Near Oak Mountain Park - Photo 7
Luxury 2 BR Getaway Near Oak Mountain Park - Photo 8
Luxury 2 BR Getaway Near Oak Mountain Park - Photo 9
Luxury 2 BR Getaway Near Oak Mountain Park - Photo 10
Luxury 2 BR Getaway Near Oak Mountain Park - Photo 11
Luxury 2 BR Getaway Near Oak Mountain Park - Photo 12
Luxury 2 BR Getaway Near Oak Mountain Park - Photo 13
Luxury 2 BR Getaway Near Oak Mountain Park - Photo 14
Luxury 2 BR Getaway Near Oak Mountain Park - Photo 15
Luxury 2 BR Getaway Near Oak Mountain Park - Photo 16
Luxury 2 BR Getaway Near Oak Mountain Park - Photo 17
Luxury 2 BR Getaway Near Oak Mountain Park - Photo 18
Luxury 2 BR Getaway Near Oak Mountain Park - Photo 19
Luxury 2 BR Getaway Near Oak Mountain Park - Photo 20
Luxury 2 BR Getaway Near Oak Mountain Park - Photo 21
Luxury 2 BR Getaway Near Oak Mountain Park - Photo 22
Luxury 2 BR Getaway Near Oak Mountain Park - Photo 23
Luxury 2 BR Getaway Near Oak Mountain Park - Photo 24
Luxury 2 BR Getaway Near Oak Mountain Park - Photo 25
Luxury 2 BR Getaway Near Oak Mountain Park - Photo 26
Luxury 2 BR Getaway Near Oak Mountain Park - Photo 27
Luxury 2 BR Getaway Near Oak Mountain Park - Photo 28
Luxury 2 BR Getaway Near Oak Mountain Park - Photo 29
Luxury 2 BR Getaway Near Oak Mountain Park - Photo 30
Luxury 2 BR Getaway Near Oak Mountain Park - Photo 31
Luxury 2 BR Getaway Near Oak Mountain Park - Photo 32
Luxury 2 BR Getaway Near Oak Mountain Park - Photo 33
Luxury 2 BR Getaway Near Oak Mountain Park - Photo 34
Luxury 2 BR Getaway Near Oak Mountain Park - Photo 35
Luxury 2 BR Getaway Near Oak Mountain Park - Photo 36
Luxury 2 BR Getaway Near Oak Mountain Park - Photo 37
Luxury 2 BR Getaway Near Oak Mountain Park - Photo 38
Luxury 2 BR Getaway Near Oak Mountain Park - Photo 39
Luxury 2 BR Getaway Near Oak Mountain Park - Photo 40
Luxury 2 BR Getaway Near Oak Mountain Park - Photo 41
Luxury 2 BR Getaway Near Oak Mountain Park - Photo 42
Luxury 2 BR Getaway Near Oak Mountain Park - Photo 43
Luxury 2 BR Getaway Near Oak Mountain Park - Photo 44
Luxury 2 BR Getaway Near Oak Mountain Park - Photo 45
Luxury 2 BR Getaway Near Oak Mountain Park - Photo 46
Luxury 2 BR Getaway Near Oak Mountain Park - Photo 47
Luxury 2 BR Getaway Near Oak Mountain Park - Photo 48
Luxury 2 BR Getaway Near Oak Mountain Park - Photo 49
Luxury 2 BR Getaway Near Oak Mountain Park - Photo 50
Luxury 2 BR Getaway Near Oak Mountain Park - Photo 51
Luxury 2 BR Getaway Near Oak Mountain Park - Photo 52
Luxury 2 BR Getaway Near Oak Mountain Park - Photo 53
Luxury 2 BR Getaway Near Oak Mountain Park - Photo 54
Luxury 2 BR Getaway Near Oak Mountain Park - Photo 55
Luxury 2 BR Getaway Near Oak Mountain Park - Photo 56
Luxury 2 BR Getaway Near Oak Mountain Park - Photo 57
Luxury 2 BR Getaway Near Oak Mountain Park - Photo 58
Luxury 2 BR Getaway Near Oak Mountain Park - Photo 59
Luxury 2 BR Getaway Near Oak Mountain Park - Photo 60
Luxury 2 BR Getaway Near Oak Mountain Park - Photo 61
Luxury 2 BR Getaway Near Oak Mountain Park - Photo 62
Luxury 2 BR Getaway Near Oak Mountain Park - Photo 63
Luxury 2 BR Getaway Near Oak Mountain Park - Photo 64
Luxury 2 BR Getaway Near Oak Mountain Park - Photo 65
Luxury 2 BR Getaway Near Oak Mountain Park - Photo 66
Luxury 2 BR Getaway Near Oak Mountain Park - Photo 67
Luxury 2 BR Getaway Near Oak Mountain Park - Photo 68
Luxury 2 BR Getaway Near Oak Mountain Park - Photo 69
Luxury 2 BR Getaway Near Oak Mountain Park - Photo 70
Luxury 2 BR Getaway Near Oak Mountain Park - Photo 71
Luxury 2 BR Getaway Near Oak Mountain Park - Photo 72
Luxury 2 BR Getaway Near Oak Mountain Park - Photo 73
Luxury 2 BR Getaway Near Oak Mountain Park - Photo 74
Luxury 2 BR Getaway Near Oak Mountain Park - Photo 75
Luxury 2 BR Getaway Near Oak Mountain Park - Photo 76
Luxury 2 BR Getaway Near Oak Mountain Park - Photo 77
Luxury 2 BR Getaway Near Oak Mountain Park - Photo 78
Luxury 2 BR Getaway Near Oak Mountain Park - Photo 79
Luxury 2 BR Getaway Near Oak Mountain Park - Photo 80

Luxury 2 BR Getaway Near Oak Mountain Park

Pelham - À 4.9 km du centre

  • 1000 M2
  • 2 chambres
  • 6 personnes
  • Air conditionné
  • Le chauffage
  • Piscine
  • Ascenseur
  • Jardin
10Magnifique | 1 avis
PetFriendly Getaway with Pool and Gym - Photo 1
PetFriendly Getaway with Pool and Gym - Photo 2
PetFriendly Getaway with Pool and Gym - Photo 3
PetFriendly Getaway with Pool and Gym - Photo 4
PetFriendly Getaway with Pool and Gym - Photo 5
PetFriendly Getaway with Pool and Gym - Photo 6
PetFriendly Getaway with Pool and Gym - Photo 7
PetFriendly Getaway with Pool and Gym - Photo 8
PetFriendly Getaway with Pool and Gym - Photo 9
PetFriendly Getaway with Pool and Gym - Photo 10
PetFriendly Getaway with Pool and Gym - Photo 11
PetFriendly Getaway with Pool and Gym - Photo 12
PetFriendly Getaway with Pool and Gym - Photo 13
PetFriendly Getaway with Pool and Gym - Photo 14
PetFriendly Getaway with Pool and Gym - Photo 15
PetFriendly Getaway with Pool and Gym - Photo 16
PetFriendly Getaway with Pool and Gym - Photo 17
PetFriendly Getaway with Pool and Gym - Photo 18
PetFriendly Getaway with Pool and Gym - Photo 19
PetFriendly Getaway with Pool and Gym - Photo 20
PetFriendly Getaway with Pool and Gym - Photo 21
PetFriendly Getaway with Pool and Gym - Photo 22
PetFriendly Getaway with Pool and Gym - Photo 23
PetFriendly Getaway with Pool and Gym - Photo 24
PetFriendly Getaway with Pool and Gym - Photo 25
PetFriendly Getaway with Pool and Gym - Photo 26
PetFriendly Getaway with Pool and Gym - Photo 27
PetFriendly Getaway with Pool and Gym - Photo 28
PetFriendly Getaway with Pool and Gym - Photo 29
PetFriendly Getaway with Pool and Gym - Photo 30
PetFriendly Getaway with Pool and Gym - Photo 31
PetFriendly Getaway with Pool and Gym - Photo 32
PetFriendly Getaway with Pool and Gym - Photo 33
PetFriendly Getaway with Pool and Gym - Photo 34
PetFriendly Getaway with Pool and Gym - Photo 35
PetFriendly Getaway with Pool and Gym - Photo 36
PetFriendly Getaway with Pool and Gym - Photo 37
PetFriendly Getaway with Pool and Gym - Photo 38
PetFriendly Getaway with Pool and Gym - Photo 39
PetFriendly Getaway with Pool and Gym - Photo 40
PetFriendly Getaway with Pool and Gym - Photo 41
PetFriendly Getaway with Pool and Gym - Photo 42
PetFriendly Getaway with Pool and Gym - Photo 43
PetFriendly Getaway with Pool and Gym - Photo 44
PetFriendly Getaway with Pool and Gym - Photo 45
PetFriendly Getaway with Pool and Gym - Photo 46
PetFriendly Getaway with Pool and Gym - Photo 47
PetFriendly Getaway with Pool and Gym - Photo 48
PetFriendly Getaway with Pool and Gym - Photo 49
PetFriendly Getaway with Pool and Gym - Photo 50
PetFriendly Getaway with Pool and Gym - Photo 51
PetFriendly Getaway with Pool and Gym - Photo 52
PetFriendly Getaway with Pool and Gym - Photo 53
PetFriendly Getaway with Pool and Gym - Photo 54
PetFriendly Getaway with Pool and Gym - Photo 55
PetFriendly Getaway with Pool and Gym - Photo 56
PetFriendly Getaway with Pool and Gym - Photo 57
PetFriendly Getaway with Pool and Gym - Photo 58
PetFriendly Getaway with Pool and Gym - Photo 59
PetFriendly Getaway with Pool and Gym - Photo 60
PetFriendly Getaway with Pool and Gym - Photo 61
PetFriendly Getaway with Pool and Gym - Photo 62
PetFriendly Getaway with Pool and Gym - Photo 63
PetFriendly Getaway with Pool and Gym - Photo 64
PetFriendly Getaway with Pool and Gym - Photo 65
PetFriendly Getaway with Pool and Gym - Photo 66
PetFriendly Getaway with Pool and Gym - Photo 67
PetFriendly Getaway with Pool and Gym - Photo 68
PetFriendly Getaway with Pool and Gym - Photo 69
PetFriendly Getaway with Pool and Gym - Photo 70
PetFriendly Getaway with Pool and Gym - Photo 71
PetFriendly Getaway with Pool and Gym - Photo 72
PetFriendly Getaway with Pool and Gym - Photo 73
PetFriendly Getaway with Pool and Gym - Photo 74
PetFriendly Getaway with Pool and Gym - Photo 75
PetFriendly Getaway with Pool and Gym - Photo 76
PetFriendly Getaway with Pool and Gym - Photo 77
PetFriendly Getaway with Pool and Gym - Photo 78
PetFriendly Getaway with Pool and Gym - Photo 79
PetFriendly Getaway with Pool and Gym - Photo 80

PetFriendly Getaway with Pool and Gym

Pelham - À 4.9 km du centre

  • 1000 M2
  • 2 chambres
  • 6 personnes
  • Air conditionné
  • Le chauffage
  • Ascenseur
  • Jardin
10Magnifique | 1 avis
Fire Pit & Grill: Pet-Friendly Shelby Home! - Photo 1
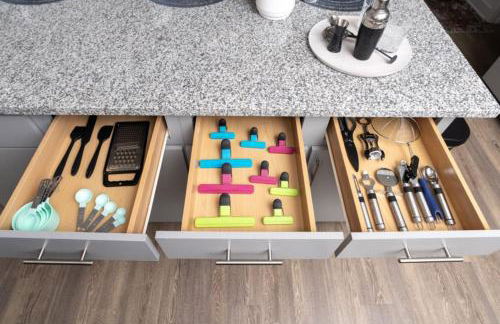
Fire Pit & Grill: Pet-Friendly Shelby Home! - Photo 2
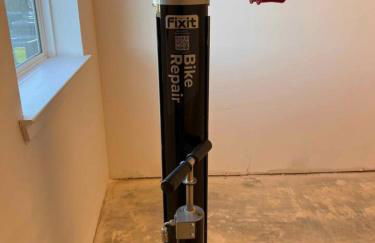
Fire Pit & Grill: Pet-Friendly Shelby Home! - Photo 3
Fire Pit & Grill: Pet-Friendly Shelby Home! - Photo 4
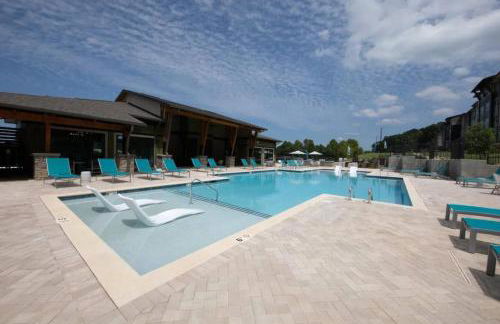
Fire Pit & Grill: Pet-Friendly Shelby Home! - Photo 5
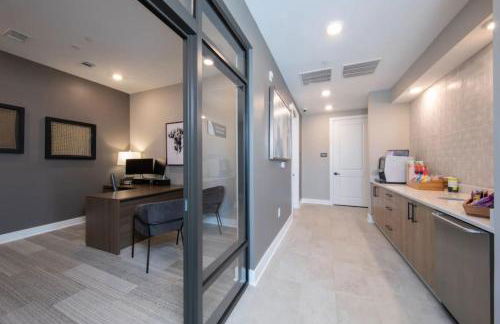
Fire Pit & Grill: Pet-Friendly Shelby Home! - Photo 6
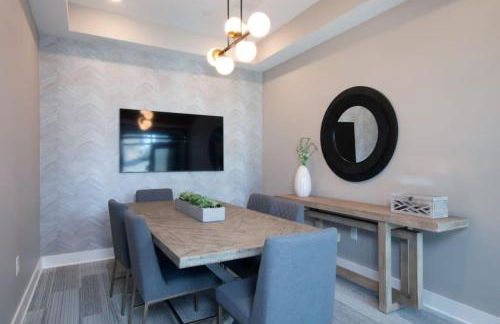
Fire Pit & Grill: Pet-Friendly Shelby Home! - Photo 7
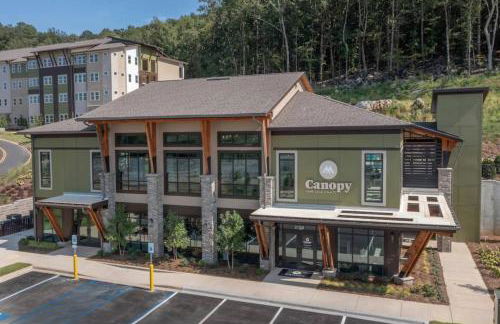
Fire Pit & Grill: Pet-Friendly Shelby Home! - Photo 8
Fire Pit & Grill: Pet-Friendly Shelby Home! - Photo 9
Fire Pit & Grill: Pet-Friendly Shelby Home! - Photo 10
Fire Pit & Grill: Pet-Friendly Shelby Home! - Photo 11
Fire Pit & Grill: Pet-Friendly Shelby Home! - Photo 12
Fire Pit & Grill: Pet-Friendly Shelby Home! - Photo 13
Fire Pit & Grill: Pet-Friendly Shelby Home! - Photo 14
Fire Pit & Grill: Pet-Friendly Shelby Home! - Photo 15
Fire Pit & Grill: Pet-Friendly Shelby Home! - Photo 16
Fire Pit & Grill: Pet-Friendly Shelby Home! - Photo 17
Fire Pit & Grill: Pet-Friendly Shelby Home! - Photo 18
Fire Pit & Grill: Pet-Friendly Shelby Home! - Photo 19
Fire Pit & Grill: Pet-Friendly Shelby Home! - Photo 20
Fire Pit & Grill: Pet-Friendly Shelby Home! - Photo 21
Fire Pit & Grill: Pet-Friendly Shelby Home! - Photo 22
Fire Pit & Grill: Pet-Friendly Shelby Home! - Photo 23
Fire Pit & Grill: Pet-Friendly Shelby Home! - Photo 24
Fire Pit & Grill: Pet-Friendly Shelby Home! - Photo 25
Fire Pit & Grill: Pet-Friendly Shelby Home! - Photo 26
Fire Pit & Grill: Pet-Friendly Shelby Home! - Photo 27
Fire Pit & Grill: Pet-Friendly Shelby Home! - Photo 28
Fire Pit & Grill: Pet-Friendly Shelby Home! - Photo 29
Fire Pit & Grill: Pet-Friendly Shelby Home! - Photo 30
Fire Pit & Grill: Pet-Friendly Shelby Home! - Photo 31
Fire Pit & Grill: Pet-Friendly Shelby Home! - Photo 32
Fire Pit & Grill: Pet-Friendly Shelby Home! - Photo 33

Fire Pit & Grill: Pet-Friendly Shelby Home!

Shelby

  • 144 M2
  • 3 chambres
  • 12 personnes
  • Le chauffage
  • Parking
10Magnifique | 1 avis
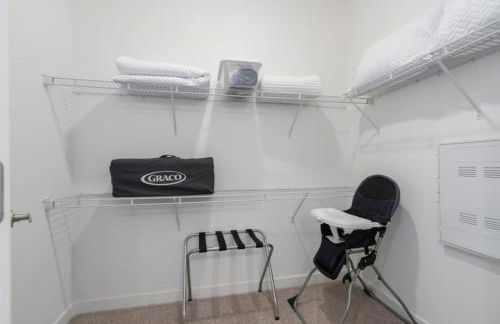
Family Friendly Alabaster Townhouse Off Interstate 65 - Photo 1
Family Friendly Alabaster Townhouse Off Interstate 65 - Photo 2
Family Friendly Alabaster Townhouse Off Interstate 65 - Photo 3
Family Friendly Alabaster Townhouse Off Interstate 65 - Photo 4
Family Friendly Alabaster Townhouse Off Interstate 65 - Photo 5
Family Friendly Alabaster Townhouse Off Interstate 65 - Photo 6
Family Friendly Alabaster Townhouse Off Interstate 65 - Photo 7
Family Friendly Alabaster Townhouse Off Interstate 65 - Photo 8
Family Friendly Alabaster Townhouse Off Interstate 65 - Photo 9
Family Friendly Alabaster Townhouse Off Interstate 65 - Photo 10
Family Friendly Alabaster Townhouse Off Interstate 65 - Photo 11
Family Friendly Alabaster Townhouse Off Interstate 65 - Photo 12
Family Friendly Alabaster Townhouse Off Interstate 65 - Photo 13
Family Friendly Alabaster Townhouse Off Interstate 65 - Photo 14
Family Friendly Alabaster Townhouse Off Interstate 65 - Photo 15
Family Friendly Alabaster Townhouse Off Interstate 65 - Photo 16
Family Friendly Alabaster Townhouse Off Interstate 65 - Photo 17
Family Friendly Alabaster Townhouse Off Interstate 65 - Photo 18
Family Friendly Alabaster Townhouse Off Interstate 65 - Photo 19
Family Friendly Alabaster Townhouse Off Interstate 65 - Photo 20
Family Friendly Alabaster Townhouse Off Interstate 65 - Photo 21
Family Friendly Alabaster Townhouse Off Interstate 65 - Photo 22
Family Friendly Alabaster Townhouse Off Interstate 65 - Photo 23
Family Friendly Alabaster Townhouse Off Interstate 65 - Photo 24
Family Friendly Alabaster Townhouse Off Interstate 65 - Photo 25
Family Friendly Alabaster Townhouse Off Interstate 65 - Photo 26
Family Friendly Alabaster Townhouse Off Interstate 65 - Photo 27
Family Friendly Alabaster Townhouse Off Interstate 65 - Photo 28
Family Friendly Alabaster Townhouse Off Interstate 65 - Photo 29
Family Friendly Alabaster Townhouse Off Interstate 65 - Photo 30
Family Friendly Alabaster Townhouse Off Interstate 65 - Photo 31
Family Friendly Alabaster Townhouse Off Interstate 65 - Photo 32
Family Friendly Alabaster Townhouse Off Interstate 65 - Photo 33
Family Friendly Alabaster Townhouse Off Interstate 65 - Photo 34
Family Friendly Alabaster Townhouse Off Interstate 65 - Photo 35
Family Friendly Alabaster Townhouse Off Interstate 65 - Photo 36

Family Friendly Alabaster Townhouse Off Interstate 65

Alabaster - Weatherly - À 1.4 km du centre

  • 149 M2
  • 3 chambres
  • 8 personnes
  • Air conditionné
  • Parking
10Magnifique | 1 avis
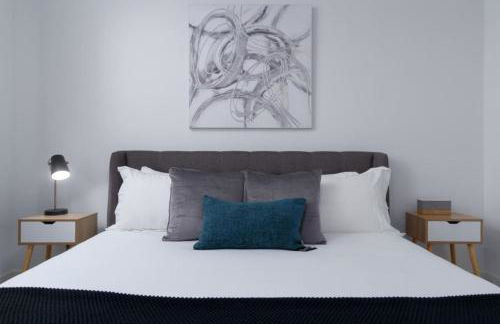
Authentic Retreat w/ Private Dock on Coosa River! - Photo 1
Authentic Retreat w/ Private Dock on Coosa River! - Photo 2
Authentic Retreat w/ Private Dock on Coosa River! - Photo 3
Authentic Retreat w/ Private Dock on Coosa River! - Photo 4
Authentic Retreat w/ Private Dock on Coosa River! - Photo 5
Authentic Retreat w/ Private Dock on Coosa River! - Photo 6
Authentic Retreat w/ Private Dock on Coosa River! - Photo 7
Authentic Retreat w/ Private Dock on Coosa River! - Photo 8
Authentic Retreat w/ Private Dock on Coosa River! - Photo 9
Authentic Retreat w/ Private Dock on Coosa River! - Photo 10
Authentic Retreat w/ Private Dock on Coosa River! - Photo 11
Authentic Retreat w/ Private Dock on Coosa River! - Photo 12
Authentic Retreat w/ Private Dock on Coosa River! - Photo 13
Authentic Retreat w/ Private Dock on Coosa River! - Photo 14
Authentic Retreat w/ Private Dock on Coosa River! - Photo 15
Authentic Retreat w/ Private Dock on Coosa River! - Photo 16
Authentic Retreat w/ Private Dock on Coosa River! - Photo 17
Authentic Retreat w/ Private Dock on Coosa River! - Photo 18
Authentic Retreat w/ Private Dock on Coosa River! - Photo 19
Authentic Retreat w/ Private Dock on Coosa River! - Photo 20
Authentic Retreat w/ Private Dock on Coosa River! - Photo 21
Authentic Retreat w/ Private Dock on Coosa River! - Photo 22
Authentic Retreat w/ Private Dock on Coosa River! - Photo 23
Authentic Retreat w/ Private Dock on Coosa River! - Photo 24
Authentic Retreat w/ Private Dock on Coosa River! - Photo 25
Authentic Retreat w/ Private Dock on Coosa River! - Photo 26
Authentic Retreat w/ Private Dock on Coosa River! - Photo 27
Authentic Retreat w/ Private Dock on Coosa River! - Photo 28
Authentic Retreat w/ Private Dock on Coosa River! - Photo 29
Authentic Retreat w/ Private Dock on Coosa River! - Photo 30
Authentic Retreat w/ Private Dock on Coosa River! - Photo 31
Authentic Retreat w/ Private Dock on Coosa River! - Photo 32
Authentic Retreat w/ Private Dock on Coosa River! - Photo 33
Authentic Retreat w/ Private Dock on Coosa River! - Photo 34
Authentic Retreat w/ Private Dock on Coosa River! - Photo 35

Authentic Retreat w/ Private Dock on Coosa River!

Shelby

  • 212 M2
  • 4 chambres
  • 8 personnes
  • Le chauffage
  • Parking
10Magnifique | 1 avis
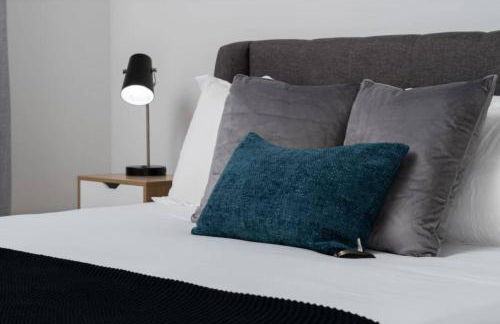
Stylish Stay Off I-65, Pets Welcome - Photo 1
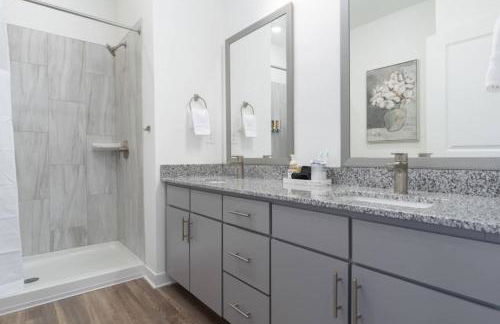
Stylish Stay Off I-65, Pets Welcome - Photo 2
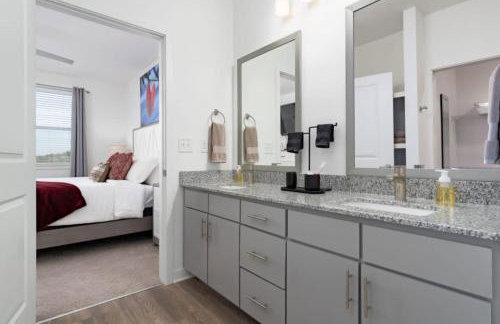
Stylish Stay Off I-65, Pets Welcome - Photo 3

Stylish Stay Off I-65, Pets Welcome - Photo 4
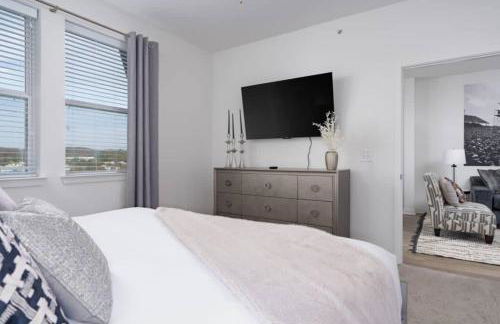
Stylish Stay Off I-65, Pets Welcome - Photo 5
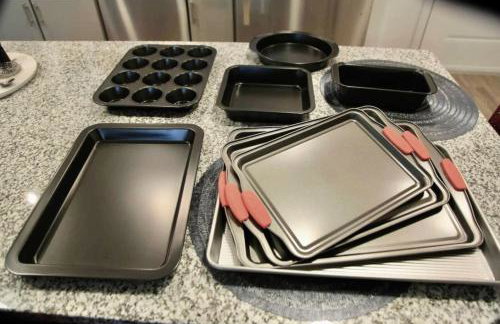
Stylish Stay Off I-65, Pets Welcome - Photo 6
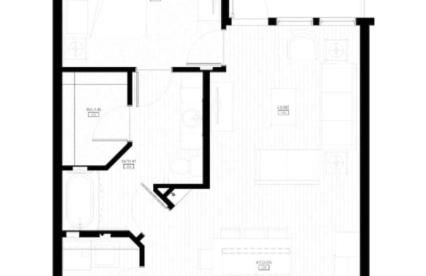
Stylish Stay Off I-65, Pets Welcome - Photo 7
Stylish Stay Off I-65, Pets Welcome - Photo 8
Stylish Stay Off I-65, Pets Welcome - Photo 9
Stylish Stay Off I-65, Pets Welcome - Photo 10
Stylish Stay Off I-65, Pets Welcome - Photo 11
Stylish Stay Off I-65, Pets Welcome - Photo 12
Stylish Stay Off I-65, Pets Welcome - Photo 13
Stylish Stay Off I-65, Pets Welcome - Photo 14
Stylish Stay Off I-65, Pets Welcome - Photo 15
Stylish Stay Off I-65, Pets Welcome - Photo 16
Stylish Stay Off I-65, Pets Welcome - Photo 17
Stylish Stay Off I-65, Pets Welcome - Photo 18
Stylish Stay Off I-65, Pets Welcome - Photo 19
Stylish Stay Off I-65, Pets Welcome - Photo 20
Stylish Stay Off I-65, Pets Welcome - Photo 21
Stylish Stay Off I-65, Pets Welcome - Photo 22
Stylish Stay Off I-65, Pets Welcome - Photo 23
Stylish Stay Off I-65, Pets Welcome - Photo 24
Stylish Stay Off I-65, Pets Welcome - Photo 25
Stylish Stay Off I-65, Pets Welcome - Photo 26
Stylish Stay Off I-65, Pets Welcome - Photo 27
Stylish Stay Off I-65, Pets Welcome - Photo 28
Stylish Stay Off I-65, Pets Welcome - Photo 29
Stylish Stay Off I-65, Pets Welcome - Photo 30
Stylish Stay Off I-65, Pets Welcome - Photo 31
Stylish Stay Off I-65, Pets Welcome - Photo 32
Stylish Stay Off I-65, Pets Welcome - Photo 33
Stylish Stay Off I-65, Pets Welcome - Photo 34
Stylish Stay Off I-65, Pets Welcome - Photo 35
Stylish Stay Off I-65, Pets Welcome - Photo 36
Stylish Stay Off I-65, Pets Welcome - Photo 37
Stylish Stay Off I-65, Pets Welcome - Photo 38
Stylish Stay Off I-65, Pets Welcome - Photo 39
Stylish Stay Off I-65, Pets Welcome - Photo 40
Stylish Stay Off I-65, Pets Welcome - Photo 41
Stylish Stay Off I-65, Pets Welcome - Photo 42
Stylish Stay Off I-65, Pets Welcome - Photo 43
Stylish Stay Off I-65, Pets Welcome - Photo 44
Stylish Stay Off I-65, Pets Welcome - Photo 45
Stylish Stay Off I-65, Pets Welcome - Photo 46
Stylish Stay Off I-65, Pets Welcome - Photo 47
Stylish Stay Off I-65, Pets Welcome - Photo 48
Stylish Stay Off I-65, Pets Welcome - Photo 49
Stylish Stay Off I-65, Pets Welcome - Photo 50
Stylish Stay Off I-65, Pets Welcome - Photo 51
Stylish Stay Off I-65, Pets Welcome - Photo 52
Stylish Stay Off I-65, Pets Welcome - Photo 53
Stylish Stay Off I-65, Pets Welcome - Photo 54
Stylish Stay Off I-65, Pets Welcome - Photo 55
Stylish Stay Off I-65, Pets Welcome - Photo 56
Stylish Stay Off I-65, Pets Welcome - Photo 57
Stylish Stay Off I-65, Pets Welcome - Photo 58
Stylish Stay Off I-65, Pets Welcome - Photo 59
Stylish Stay Off I-65, Pets Welcome - Photo 60
Stylish Stay Off I-65, Pets Welcome - Photo 61
Stylish Stay Off I-65, Pets Welcome - Photo 62
Stylish Stay Off I-65, Pets Welcome - Photo 63
Stylish Stay Off I-65, Pets Welcome - Photo 64
Stylish Stay Off I-65, Pets Welcome - Photo 65
Stylish Stay Off I-65, Pets Welcome - Photo 66
Stylish Stay Off I-65, Pets Welcome - Photo 67

Stylish Stay Off I-65, Pets Welcome

Pelham - À 4.9 km du centre

  • 1000 M2
  • 1 chambre
  • 4 personnes
  • Air conditionné
  • Le chauffage
  • Ascenseur
  • Jardin
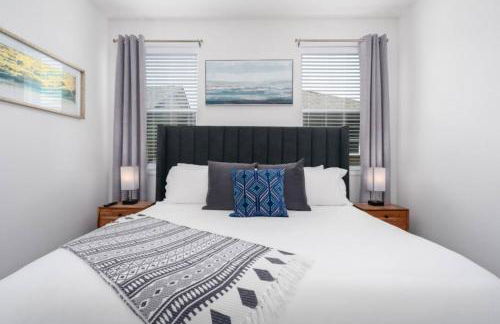
Family Escape with Garage, Pool and Park) - Photo 1
Family Escape with Garage, Pool and Park) - Photo 2
Family Escape with Garage, Pool and Park) - Photo 3
Family Escape with Garage, Pool and Park) - Photo 4
Family Escape with Garage, Pool and Park) - Photo 5
Family Escape with Garage, Pool and Park) - Photo 6
Family Escape with Garage, Pool and Park) - Photo 7
Family Escape with Garage, Pool and Park) - Photo 8
Family Escape with Garage, Pool and Park) - Photo 9
Family Escape with Garage, Pool and Park) - Photo 10
Family Escape with Garage, Pool and Park) - Photo 11
Family Escape with Garage, Pool and Park) - Photo 12
Family Escape with Garage, Pool and Park) - Photo 13
Family Escape with Garage, Pool and Park) - Photo 14
Family Escape with Garage, Pool and Park) - Photo 15
Family Escape with Garage, Pool and Park) - Photo 16
Family Escape with Garage, Pool and Park) - Photo 17
Family Escape with Garage, Pool and Park) - Photo 18
Family Escape with Garage, Pool and Park) - Photo 19
Family Escape with Garage, Pool and Park) - Photo 20
Family Escape with Garage, Pool and Park) - Photo 21
Family Escape with Garage, Pool and Park) - Photo 22
Family Escape with Garage, Pool and Park) - Photo 23
Family Escape with Garage, Pool and Park) - Photo 24
Family Escape with Garage, Pool and Park) - Photo 25
Family Escape with Garage, Pool and Park) - Photo 26
Family Escape with Garage, Pool and Park) - Photo 27
Family Escape with Garage, Pool and Park) - Photo 28
Family Escape with Garage, Pool and Park) - Photo 29
Family Escape with Garage, Pool and Park) - Photo 30
Family Escape with Garage, Pool and Park) - Photo 31
Family Escape with Garage, Pool and Park) - Photo 32
Family Escape with Garage, Pool and Park) - Photo 33
Family Escape with Garage, Pool and Park) - Photo 34
Family Escape with Garage, Pool and Park) - Photo 35
Family Escape with Garage, Pool and Park) - Photo 36
Family Escape with Garage, Pool and Park) - Photo 37
Family Escape with Garage, Pool and Park) - Photo 38
Family Escape with Garage, Pool and Park) - Photo 39
Family Escape with Garage, Pool and Park) - Photo 40
Family Escape with Garage, Pool and Park) - Photo 41
Family Escape with Garage, Pool and Park) - Photo 42
Family Escape with Garage, Pool and Park) - Photo 43
Family Escape with Garage, Pool and Park) - Photo 44
Family Escape with Garage, Pool and Park) - Photo 45
Family Escape with Garage, Pool and Park) - Photo 46
Family Escape with Garage, Pool and Park) - Photo 47
Family Escape with Garage, Pool and Park) - Photo 48
Family Escape with Garage, Pool and Park) - Photo 49
Family Escape with Garage, Pool and Park) - Photo 50
Family Escape with Garage, Pool and Park) - Photo 51
Family Escape with Garage, Pool and Park) - Photo 52
Family Escape with Garage, Pool and Park) - Photo 53
Family Escape with Garage, Pool and Park) - Photo 54
Family Escape with Garage, Pool and Park) - Photo 55
Family Escape with Garage, Pool and Park) - Photo 56
Family Escape with Garage, Pool and Park) - Photo 57
Family Escape with Garage, Pool and Park) - Photo 58
Family Escape with Garage, Pool and Park) - Photo 59
Family Escape with Garage, Pool and Park) - Photo 60
Family Escape with Garage, Pool and Park) - Photo 61
Family Escape with Garage, Pool and Park) - Photo 62
Family Escape with Garage, Pool and Park) - Photo 63
Family Escape with Garage, Pool and Park) - Photo 64
Family Escape with Garage, Pool and Park) - Photo 65
Family Escape with Garage, Pool and Park) - Photo 66
Family Escape with Garage, Pool and Park) - Photo 67
Family Escape with Garage, Pool and Park) - Photo 68
Family Escape with Garage, Pool and Park) - Photo 69

Family Escape with Garage, Pool and Park)

Pelham - À 4.7 km du centre

  • 1000 M2
  • 2 chambres
  • 6 personnes
  • Air conditionné
  • Le chauffage
  • Piscine
Decks & Boat Dock: 'The View on Lay Lake!' - Photo 1
Decks & Boat Dock: 'The View on Lay Lake!' - Photo 2
Decks & Boat Dock: 'The View on Lay Lake!' - Photo 3
Decks & Boat Dock: 'The View on Lay Lake!' - Photo 4
Decks & Boat Dock: 'The View on Lay Lake!' - Photo 5
Decks & Boat Dock: 'The View on Lay Lake!' - Photo 6
Decks & Boat Dock: 'The View on Lay Lake!' - Photo 7
Decks & Boat Dock: 'The View on Lay Lake!' - Photo 8
Decks & Boat Dock: 'The View on Lay Lake!' - Photo 9
Decks & Boat Dock: 'The View on Lay Lake!' - Photo 10
Decks & Boat Dock: 'The View on Lay Lake!' - Photo 11
Decks & Boat Dock: 'The View on Lay Lake!' - Photo 12
Decks & Boat Dock: 'The View on Lay Lake!' - Photo 13
Decks & Boat Dock: 'The View on Lay Lake!' - Photo 14
Decks & Boat Dock: 'The View on Lay Lake!' - Photo 15
Decks & Boat Dock: 'The View on Lay Lake!' - Photo 16
Decks & Boat Dock: 'The View on Lay Lake!' - Photo 17
Decks & Boat Dock: 'The View on Lay Lake!' - Photo 18
Decks & Boat Dock: 'The View on Lay Lake!' - Photo 19
Decks & Boat Dock: 'The View on Lay Lake!' - Photo 20
Decks & Boat Dock: 'The View on Lay Lake!' - Photo 21
Decks & Boat Dock: 'The View on Lay Lake!' - Photo 22
Decks & Boat Dock: 'The View on Lay Lake!' - Photo 23
Decks & Boat Dock: 'The View on Lay Lake!' - Photo 24
Decks & Boat Dock: 'The View on Lay Lake!' - Photo 25
Decks & Boat Dock: 'The View on Lay Lake!' - Photo 26
Decks & Boat Dock: 'The View on Lay Lake!' - Photo 27
Decks & Boat Dock: 'The View on Lay Lake!' - Photo 28
Decks & Boat Dock: 'The View on Lay Lake!' - Photo 29
Decks & Boat Dock: 'The View on Lay Lake!' - Photo 30
Decks & Boat Dock: 'The View on Lay Lake!' - Photo 31
Decks & Boat Dock: 'The View on Lay Lake!' - Photo 32
Decks & Boat Dock: 'The View on Lay Lake!' - Photo 33
Decks & Boat Dock: 'The View on Lay Lake!' - Photo 34
Decks & Boat Dock: 'The View on Lay Lake!' - Photo 35
Decks & Boat Dock: 'The View on Lay Lake!' - Photo 36
Decks & Boat Dock: 'The View on Lay Lake!' - Photo 37
Decks & Boat Dock: 'The View on Lay Lake!' - Photo 38

Decks & Boat Dock: 'The View on Lay Lake!'

Shelby - Shelby Shores

  • 179 M2
  • 3 chambres
  • 8 personnes
  • Le chauffage
  • Terrasse
  • Parking
Waterfront Lay Lake Retreat w/ Dock & 3 Piers! - Photo 1
Waterfront Lay Lake Retreat w/ Dock & 3 Piers! - Photo 2
Waterfront Lay Lake Retreat w/ Dock & 3 Piers! - Photo 3
Waterfront Lay Lake Retreat w/ Dock & 3 Piers! - Photo 4
Waterfront Lay Lake Retreat w/ Dock & 3 Piers! - Photo 5
Waterfront Lay Lake Retreat w/ Dock & 3 Piers! - Photo 6
Waterfront Lay Lake Retreat w/ Dock & 3 Piers! - Photo 7
Waterfront Lay Lake Retreat w/ Dock & 3 Piers! - Photo 8
Waterfront Lay Lake Retreat w/ Dock & 3 Piers! - Photo 9
Waterfront Lay Lake Retreat w/ Dock & 3 Piers! - Photo 10
Waterfront Lay Lake Retreat w/ Dock & 3 Piers! - Photo 11
Waterfront Lay Lake Retreat w/ Dock & 3 Piers! - Photo 12
Waterfront Lay Lake Retreat w/ Dock & 3 Piers! - Photo 13
Waterfront Lay Lake Retreat w/ Dock & 3 Piers! - Photo 14
Waterfront Lay Lake Retreat w/ Dock & 3 Piers! - Photo 15
Waterfront Lay Lake Retreat w/ Dock & 3 Piers! - Photo 16
Waterfront Lay Lake Retreat w/ Dock & 3 Piers! - Photo 17
Waterfront Lay Lake Retreat w/ Dock & 3 Piers! - Photo 18
Waterfront Lay Lake Retreat w/ Dock & 3 Piers! - Photo 19
Waterfront Lay Lake Retreat w/ Dock & 3 Piers! - Photo 20
Waterfront Lay Lake Retreat w/ Dock & 3 Piers! - Photo 21
Waterfront Lay Lake Retreat w/ Dock & 3 Piers! - Photo 22
Waterfront Lay Lake Retreat w/ Dock & 3 Piers! - Photo 23
Waterfront Lay Lake Retreat w/ Dock & 3 Piers! - Photo 24
Waterfront Lay Lake Retreat w/ Dock & 3 Piers! - Photo 25
Waterfront Lay Lake Retreat w/ Dock & 3 Piers! - Photo 26
Waterfront Lay Lake Retreat w/ Dock & 3 Piers! - Photo 27
Waterfront Lay Lake Retreat w/ Dock & 3 Piers! - Photo 28
Waterfront Lay Lake Retreat w/ Dock & 3 Piers! - Photo 29
Waterfront Lay Lake Retreat w/ Dock & 3 Piers! - Photo 30
Waterfront Lay Lake Retreat w/ Dock & 3 Piers! - Photo 31
Waterfront Lay Lake Retreat w/ Dock & 3 Piers! - Photo 32
Waterfront Lay Lake Retreat w/ Dock & 3 Piers! - Photo 33
Waterfront Lay Lake Retreat w/ Dock & 3 Piers! - Photo 34
Waterfront Lay Lake Retreat w/ Dock & 3 Piers! - Photo 35
Waterfront Lay Lake Retreat w/ Dock & 3 Piers! - Photo 36
Waterfront Lay Lake Retreat w/ Dock & 3 Piers! - Photo 37
Waterfront Lay Lake Retreat w/ Dock & 3 Piers! - Photo 38
Waterfront Lay Lake Retreat w/ Dock & 3 Piers! - Photo 39
Waterfront Lay Lake Retreat w/ Dock & 3 Piers! - Photo 40
Waterfront Lay Lake Retreat w/ Dock & 3 Piers! - Photo 41
Waterfront Lay Lake Retreat w/ Dock & 3 Piers! - Photo 42
Waterfront Lay Lake Retreat w/ Dock & 3 Piers! - Photo 43
Waterfront Lay Lake Retreat w/ Dock & 3 Piers! - Photo 44
Waterfront Lay Lake Retreat w/ Dock & 3 Piers! - Photo 45

Waterfront Lay Lake Retreat w/ Dock & 3 Piers!

Shelby

  • 251 M2
  • 5 chambres
  • 12 personnes
  • Le chauffage
  • Terrasse
  • Parking
Cozy Cottage on Main Channel of Lay Lake - Photo 1
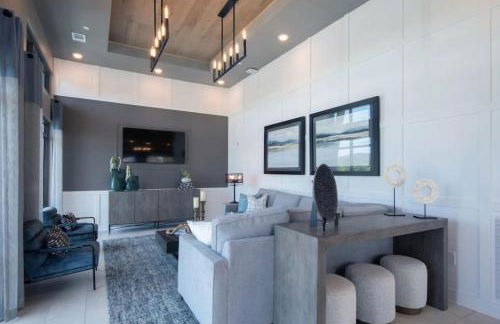
Cozy Cottage on Main Channel of Lay Lake - Photo 2

Cozy Cottage on Main Channel of Lay Lake - Photo 3
Cozy Cottage on Main Channel of Lay Lake - Photo 4
Cozy Cottage on Main Channel of Lay Lake - Photo 5
Cozy Cottage on Main Channel of Lay Lake - Photo 6
Cozy Cottage on Main Channel of Lay Lake - Photo 7
Cozy Cottage on Main Channel of Lay Lake - Photo 8
Cozy Cottage on Main Channel of Lay Lake - Photo 9
Cozy Cottage on Main Channel of Lay Lake - Photo 10
Cozy Cottage on Main Channel of Lay Lake - Photo 11
Cozy Cottage on Main Channel of Lay Lake - Photo 12
Cozy Cottage on Main Channel of Lay Lake - Photo 13
Cozy Cottage on Main Channel of Lay Lake - Photo 14
Cozy Cottage on Main Channel of Lay Lake - Photo 15
Cozy Cottage on Main Channel of Lay Lake - Photo 16
Cozy Cottage on Main Channel of Lay Lake - Photo 17
Cozy Cottage on Main Channel of Lay Lake - Photo 18
Cozy Cottage on Main Channel of Lay Lake - Photo 19
Cozy Cottage on Main Channel of Lay Lake - Photo 20
Cozy Cottage on Main Channel of Lay Lake - Photo 21
Cozy Cottage on Main Channel of Lay Lake - Photo 22
Cozy Cottage on Main Channel of Lay Lake - Photo 23
Cozy Cottage on Main Channel of Lay Lake - Photo 24
Cozy Cottage on Main Channel of Lay Lake - Photo 25
Cozy Cottage on Main Channel of Lay Lake - Photo 26
Cozy Cottage on Main Channel of Lay Lake - Photo 27
Cozy Cottage on Main Channel of Lay Lake - Photo 28
Cozy Cottage on Main Channel of Lay Lake - Photo 29
Cozy Cottage on Main Channel of Lay Lake - Photo 30
Cozy Cottage on Main Channel of Lay Lake - Photo 31
Cozy Cottage on Main Channel of Lay Lake - Photo 32
Cozy Cottage on Main Channel of Lay Lake - Photo 33
Cozy Cottage on Main Channel of Lay Lake - Photo 34
Cozy Cottage on Main Channel of Lay Lake - Photo 35
Cozy Cottage on Main Channel of Lay Lake - Photo 36
Cozy Cottage on Main Channel of Lay Lake - Photo 37
Cozy Cottage on Main Channel of Lay Lake - Photo 38

Cozy Cottage on Main Channel of Lay Lake

Wilsonville - À 3 km du centre

  • 70 M2
  • 1 chambre
  • 6 personnes
  • Le chauffage
  • Terrasse
  • Parking
Fish, Swim & More: Lakefront Alabaster Home - Photo 1
Fish, Swim & More: Lakefront Alabaster Home - Photo 2
Fish, Swim & More: Lakefront Alabaster Home - Photo 3
Fish, Swim & More: Lakefront Alabaster Home - Photo 4
Fish, Swim & More: Lakefront Alabaster Home - Photo 5
Fish, Swim & More: Lakefront Alabaster Home - Photo 6
Fish, Swim & More: Lakefront Alabaster Home - Photo 7
Fish, Swim & More: Lakefront Alabaster Home - Photo 8
Fish, Swim & More: Lakefront Alabaster Home - Photo 9
Fish, Swim & More: Lakefront Alabaster Home - Photo 10
Fish, Swim & More: Lakefront Alabaster Home - Photo 11
Fish, Swim & More: Lakefront Alabaster Home - Photo 12
Fish, Swim & More: Lakefront Alabaster Home - Photo 13
Fish, Swim & More: Lakefront Alabaster Home - Photo 14
Fish, Swim & More: Lakefront Alabaster Home - Photo 15
Fish, Swim & More: Lakefront Alabaster Home - Photo 16
Fish, Swim & More: Lakefront Alabaster Home - Photo 17
Fish, Swim & More: Lakefront Alabaster Home - Photo 18
Fish, Swim & More: Lakefront Alabaster Home - Photo 19
Fish, Swim & More: Lakefront Alabaster Home - Photo 20
Fish, Swim & More: Lakefront Alabaster Home - Photo 21
Fish, Swim & More: Lakefront Alabaster Home - Photo 22
Fish, Swim & More: Lakefront Alabaster Home - Photo 23
Fish, Swim & More: Lakefront Alabaster Home - Photo 24
Fish, Swim & More: Lakefront Alabaster Home - Photo 25
Fish, Swim & More: Lakefront Alabaster Home - Photo 26
Fish, Swim & More: Lakefront Alabaster Home - Photo 27
Fish, Swim & More: Lakefront Alabaster Home - Photo 28
Fish, Swim & More: Lakefront Alabaster Home - Photo 29
Fish, Swim & More: Lakefront Alabaster Home - Photo 30
Fish, Swim & More: Lakefront Alabaster Home - Photo 31
Fish, Swim & More: Lakefront Alabaster Home - Photo 32
Fish, Swim & More: Lakefront Alabaster Home - Photo 33
Fish, Swim & More: Lakefront Alabaster Home - Photo 34
Fish, Swim & More: Lakefront Alabaster Home - Photo 35
Fish, Swim & More: Lakefront Alabaster Home - Photo 36
Fish, Swim & More: Lakefront Alabaster Home - Photo 37
Fish, Swim & More: Lakefront Alabaster Home - Photo 38
Fish, Swim & More: Lakefront Alabaster Home - Photo 39
Fish, Swim & More: Lakefront Alabaster Home - Photo 40
Fish, Swim & More: Lakefront Alabaster Home - Photo 41

Fish, Swim & More: Lakefront Alabaster Home

Alabaster - À 5.9 km du centre

  • 604 M2
  • 5 chambres
  • 16 personnes
  • Le chauffage
  • Parking
Destinations associées