
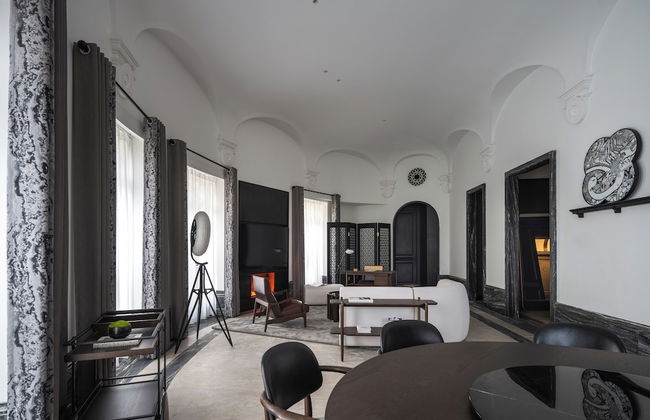
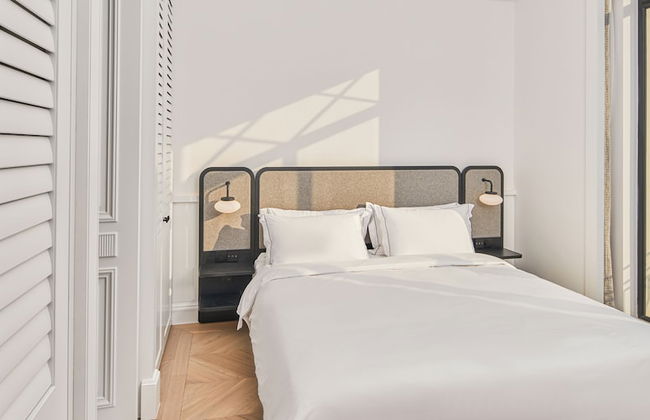
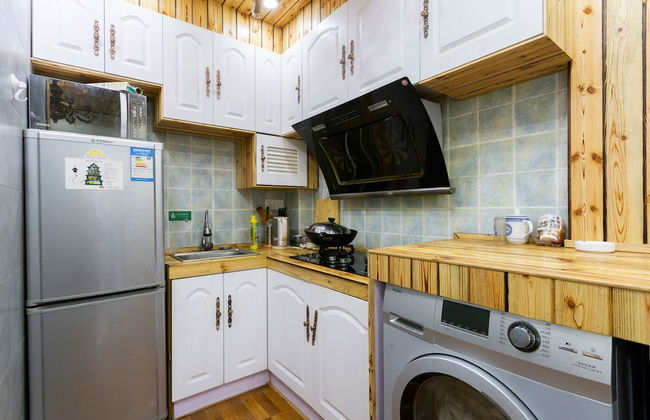
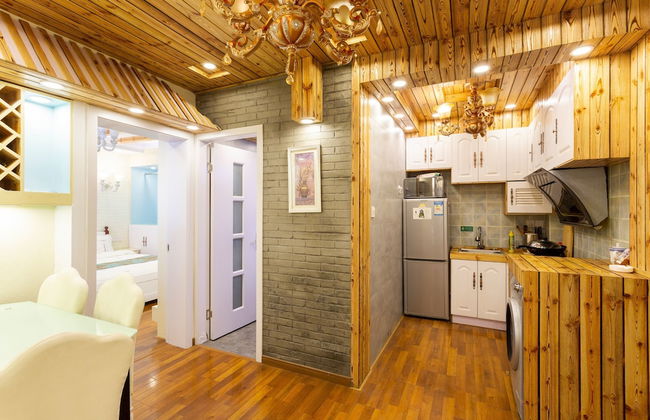
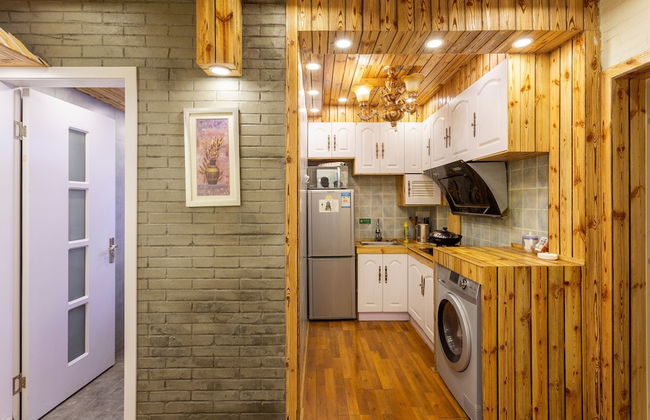
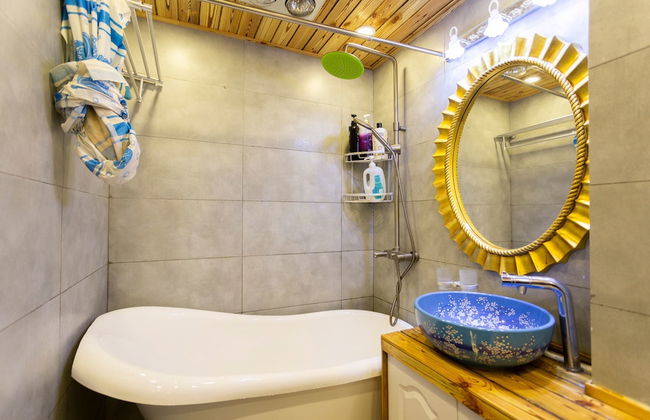
136 Appartements à Shanghai


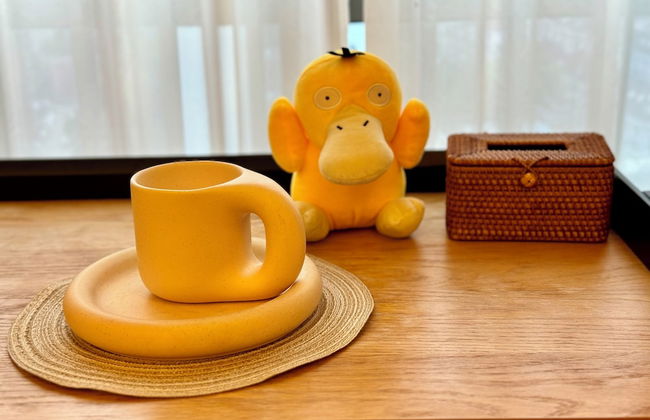


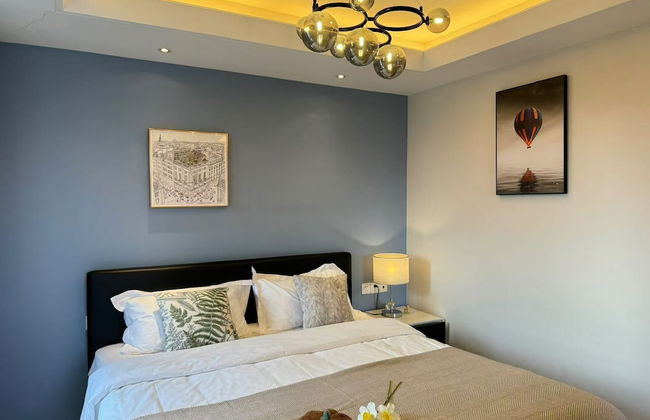


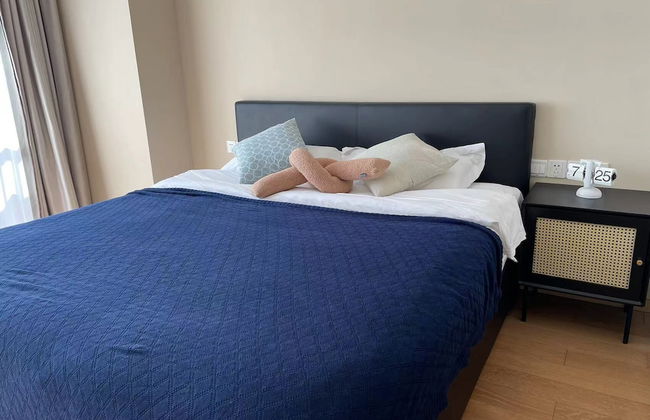


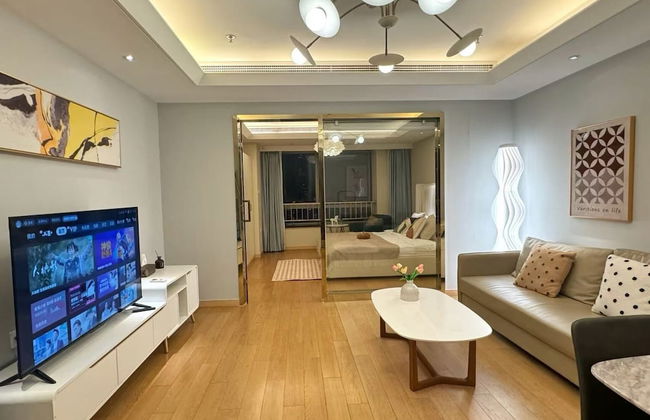


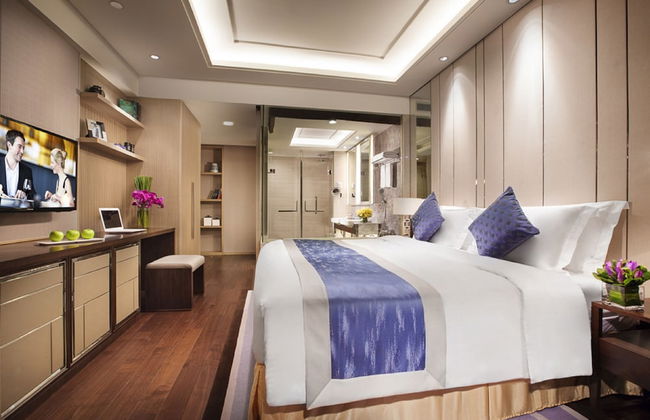
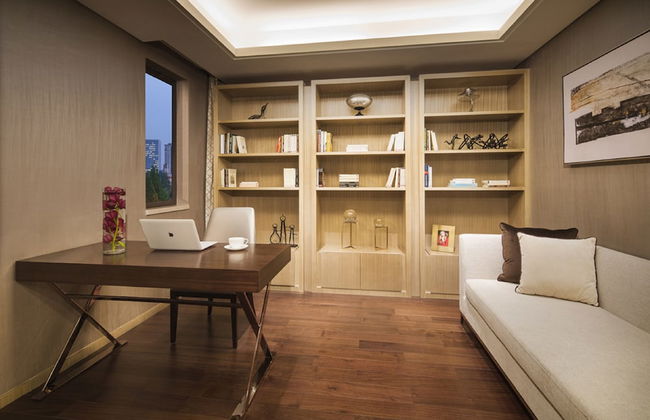
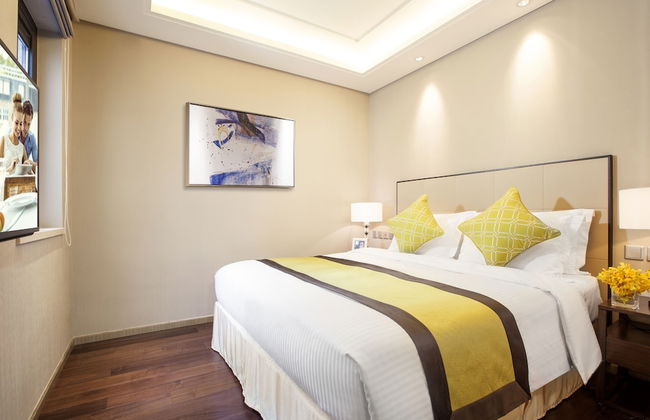
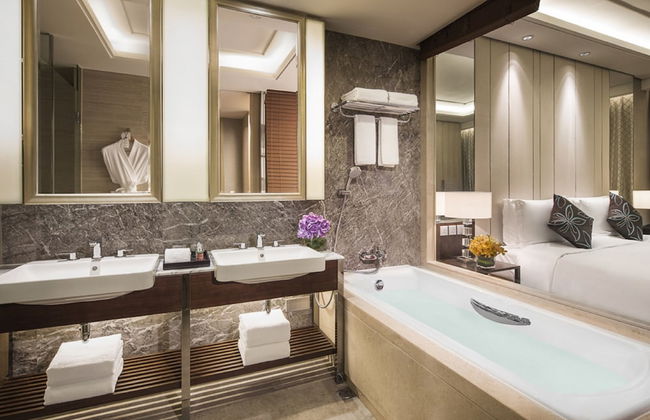
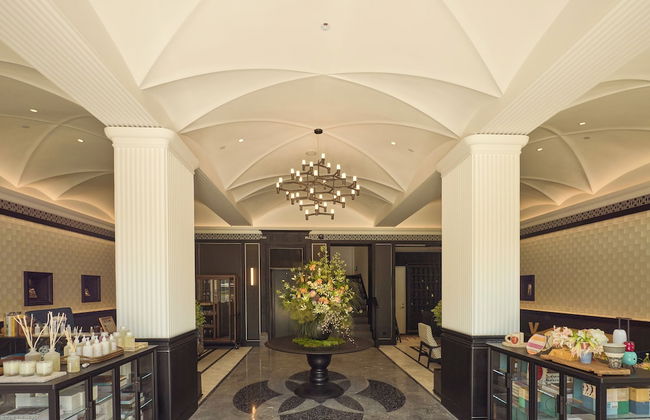
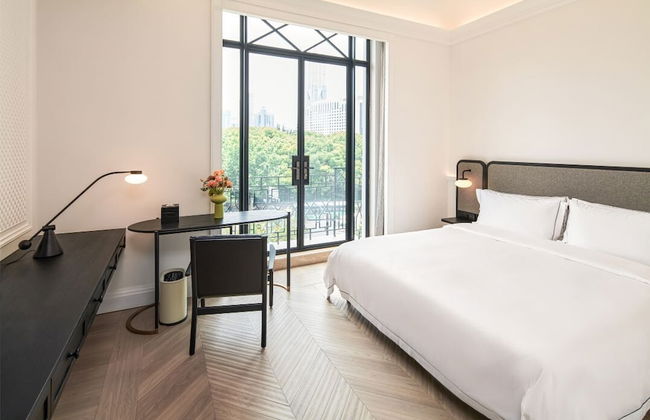
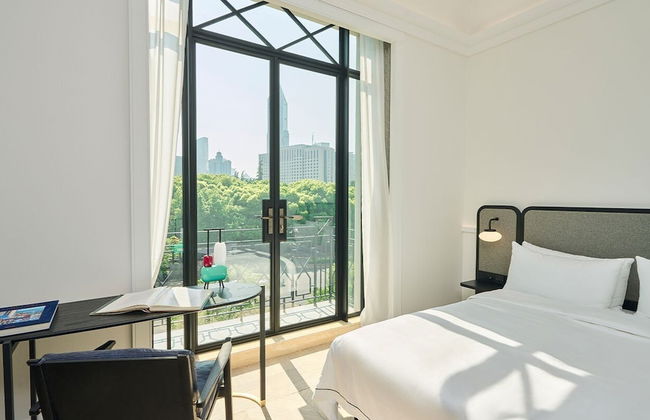
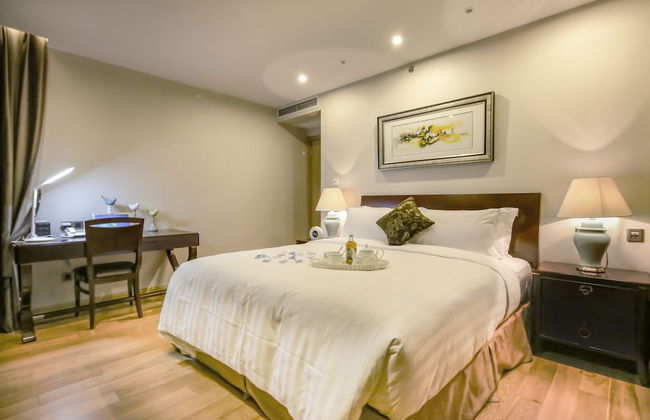
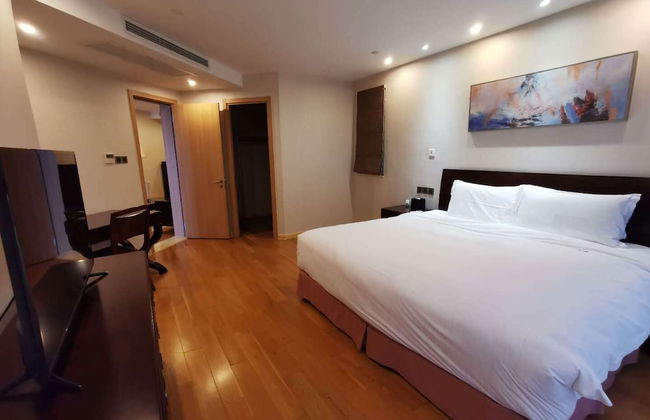
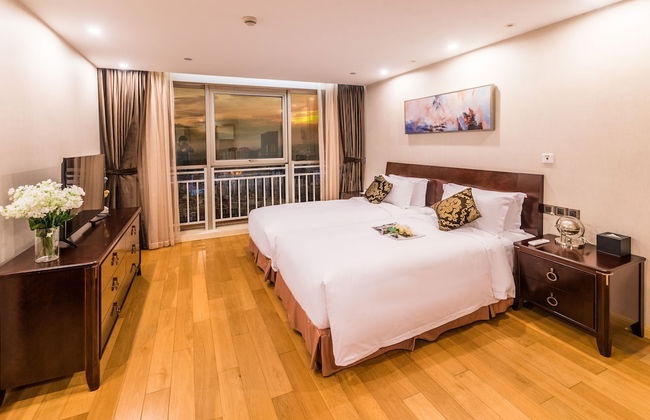
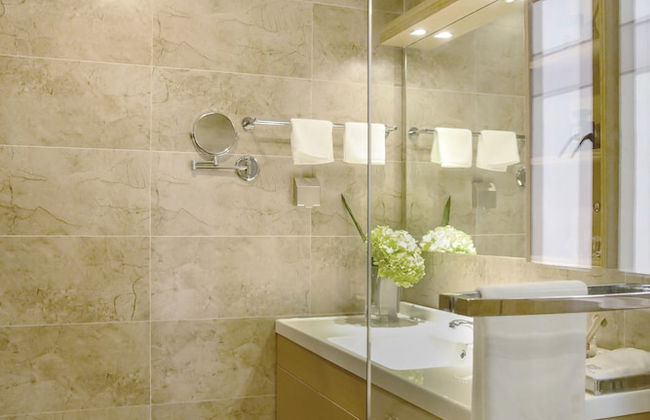
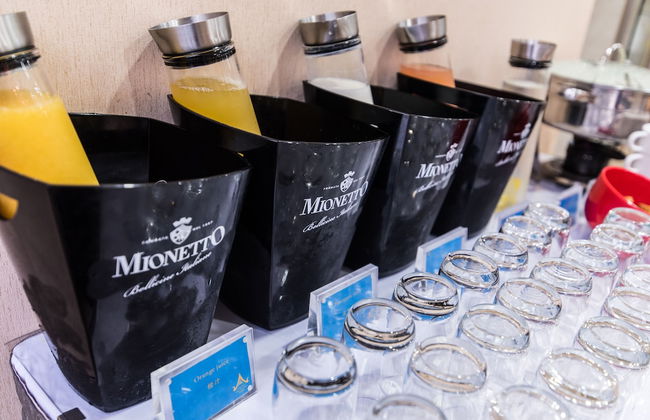
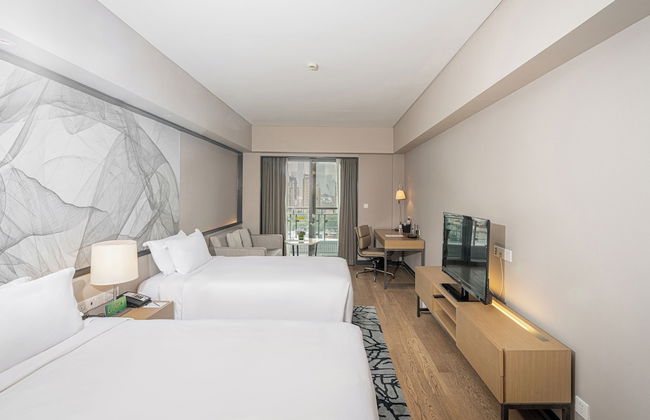
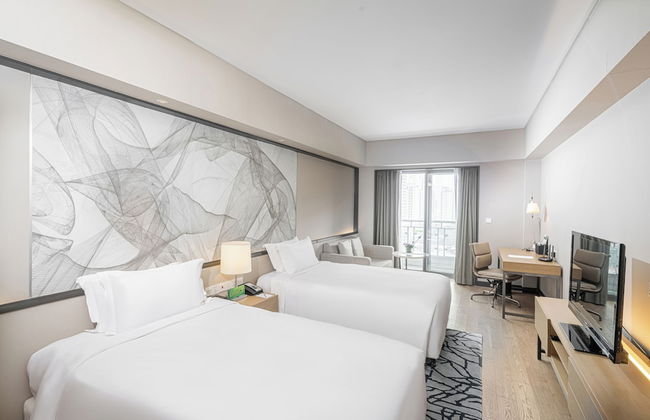
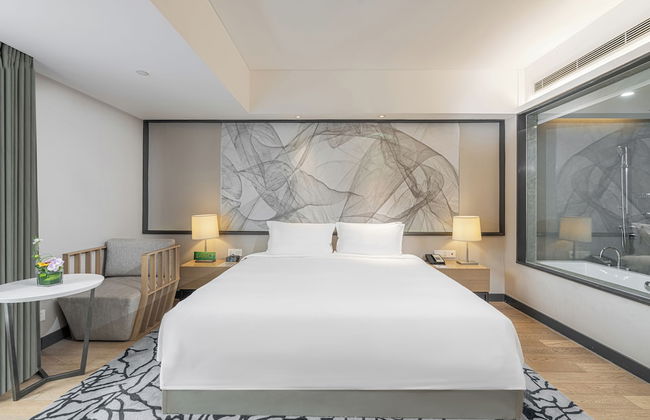
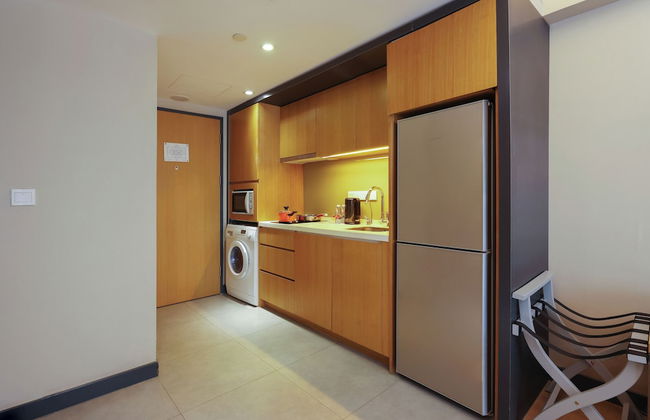
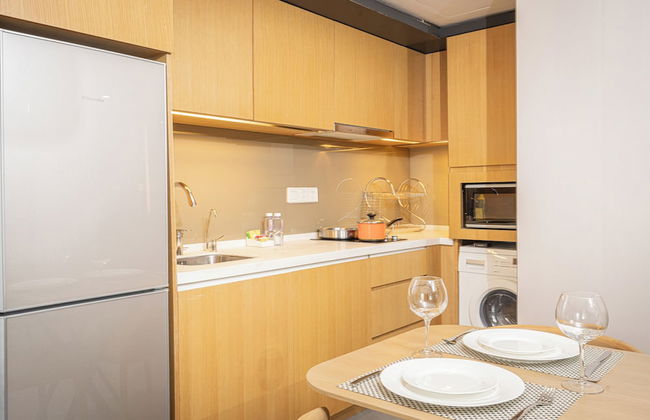
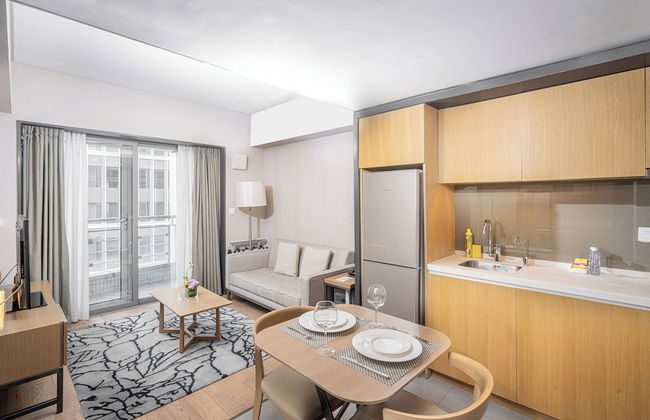
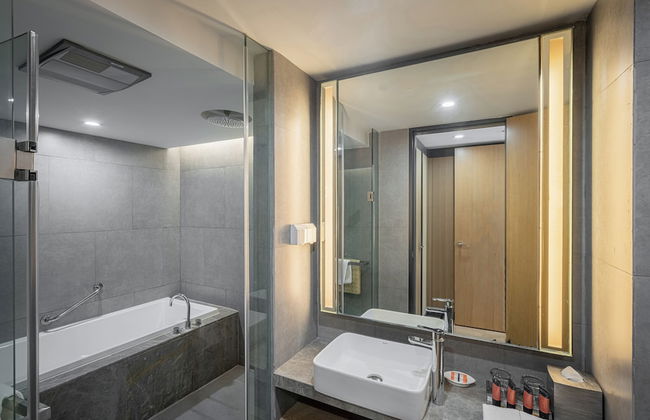
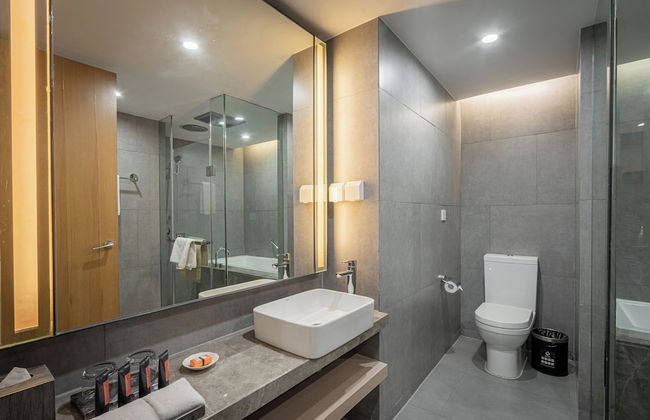
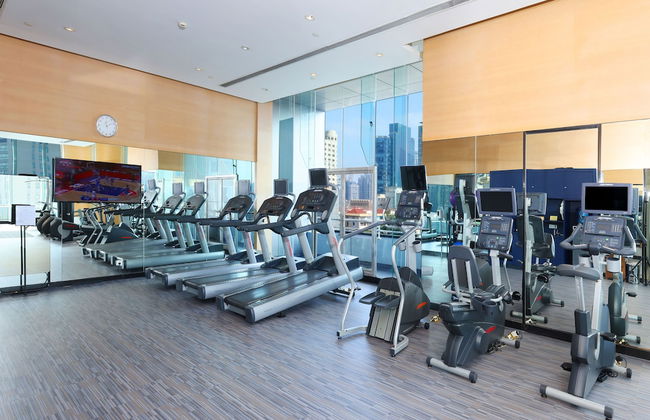
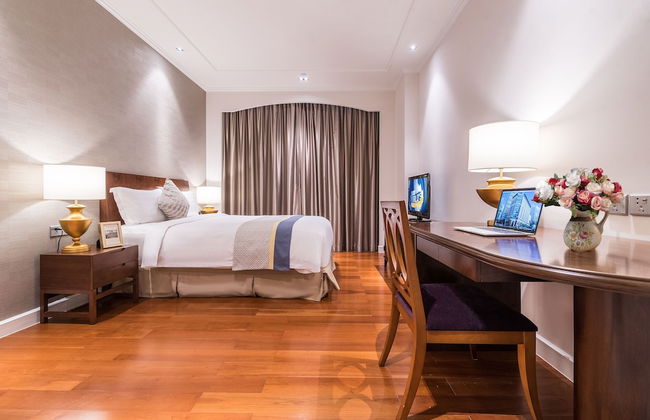
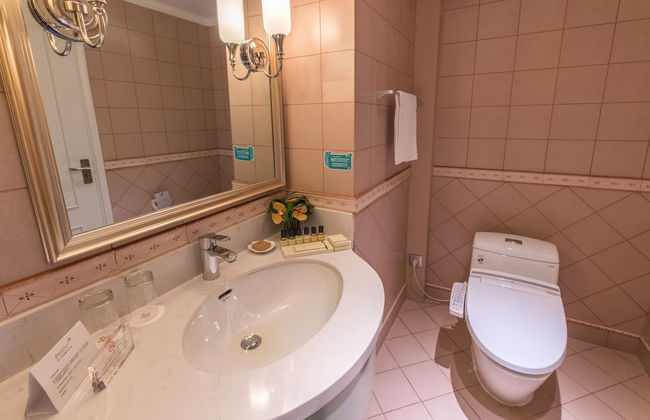
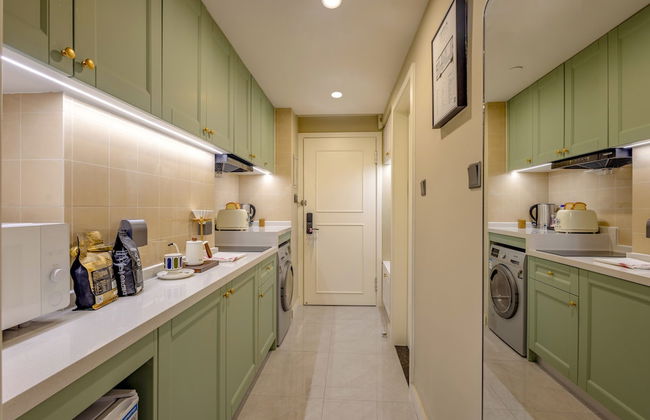
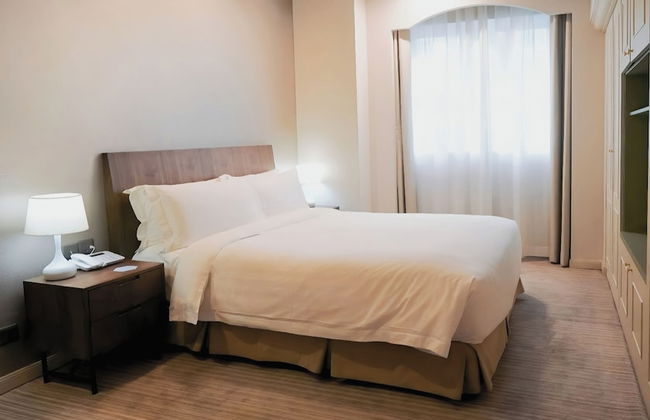
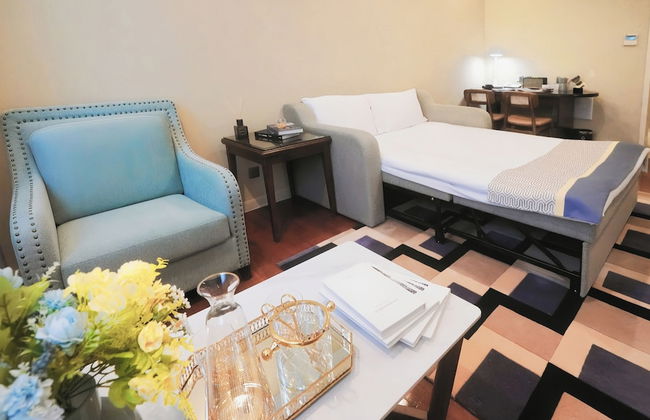
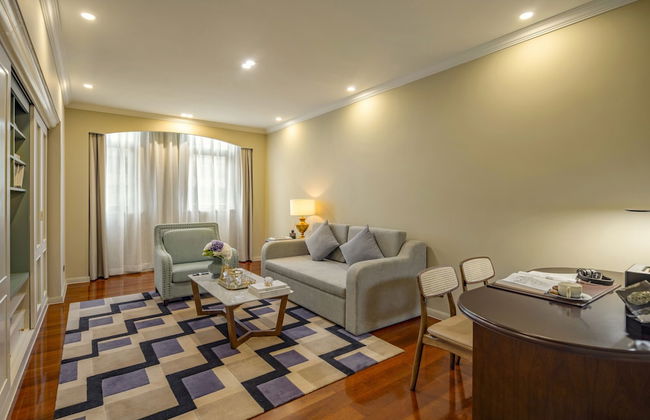
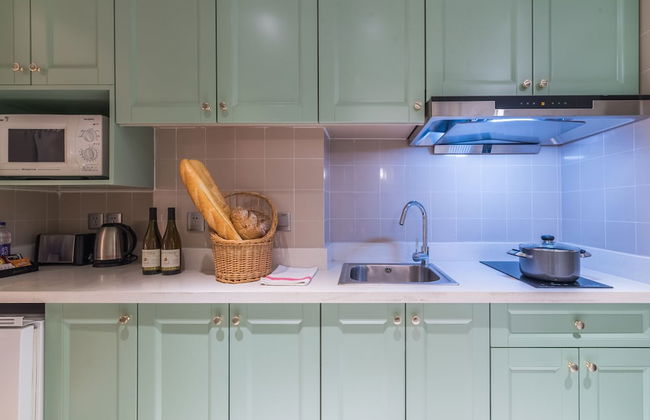
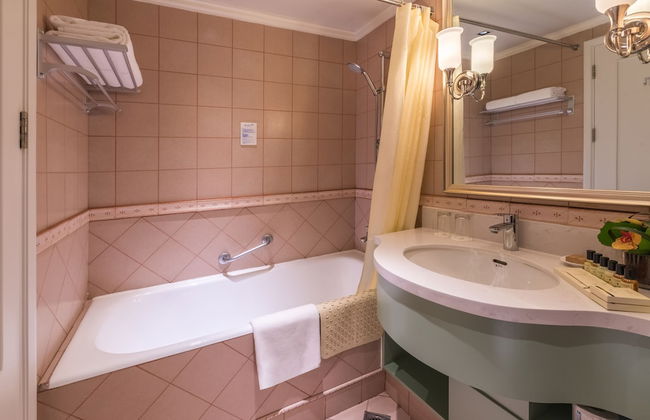
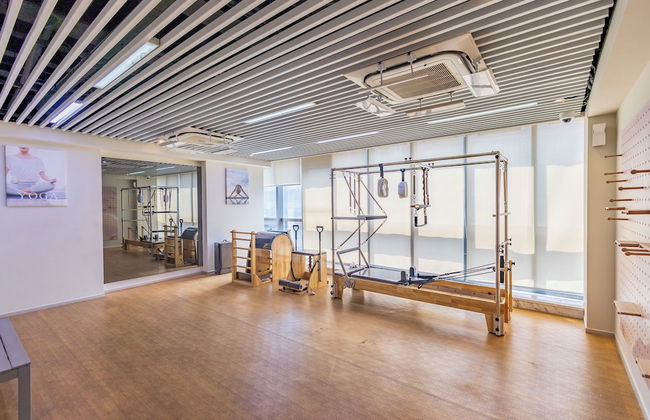
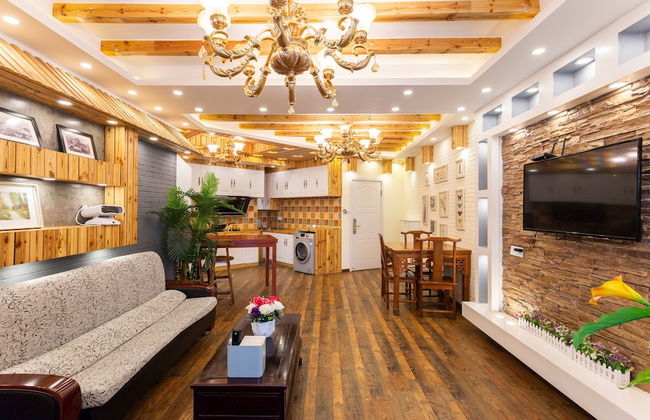
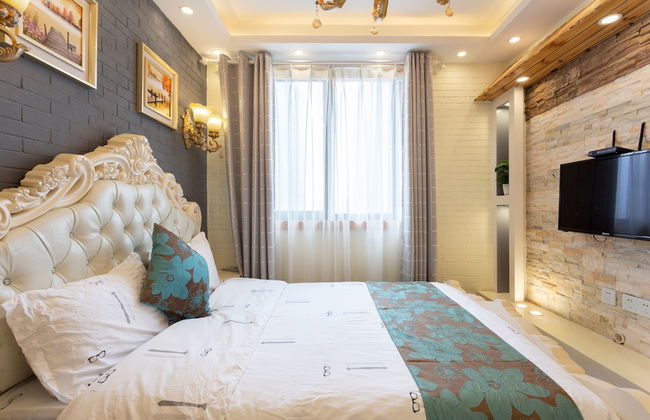
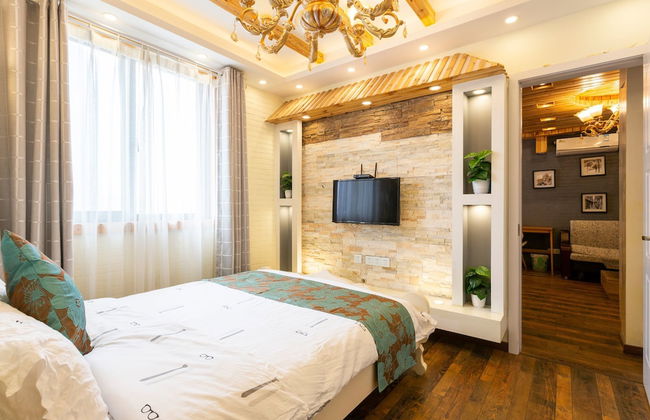
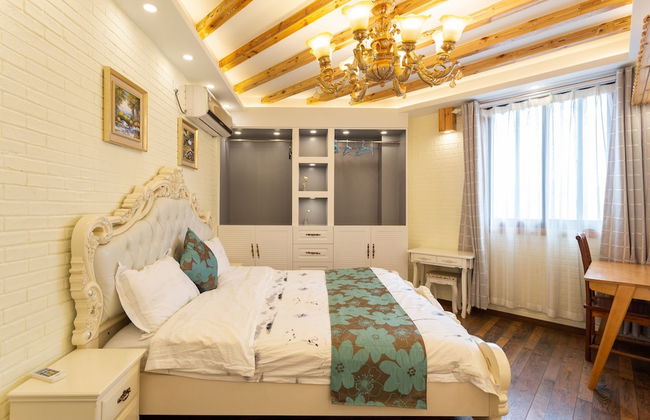
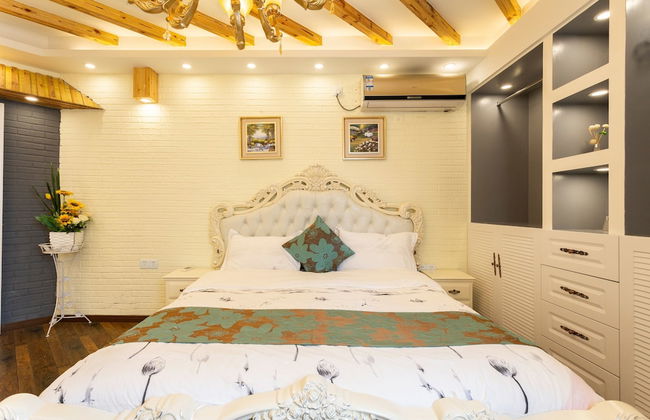
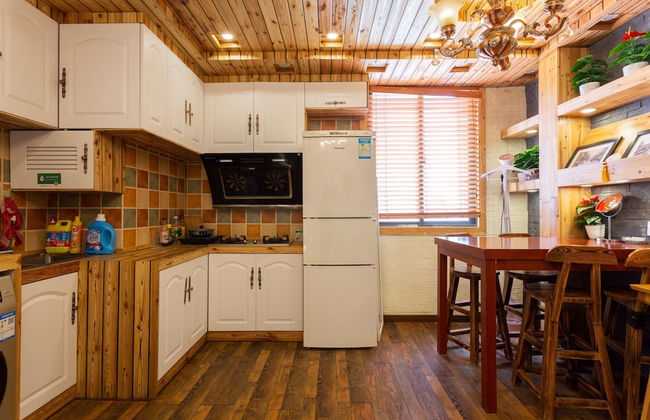
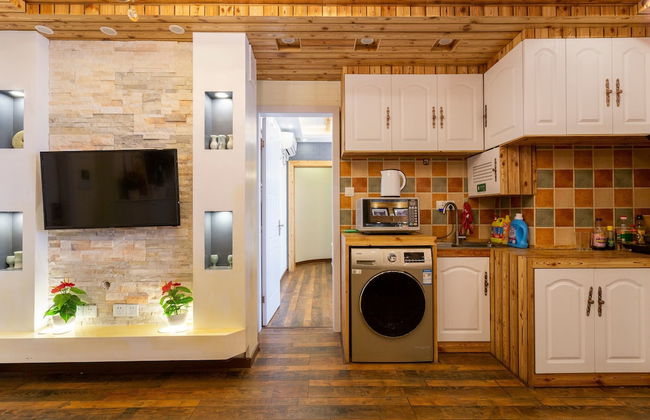
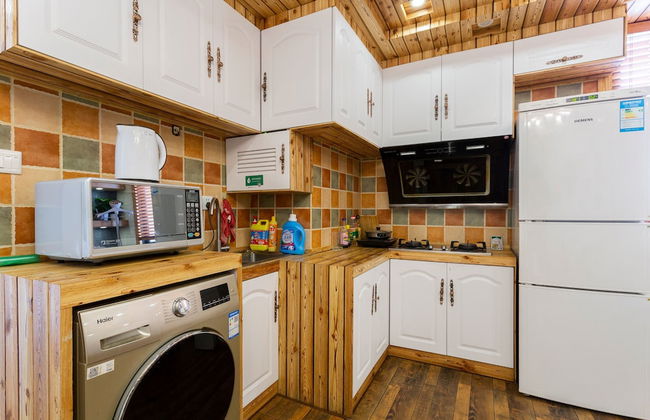
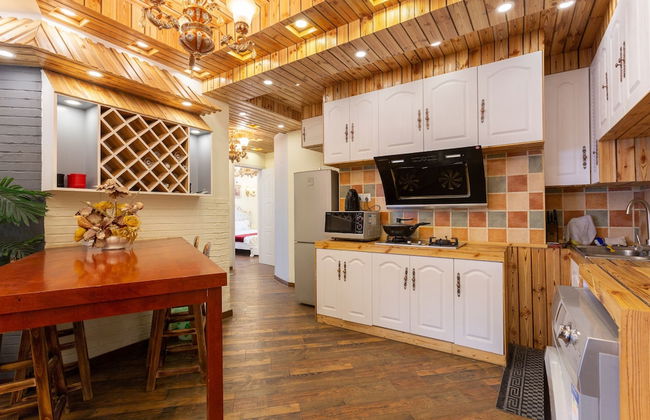
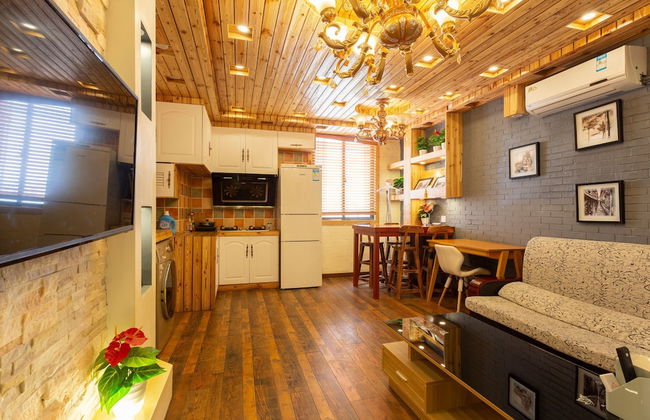
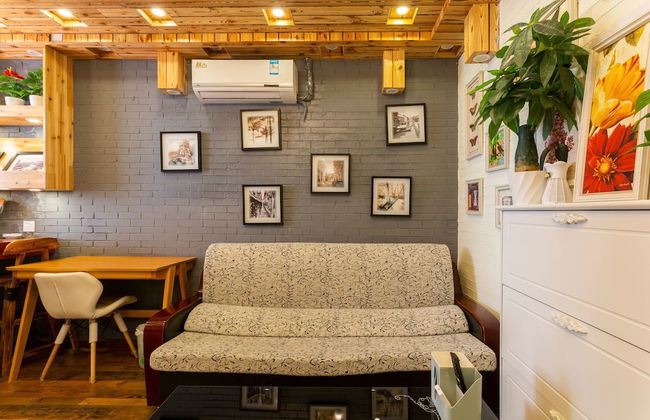
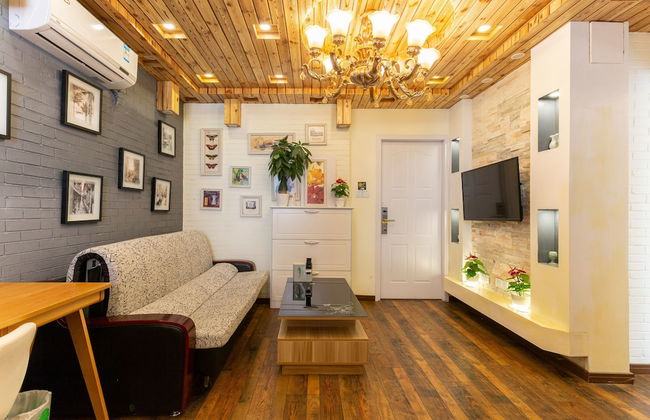
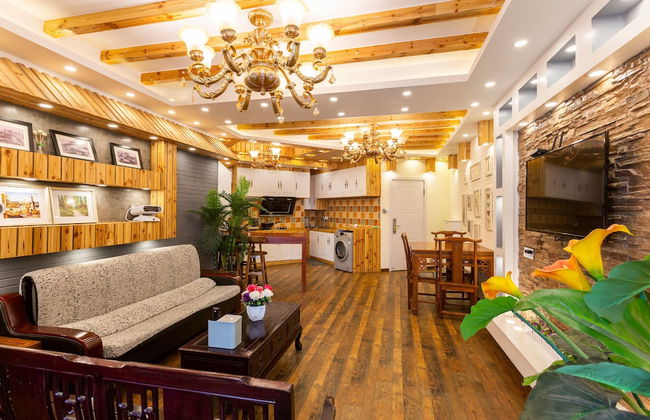
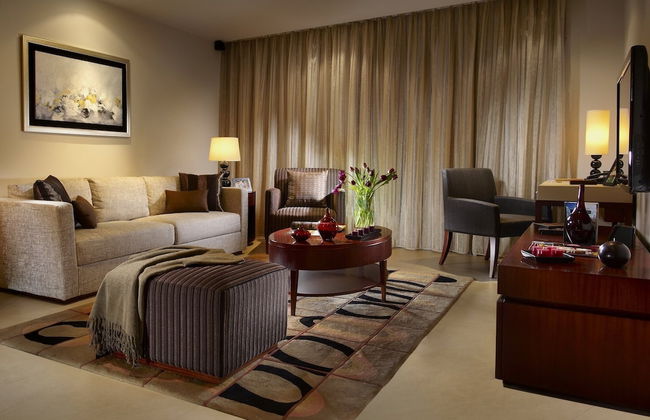
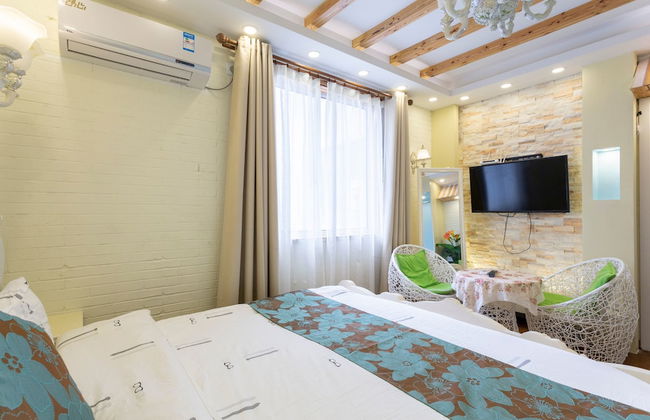
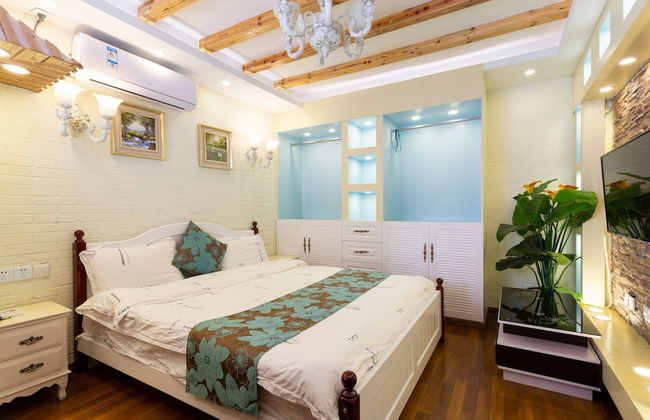
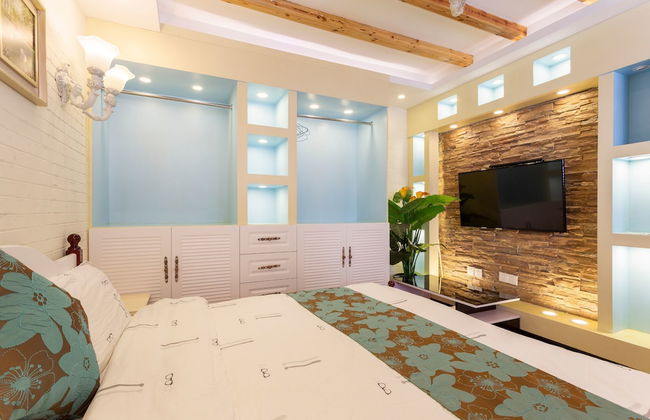
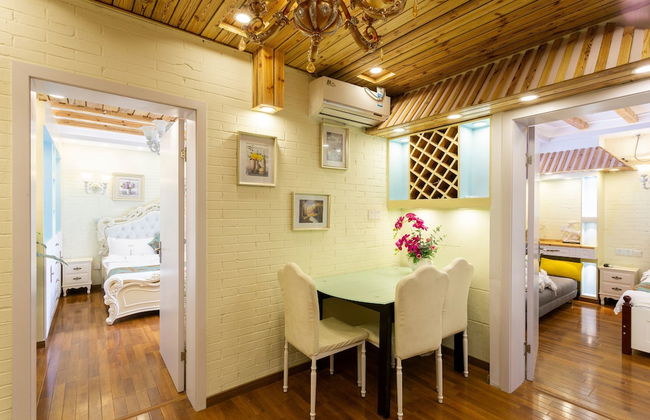
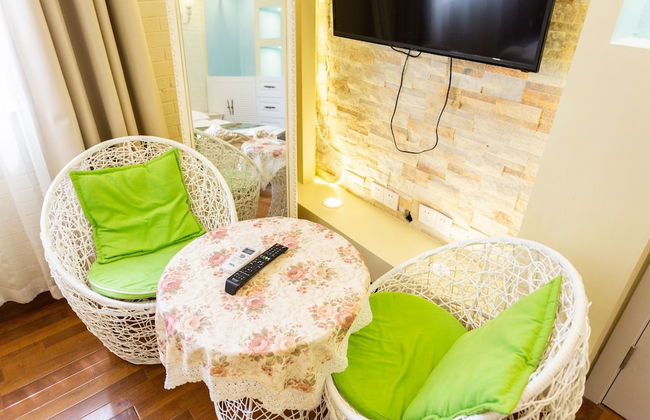
Leleju Boutique Apartment Shanghai
Shanghai - À 8.8 km du centre
- 75 M2
- 6 personnes
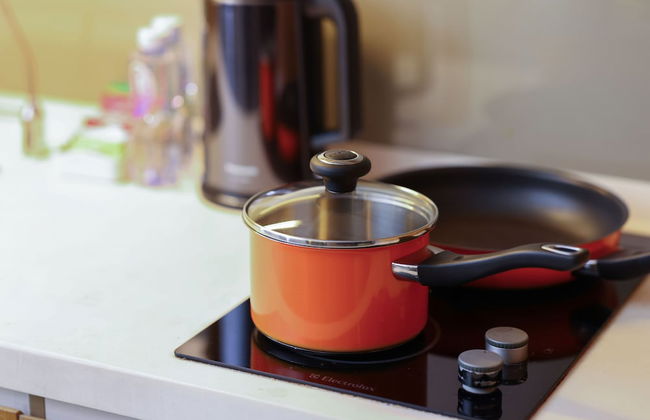
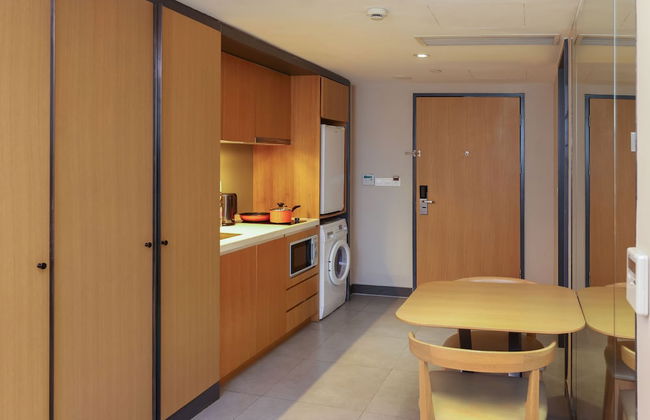
- Cuisinette
- Air conditionné
- Le chauffage
- Ascenseur
- Tv
- Machine à laver
- Serviettes
- Feuilles
28 avis


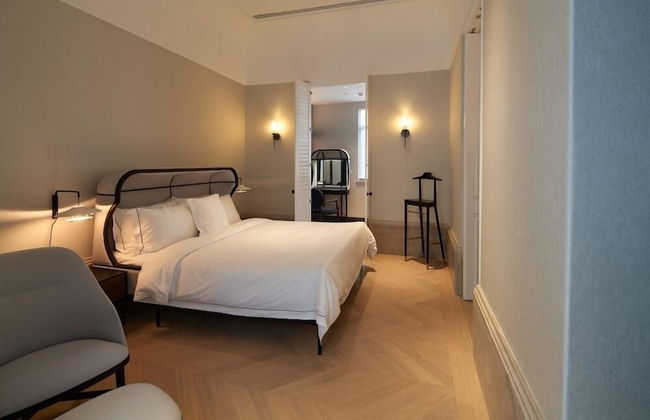
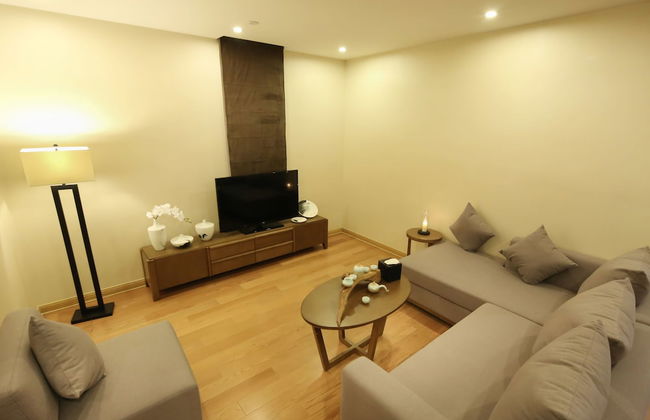
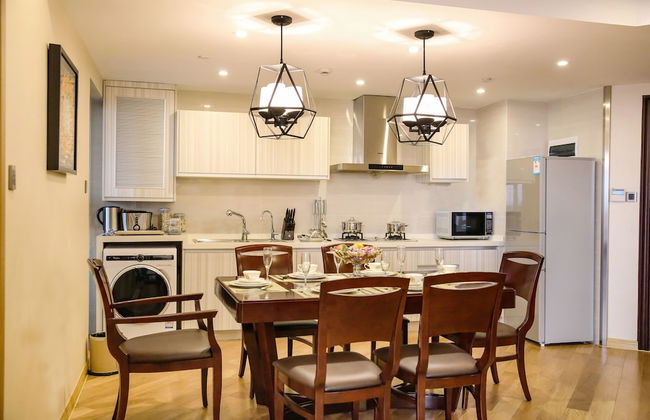
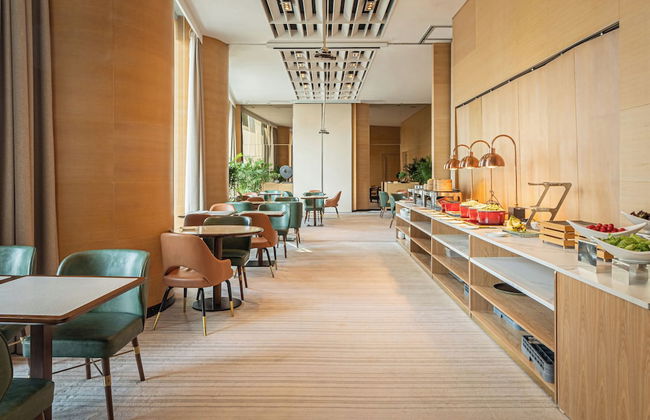
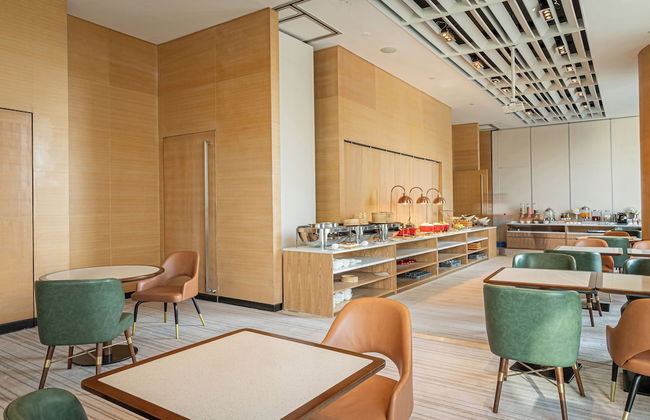
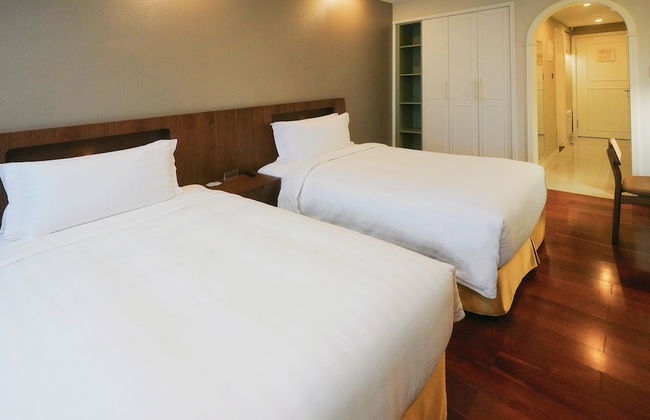
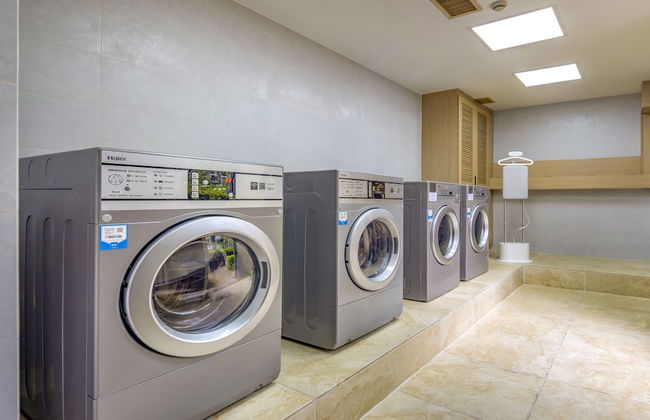
Green Court Premier Jinqiao Shanghai
Shanghai - À 14.4 km du centre
- 140 M2
- 4 personnes
- Air conditionné
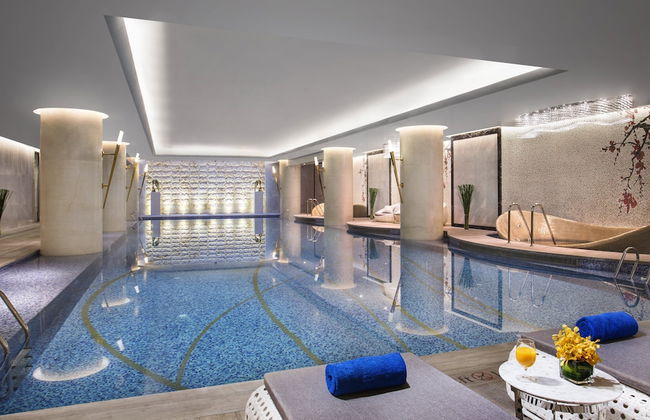
- Piscine
- Parking
- Ascenseur
- Balcon
- Jardin
- Tv
- Machine à laver
- Serviettes
- Feuilles
131 avis


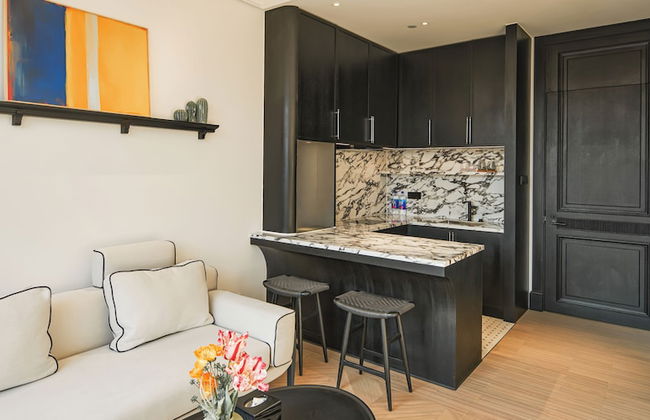
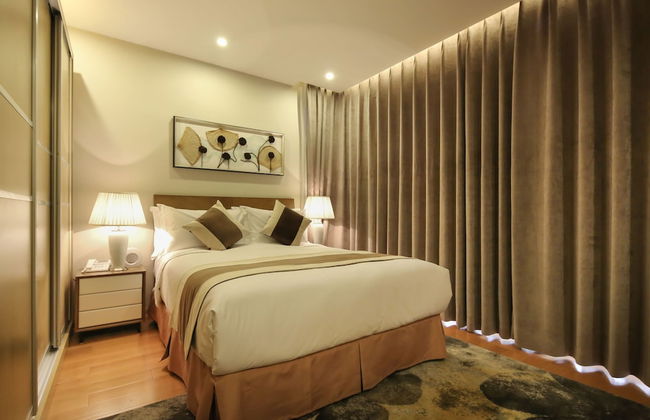
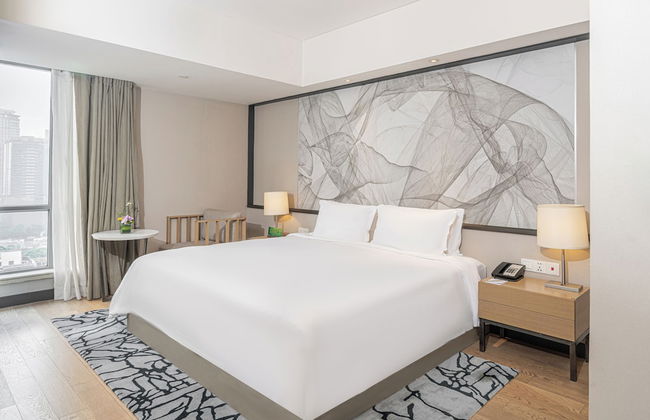
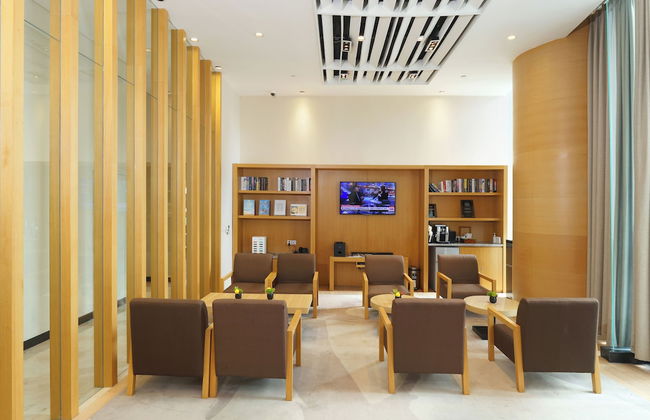
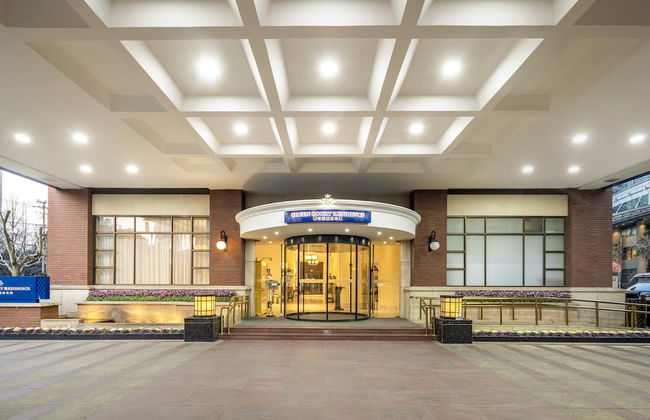
Ascott Heng Shan Shanghai
Shanghai - À 1.4 km du centre
- 6 personnes
- Air conditionné
- Terrasse
- Piscine
- Parking
- Ascenseur
- Jardin
- Tv
- Machine à laver
- Serviettes
- Feuilles
14 avis


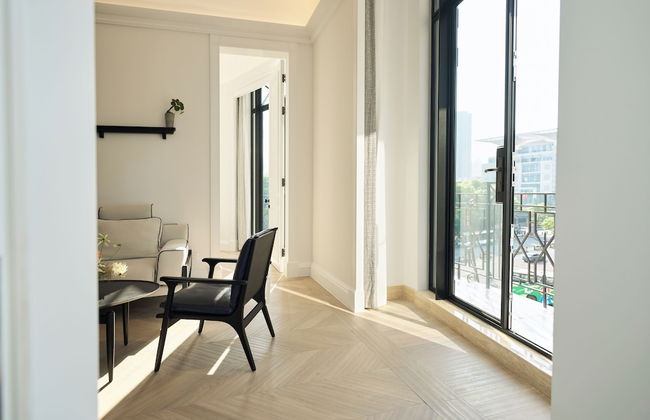


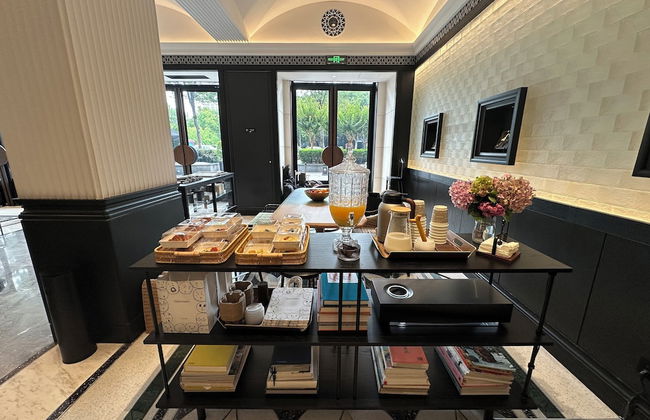


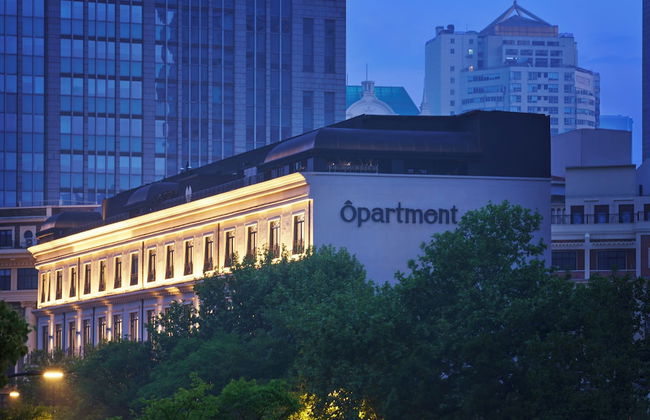


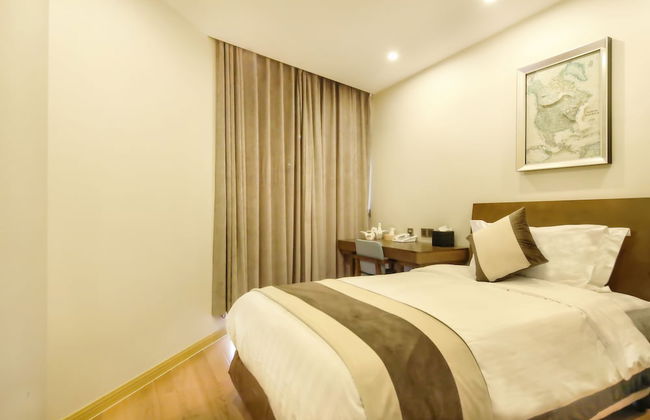
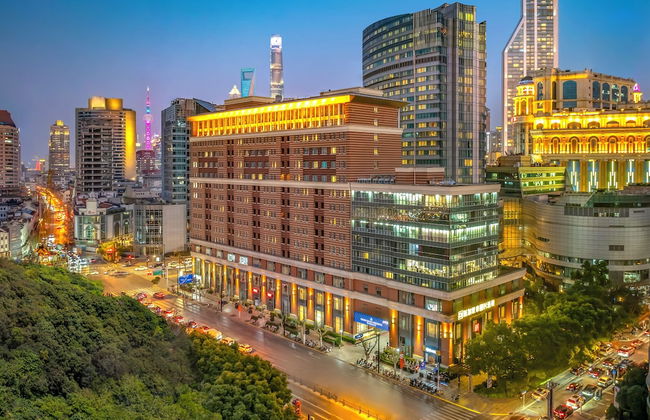
OPARTMENT The Far Eastern Hotel - People's Square
Shanghai - À 3.8 km du centre
- 105 M2
- 6 personnes
- Cuisinette
- Air conditionné
- Le chauffage
- Parking
- Ascenseur
- Tv
- Machine à laver
- Serviettes
- Feuilles
12 avis


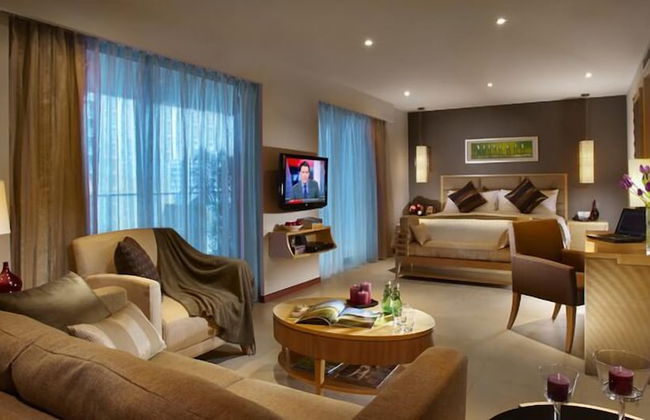
IFC Residence
Shanghai - À 6.3 km du centre
- 210 M2
- 6 personnes
- Air conditionné
- Terrasse
- Piscine
- Parking
- Ascenseur
- Jardin
- Tv
- Machine à laver
- Serviettes
769 avis


Green Court Residence Jinqiao Diamond Shanghai
Shanghai - À 14.4 km du centre
- 133 M2
- 3 personnes
- Air conditionné
- Parking
- Ascenseur
- Jardin
- Tv
- Machine à laver
- Serviettes
- Feuilles
71 avis


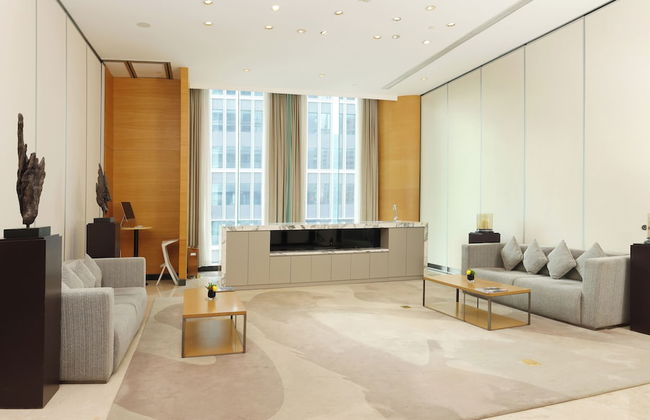


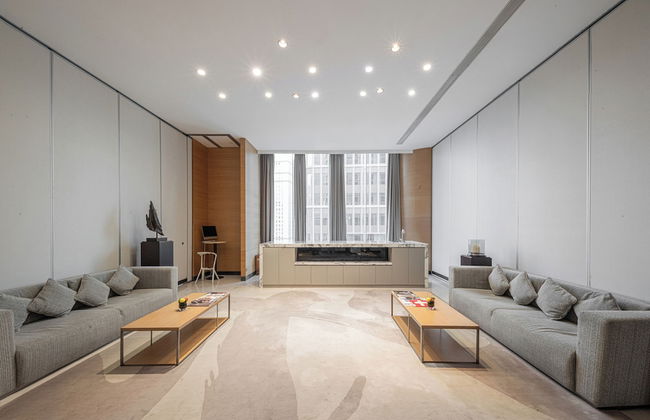


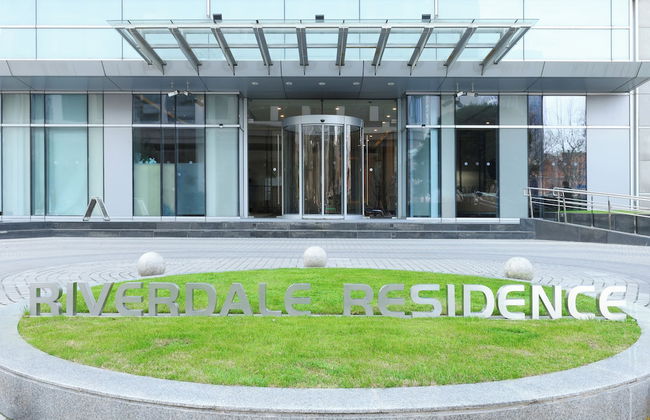


Riverdale Residence Xintiandi Shanghai
Shanghai - À 3.9 km du centre
- 127 M2
- 4 personnes
- Air conditionné
- Terrasse
- Parking
- Ascenseur
- Balcon
- Tv
- Machine à laver
- Serviettes
- Feuilles
965 avis


Ascott Huai Hai Road Shanghai
Shanghai - À 3.3 km du centre
- 155 M2
- 4 personnes
- Air conditionné
- Terrasse
- Piscine
- Parking
- Ascenseur
- Jardin
- Tv
- Machine à laver
- Serviettes
- Feuilles
530 avis


Modena by Fraser Putuo Shanghai
Shanghai - À 4.3 km du centre
- 4 personnes
- Cuisinette
- Air conditionné
- Parking
- Ascenseur
- Jardin
- Tv
- Serviettes
- Feuilles
935 avis


THE ONE Shanghai Downtown, Vignette Collection by IHG
Shanghai - À 2.5 km du centre
- 112 M2
- 5 personnes
- Cuisinette
- Air conditionné
- Terrasse
- Piscine
- Parking
- Ascenseur
- Tv
- Machine à laver
- Serviettes
- Feuilles
194 avis


Green Court Residence City Center Shanghai
Shanghai - À 3.7 km du centre
- 80 M2
- 3 personnes
- Cuisinette
- Air conditionné
- Parking
- Ascenseur
- Tv
- Machine à laver
- Serviettes
- Feuilles
1437 avis


Shanghai Ketangjian Apartment Hotel
Shanghai - À 4.9 km du centre
- 21 M2
- 2 personnes
- Parking
- Serviettes
- Feuilles
7 avis


Youcun Apartment - Jueshi Building
Shanghai - À 8.6 km du centre
- 6 personnes
- Cuisinette
- Air conditionné
- Ascenseur
- Tv
- Machine à laver
- Serviettes
2 avis


Ladoll Service Apartment
Shanghai - À 470 m du centre
- 70 M2
- 4 personnes
- Air conditionné
- Parking
- Ascenseur
- Tv
- Machine à laver
- Serviettes
- Feuilles
183 avis


Shanghai T Plus Hotel Residence
Shanghai - À 13.1 km du centre
- 30 M2
- 2 personnes
- Cuisinette
- Air conditionné
- Piscine
- Parking
- Ascenseur
- Tv
- Machine à laver
- Serviettes
- Feuilles
4 avis


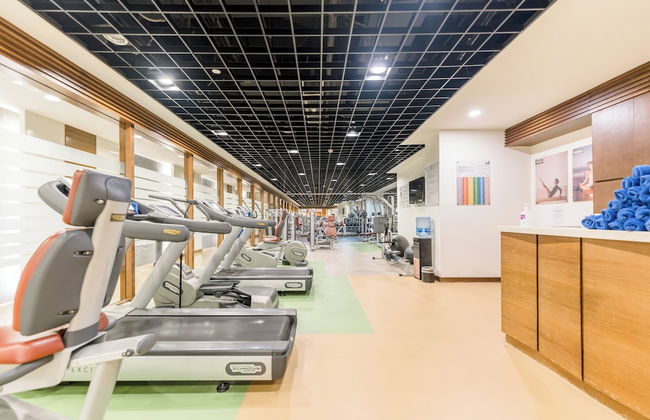


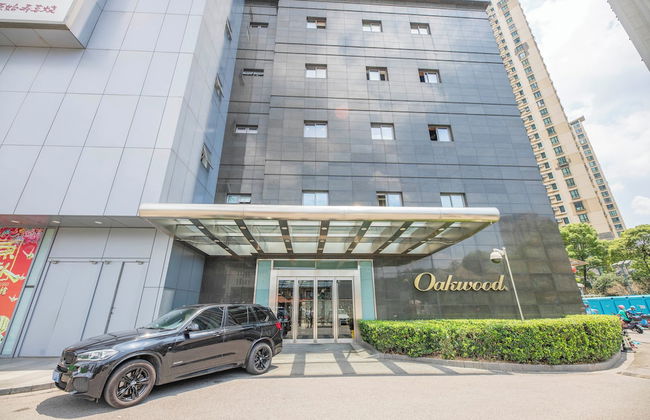
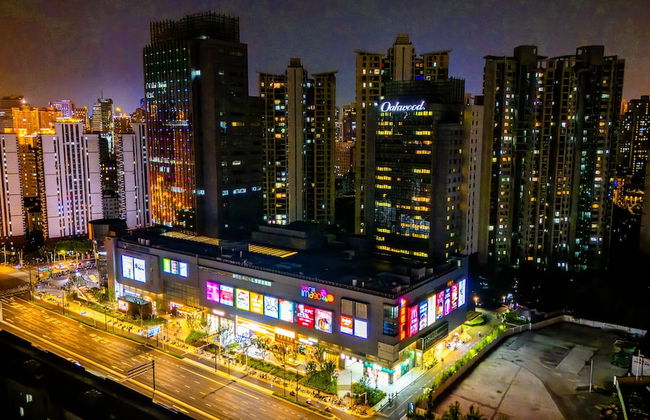
Oakwood Residences Shanghai
Shanghai - À 2.4 km du centre
- 189 M2
- 9 personnes
- Air conditionné
- Parking
- Ascenseur
- Tv
- Machine à laver
- Serviettes
- Feuilles
59 avis


World Union Service Apartment Cosmo
Shanghai - À 220 m du centre
- 45 M2
- 4 personnes
- Air conditionné
- Ascenseur
- Tv
- Machine à laver
- Serviettes
- Feuilles
62 avis


Jing'an Ziyuan Apartment
Shanghai - À 1.9 km du centre
- 80 M2
- 4 personnes
- Cuisinette
- Air conditionné
- Le chauffage
- Parking
- Ascenseur
- Jardin
- Tv
- Machine à laver
- Serviettes
- Feuilles
112 avis


Youcun Apartment - Xinzhu Building
Shanghai - À 8.7 km du centre
- 4 personnes
- Air conditionné
- Ascenseur
- Tv
- Serviettes
2 avis


Tyms High Serviced Residence Shanghai Xujiahui Metro
Shanghai - À 2.6 km du centre
- 175 M2
- 7 personnes
- Air conditionné
- Parking
- Ascenseur
- Balcon
- Jardin
- Tv
- Machine à laver
- Serviettes
- Feuilles
2 avis