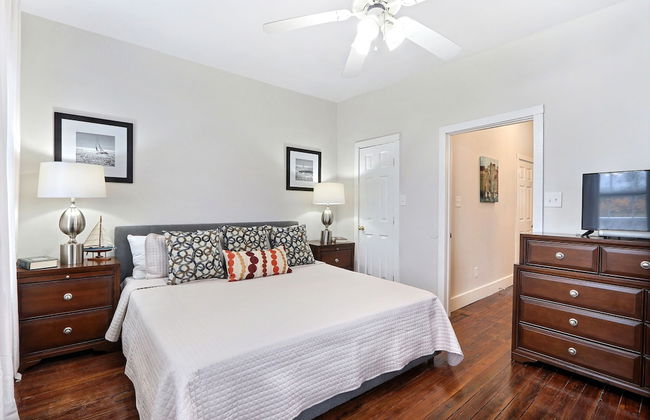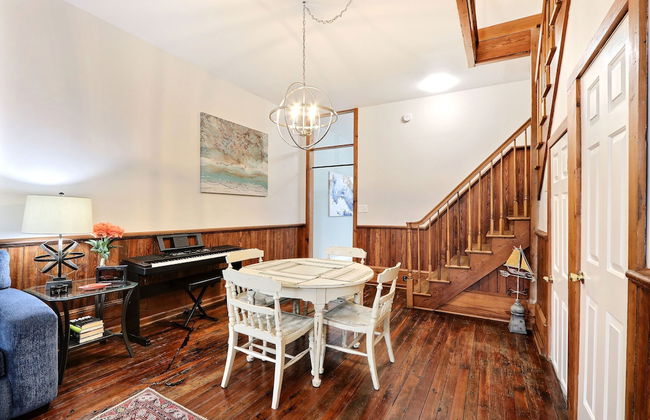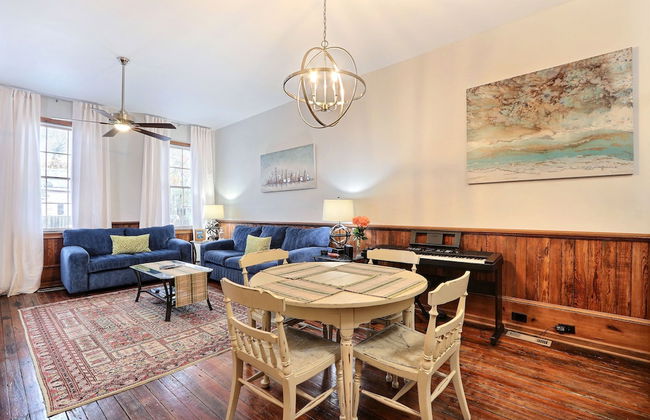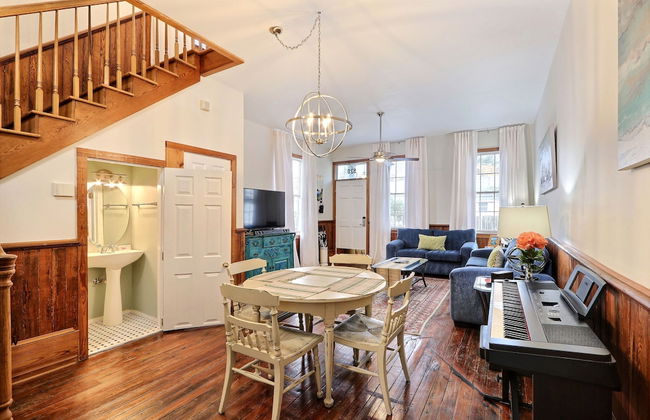

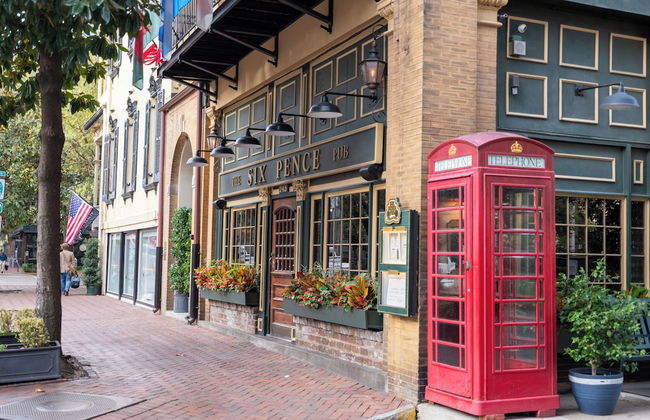
634 Appartements à Savannah
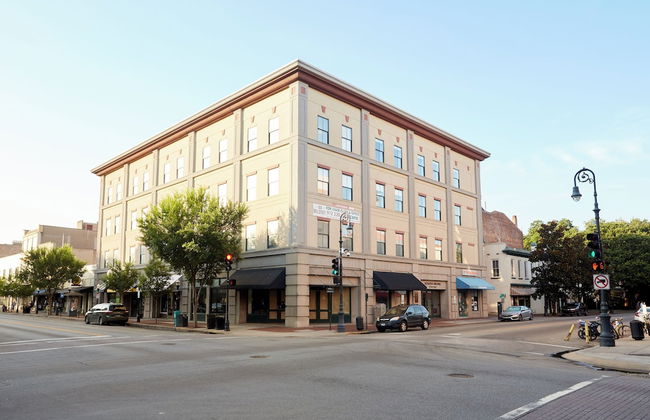
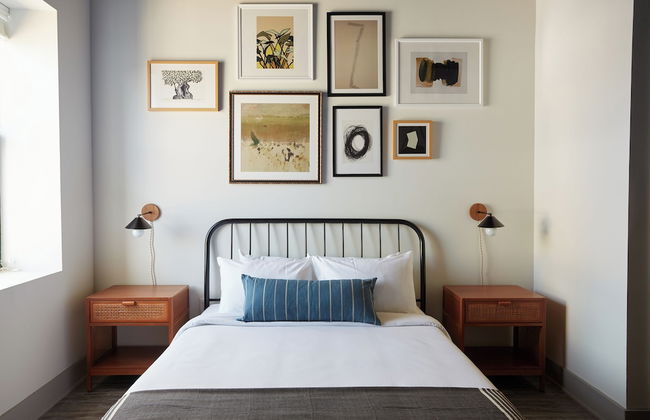
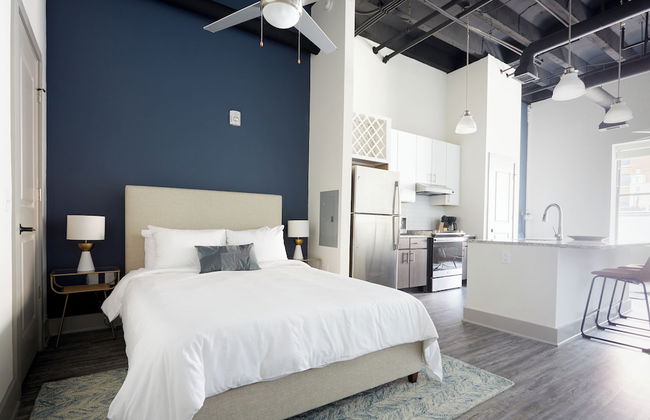
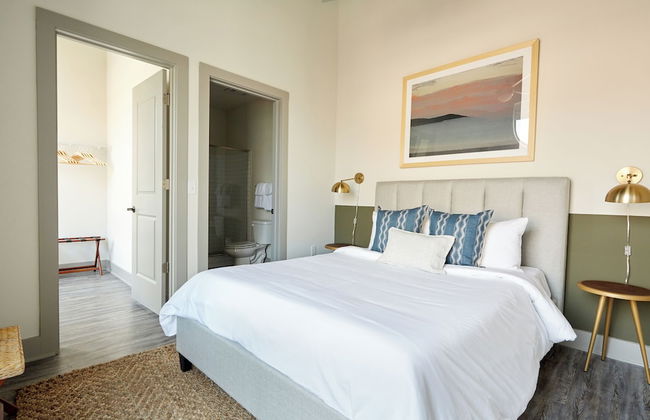
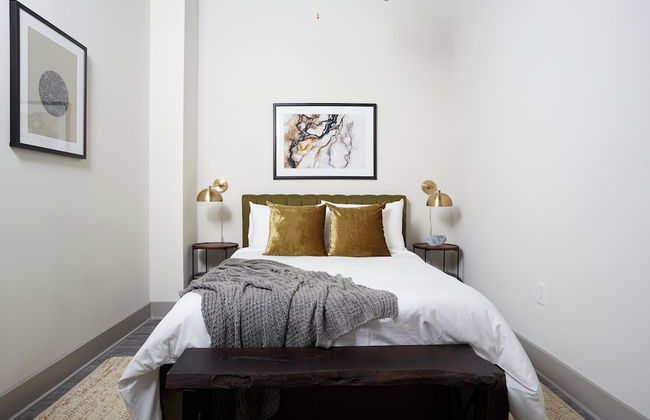
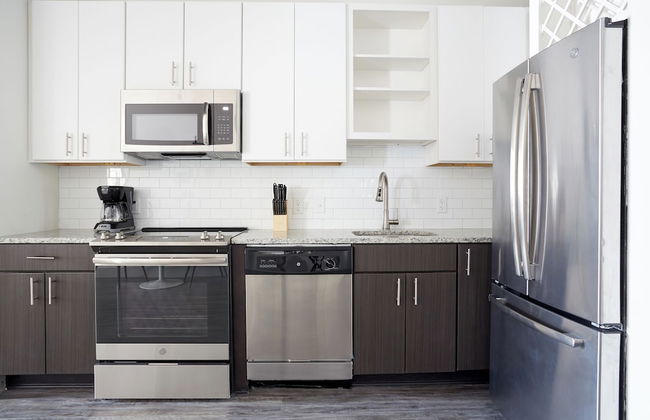
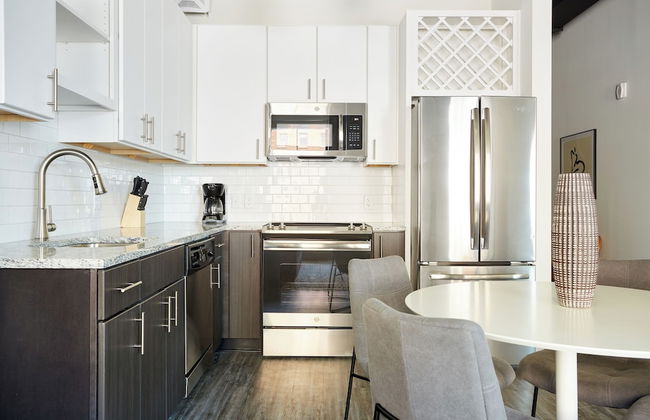
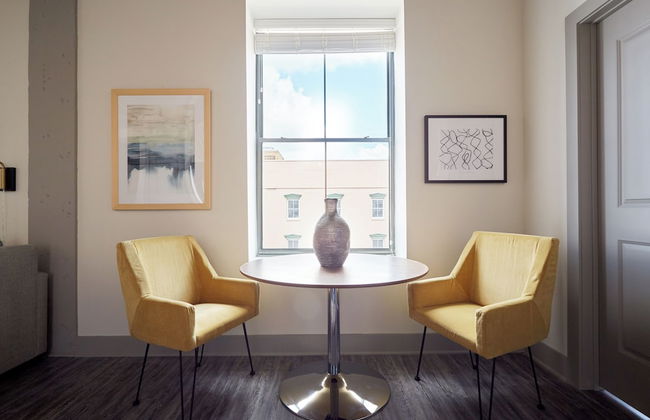
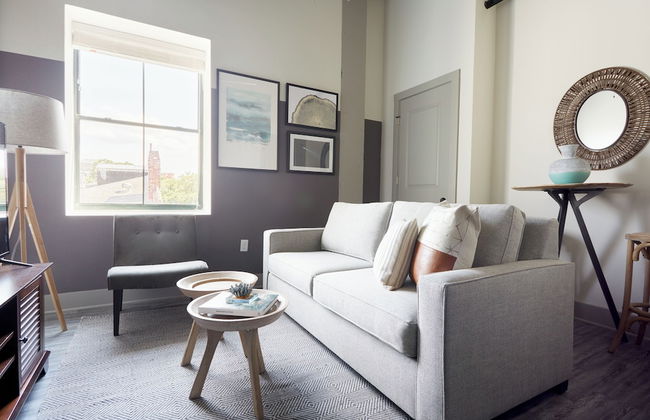
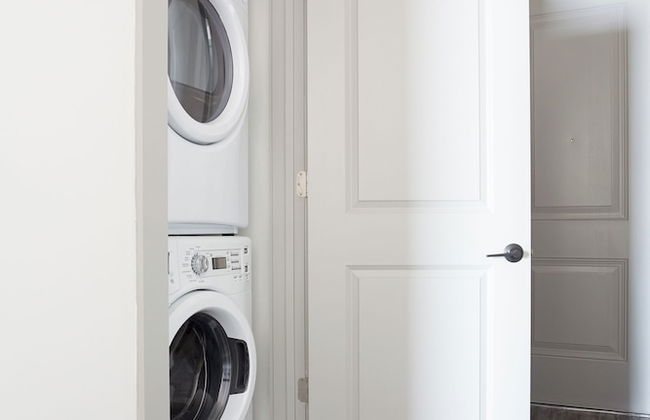
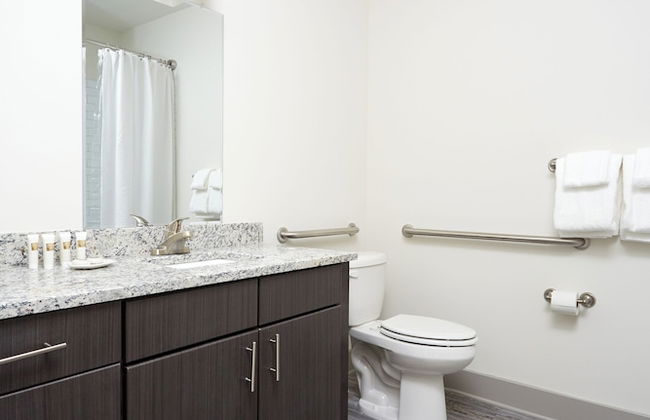
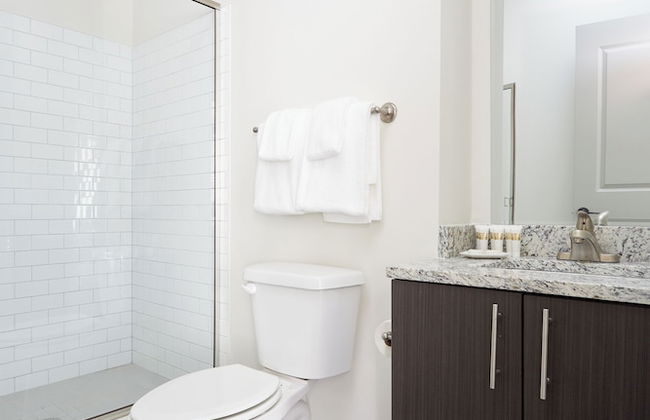
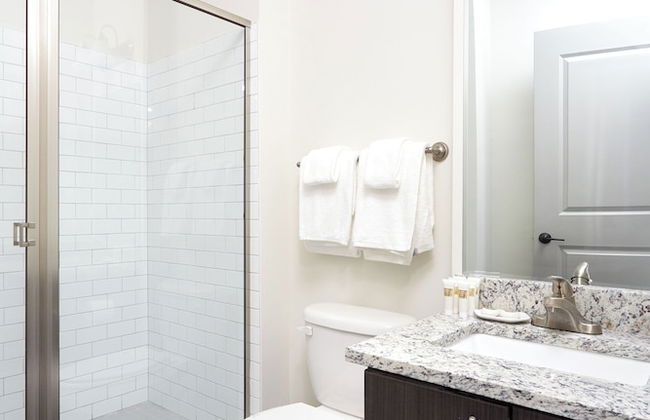
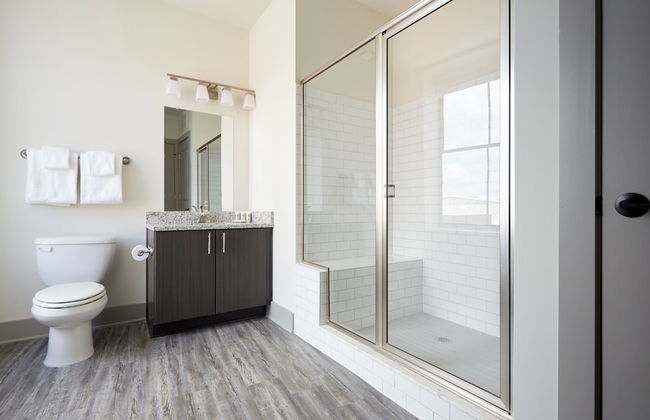
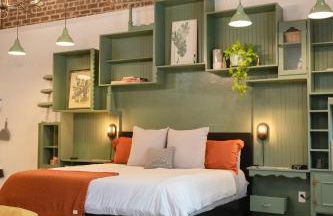
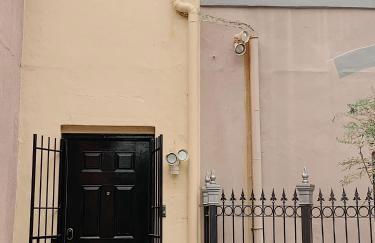
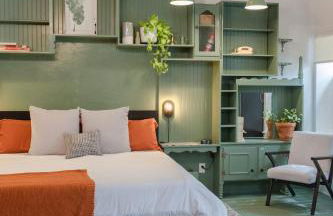
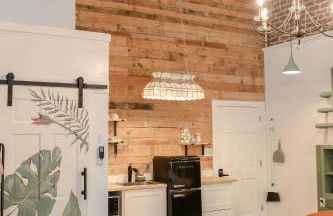
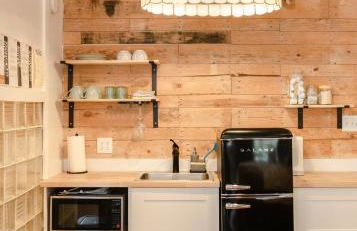
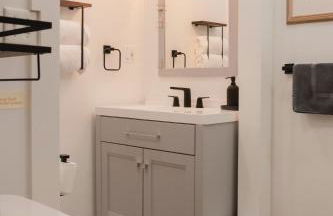
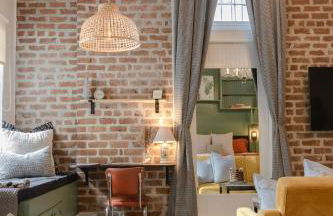
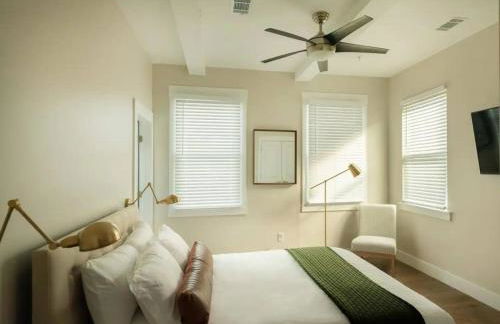
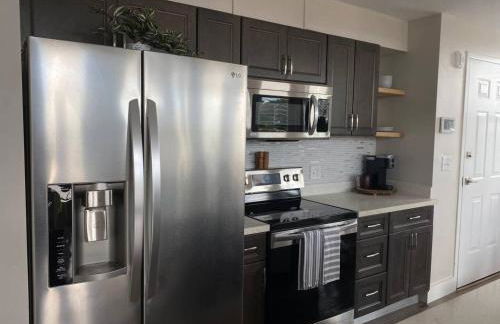
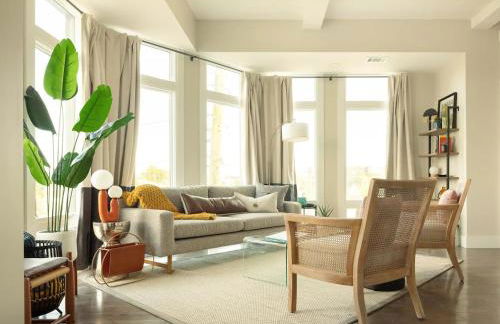
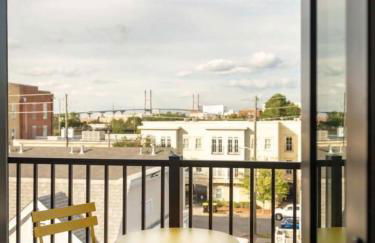
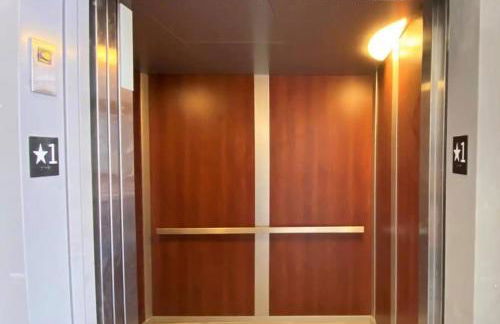
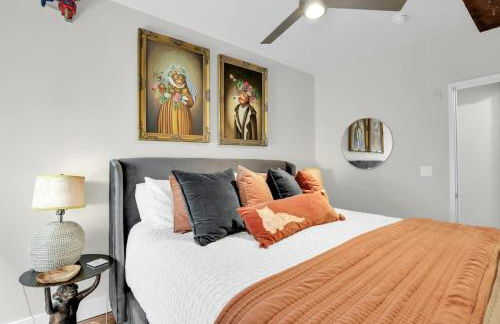
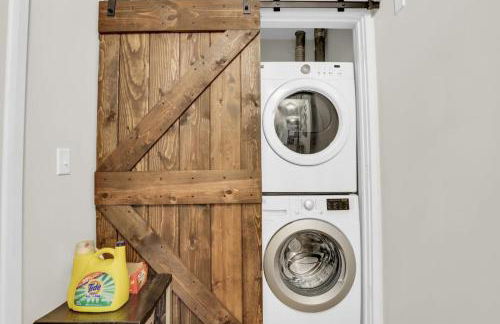
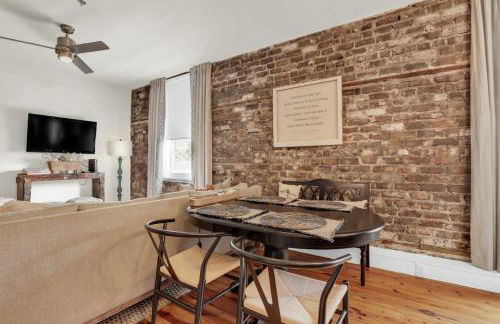
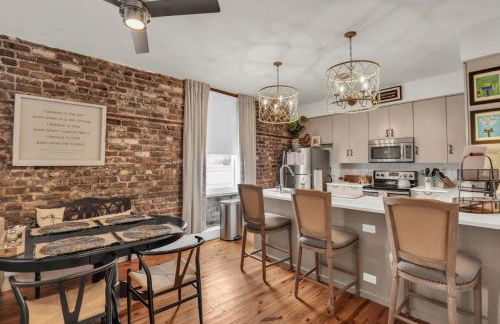
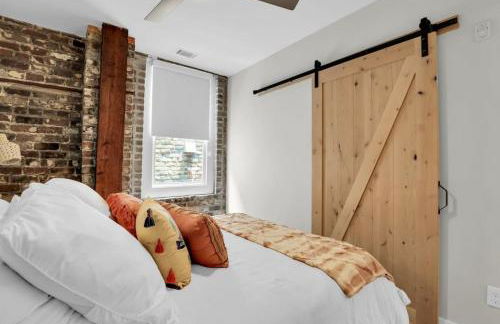
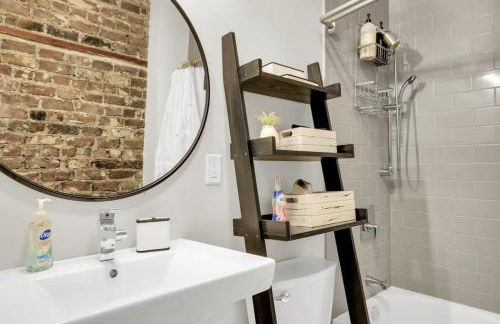
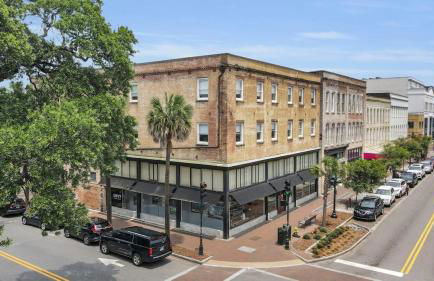
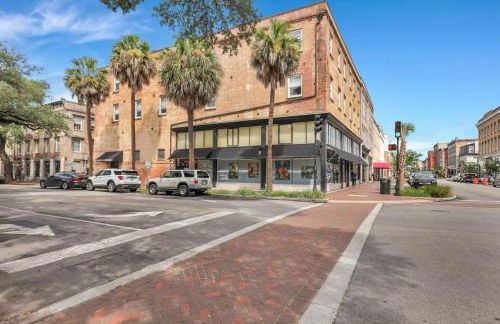
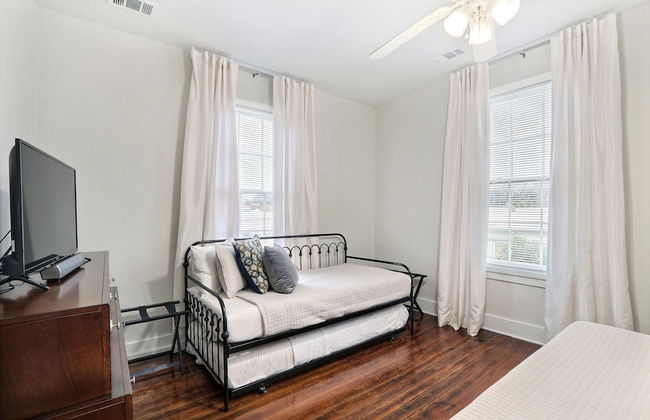
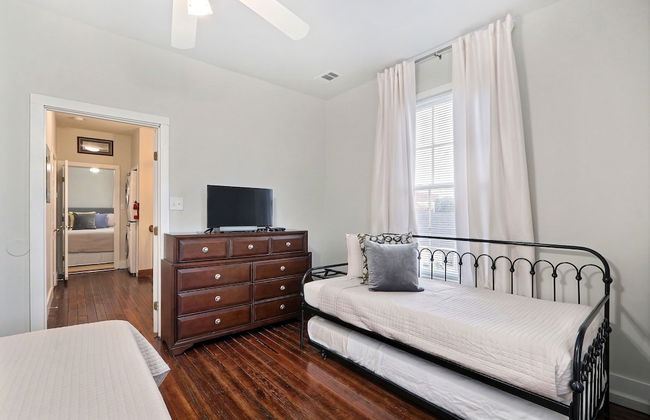
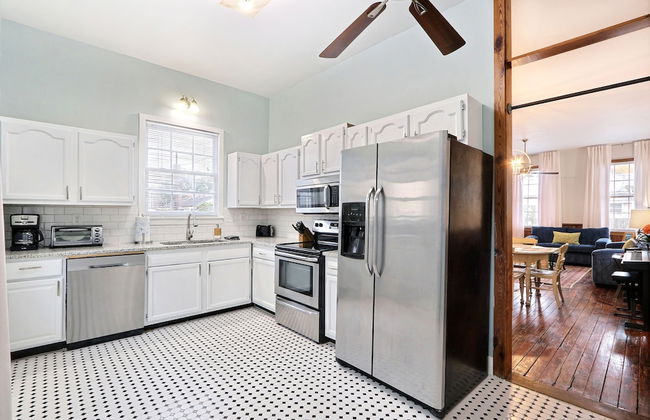
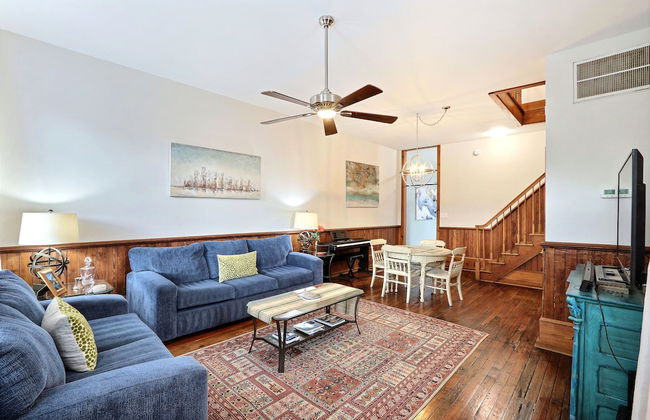
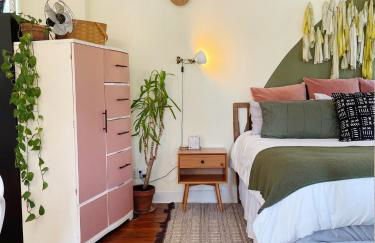
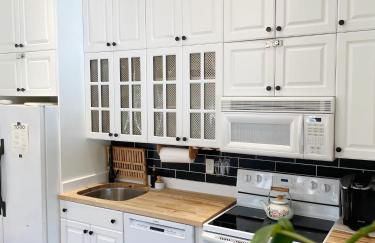
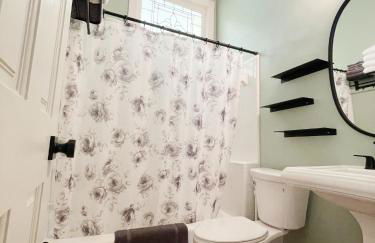
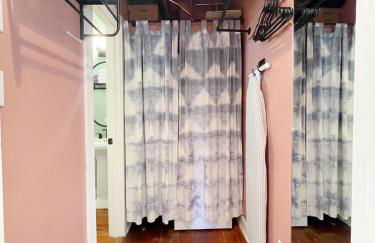
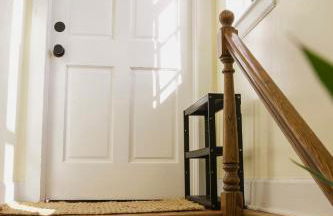
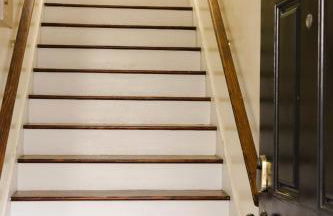
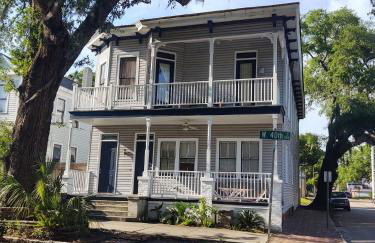
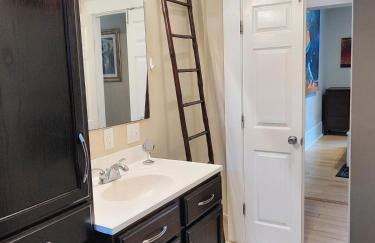
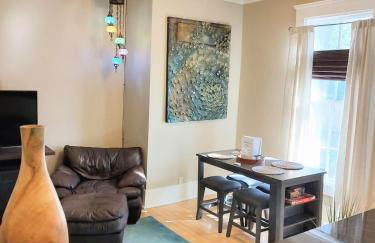
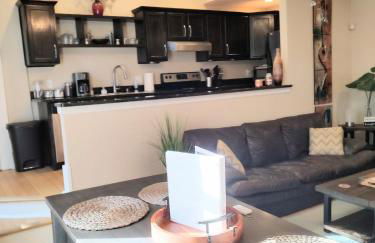
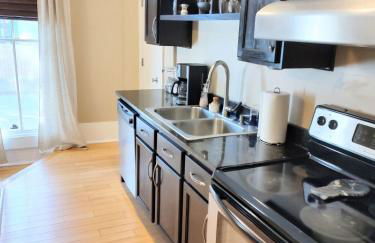
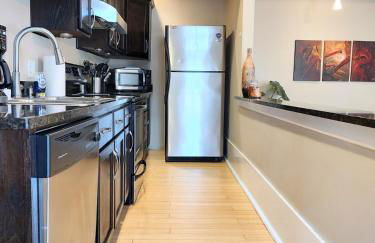
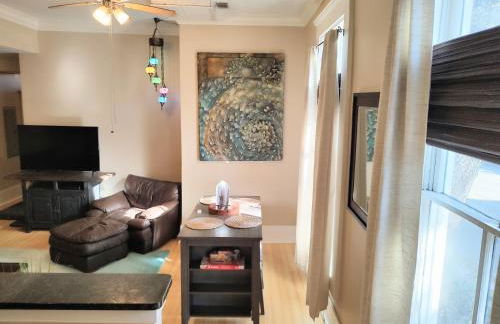
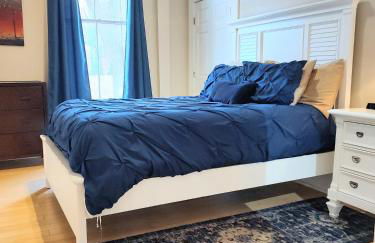
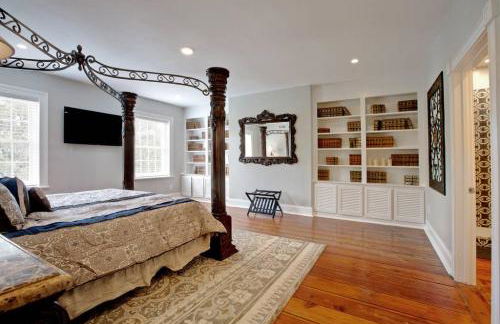
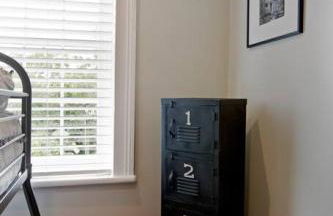
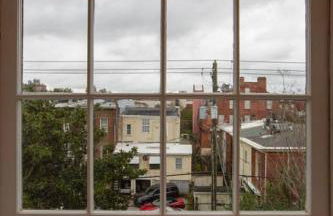
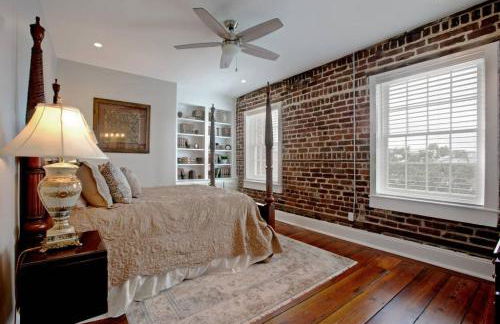
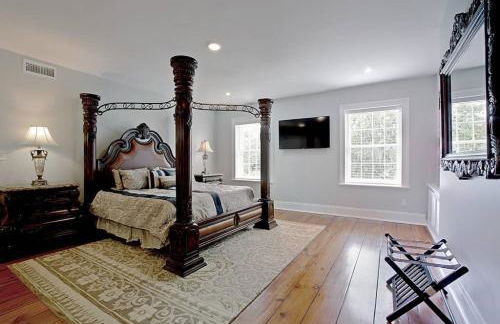
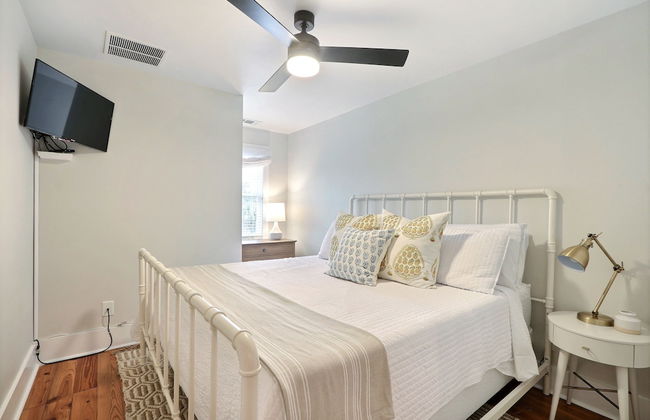
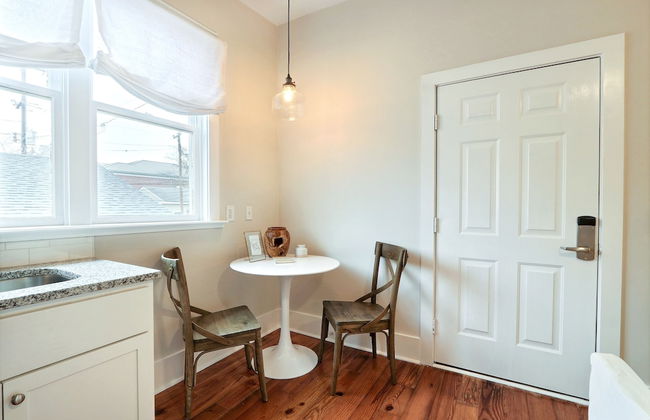
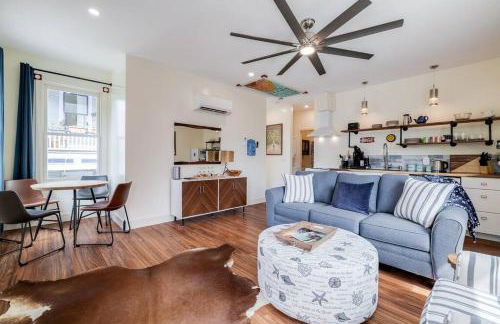
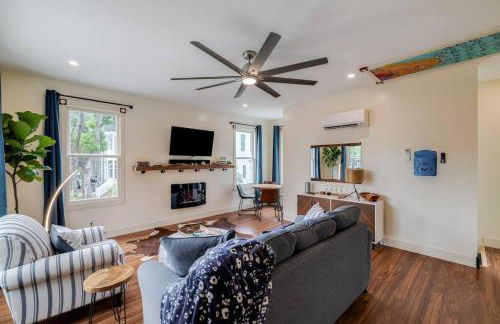
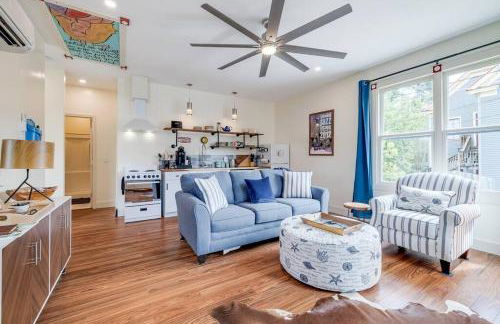
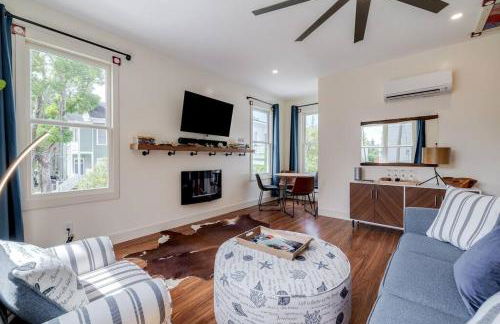
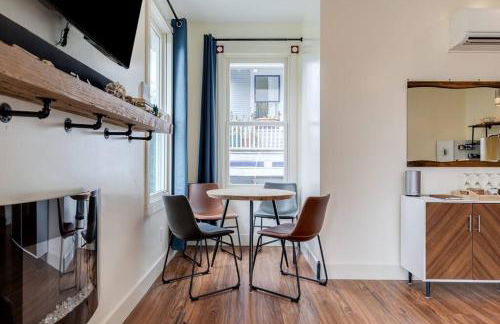
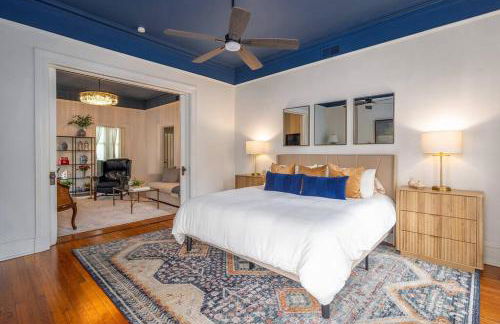
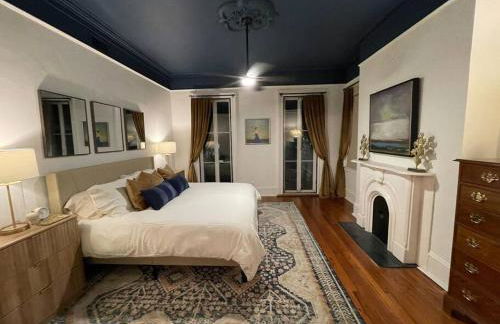
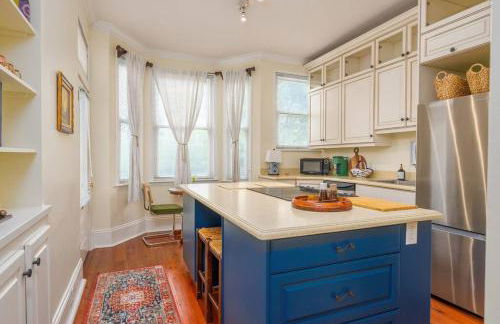
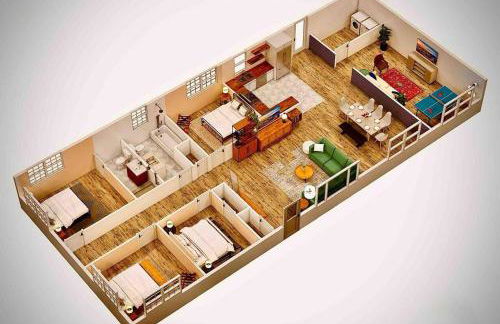
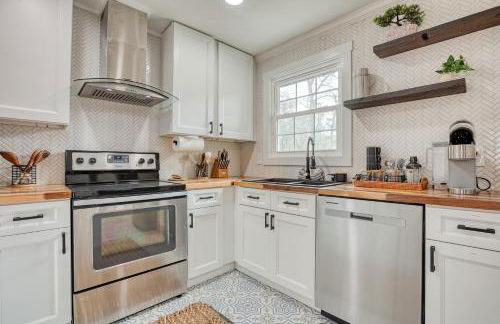
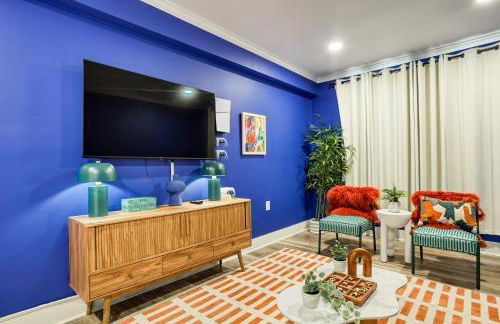
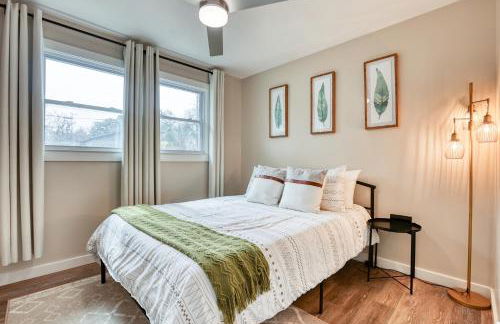
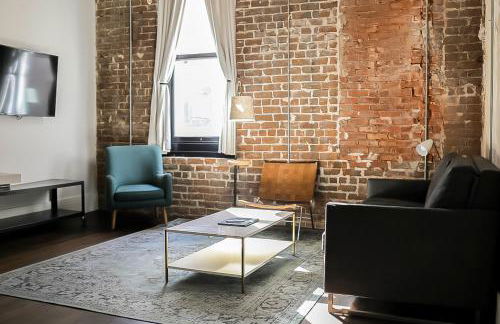
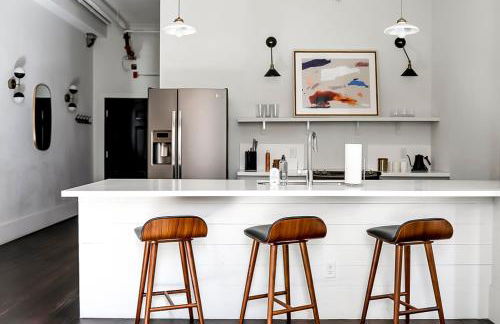
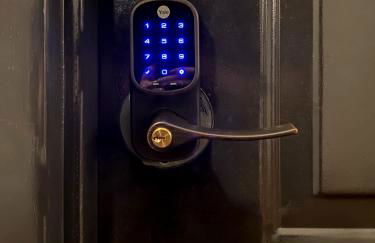
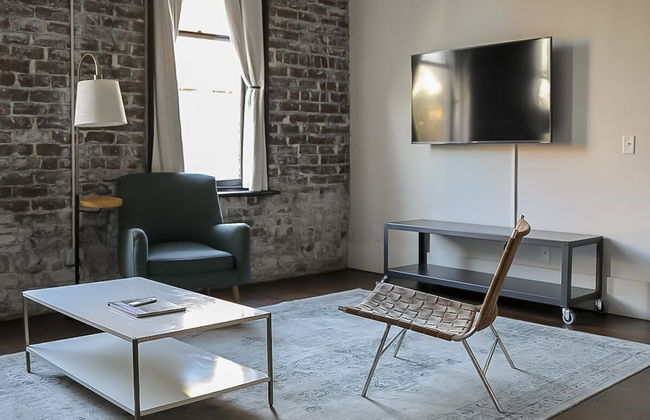
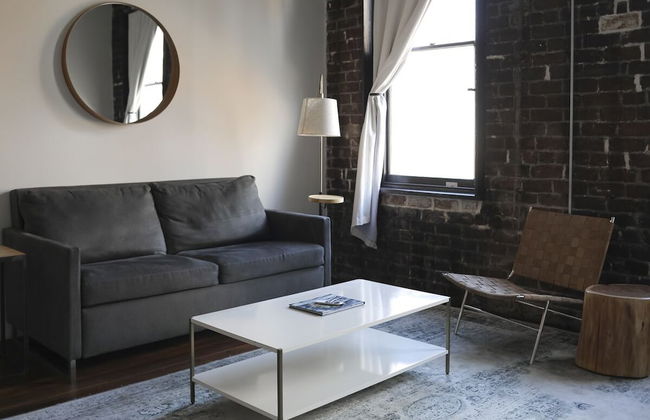
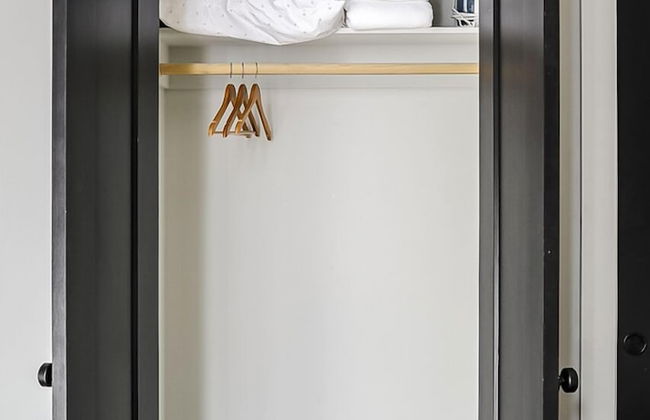
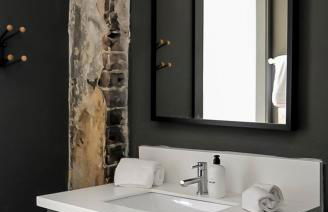
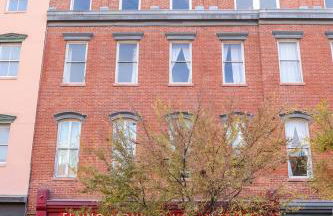
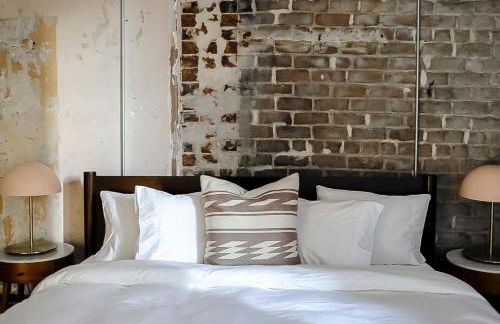
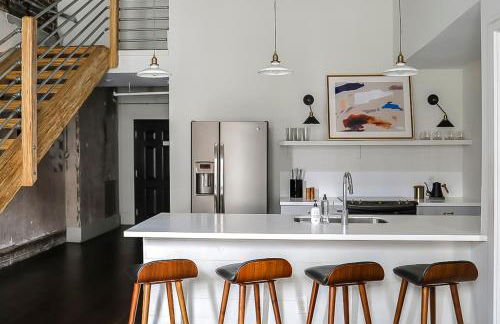
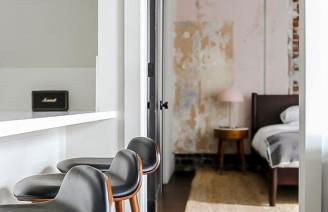
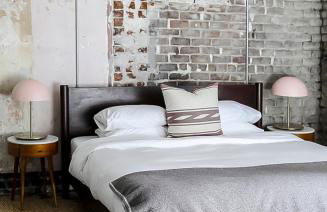
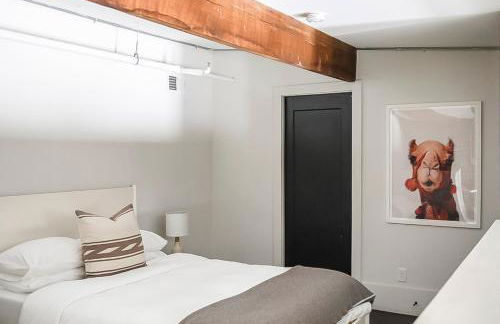
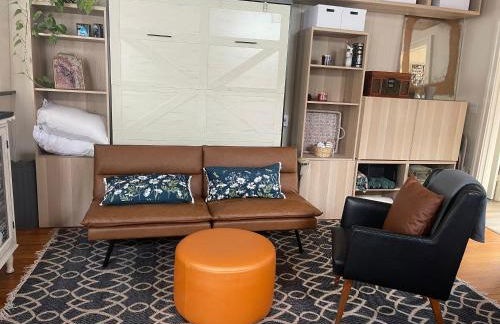
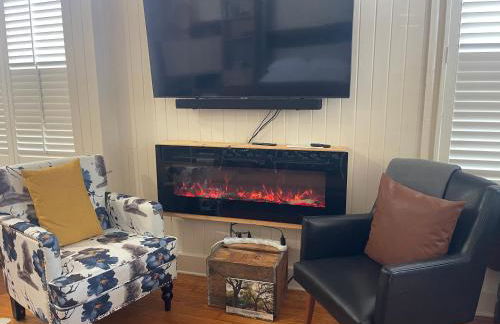
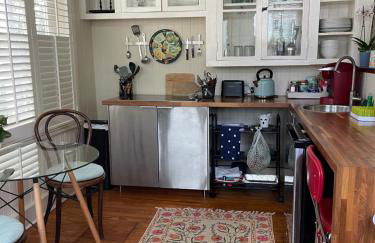
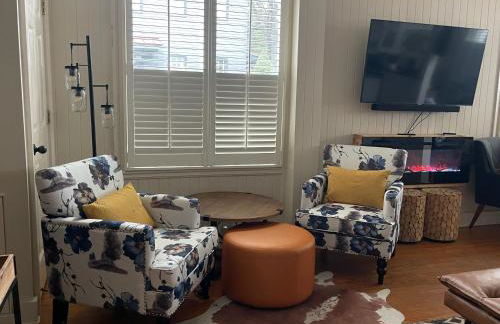
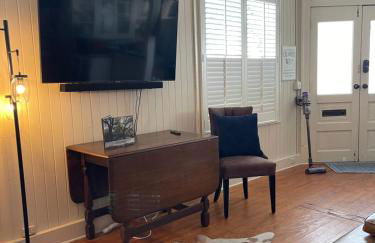
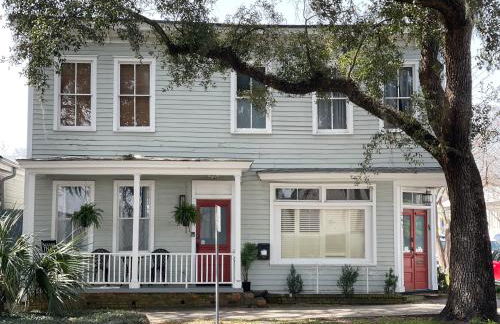
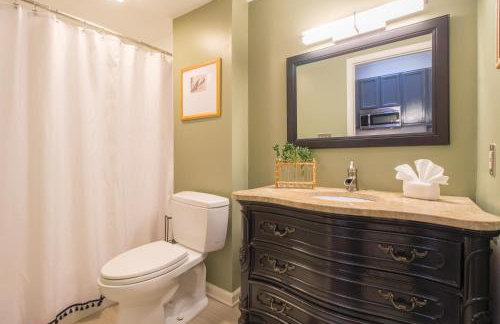
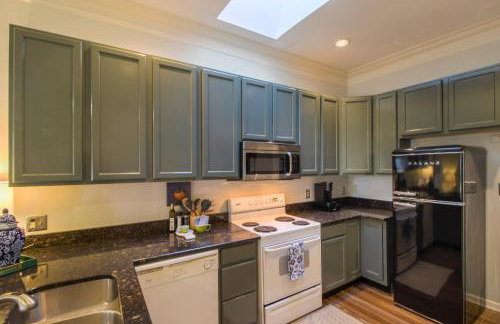
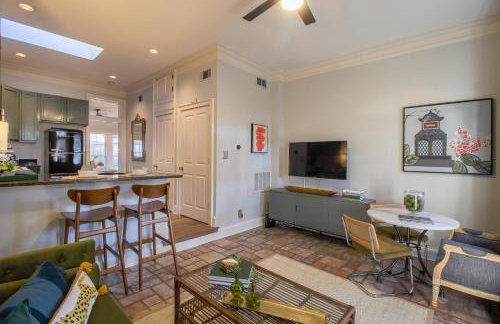
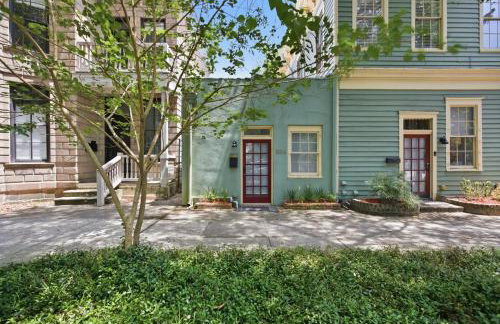
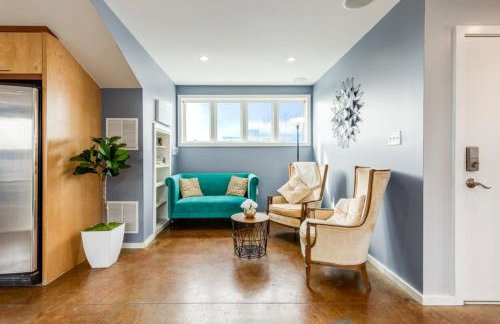
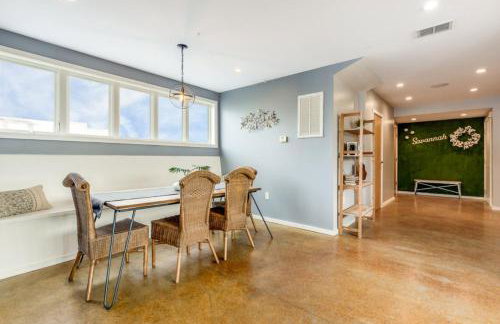
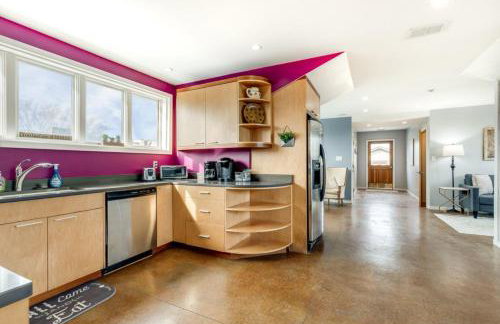
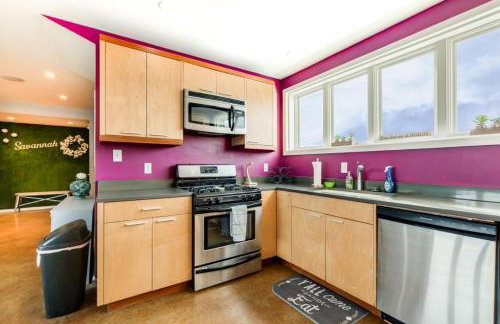
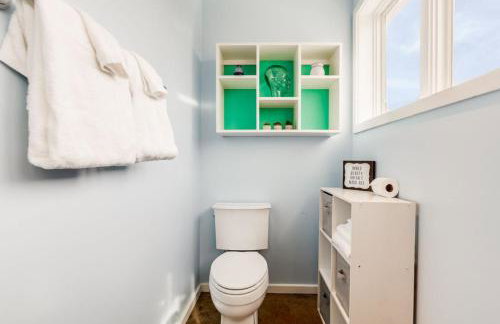
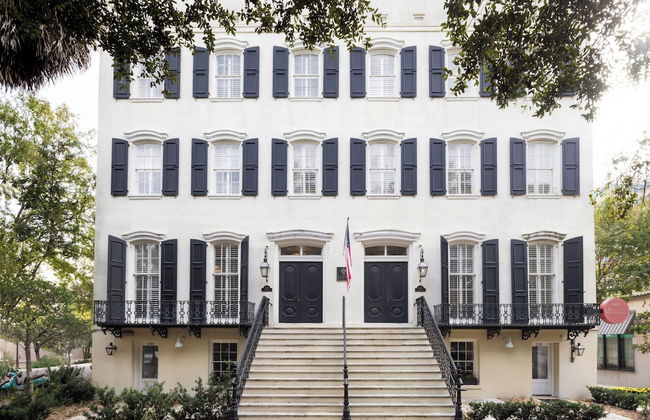
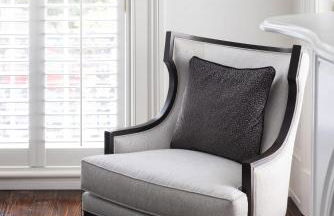
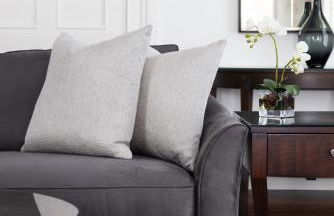
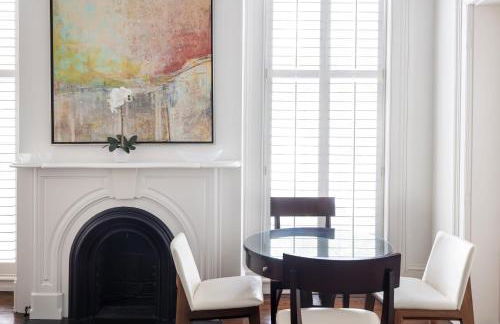
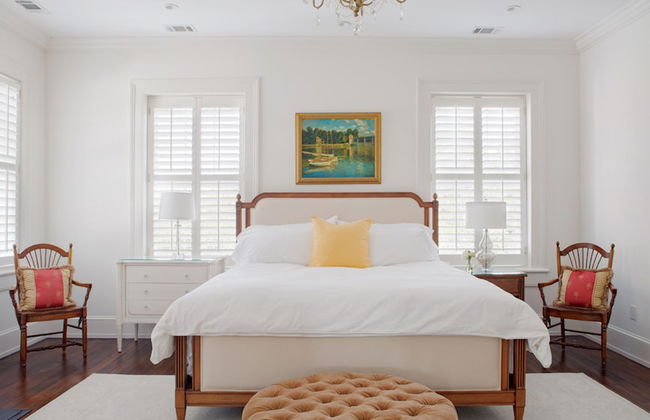
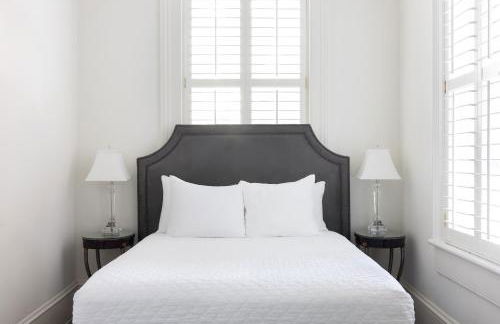
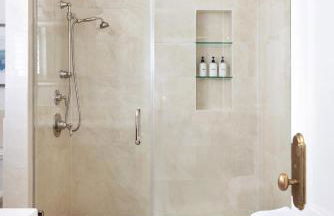
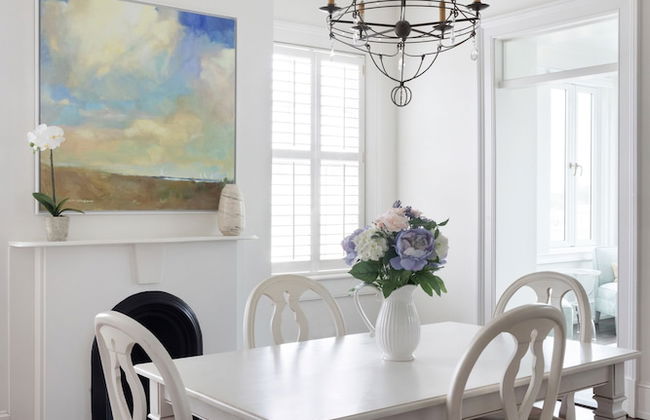
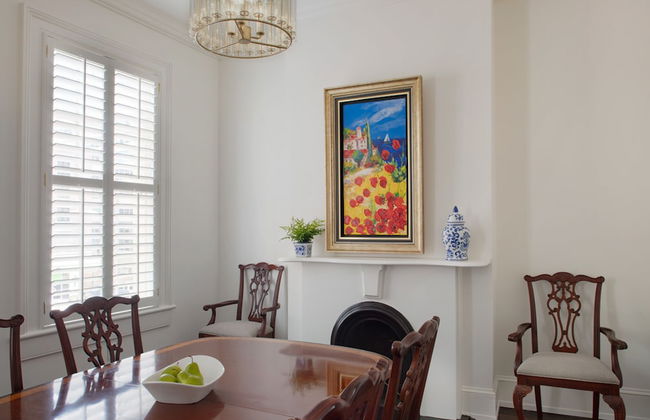
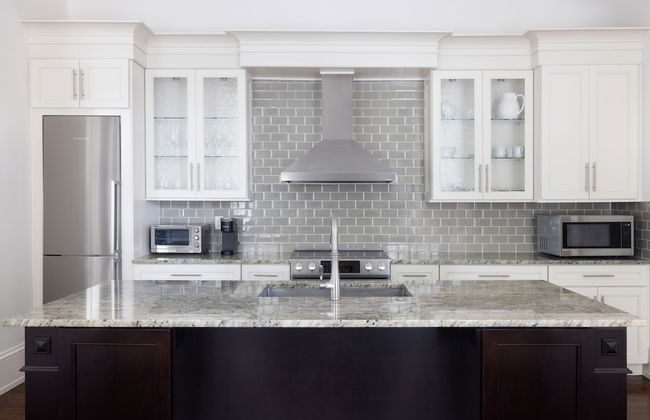
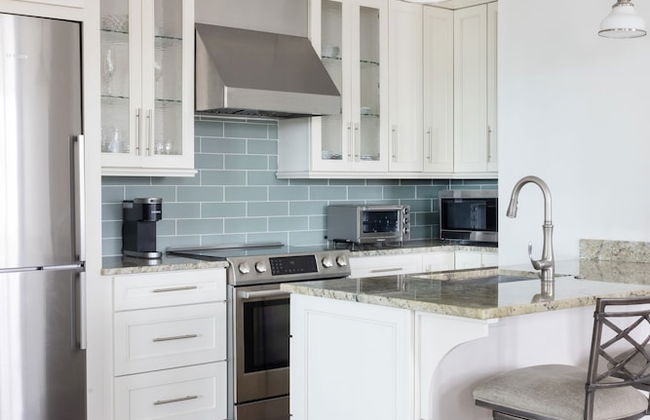
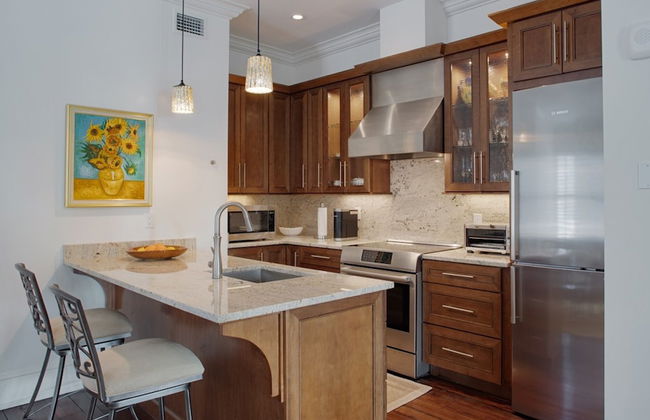
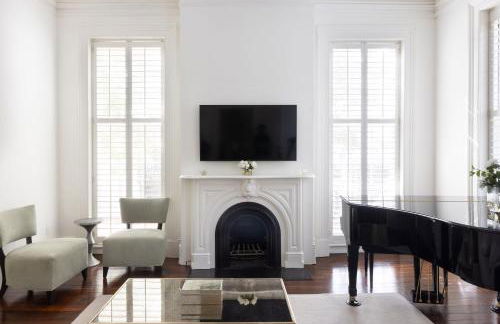
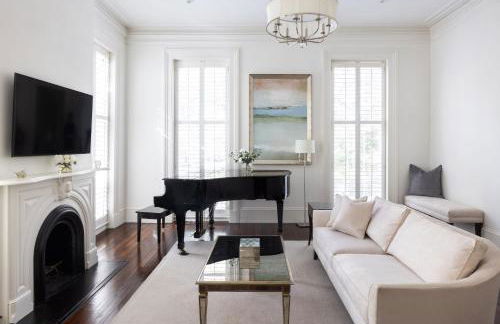
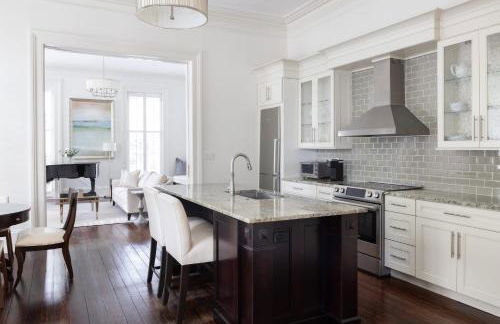
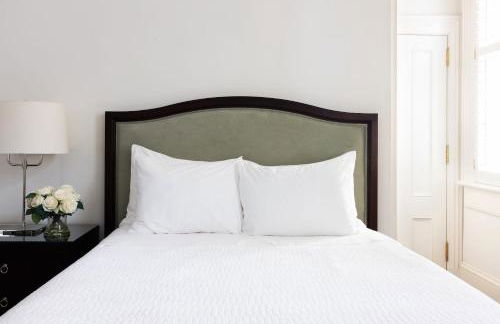
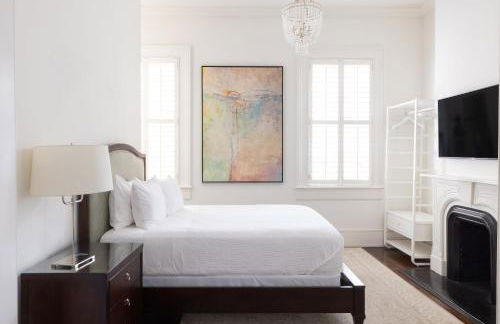
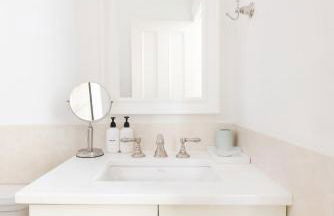
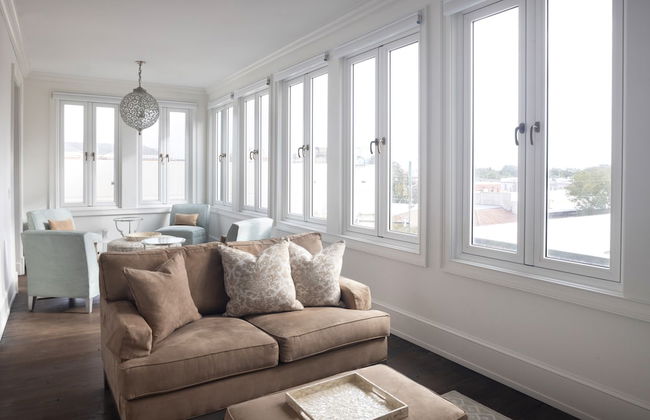
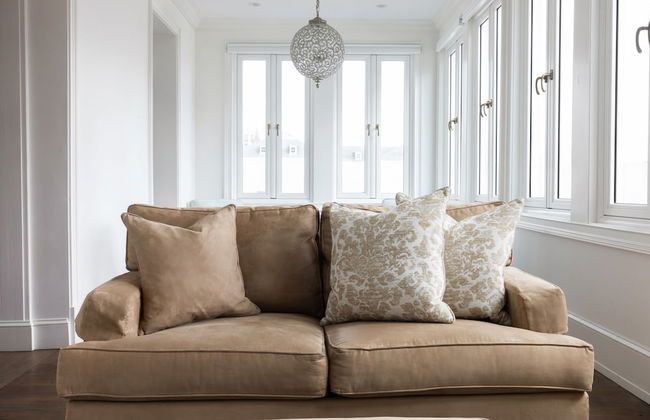
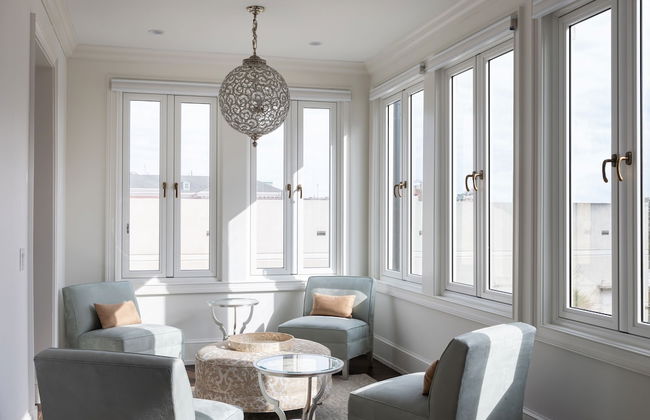
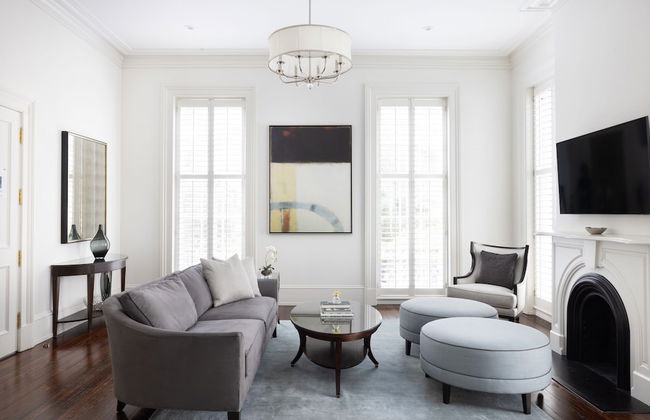
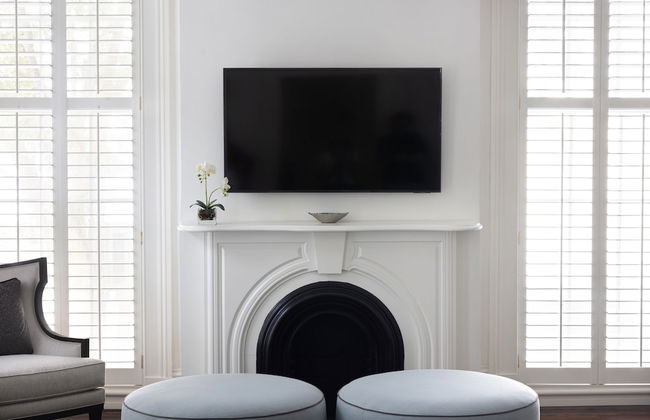
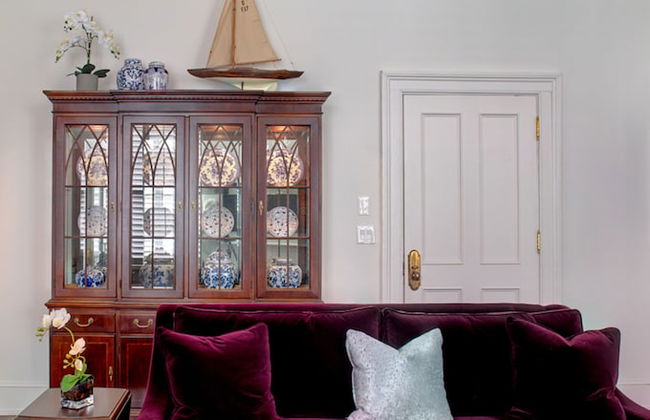
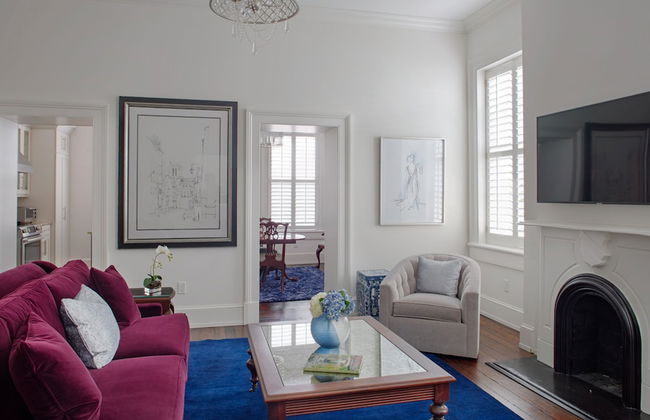
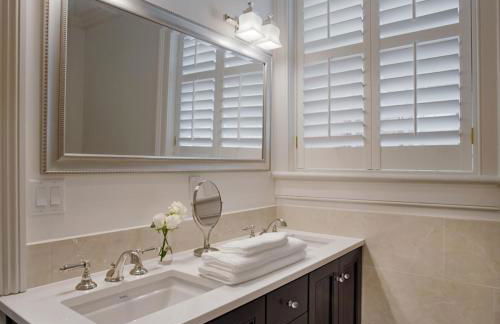
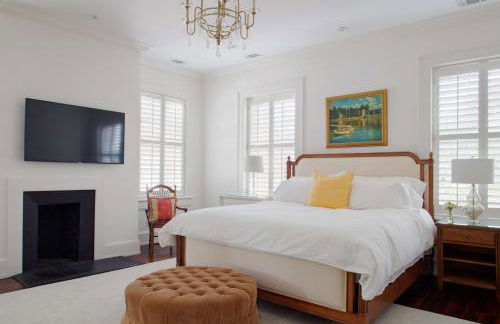
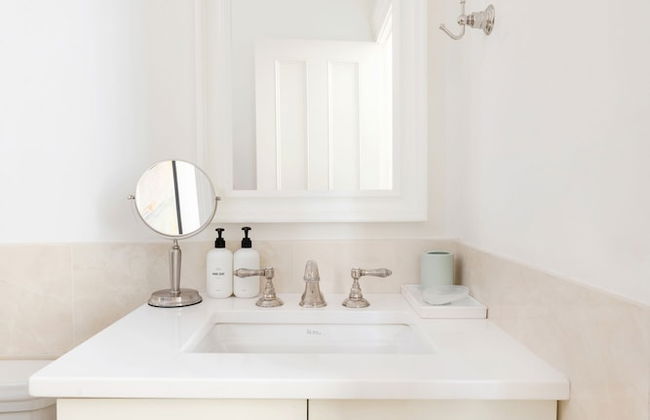
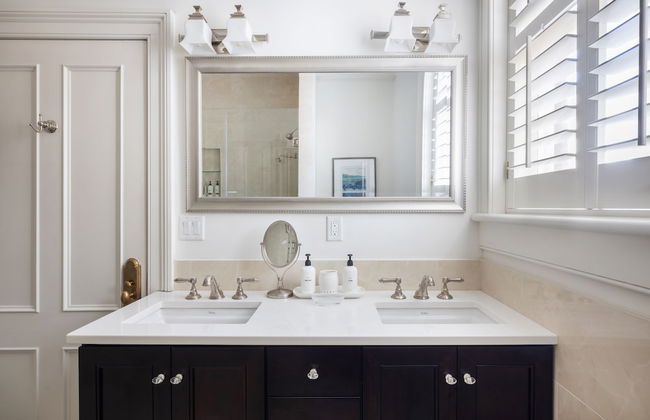
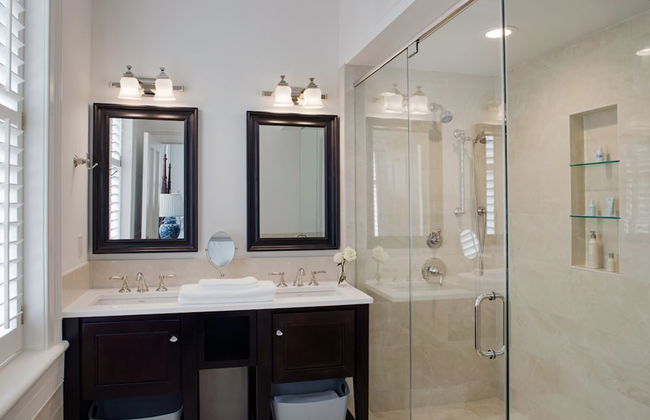
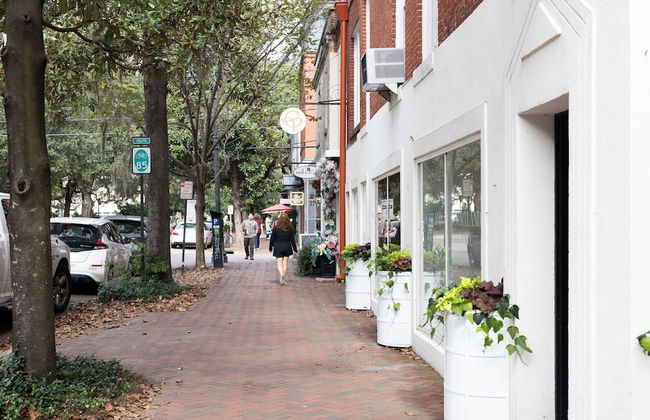
Kasa Jules Savannah - Photo 1
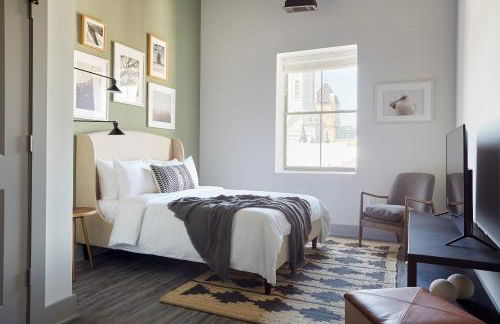
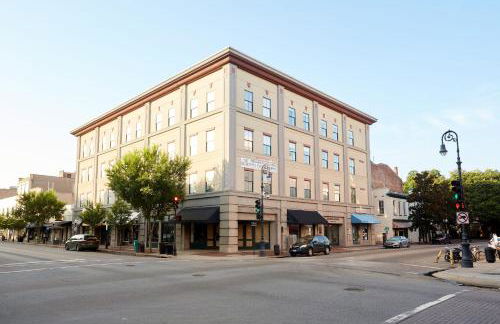
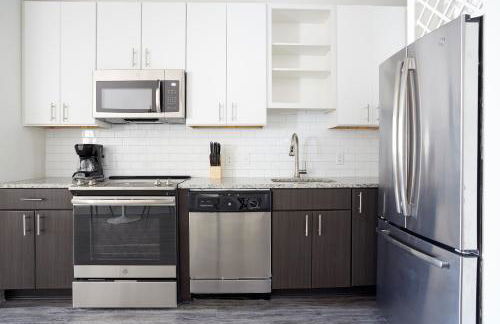
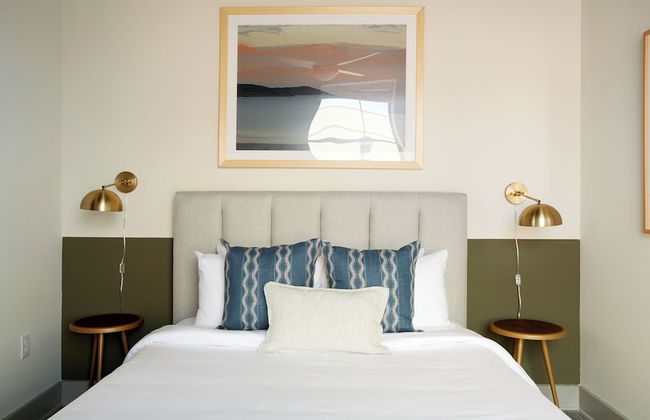
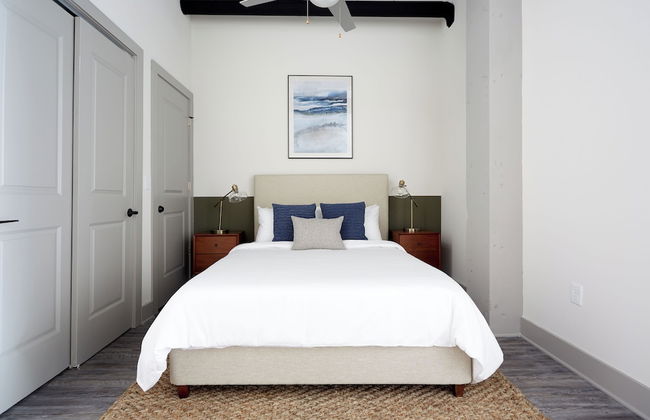
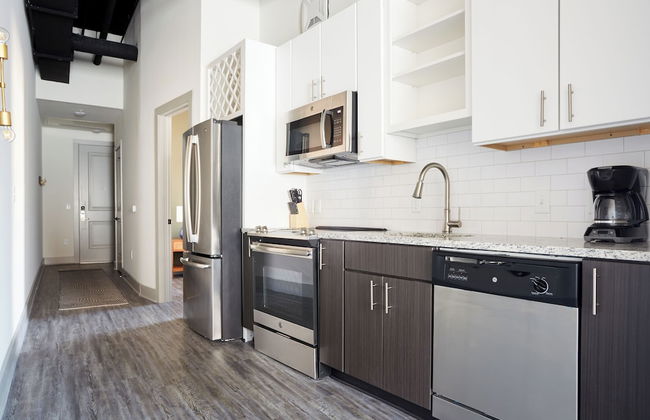
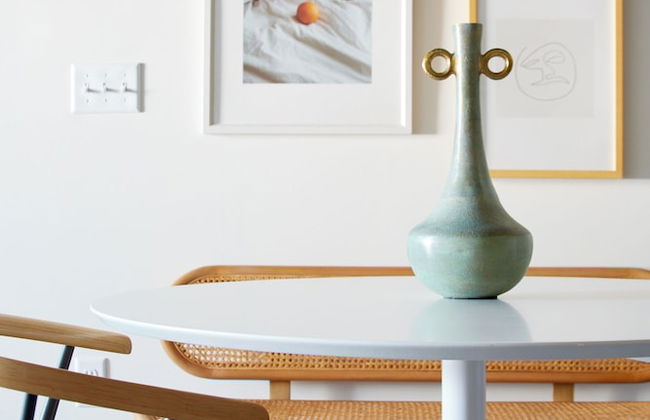
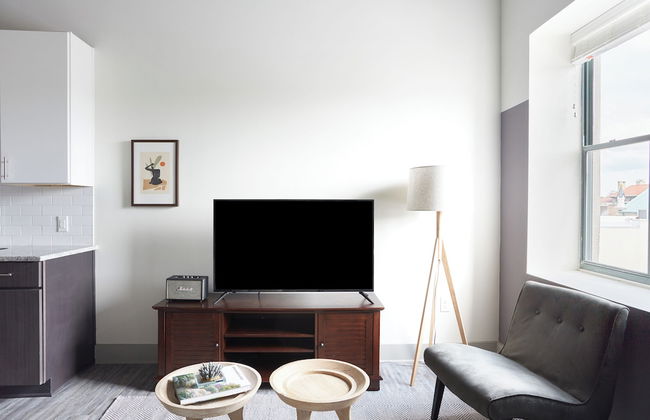
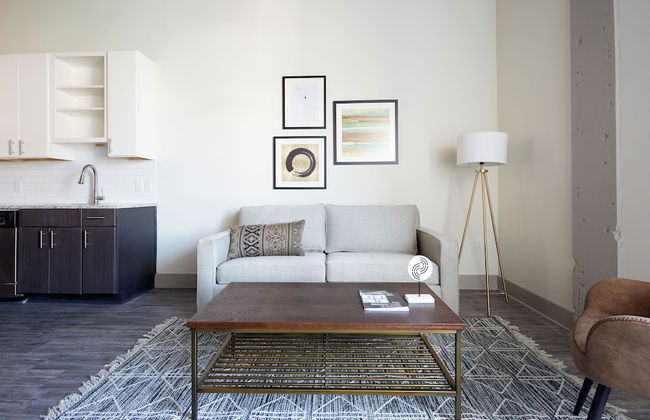
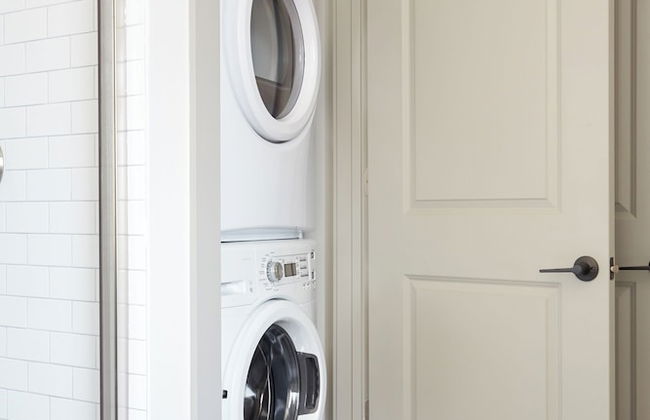
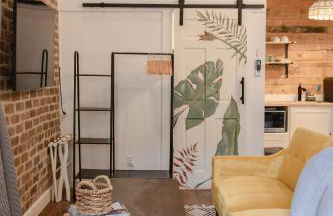
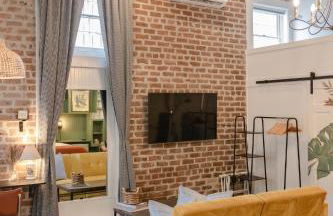
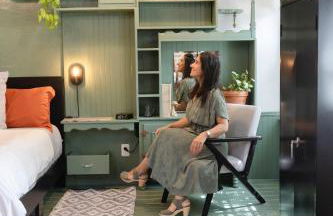
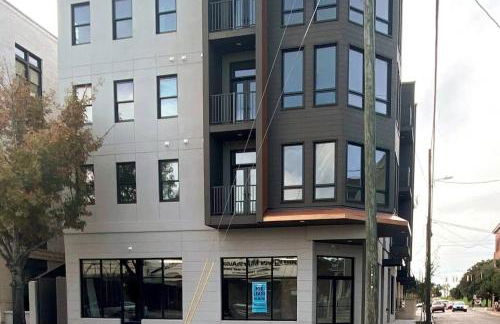
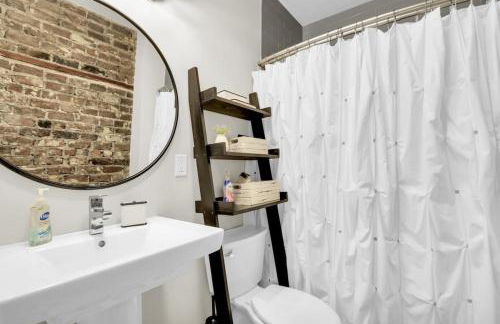
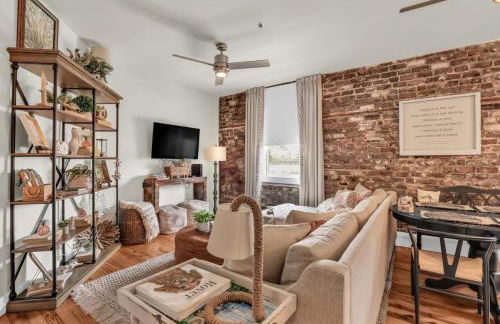
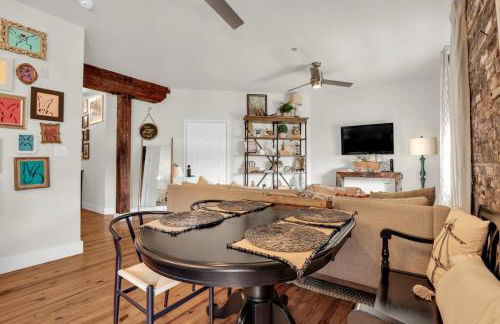
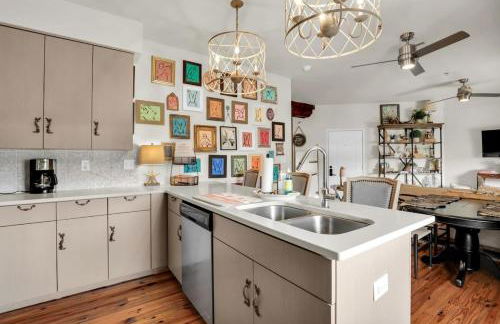
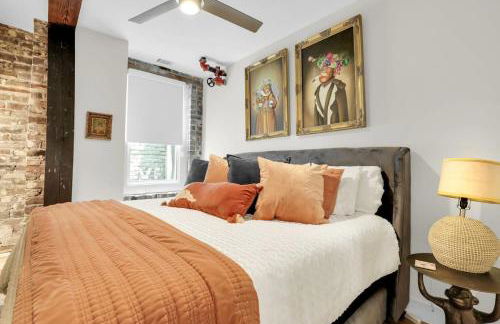
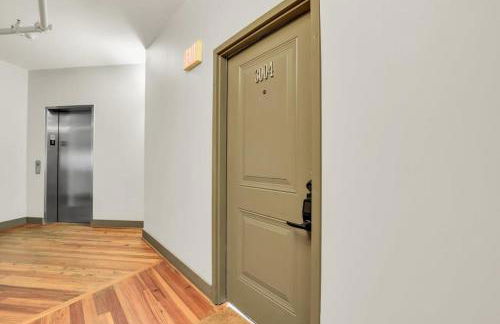
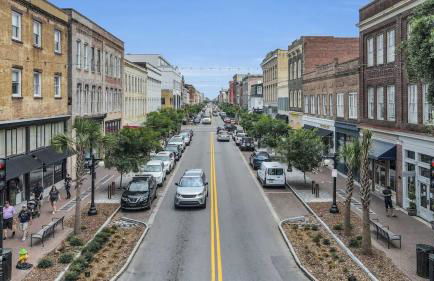
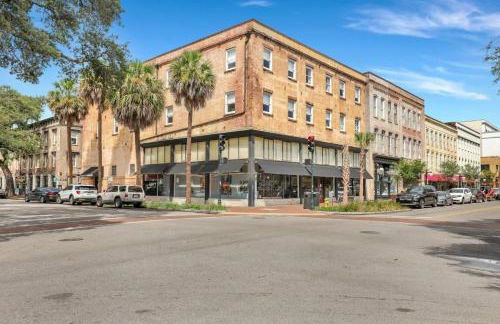
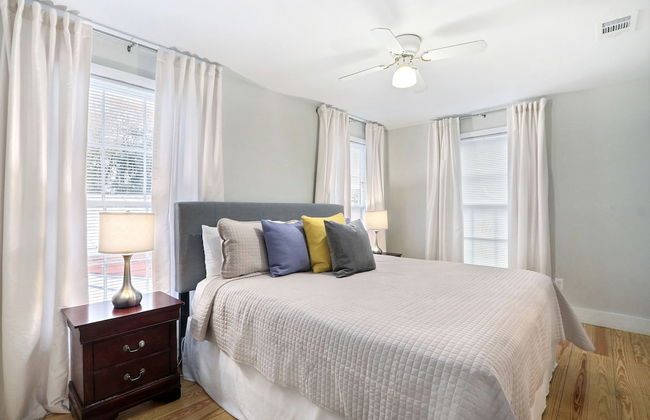
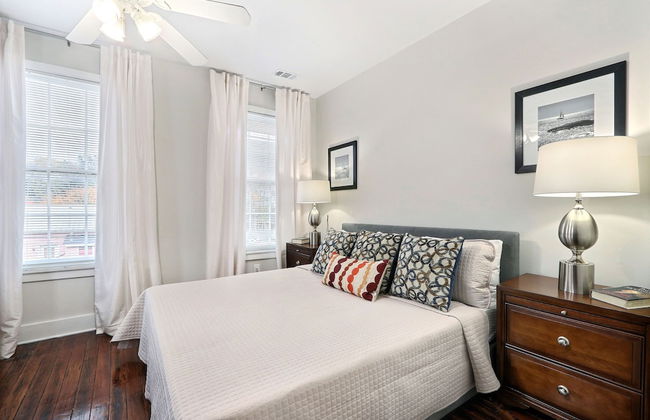
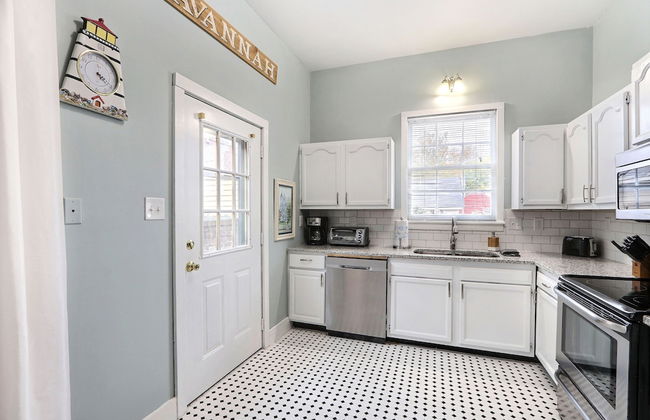
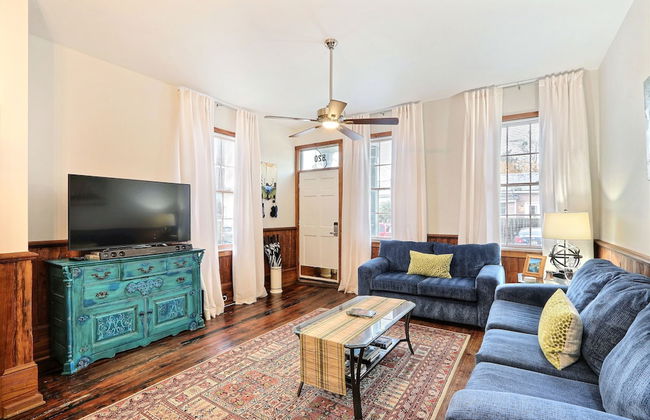
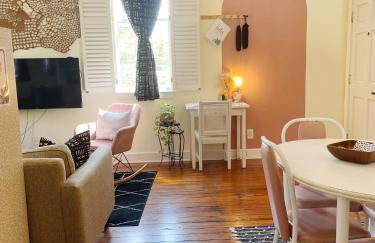
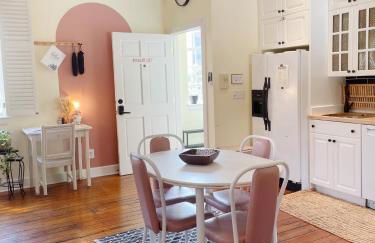
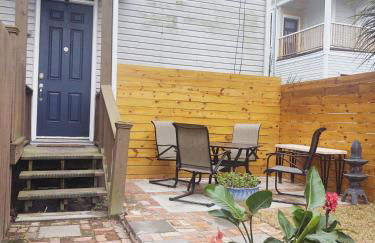
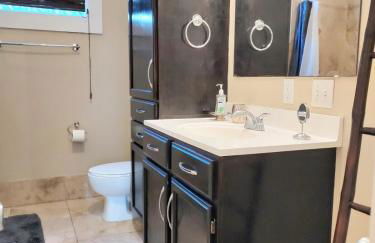
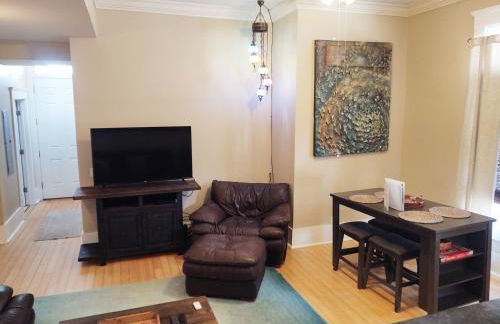
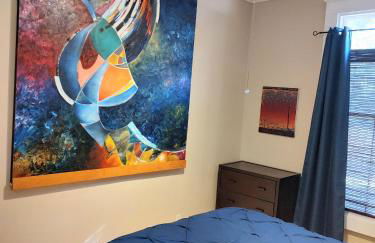
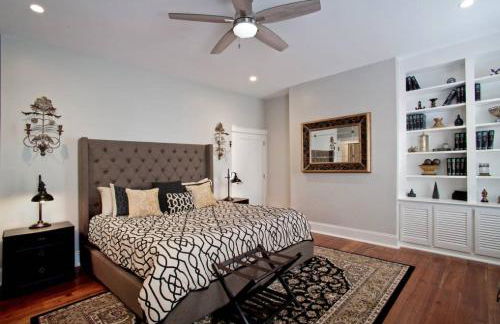
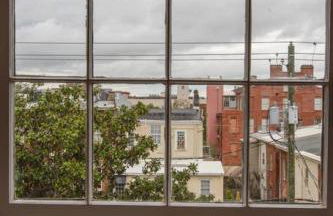
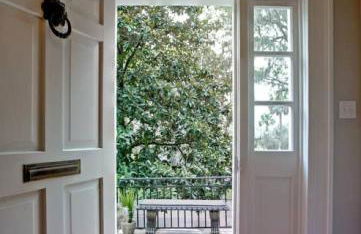
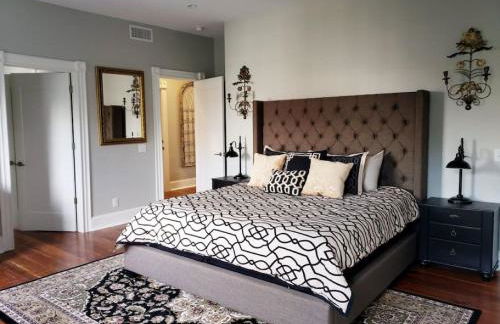
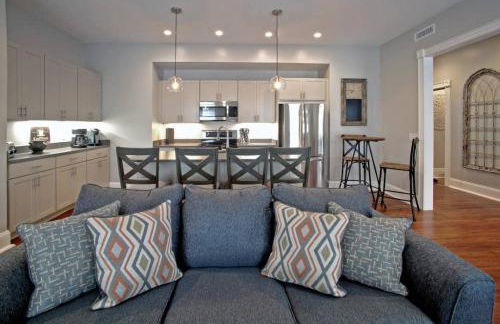
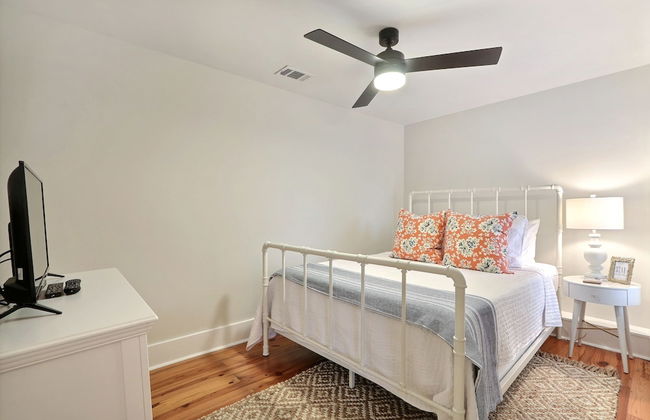
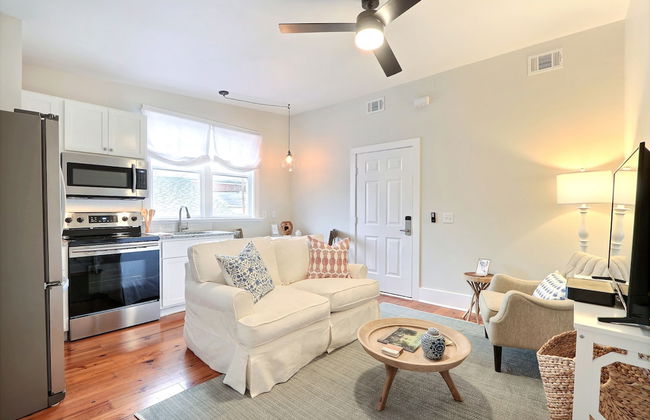
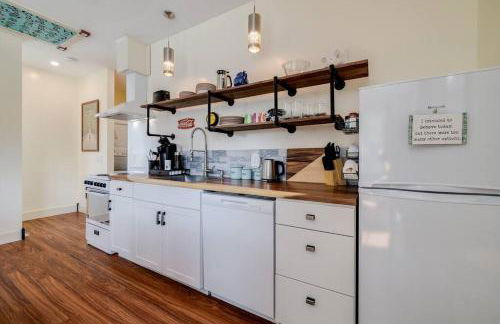
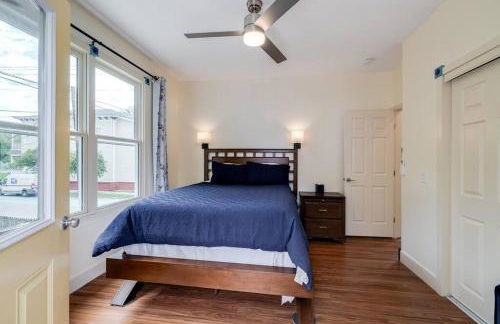
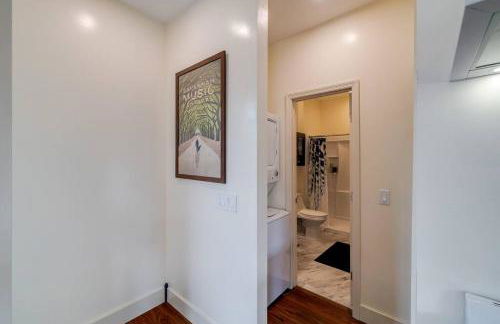
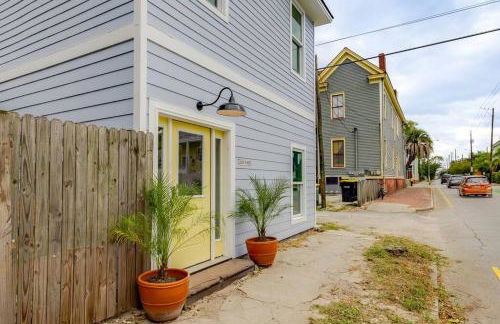
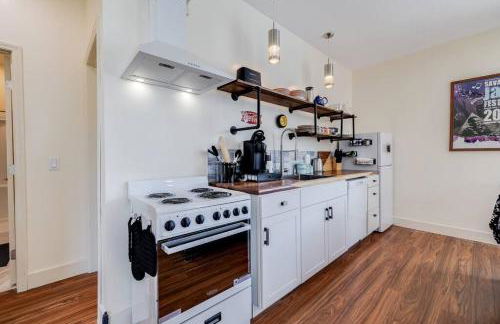
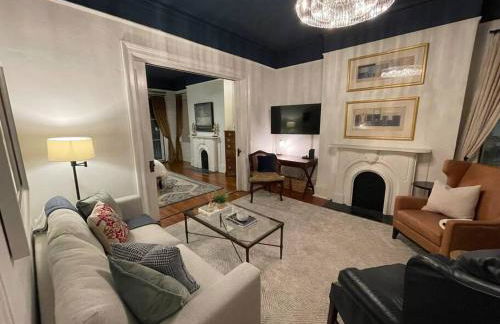
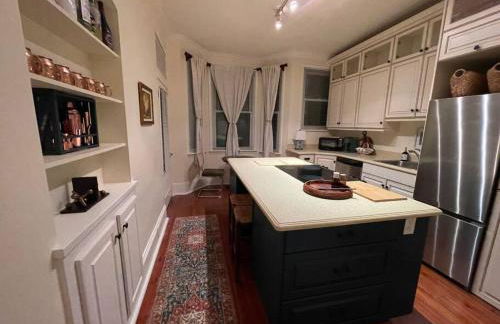
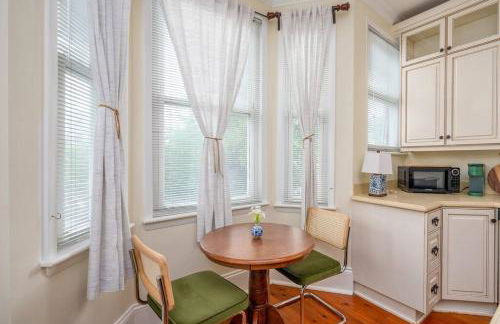
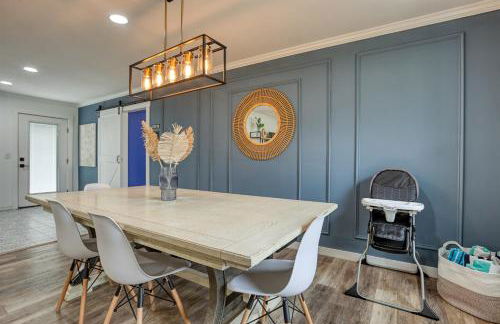
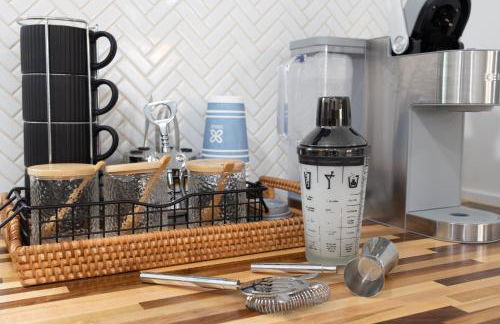
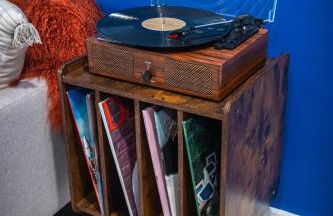
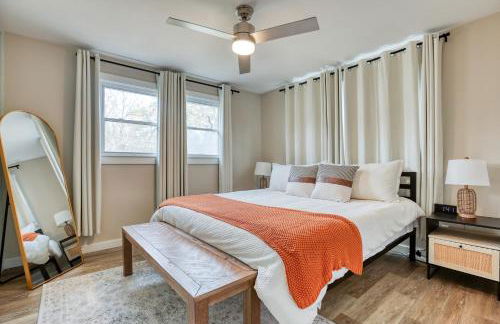
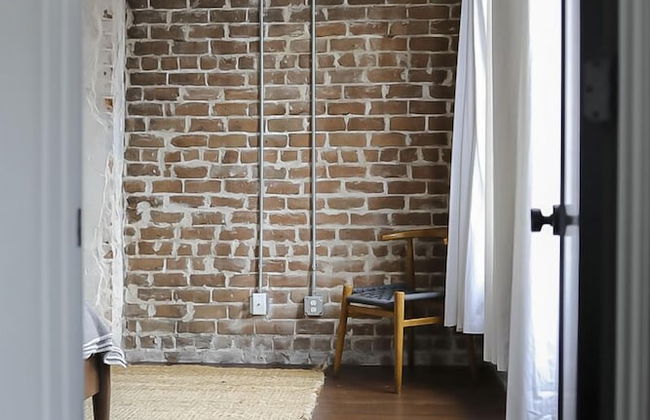
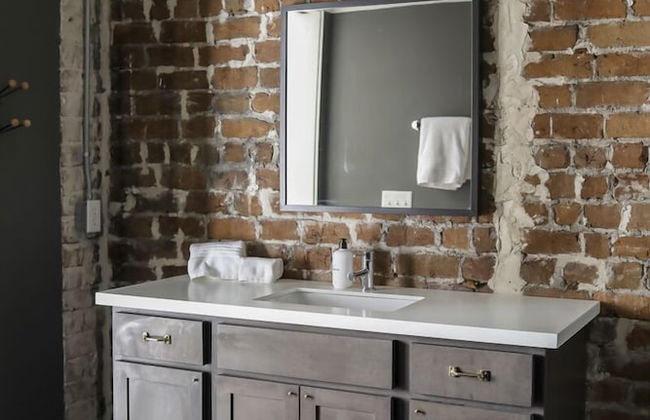
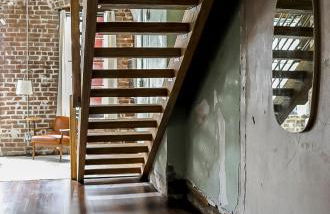
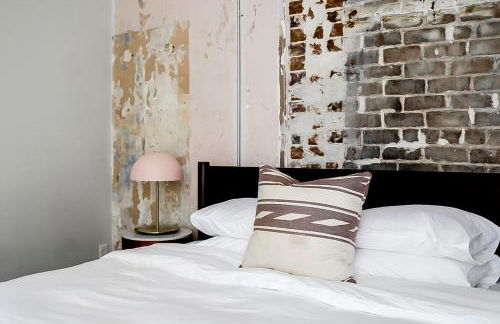
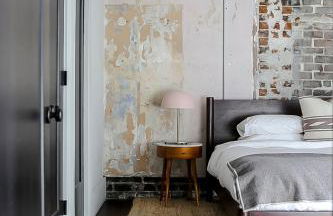
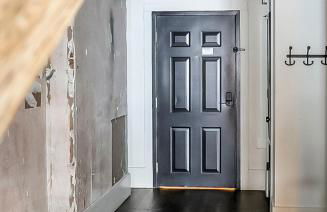
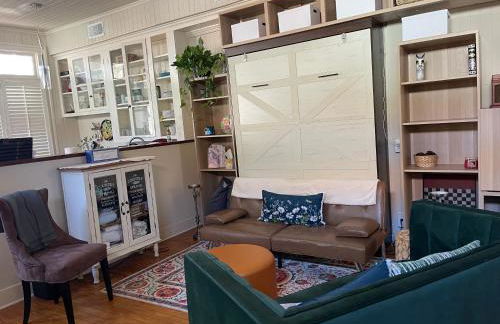
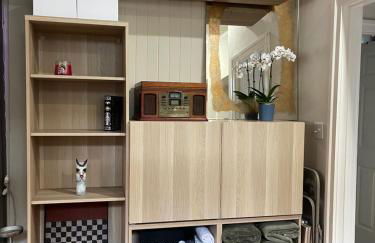
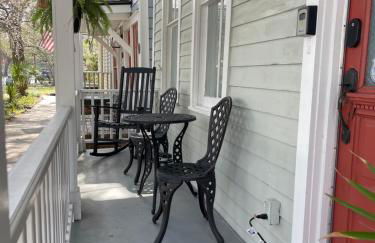
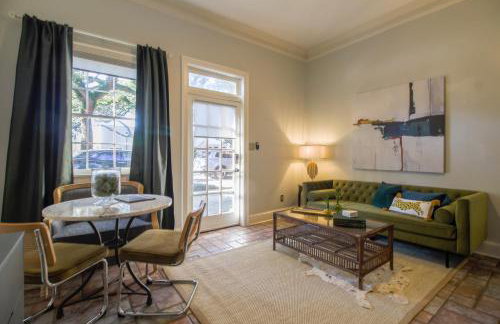
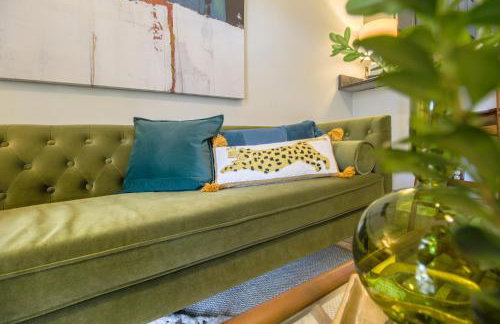
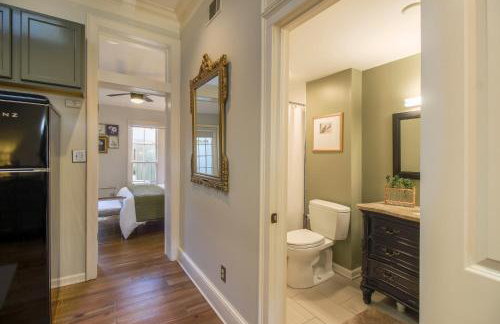
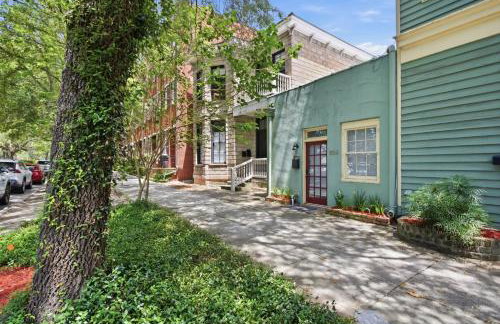
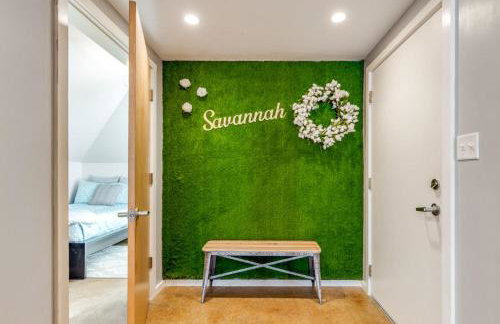
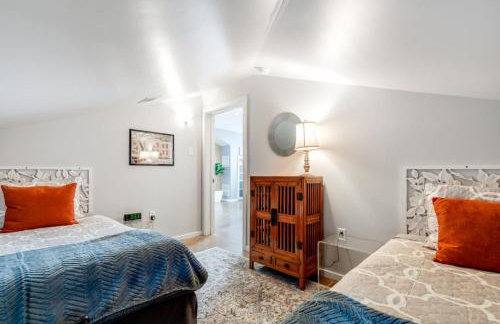
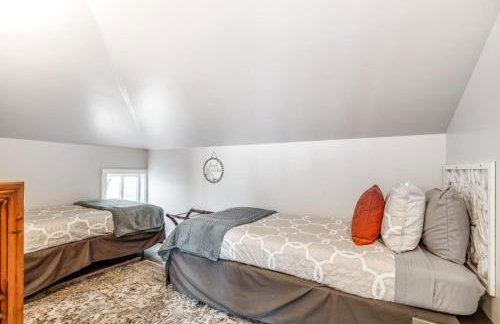
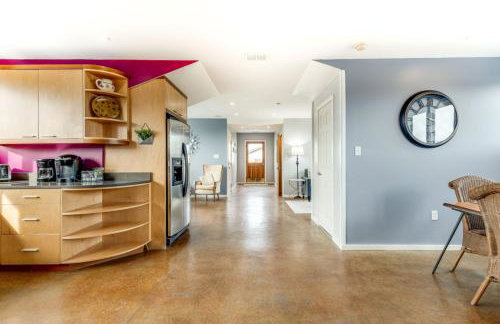
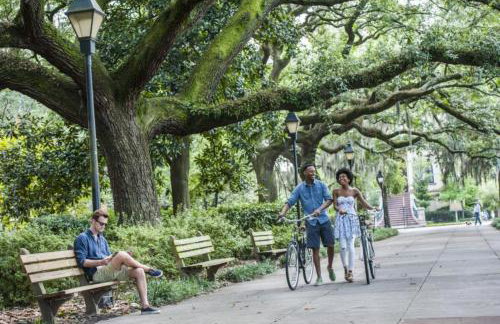
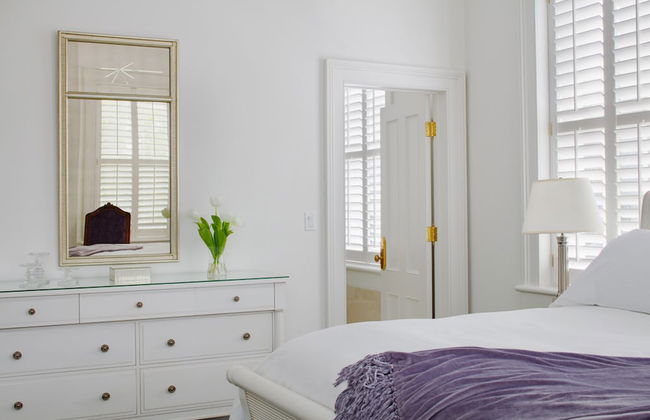
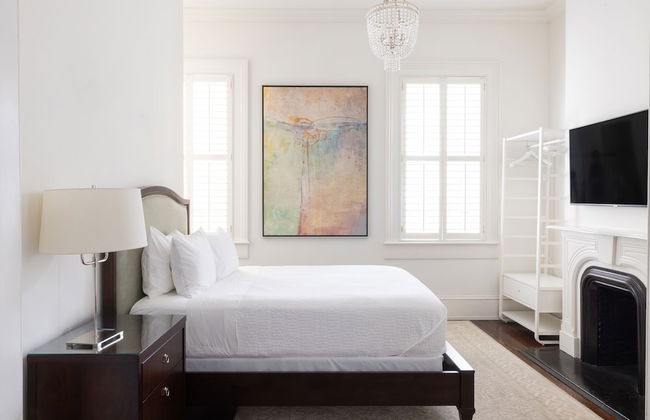
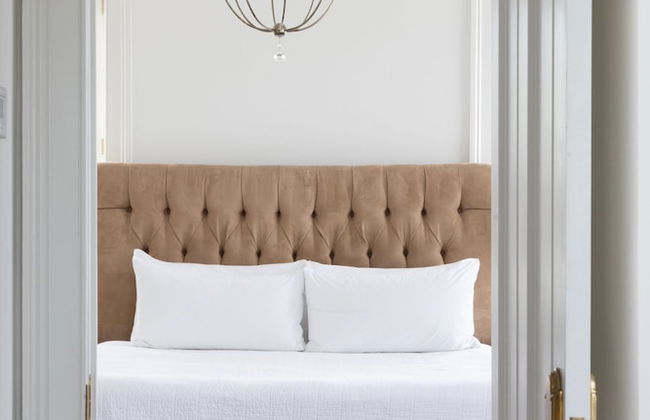
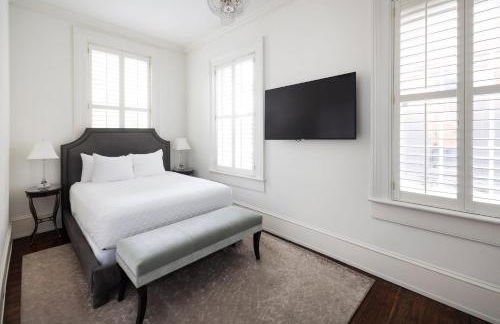
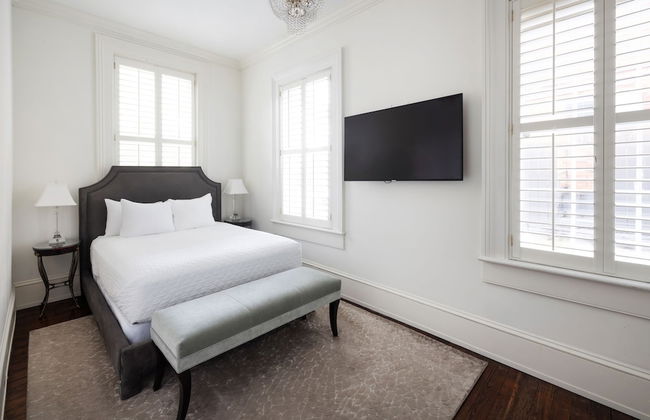
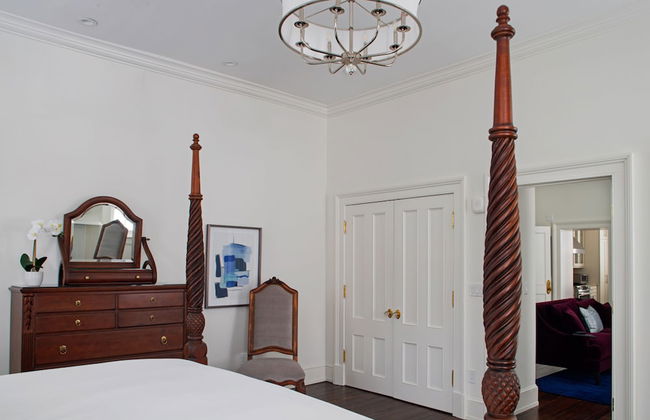
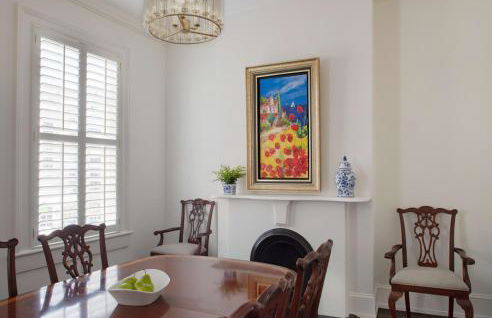
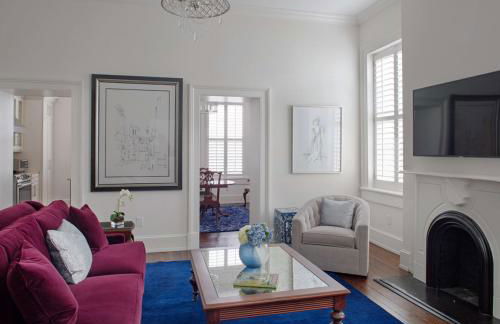
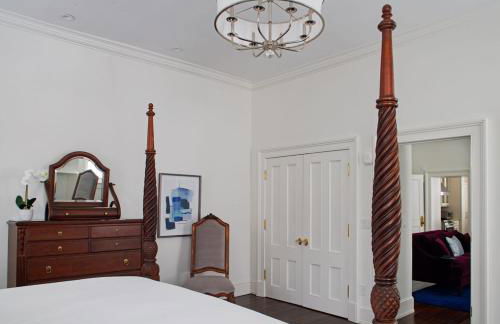
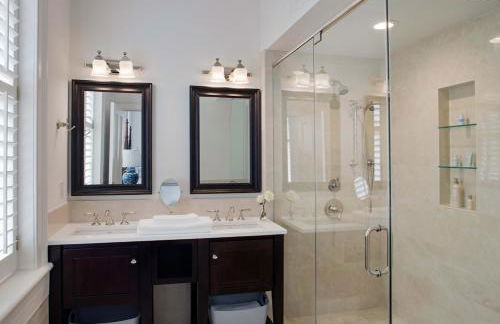
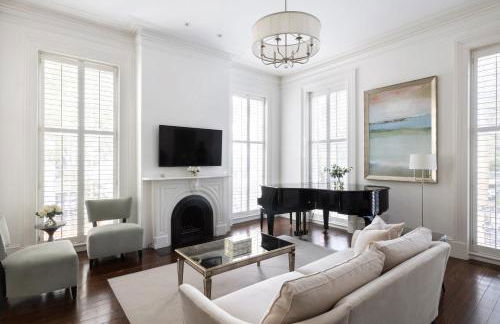
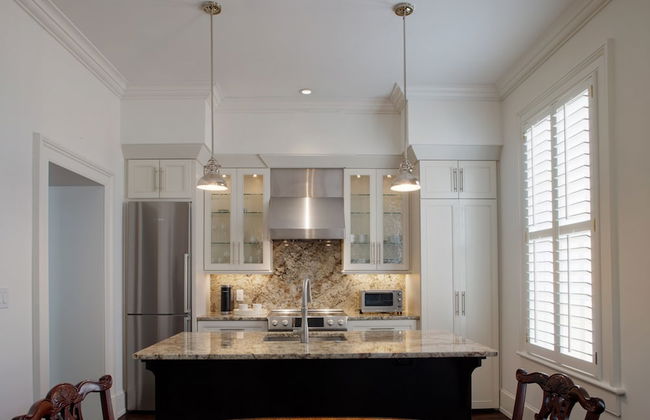
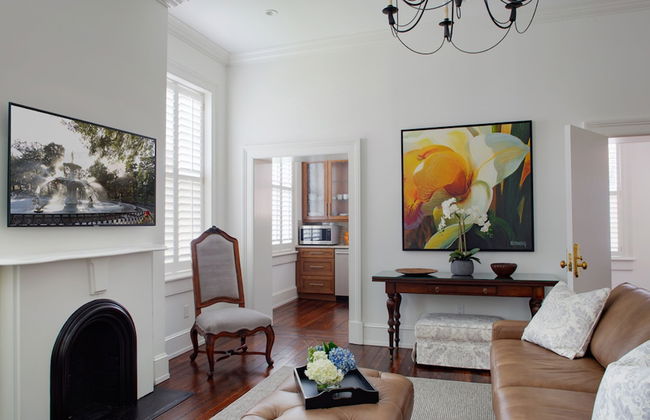
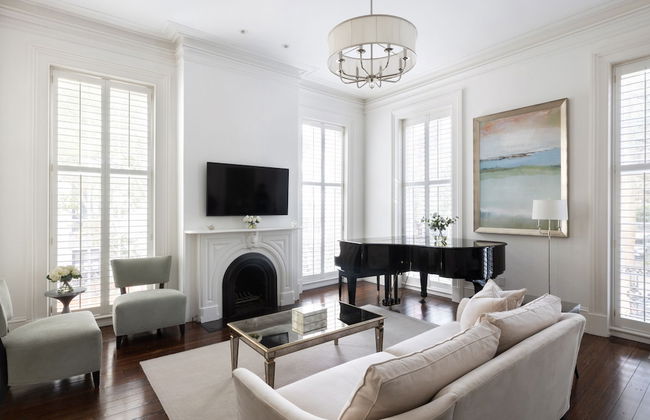
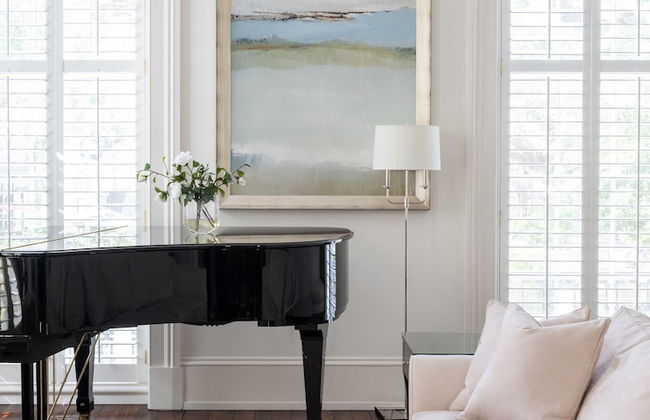
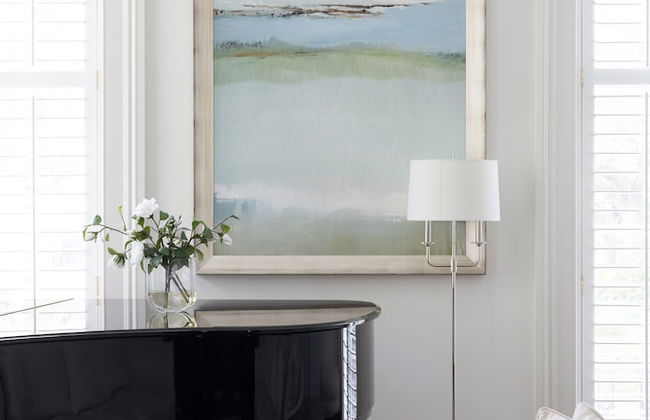
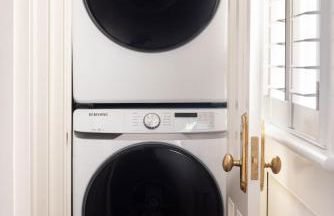
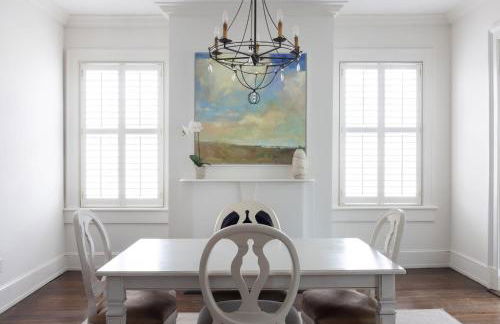
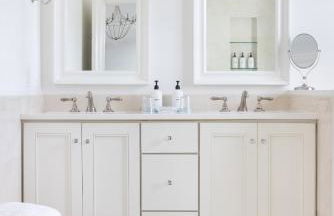
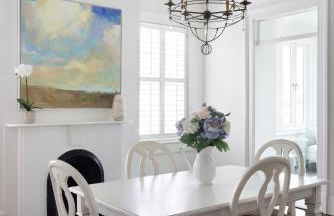
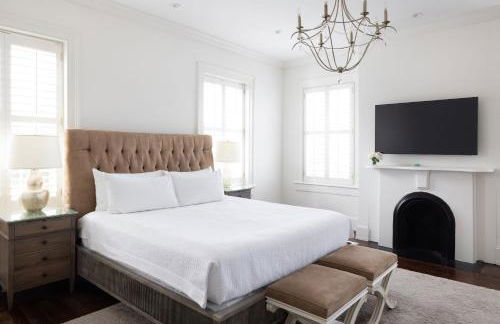
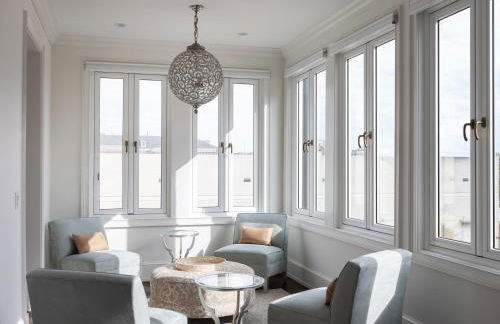
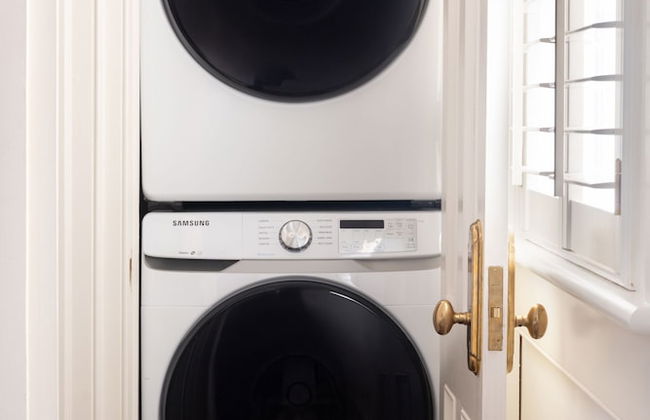
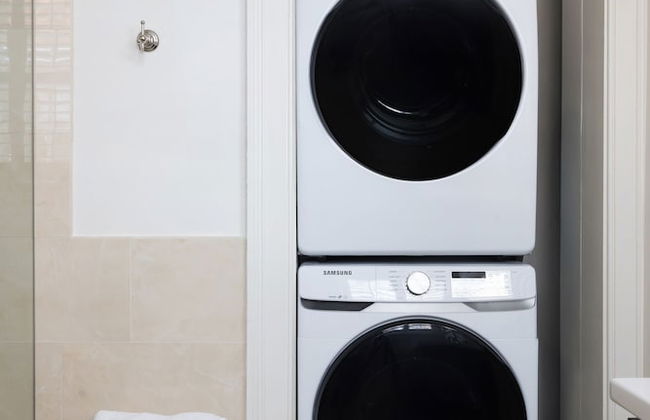
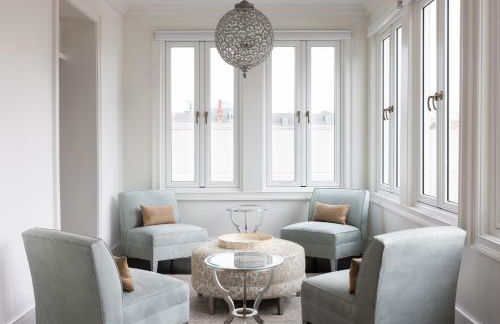
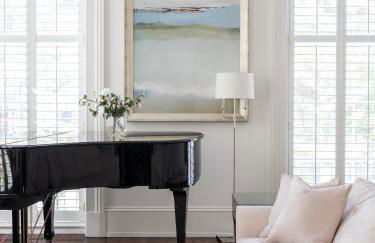
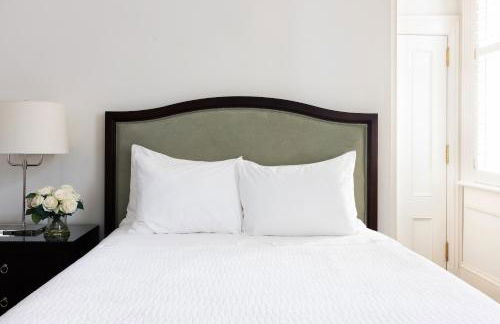
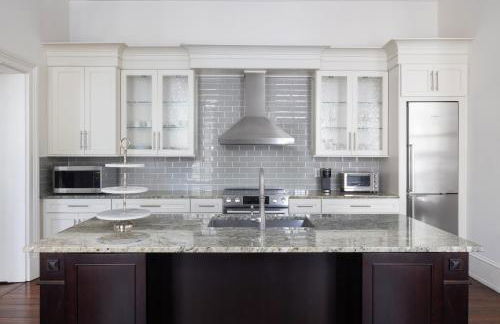
Kasa Jules Savannah - Photo 2
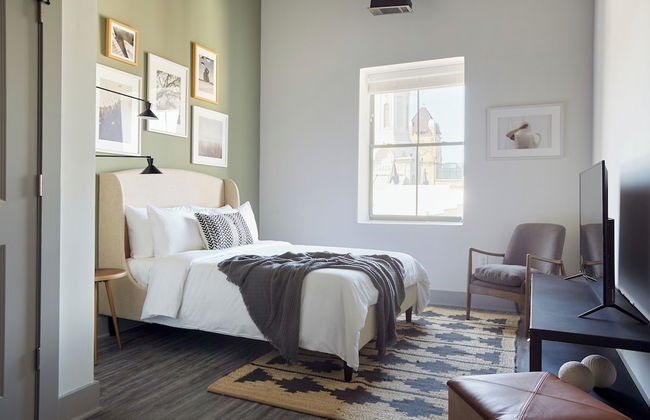
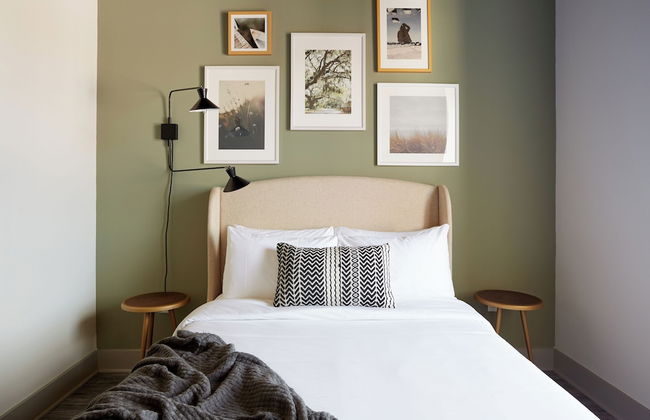
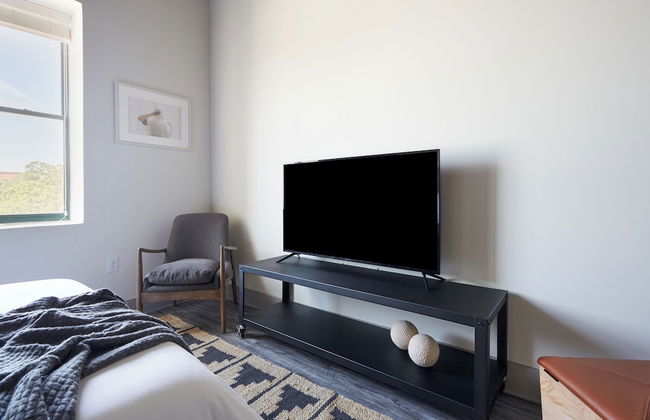
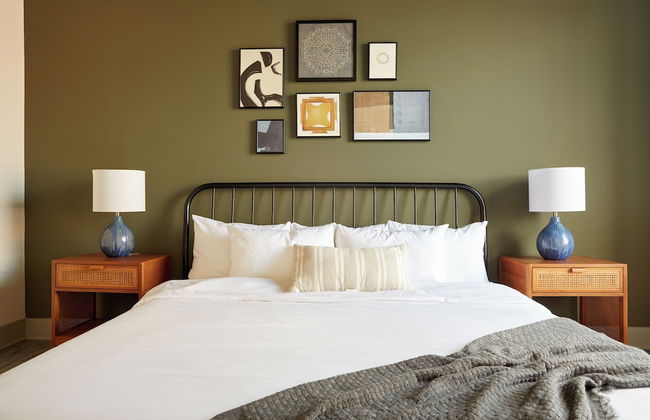
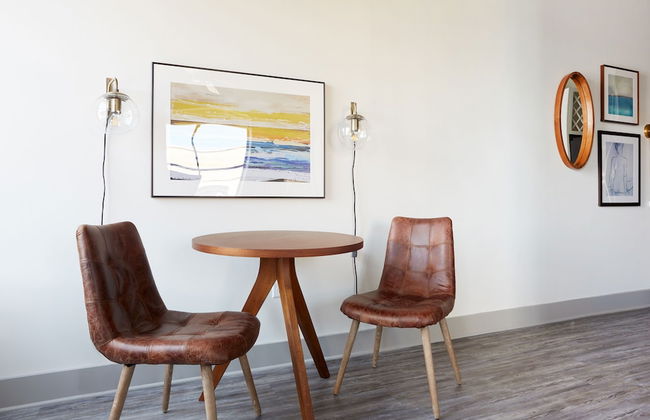
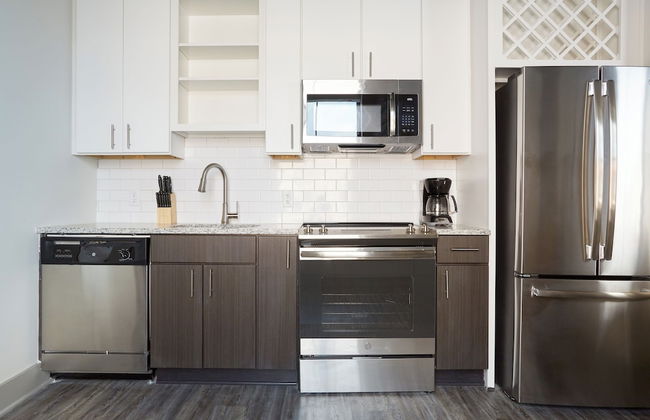
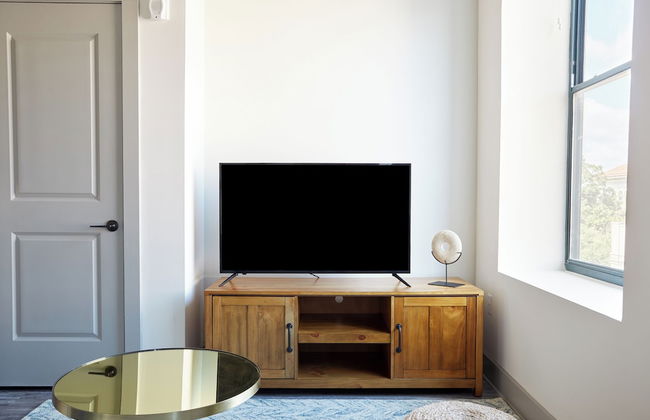
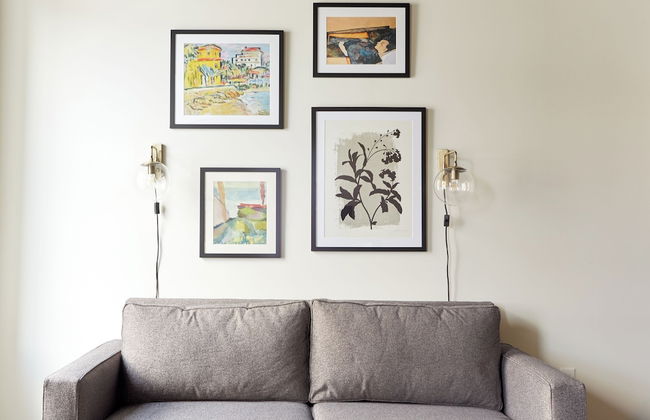
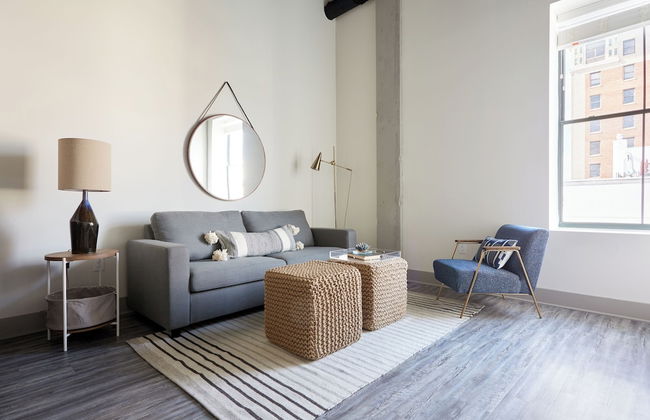
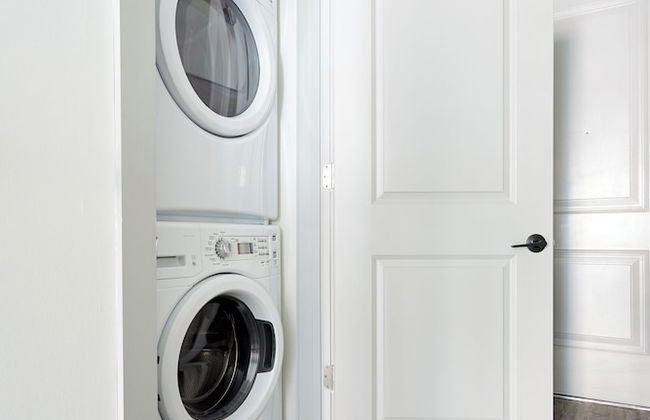
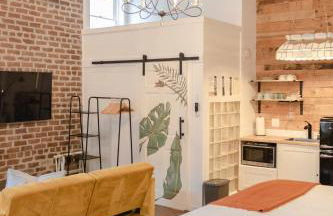
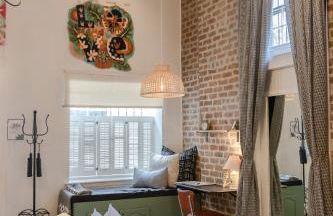
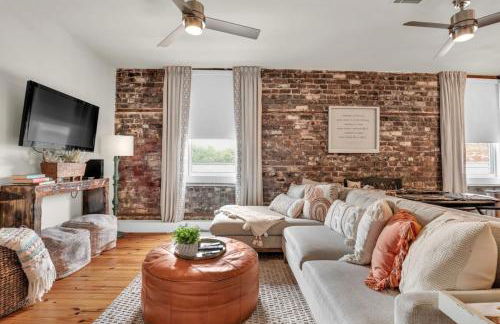
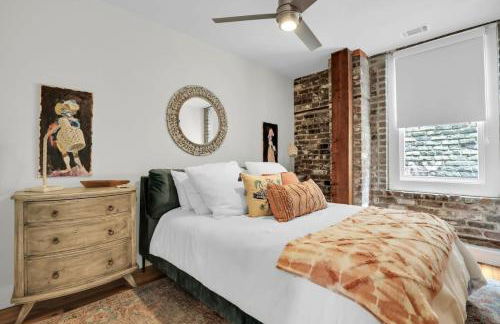
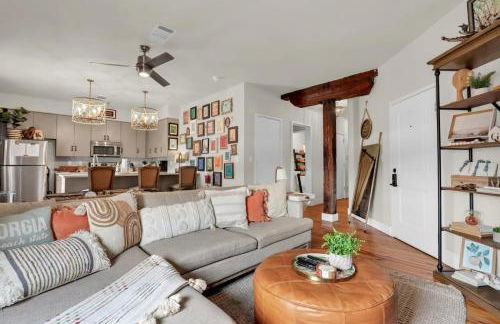
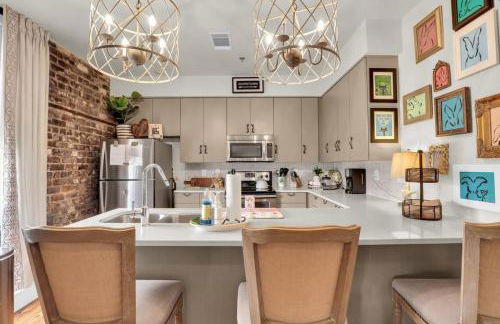
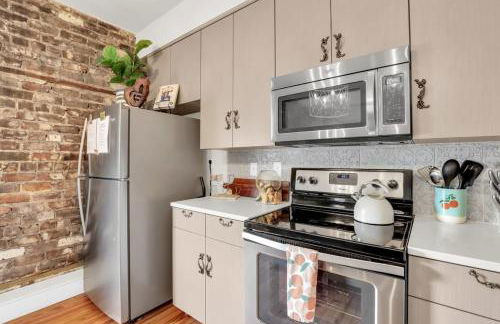
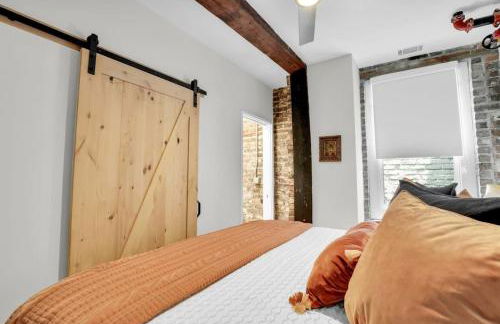
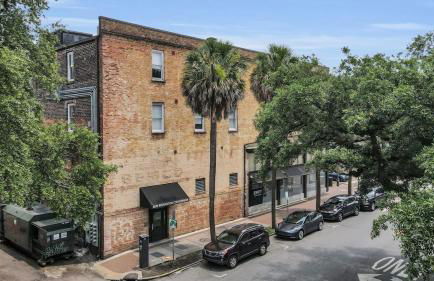
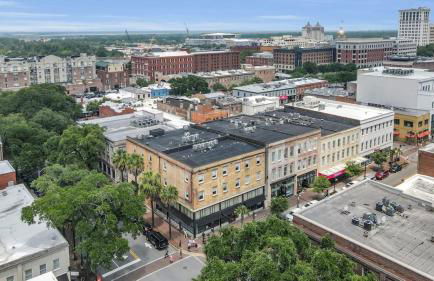
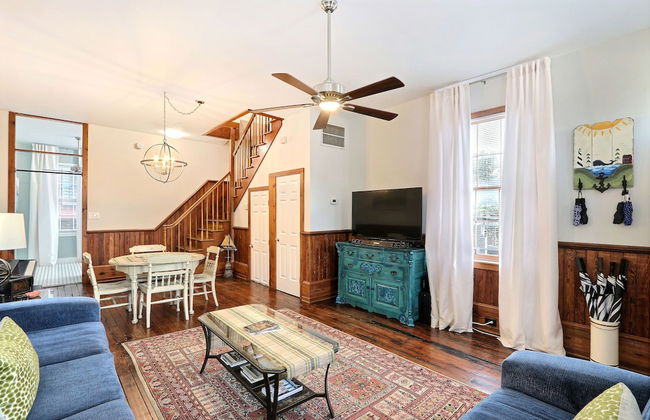
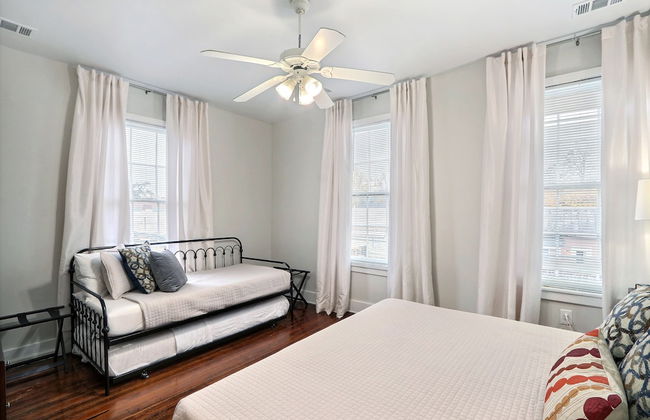
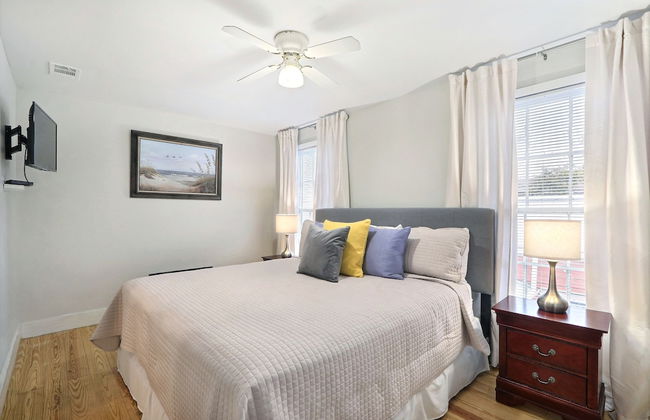
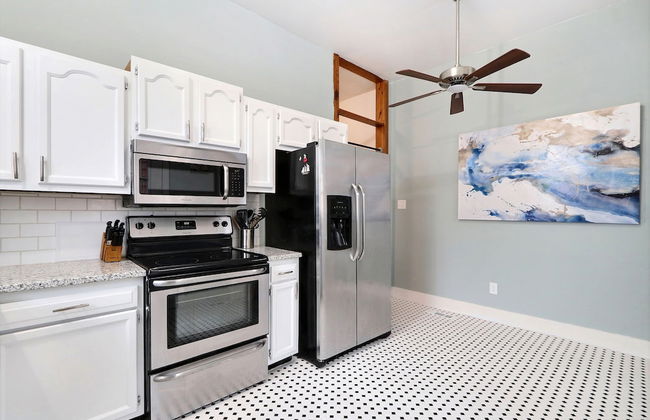
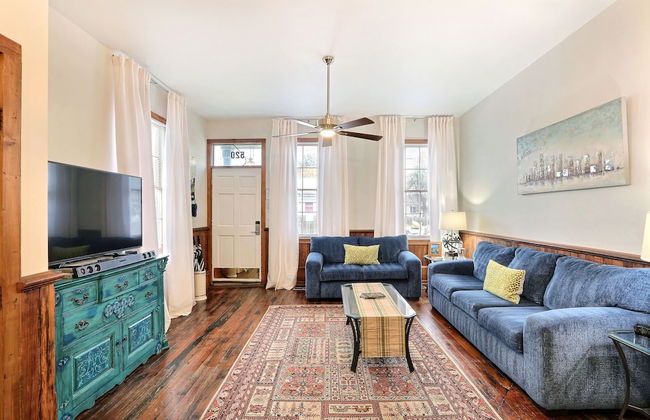
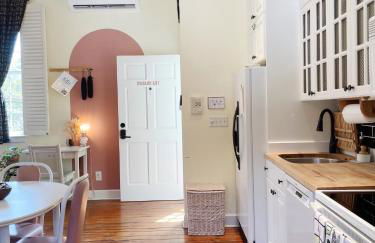
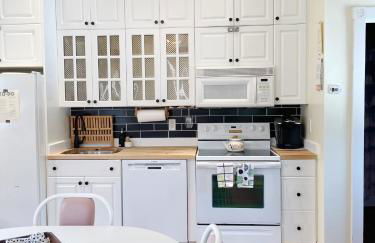
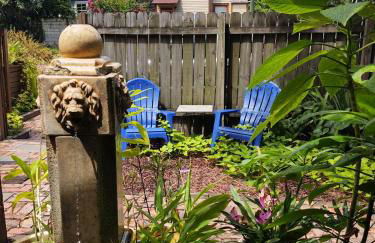
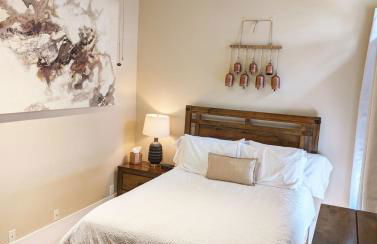
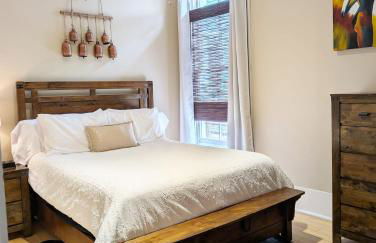
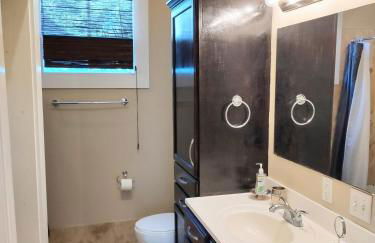
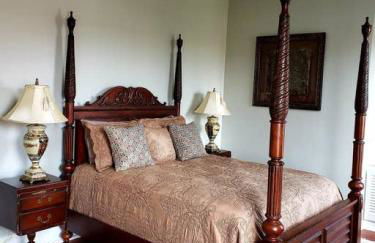
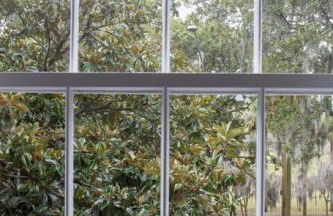
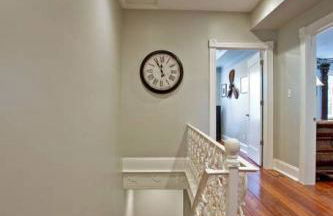
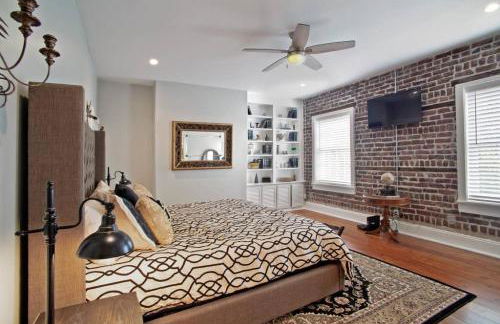
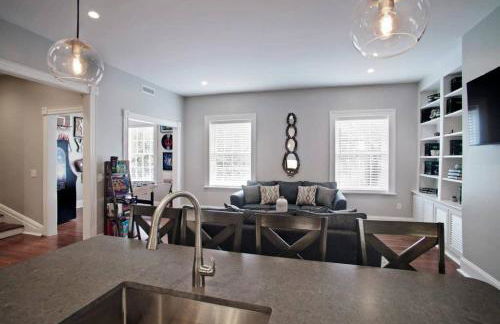
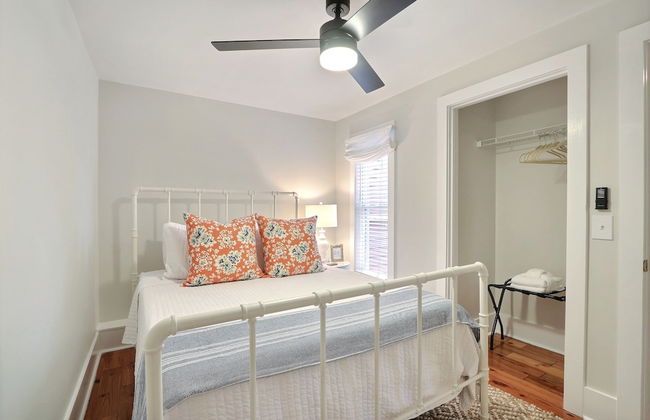
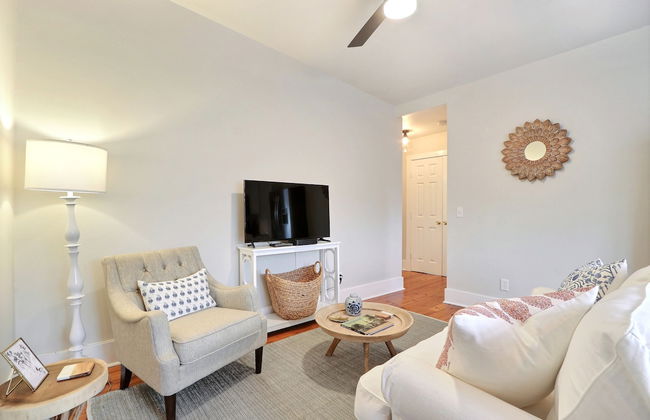
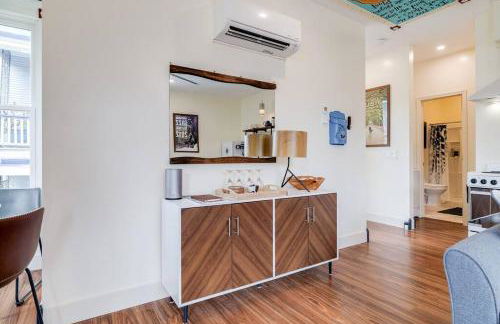
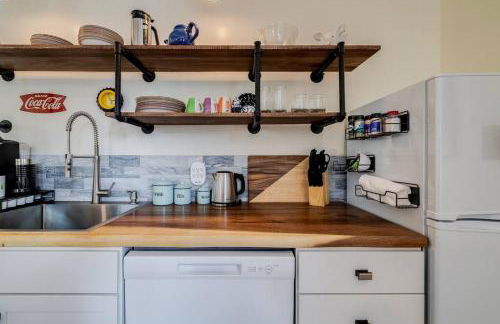
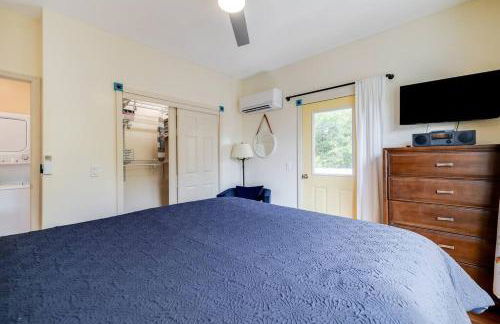
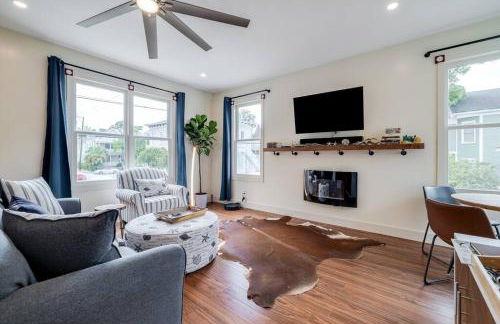
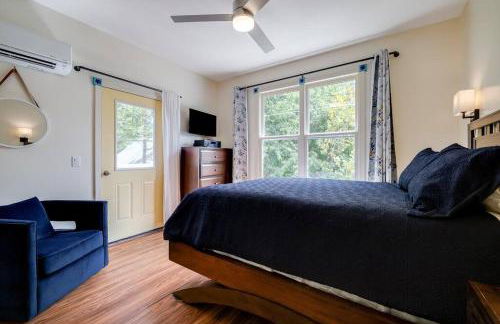
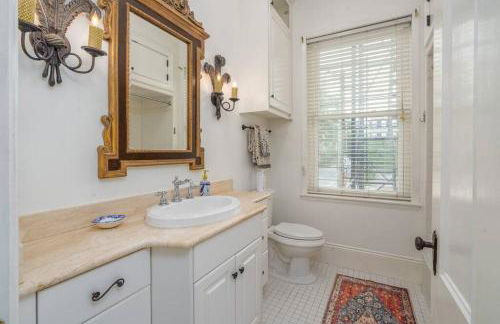
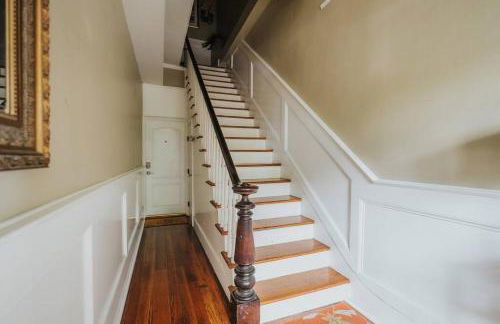
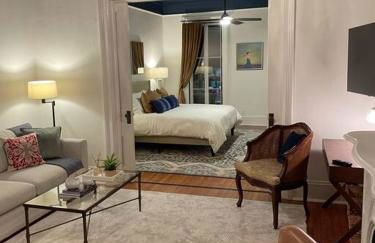
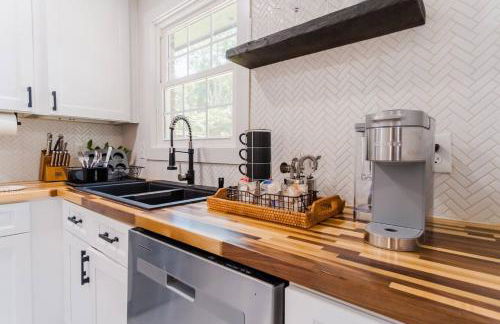
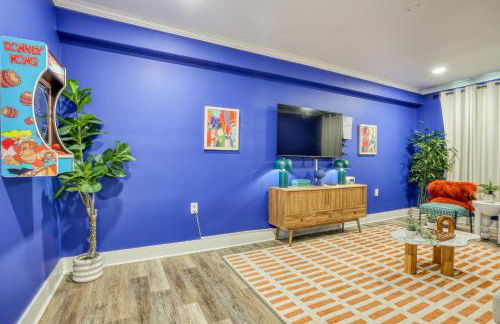
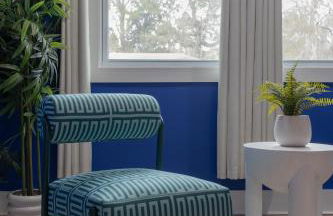
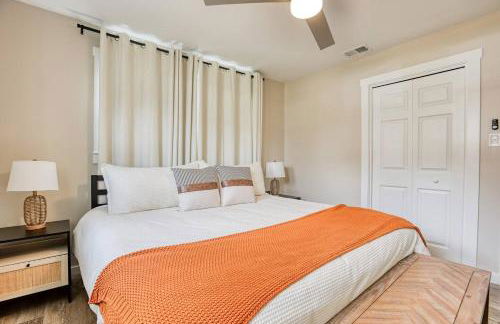
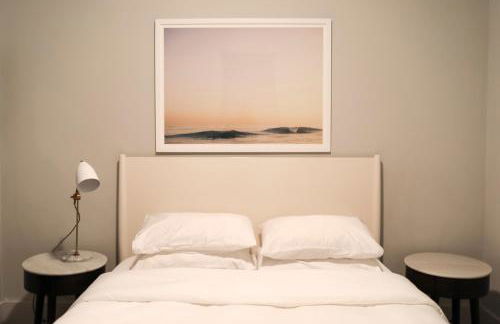
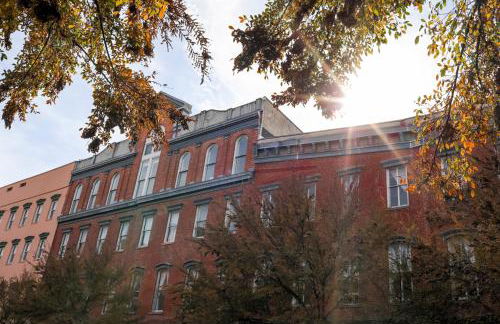
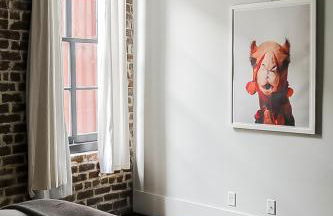
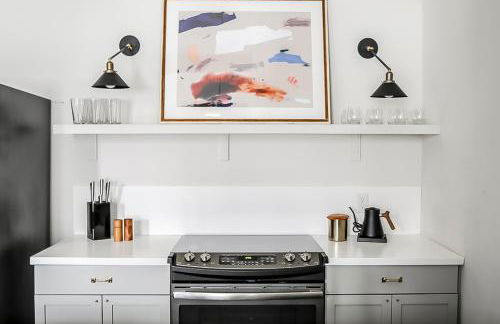
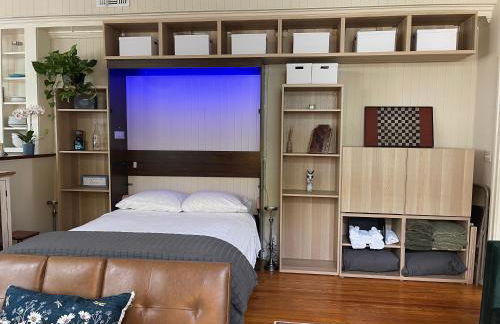
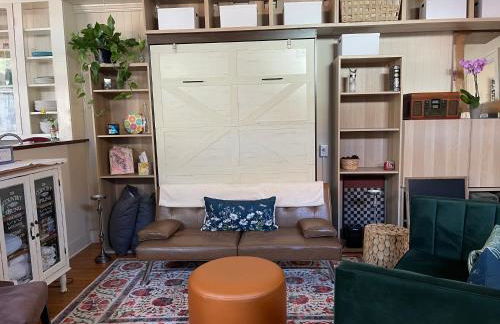
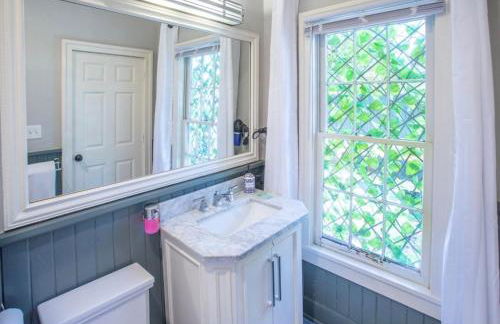
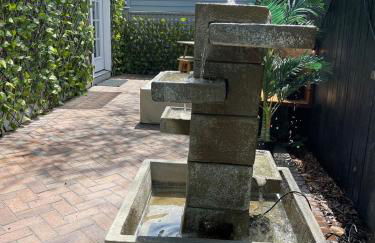
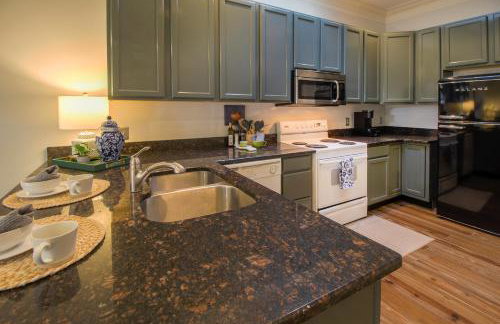
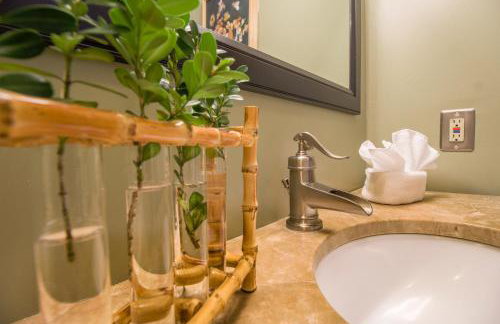
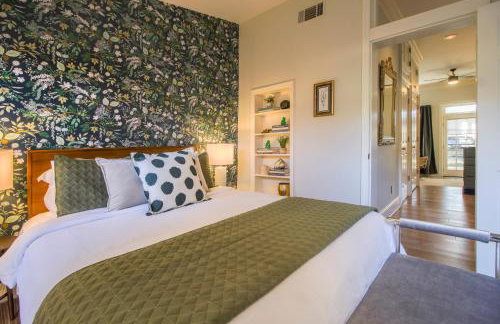
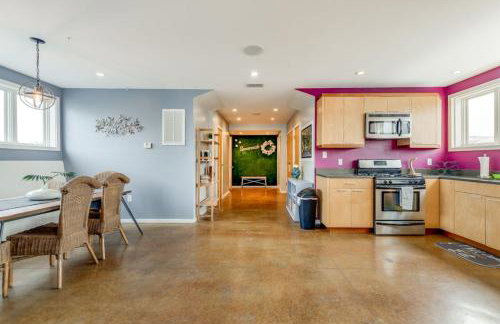
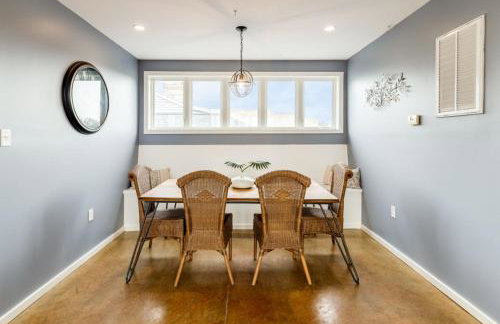
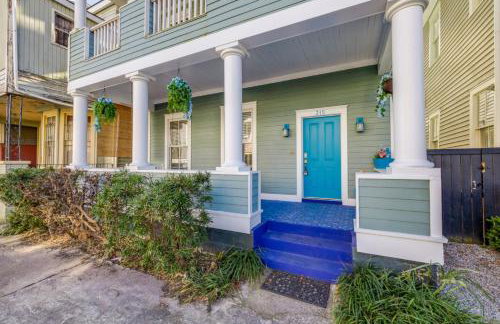
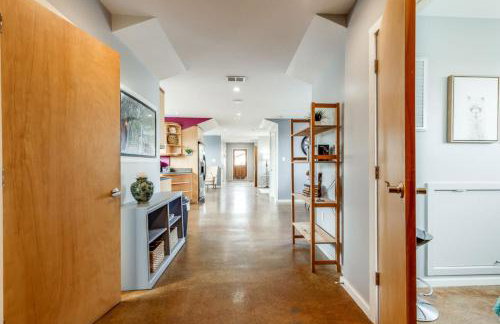
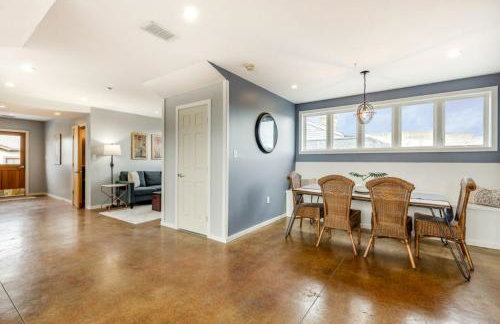
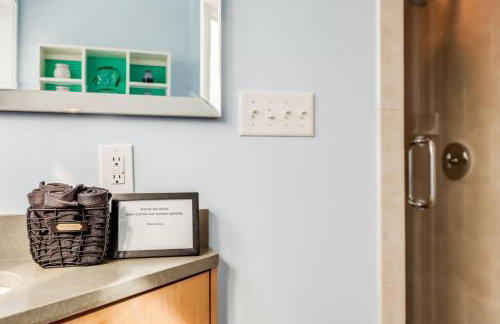
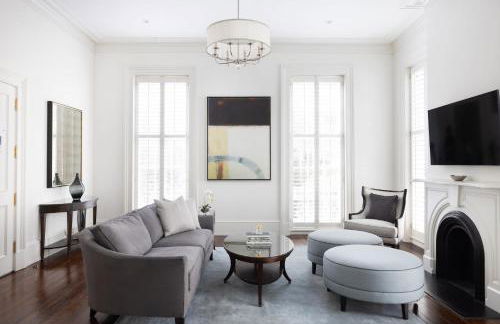
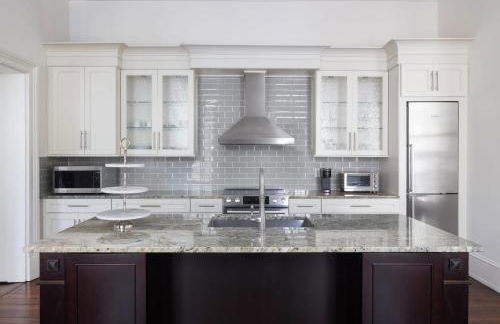
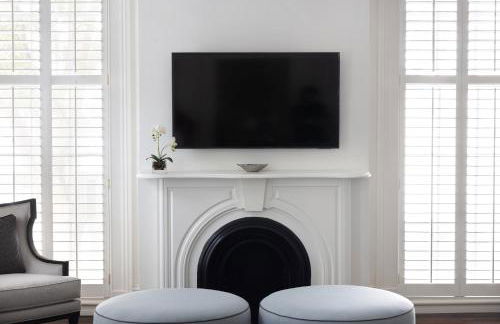
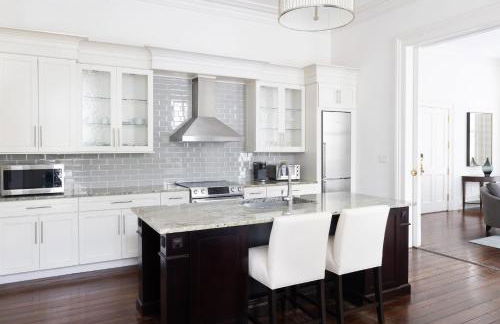
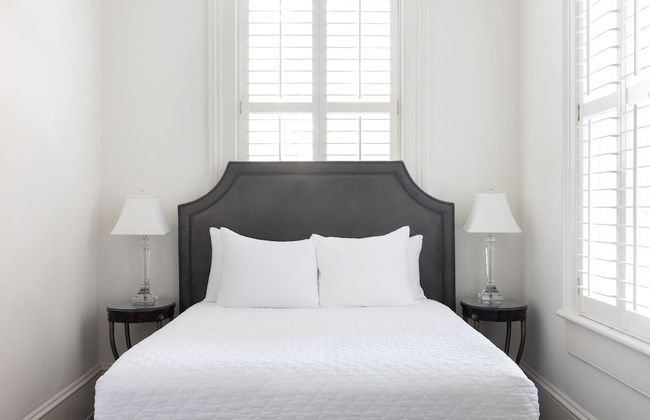
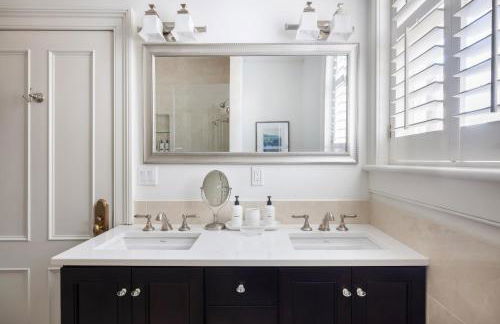
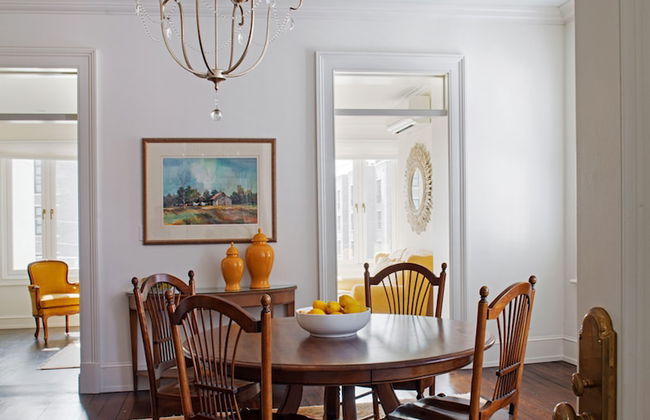
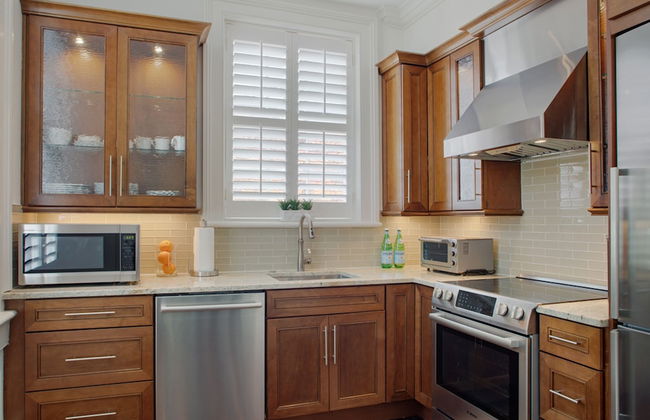
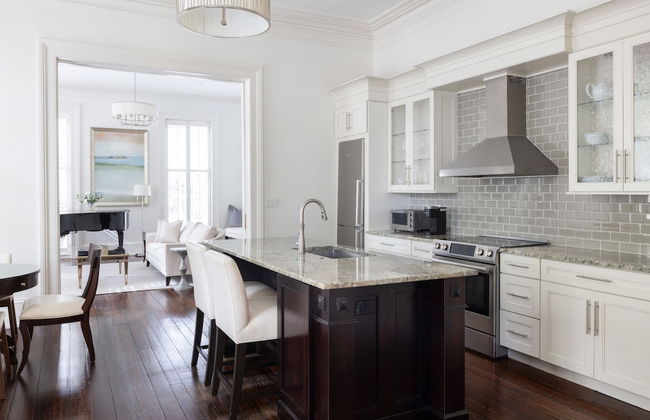
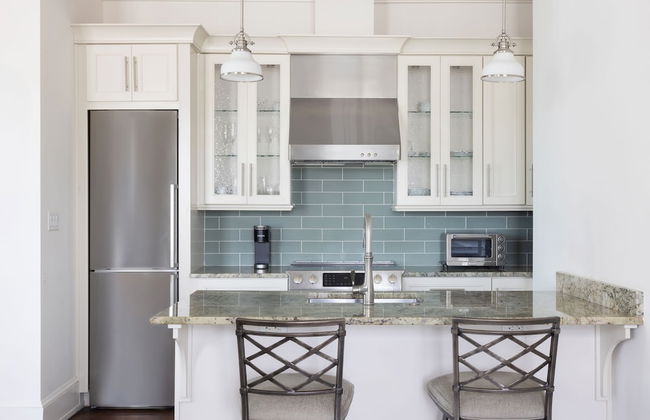
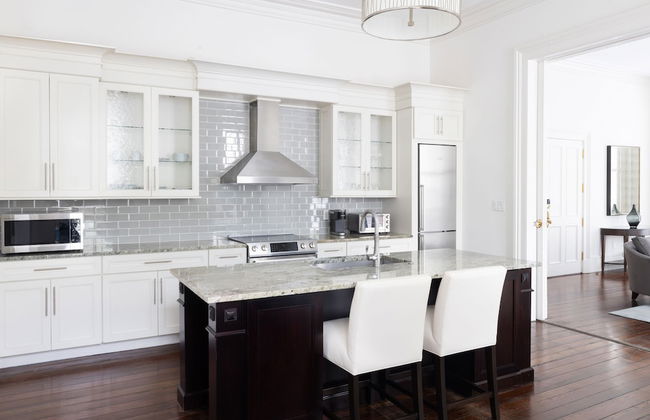
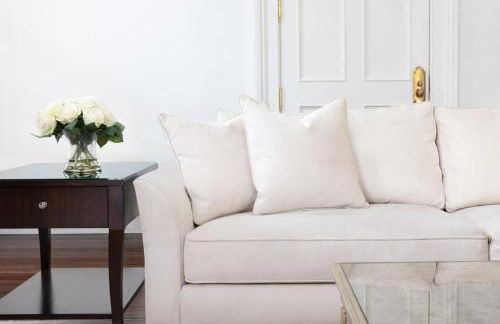
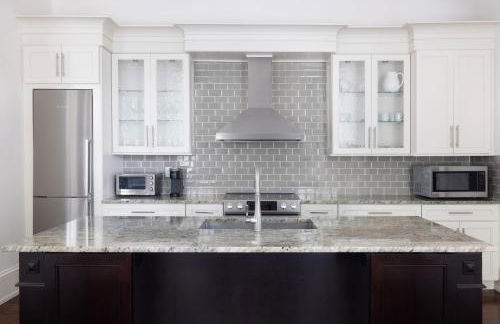
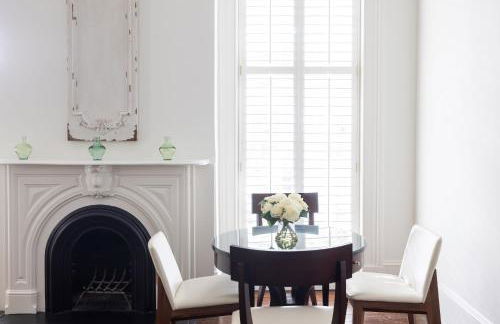
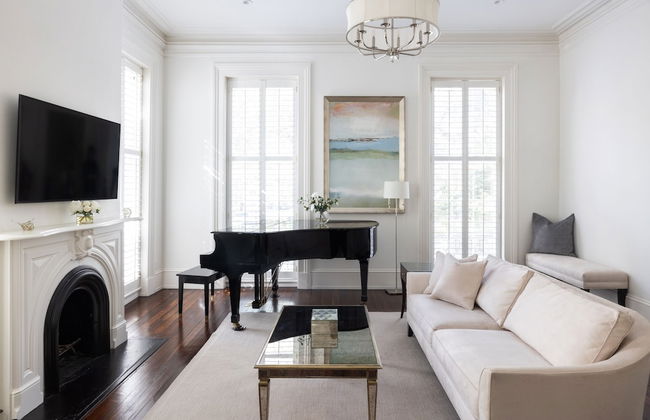
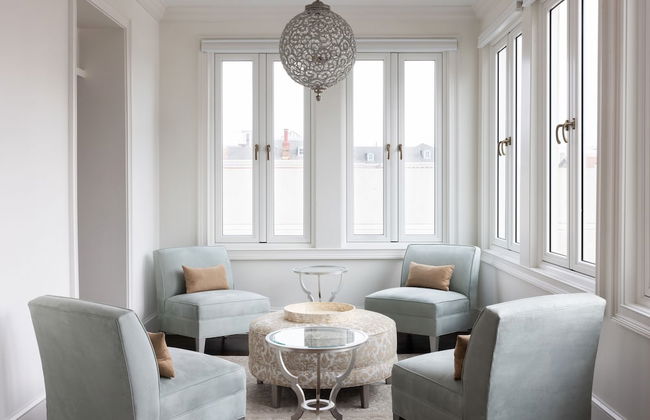
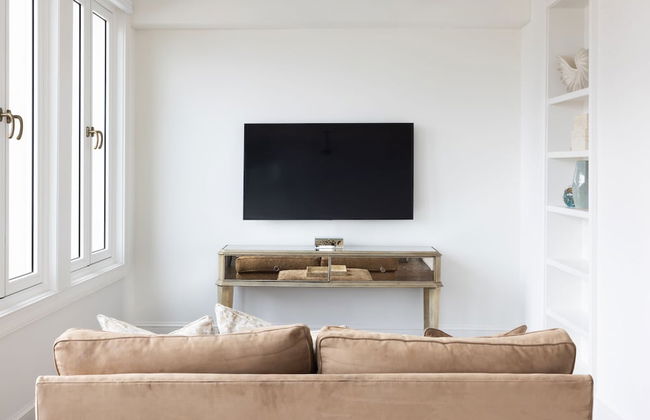
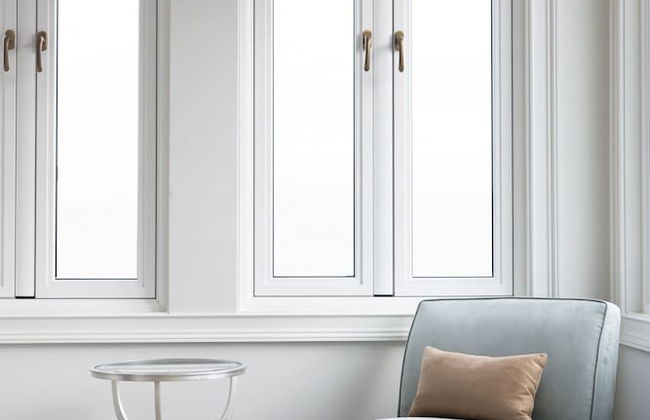
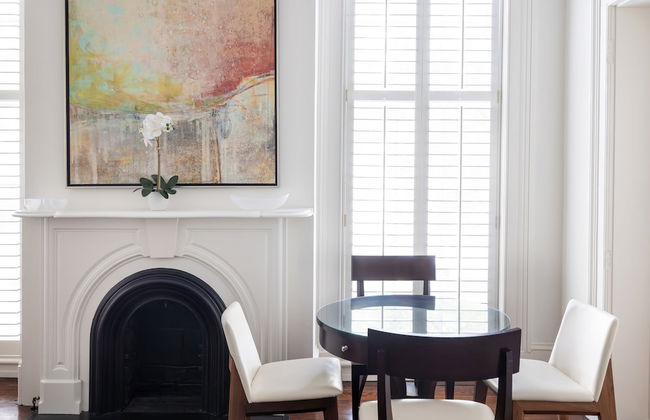
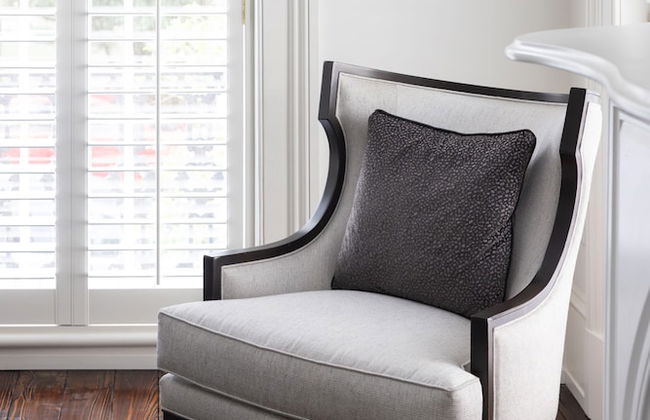
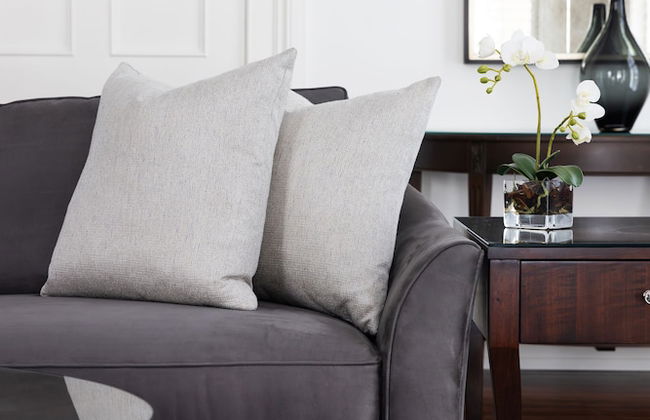
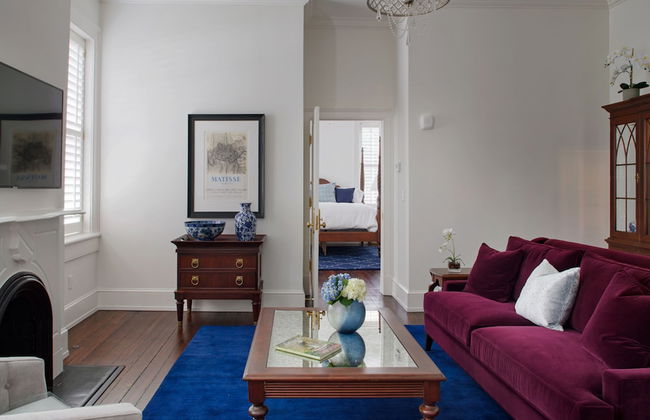
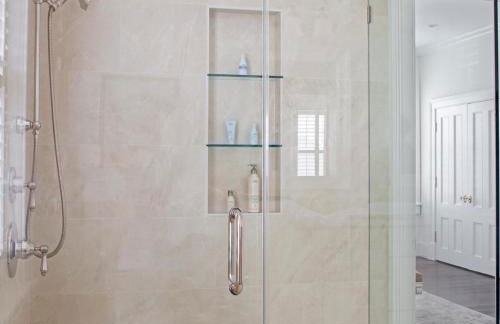
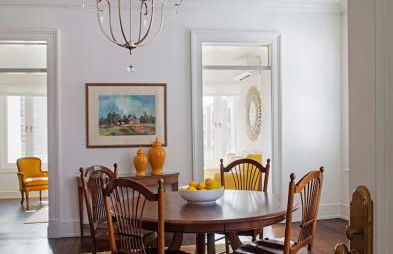
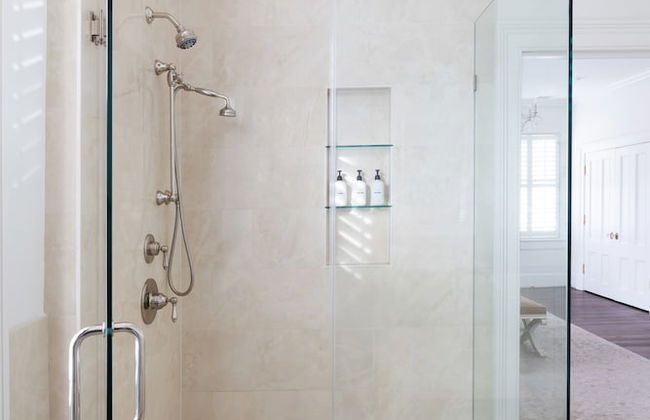
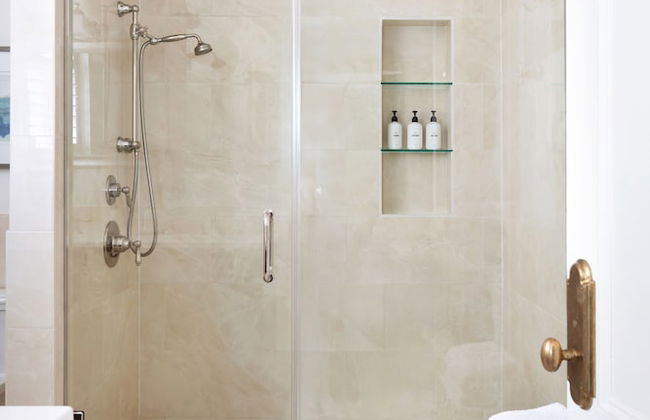
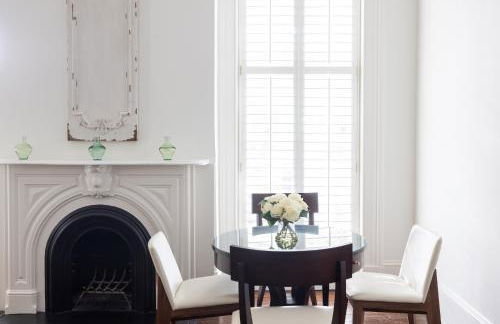
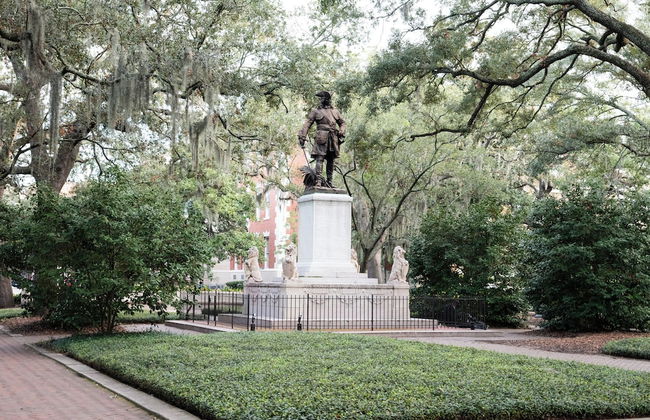
Kasa Jules Savannah - Photo 3
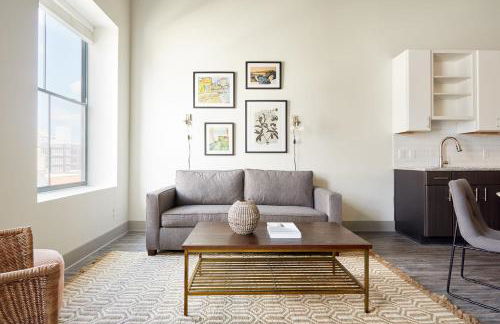
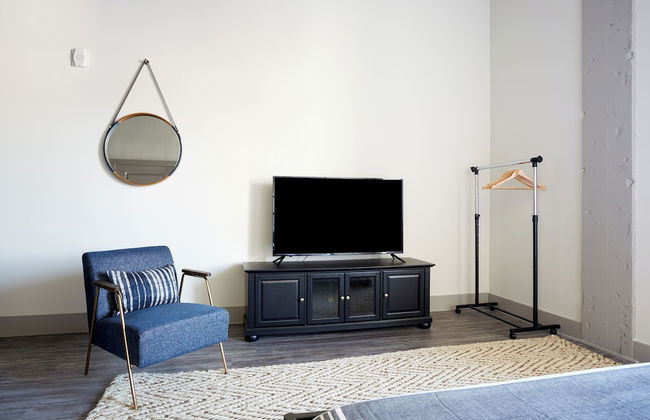
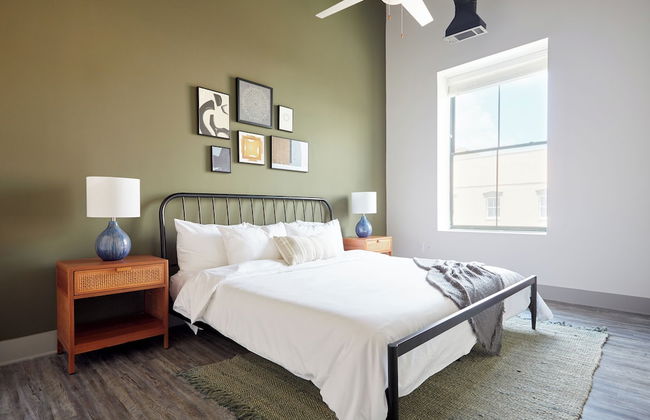
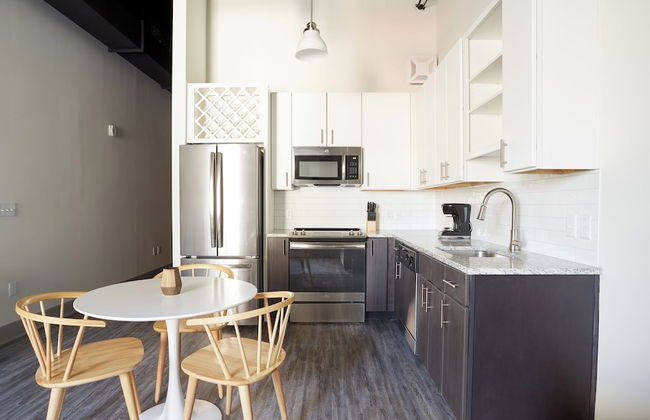
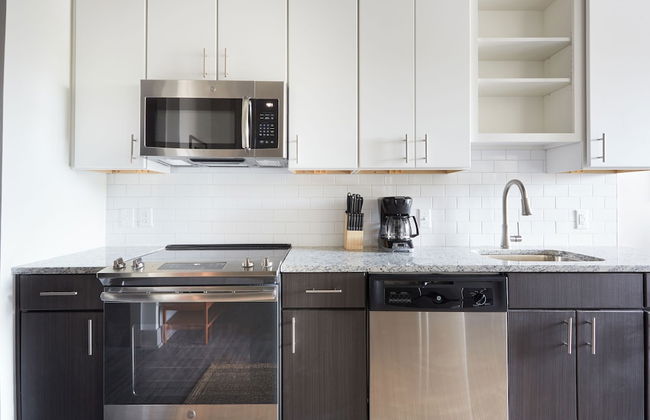
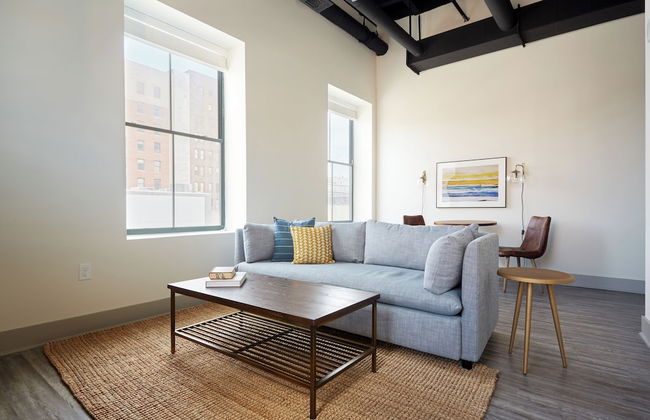
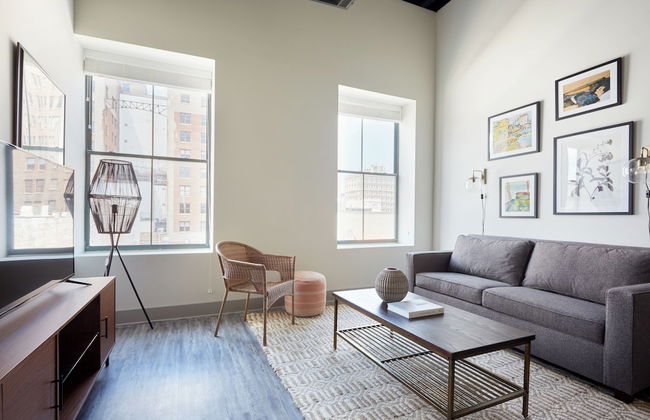
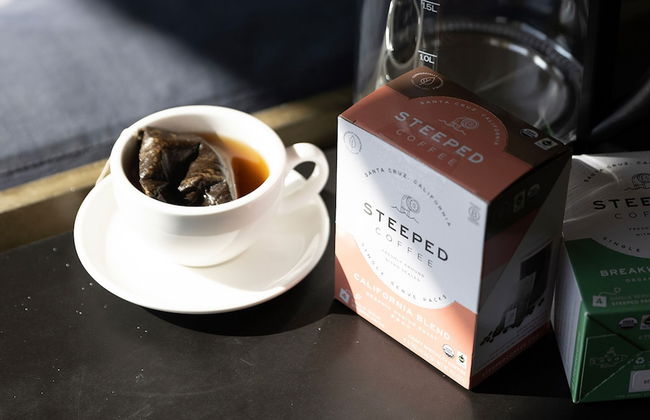
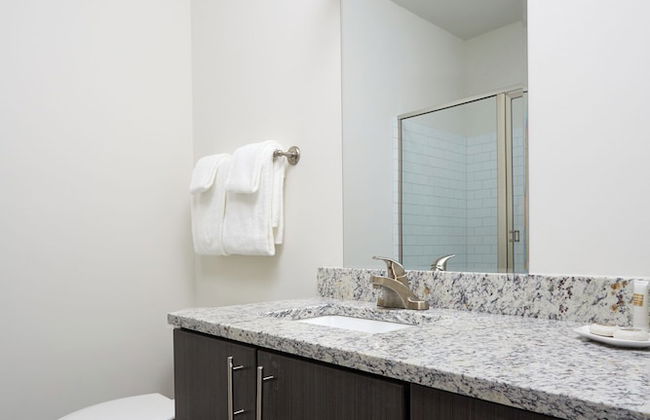
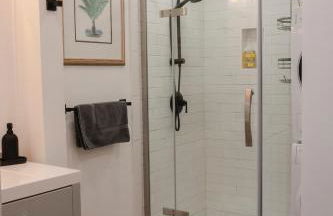
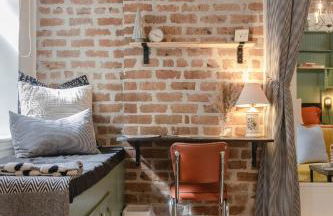
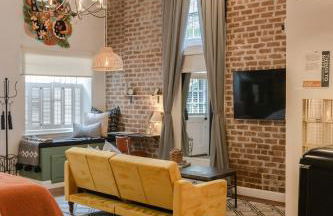
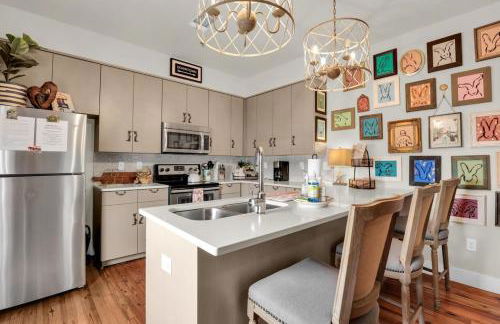
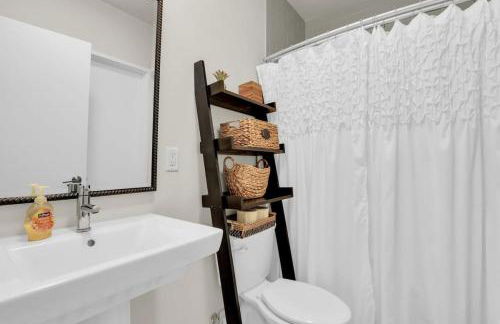
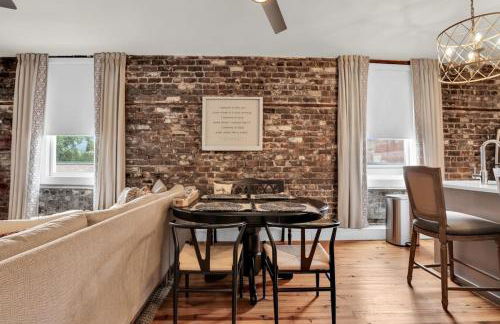
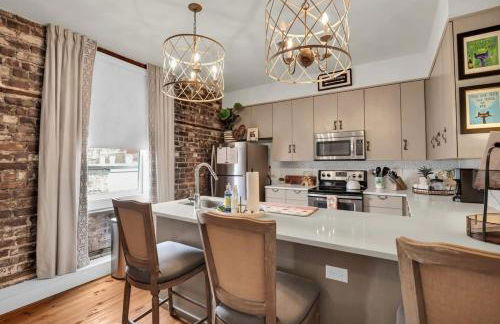
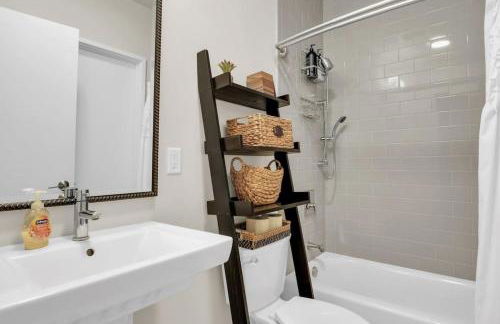
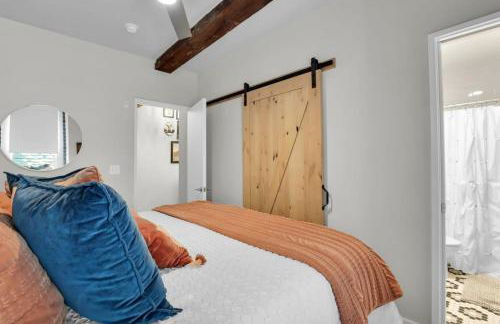
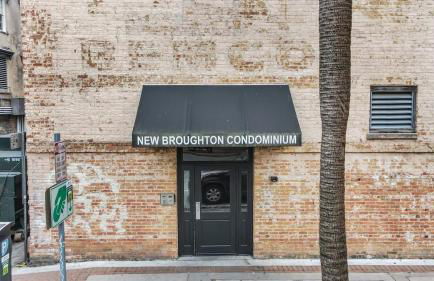
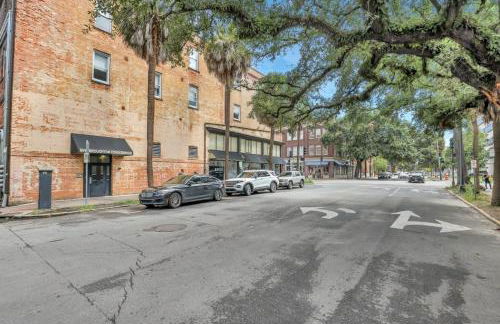
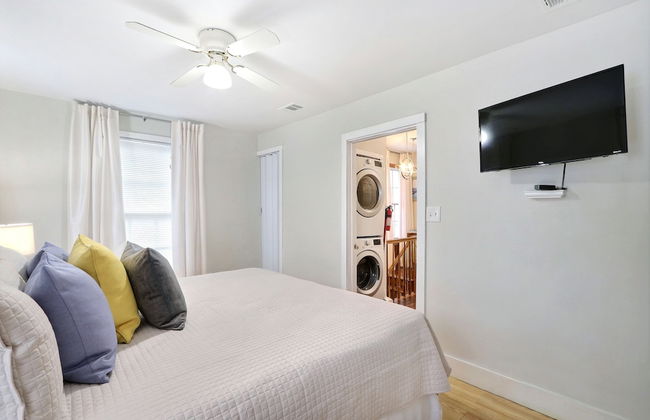
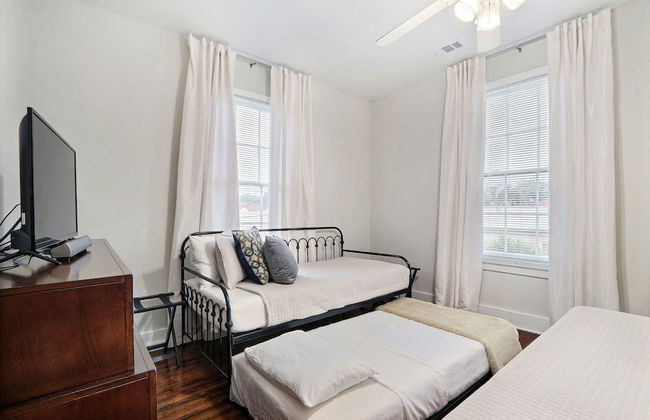
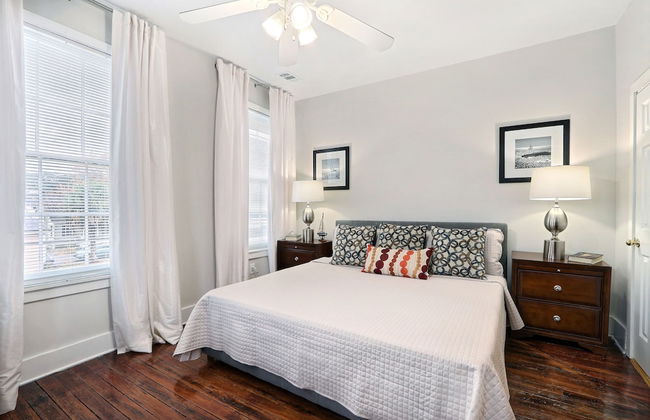
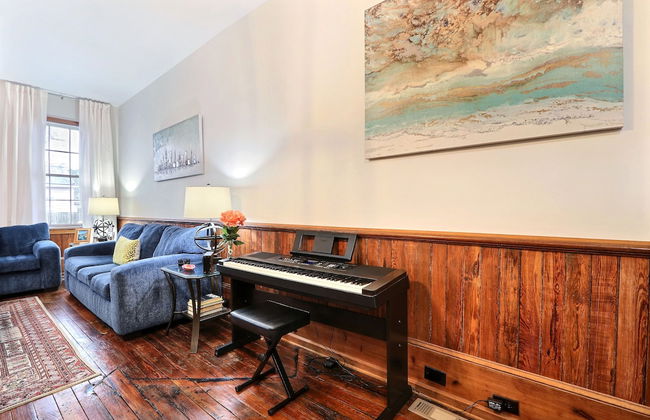
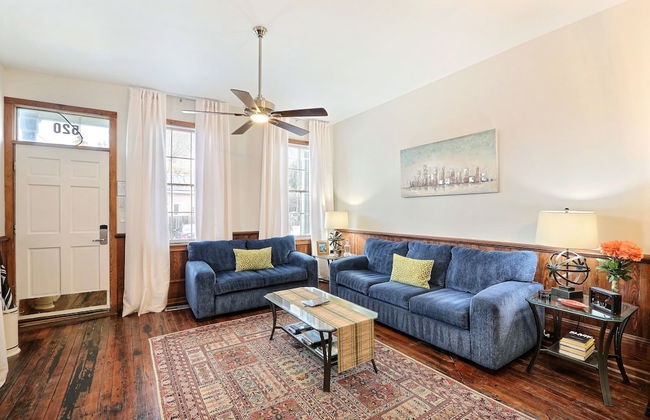
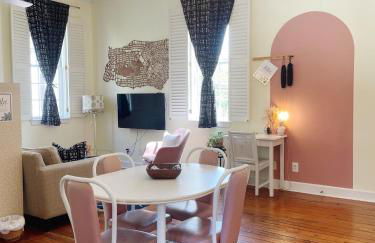
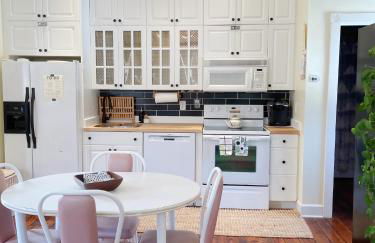
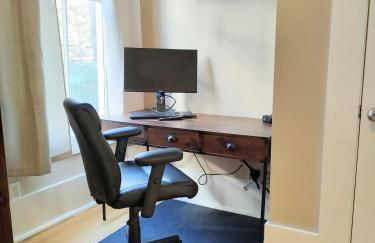
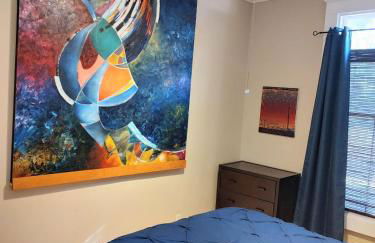
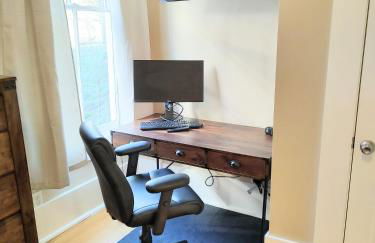
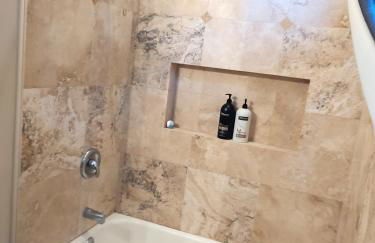
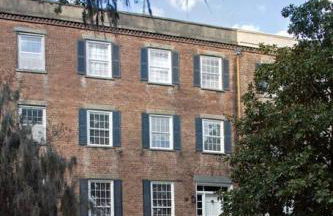
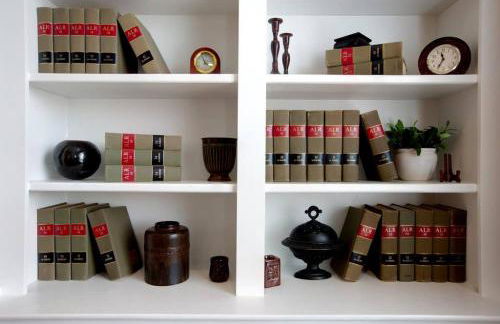
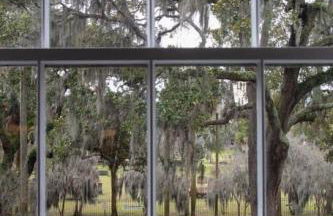
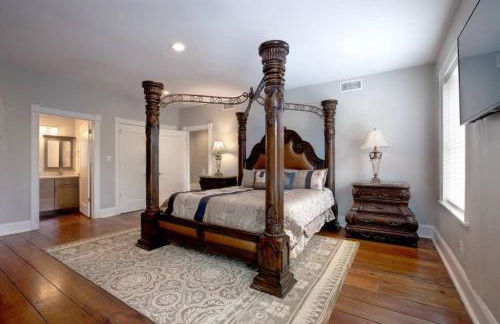
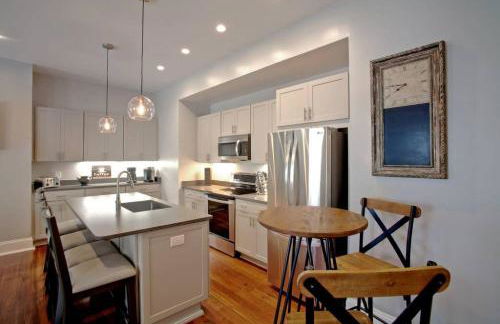
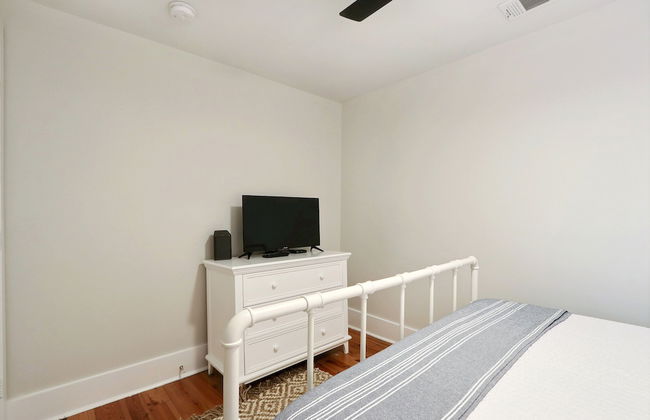
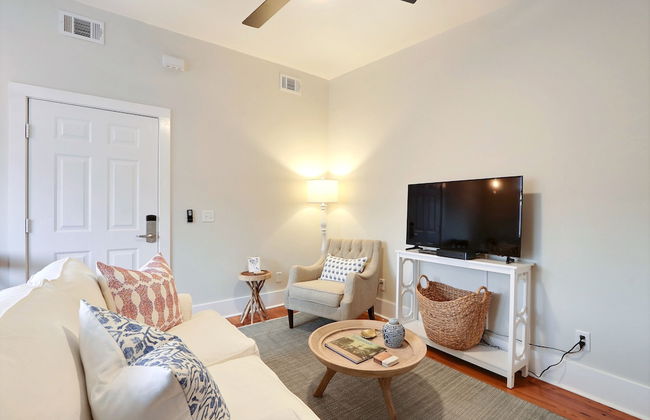
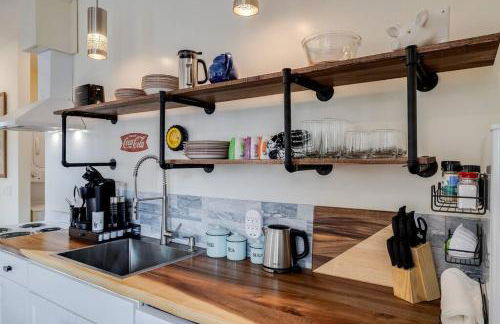
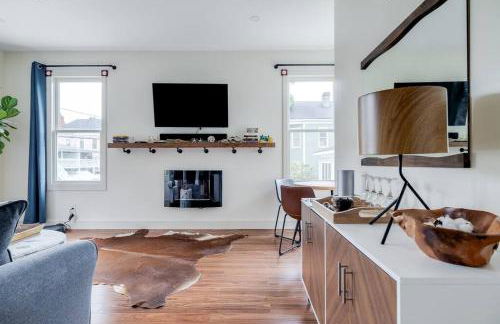
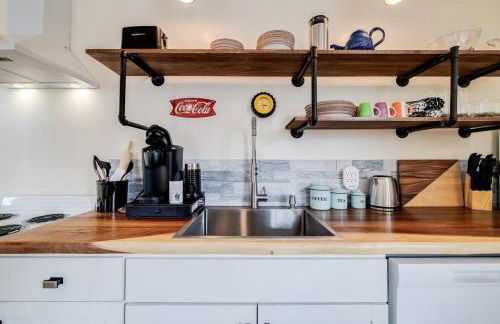
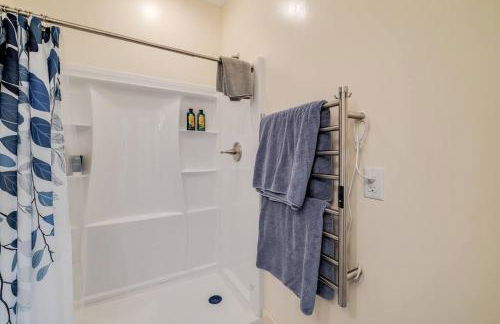
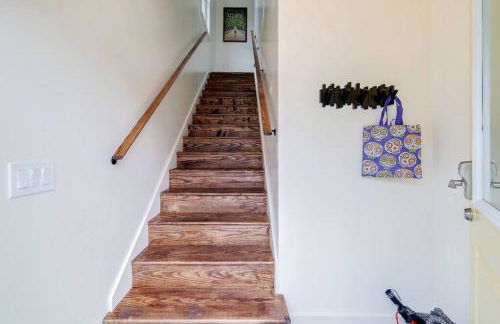
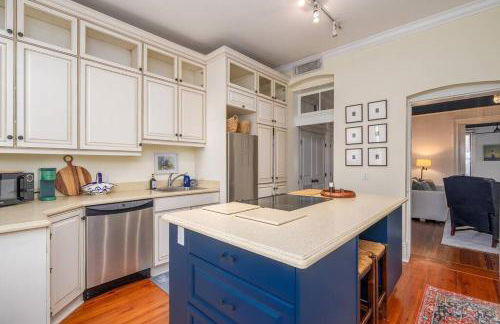
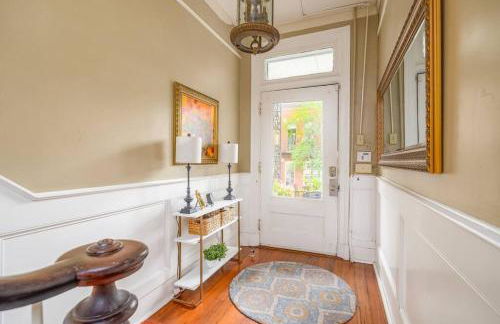
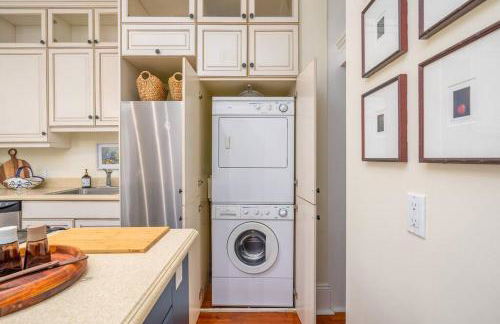
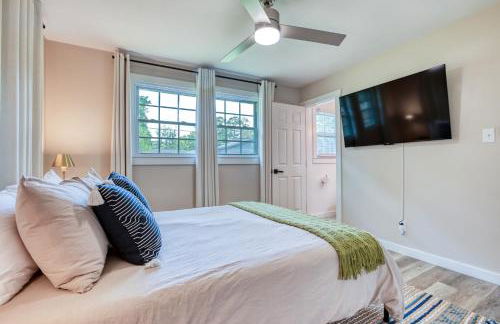
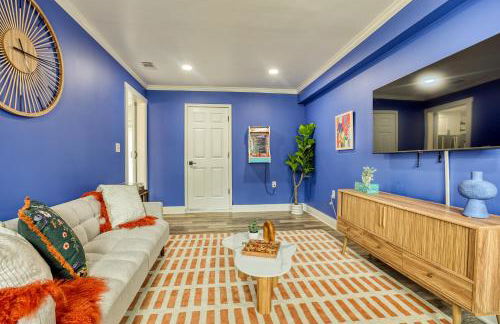
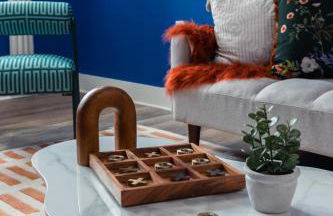
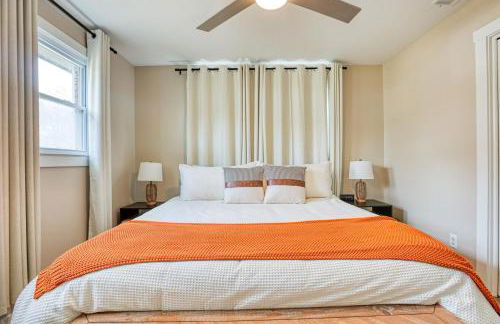
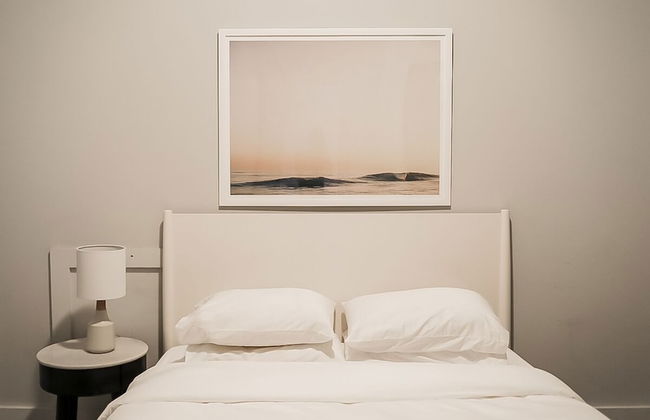
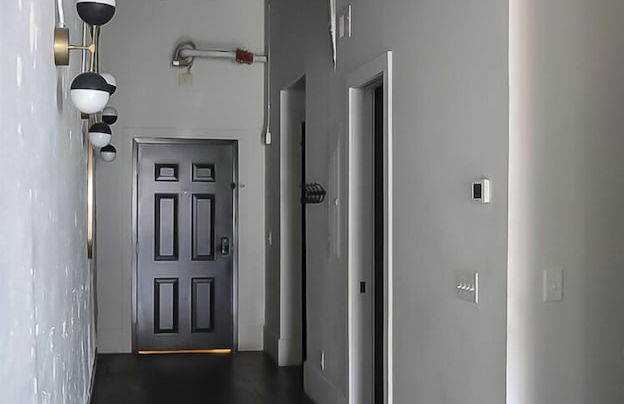
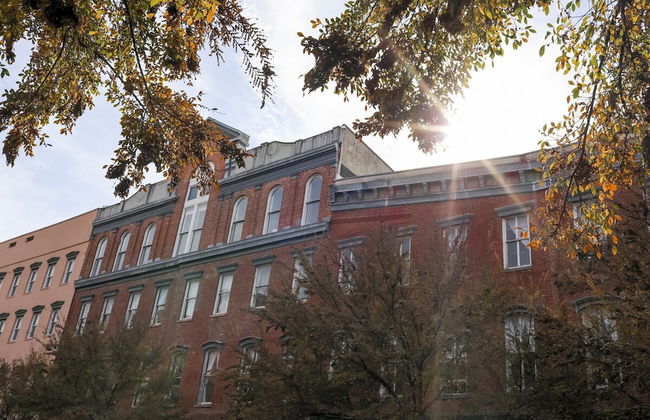
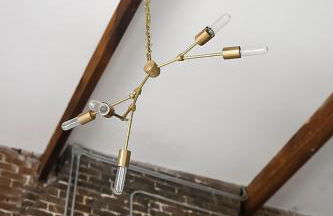
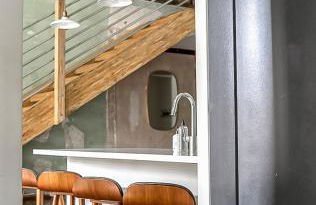
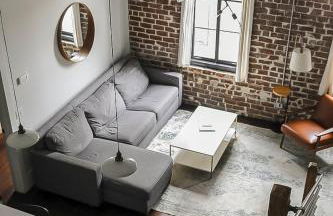
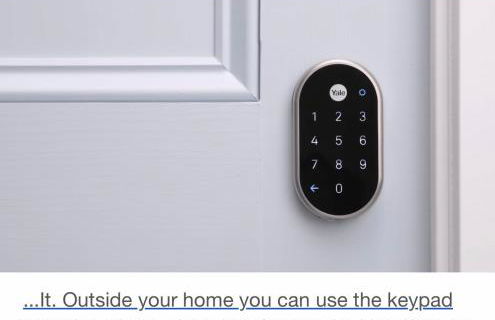
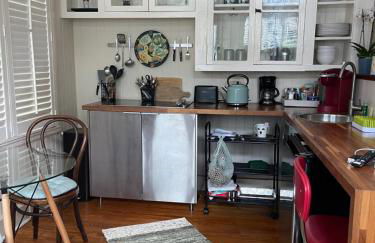
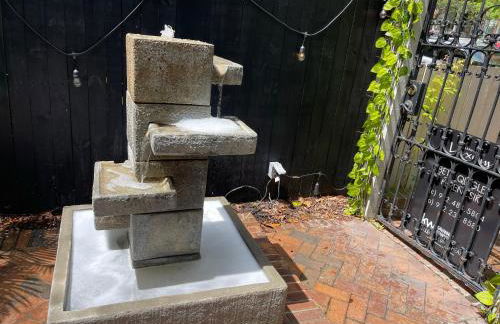
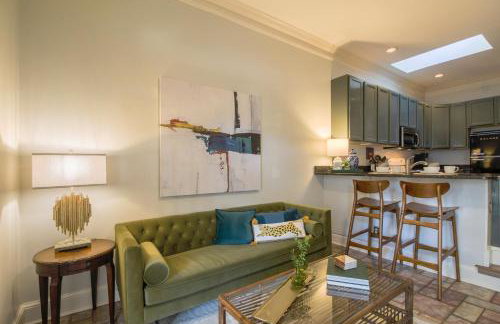
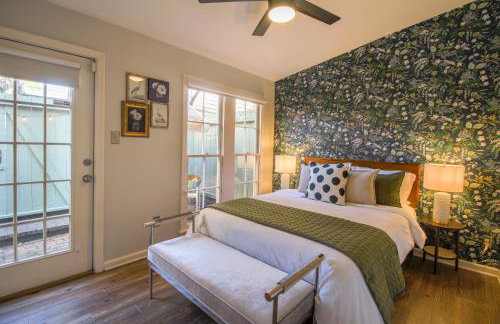
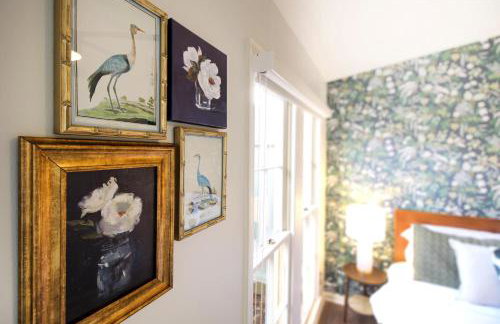
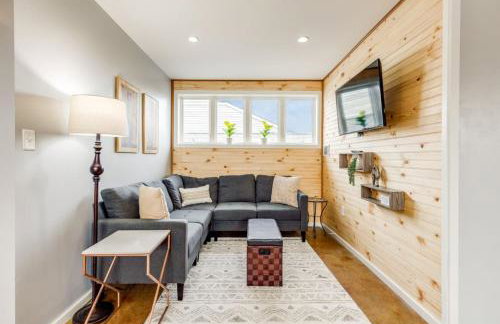
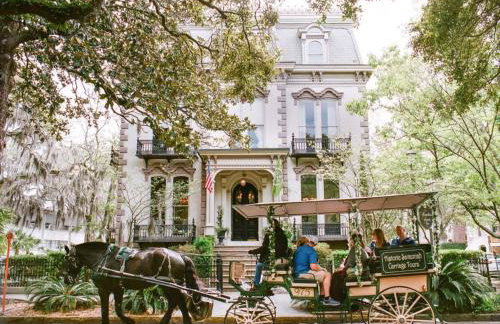
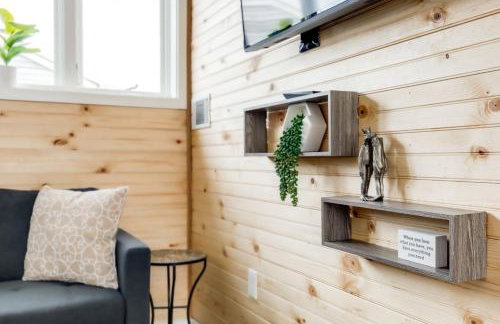
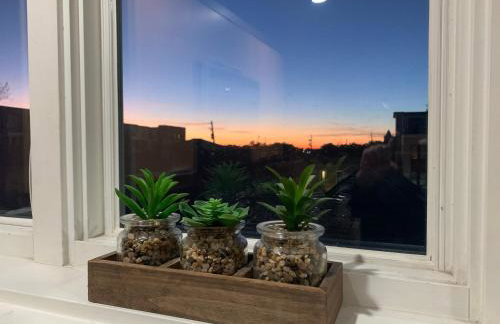
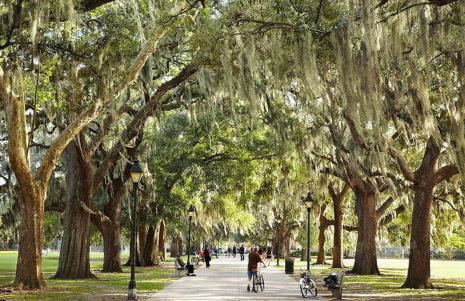
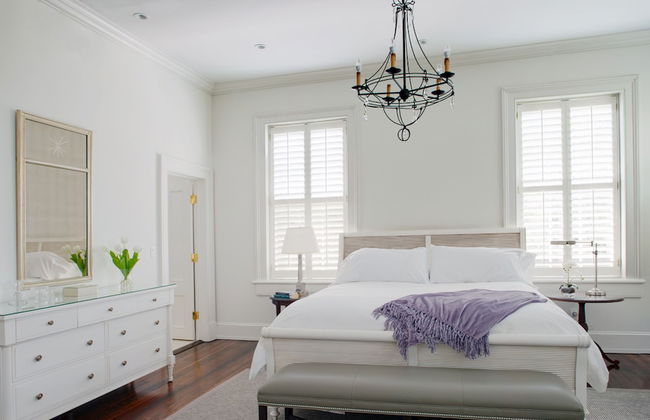
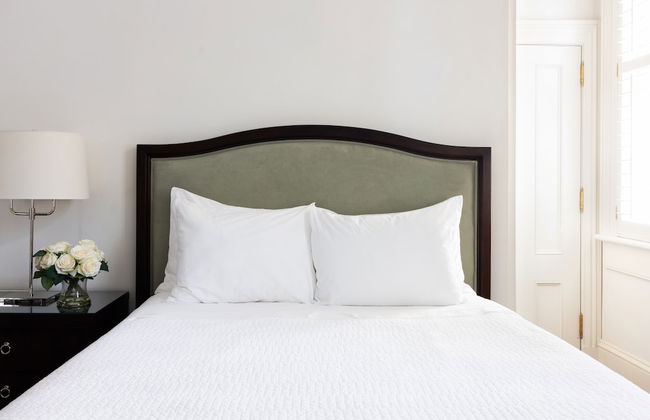
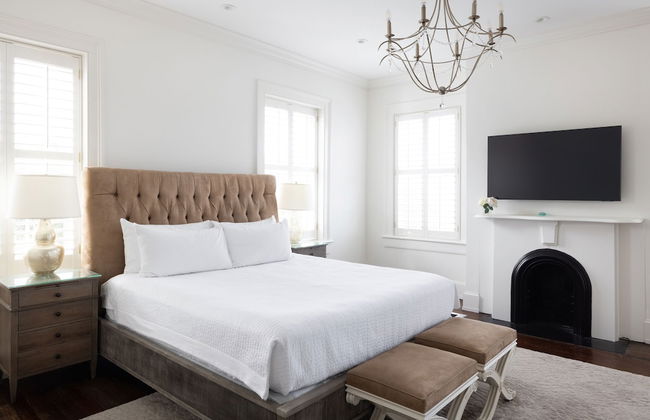
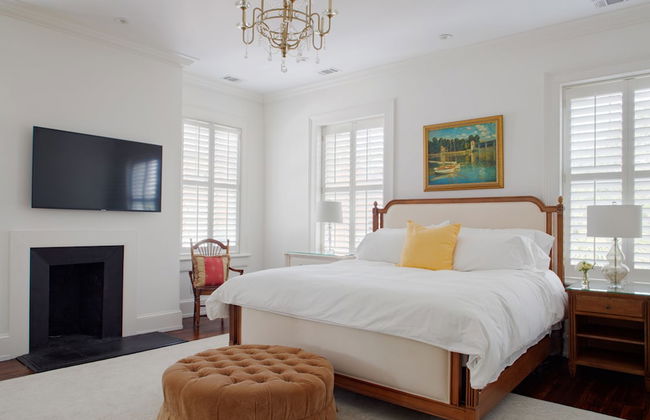
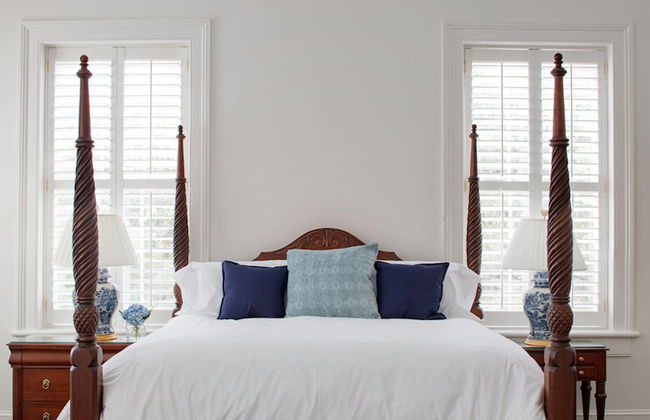
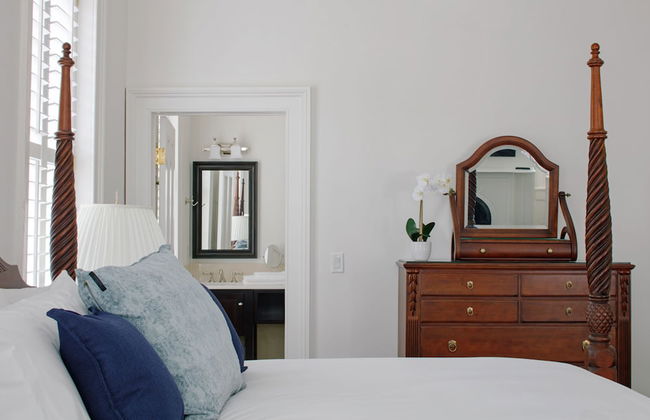
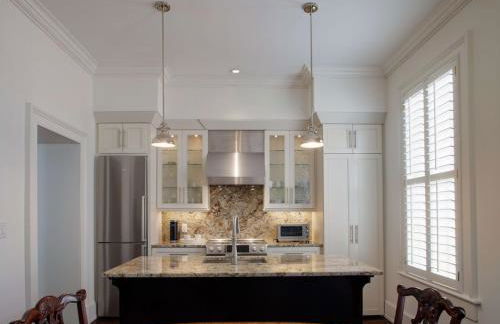
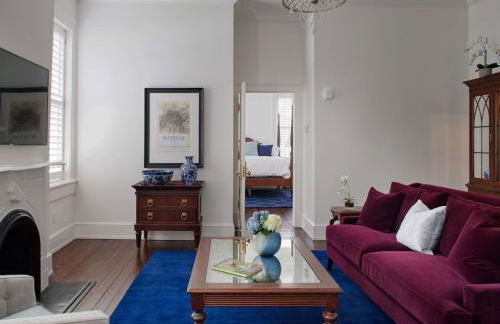
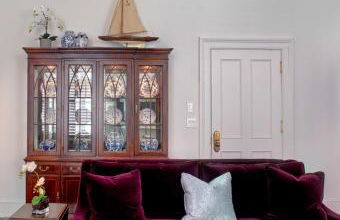
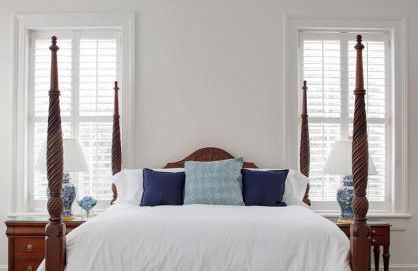
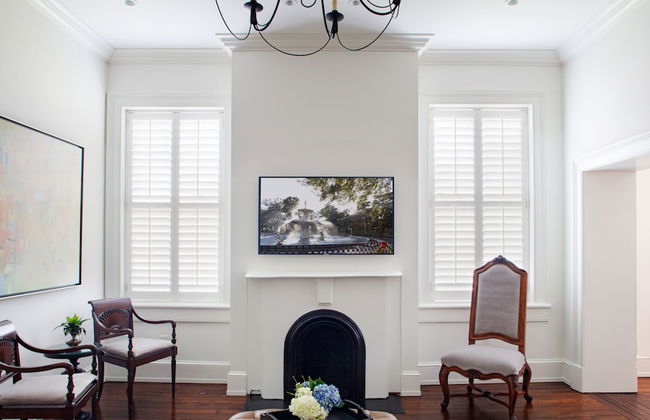
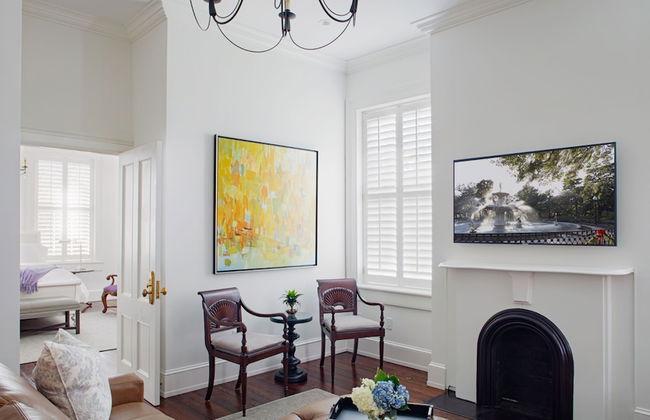
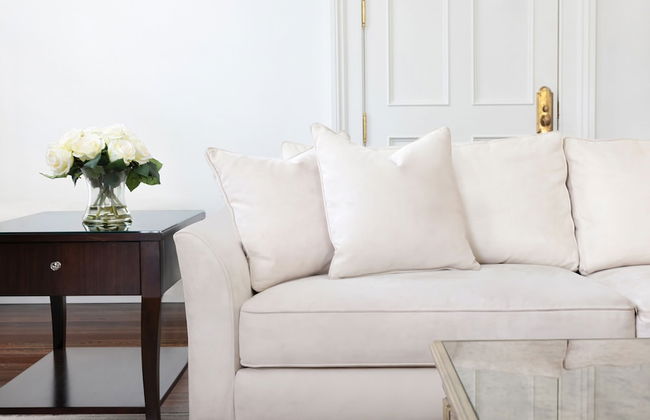
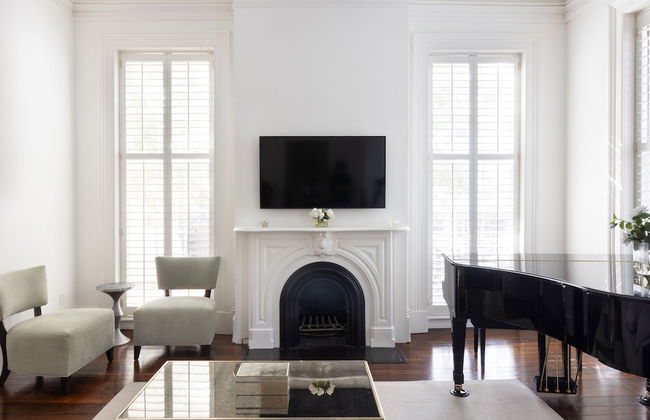
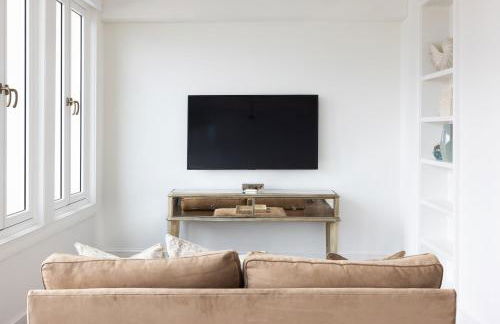
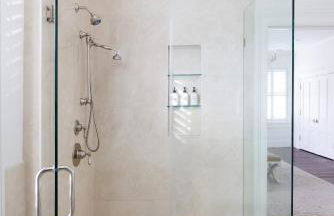
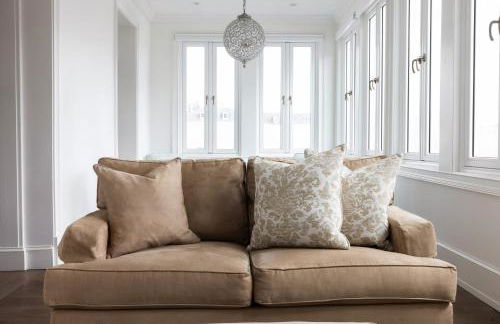
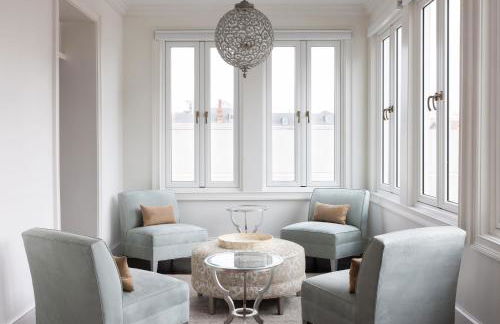
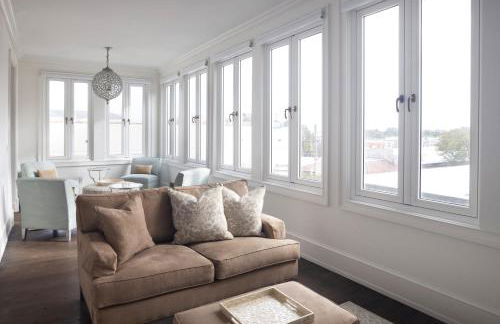
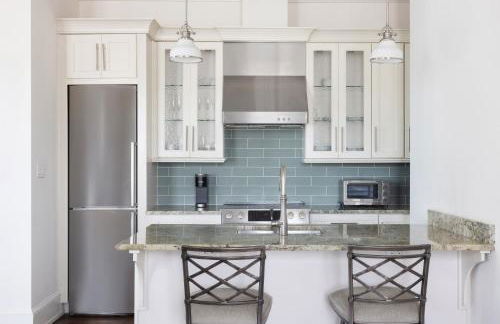
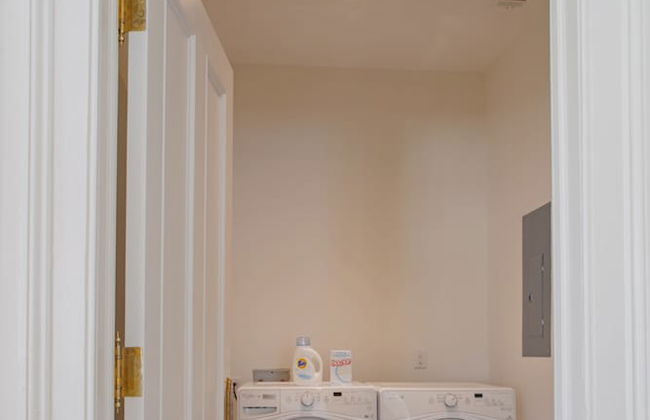
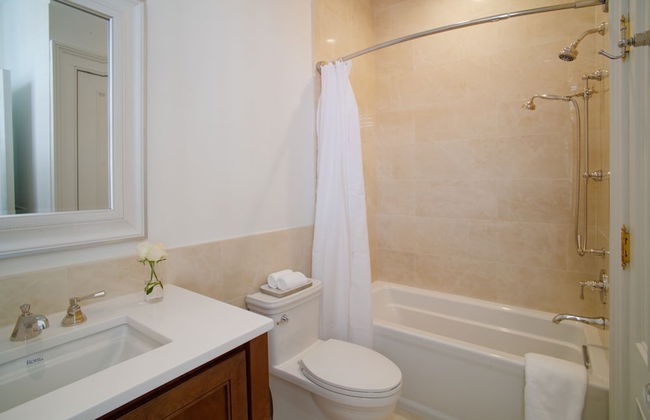
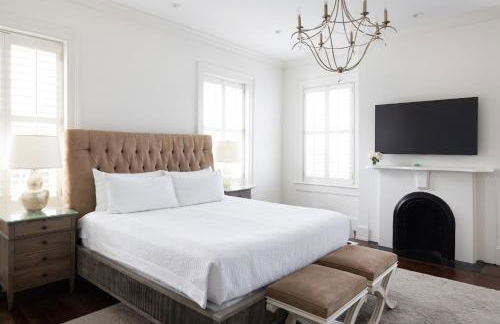
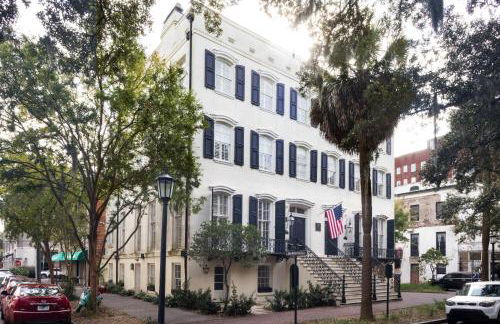
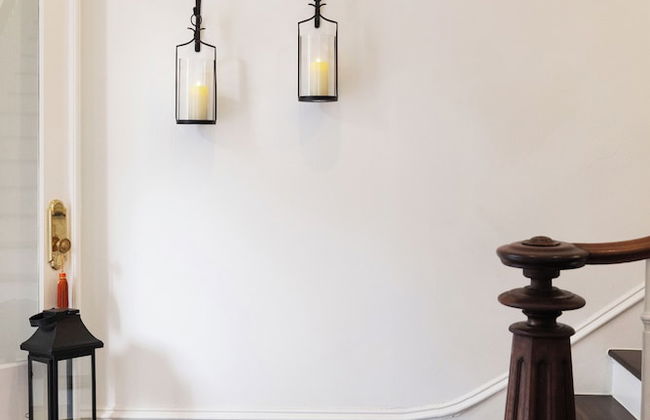
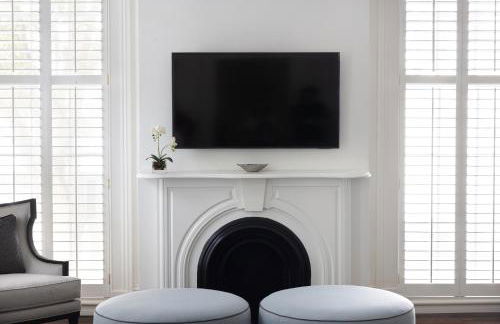
Kasa Jules Savannah - Photo 4
Kasa Jules Savannah - Photo 5
Kasa Jules Savannah - Photo 6
Kasa Jules Savannah - Photo 7
Kasa Jules Savannah - Photo 8
Kasa Jules Savannah - Photo 9
Kasa Jules Savannah - Photo 10
Kasa Jules Savannah - Photo 11
Kasa Jules Savannah - Photo 12
Kasa Jules Savannah - Photo 13
Kasa Jules Savannah - Photo 14
Kasa Jules Savannah - Photo 15
Kasa Jules Savannah - Photo 16
Kasa Jules Savannah - Photo 17
Kasa Jules Savannah - Photo 18
Kasa Jules Savannah - Photo 19
Kasa Jules Savannah - Photo 20
Kasa Jules Savannah - Photo 21
Kasa Jules Savannah - Photo 22
Kasa Jules Savannah - Photo 23
Kasa Jules Savannah - Photo 24
Kasa Jules Savannah - Photo 25
Kasa Jules Savannah - Photo 26
Kasa Jules Savannah - Photo 27
Kasa Jules Savannah - Photo 28
Kasa Jules Savannah - Photo 29
Kasa Jules Savannah - Photo 30
Kasa Jules Savannah - Photo 31
Kasa Jules Savannah - Photo 32
Kasa Jules Savannah - Photo 33
Kasa Jules Savannah - Photo 34
Kasa Jules Savannah - Photo 35
Kasa Jules Savannah - Photo 36
Kasa Jules Savannah - Photo 37
Kasa Jules Savannah - Photo 38
Kasa Jules Savannah - Photo 39
Kasa Jules Savannah - Photo 40
Kasa Jules Savannah - Photo 41
Kasa Jules Savannah - Photo 42
Kasa Jules Savannah - Photo 43
Kasa Jules Savannah - Photo 44
Kasa Jules Savannah - Photo 45
Kasa Jules Savannah - Photo 46
Kasa Jules Savannah - Photo 47
Kasa Jules Savannah - Photo 48
Kasa Jules Savannah - Photo 49
Kasa Jules Savannah - Photo 50
Kasa Jules Savannah - Photo 51
Kasa Jules Savannah - Photo 52
Kasa Jules Savannah - Photo 53
Kasa Jules Savannah - Photo 54
Kasa Jules Savannah - Photo 55
Kasa Jules Savannah - Photo 56
Kasa Jules Savannah - Photo 57
Kasa Jules Savannah - Photo 58
Kasa Jules Savannah - Photo 59
Kasa Jules Savannah - Photo 60
Kasa Jules Savannah - Photo 61
Kasa Jules Savannah - Photo 62
Kasa Jules Savannah - Photo 63
Kasa Jules Savannah - Photo 64
Kasa Jules Savannah - Photo 65
Kasa Jules Savannah - Photo 66
Kasa Jules Savannah - Photo 67
Kasa Jules Savannah - Photo 68
Kasa Jules Savannah - Photo 69
Kasa Jules Savannah - Photo 70
Kasa Jules Savannah - Photo 71
Kasa Jules Savannah - Photo 72
Kasa Jules Savannah - Photo 73
Kasa Jules Savannah - Photo 74
Kasa Jules Savannah - Photo 75
Kasa Jules Savannah - Photo 76
Kasa Jules Savannah - Photo 77
Kasa Jules Savannah - Photo 78
Kasa Jules Savannah - Photo 79
Kasa Jules Savannah - Photo 80
Kasa Jules Savannah - Photo 81
Kasa Jules Savannah - Photo 82
Kasa Jules Savannah - Photo 83
Kasa Jules Savannah - Photo 84
Kasa Jules Savannah - Photo 85
Kasa Jules Savannah - Photo 86
Kasa Jules Savannah - Photo 87
Kasa Jules Savannah - Photo 88
Kasa Jules Savannah - Photo 89
Kasa Jules Savannah - Photo 90
Kasa Jules Savannah - Photo 91
Kasa Jules Savannah - Photo 92
Kasa Jules Savannah - Photo 93
Kasa Jules Savannah - Photo 94
Kasa Jules Savannah - Photo 95
Kasa Jules Savannah - Photo 96
Kasa Jules Savannah - Photo 97
Kasa Jules Savannah - Photo 98
Kasa Jules Savannah - Photo 99
Kasa Jules Savannah - Photo 100
Kasa Jules Savannah - Photo 101
Kasa Jules Savannah - Photo 102
Kasa Jules Savannah - Photo 103
Kasa Jules Savannah - Photo 104
Kasa Jules Savannah - Photo 105
Kasa Jules Savannah - Photo 106
Kasa Jules Savannah - Photo 107
Kasa Jules Savannah - Photo 108
Kasa Jules Savannah - Photo 109
Kasa Jules Savannah - Photo 110
Kasa Jules Savannah - Photo 111
Kasa Jules Savannah - Photo 112
Kasa Jules Savannah - Photo 113
Kasa Jules Savannah - Photo 114
Kasa Jules Savannah - Photo 115
Kasa Jules Savannah - Photo 116
Kasa Jules Savannah - Photo 117
Kasa Jules Savannah - Photo 118
Kasa Jules Savannah - Photo 119
Kasa Jules Savannah - Photo 120
Kasa Jules Savannah - Photo 121
Kasa Jules Savannah - Photo 122
Kasa Jules Savannah - Photo 123
Kasa Jules Savannah - Photo 124
Kasa Jules Savannah - Photo 125
Kasa Jules Savannah - Photo 126
Kasa Jules Savannah - Photo 127
Kasa Jules Savannah - Photo 128
Kasa Jules Savannah - Photo 129
Kasa Jules Savannah - Photo 130
Kasa Jules Savannah - Photo 131
Kasa Jules Savannah - Photo 132
Kasa Jules Savannah - Photo 133
Kasa Jules Savannah - Photo 134
Kasa Jules Savannah - Photo 135
Kasa Jules Savannah - Photo 136
Kasa Jules Savannah - Photo 137
Kasa Jules Savannah - Photo 138
Kasa Jules Savannah - Photo 139
Kasa Jules Savannah - Photo 140
Kasa Jules Savannah - Photo 141
Kasa Jules Savannah - Photo 142
Kasa Jules Savannah - Photo 143
Kasa Jules Savannah - Photo 144
Kasa Jules Savannah - Photo 145
Kasa Jules Savannah - Photo 146
Kasa Jules Savannah - Photo 147
Kasa Jules Savannah - Photo 148
Kasa Jules Savannah - Photo 149
Kasa Jules Savannah - Photo 150
Kasa Jules Savannah - Photo 151
Kasa Jules Savannah - Photo 152
Kasa Jules Savannah - Photo 153
Kasa Jules Savannah - Photo 154
Kasa Jules Savannah - Photo 155
Kasa Jules Savannah - Photo 156
Kasa Jules Savannah - Photo 157
Kasa Jules Savannah - Photo 158
Kasa Jules Savannah - Photo 159
Kasa Jules Savannah - Photo 160

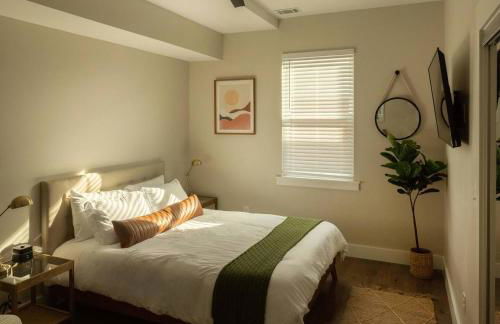
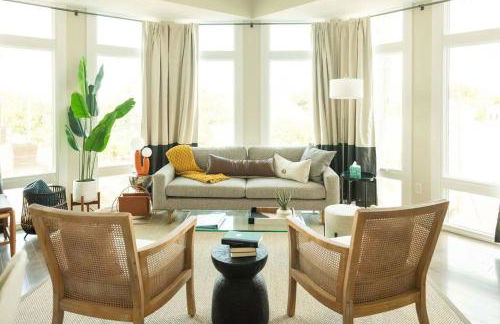
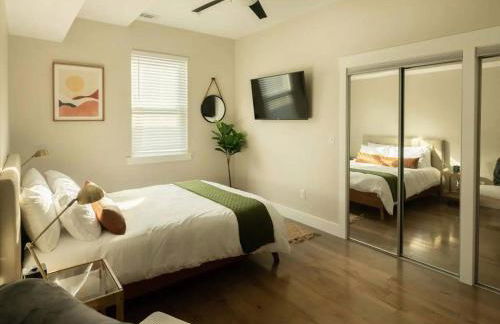
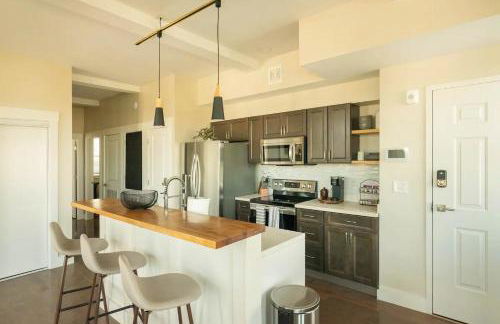
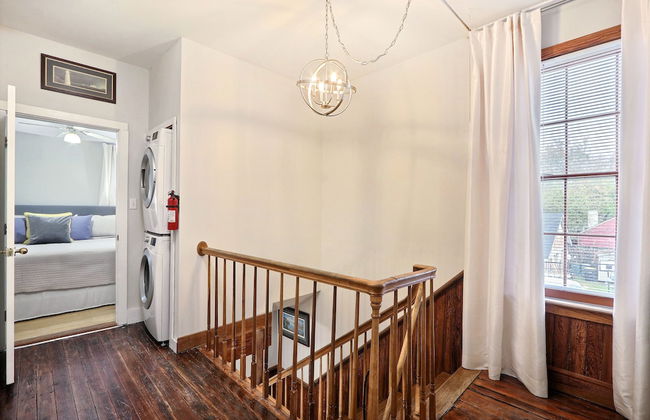
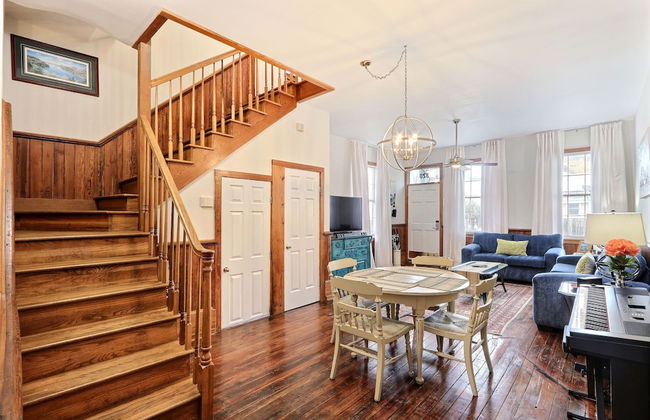
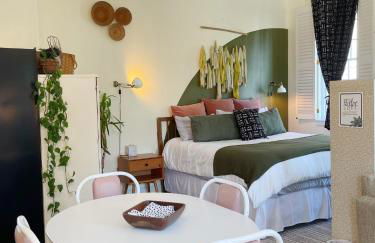
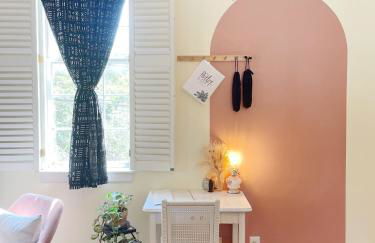
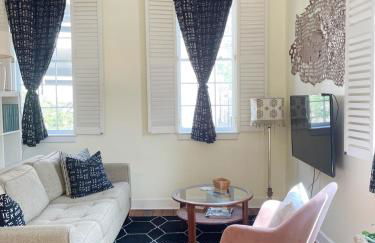
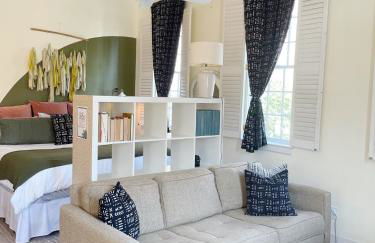
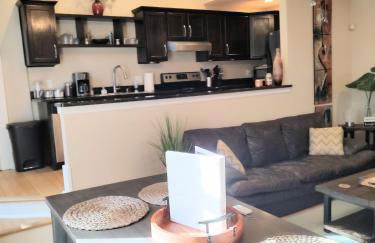
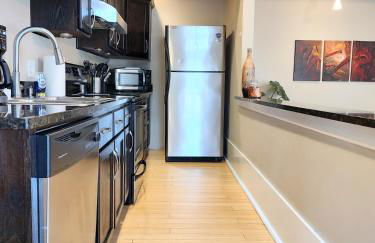
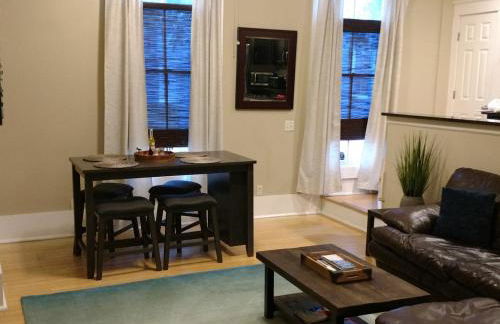
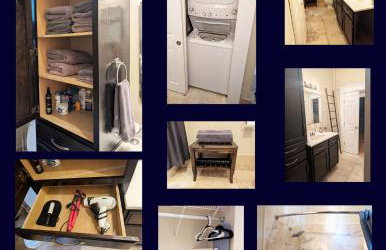
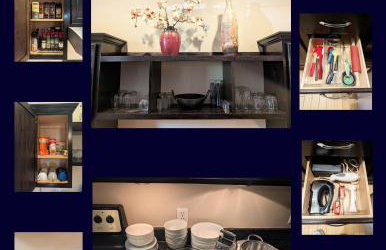
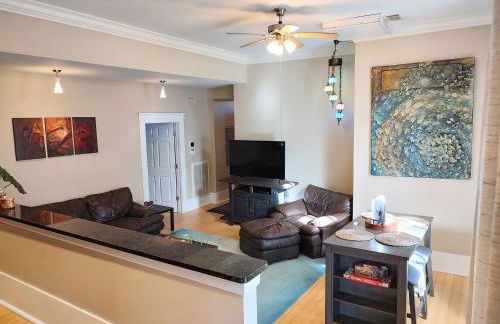
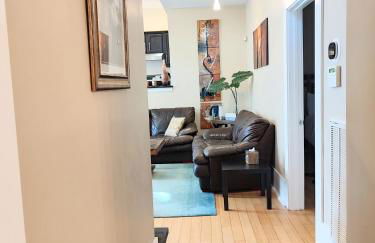
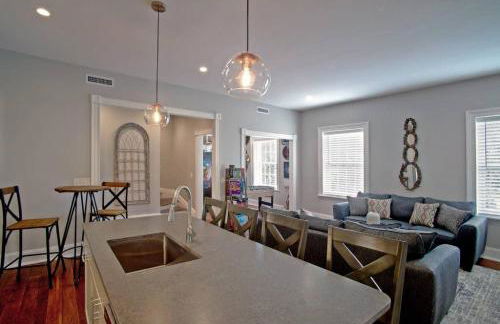
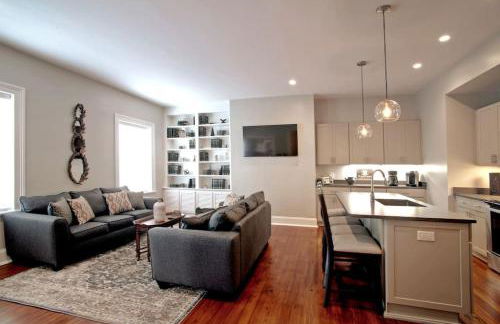
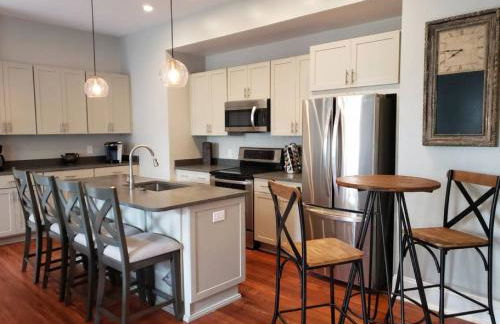
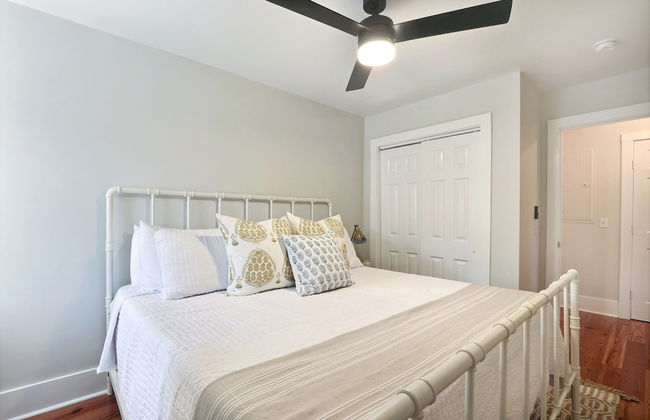
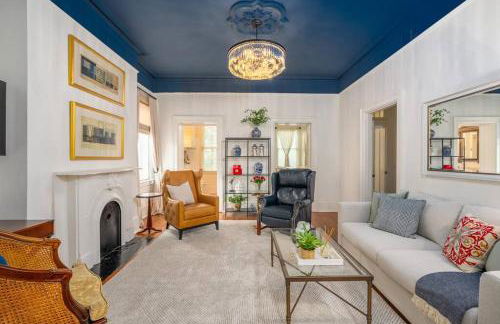
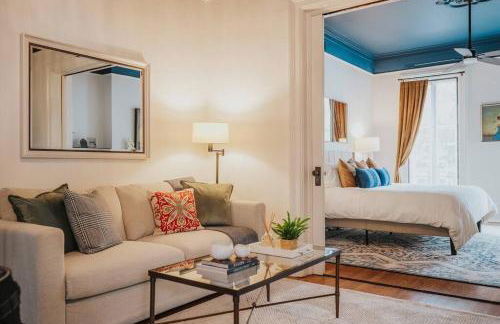
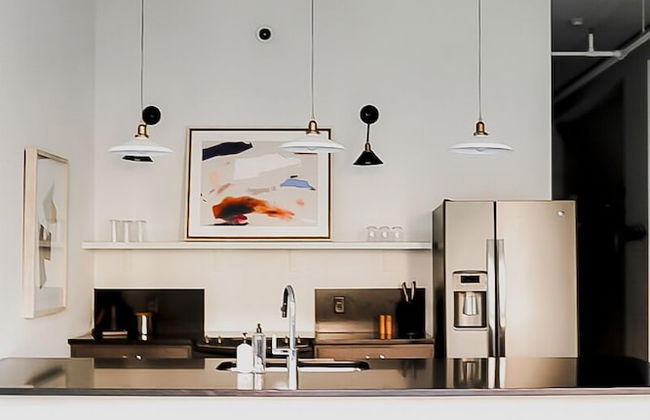
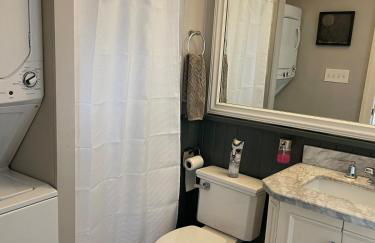
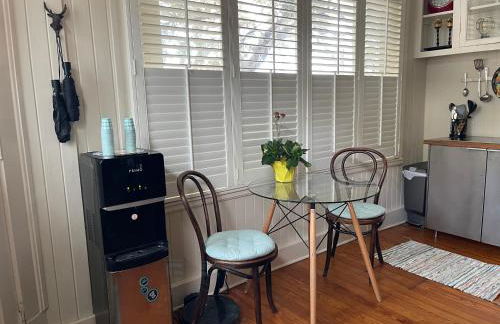
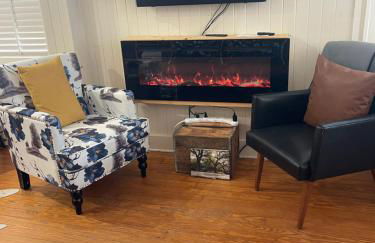
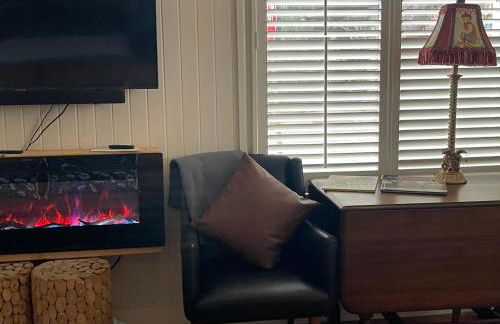
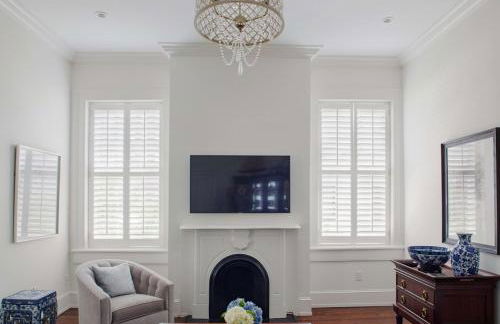
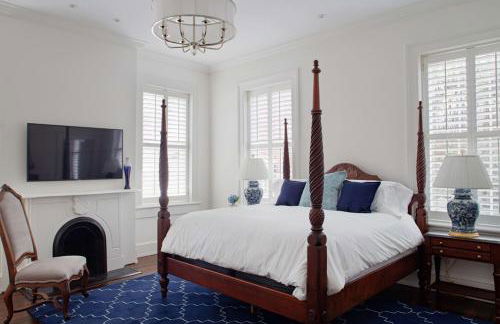
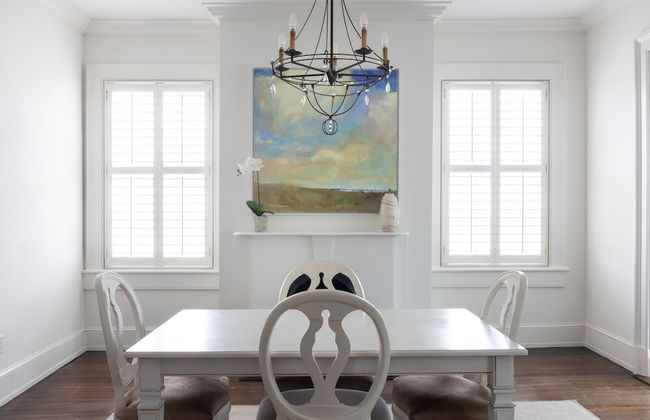
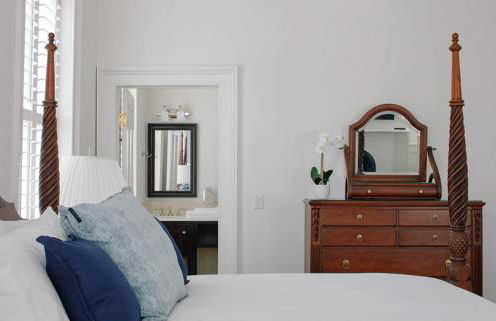
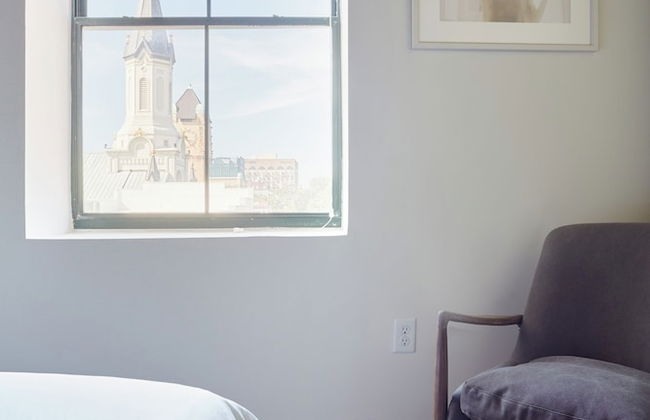
Kasa Jules Savannah

Savannah - Downtown Savannah - Dans le centre

  • 93 M2
  • 2 chambres
  • 6 personnes
  • Air conditionné
  • Le chauffage
  • Ascenseur
  • Tv
  • Machine à laver
  • Serviettes
  • Feuilles
9.4Exceptionnel | 131 avis
Kasa Altmayer Savannah - Photo 1
Kasa Altmayer Savannah - Photo 2
Kasa Altmayer Savannah - Photo 3
Kasa Altmayer Savannah - Photo 4
Kasa Altmayer Savannah - Photo 5
Kasa Altmayer Savannah - Photo 6
Kasa Altmayer Savannah - Photo 7
Kasa Altmayer Savannah - Photo 8
Kasa Altmayer Savannah - Photo 9
Kasa Altmayer Savannah - Photo 10
Kasa Altmayer Savannah - Photo 11
Kasa Altmayer Savannah - Photo 12
Kasa Altmayer Savannah - Photo 13
Kasa Altmayer Savannah - Photo 14
Kasa Altmayer Savannah - Photo 15
Kasa Altmayer Savannah - Photo 16
Kasa Altmayer Savannah - Photo 17
Kasa Altmayer Savannah - Photo 18
Kasa Altmayer Savannah - Photo 19
Kasa Altmayer Savannah - Photo 20
Kasa Altmayer Savannah - Photo 21
Kasa Altmayer Savannah - Photo 22
Kasa Altmayer Savannah - Photo 23
Kasa Altmayer Savannah - Photo 24
Kasa Altmayer Savannah - Photo 25
Kasa Altmayer Savannah - Photo 26
Kasa Altmayer Savannah - Photo 27
Kasa Altmayer Savannah - Photo 28
Kasa Altmayer Savannah - Photo 29
Kasa Altmayer Savannah - Photo 30
Kasa Altmayer Savannah - Photo 31
Kasa Altmayer Savannah - Photo 32
Kasa Altmayer Savannah - Photo 33
Kasa Altmayer Savannah - Photo 34
Kasa Altmayer Savannah - Photo 35
Kasa Altmayer Savannah - Photo 36
Kasa Altmayer Savannah - Photo 37
Kasa Altmayer Savannah - Photo 38
Kasa Altmayer Savannah - Photo 39
Kasa Altmayer Savannah - Photo 40
Kasa Altmayer Savannah - Photo 41
Kasa Altmayer Savannah - Photo 42
Kasa Altmayer Savannah - Photo 43
Kasa Altmayer Savannah - Photo 44
Kasa Altmayer Savannah - Photo 45
Kasa Altmayer Savannah - Photo 46
Kasa Altmayer Savannah - Photo 47
Kasa Altmayer Savannah - Photo 48
Kasa Altmayer Savannah - Photo 49
Kasa Altmayer Savannah - Photo 50
Kasa Altmayer Savannah - Photo 51
Kasa Altmayer Savannah - Photo 52
Kasa Altmayer Savannah - Photo 53
Kasa Altmayer Savannah - Photo 54
Kasa Altmayer Savannah - Photo 55
Kasa Altmayer Savannah - Photo 56
Kasa Altmayer Savannah - Photo 57
Kasa Altmayer Savannah - Photo 58

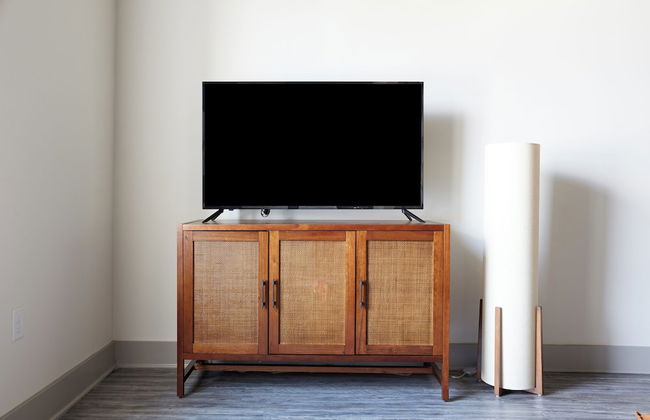
Kasa Altmayer Savannah

Savannah - Downtown Savannah - Dans le centre

  • 61 M2
  • 4 personnes
  • Air conditionné
  • Le chauffage
  • Ascenseur
  • Tv
  • Machine à laver
  • Serviettes
  • Feuilles
8.8Très bon | 335 avis
Historic Garden Studio, Steps from Pulaski Square - Photo 1
Historic Garden Studio, Steps from Pulaski Square - Photo 2
Historic Garden Studio, Steps from Pulaski Square - Photo 3
Historic Garden Studio, Steps from Pulaski Square - Photo 4
Historic Garden Studio, Steps from Pulaski Square - Photo 5
Historic Garden Studio, Steps from Pulaski Square - Photo 6
Historic Garden Studio, Steps from Pulaski Square - Photo 7
Historic Garden Studio, Steps from Pulaski Square - Photo 8
Historic Garden Studio, Steps from Pulaski Square - Photo 9
Historic Garden Studio, Steps from Pulaski Square - Photo 10
Historic Garden Studio, Steps from Pulaski Square - Photo 11
Historic Garden Studio, Steps from Pulaski Square - Photo 12
Historic Garden Studio, Steps from Pulaski Square - Photo 13
Historic Garden Studio, Steps from Pulaski Square - Photo 14
Historic Garden Studio, Steps from Pulaski Square - Photo 15
Historic Garden Studio, Steps from Pulaski Square - Photo 16
Historic Garden Studio, Steps from Pulaski Square - Photo 17
Historic Garden Studio, Steps from Pulaski Square - Photo 18

Historic Garden Studio, Steps from Pulaski Square

Savannah - Downtown Savannah - À 280 m du centre

  • 56 M2
  • 2 personnes
  • Air conditionné
  • Le chauffage
9.5Exceptionnel | 31 avis
Telfair Square - Photo 1

Telfair Square

Savannah - Downtown Savannah - Dans le centre

  • Ascenseur
8.6Très bon | 49 avis
Downtown, contemporary, 2 bedroom, Roof Terrace! 4A - Photo 1
Downtown, contemporary, 2 bedroom, Roof Terrace! 4A - Photo 2
Downtown, contemporary, 2 bedroom, Roof Terrace! 4A - Photo 3
Downtown, contemporary, 2 bedroom, Roof Terrace! 4A - Photo 4
Downtown, contemporary, 2 bedroom, Roof Terrace! 4A - Photo 5
Downtown, contemporary, 2 bedroom, Roof Terrace! 4A - Photo 6
Downtown, contemporary, 2 bedroom, Roof Terrace! 4A - Photo 7
Downtown, contemporary, 2 bedroom, Roof Terrace! 4A - Photo 8
Downtown, contemporary, 2 bedroom, Roof Terrace! 4A - Photo 9
Downtown, contemporary, 2 bedroom, Roof Terrace! 4A - Photo 10
Downtown, contemporary, 2 bedroom, Roof Terrace! 4A - Photo 11
Downtown, contemporary, 2 bedroom, Roof Terrace! 4A - Photo 12
Downtown, contemporary, 2 bedroom, Roof Terrace! 4A - Photo 13
Downtown, contemporary, 2 bedroom, Roof Terrace! 4A - Photo 14

Downtown, contemporary, 2 bedroom, Roof Terrace! 4A

Savannah - Downtown Savannah - À 830 m du centre

  • 111 M2
  • 2 chambres
  • 6 personnes
  • Air conditionné
  • Terrasse
  • Ascenseur
  • Jardin
9.6Exceptionnel | 6 avis
The Georgia Peach -near Plant Riverside & downtown - Photo 1
The Georgia Peach -near Plant Riverside & downtown - Photo 2
The Georgia Peach -near Plant Riverside & downtown - Photo 3
The Georgia Peach -near Plant Riverside & downtown - Photo 4
The Georgia Peach -near Plant Riverside & downtown - Photo 5
The Georgia Peach -near Plant Riverside & downtown - Photo 6
The Georgia Peach -near Plant Riverside & downtown - Photo 7
The Georgia Peach -near Plant Riverside & downtown - Photo 8
The Georgia Peach -near Plant Riverside & downtown - Photo 9
The Georgia Peach -near Plant Riverside & downtown - Photo 10
The Georgia Peach -near Plant Riverside & downtown - Photo 11
The Georgia Peach -near Plant Riverside & downtown - Photo 12
The Georgia Peach -near Plant Riverside & downtown - Photo 13
The Georgia Peach -near Plant Riverside & downtown - Photo 14
The Georgia Peach -near Plant Riverside & downtown - Photo 15
The Georgia Peach -near Plant Riverside & downtown - Photo 16
The Georgia Peach -near Plant Riverside & downtown - Photo 17
The Georgia Peach -near Plant Riverside & downtown - Photo 18
The Georgia Peach -near Plant Riverside & downtown - Photo 19
The Georgia Peach -near Plant Riverside & downtown - Photo 20
The Georgia Peach -near Plant Riverside & downtown - Photo 21
The Georgia Peach -near Plant Riverside & downtown - Photo 22
The Georgia Peach -near Plant Riverside & downtown - Photo 23
The Georgia Peach -near Plant Riverside & downtown - Photo 24
The Georgia Peach -near Plant Riverside & downtown - Photo 25
The Georgia Peach -near Plant Riverside & downtown - Photo 26
The Georgia Peach -near Plant Riverside & downtown - Photo 27
The Georgia Peach -near Plant Riverside & downtown - Photo 28
The Georgia Peach -near Plant Riverside & downtown - Photo 29
The Georgia Peach -near Plant Riverside & downtown - Photo 30
The Georgia Peach -near Plant Riverside & downtown - Photo 31
The Georgia Peach -near Plant Riverside & downtown - Photo 32
The Georgia Peach -near Plant Riverside & downtown - Photo 33
The Georgia Peach -near Plant Riverside & downtown - Photo 34
The Georgia Peach -near Plant Riverside & downtown - Photo 35
The Georgia Peach -near Plant Riverside & downtown - Photo 36
The Georgia Peach -near Plant Riverside & downtown - Photo 37
The Georgia Peach -near Plant Riverside & downtown - Photo 38
The Georgia Peach -near Plant Riverside & downtown - Photo 39
The Georgia Peach -near Plant Riverside & downtown - Photo 40
The Georgia Peach -near Plant Riverside & downtown - Photo 41
The Georgia Peach -near Plant Riverside & downtown - Photo 42
The Georgia Peach -near Plant Riverside & downtown - Photo 43
The Georgia Peach -near Plant Riverside & downtown - Photo 44

The Georgia Peach -near Plant Riverside & downtown

Savannah - Downtown Savannah - Dans le centre

  • 87 M2
  • 2 chambres
  • 5 personnes
  • Air conditionné
  • Le chauffage
  • Ascenseur
9.8Exceptionnel | 42 avis
Gallery Stays - Low Country - Photo 1
Gallery Stays - Low Country - Photo 2
Gallery Stays - Low Country - Photo 3
Gallery Stays - Low Country - Photo 4
Gallery Stays - Low Country - Photo 5
Gallery Stays - Low Country - Photo 6
Gallery Stays - Low Country - Photo 7
Gallery Stays - Low Country - Photo 8
Gallery Stays - Low Country - Photo 9
Gallery Stays - Low Country - Photo 10
Gallery Stays - Low Country - Photo 11
Gallery Stays - Low Country - Photo 12
Gallery Stays - Low Country - Photo 13
Gallery Stays - Low Country - Photo 14
Gallery Stays - Low Country - Photo 15
Gallery Stays - Low Country - Photo 16
Gallery Stays - Low Country - Photo 17
Gallery Stays - Low Country - Photo 18
Gallery Stays - Low Country - Photo 19
Gallery Stays - Low Country - Photo 20
Gallery Stays - Low Country - Photo 21
Gallery Stays - Low Country - Photo 22
Gallery Stays - Low Country - Photo 23
Gallery Stays - Low Country - Photo 24
Gallery Stays - Low Country - Photo 25
Gallery Stays - Low Country - Photo 26
Gallery Stays - Low Country - Photo 27
Gallery Stays - Low Country - Photo 28
Gallery Stays - Low Country - Photo 29
Gallery Stays - Low Country - Photo 30
Gallery Stays - Low Country - Photo 31

Gallery Stays - Low Country

Savannah - Beach Institute - À 540 m du centre

  • 6 personnes
  • Air conditionné
  • Le chauffage
  • Tv
  • Machine à laver
  • Serviettes
9.2Exceptionnel | 7 avis
Romantic 1885 Loft Steps from Pulaski Square - Photo 1
Romantic 1885 Loft Steps from Pulaski Square - Photo 2
Romantic 1885 Loft Steps from Pulaski Square - Photo 3
Romantic 1885 Loft Steps from Pulaski Square - Photo 4
Romantic 1885 Loft Steps from Pulaski Square - Photo 5
Romantic 1885 Loft Steps from Pulaski Square - Photo 6
Romantic 1885 Loft Steps from Pulaski Square - Photo 7
Romantic 1885 Loft Steps from Pulaski Square - Photo 8
Romantic 1885 Loft Steps from Pulaski Square - Photo 9
Romantic 1885 Loft Steps from Pulaski Square - Photo 10
Romantic 1885 Loft Steps from Pulaski Square - Photo 11
Romantic 1885 Loft Steps from Pulaski Square - Photo 12
Romantic 1885 Loft Steps from Pulaski Square - Photo 13
Romantic 1885 Loft Steps from Pulaski Square - Photo 14
Romantic 1885 Loft Steps from Pulaski Square - Photo 15
Romantic 1885 Loft Steps from Pulaski Square - Photo 16

Romantic 1885 Loft Steps from Pulaski Square

Savannah - Downtown Savannah - À 290 m du centre

  • 56 M2
  • 2 personnes
  • Air conditionné
  • Le chauffage
  • Parking
9.2Exceptionnel | 28 avis
Cornerstone West Lower Unit - Photo 1
Cornerstone West Lower Unit - Photo 2
Cornerstone West Lower Unit - Photo 3
Cornerstone West Lower Unit - Photo 4
Cornerstone West Lower Unit - Photo 5
Cornerstone West Lower Unit - Photo 6
Cornerstone West Lower Unit - Photo 7
Cornerstone West Lower Unit - Photo 8
Cornerstone West Lower Unit - Photo 9
Cornerstone West Lower Unit - Photo 10
Cornerstone West Lower Unit - Photo 11
Cornerstone West Lower Unit - Photo 12
Cornerstone West Lower Unit - Photo 13
Cornerstone West Lower Unit - Photo 14
Cornerstone West Lower Unit - Photo 15
Cornerstone West Lower Unit - Photo 16
Cornerstone West Lower Unit - Photo 17
Cornerstone West Lower Unit - Photo 18
Cornerstone West Lower Unit - Photo 19
Cornerstone West Lower Unit - Photo 20
Cornerstone West Lower Unit - Photo 21
Cornerstone West Lower Unit - Photo 22
Cornerstone West Lower Unit - Photo 23
Cornerstone West Lower Unit - Photo 24
Cornerstone West Lower Unit - Photo 25
Cornerstone West Lower Unit - Photo 26
Cornerstone West Lower Unit - Photo 27
Cornerstone West Lower Unit - Photo 28
Cornerstone West Lower Unit - Photo 29
Cornerstone West Lower Unit - Photo 30
Cornerstone West Lower Unit - Photo 31
Cornerstone West Lower Unit - Photo 32
Cornerstone West Lower Unit - Photo 33
Cornerstone West Lower Unit - Photo 34
Cornerstone West Lower Unit - Photo 35
Cornerstone West Lower Unit - Photo 36
Cornerstone West Lower Unit - Photo 37
Cornerstone West Lower Unit - Photo 38
Cornerstone West Lower Unit - Photo 39
Cornerstone West Lower Unit - Photo 40
Cornerstone West Lower Unit - Photo 41

Cornerstone West Lower Unit

Savannah - Metropolitan - À 2.6 km du centre

  • 84 M2
  • 2 chambres
  • 4 personnes
  • Air conditionné
  • Le chauffage
  • Parking
  • Jardin
9.2Exceptionnel | 19 avis
Downtown, contemporary, 2 bedroom, Roof Terrace! 3A - Photo 1
Downtown, contemporary, 2 bedroom, Roof Terrace! 3A - Photo 2
Downtown, contemporary, 2 bedroom, Roof Terrace! 3A - Photo 3
Downtown, contemporary, 2 bedroom, Roof Terrace! 3A - Photo 4
Downtown, contemporary, 2 bedroom, Roof Terrace! 3A - Photo 5
Downtown, contemporary, 2 bedroom, Roof Terrace! 3A - Photo 6
Downtown, contemporary, 2 bedroom, Roof Terrace! 3A - Photo 7
Downtown, contemporary, 2 bedroom, Roof Terrace! 3A - Photo 8
Downtown, contemporary, 2 bedroom, Roof Terrace! 3A - Photo 9
Downtown, contemporary, 2 bedroom, Roof Terrace! 3A - Photo 10
Downtown, contemporary, 2 bedroom, Roof Terrace! 3A - Photo 11
Downtown, contemporary, 2 bedroom, Roof Terrace! 3A - Photo 12
Downtown, contemporary, 2 bedroom, Roof Terrace! 3A - Photo 13
Downtown, contemporary, 2 bedroom, Roof Terrace! 3A - Photo 14

Downtown, contemporary, 2 bedroom, Roof Terrace! 3A

Savannah - Downtown Savannah - À 830 m du centre

  • 111 M2
  • 2 chambres
  • 6 personnes
  • Air conditionné
  • Terrasse
  • Ascenseur
  • Jardin
9.4Exceptionnel | 6 avis
Bosch House Rosé - Lila Suite - Photo 1
Bosch House Rosé - Lila Suite - Photo 2
Bosch House Rosé - Lila Suite - Photo 3
Bosch House Rosé - Lila Suite - Photo 4
Bosch House Rosé - Lila Suite - Photo 5
Bosch House Rosé - Lila Suite - Photo 6
Bosch House Rosé - Lila Suite - Photo 7
Bosch House Rosé - Lila Suite - Photo 8
Bosch House Rosé - Lila Suite - Photo 9
Bosch House Rosé - Lila Suite - Photo 10
Bosch House Rosé - Lila Suite - Photo 11
Bosch House Rosé - Lila Suite - Photo 12
Bosch House Rosé - Lila Suite - Photo 13
Bosch House Rosé - Lila Suite - Photo 14
Bosch House Rosé - Lila Suite - Photo 15
Bosch House Rosé - Lila Suite - Photo 16
Bosch House Rosé - Lila Suite - Photo 17

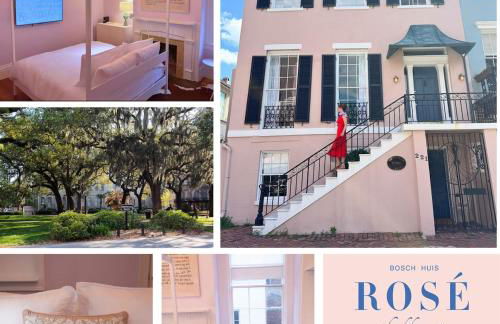
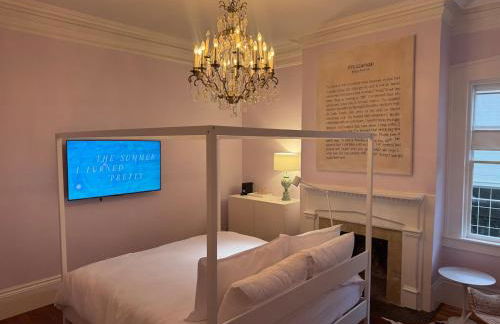
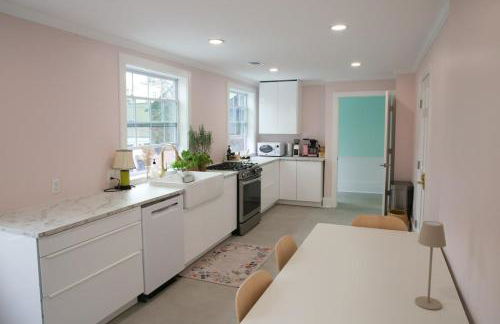
Bosch House Rosé - Lila Suite

Savannah - Downtown Savannah - Dans le centre

  • 46 M2
  • 2 personnes
  • Air conditionné
  • Terrasse
  • Piscine
  • Parking
  • Jardin
10Magnifique | 4 avis
Newly Renovated 4 bed 3 bath and 2 Parking Spots - Photo 1
Newly Renovated 4 bed 3 bath and 2 Parking Spots - Photo 2
Newly Renovated 4 bed 3 bath and 2 Parking Spots - Photo 3
Newly Renovated 4 bed 3 bath and 2 Parking Spots - Photo 4
Newly Renovated 4 bed 3 bath and 2 Parking Spots - Photo 5
Newly Renovated 4 bed 3 bath and 2 Parking Spots - Photo 6
Newly Renovated 4 bed 3 bath and 2 Parking Spots - Photo 7
Newly Renovated 4 bed 3 bath and 2 Parking Spots - Photo 8
Newly Renovated 4 bed 3 bath and 2 Parking Spots - Photo 9
Newly Renovated 4 bed 3 bath and 2 Parking Spots - Photo 10
Newly Renovated 4 bed 3 bath and 2 Parking Spots - Photo 11
Newly Renovated 4 bed 3 bath and 2 Parking Spots - Photo 12
Newly Renovated 4 bed 3 bath and 2 Parking Spots - Photo 13
Newly Renovated 4 bed 3 bath and 2 Parking Spots - Photo 14
Newly Renovated 4 bed 3 bath and 2 Parking Spots - Photo 15
Newly Renovated 4 bed 3 bath and 2 Parking Spots - Photo 16
Newly Renovated 4 bed 3 bath and 2 Parking Spots - Photo 17
Newly Renovated 4 bed 3 bath and 2 Parking Spots - Photo 18
Newly Renovated 4 bed 3 bath and 2 Parking Spots - Photo 19
Newly Renovated 4 bed 3 bath and 2 Parking Spots - Photo 20
Newly Renovated 4 bed 3 bath and 2 Parking Spots - Photo 21
Newly Renovated 4 bed 3 bath and 2 Parking Spots - Photo 22
Newly Renovated 4 bed 3 bath and 2 Parking Spots - Photo 23
Newly Renovated 4 bed 3 bath and 2 Parking Spots - Photo 24
Newly Renovated 4 bed 3 bath and 2 Parking Spots - Photo 25
Newly Renovated 4 bed 3 bath and 2 Parking Spots - Photo 26
Newly Renovated 4 bed 3 bath and 2 Parking Spots - Photo 27
Newly Renovated 4 bed 3 bath and 2 Parking Spots - Photo 28
Newly Renovated 4 bed 3 bath and 2 Parking Spots - Photo 29
Newly Renovated 4 bed 3 bath and 2 Parking Spots - Photo 30
Newly Renovated 4 bed 3 bath and 2 Parking Spots - Photo 31
Newly Renovated 4 bed 3 bath and 2 Parking Spots - Photo 32
Newly Renovated 4 bed 3 bath and 2 Parking Spots - Photo 33
Newly Renovated 4 bed 3 bath and 2 Parking Spots - Photo 34
Newly Renovated 4 bed 3 bath and 2 Parking Spots - Photo 35
Newly Renovated 4 bed 3 bath and 2 Parking Spots - Photo 36
Newly Renovated 4 bed 3 bath and 2 Parking Spots - Photo 37
Newly Renovated 4 bed 3 bath and 2 Parking Spots - Photo 38
Newly Renovated 4 bed 3 bath and 2 Parking Spots - Photo 39
Newly Renovated 4 bed 3 bath and 2 Parking Spots - Photo 40
Newly Renovated 4 bed 3 bath and 2 Parking Spots - Photo 41
Newly Renovated 4 bed 3 bath and 2 Parking Spots - Photo 42
Newly Renovated 4 bed 3 bath and 2 Parking Spots - Photo 43
Newly Renovated 4 bed 3 bath and 2 Parking Spots - Photo 44
Newly Renovated 4 bed 3 bath and 2 Parking Spots - Photo 45
Newly Renovated 4 bed 3 bath and 2 Parking Spots - Photo 46
Newly Renovated 4 bed 3 bath and 2 Parking Spots - Photo 47
Newly Renovated 4 bed 3 bath and 2 Parking Spots - Photo 48
Newly Renovated 4 bed 3 bath and 2 Parking Spots - Photo 49
Newly Renovated 4 bed 3 bath and 2 Parking Spots - Photo 50
Newly Renovated 4 bed 3 bath and 2 Parking Spots - Photo 51
Newly Renovated 4 bed 3 bath and 2 Parking Spots - Photo 52

Newly Renovated 4 bed 3 bath and 2 Parking Spots

Savannah - Downtown Savannah - Dans le centre

  • 204 M2
  • 4 chambres
  • 12 personnes
  • Air conditionné
  • Le chauffage
  • Parking
  • Jardin
8.9Très bon | 18 avis
Gallery Stays - Parkside Loft - Photo 1
Gallery Stays - Parkside Loft - Photo 2
Gallery Stays - Parkside Loft - Photo 3
Gallery Stays - Parkside Loft - Photo 4
Gallery Stays - Parkside Loft - Photo 5
Gallery Stays - Parkside Loft - Photo 6
Gallery Stays - Parkside Loft - Photo 7
Gallery Stays - Parkside Loft - Photo 8
Gallery Stays - Parkside Loft - Photo 9
Gallery Stays - Parkside Loft - Photo 10
Gallery Stays - Parkside Loft - Photo 11
Gallery Stays - Parkside Loft - Photo 12
Gallery Stays - Parkside Loft - Photo 13
Gallery Stays - Parkside Loft - Photo 14
Gallery Stays - Parkside Loft - Photo 15
Gallery Stays - Parkside Loft - Photo 16
Gallery Stays - Parkside Loft - Photo 17
Gallery Stays - Parkside Loft - Photo 18
Gallery Stays - Parkside Loft - Photo 19
Gallery Stays - Parkside Loft - Photo 20

Gallery Stays - Parkside Loft

Savannah - Beach Institute - À 980 m du centre

  • 6 personnes
  • Air conditionné
  • Le chauffage
  • Tv
  • Machine à laver
  • Serviettes
8.8Très bon | 8 avis
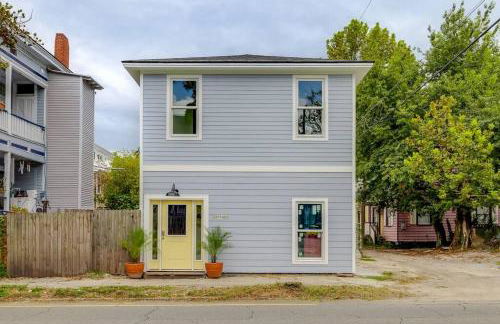
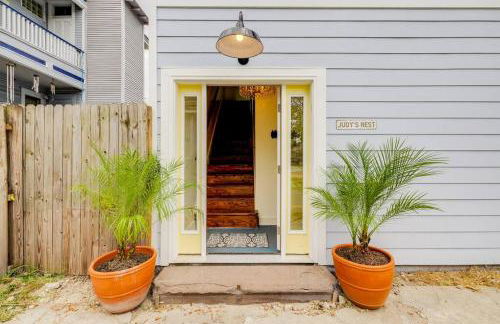
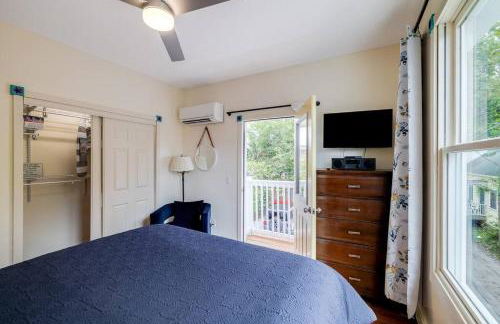
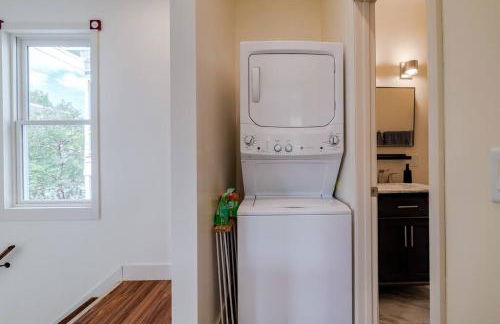
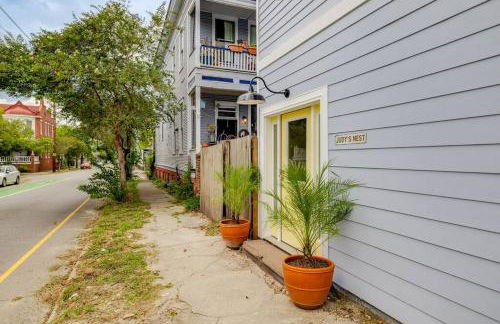
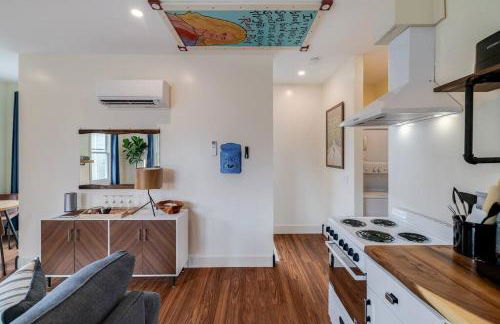
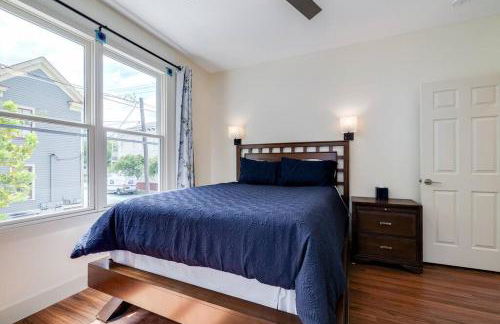
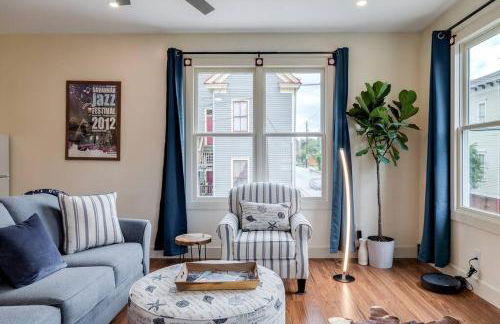
Judy's Nest at the Wessels-Boyd House. - Photo 1
Judy's Nest at the Wessels-Boyd House. - Photo 2
Judy's Nest at the Wessels-Boyd House. - Photo 3
Judy's Nest at the Wessels-Boyd House. - Photo 4
Judy's Nest at the Wessels-Boyd House. - Photo 5
Judy's Nest at the Wessels-Boyd House. - Photo 6
Judy's Nest at the Wessels-Boyd House. - Photo 7
Judy's Nest at the Wessels-Boyd House. - Photo 8
Judy's Nest at the Wessels-Boyd House. - Photo 9
Judy's Nest at the Wessels-Boyd House. - Photo 10
Judy's Nest at the Wessels-Boyd House. - Photo 11
Judy's Nest at the Wessels-Boyd House. - Photo 12
Judy's Nest at the Wessels-Boyd House. - Photo 13
Judy's Nest at the Wessels-Boyd House. - Photo 14
Judy's Nest at the Wessels-Boyd House. - Photo 15
Judy's Nest at the Wessels-Boyd House. - Photo 16
Judy's Nest at the Wessels-Boyd House. - Photo 17
Judy's Nest at the Wessels-Boyd House. - Photo 18
Judy's Nest at the Wessels-Boyd House. - Photo 19
Judy's Nest at the Wessels-Boyd House. - Photo 20
Judy's Nest at the Wessels-Boyd House. - Photo 21
Judy's Nest at the Wessels-Boyd House. - Photo 22
Judy's Nest at the Wessels-Boyd House. - Photo 23
Judy's Nest at the Wessels-Boyd House. - Photo 24
Judy's Nest at the Wessels-Boyd House. - Photo 25
Judy's Nest at the Wessels-Boyd House. - Photo 26
Judy's Nest at the Wessels-Boyd House. - Photo 27
Judy's Nest at the Wessels-Boyd House. - Photo 28
Judy's Nest at the Wessels-Boyd House. - Photo 29
Judy's Nest at the Wessels-Boyd House. - Photo 30
Judy's Nest at the Wessels-Boyd House. - Photo 31
Judy's Nest at the Wessels-Boyd House. - Photo 32

Judy's Nest at the Wessels-Boyd House.

Savannah - Dixon Parks - À 1.4 km du centre

  • 59 M2
  • 1 chambre
  • 4 personnes
  • Air conditionné
  • Parking
9.8Exceptionnel | 74 avis
Charming Historic District Parlor Level Apartment - Photo 1
Charming Historic District Parlor Level Apartment - Photo 2
Charming Historic District Parlor Level Apartment - Photo 3
Charming Historic District Parlor Level Apartment - Photo 4
Charming Historic District Parlor Level Apartment - Photo 5
Charming Historic District Parlor Level Apartment - Photo 6
Charming Historic District Parlor Level Apartment - Photo 7
Charming Historic District Parlor Level Apartment - Photo 8
Charming Historic District Parlor Level Apartment - Photo 9
Charming Historic District Parlor Level Apartment - Photo 10
Charming Historic District Parlor Level Apartment - Photo 11
Charming Historic District Parlor Level Apartment - Photo 12
Charming Historic District Parlor Level Apartment - Photo 13
Charming Historic District Parlor Level Apartment - Photo 14
Charming Historic District Parlor Level Apartment - Photo 15
Charming Historic District Parlor Level Apartment - Photo 16
Charming Historic District Parlor Level Apartment - Photo 17
Charming Historic District Parlor Level Apartment - Photo 18

Charming Historic District Parlor Level Apartment

Savannah - Downtown Savannah - À 610 m du centre

  • 88 M2
  • 1 chambre
  • 2 personnes
  • Air conditionné
  • Le chauffage
  • Parking
9.6Exceptionnel | 29 avis
Mariners Rest 5BR Game Room, Near Beach - Photo 1
Mariners Rest 5BR Game Room, Near Beach - Photo 2
Mariners Rest 5BR Game Room, Near Beach - Photo 3
Mariners Rest 5BR Game Room, Near Beach - Photo 4
Mariners Rest 5BR Game Room, Near Beach - Photo 5
Mariners Rest 5BR Game Room, Near Beach - Photo 6
Mariners Rest 5BR Game Room, Near Beach - Photo 7
Mariners Rest 5BR Game Room, Near Beach - Photo 8
Mariners Rest 5BR Game Room, Near Beach - Photo 9
Mariners Rest 5BR Game Room, Near Beach - Photo 10
Mariners Rest 5BR Game Room, Near Beach - Photo 11
Mariners Rest 5BR Game Room, Near Beach - Photo 12
Mariners Rest 5BR Game Room, Near Beach - Photo 13
Mariners Rest 5BR Game Room, Near Beach - Photo 14
Mariners Rest 5BR Game Room, Near Beach - Photo 15
Mariners Rest 5BR Game Room, Near Beach - Photo 16
Mariners Rest 5BR Game Room, Near Beach - Photo 17
Mariners Rest 5BR Game Room, Near Beach - Photo 18
Mariners Rest 5BR Game Room, Near Beach - Photo 19
Mariners Rest 5BR Game Room, Near Beach - Photo 20
Mariners Rest 5BR Game Room, Near Beach - Photo 21
Mariners Rest 5BR Game Room, Near Beach - Photo 22
Mariners Rest 5BR Game Room, Near Beach - Photo 23
Mariners Rest 5BR Game Room, Near Beach - Photo 24
Mariners Rest 5BR Game Room, Near Beach - Photo 25
Mariners Rest 5BR Game Room, Near Beach - Photo 26
Mariners Rest 5BR Game Room, Near Beach - Photo 27
Mariners Rest 5BR Game Room, Near Beach - Photo 28
Mariners Rest 5BR Game Room, Near Beach - Photo 29
Mariners Rest 5BR Game Room, Near Beach - Photo 30
Mariners Rest 5BR Game Room, Near Beach - Photo 31
Mariners Rest 5BR Game Room, Near Beach - Photo 32
Mariners Rest 5BR Game Room, Near Beach - Photo 33
Mariners Rest 5BR Game Room, Near Beach - Photo 34
Mariners Rest 5BR Game Room, Near Beach - Photo 35
Mariners Rest 5BR Game Room, Near Beach - Photo 36
Mariners Rest 5BR Game Room, Near Beach - Photo 37
Mariners Rest 5BR Game Room, Near Beach - Photo 38
Mariners Rest 5BR Game Room, Near Beach - Photo 39
Mariners Rest 5BR Game Room, Near Beach - Photo 40
Mariners Rest 5BR Game Room, Near Beach - Photo 41
Mariners Rest 5BR Game Room, Near Beach - Photo 42
Mariners Rest 5BR Game Room, Near Beach - Photo 43
Mariners Rest 5BR Game Room, Near Beach - Photo 44
Mariners Rest 5BR Game Room, Near Beach - Photo 45
Mariners Rest 5BR Game Room, Near Beach - Photo 46
Mariners Rest 5BR Game Room, Near Beach - Photo 47
Mariners Rest 5BR Game Room, Near Beach - Photo 48
Mariners Rest 5BR Game Room, Near Beach - Photo 49
Mariners Rest 5BR Game Room, Near Beach - Photo 50
Mariners Rest 5BR Game Room, Near Beach - Photo 51
Mariners Rest 5BR Game Room, Near Beach - Photo 52
Mariners Rest 5BR Game Room, Near Beach - Photo 53
Mariners Rest 5BR Game Room, Near Beach - Photo 54
Mariners Rest 5BR Game Room, Near Beach - Photo 55
Mariners Rest 5BR Game Room, Near Beach - Photo 56
Mariners Rest 5BR Game Room, Near Beach - Photo 57

Mariners Rest 5BR Game Room, Near Beach

Savannah - À 6.2 km du centre

  • 164 M2
  • 4 chambres
  • 9 personnes
  • Air conditionné
  • Le chauffage
  • Terrasse
  • Parking
  • Jardin
  • Barbecue
10Magnifique | 9 avis
The Grant by Black Swan - Photo 1
The Grant by Black Swan - Photo 2
The Grant by Black Swan - Photo 3
The Grant by Black Swan - Photo 4
The Grant by Black Swan - Photo 5
The Grant by Black Swan - Photo 6
The Grant by Black Swan - Photo 7
The Grant by Black Swan - Photo 8
The Grant by Black Swan - Photo 9
The Grant by Black Swan - Photo 10
The Grant by Black Swan - Photo 11
The Grant by Black Swan - Photo 12
The Grant by Black Swan - Photo 13
The Grant by Black Swan - Photo 14
The Grant by Black Swan - Photo 15
The Grant by Black Swan - Photo 16
The Grant by Black Swan - Photo 17
The Grant by Black Swan - Photo 18
The Grant by Black Swan - Photo 19
The Grant by Black Swan - Photo 20
The Grant by Black Swan - Photo 21
The Grant by Black Swan - Photo 22
The Grant by Black Swan - Photo 23
The Grant by Black Swan - Photo 24
The Grant by Black Swan - Photo 25
The Grant by Black Swan - Photo 26
The Grant by Black Swan - Photo 27
The Grant by Black Swan - Photo 28
The Grant by Black Swan - Photo 29
The Grant by Black Swan - Photo 30
The Grant by Black Swan - Photo 31
The Grant by Black Swan - Photo 32
The Grant by Black Swan - Photo 33
The Grant by Black Swan - Photo 34
The Grant by Black Swan - Photo 35
The Grant by Black Swan - Photo 36
The Grant by Black Swan - Photo 37
The Grant by Black Swan - Photo 38
The Grant by Black Swan - Photo 39
The Grant by Black Swan - Photo 40
The Grant by Black Swan - Photo 41
The Grant by Black Swan - Photo 42
The Grant by Black Swan - Photo 43
The Grant by Black Swan - Photo 44
The Grant by Black Swan - Photo 45
The Grant by Black Swan - Photo 46
The Grant by Black Swan - Photo 47
The Grant by Black Swan - Photo 48
The Grant by Black Swan - Photo 49
The Grant by Black Swan - Photo 50
The Grant by Black Swan - Photo 51
The Grant by Black Swan - Photo 52
The Grant by Black Swan - Photo 53
The Grant by Black Swan - Photo 54
The Grant by Black Swan - Photo 55
The Grant by Black Swan - Photo 56
The Grant by Black Swan - Photo 57
The Grant by Black Swan - Photo 58
The Grant by Black Swan - Photo 59
The Grant by Black Swan - Photo 60
The Grant by Black Swan - Photo 61
The Grant by Black Swan - Photo 62
The Grant by Black Swan - Photo 63
The Grant by Black Swan - Photo 64
The Grant by Black Swan - Photo 65
The Grant by Black Swan - Photo 66
The Grant by Black Swan - Photo 67
The Grant by Black Swan - Photo 68

The Grant by Black Swan

Savannah - Downtown Savannah - Dans le centre

  • 139 M2
  • 3 chambres
  • 8 personnes
  • Air conditionné
  • Le chauffage
  • Ascenseur
  • Tv
  • Machine à laver
  • Serviettes
  • Feuilles
9.2Exceptionnel | 363 avis
Romantic Studio Apt in Historic Downtown Savannah - Photo 1
Romantic Studio Apt in Historic Downtown Savannah - Photo 2
Romantic Studio Apt in Historic Downtown Savannah - Photo 3
Romantic Studio Apt in Historic Downtown Savannah - Photo 4
Romantic Studio Apt in Historic Downtown Savannah - Photo 5
Romantic Studio Apt in Historic Downtown Savannah - Photo 6
Romantic Studio Apt in Historic Downtown Savannah - Photo 7
Romantic Studio Apt in Historic Downtown Savannah - Photo 8
Romantic Studio Apt in Historic Downtown Savannah - Photo 9
Romantic Studio Apt in Historic Downtown Savannah - Photo 10
Romantic Studio Apt in Historic Downtown Savannah - Photo 11
Romantic Studio Apt in Historic Downtown Savannah - Photo 12
Romantic Studio Apt in Historic Downtown Savannah - Photo 13
Romantic Studio Apt in Historic Downtown Savannah - Photo 14
Romantic Studio Apt in Historic Downtown Savannah - Photo 15
Romantic Studio Apt in Historic Downtown Savannah - Photo 16
Romantic Studio Apt in Historic Downtown Savannah - Photo 17
Romantic Studio Apt in Historic Downtown Savannah - Photo 18
Romantic Studio Apt in Historic Downtown Savannah - Photo 19
Romantic Studio Apt in Historic Downtown Savannah - Photo 20
Romantic Studio Apt in Historic Downtown Savannah - Photo 21
Romantic Studio Apt in Historic Downtown Savannah - Photo 22
Romantic Studio Apt in Historic Downtown Savannah - Photo 23
Romantic Studio Apt in Historic Downtown Savannah - Photo 24
Romantic Studio Apt in Historic Downtown Savannah - Photo 25
Romantic Studio Apt in Historic Downtown Savannah - Photo 26
Romantic Studio Apt in Historic Downtown Savannah - Photo 27
Romantic Studio Apt in Historic Downtown Savannah - Photo 28
Romantic Studio Apt in Historic Downtown Savannah - Photo 29
Romantic Studio Apt in Historic Downtown Savannah - Photo 30
Romantic Studio Apt in Historic Downtown Savannah - Photo 31

Romantic Studio Apt in Historic Downtown Savannah

Savannah - Beach Institute - À 640 m du centre

  • 46 M2
  • 1 chambre
  • 3 personnes
  • Air conditionné
  • Terrasse
  • Parking
  • Jardin
9.3Exceptionnel | 29 avis
The Magnolia Retreat in Historic Savannah 1BR - Photo 1
The Magnolia Retreat in Historic Savannah 1BR - Photo 2
The Magnolia Retreat in Historic Savannah 1BR - Photo 3
The Magnolia Retreat in Historic Savannah 1BR - Photo 4
The Magnolia Retreat in Historic Savannah 1BR - Photo 5
The Magnolia Retreat in Historic Savannah 1BR - Photo 6
The Magnolia Retreat in Historic Savannah 1BR - Photo 7
The Magnolia Retreat in Historic Savannah 1BR - Photo 8
The Magnolia Retreat in Historic Savannah 1BR - Photo 9
The Magnolia Retreat in Historic Savannah 1BR - Photo 10
The Magnolia Retreat in Historic Savannah 1BR - Photo 11
The Magnolia Retreat in Historic Savannah 1BR - Photo 12
The Magnolia Retreat in Historic Savannah 1BR - Photo 13
The Magnolia Retreat in Historic Savannah 1BR - Photo 14
The Magnolia Retreat in Historic Savannah 1BR - Photo 15
The Magnolia Retreat in Historic Savannah 1BR - Photo 16
The Magnolia Retreat in Historic Savannah 1BR - Photo 17
The Magnolia Retreat in Historic Savannah 1BR - Photo 18
The Magnolia Retreat in Historic Savannah 1BR - Photo 19
The Magnolia Retreat in Historic Savannah 1BR - Photo 20
The Magnolia Retreat in Historic Savannah 1BR - Photo 21

The Magnolia Retreat in Historic Savannah 1BR

Savannah - Downtown Savannah - À 480 m du centre

  • 60 M2
  • 1 chambre
  • 4 personnes
  • Air conditionné
  • Le chauffage
  • Terrasse
  • Parking
9.1Exceptionnel | 23 avis
Walk Score 90!!-Historic Downtown District-2 Blocks to Famous Forsyth Park-FREE Private Parking-Huge Private Patio - Photo 1
Walk Score 90!!-Historic Downtown District-2 Blocks to Famous Forsyth Park-FREE Private Parking-Huge Private Patio - Photo 2
Walk Score 90!!-Historic Downtown District-2 Blocks to Famous Forsyth Park-FREE Private Parking-Huge Private Patio - Photo 3
Walk Score 90!!-Historic Downtown District-2 Blocks to Famous Forsyth Park-FREE Private Parking-Huge Private Patio - Photo 4
Walk Score 90!!-Historic Downtown District-2 Blocks to Famous Forsyth Park-FREE Private Parking-Huge Private Patio - Photo 5
Walk Score 90!!-Historic Downtown District-2 Blocks to Famous Forsyth Park-FREE Private Parking-Huge Private Patio - Photo 6
Walk Score 90!!-Historic Downtown District-2 Blocks to Famous Forsyth Park-FREE Private Parking-Huge Private Patio - Photo 7
Walk Score 90!!-Historic Downtown District-2 Blocks to Famous Forsyth Park-FREE Private Parking-Huge Private Patio - Photo 8
Walk Score 90!!-Historic Downtown District-2 Blocks to Famous Forsyth Park-FREE Private Parking-Huge Private Patio - Photo 9
Walk Score 90!!-Historic Downtown District-2 Blocks to Famous Forsyth Park-FREE Private Parking-Huge Private Patio - Photo 10
Walk Score 90!!-Historic Downtown District-2 Blocks to Famous Forsyth Park-FREE Private Parking-Huge Private Patio - Photo 11
Walk Score 90!!-Historic Downtown District-2 Blocks to Famous Forsyth Park-FREE Private Parking-Huge Private Patio - Photo 12
Walk Score 90!!-Historic Downtown District-2 Blocks to Famous Forsyth Park-FREE Private Parking-Huge Private Patio - Photo 13
Walk Score 90!!-Historic Downtown District-2 Blocks to Famous Forsyth Park-FREE Private Parking-Huge Private Patio - Photo 14
Walk Score 90!!-Historic Downtown District-2 Blocks to Famous Forsyth Park-FREE Private Parking-Huge Private Patio - Photo 15
Walk Score 90!!-Historic Downtown District-2 Blocks to Famous Forsyth Park-FREE Private Parking-Huge Private Patio - Photo 16
Walk Score 90!!-Historic Downtown District-2 Blocks to Famous Forsyth Park-FREE Private Parking-Huge Private Patio - Photo 17
Walk Score 90!!-Historic Downtown District-2 Blocks to Famous Forsyth Park-FREE Private Parking-Huge Private Patio - Photo 18
Walk Score 90!!-Historic Downtown District-2 Blocks to Famous Forsyth Park-FREE Private Parking-Huge Private Patio - Photo 19
Walk Score 90!!-Historic Downtown District-2 Blocks to Famous Forsyth Park-FREE Private Parking-Huge Private Patio - Photo 20
Walk Score 90!!-Historic Downtown District-2 Blocks to Famous Forsyth Park-FREE Private Parking-Huge Private Patio - Photo 21
Walk Score 90!!-Historic Downtown District-2 Blocks to Famous Forsyth Park-FREE Private Parking-Huge Private Patio - Photo 22
Walk Score 90!!-Historic Downtown District-2 Blocks to Famous Forsyth Park-FREE Private Parking-Huge Private Patio - Photo 23
Walk Score 90!!-Historic Downtown District-2 Blocks to Famous Forsyth Park-FREE Private Parking-Huge Private Patio - Photo 24
Walk Score 90!!-Historic Downtown District-2 Blocks to Famous Forsyth Park-FREE Private Parking-Huge Private Patio - Photo 25
Walk Score 90!!-Historic Downtown District-2 Blocks to Famous Forsyth Park-FREE Private Parking-Huge Private Patio - Photo 26
Walk Score 90!!-Historic Downtown District-2 Blocks to Famous Forsyth Park-FREE Private Parking-Huge Private Patio - Photo 27
Walk Score 90!!-Historic Downtown District-2 Blocks to Famous Forsyth Park-FREE Private Parking-Huge Private Patio - Photo 28
Walk Score 90!!-Historic Downtown District-2 Blocks to Famous Forsyth Park-FREE Private Parking-Huge Private Patio - Photo 29
Walk Score 90!!-Historic Downtown District-2 Blocks to Famous Forsyth Park-FREE Private Parking-Huge Private Patio - Photo 30
Walk Score 90!!-Historic Downtown District-2 Blocks to Famous Forsyth Park-FREE Private Parking-Huge Private Patio - Photo 31
Walk Score 90!!-Historic Downtown District-2 Blocks to Famous Forsyth Park-FREE Private Parking-Huge Private Patio - Photo 32
Walk Score 90!!-Historic Downtown District-2 Blocks to Famous Forsyth Park-FREE Private Parking-Huge Private Patio - Photo 33
Walk Score 90!!-Historic Downtown District-2 Blocks to Famous Forsyth Park-FREE Private Parking-Huge Private Patio - Photo 34
Walk Score 90!!-Historic Downtown District-2 Blocks to Famous Forsyth Park-FREE Private Parking-Huge Private Patio - Photo 35
Walk Score 90!!-Historic Downtown District-2 Blocks to Famous Forsyth Park-FREE Private Parking-Huge Private Patio - Photo 36
Walk Score 90!!-Historic Downtown District-2 Blocks to Famous Forsyth Park-FREE Private Parking-Huge Private Patio - Photo 37
Walk Score 90!!-Historic Downtown District-2 Blocks to Famous Forsyth Park-FREE Private Parking-Huge Private Patio - Photo 38
Walk Score 90!!-Historic Downtown District-2 Blocks to Famous Forsyth Park-FREE Private Parking-Huge Private Patio - Photo 39
Walk Score 90!!-Historic Downtown District-2 Blocks to Famous Forsyth Park-FREE Private Parking-Huge Private Patio - Photo 40
Walk Score 90!!-Historic Downtown District-2 Blocks to Famous Forsyth Park-FREE Private Parking-Huge Private Patio - Photo 41
Walk Score 90!!-Historic Downtown District-2 Blocks to Famous Forsyth Park-FREE Private Parking-Huge Private Patio - Photo 42
Walk Score 90!!-Historic Downtown District-2 Blocks to Famous Forsyth Park-FREE Private Parking-Huge Private Patio - Photo 43
Walk Score 90!!-Historic Downtown District-2 Blocks to Famous Forsyth Park-FREE Private Parking-Huge Private Patio - Photo 44
Walk Score 90!!-Historic Downtown District-2 Blocks to Famous Forsyth Park-FREE Private Parking-Huge Private Patio - Photo 45
Walk Score 90!!-Historic Downtown District-2 Blocks to Famous Forsyth Park-FREE Private Parking-Huge Private Patio - Photo 46
Walk Score 90!!-Historic Downtown District-2 Blocks to Famous Forsyth Park-FREE Private Parking-Huge Private Patio - Photo 47
Walk Score 90!!-Historic Downtown District-2 Blocks to Famous Forsyth Park-FREE Private Parking-Huge Private Patio - Photo 48
Walk Score 90!!-Historic Downtown District-2 Blocks to Famous Forsyth Park-FREE Private Parking-Huge Private Patio - Photo 49
Walk Score 90!!-Historic Downtown District-2 Blocks to Famous Forsyth Park-FREE Private Parking-Huge Private Patio - Photo 50

Walk Score 90!!-Historic Downtown District-2 Blocks to Famous Forsyth Park-FREE Private Parking-Huge Private Patio

Savannah - Downtown Savannah - À 990 m du centre

  • 139 M2
  • 3 chambres
  • 6 personnes
  • Air conditionné
  • Le chauffage
  • Terrasse
  • Parking
  • Jardin
9.1Exceptionnel | 35 avis

Destinations associées