
4604 Appartements à Salerne


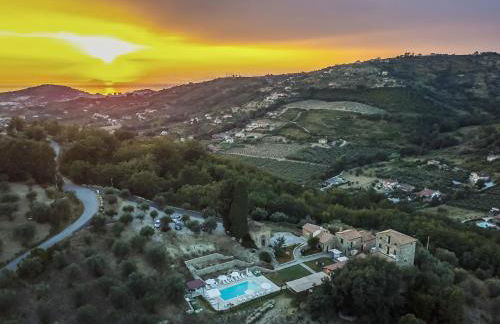
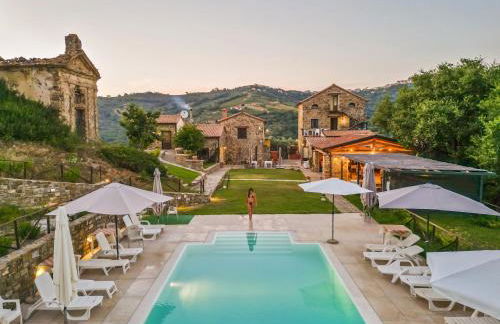
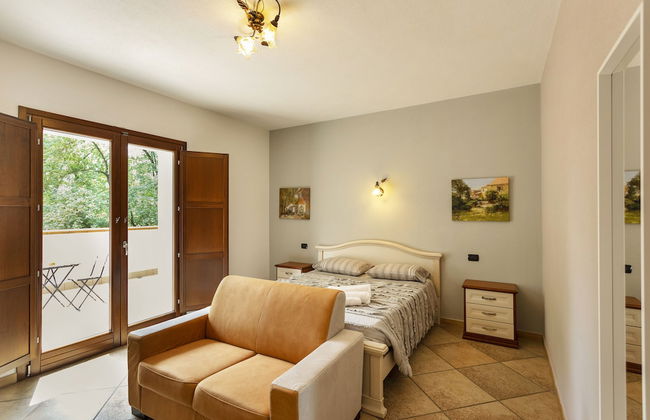
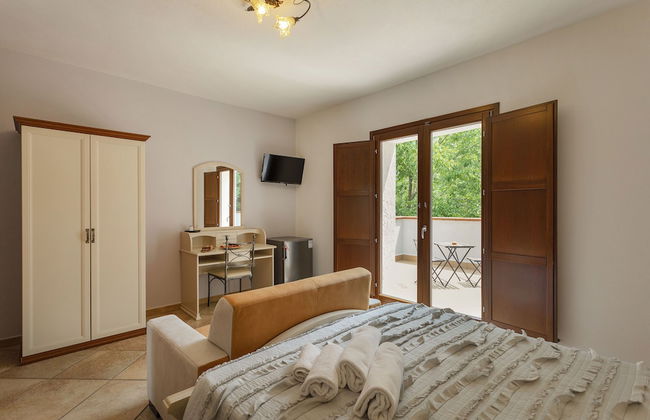
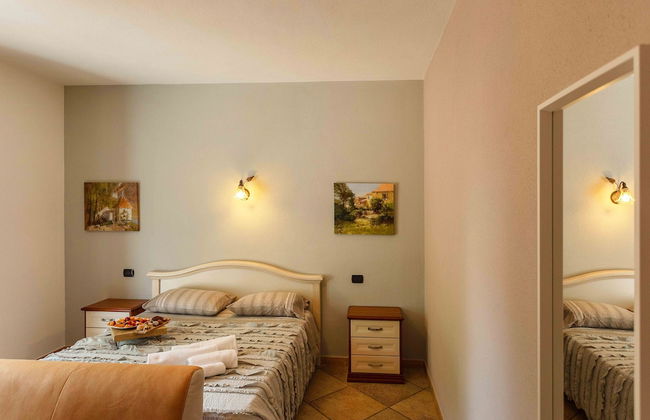
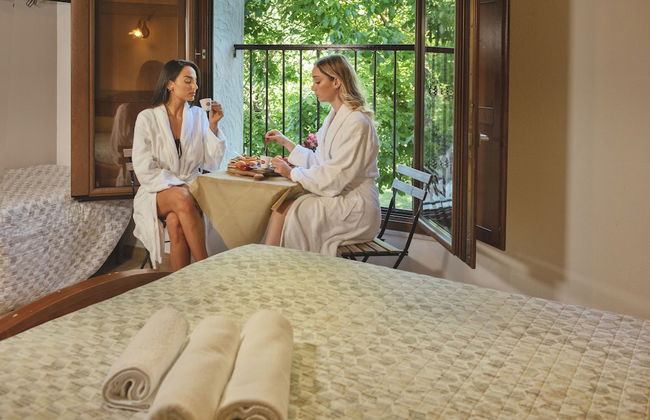
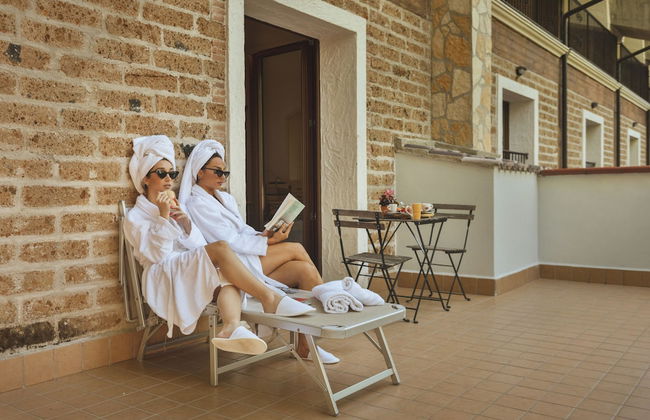
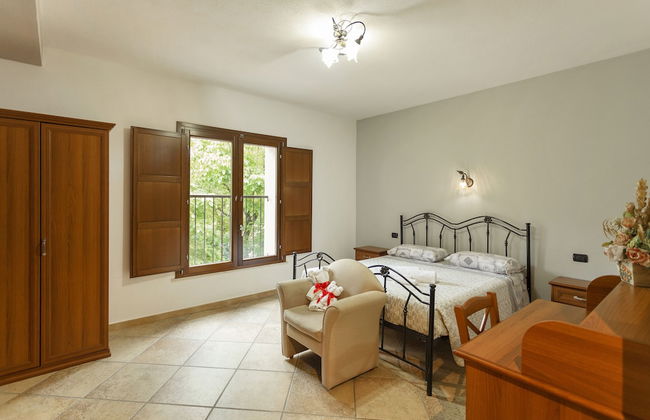
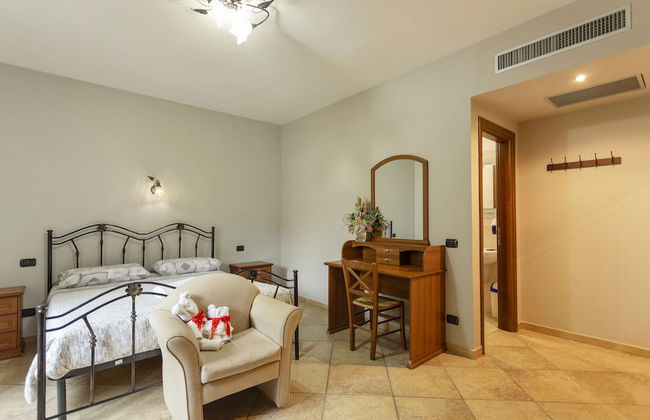
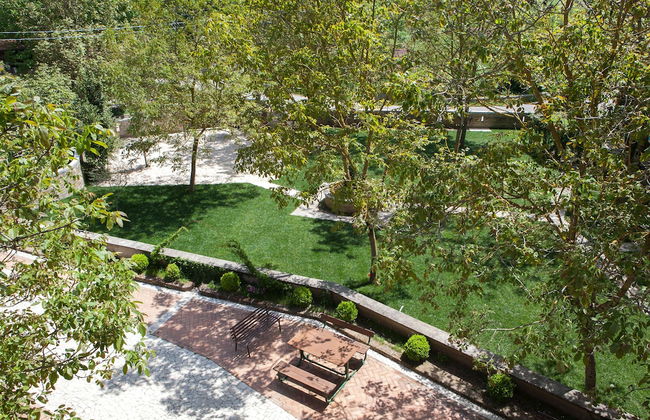
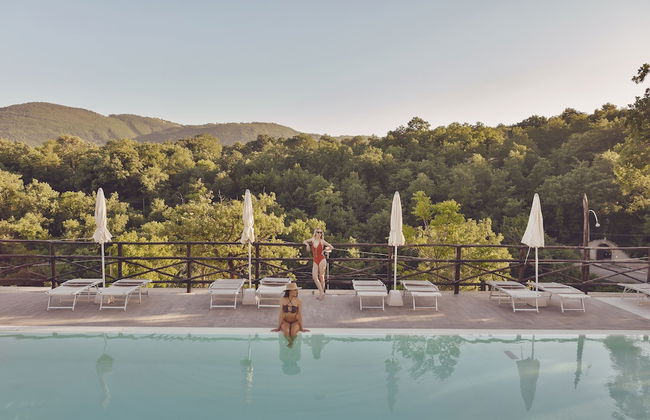
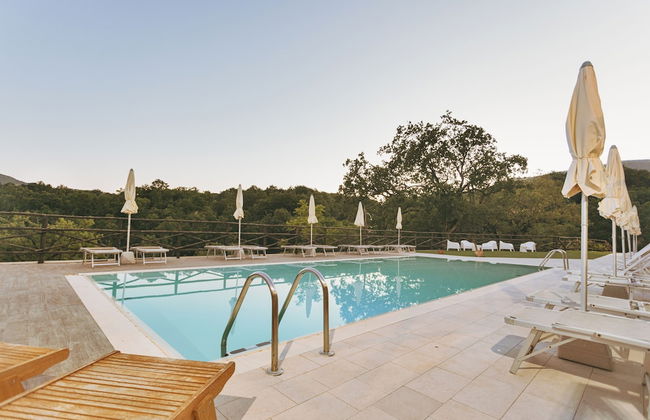
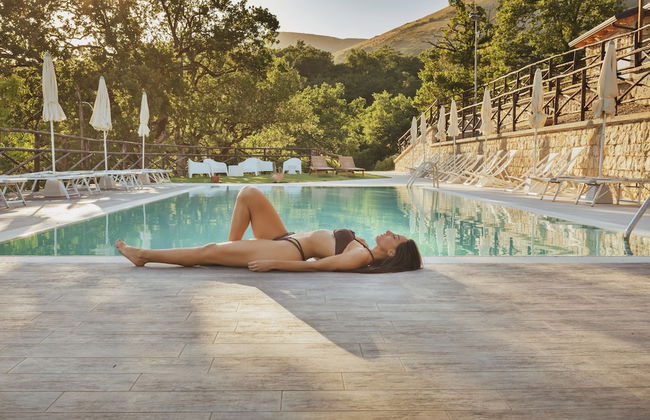
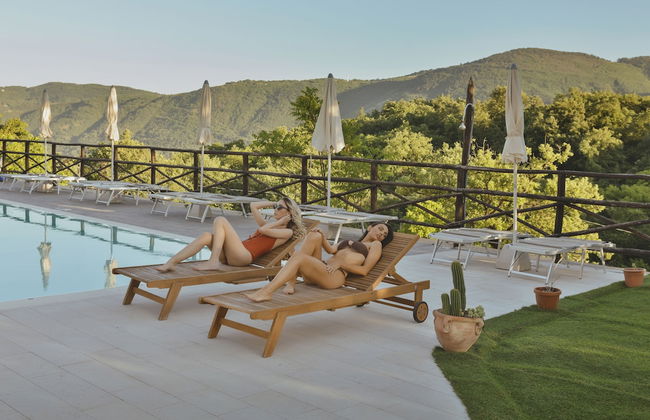
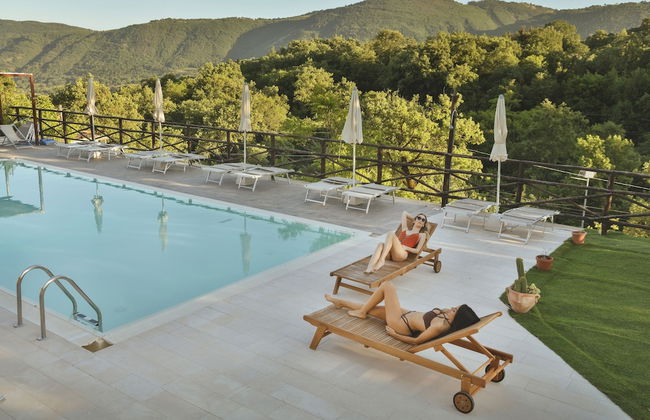
Borgo La Pietraia
Capaccio Paestum - À 810 m du centre
- 32 M2
- 4 personnes
- Air conditionné
- Terrasse
- Piscine
- Parking
- Balcon
- Jardin
- Tv
- Serviettes
- Feuilles
27 avis


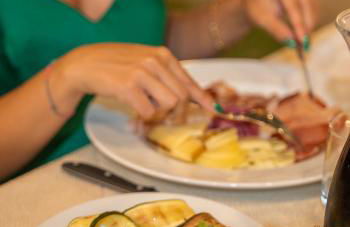


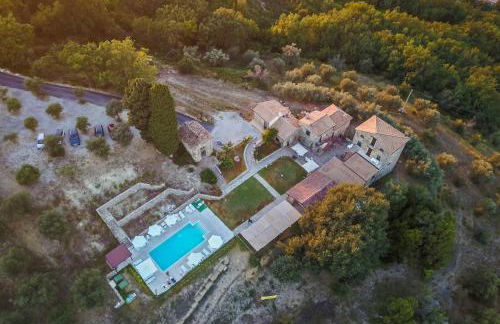


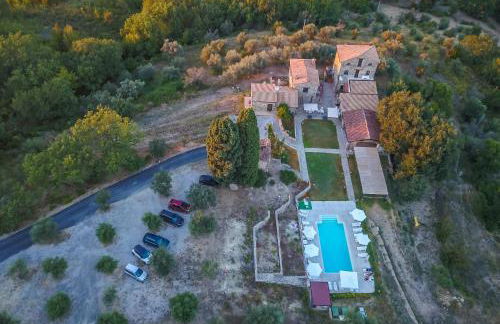


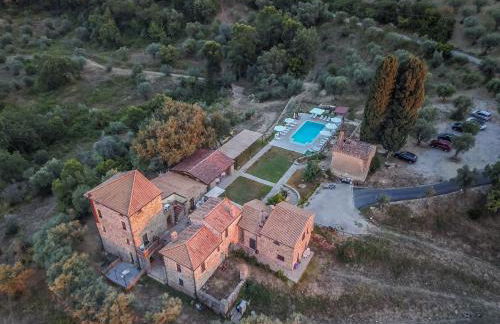


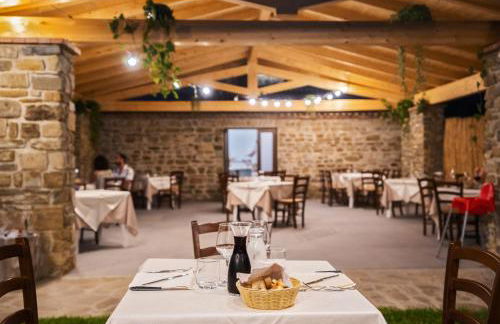


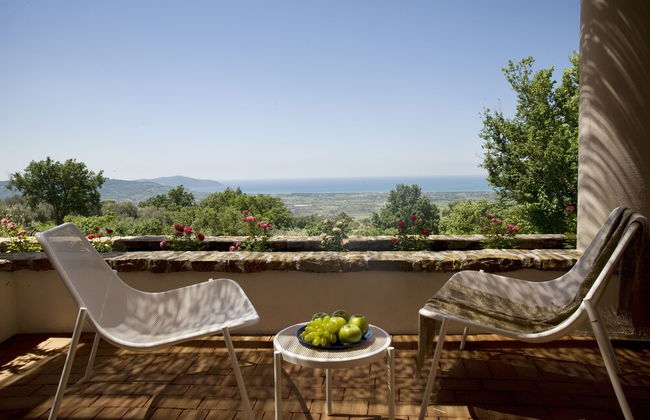
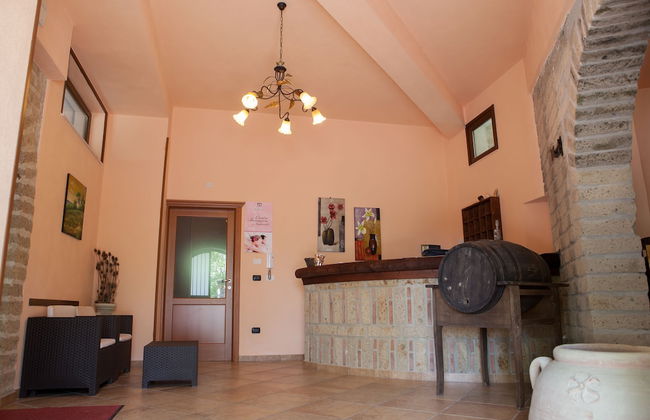
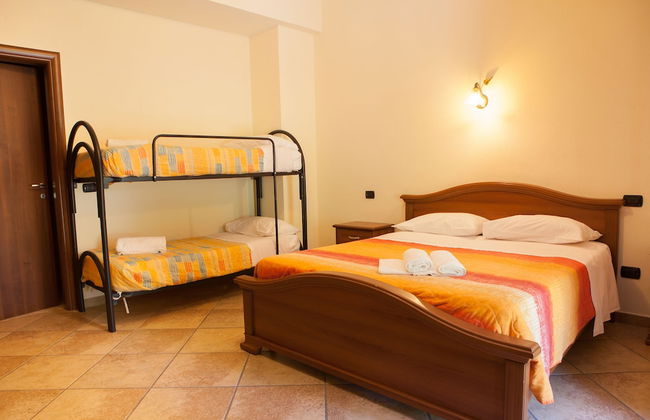
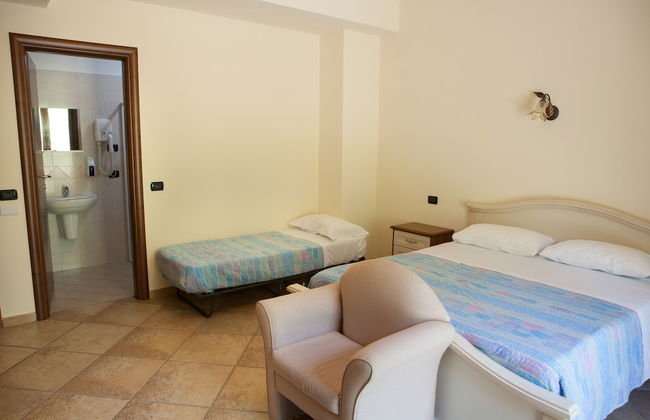
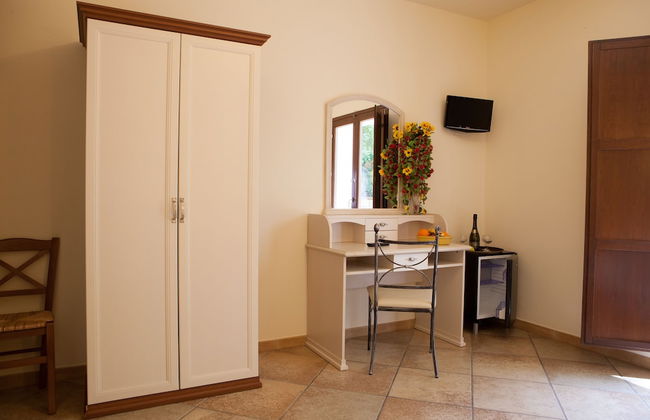
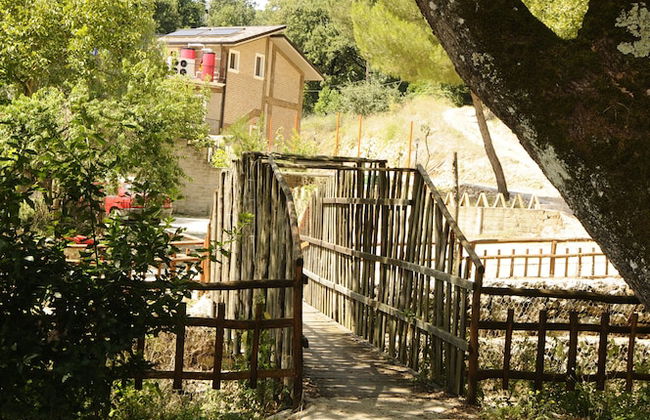
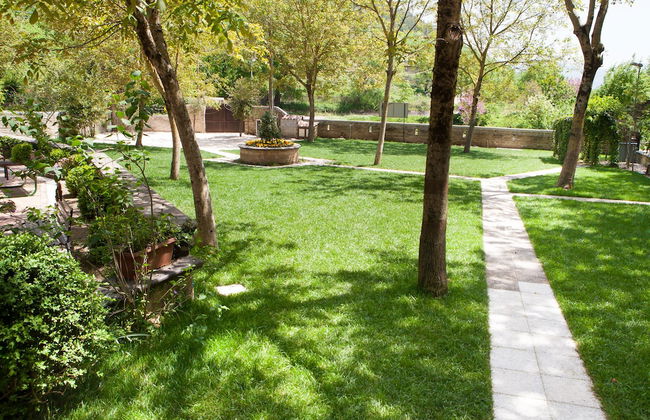
Le Querce Farmhouse
Agropoli - À 3.1 km du centre
- 21 M2
- 4 personnes
- Air conditionné
- Le chauffage
- Terrasse
- Piscine
- Parking
- Jardin
- Tv
- Cheminée
- Serviettes
12 avis


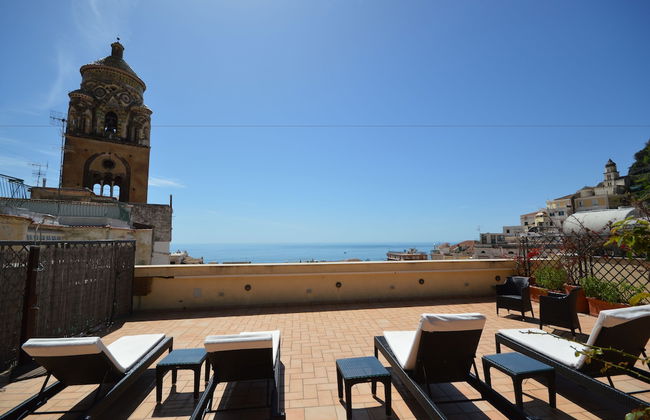
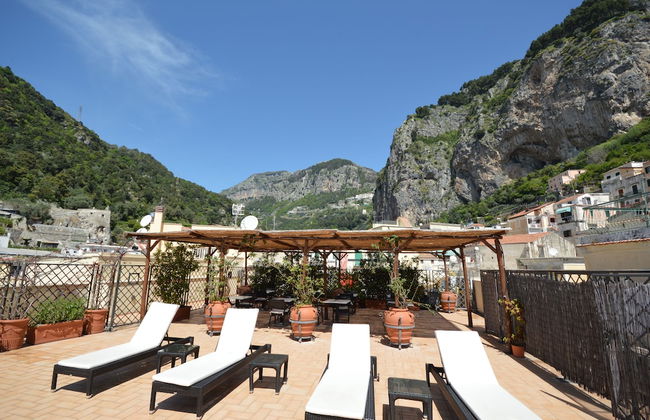
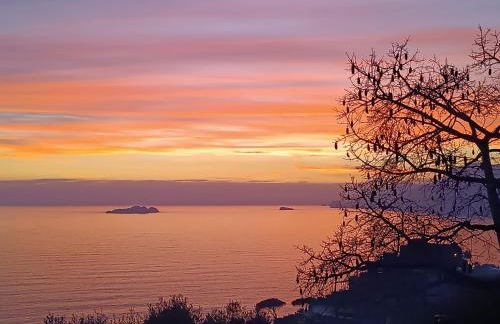
Il Melograno in Costa d'Amalfi
Vietri sul Mare - Raito
- 71 M2
- 4 personnes
- Air conditionné
- Le chauffage
- Terrasse
- Parking
- Jardin
- Tv
- Serviettes
- Feuilles
15 avis


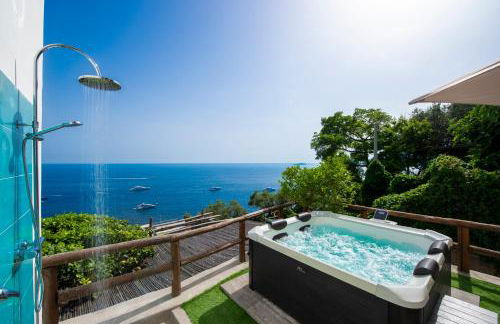
Gala Residence Villa Giovanna
Ravello
- 26 M2
- 4 personnes
- Air conditionné
- Le chauffage
- Terrasse
- Piscine
- Parking
- Tv
- Serviettes
- Feuilles
91 avis


Villa Diamond Luxury Suites
Positano
- 65 M2
- 4 personnes
- Air conditionné
- Le chauffage
- Terrasse
- Tv
- Serviettes
- Feuilles
48 avis

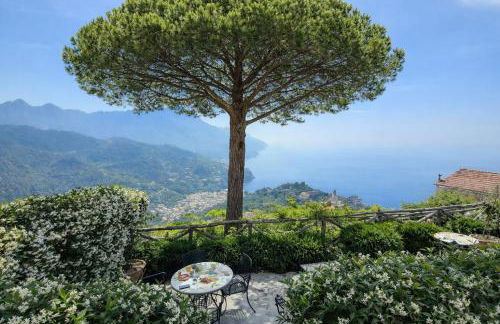


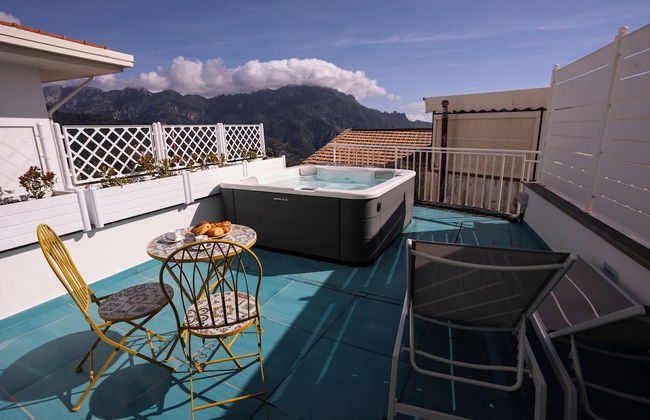
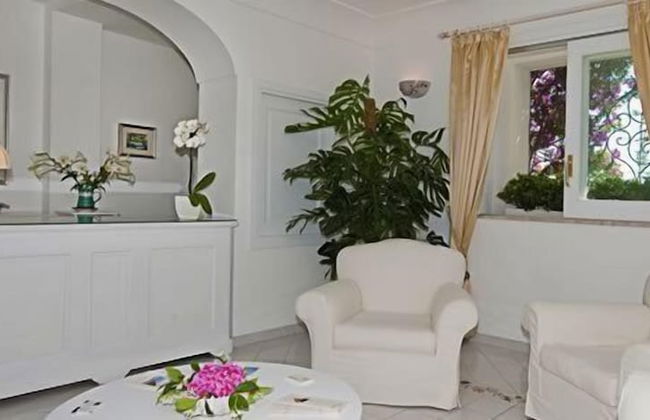
La Dolce Vita Ravello - Family Two-Bedroom Apartment with Sea View Terrace
Ravello
- 55 M2
- 2 chambres
- 5 personnes
- Air conditionné
- Le chauffage
- Terrasse
- Parking
- Balcon
- Jardin
- Tv
- Barbecue
- Serviettes
- Feuilles
130 avis


Calanteluna
Praiano
- 35 M2
- 6 personnes
- Cuisinette
- Air conditionné
- Le chauffage
- Terrasse
- Jardin
- Tv
- Barbecue
- Serviettes
- Feuilles
65 avis


Palazzo Margherita Positano
Positano
- 80 M2
- 2 chambres
- 6 personnes
- Air conditionné
- Le chauffage
- Terrasse
- Parking
- Balcon
- Jardin
- Tv
- Machine à laver
- Barbecue
- Serviettes
- Feuilles
148 avis


Villa Rosa
Positano
- 25 M2
- 4 personnes
- Air conditionné
- Terrasse
- Parking
- Ascenseur
- Tv
- Serviettes
- Feuilles
543 avis


Villa Dei Principi Luxury Suites
Positano
- 50 M2
- 4 personnes
- Air conditionné
- Le chauffage
- Terrasse
- Piscine
- Parking
- Balcon
- Jardin
- Tv
- Machine à laver
- Serviettes
15 avis


CASA ALESSANDRA POSITANO
Positano
- 75 M2
- 4 personnes
- Air conditionné
- Le chauffage
- Terrasse
- Parking
- Tv
- Machine à laver
- Serviettes
- Feuilles
13 avis


Villapiana Country Resort
Pellezzano
- 40 M2
- 5 personnes
- Air conditionné
- Terrasse
- Piscine
- Parking
- Balcon
- Jardin
- Tv
- Serviettes
38 avis


B&B Palazzo Pisani
Amalfi
- 15 M2
- 3 personnes
- Air conditionné
- Terrasse
- Ascenseur
- Tv
- Serviettes
- Feuilles
133 avis


Likò Resort
Nocera Inferiore - À 3.7 km du centre
- 30 M2
- 3 personnes
- Air conditionné
- Le chauffage
- Terrasse
- Piscine
- Parking
- Jardin
- Tv
- Serviettes
10 avis


Casa Mia
Scala - Santa Caterina
- 42 M2
- 1 chambre
- 4 personnes
- Air conditionné
- Le chauffage
- Terrasse
- Piscine
- Parking
- Jardin
- Barbecue
11 avis
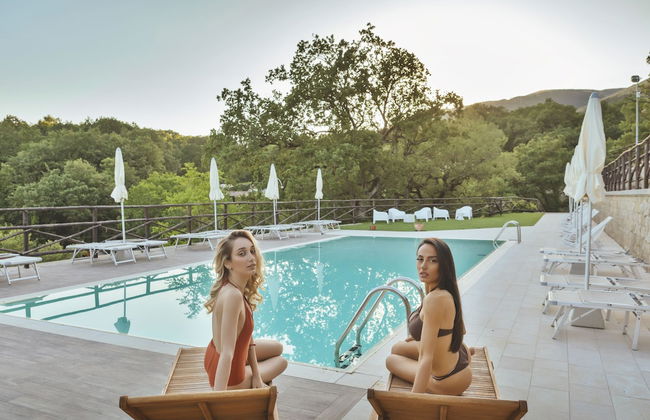
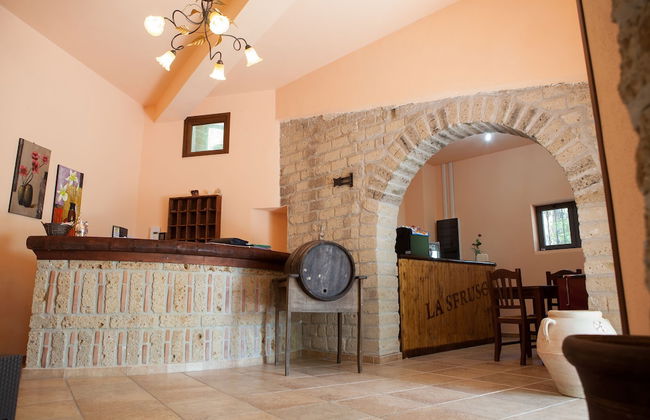


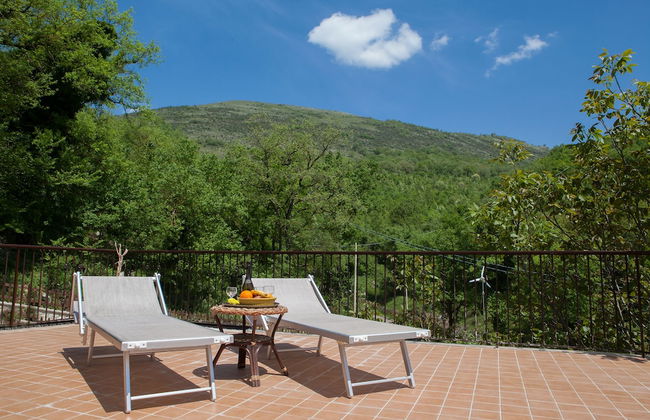
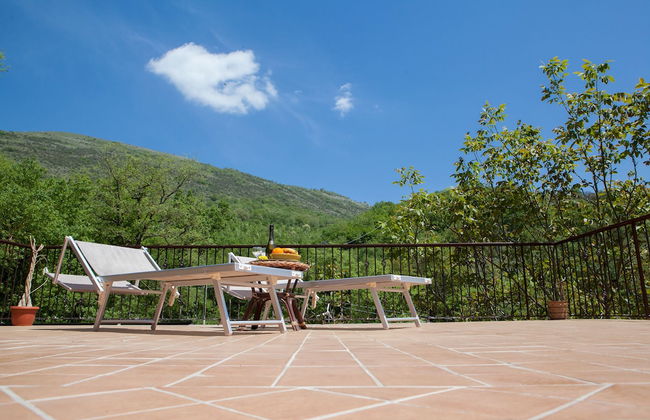

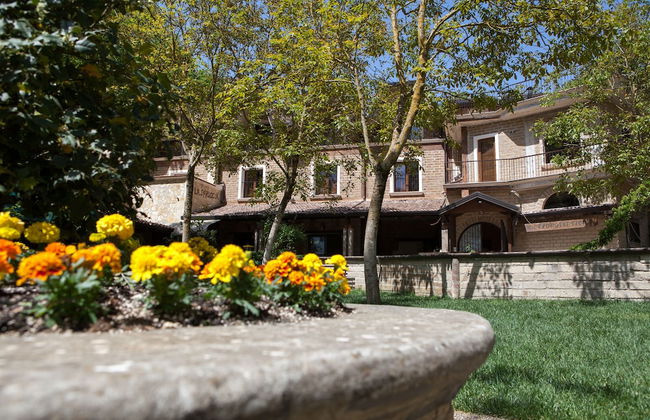
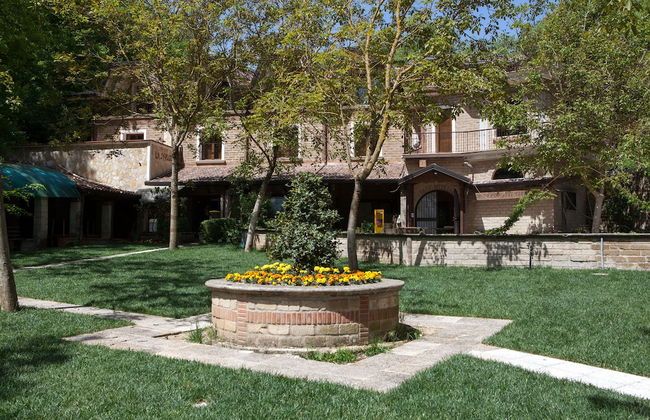

Agriturismo La Sfruscià
San Gregorio Magno - À 1000 m du centre
- 30 M2
- 4 personnes
- Air conditionné
- Terrasse
- Piscine
- Parking
- Ascenseur
- Balcon
- Jardin
- Tv
- Cheminée
- Serviettes
11 avis


Piccolo Paradiso
Battipaglia - À 8.3 km du centre
- 85 M2
- 2 chambres
- 6 personnes
- Air conditionné
- Le chauffage
- Terrasse
- Piscine
- Parking
- Jardin
- Barbecue
12 avis


Appartamento B&B La Meta
Fisciano - Lancusi - À 1000 m du centre
- 45 M2
- 1 chambre
- 3 personnes
- Air conditionné
- Le chauffage
- Terrasse
- Parking
- Ascenseur
31 avis


Villa Marunnella
Praiano
- 250 M2
- 2 chambres
- 5 personnes
- Air conditionné
- Le chauffage
- Terrasse
- Piscine
- Parking
- Jardin
28 avis


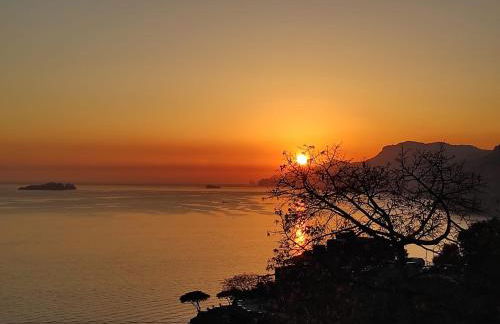
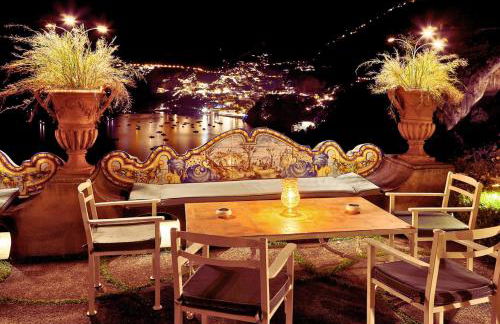
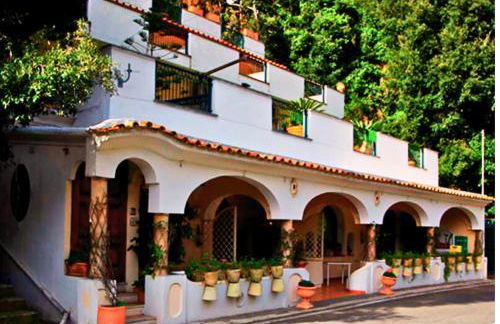
Rays of sun - Positano
Positano
- 35 M2
- 1 chambre
- 3 personnes
- Air conditionné
- Le chauffage
- Terrasse
- Piscine
- Parking
- Jardin
40 avis