
4422 Appartements à Oregon

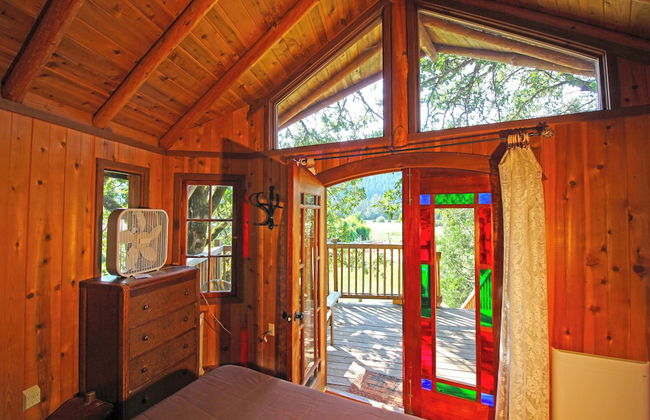
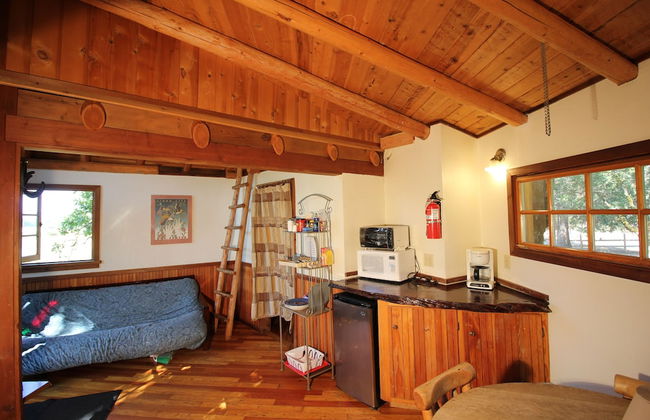
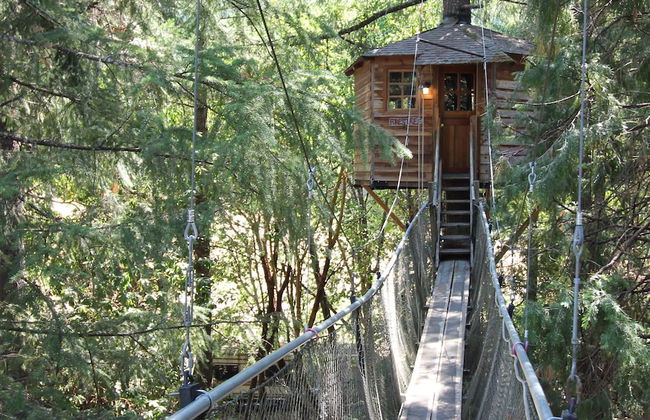


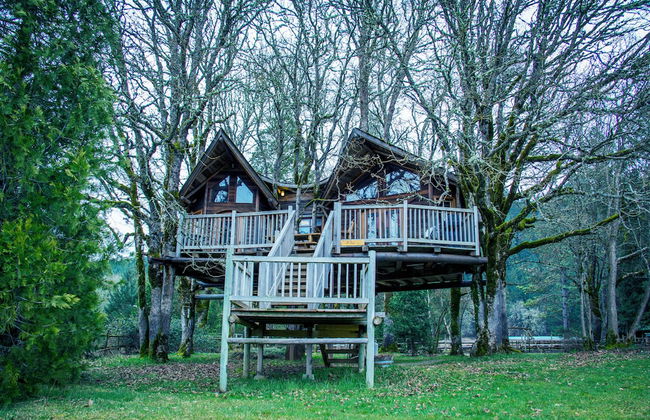
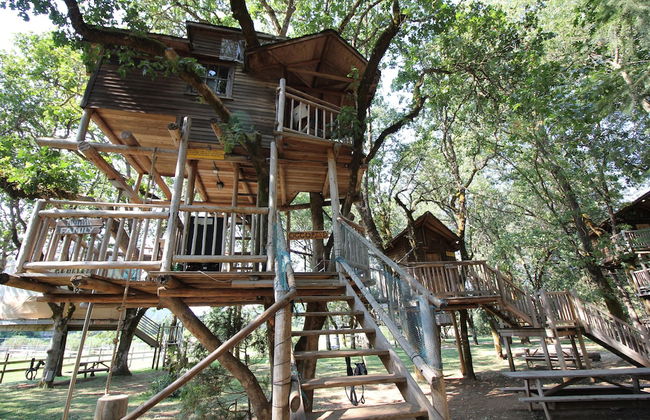
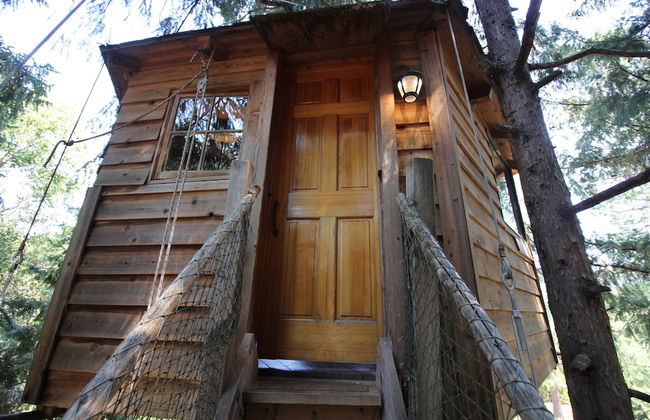
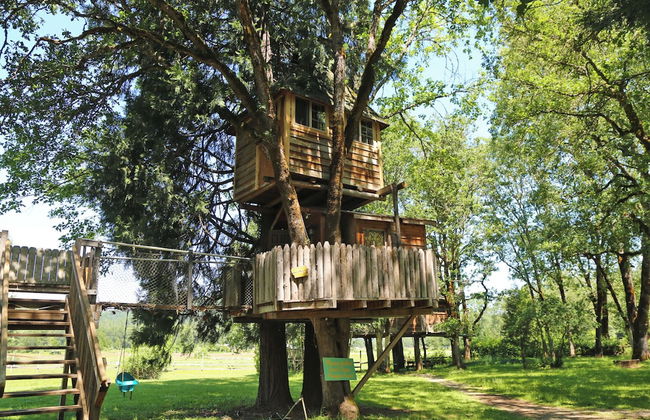

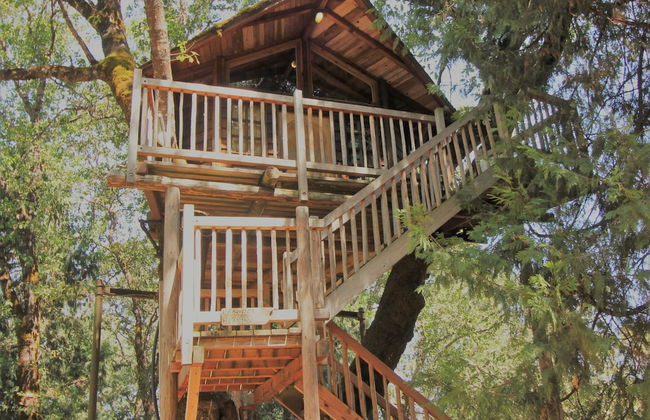
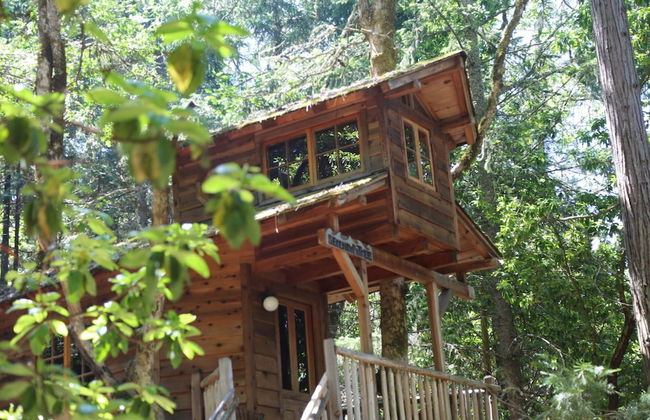


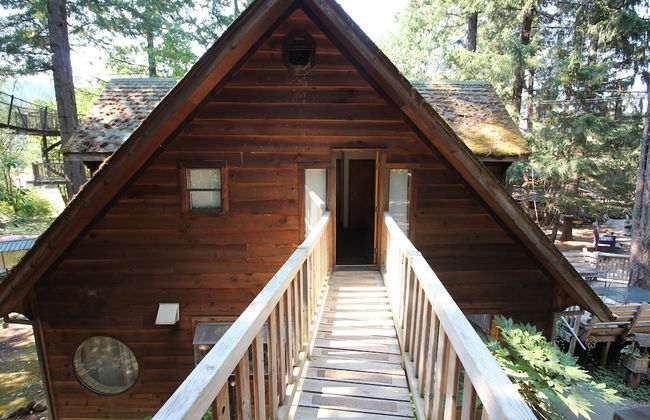
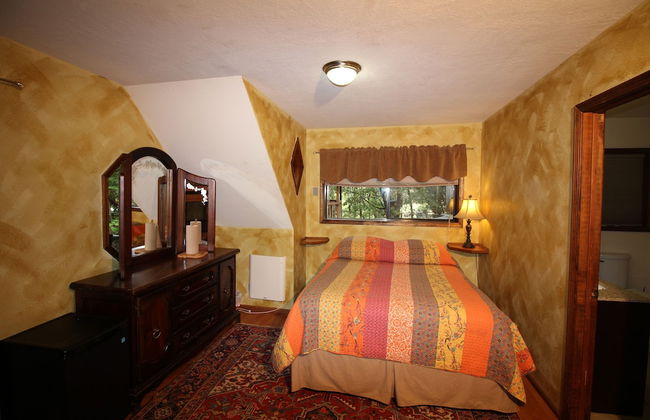
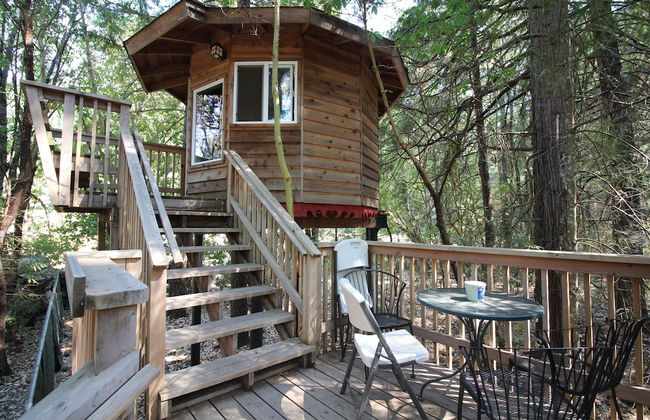
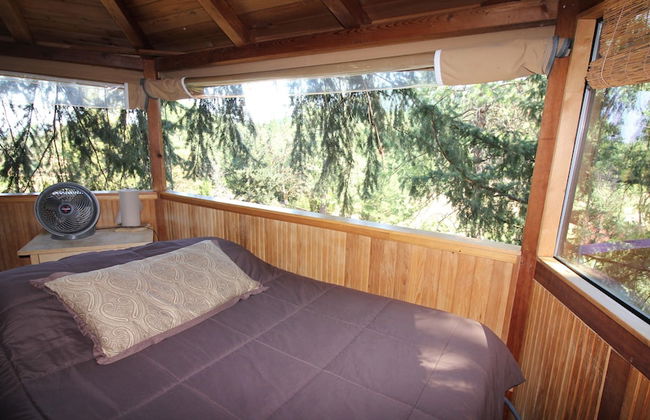

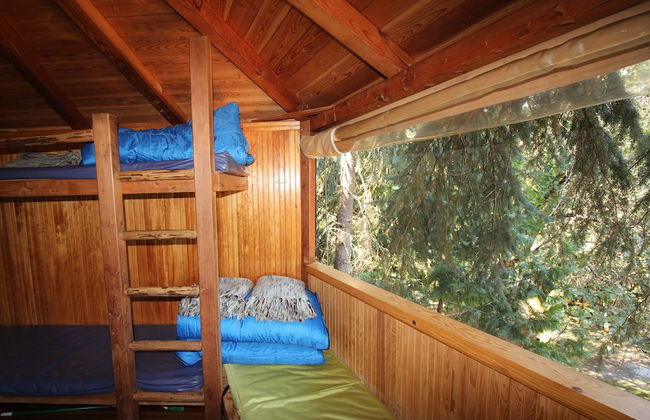
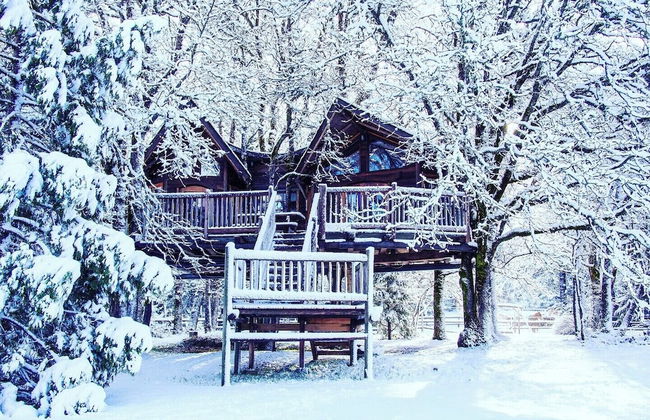

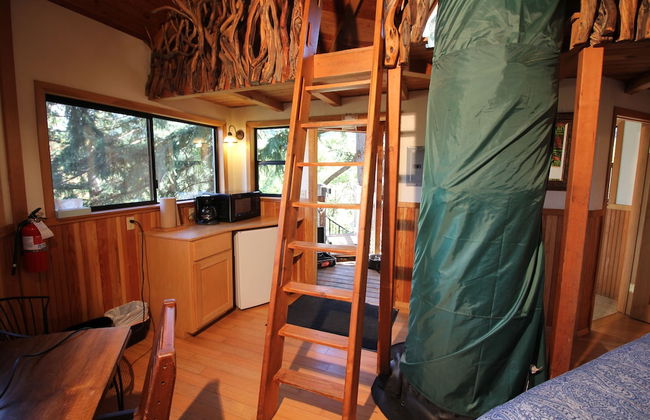
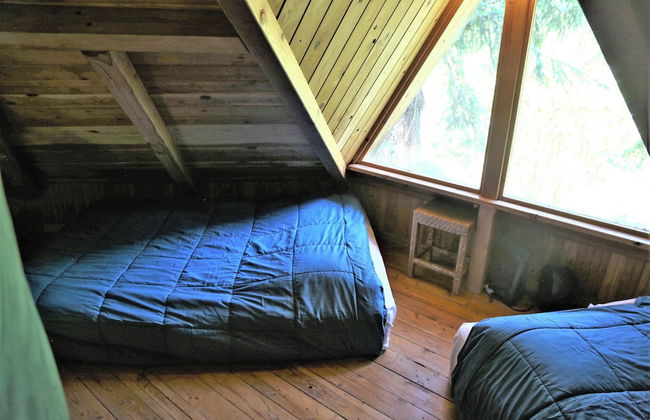

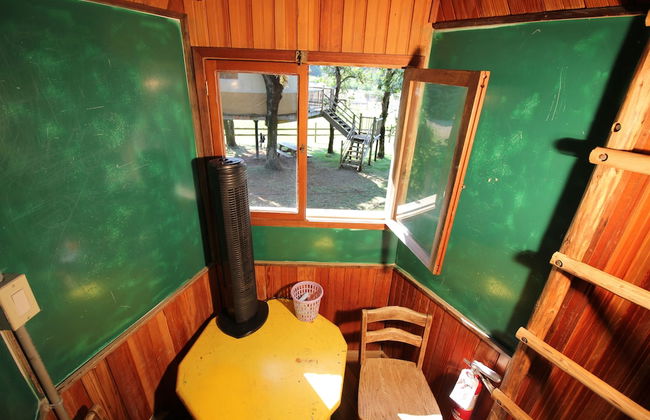
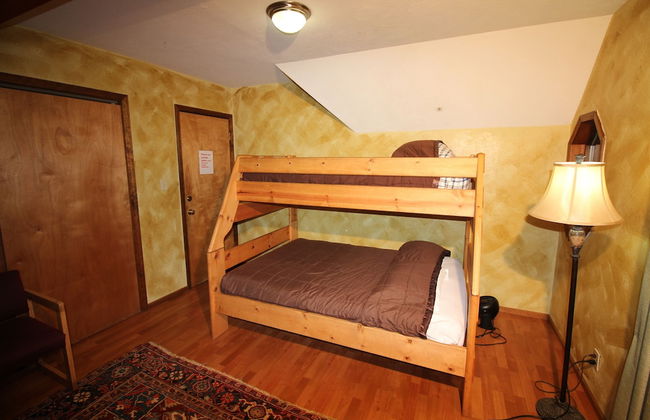
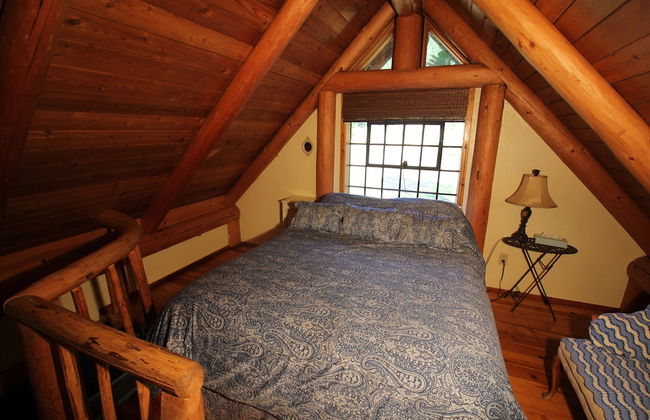
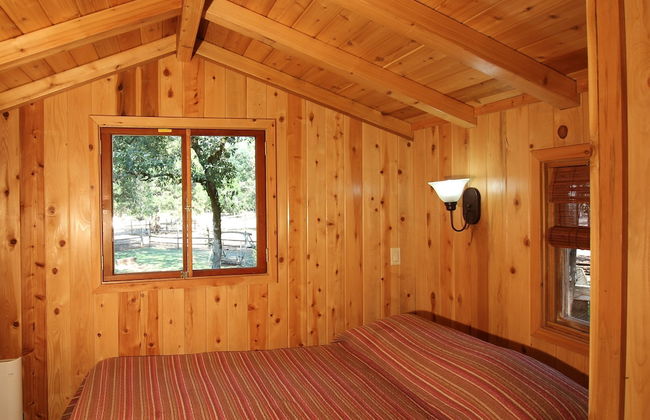
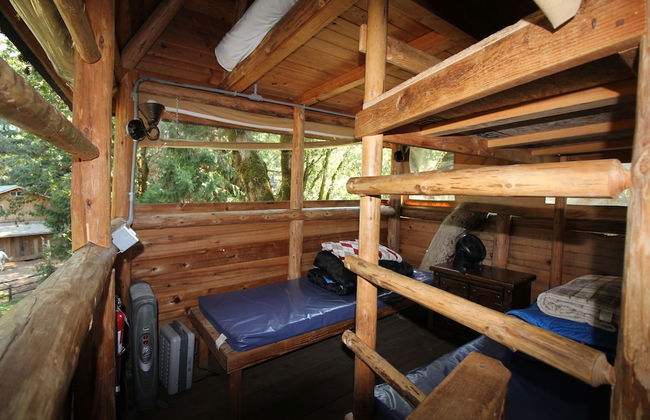
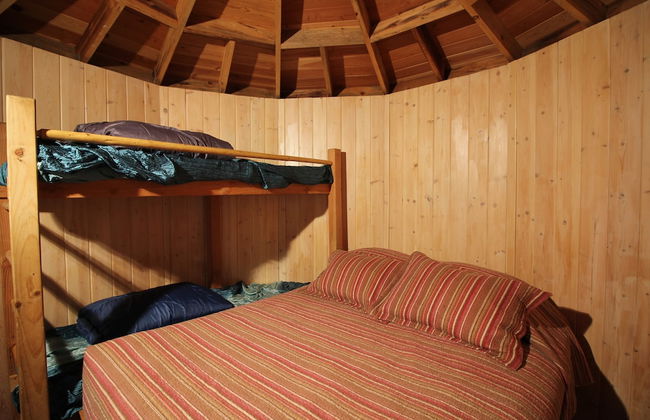
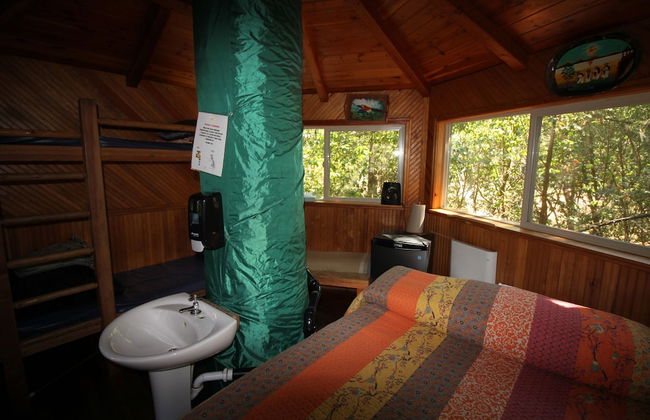

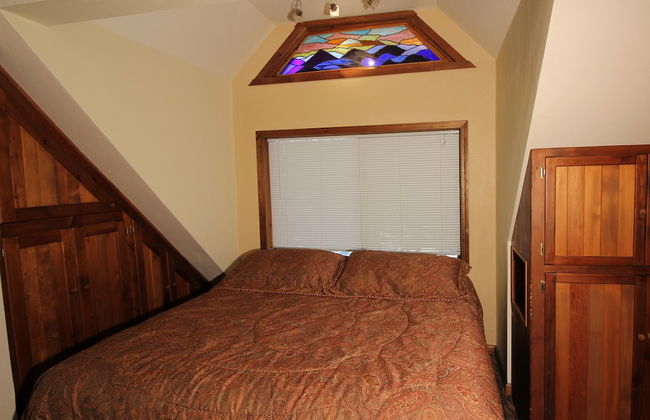
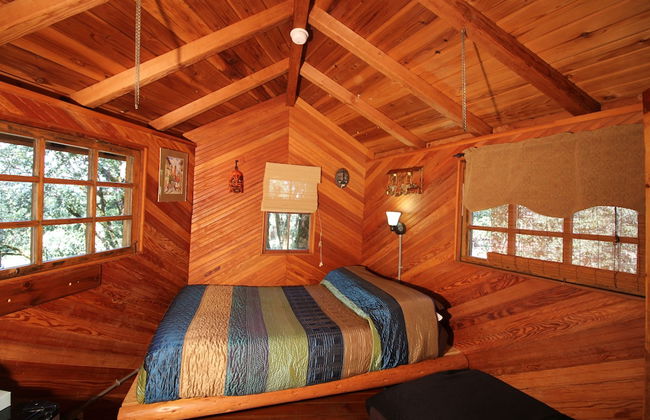
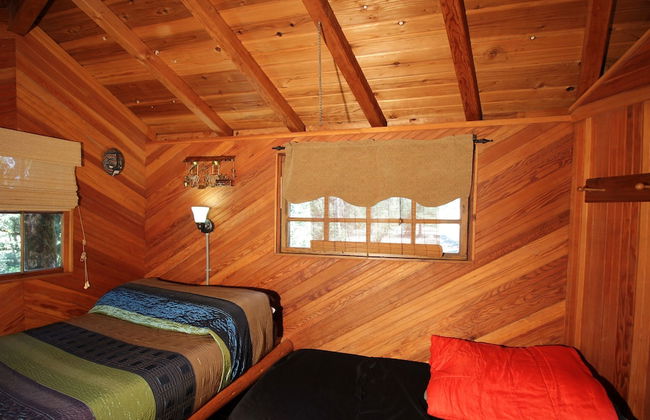
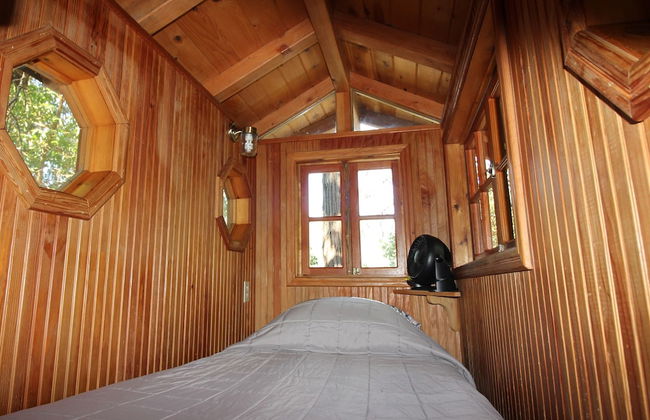
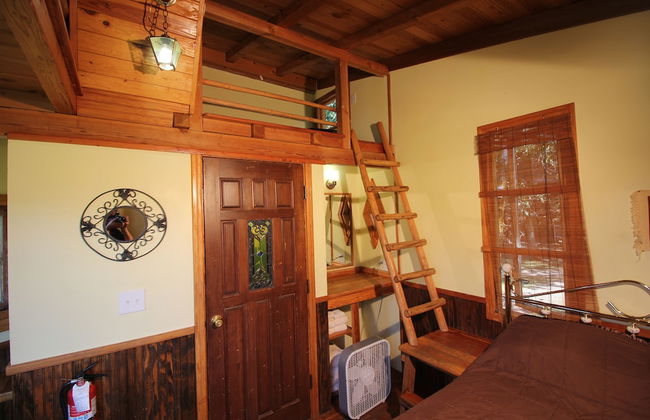
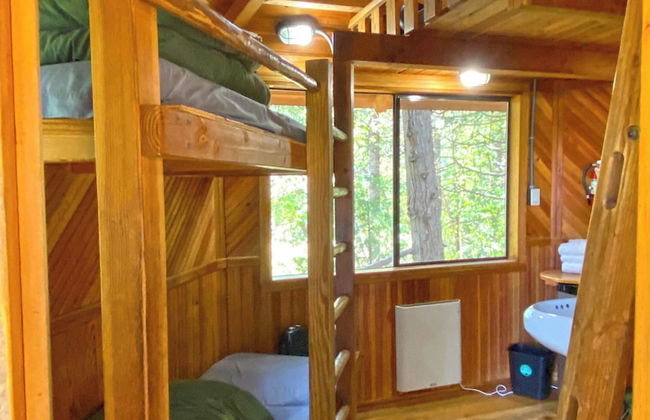

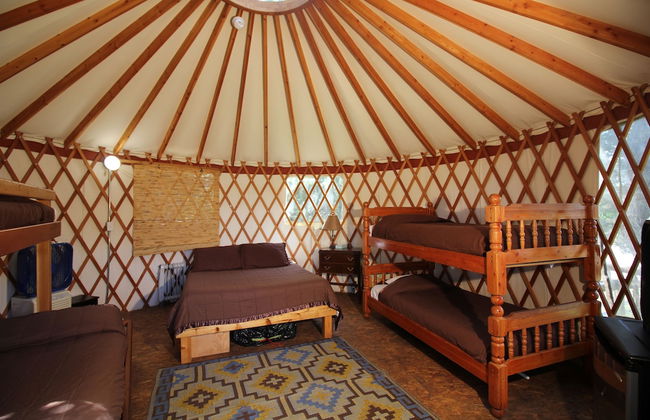

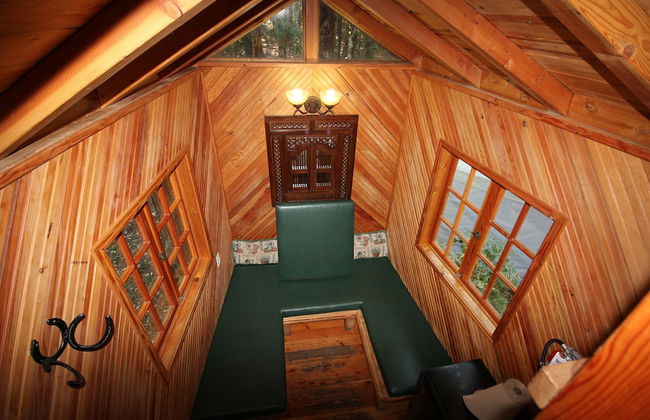


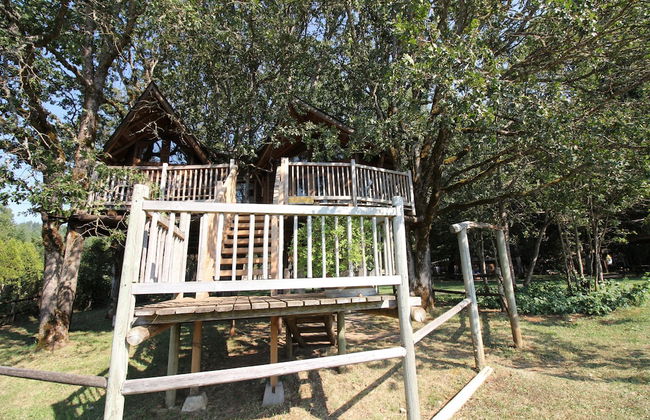
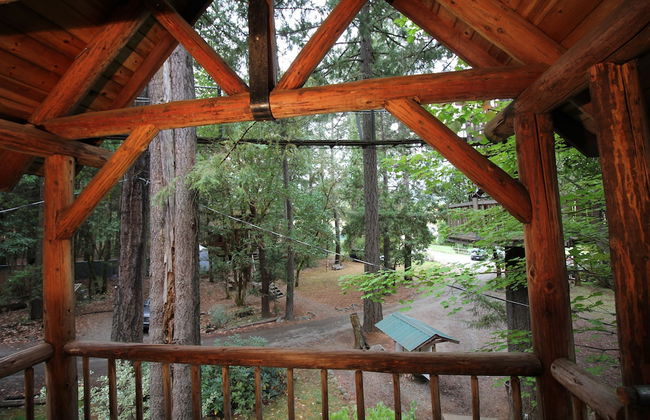


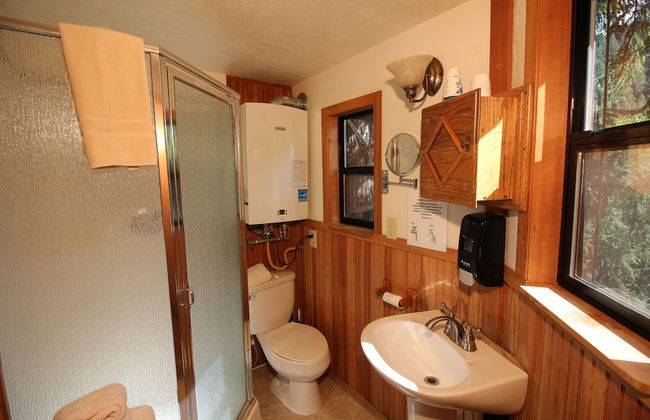
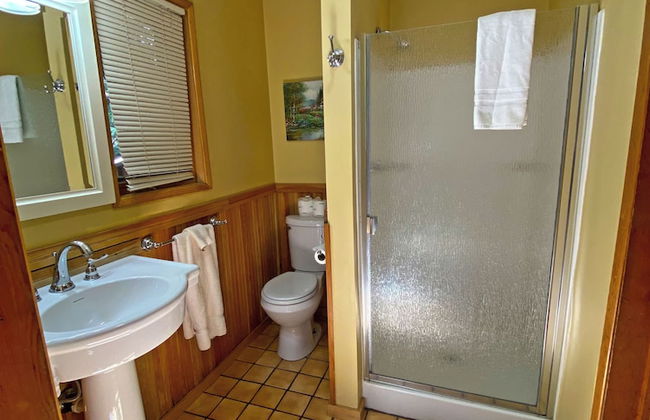


Out 'N' About Treehouse Treesort
Cave Junction
- 7 personnes
- Cuisinette
- Air conditionné
- Le chauffage
- Piscine
- Parking
- Balcon
- Jardin
- Cheminée
- Barbecue
- Serviettes
- Feuilles
23 avis


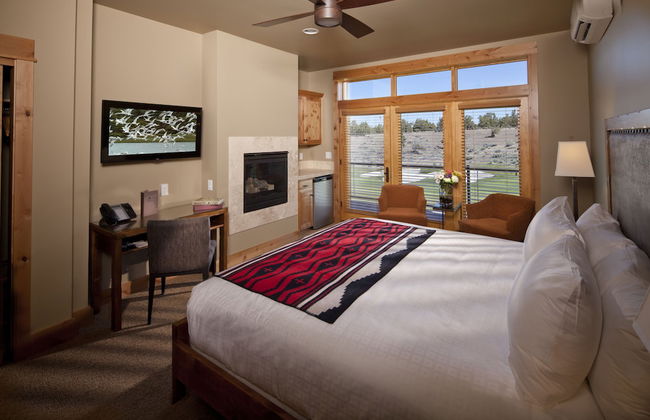
Inn at Northrup Station
Portland - Northwest District - À 2.1 km du centre
- 46 M2
- 4 personnes
- Cuisinette
- Air conditionné
- Le chauffage
- Terrasse
- Parking
- Ascenseur
- Jardin
- Tv
- Cheminée
- Barbecue
- Serviettes
- Feuilles
2201 avis


Crooked River Ranch Cabins
Terrebonne - Crooked River Ranch
- 111 M2
- 2 chambres
- 9 personnes
- Cuisinette
- Air conditionné
- Le chauffage
- Piscine
- Parking
- Jardin
- Tv
- Barbecue
- Serviettes
- Feuilles
254 avis


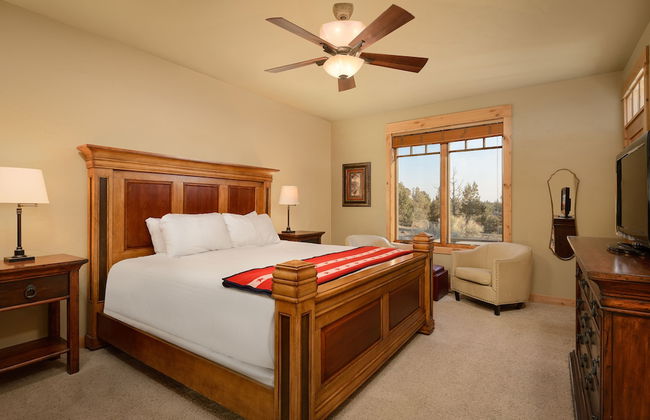
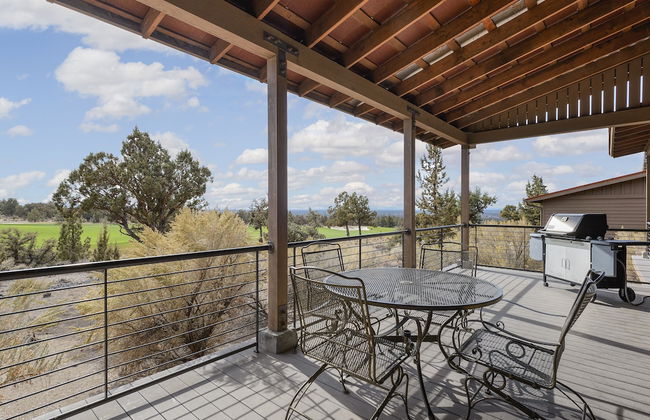
Canyon Rim at Eagle Crest
Redmond - À 5.5 km du centre
- 99 M2
- 2 chambres
- 6 personnes
- Air conditionné
- Le chauffage
- Piscine
- Parking
- Balcon
- Tv
- Machine à laver
- Cheminée
- Barbecue
- Serviettes
- Feuilles
124 avis


Whale Pointe at Depoe Bay
Depoe Bay
- 125 M2
- 8 personnes
- Le chauffage
- Terrasse
- Piscine
- Parking
- Ascenseur
- Balcon
- Jardin
- Tv
- Machine à laver
- Cheminée
- Barbecue
- Serviettes
- Feuilles
21 avis


Paschal Winery - Dream 1 Cottage
Talent
- 79 M2
- 1 chambre
- 6 personnes
- Air conditionné
- Le chauffage
- Parking
- Balcon
- Jardin
- Tv
- Cheminée
- Barbecue
- Serviettes
19 avis


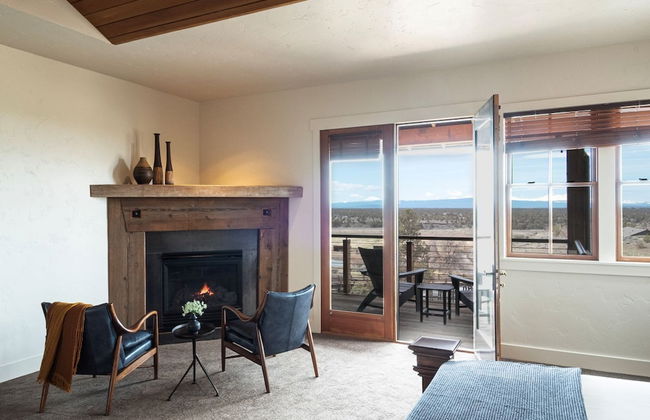

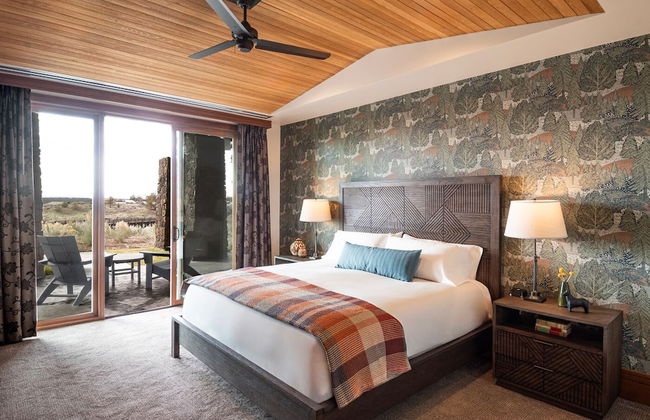


Brasada Ranch
Powell Butte - Brasada Ranch
- 215 M2
- 8 personnes
- Air conditionné
- Le chauffage
- Piscine
- Parking
- Balcon
- Tv
- Machine à laver
- Cheminée
- Serviettes
- Feuilles
355 avis


Bay Point Landing
Coos Bay - À 5.3 km du centre
- 6 personnes
- Cuisinette
- Le chauffage
- Terrasse
- Piscine
- Parking
- Tv
- Cheminée
- Barbecue
- Serviettes
- Feuilles
330 avis


Loft Cabin 3 - Rogue River Resort
Grants Pass - À 3 km du centre
- 37 M2
- 4 personnes
- Cuisinette
- Air conditionné
- Le chauffage
- Parking
- Balcon
- Jardin
- Tv
- Cheminée
- Barbecue
- Serviettes
- Feuilles
37 avis


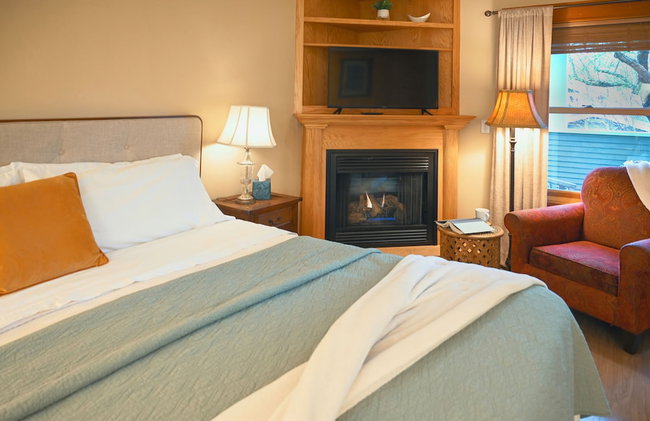
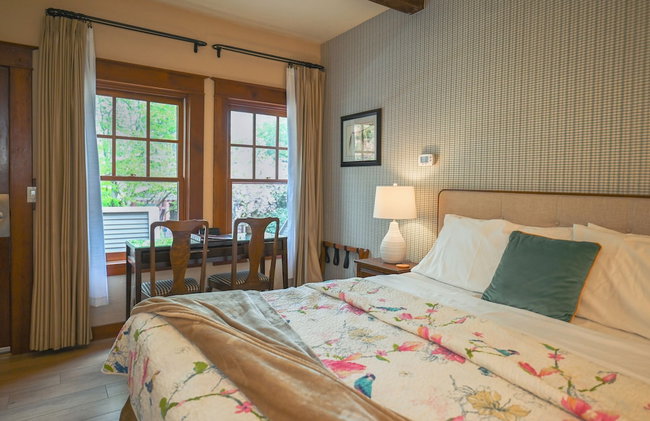
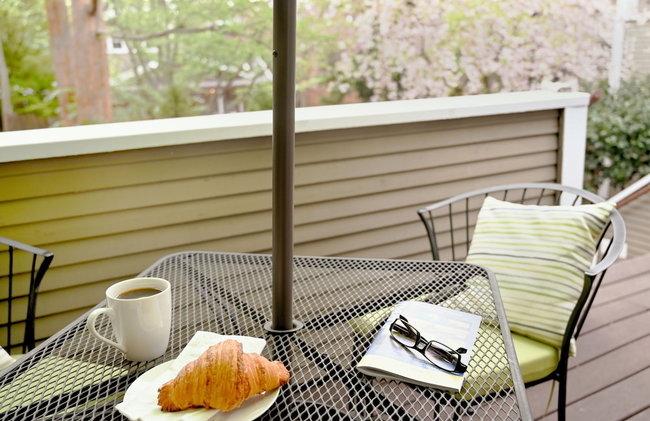
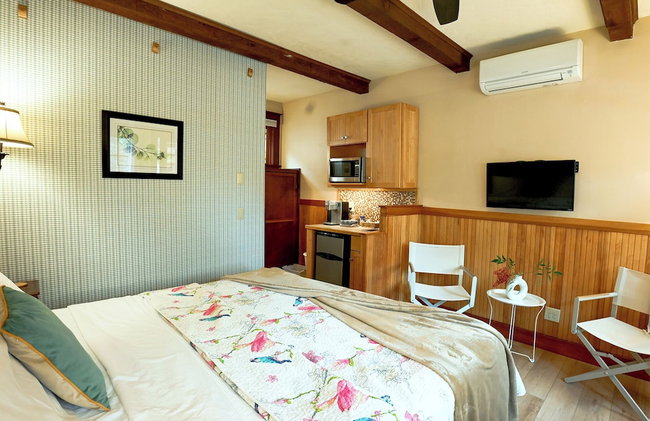


A Cowslip's Belle Inn
Ashland - À 4.9 km de Mt. Ashland
- 3 personnes
- Cuisinette
- Air conditionné
- Le chauffage
- Parking
- Balcon
- Tv
- Cheminée
- Serviettes
- Feuilles
45 avis


Grandview of Ashland
Ashland - À 6.2 km de Mt. Ashland
- 250 M2
- 1 chambre
- 6 personnes
- Air conditionné
- Le chauffage
- Terrasse
- Parking
- Jardin
- Tv
- Machine à laver
- Cheminée
- Barbecue
- Serviettes
- Feuilles
7 avis


Little Creek Cove Beachfront Resort
Newport - À 3 km du centre
- 121 M2
- 6 personnes
- Le chauffage
- Terrasse
- Parking
- Balcon
- Jardin
- Tv
- Cheminée
- Barbecue
- Serviettes
- Feuilles
1594 avis


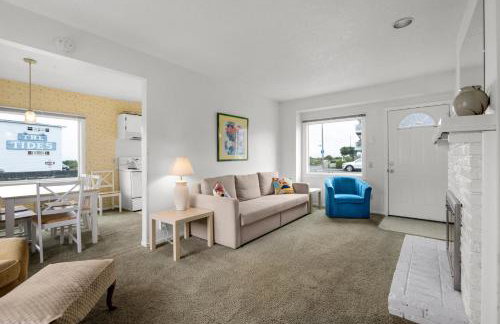

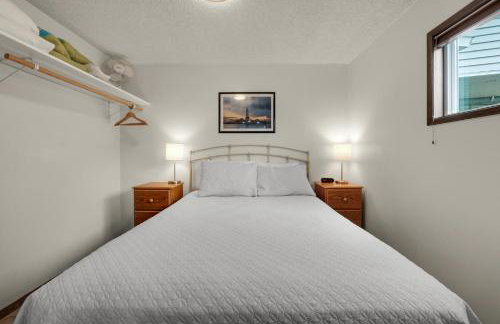

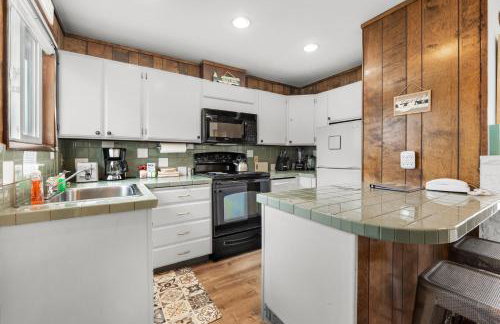

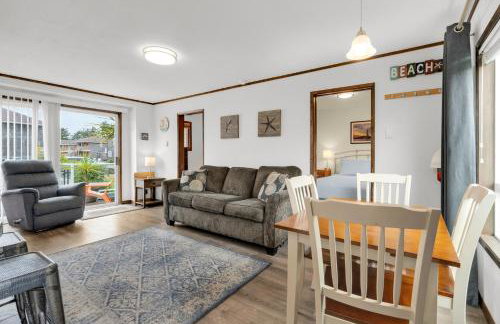


The Tides by the Sea
Seaside
- 88 M2
- 2 chambres
- 8 personnes
- Le chauffage
- Terrasse
- Piscine
- Parking
- Jardin
- Tv
- Cheminée
- Barbecue
- Serviettes
- Feuilles
32 avis


Raines Resort Cabins & RV
Cloverdale
- 43 M2
- 6 personnes
- Le chauffage
- Parking
- Balcon
- Tv
- Cheminée
- Serviettes
- Feuilles
141 avis


Whispering Woods Resort
Welches
- 8 personnes
- Le chauffage
- Terrasse
- Piscine
- Parking
- Ascenseur
- Jardin
- Tv
- Machine à laver
- Barbecue
- Serviettes
- Feuilles
568 avis


Jacksonville Towne Square.
Jacksonville
- 149 M2
- 7 personnes
- Cuisinette
- Air conditionné
- Le chauffage
- Parking
- Tv
- Machine à laver
- Feuilles
12 avis


HideAway Chalet
Bend - River West - À 1.2 km du centre
- 56 M2
- 1 chambre
- 2 personnes
- Air conditionné
- Le chauffage
- Terrasse
- Parking
- Jardin
11 avis


The Aerie Suites by AvantStay
Bend - À 3.9 km du centre
- 6 personnes
- Air conditionné
- Le chauffage
- Terrasse
- Parking
- Tv
- Machine à laver
- Serviettes
6 avis


Barclay Klum House by WanderLodges
Ashland - À 3.4 km de Mt. Ashland
- 139 M2
- 2 chambres
- 4 personnes
- Air conditionné
- Le chauffage
- Parking
- Jardin
- Barbecue
- Serviettes
- Feuilles
8 avis


The Mountain Ave House by WanderLodges
Ashland - À 3.2 km de Mt. Ashland
- 158 M2
- 3 chambres
- 6 personnes
- Air conditionné
- Le chauffage
- Parking
- Jardin
- Tv
- Machine à laver
- Serviettes
- Feuilles
7 avis