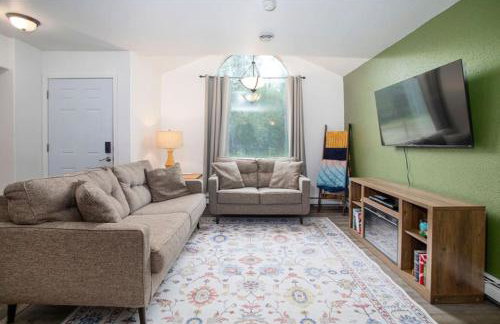
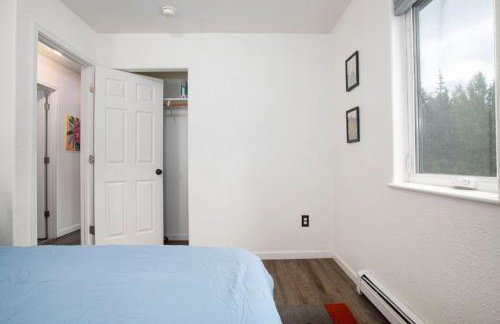
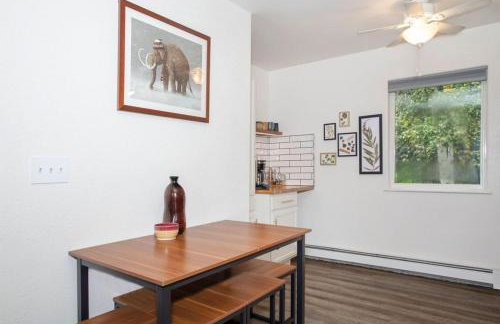
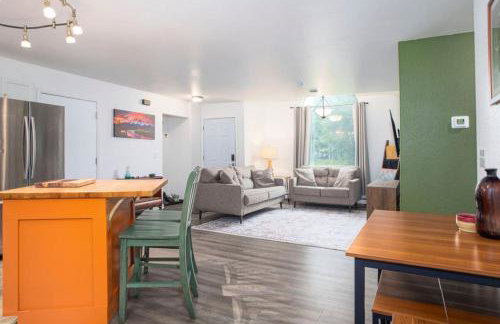
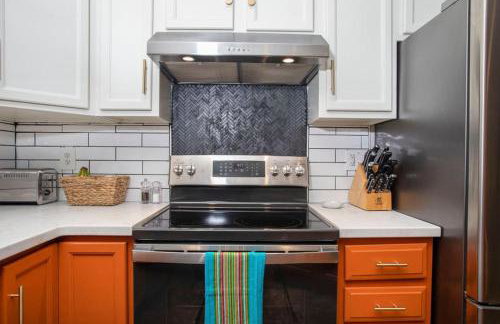
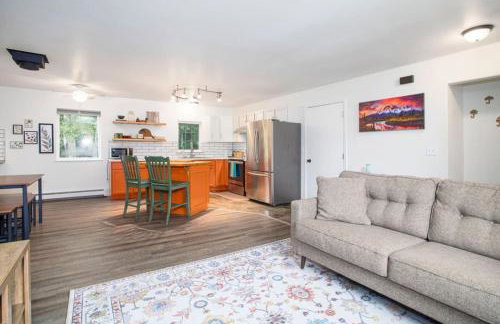
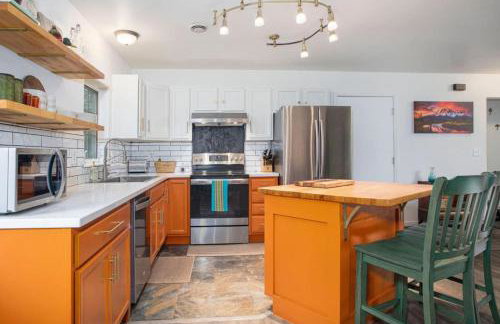
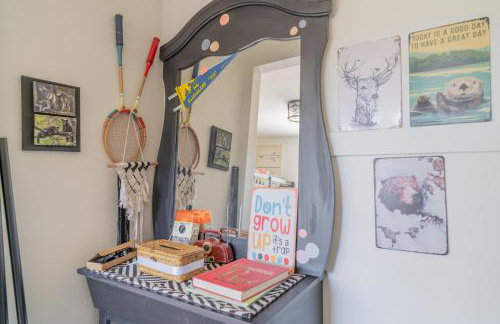
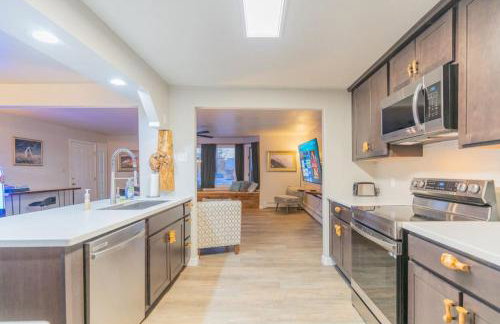
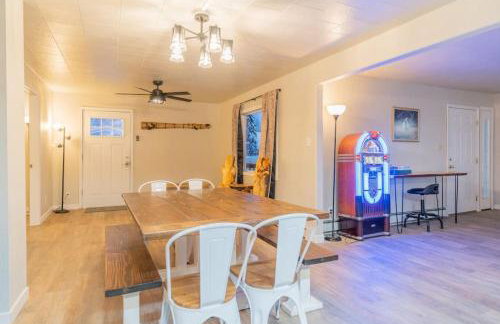
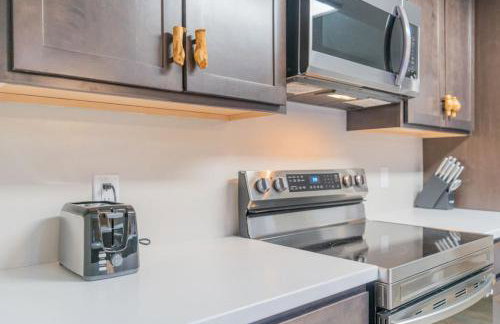
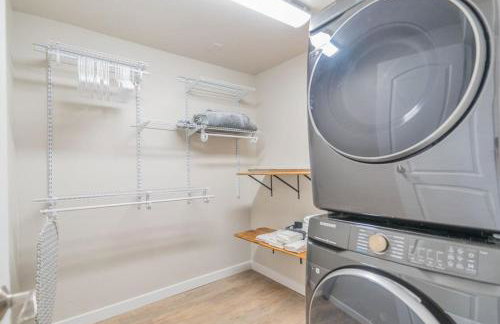
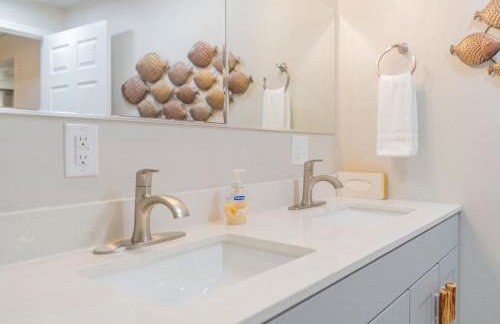
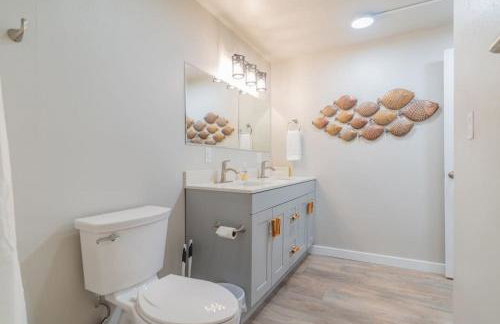
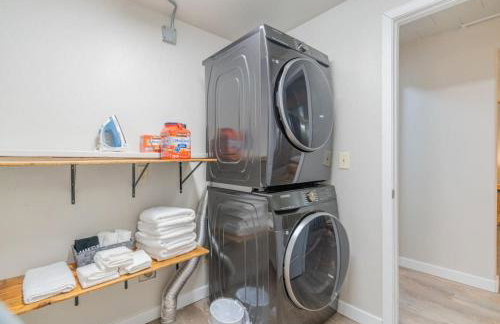
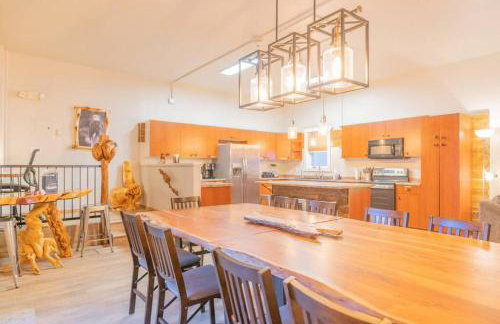
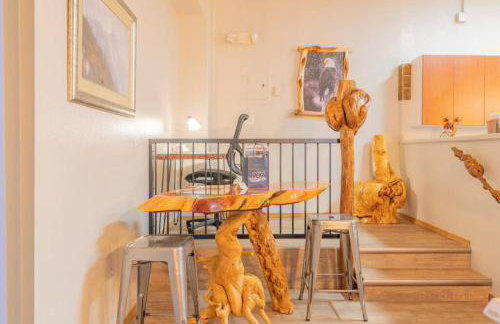
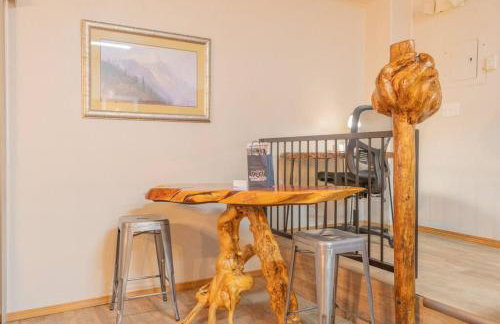
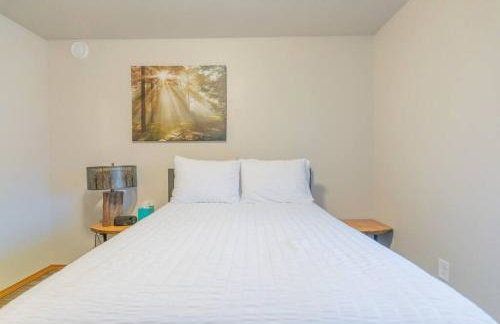
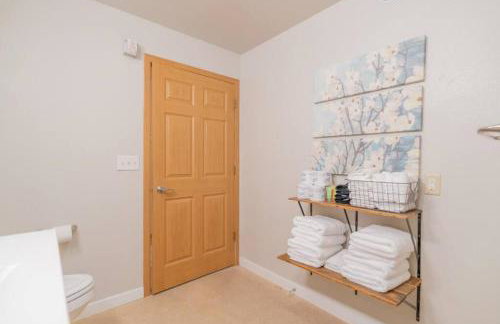
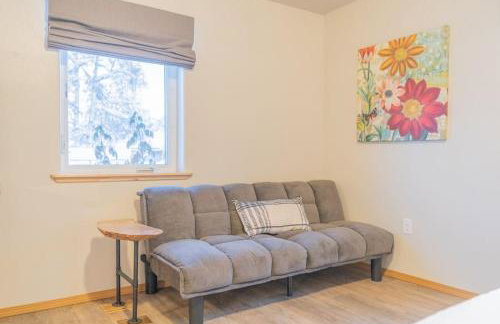
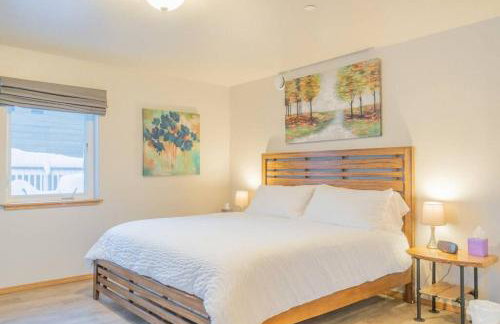
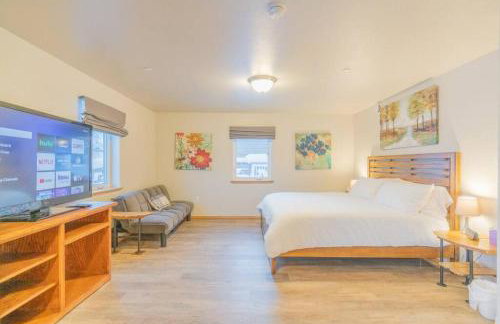
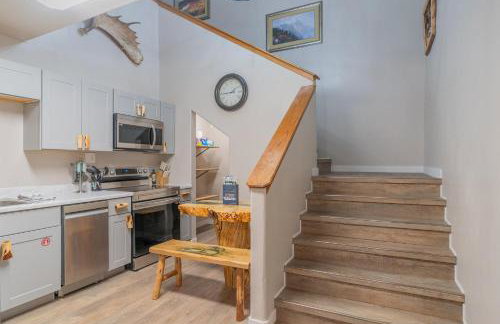
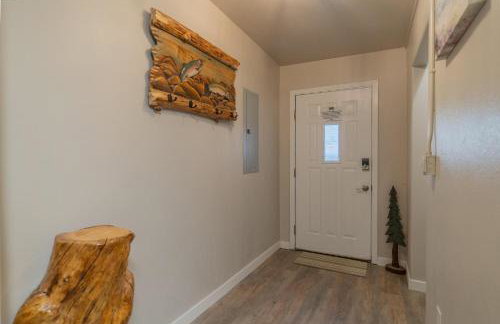
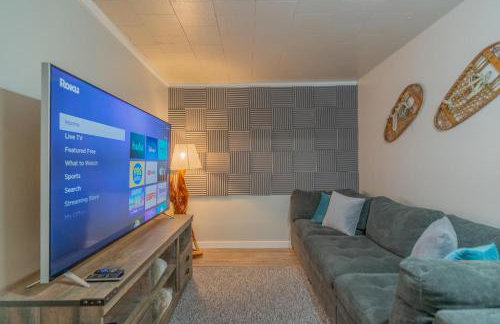
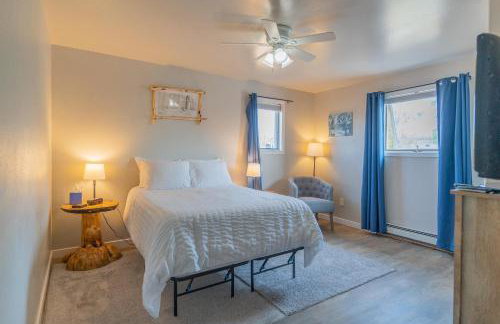
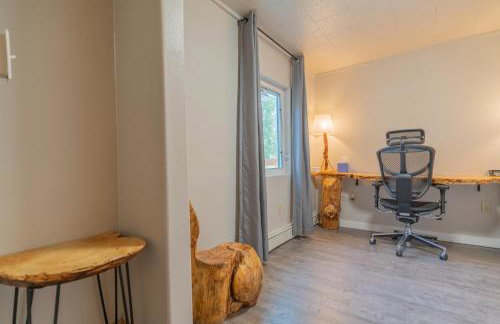
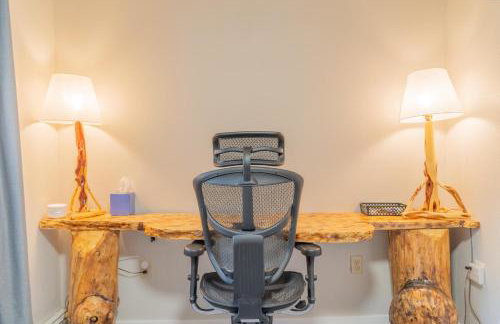
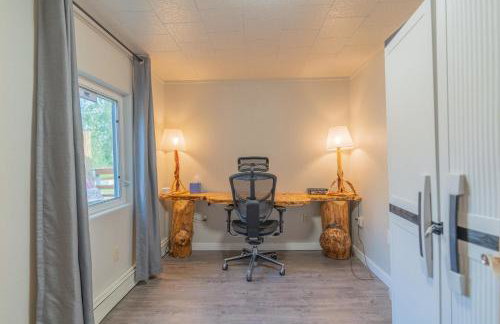
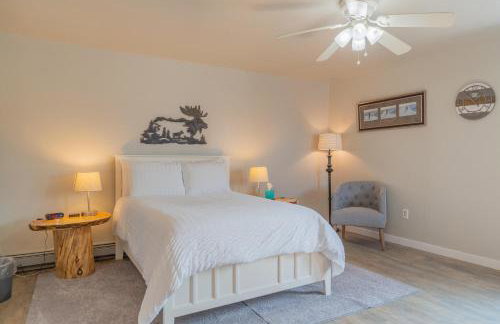
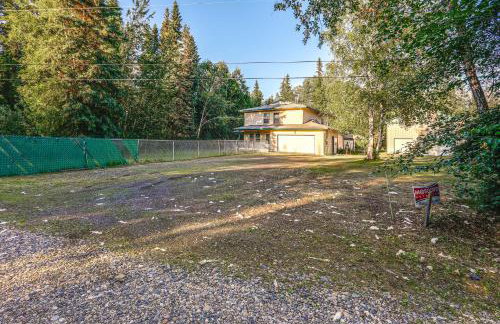
20 Appartements à North Pole


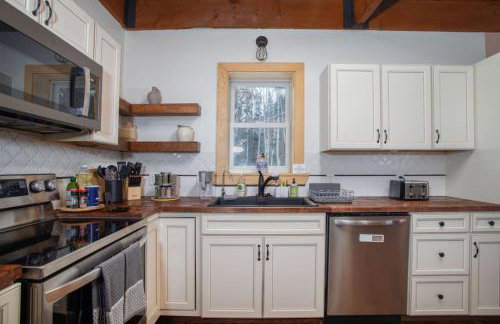
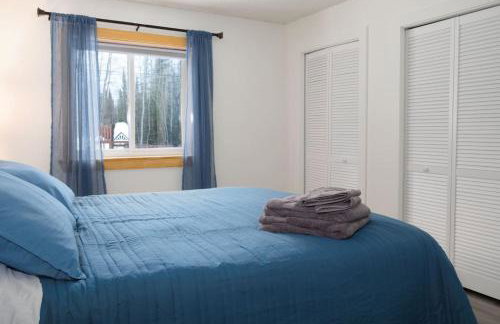
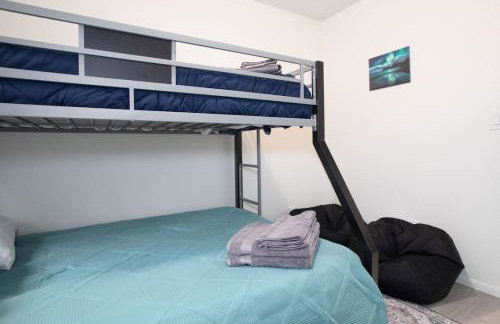
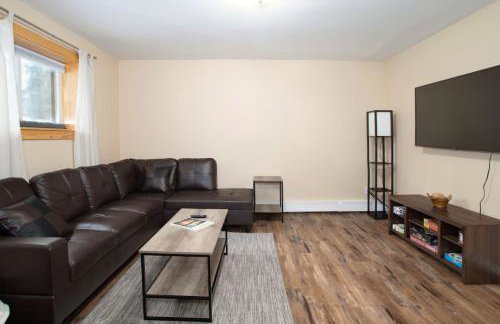
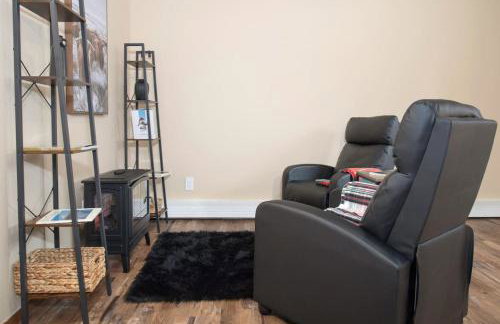
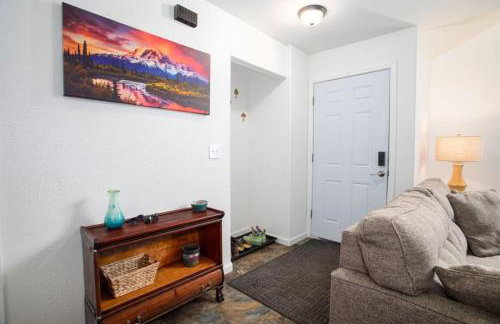
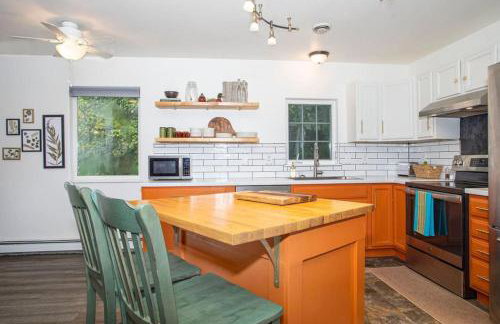
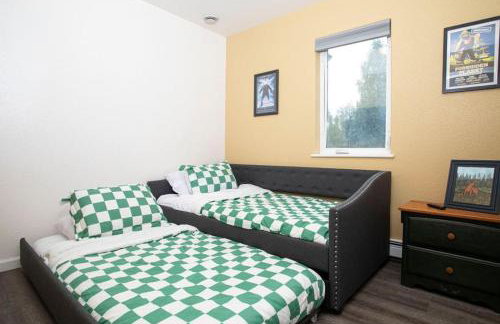
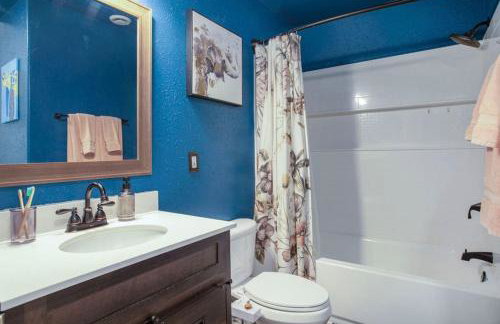
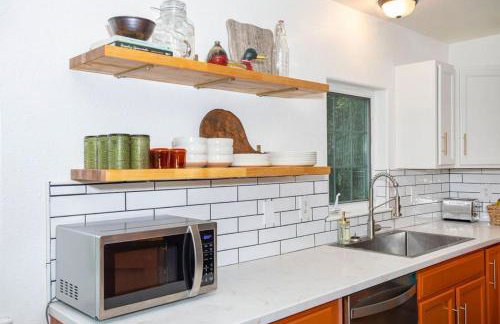
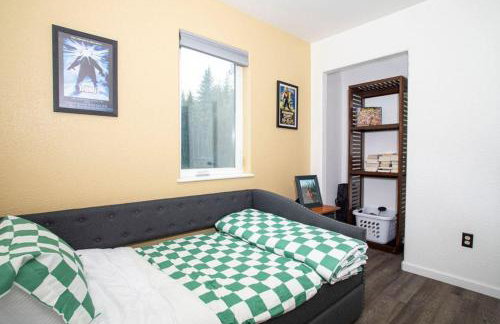
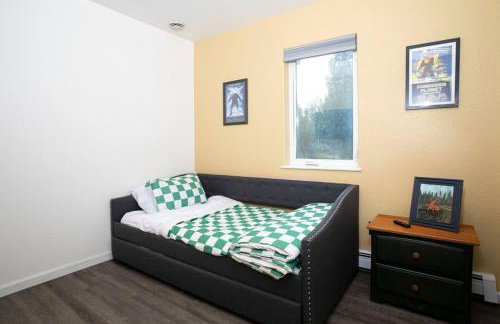
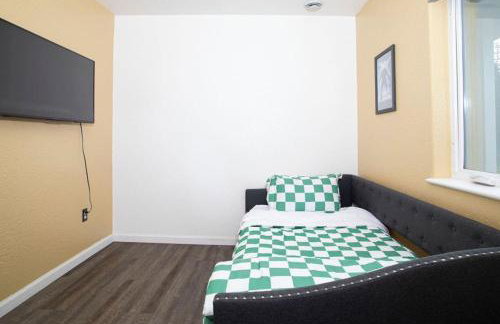
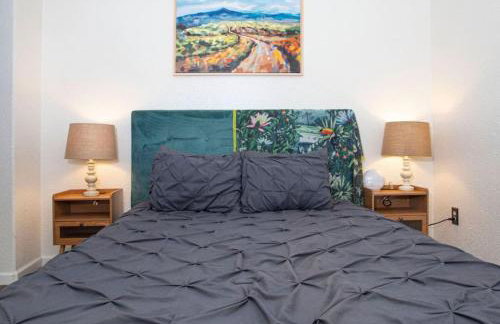
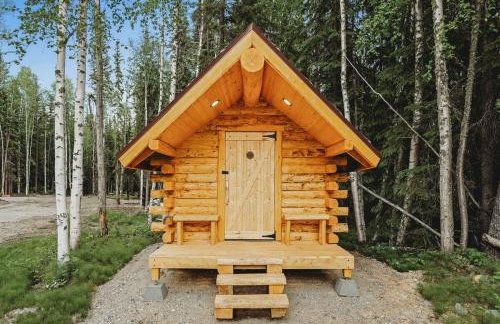
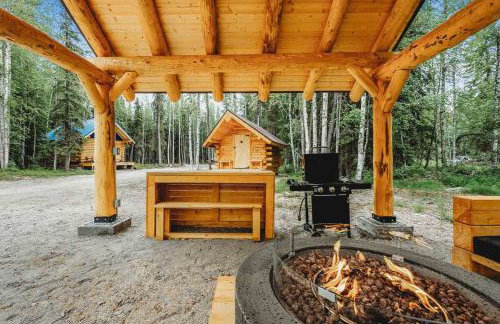
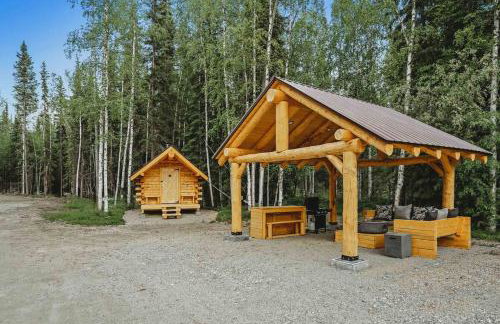
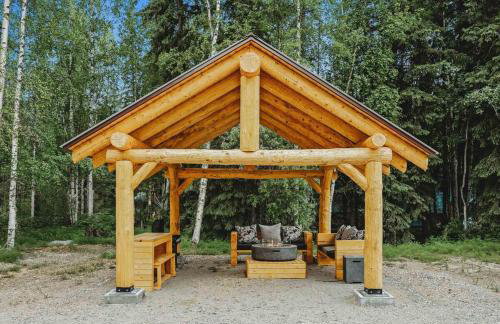
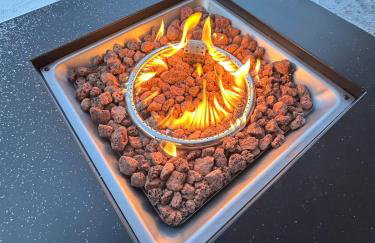
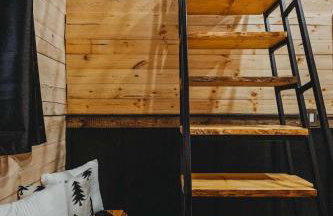
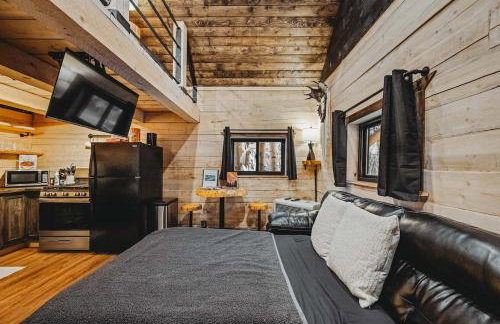
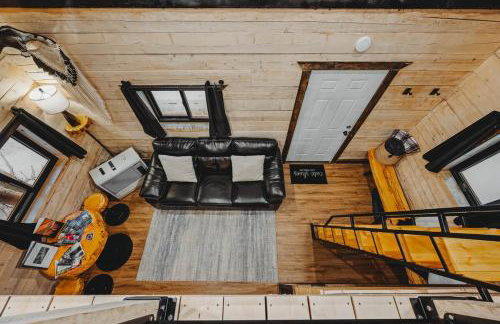
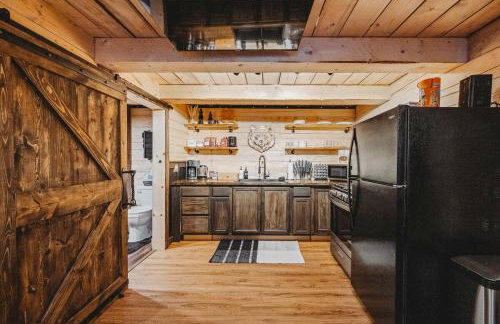
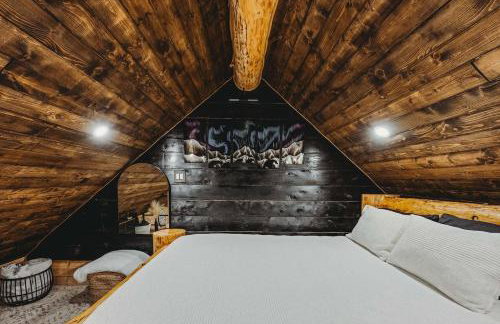
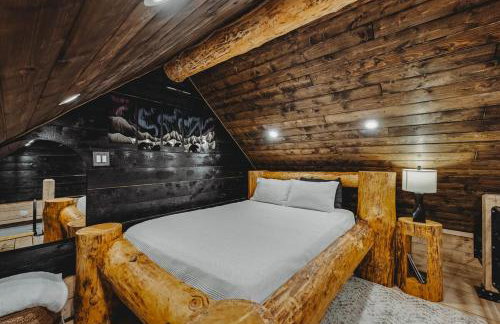
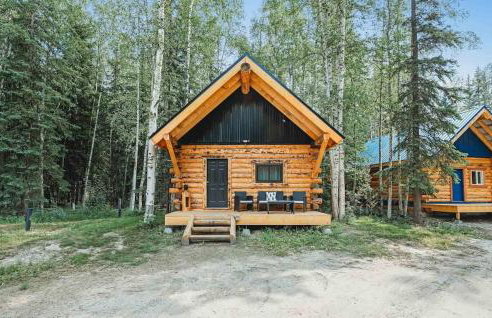
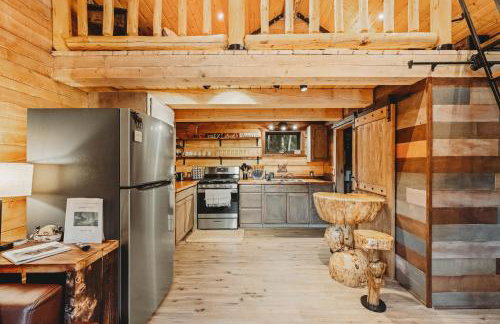
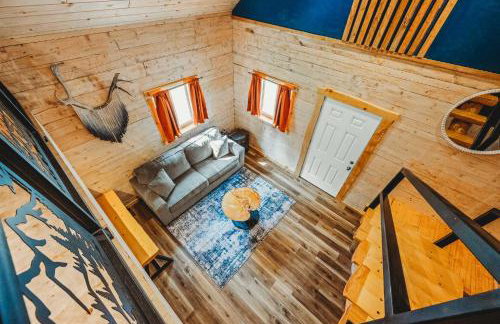
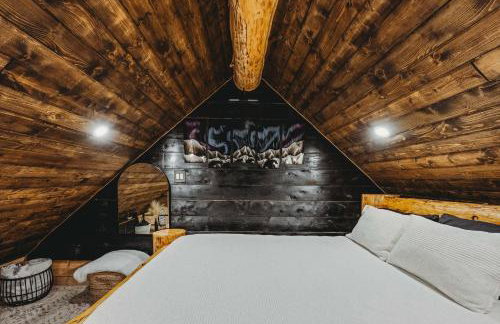
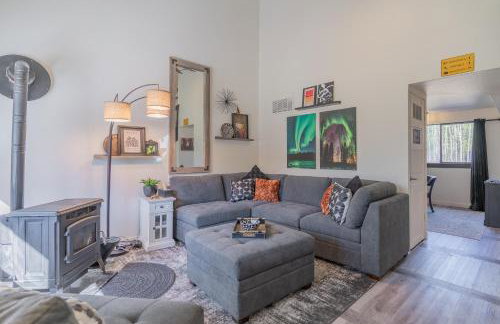
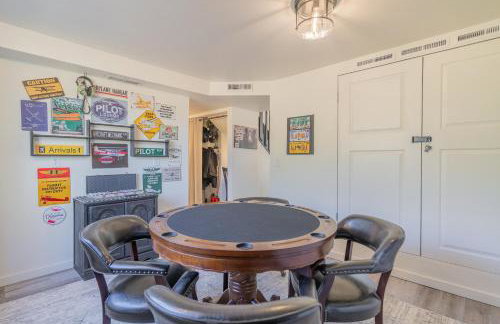
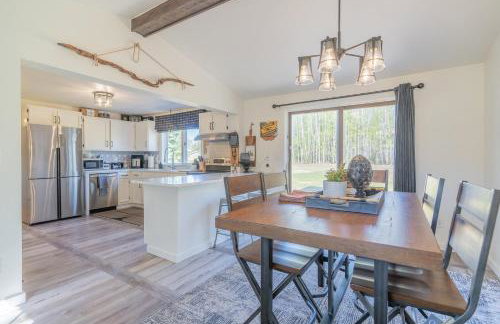
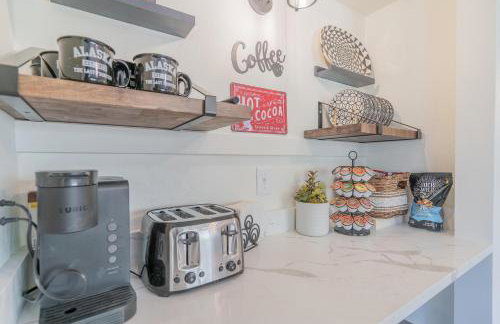
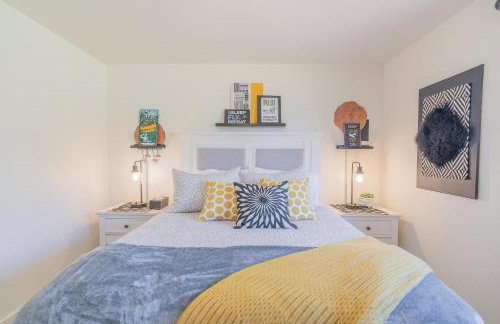
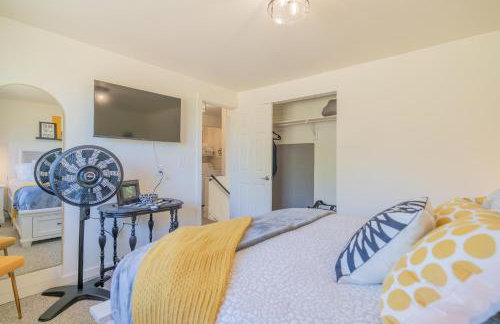
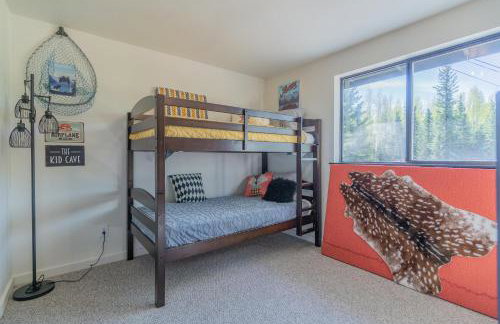
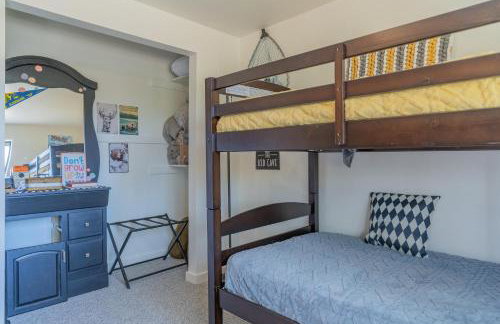
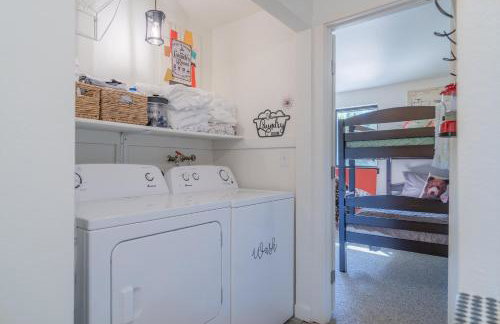
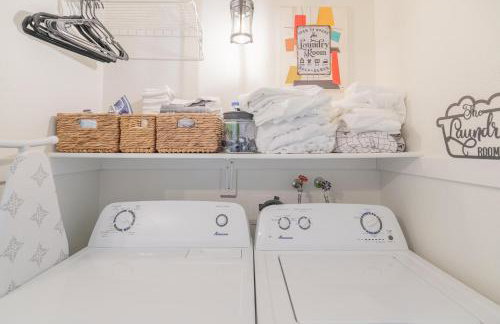
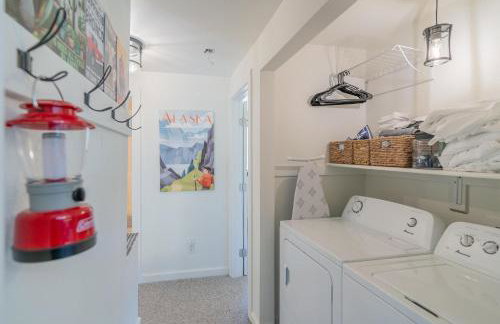
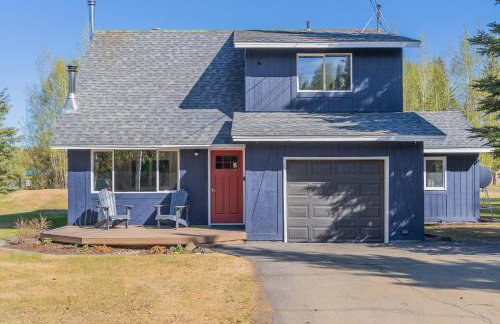
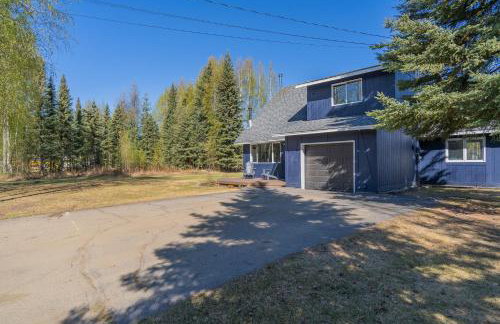
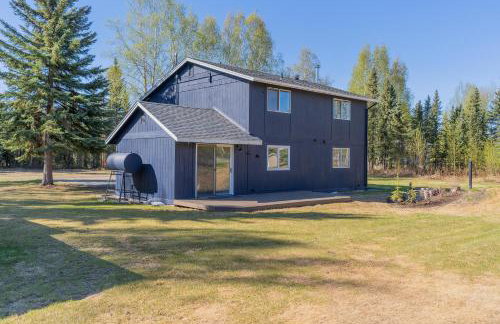
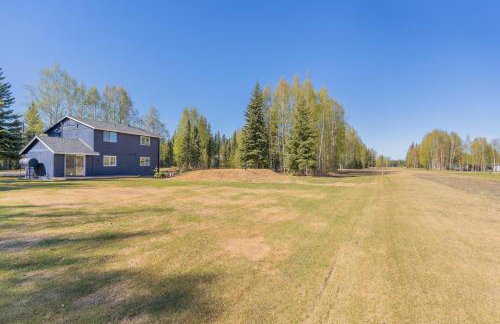
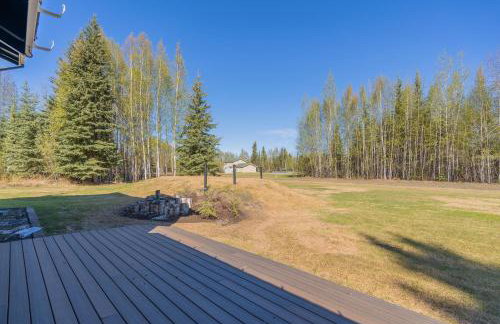
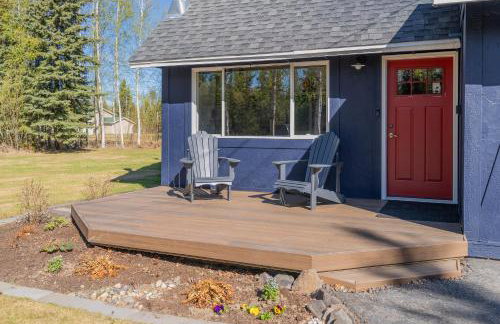
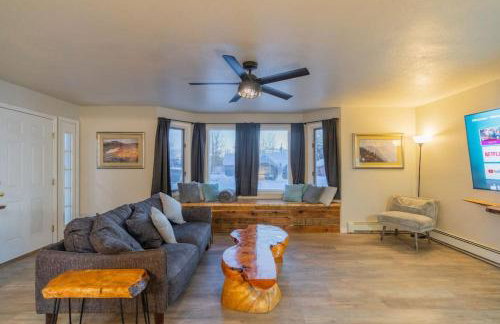
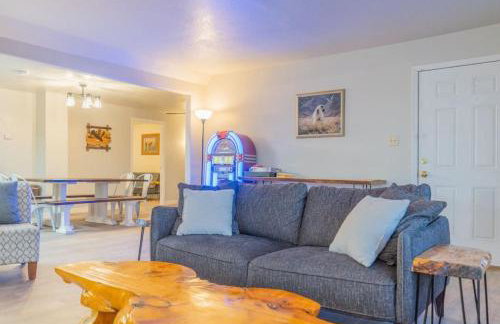
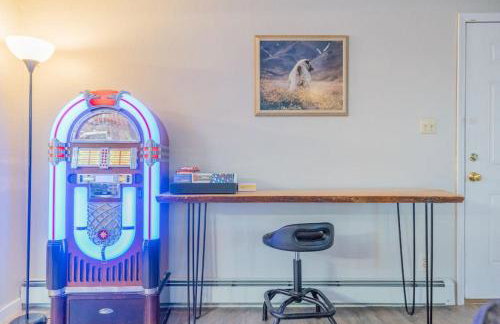
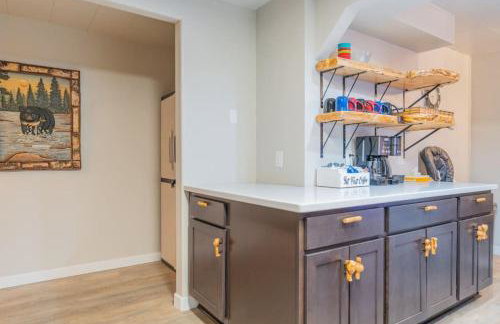
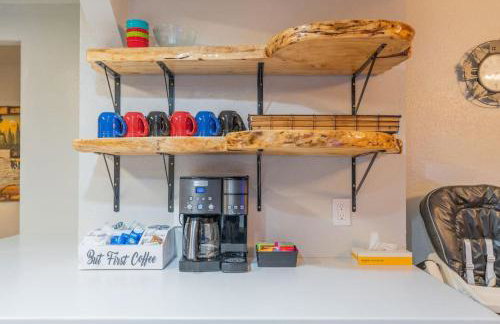
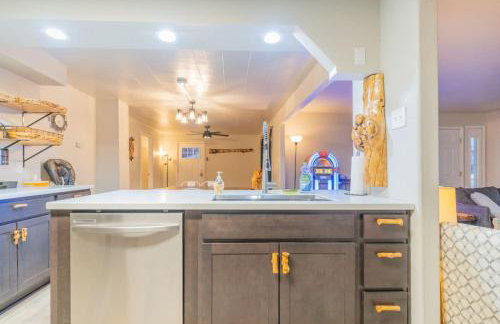
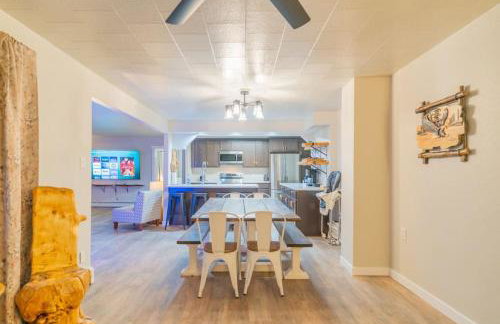
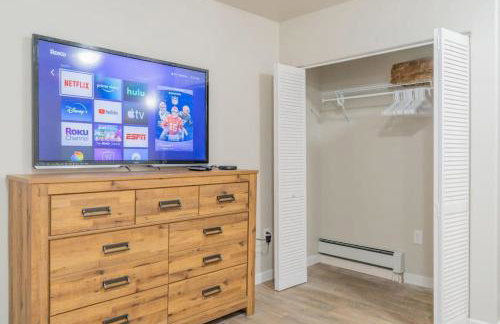
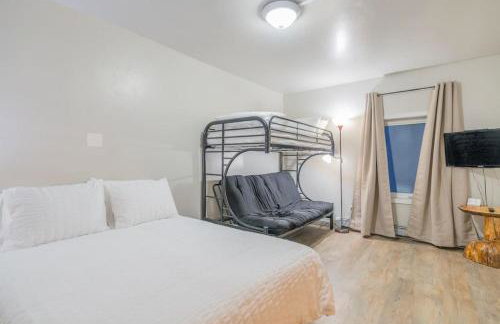
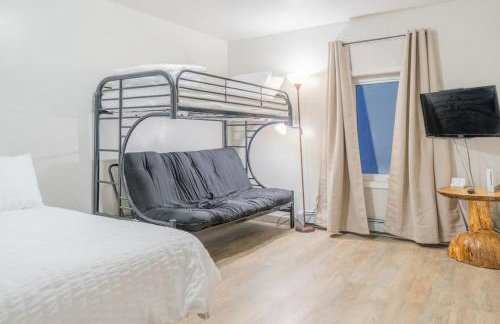
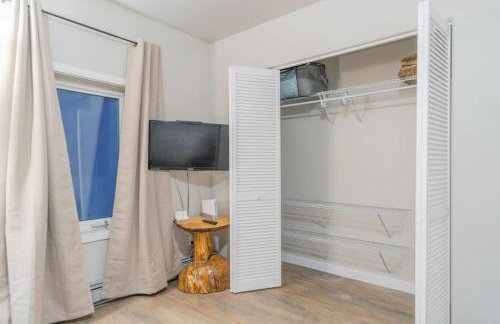
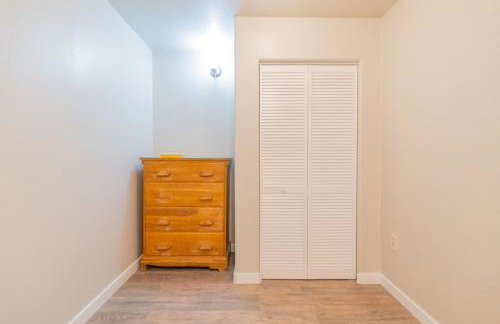
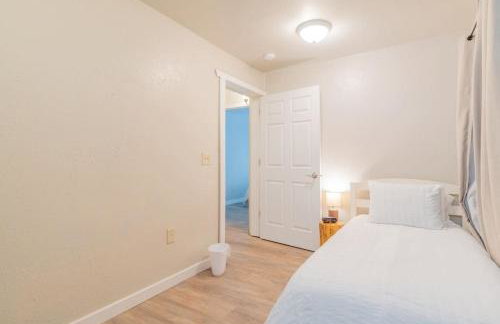
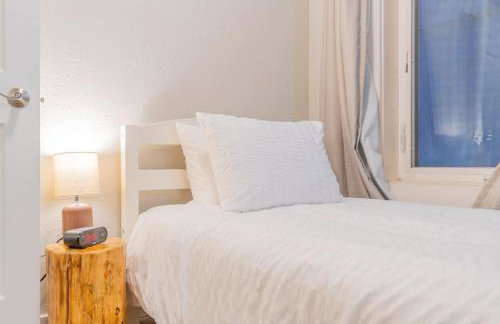
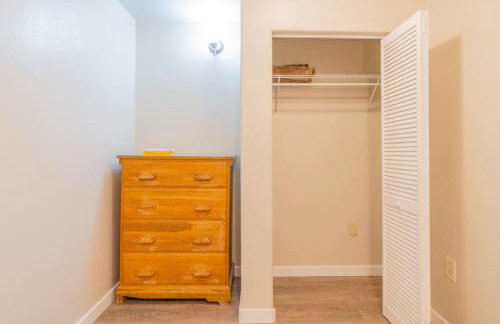
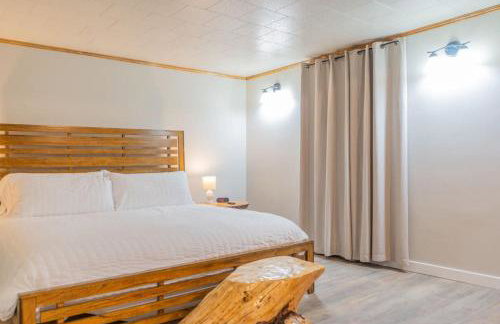
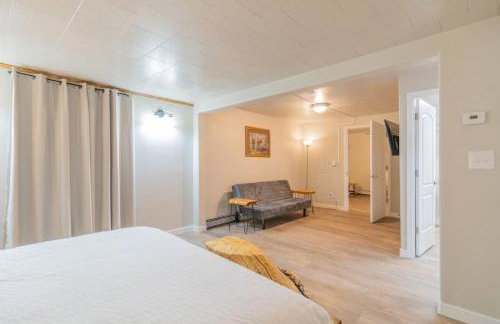
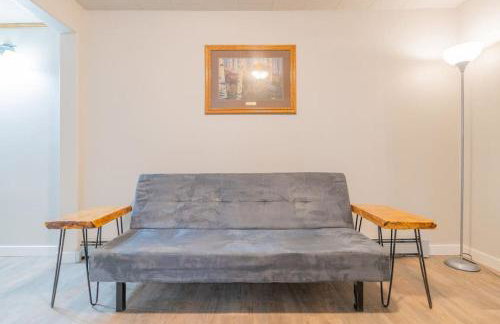
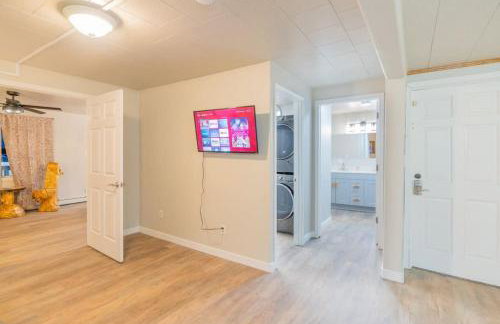
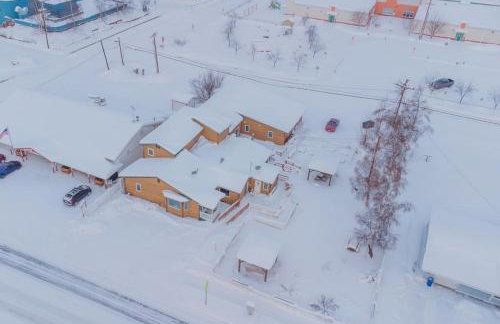
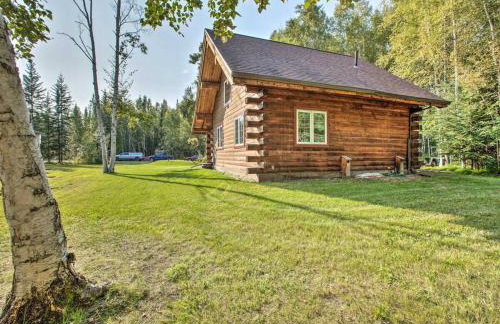
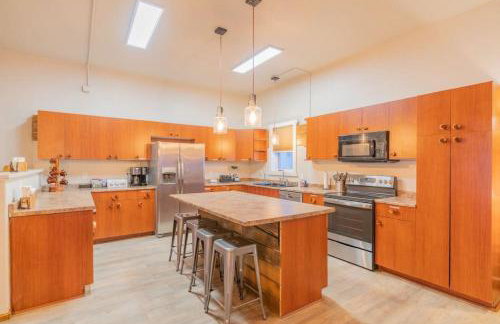
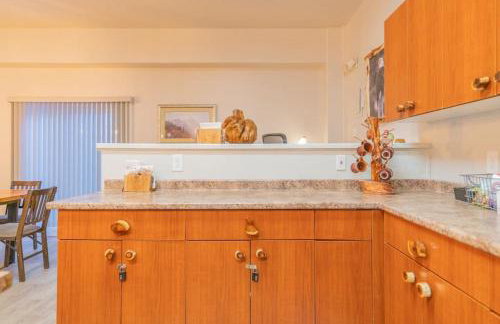
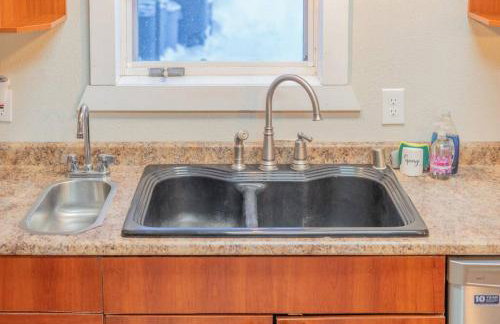
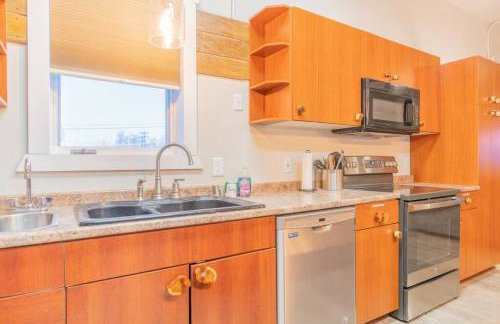
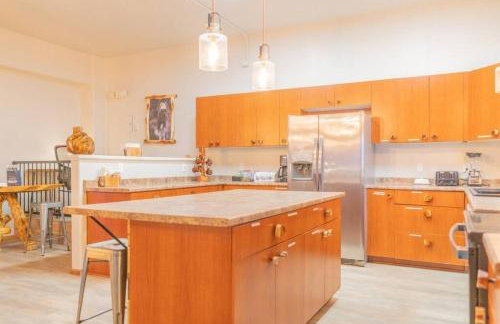
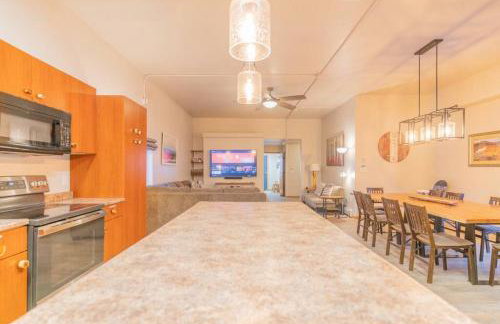
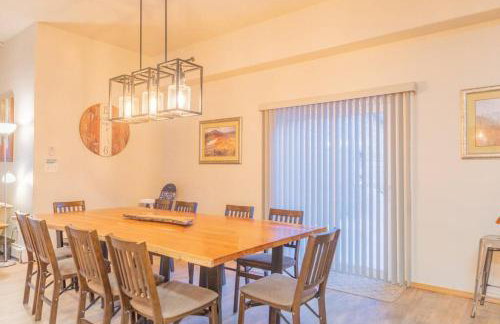
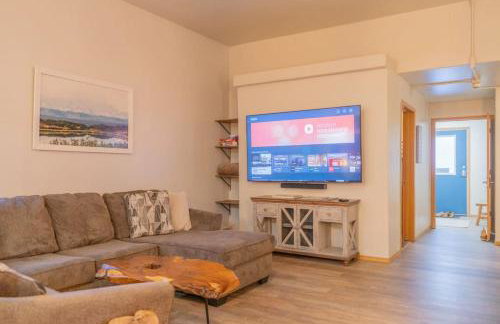
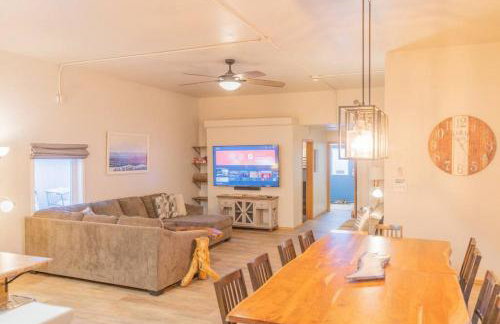
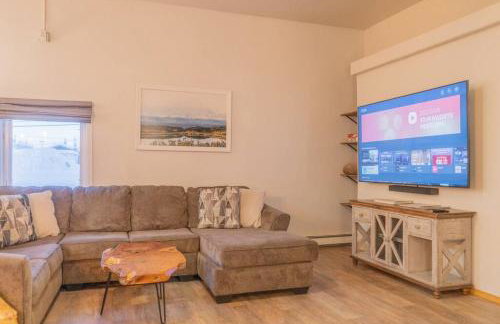
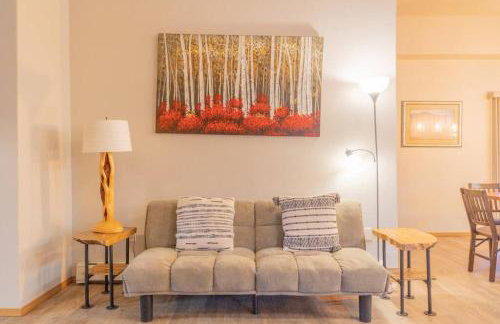
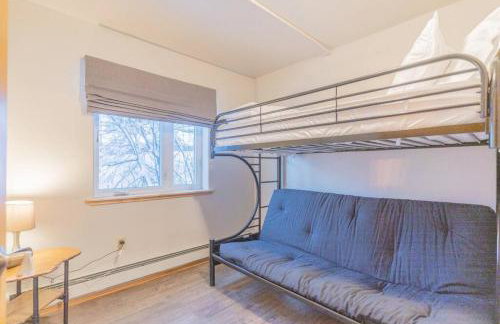
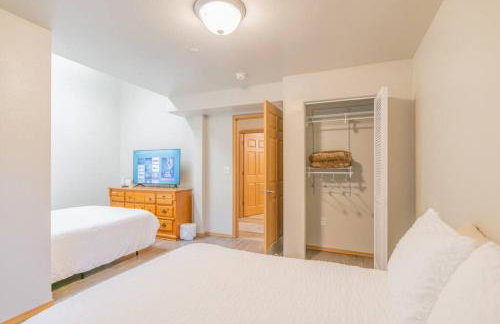
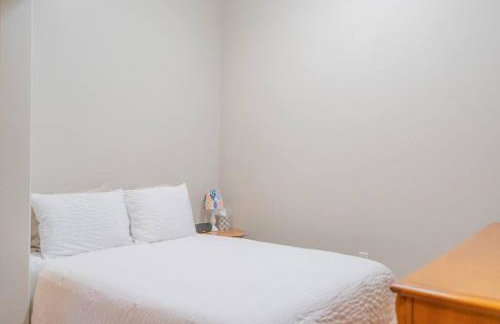
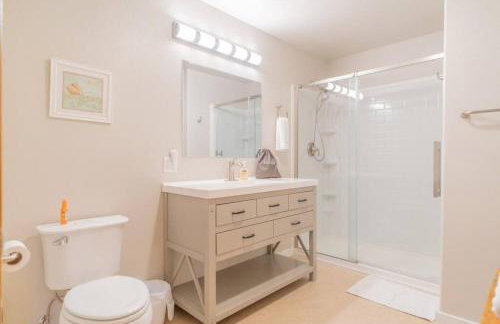
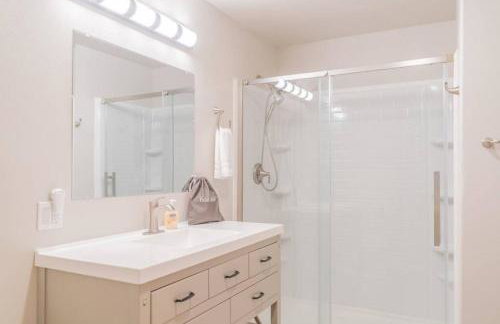
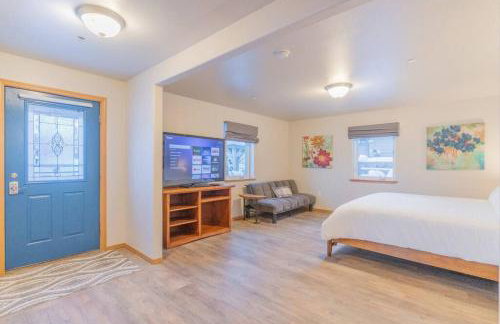
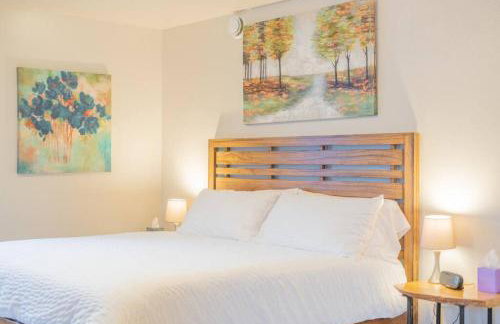
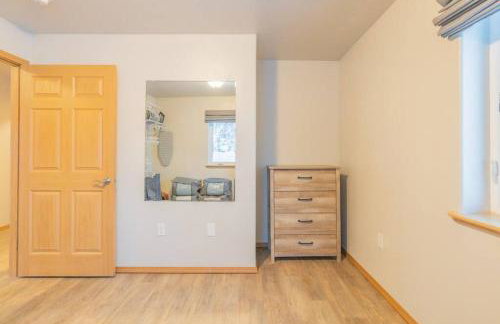
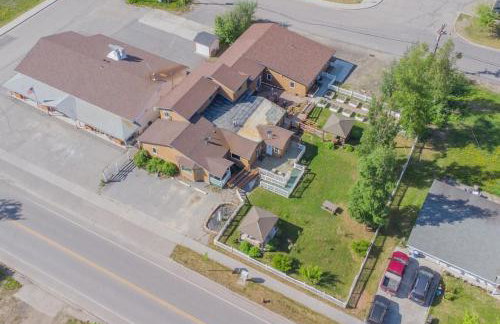
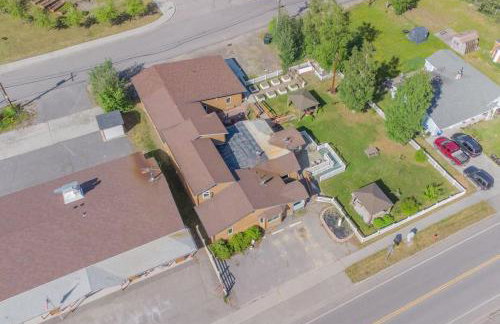
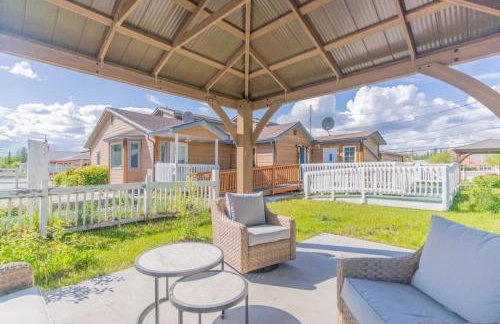
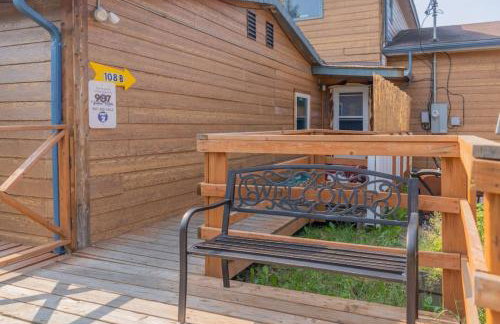
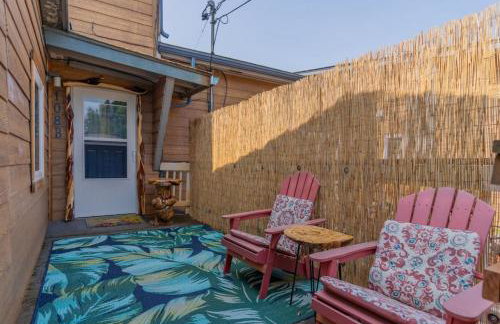
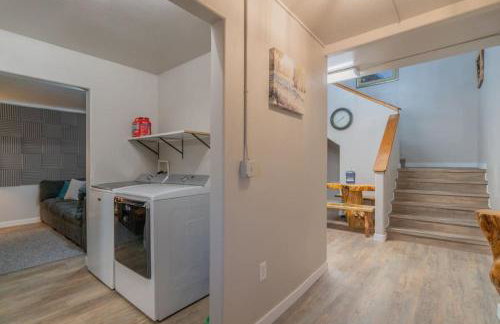
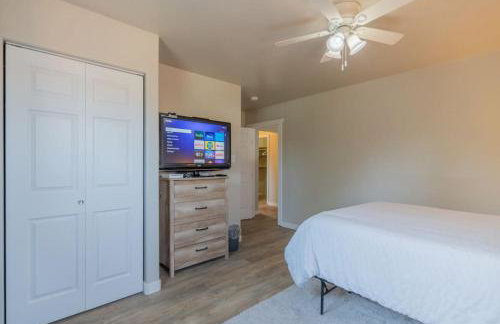
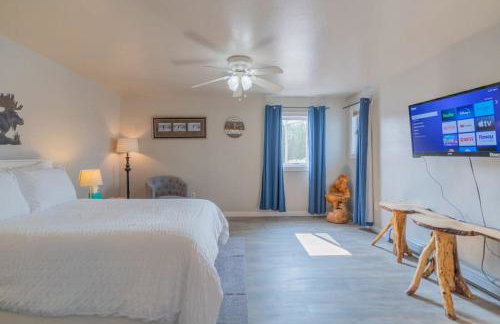
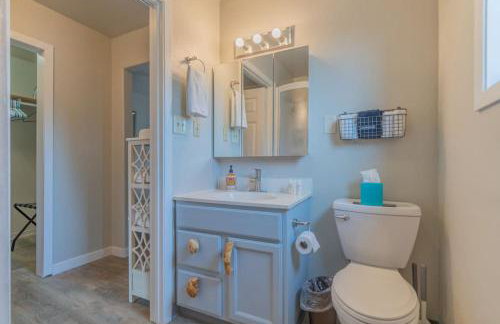
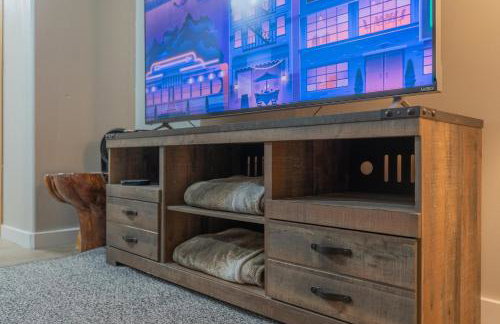
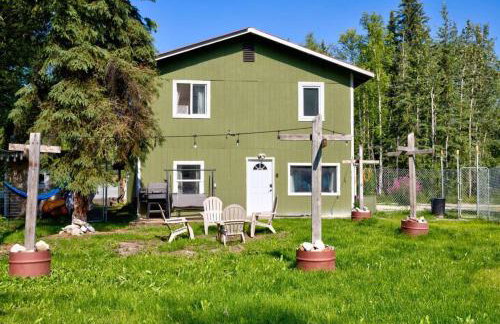
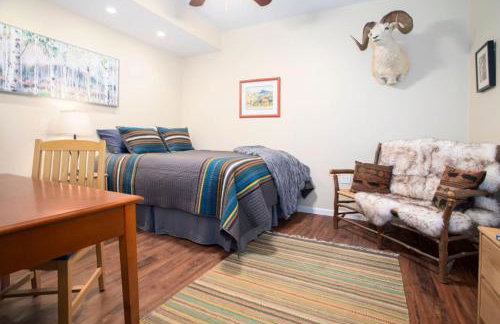
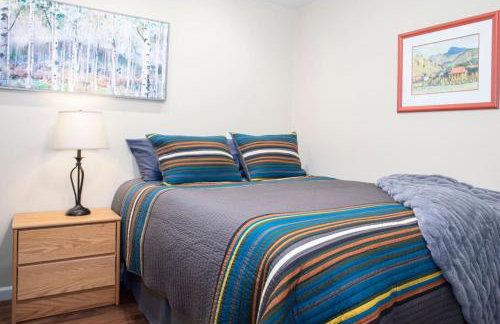
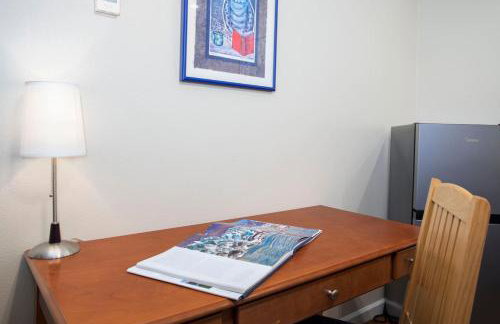
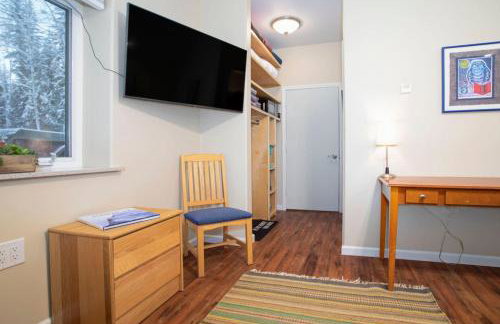
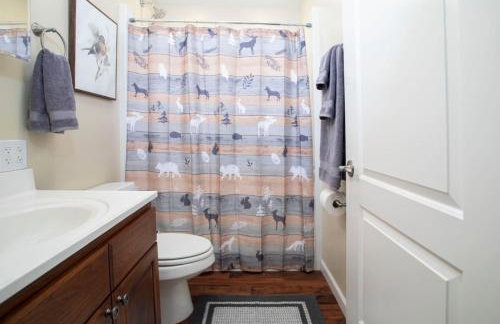
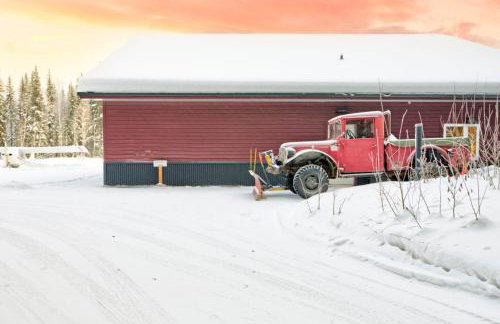
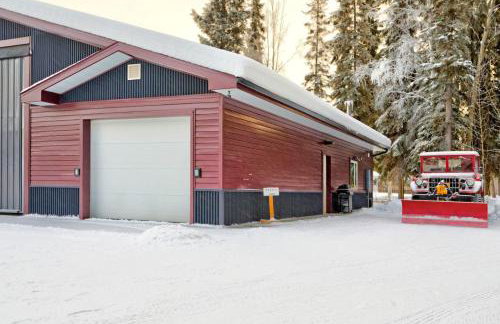
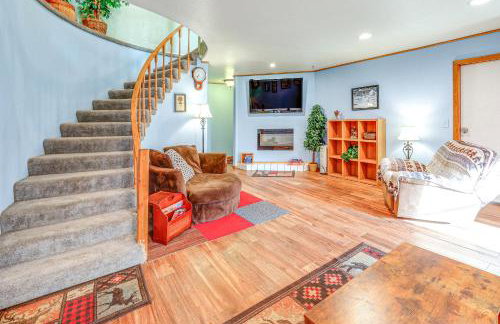
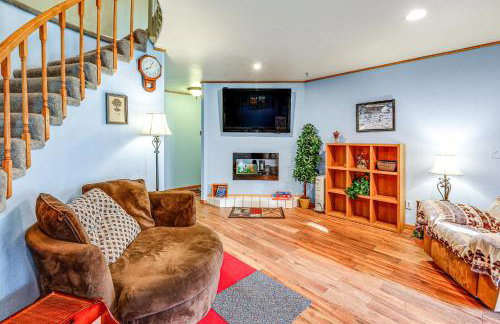
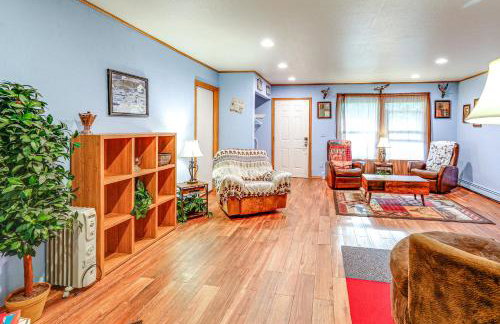
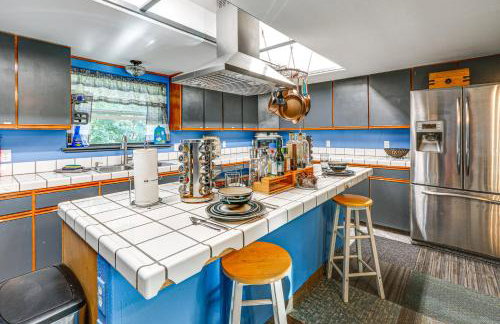
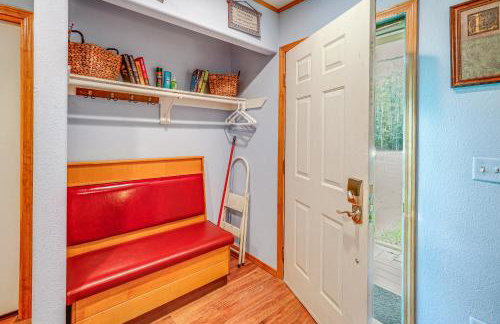
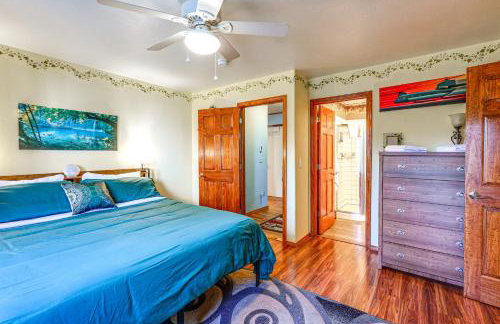
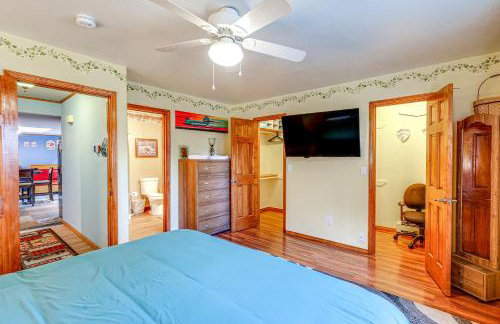
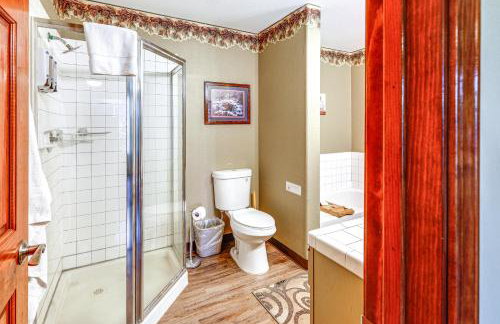
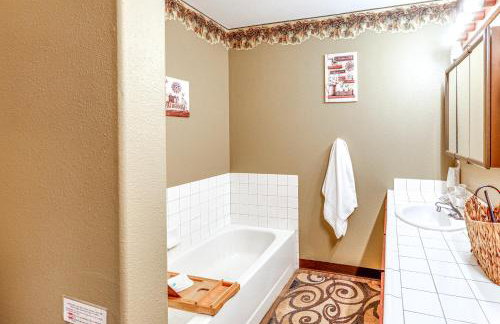
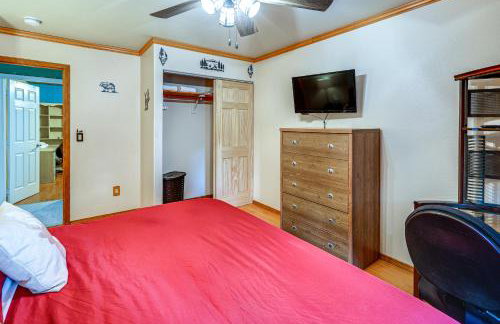
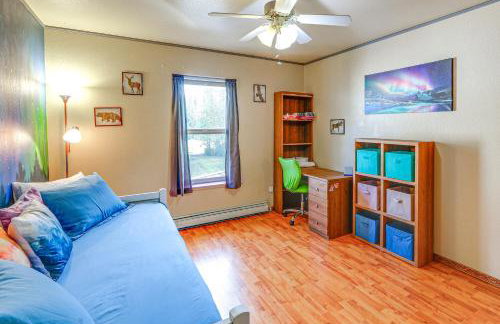
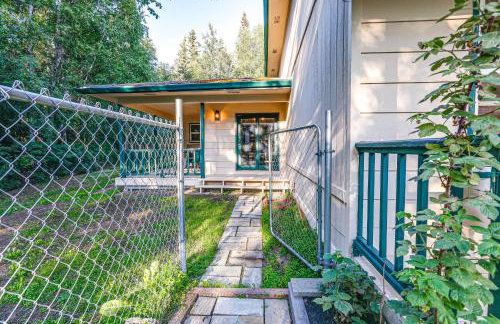
The Wandering Wolf - Frontier Village
North Pole - À 10.2 km du centre
- 36 M2
- 1 chambre
- 4 personnes
- Air conditionné
- Le chauffage
- Parking
19 avis


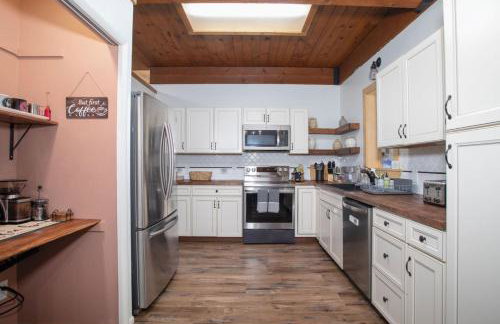
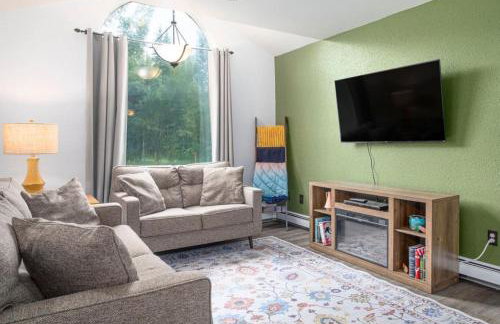
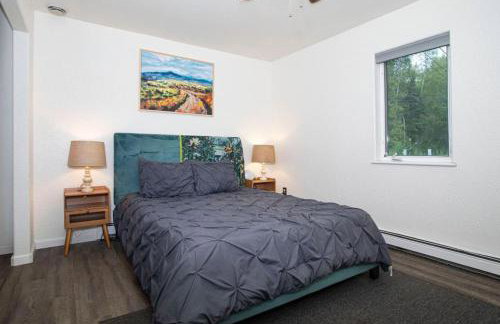
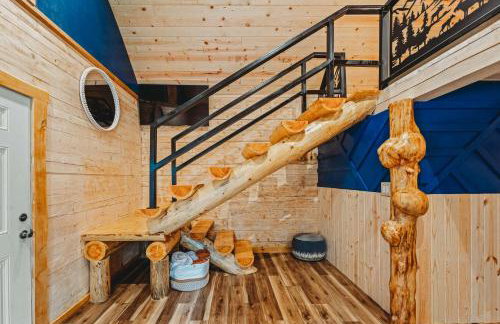
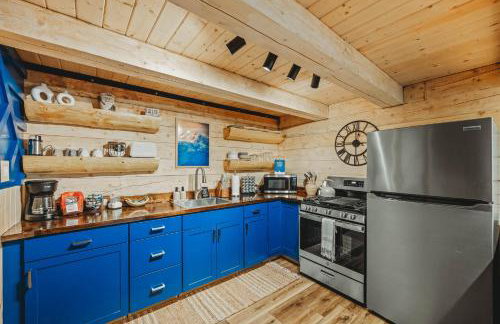
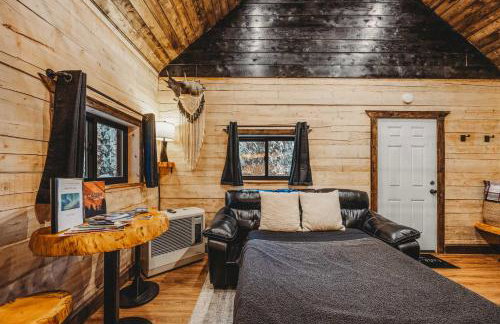
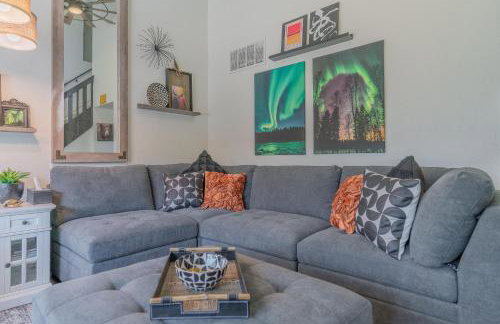
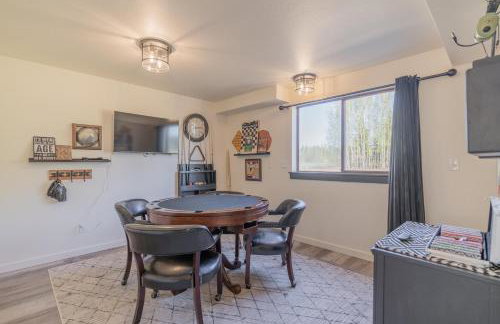
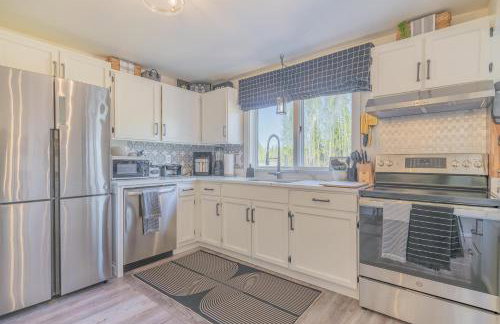
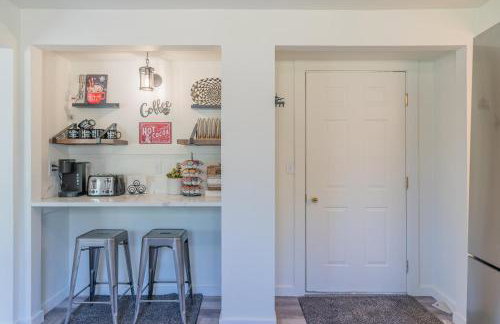
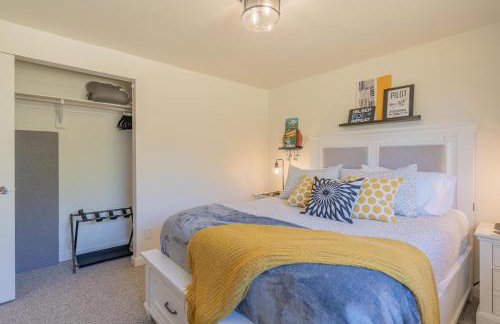
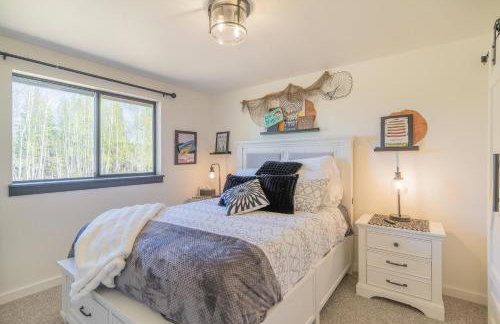
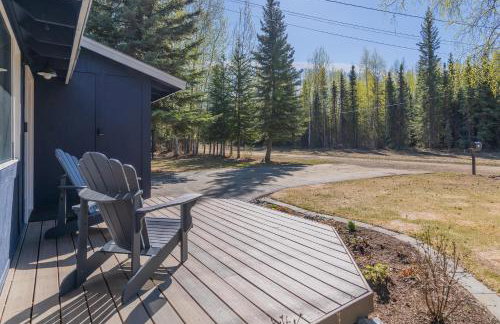
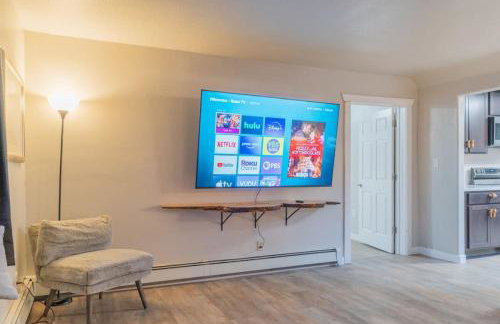
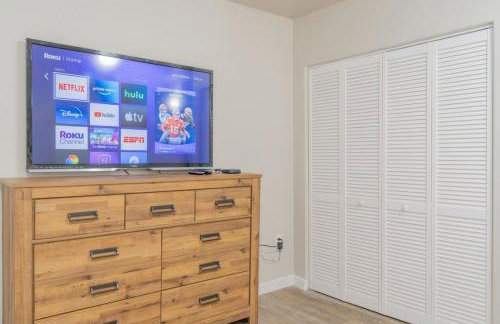
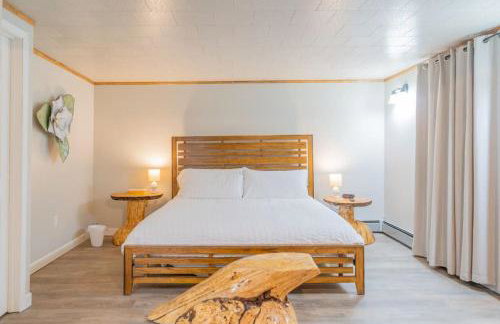
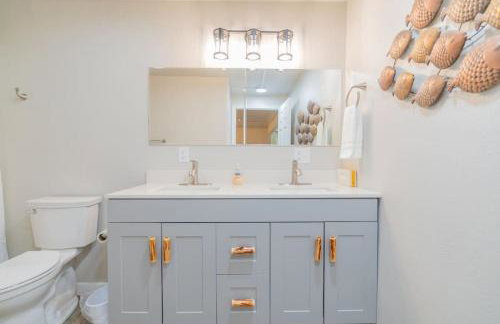
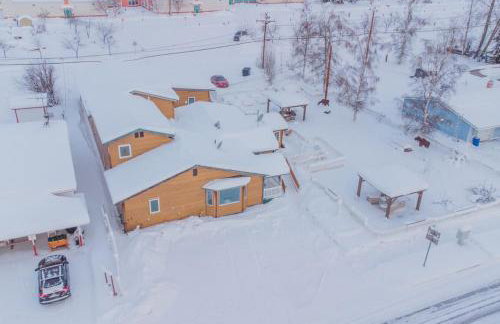
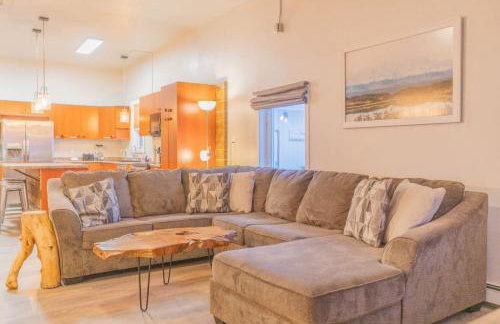
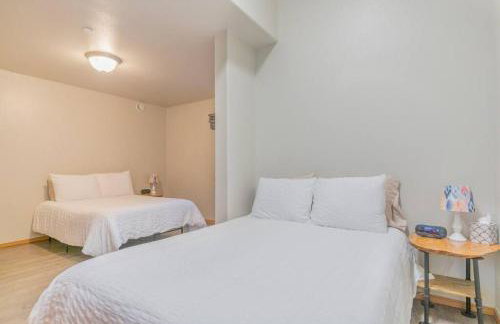
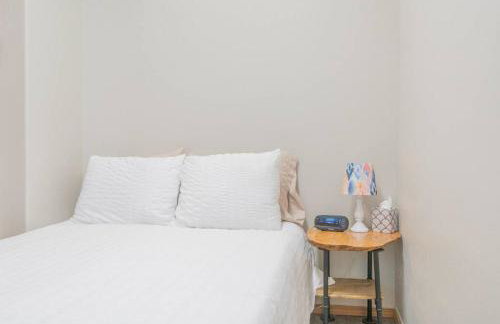
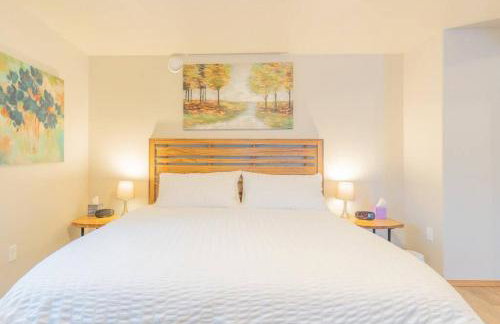
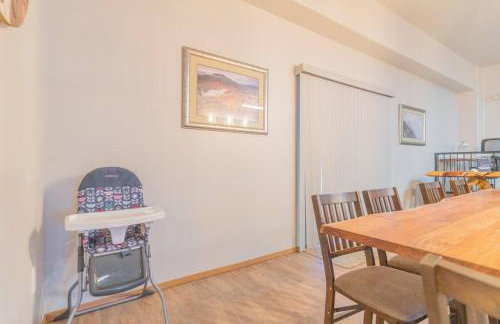
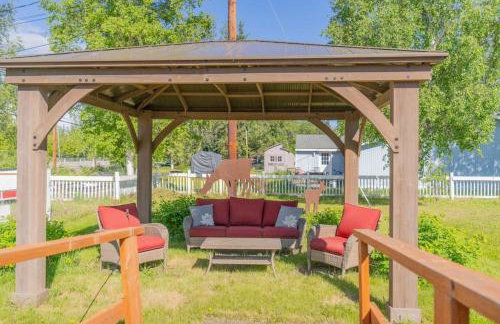
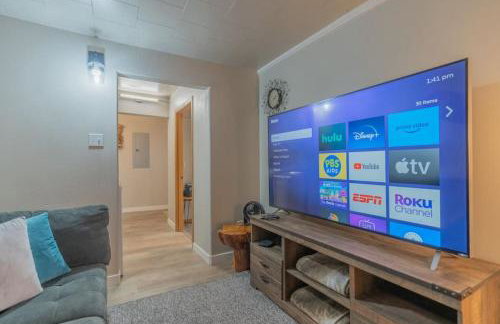
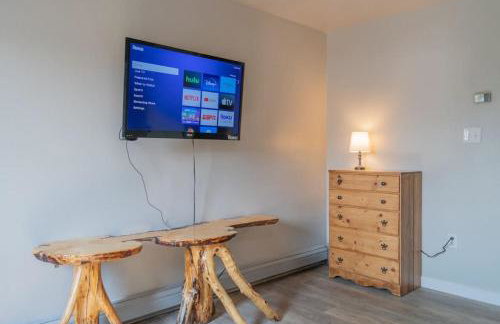
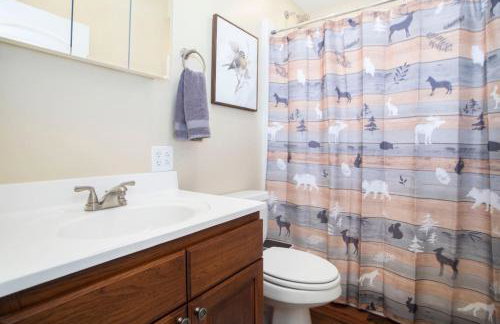
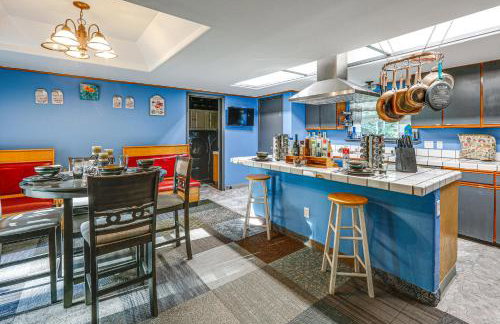
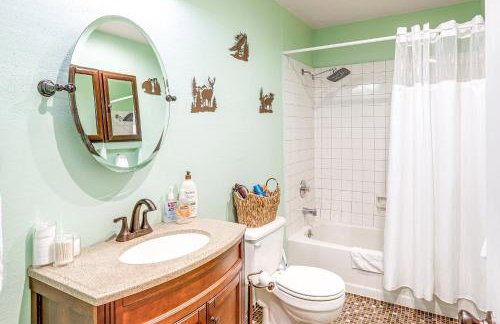
The Fancy Fox - Frontier Village
North Pole - À 10.2 km du centre
- 36 M2
- 1 chambre
- 4 personnes
- Air conditionné
- Le chauffage
- Parking
21 avis
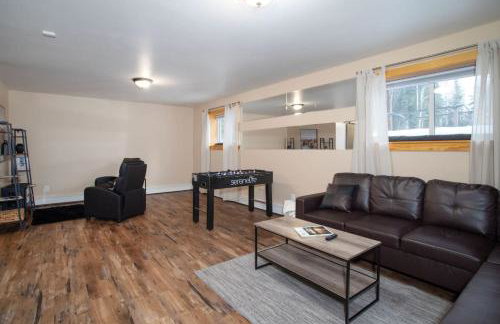
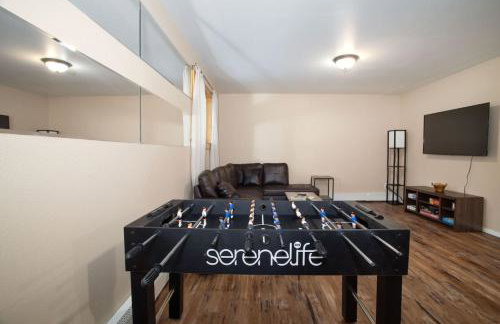
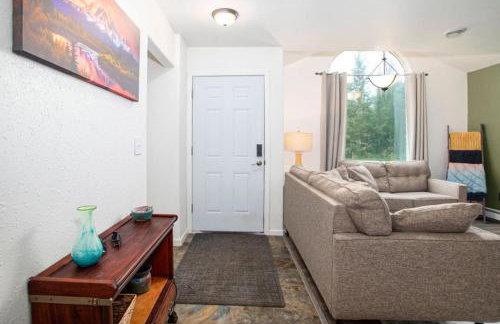
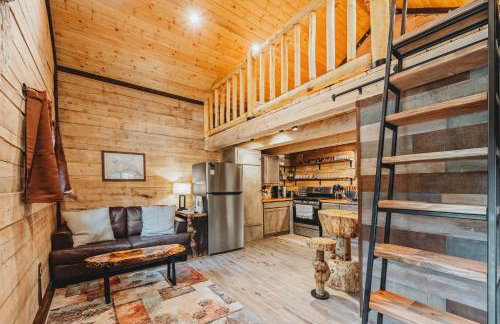
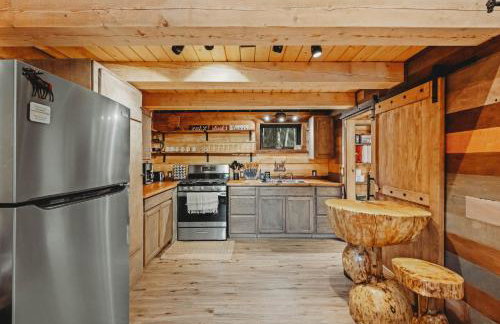
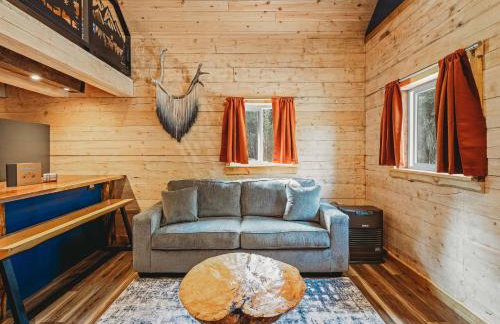
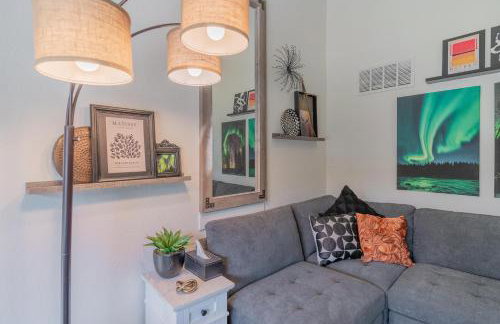
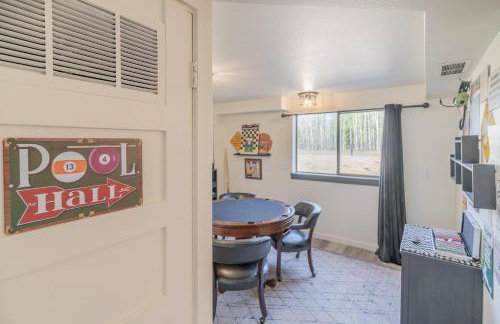
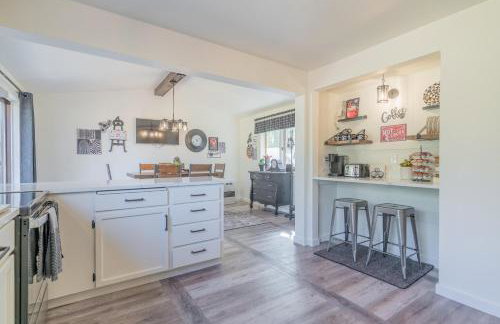
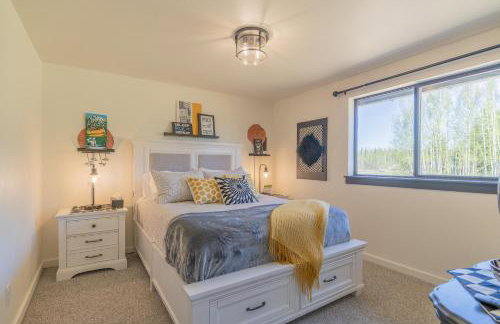
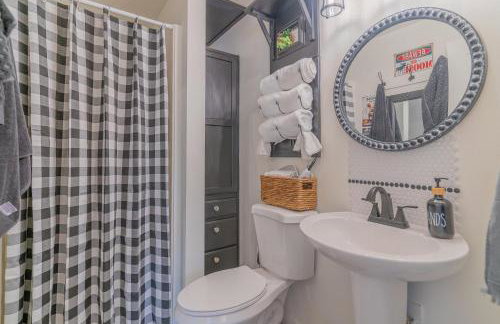
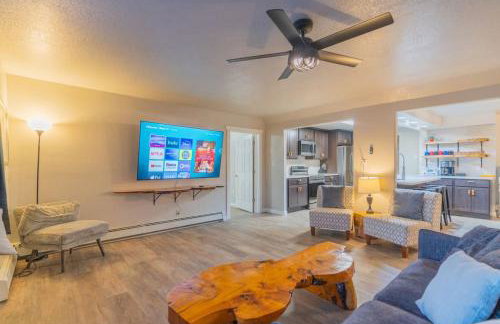
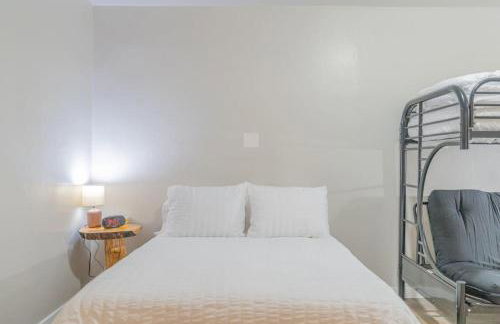
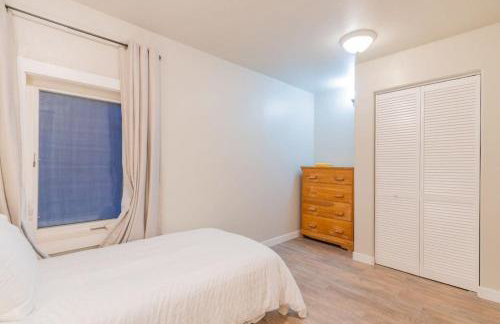
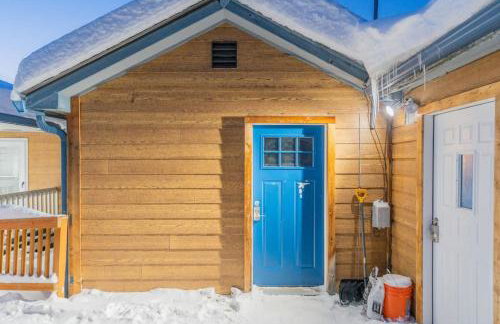
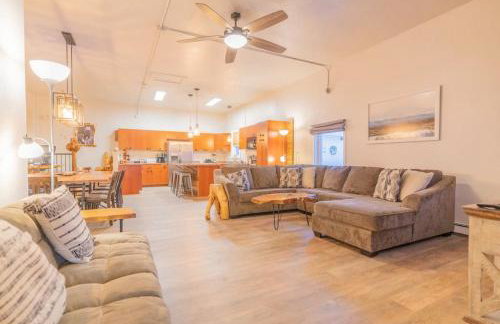
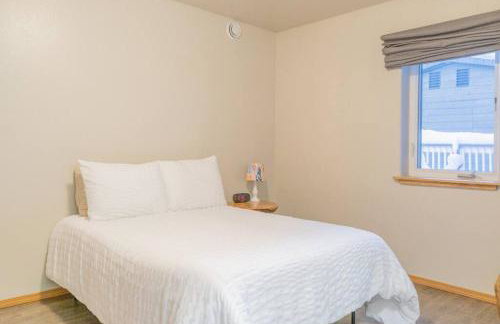
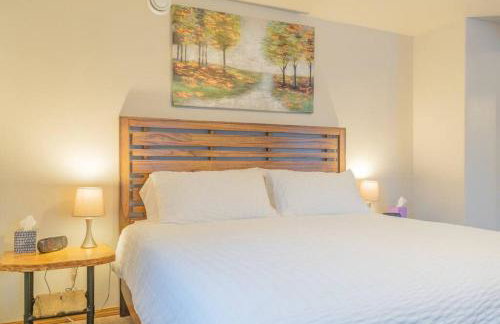
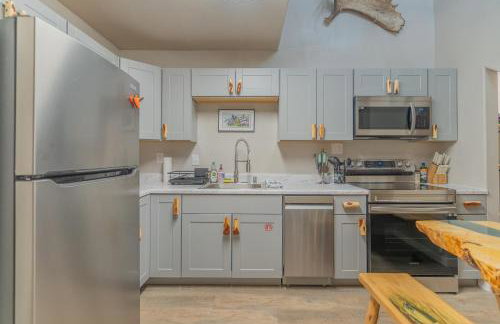
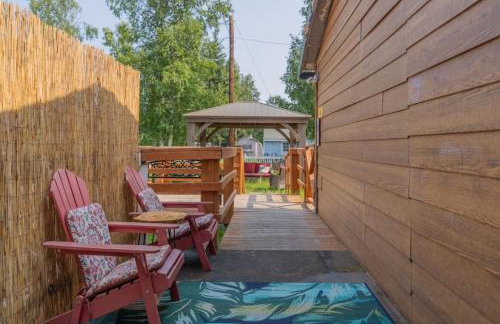
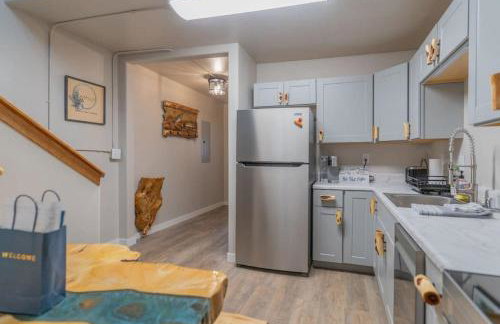
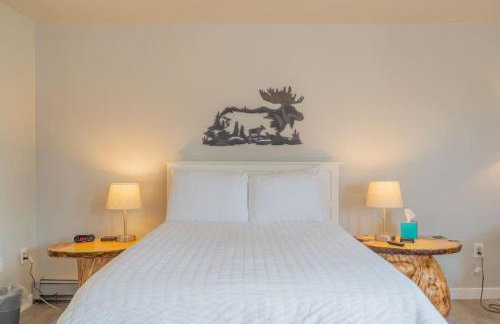
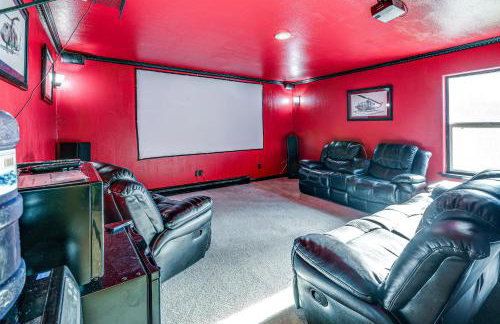
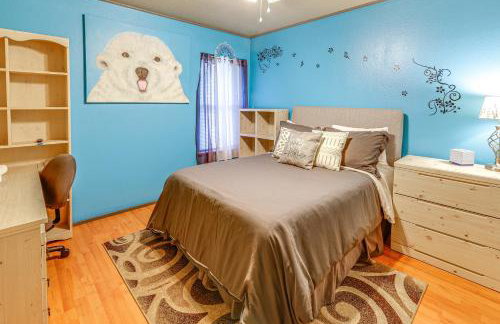
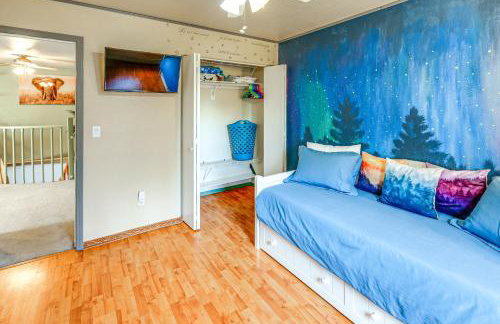
The Meandering Moose - Frontier Village
North Pole - À 10.2 km du centre
- 36 M2
- 1 chambre
- 4 personnes
- Air conditionné
- Le chauffage
- Parking
33 avis

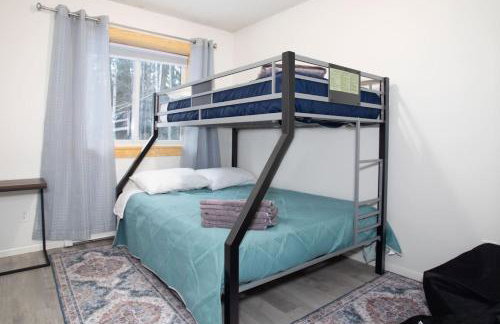
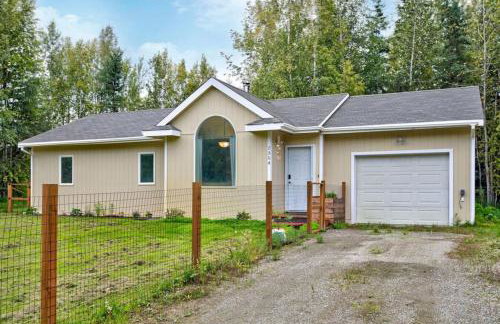
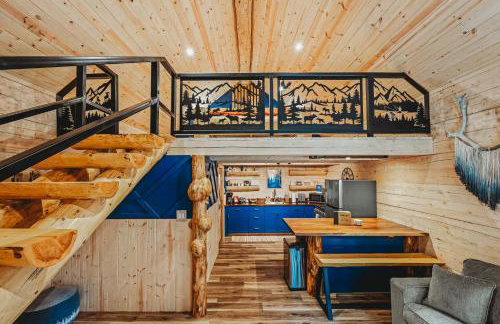
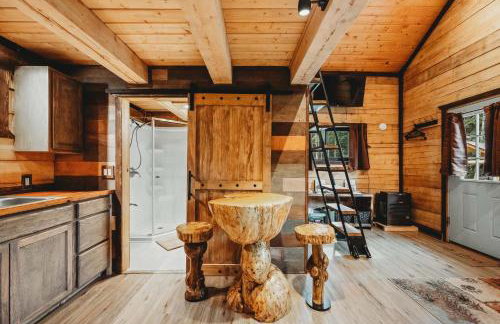
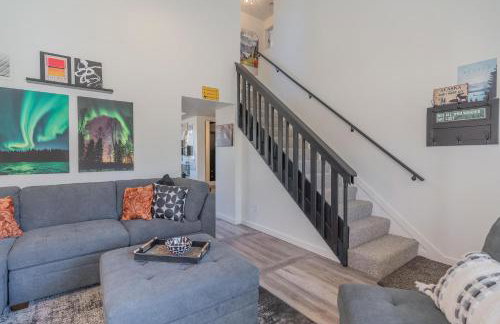
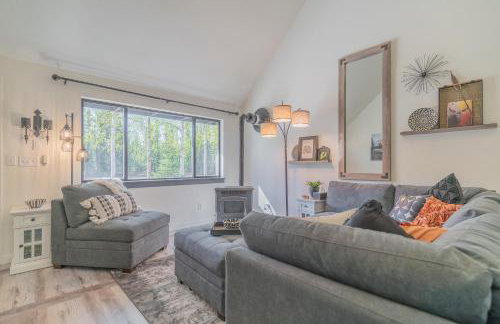
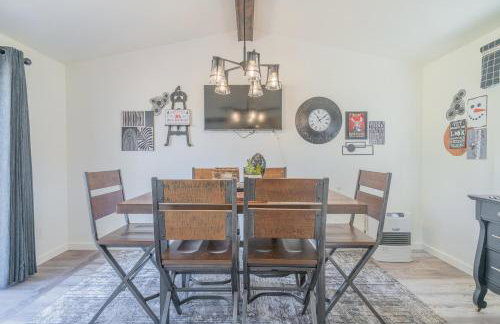
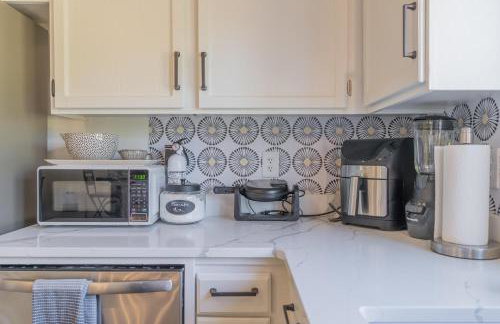
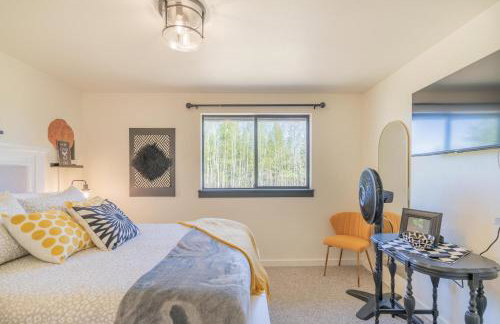
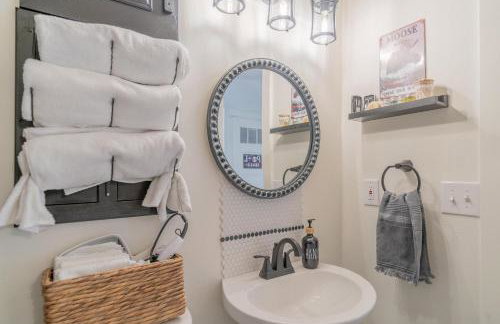
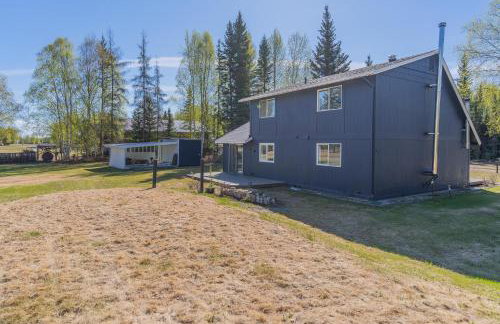
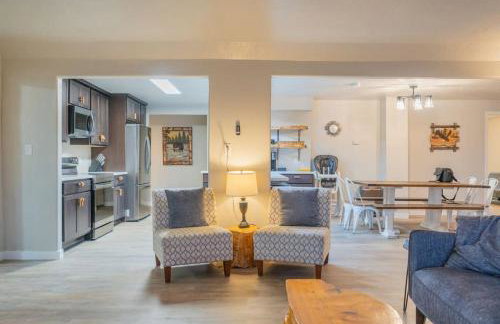
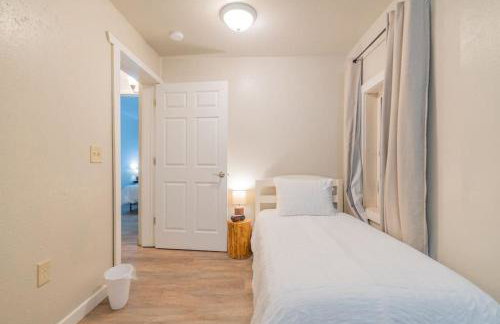
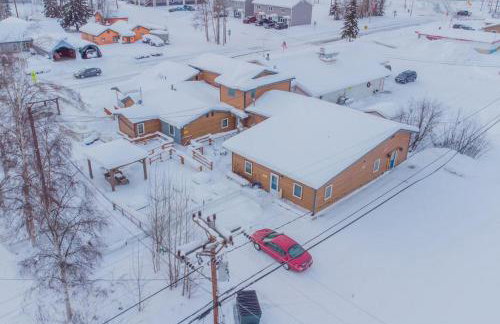
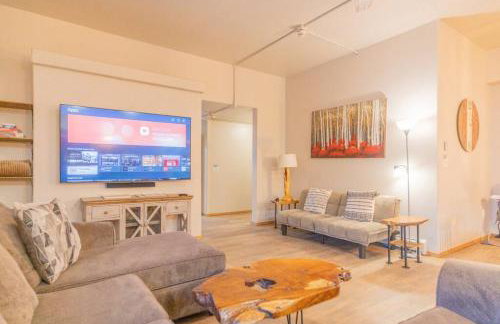
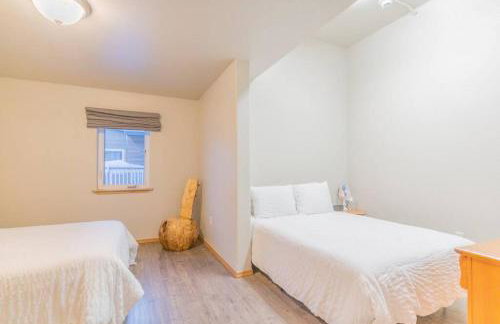
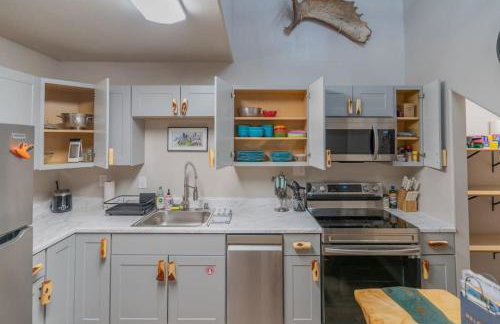
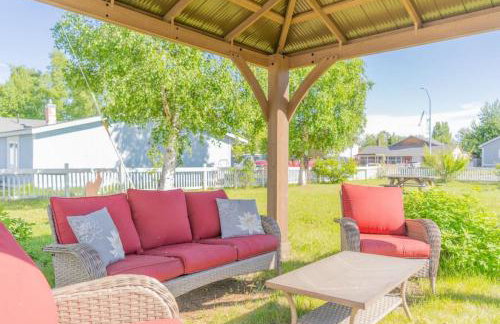
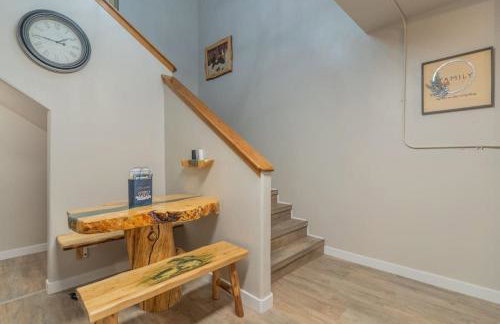
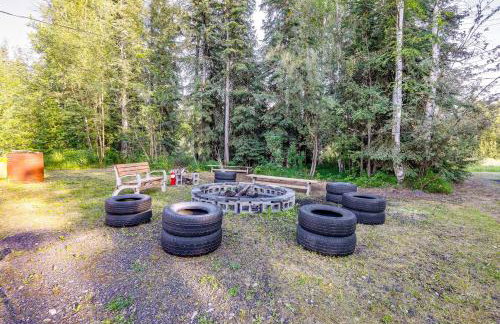
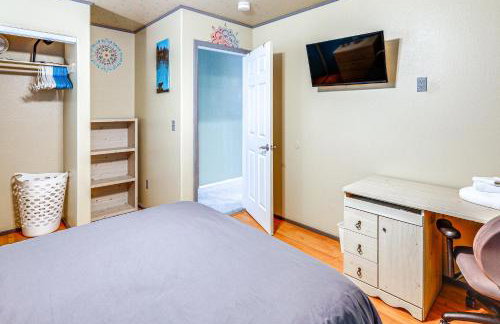
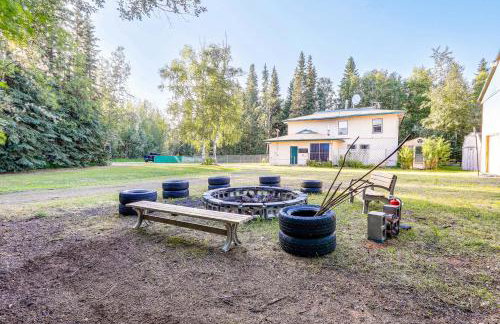
The Lazy Lynx - Frontier Village
North Pole - À 10.2 km du centre
- 36 M2
- 1 chambre
- 4 personnes
- Air conditionné
- Le chauffage
- Parking
- Jardin
36 avis
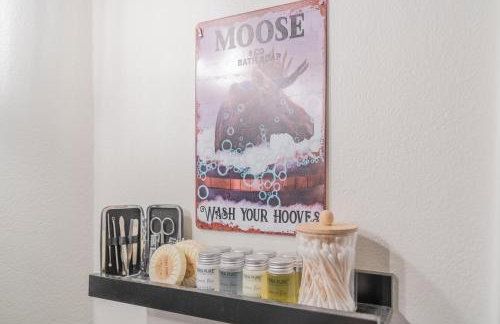
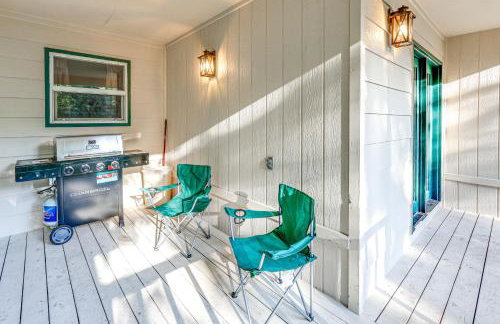
The Cozy Caribou - Frontier Village
North Pole - À 10.2 km du centre
- 36 M2
- 1 chambre
- 4 personnes
- Air conditionné
- Le chauffage
- Parking
- Jardin
41 avis


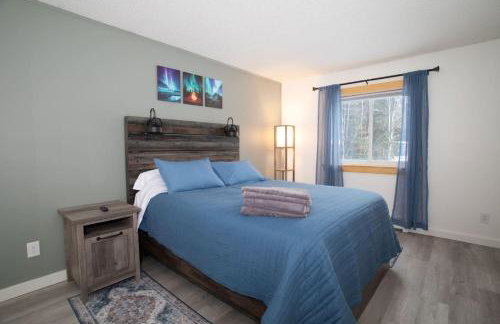
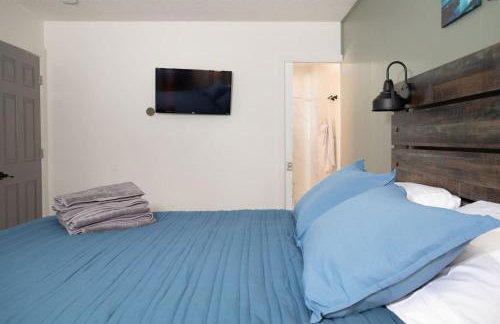
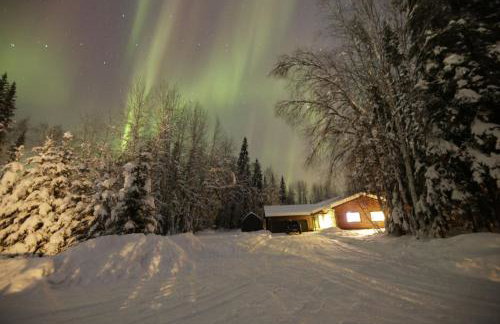
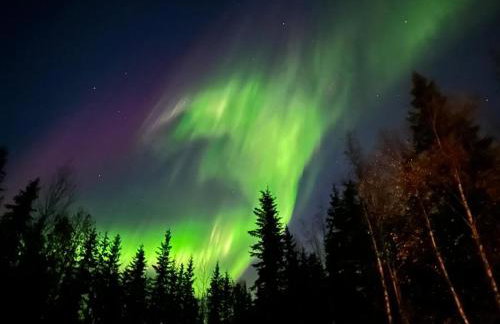
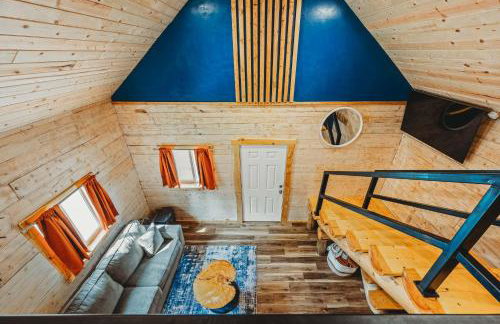
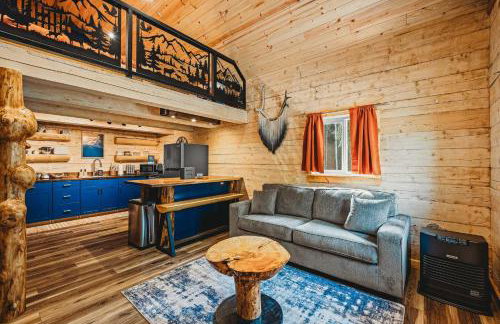
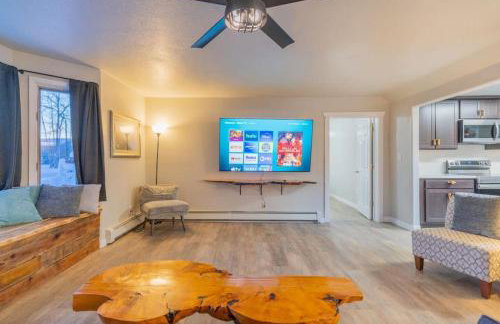
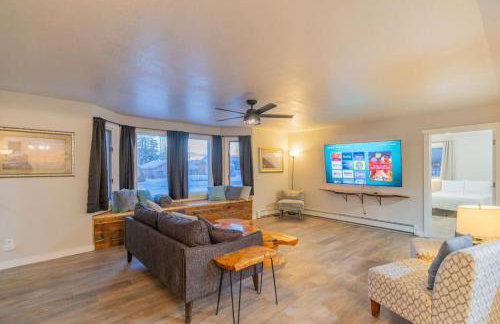
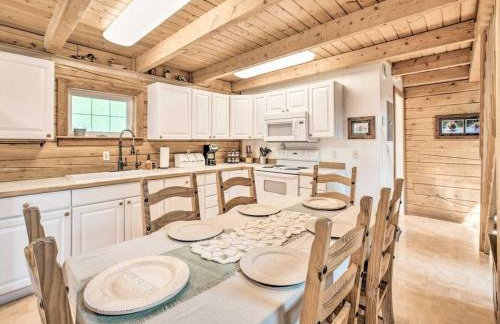
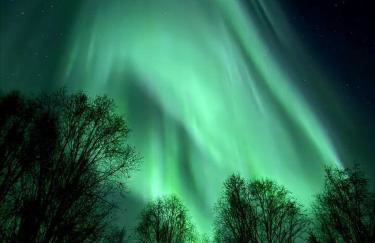
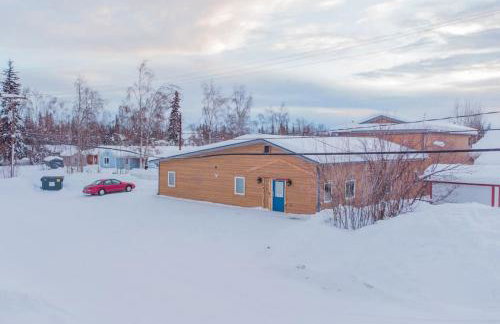
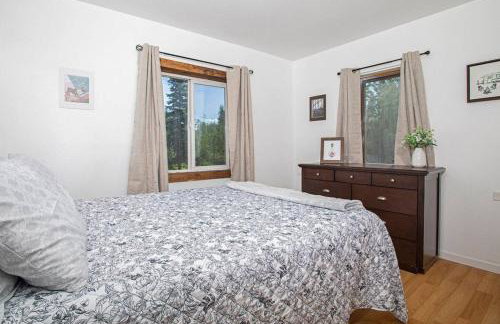
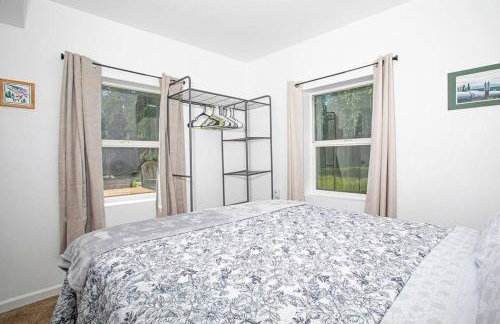
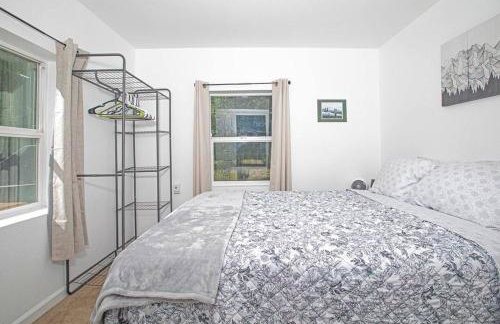
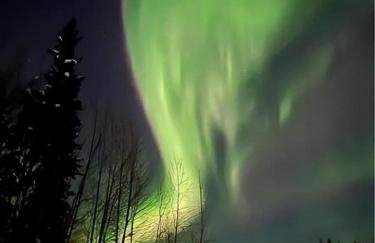
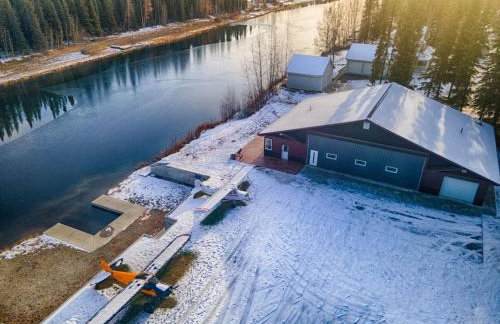
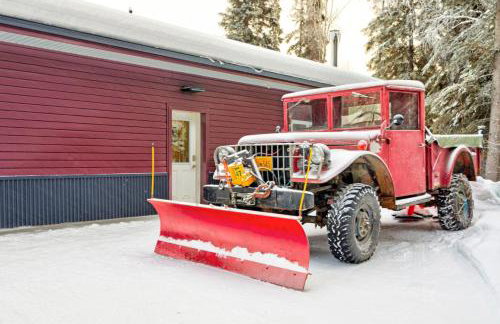
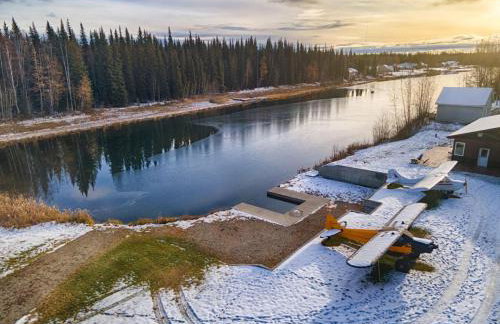
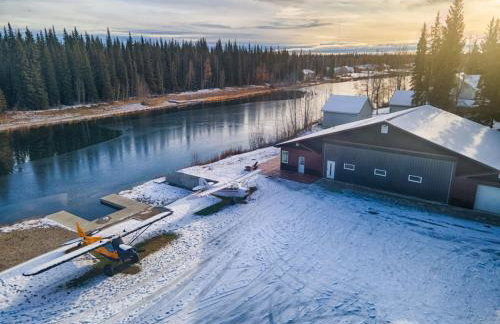
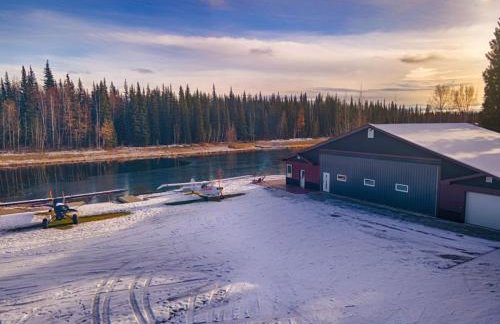
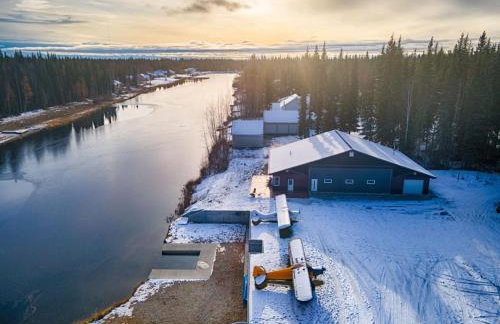
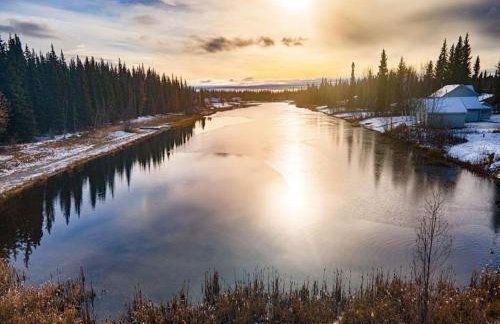
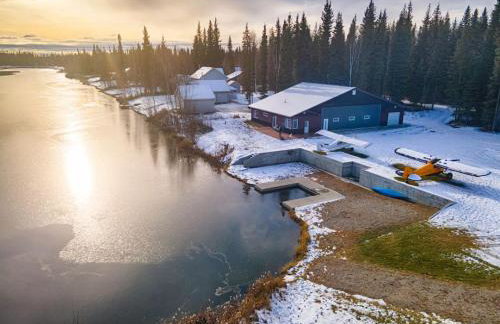
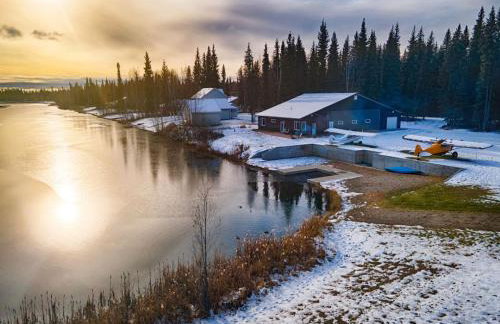
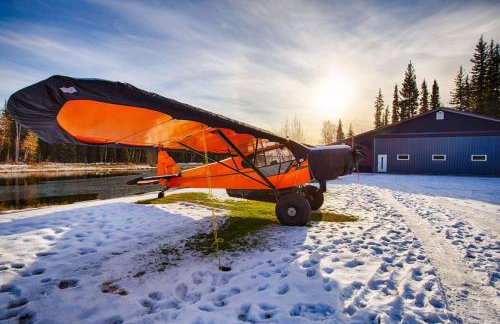
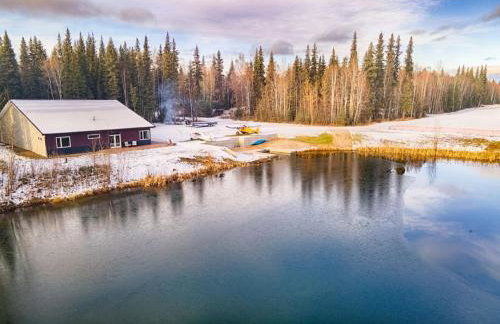
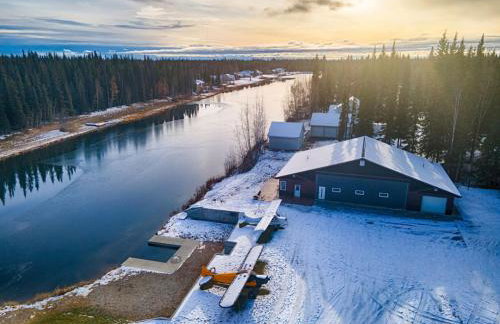
Lakefront Aviators Aurora Retreat
North Pole - À 1.8 km du centre
- 83 M2
- 1 chambre
- 4 personnes
- Le chauffage
2 avis


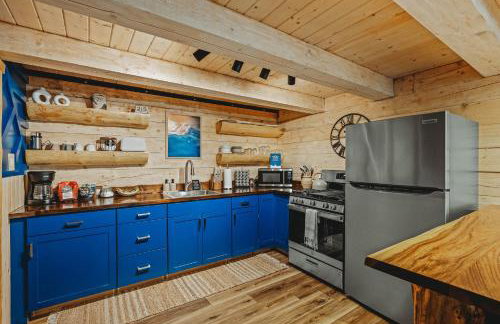


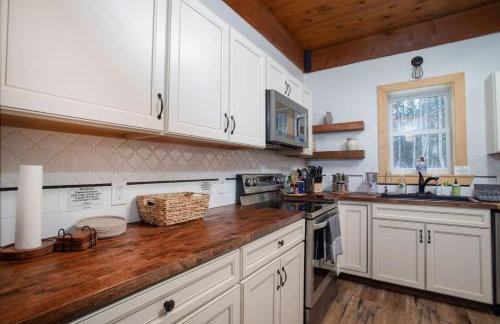
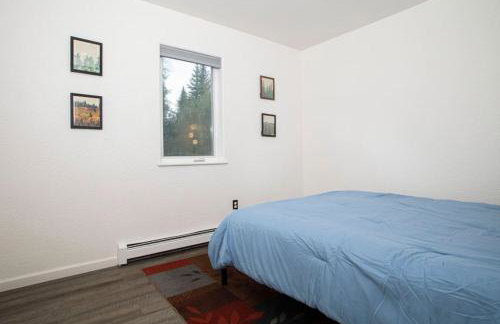
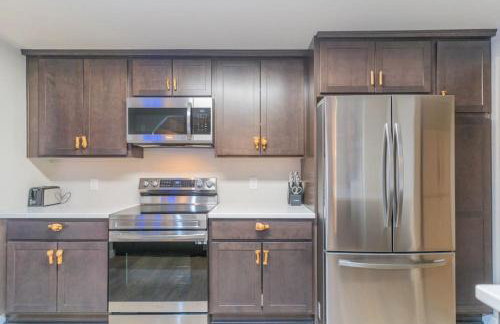
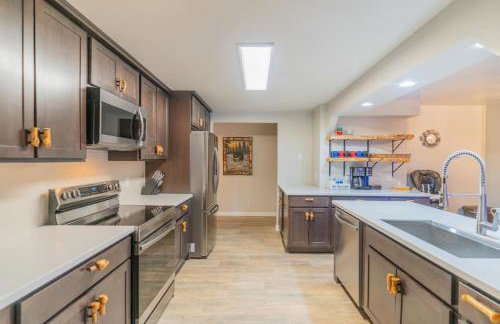
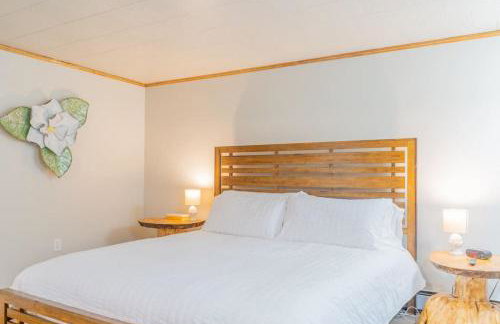
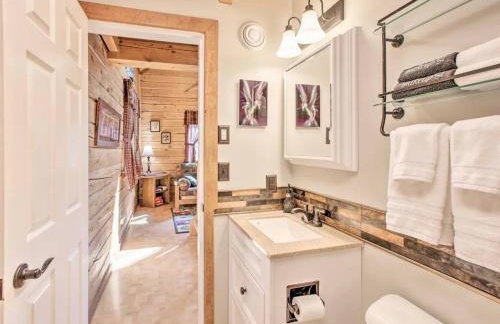
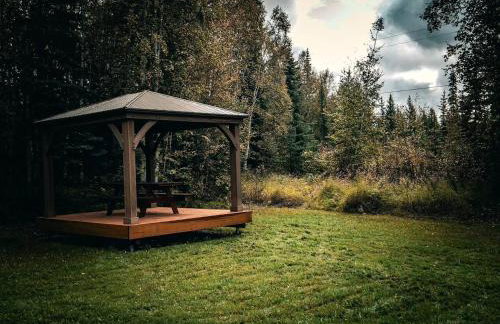
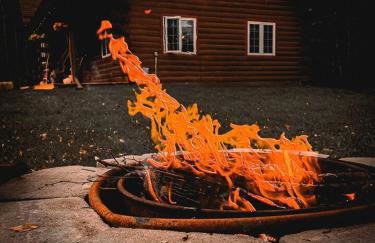
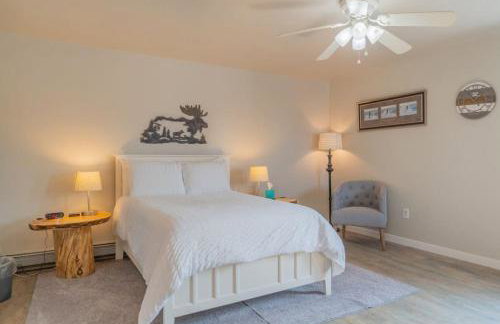
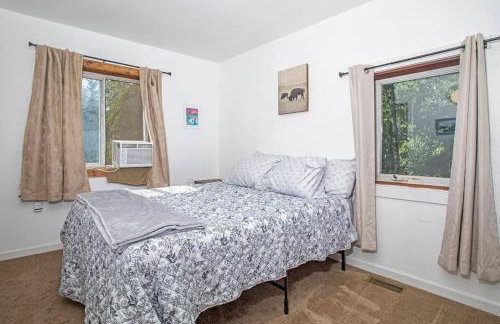
Rustic Elegance Lodge
North Pole - À 7.4 km du centre
- 46 M2
- 1 chambre
- 4 personnes
- Le chauffage
- Parking
- Jardin
6 avis


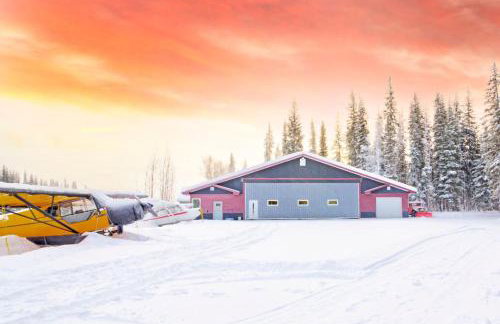
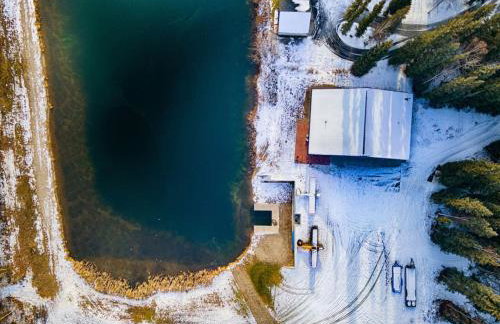
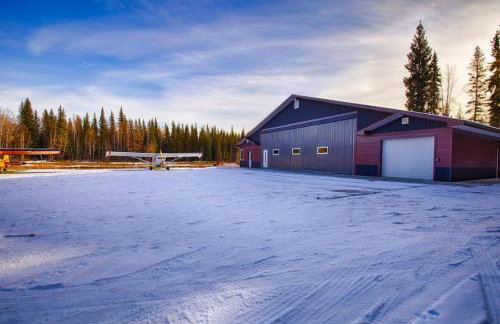
The Vasi Landing Pad
North Pole - À 11.2 km du centre
- 1 M2
- 3 chambres
- 6 personnes
- Le chauffage
- Parking
3 avis


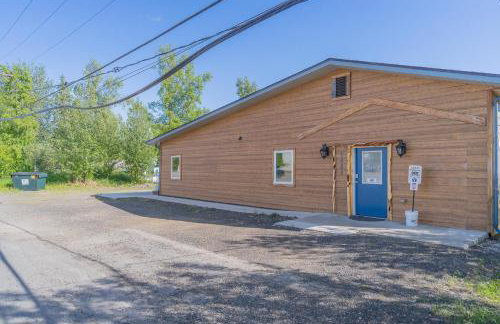
The Southern Driftwood Inn 3
North Pole - Dans le centre
- 1 M2
- 4 chambres
- 12 personnes
- Le chauffage
- Parking
2 avis
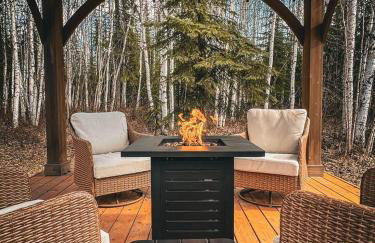
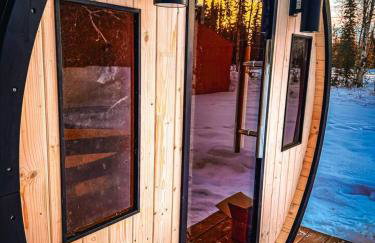

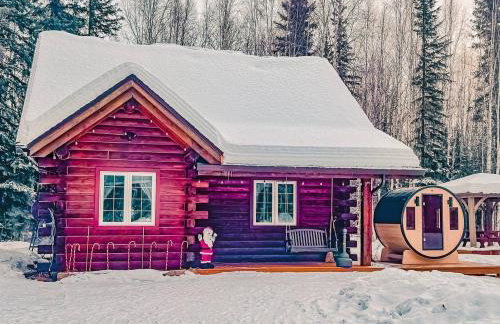
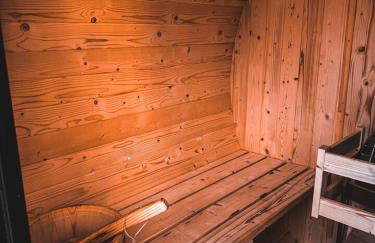
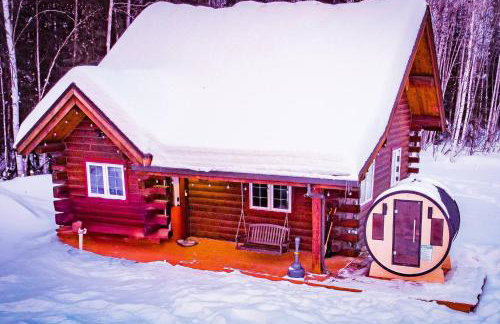
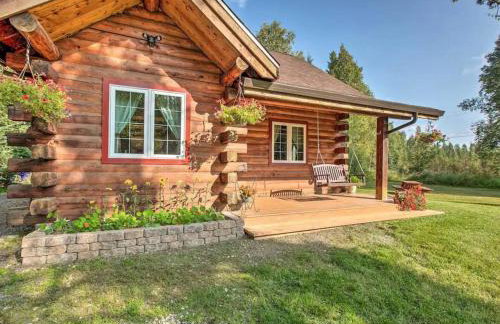
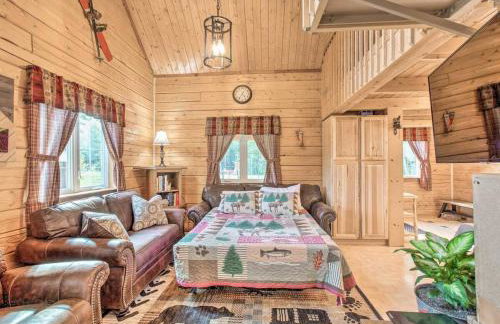
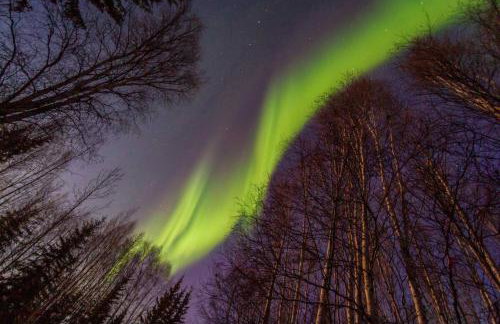
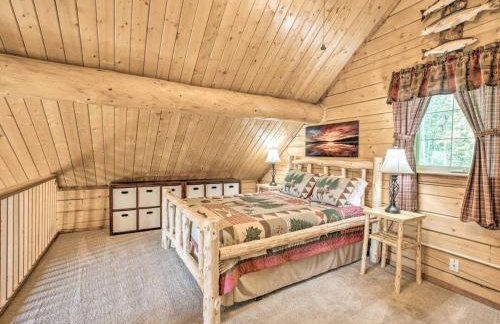
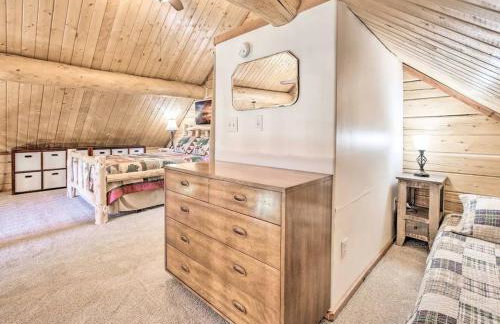
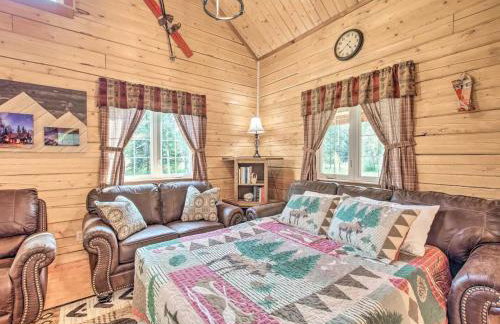
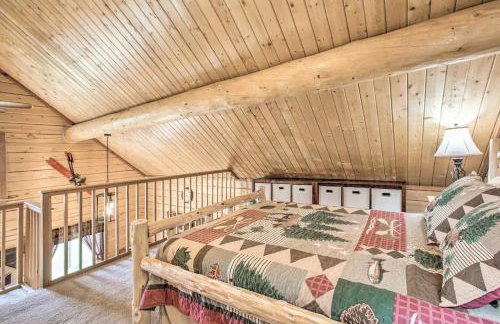


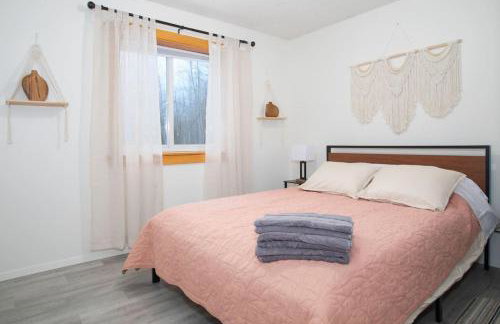
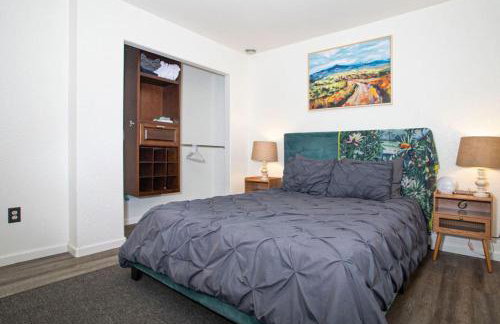
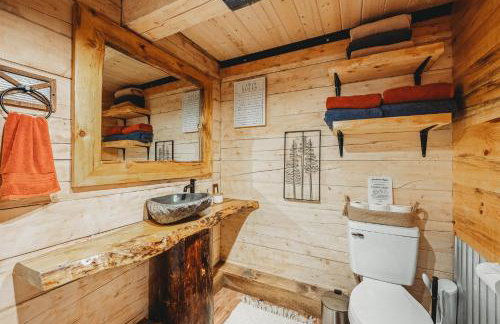
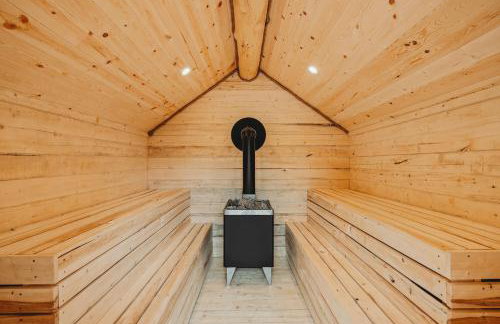
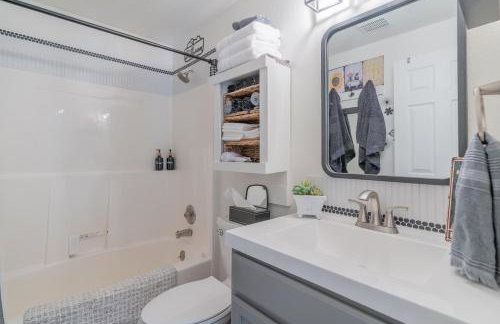
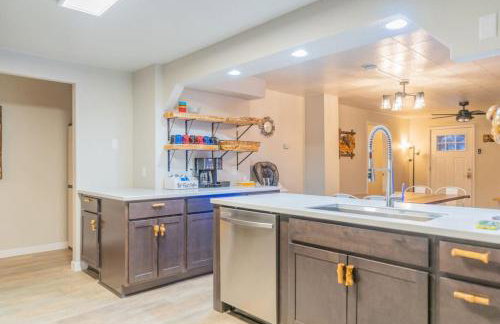
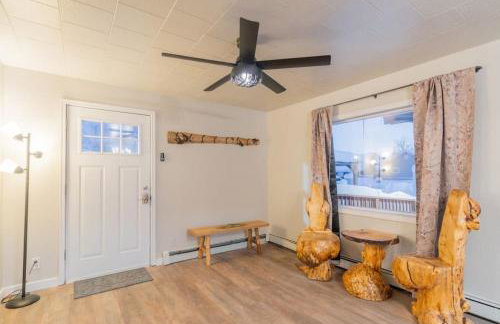
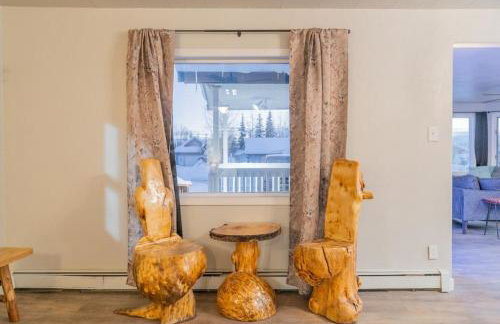
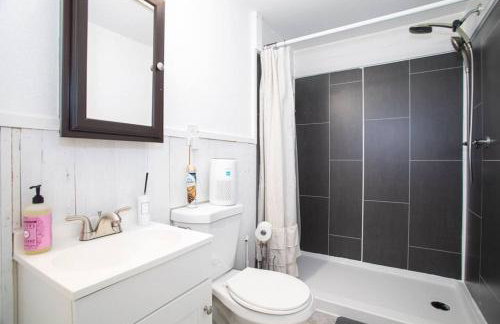
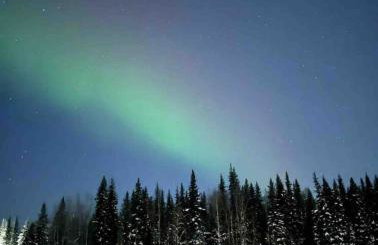
Northern Lights Log House w/ Sauna
North Pole - À 2.5 km du centre
- 88 M2
- 1 chambre
- 5 personnes
- Air conditionné
- Le chauffage
- Terrasse
- Jardin
1 avis


The Northern Driftwood Inn 1.0
North Pole - Dans le centre
- 1 M2
- 4 chambres
- 16 personnes
- Le chauffage
- Parking
4 avis


Central Driftwood 2.0
North Pole - Dans le centre
- 1 M2
- 2 chambres
- 5 personnes
- Le chauffage
- Parking
- Jardin
4 avis


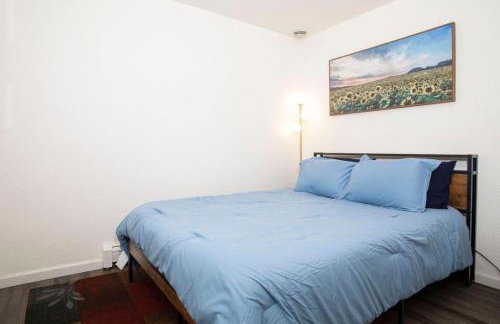
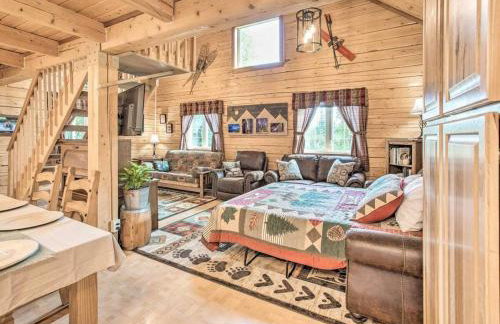
Meadow Rue Retreat
North Pole - À 7.7 km du centre
- 98 M2
- 3 chambres
- 6 personnes
- Air conditionné
- Le chauffage
1 avis


Family Retreat 2 Mi to Santas House Pets Welcome
North Pole - À 2 km du centre
- 223 M2
- 4 chambres
- 8 personnes
- Le chauffage
- Parking