
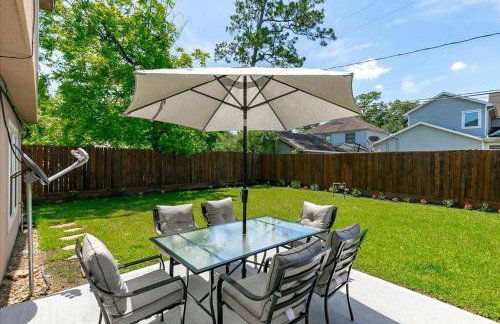
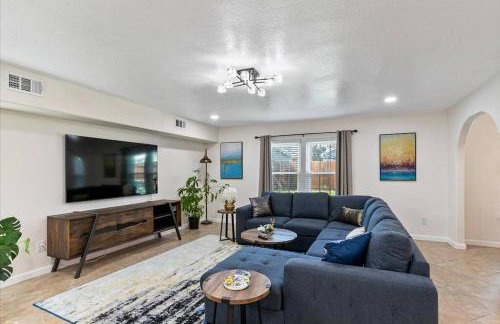
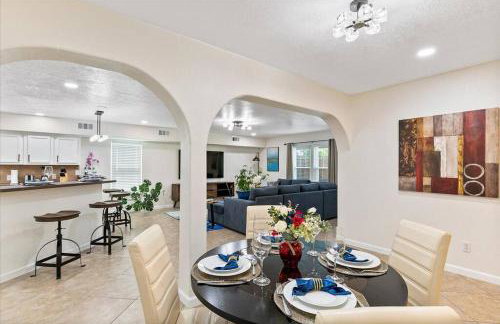
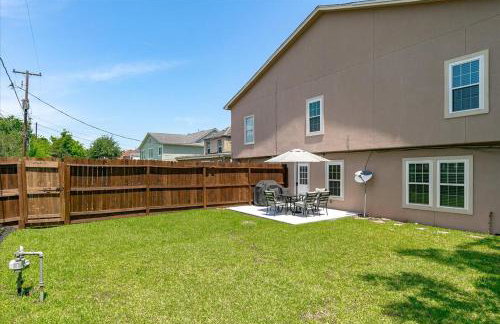
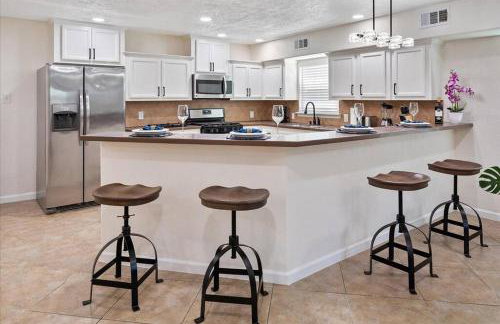


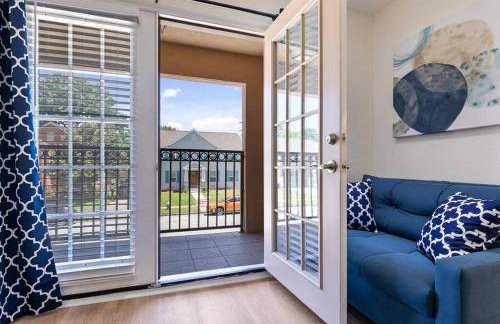
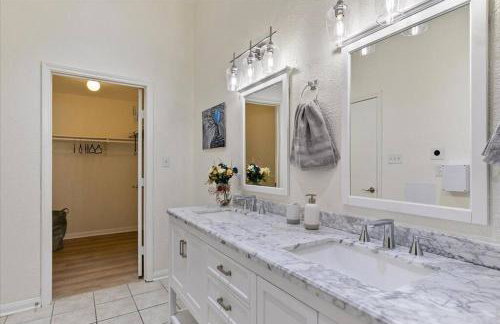
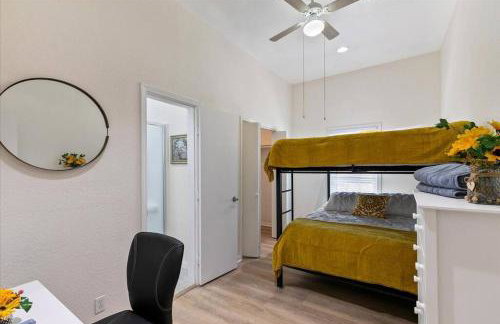
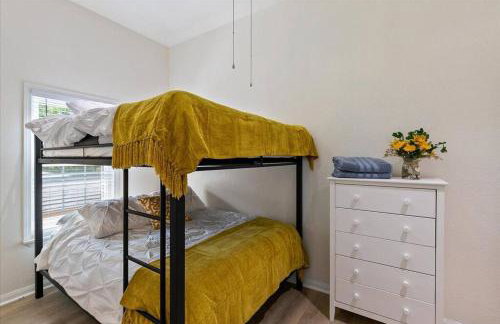
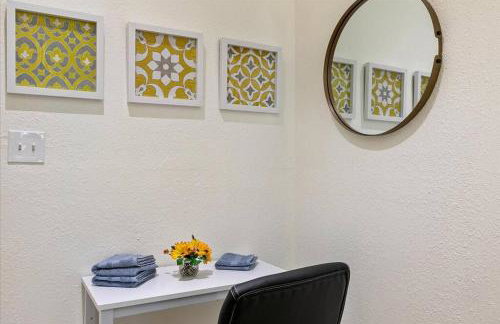
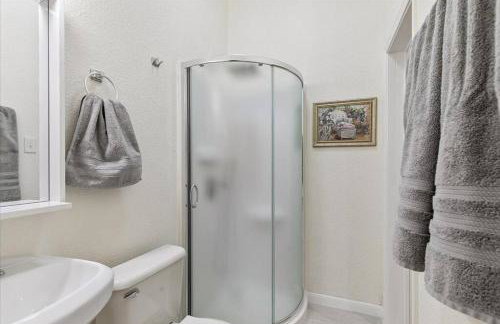
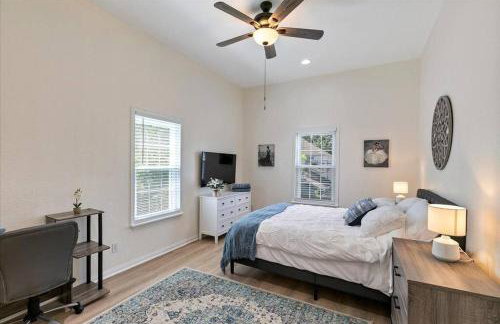

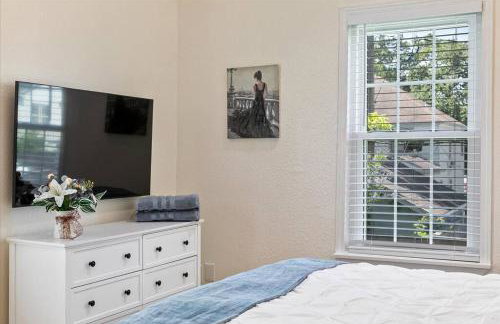
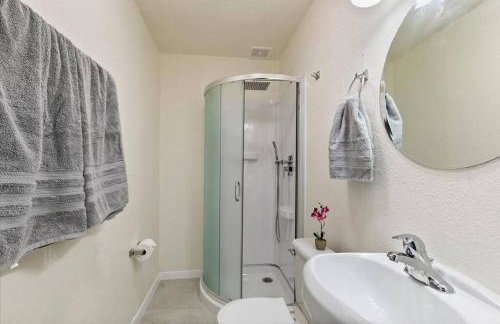


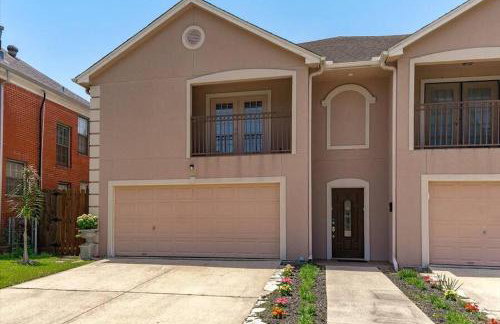


Bring the Crew! 4BR Luxe Pad, Backyard Magic & City at Your Door
Houston - MacGregor - À 4.8 km du centre
- 300 M2
- 4 chambres
- 17 personnes
- Air conditionné
- Le chauffage
- Terrasse
- Parking
- Jardin
- Barbecue


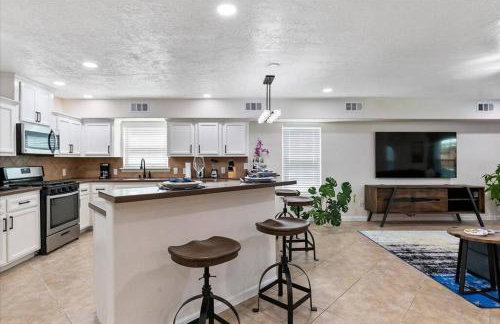
Luxury Home Near Med Center, Uptown & Downtown
Houston - MacGregor - À 5.8 km du centre
- 158 M2
- 3 chambres
- 10 personnes
- Air conditionné
- Terrasse
- Parking
- Jardin


Cosy room and paradise garden
Houston - MacGregor - À 5.2 km du centre
- 12 M2
- 1 chambre
- 2 personnes
- Air conditionné
- Terrasse
- Parking


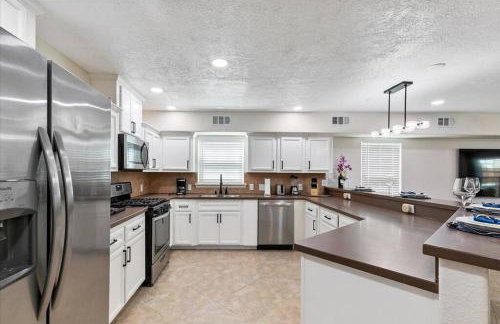
Cozy Home Near MedCenter, Uptown, & Downtown
Houston - MacGregor - À 5.8 km du centre
- 28 M2
- 3 chambres
- 9 personnes
- Air conditionné
- Terrasse
- Parking
- Jardin
- Barbecue


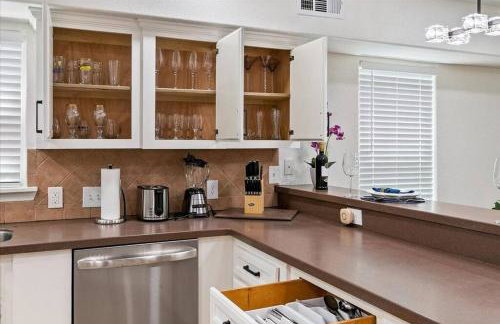
Spacious 3 Bed House near MD Anderson with Free Parking & Wi-Fi
Houston - MacGregor - À 5.9 km du centre
- 14 M2
- 3 chambres
- 10 personnes
- Air conditionné
- Parking


Prolific Blue Oasis near Med Ctr Dwntwn Galleria
Houston - MacGregor - À 3.8 km du centre
- 111 M2
- 2 chambres
- 6 personnes
- Air conditionné
- Le chauffage
- Parking
- Jardin


Spacious Luxe Stay , Near DT, MedCtr & NRG, New
Houston - MacGregor - À 5.9 km du centre
- 22 M2
- 3 chambres
- 12 personnes
- Air conditionné
- Parking
- Jardin


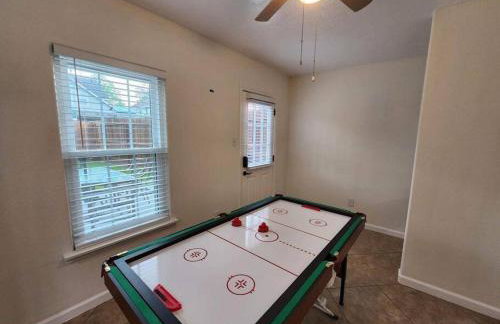
Nr DT, Med Center, Midtown Sleeps 16 Game Room
Houston - MacGregor - À 4.8 km du centre
- 279 M2
- 5 chambres
- 16 personnes
- Air conditionné
- Le chauffage
- Parking
- Jardin
- Barbecue


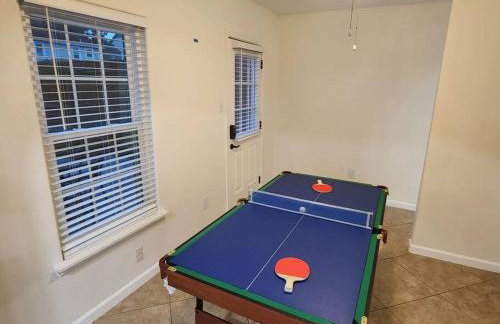
Space City - Prof Design, Game Room, King BD
Houston - MacGregor - À 5.2 km du centre
- 186 M2
- 3 chambres
- 10 personnes
- Air conditionné
- Le chauffage
- Terrasse
- Parking
- Barbecue


Lucky House 2 Tranquility in the Middle of Houston
Houston - MacGregor - À 4.8 km du centre
- 235 M2
- 4 chambres
- 16 personnes
- Air conditionné
- Terrasse
- Parking


The Houston Villa - 2Qn+1King -MedCenter NRG ZOO
Houston - MacGregor - À 5.2 km du centre
- 158 M2
- 2 chambres
- 6 personnes
- Air conditionné
- Terrasse
- Parking
- Jardin


Cozy Bohemian Bungalow
Houston - MacGregor - À 3.7 km du centre
- 186 M2
- 3 chambres
- 8 personnes
- Air conditionné
- Le chauffage
- Parking


Prolific Red Luxe: Private Deck + Stylish Living
Houston - MacGregor - À 3.8 km du centre
- 93 M2
- 2 chambres
- 6 personnes
- Air conditionné
- Le chauffage
- Parking


2Linkd Suites, 6BR Ensuite, Slps16, Pool&Spa, Gated
Houston - MacGregor - À 4.8 km du centre
- 260 M2
- 6 chambres
- 16 personnes
- Air conditionné
- Le chauffage
- Terrasse
- Piscine
- Parking
- Jardin


NEW! Grand Luxé Retreat - Modern Luxury - Free Parking - Near Med Center & NRG
Houston - MacGregor - À 5.4 km du centre
- 3 chambres
- 8 personnes
- Air conditionné
- Le chauffage
- Terrasse
- Parking
- Jardin


3 Bedrooms with Free gated parking,5-10Mins From ALL
Houston - MacGregor - À 4.3 km du centre
- 116 M2
- 3 chambres
- 6 personnes
- Air conditionné
- Parking
- Jardin


Central Yellow Gem: Cozy Views & Proximity
Houston - MacGregor - À 3.8 km du centre
- 111 M2
- 2 chambres
- 8 personnes
- Air conditionné
- Le chauffage
- Parking


Resort-Style 3BR Ensuites, Pool & Spa, Gated
Houston - MacGregor - À 4.9 km du centre
- 130 M2
- 3 chambres
- 8 personnes
- Air conditionné
- Le chauffage
- Piscine
- Parking
- Jardin


Gated Resort, 2 Homes, 9BR Ensuites, Slps27, Pool
Houston - MacGregor - À 3.8 km du centre
- 486 M2
- 9 chambres
- 16 personnes
- Air conditionné
- Le chauffage
- Terrasse
- Piscine
- Parking
- Jardin
- Barbecue


Resort-Style 3BR Ensuites, Slps7, Pool&, Gated, BBQ
Houston - MacGregor - À 3.8 km du centre
- 139 M2
- 3 chambres
- 7 personnes
- Air conditionné
- Le chauffage
- Terrasse
- Piscine
- Parking
- Jardin
- Barbecue