


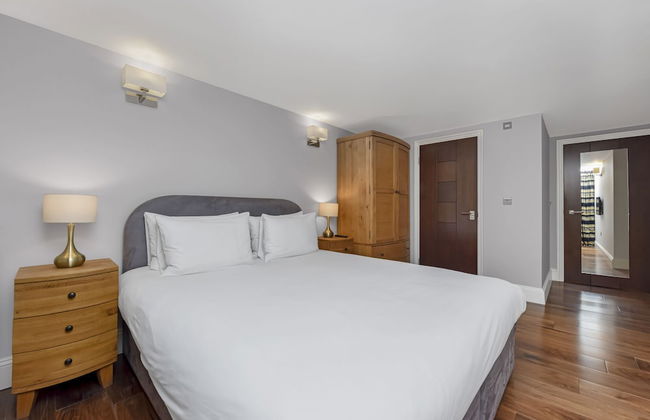


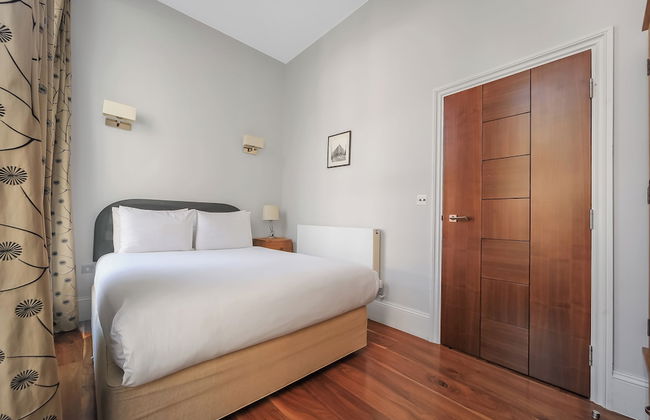


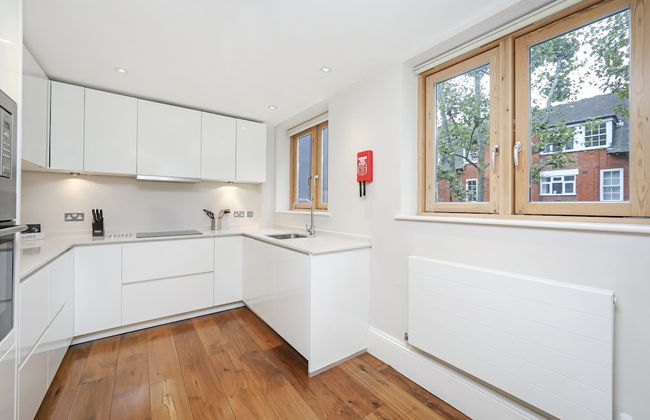


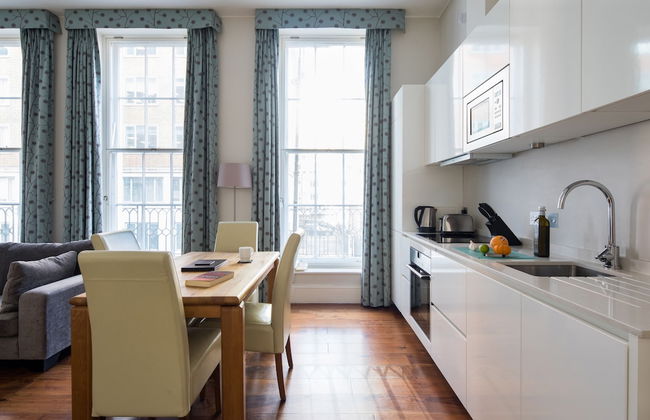
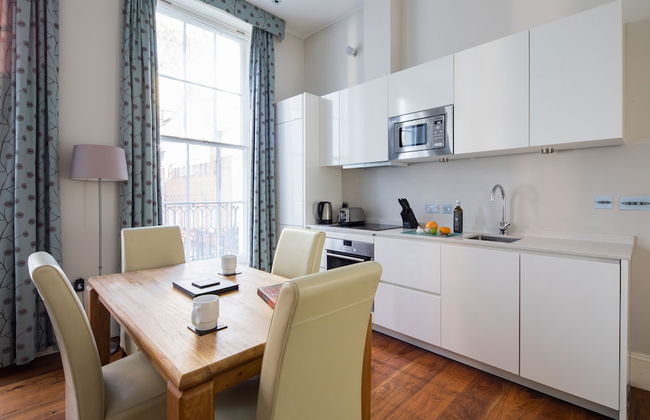
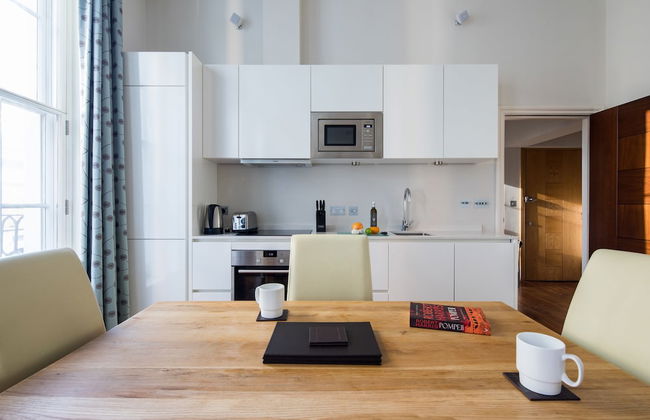
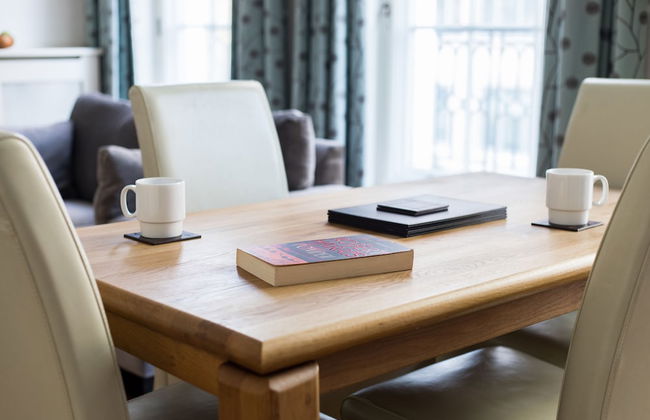


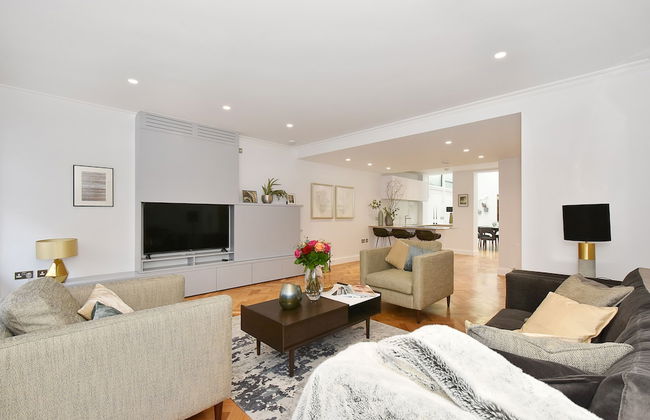
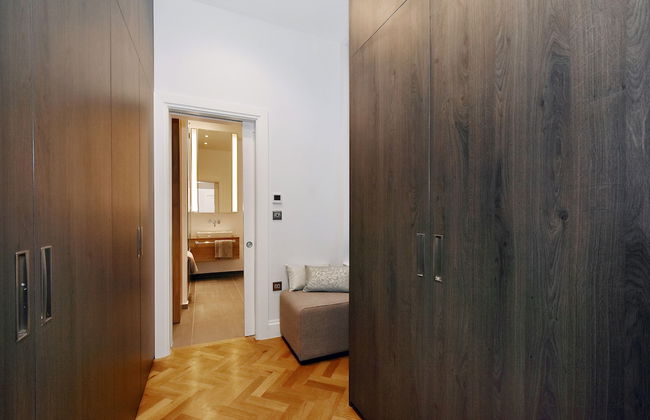
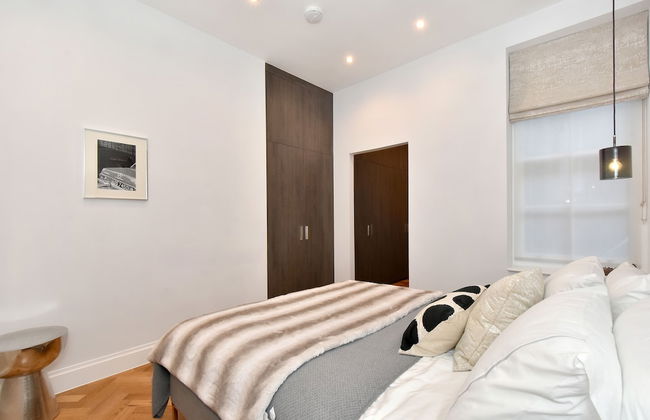
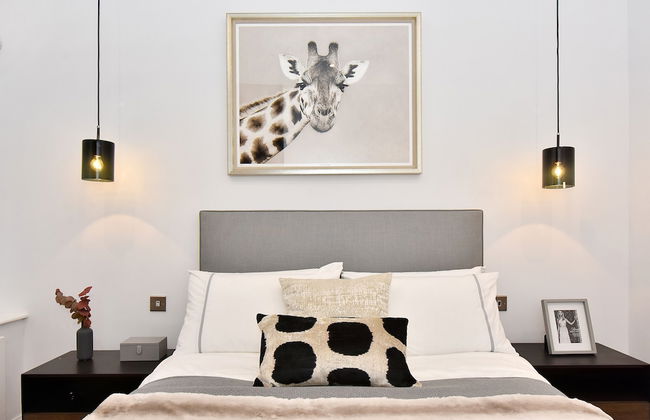
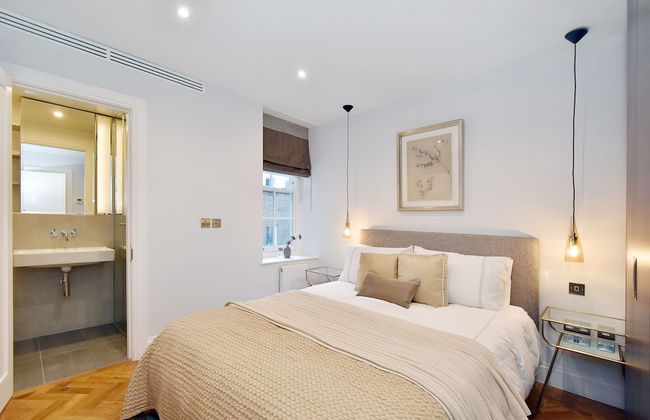
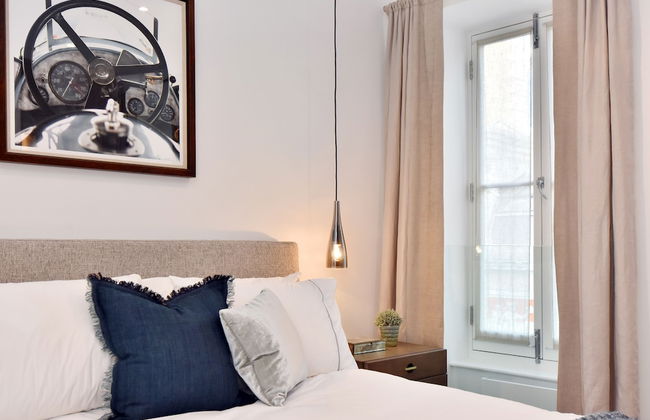
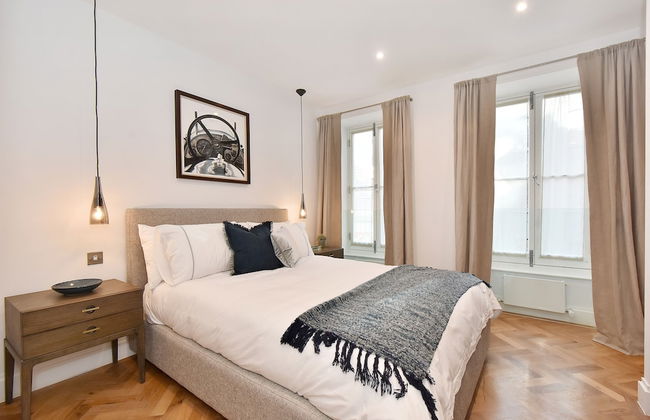
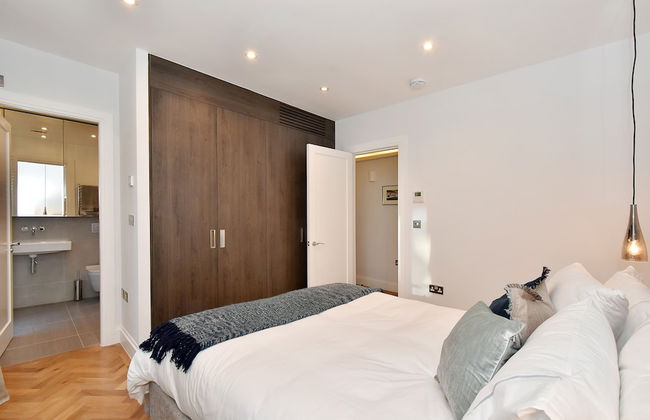
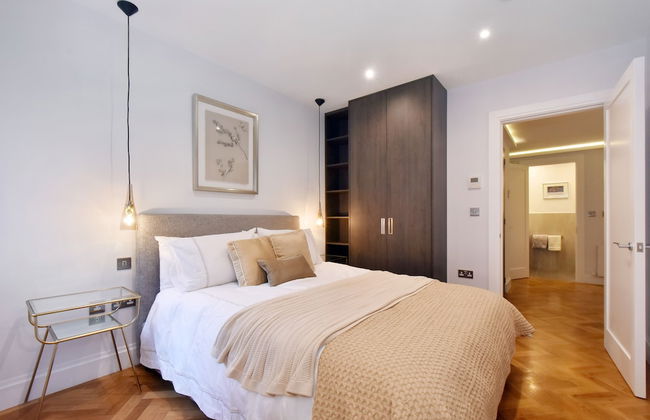
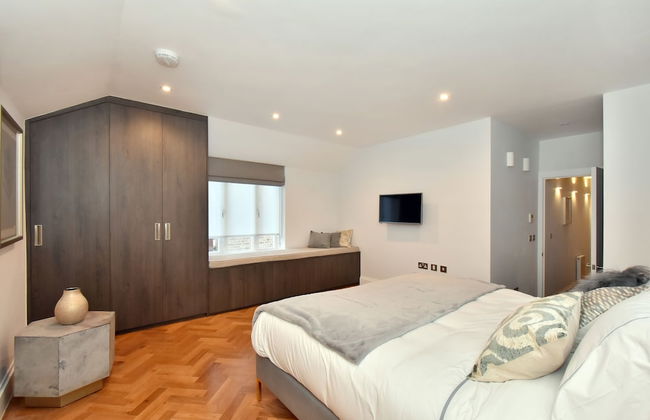
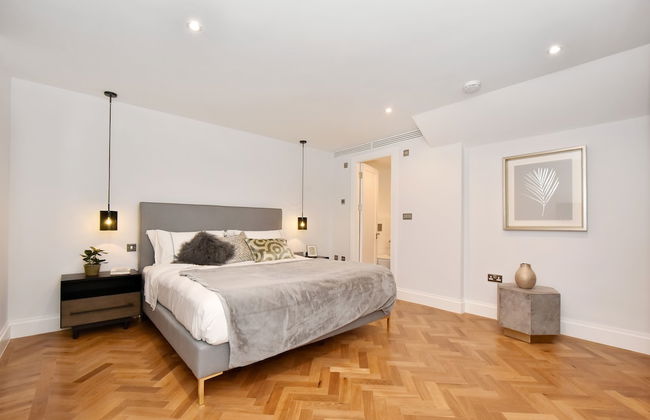
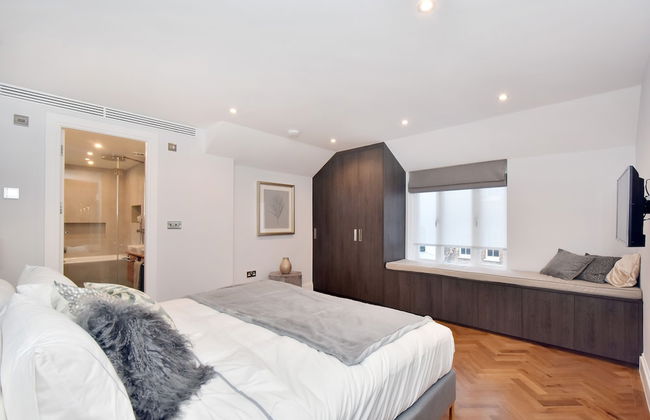
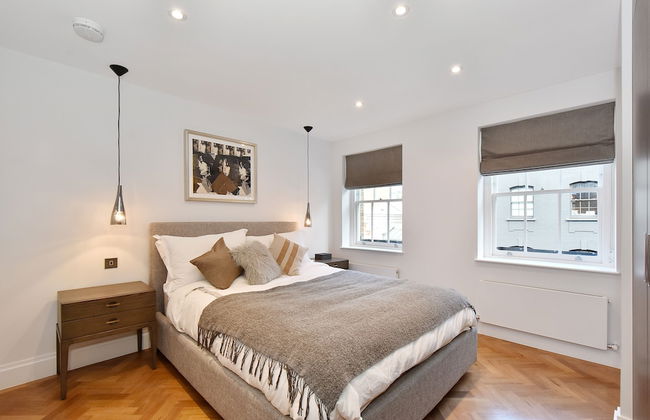
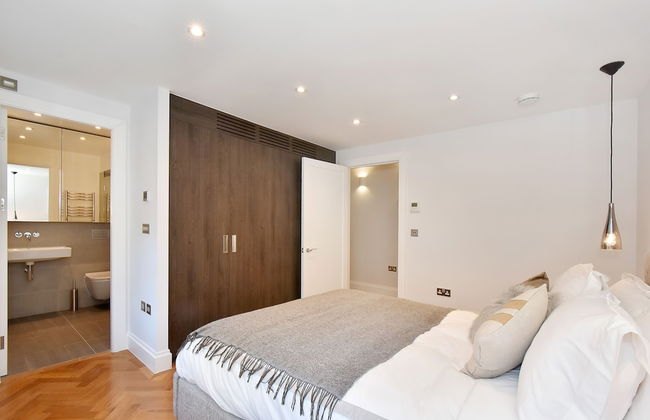
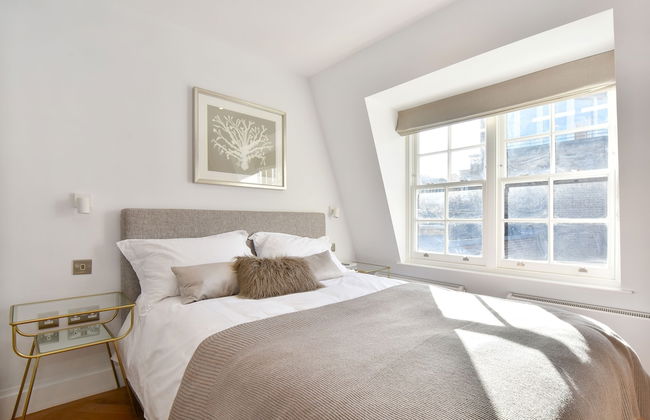
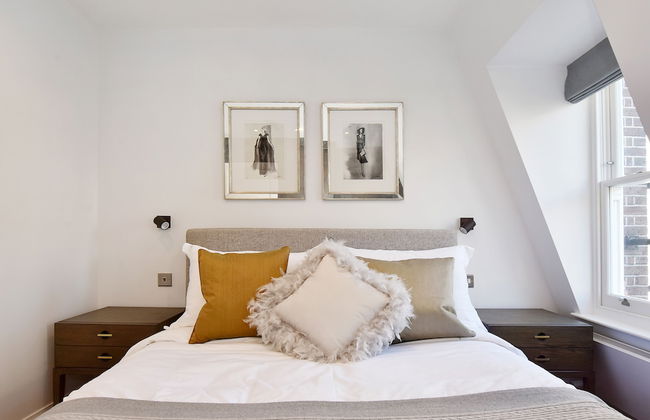
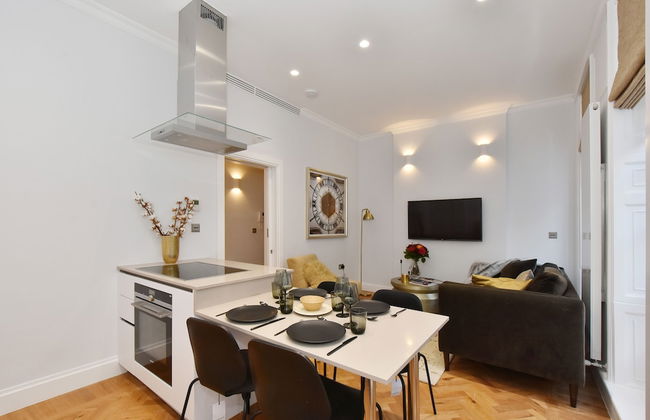
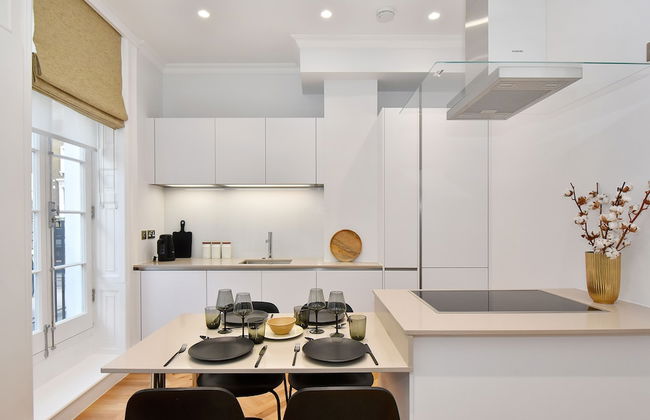
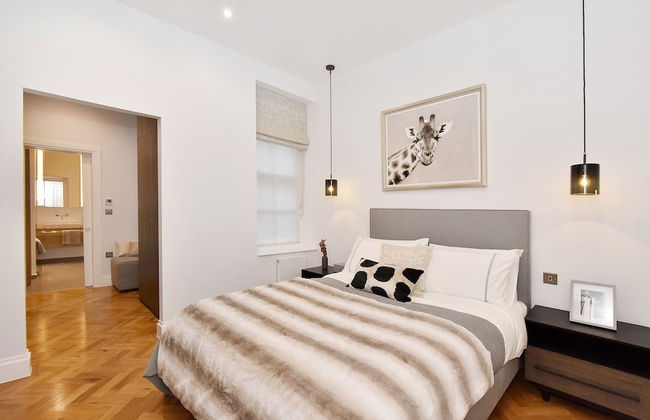
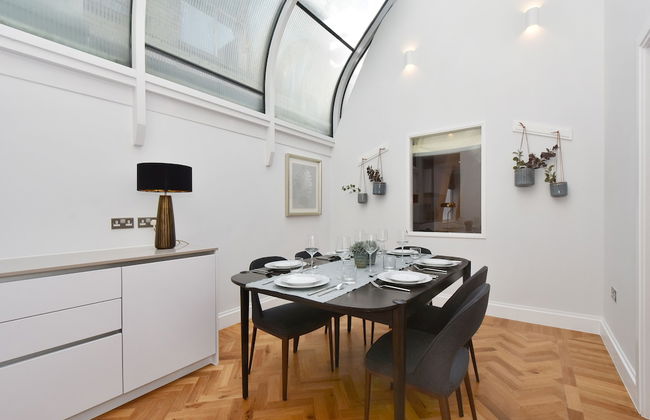
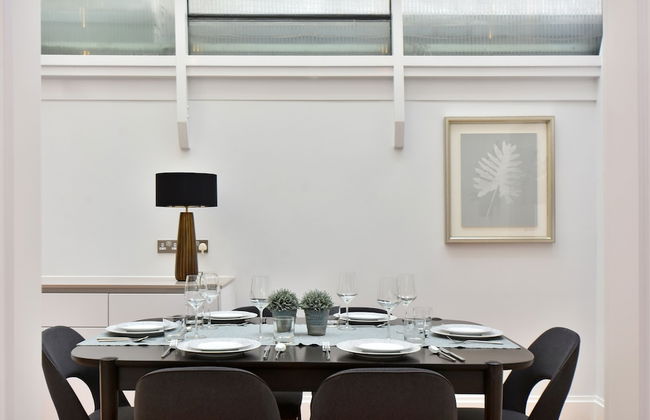
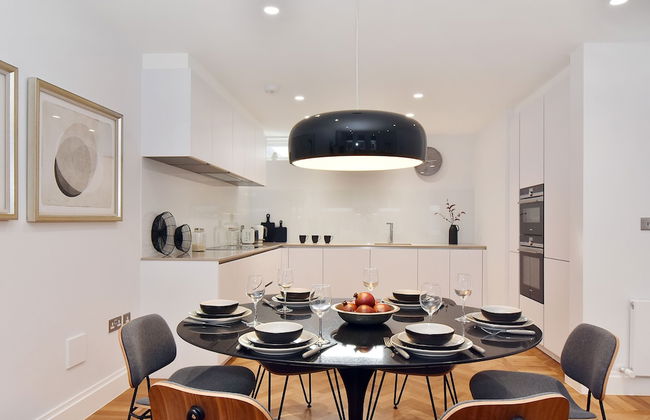
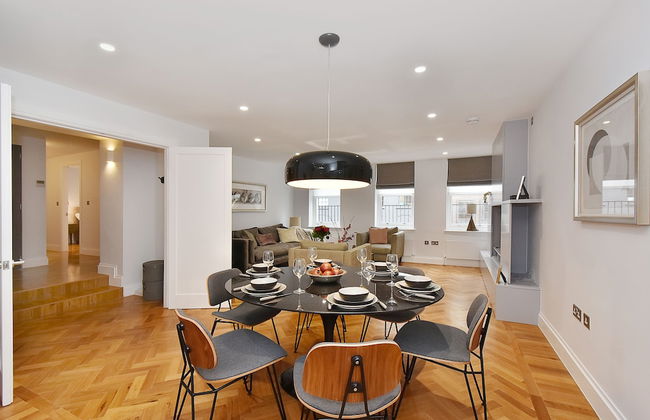
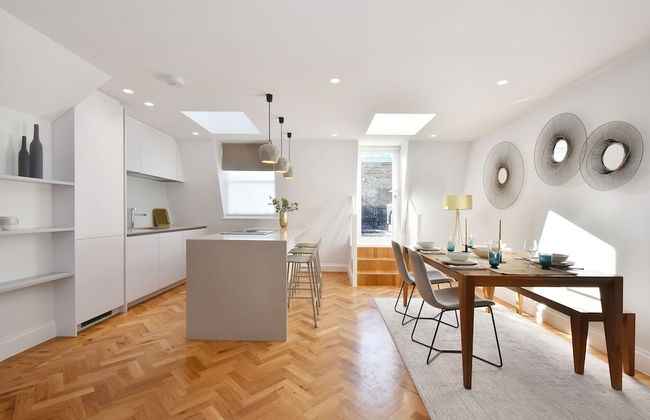
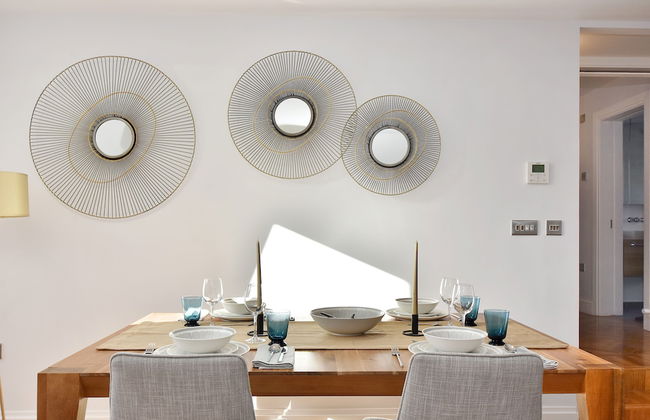
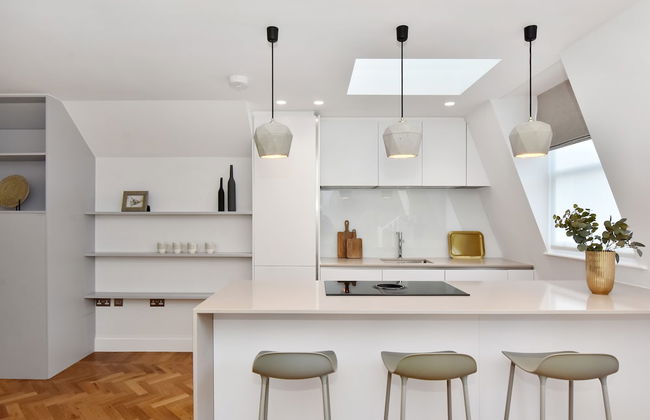
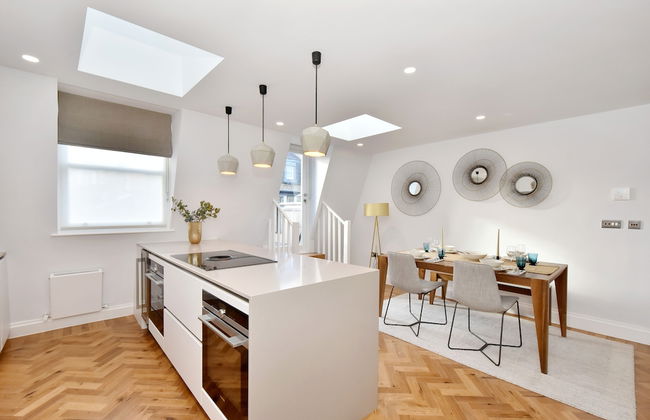
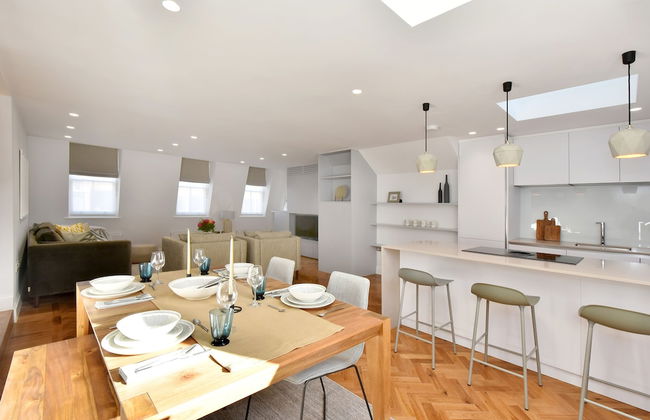
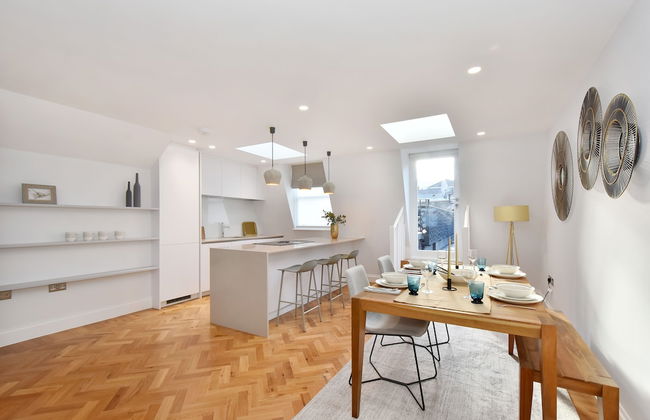
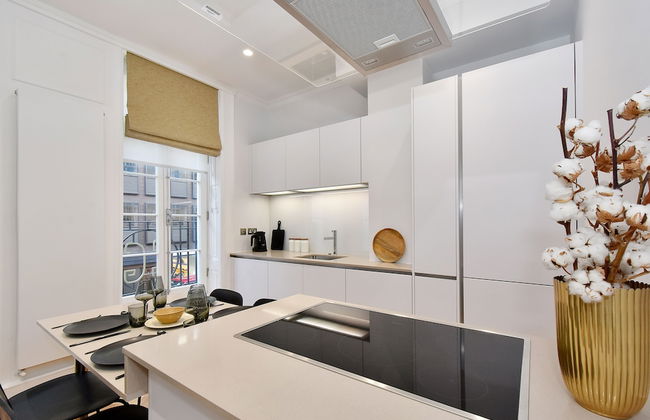
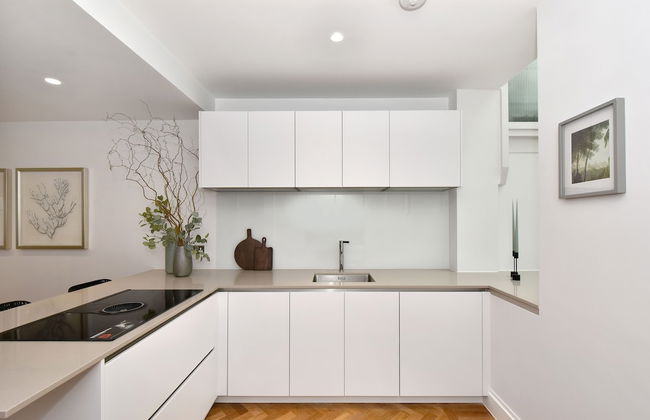
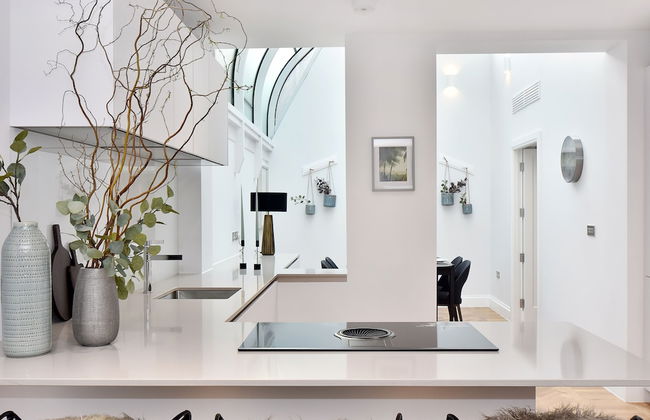
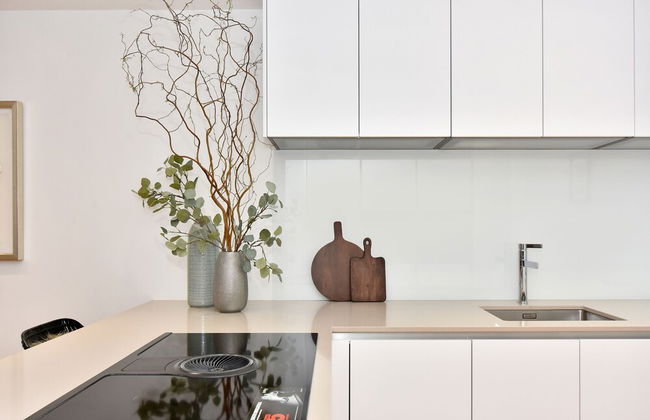
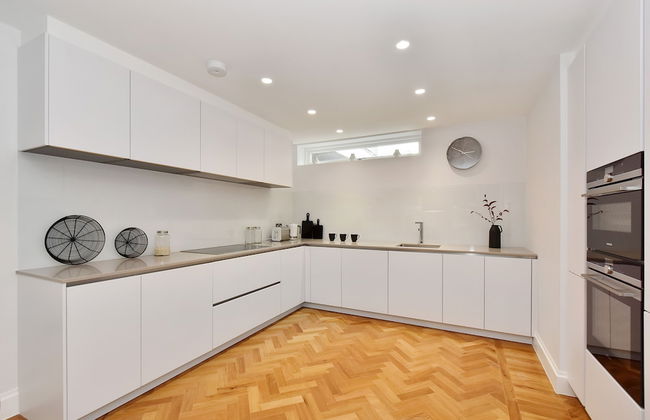
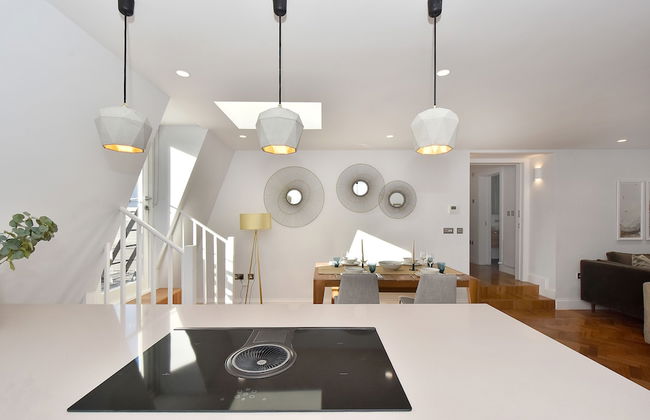
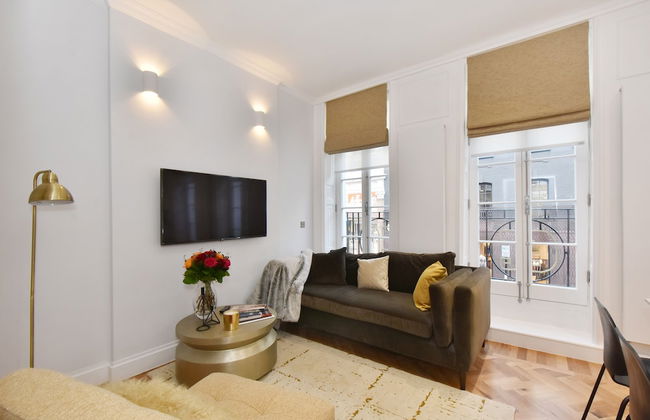
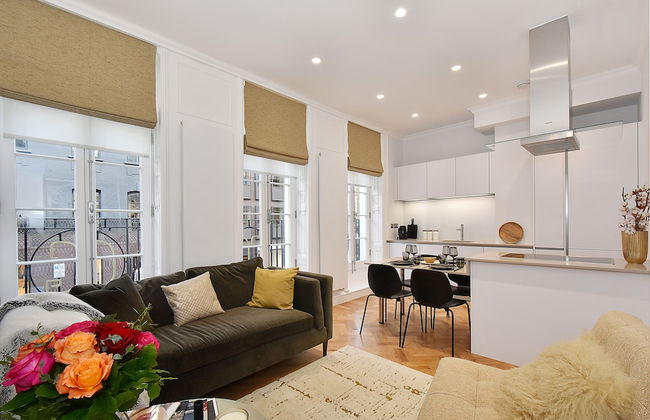
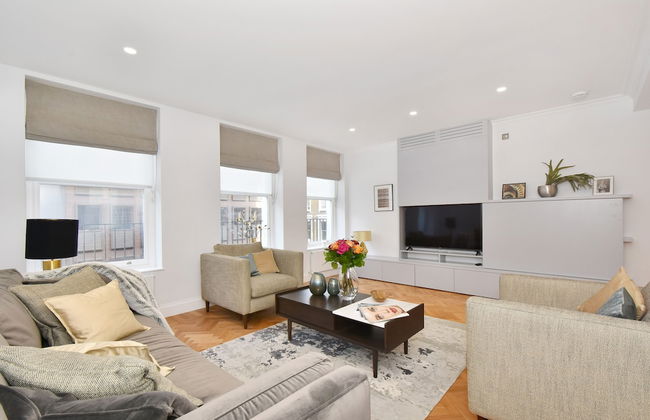
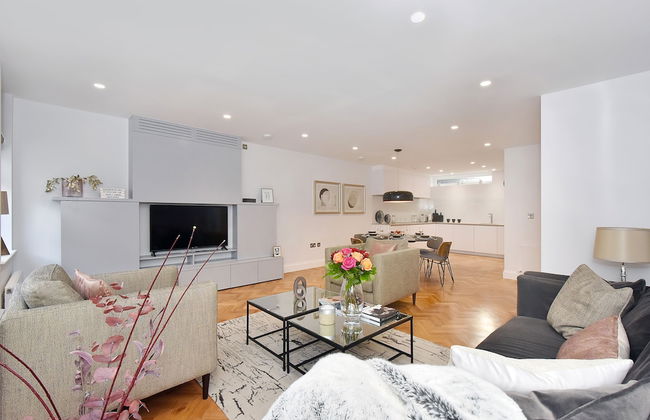
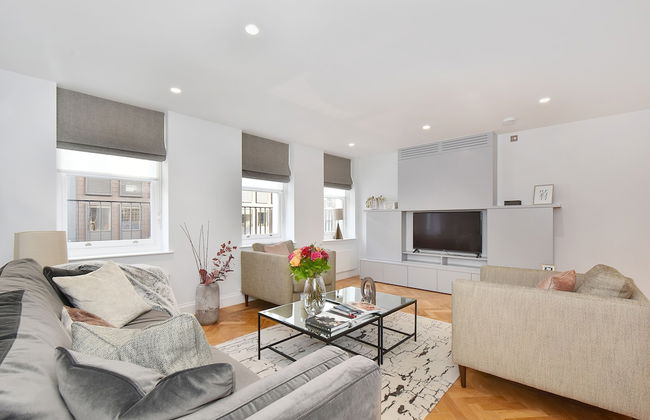
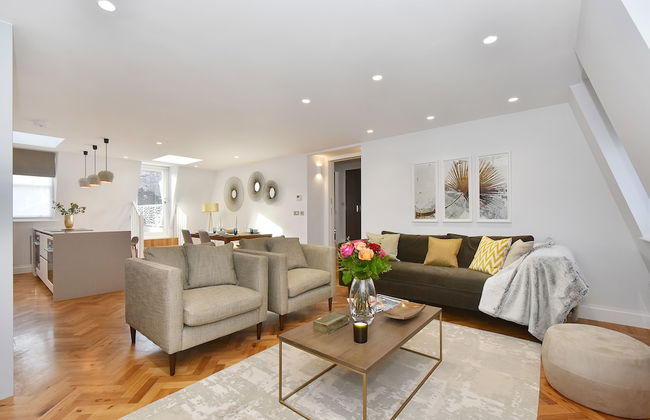
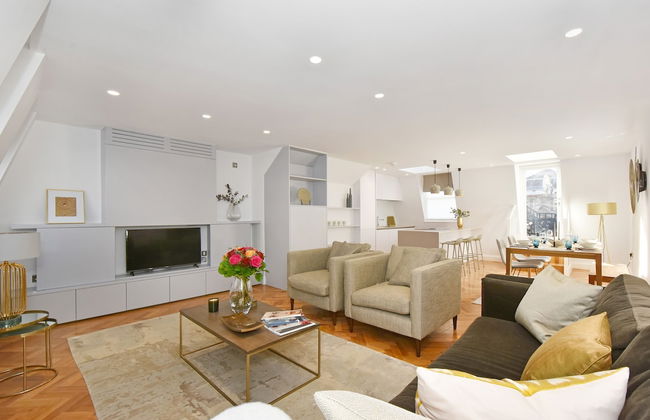
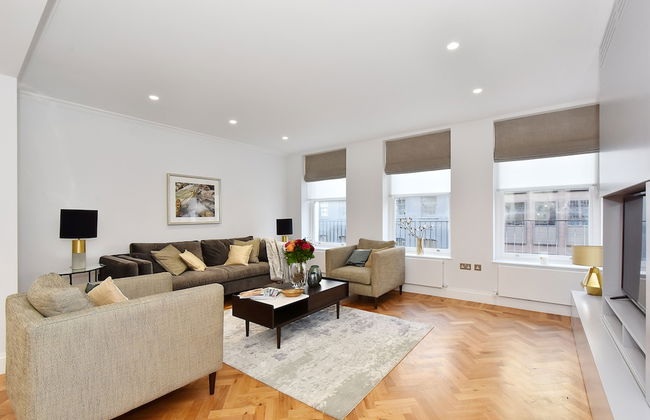
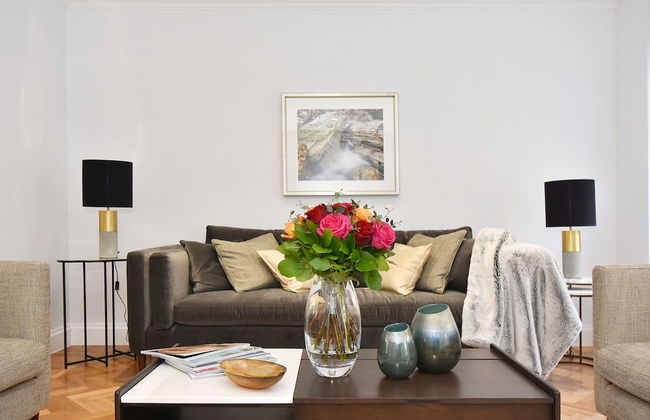
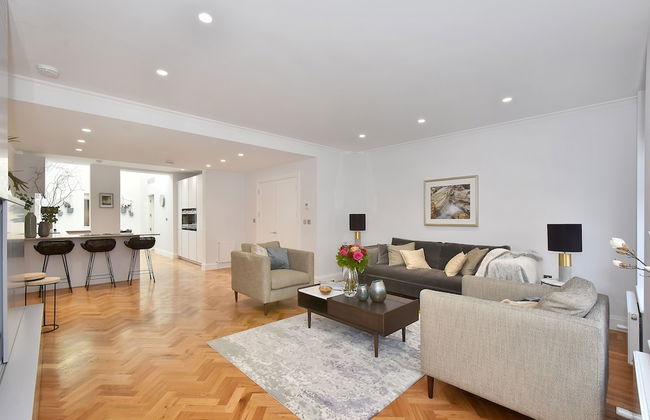
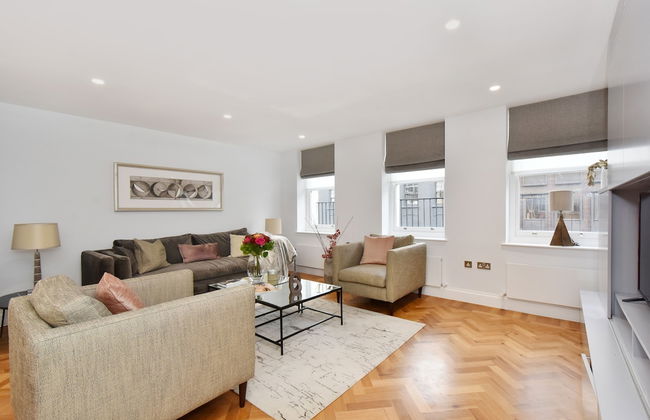
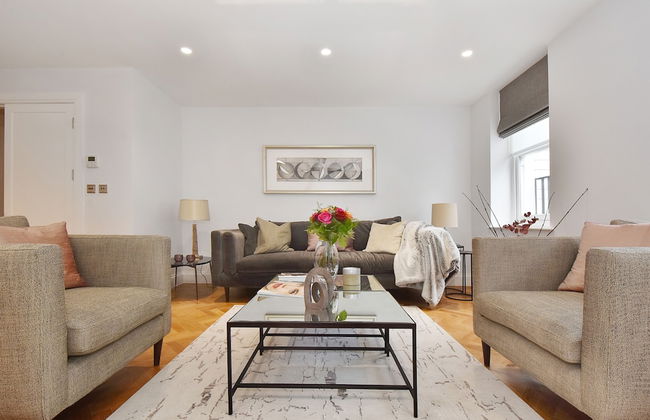
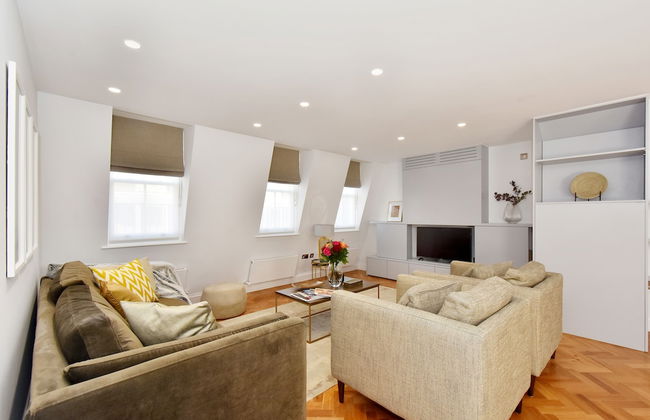
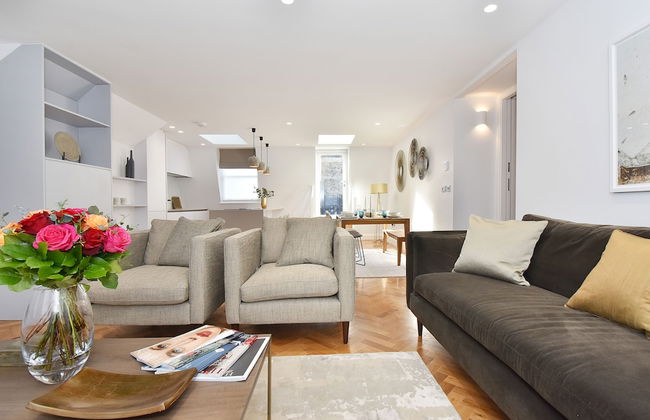
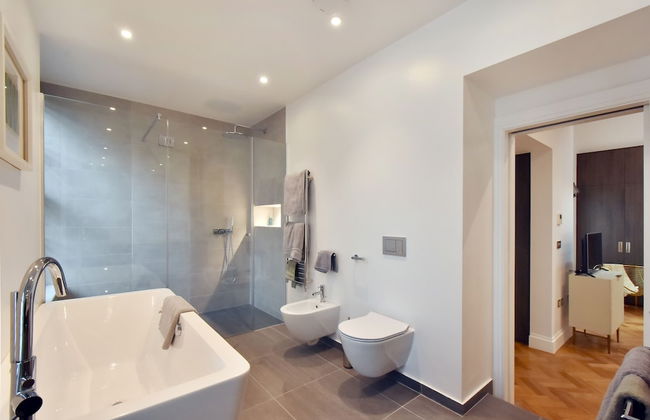
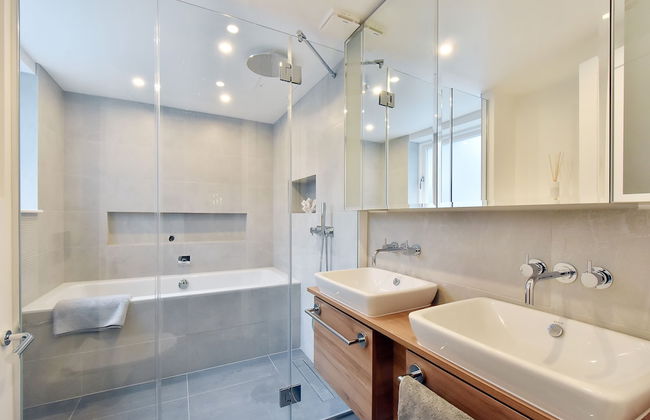
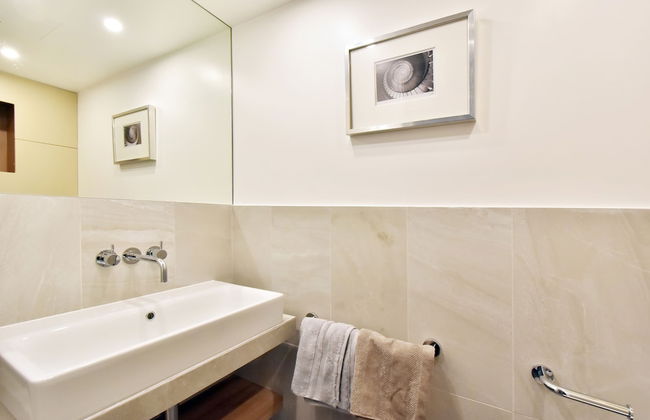
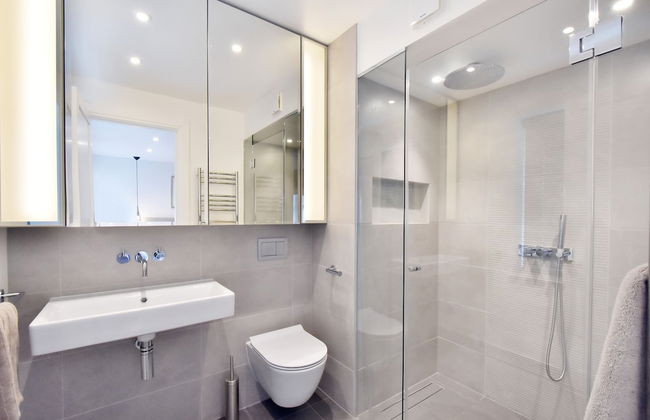
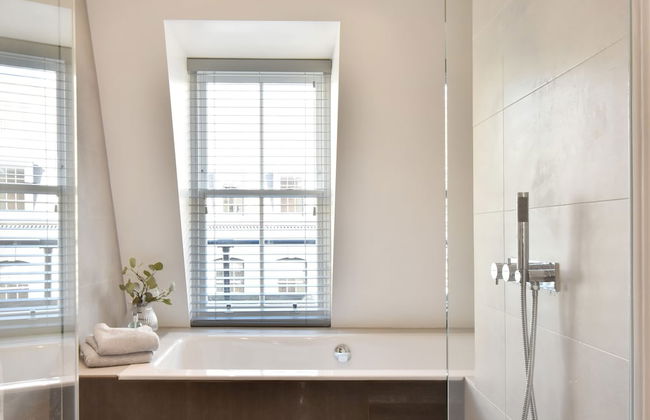
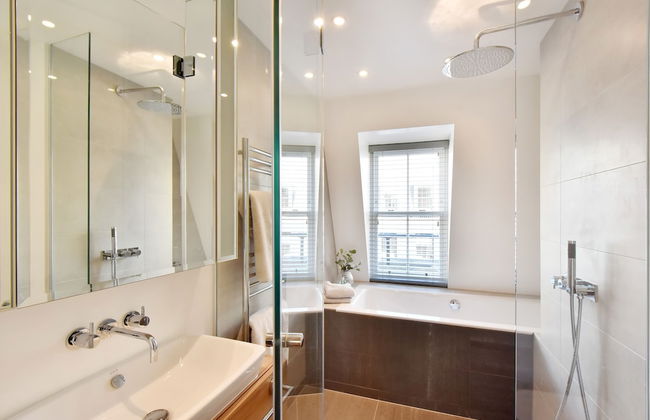
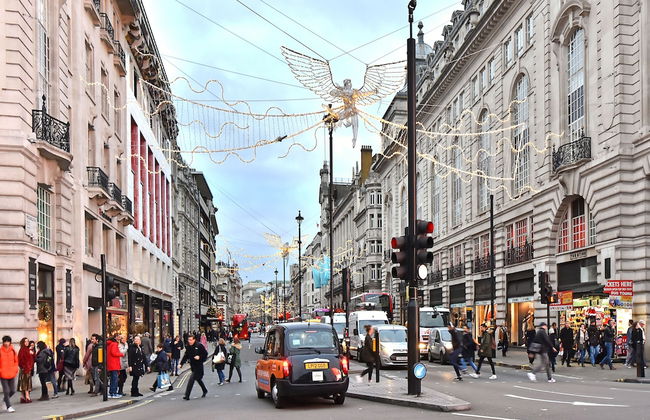
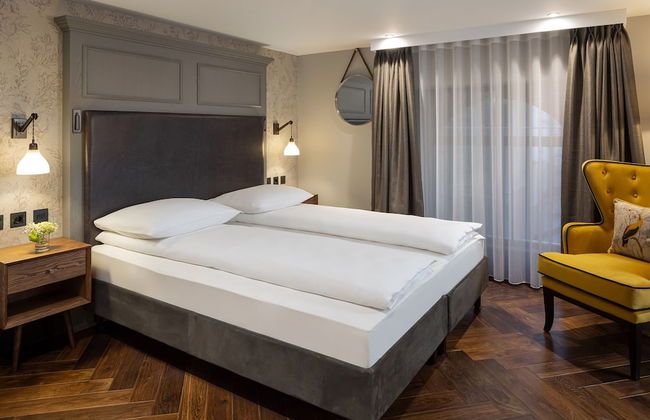
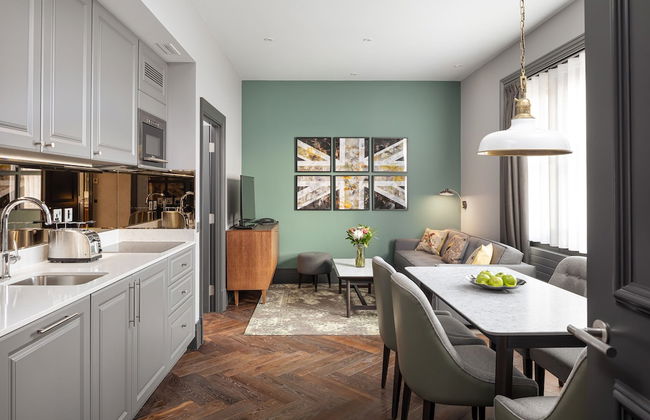
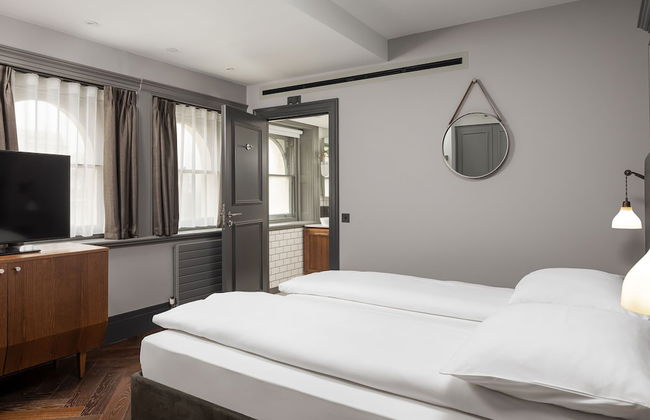
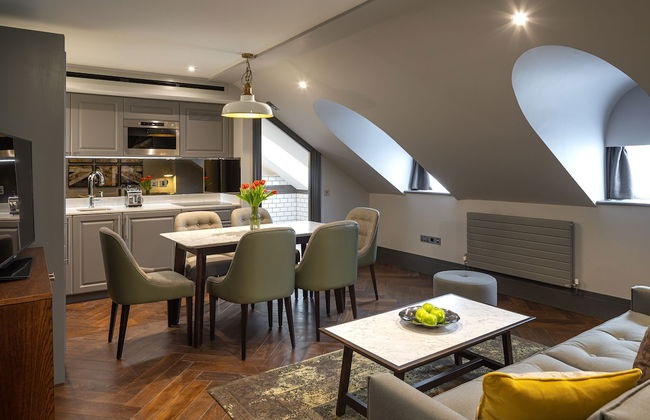
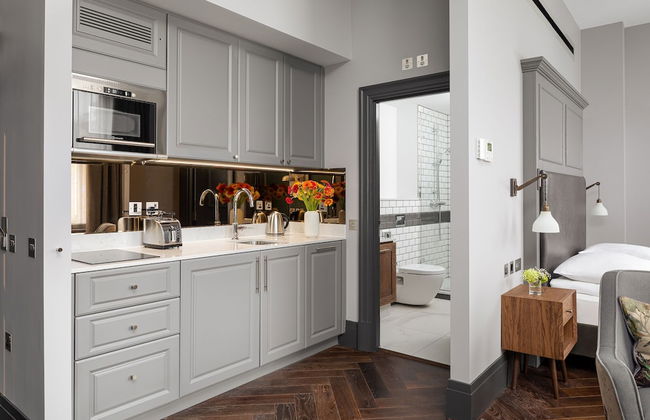
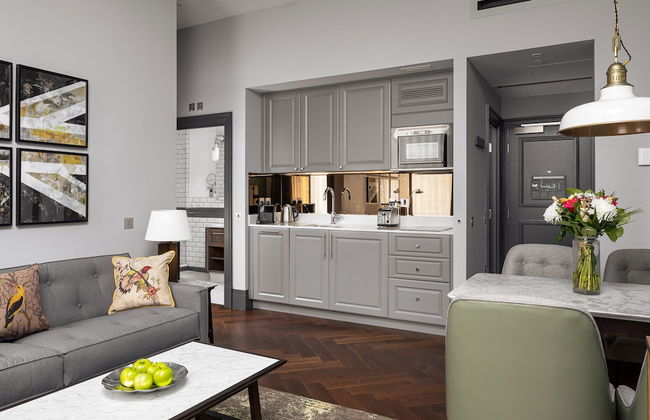
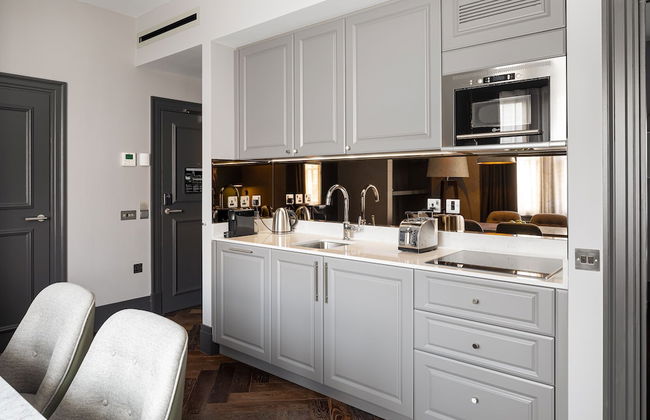
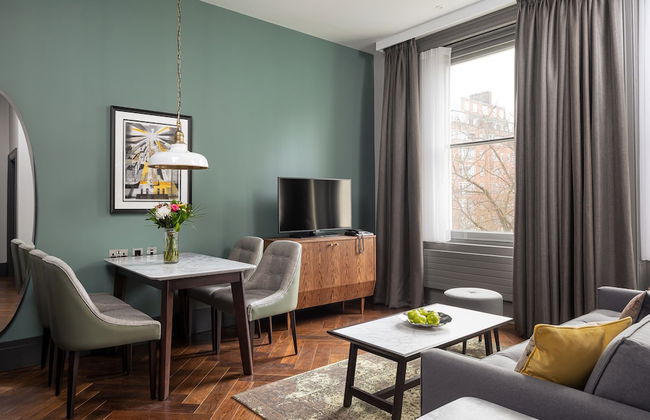
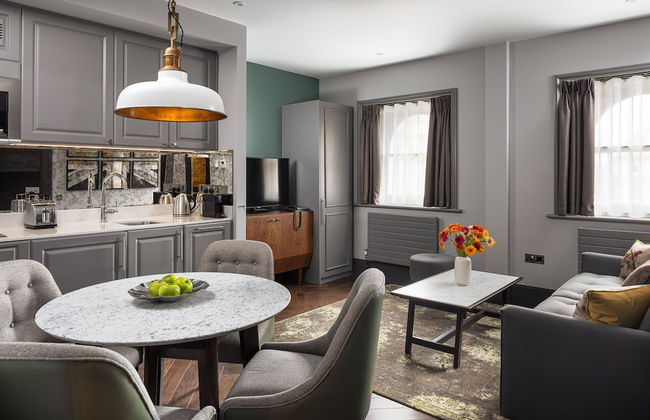
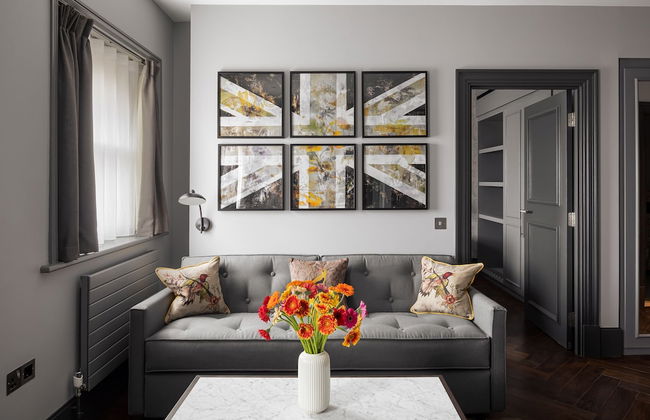
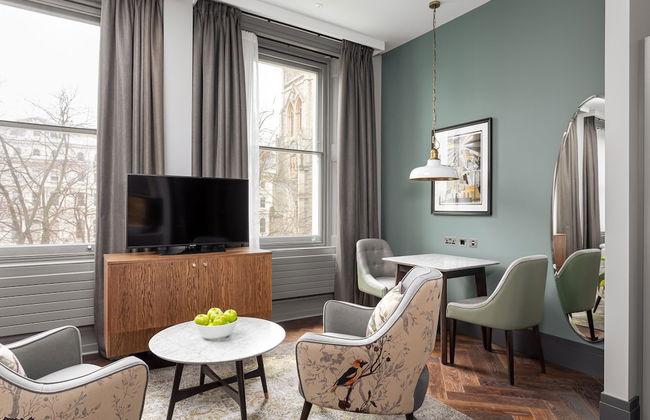
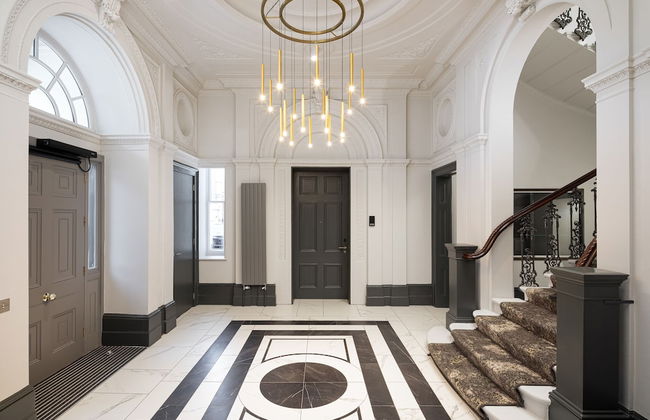
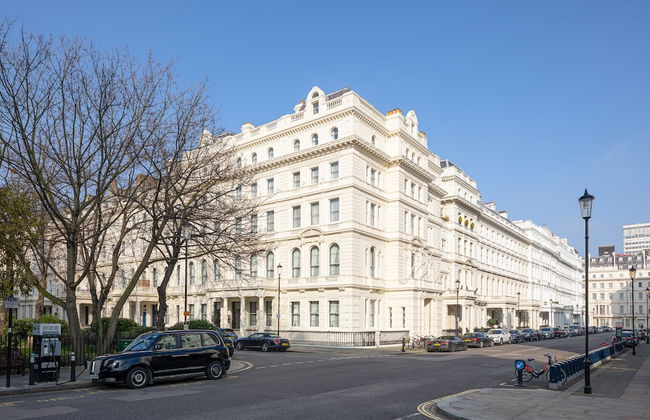
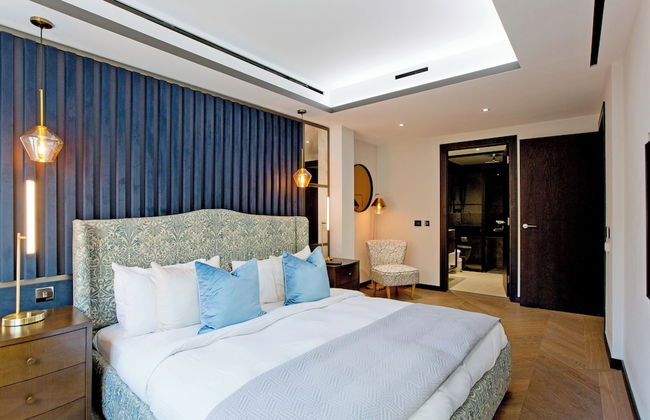
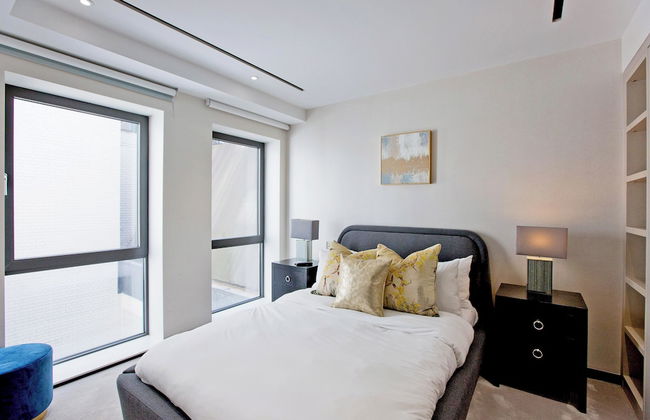
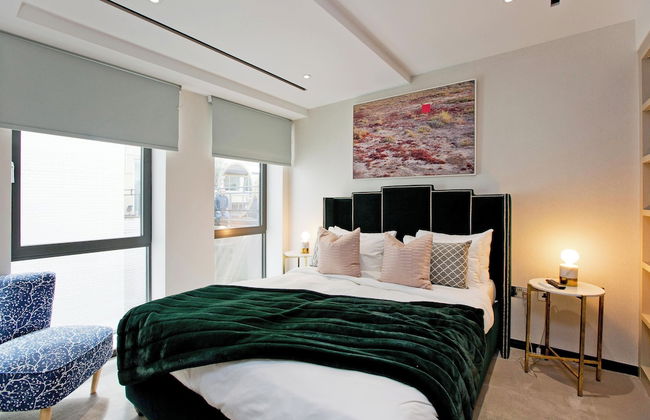
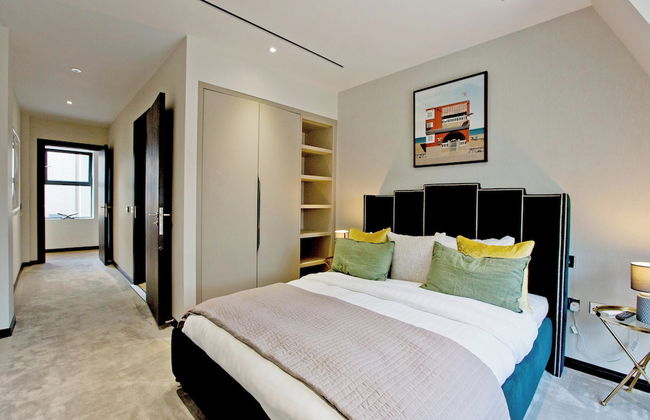
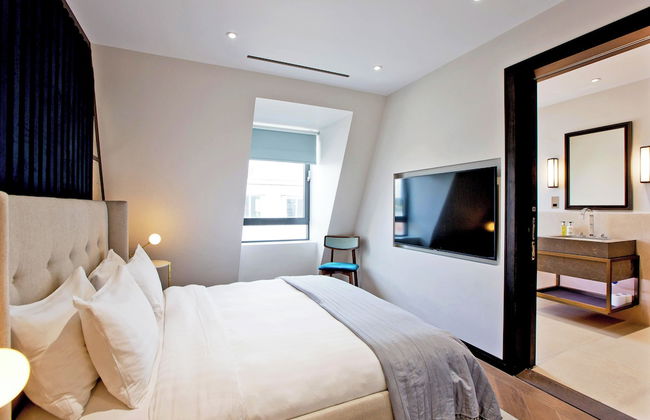
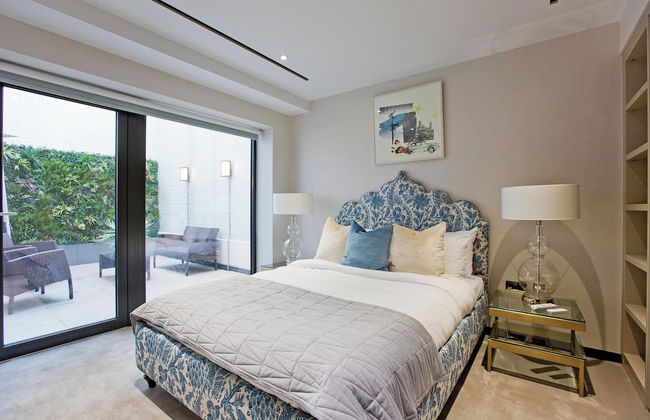
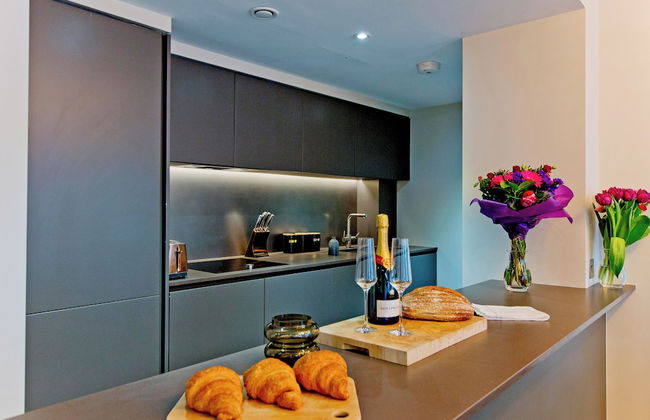
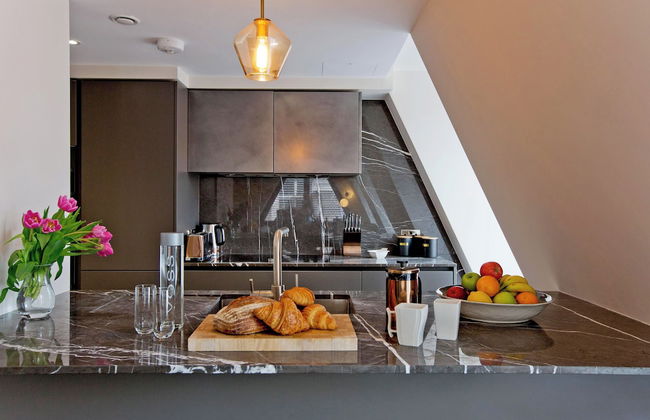
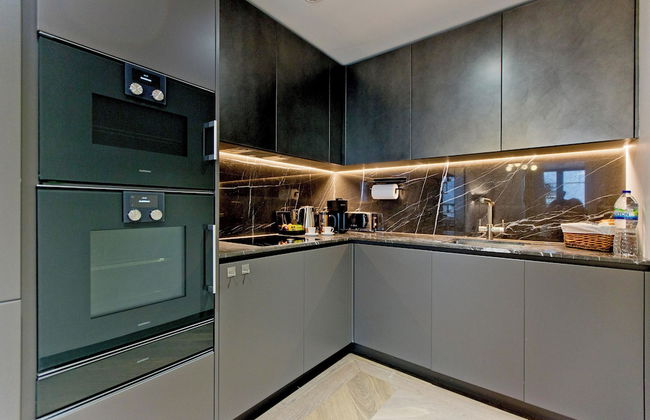
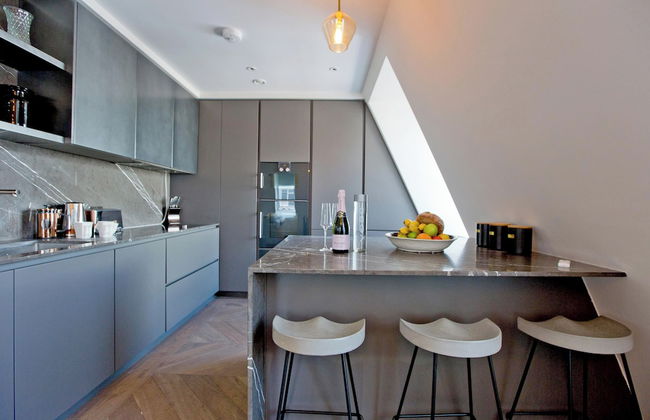
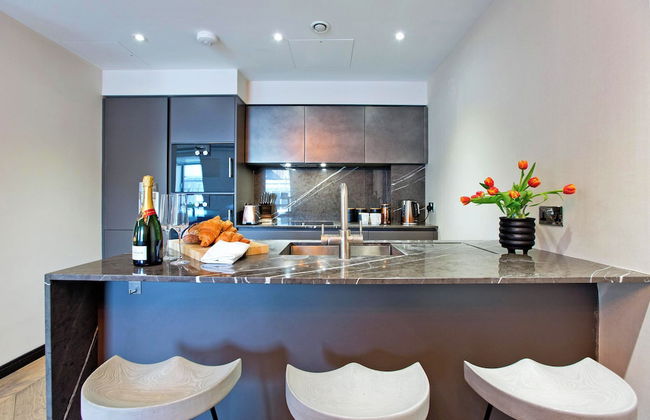
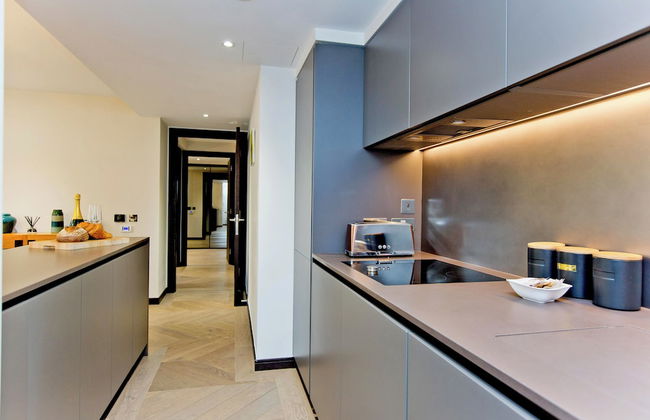
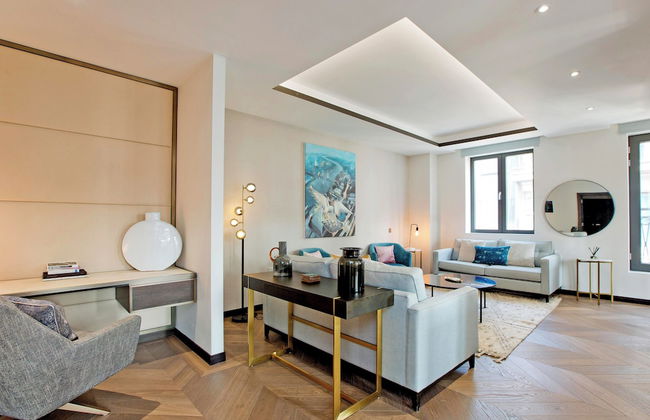
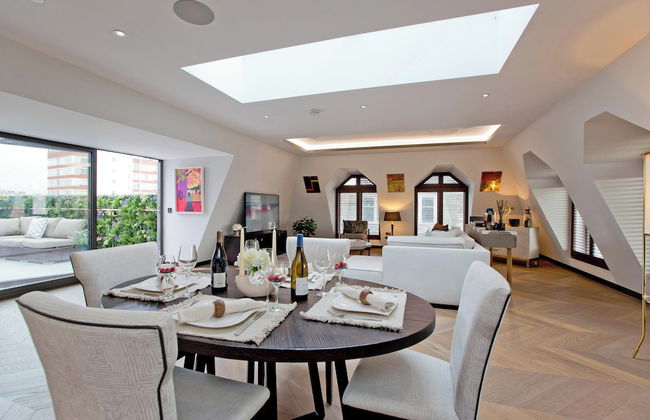
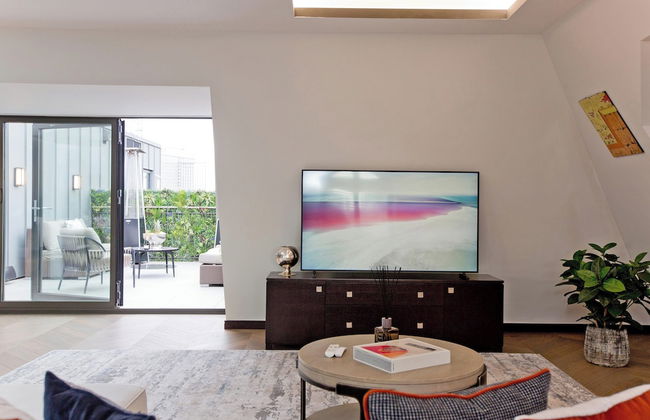
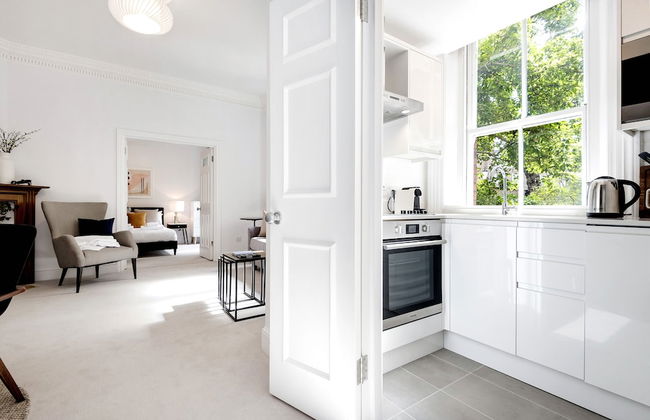
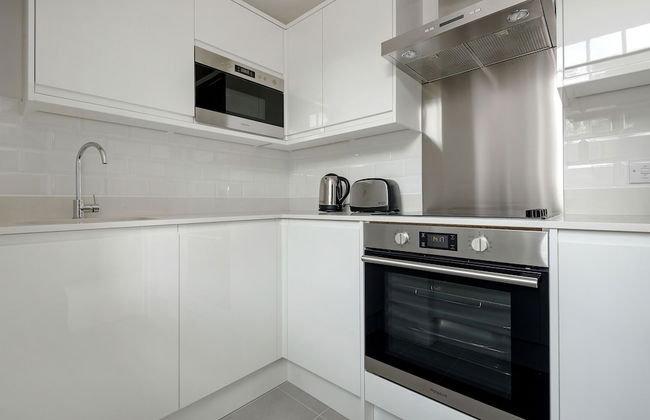
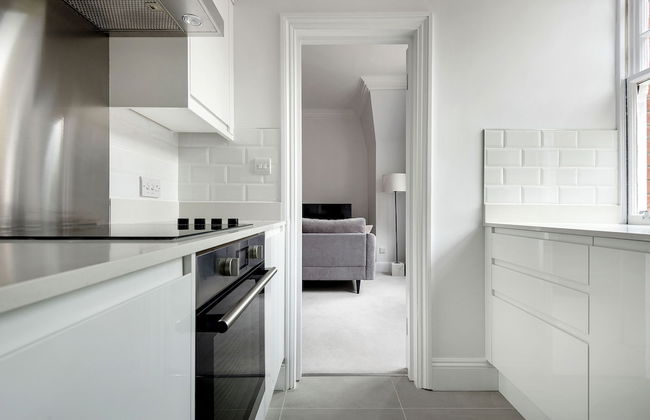
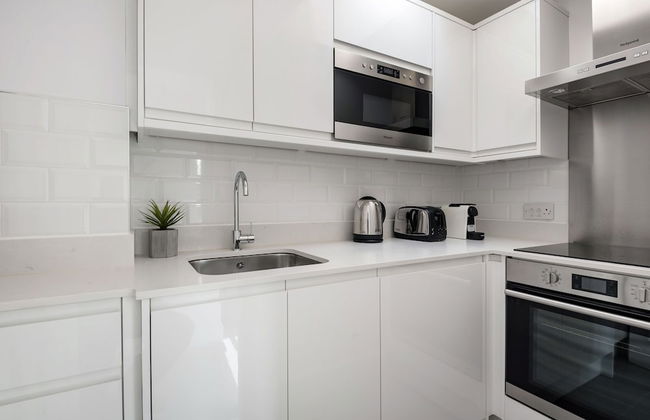
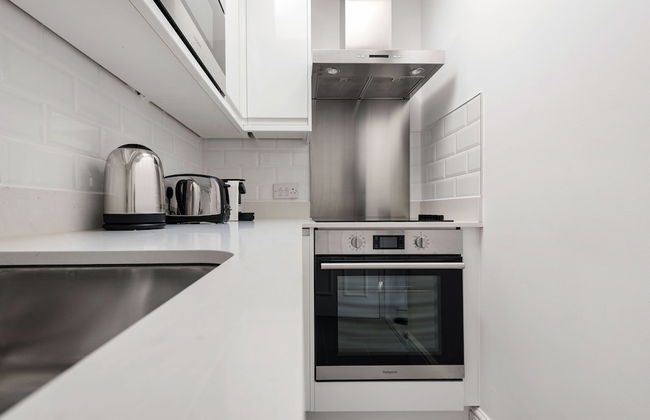
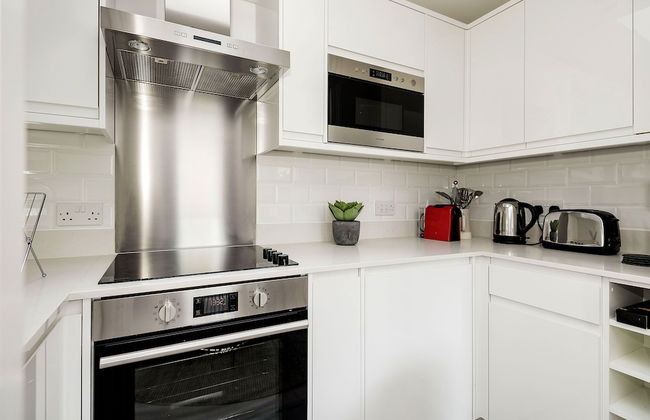
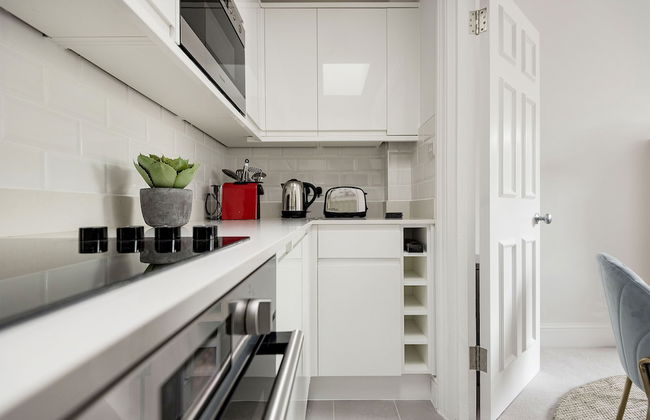
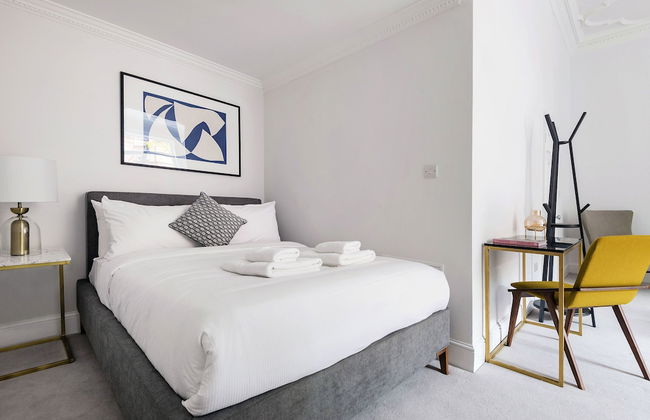
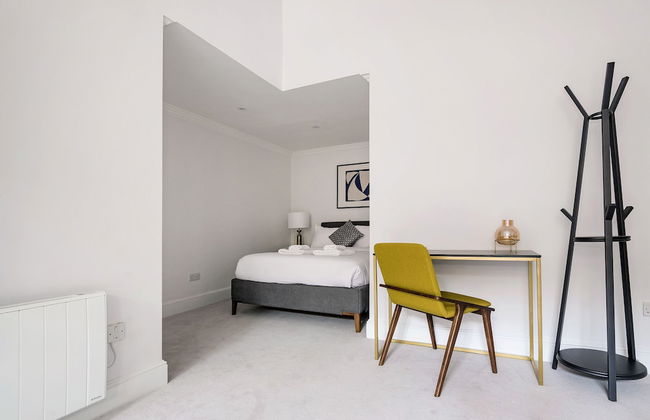
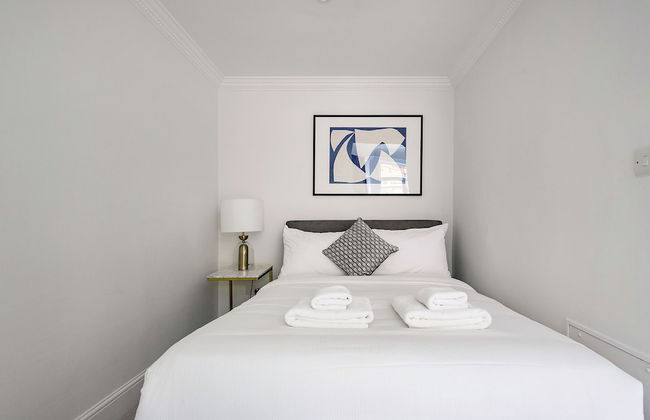
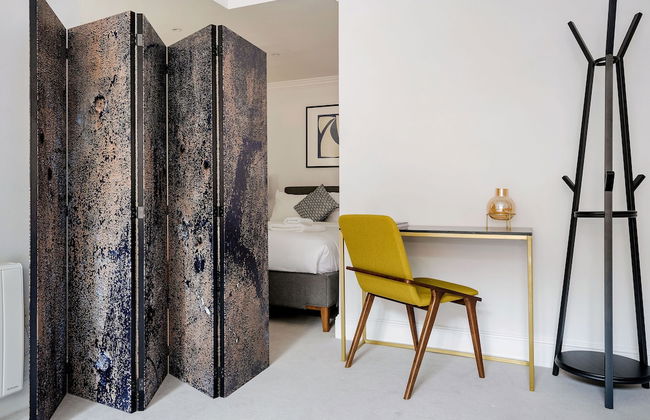
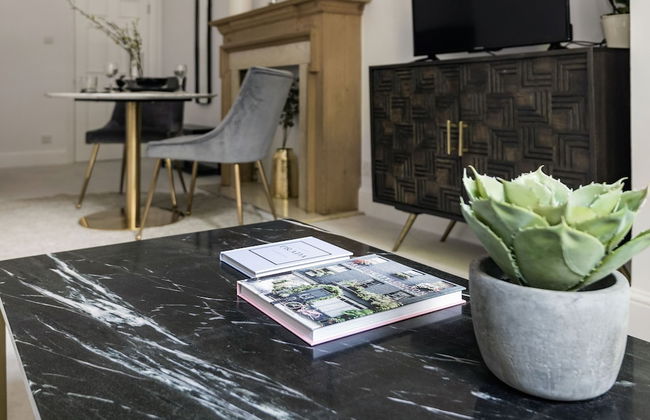
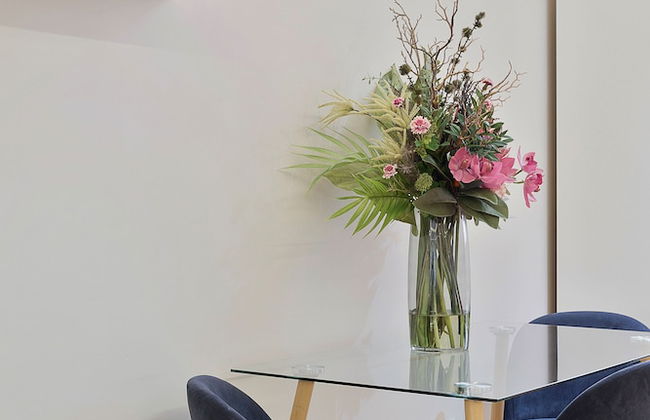
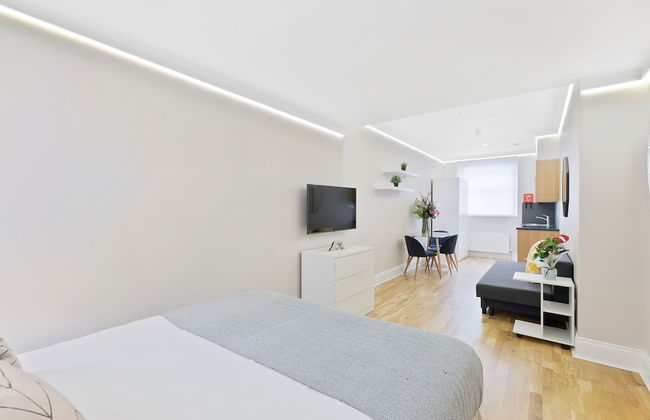
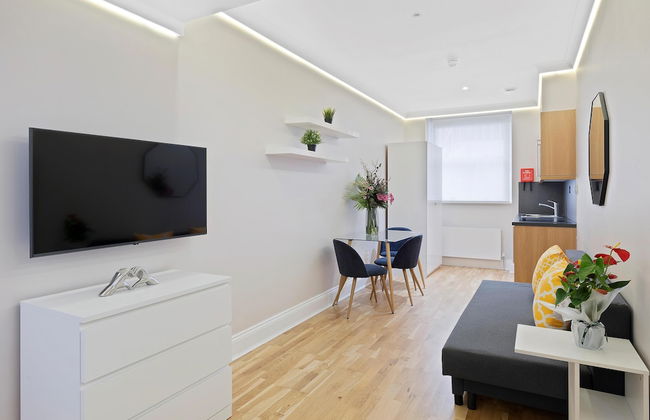
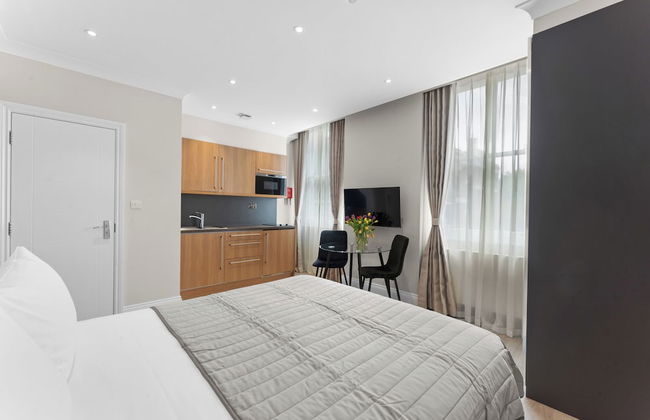
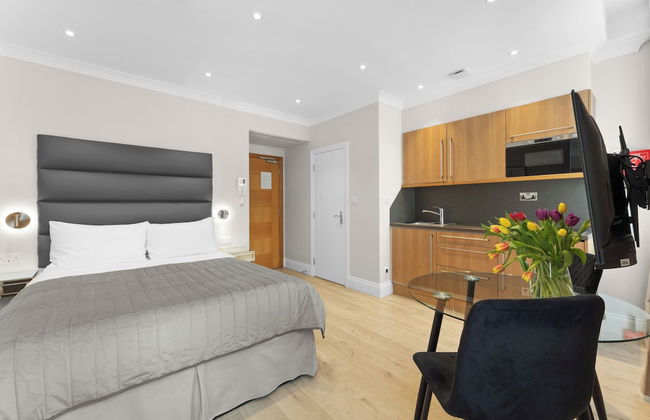
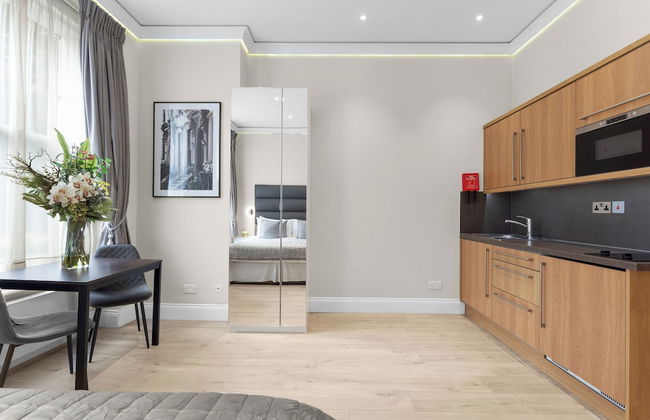
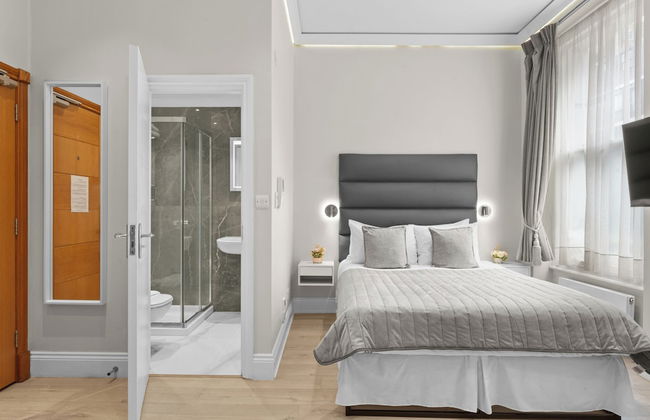
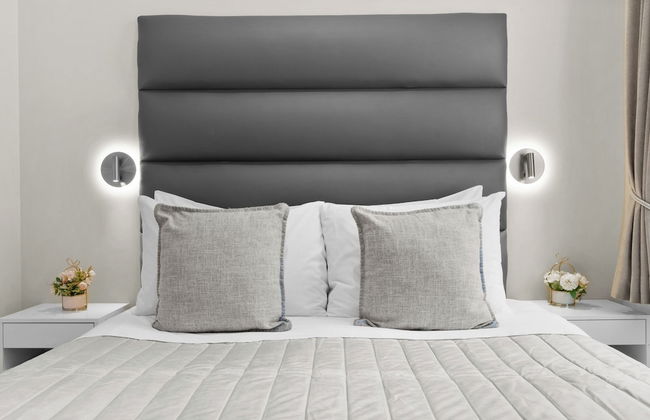
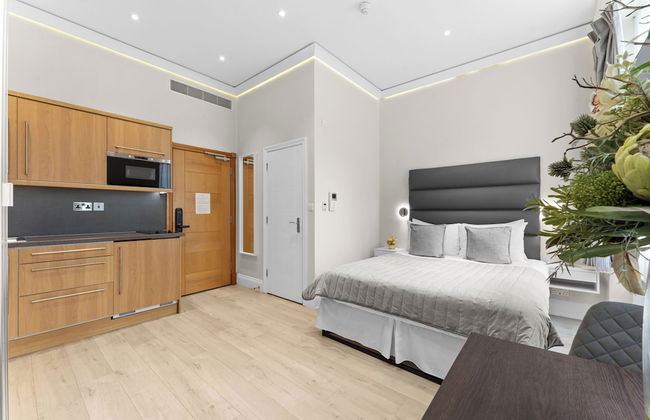
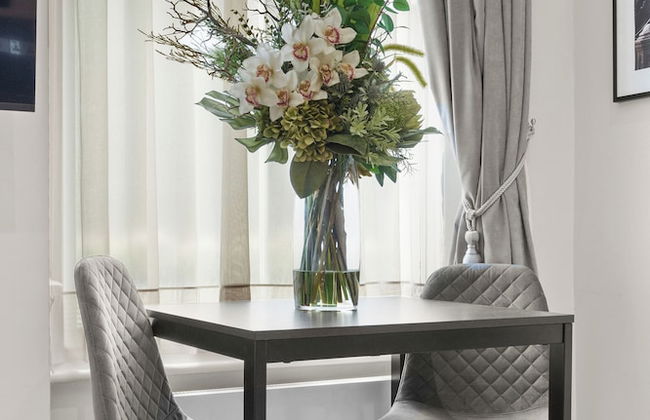
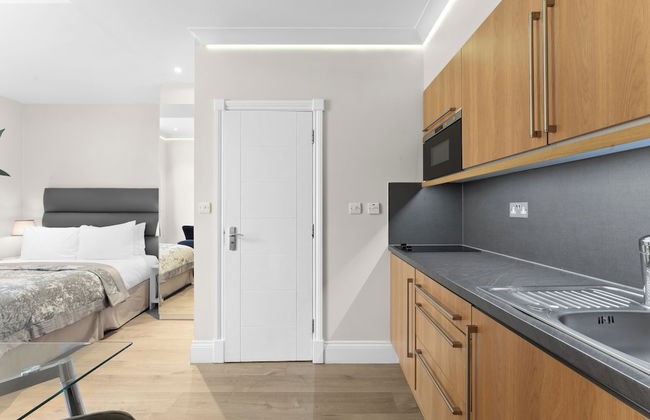
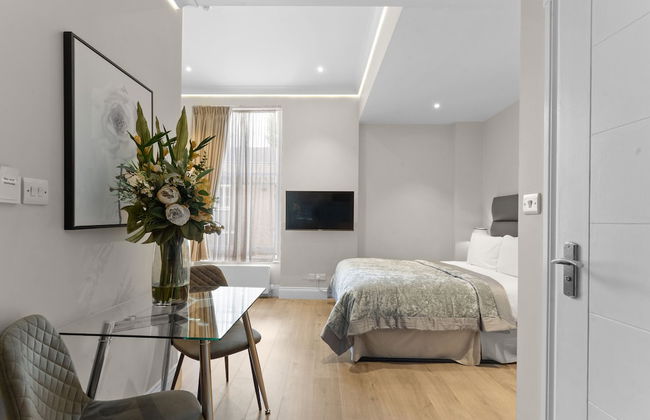
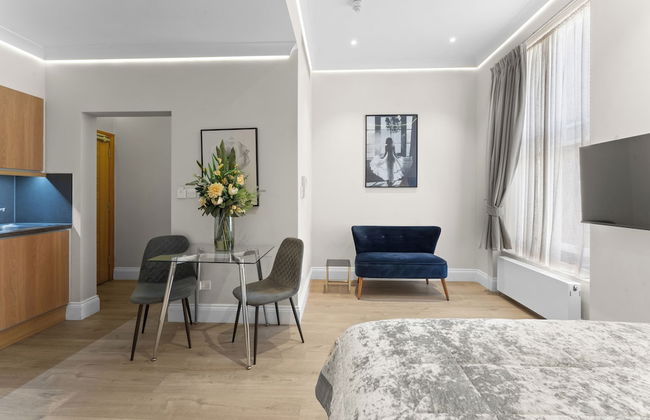
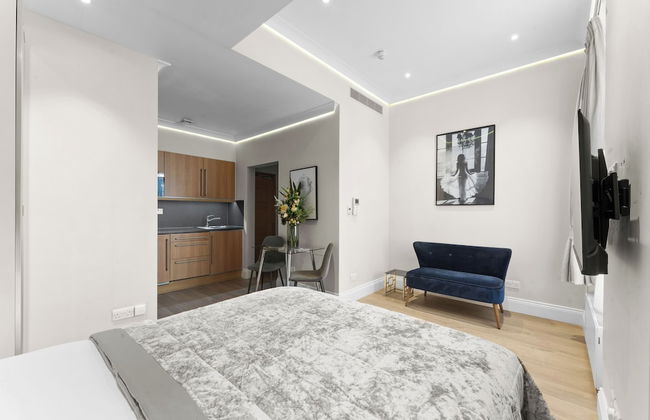
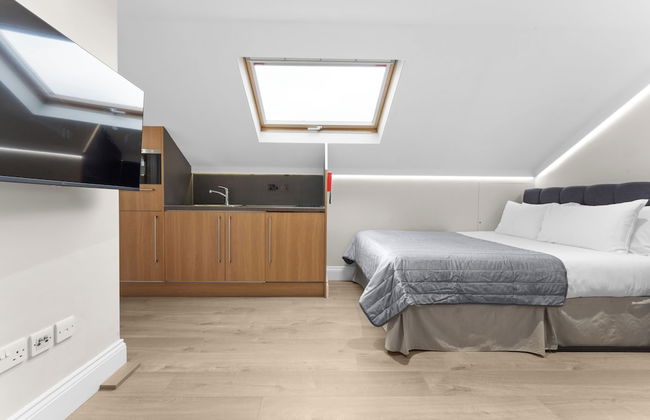
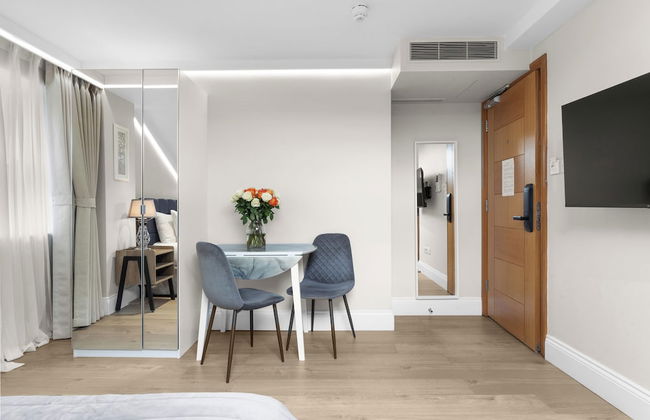
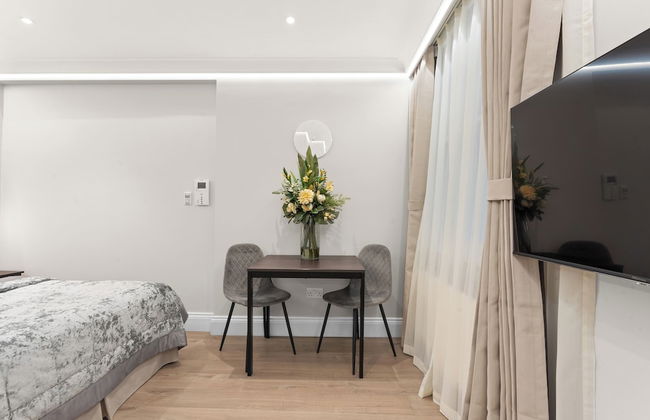
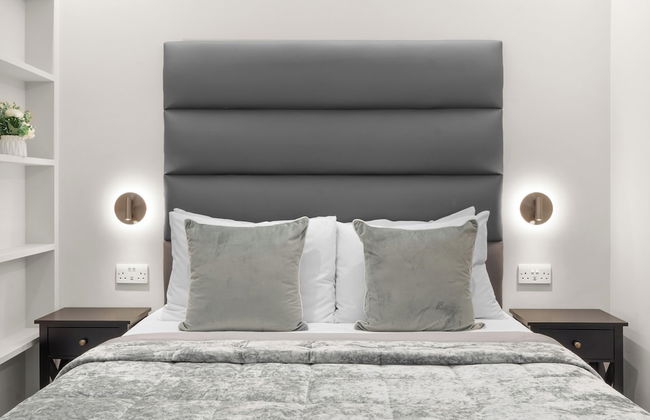
Tavistock Place Apartments
Londres - St Pancras - À 1.5 km du centre
- 105 M2
- 7 personnes
- Le chauffage
- Terrasse
- Ascenseur
- Balcon
- Tv
- Machine à laver
- Cheminée
- Serviettes
- Feuilles


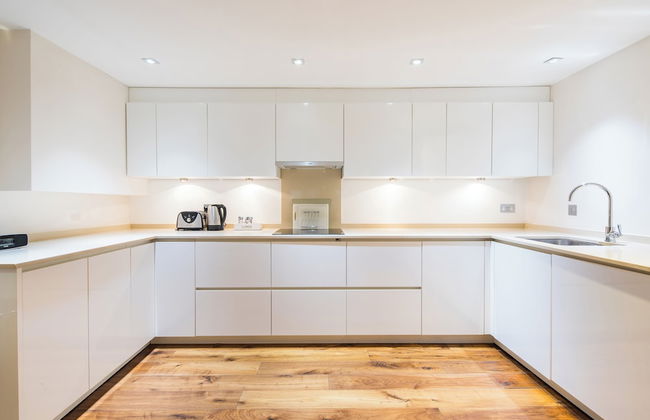
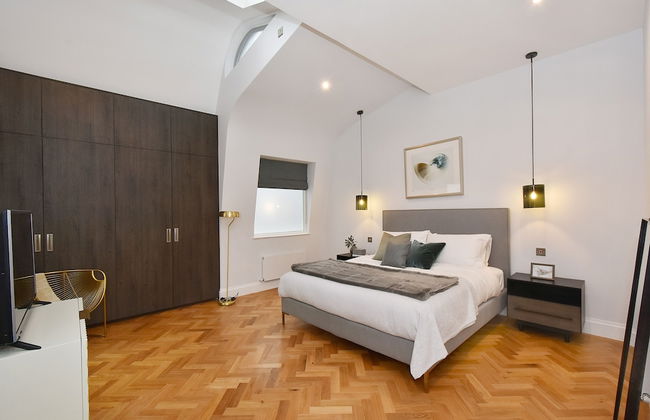
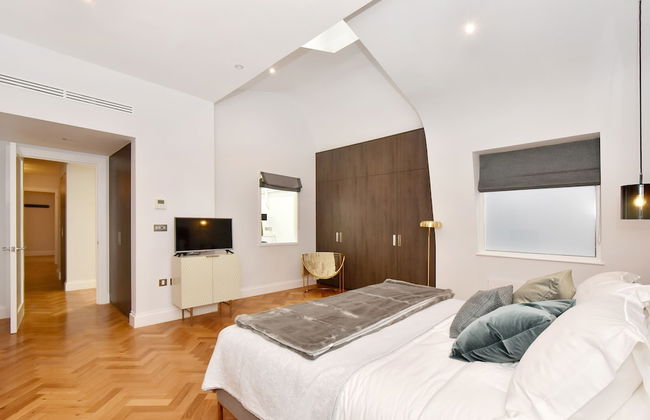
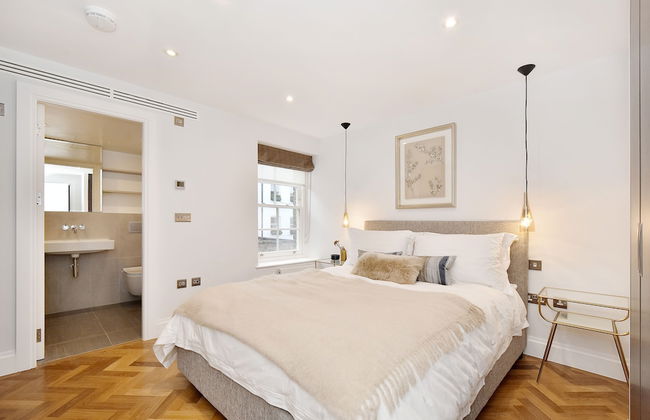
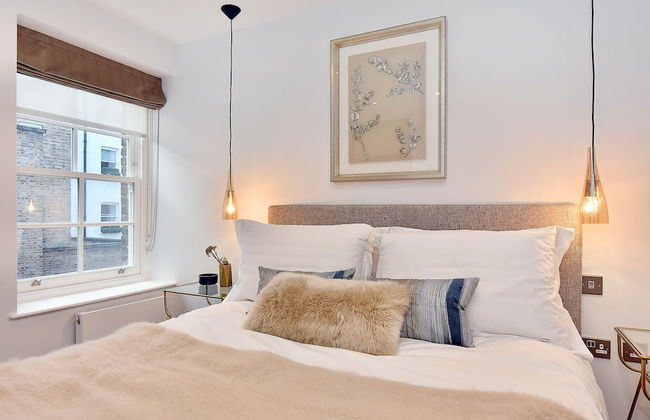
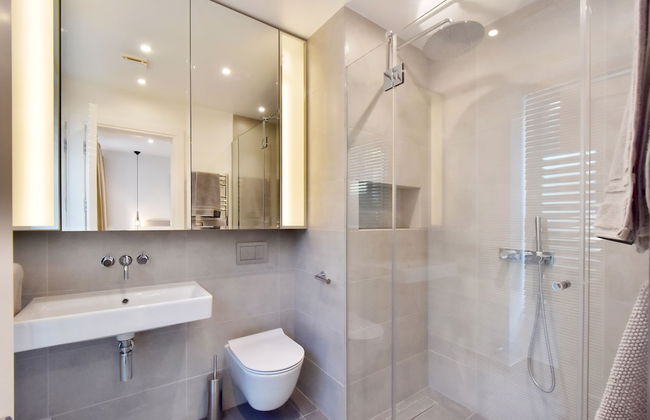
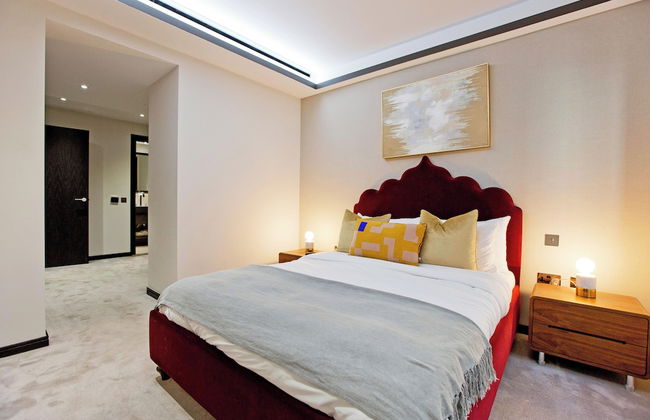
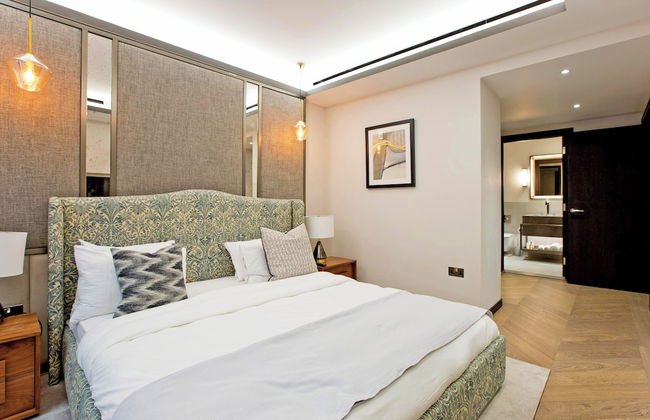
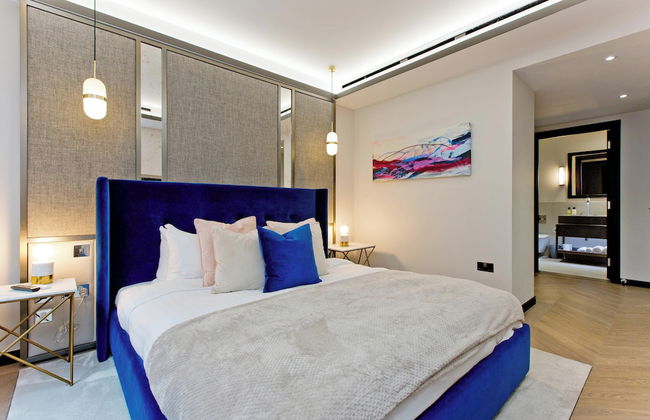
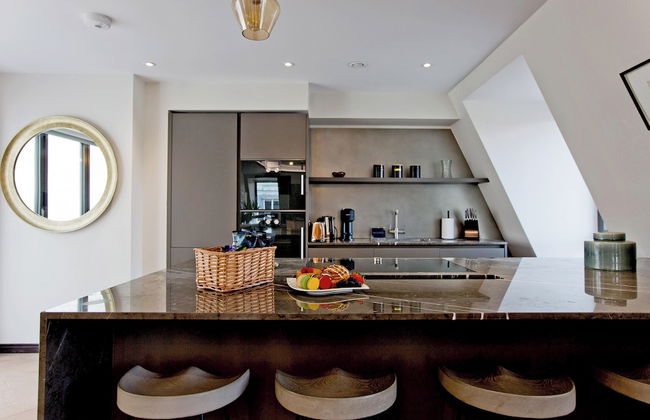
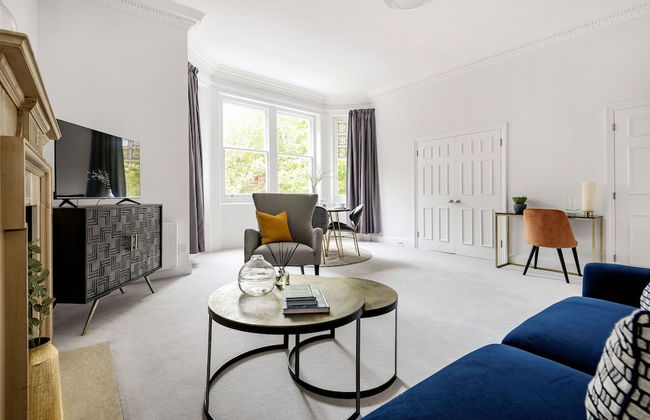
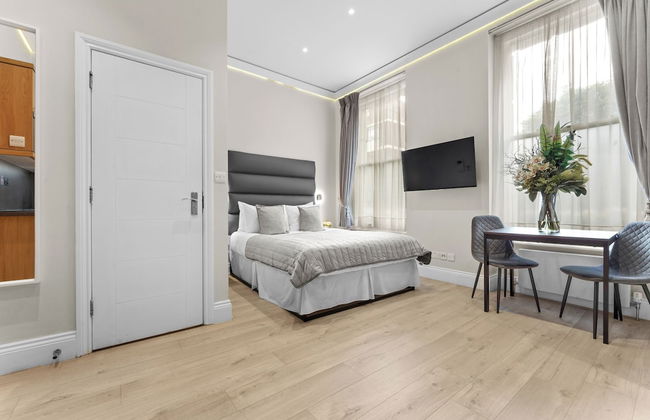
Marlyn Lodge - City of London
Londres - Tower Hamlets - À 3.3 km du centre
- 4 personnes
- Air conditionné
- Le chauffage
- Ascenseur
- Tv
- Machine à laver
- Serviettes
- Feuilles


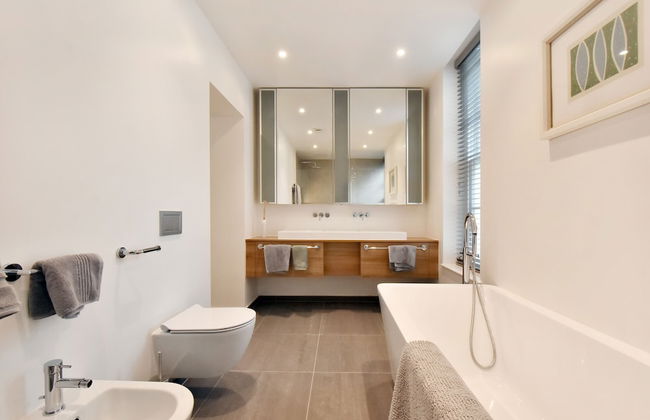


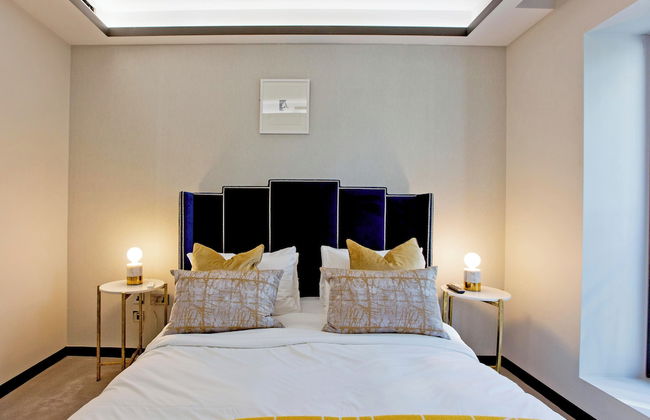
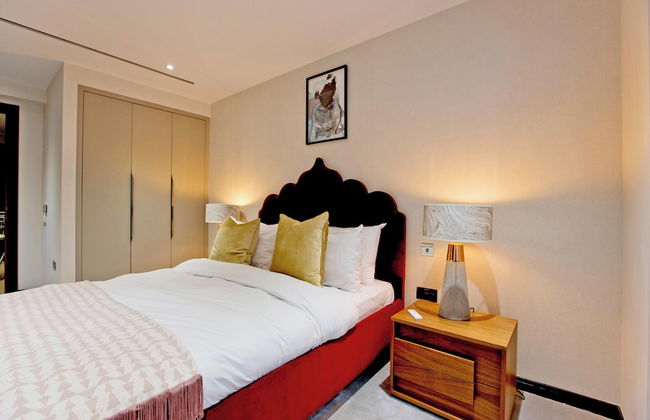
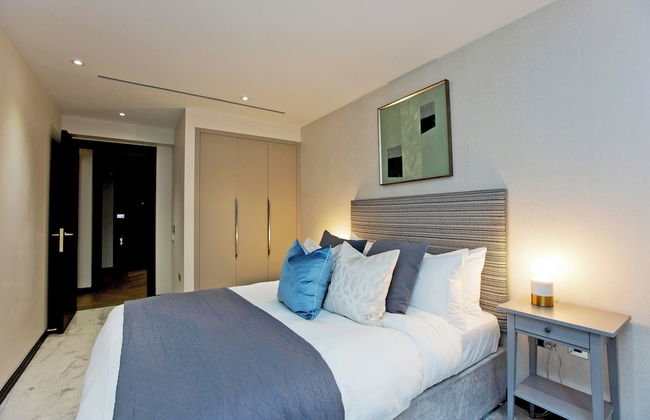
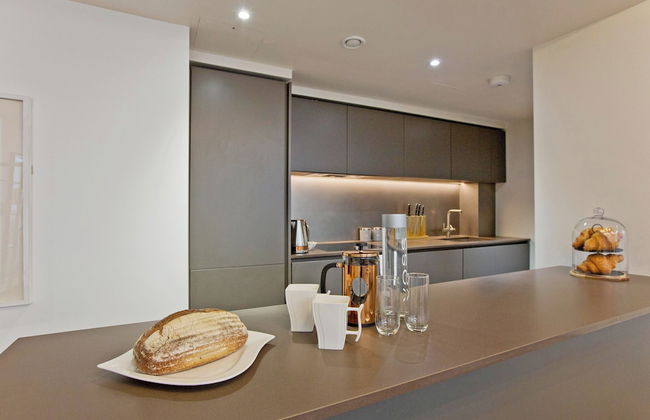
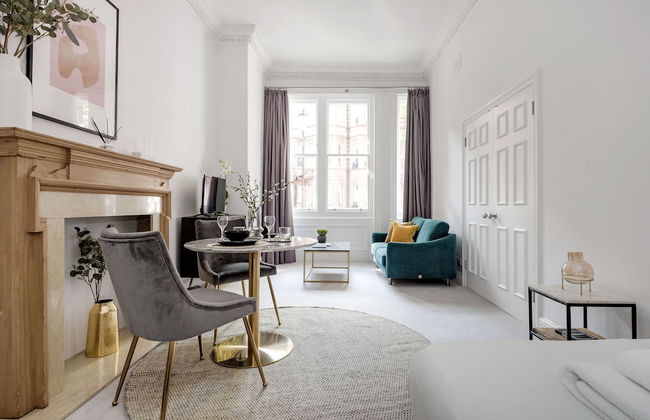
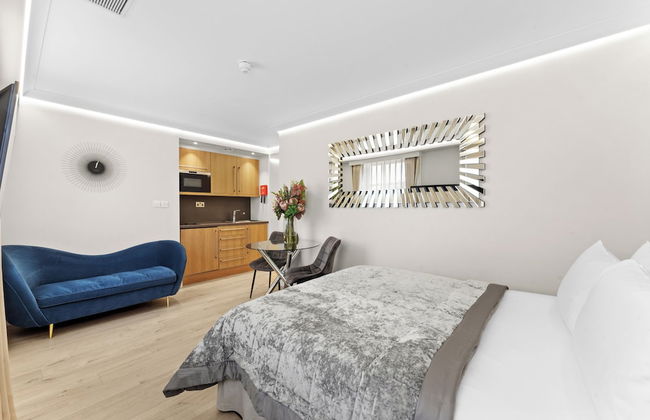
London Choice Apartments - Mayfair One
Londres - Mayfair - À 550 m du centre
- 150 M2
- 7 personnes
- Air conditionné
- Le chauffage
- Ascenseur
- Tv
- Machine à laver
- Feuilles


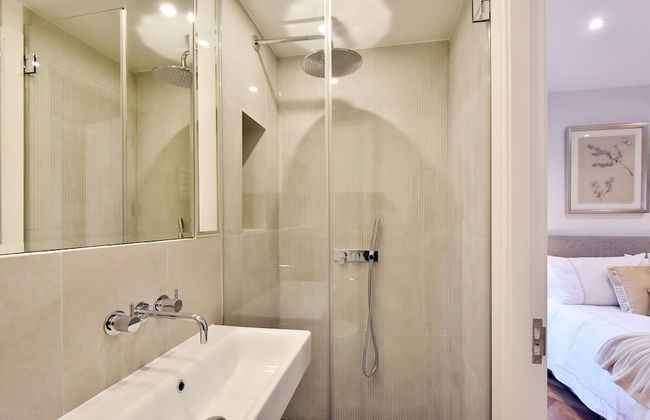
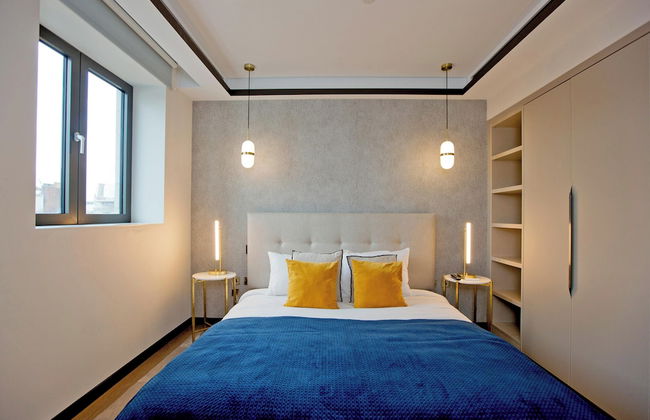
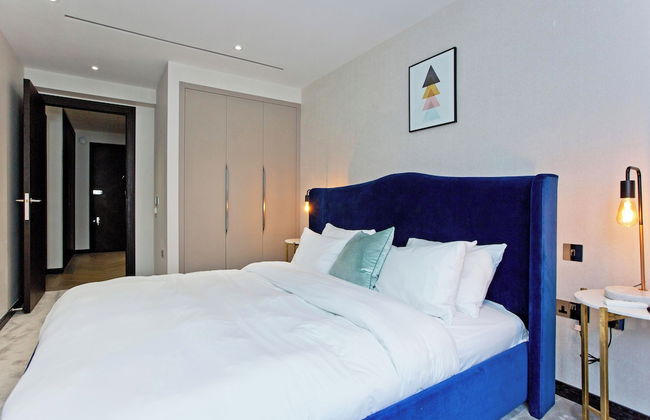
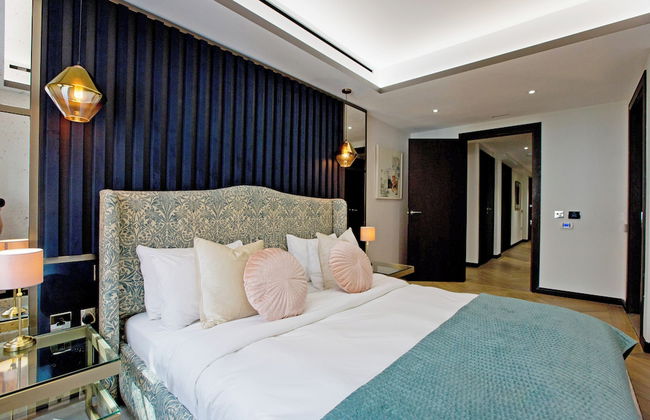
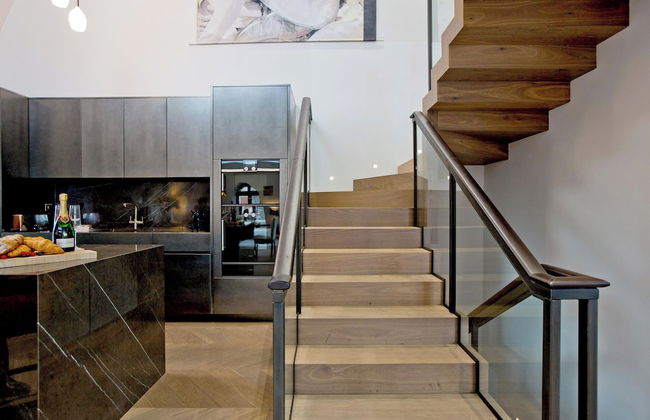
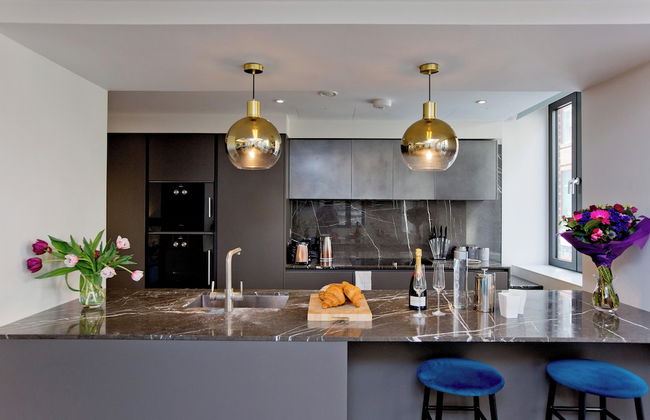
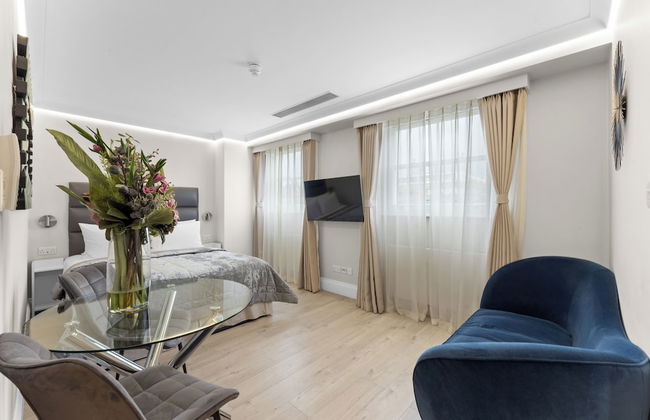
Cheval Gloucester Park at Kensington
Londres - South Kensington - À 3.7 km du centre
- 6 personnes
- Air conditionné
- Le chauffage
- Parking
- Ascenseur
- Balcon
- Jardin
- Tv
- Machine à laver
- Serviettes


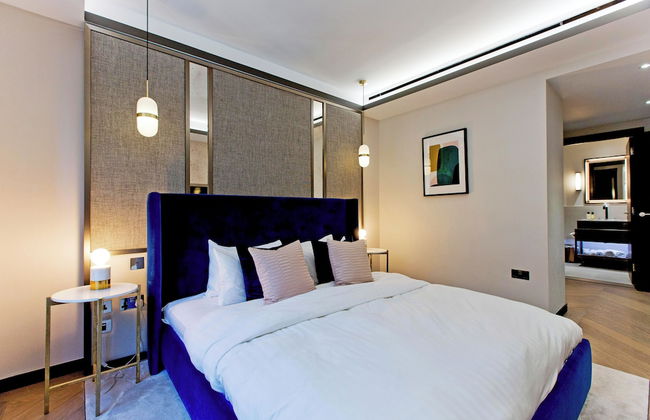
9 Hertford Street – 4 Stars VisitEngland
Londres - Mayfair - À 930 m du centre
- 75 M2
- 4 personnes
- Air conditionné
- Le chauffage
- Terrasse
- Parking
- Ascenseur
- Tv
- Machine à laver
- Cheminée
- Serviettes
- Feuilles


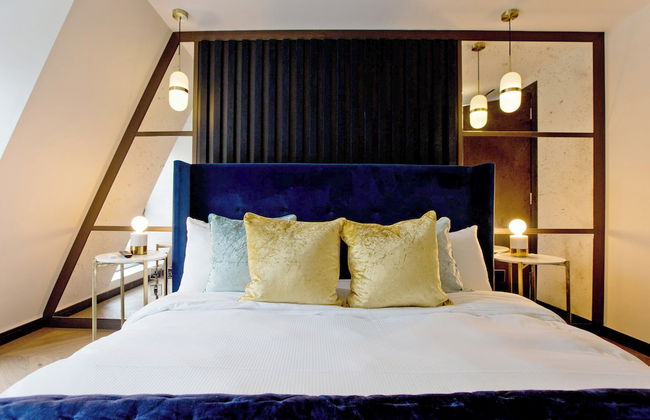
Cheval Three Quays at The Tower of London
Londres - City of London - À 430 m de Tower Bridge
- 140 M2
- 6 personnes
- Air conditionné
- Ascenseur
- Balcon
- Tv
- Machine à laver
- Serviettes
- Feuilles


The Eight Apartments Shoreditch
Londres - Shoreditch - À 3.4 km du centre
- 112 M2
- 6 personnes
- Air conditionné
- Ascenseur
- Tv
- Machine à laver
- Serviettes


Monarch House Serviced Apartments
Londres - Kensington - À 4.5 km du centre
- 178 M2
- 9 personnes
- Air conditionné
- Le chauffage
- Parking
- Ascenseur
- Balcon
- Jardin
- Tv
- Serviettes
- Feuilles


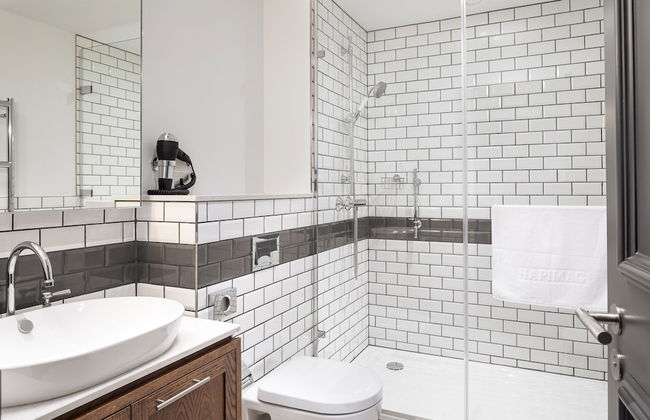
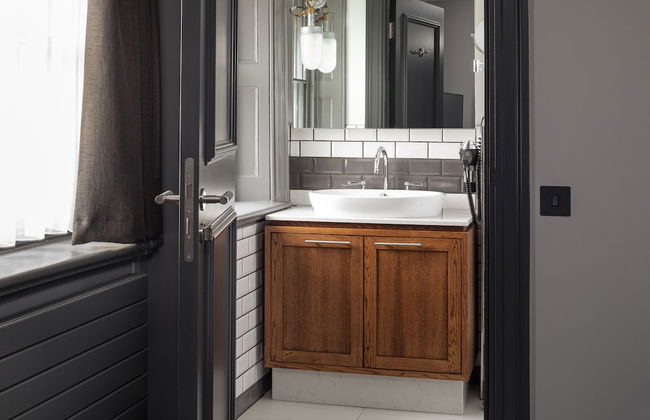

Hapimag Apartments London
Londres - Bayswater - À 3.2 km du centre
- 6 personnes
- Cuisinette
- Air conditionné
- Le chauffage
- Ascenseur
- Jardin
- Tv
- Serviettes
- Feuilles


Cheval Thorney Court at Hyde Park
Londres - Kensington - À 3.5 km du centre
- 269 M2
- 8 personnes
- Air conditionné
- Le chauffage
- Parking
- Ascenseur
- Tv
- Machine à laver
- Serviettes
- Feuilles


Cheval Knightsbridge
Londres - South Kensington - À 2.3 km du centre
- 6 personnes
- Air conditionné
- Le chauffage
- Parking
- Ascenseur
- Balcon
- Tv
- Machine à laver
- Serviettes
- Feuilles


37GS Residences
Londres - Soho - À 440 m du centre
- 6 personnes
- Air conditionné
- Le chauffage
- Terrasse
- Ascenseur
- Balcon
- Tv
- Machine à laver
- Serviettes
- Feuilles


Charles Hope Apartment Canary Wharf
Londres - Isle - À 7.1 km du centre
- 5 personnes
- Le chauffage
- Ascenseur
- Balcon
- Tv
- Machine à laver
- Serviettes
- Feuilles


Native Bankside
Londres - Southwark - À 270 m de Tate Modern
- 81 M2
- 6 personnes
- Air conditionné
- Le chauffage
- Ascenseur
- Tv
- Machine à laver
- Serviettes
- Feuilles


Citadines Islington London
Londres - Islington - À 3.5 km du centre
- 40 M2
- 4 personnes
- Air conditionné
- Le chauffage
- Ascenseur
- Tv
- Serviettes
- Feuilles


3 Sloane Gardens by UnderTheDoormat
Londres - Chelsea - À 2.1 km du centre
- 51 M2
- 4 personnes
- Air conditionné
- Le chauffage
- Ascenseur
- Jardin
- Tv
- Machine à laver
- Serviettes
- Feuilles


The Rosebery by Supercity Aparthotels
Londres - City of London - À 1.7 km du centre
- 53 M2
- 4 personnes
- Air conditionné
- Le chauffage
- Ascenseur
- Tv
- Machine à laver
- Serviettes
- Feuilles


Cove Cannon Street
Londres - City of London - À 410 m de Saint Paul's Cathedral
- 43 M2
- 3 personnes
- Air conditionné
- Le chauffage
- Ascenseur
- Tv
- Machine à laver
- Serviettes
- Feuilles


The Chronicle by Supercity Aparthotels
Londres - City of London - À 1.2 km du centre
- 62 M2
- 4 personnes
- Air conditionné
- Le chauffage
- Terrasse
- Balcon
- Tv
- Machine à laver
- Serviettes
- Feuilles


Cleveland Residences Russell Square
Londres - St Pancras - À 1.3 km du centre
- 3 personnes
- Cuisinette
- Air conditionné
- Le chauffage
- Ascenseur
- Tv
- Serviettes