
6872 Appartements à Lac de Garde


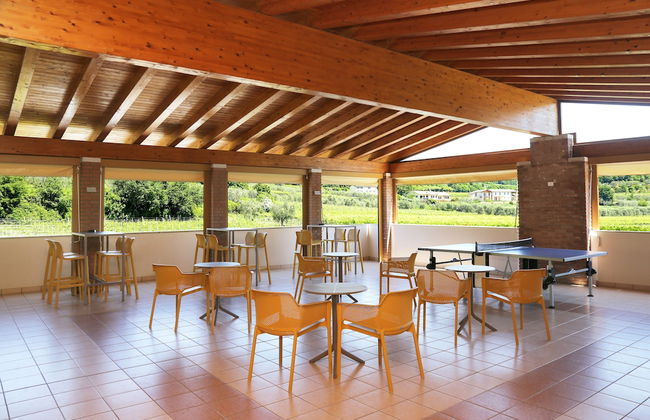


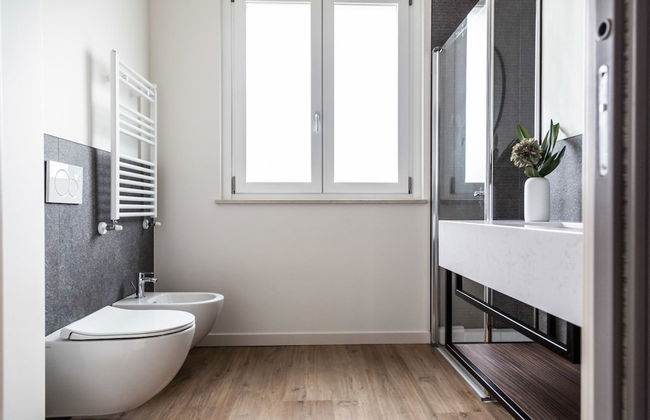

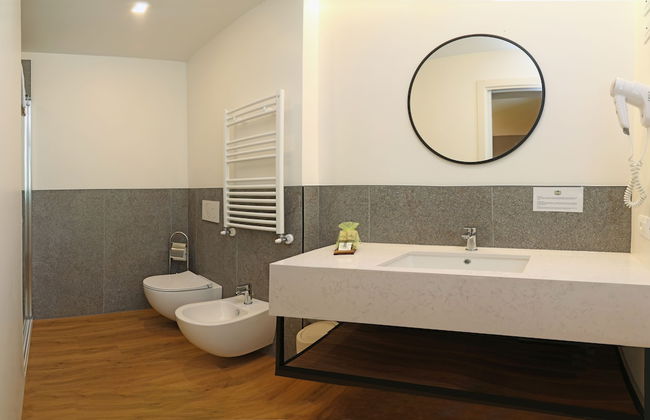


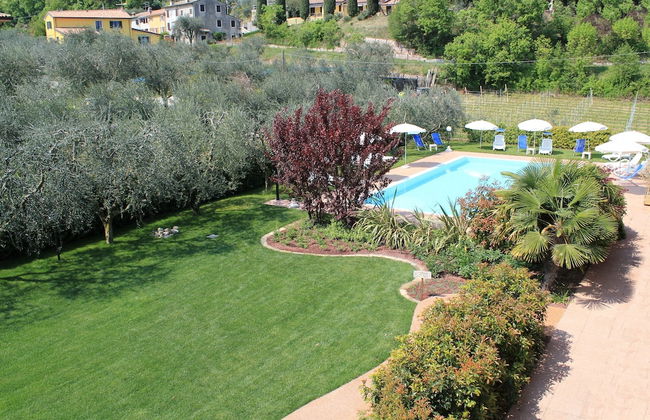


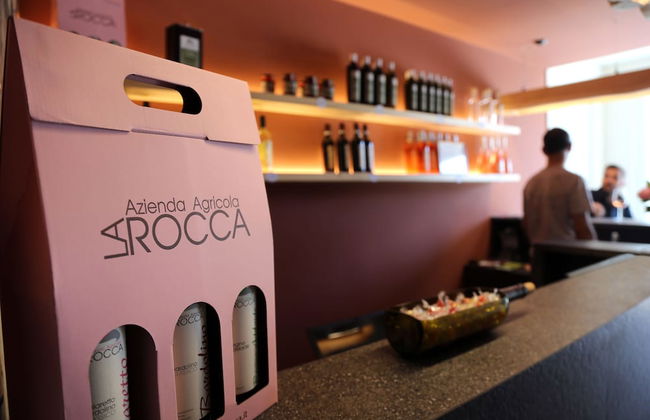


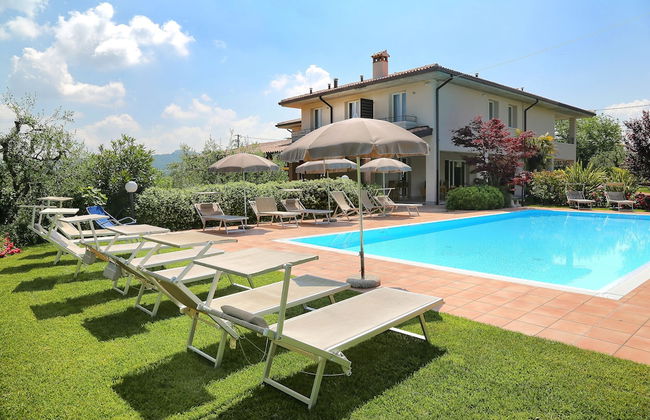

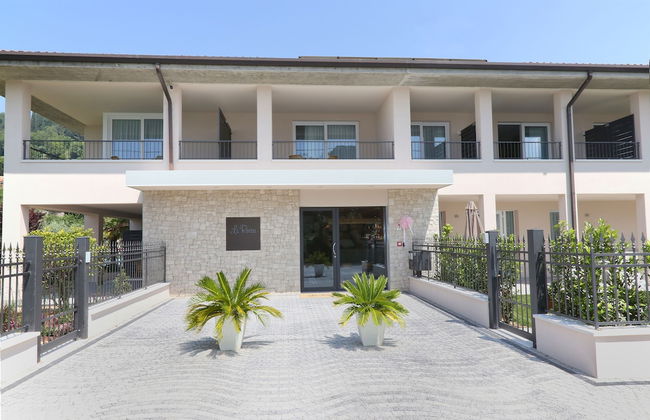


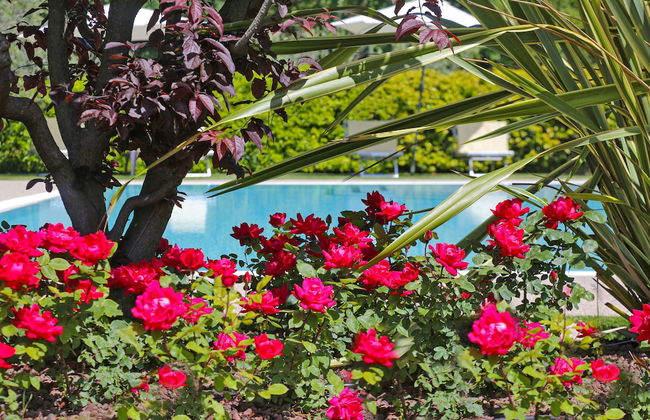
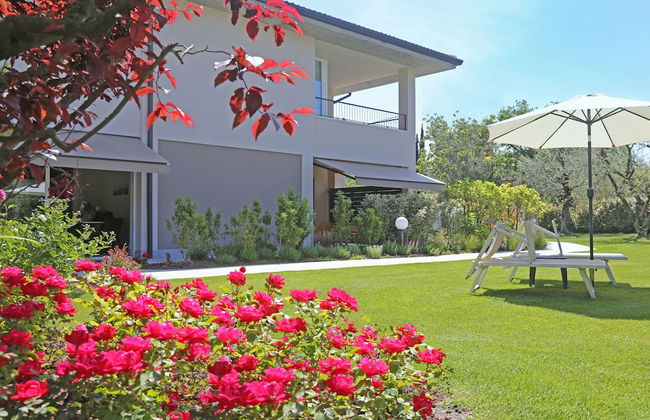


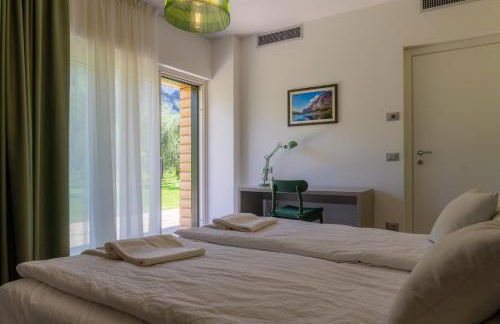
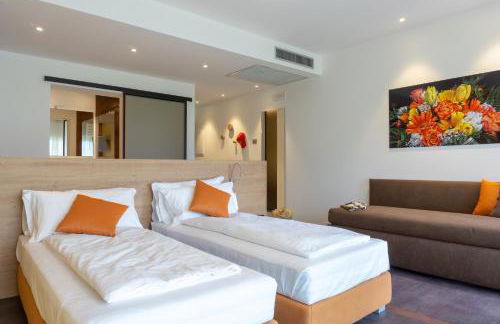
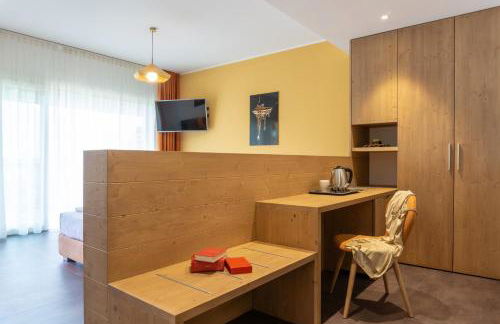
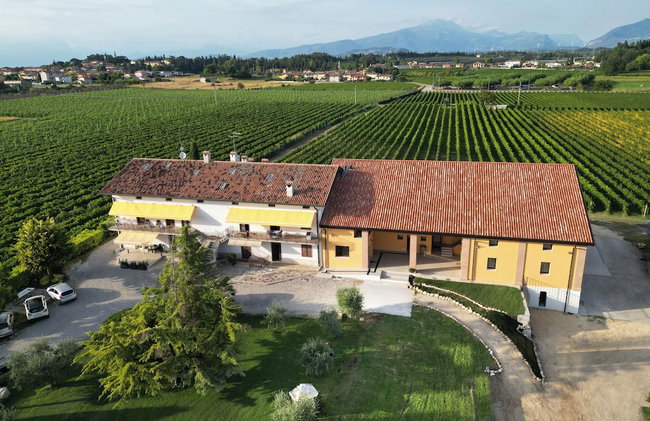
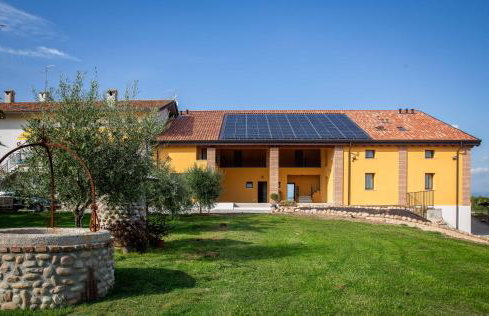
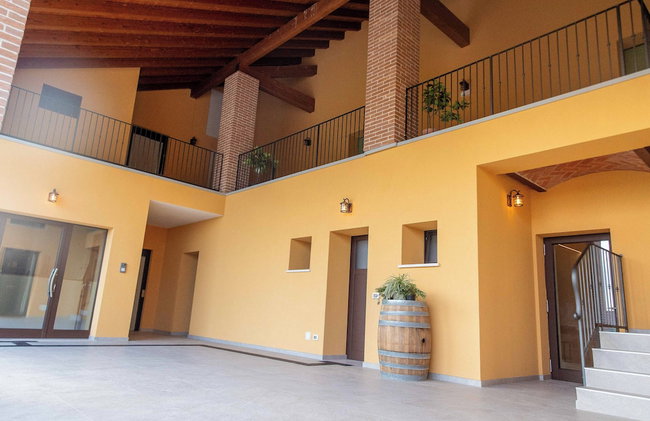
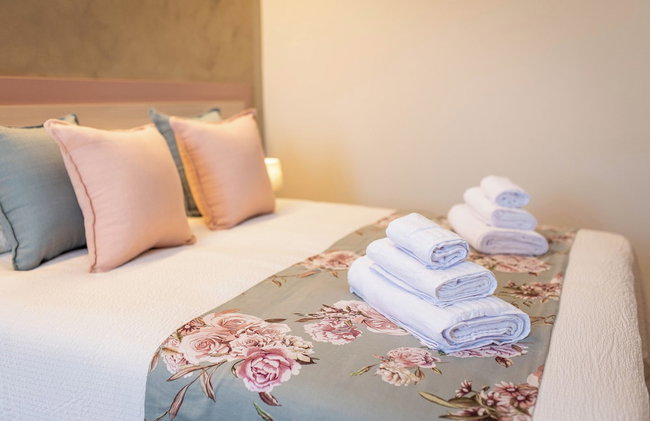
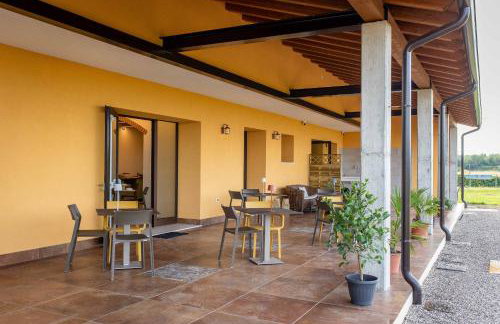
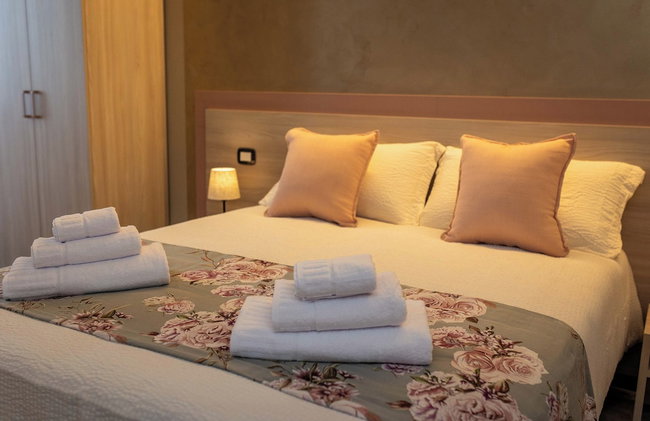
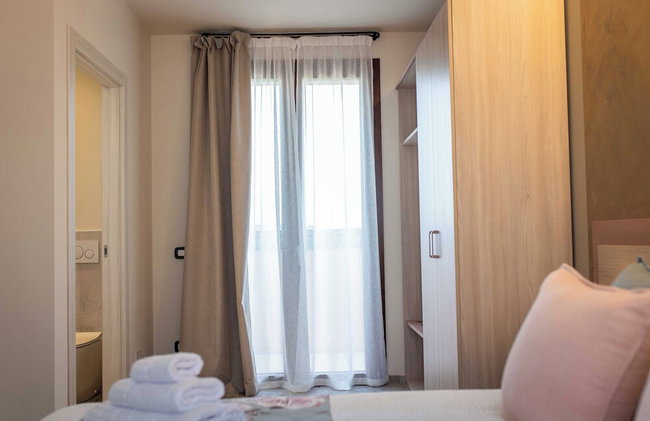
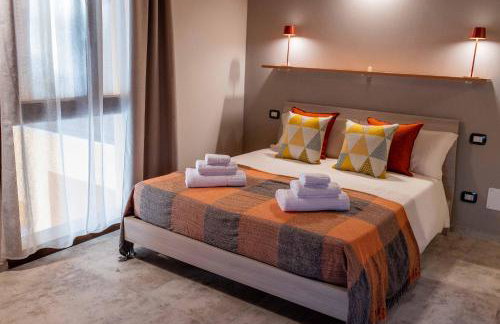
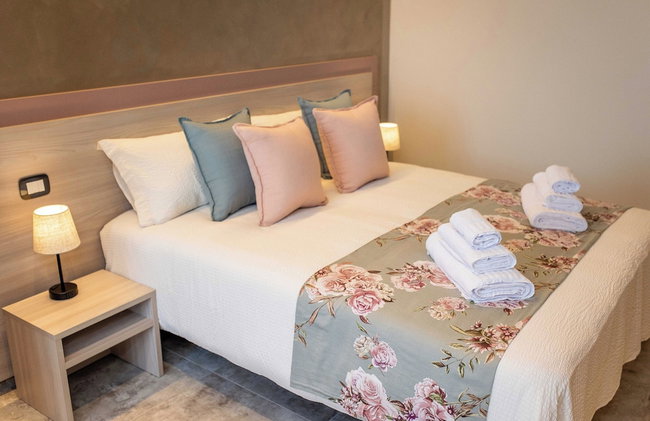
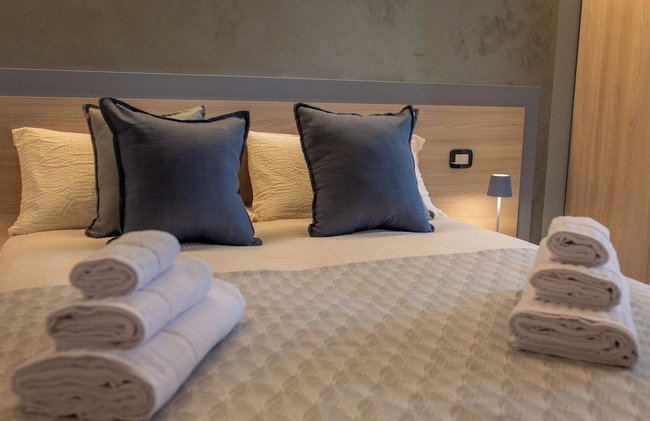
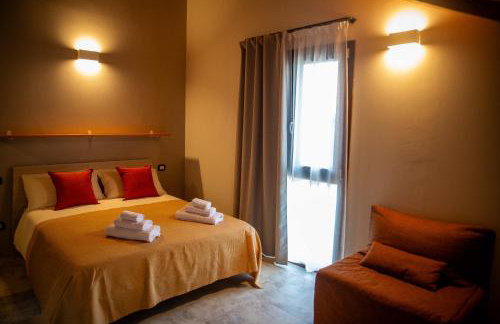
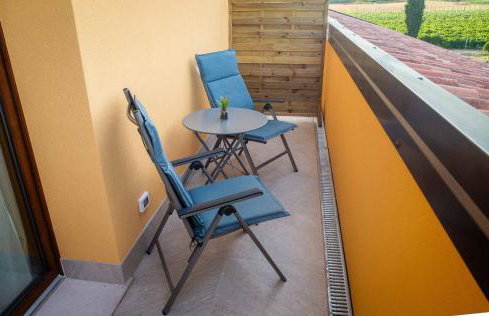
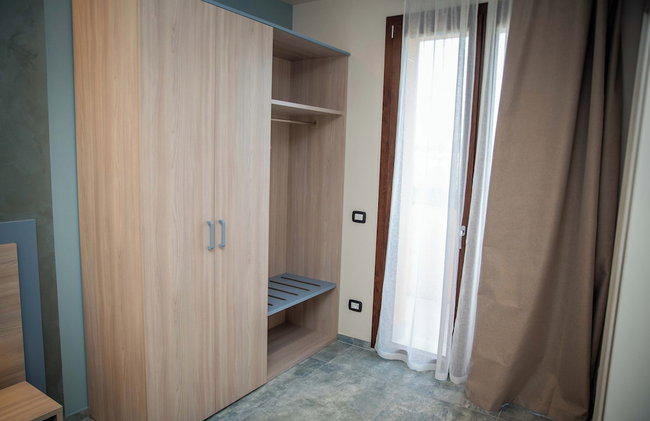
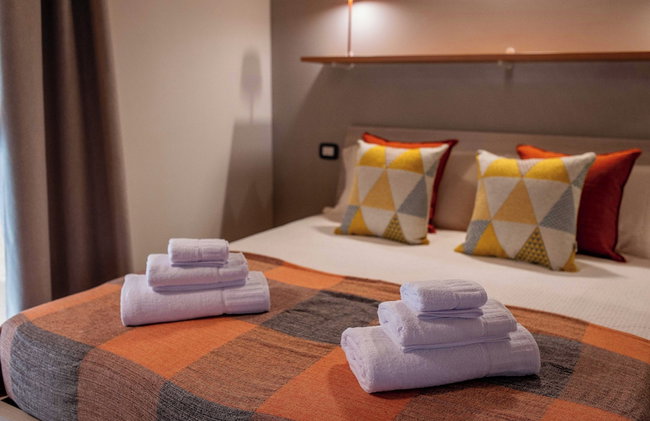
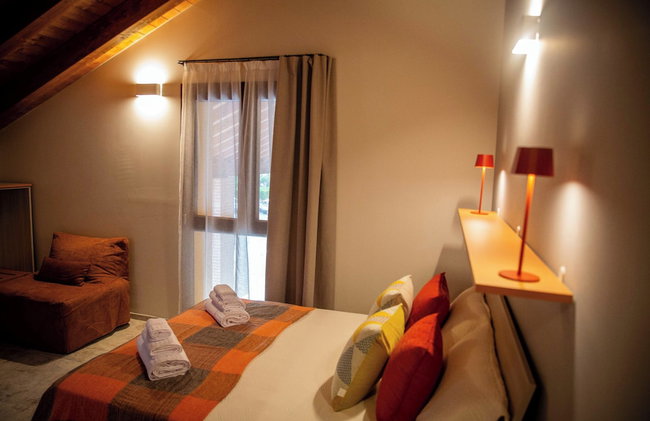
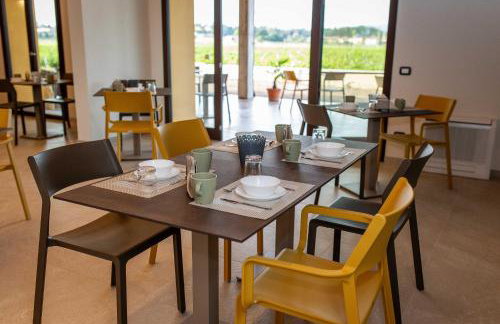
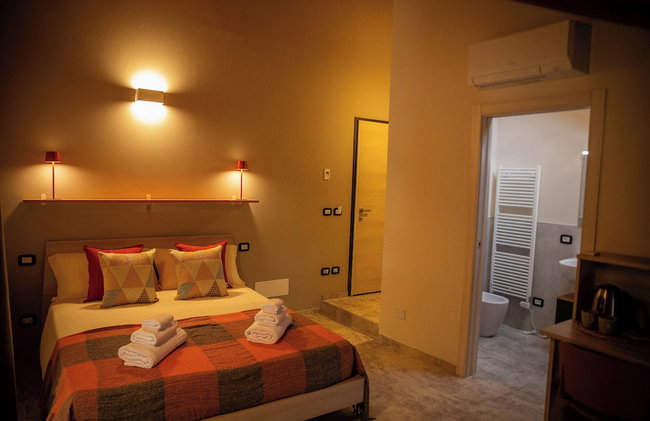
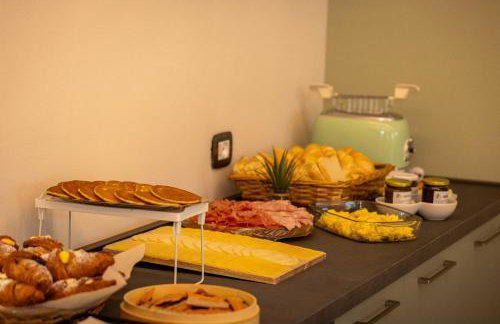
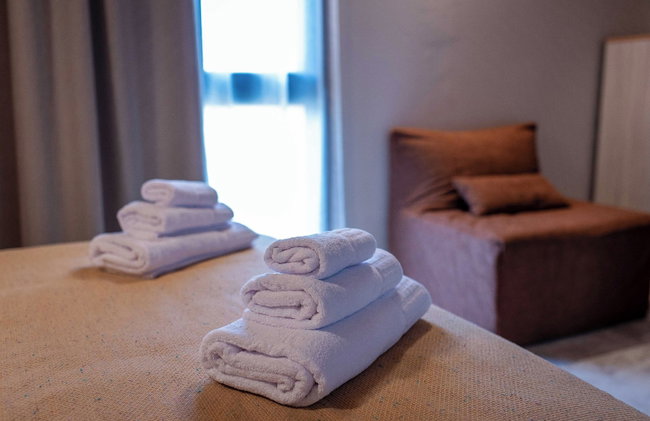
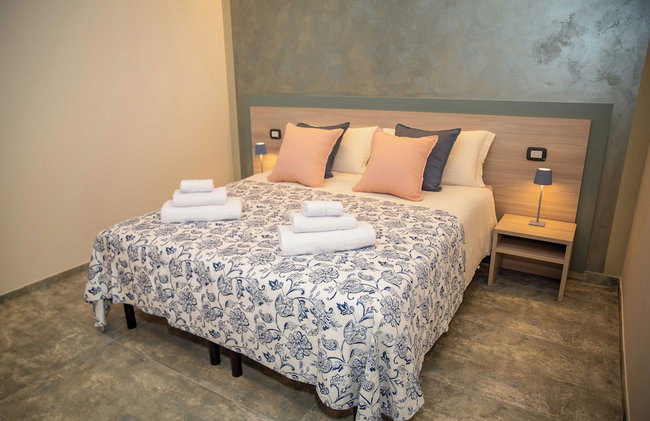
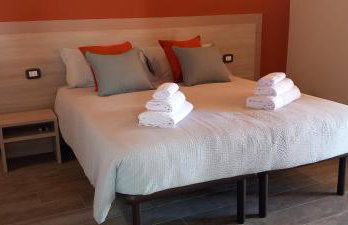
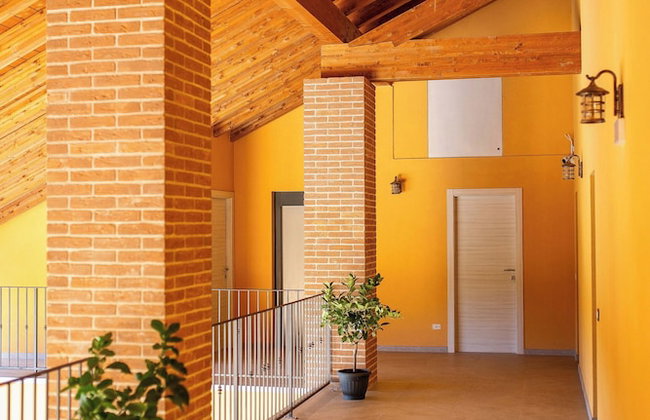
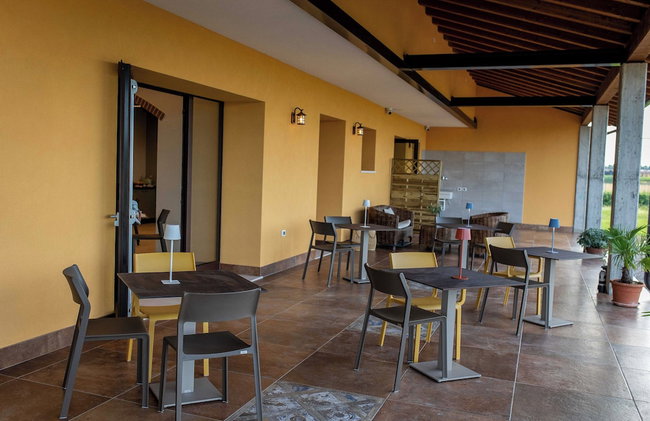
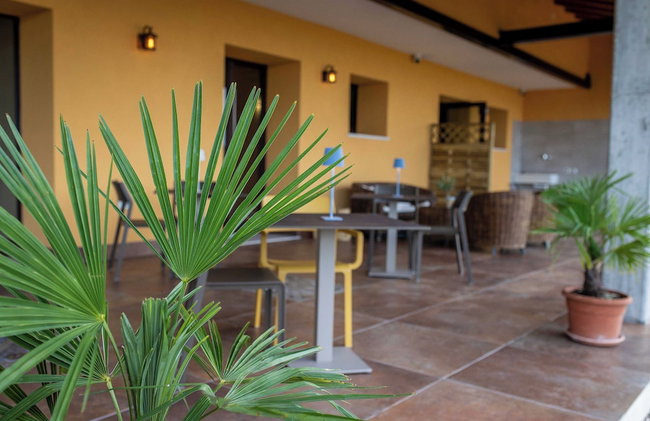
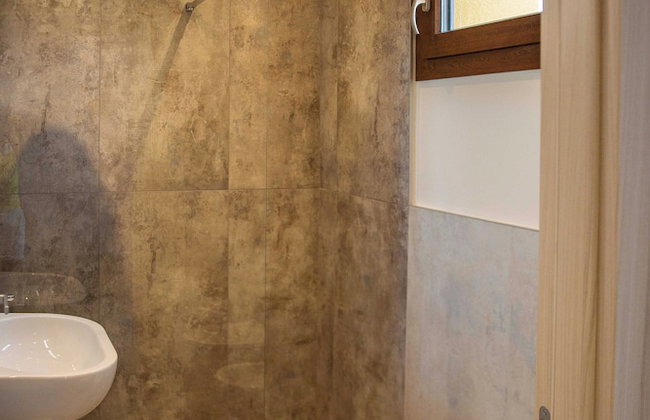
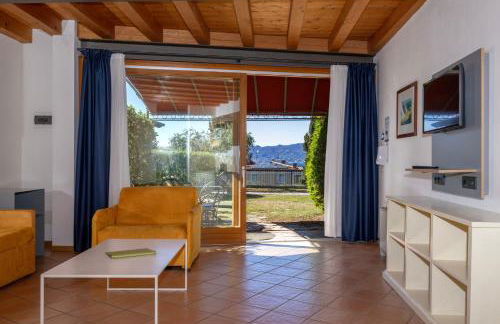
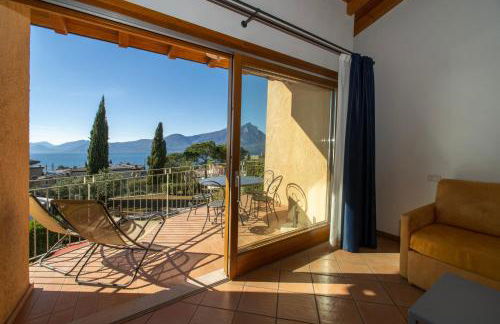
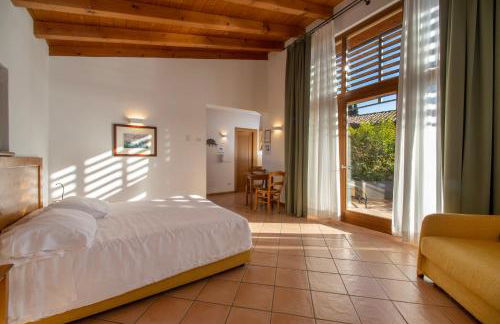
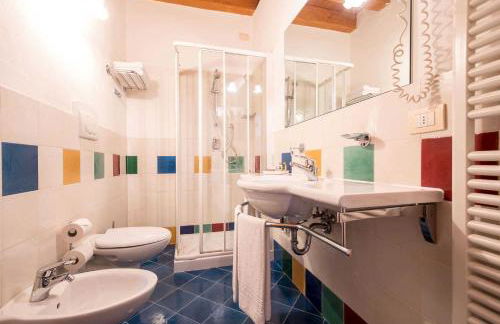
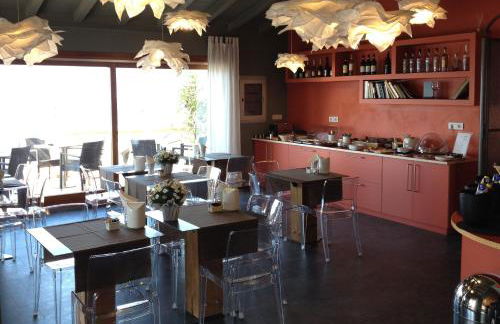
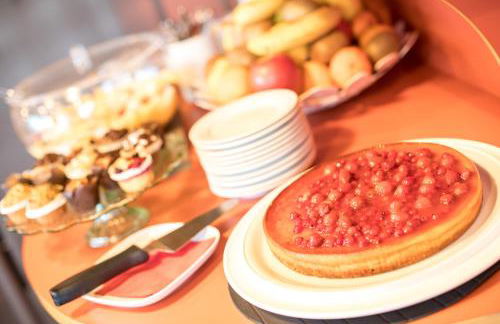
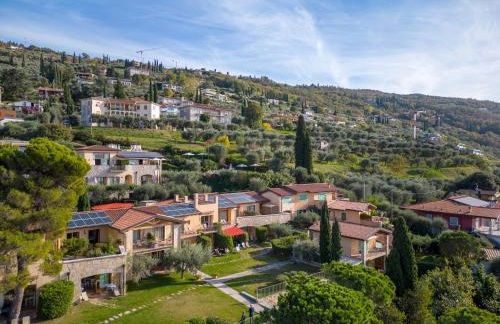
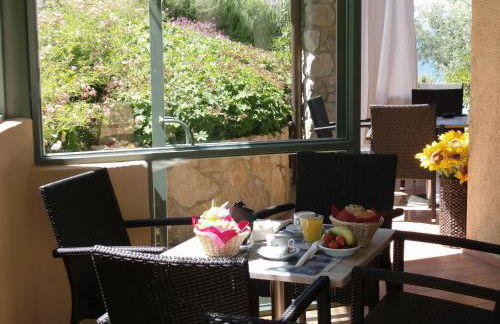
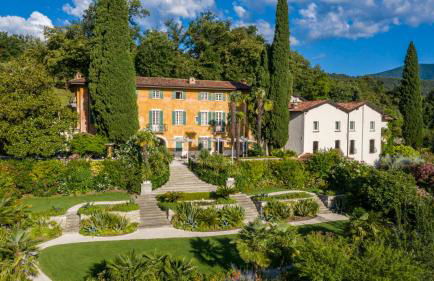
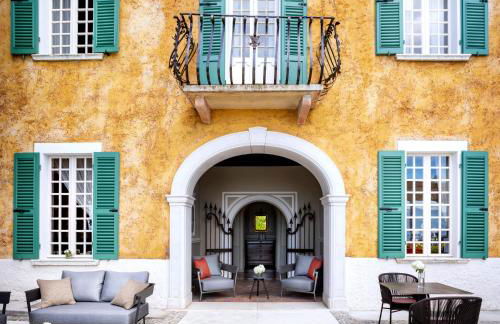
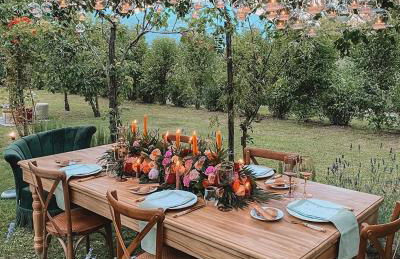
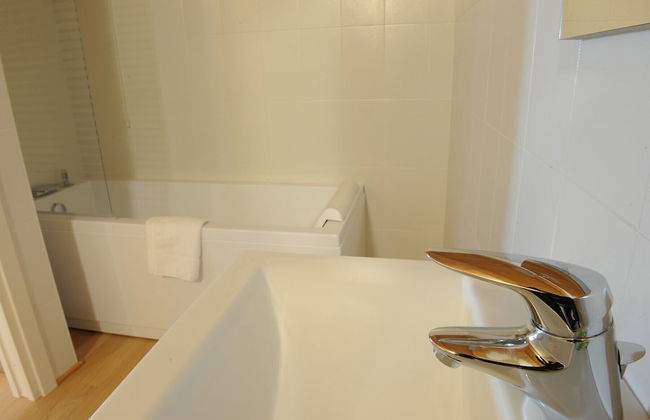
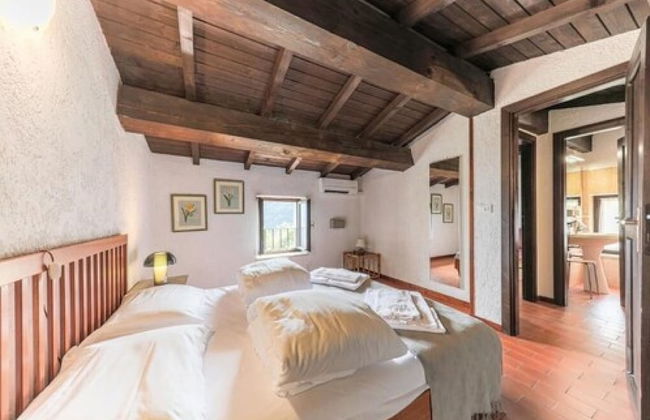
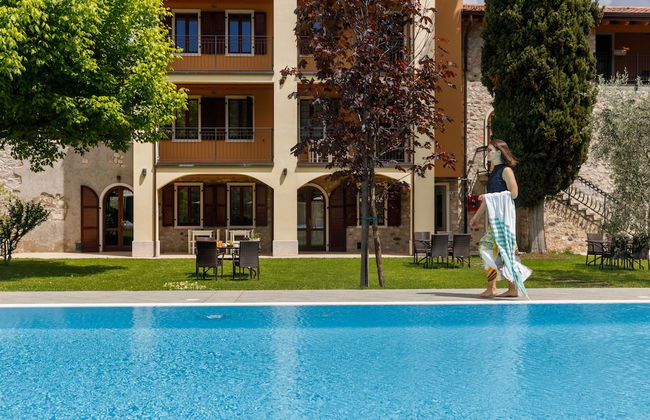
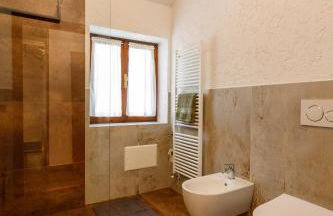
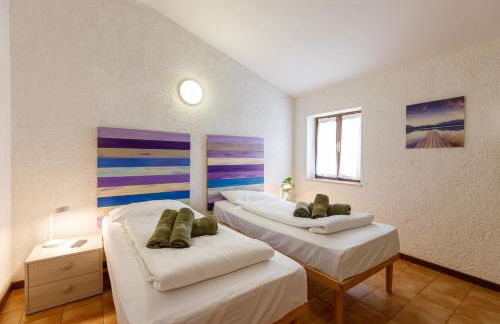
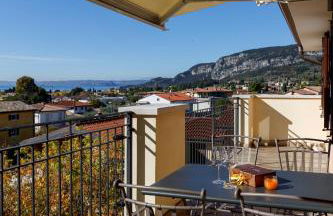
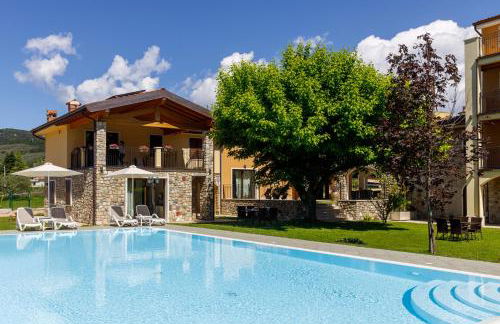
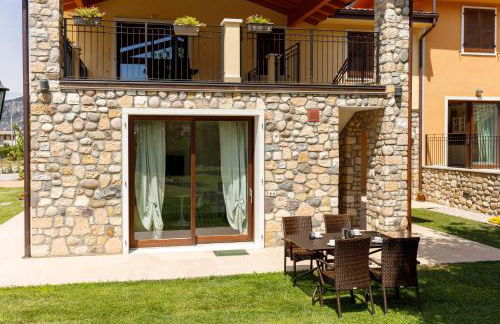
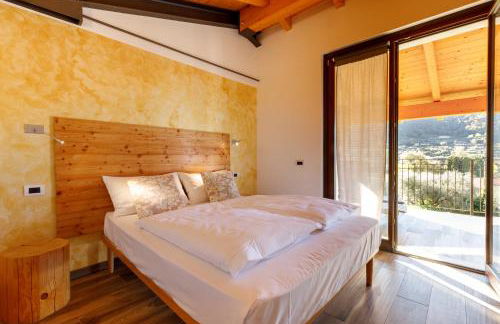
Agriturismo La Rocca
Bardolino - À 1.2 km du centre
- 23 M2
- 1 chambre
- 4 personnes
- Air conditionné
- Le chauffage
- Terrasse
- Piscine
- Parking
- Ascenseur
- Balcon
- Jardin
- Tv
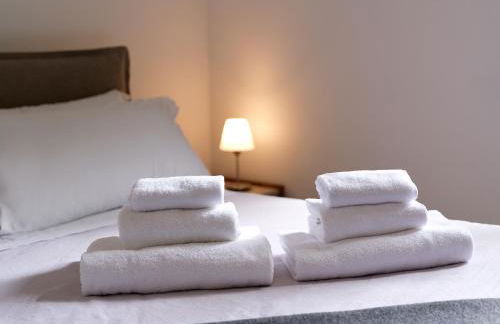
- Serviettes
- Feuilles
11 avis


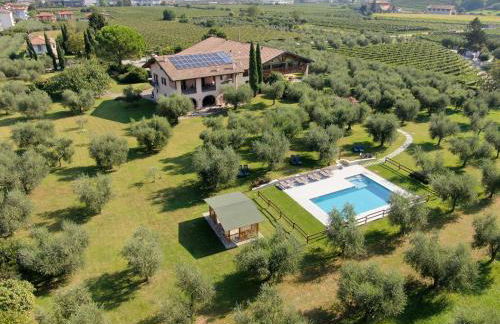

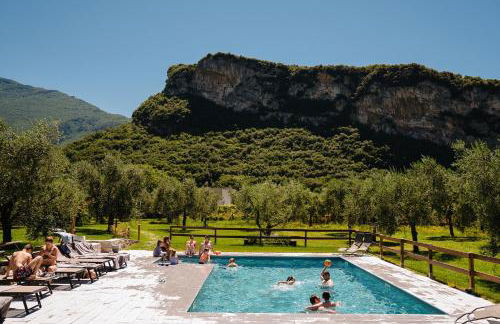

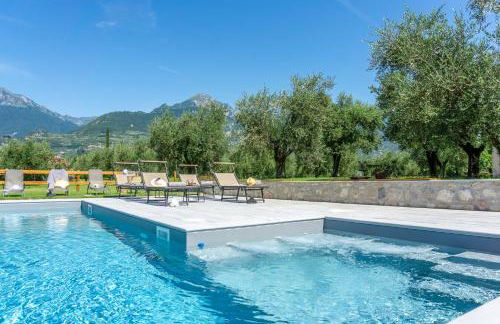

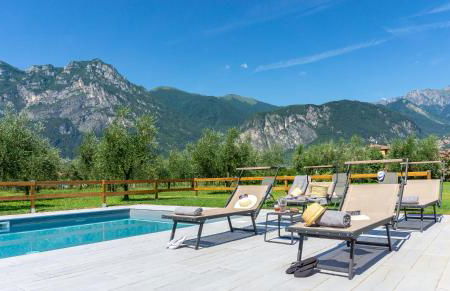


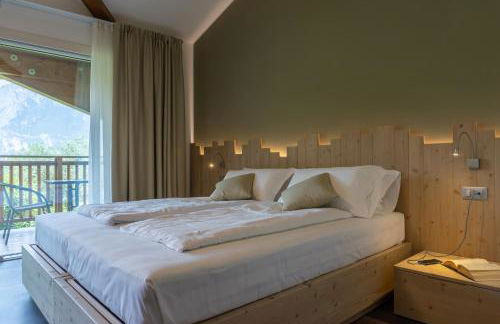


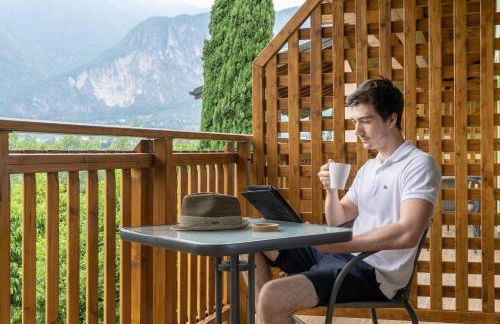


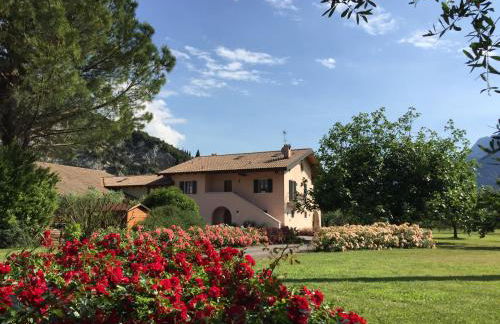

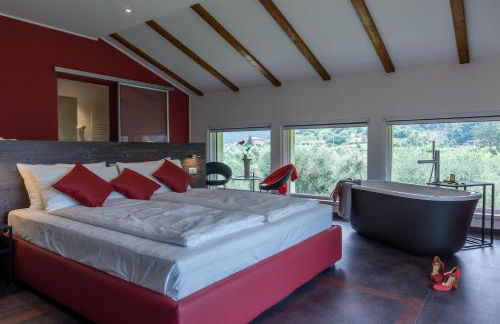

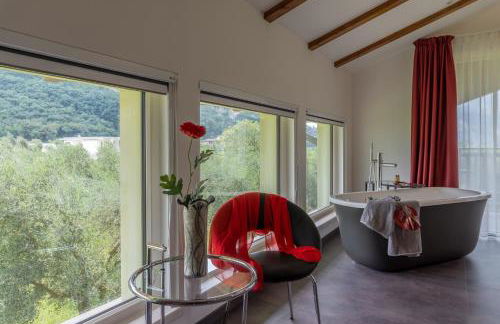

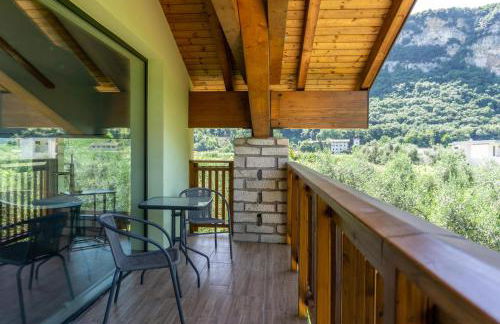

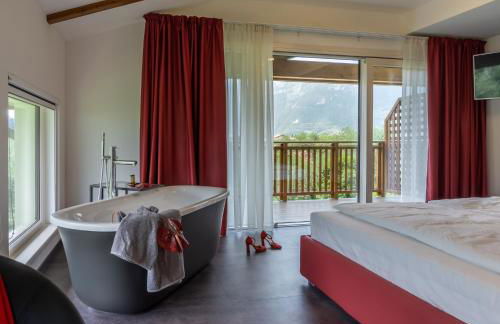

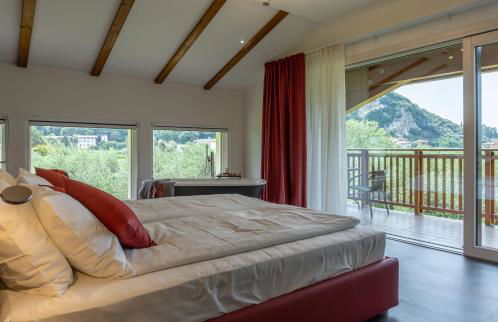


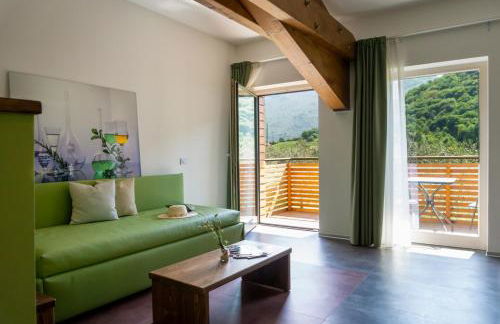

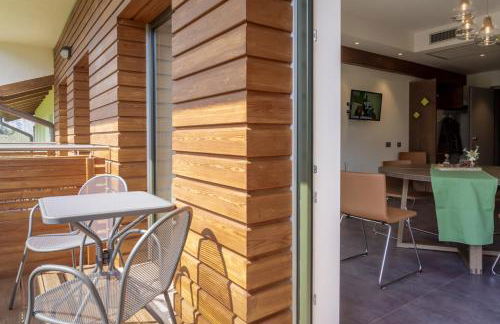

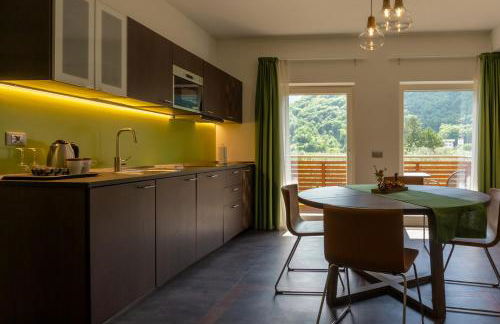

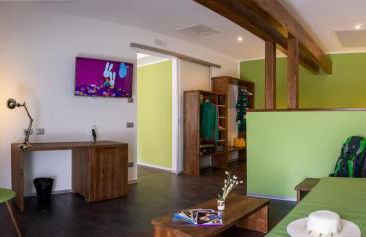


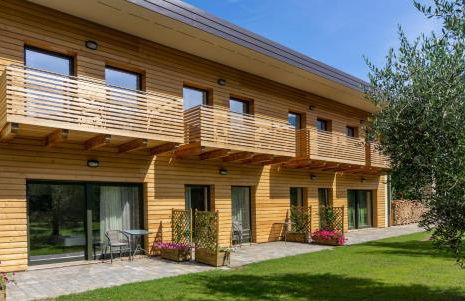


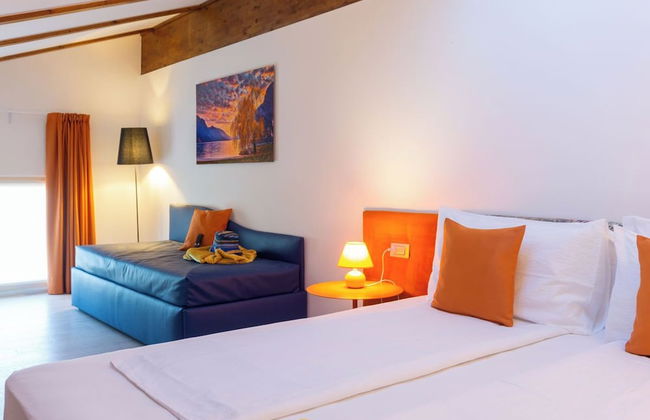
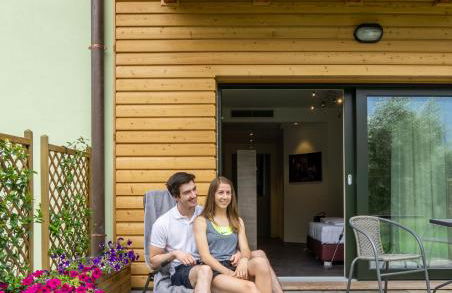
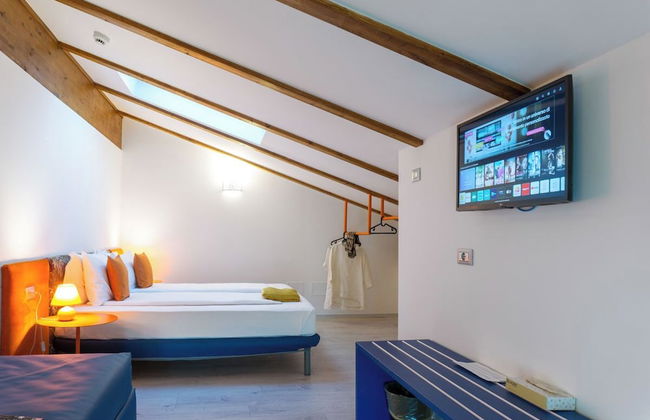
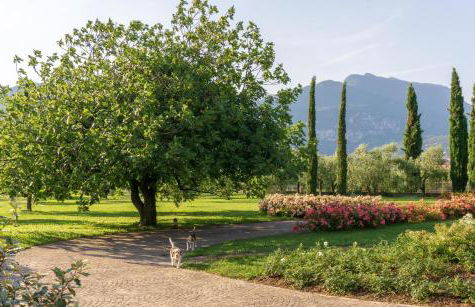

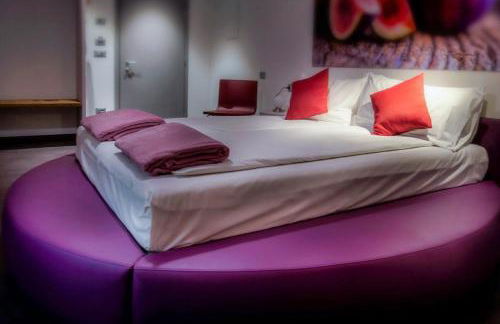

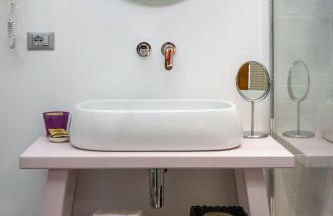

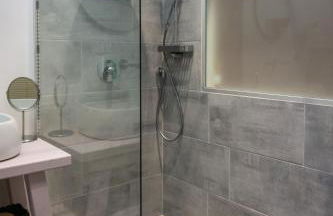

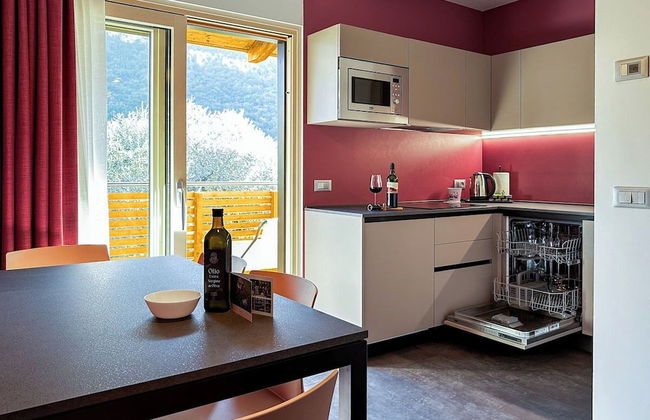
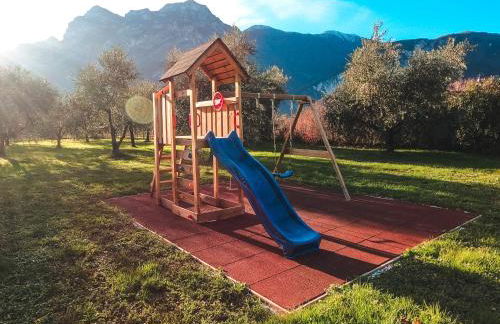
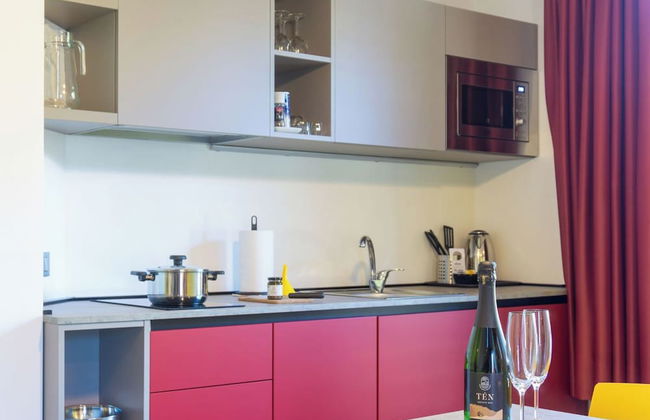
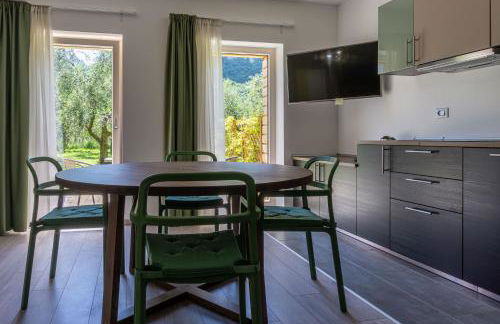

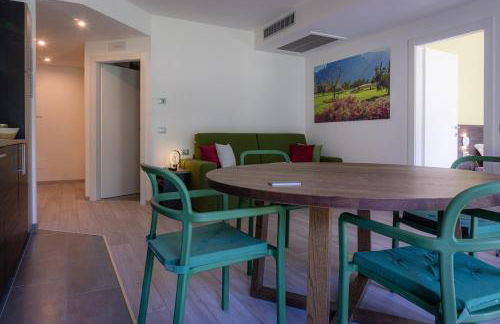

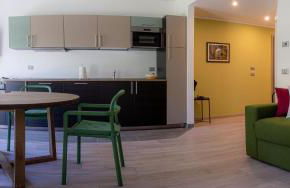
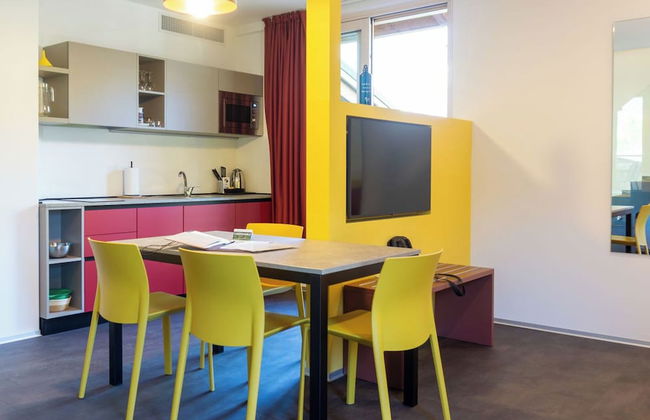
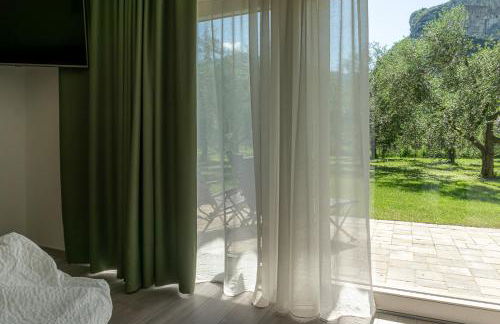
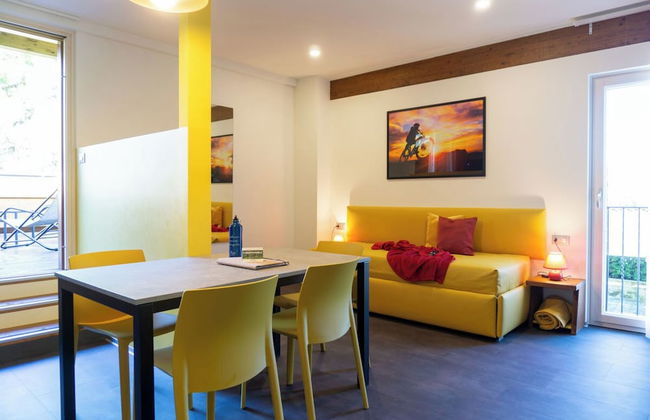

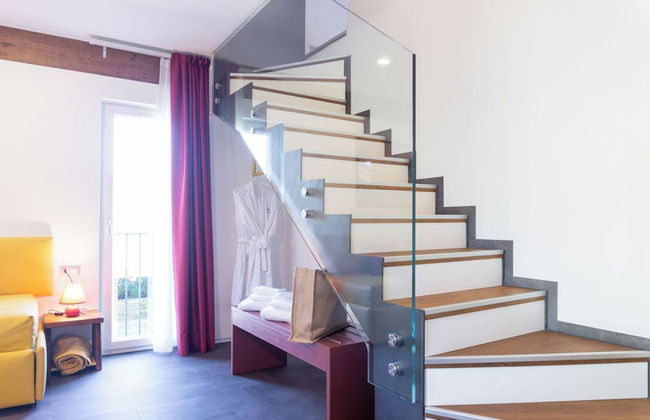
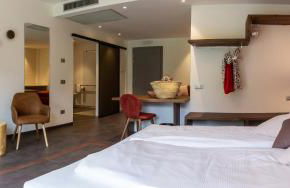

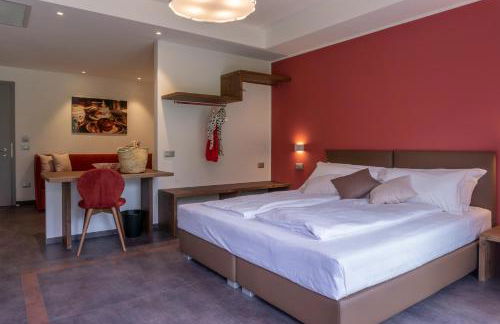

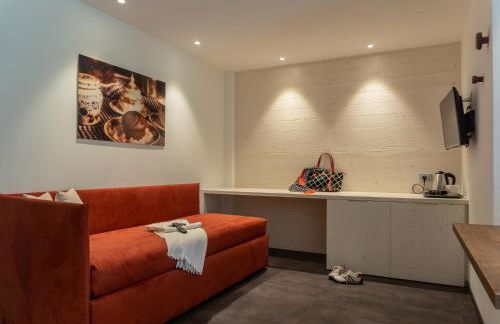
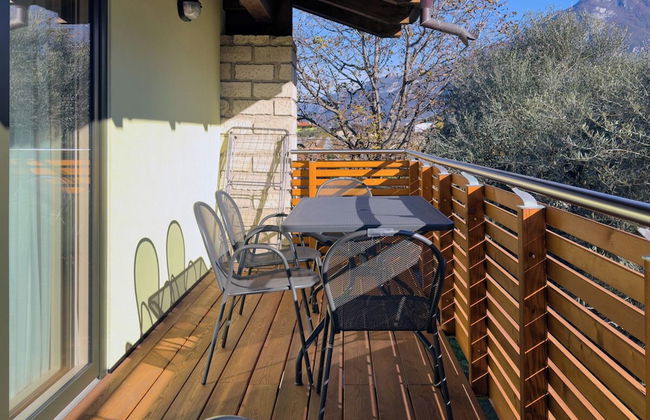

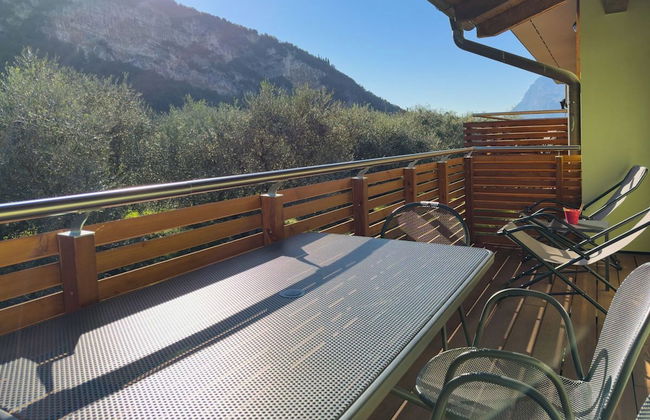
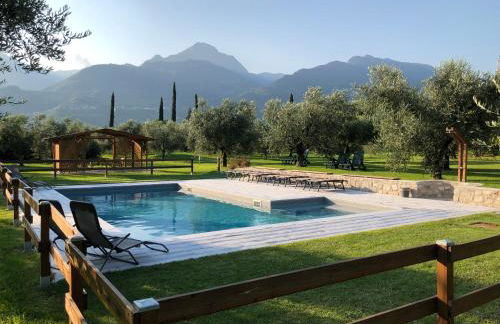
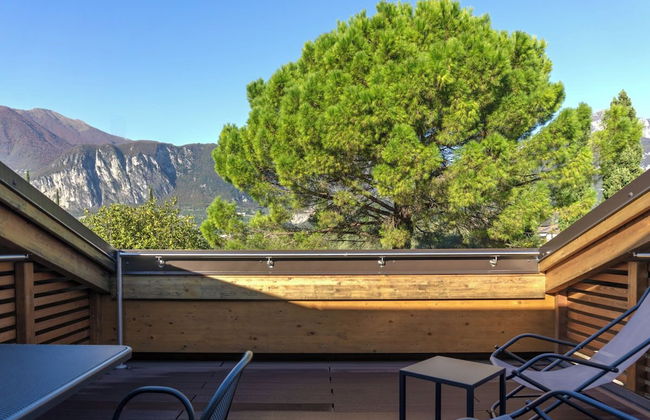
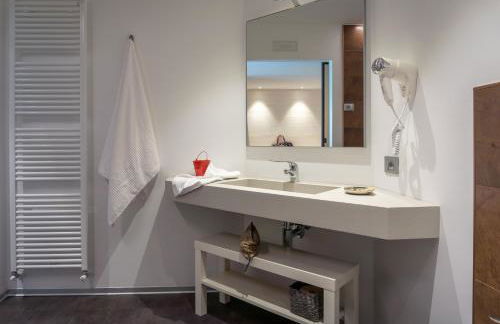

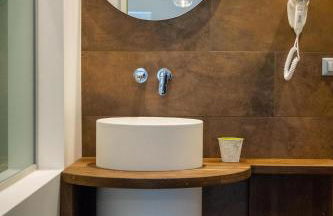
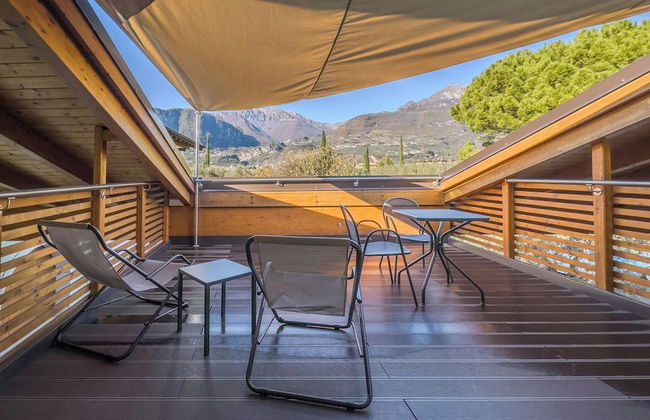


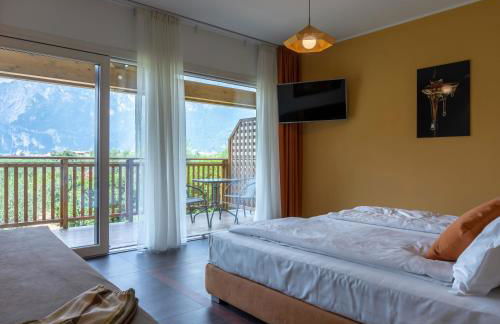

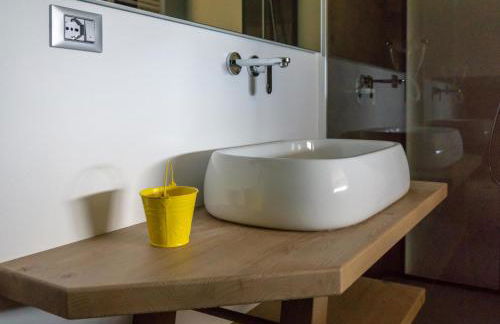

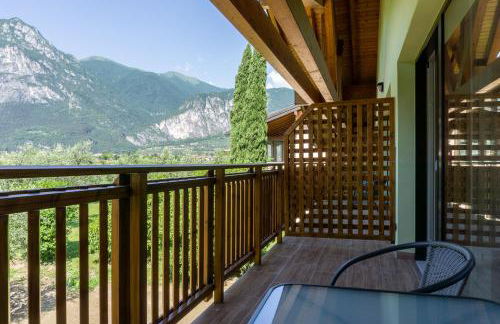

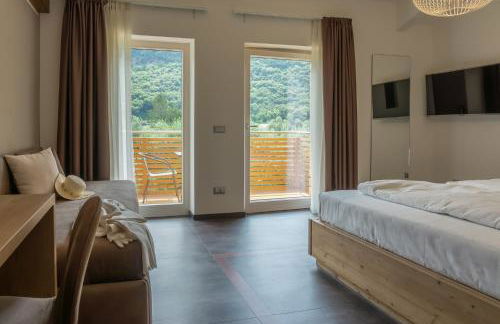

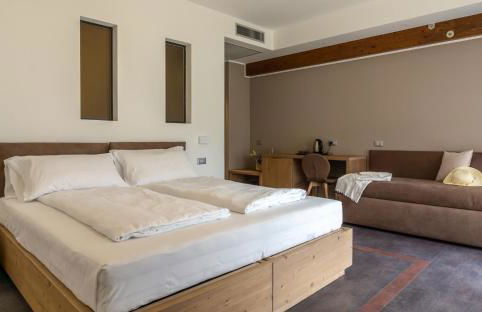

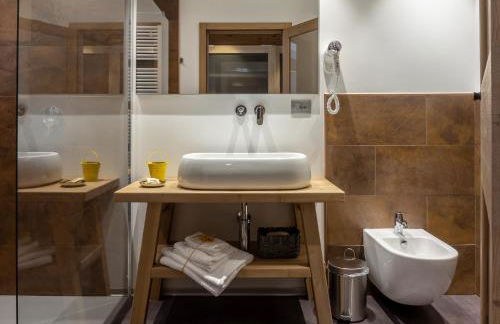

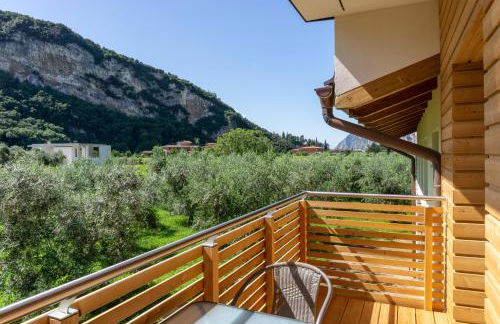

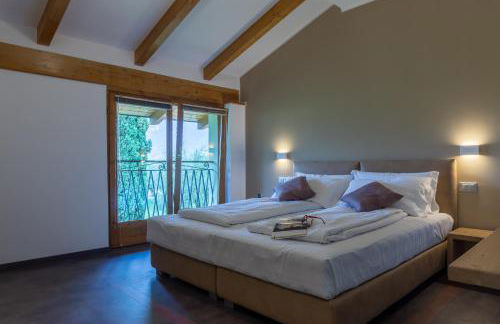

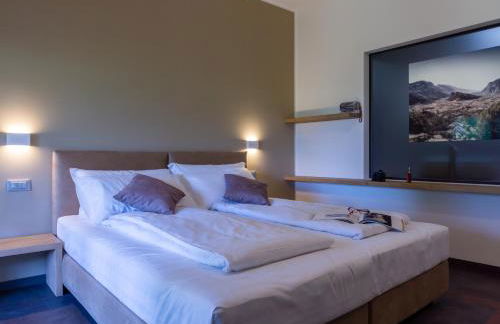

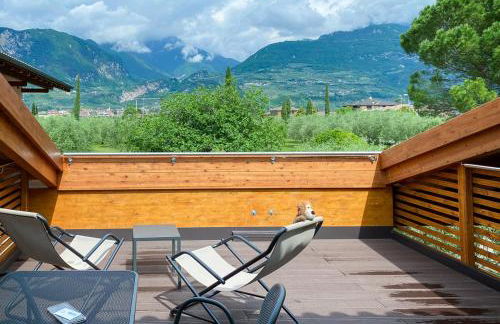

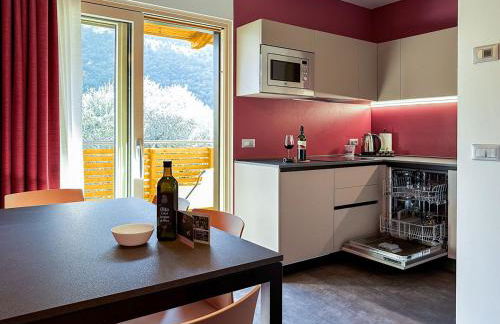

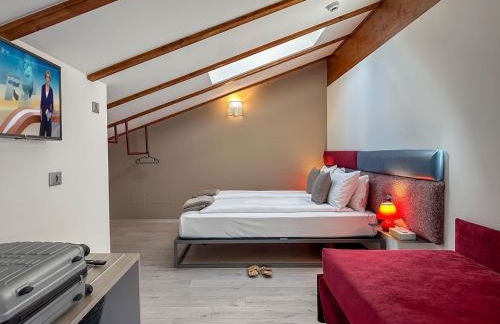


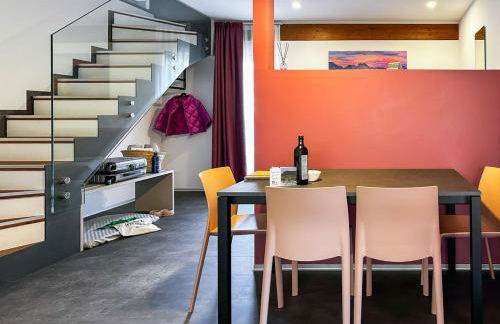


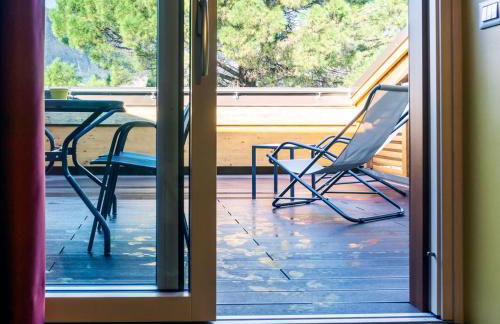

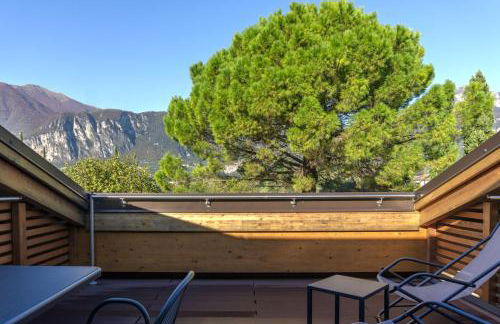
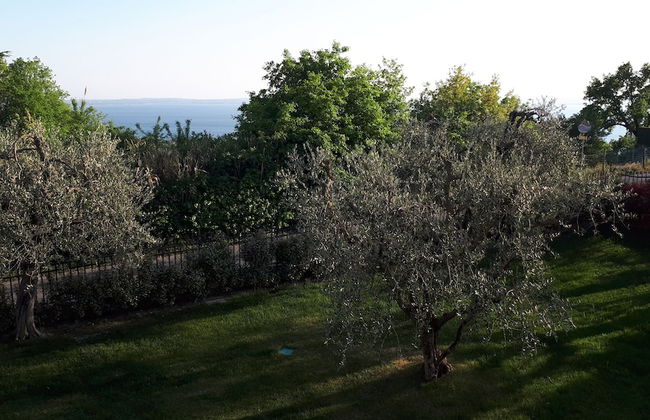
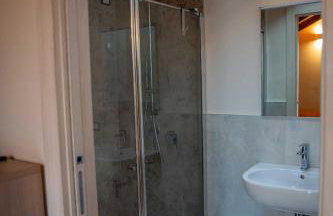
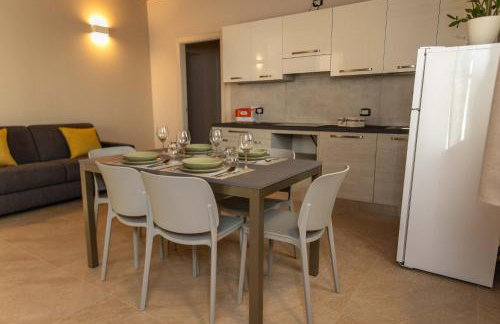
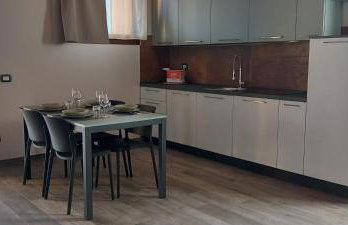
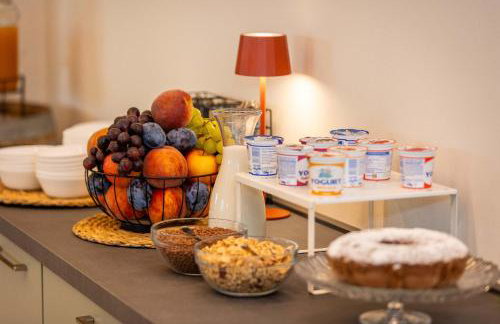
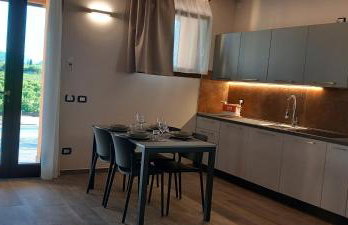
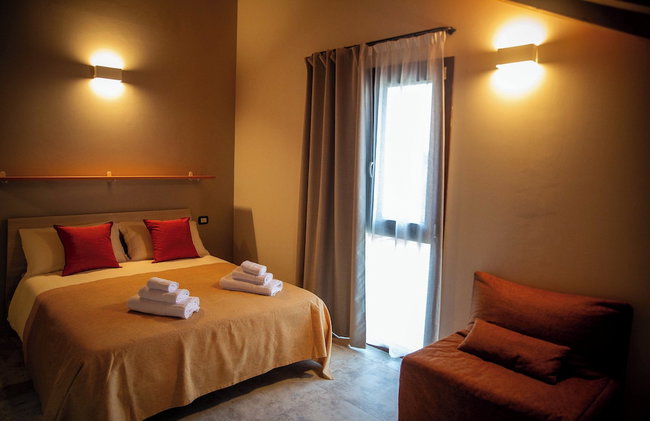
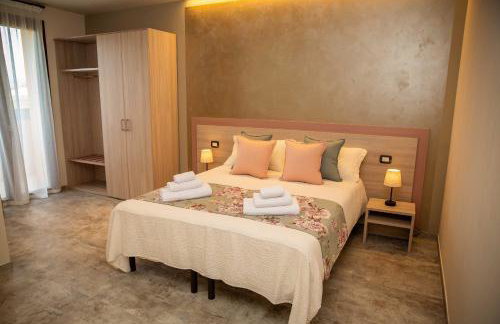
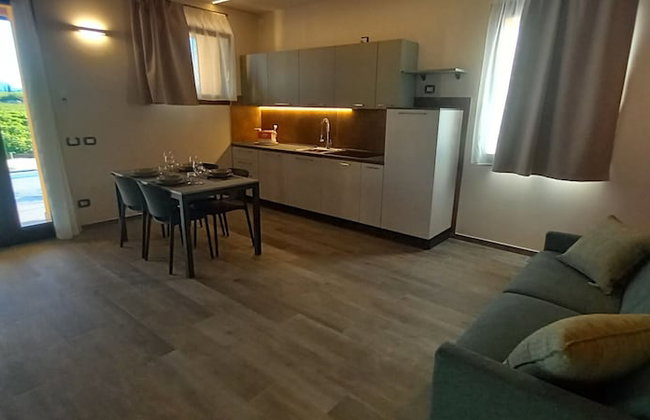
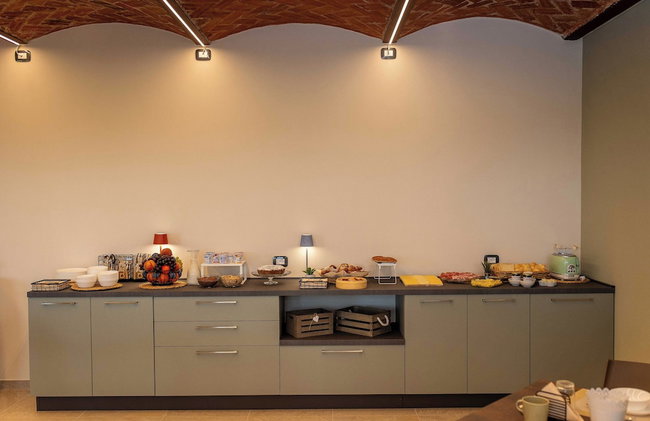
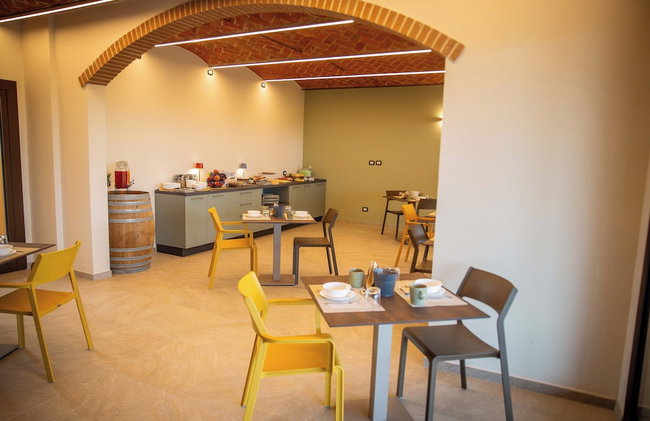
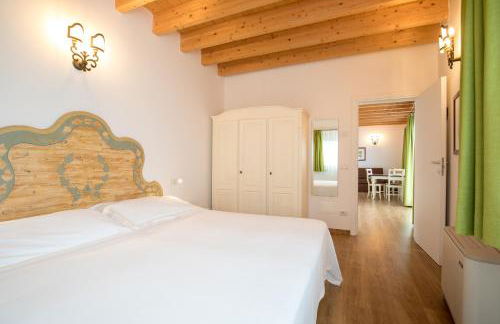
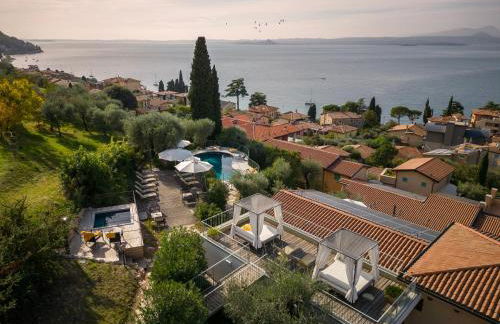
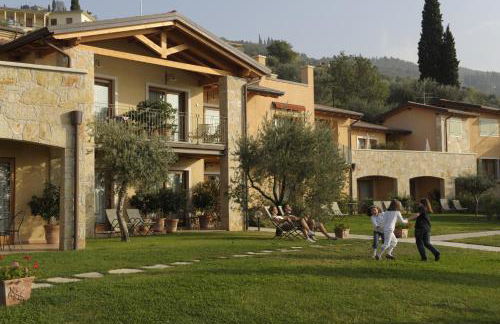
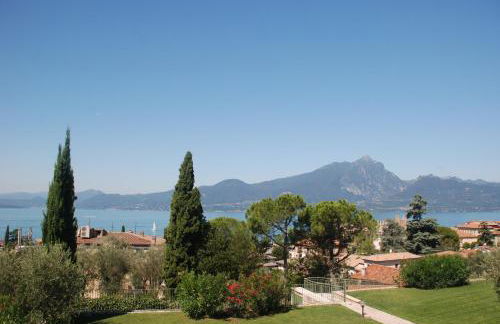
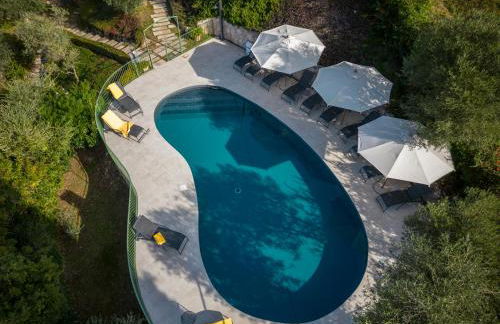
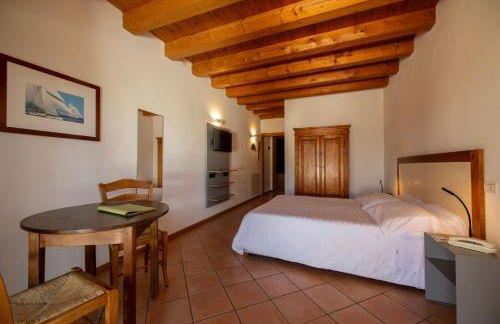
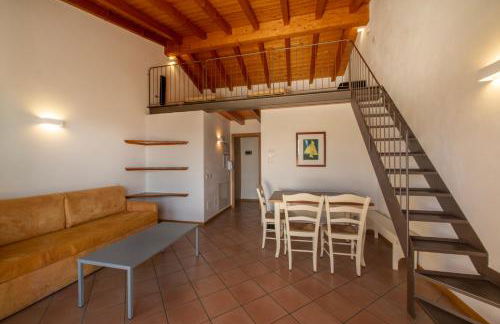
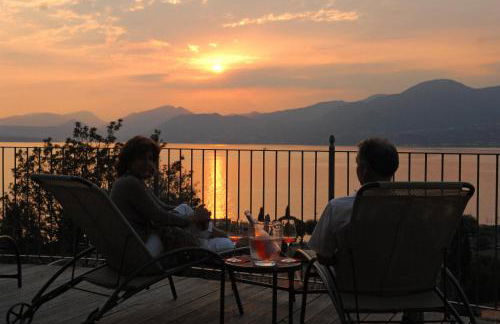
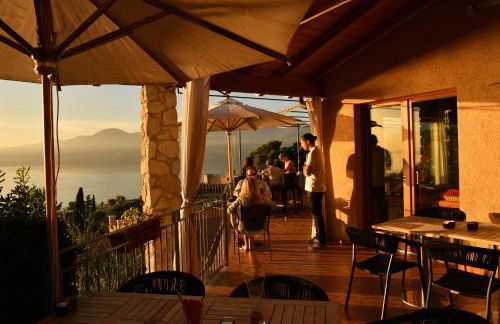
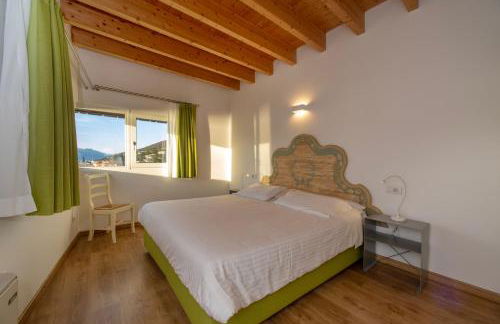
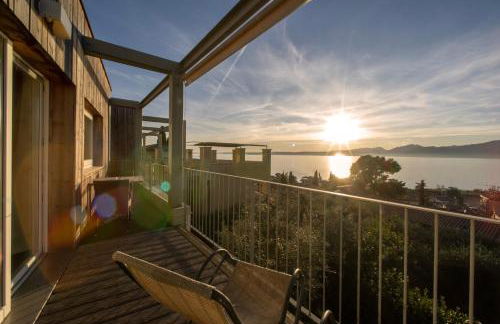
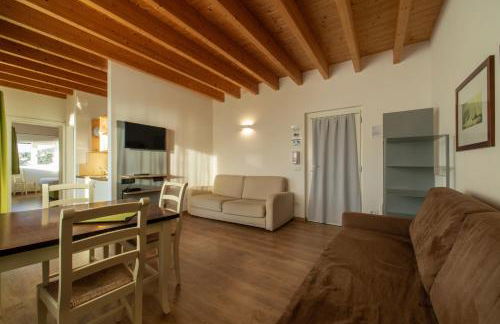
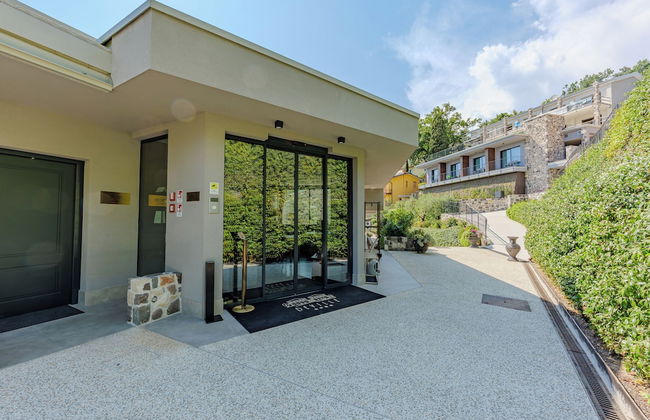
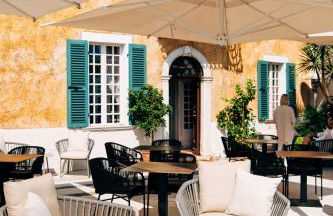
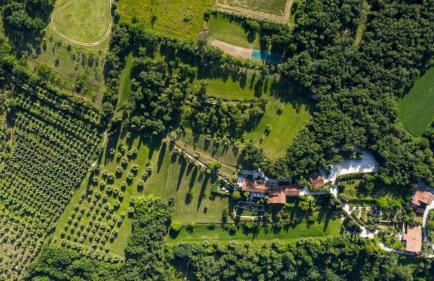
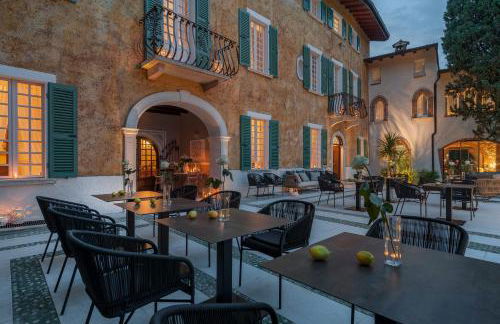
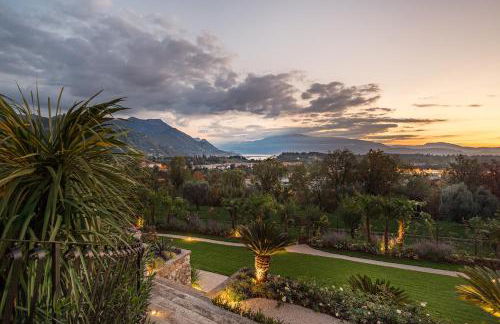
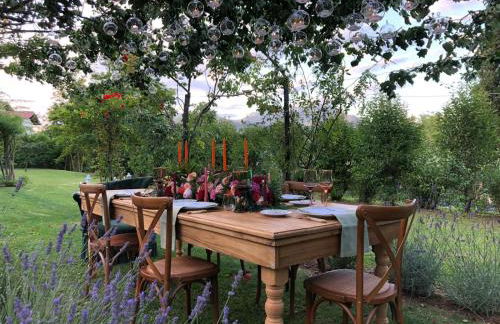
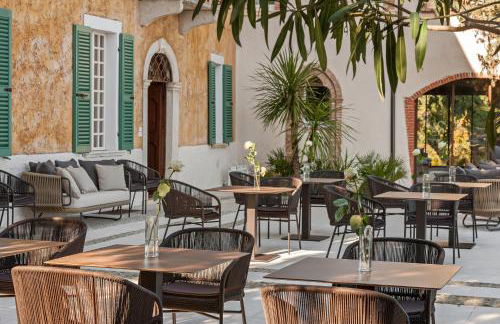
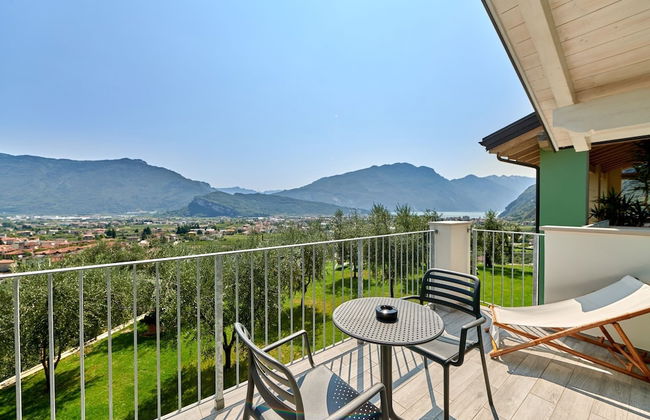
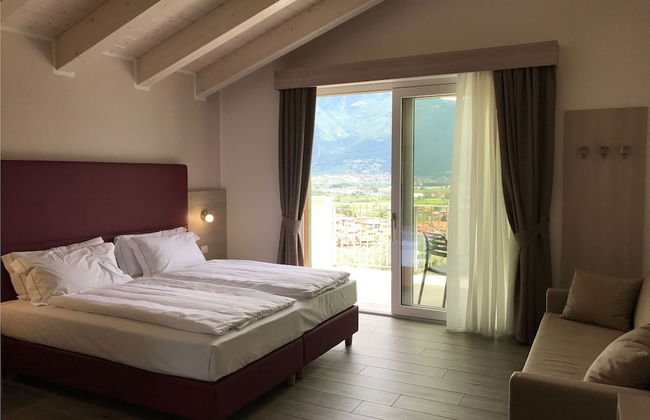
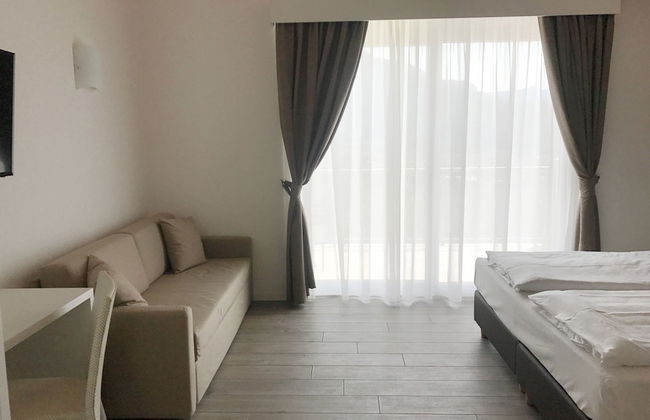
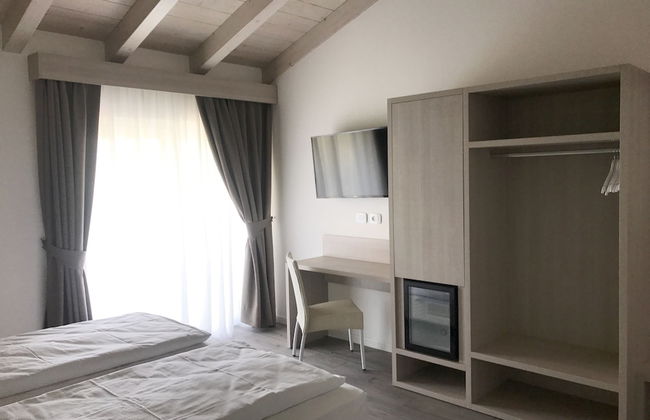
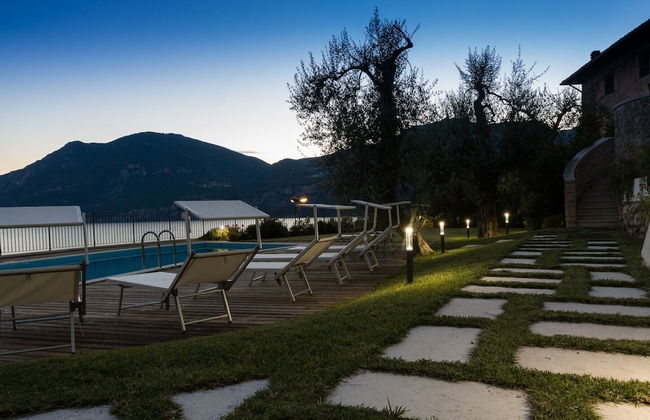
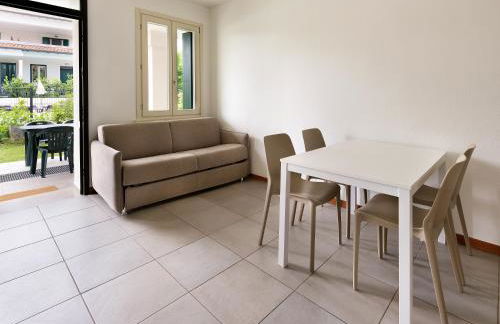
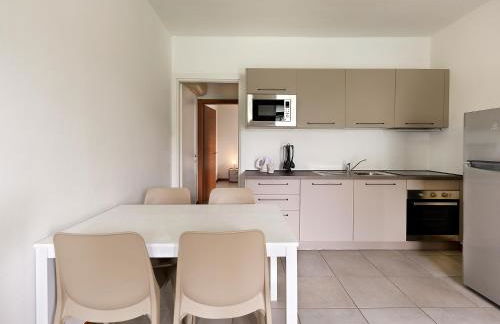
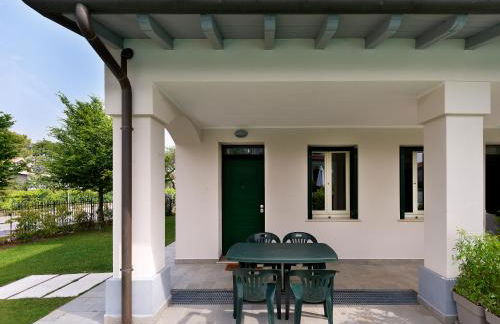
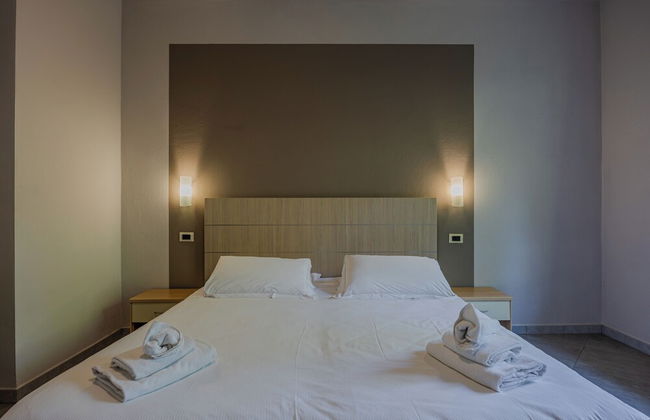
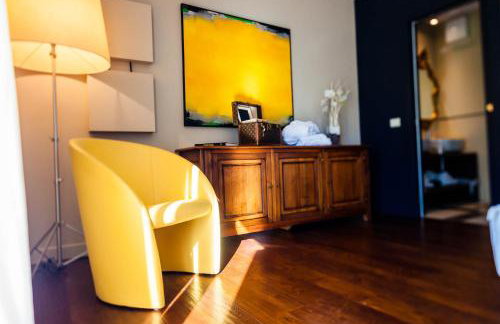
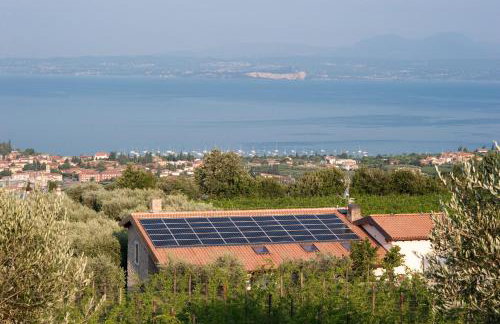
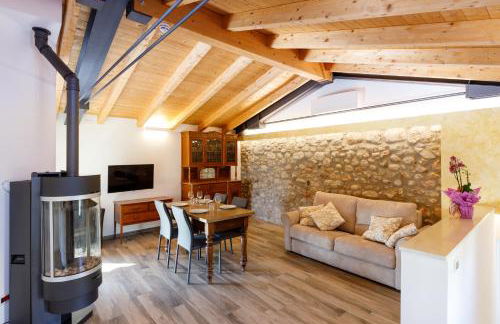
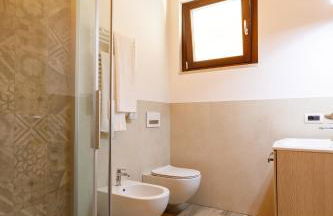
O-live Agriresort
Arco - À 2.3 km du centre
- 60 M2
- 1 chambre
- 5 personnes
- Cuisinette
- Air conditionné
- Le chauffage
- Terrasse
- Piscine
- Parking
- Balcon
- Jardin
- Tv
- Cheminée
- Serviettes
- Feuilles
20 avis

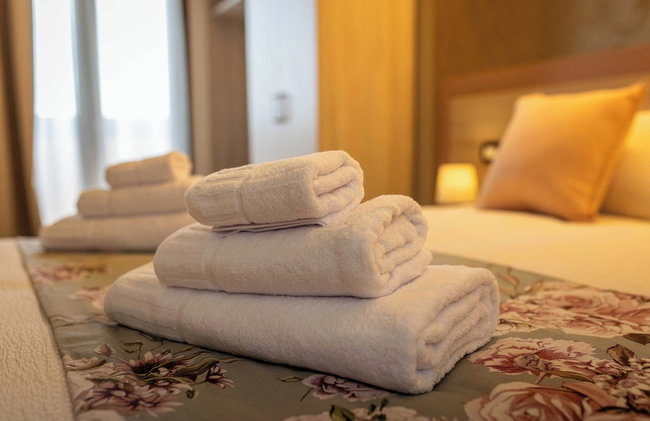


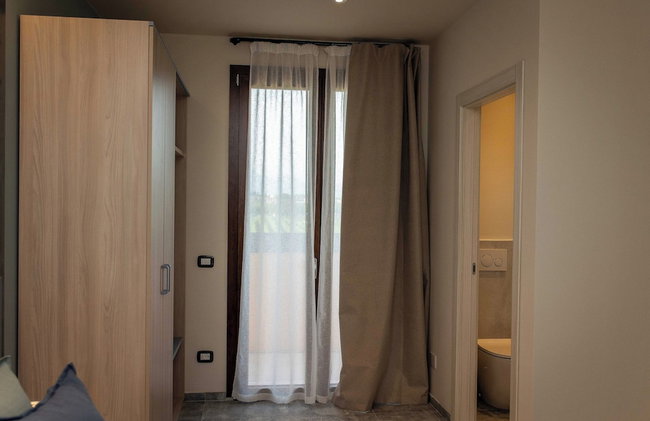


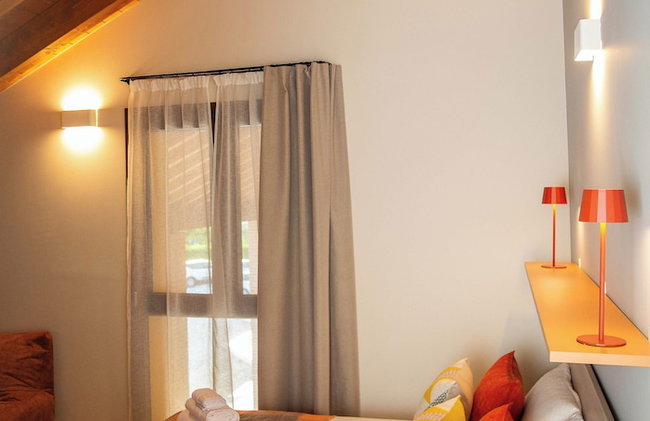
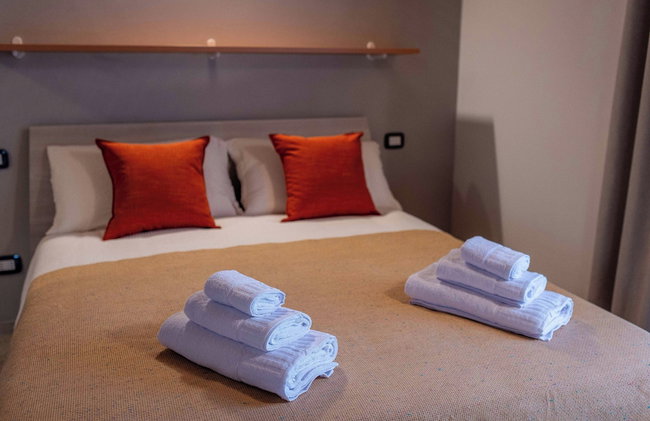

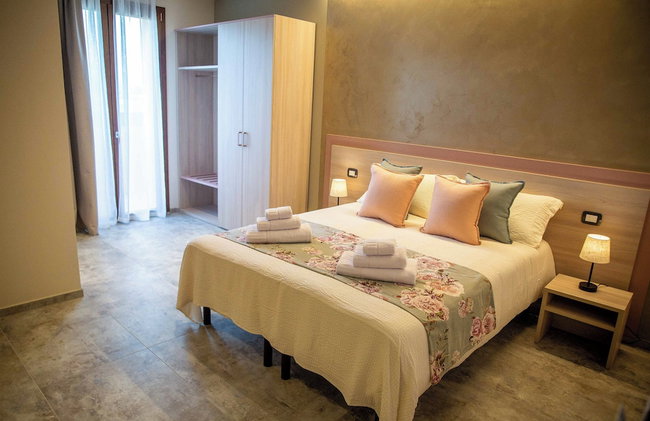


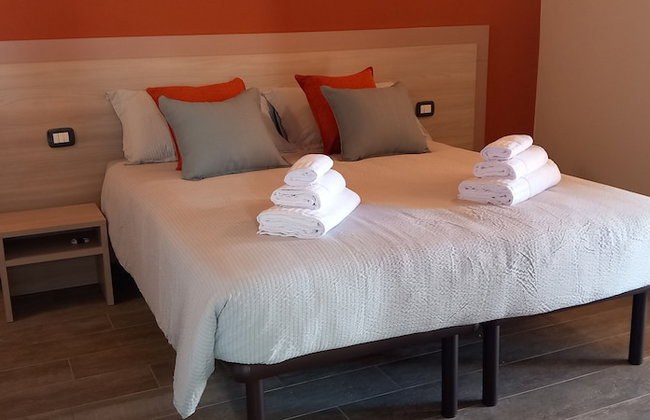

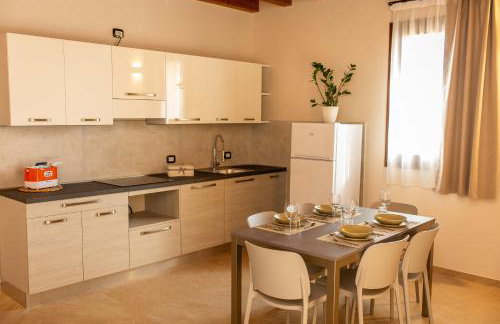


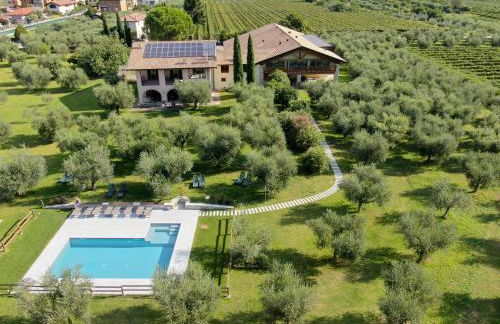
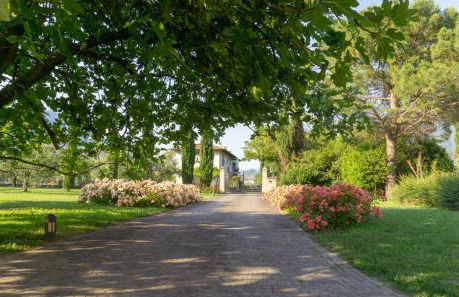
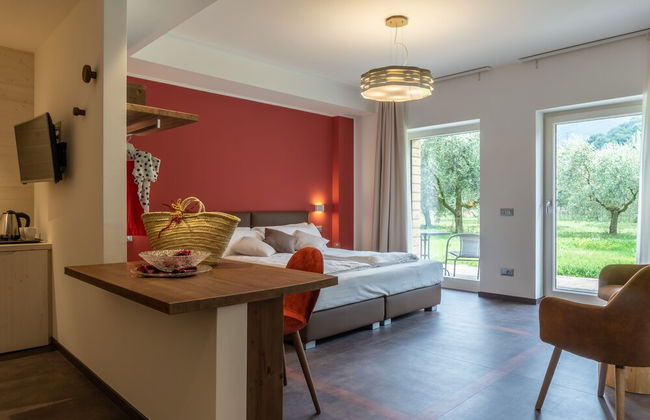
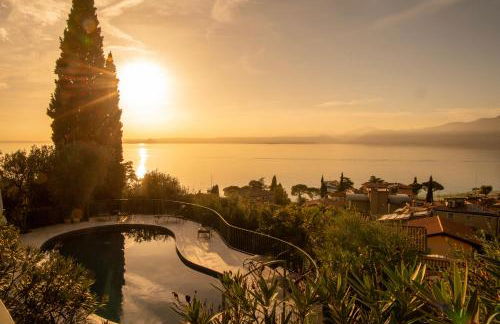
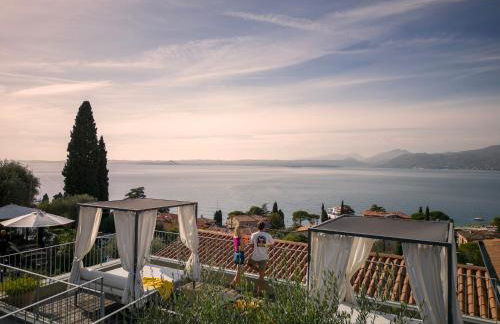
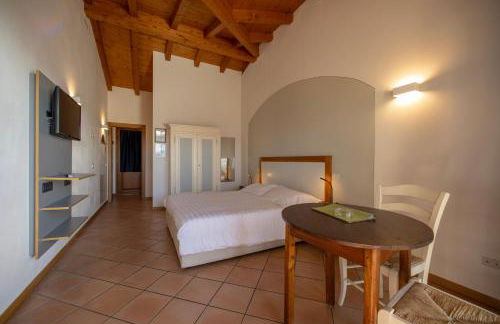
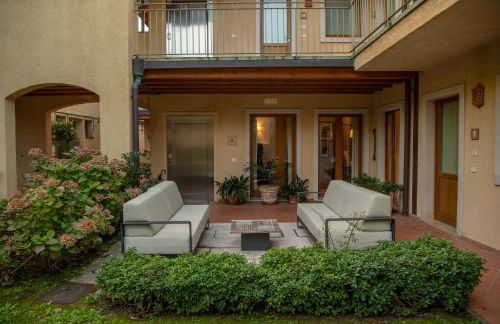
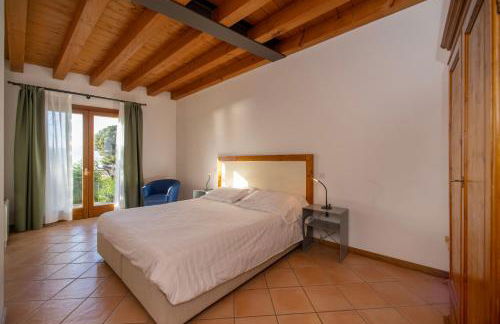
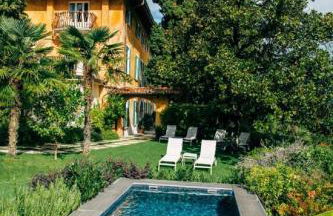
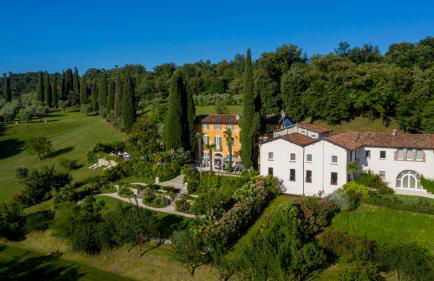
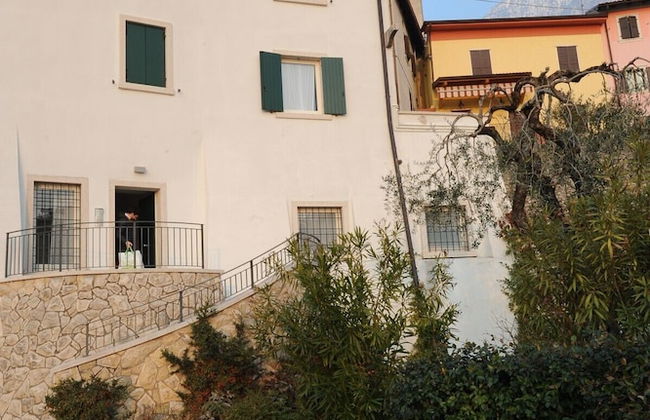
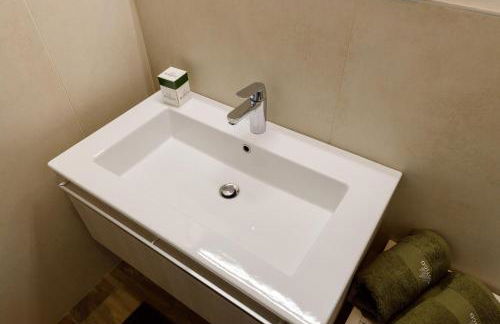
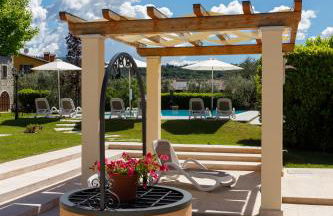
Agriturismo Corte Casa Erminia
Lazise - À 5 km du centre
- 56 M2
- 4 personnes
- Air conditionné
- Le chauffage
- Terrasse
- Parking
- Ascenseur
- Balcon
- Jardin
- Tv
- Cheminée
- Barbecue
- Serviettes
18 avis


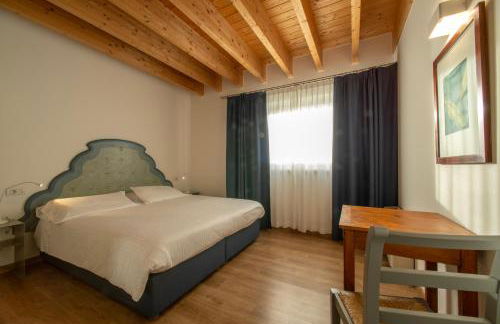


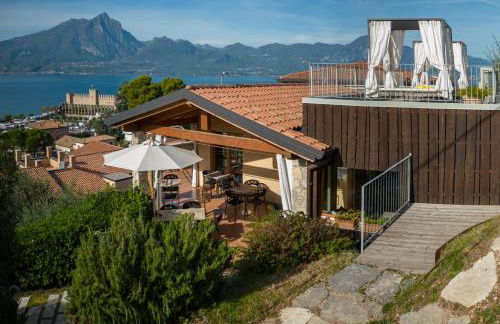


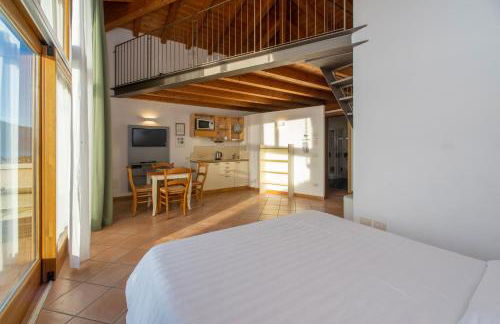


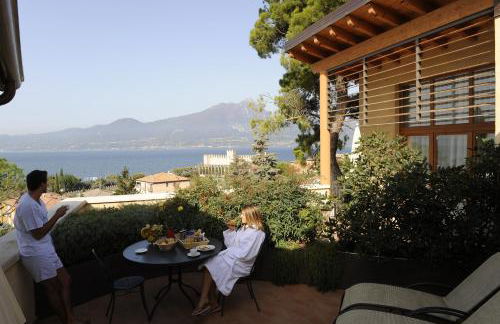


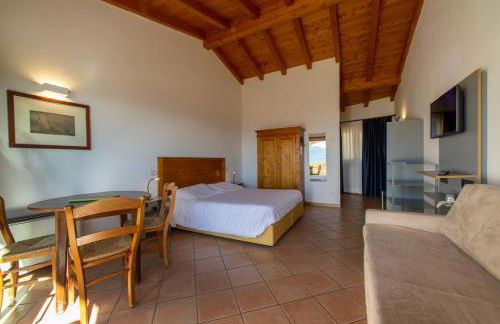


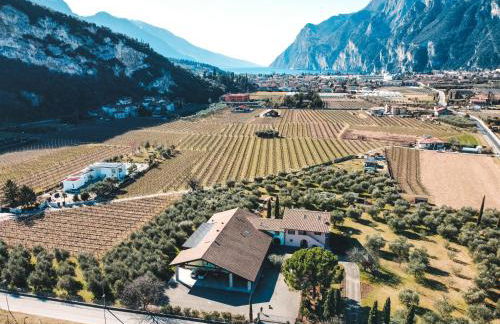
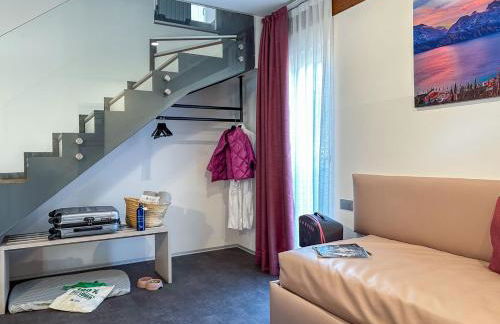
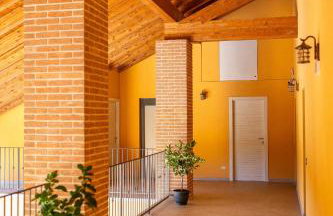
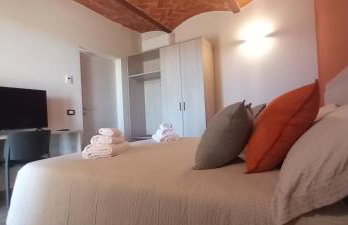
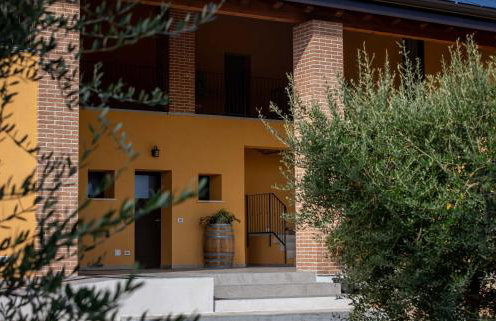
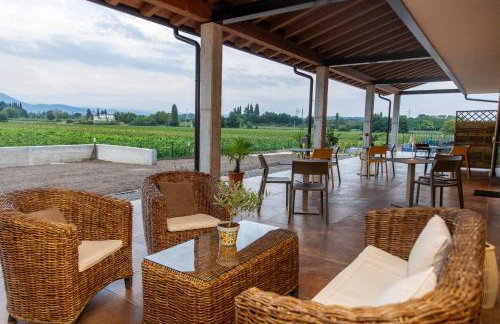
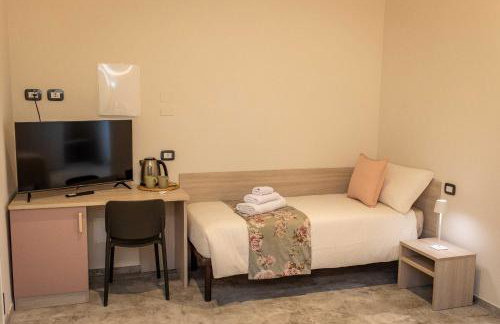
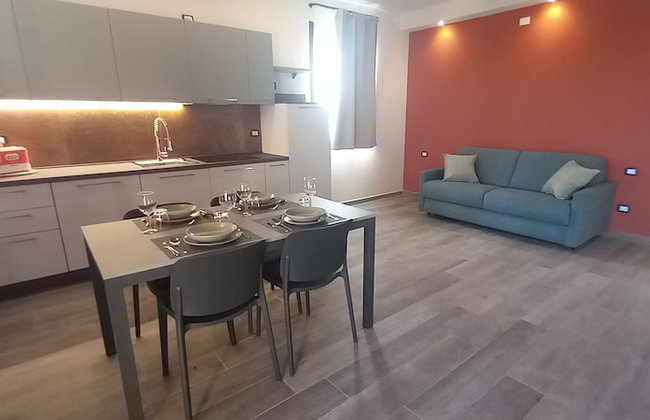
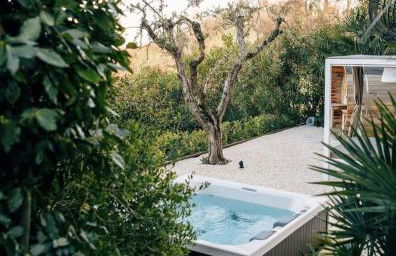
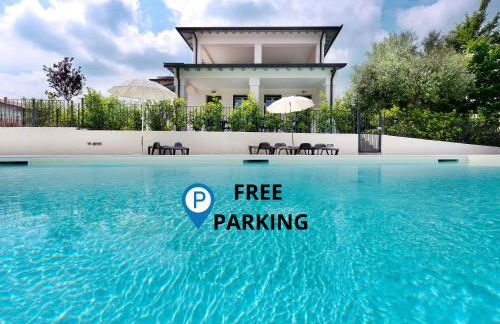
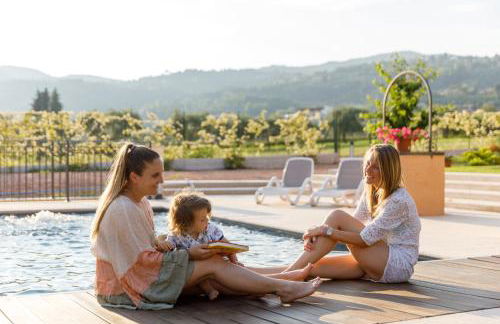
Residence Ca' del Lago
Torri del Benaco - À 390 m du centre
- 40 M2
- 2 chambres
- 7 personnes
- Air conditionné
- Le chauffage
- Terrasse
- Piscine
- Parking
- Ascenseur
- Balcon
- Jardin
- Tv
- Serviettes
- Feuilles
467 avis


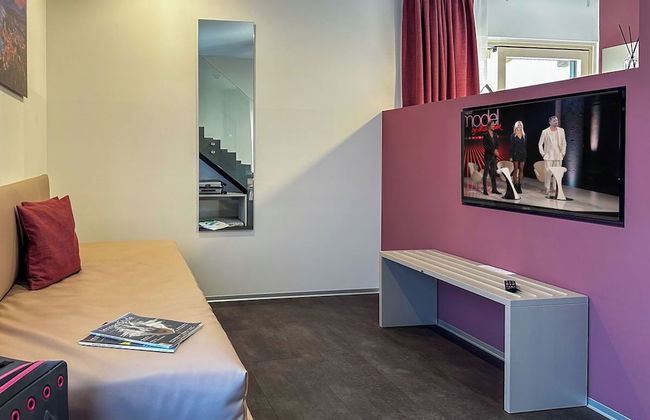
Hotel DeVille
Costermano sul Garda
- 36 M2
- 4 personnes
- Air conditionné
- Le chauffage
- Terrasse
- Piscine
- Parking
- Ascenseur
- Balcon
- Jardin
- Tv
- Serviettes
- Feuilles
86 avis
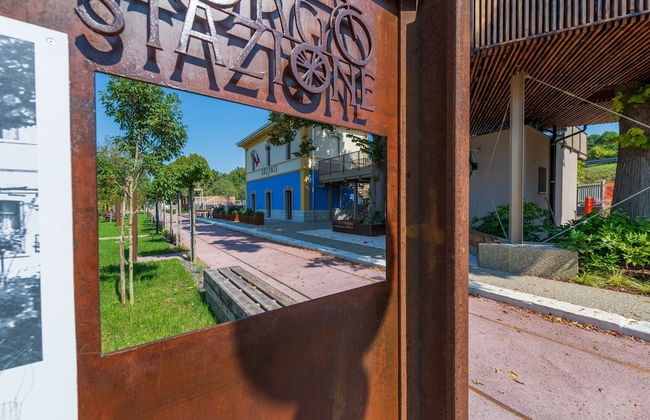


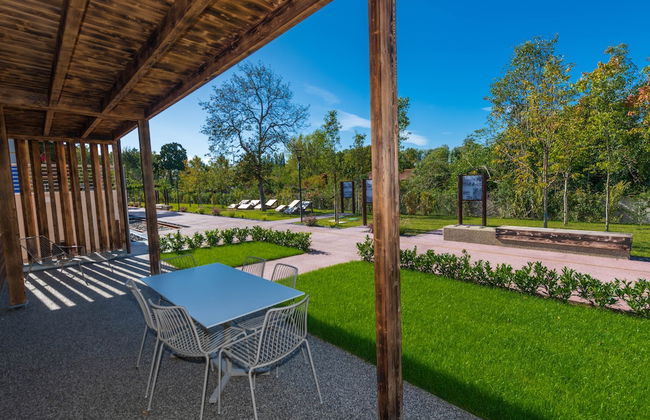
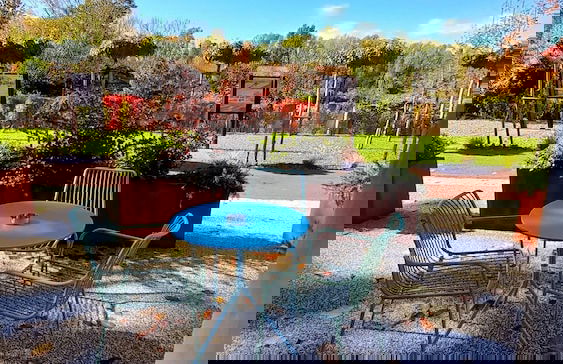


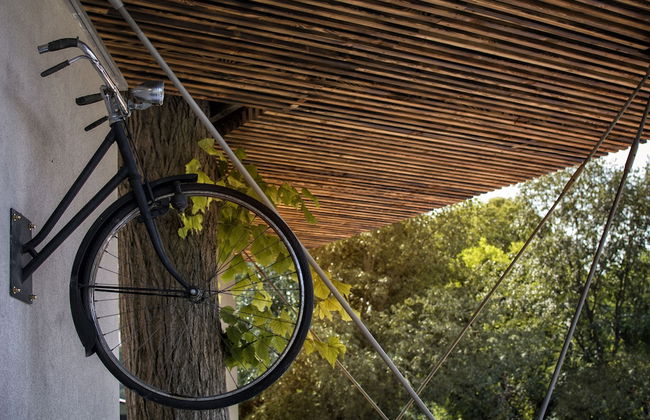


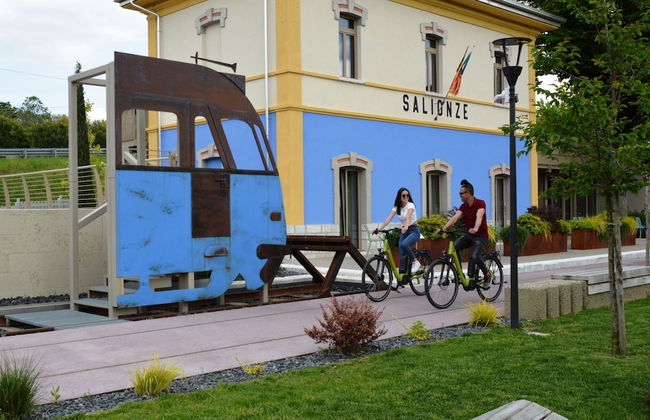
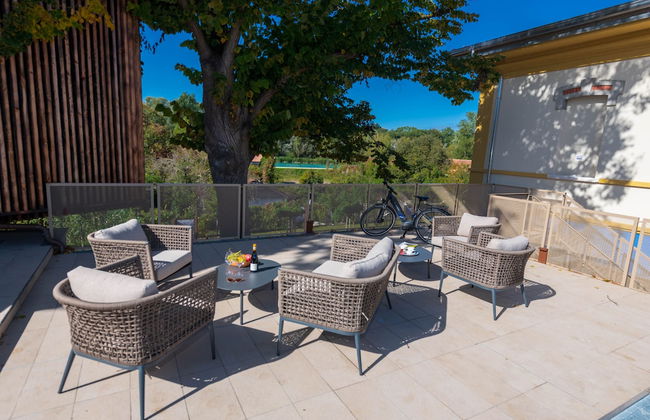


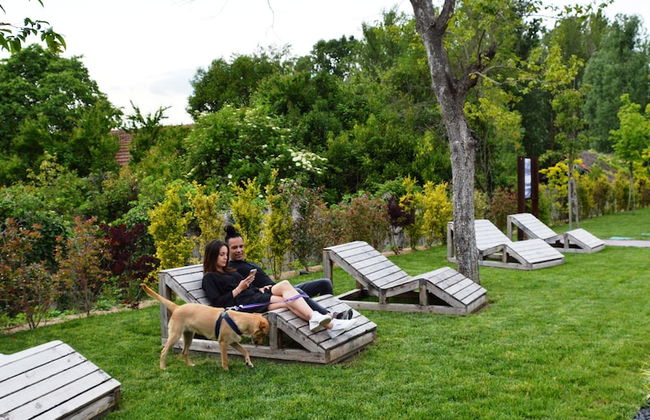
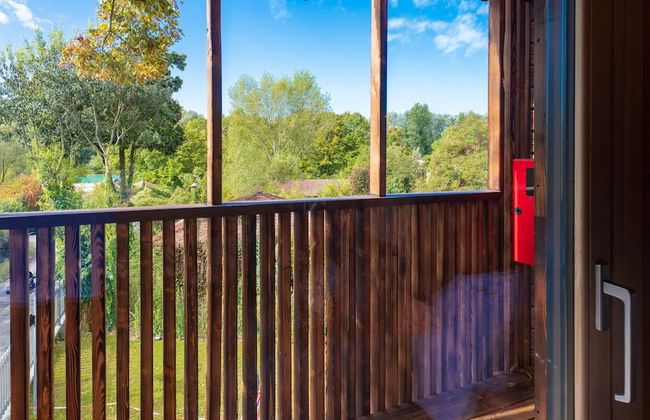


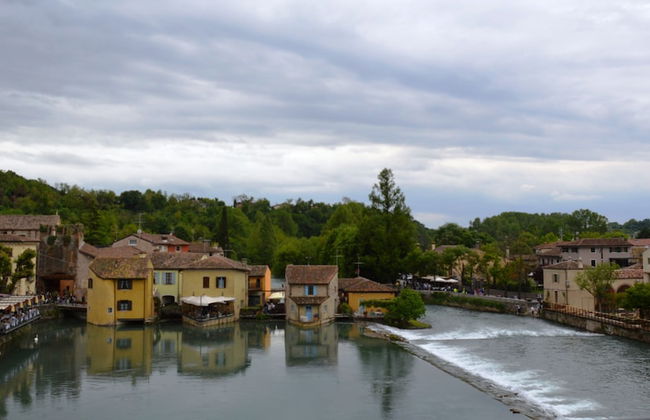


Borgo Stazione Bike Inn
Valeggio sul Mincio - Salionze - À 5.2 km du centre
- 6 personnes
- Air conditionné
- Le chauffage
- Terrasse
- Piscine
- Parking
- Jardin
- Tv
- Serviettes
- Feuilles
46 avis


I Tre Re
Bardolino - À 1.9 km du centre
- 3 personnes
- Air conditionné
- Le chauffage
- Terrasse
- Parking
- Ascenseur
- Balcon
- Tv
- Serviettes
- Feuilles
15 avis


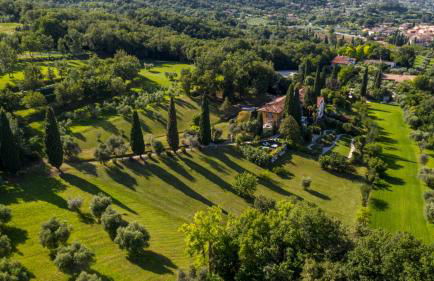


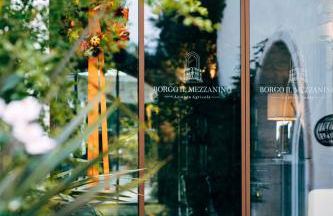


Agriturismo Borgo il Mezzanino
Salò - À 2.8 km du centre
- 30 M2
- 3 personnes
- Air conditionné
- Le chauffage
- Terrasse
- Piscine
- Parking
- Jardin
- Tv
- Cheminée
- Serviettes
- Feuilles
30 avis


Maso Tobel Riva del Garda
Riva del Garda - À 1.8 km du centre
- 45 M2
- 4 personnes
- Air conditionné
- Le chauffage
- Terrasse
- Parking
- Balcon
- Jardin
- Tv
- Barbecue
- Serviettes
- Feuilles
22 avis


Villa Borgo Borago
Brenzone sul Garda - À 1 km du centre
- 70 M2
- 1 chambre
- 6 personnes
- Air conditionné
- Le chauffage
- Terrasse
- Piscine
- Parking
- Ascenseur
- Jardin
99 avis


Dogoli Country Apartments
Bardolino - À 4 km du centre
- 75 M2
- 6 personnes
- Cuisinette
- Air conditionné
- Le chauffage
- Terrasse
- Piscine
- Parking
- Jardin
- Tv
- Machine à laver
- Serviettes
- Feuilles
17 avis


Agriturismo Le Anze
Torri del Benaco - À 560 m du centre
- 50 M2
- 1 chambre
- 4 personnes
- Cuisinette
- Air conditionné
- Le chauffage
- Terrasse
- Piscine
- Parking
- Balcon
- Jardin
- Tv
- Serviettes
- Feuilles
12 avis


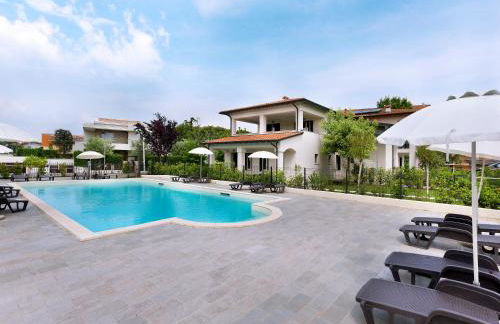

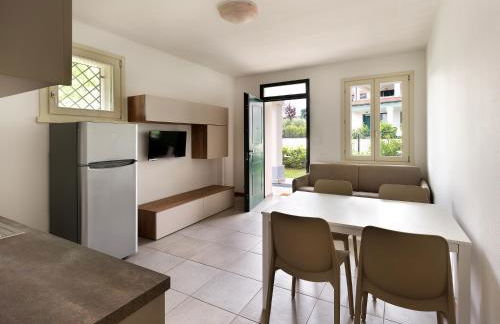

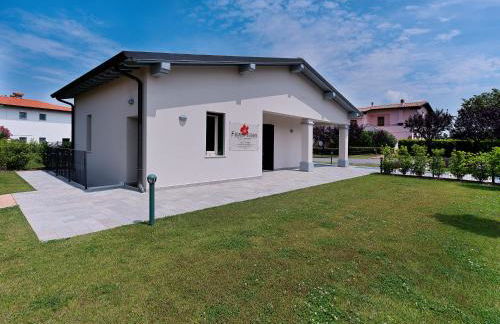


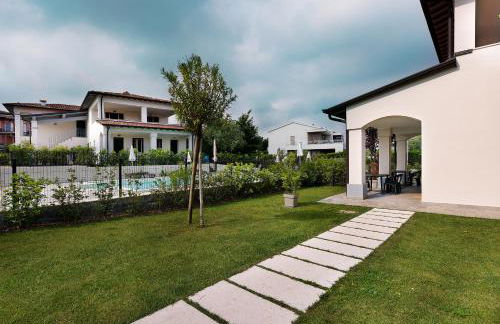

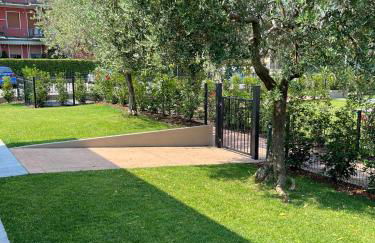

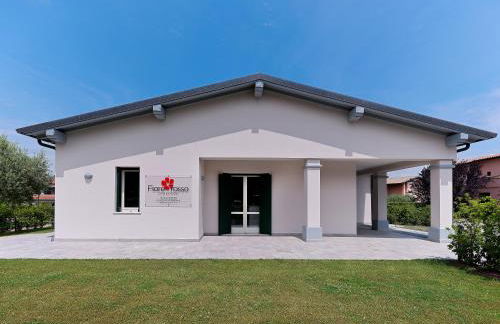

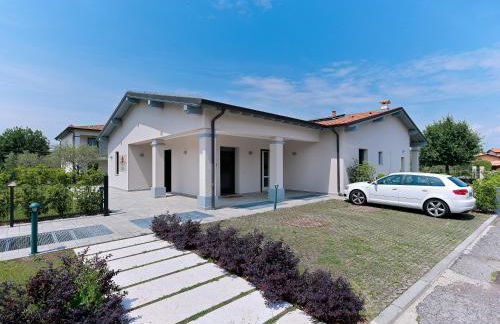

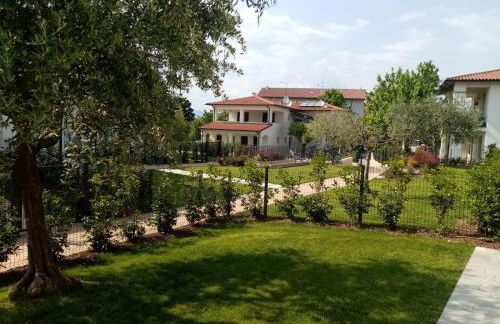


RESIDENCE FIORE ROSSO
Sirmione - Colombare - À 1.9 km du centre
- 45 M2
- 1 chambre
- 4 personnes
- Air conditionné
- Le chauffage
- Terrasse
- Piscine
- Parking
- Balcon
- Jardin
- Tv
- Serviettes
- Feuilles
32 avis


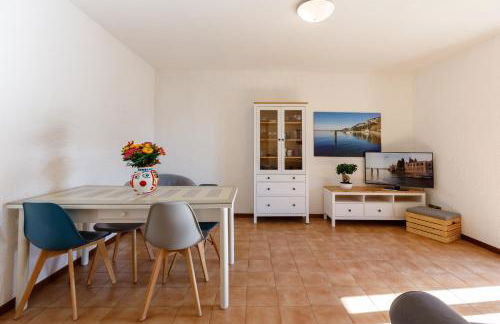
Residence San Michele
Costermano sul Garda
- 60 M2
- 2 chambres
- 6 personnes
- Cuisinette
- Air conditionné
- Le chauffage
- Terrasse
- Piscine
- Parking
- Ascenseur
- Jardin
- Tv
- Serviettes
- Feuilles
42 avis


Quercia Belvedere Relais
Bardolino - À 1.3 km du centre
- 40 M2
- 2 personnes
- Air conditionné
- Le chauffage
- Terrasse
- Parking
- Balcon
- Jardin
- Tv
- Cheminée
- Serviettes
17 avis


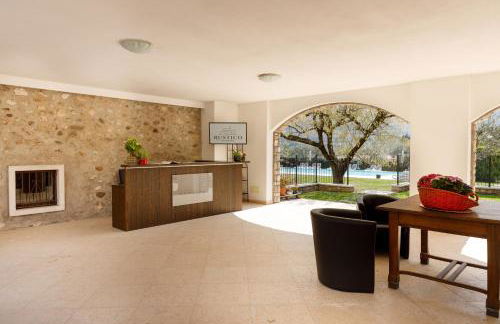


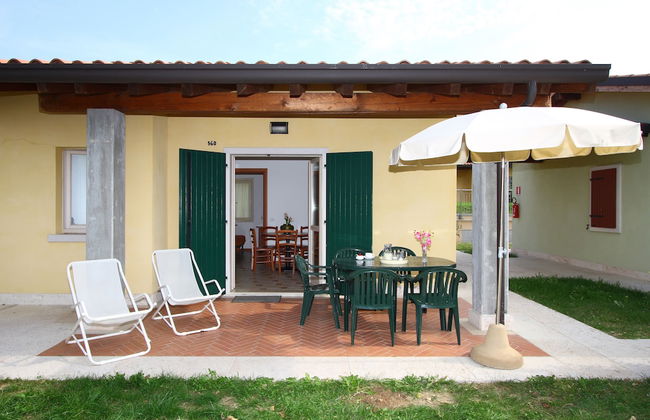
Residence Rustico
Garda
- 75 M2
- 3 chambres
- 6 personnes
- Air conditionné
- Le chauffage
- Piscine
- Parking
- Jardin
- Tv
- Barbecue
- Serviettes
16 avis


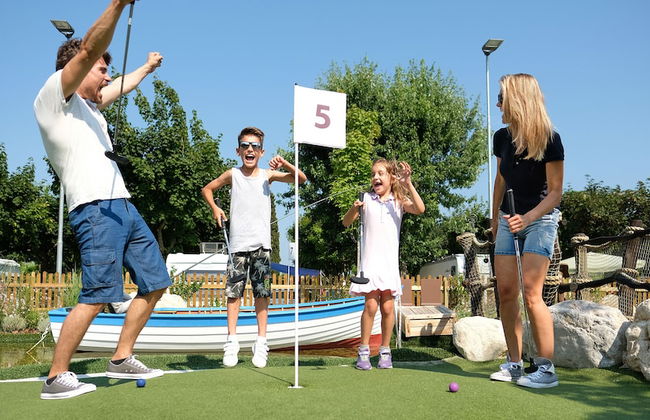
Camping Village Riva Blu
Padenghe sul Garda
- 40 M2
- 6 personnes
- Air conditionné
- Le chauffage
- Terrasse
- Piscine
- Parking
- Tv
- Feuilles
15 avis


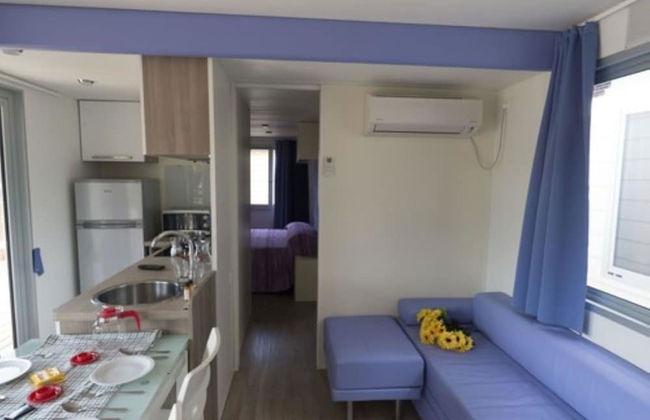


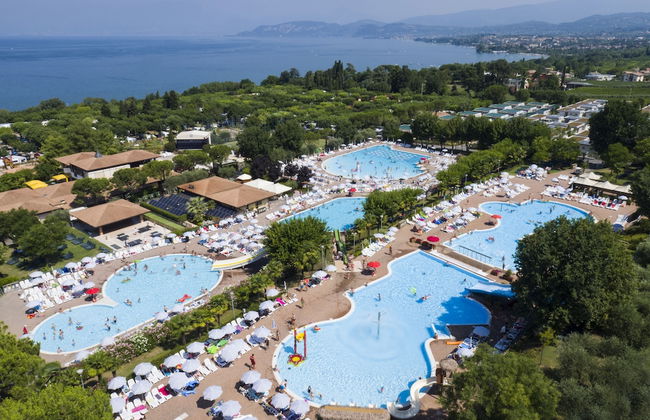

Piani di Clodia
Lazise - Fossalta - À 2.8 km du centre
- 35 M2
- 6 personnes
- Cuisinette
- Air conditionné
- Le chauffage
- Terrasse
- Piscine
- Parking
- Ascenseur
- Balcon
- Jardin
- Tv
22 avis


Opalia Residence - Stella Garda Lake Lifestyle
Peschiera del Garda - Bergamini
- 70 M2
- 2 chambres
- 5 personnes
- Air conditionné
- Le chauffage
- Terrasse
- Piscine
- Parking
- Ascenseur
39 avis