
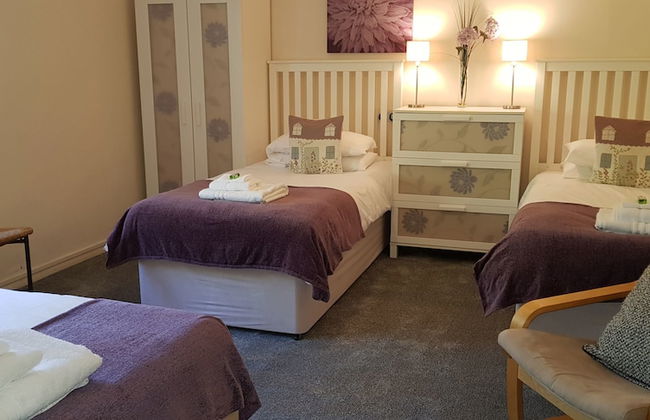
3794 Appartements à Kent

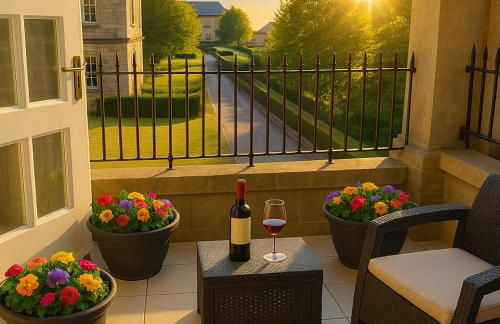


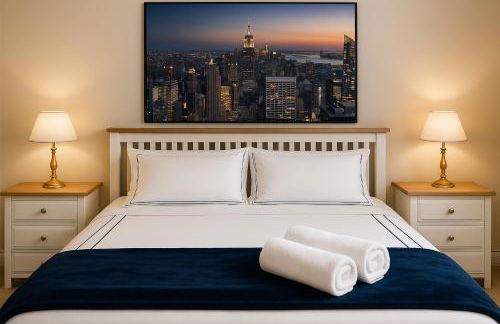


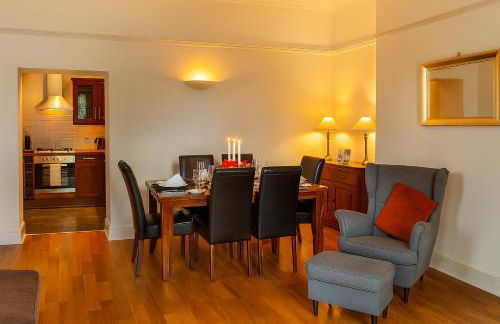


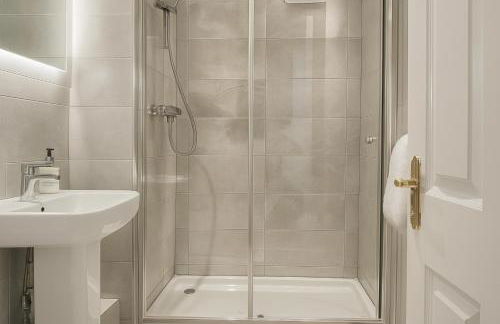

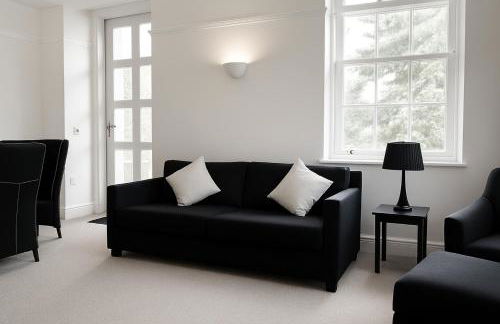

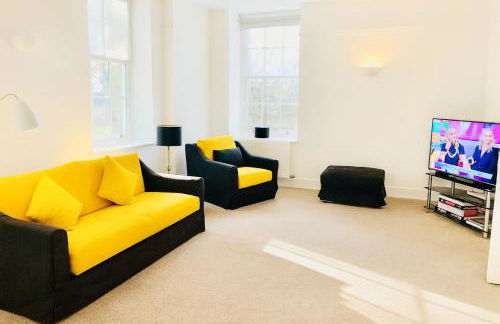


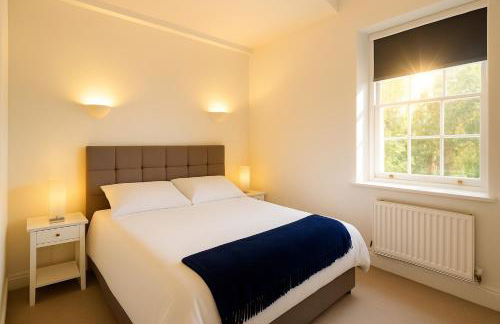


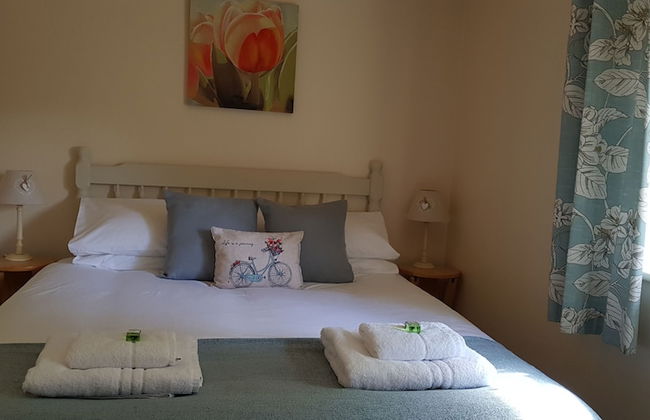
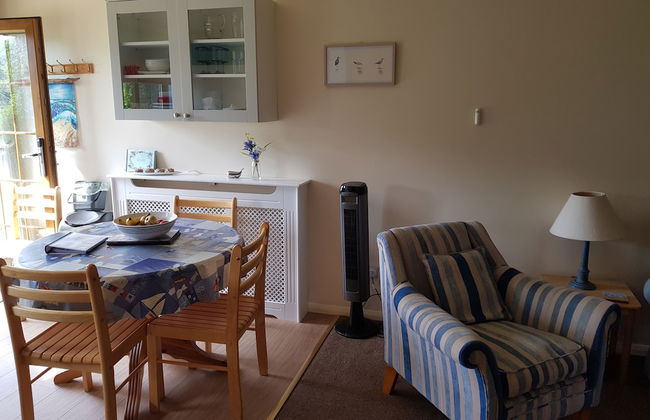
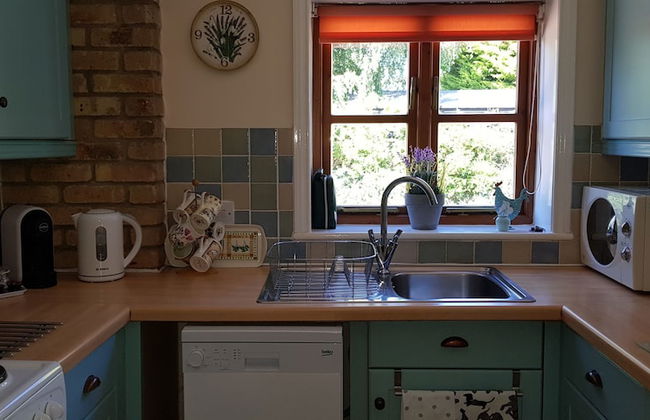
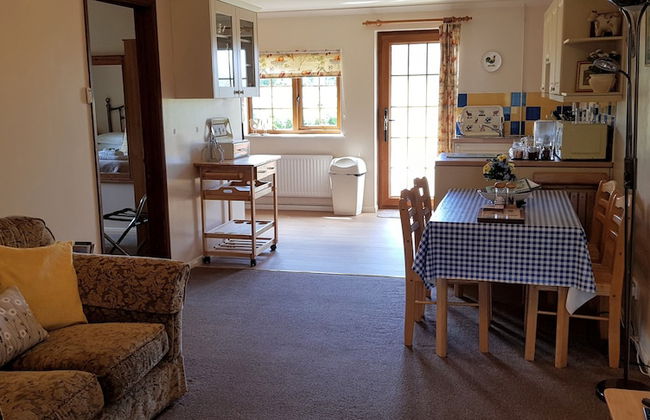
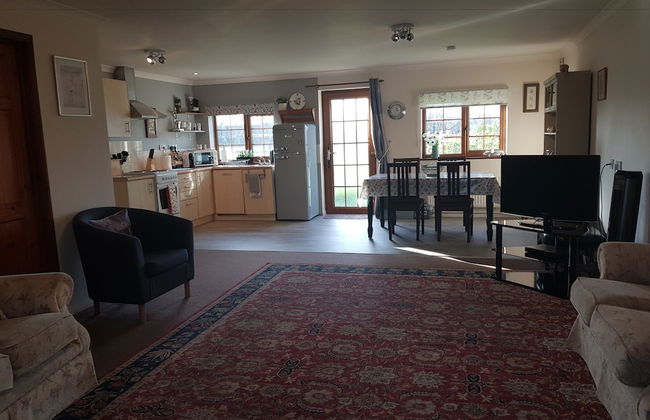
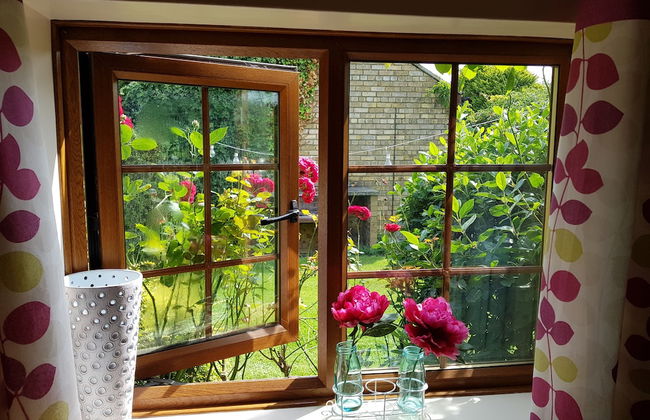
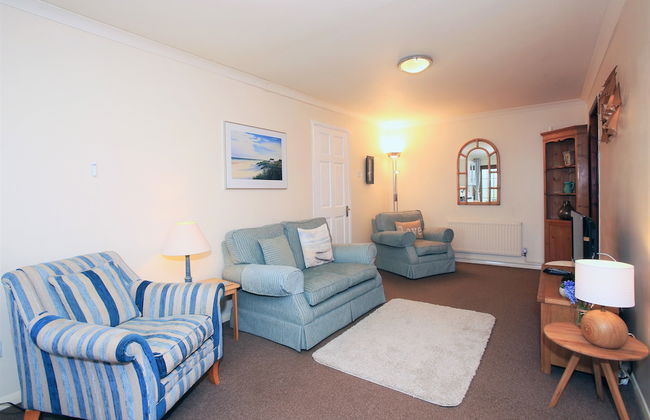
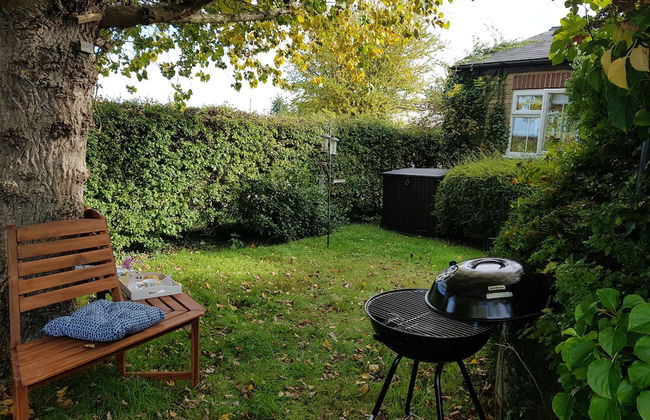
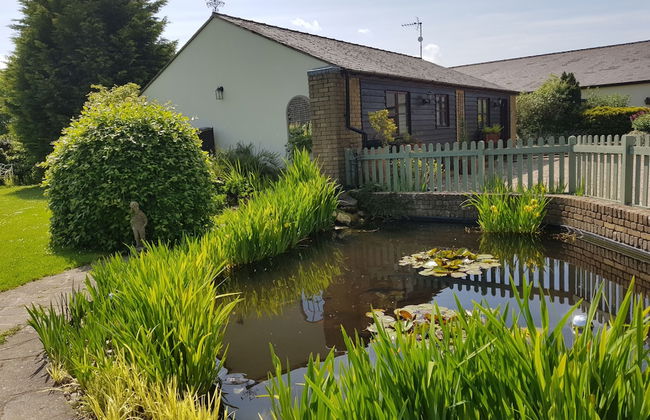
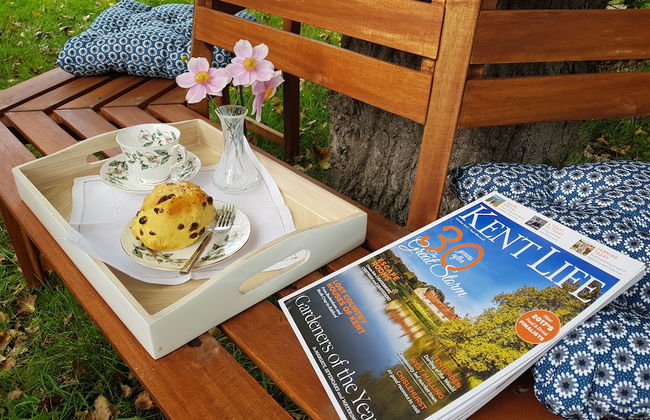
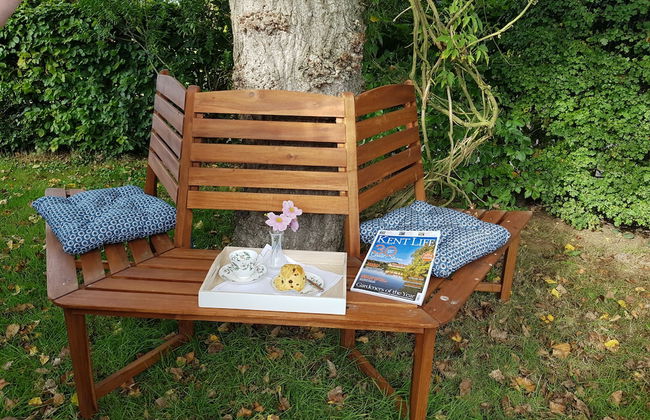
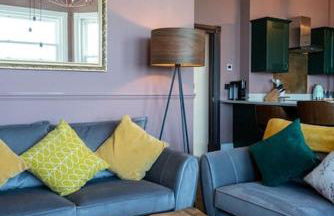
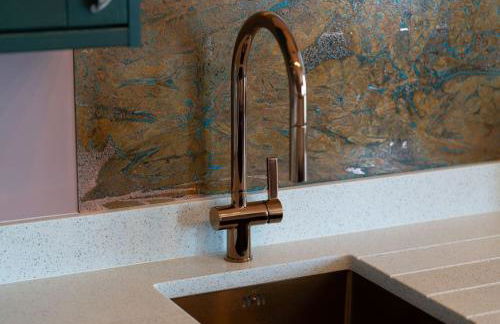
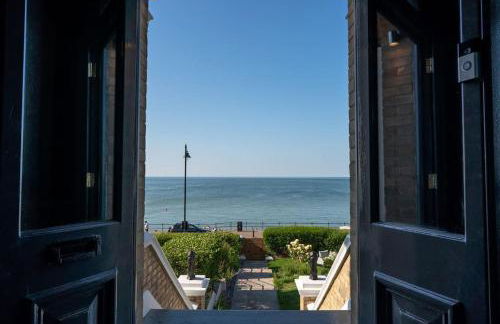
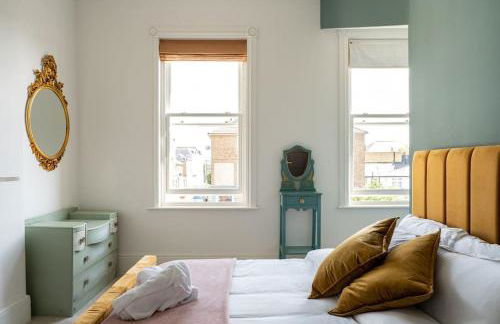
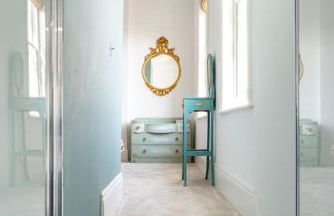
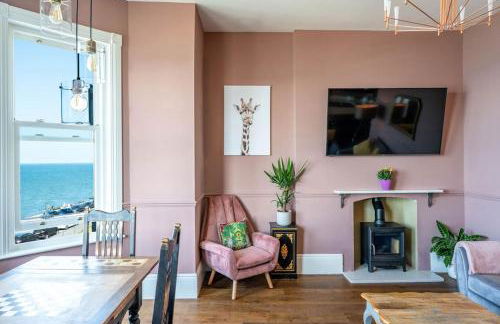
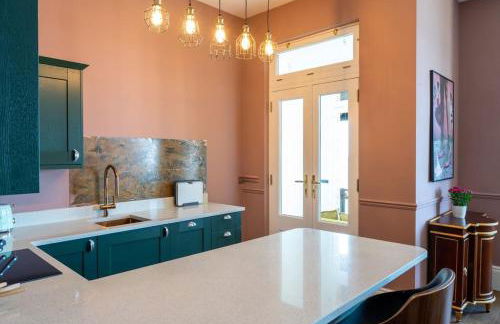
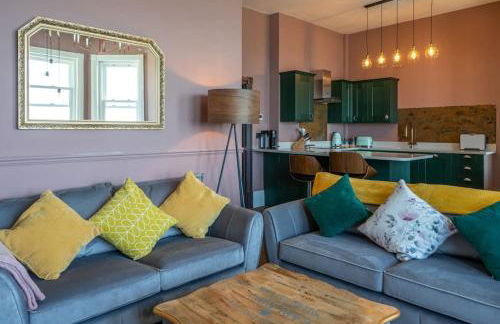
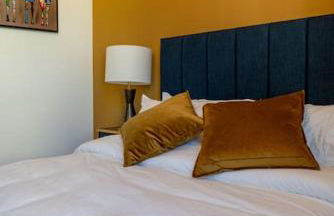
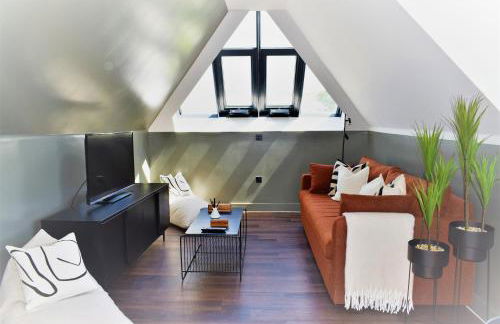
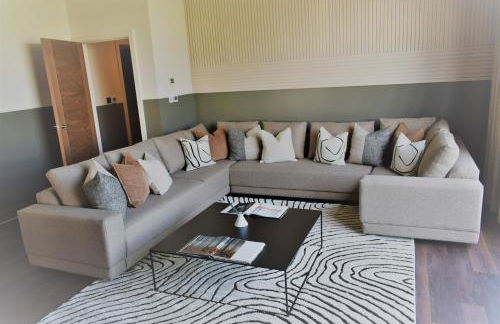
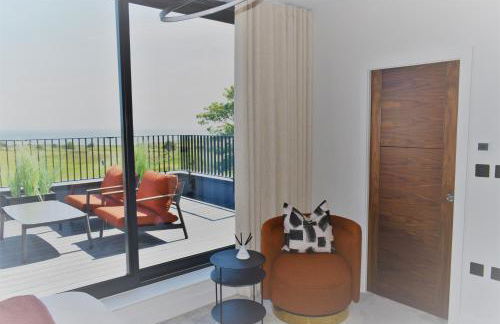
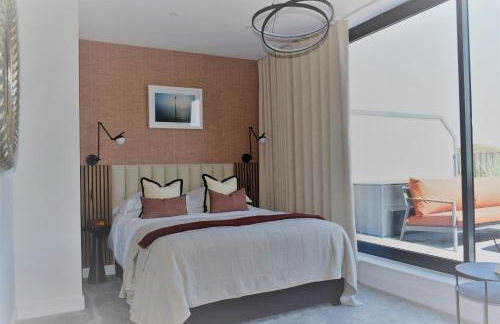
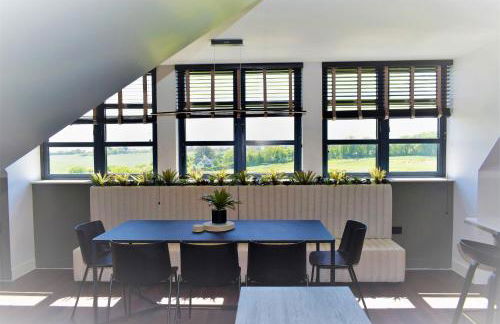
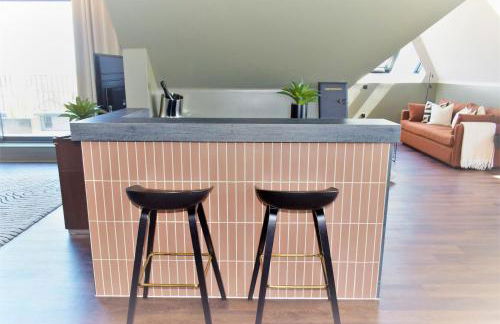
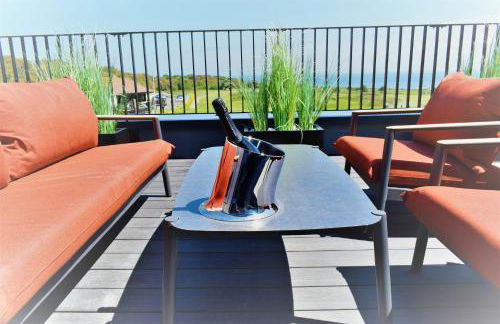
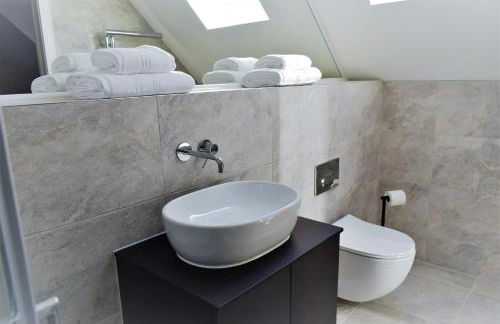
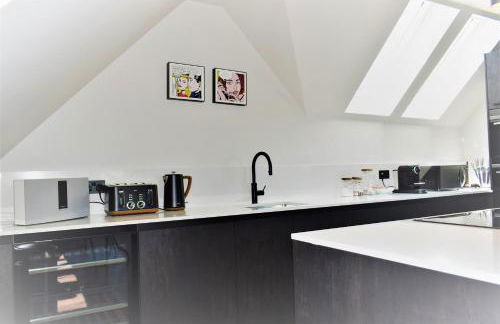
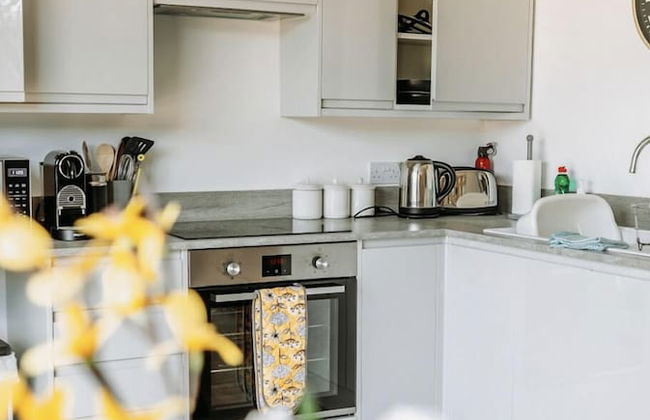
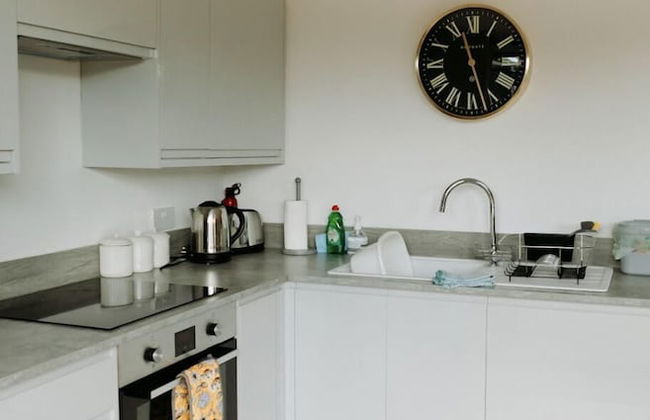
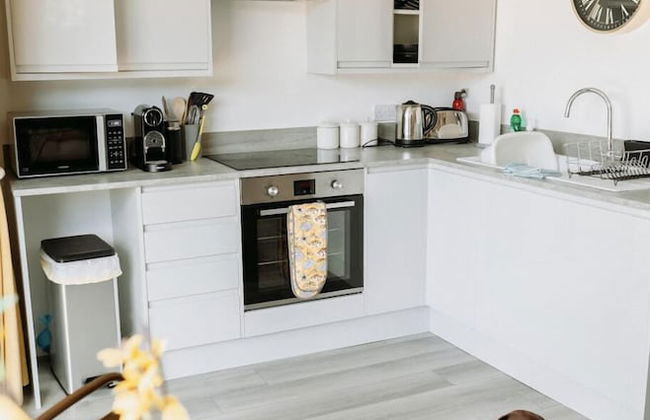
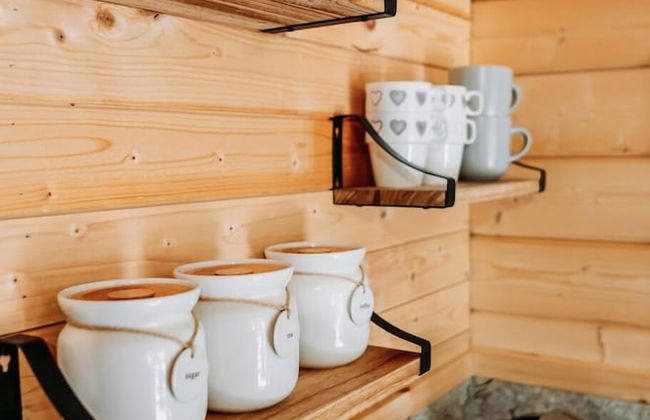
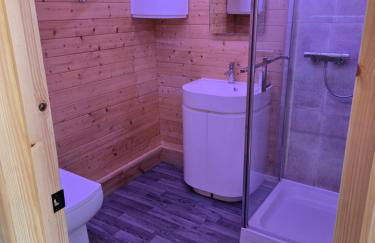
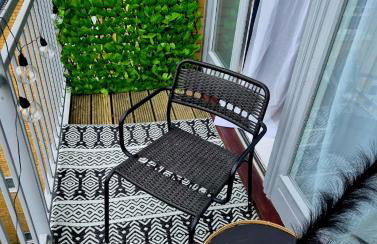
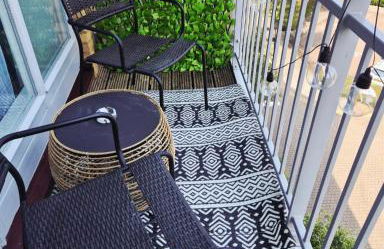
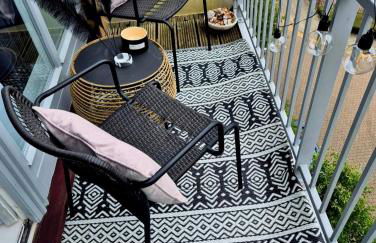
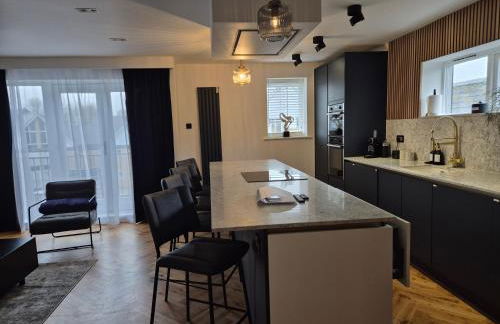
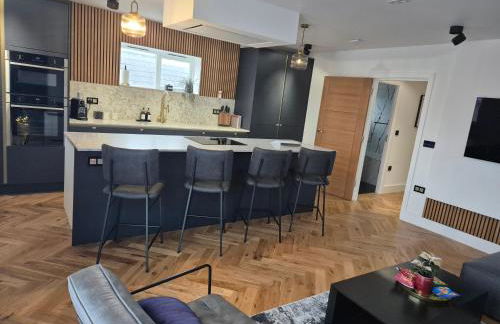
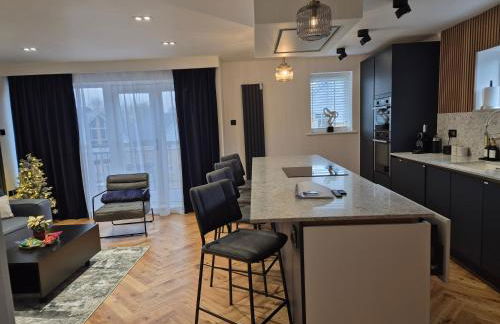
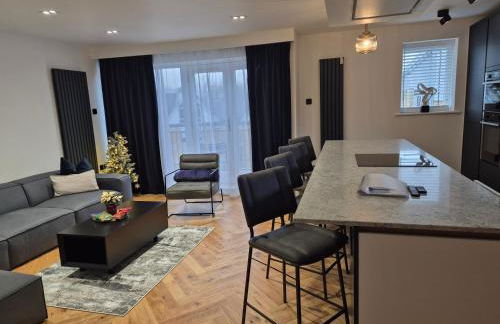
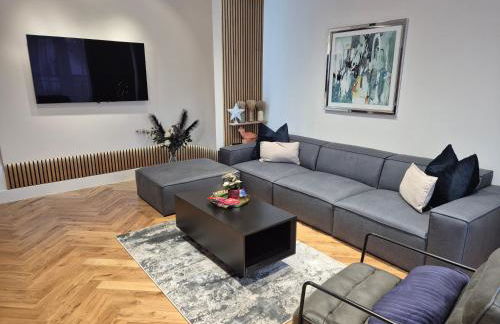
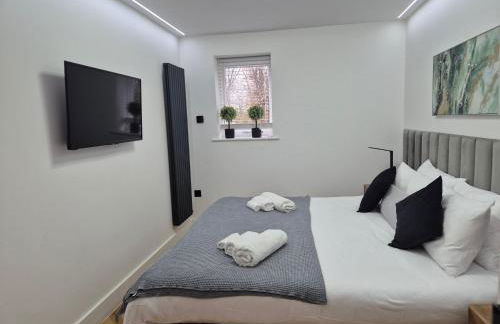
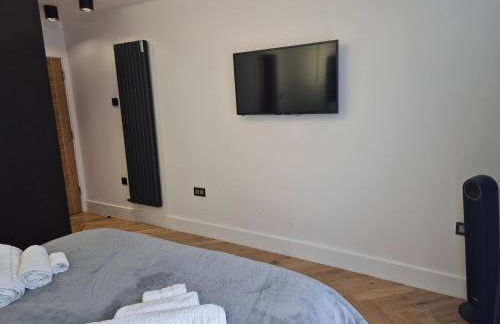
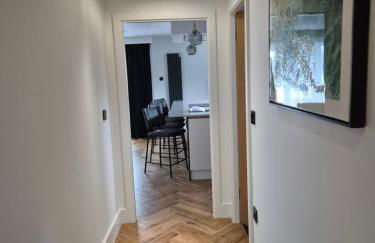
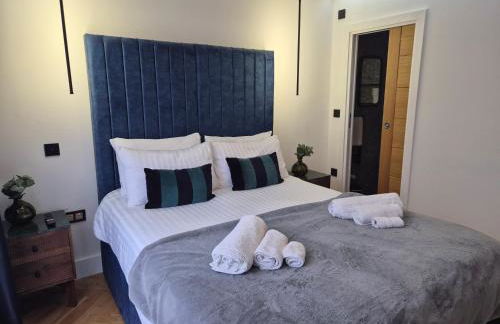
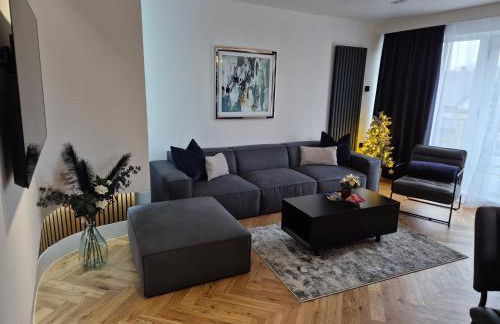
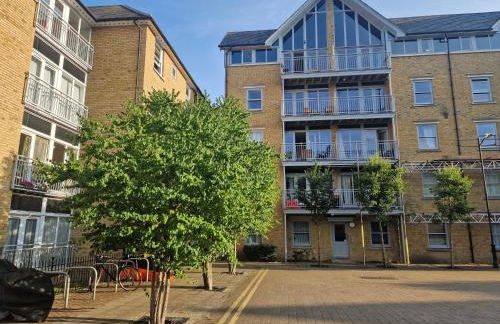
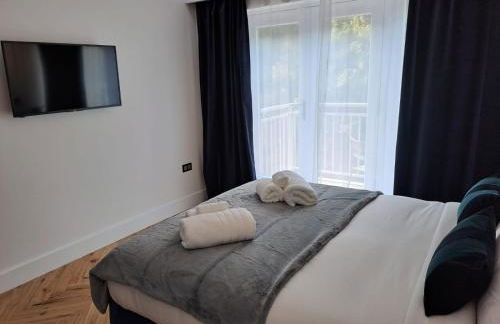
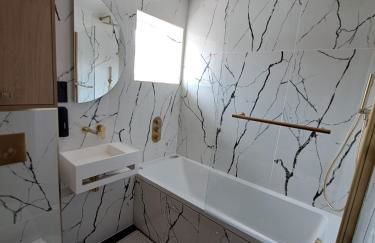
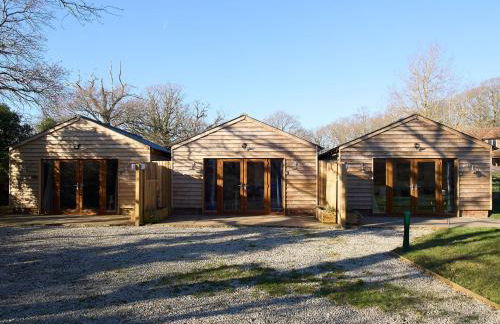
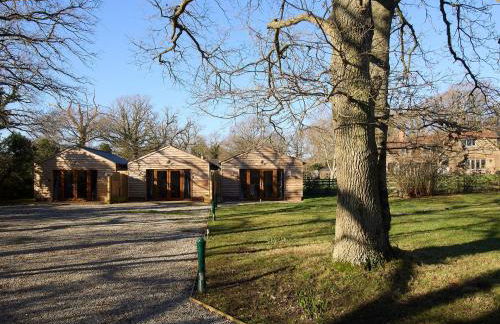
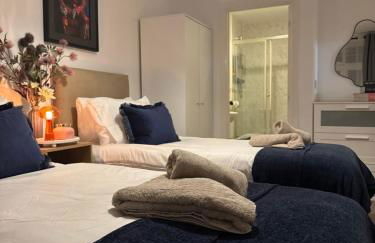
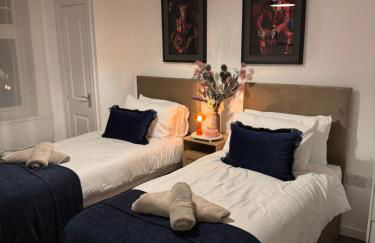
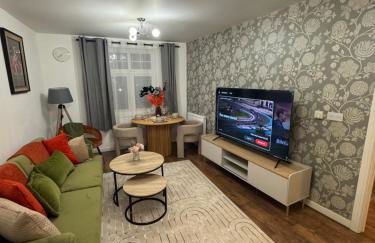
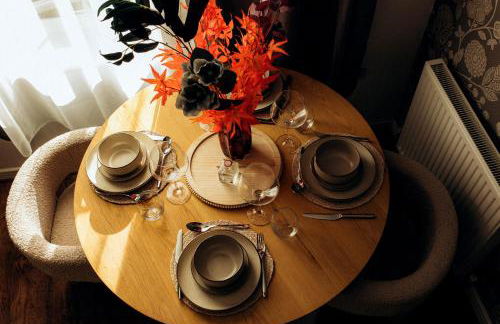
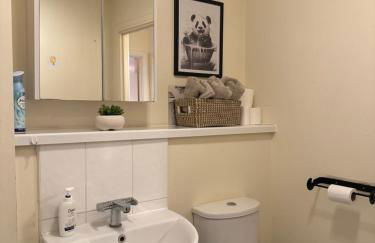
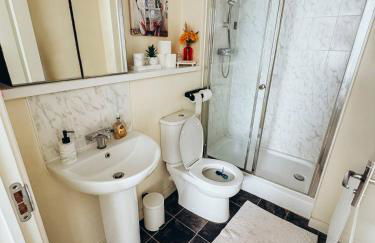
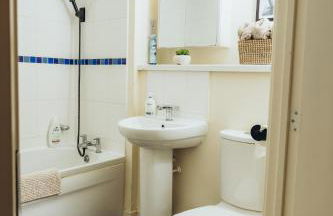
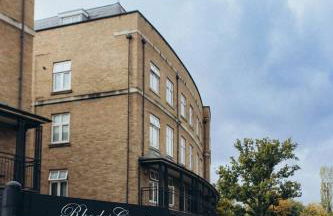
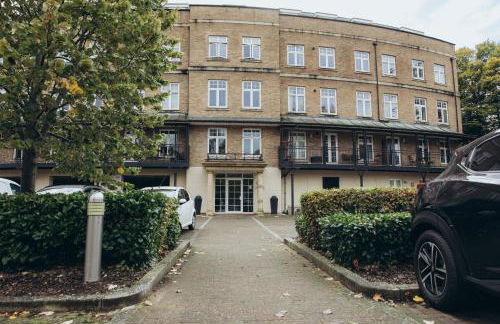
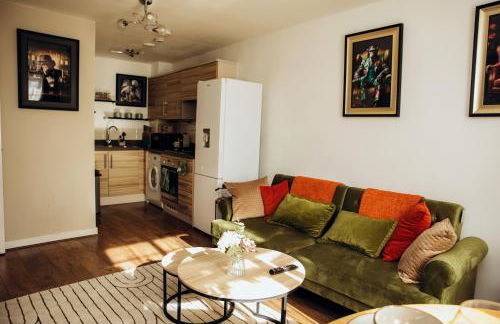
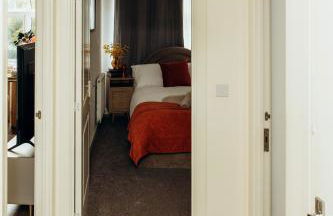
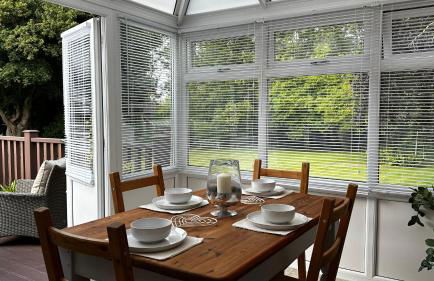
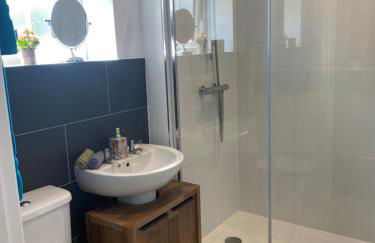
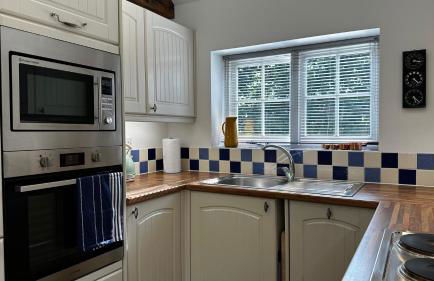
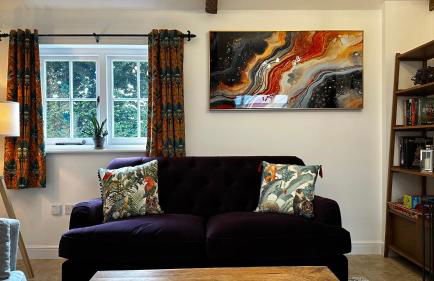
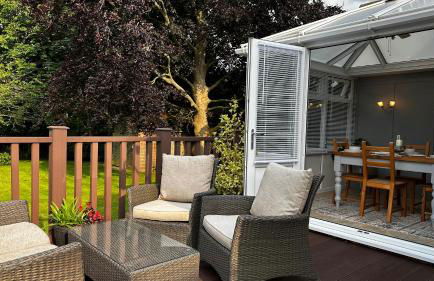
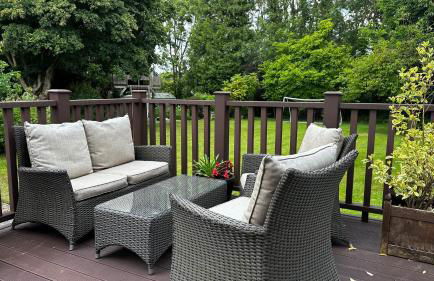
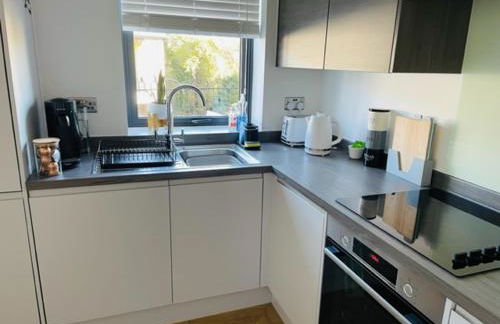
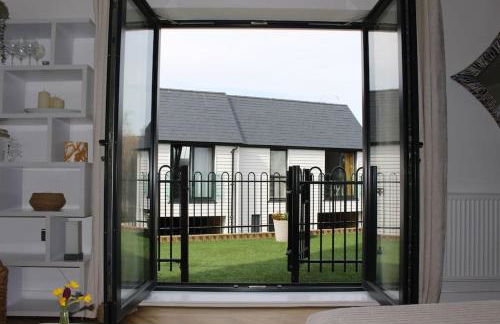
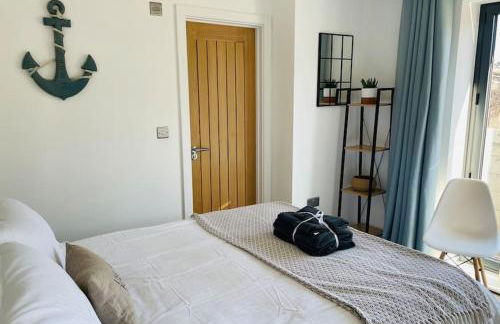
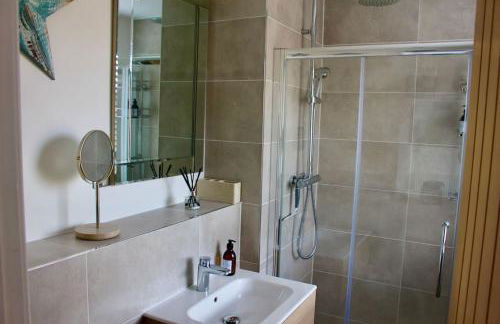
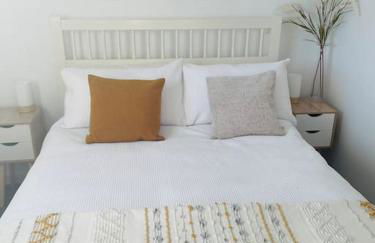
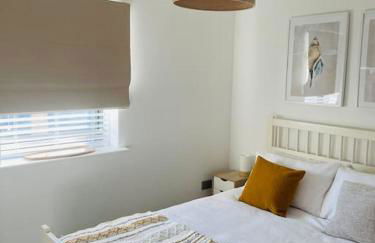
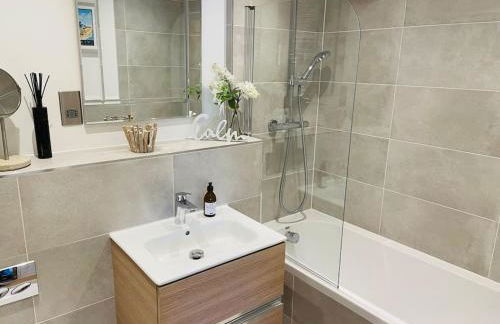
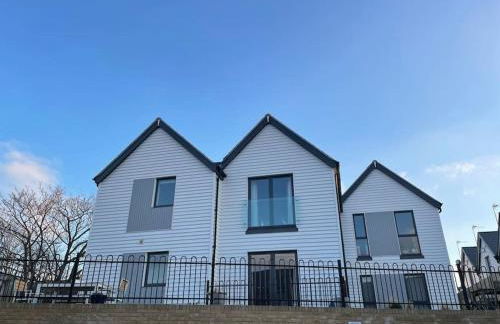
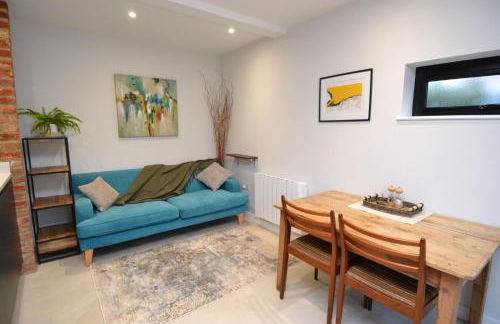
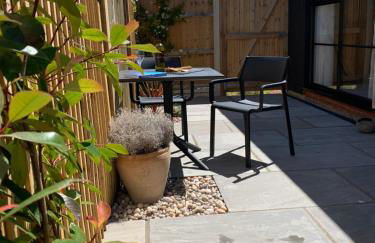
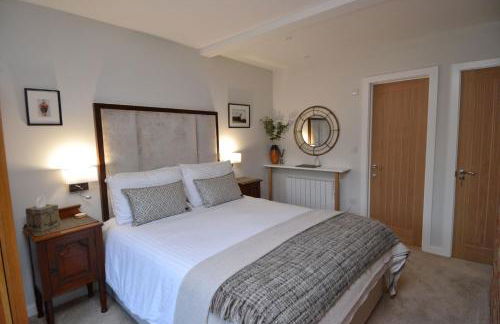
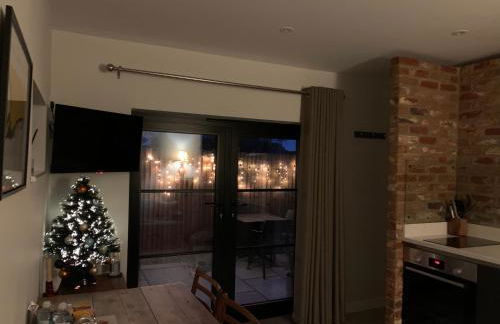
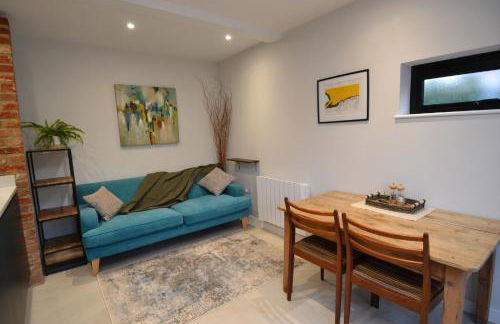
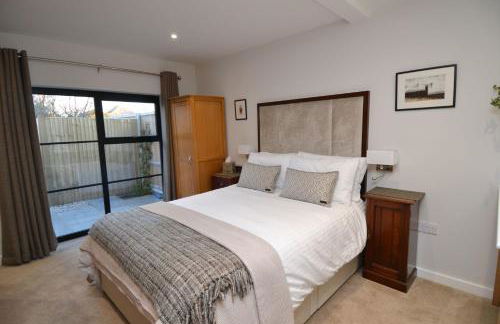
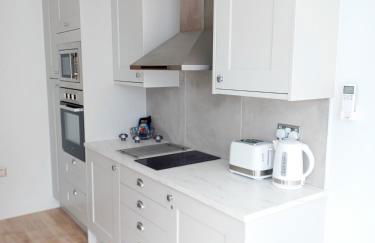
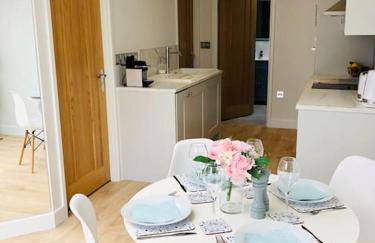
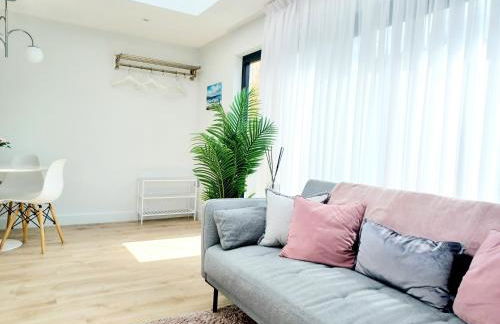
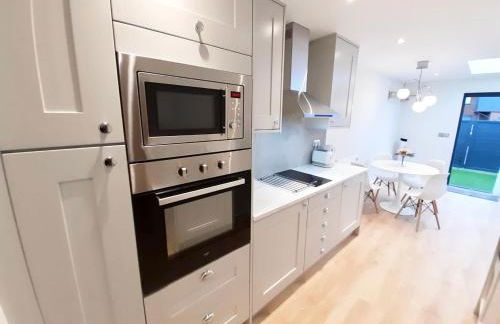
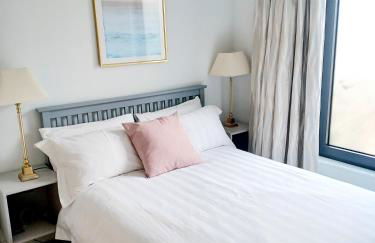
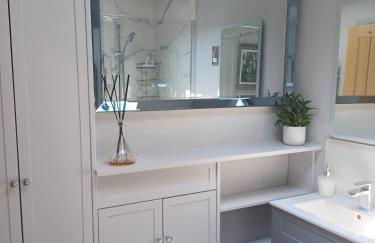
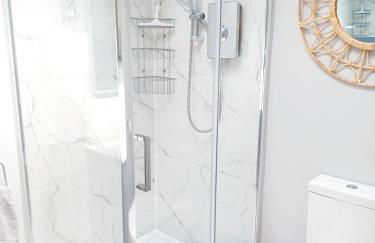
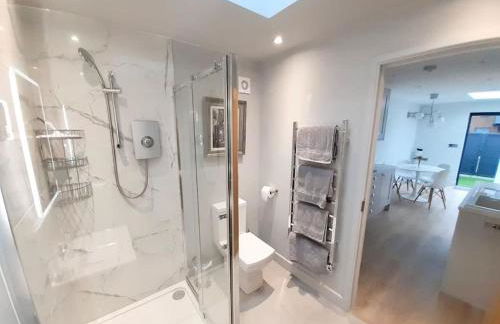
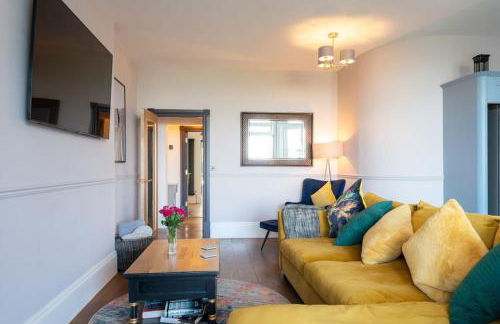
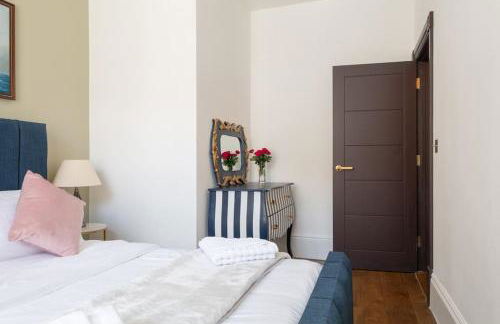
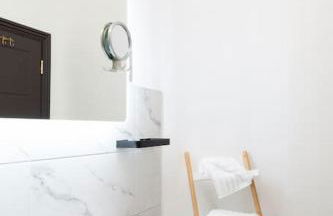
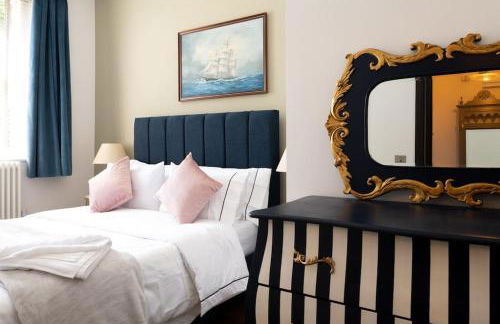
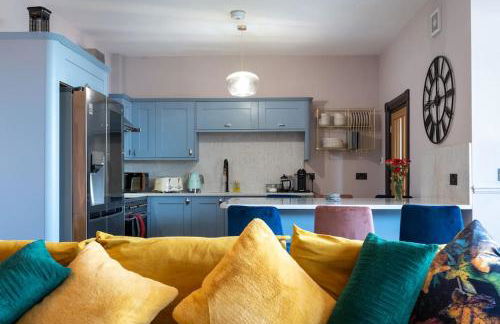
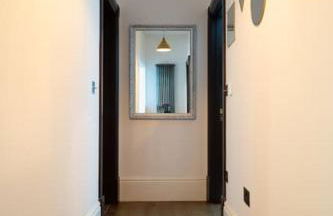
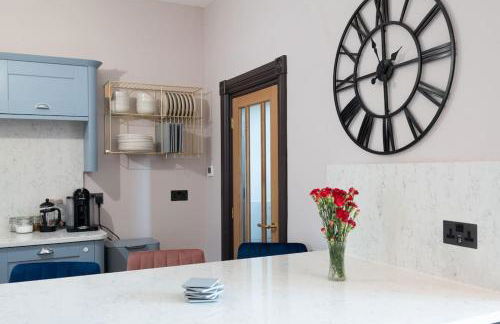
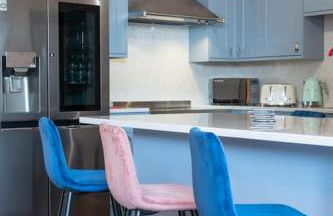
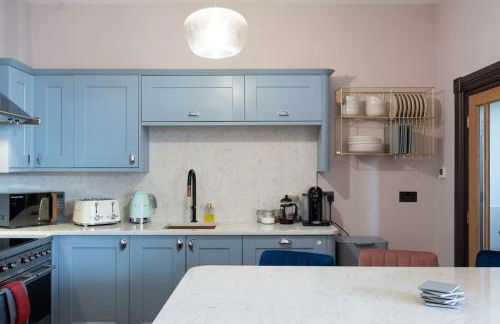
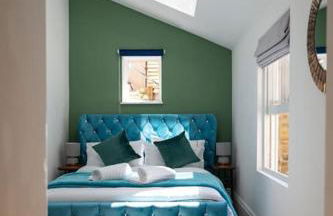
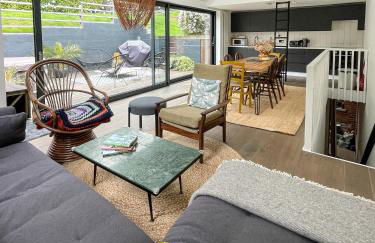
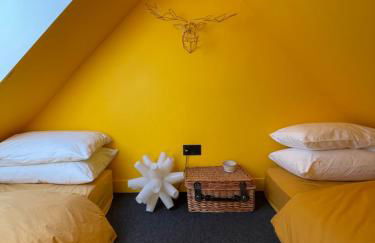
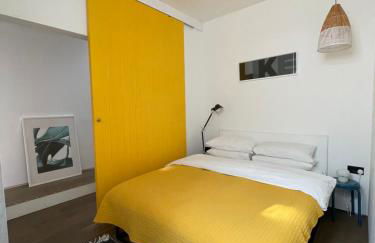
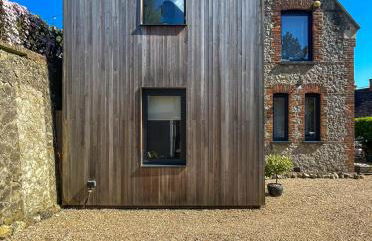
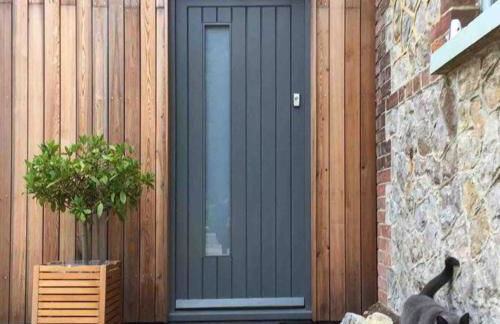
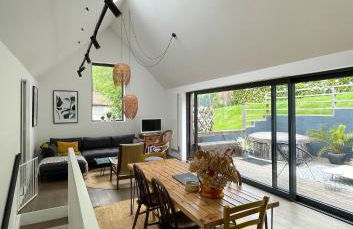
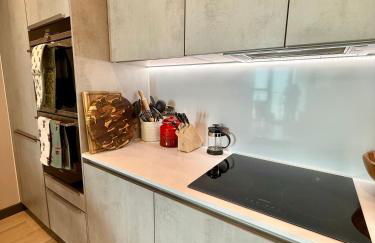
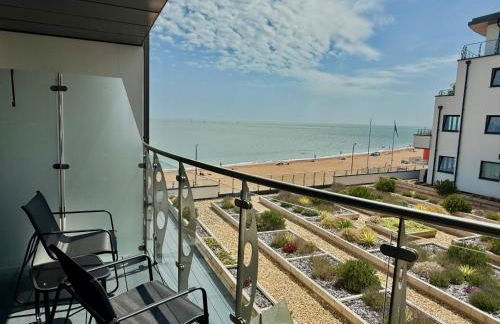
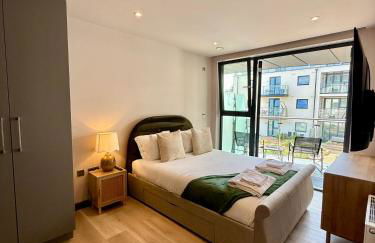
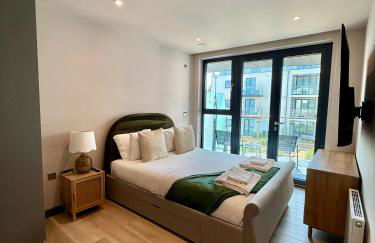
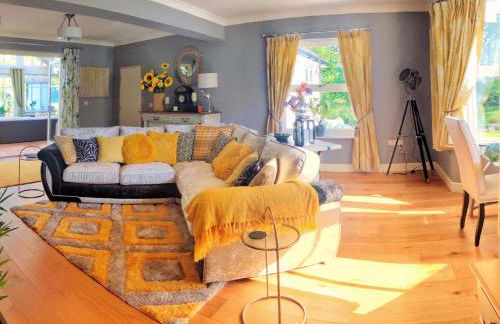
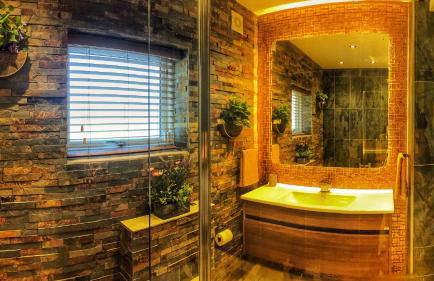
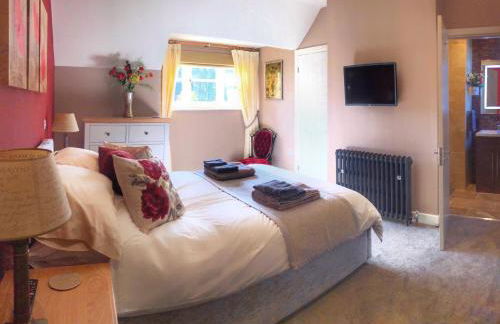
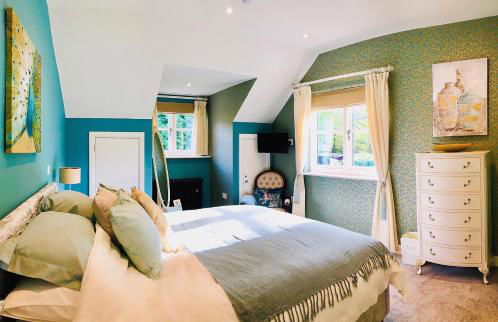
St Andrews Apartments
Maidstone - Maidstone - À 2.3 km du centre
- 120 M2
- 2 chambres
- 6 personnes
- Le chauffage
- Terrasse
- Parking
- Jardin
- Tv
- Machine à laver
- Barbecue
- Serviettes
- Feuilles
29 avis


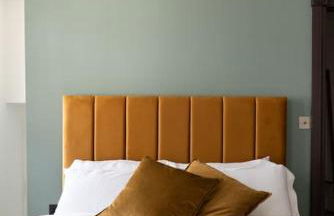
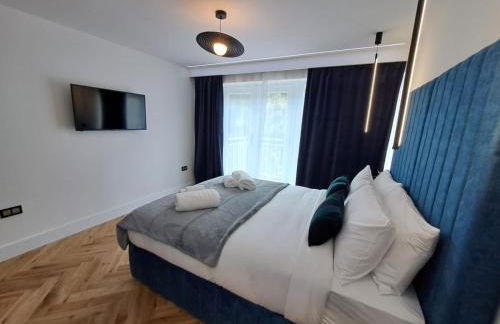
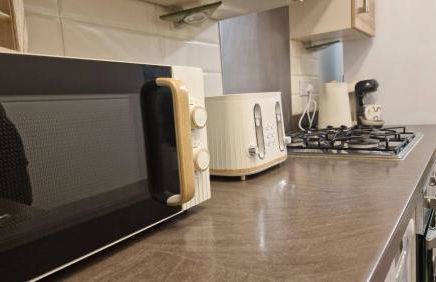
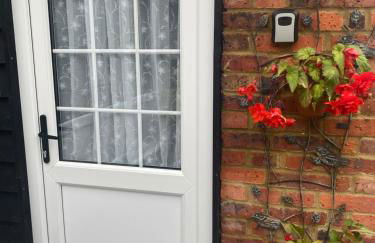
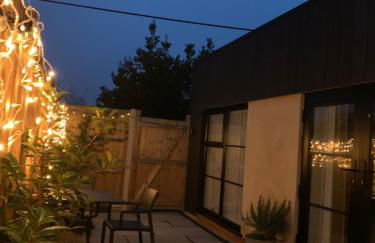
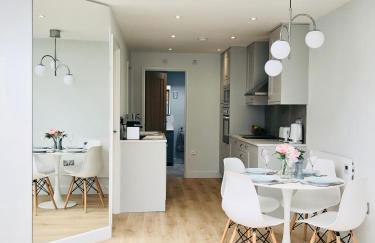
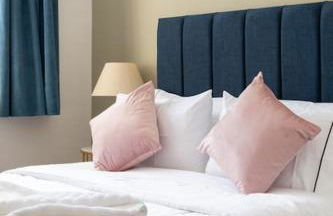
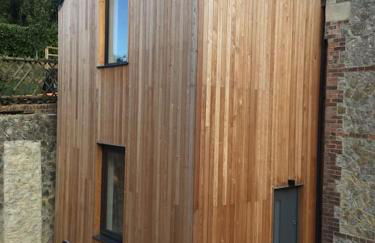
Old Town House by Ezestays
Margate - Margate
- 20 M2
- 2 personnes
- Air conditionné
- Le chauffage
- Parking
- Tv
- Serviettes
- Feuilles
25 avis

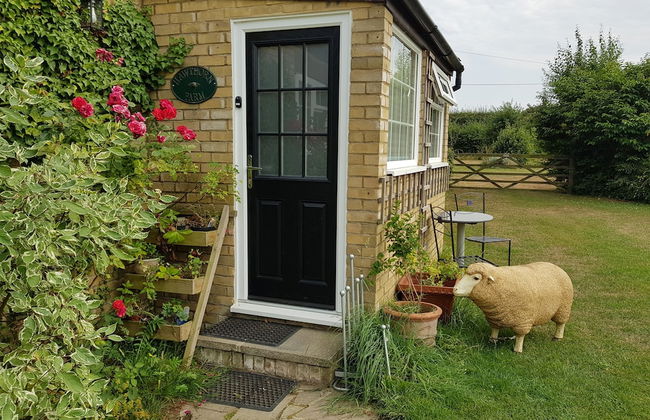


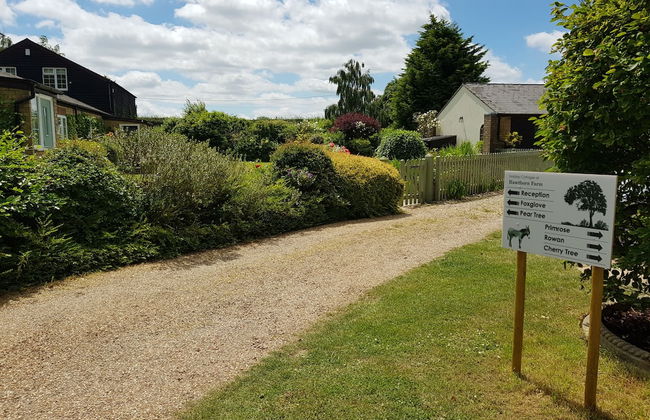


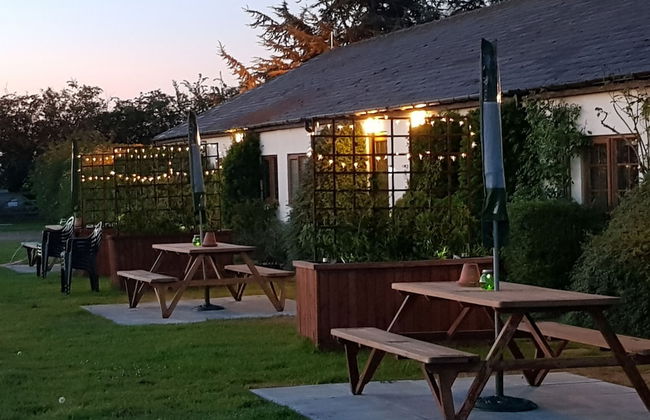

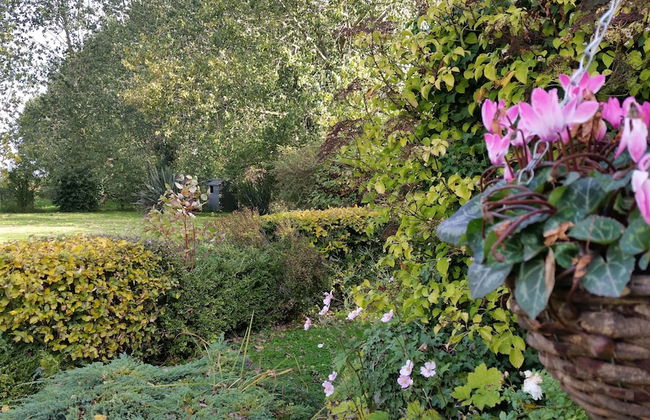


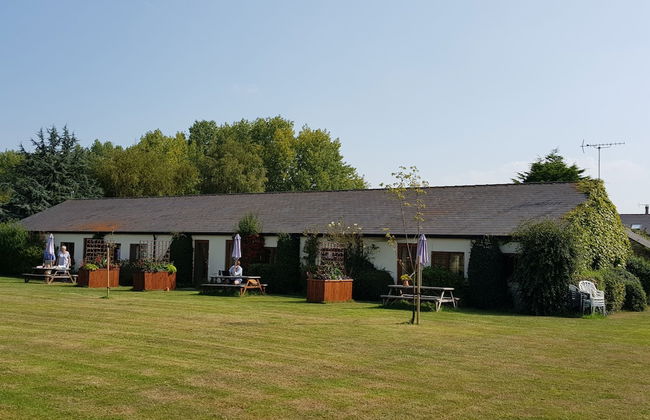


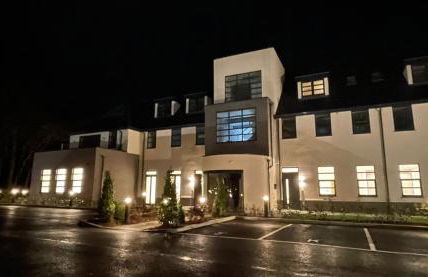
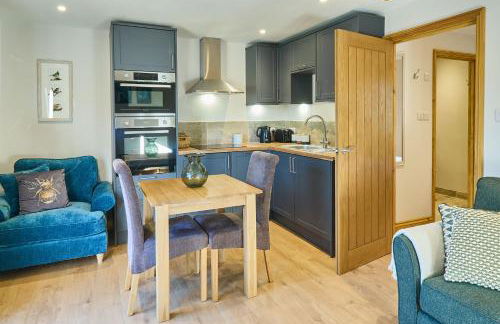
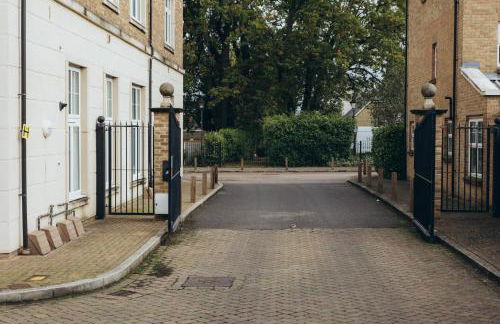
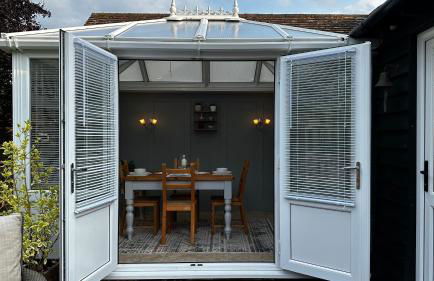
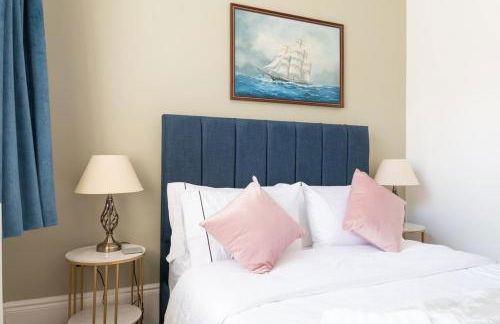
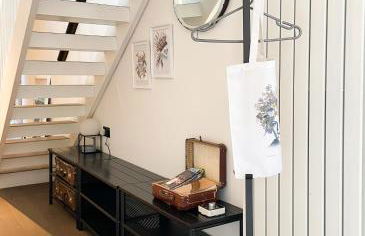
Hawthorn Farm Cottages
Canterbury - Canterbury - À 13.7 km du centre
- 88 M2
- 5 personnes
- Le chauffage
- Terrasse
- Parking
- Jardin
- Tv
- Barbecue
- Serviettes
- Feuilles
15 avis


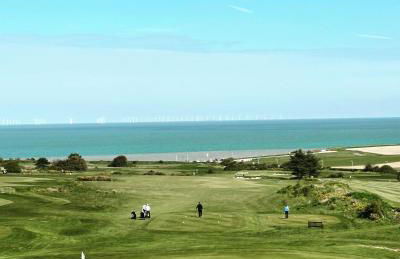
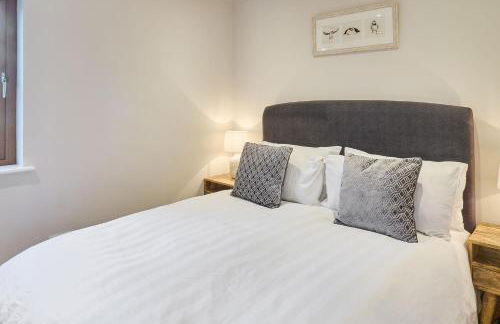
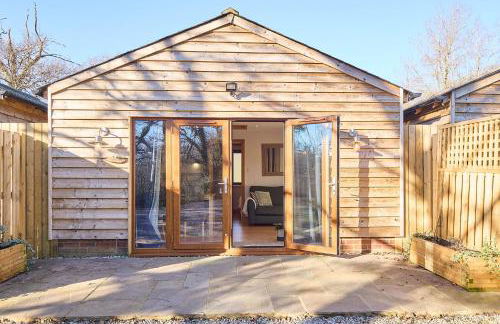
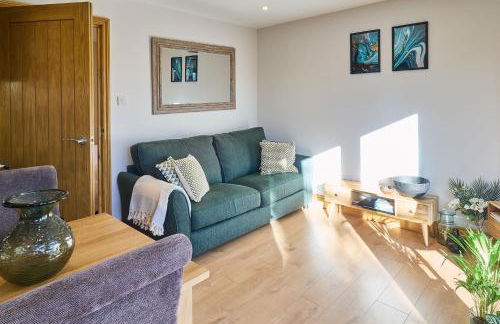
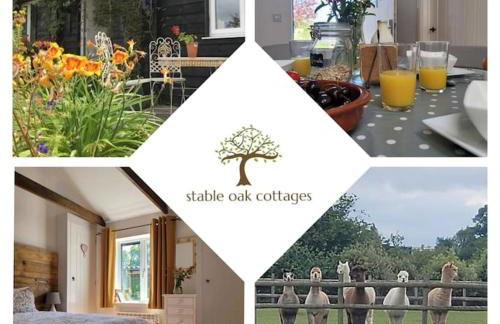
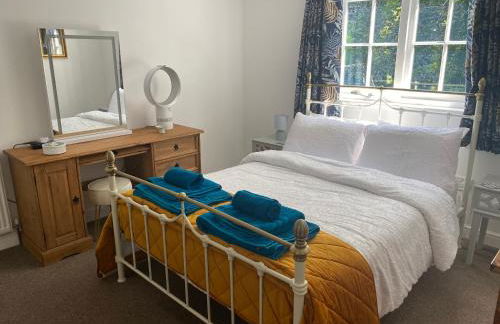
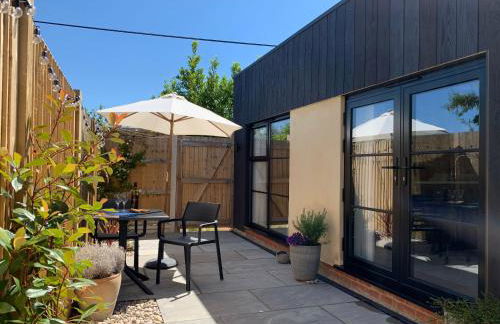
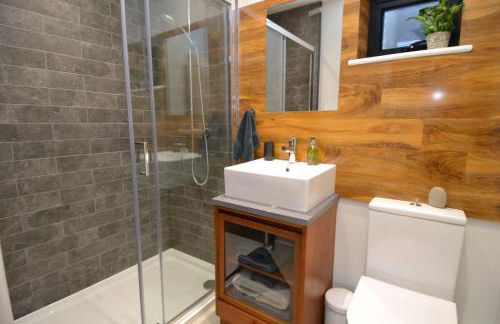
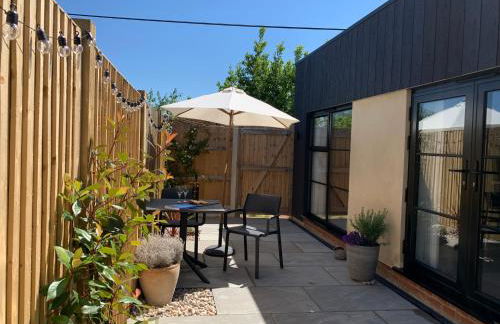
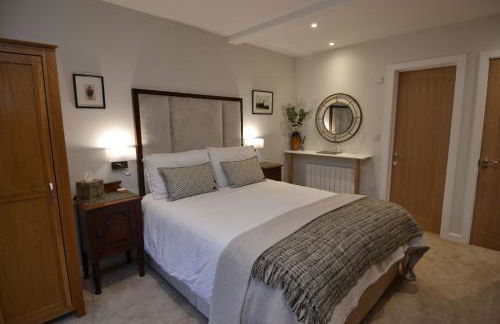
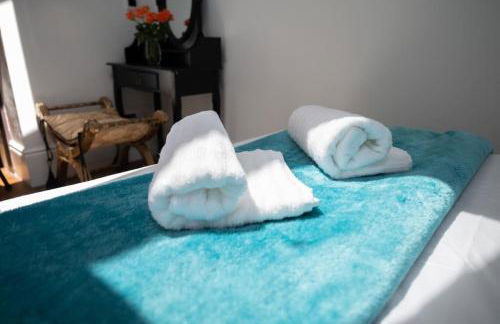
Host & Stay - Oak Barn
Ashford - Bonnington - À 7.6 km du centre
- 28 M2
- 1 chambre
- 2 personnes
- Le chauffage
- Terrasse
- Parking
- Balcon
- Jardin
- Tv
- Machine à laver
- Serviettes
- Feuilles
27 avis

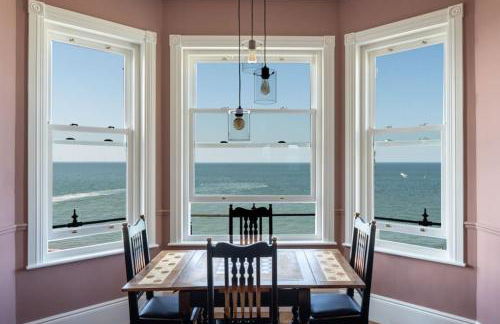


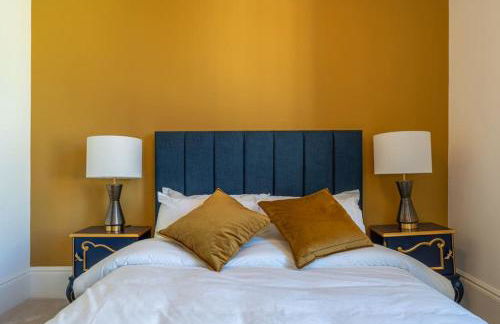


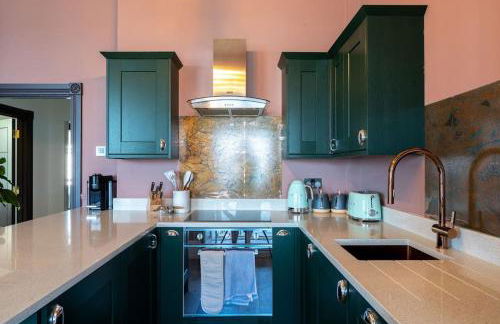


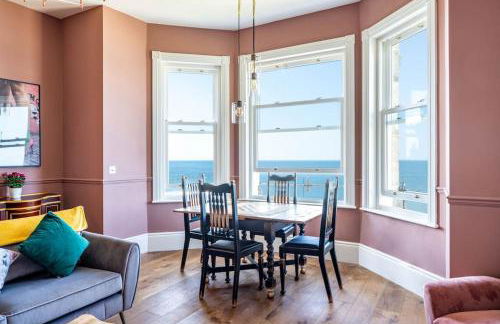

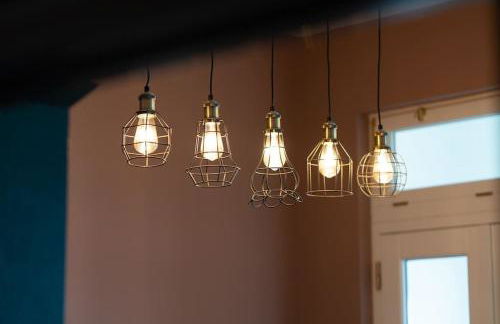


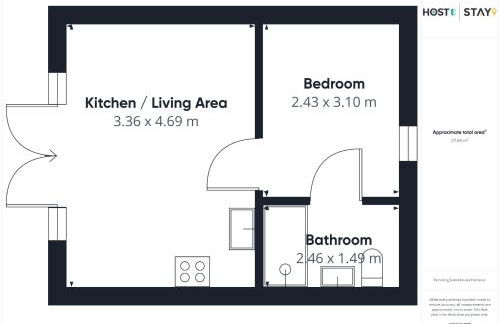
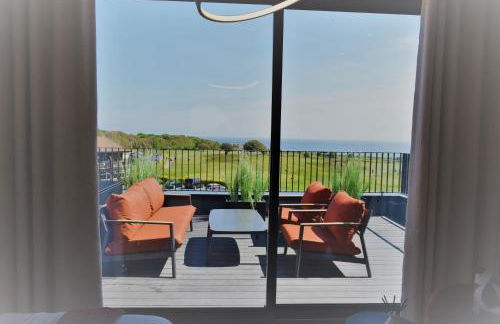
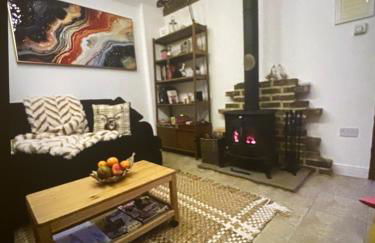
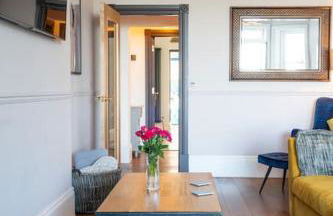
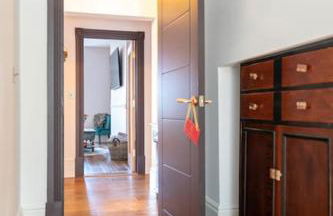
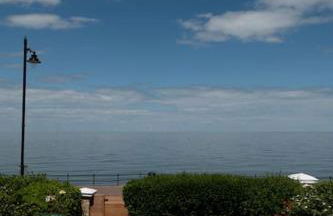
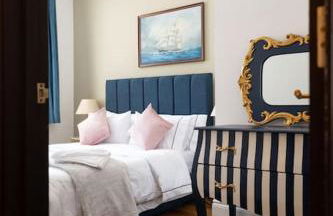
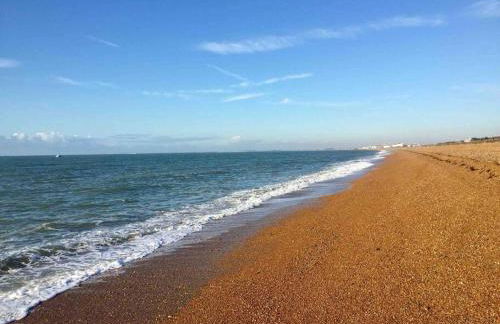
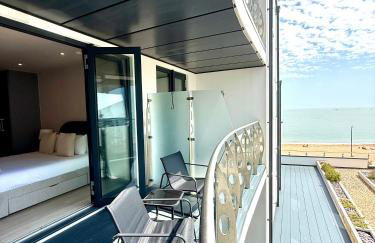
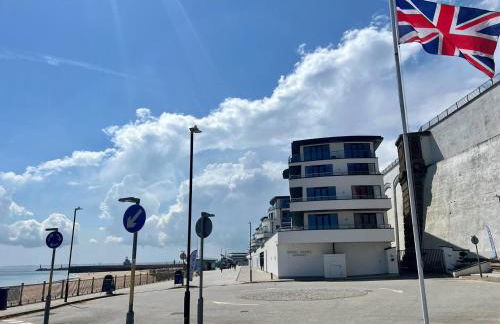
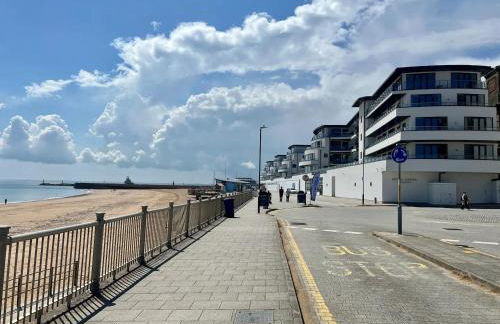
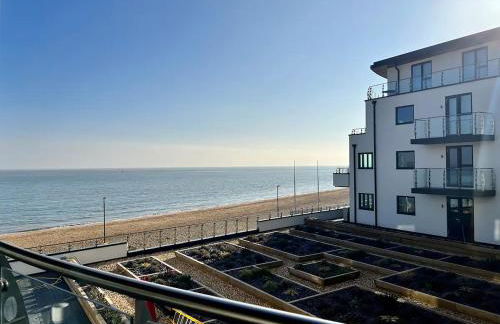
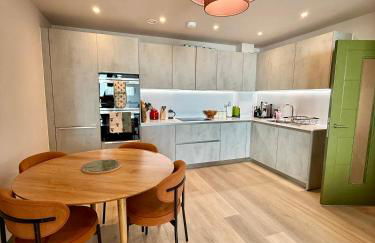
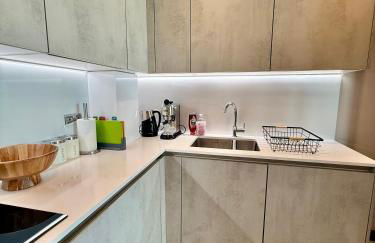
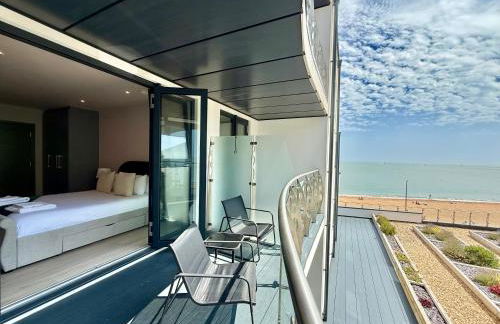
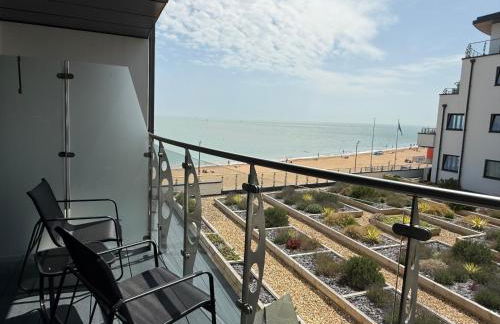
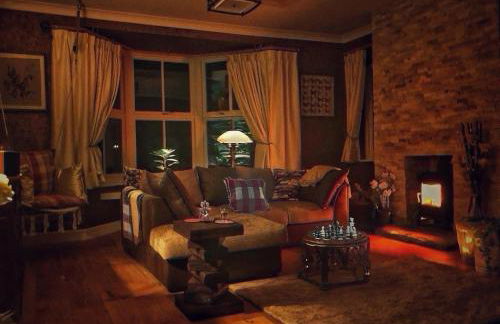
Stylish Beachfront Luxury Apartment, Sweeping Ocean Views and Log Burner
Herne - Herne
- 88 M2
- 2 chambres
- 4 personnes
- Terrasse
- Parking
36 avis


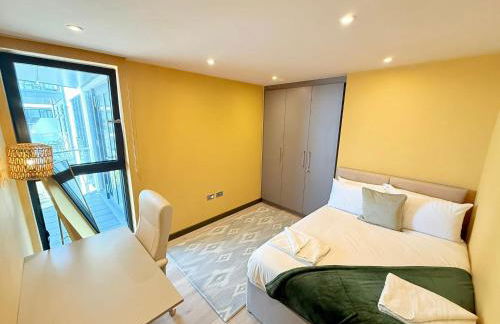
17 The Fairways
Broadstairs - Broadstairs
- 177 M2
- 3 chambres
- 6 personnes
- Air conditionné
- Le chauffage
- Terrasse
- Parking
- Ascenseur
26 avis


Truly Kentish Holiday Lets
Sittingbourne - Sittingbourne
- 30 M2
- 4 personnes
- Le chauffage
- Terrasse
- Parking
- Jardin
- Tv
- Barbecue
- Serviettes
- Feuilles
6 avis


Secret Hythe, Sea views Town location 2km Eurotunnel
Hythe - Hythe
- 30 M2
- 2 personnes
- Air conditionné
- Le chauffage
- Terrasse
- Parking
- Balcon
- Jardin
- Machine à laver
- Barbecue
- Serviettes
- Feuilles
221 avis


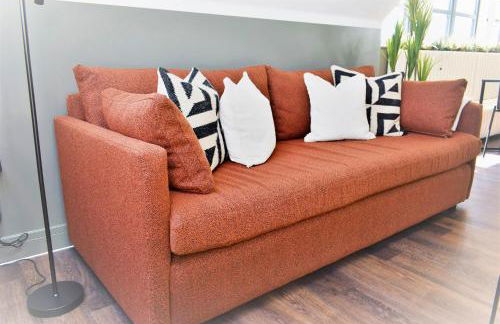
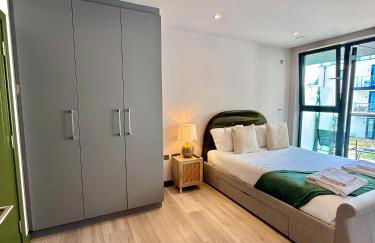
Newly Renovated Flat with Parking space
Canterbury - Canterbury - Dans le centre
- 2 chambres
- 4 personnes
- Le chauffage
- Terrasse
- Parking
- Ascenseur
55 avis


Host & Stay - Willow Barn
Ashford - Bonnington - À 7.7 km du centre
- 28 M2
- 1 chambre
- 2 personnes
- Le chauffage
- Terrasse
- Parking
- Jardin
- Tv
- Machine à laver
- Serviettes
- Feuilles
23 avis


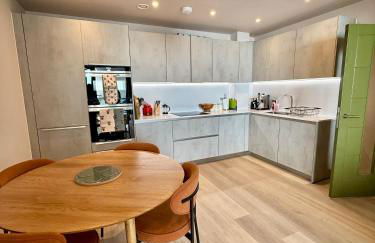
Bromley jefersons place
Bromley - Bromley - À 2 km du centre
- 65 M2
- 2 chambres
- 5 personnes
- Le chauffage
- Parking
- Ascenseur
- Jardin
12 avis


Willow Cottage in idyllic location
Maidstone - Harrietsham - À 9.4 km du centre
- 49 M2
- 2 chambres
- 4 personnes
- Le chauffage
- Terrasse
- Parking
- Jardin
- Barbecue
16 avis


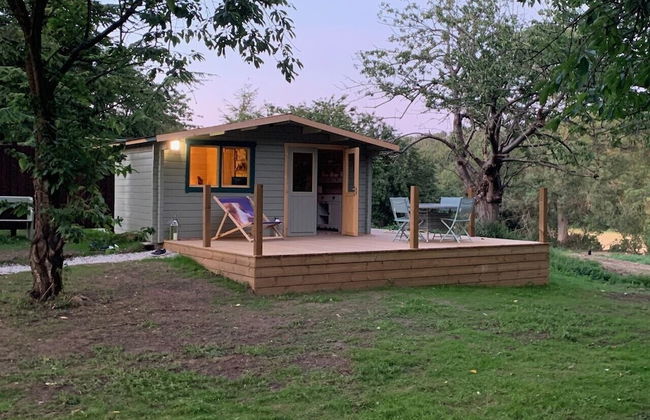
Annexe Orchard Cottage
Ashford - Mersham - À 3.5 km du centre
- 80 M2
- 1 chambre
- 4 personnes
- Le chauffage
- Terrasse
- Parking
- Jardin
12 avis


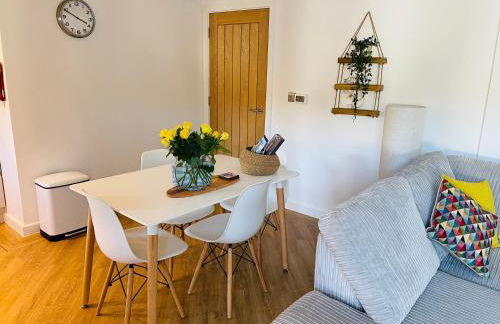
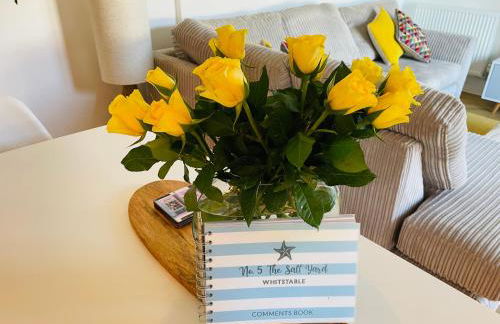
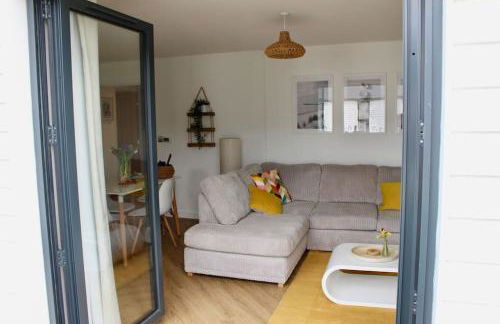

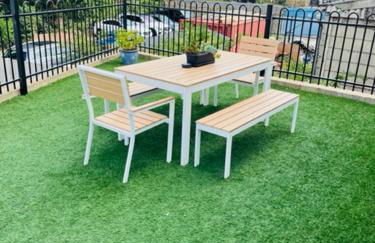


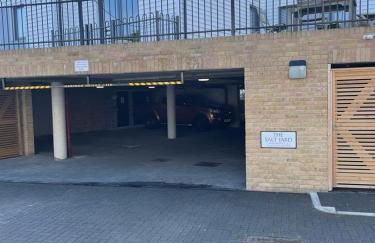
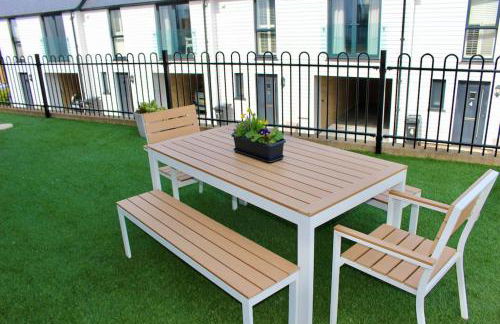
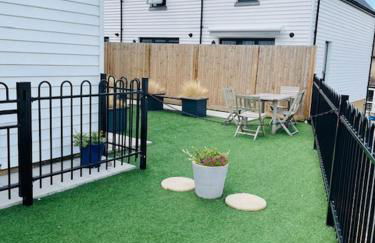

Salt Yard Apartment, Parking and Terrace, Whitstable
Whitstable - Whitstable
- 60 M2
- 2 chambres
- 4 personnes
- Le chauffage
- Terrasse
- Parking
- Jardin
91 avis


The Burrow at Tankerton
Whitstable - Whitstable
- 30 M2
- 2 personnes
- Le chauffage
- Terrasse
- Parking
- Jardin
111 avis


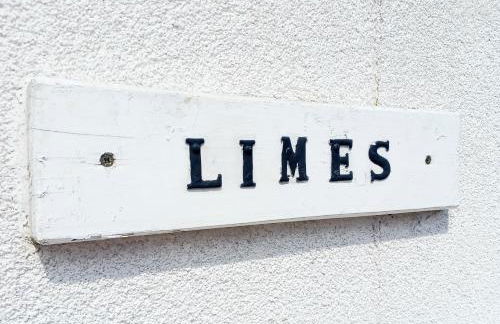
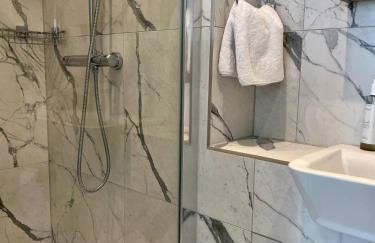
'The Limes' - Air-Con Two Double Bedroom Holiday House with Private Garden
Whitstable - Whitstable
- 40 M2
- 2 chambres
- 4 personnes
- Air conditionné
- Le chauffage
- Terrasse
- Parking
- Jardin
56 avis


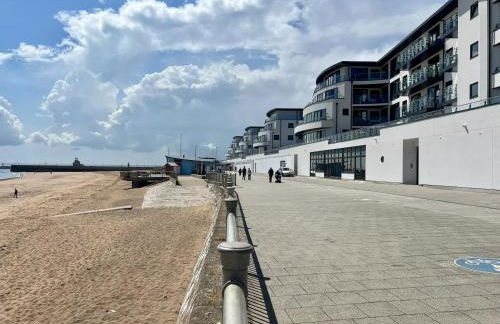
Warm Beachfront Getaway with Winter Ocean Views & Parking
Herne - Herne
- 107 M2
- 3 chambres
- 6 personnes
- Terrasse
- Parking
- Jardin
39 avis


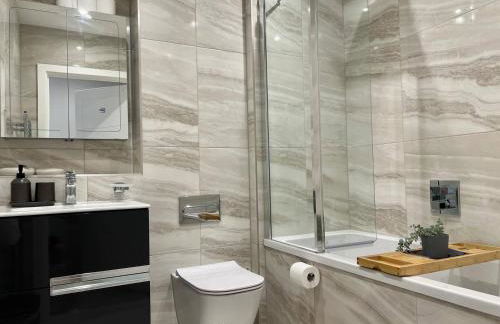


Ramsgate Stunning Sea View Apt Free Parking
Ramsgate - Ramsgate
- 65 M2
- 2 chambres
- 4 personnes
- Le chauffage
- Parking
- Ascenseur
- Jardin
11 avis


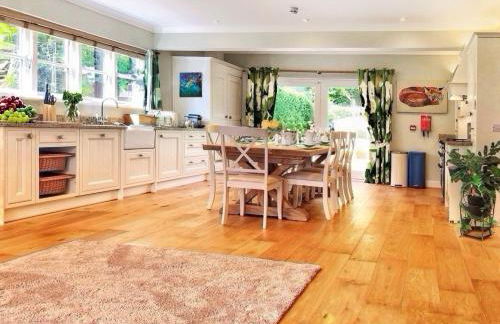


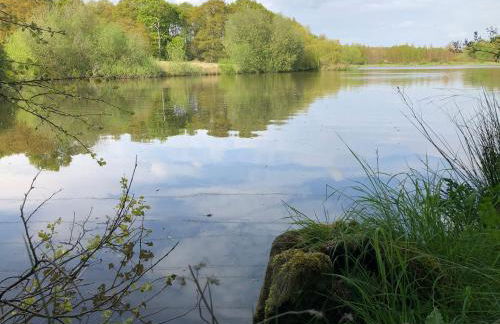
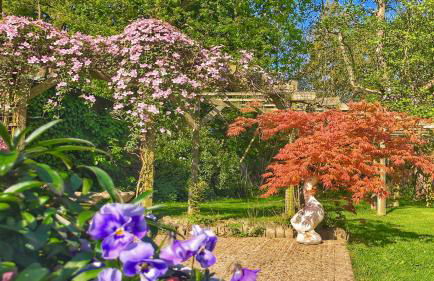
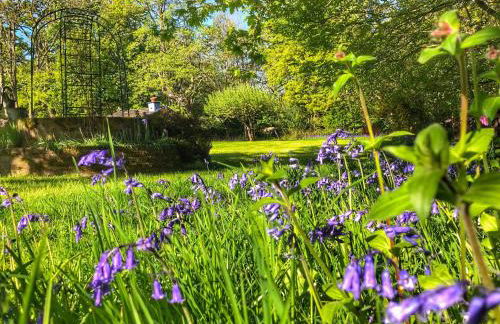
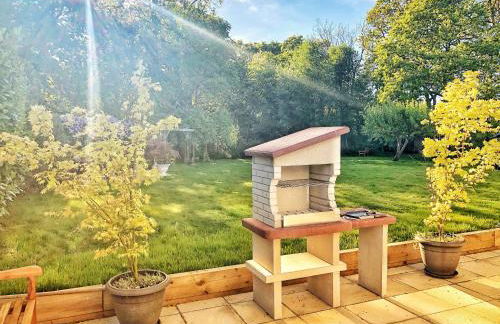
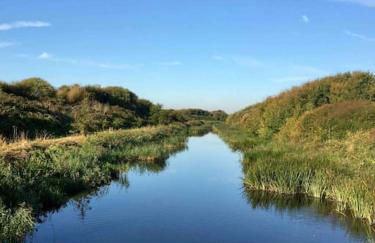
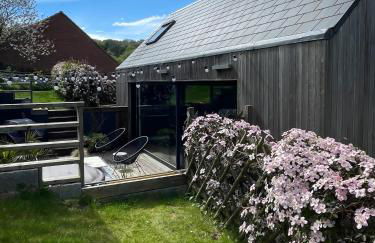
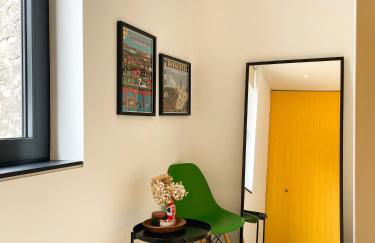
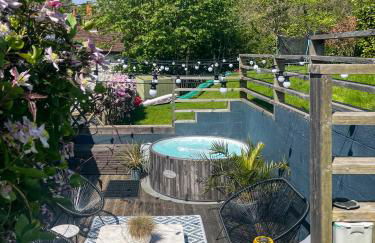
Daweswood - Luxury cottage, lake access & hot tub
Canterbury - Tyler Hill - À 3.5 km du centre
- 200 M2
- 5 chambres
- 10 personnes
- Le chauffage
- Terrasse
- Parking
- Jardin
- Barbecue
13 avis