
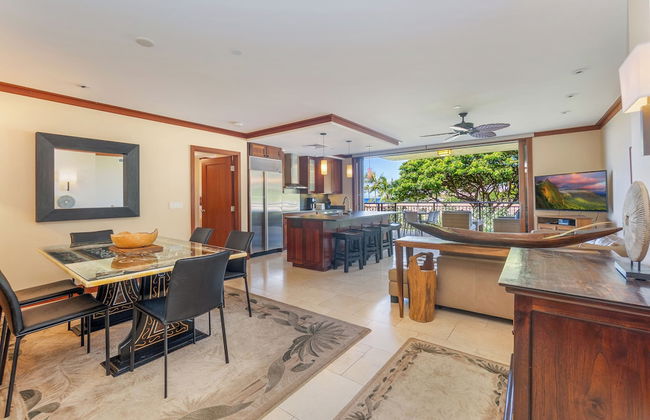
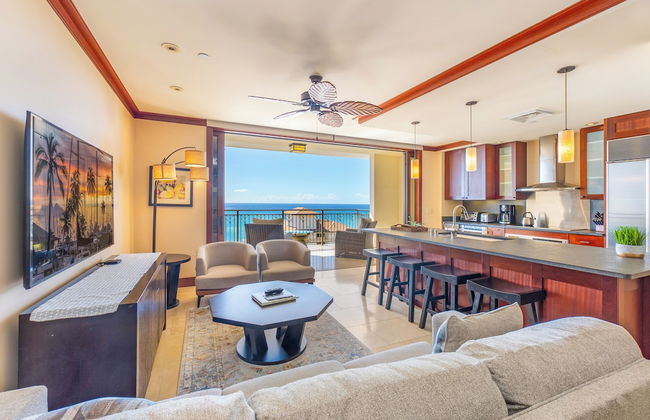
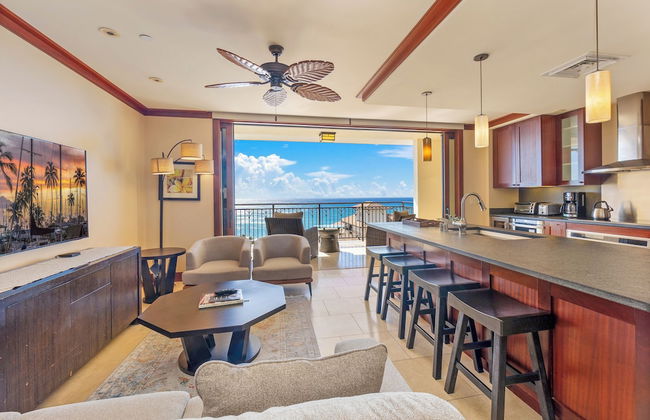
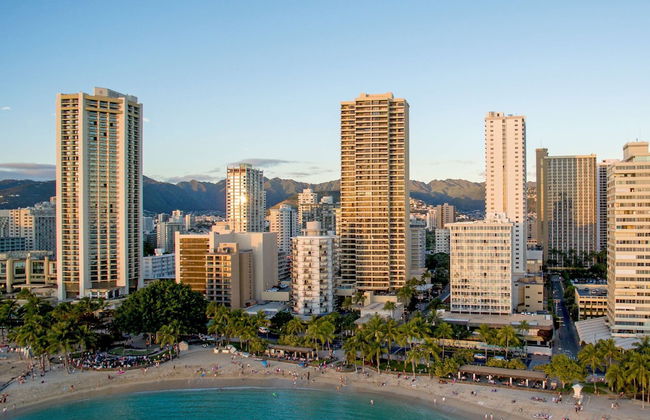
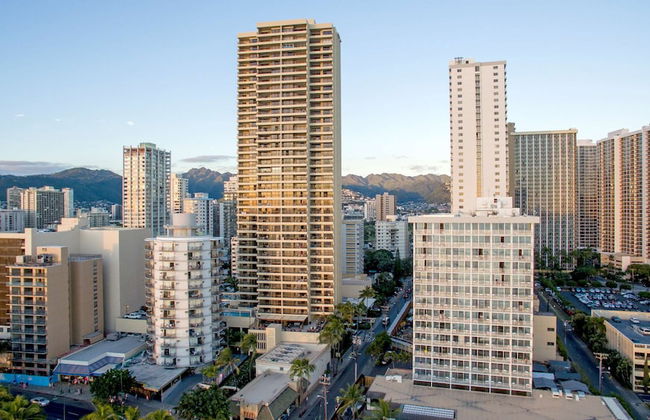
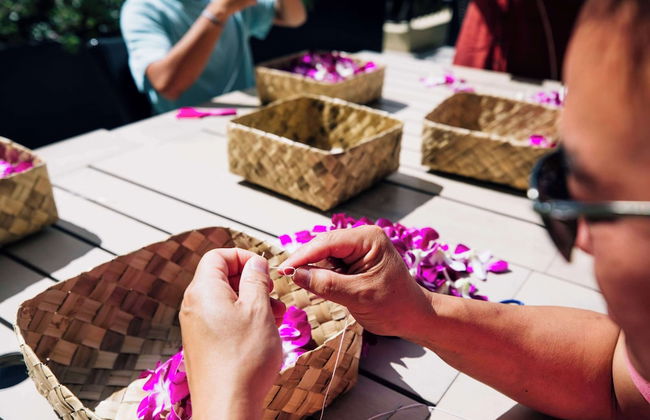
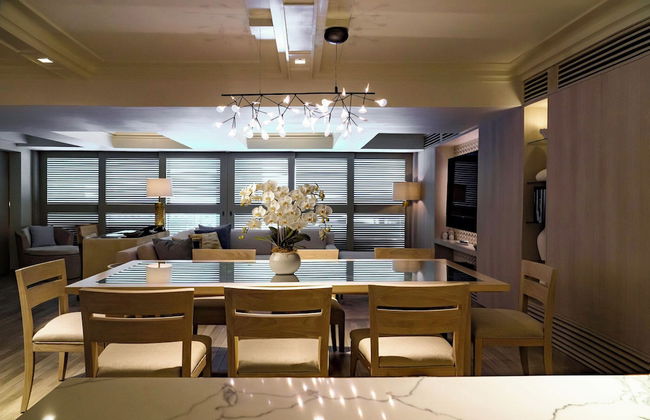
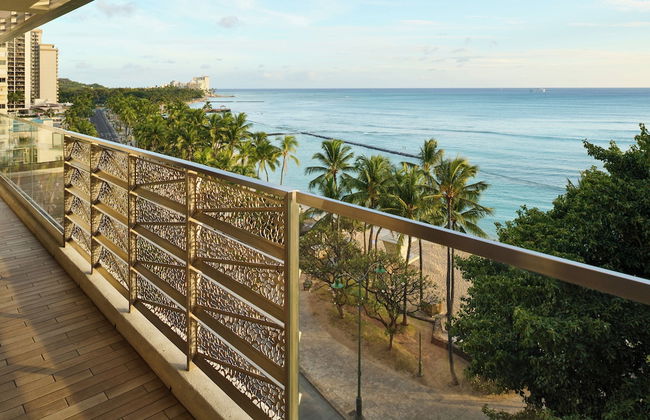
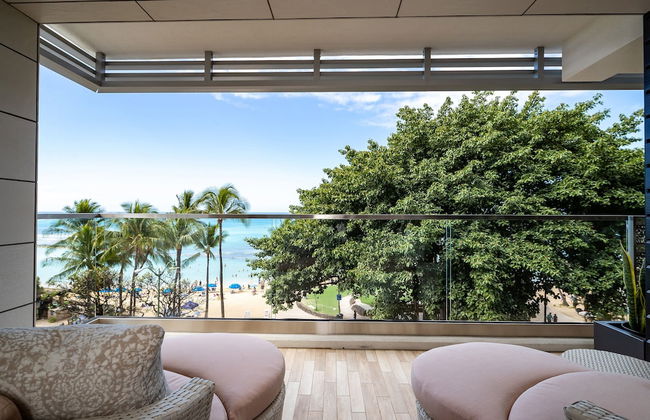
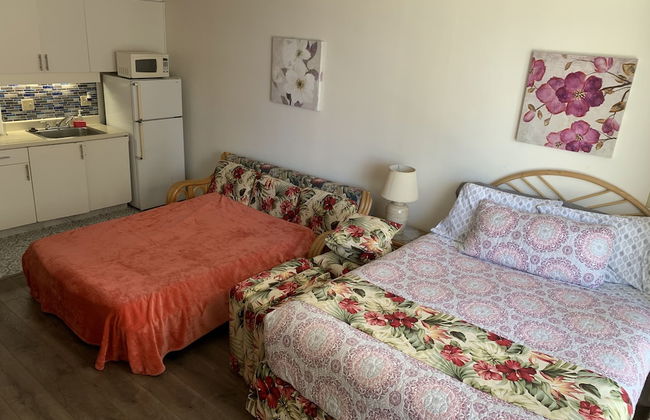
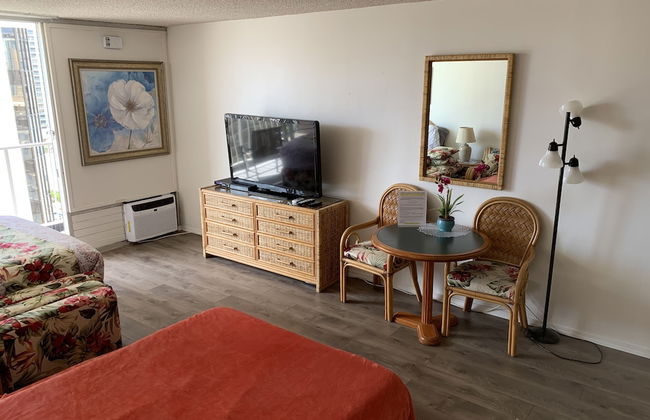
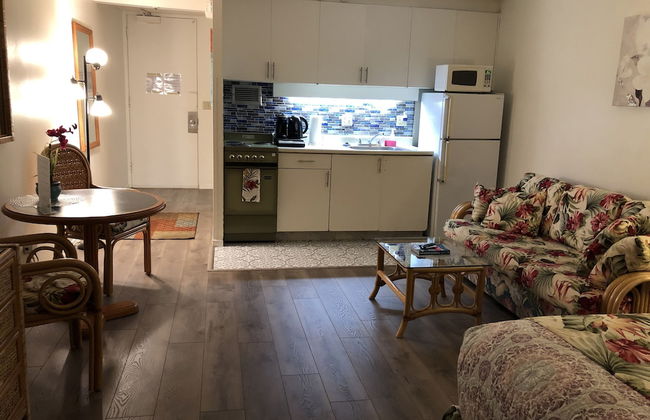
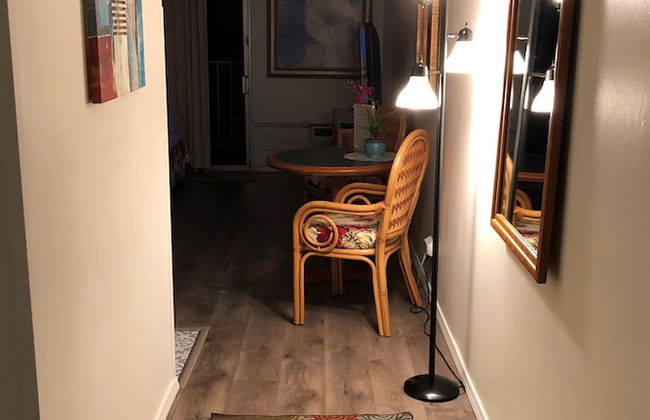
957 Appartements à Honolulu


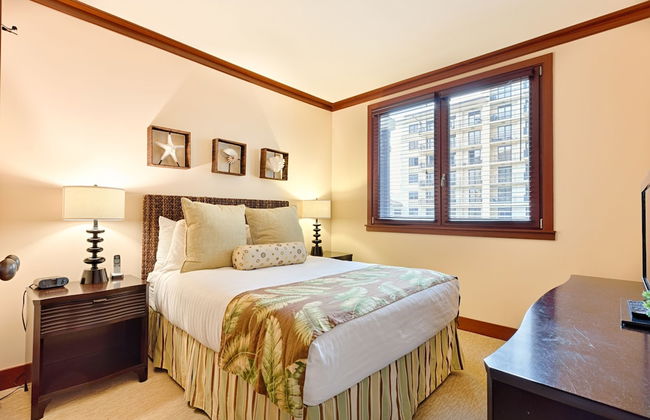


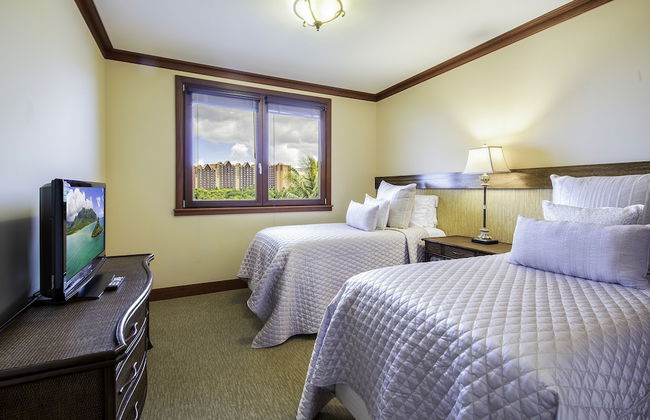


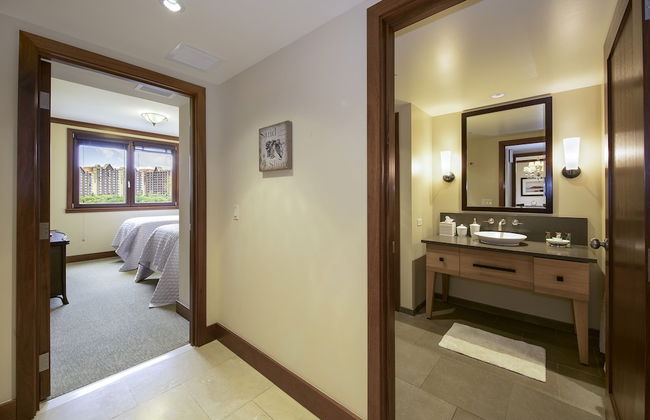

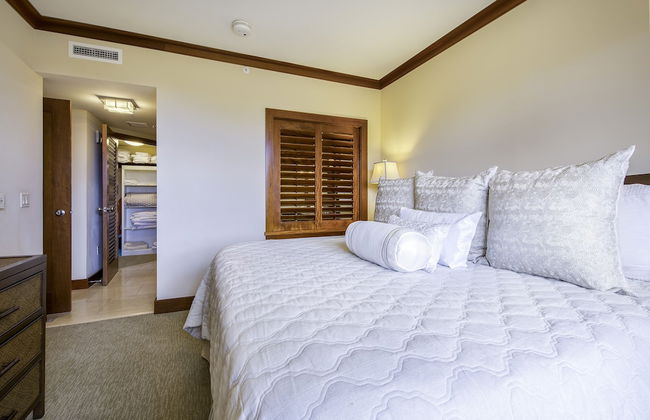


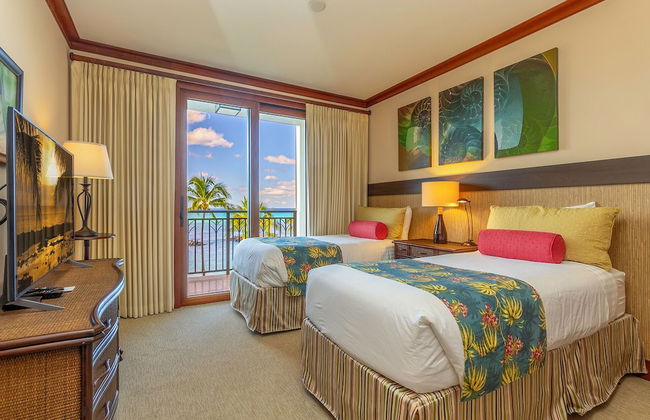


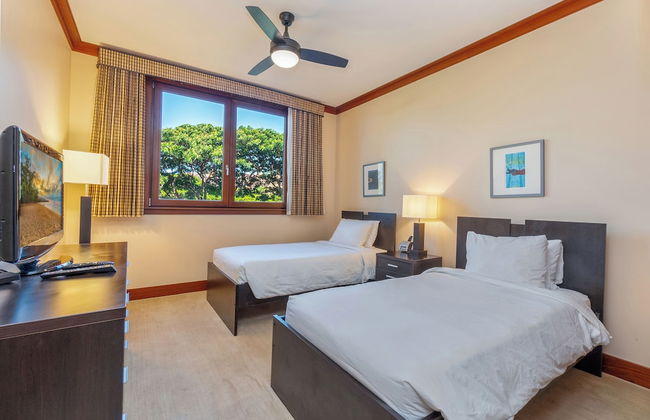

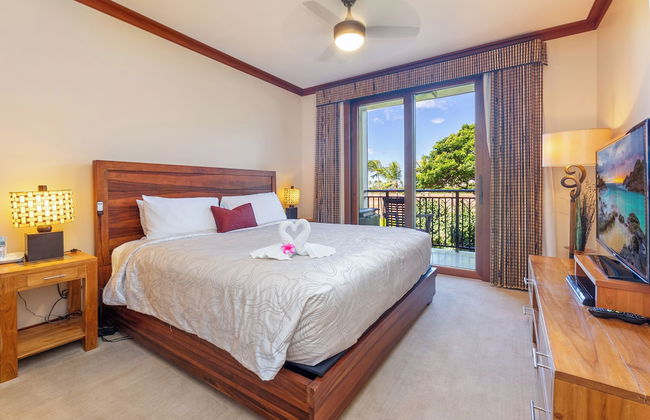


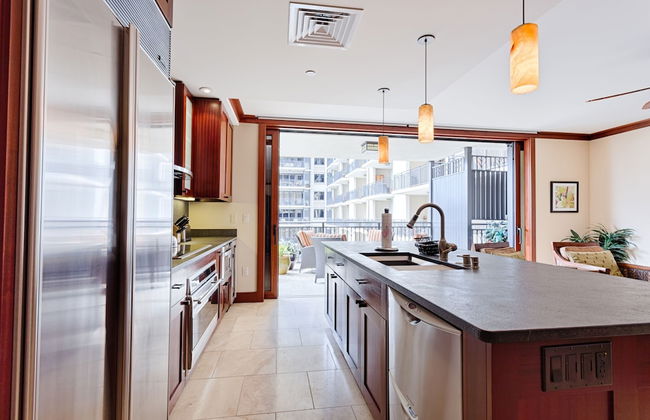

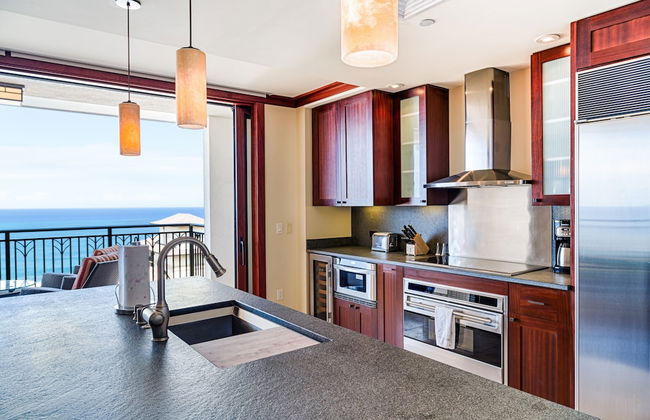


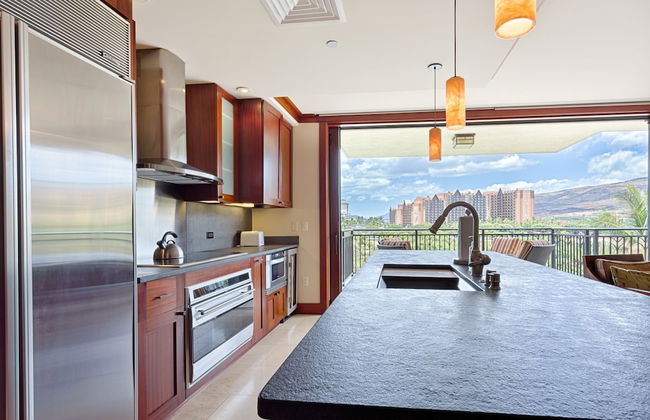


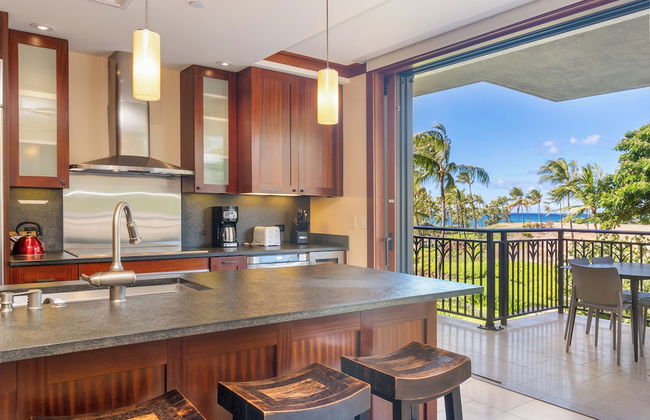

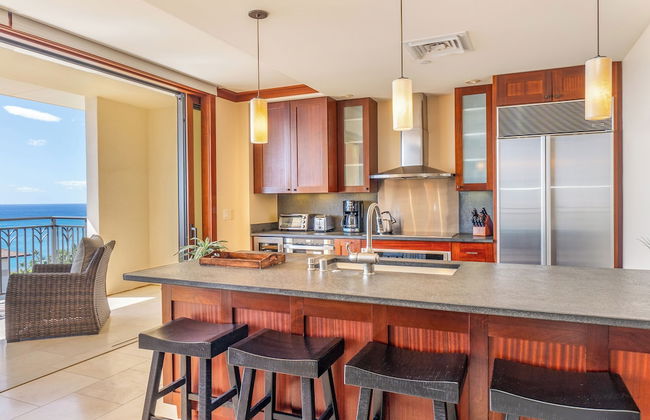
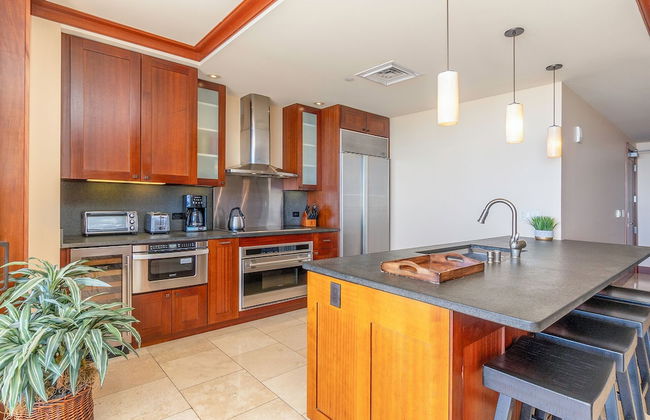


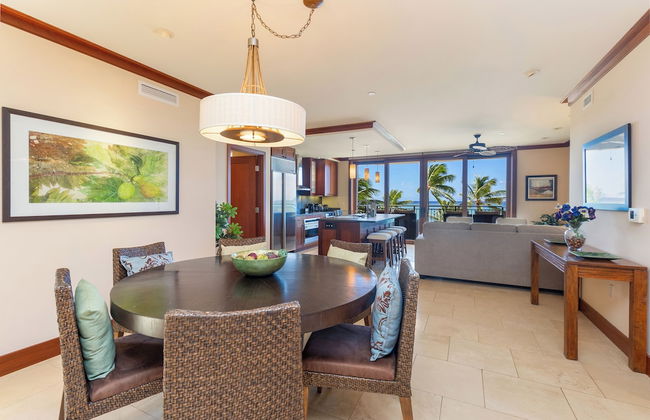


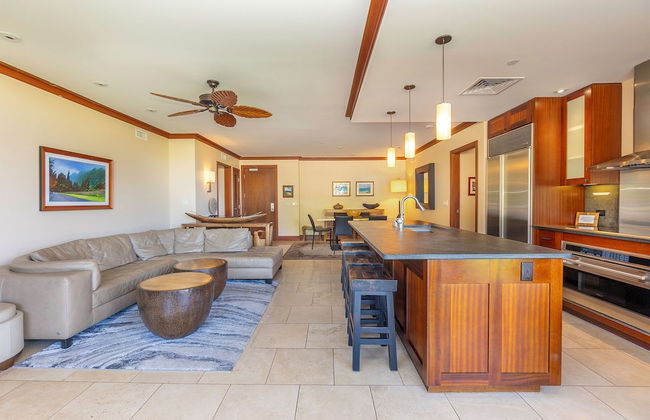


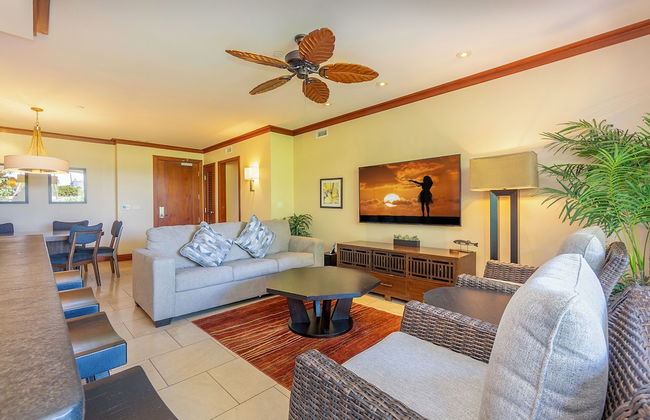
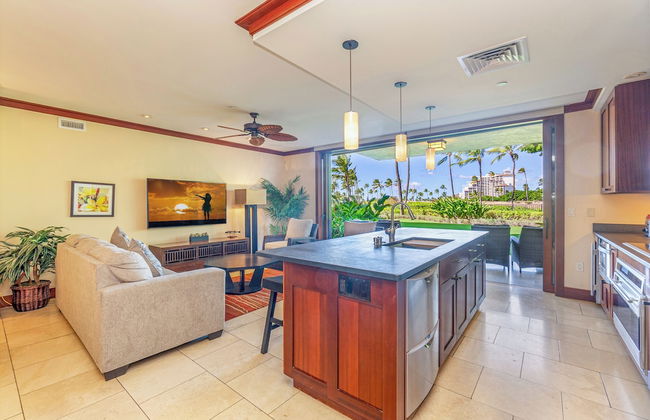


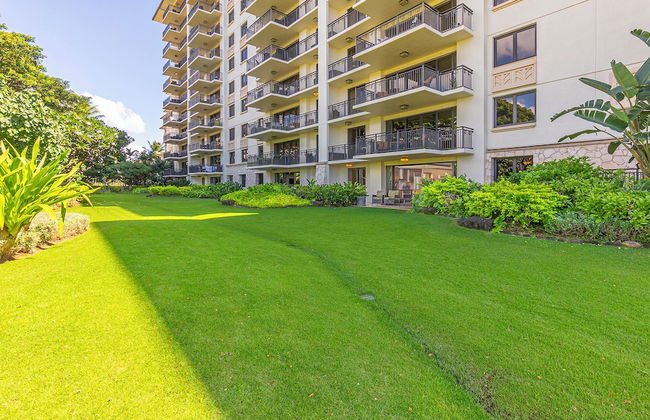
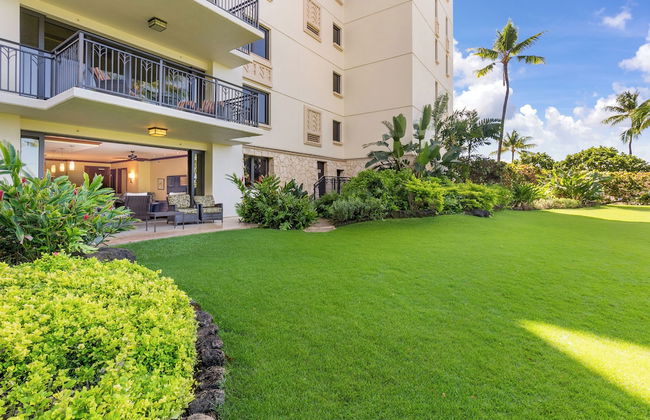
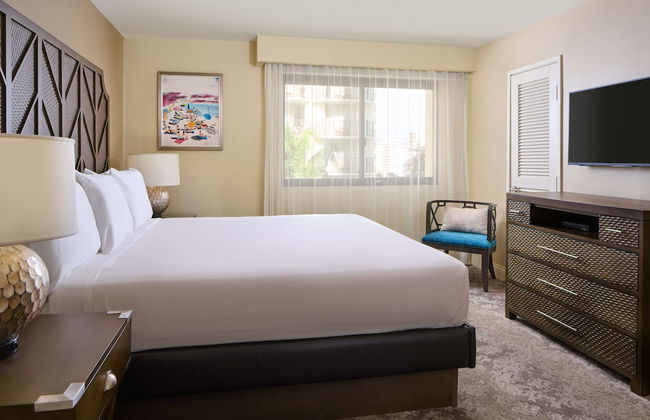
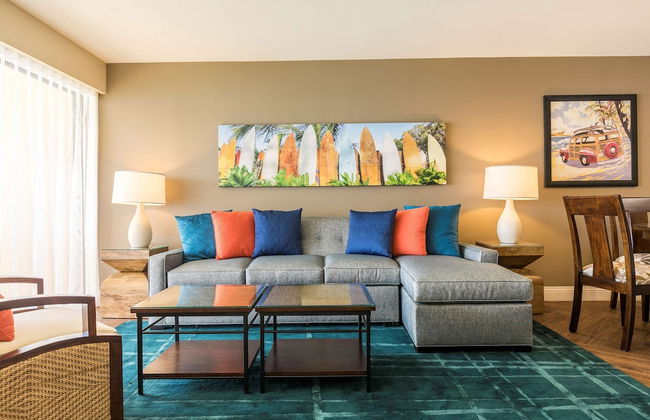
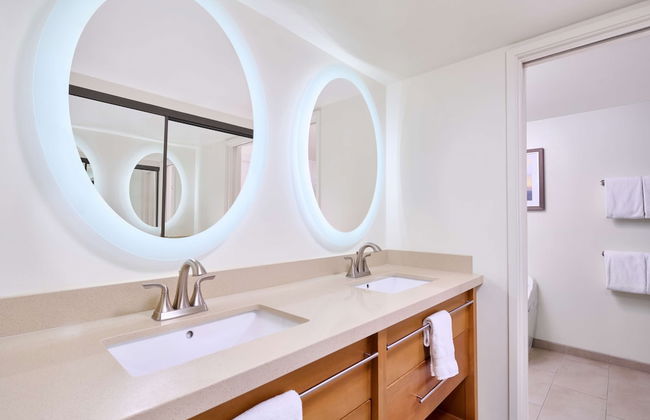
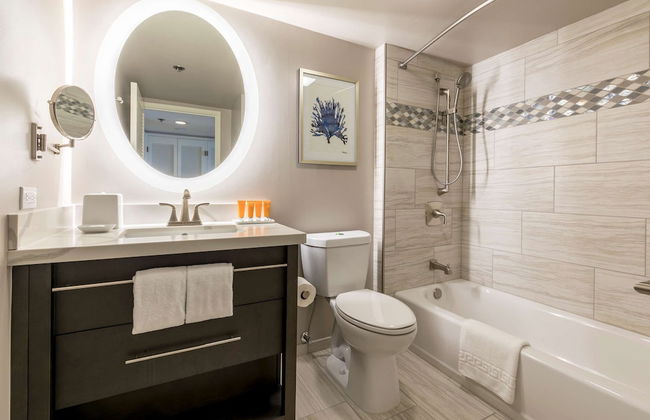
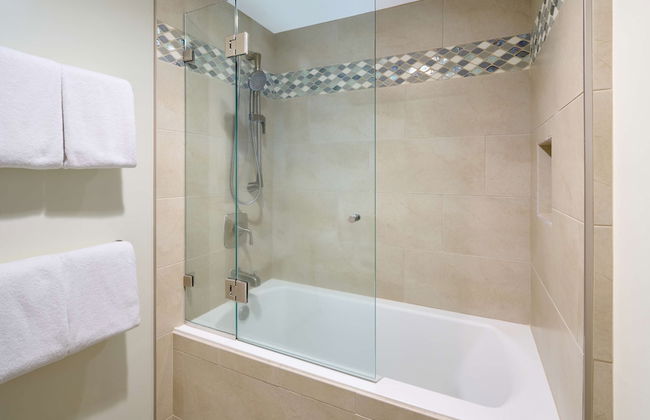
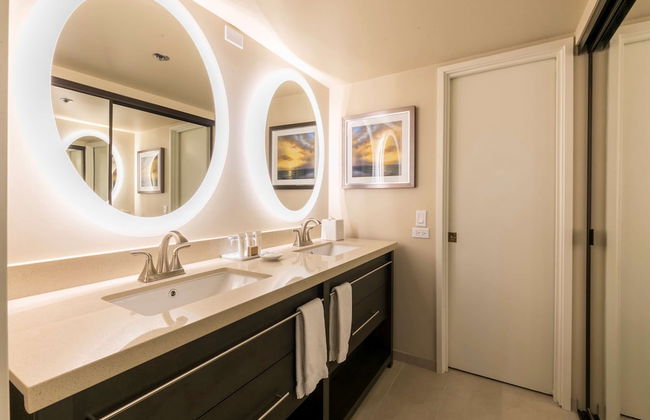
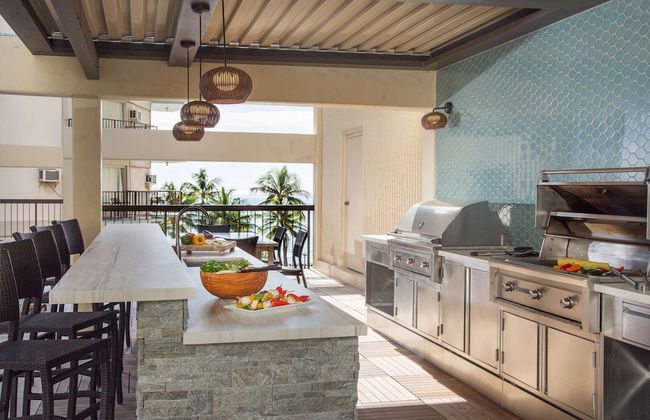
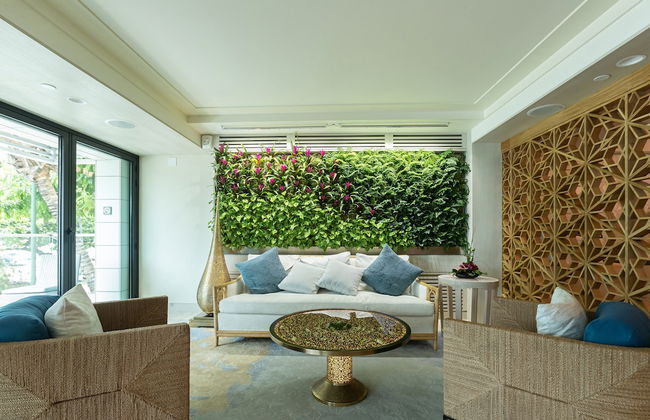
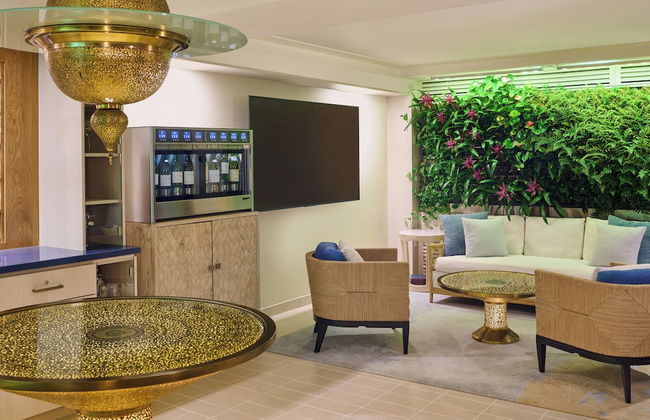
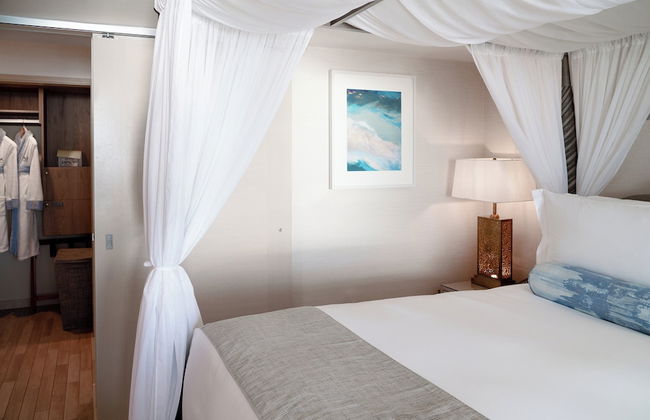
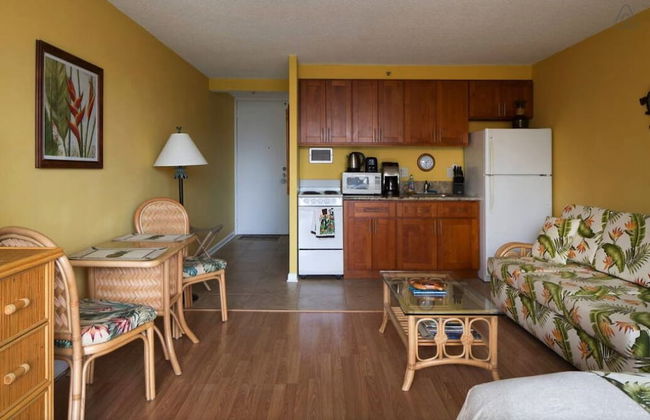
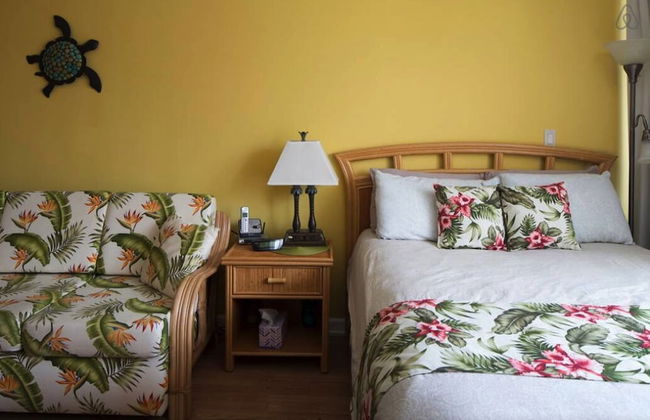
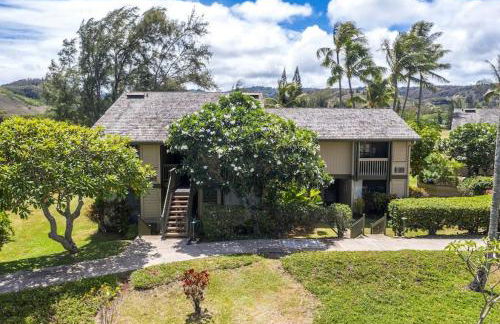
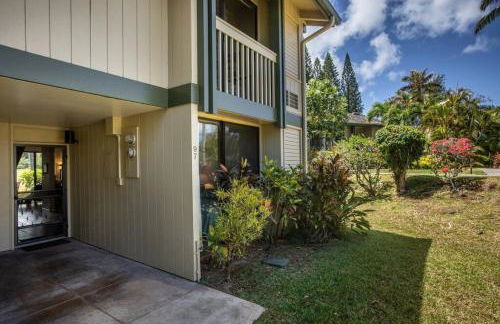
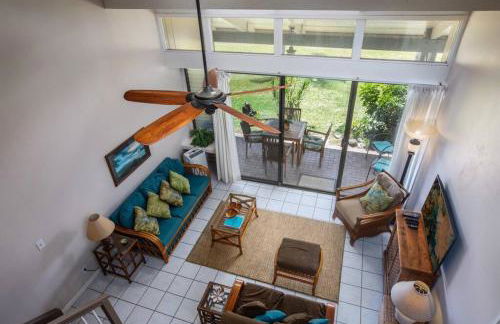
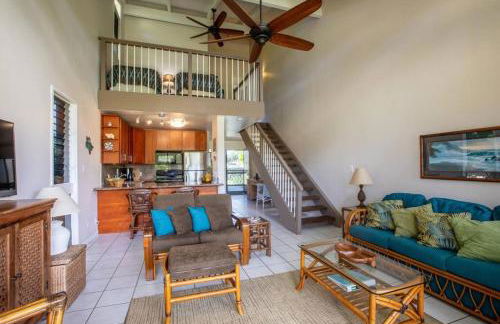
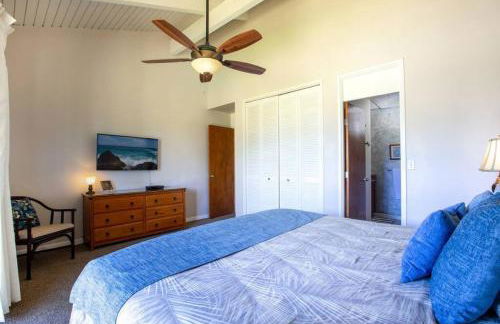
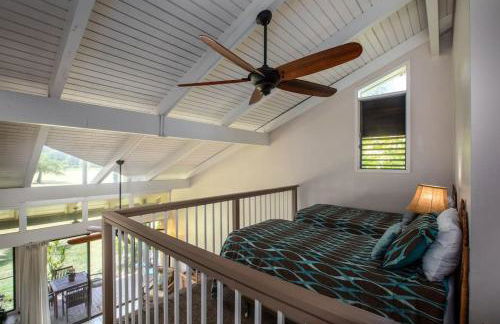
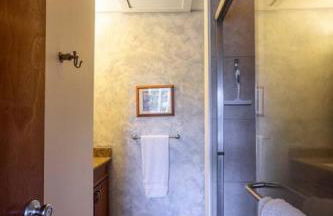
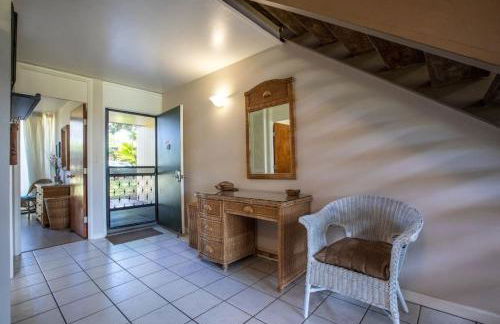
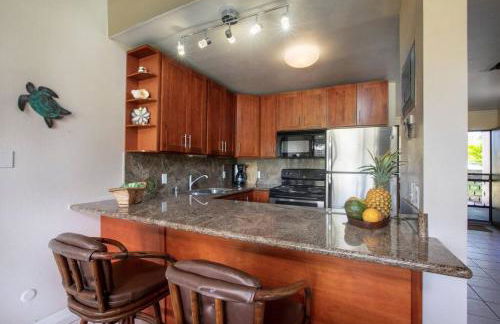
Popular Ground Floor with Extra Grassy Area - Beach Tower at Ko Olina Beach Villas Resort
Kapolei - Makakilo-Kapolei-Honokai Hale
- 129 M2
- 2 chambres
- 6 personnes
- Air conditionné
- Piscine
- Parking
- Ascenseur
- Jardin
- Tv
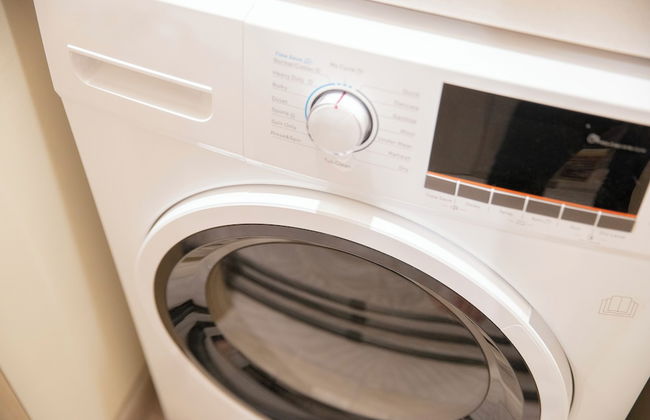
- Machine à laver
- Barbecue
- Serviettes
- Feuilles
63 avis


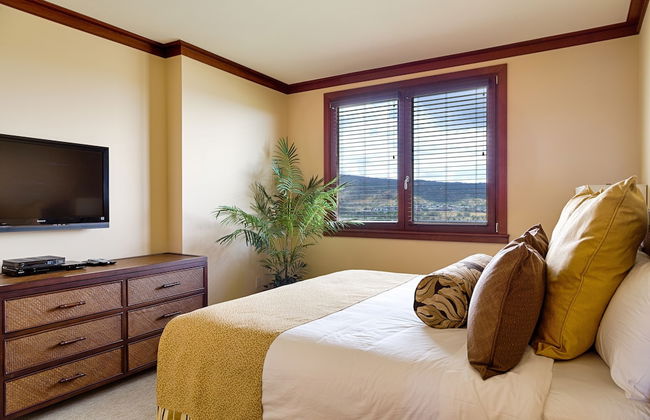
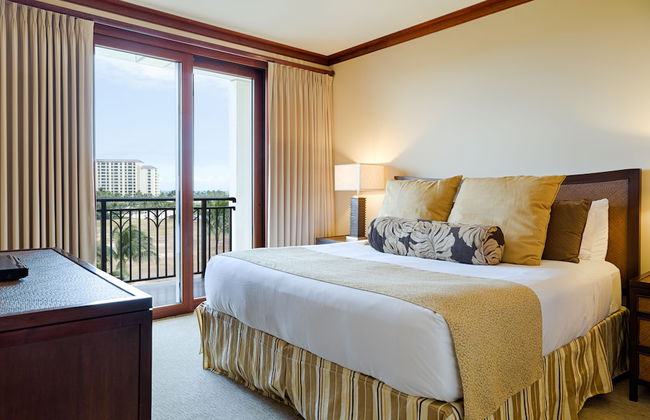
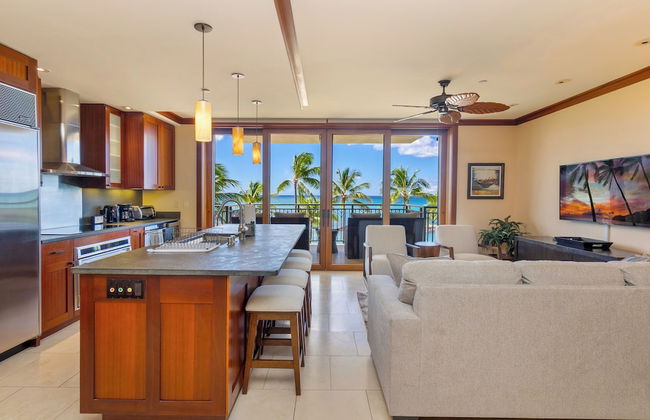
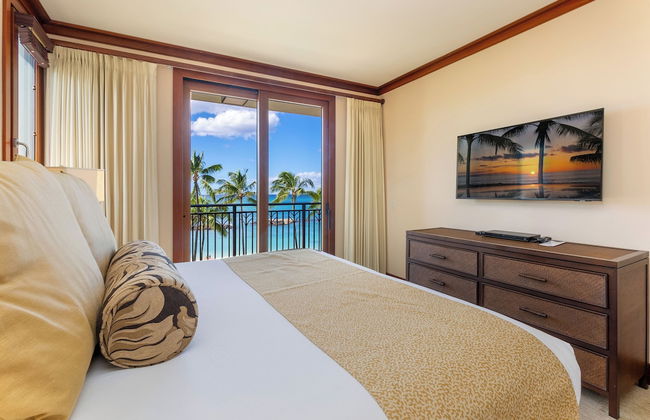
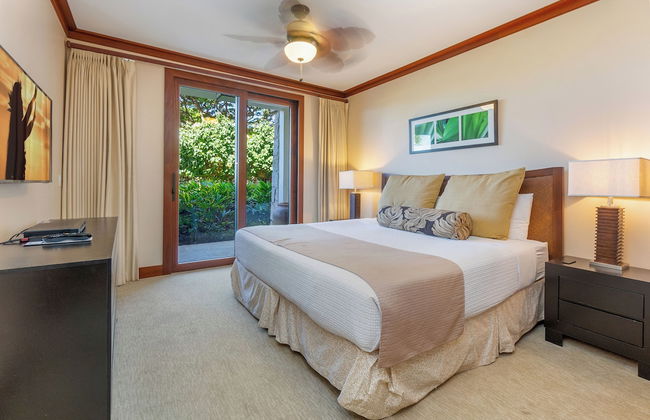
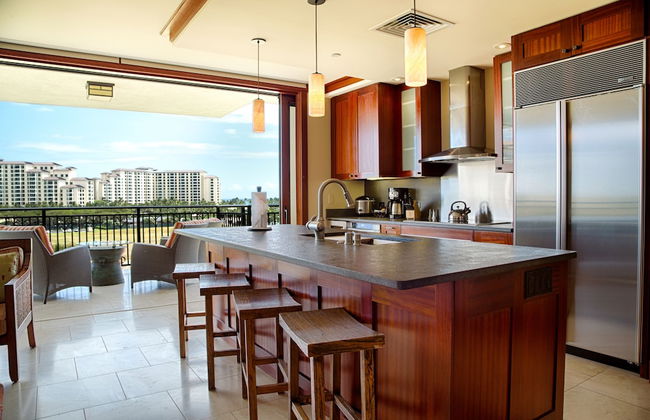
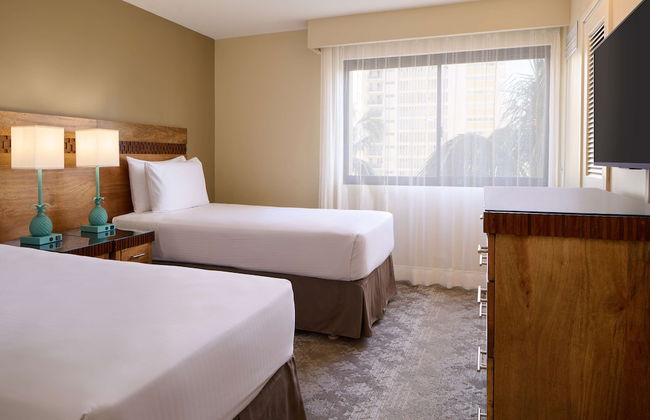
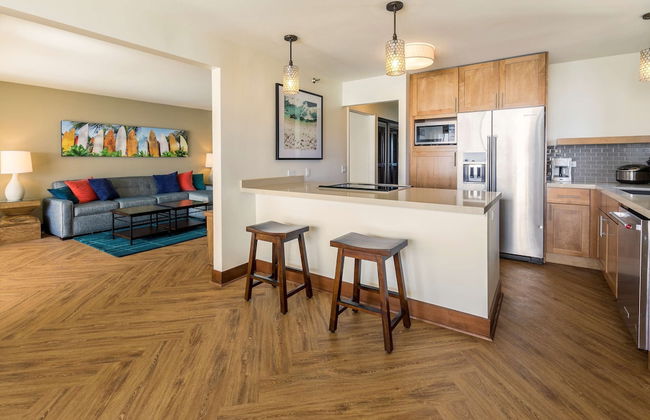
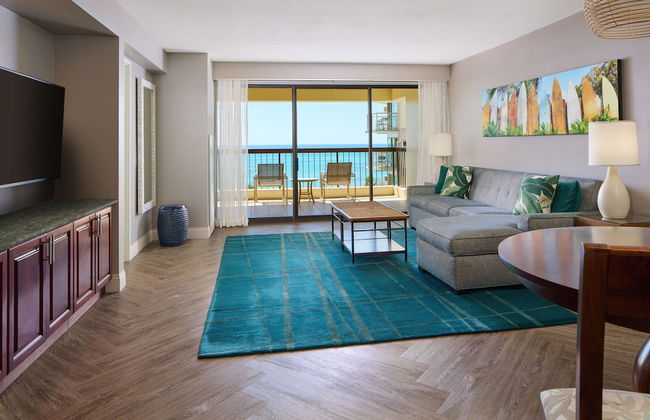
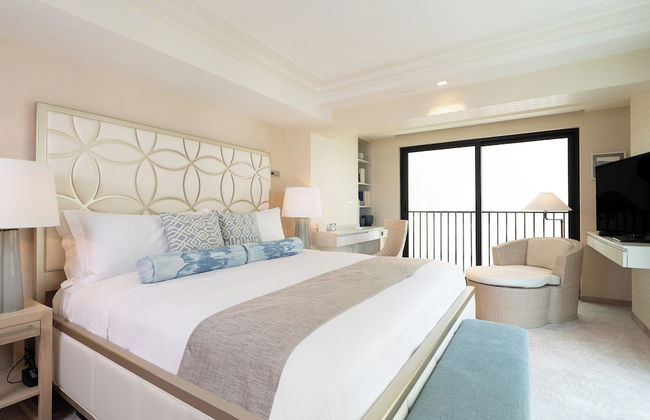
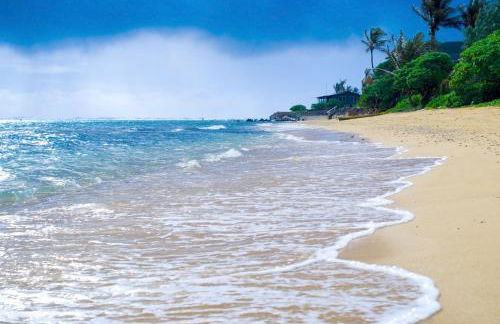
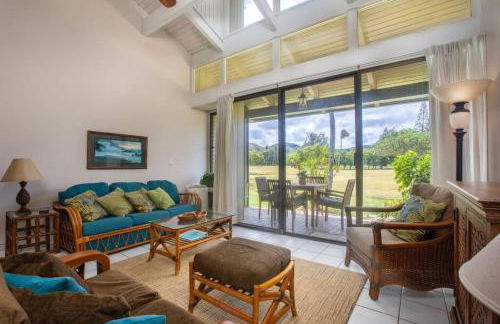
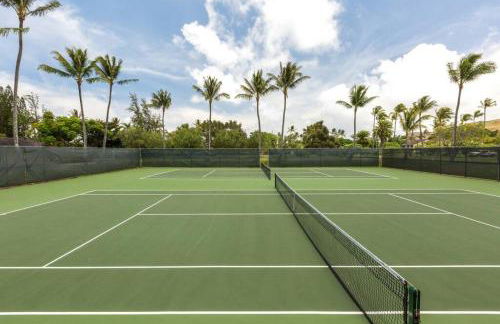
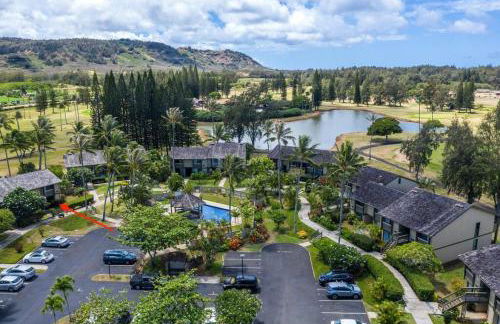
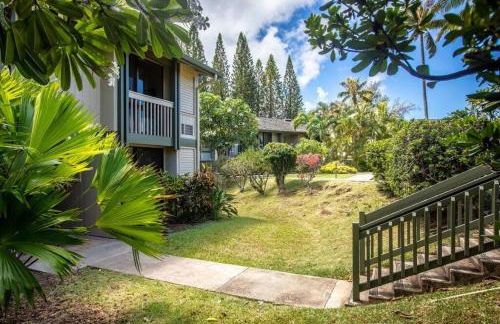
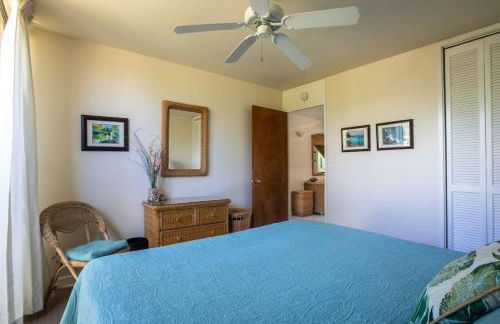
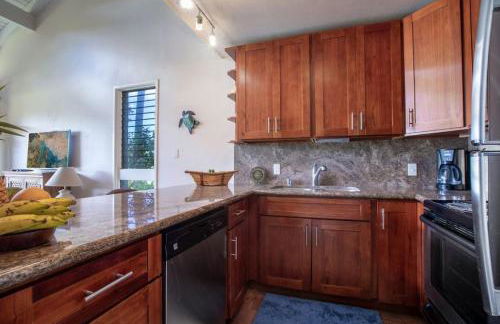
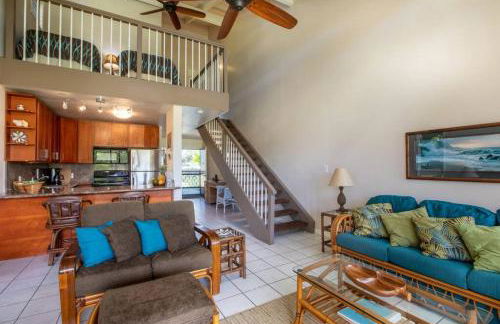
Oceanfront Vacation Villas at Turtle Bay
Kahuku - Koolauloa
- 233 M2
- 3 chambres
- 12 personnes
- Cuisinette
- Air conditionné
- Terrasse
- Piscine
- Parking
- Ascenseur
- Balcon
- Jardin
- Tv
- Machine à laver
- Barbecue
- Serviettes
- Feuilles
104 avis


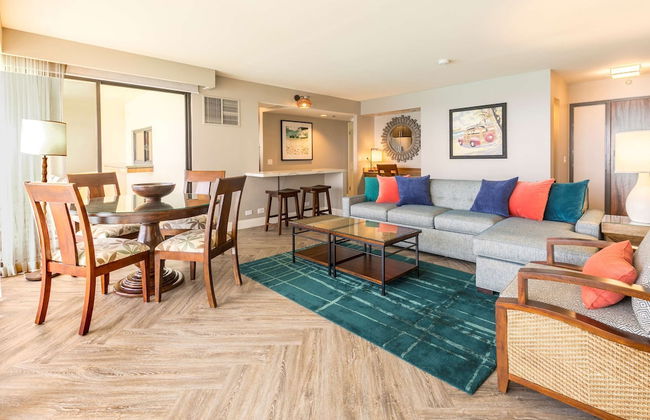
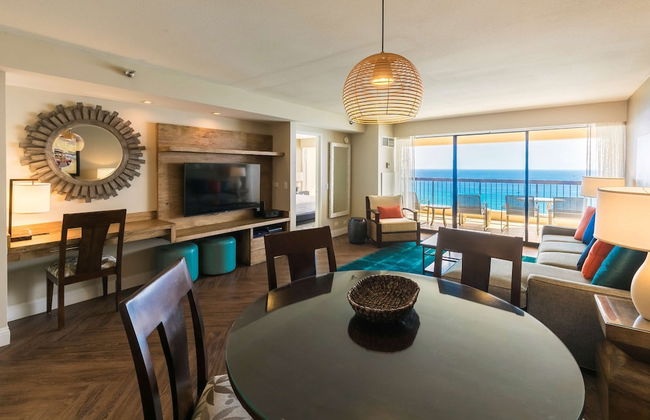
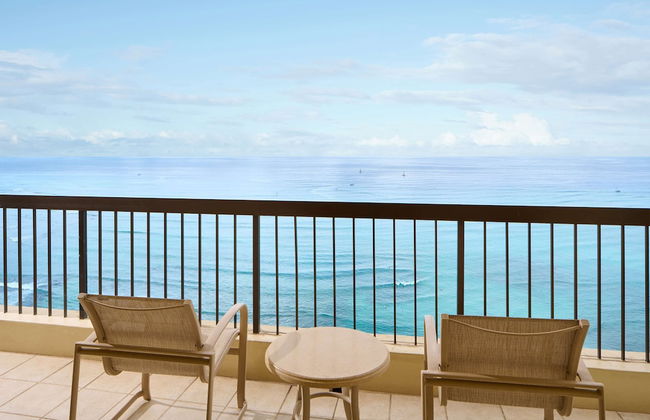
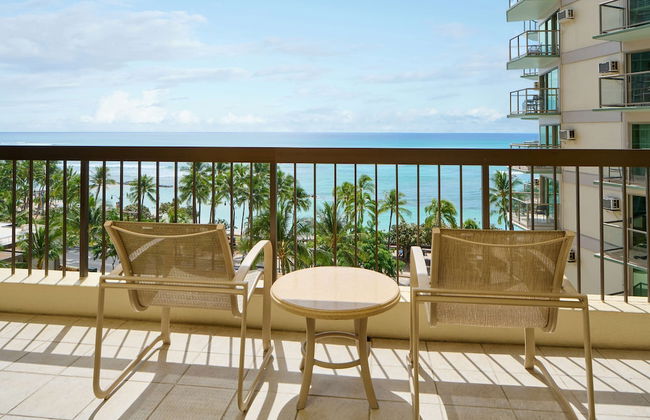
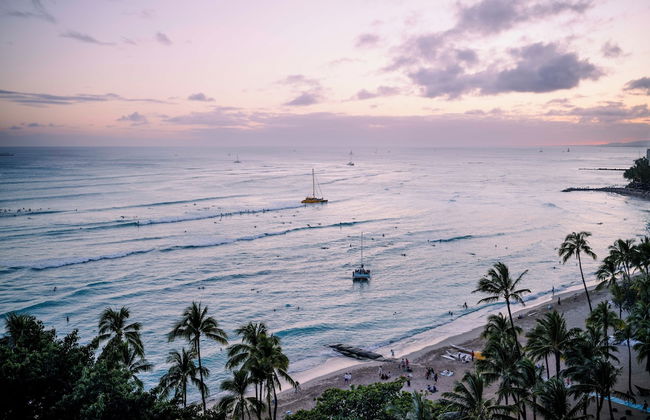
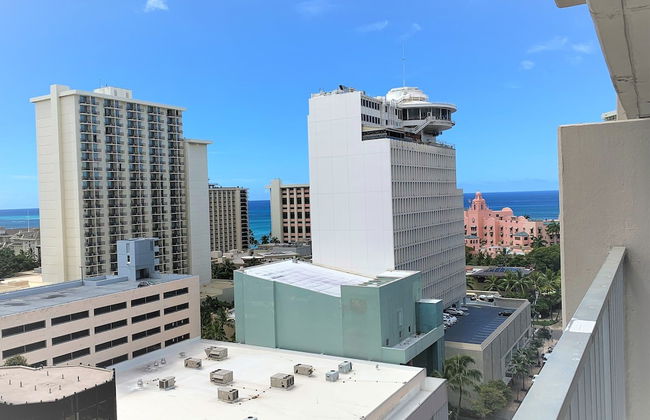
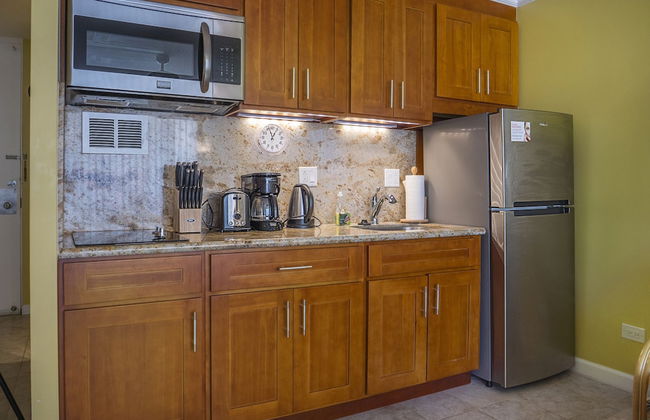
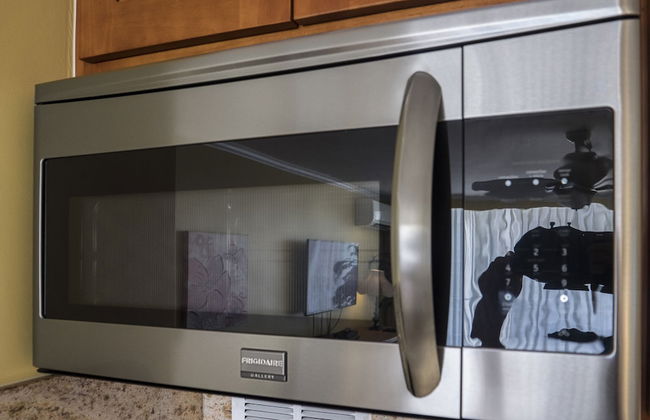
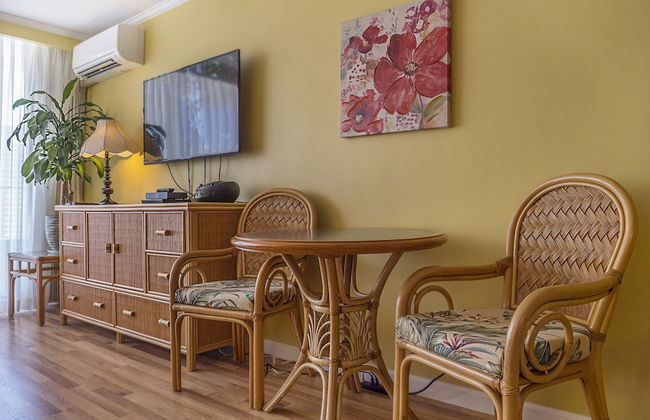
36Fl with Ocean View, Mins to Waikiki Beach, Parking
Honolulu - Waikiki - À 4.6 km du centre
- 56 M2
- 1 chambre
- 4 personnes
- Air conditionné
- Piscine
- Parking
- Ascenseur
- Balcon
- Jardin
- Tv
- Barbecue
- Serviettes
- Feuilles
18 avis
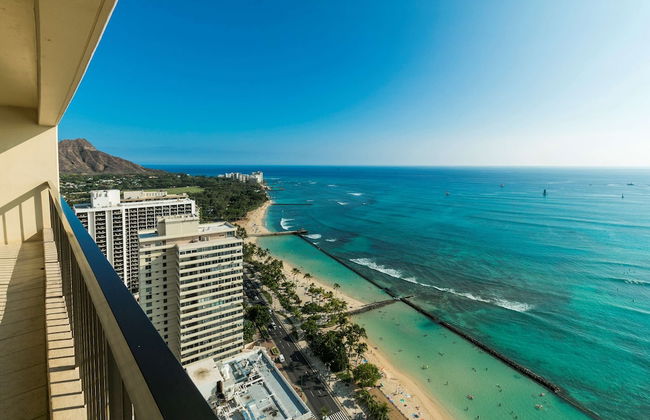

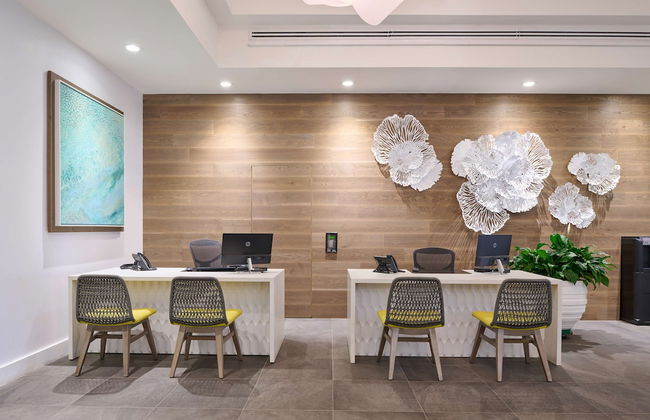
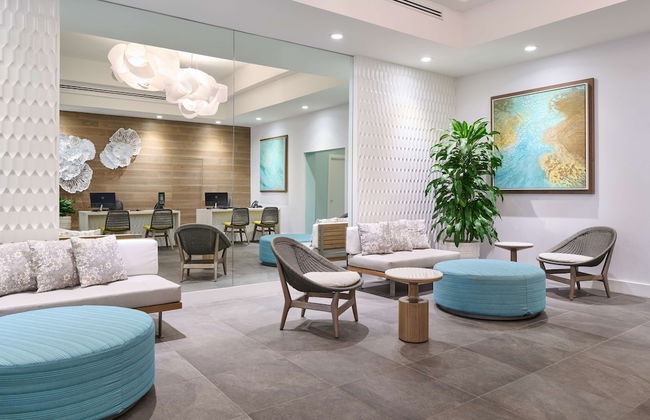
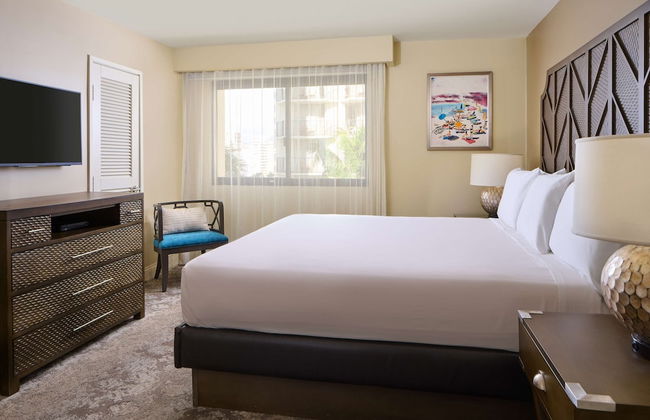


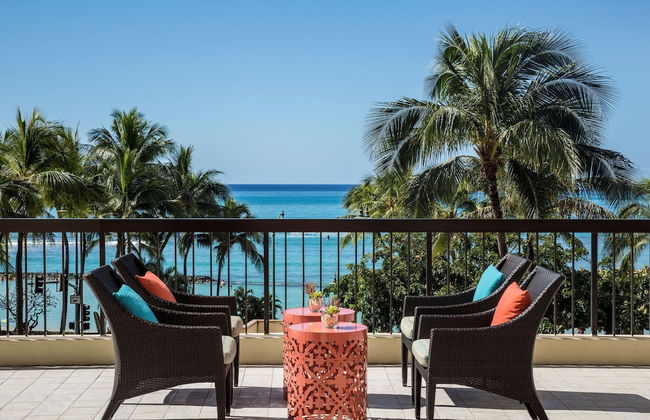
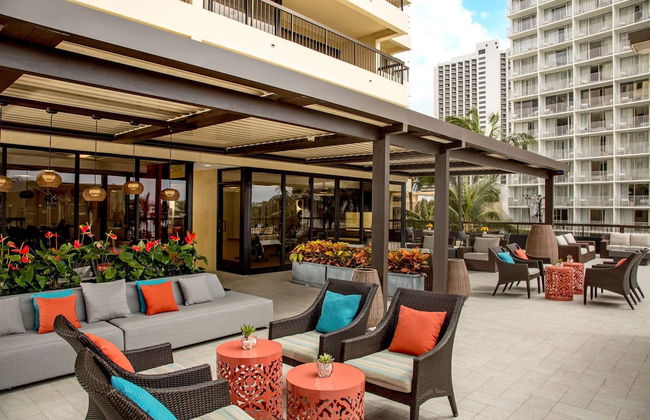


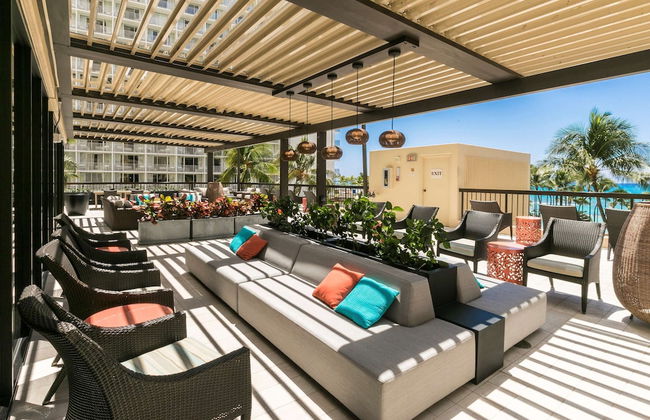
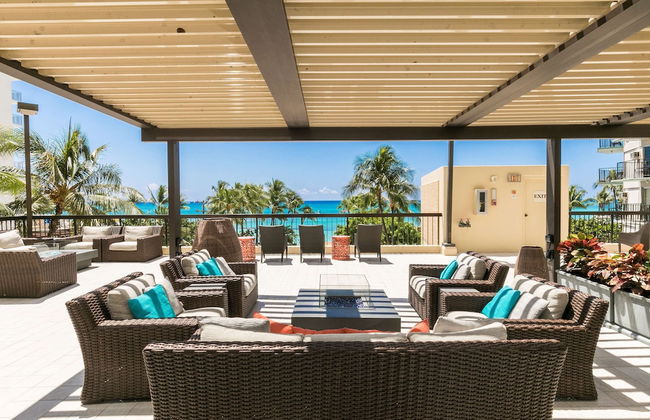


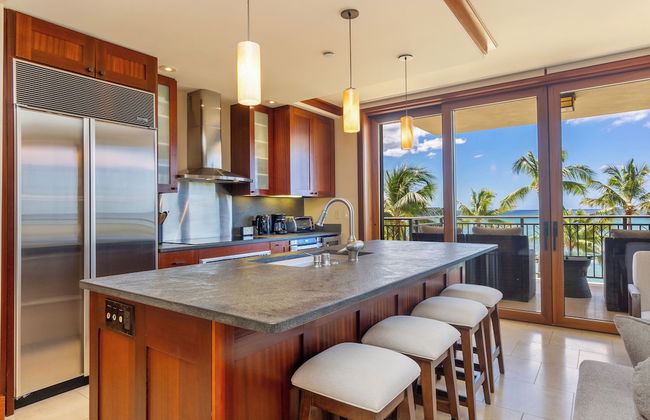
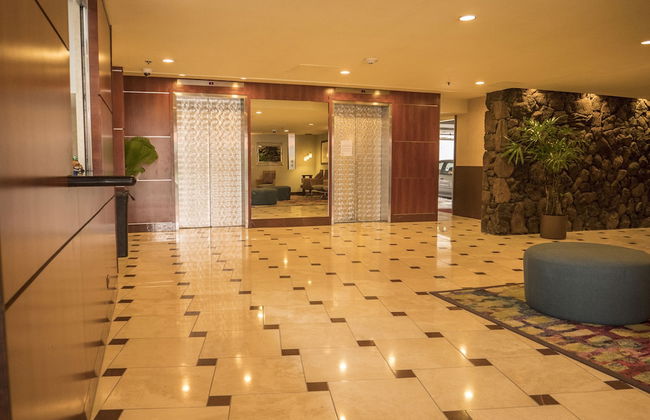
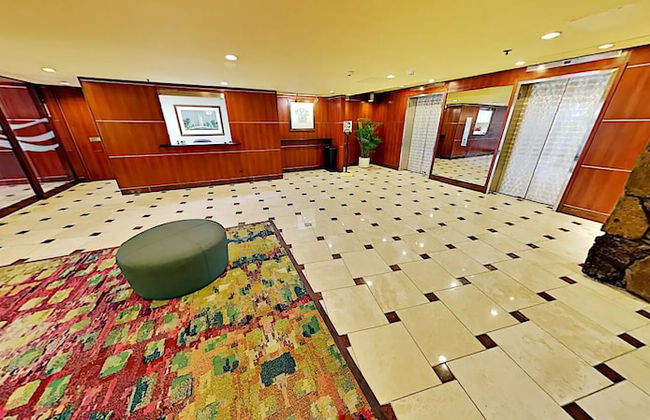
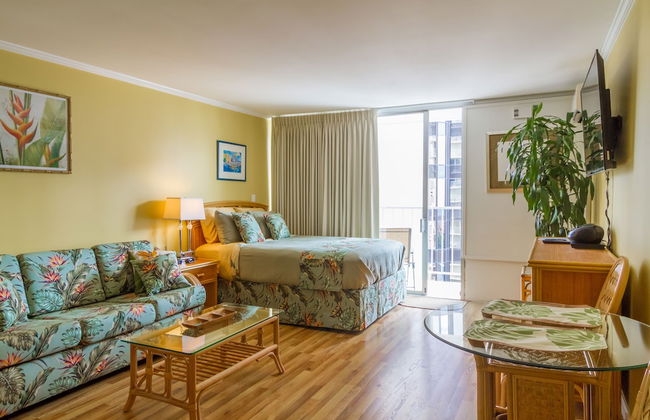
Aston Waikiki Beach Tower
Honolulu - Waikiki - À 4.4 km du centre
- 6 personnes
- Air conditionné
- Terrasse
- Piscine
- Parking
- Ascenseur
- Balcon
- Tv
- Machine à laver
- Barbecue
- Serviettes
- Feuilles
1744 avis


Diamond Head and Partial Ocean views with 2 Beds and Parking
Honolulu - Waikiki - À 4.6 km du centre
- 56 M2
- 1 chambre
- 4 personnes
- Air conditionné
- Piscine
- Parking
- Ascenseur
- Balcon
- Jardin
- Tv
- Barbecue
- Serviettes
- Feuilles
20 avis


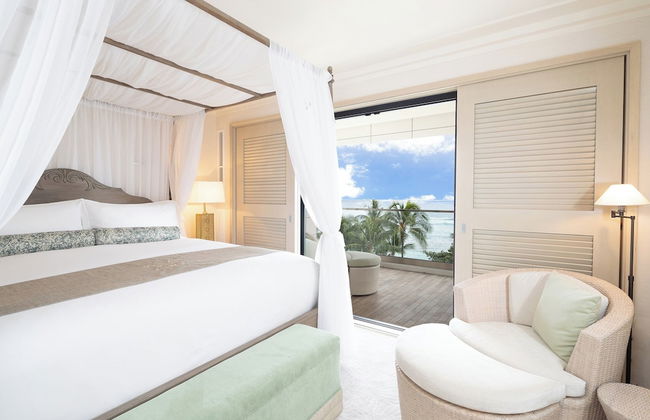


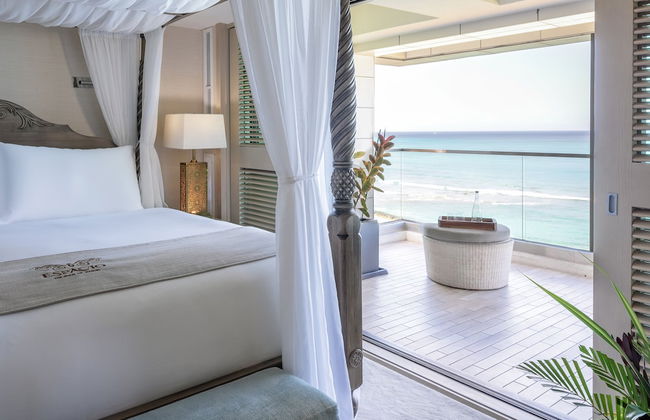
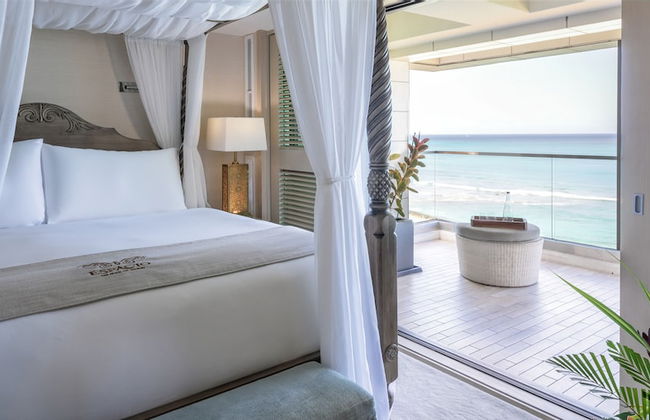


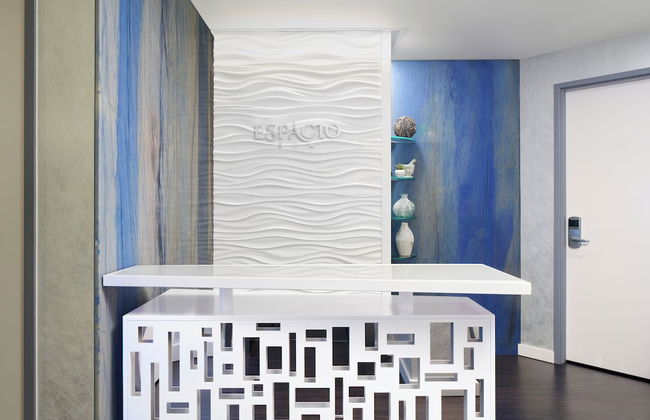

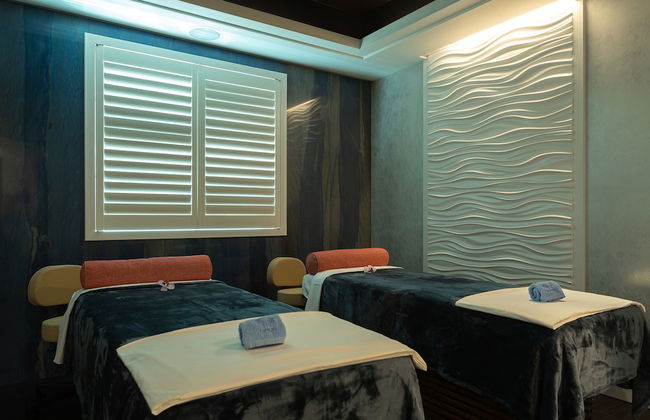


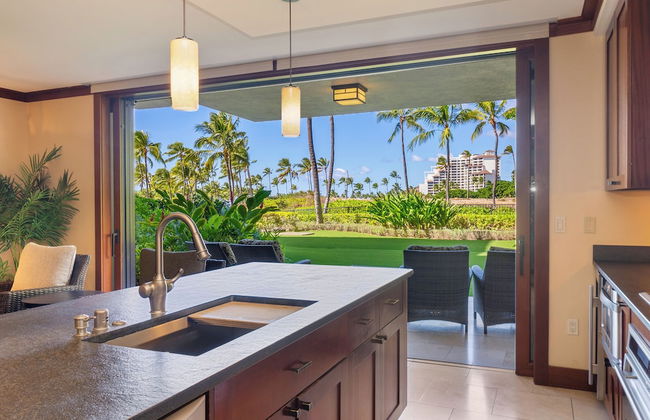
Espacio The Jewel Of Waikiki
Honolulu - Waikiki - À 4.3 km du centre
- 6 personnes
- Air conditionné
- Terrasse
- Piscine
- Parking
- Ascenseur
- Balcon
- Tv
- Machine à laver
- Cheminée
- Serviettes
- Feuilles
19 avis


Ilikai Hotel Condo with Kitchen and Ocean View
Honolulu - Waikiki - À 2.5 km du centre
- 46 M2
- 1 chambre
- 4 personnes
- Air conditionné
- Le chauffage
- Terrasse
- Piscine
- Parking
- Ascenseur
- Jardin
- Serviettes
49 avis


Royal Kuhio
Honolulu - Waikiki - À 3.7 km du centre
- 4 personnes
- Air conditionné
- Terrasse
- Piscine
- Parking
- Ascenseur
- Tv
- Barbecue
- Serviettes
- Feuilles
461 avis


Hawaiian Sun Holidays
Honolulu - Waikiki - À 4.6 km du centre
- 4 personnes
- Air conditionné
- Terrasse
- Piscine
- Parking
- Ascenseur
- Tv
- Barbecue
- Serviettes
- Feuilles
141 avis


Marine Surf by Tropical Escapes Realty
Honolulu - Waikiki - À 3.7 km du centre
- 36 M2
- 4 personnes
- Air conditionné
- Piscine
- Parking
- Ascenseur
- Serviettes
- Feuilles
18 avis


Contemporary Ocean View Suite - Heart of Waikiki!
Honolulu - Waikiki - À 4.3 km du centre
- 19 M2
- 3 personnes
- Air conditionné
- Terrasse
- Parking
- Ascenseur
- Jardin
15 avis


Tropical Studios at Marine Surf Waikiki - FREE PARKING - BEST LOCATION - FULL KITCHEN - SWIMMING POOL
Honolulu - Waikiki - À 3.7 km du centre
- 42 M2
- 4 personnes
- Air conditionné
- Terrasse
- Piscine
- Parking
- Ascenseur
- Tv
- Serviettes
- Feuilles
340 avis


Luana Waikiki by Tropical Escapes Realty
Honolulu - Waikiki - À 3.1 km du centre
- 4 personnes
- Cuisinette
- Air conditionné
- Terrasse
- Piscine
- Parking
- Ascenseur
- Balcon
- Tv
- Barbecue
- Serviettes
- Feuilles
20 avis


Jenny's Cottage Waikiki
Honolulu - Waikiki - À 4.3 km du centre
- 56 M2
- 4 personnes
- Air conditionné
- Terrasse
- Piscine
- Parking
- Ascenseur
36 avis


Turtle Bay Aloha Nui Loa***t-090-094-0800-01 1 Bedroom Condo by RedAwning
Kahuku - Koolauloa
- 91 M2
- 6 personnes
- Air conditionné
- Terrasse
- Piscine
- Balcon
- Tv
- Machine à laver
- Barbecue
- Serviettes
- Feuilles
2 avis


Waikiki City View at the Ilikai, Close to Beach
Honolulu - Waikiki - À 2.6 km du centre
- 46 M2
- 4 personnes
- Air conditionné
- Piscine
- Parking
- Ascenseur
- Balcon
- Jardin
- Tv
- Machine à laver
- Serviettes
- Feuilles
2 avis


Sweetwater at Waikiki
Honolulu - Waikiki - À 4.6 km du centre
- 50 M2
- 4 personnes
- Air conditionné
- Piscine
- Parking
- Ascenseur
- Tv
- Barbecue
- Serviettes
113 avis


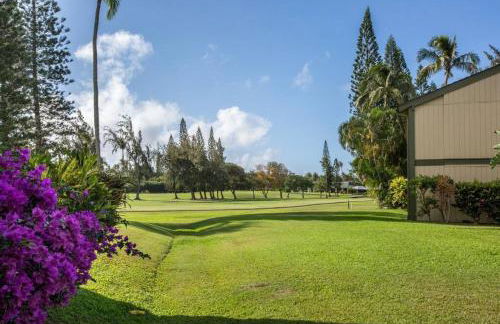


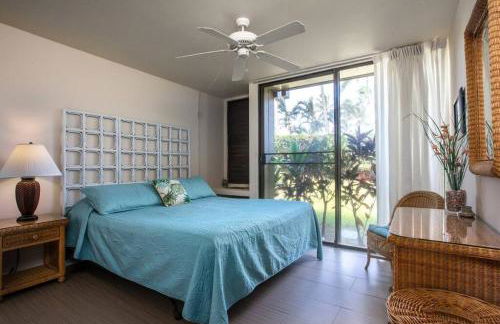
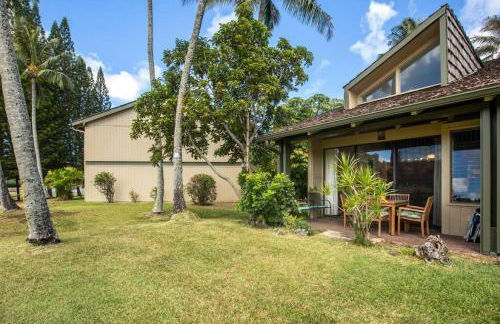
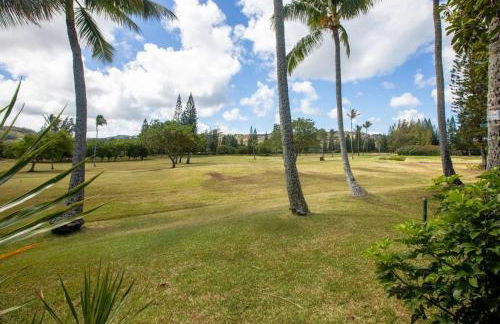
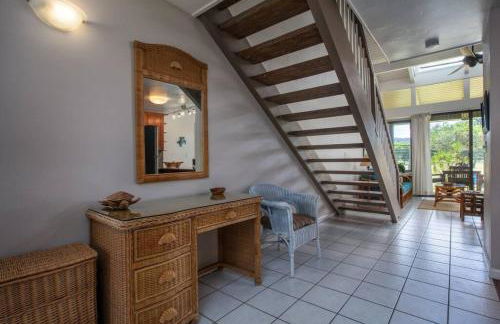


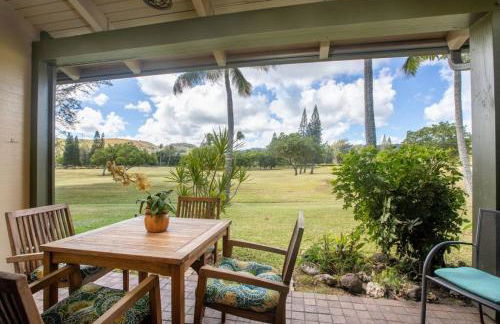
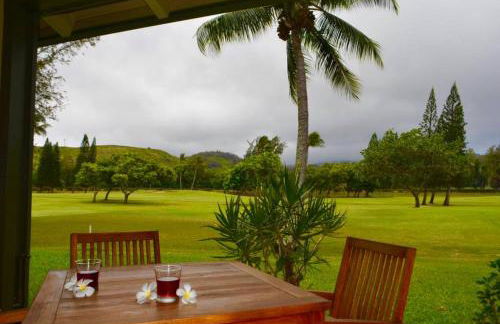
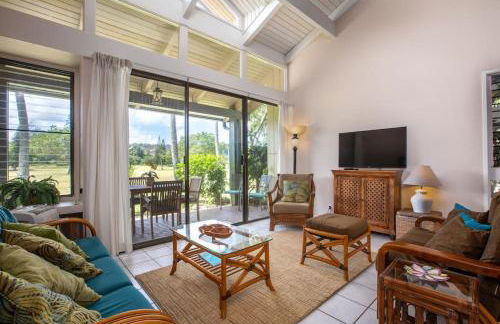
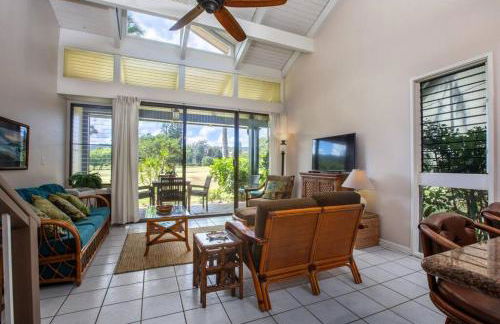
Location Location, By golf and beach
Kahuku - Koolauloa
- 99 M2
- 2 chambres
- 6 personnes
- Air conditionné
- Terrasse
- Piscine
- Parking
- Jardin
12 avis


S&N Lux Suite-Free Parking-King Bed-Kitchen-WiFi
Honolulu - Waikiki - À 3.2 km du centre
- 33 M2
- 4 personnes
- Air conditionné
- Piscine
- Parking
- Ascenseur
- Jardin
14 avis


Amazing View Waikiki Beach 28th Floor 1BR Family and Group Condo
Honolulu - Waikiki - À 3.8 km du centre
- 63 M2
- 1 chambre
- 5 personnes
- Air conditionné
- Terrasse
- Piscine
- Parking
- Ascenseur
- Jardin
- Barbecue
34 avis