
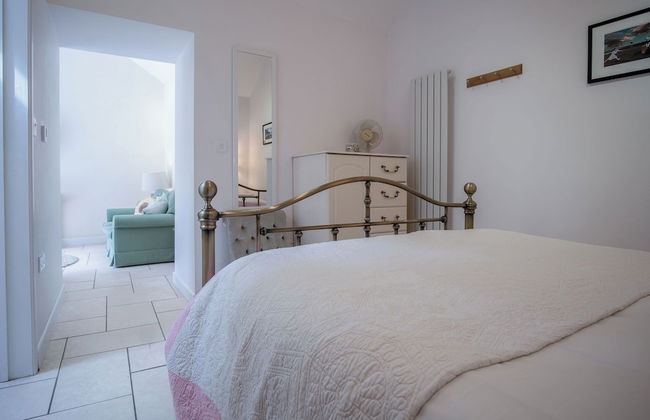
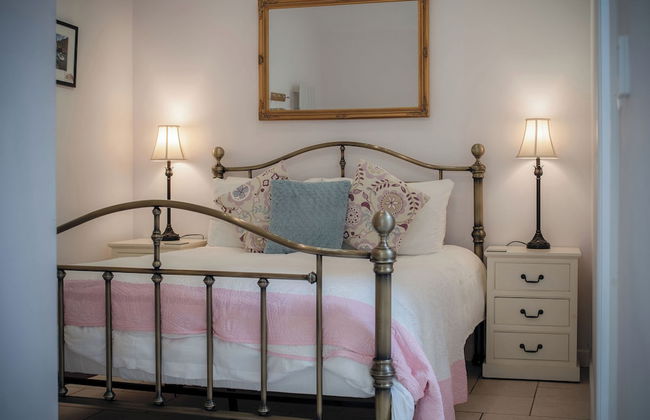
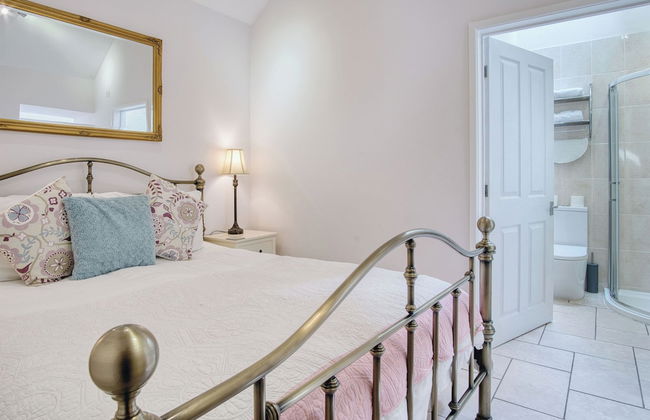
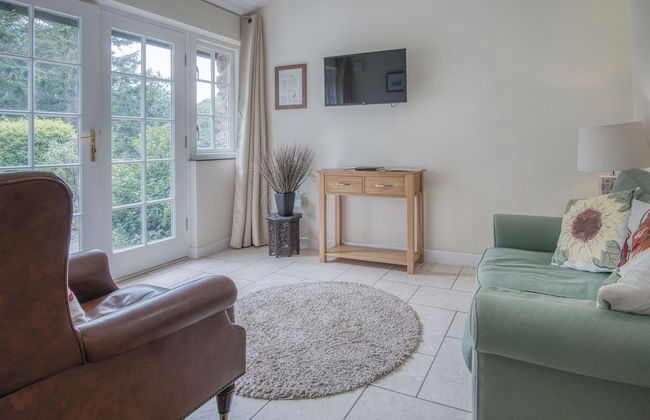
25 Appartements à Haverfordwest


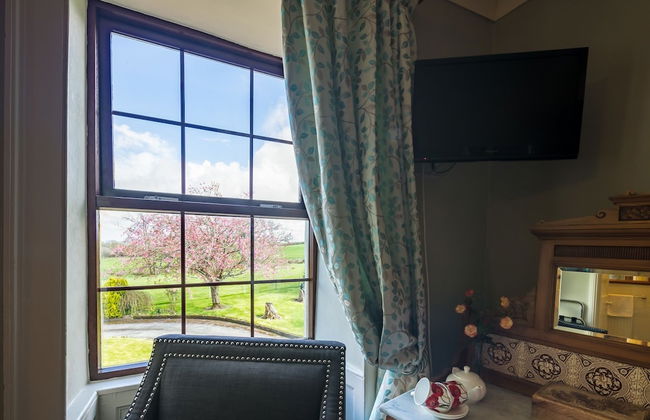


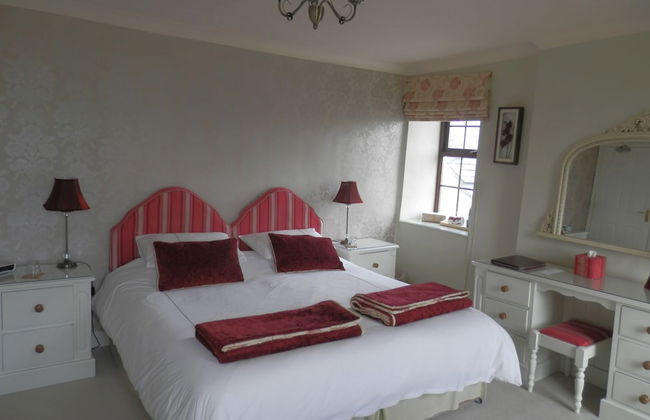


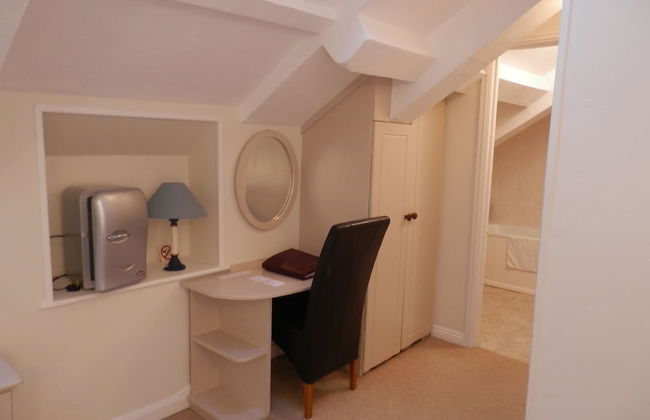


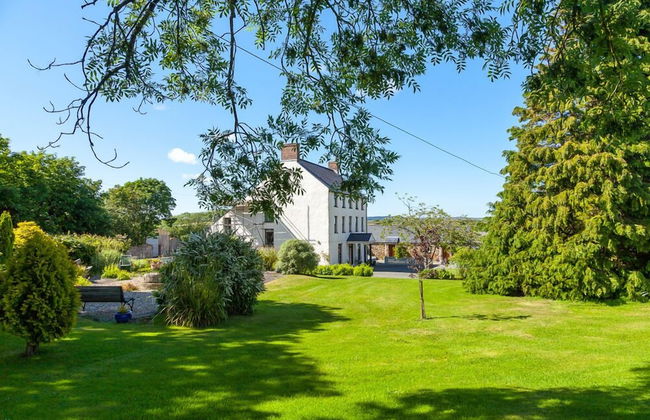

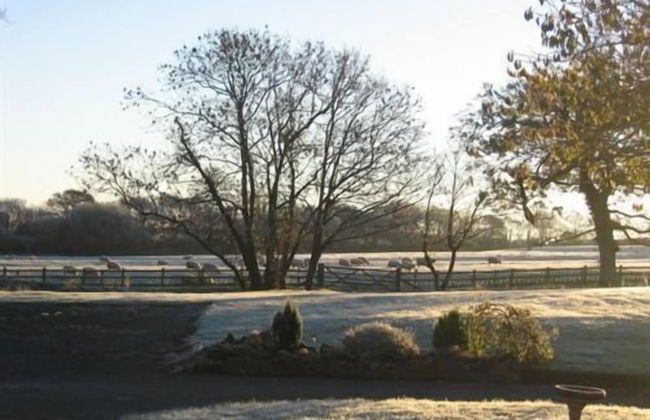


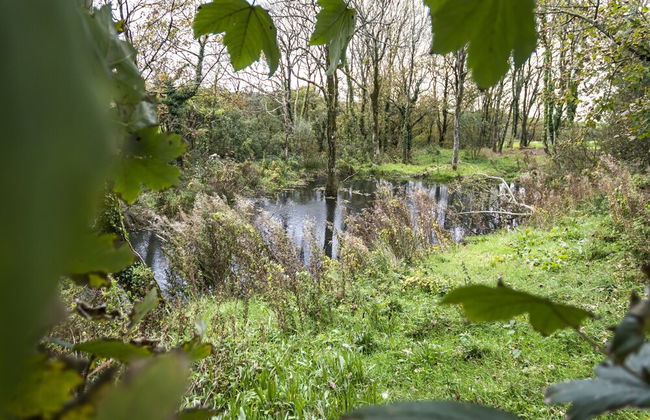
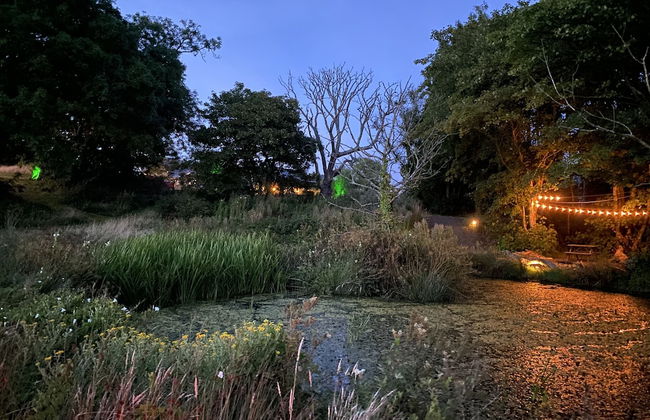
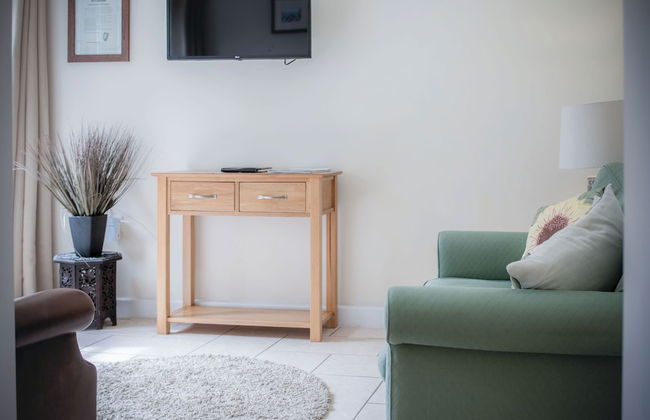
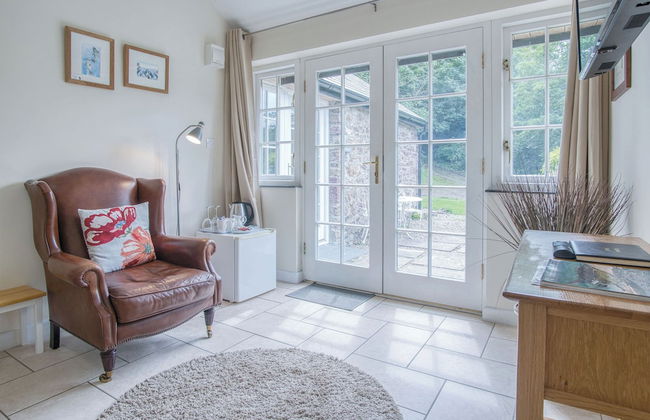
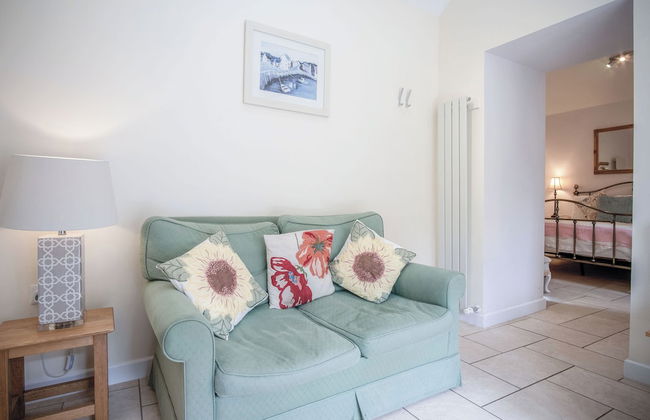
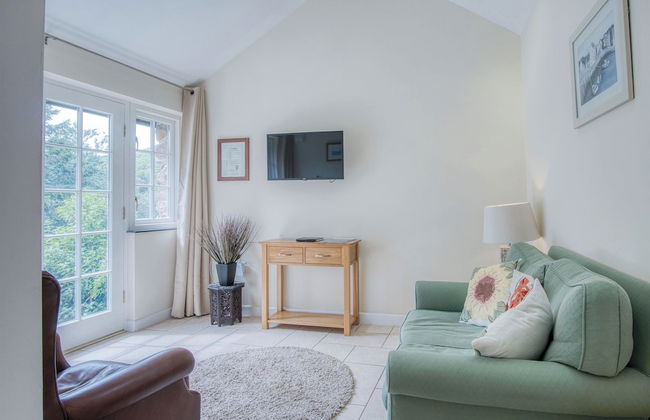
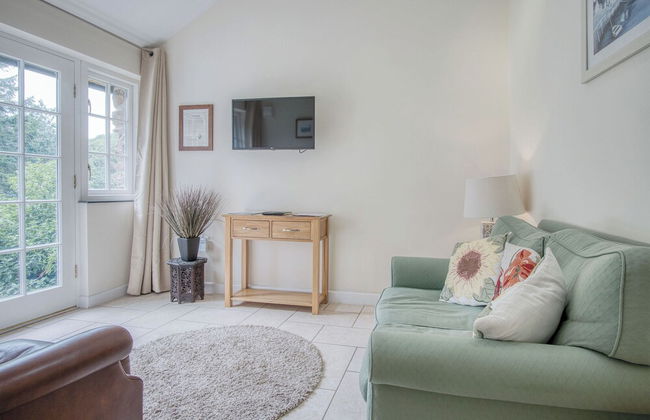
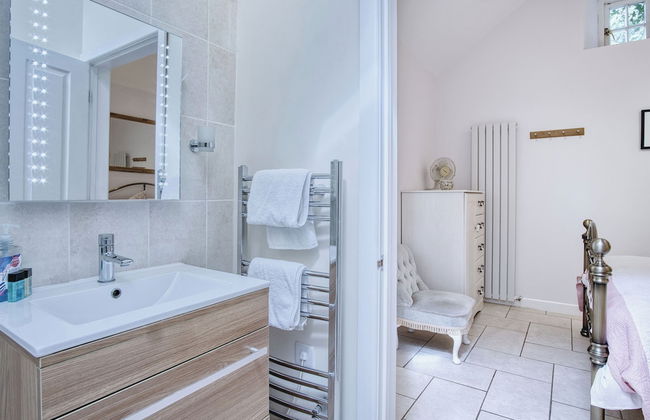
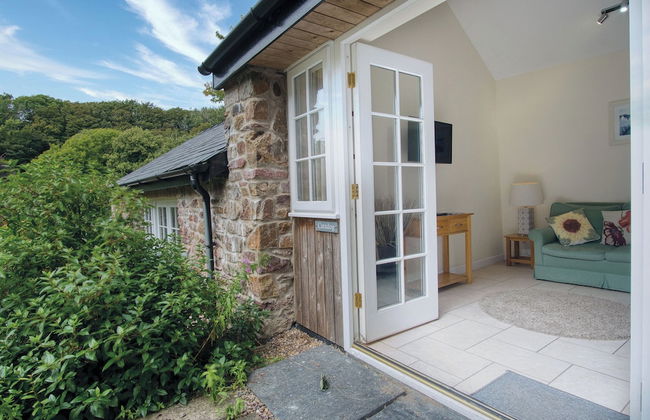
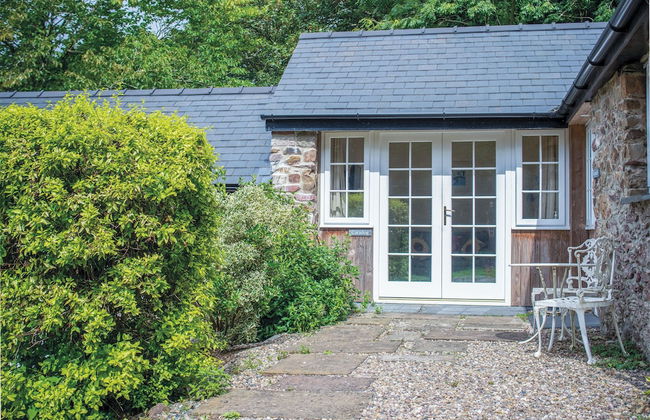
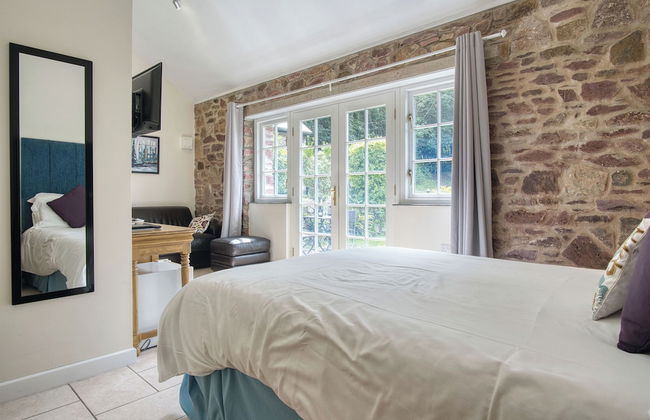
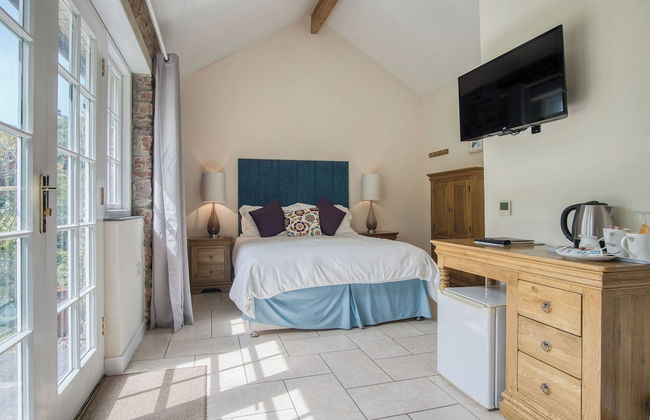
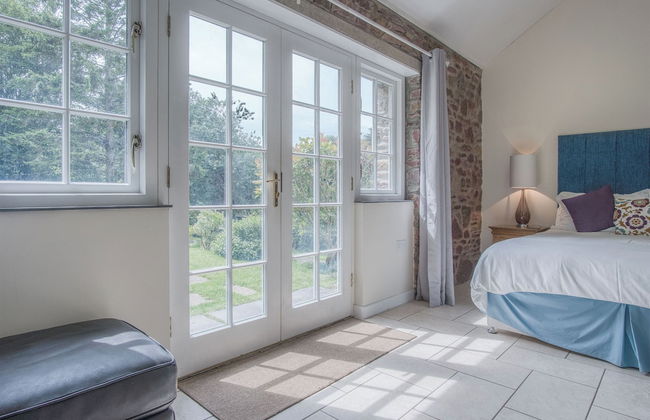
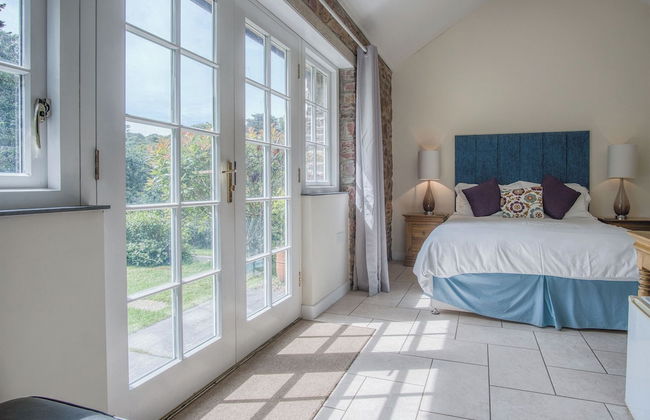
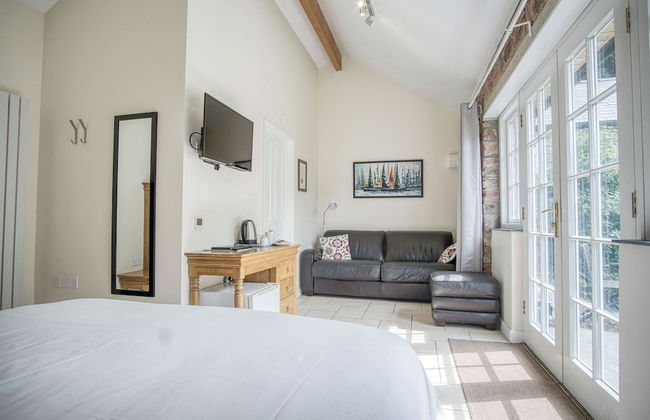
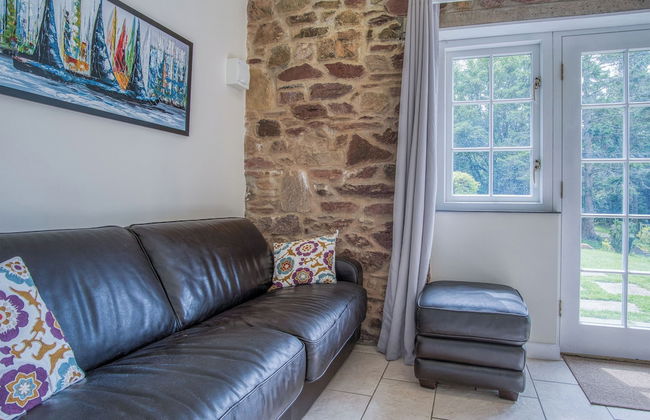
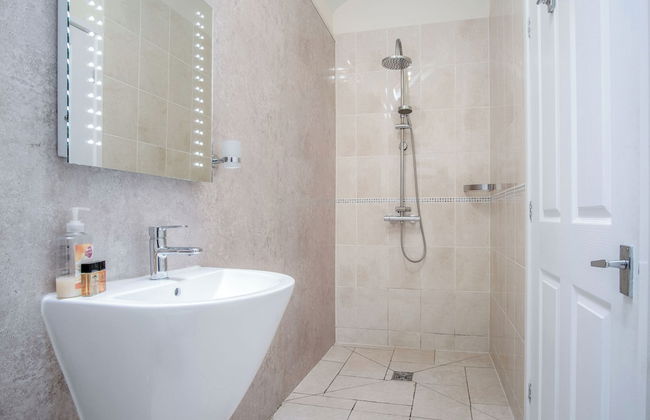
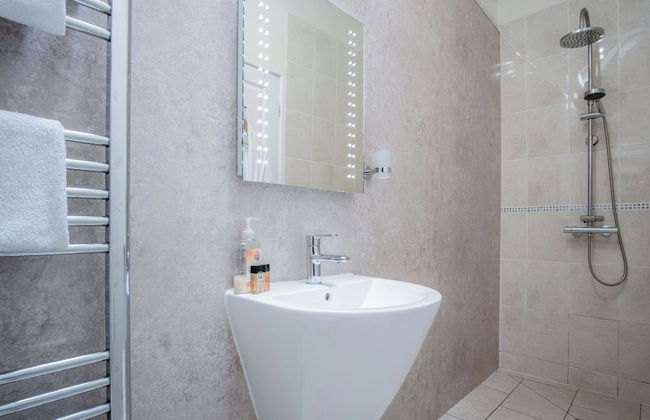
East Hook Farm & Country House
Haverfordwest - Portfield Gate
- 2 personnes
- Air conditionné
- Terrasse
- Parking
- Jardin
- Tv
- Serviettes
- Feuilles
97 avis
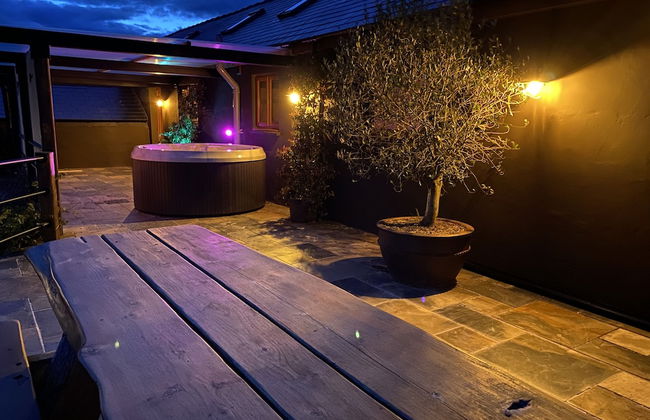


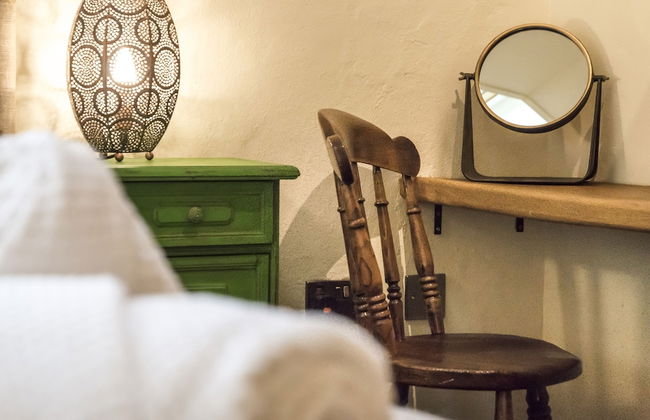
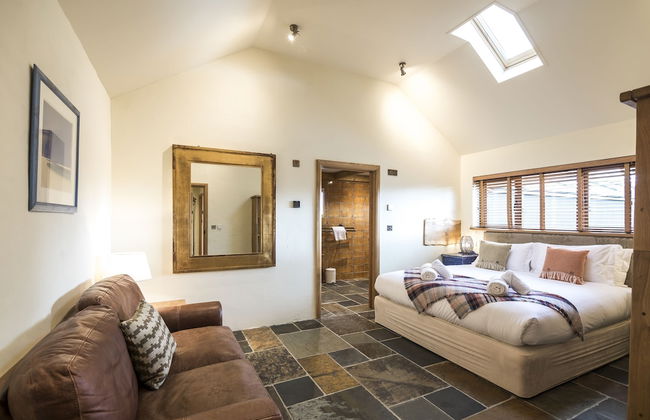

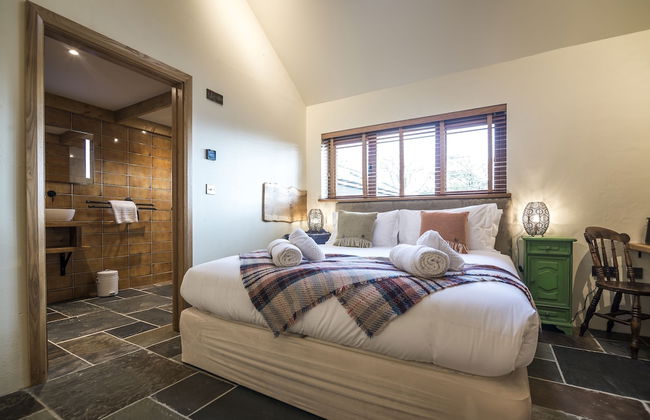
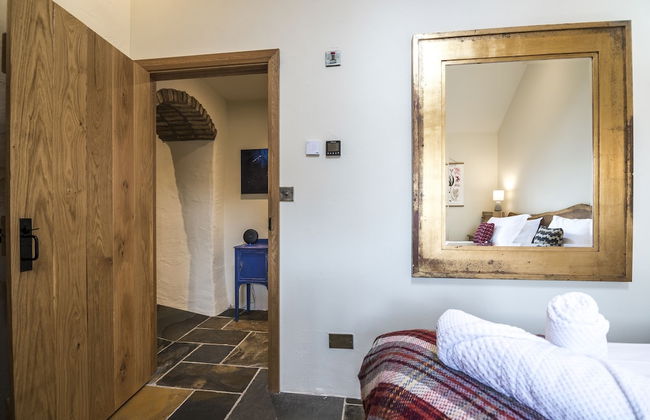
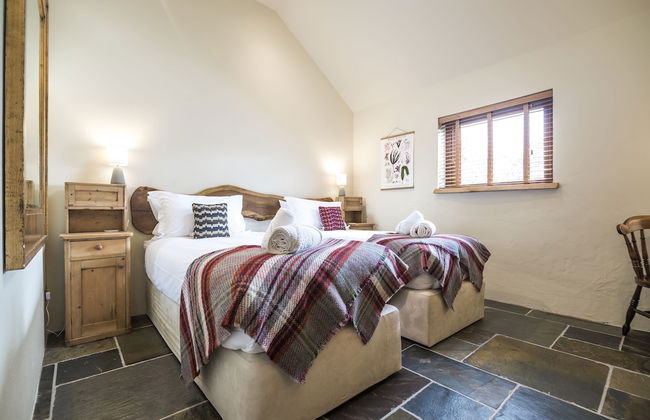
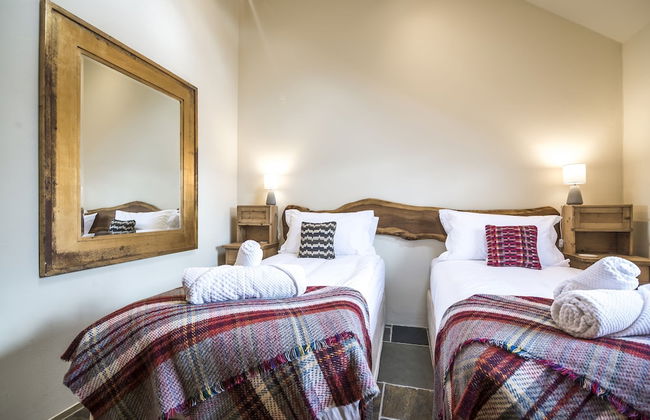
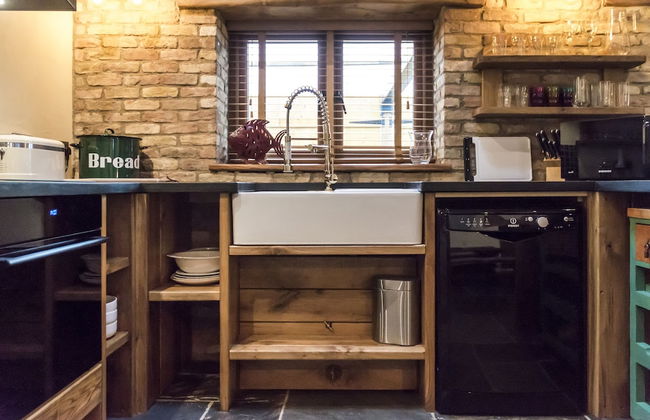
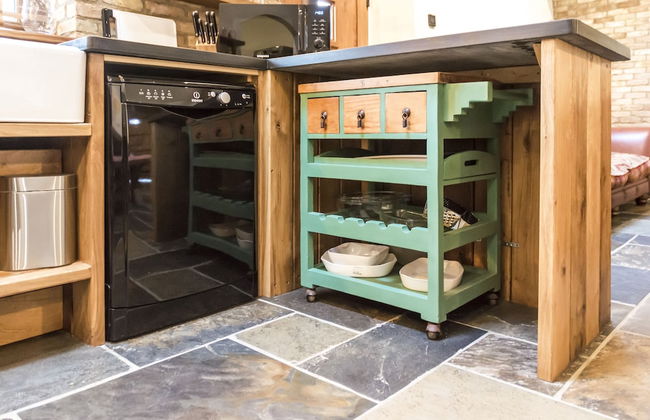
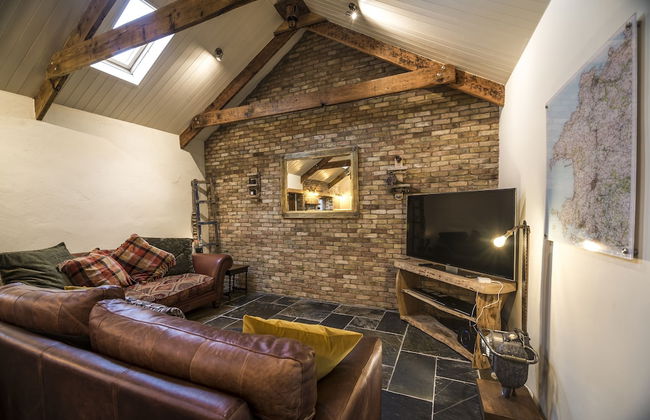
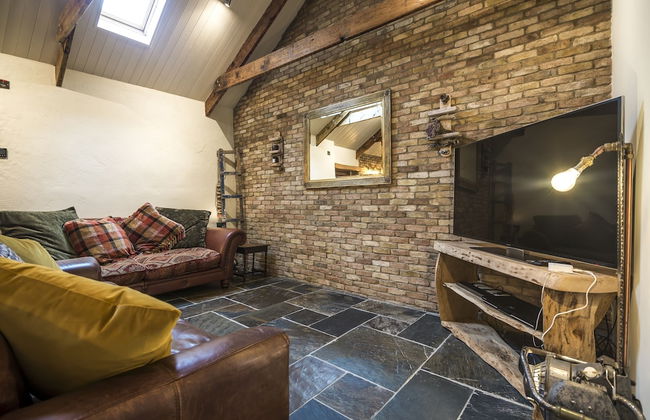
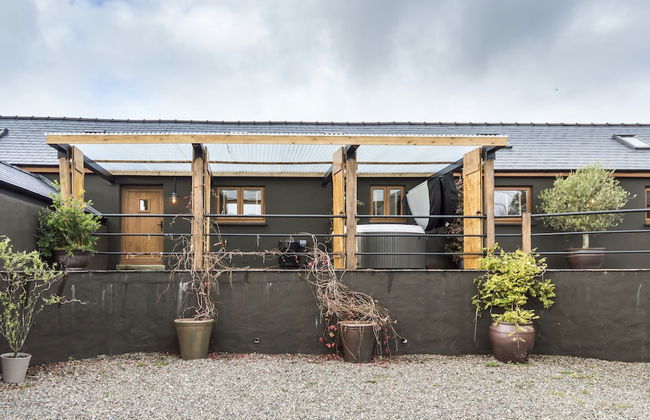
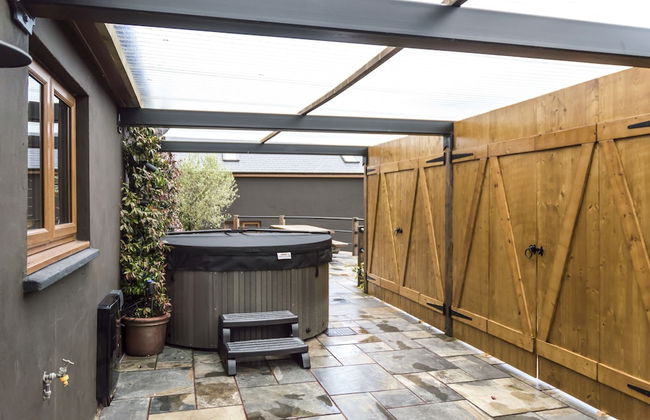

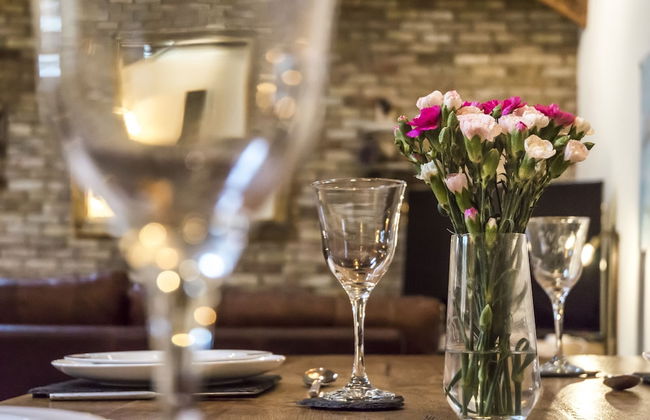
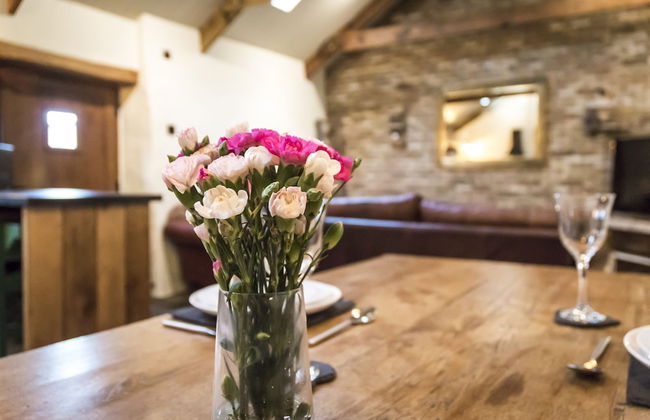
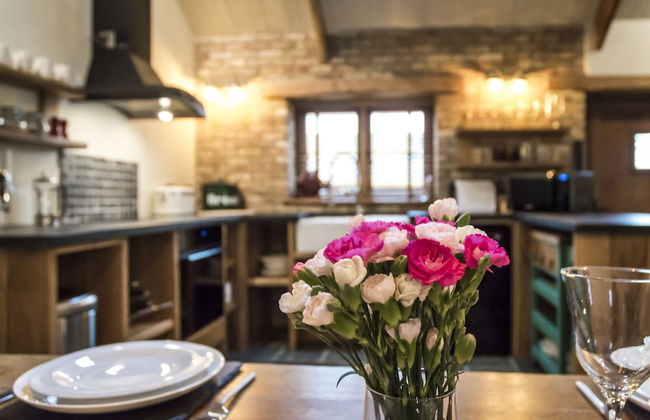
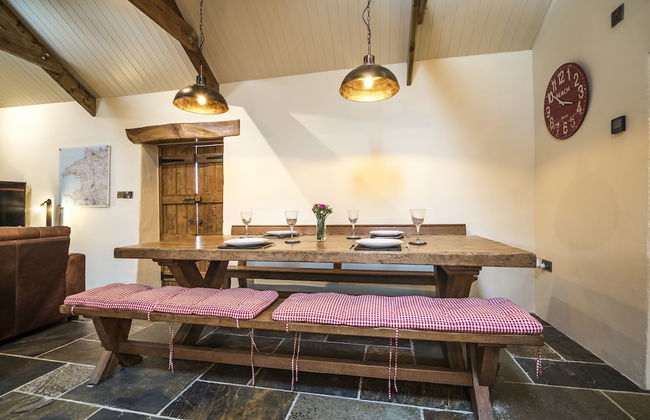
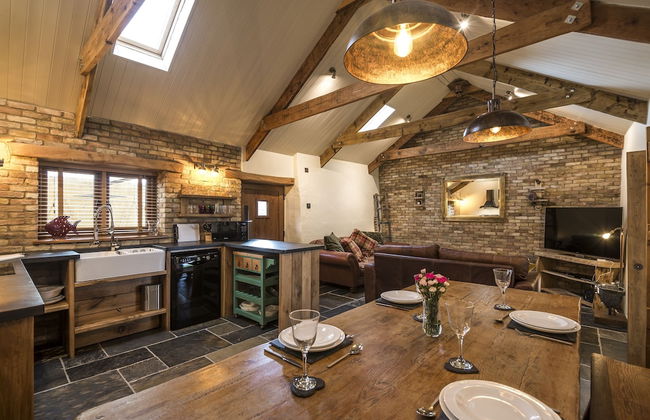
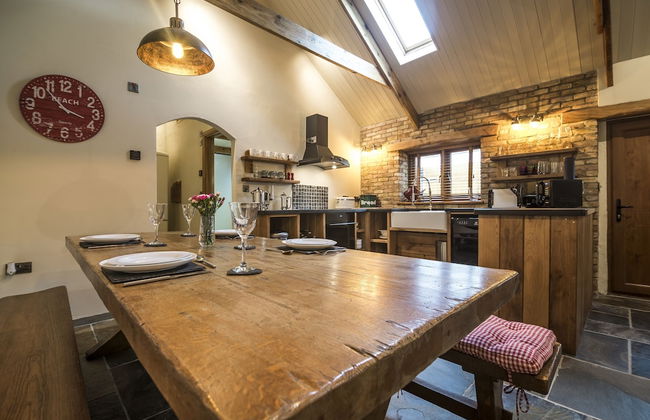
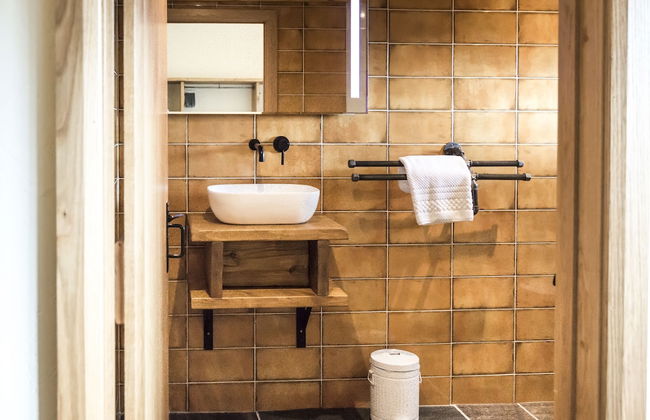
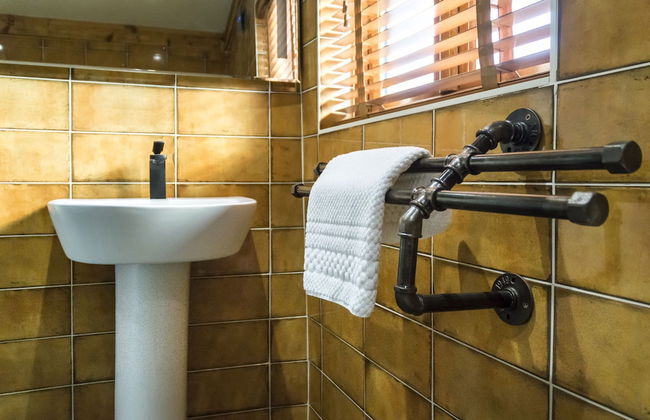

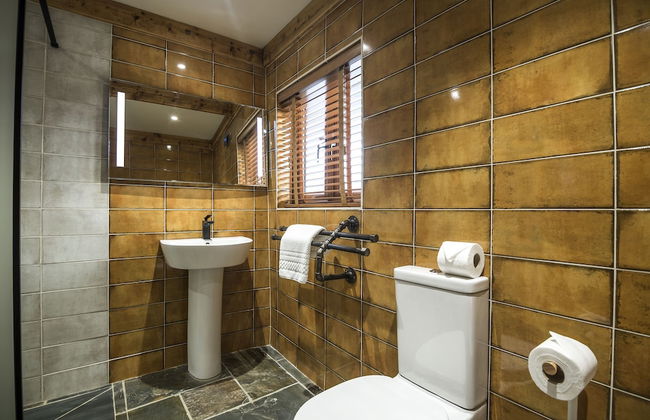
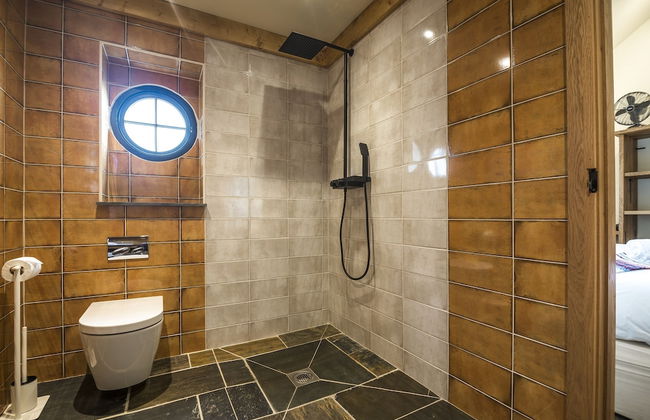
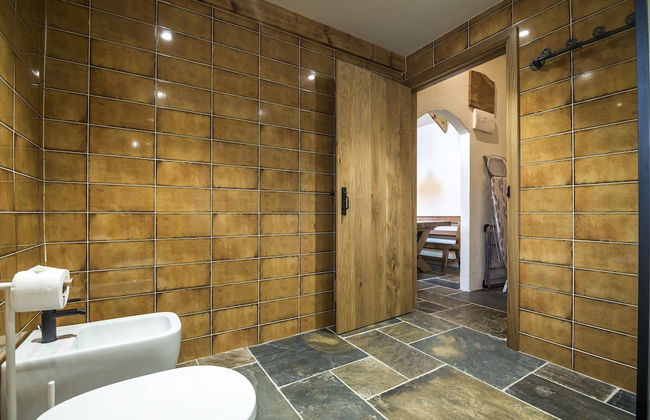
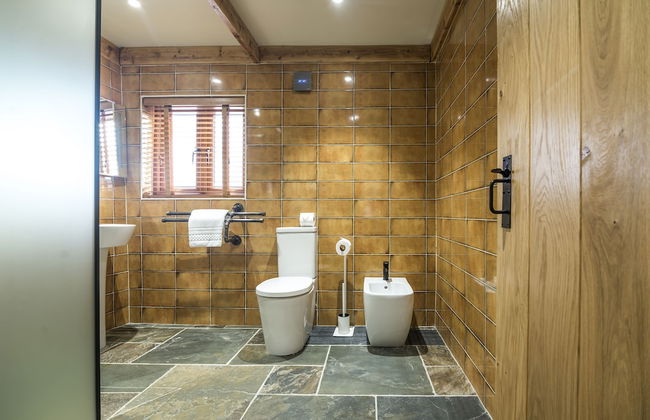


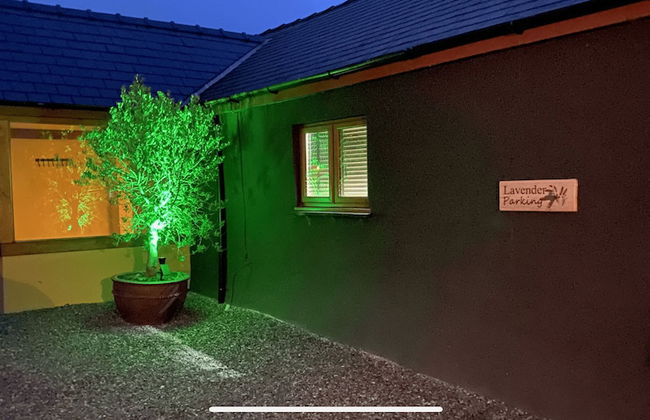
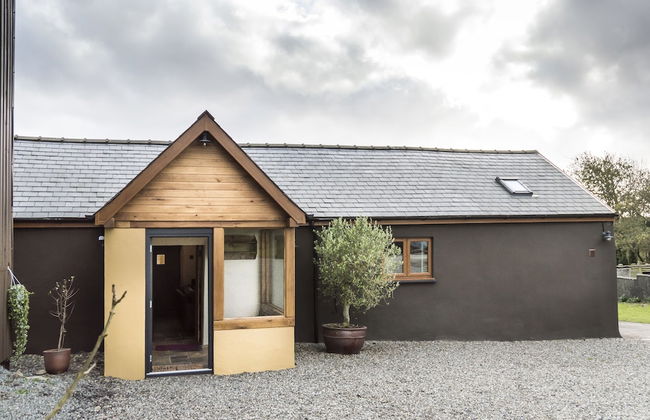
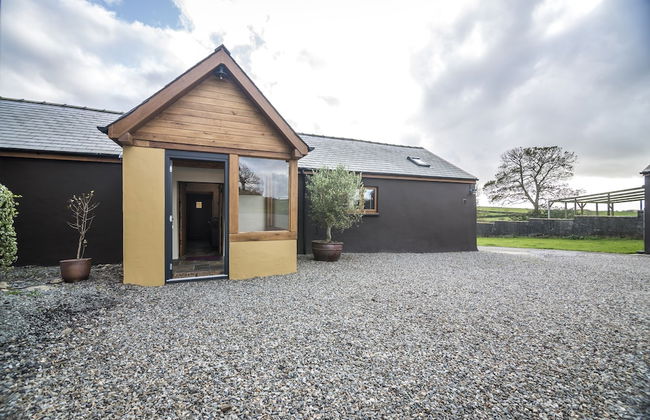

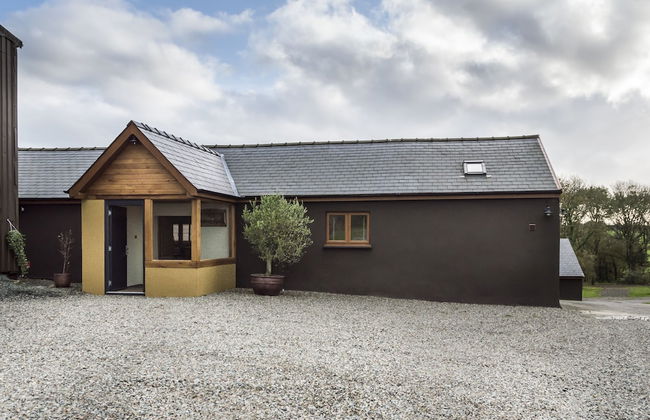

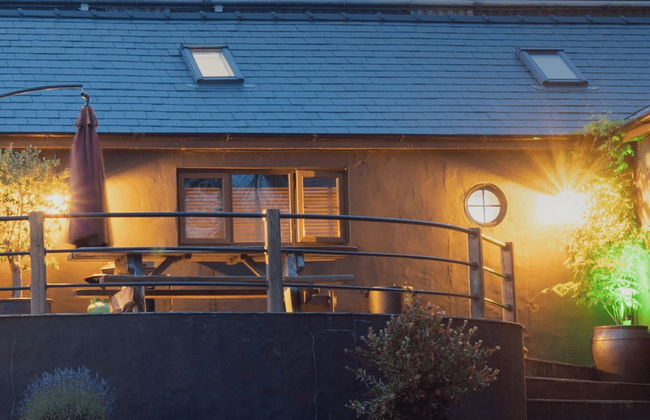
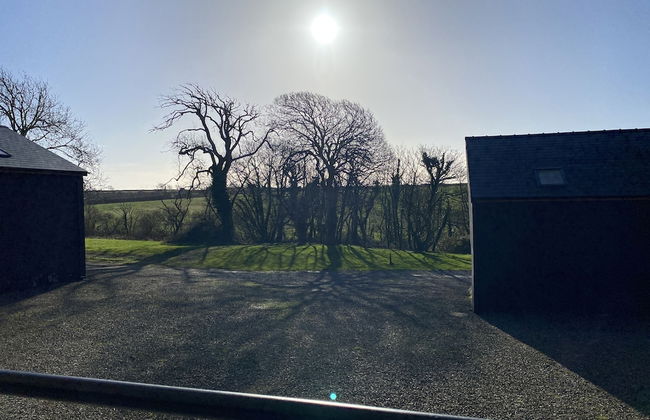
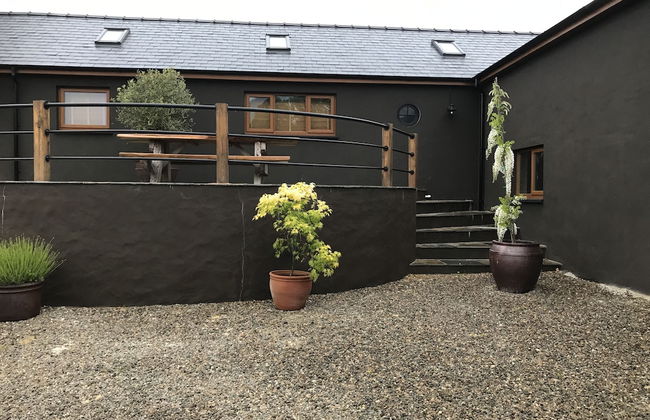
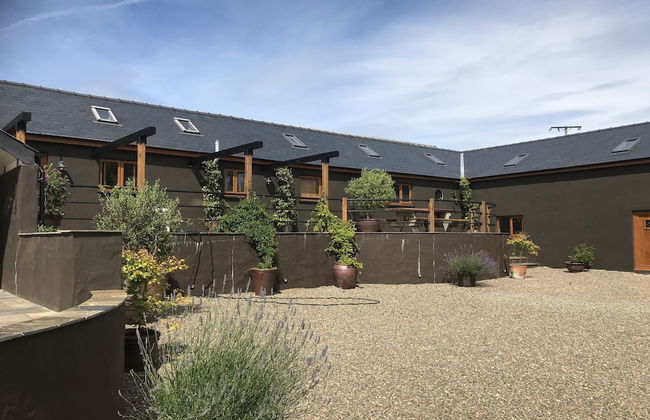
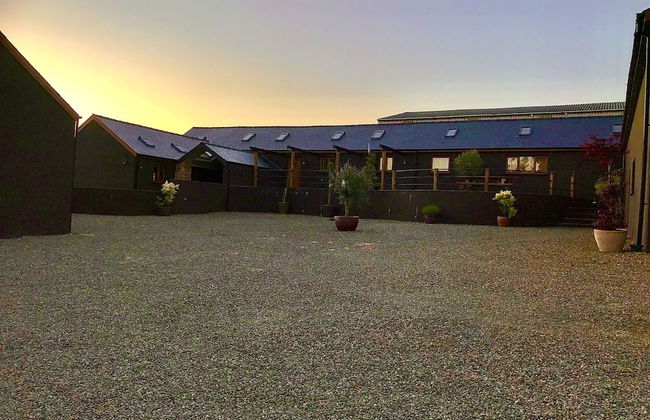
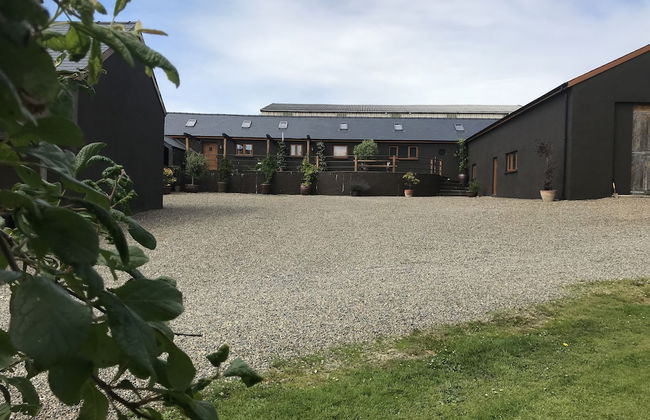


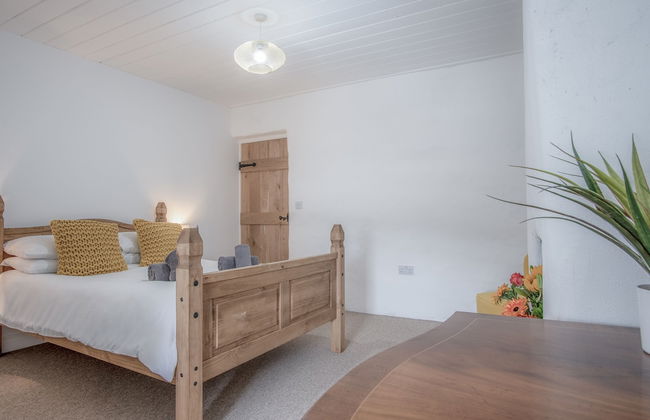
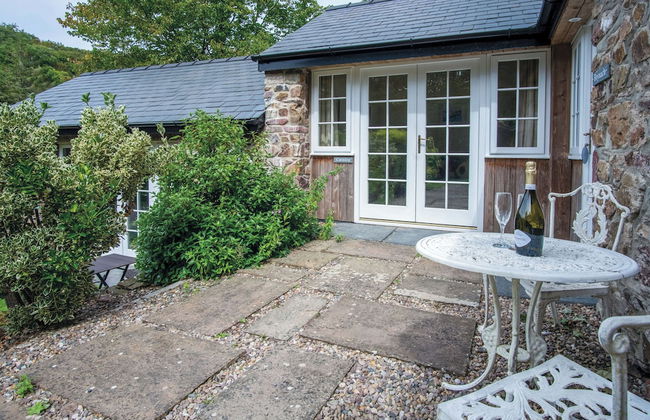
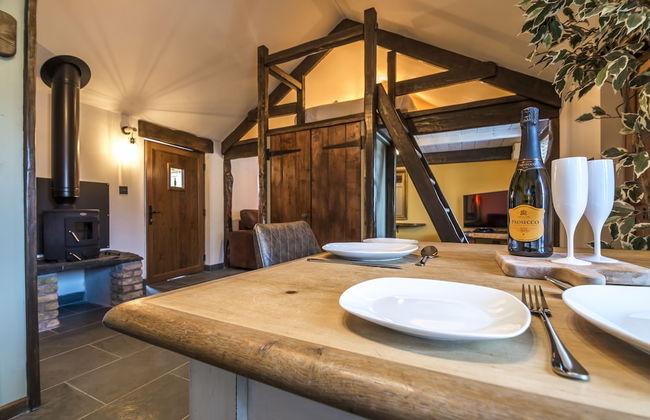
Lavender - Luxurious Barn Conversion
Haverfordwest - Tiers Cross
- 4 personnes
- Le chauffage
- Terrasse
- Parking
- Balcon
- Jardin
- Tv
- Machine à laver
- Serviettes
9 avis


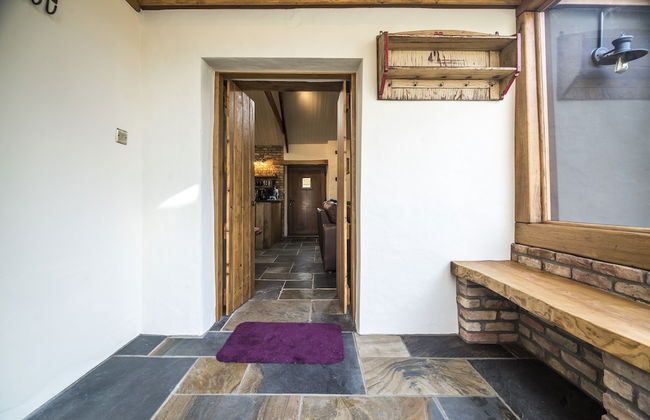
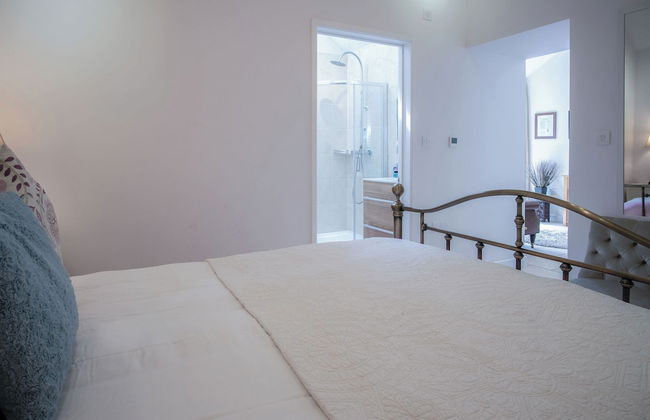
Nolton Haven Mill - The Mill House
Haverfordwest - Nolton Haven
- 6 personnes
- Le chauffage
- Terrasse
- Parking
- Jardin
- Tv
- Cheminée
- Barbecue
- Serviettes
- Feuilles
2 avis


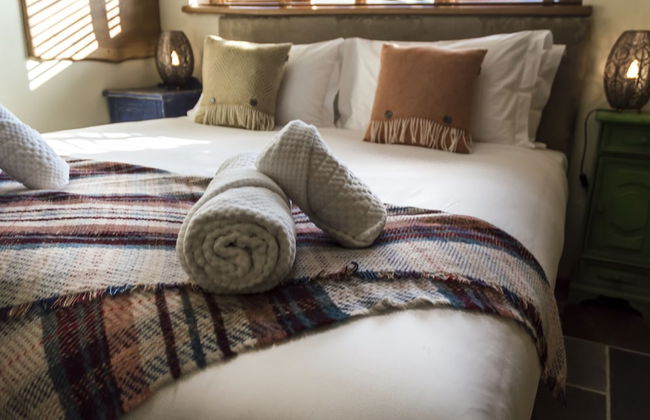
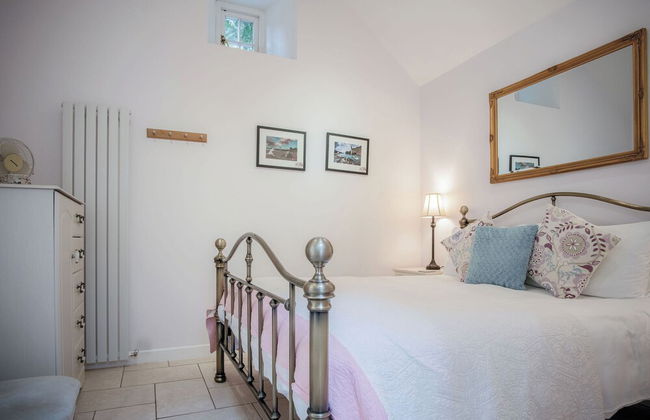
Brook Cottage - 2 Bedroom Cottage - Dale
Haverfordwest - Dale
- 74 M2
- 4 personnes
- Le chauffage
- Terrasse
- Parking
- Jardin
- Tv
- Serviettes
- Feuilles
2 avis


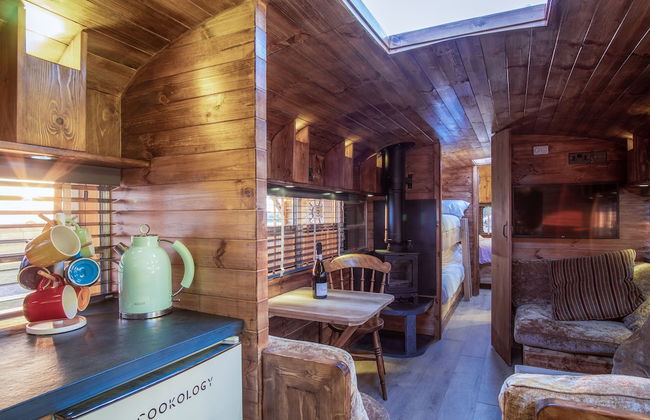


American School Bus - Blossom Farm
Haverfordwest - Tiers Cross
- 22 M2
- 4 personnes
- Le chauffage
- Parking
- Tv
- Cheminée
- Serviettes
- Feuilles
3 avis

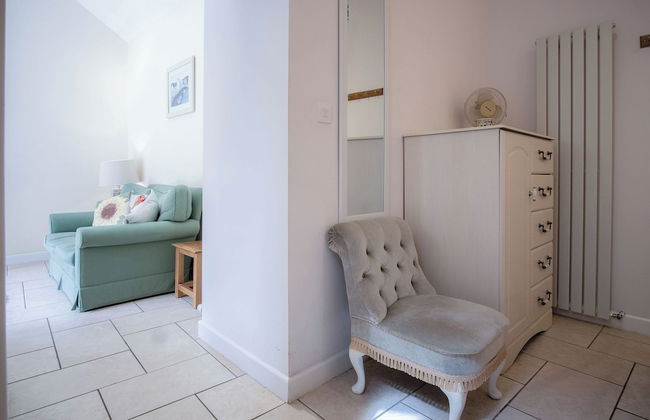
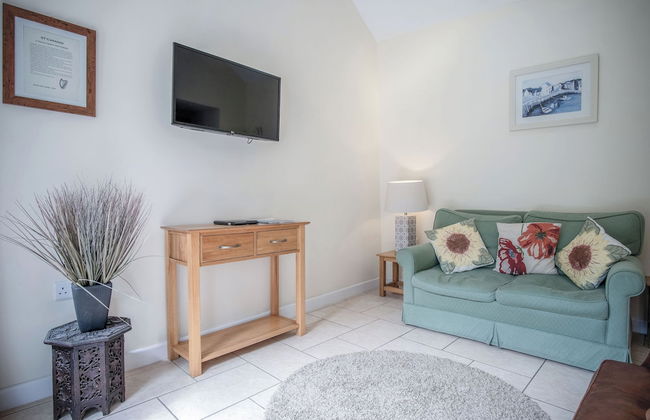
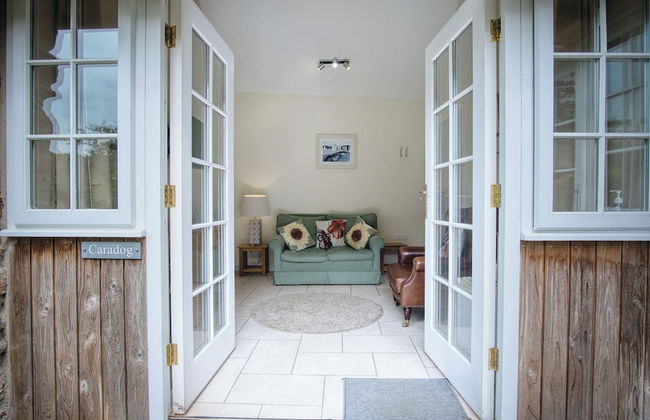
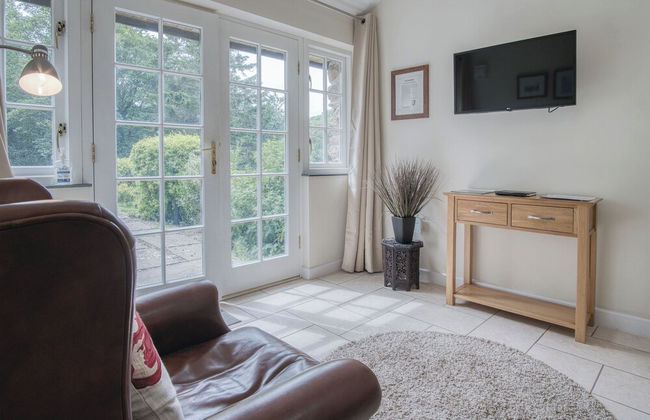


Caradog - 1 Bedroom - St Ishmael's
Haverfordwest - St Ishmaels
- 20 M2
- 2 personnes
- Le chauffage
- Terrasse
- Parking
- Tv
- Serviettes
- Feuilles
6 avis


Teilo - 1 Bedroom - St Ishmael's
Haverfordwest - St Ishmaels
- 19 M2
- 2 personnes
- Le chauffage
- Terrasse
- Parking
- Tv
- Serviettes
- Feuilles
2 avis


Caleb's Cottage - 4 Bed Cottage - Solva
Haverfordwest - Solva
- 130 M2
- 8 personnes
- Le chauffage
- Parking
- Jardin
- Tv
- Cheminée
- Serviettes
- Feuilles
2 avis


Brook Cottage - 1 Bedroom Cottage - Dale
Haverfordwest - Dale
- 37 M2
- 2 personnes
- Le chauffage
- Terrasse
- Parking
- Jardin
- Tv
- Serviettes
- Feuilles
2 avis


Brook Cottage Green - 2 Bedroom - Dale
Haverfordwest - Haverfordwest
- 84 M2
- 4 personnes
- Le chauffage
- Terrasse
- Parking
- Jardin
- Tv
- Cheminée
- Serviettes
- Feuilles
1 avis


Brynach - 1 Bedroom - St Ishmael's
Haverfordwest - St Ishmaels
- 20 M2
- 2 personnes
- Le chauffage
- Terrasse
- Parking
- Tv
- Serviettes
- Feuilles
1 avis


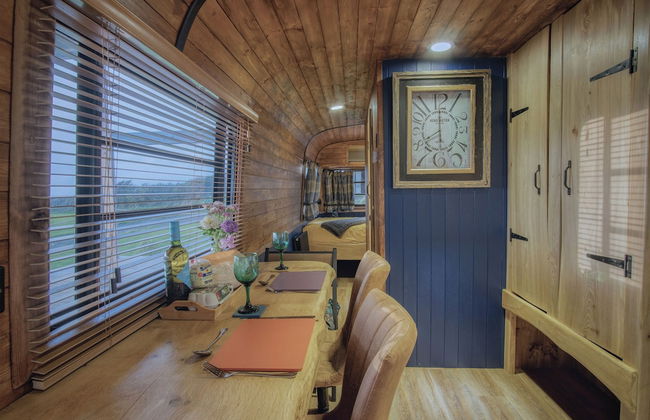
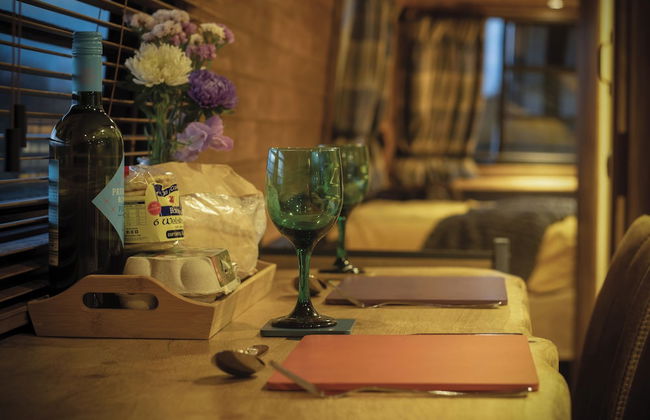


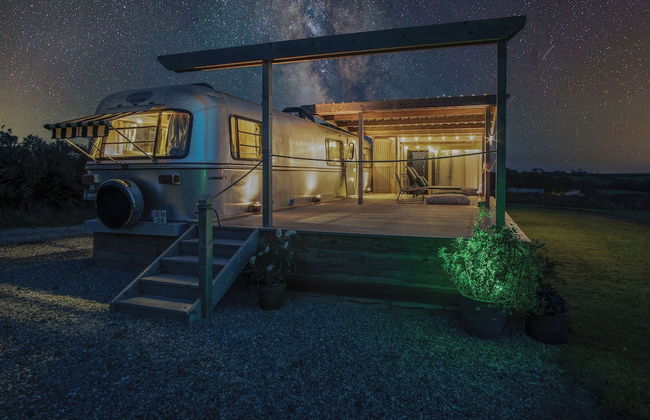


American Airstream - Blossom Farm - Tiers Cross
Haverfordwest - Tiers Cross
- 23 M2
- 2 personnes
- Le chauffage
- Parking
- Balcon
- Tv
- Serviettes
- Feuilles
1 avis


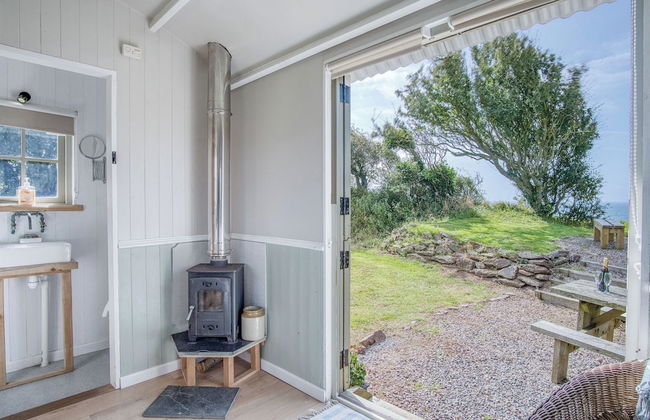


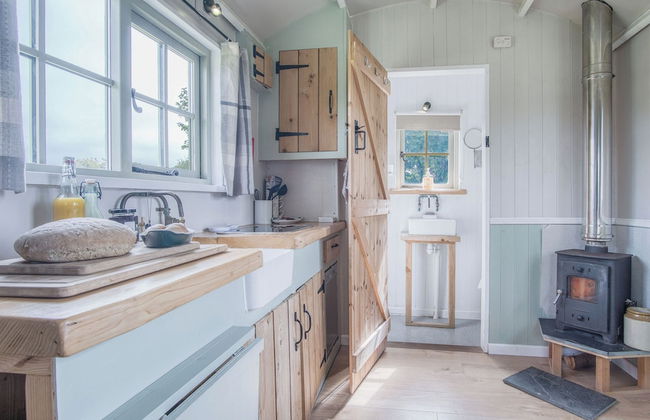


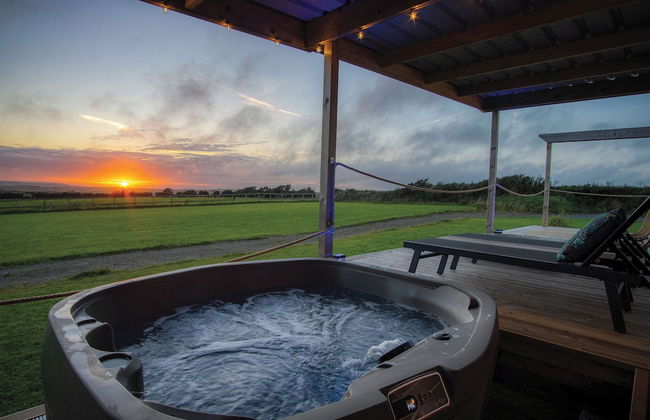
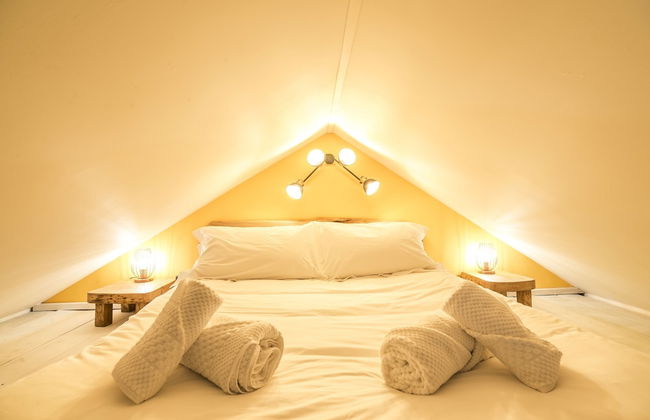
Haven View - 1 Bed Shepherds Hut - St Ishmael's
Haverfordwest - St Ishmaels
- 19 M2
- 2 personnes
- Cuisinette
- Terrasse
- Parking
- Jardin
- Cheminée
- Barbecue
- Serviettes
- Feuilles
1 avis


The Pump
Haverfordwest - Solva
- 80 M2
- 3 chambres
- 6 personnes
- Le chauffage
- Parking
- Jardin
- Tv
- Machine à laver
- Cheminée
- Feuilles
25 avis


Fern Cottage - 1 Bedroom - Tiers Cross
Haverfordwest - Tiers Cross
- 2 personnes
- Air conditionné
- Le chauffage
- Terrasse
- Parking
- Tv
- Cheminée
- Serviettes
- Feuilles
1 avis


Ysfael - 1 Bedroom Studio - St Ishmael's
Haverfordwest - St Ishmaels
- 19 M2
- 2 personnes
- Le chauffage
- Terrasse
- Parking
- Tv
- Serviettes
- Feuilles


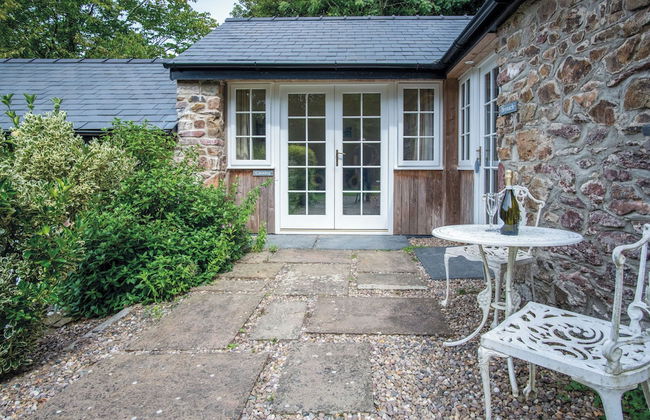
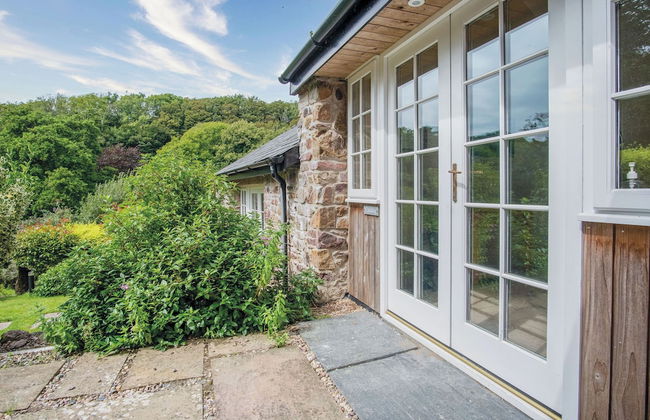
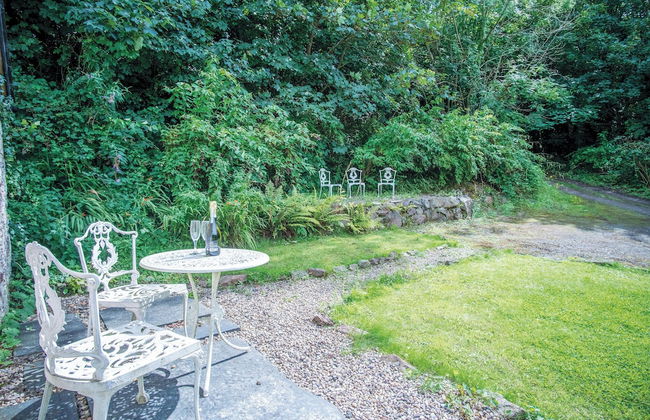
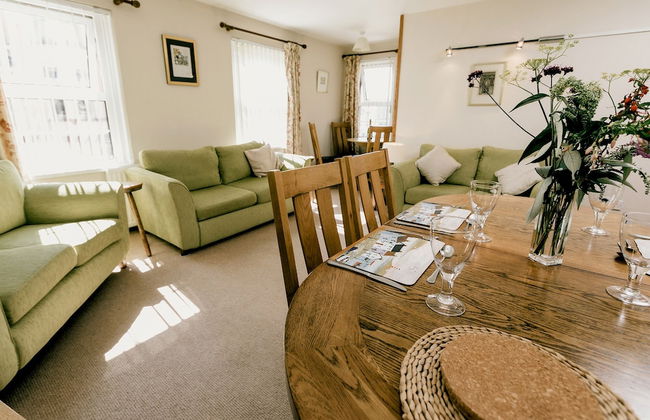
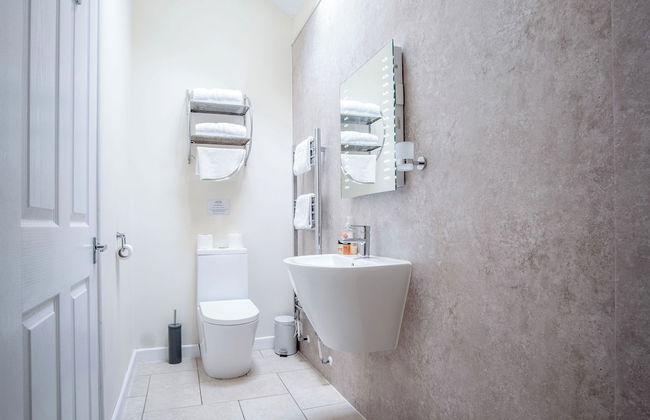
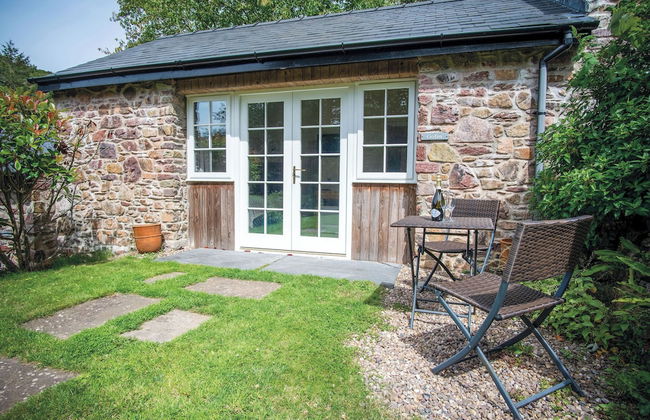
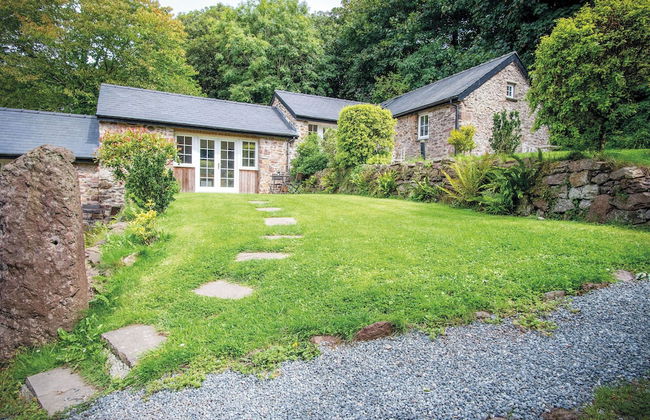
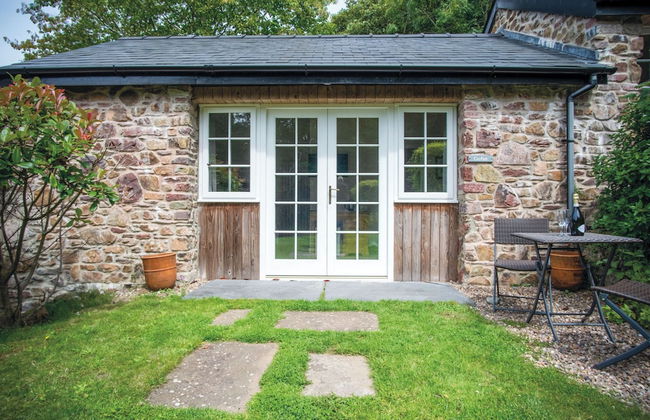
The Apple Store - 1 Bedroom Cottage - St Ishmael's
Haverfordwest - St Ishmaels
- 28 M2
- 2 personnes
- Cuisinette
- Le chauffage
- Terrasse
- Parking
- Tv
- Barbecue
- Serviettes
- Feuilles


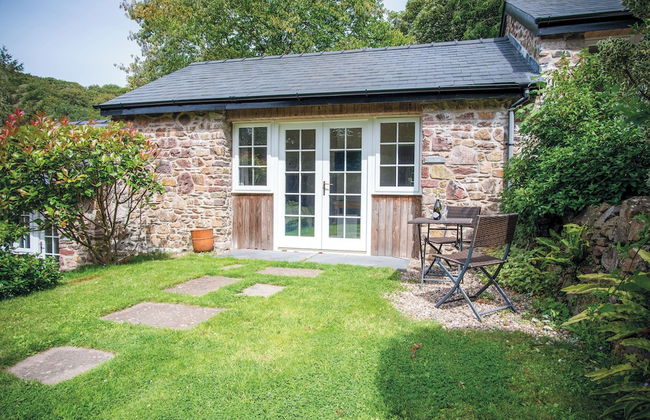
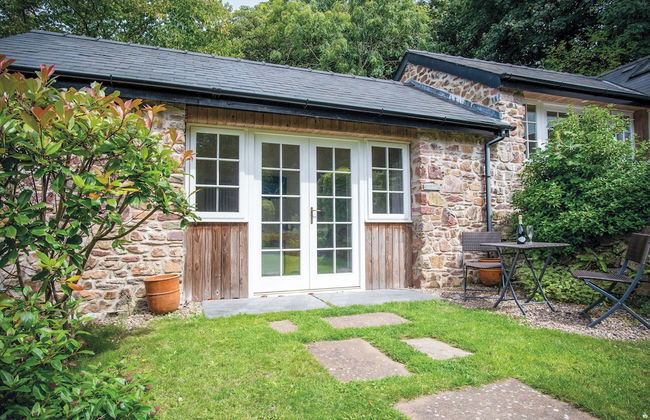
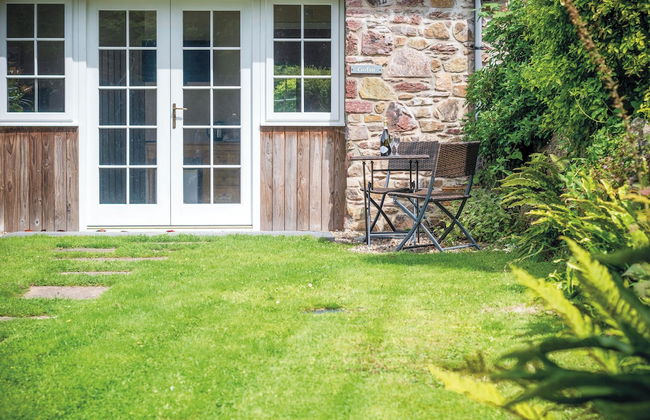
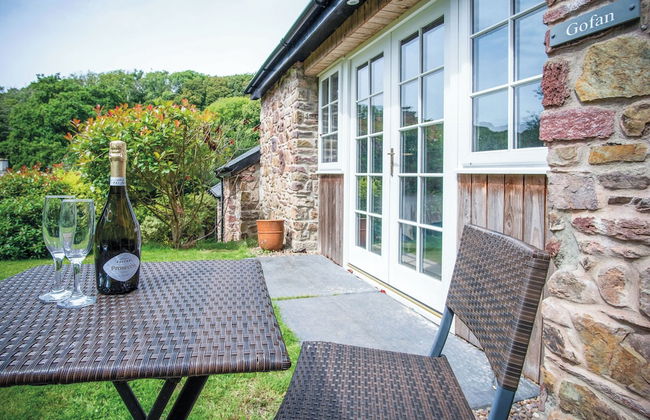
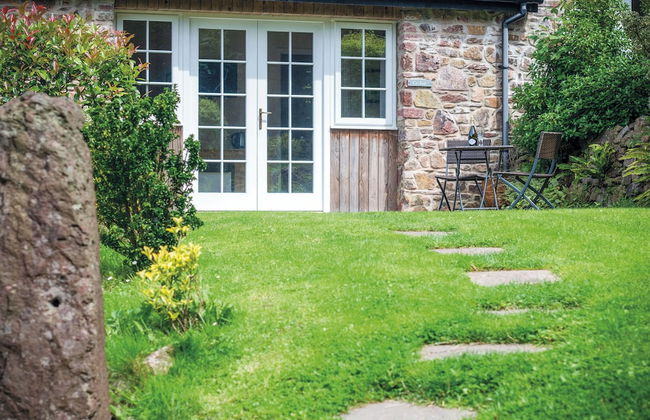
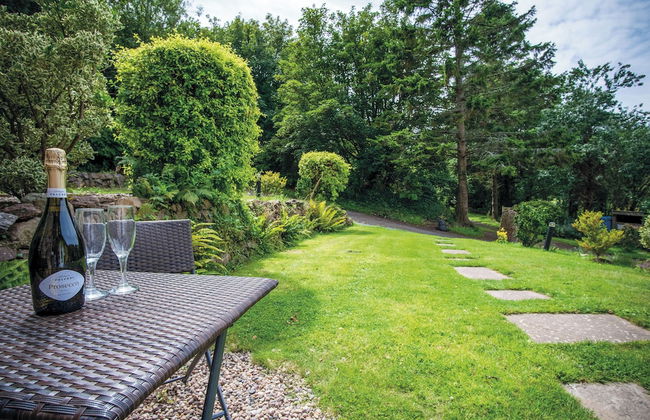
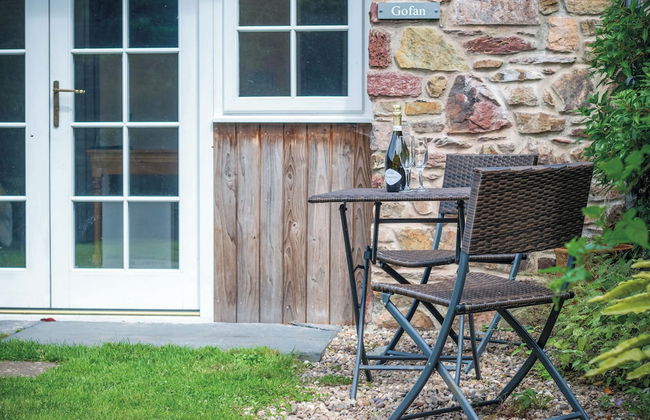

Gofan - 1 Bedroom Studio - St Ishmael's
Haverfordwest - St Ishmaels
- 20 M2
- 2 personnes
- Le chauffage
- Terrasse
- Parking
- Tv
- Serviettes
- Feuilles