
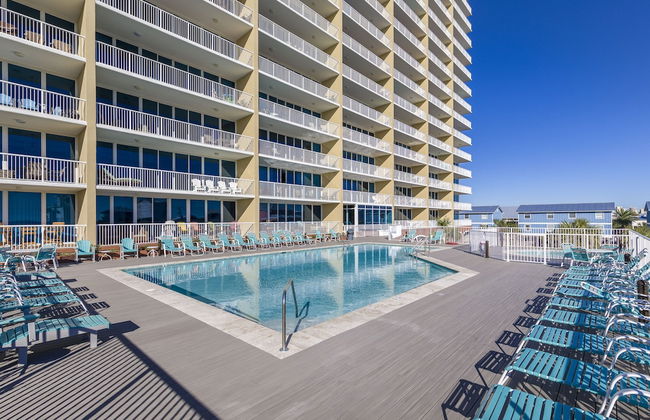
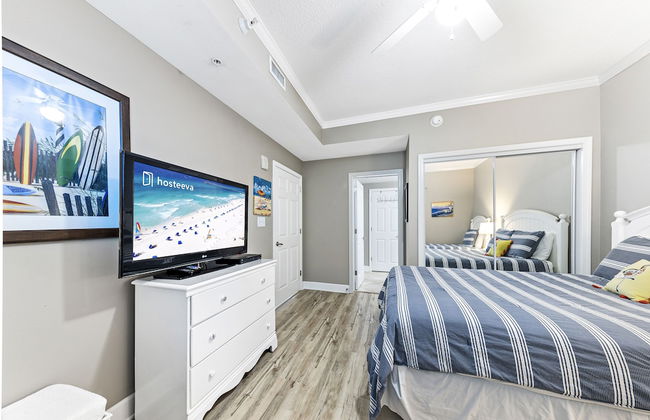
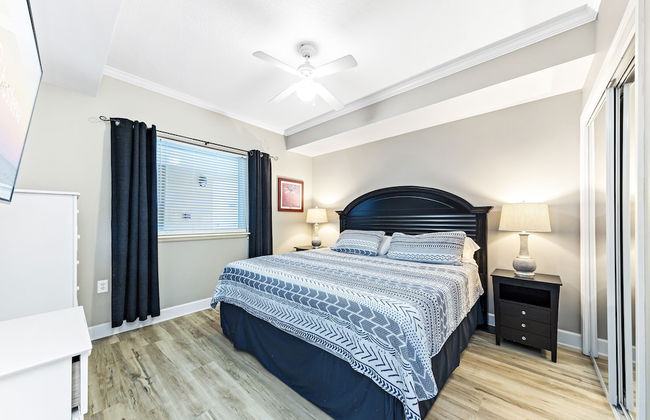
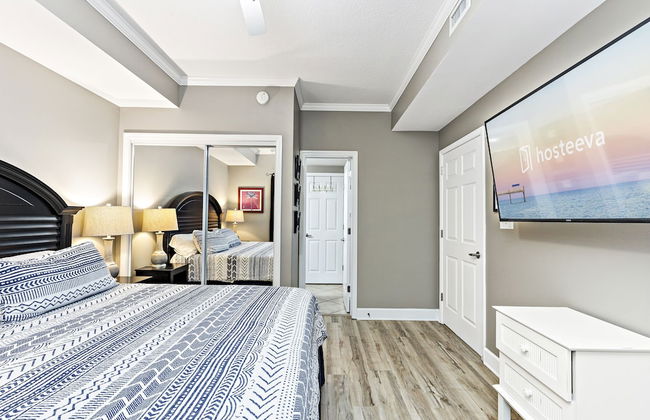
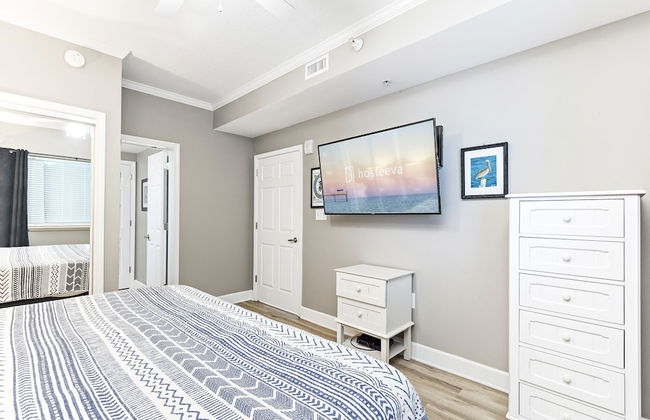
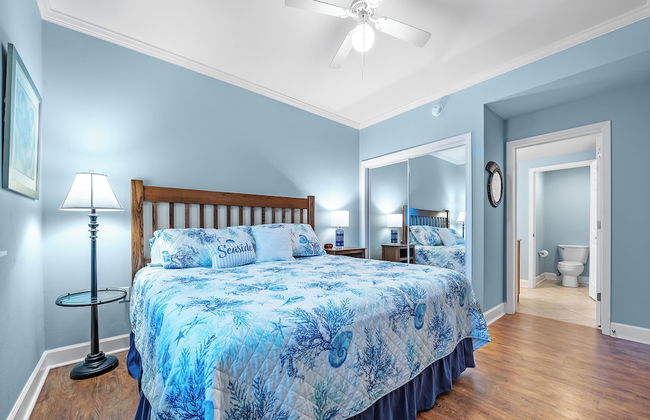
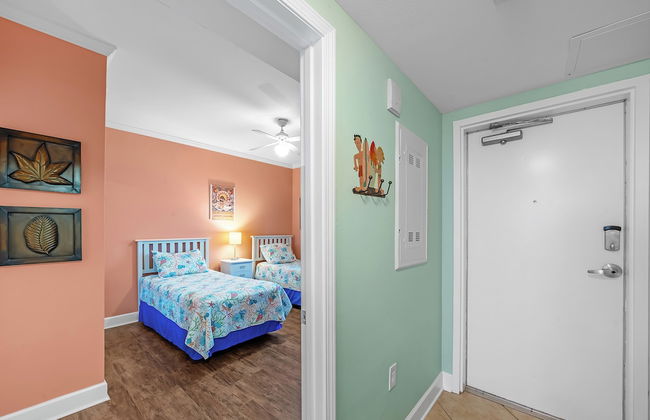
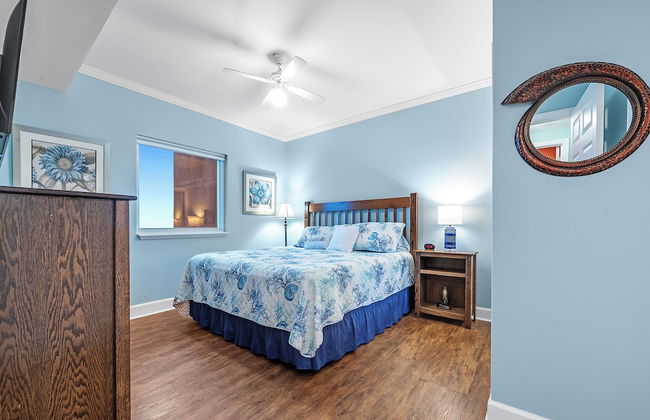
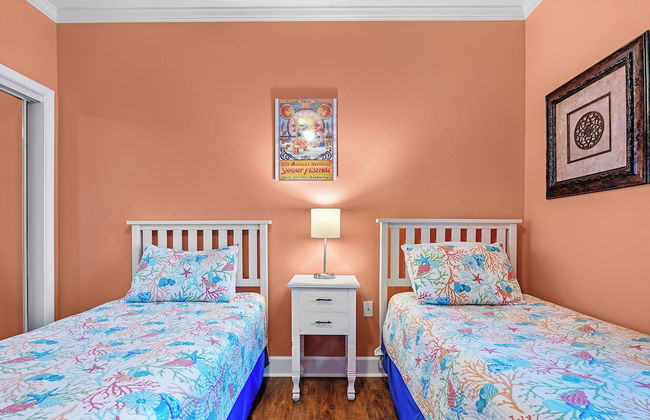
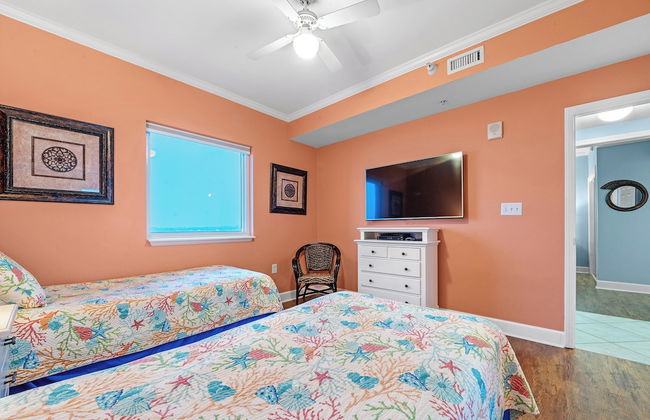
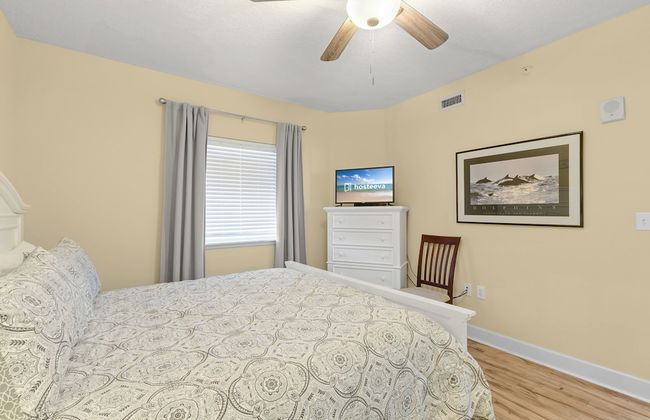
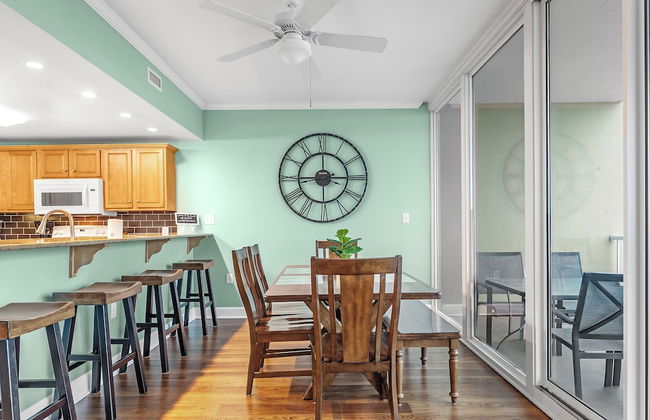
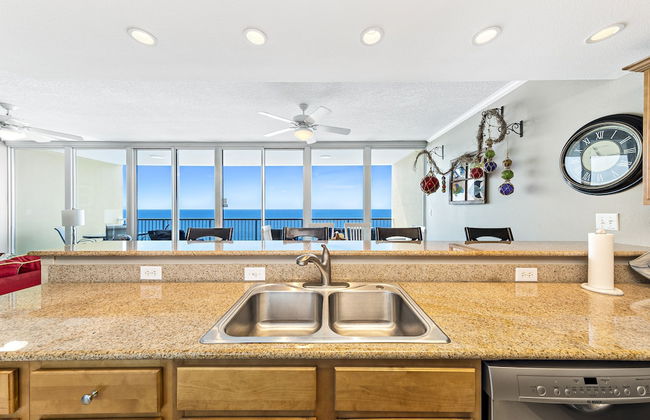
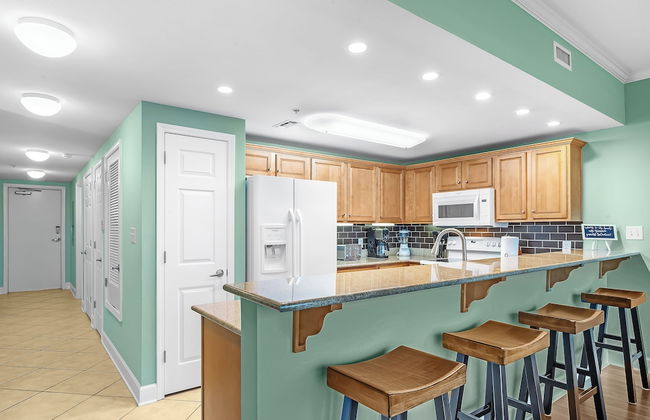
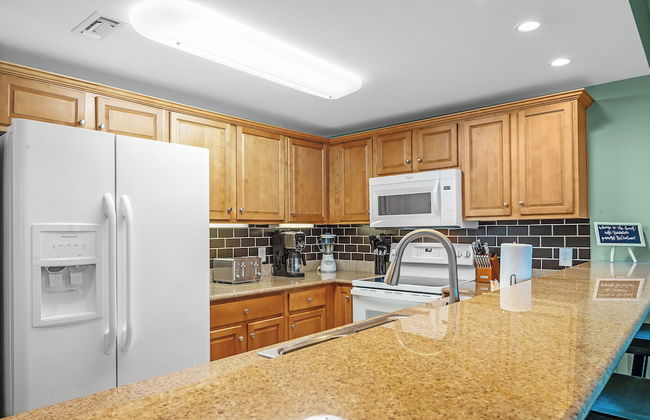
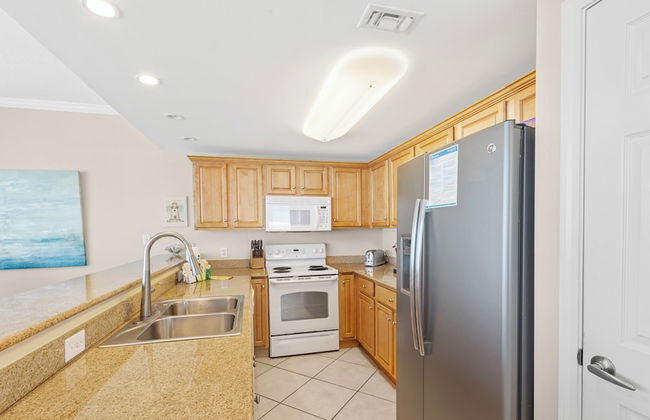
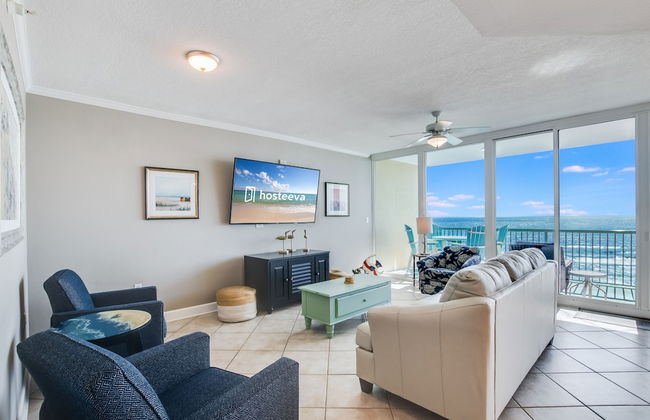
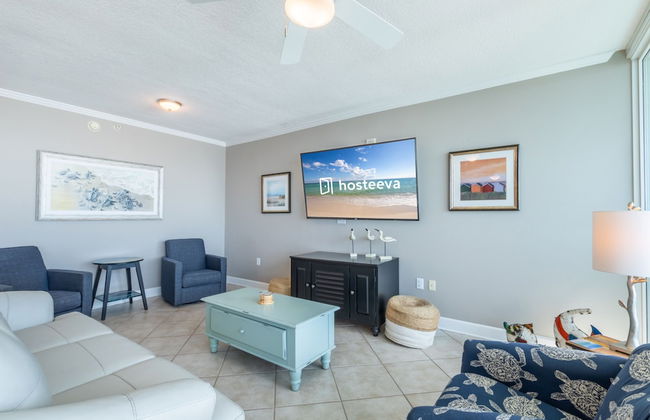
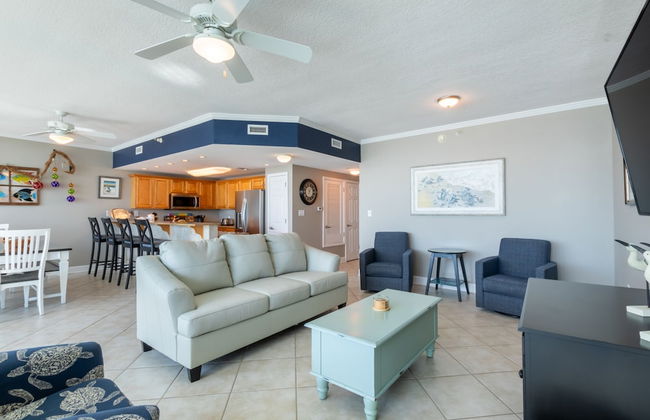
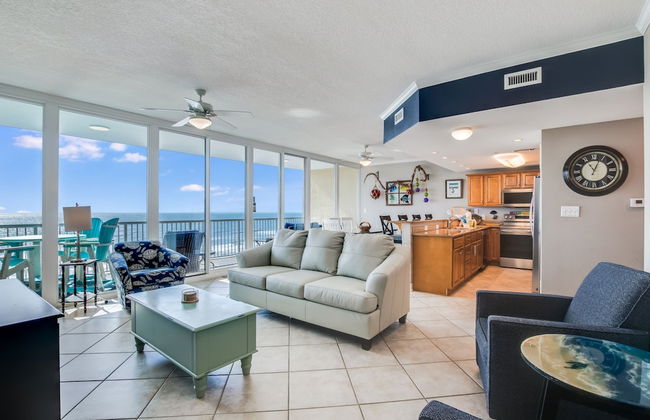
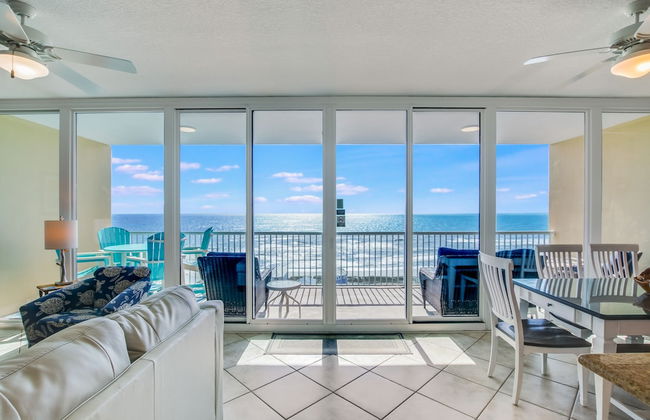
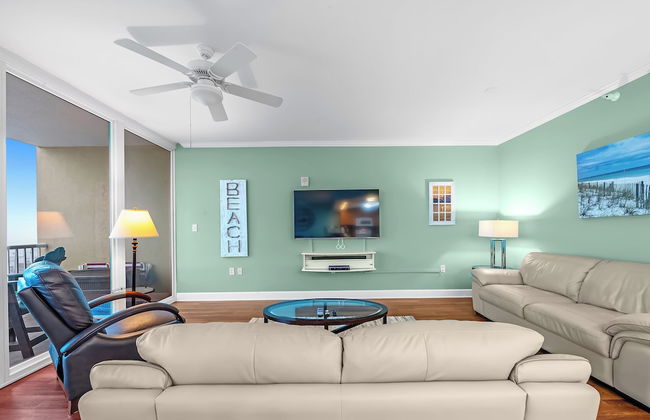
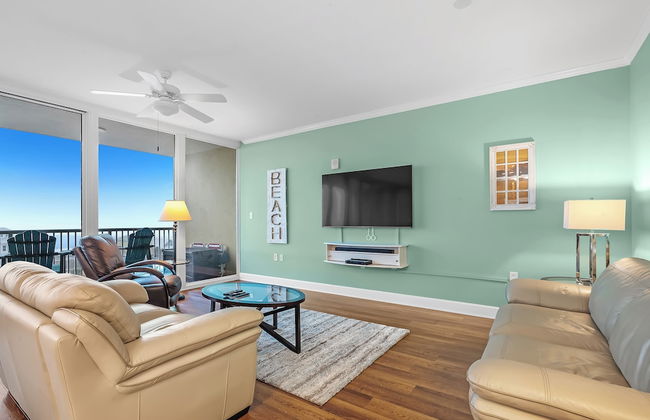
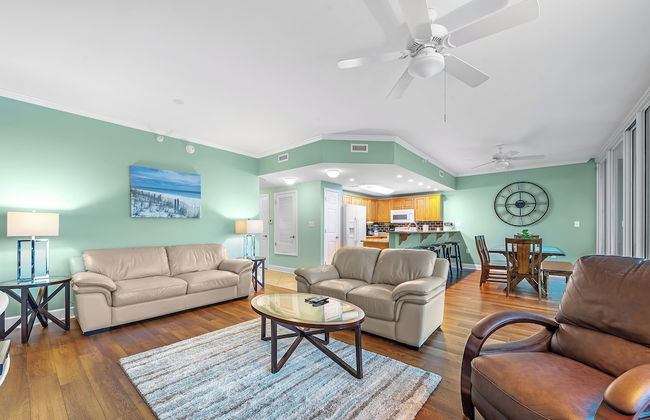
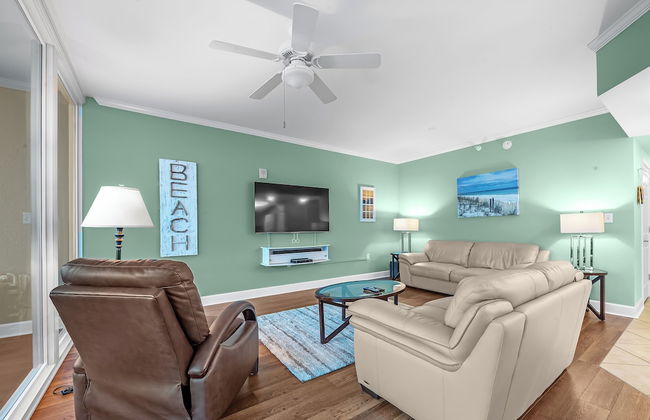
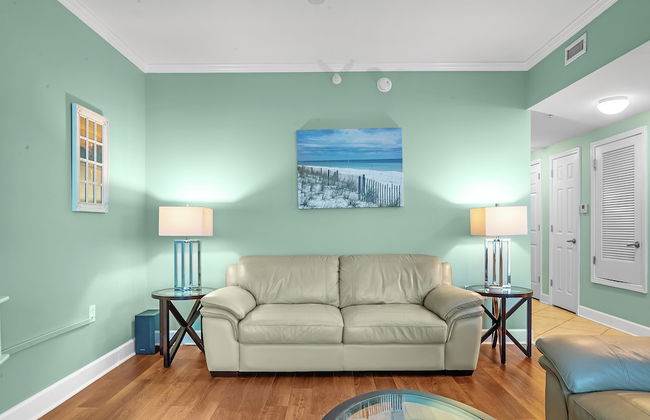
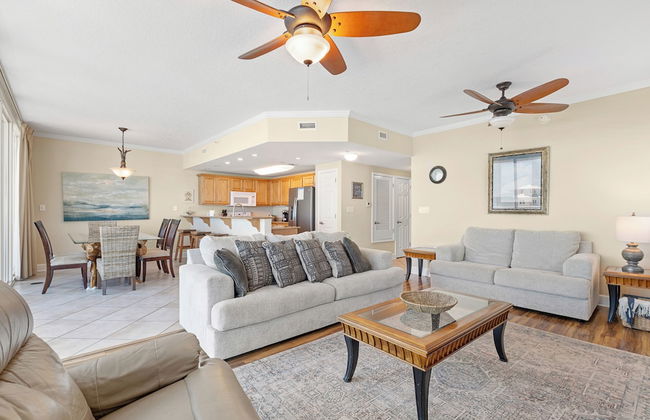
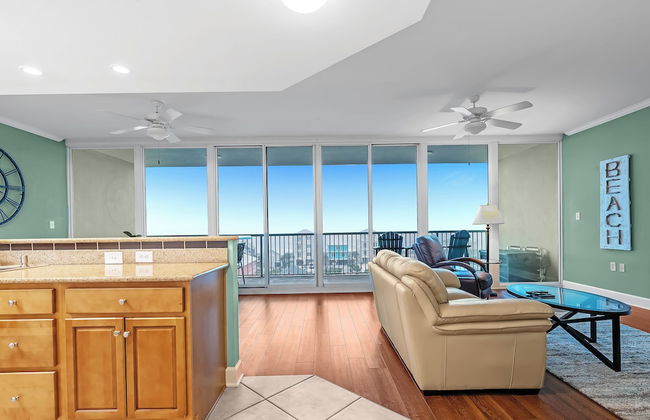
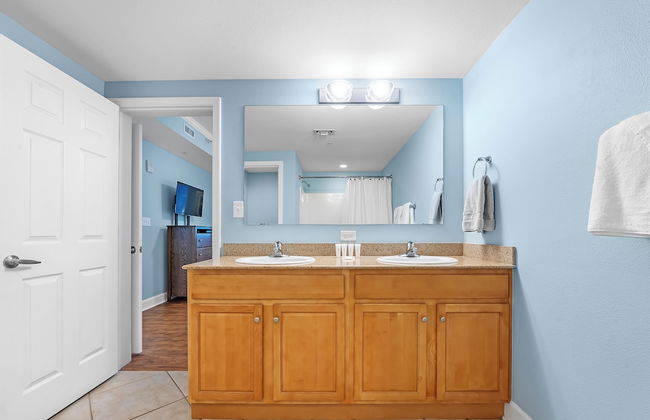
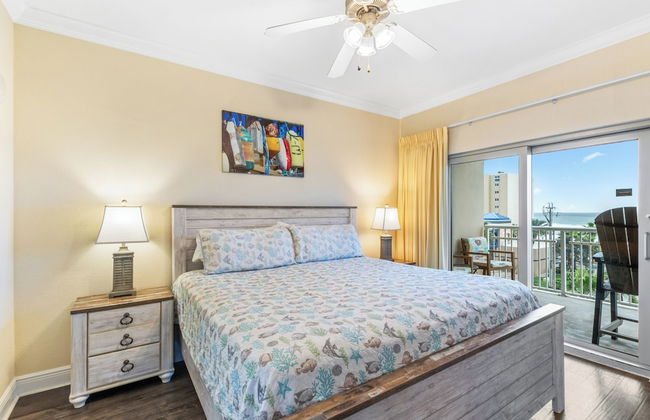
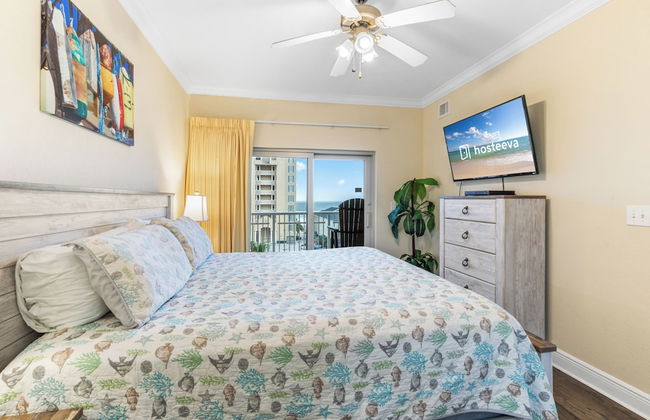
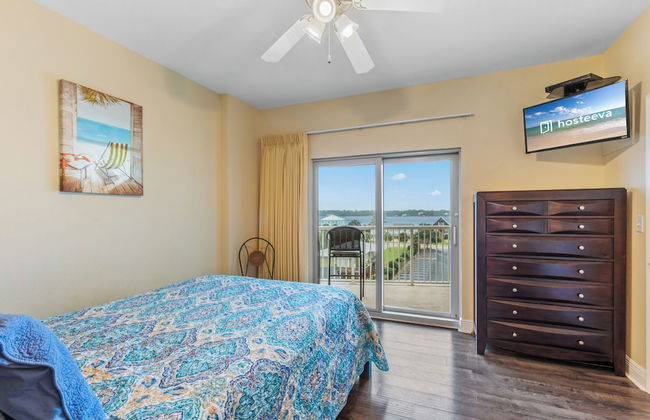
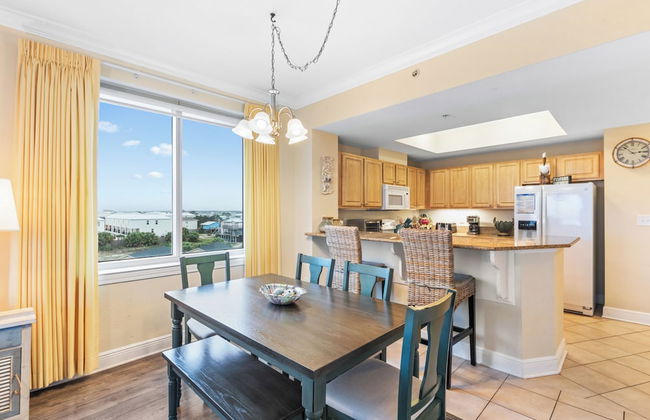
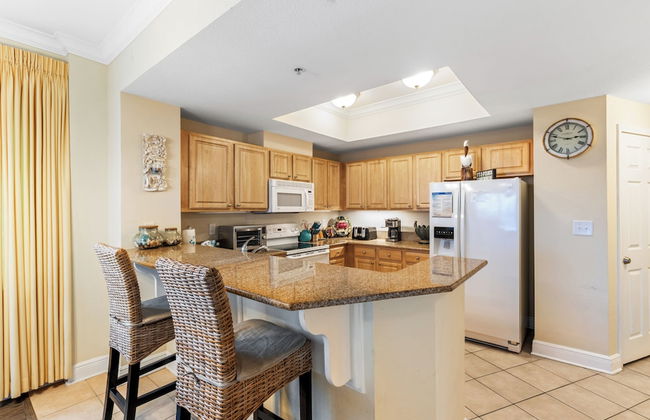
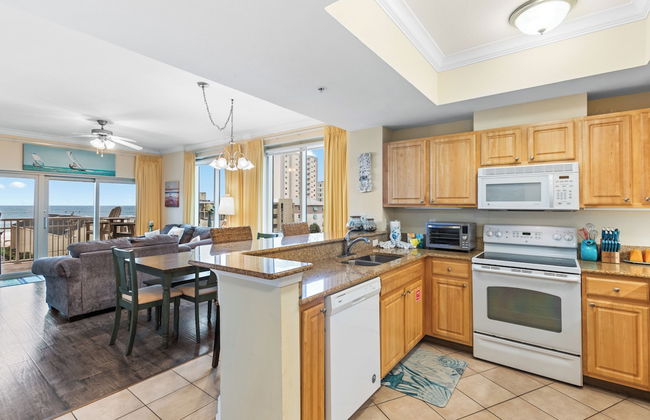
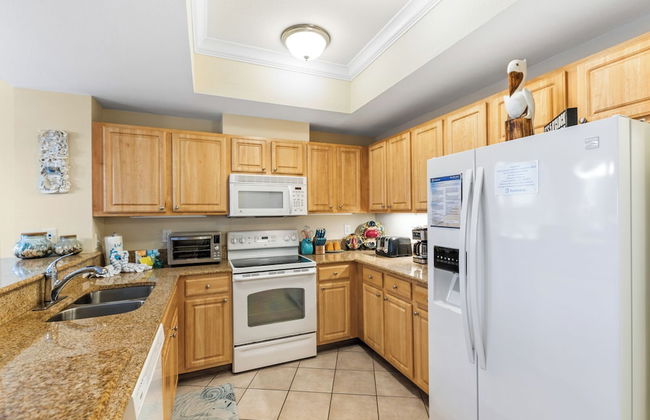
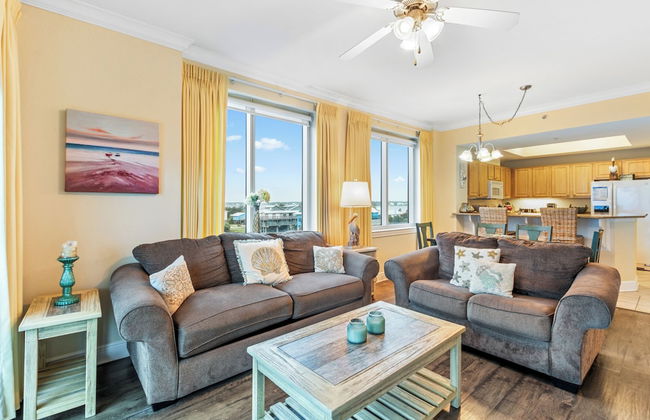
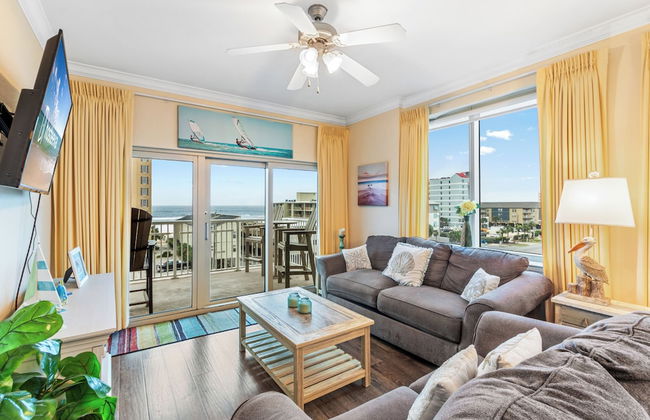
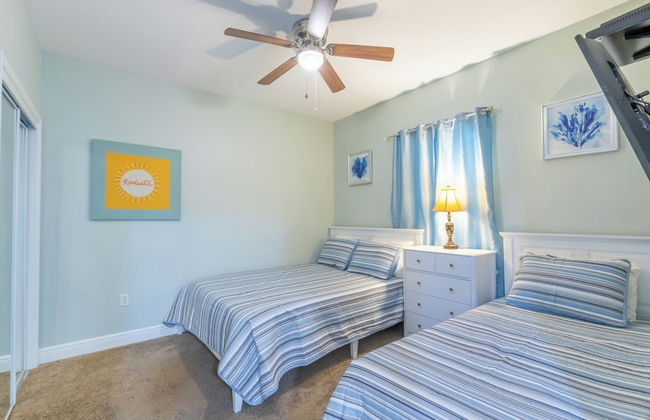
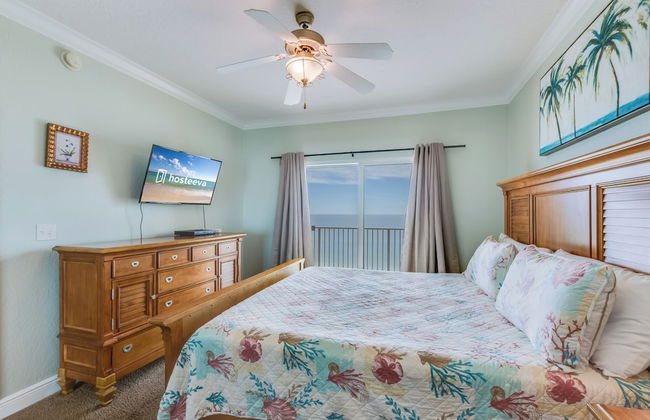
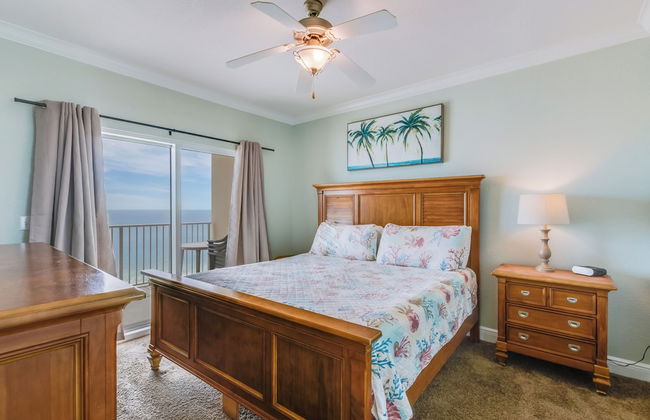
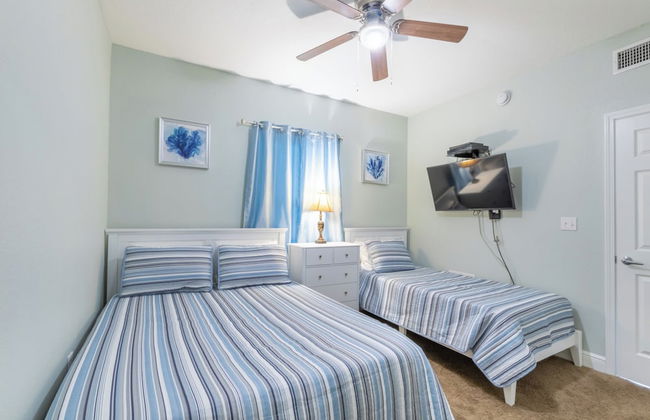
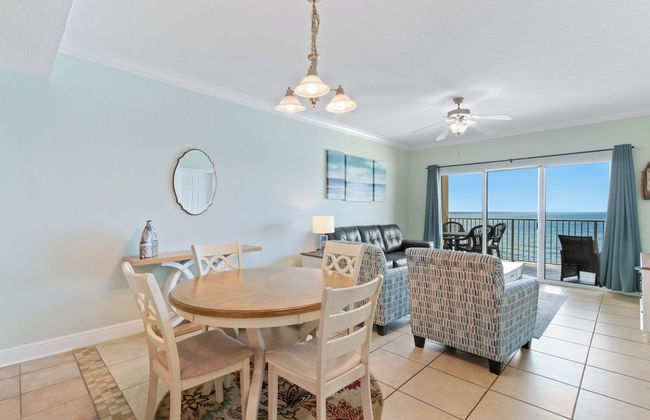
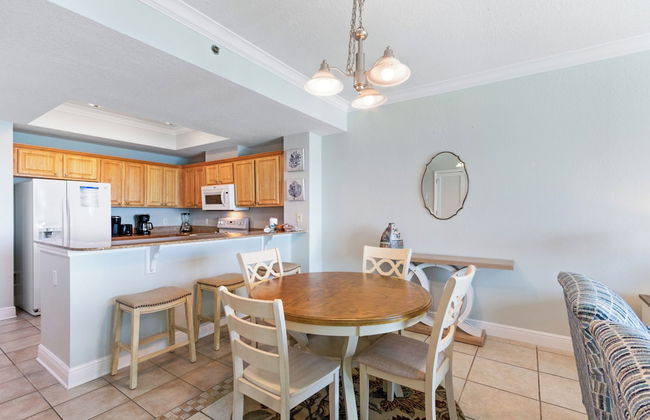
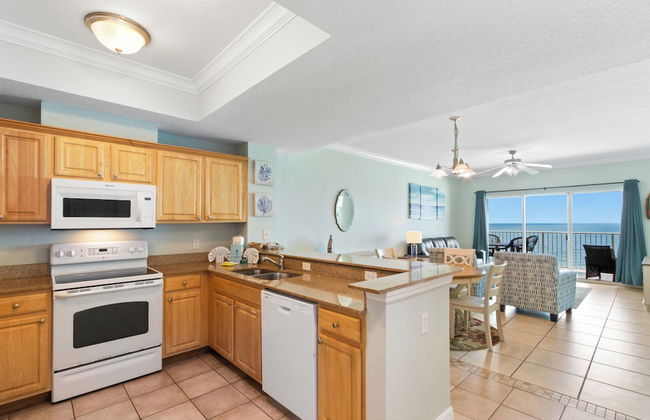
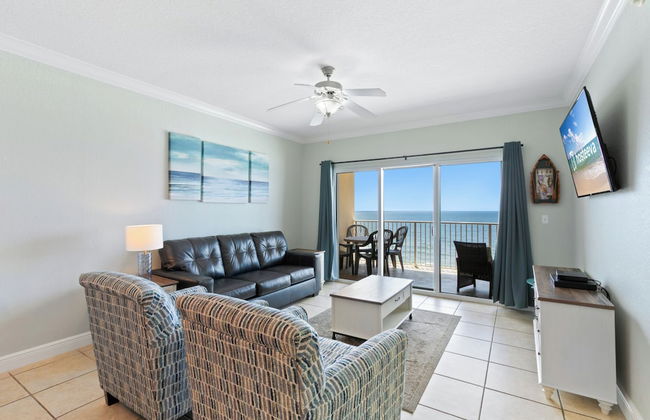
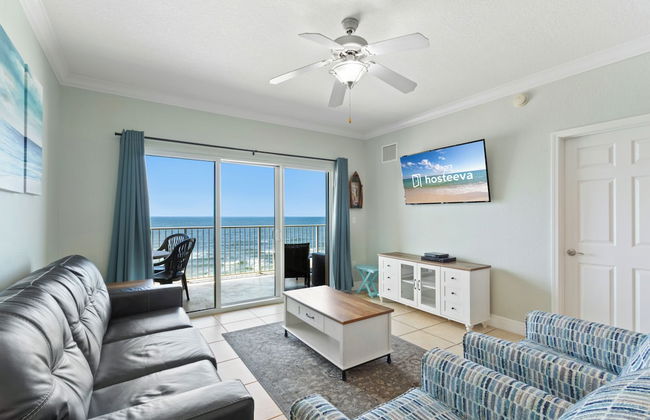
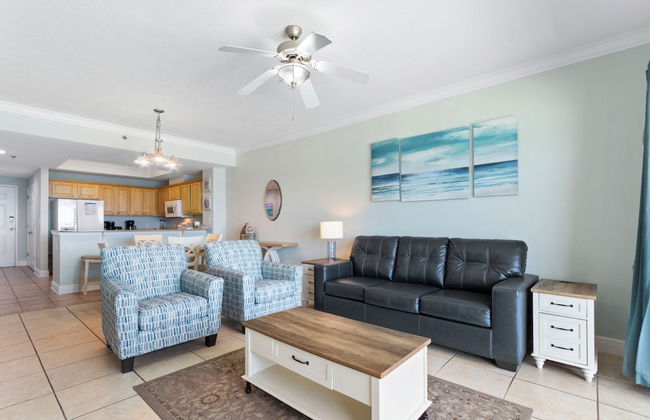
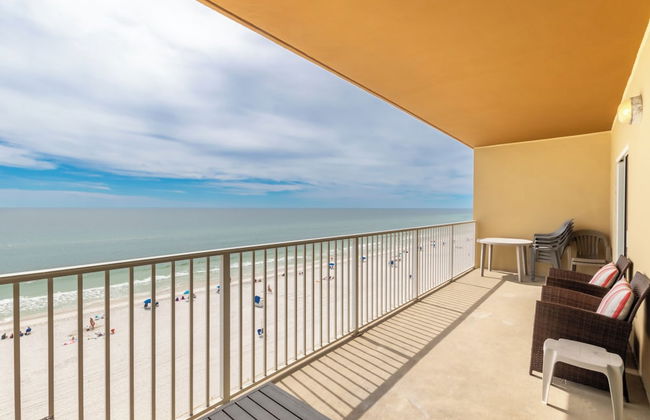
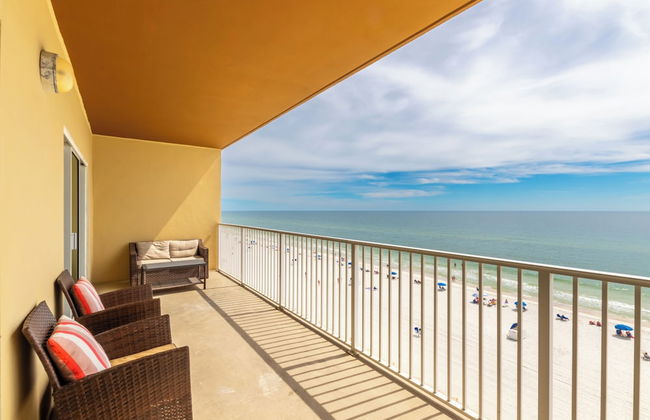
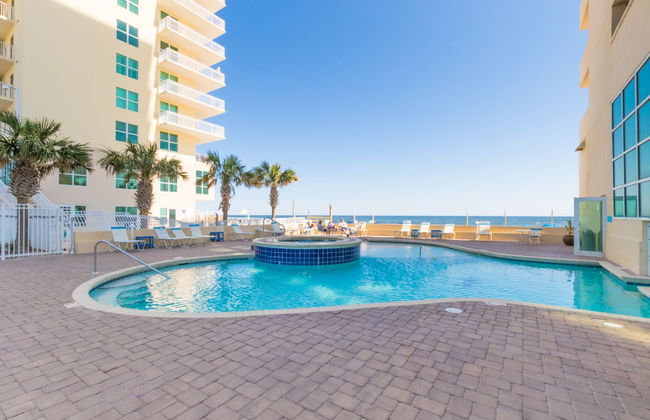
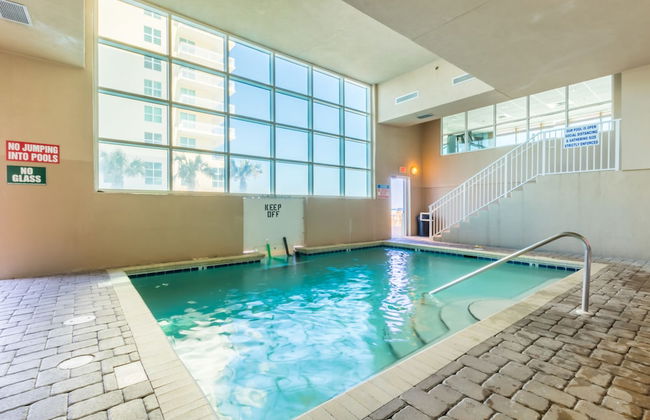
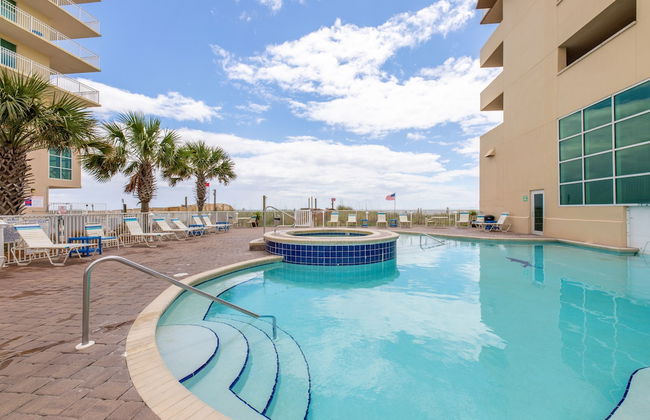
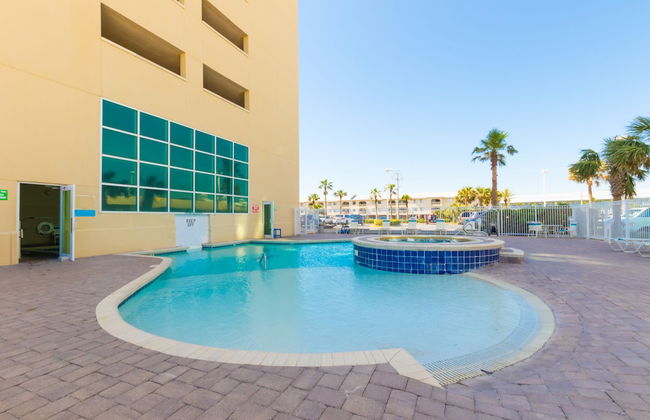
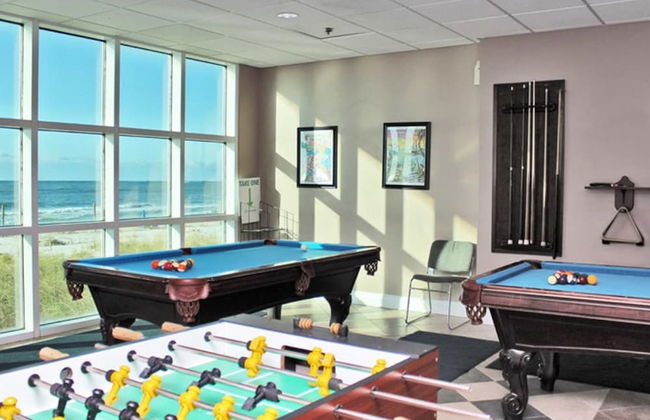
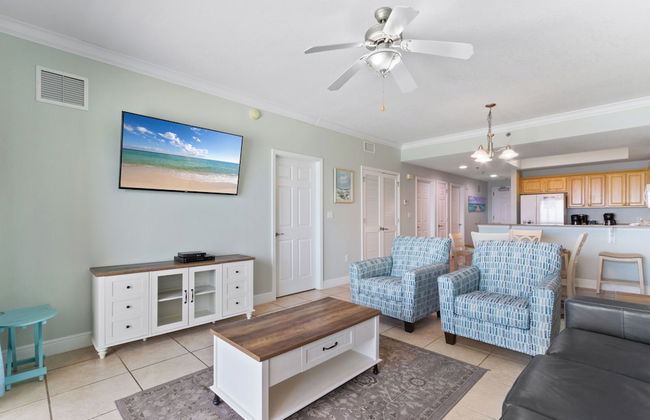
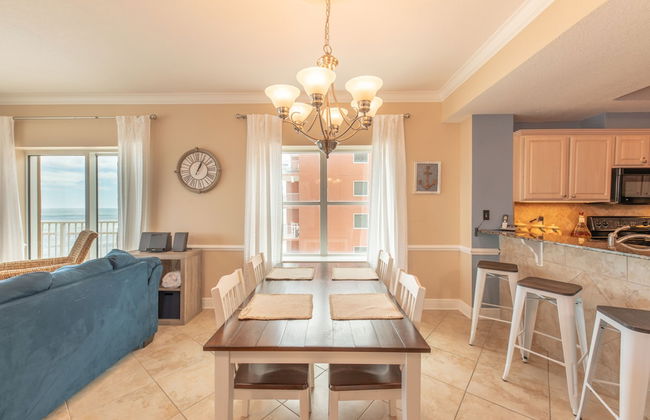
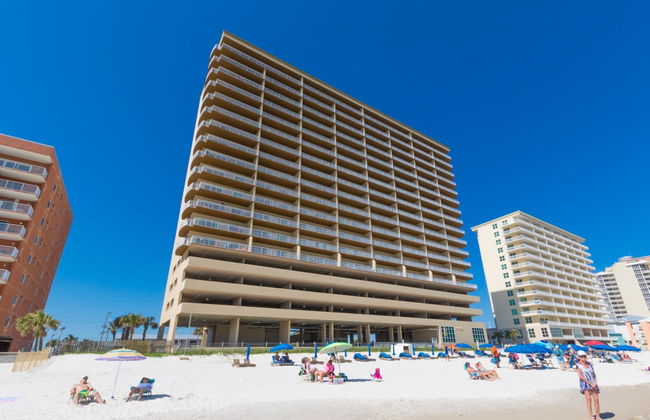
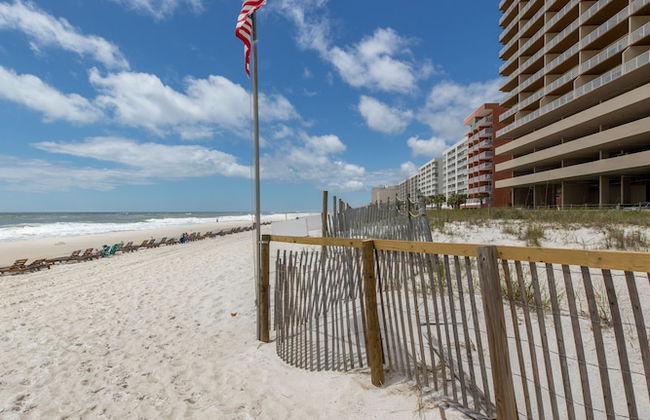
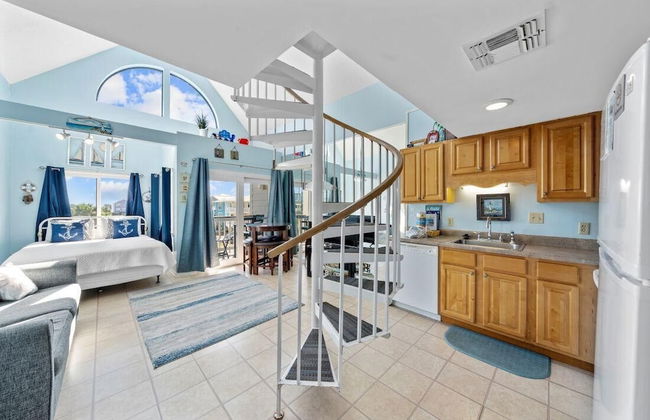
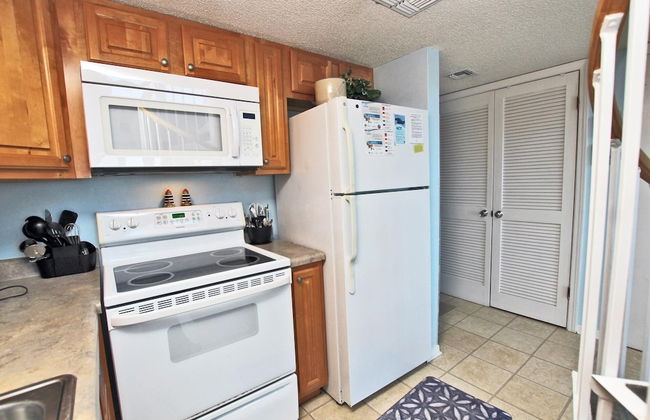
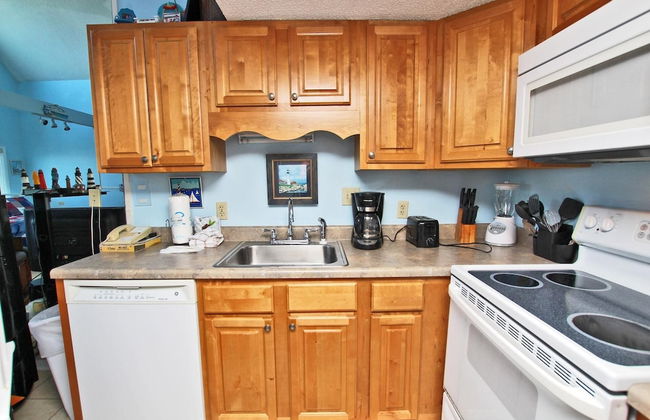
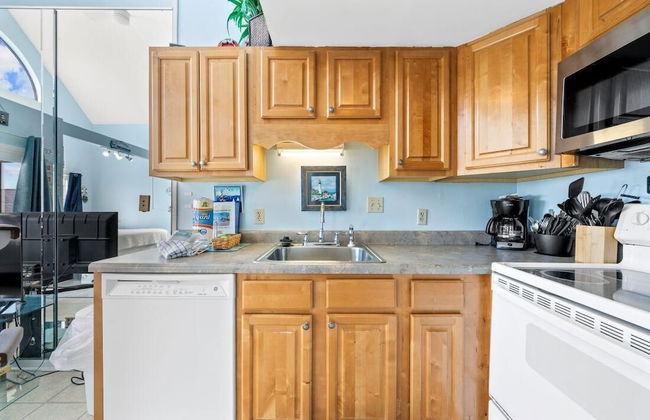
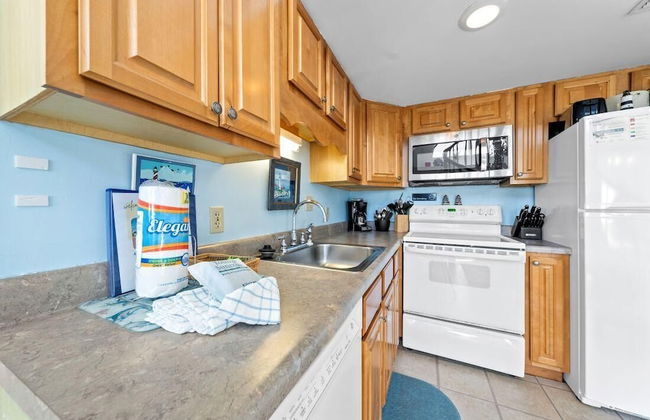
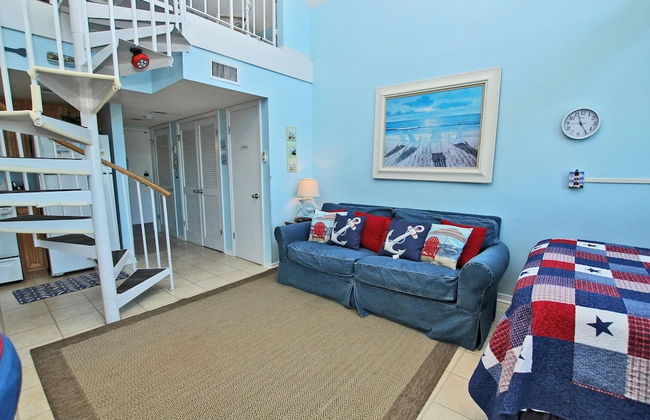
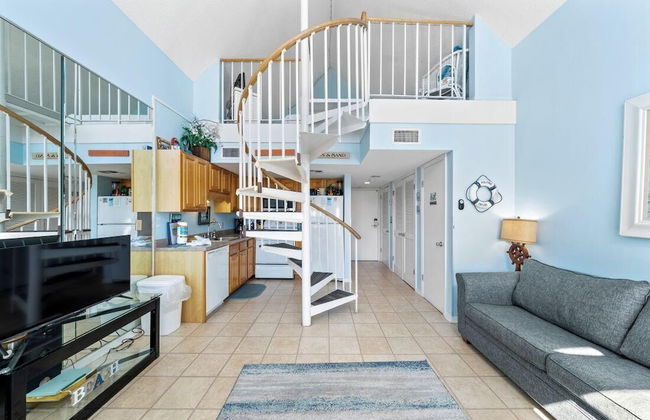
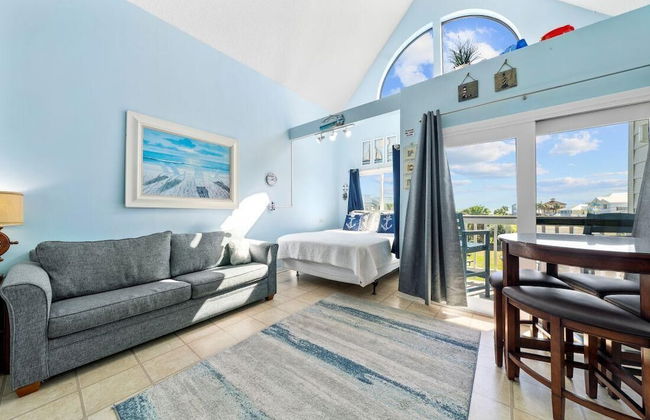
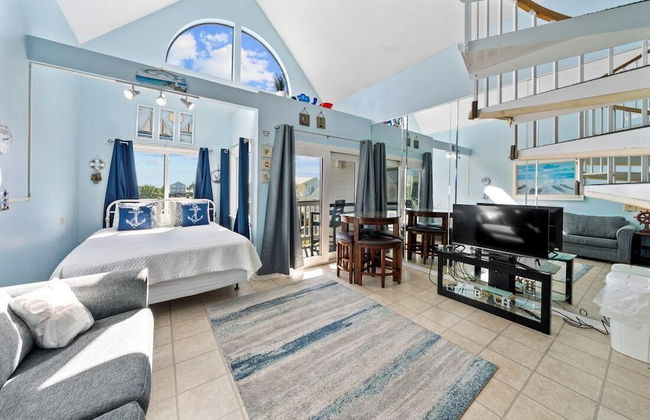
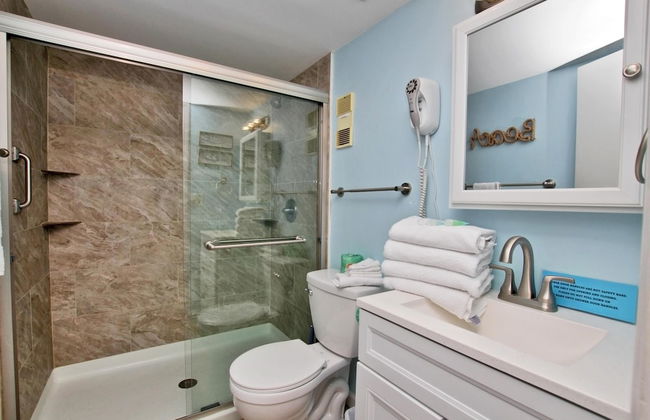
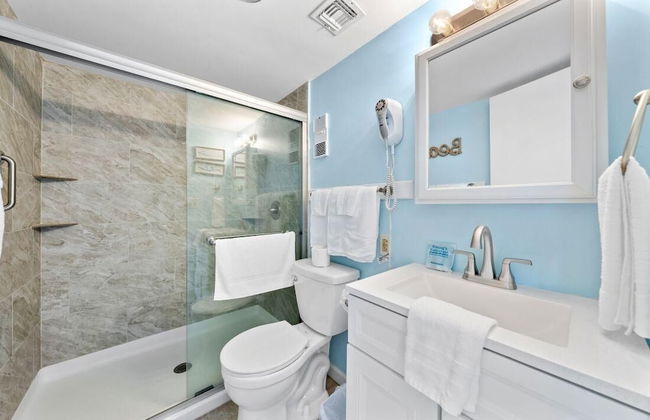
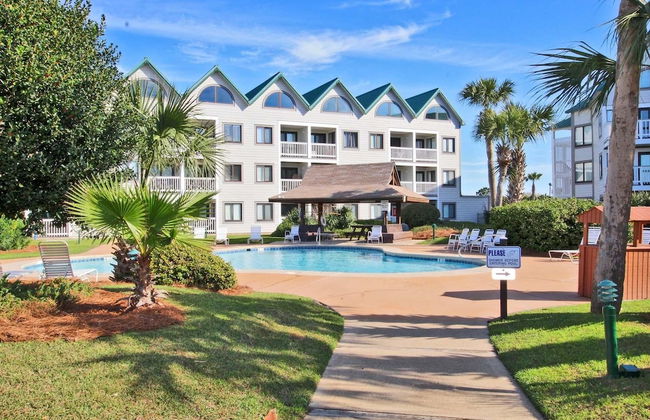
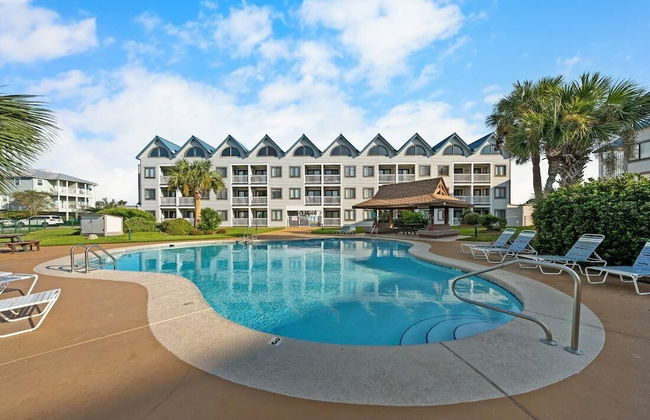
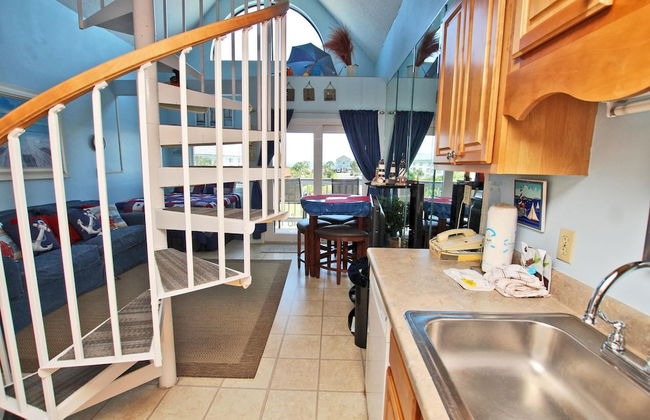
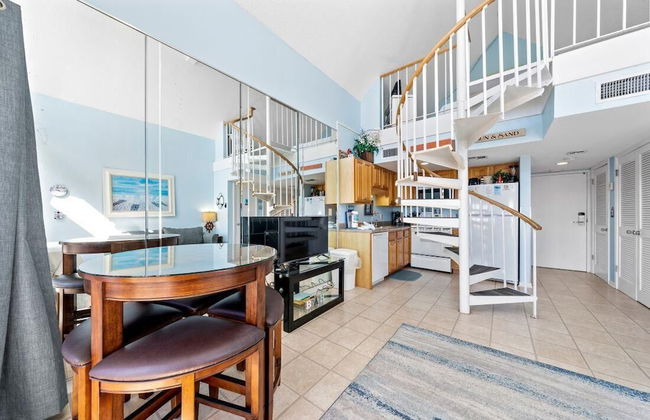
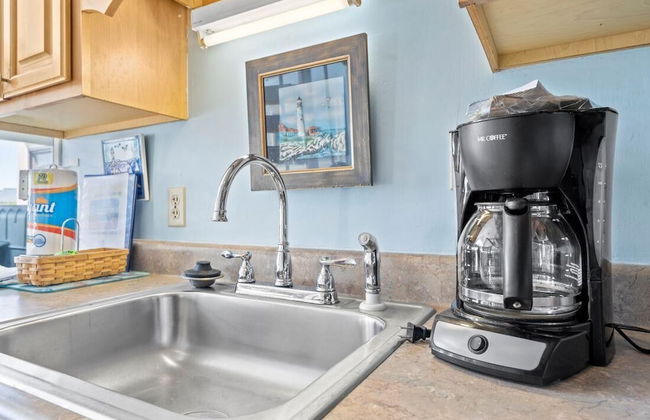
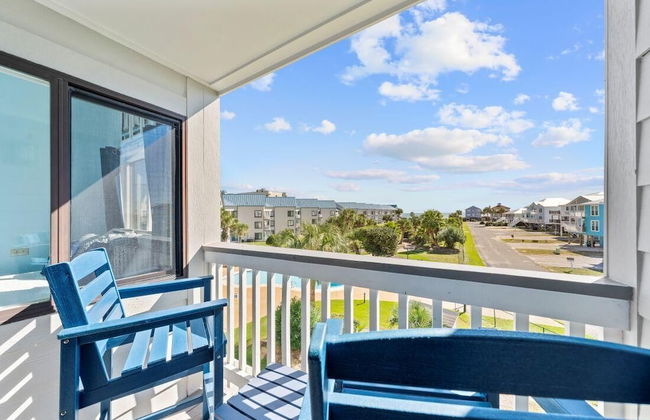
2208 Appartements à Gulf Shores


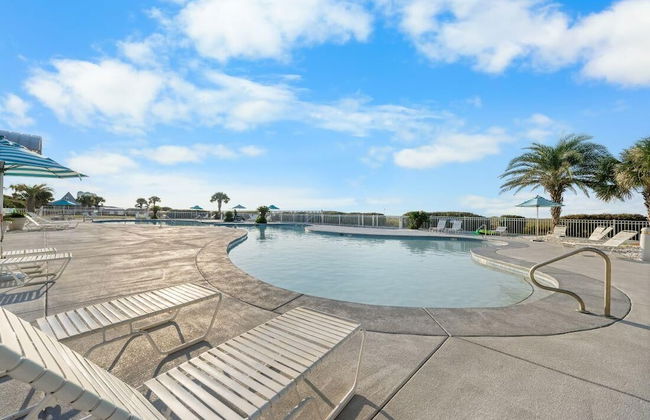
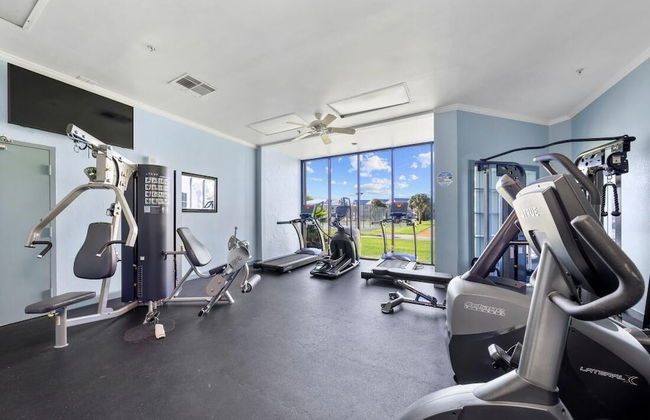
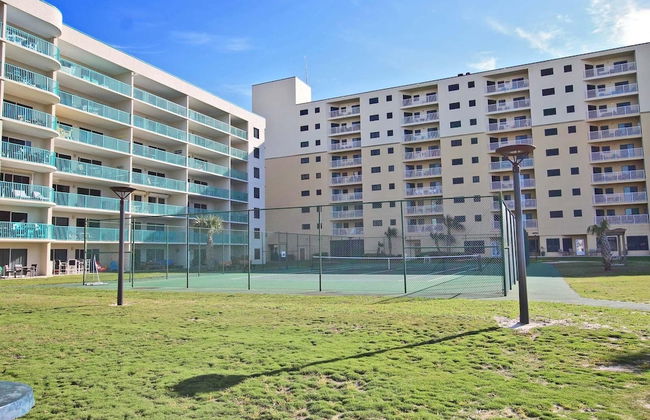
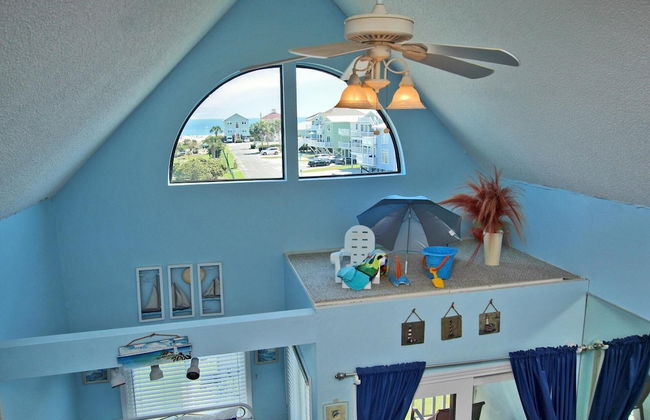
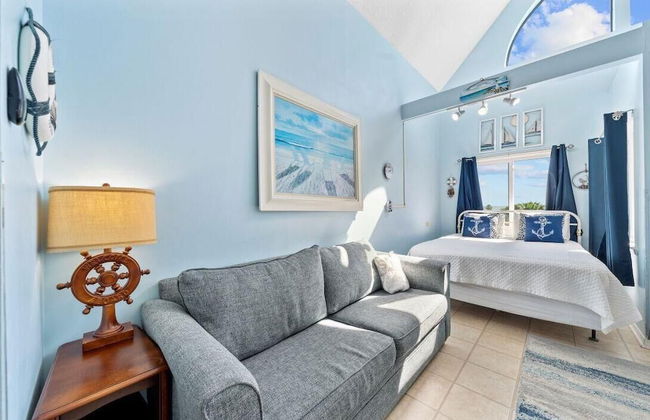
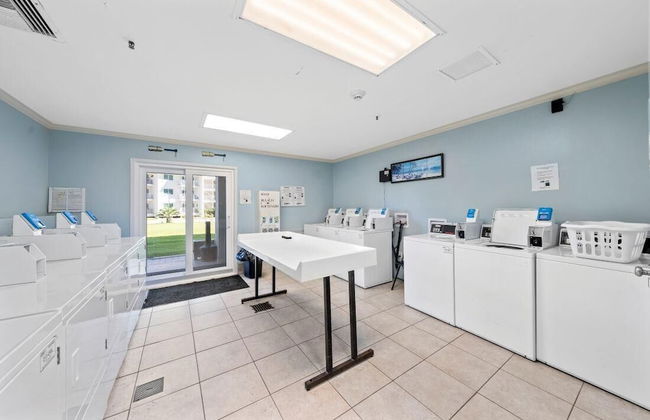
Lighthouse Condos by Hosteeva
Gulf Shores - À 2.7 km du centre
- 108 M2
- 3 chambres
- 8 personnes
- Air conditionné
- Le chauffage
- Piscine
- Parking
- Ascenseur
- Balcon
- Jardin
- Tv
- Machine à laver
- Barbecue
- Serviettes
- Feuilles
13 avis


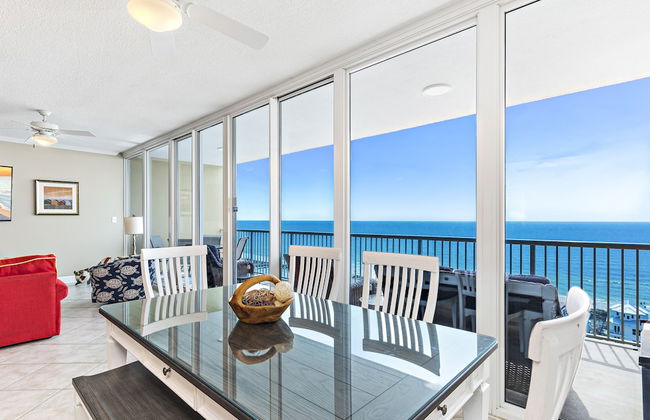

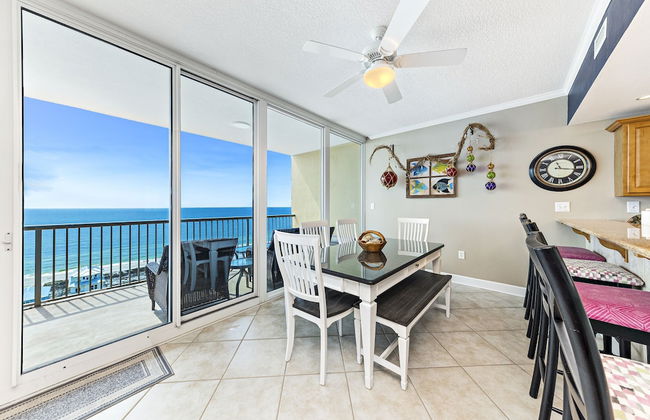

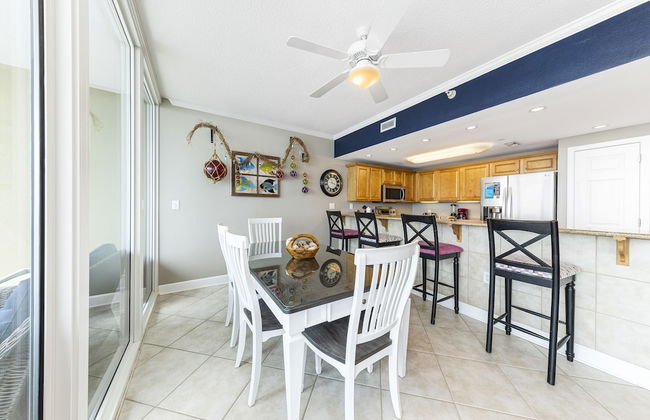


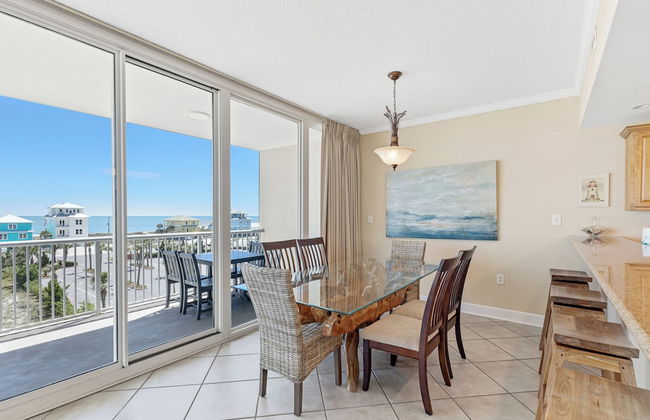


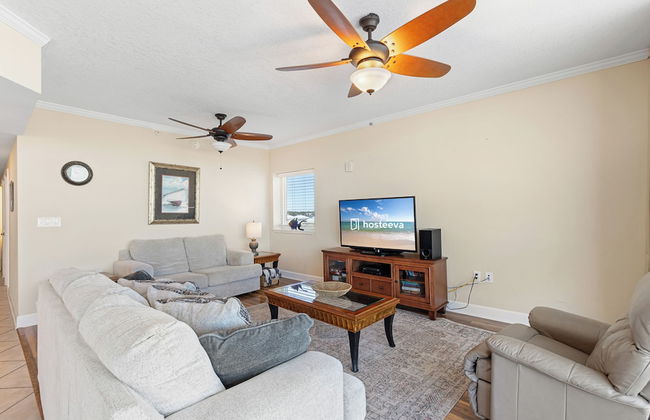


Sanibel Condos by Hosteeva
Gulf Shores - À 5.6 km du centre
- 143 M2
- 3 chambres
- 8 personnes
- Air conditionné
- Le chauffage
- Piscine
- Parking
- Ascenseur
- Balcon
- Jardin
- Tv
- Machine à laver
- Barbecue
- Serviettes
- Feuilles
7 avis


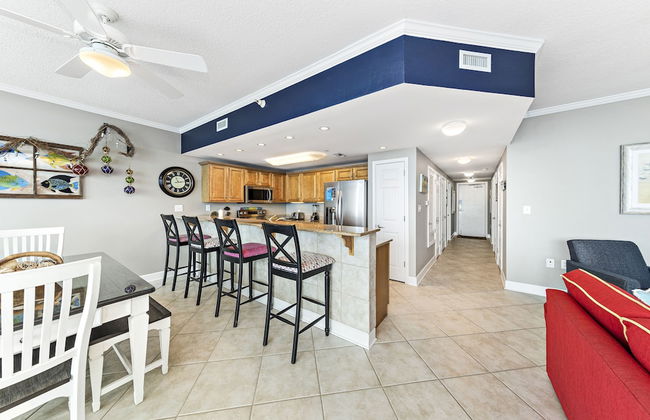
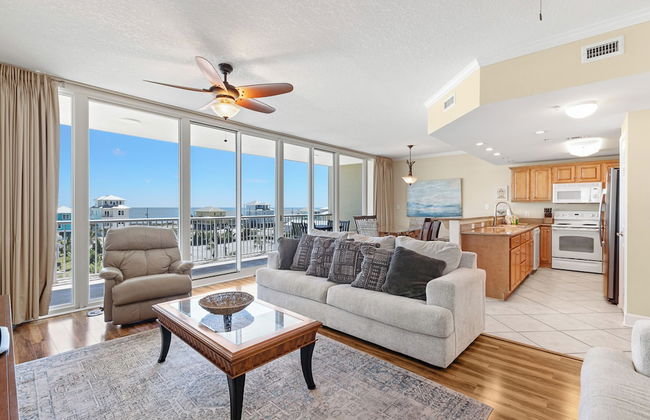
Lighthouse by Wyndham Vacation Rentals
Gulf Shores - À 2.6 km du centre
- 139 M2
- 8 personnes
- Air conditionné
- Le chauffage
- Piscine
- Ascenseur
- Balcon
- Tv
- Machine à laver
- Barbecue
- Serviettes
19 avis


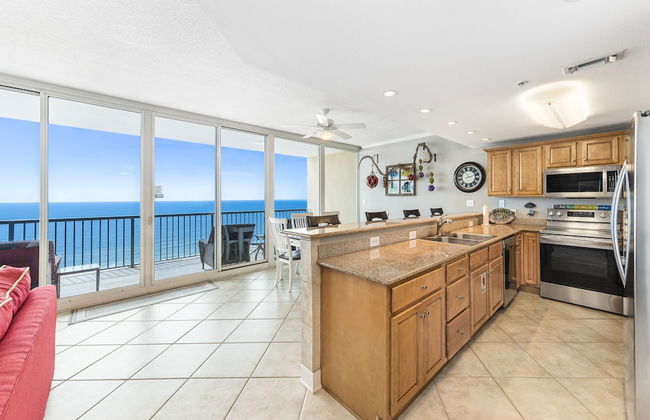
Crystal Tower Comfort Condos by Hosteeva
Gulf Shores - À 4 km du centre
- 97 M2
- 2 chambres
- 9 personnes
- Air conditionné
- Le chauffage
- Piscine
- Parking
- Ascenseur
- Balcon
- Jardin
- Tv
- Machine à laver
- Barbecue
- Serviettes
- Feuilles
30 avis


San Carlos Condominiums by Wyndham Vacation Rentals
Gulf Shores - À 2.7 km du centre
- 128 M2
- 6 personnes
- Air conditionné
- Terrasse
- Piscine
- Parking
- Ascenseur
- Balcon
- Tv
- Machine à laver
- Barbecue
- Serviettes
38 avis


My Beach Retreat by Nick
Gulf Shores - À 19.9 km du centre
- 785 M2
- 2 chambres
- 6 personnes
- Air conditionné
- Le chauffage
- Terrasse
- Piscine
- Parking
- Ascenseur
- Jardin
- Barbecue
17 avis


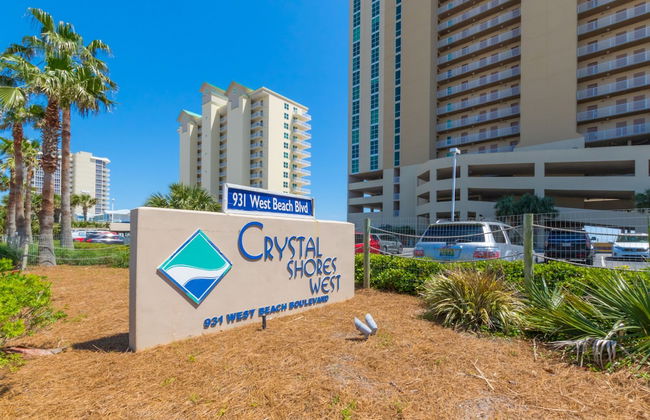


Crystal Shores West Condos by Hosteeva
Gulf Shores - À 3.7 km du centre
- 101 M2
- 2 chambres
- 7 personnes
- Air conditionné
- Le chauffage
- Piscine
- Parking
- Ascenseur
- Balcon
- Tv
- Machine à laver
- Barbecue
- Serviettes
- Feuilles
24 avis


The Cabins at Gulf State Park
Gulf Shores - À 740 m du centre
- 149 M2
- 8 personnes
- Cuisinette
- Air conditionné
- Le chauffage
- Parking
- Balcon
- Tv
- Cheminée
- Barbecue
- Serviettes
- Feuilles
40 avis


Beach Please condo 2 bedroom 2 bath sleeps 6
Gulf Shores - À 20 km du centre
- 73 M2
- 2 chambres
- 6 personnes
- Air conditionné
- Le chauffage
- Terrasse
- Piscine
- Jardin
18 avis


The Beach Goat
Gulf Shores - À 23.1 km du centre
- 120 M2
- 3 chambres
- 10 personnes
- Air conditionné
- Le chauffage
- Piscine
- Parking
- Jardin
10 avis


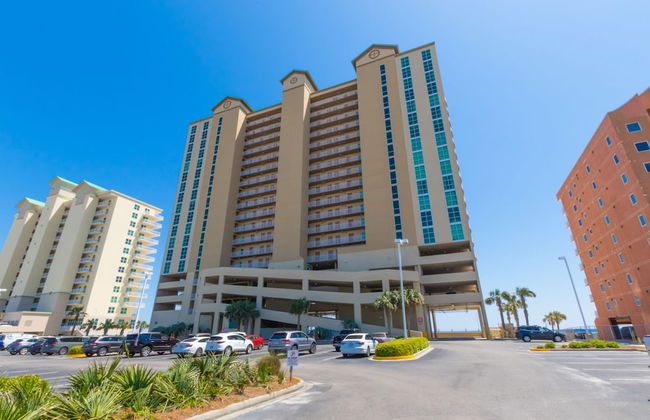
Crystal Shores West by Southern Vacation Rentals
Gulf Shores - À 3.7 km du centre
- 185 M2
- 4 chambres
- 10 personnes
- Air conditionné
- Le chauffage
- Piscine
- Parking
- Ascenseur
- Balcon
- Tv
- Machine à laver
- Barbecue
- Serviettes
- Feuilles
7 avis


Crystal Tower Condominiums by Wyndham Vacation Rentals
Gulf Shores - À 4 km du centre
- 97 M2
- 6 personnes
- Air conditionné
- Piscine
- Parking
- Ascenseur
- Balcon
- Tv
- Machine à laver
- Barbecue
- Serviettes
73 avis


2BR Retreat with Pool, Near Beach and The Hangout
Gulf Shores - À 2.6 km du centre
- 87 M2
- 2 chambres
- 6 personnes
- Air conditionné
- Terrasse
- Piscine
- Parking
- Barbecue
10 avis


Sanibel Condominiums by Wyndham Vacation Rentals
Gulf Shores - À 5.6 km du centre
- 111 M2
- 6 personnes
- Air conditionné
- Le chauffage
- Piscine
- Parking
- Ascenseur
- Balcon
- Tv
- Machine à laver
- Barbecue
- Serviettes
80 avis


Gulf Shores Plantation 1369 Plus Loft by Youngs Suncoast
Gulf Shores - À 19.7 km du centre
- 1 M2
- 1 chambre
- 6 personnes
- Air conditionné
- Le chauffage
- Piscine
- Parking
- Ascenseur
- Balcon
- Tv
- Barbecue
- Serviettes
2 avis


Royal Palms by Southern Vacation Rentals
Gulf Shores - À 2.8 km du centre
- 121 M2
- 2 chambres
- 8 personnes
- Air conditionné
- Le chauffage
- Piscine
- Parking
- Ascenseur
- Balcon
- Tv
- Machine à laver
- Cheminée
- Serviettes
2 avis


Royal Palms 1303
Gulf Shores - À 2.7 km du centre
- 81 M2
- 1 chambre
- 6 personnes
- Air conditionné
- Le chauffage
- Piscine
- Parking
- Ascenseur
- Balcon
- Jardin
- Tv
- Machine à laver
- Barbecue
- Serviettes
- Feuilles
2 avis


Three C's by Southern Vacation Rentals
Gulf Shores - À 5.4 km du centre
- 120 M2
- 2 chambres
- 6 personnes
- Air conditionné
- Le chauffage
- Piscine
- Parking
- Ascenseur
- Tv
- Machine à laver
- Serviettes
- Feuilles
3 avis


Sea Glass by Southern Vacation Rentals
Gulf Shores - À 3.6 km du centre
- 120 M2
- 2 chambres
- 7 personnes
- Air conditionné
- Le chauffage
- Piscine
- Parking
- Ascenseur
- Balcon
- Tv
- Machine à laver
- Serviettes
7 avis


One Club Gulf Shores
Gulf Shores - À 3.3 km du centre
- 111 M2
- 7 personnes
- Air conditionné
- Le chauffage
- Piscine
- Parking
- Tv
- Machine à laver
- Serviettes
- Feuilles
120 avis