
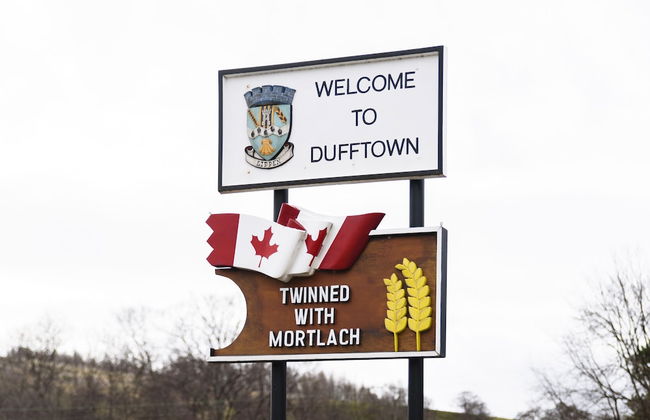
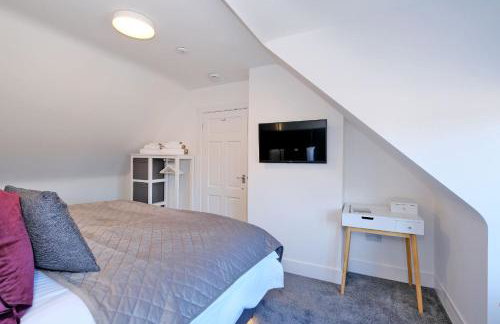
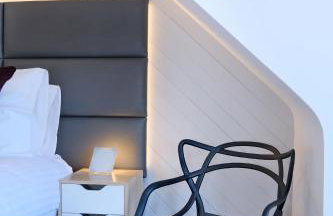
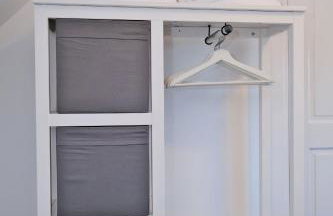
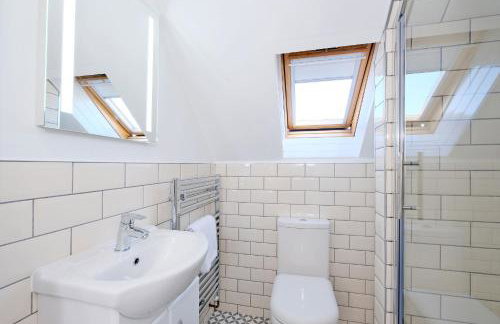
16 Appartements à Dufftown

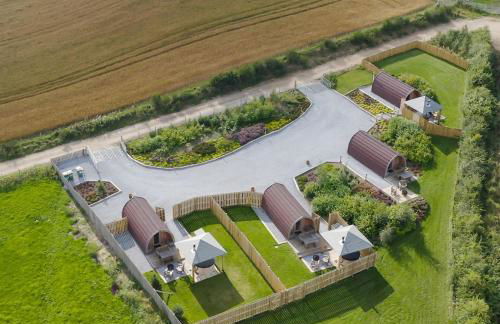


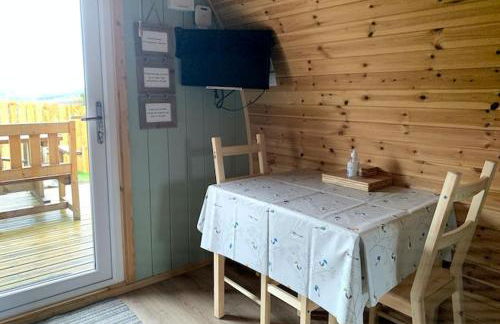

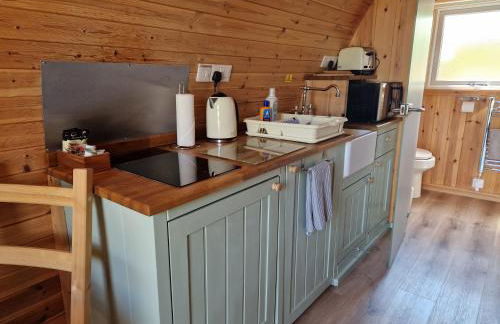


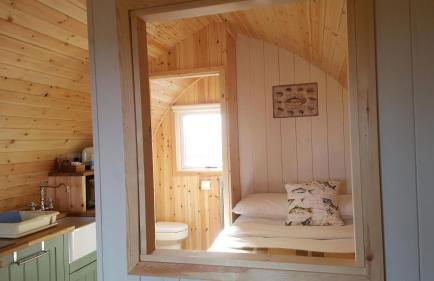


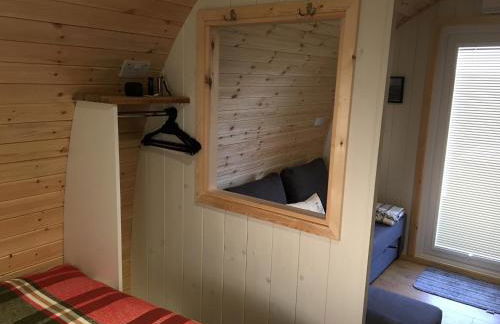

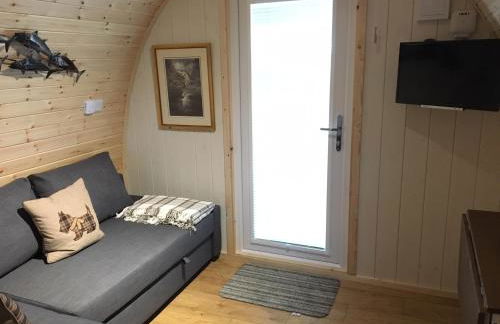

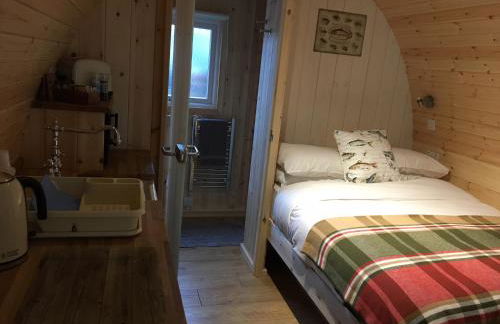


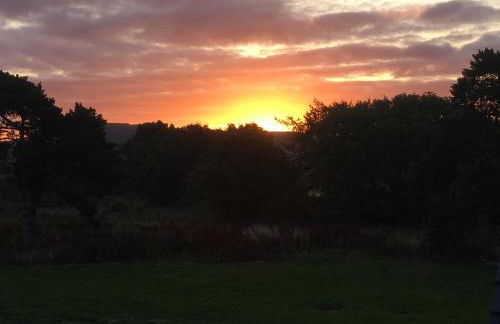


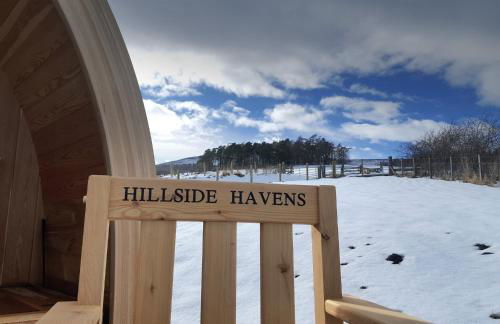

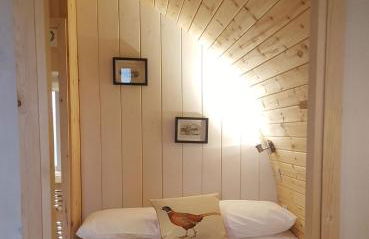

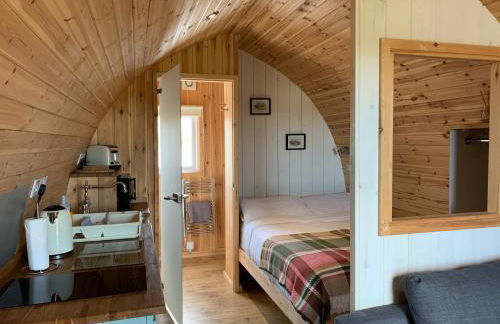


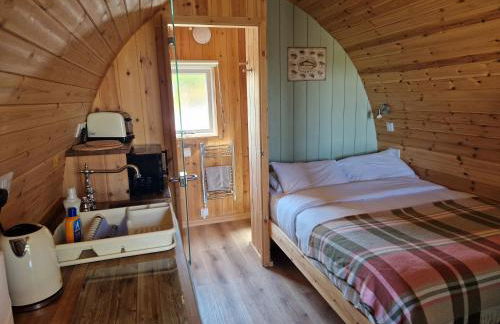


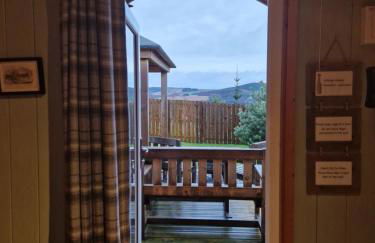


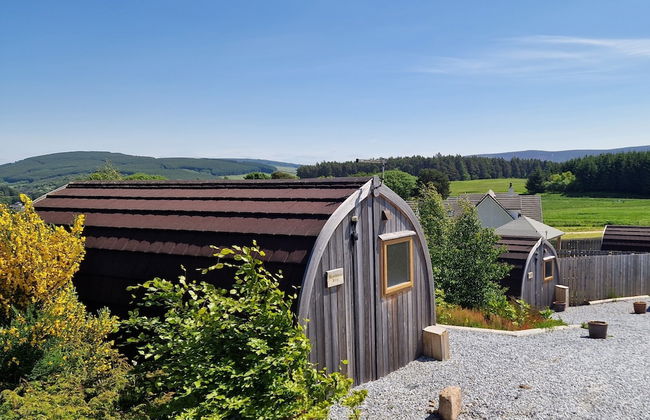

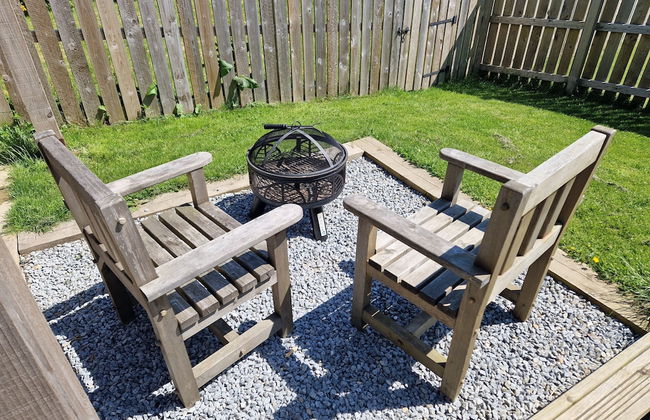
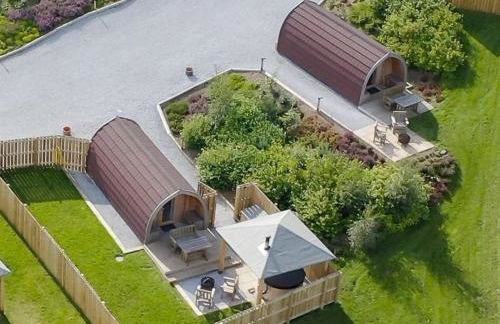
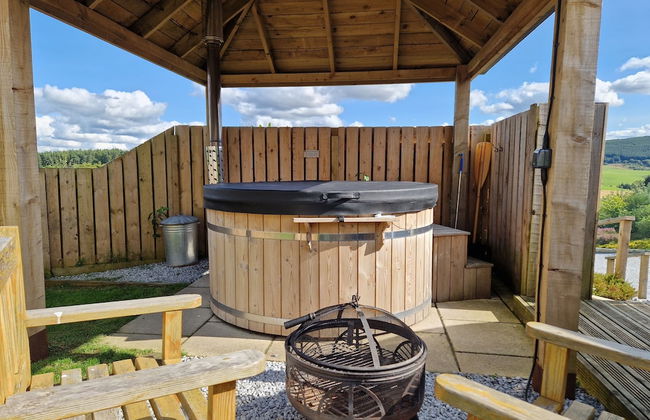


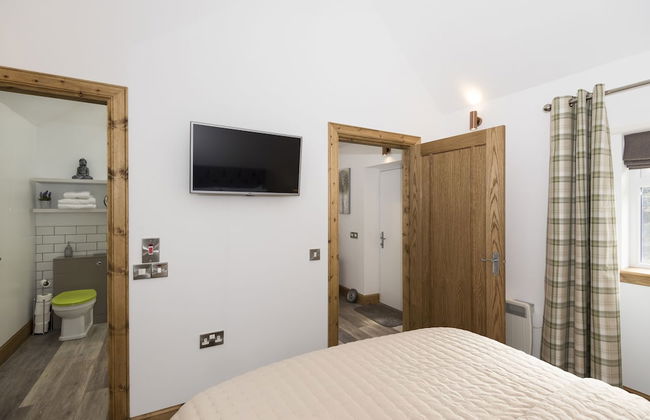
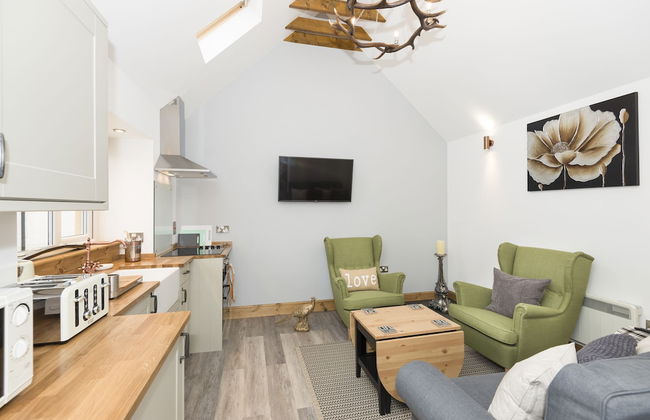
Hillside Havens
Keith - Dufftown
- 22 M2
- 1 chambre
- 4 personnes
- Cuisinette
- Le chauffage
- Terrasse
- Parking
- Balcon
- Jardin
- Tv
- Barbecue
- Serviettes
- Feuilles
60 avis


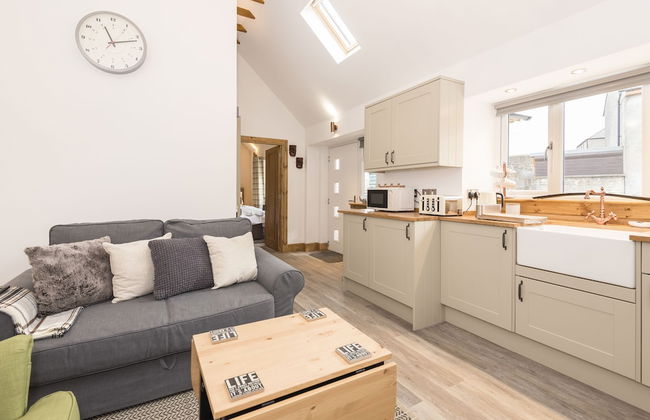

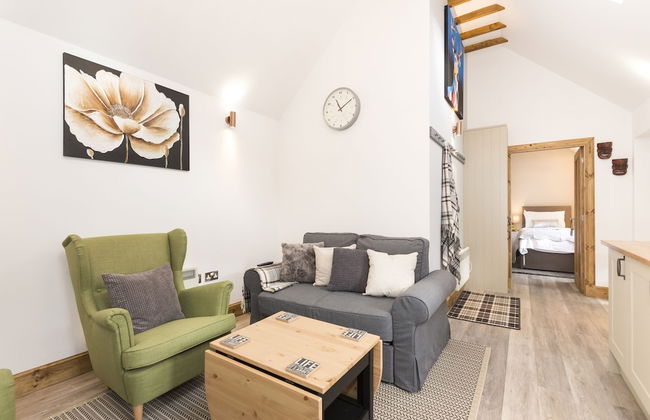


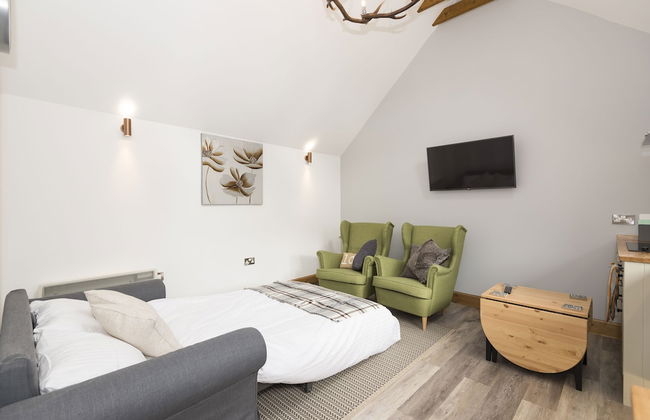


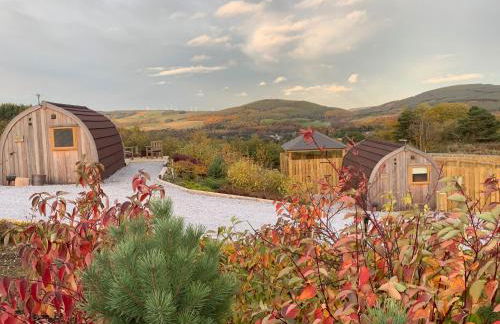
The Milking Sheds, Dufftown
Keith - Dufftown
- 35 M2
- 2 personnes
- Le chauffage
- Piscine
- Parking
- Jardin
- Tv
- Machine à laver
- Barbecue
- Serviettes
- Feuilles
18 avis


The Tannochbrae
Keith - Dufftown
- 209 M2
- 5 chambres
- 12 personnes
- Le chauffage
- Parking
- Jardin
- Tv
- Machine à laver
- Barbecue
- Serviettes
- Feuilles
17 avis


Inveravon Holiday Home
Keith - Dufftown
- 74 M2
- 3 chambres
- 8 personnes
- Le chauffage
- Terrasse
- Parking
- Jardin
118 avis


Islas Cottage, a home in the Heart of Speyside
Keith - Dufftown
- 93 M2
- 3 chambres
- 6 personnes
- Parking
- Jardin
31 avis


York Street Retreat, modern cosy 2 bed with garden
Keith - Dufftown
- 2 chambres
- 4 personnes
- Parking
- Jardin
18 avis


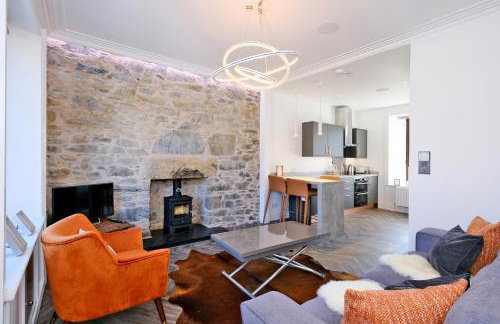


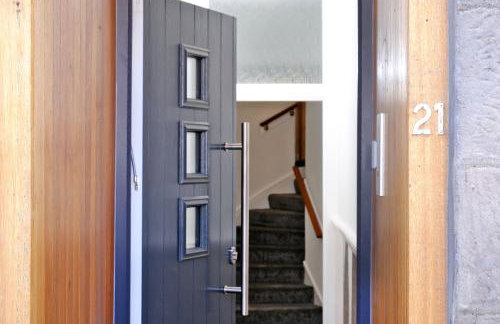

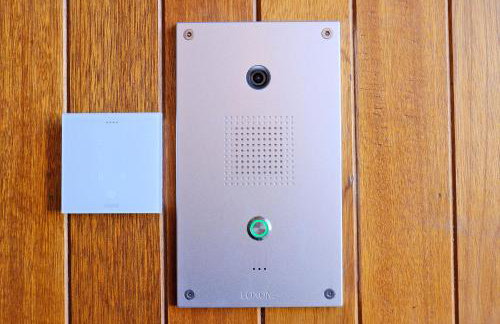

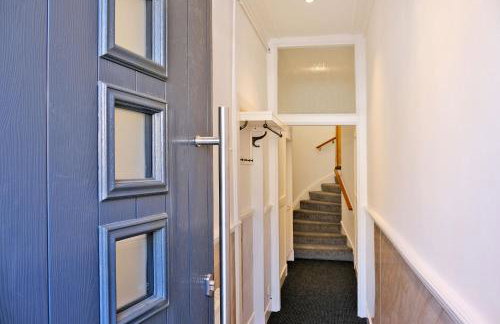


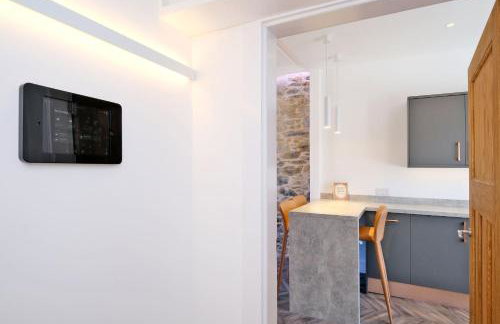

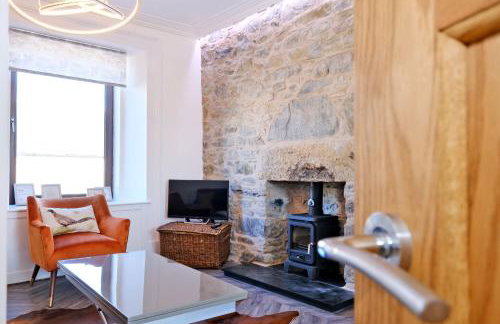


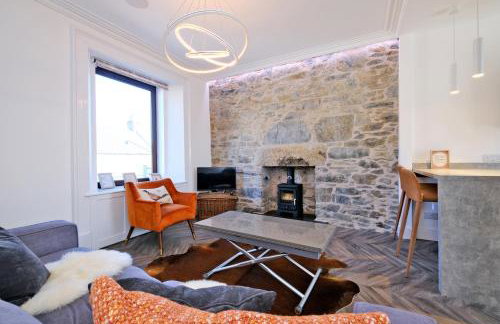

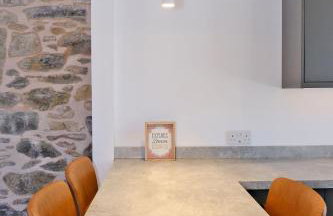

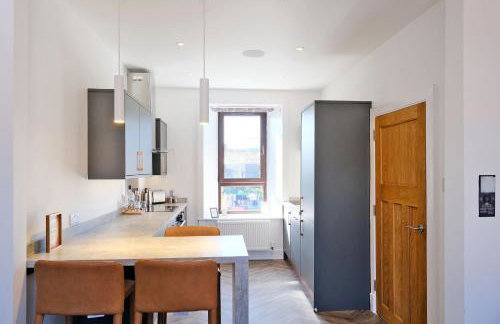


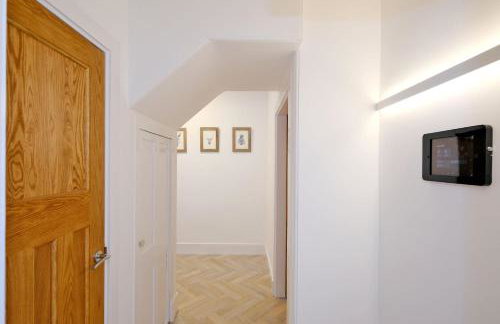


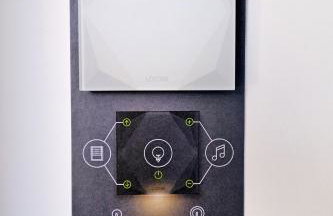

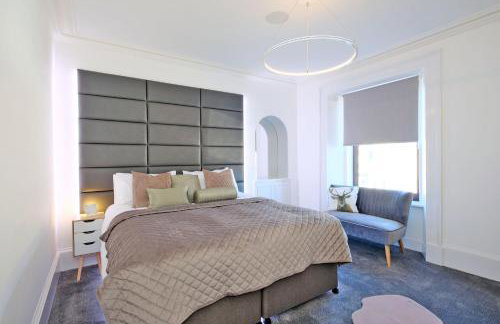

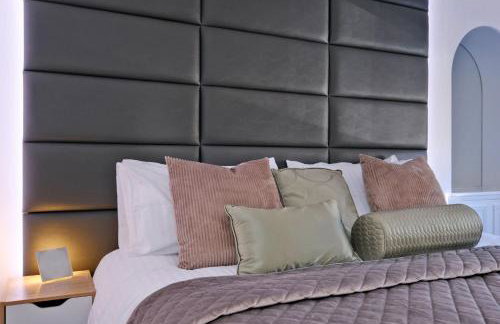


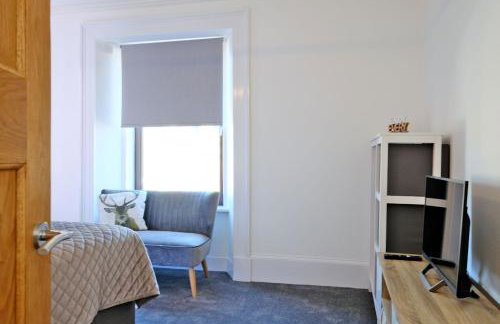


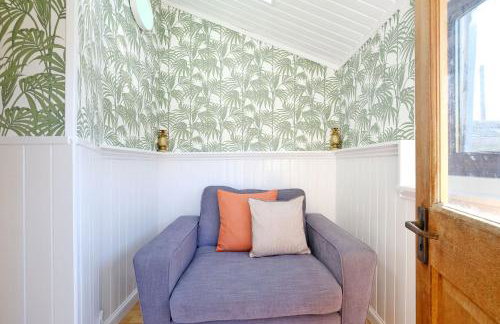

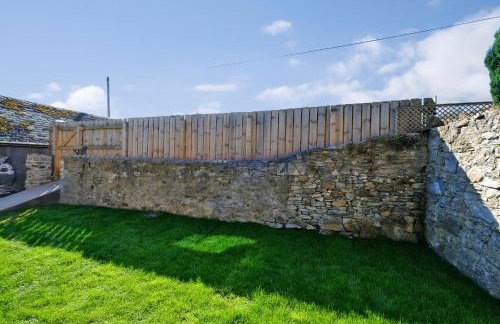

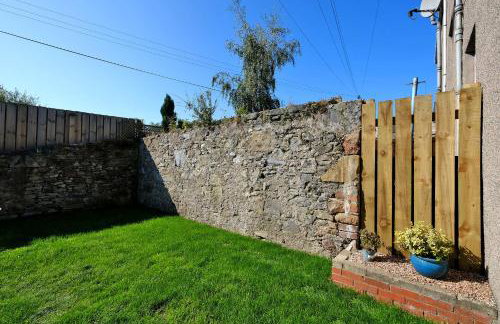

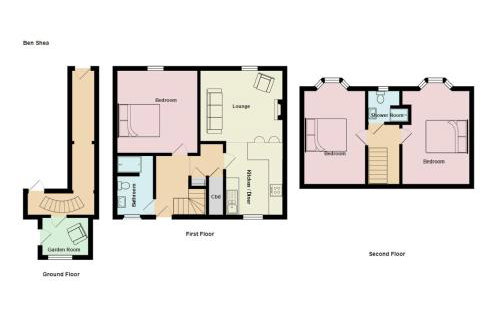

Ben Shea Smart Home
Keith - Dufftown
- 90 M2
- 3 chambres
- 6 personnes
- Le chauffage
- Parking
- Jardin
- Tv
- Machine à laver
- Cheminée
- Serviettes
- Feuilles
1 avis


