3509 Appartements à Dorset
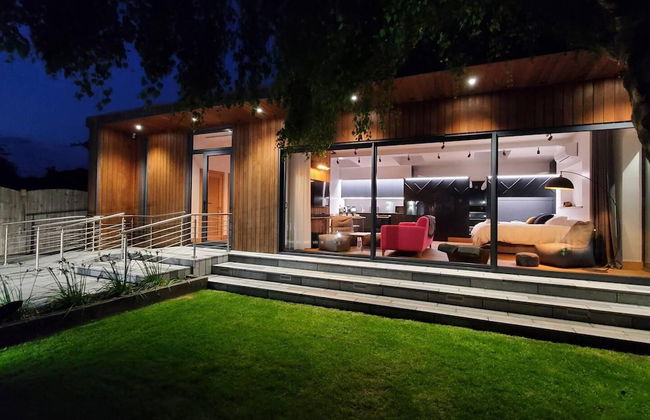
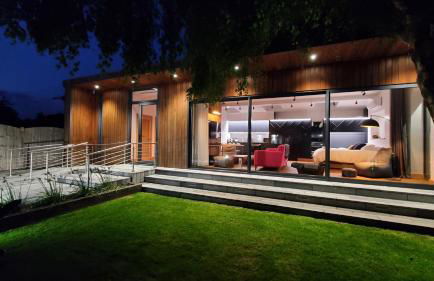


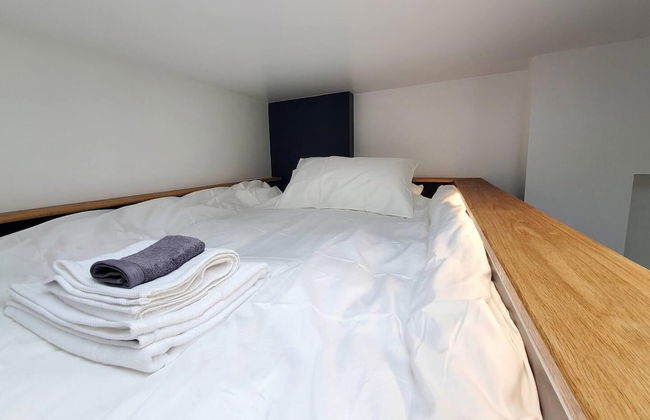
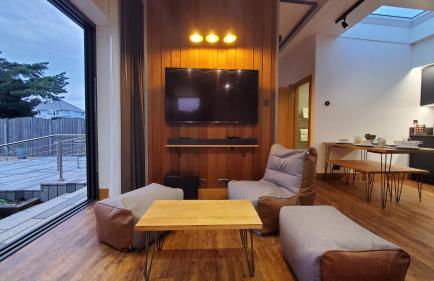
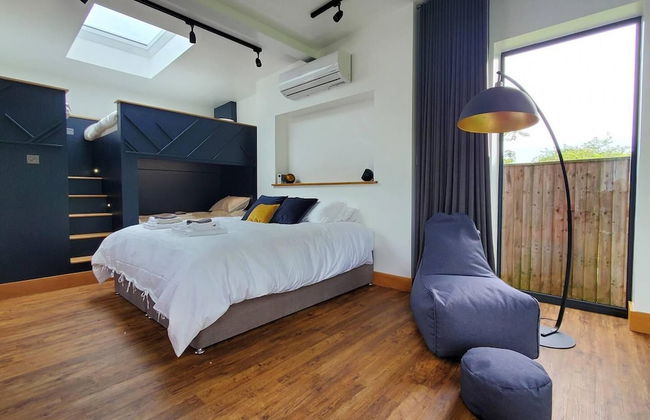


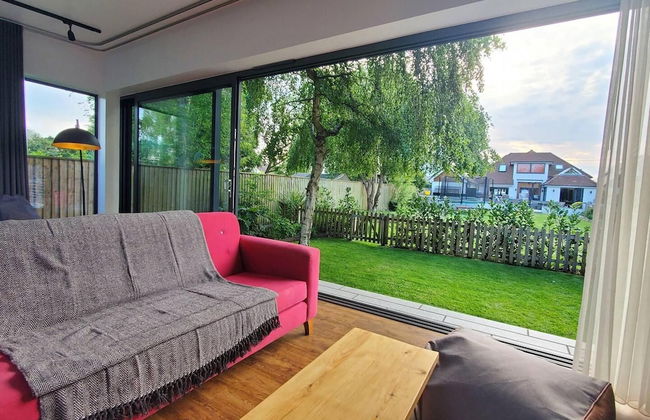

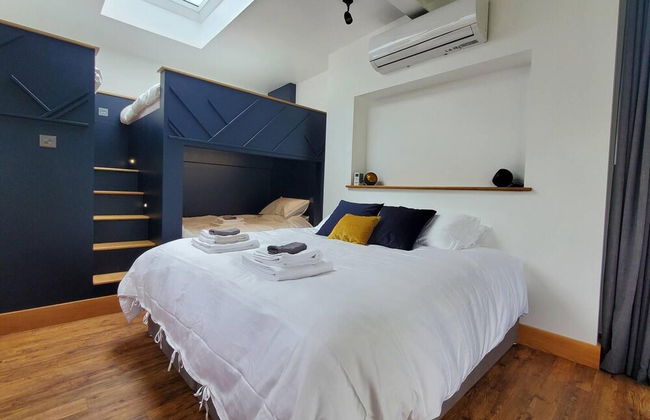
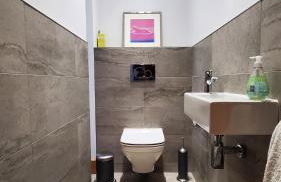
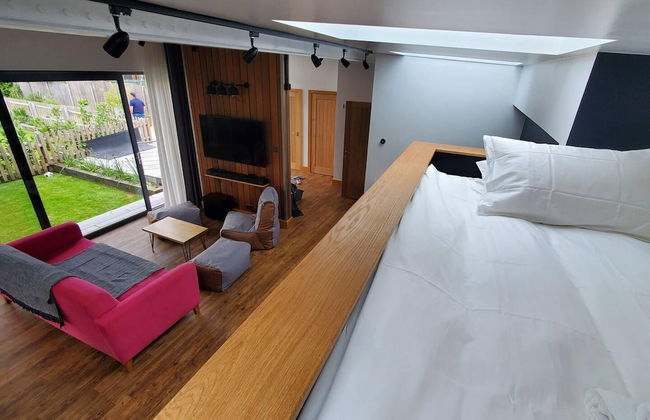
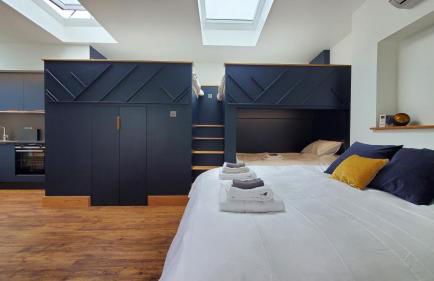


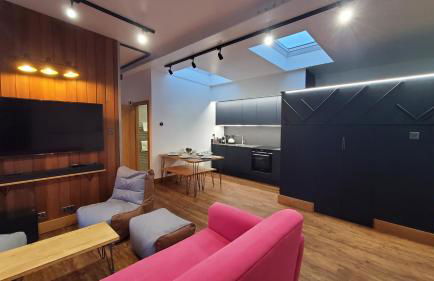
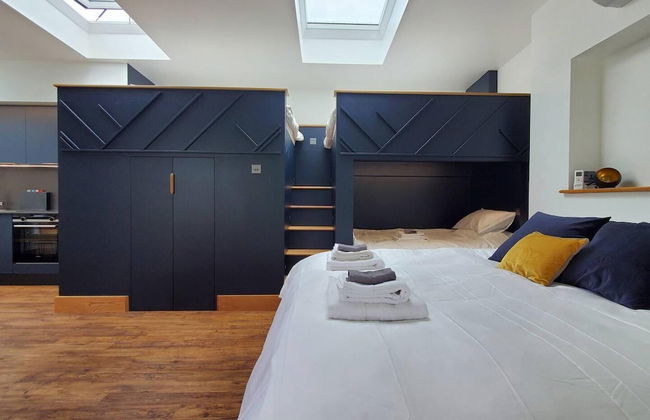
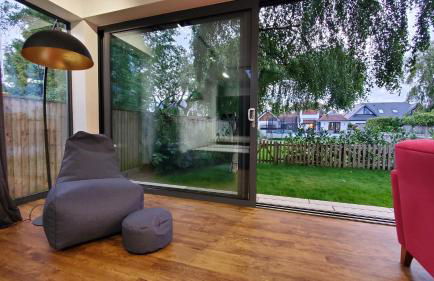
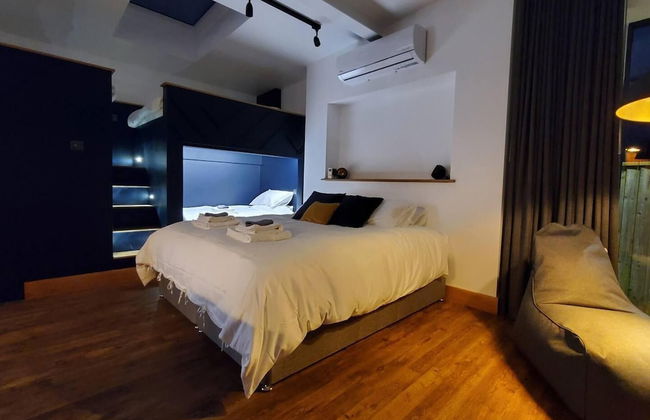

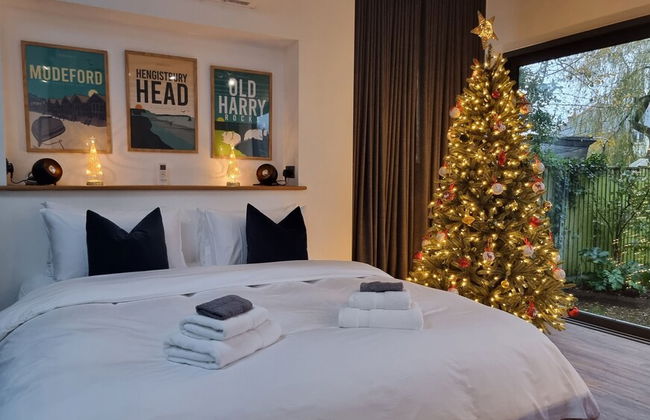
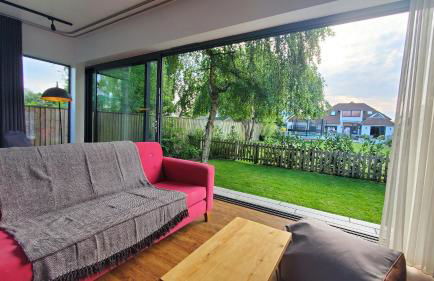

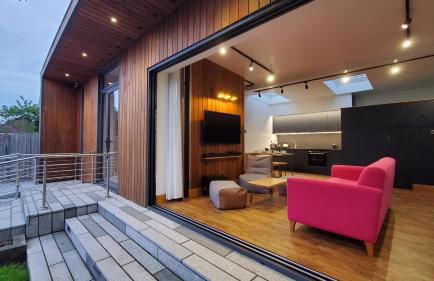
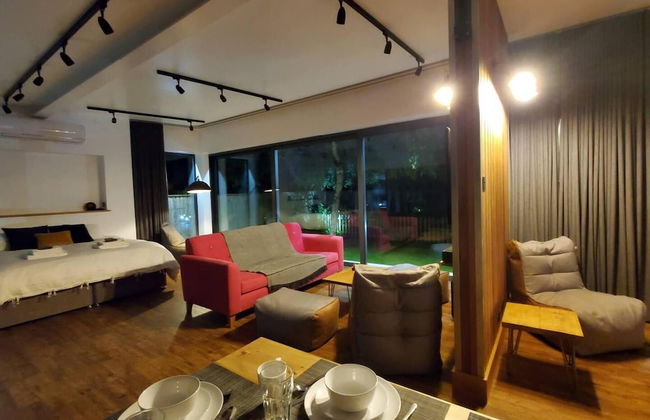
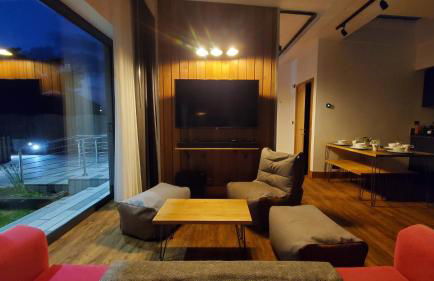


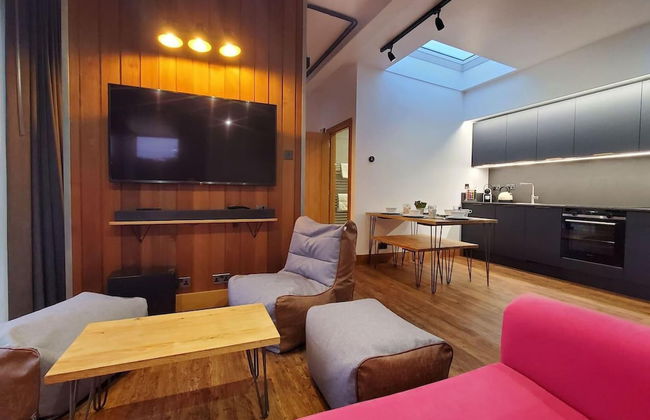
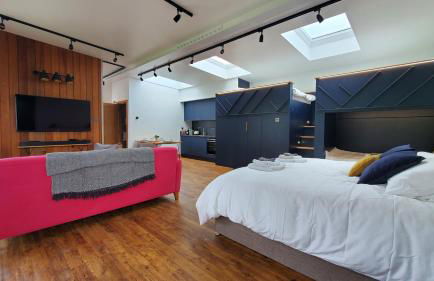
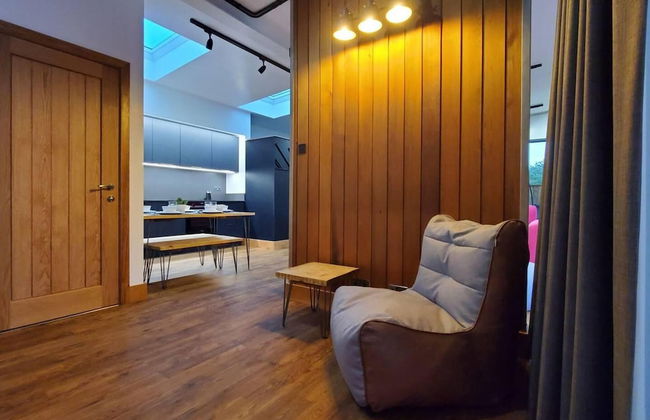
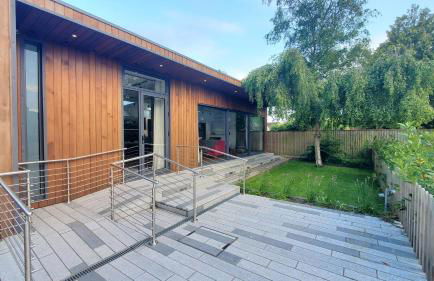
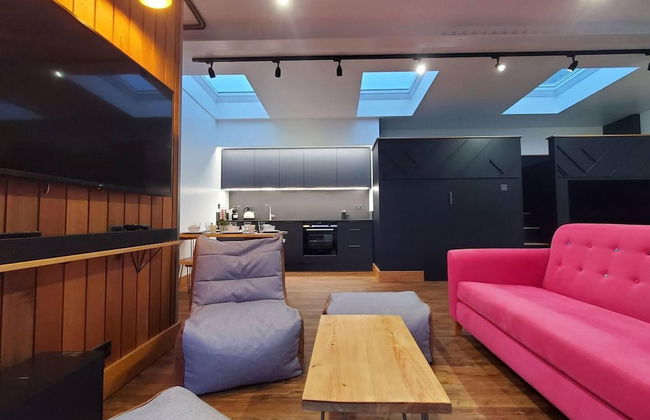

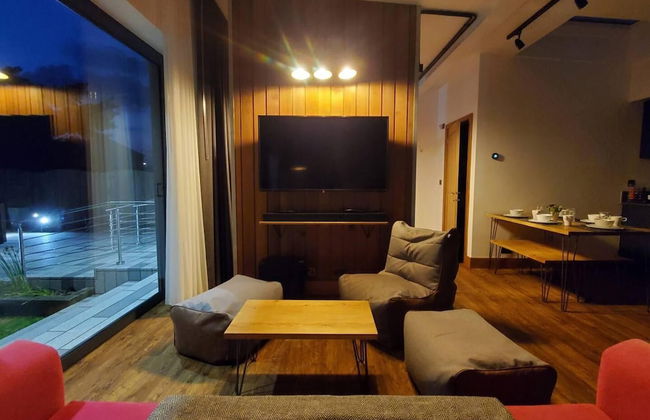
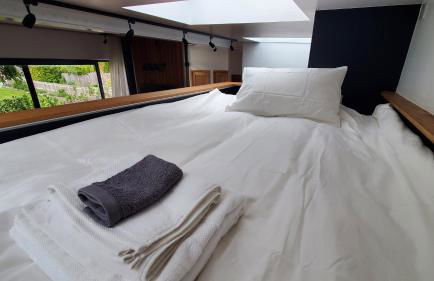
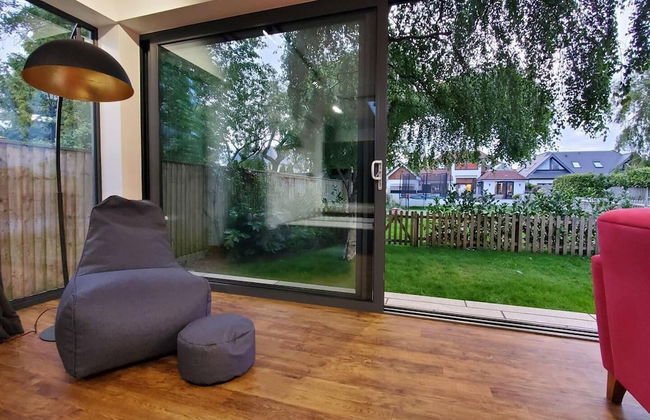

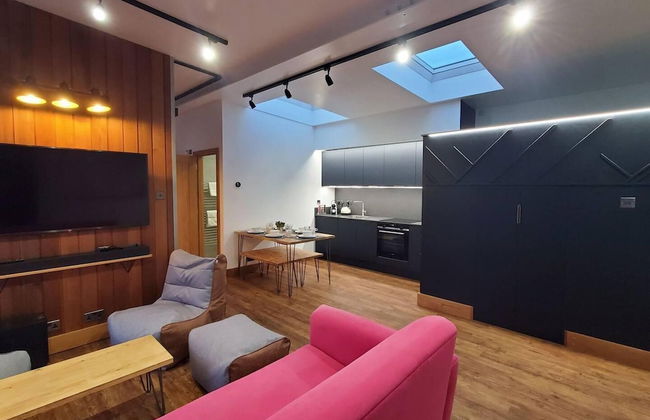
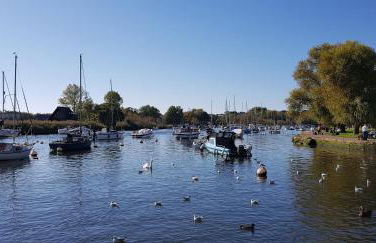
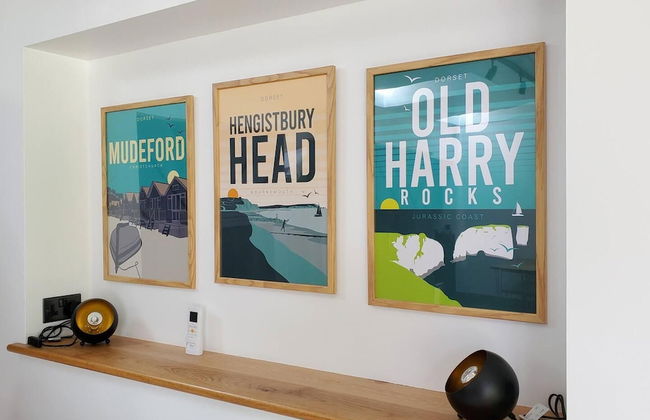


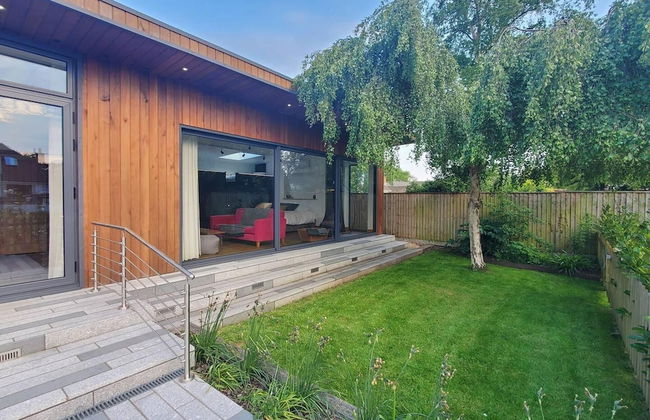


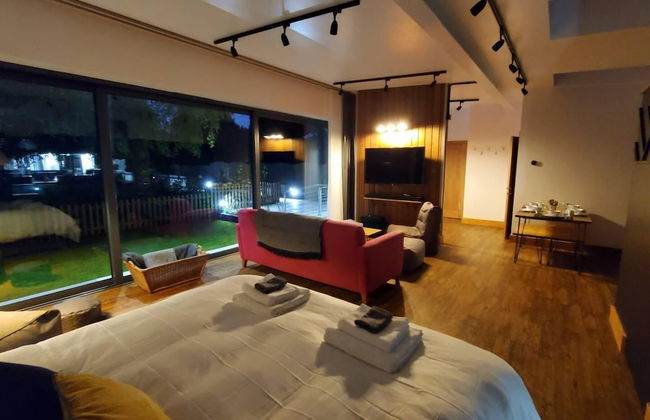
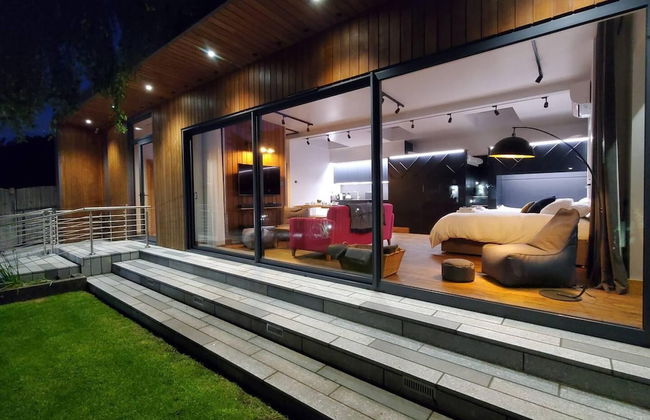


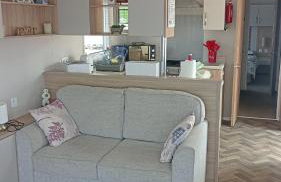
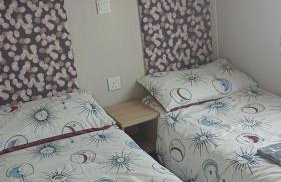
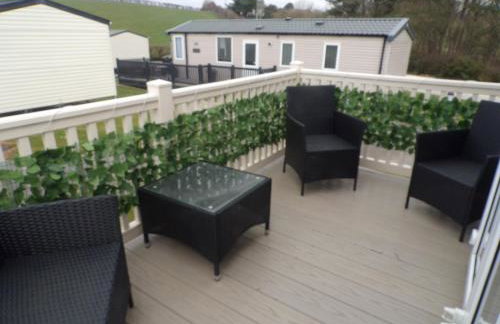
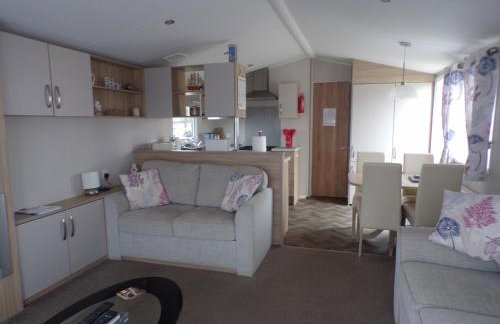
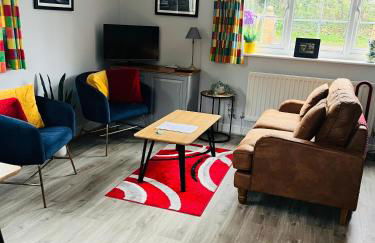
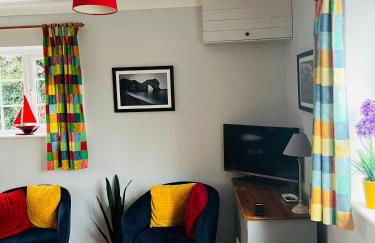
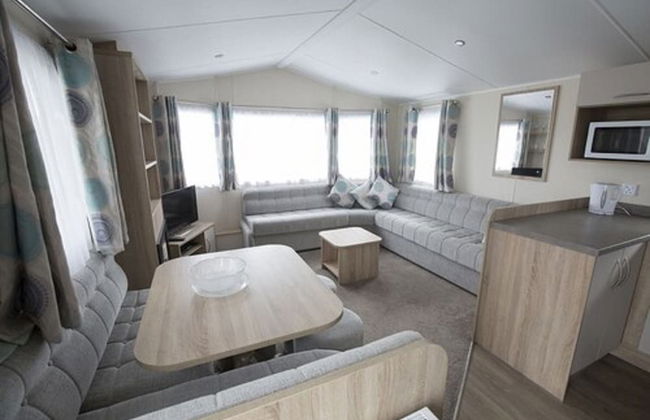
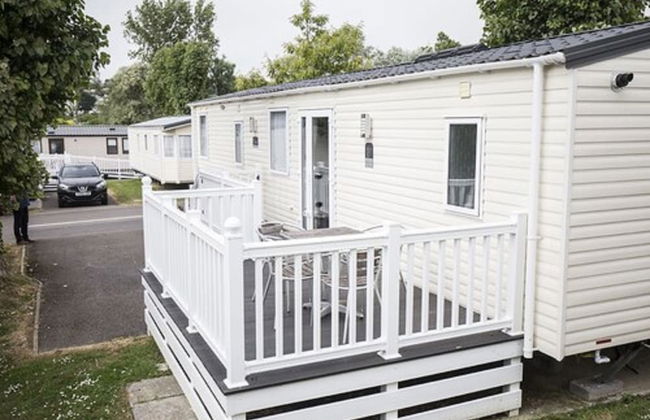
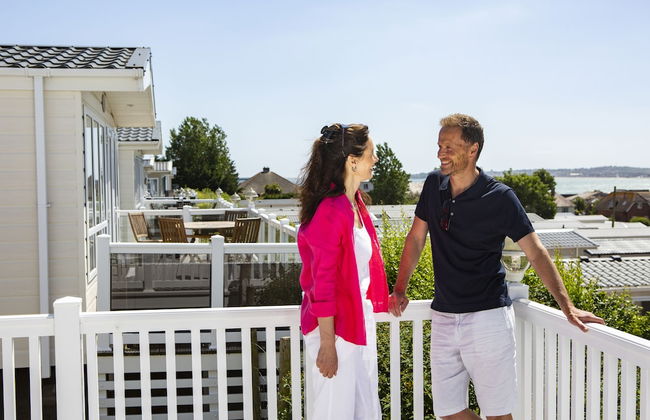
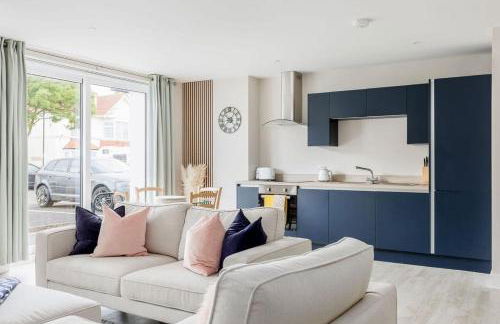
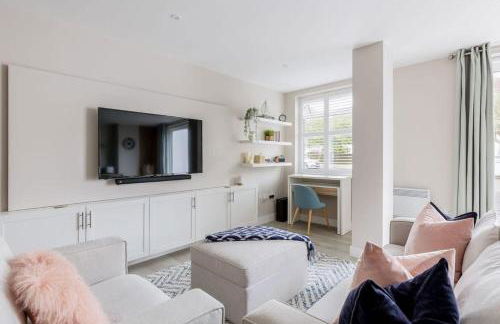
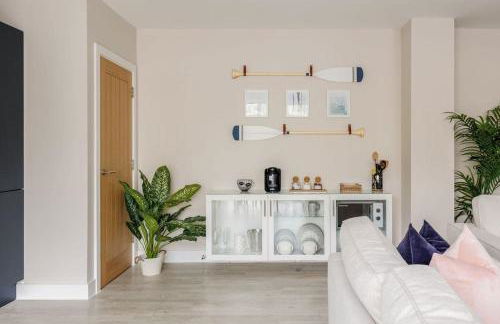
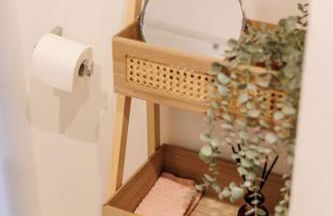
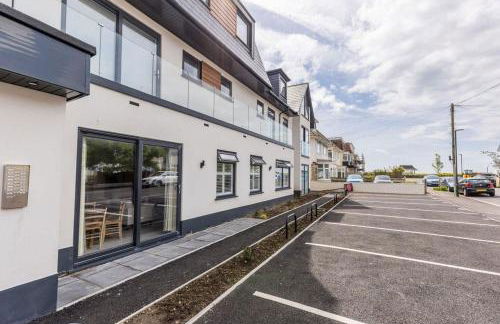
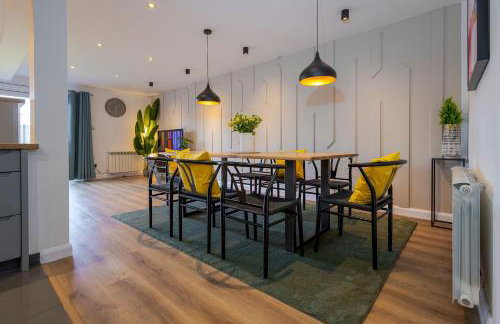
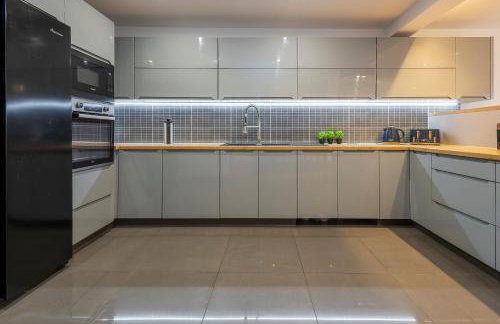
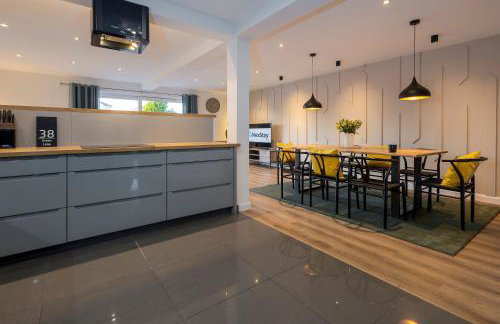
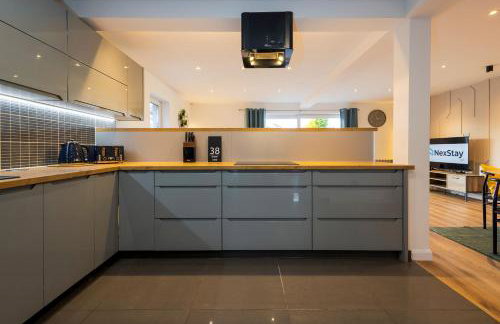
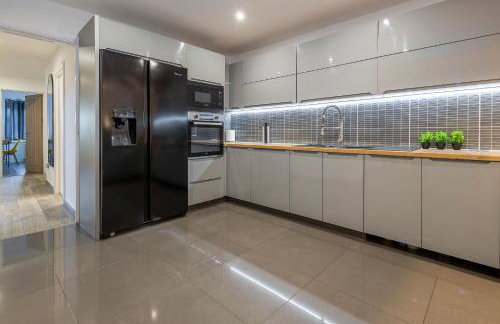
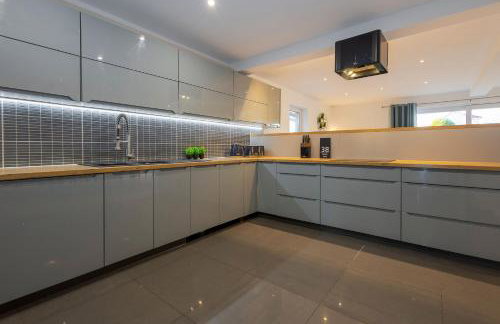
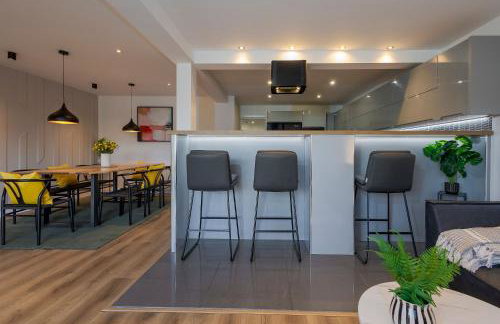
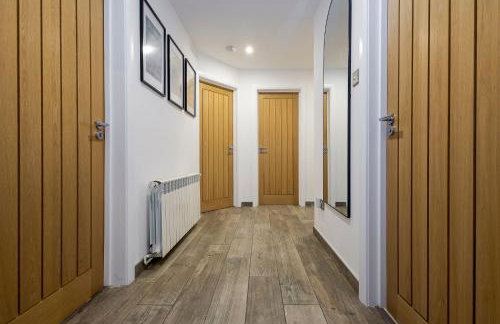
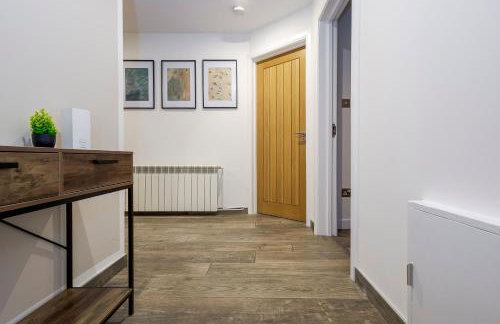
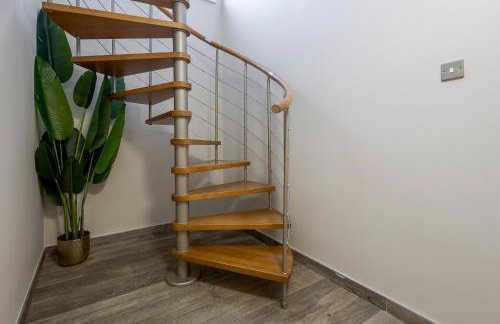
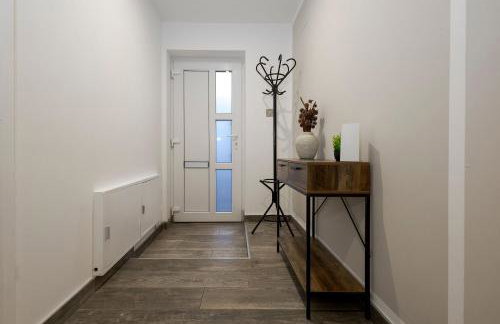
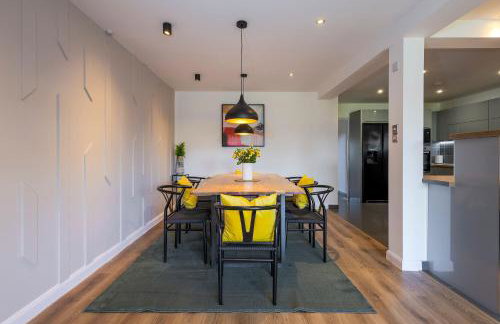
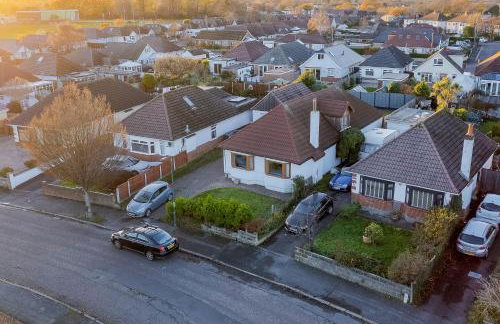
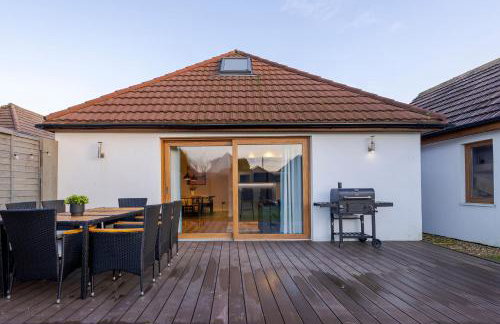
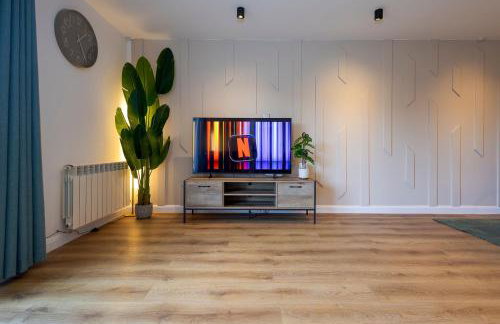
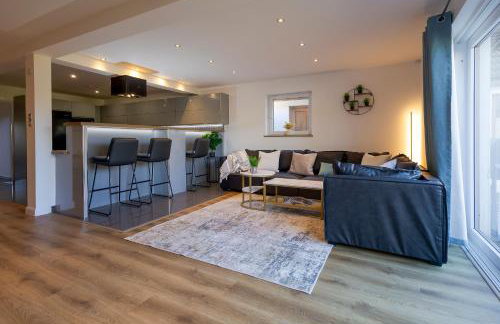
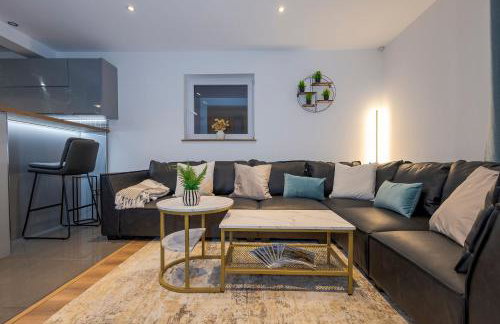
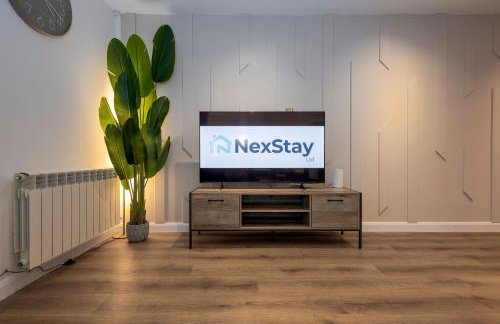
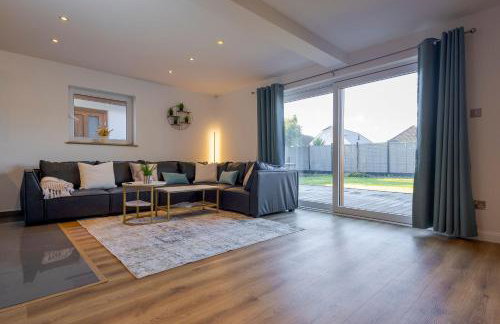
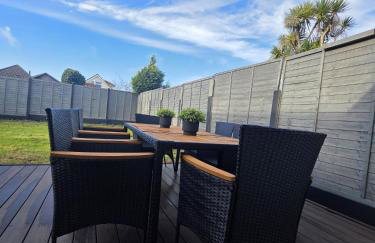
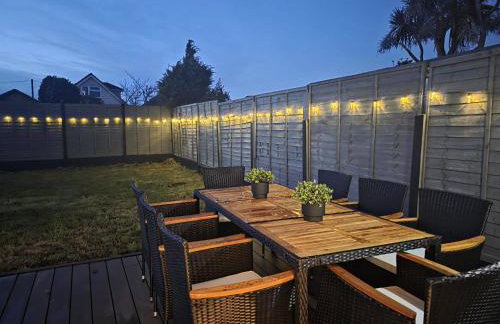
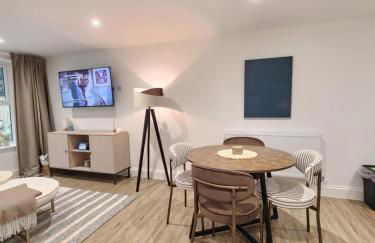
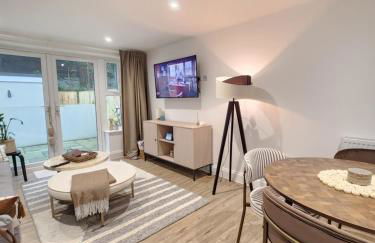
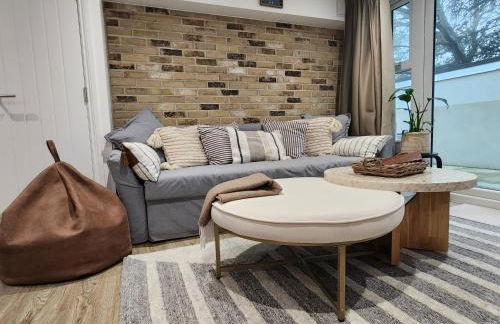
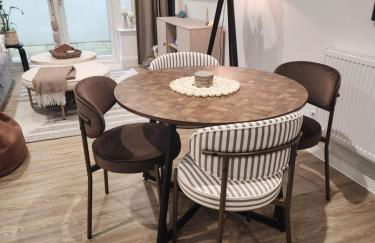
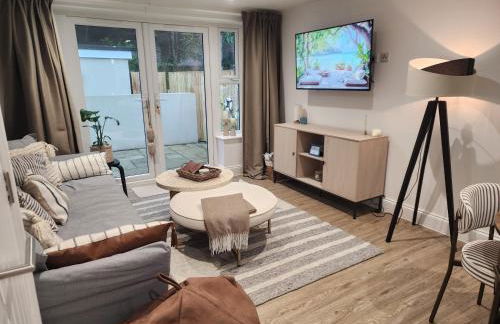
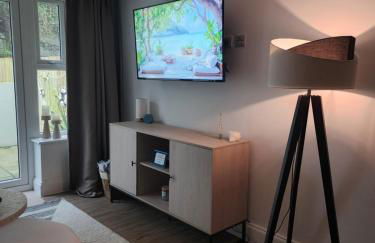
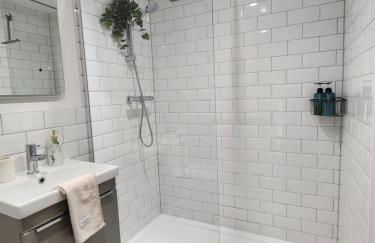
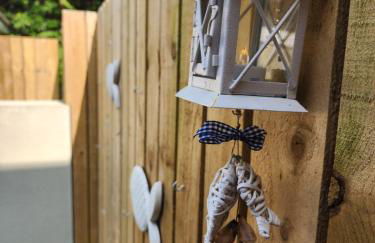
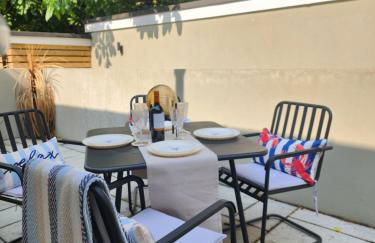
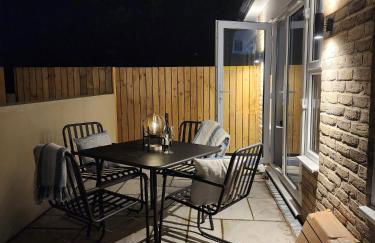
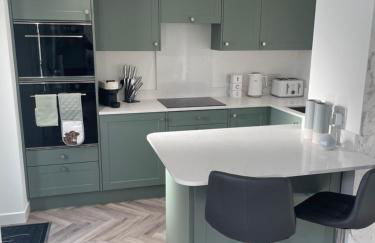
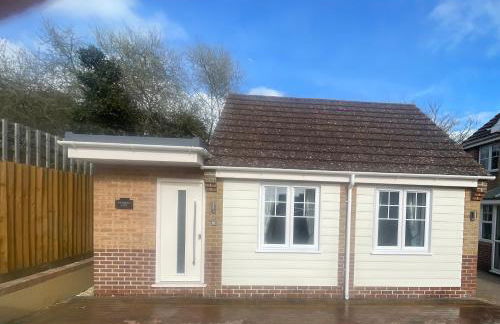
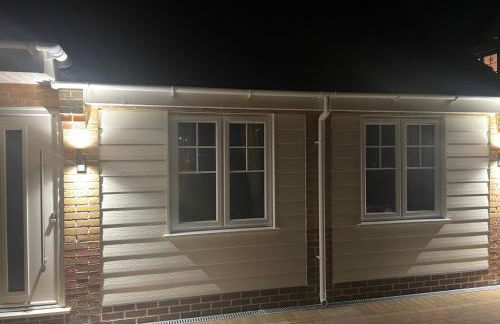
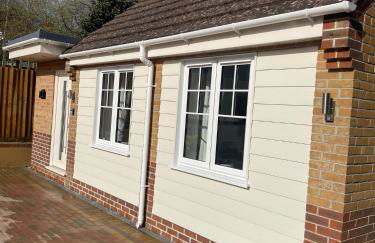
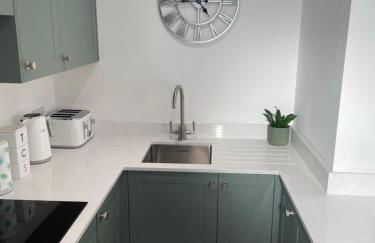
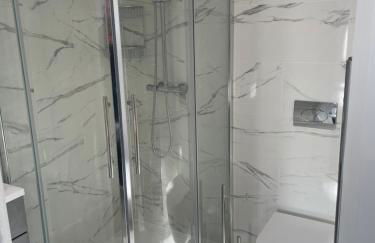
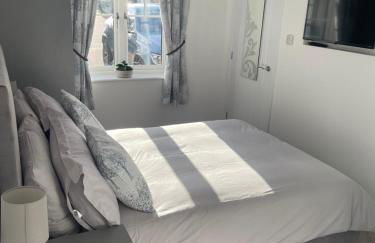
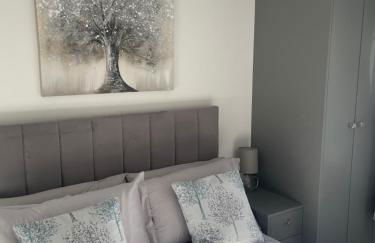
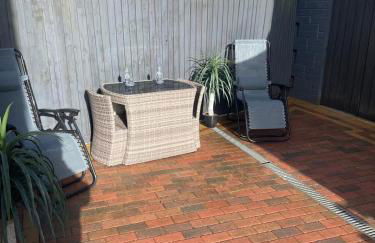
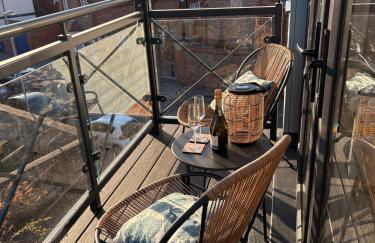
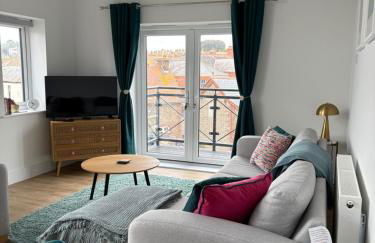
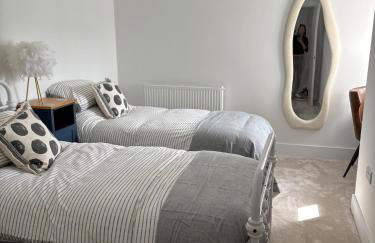
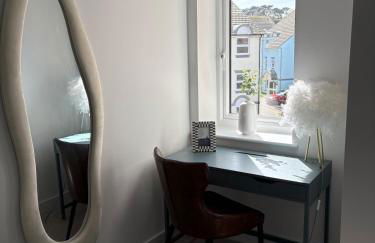
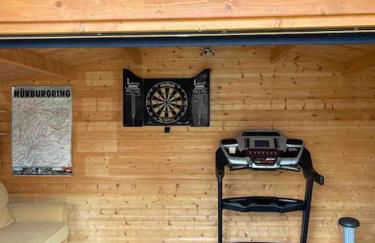
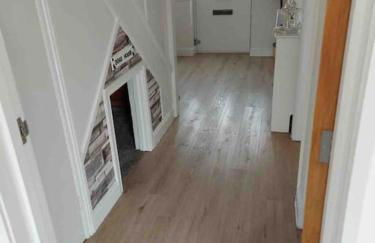
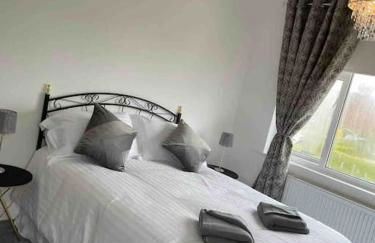
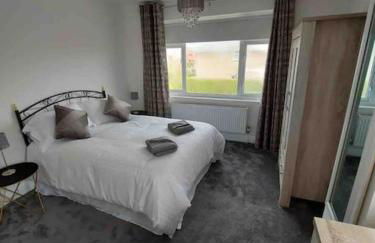
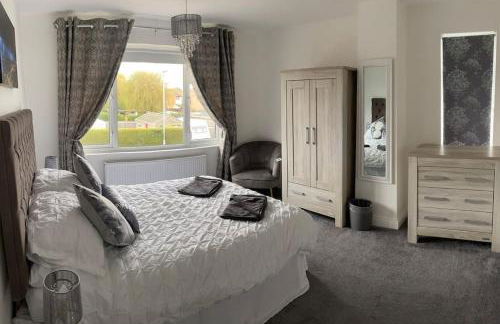
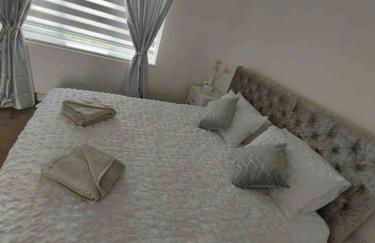
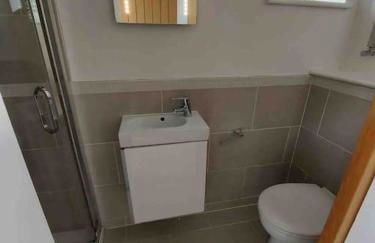
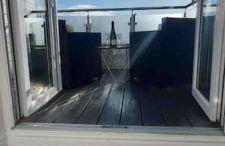
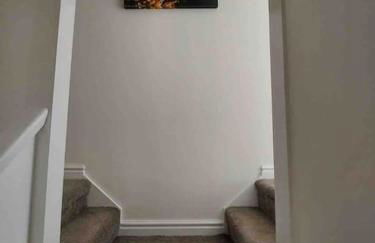
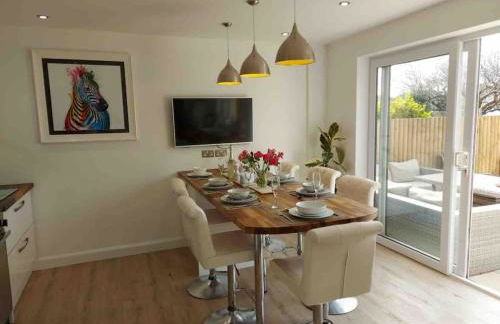
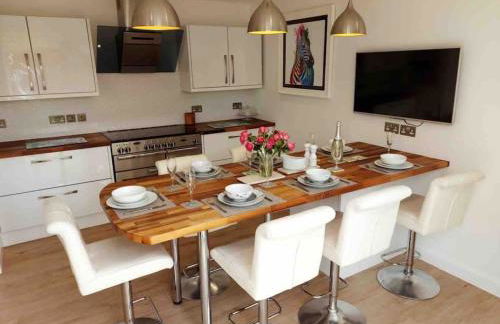
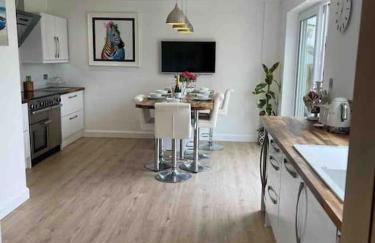
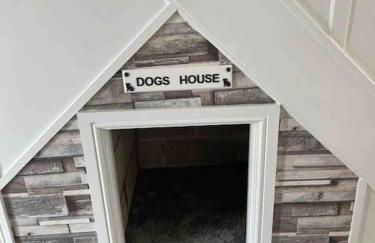
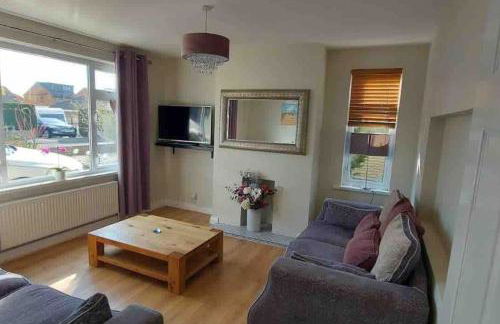
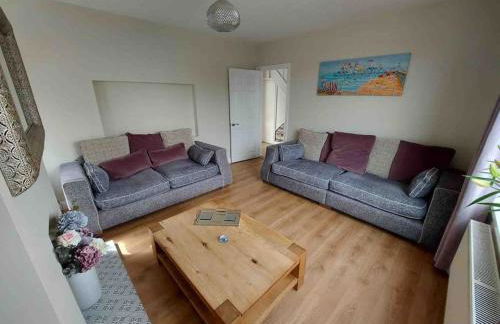
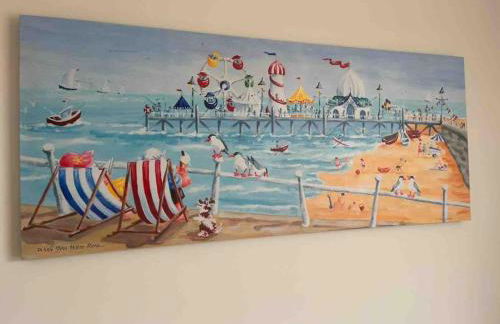
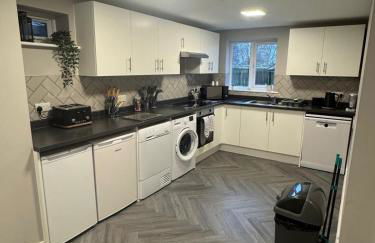
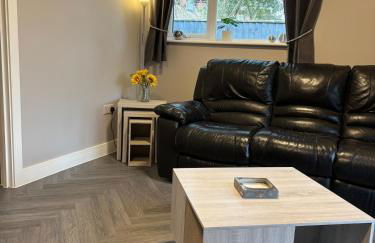
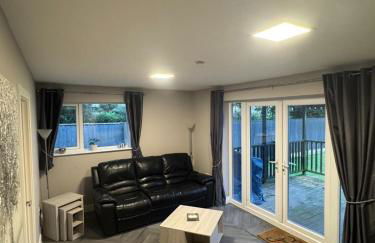
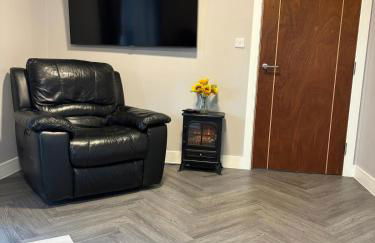
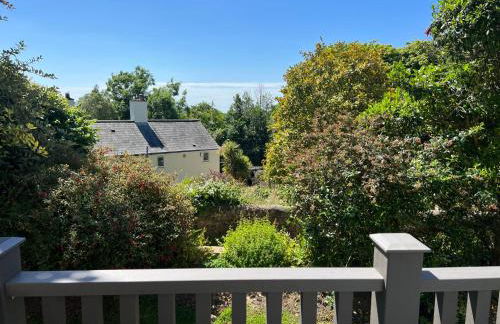
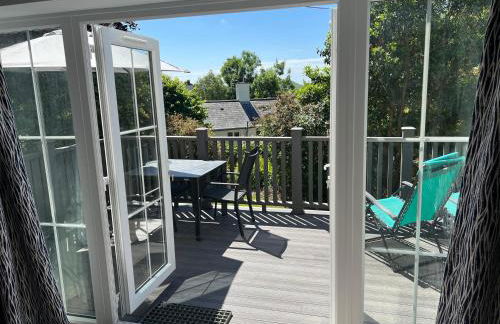
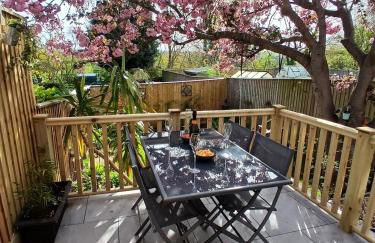
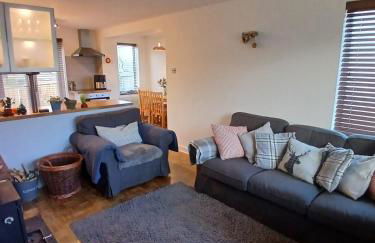
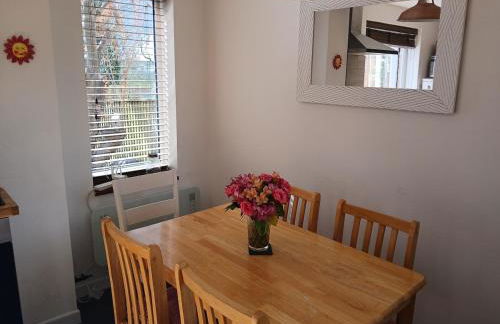
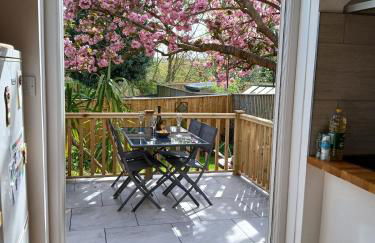
The Cedarwoods - luxury for up to 5 and your woof!
Christchurch - Christchurch
- 70 M2
- 5 personnes
- Air conditionné
- Le chauffage
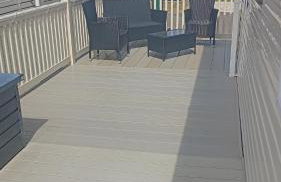
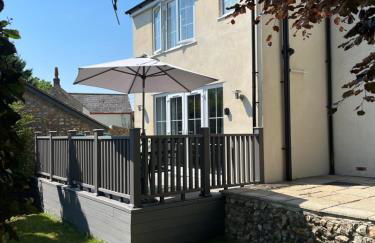
- Terrasse
- Parking
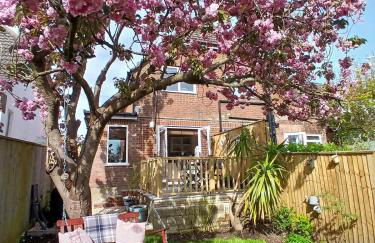
- Jardin
- Barbecue
27 avis
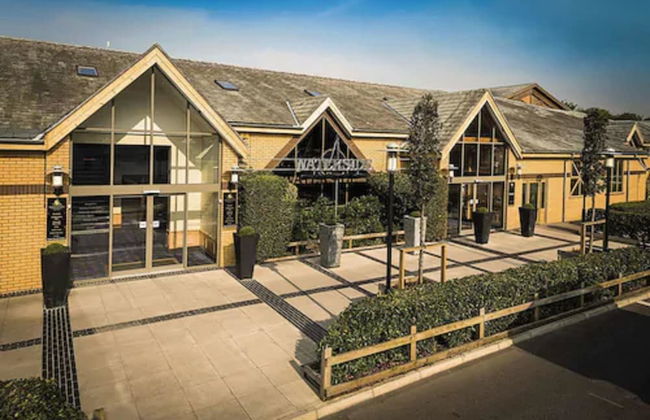


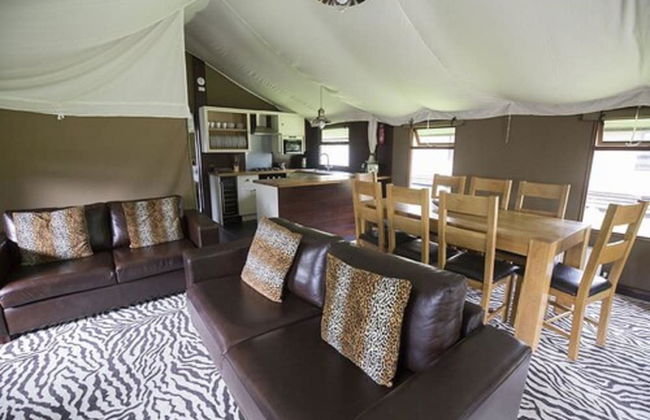
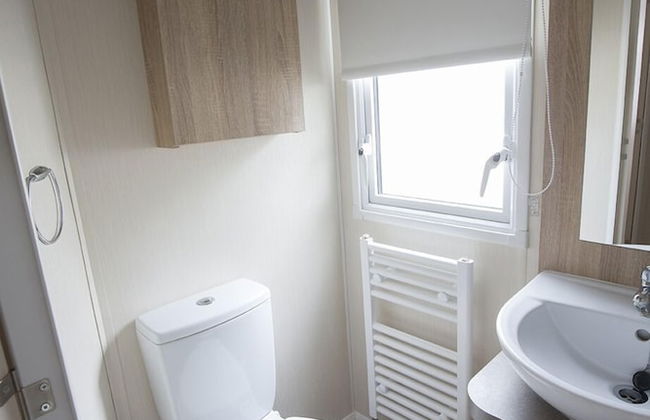
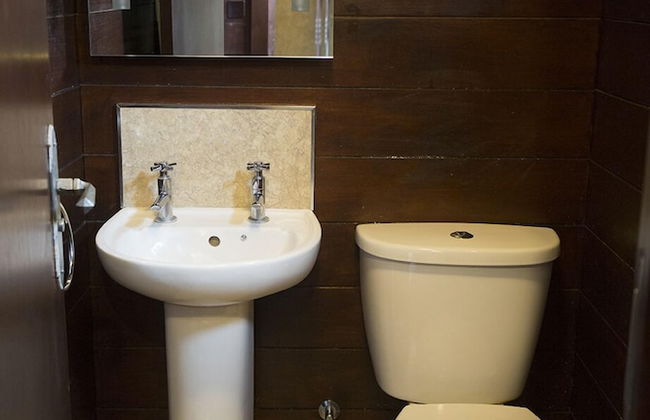

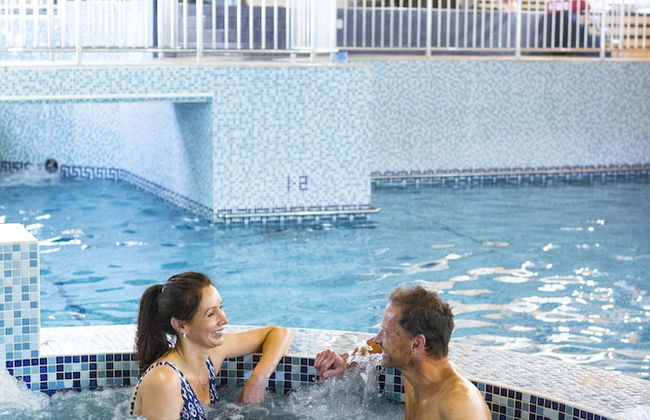
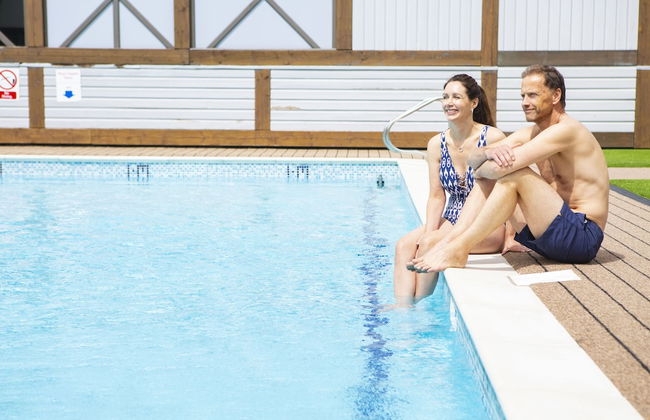
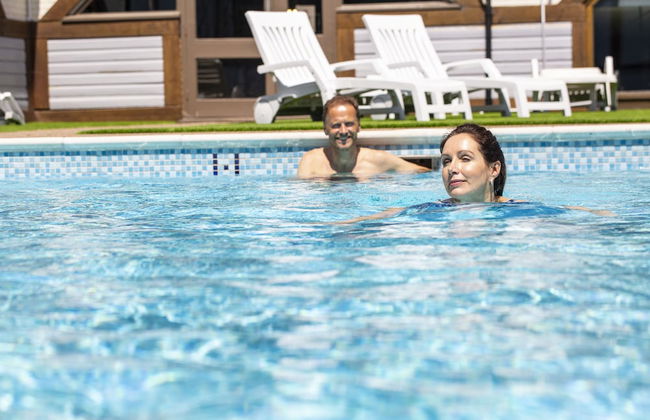
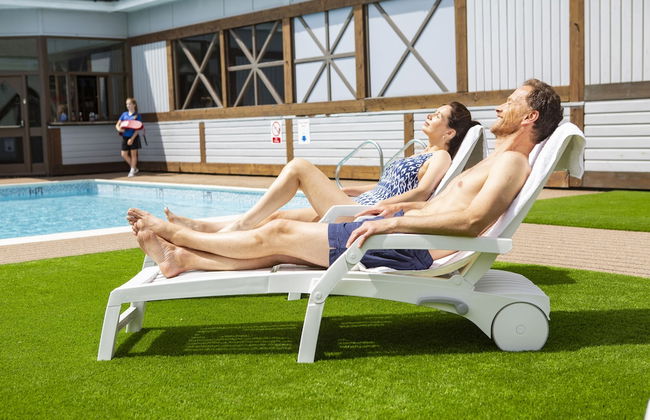
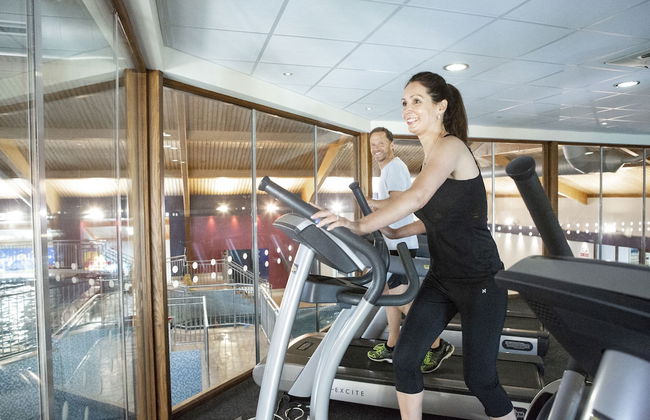

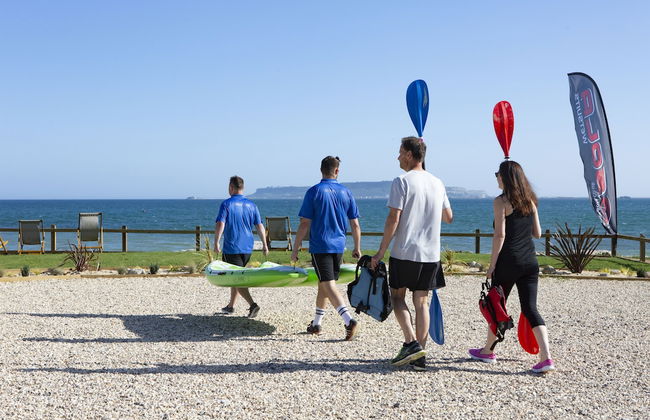


Waterside Holiday Park & Spa
Weymouth - Preston
- 8 personnes
- Le chauffage
- Terrasse
- Piscine
- Parking
- Ascenseur
- Tv
- Serviettes
6 avis


Modern 2bed Flat, Parking, Close to Beach & Shops
Bournemouth - Bournemouth
- 65 M2
- 2 chambres
- 5 personnes
- Le chauffage
- Parking
27 avis


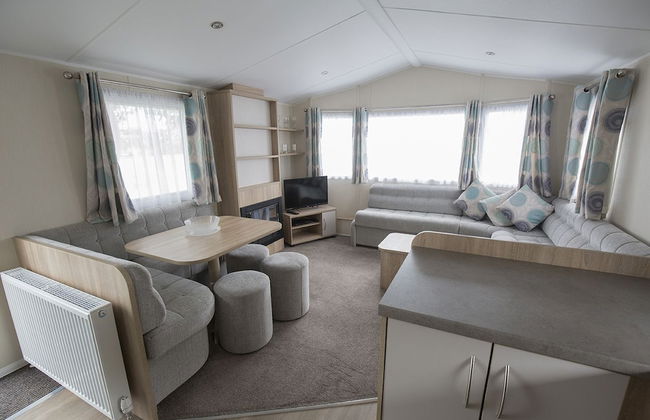
Rockley Park, Poole, Stunning Sea View, Close to Beach
Poole - Hamworthy
- 52 M2
- 2 chambres
- 6 personnes
- Terrasse
- Piscine
- Parking
- Jardin
10 avis


Private Luxe Bournemouth 5BR-7 Beds-3 Bath-Garden-Parking
Bournemouth - Bournemouth
- 149 M2
- 5 chambres
- 12 personnes
- Le chauffage
- Terrasse
- Parking
- Jardin
- Barbecue
22 avis


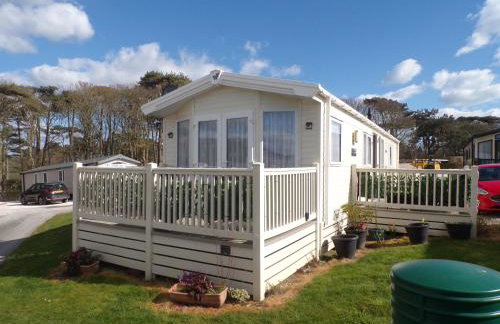
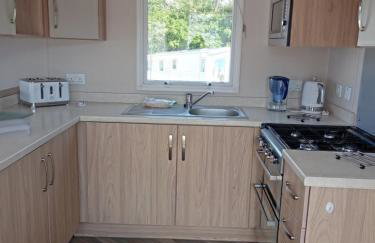
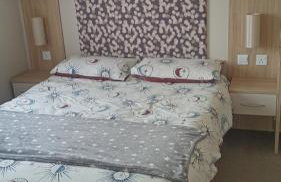
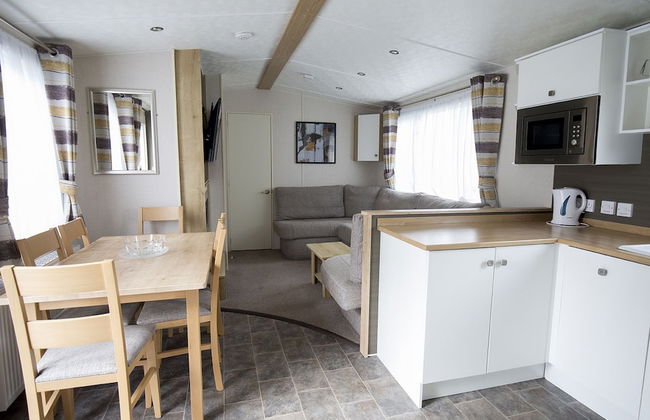
6 Berth Luxury Lodge in Christchurch, Dorset
Christchurch - Christchurch
- 80 M2
- 2 chambres
- 6 personnes
- Le chauffage
- Piscine
- Parking
- Jardin
- Machine à laver
- Cheminée
19 avis


The Garden House
Dorchester - Crawthorne
- 135 M2
- 1 chambre
- 4 personnes
- Le chauffage
- Terrasse
- Parking
- Jardin
- Barbecue
39 avis


Seashell Retreat
Bournemouth - Bournemouth
- 50 M2
- 1 chambre
- 4 personnes
- Le chauffage
- Terrasse
- Parking
47 avis


Button Cottage on Gold Hill - Hovis Hill
Shaftesbury - Shaftesbury
- 84 M2
- 2 chambres
- 2 personnes
- Terrasse
- Jardin
19 avis


Accommodation in Dorset, Sherborne
Sherborne - Sherborne
- 40 M2
- 2 personnes
- Le chauffage
- Terrasse
- Jardin
17 avis


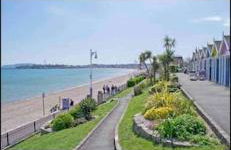
Brewhouse Coastal Retreat
Weymouth - Weymouth - À 680 m de Weymouth Port (geolocation.placetype.port)
- 64 M2
- 2 chambres
- 5 personnes
- Terrasse
- Parking
- Ascenseur
20 avis


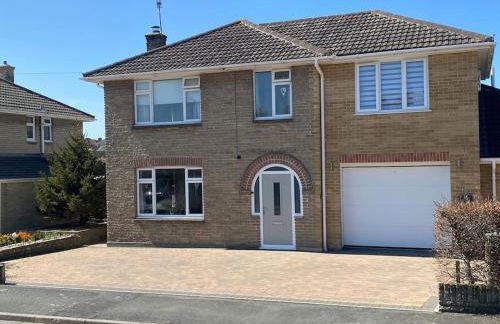


Modern 4 bedroom house in Weymouth Sunny Corner
Weymouth - Weymouth
- 7 M2
- 4 chambres
- 8 personnes
- Le chauffage
- Terrasse
- Parking
- Jardin
- Barbecue
34 avis


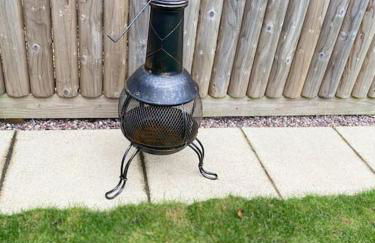
The Haven at Halsons
Bridport - Morcombelake
- 45 M2
- 1 chambre
- 2 personnes
- Le chauffage
- Terrasse
- Parking
- Jardin
88 avis


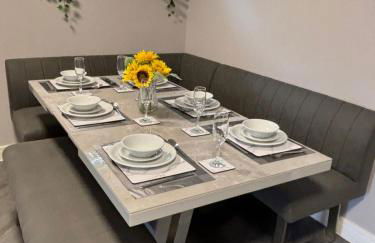
Down by the Riverside
Blandford - Blandford
- 111 M2
- 3 chambres
- 5 personnes
- Le chauffage
- Terrasse
- Parking
- Jardin
- Barbecue
42 avis